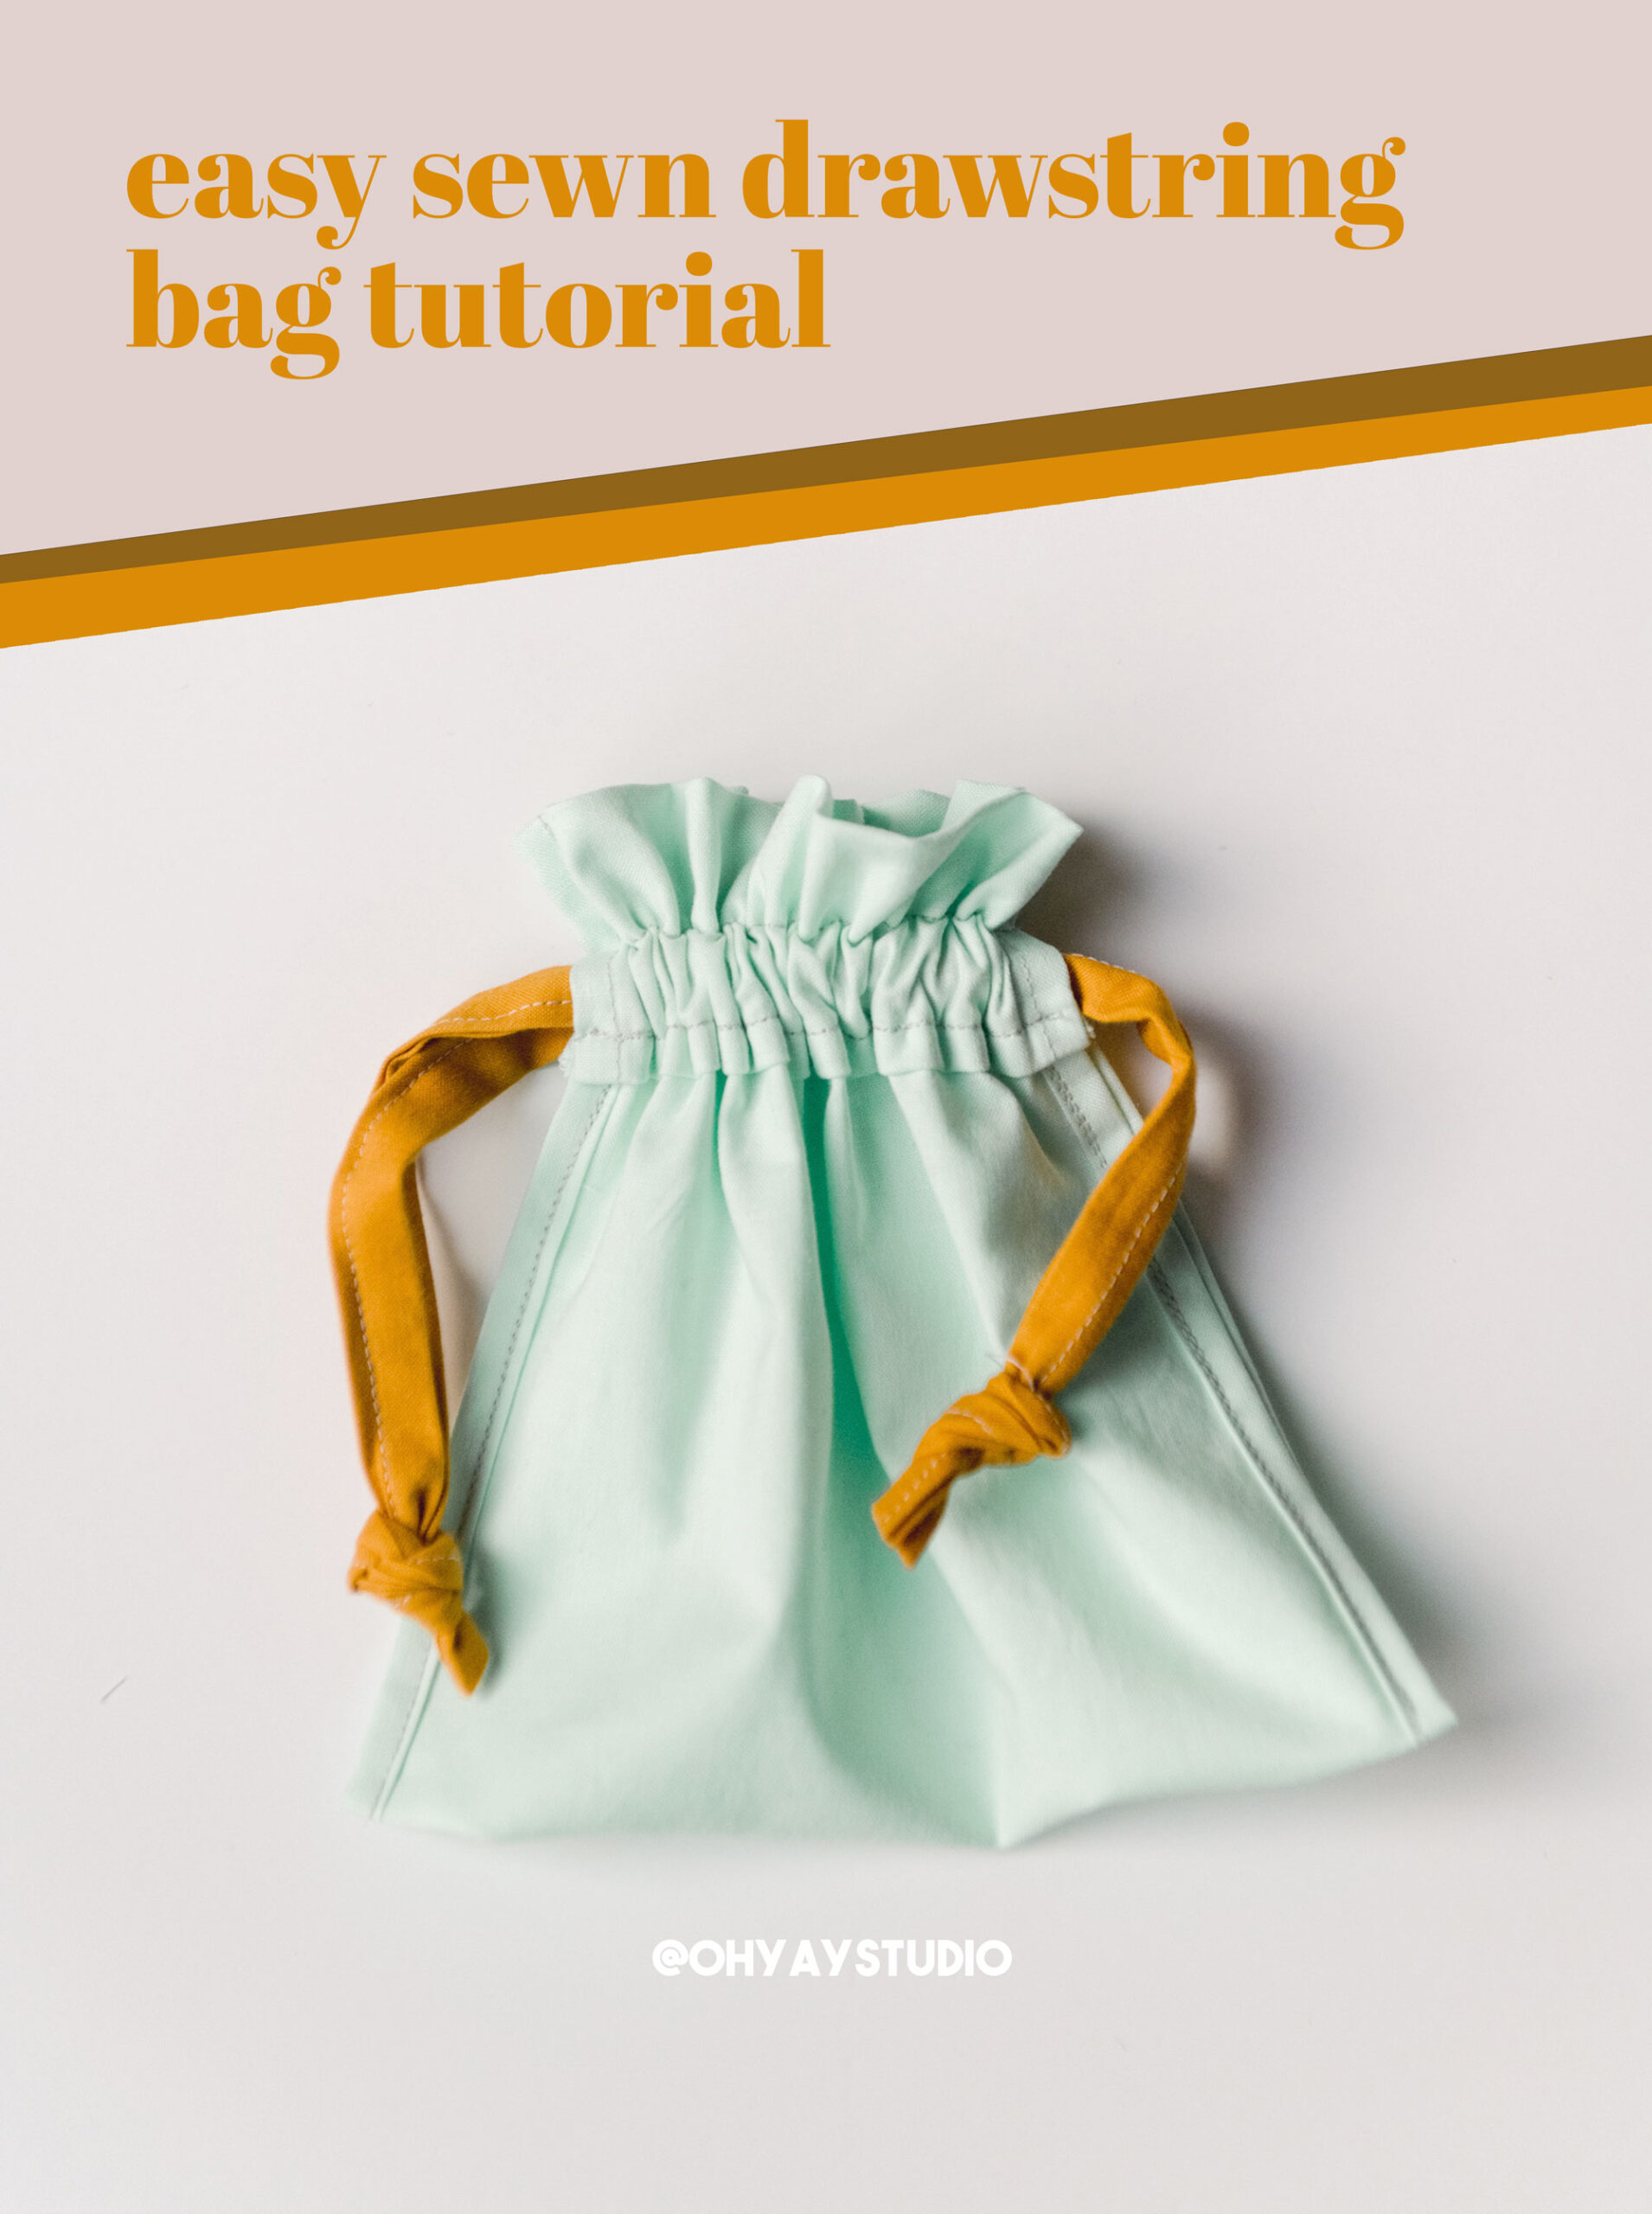
Sewn a simple drawstring bag!
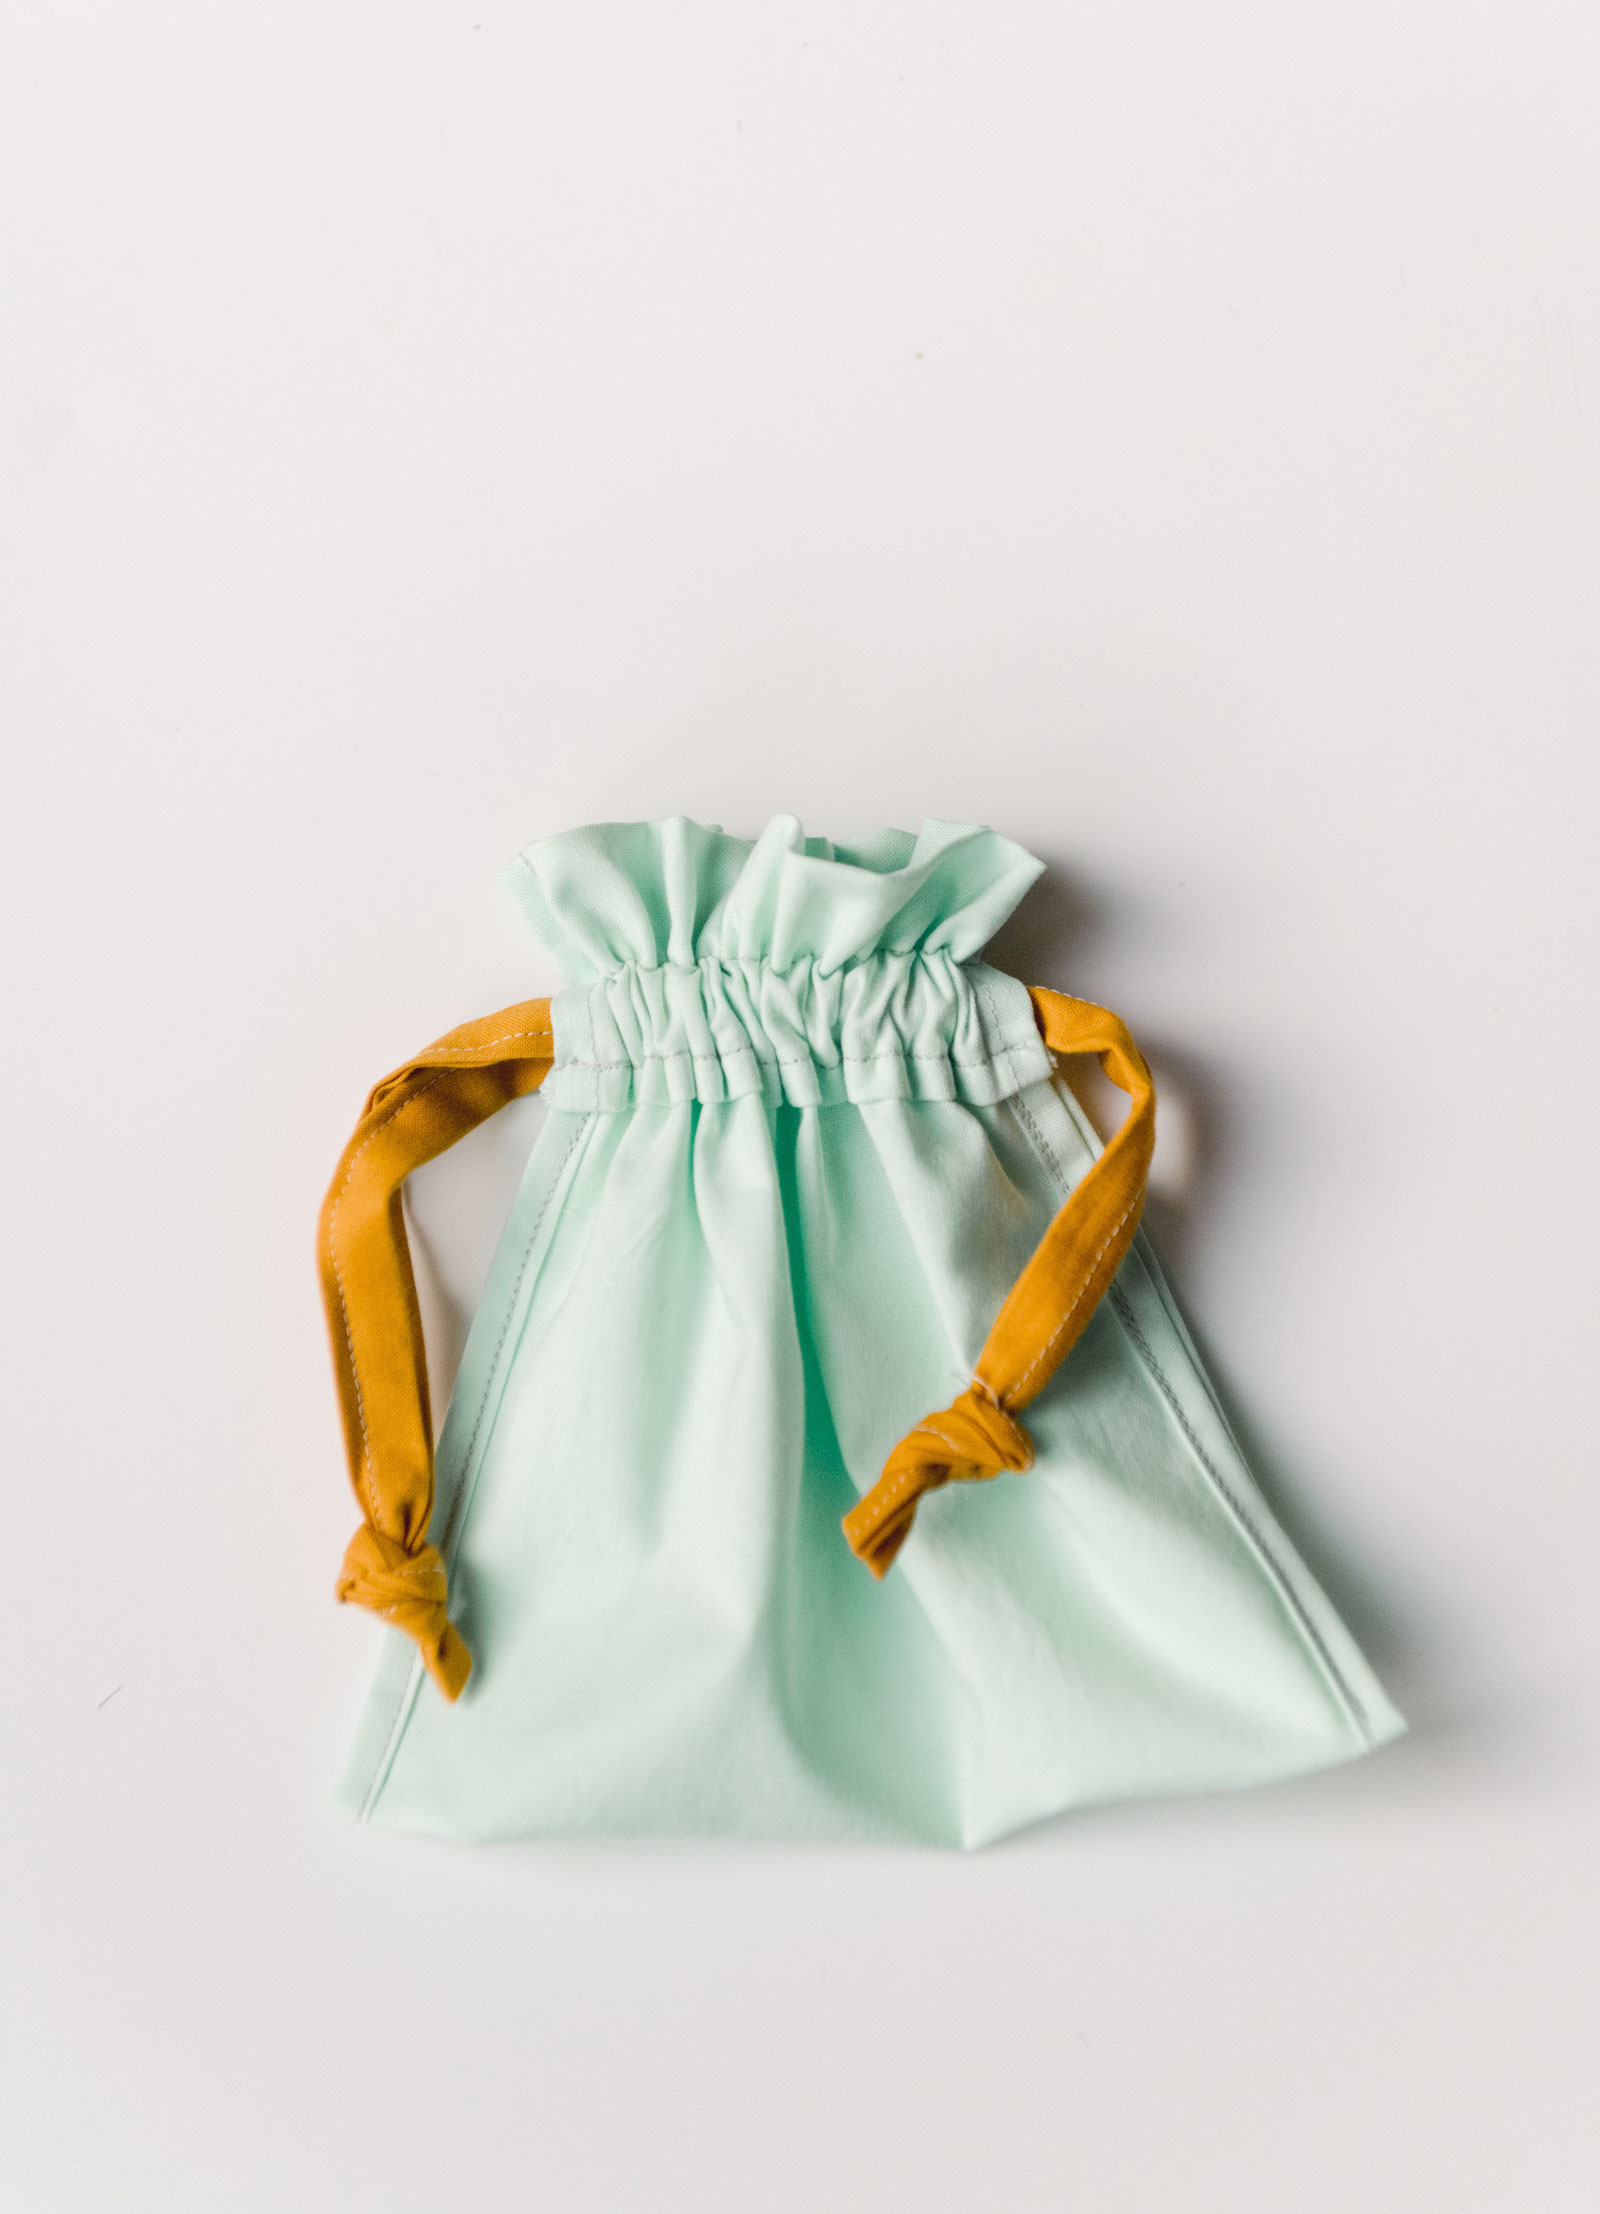
These colorful drawstring bags are a simple little sewing project (HELLO beginners or kiddos!) And I love projects like this because you will end up with a quick result that you can use in any and all situations in life (especially if you have kids)!
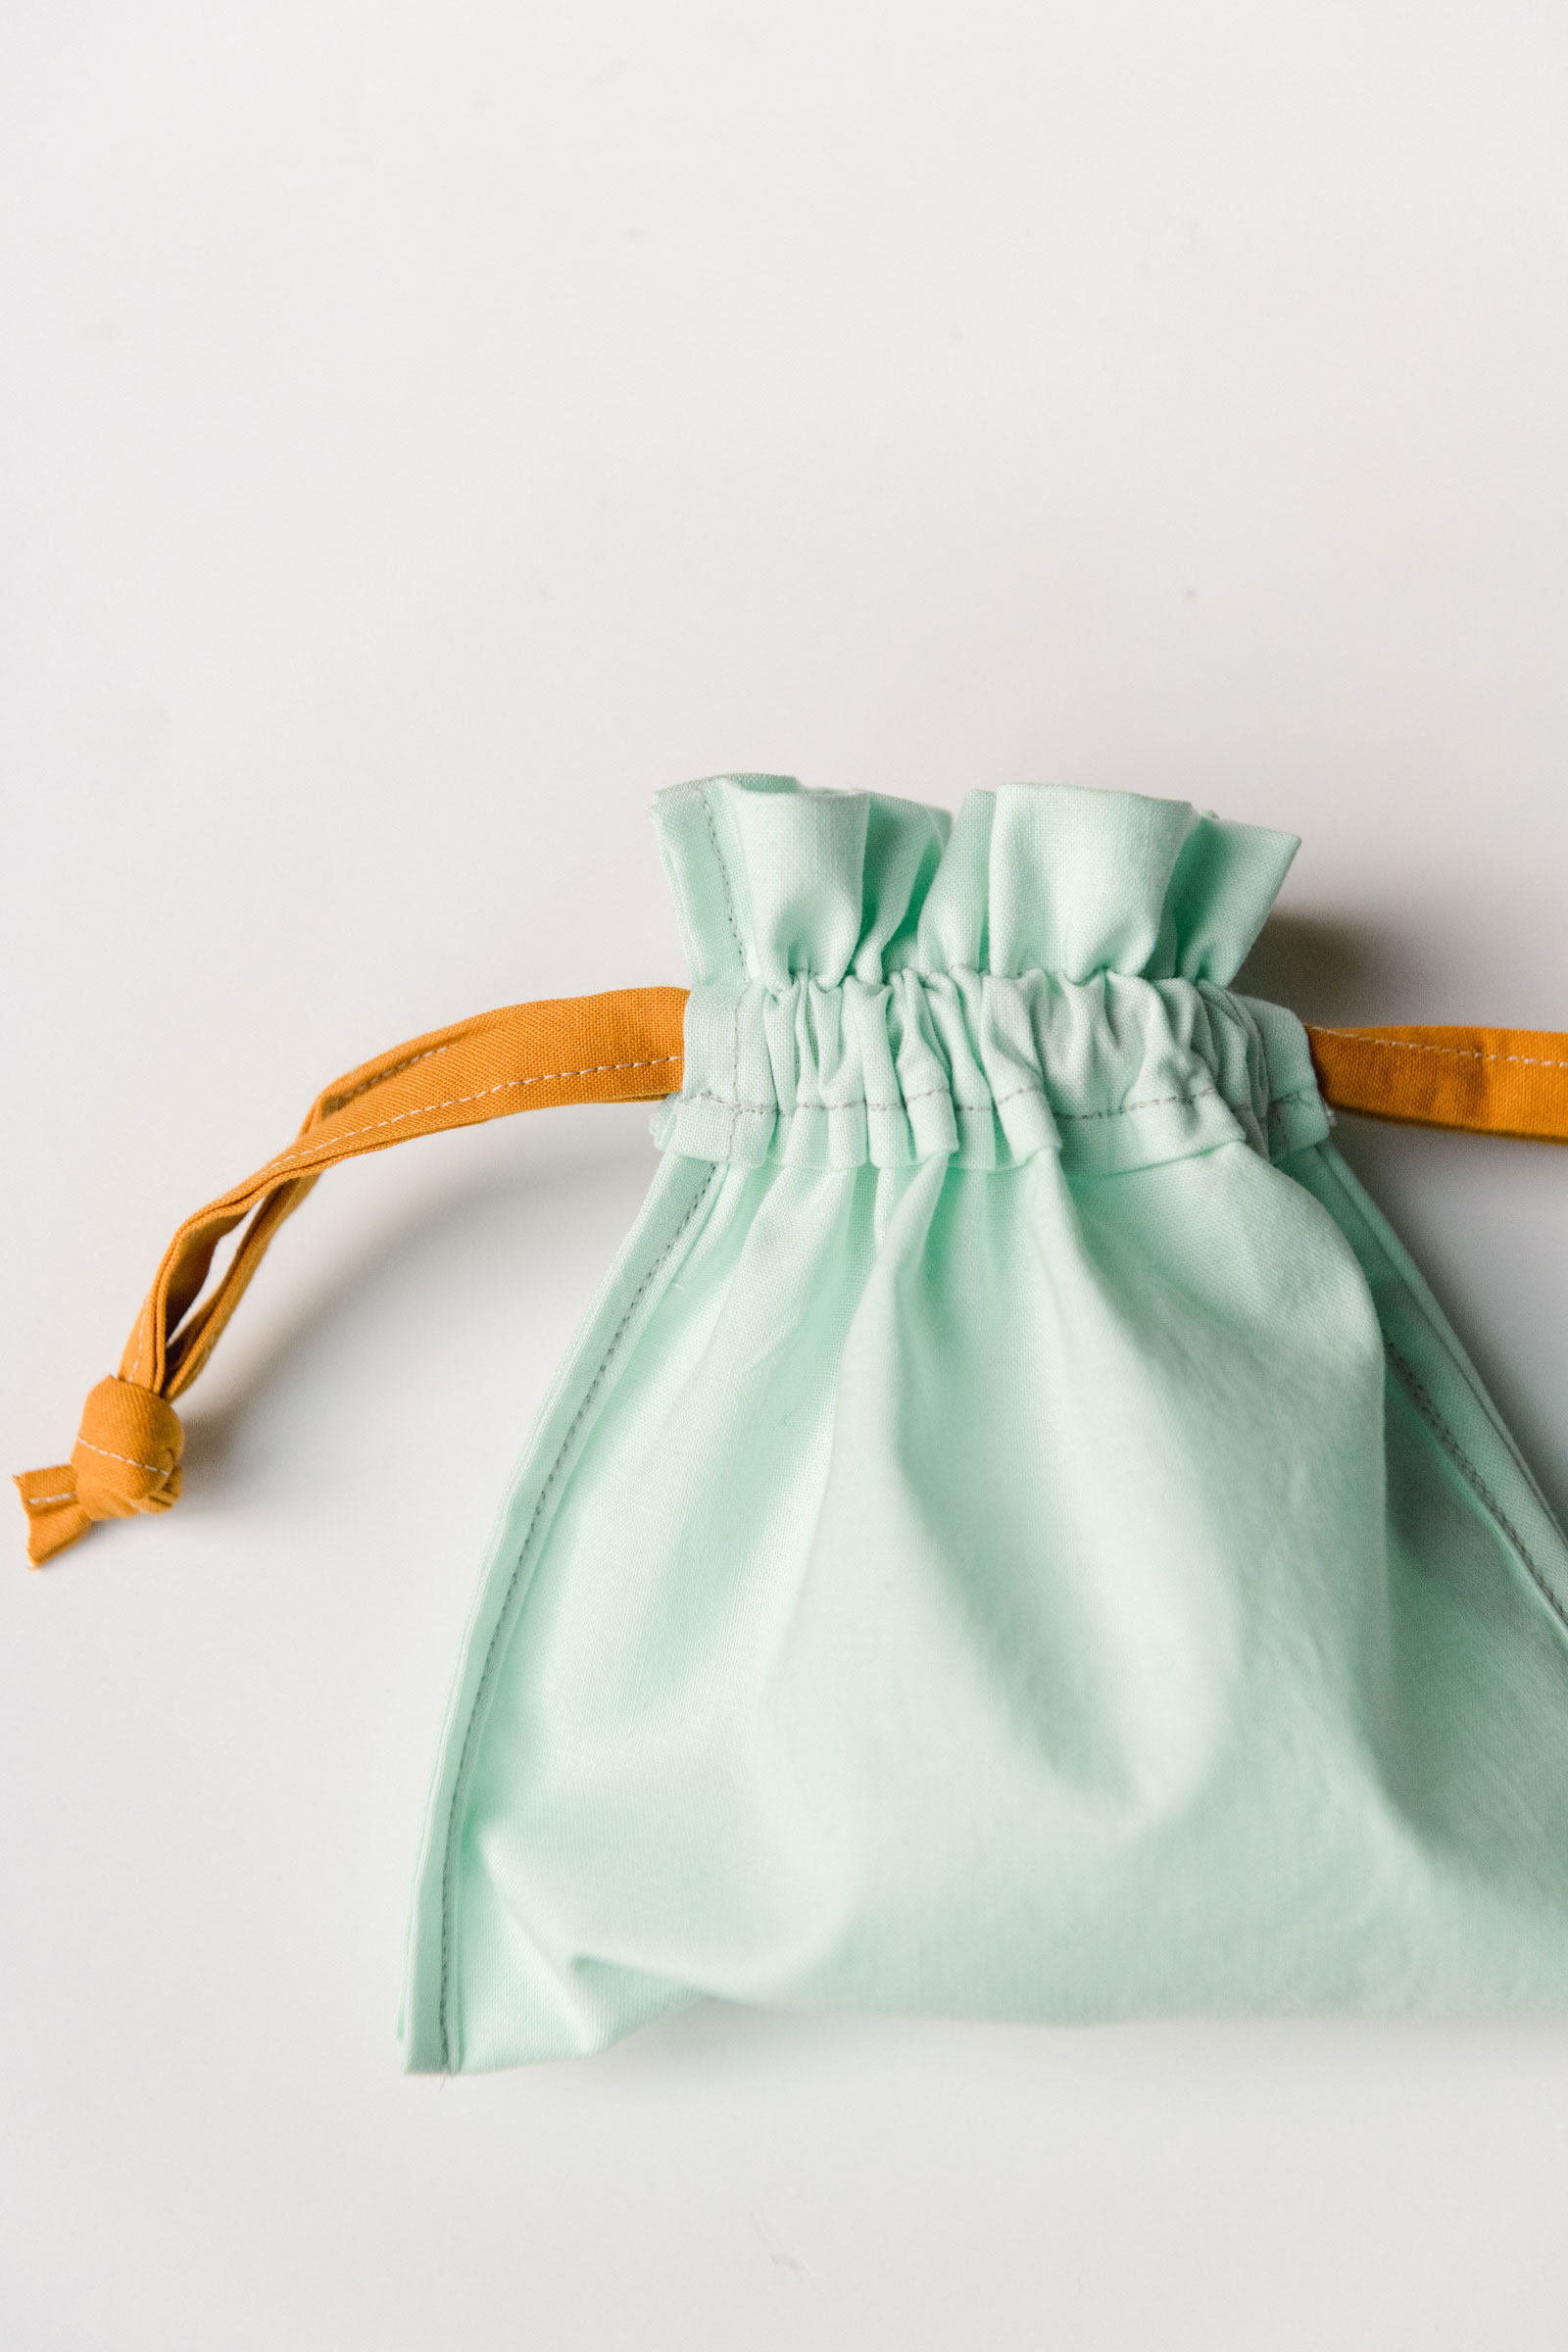
ANNNNNND the 2nd best thing about this project is that this is totally a stash buster! If you are a sewer, you know that you always end up with odds and ends of fabric that need to be used up….so VOILLLAAA! Grab those fabric left-overs and get to sewing (alsooooo double bonus is that these bags can be made literally ANY size, so use up ALL of those leftover pieces of fabric for this)! 🙂
Materials:
- Any size of cotton fabric (plain works best so that there is no “wrong side”
- Coordinating fabric (or ribbon) for the pulls
- A safety pin
- A great iron 🙂
- Coordinating thread + your fave sewing machine
Instructions:
1. Cut out a rectangle or square in whatever size you want! Keep in mind that the size of the final bag will be this rectangle folded in half (usually the short way) so if you are going for a specific size, be sure to cut your piece long and skinny 🙂
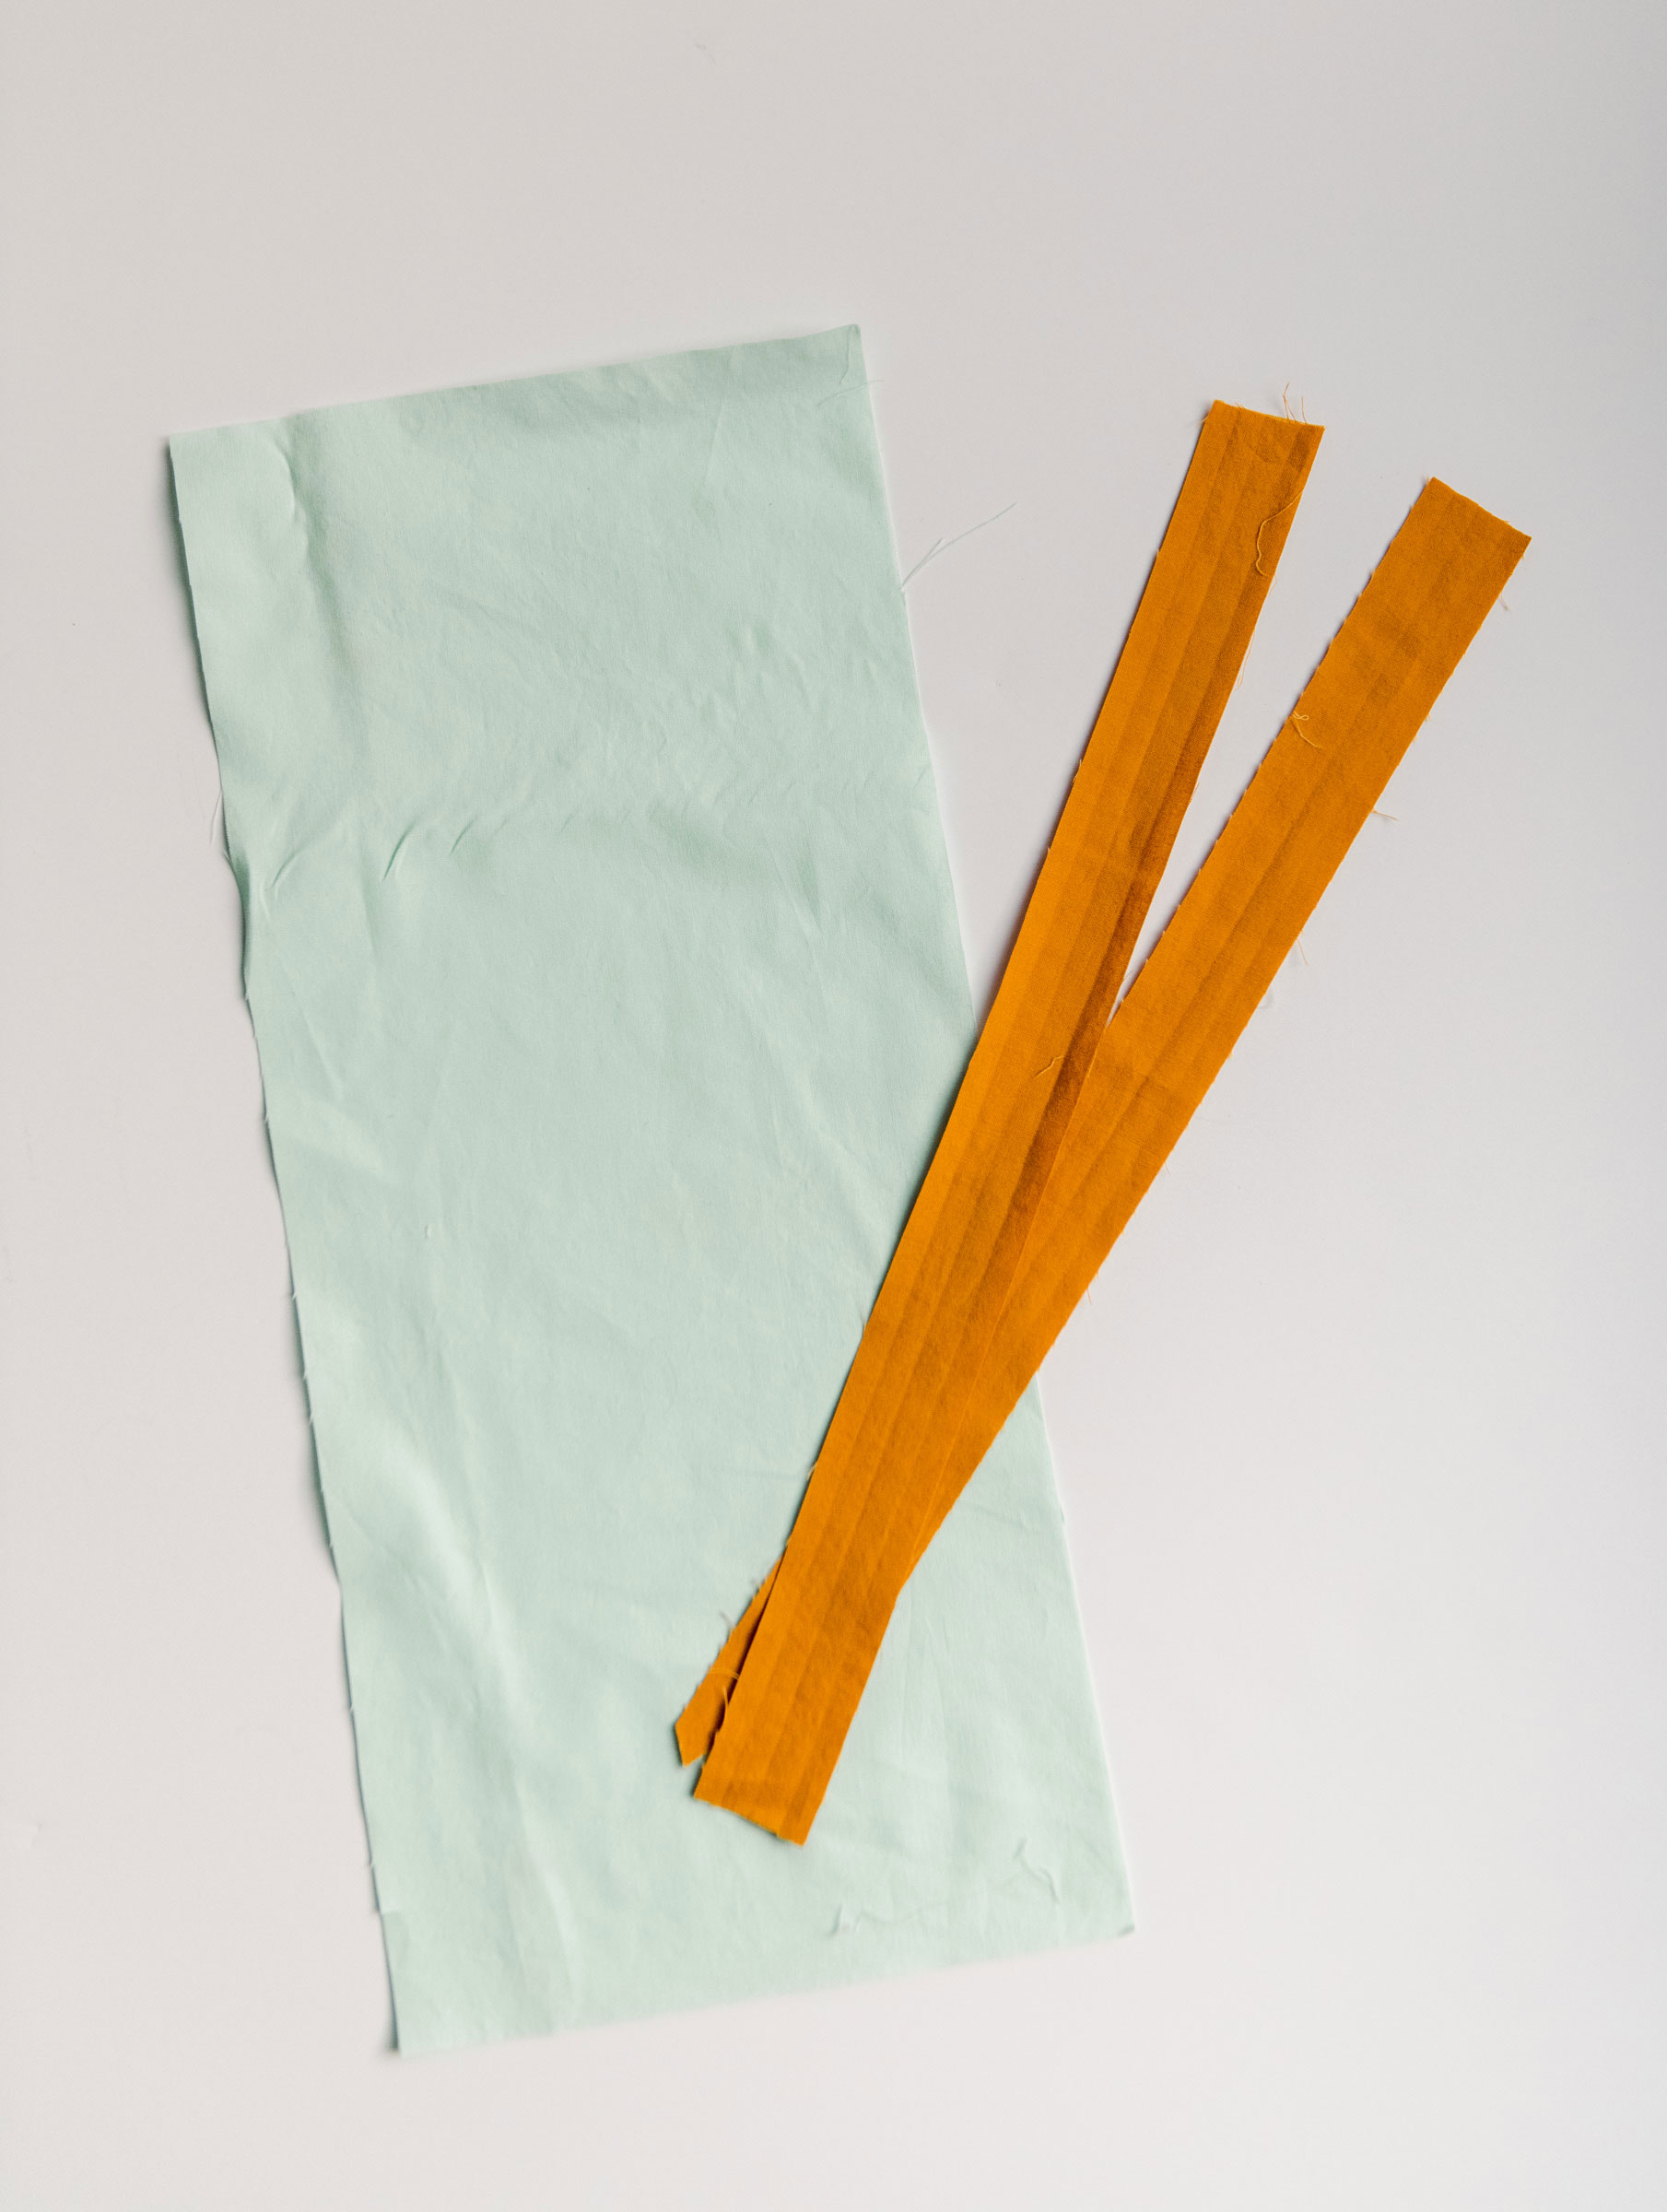
2. Prep your strings for the bag. Cut a strip of fabric that is 2” wide by the width of your bag x 2 plus some 🙂 For example, The piece of fabric I cut is 20” x 9” so I cut the strings 2” x 22” (9” x 2” = 18” plus a handful of extra inches to hang off the end….add more if you want extra).
With your iron, press this strip in 1/2, then open and fold one half of the side in 1/2 again and press. Do the same with the other half side so that you are getting 2 ends folded towards the middle. Then fold in half to make a strip that is 1/4” thick.
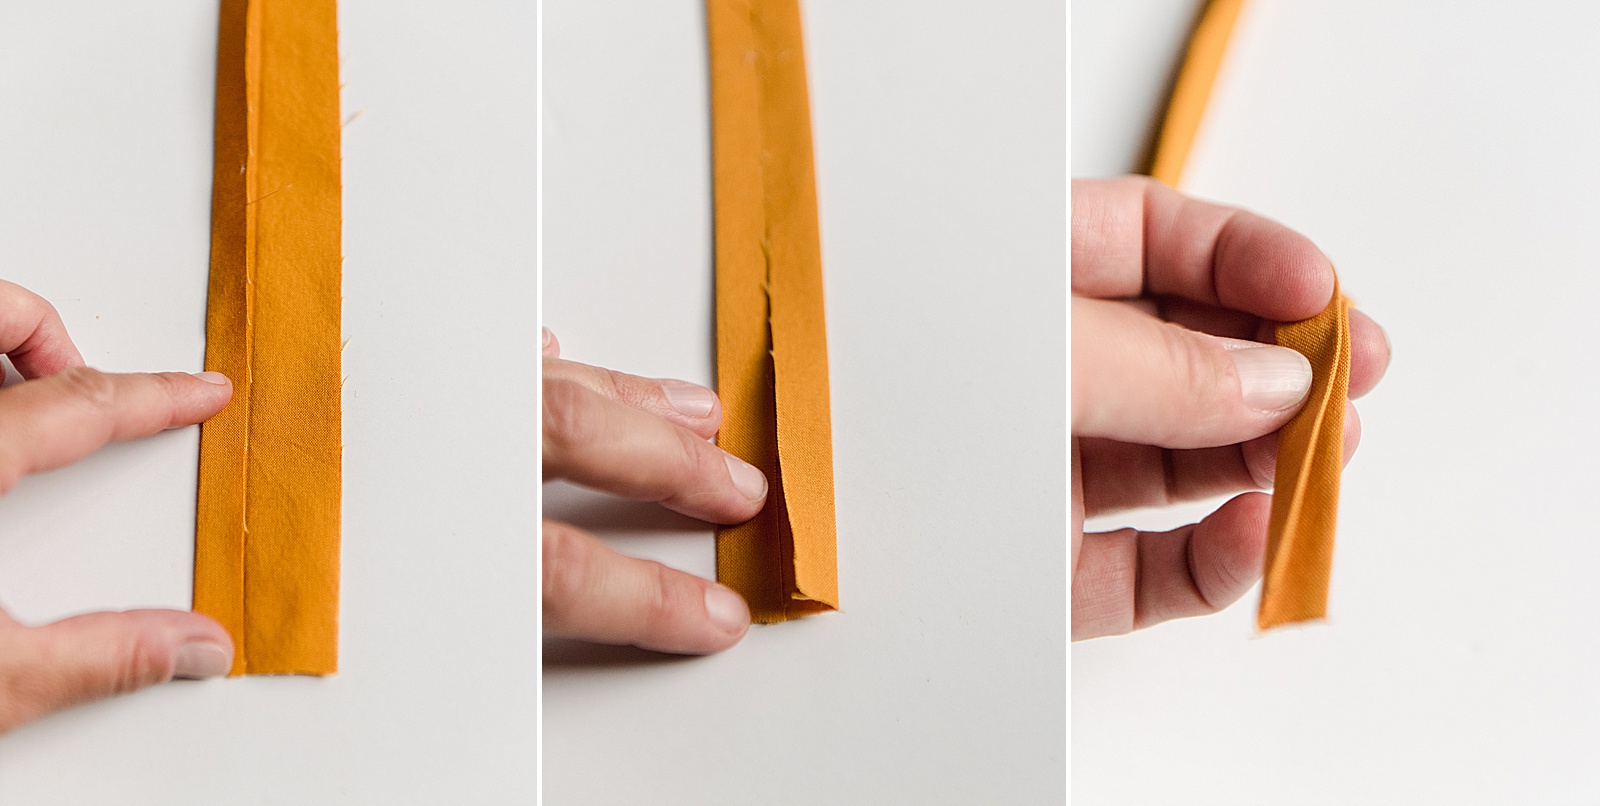
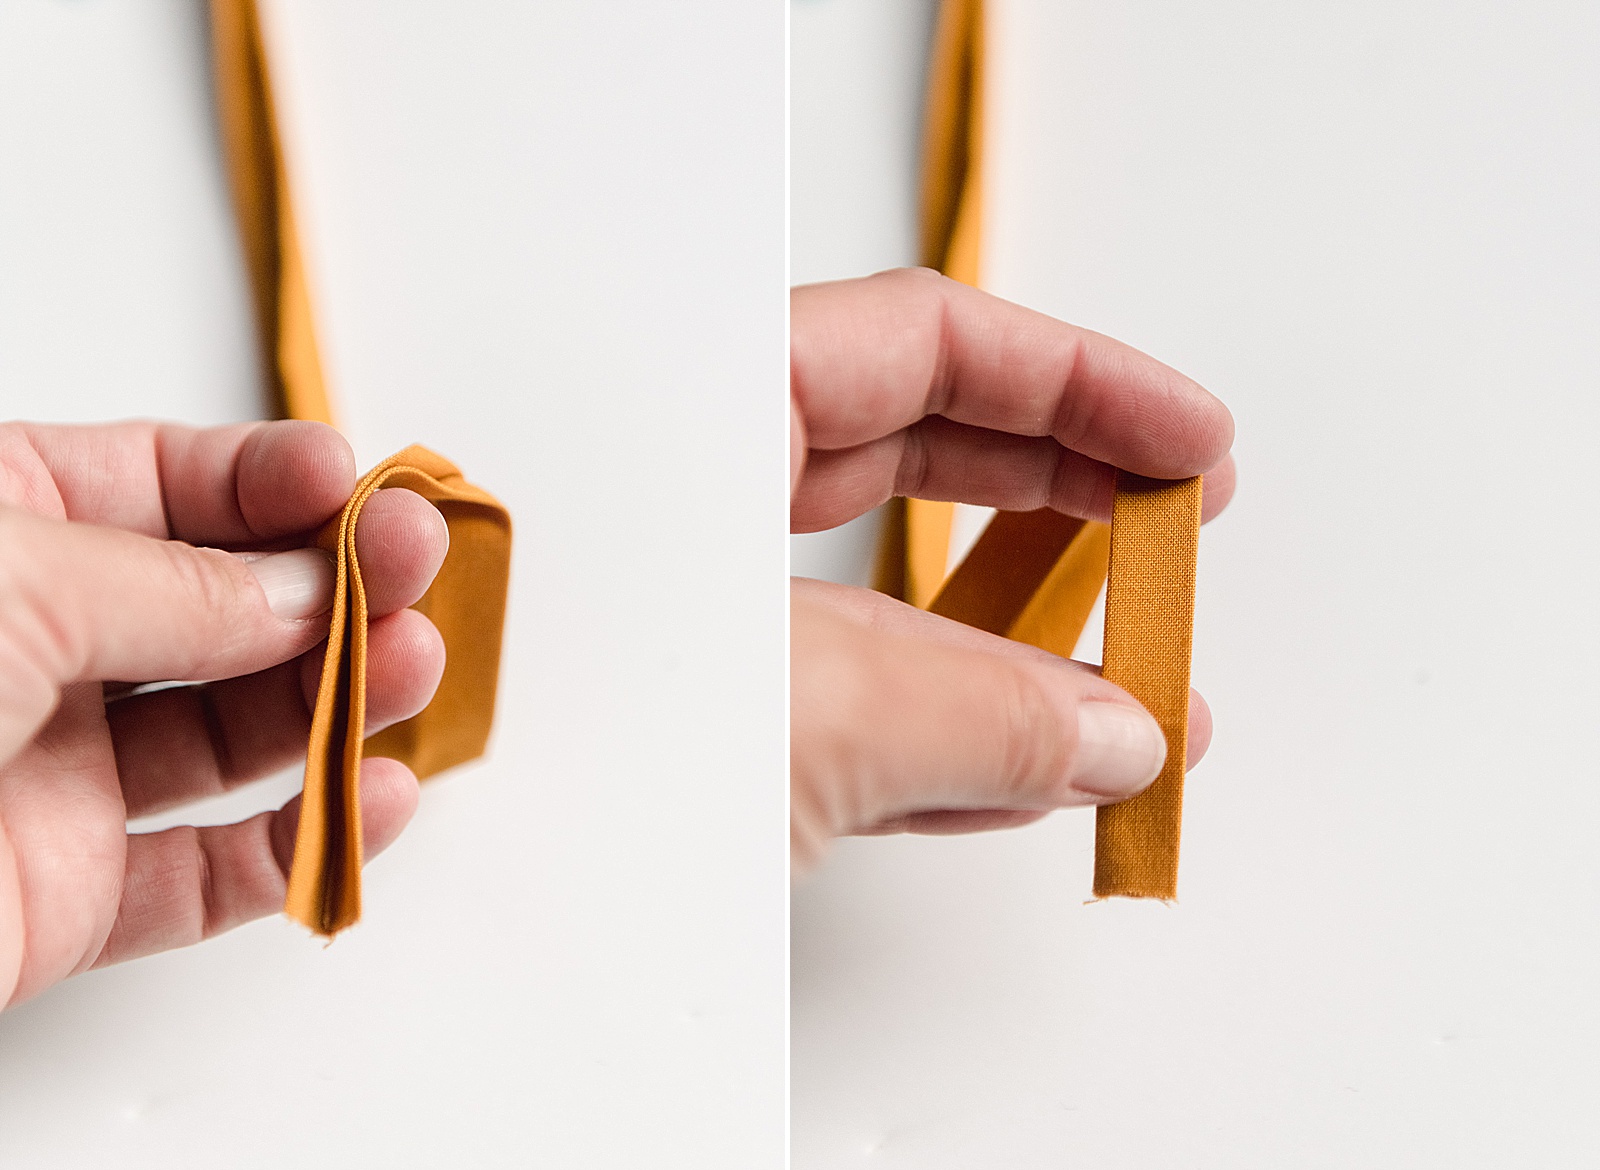
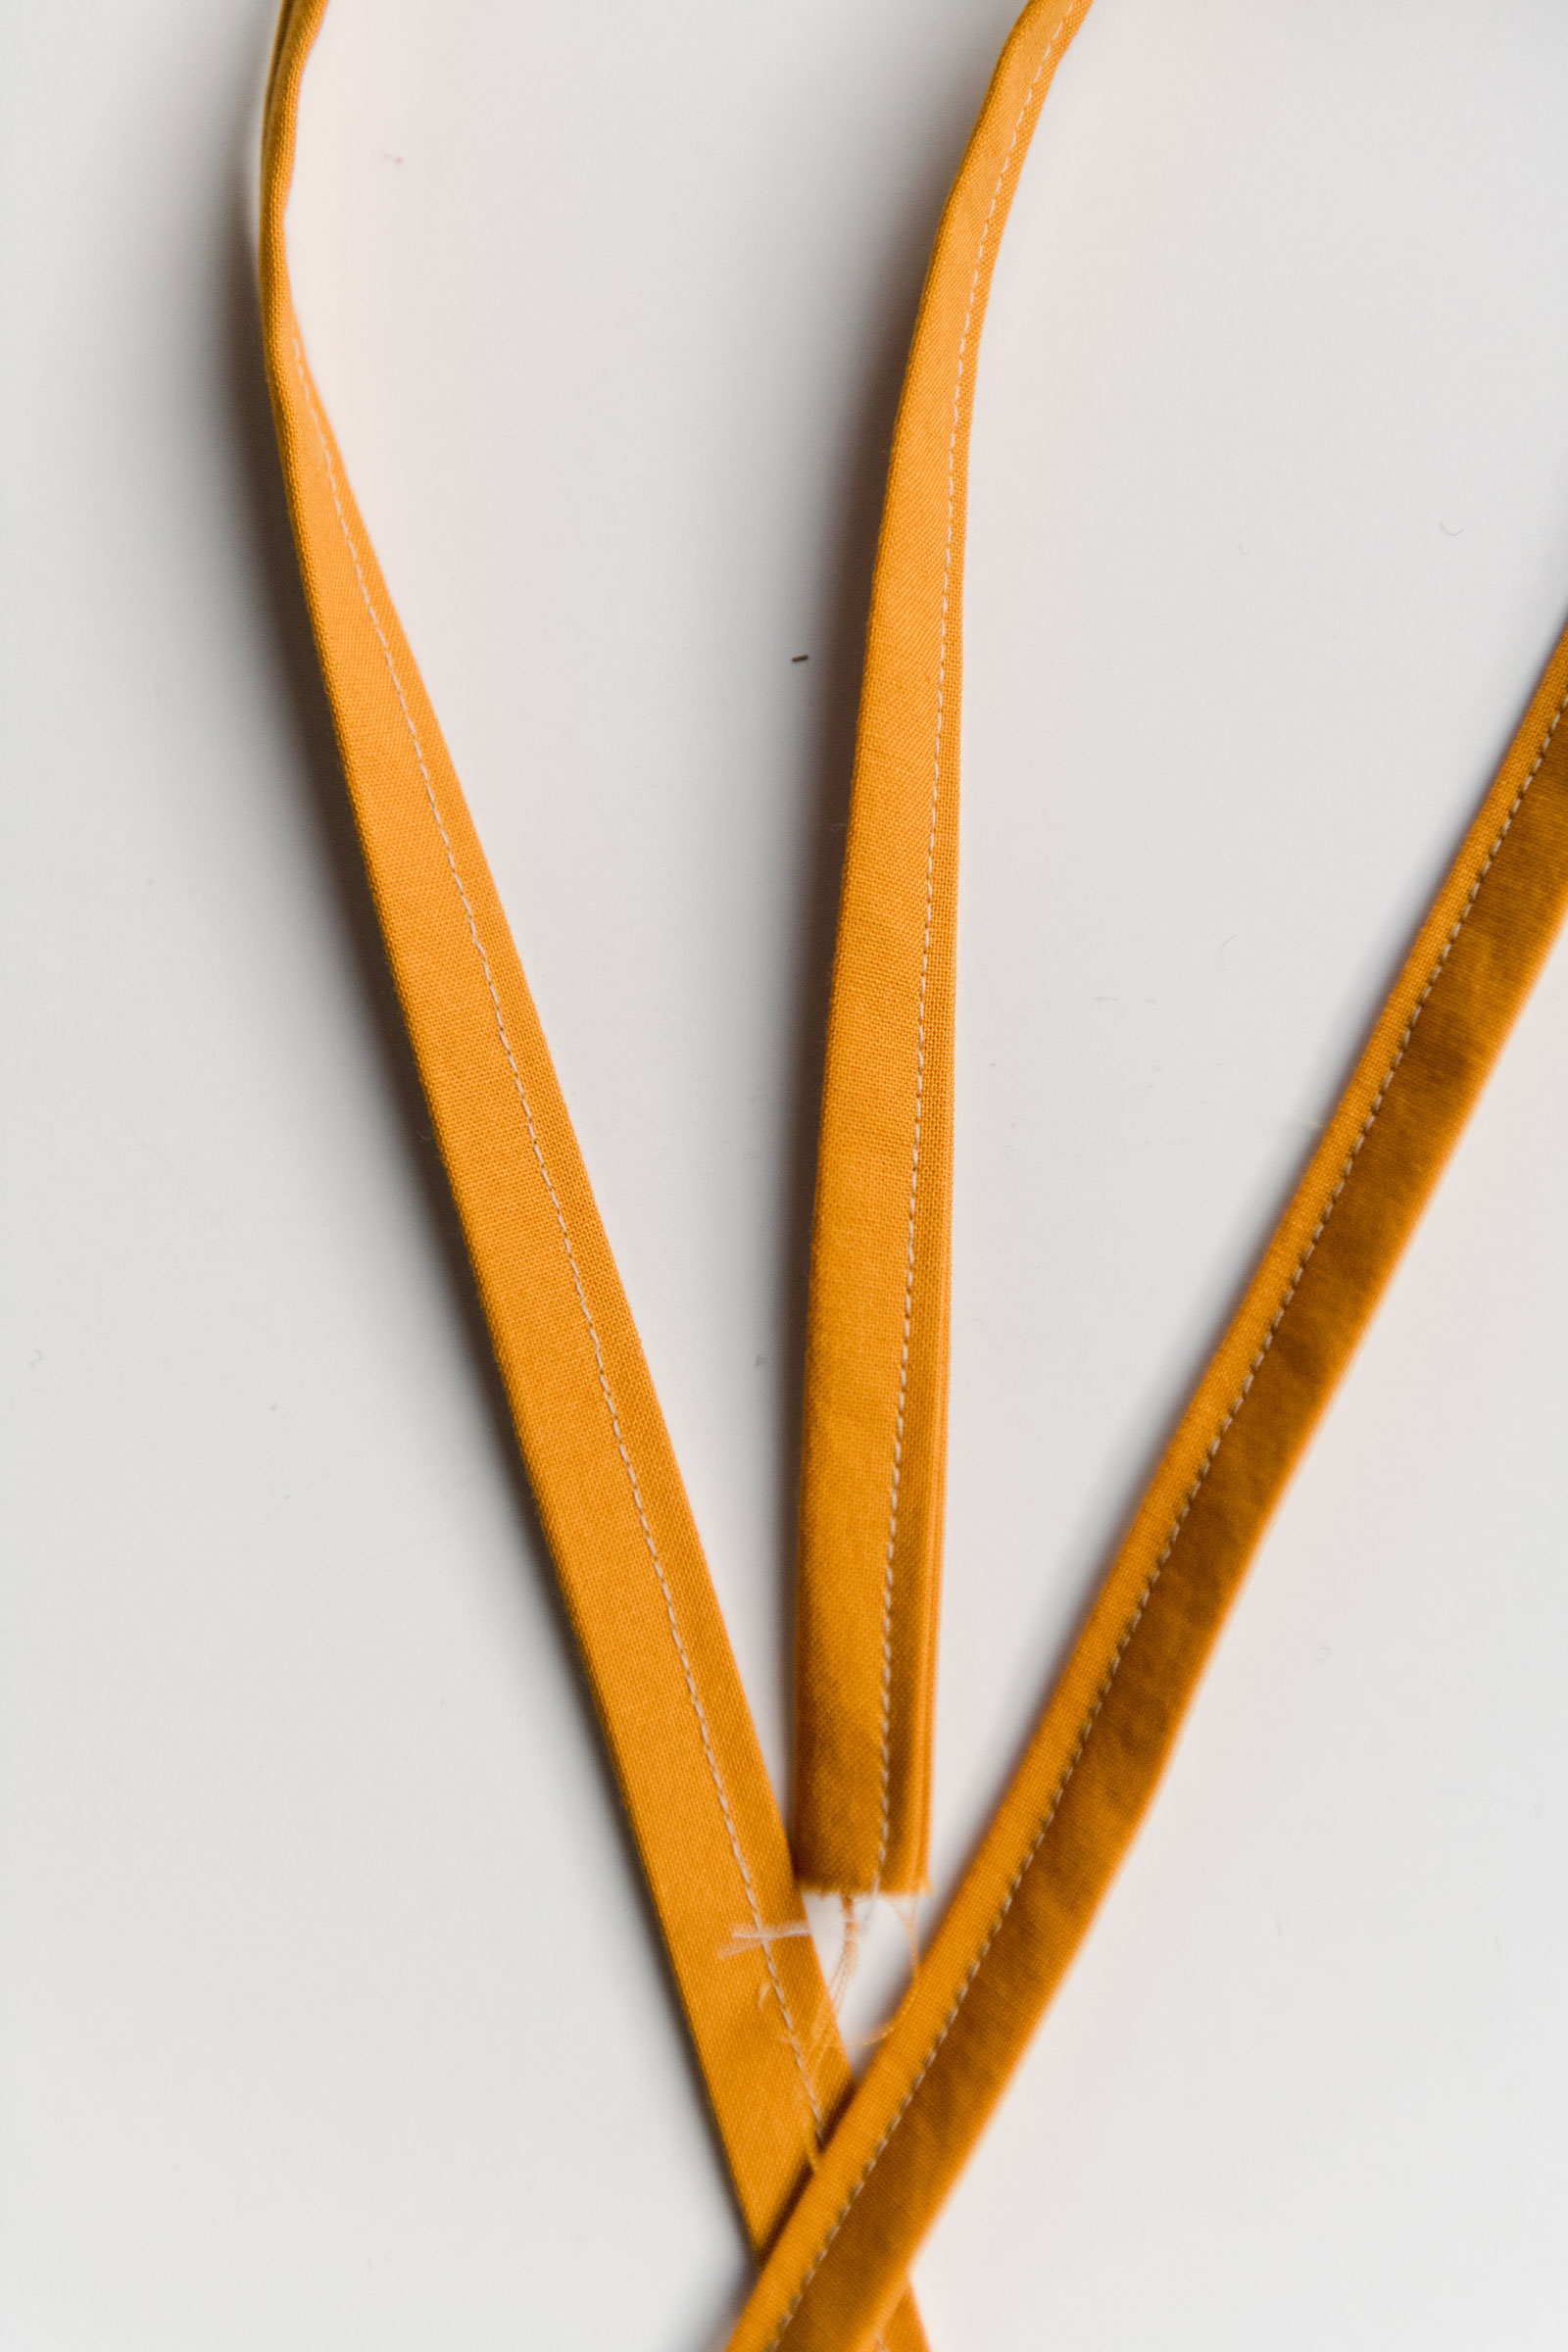
Then with your sewing machine, use a straight edge to top stitch closed 🙂
Set this aside for now 🙂
3. Now grab your bigger piece of fabric that will become the bag. With your hot iron, fold your long edges towards the wrong side about 1/8” two times. Basically fold over your edge as you are ironing 1/8” and press, then fold over another 1/8” so that it creates a finished seam.
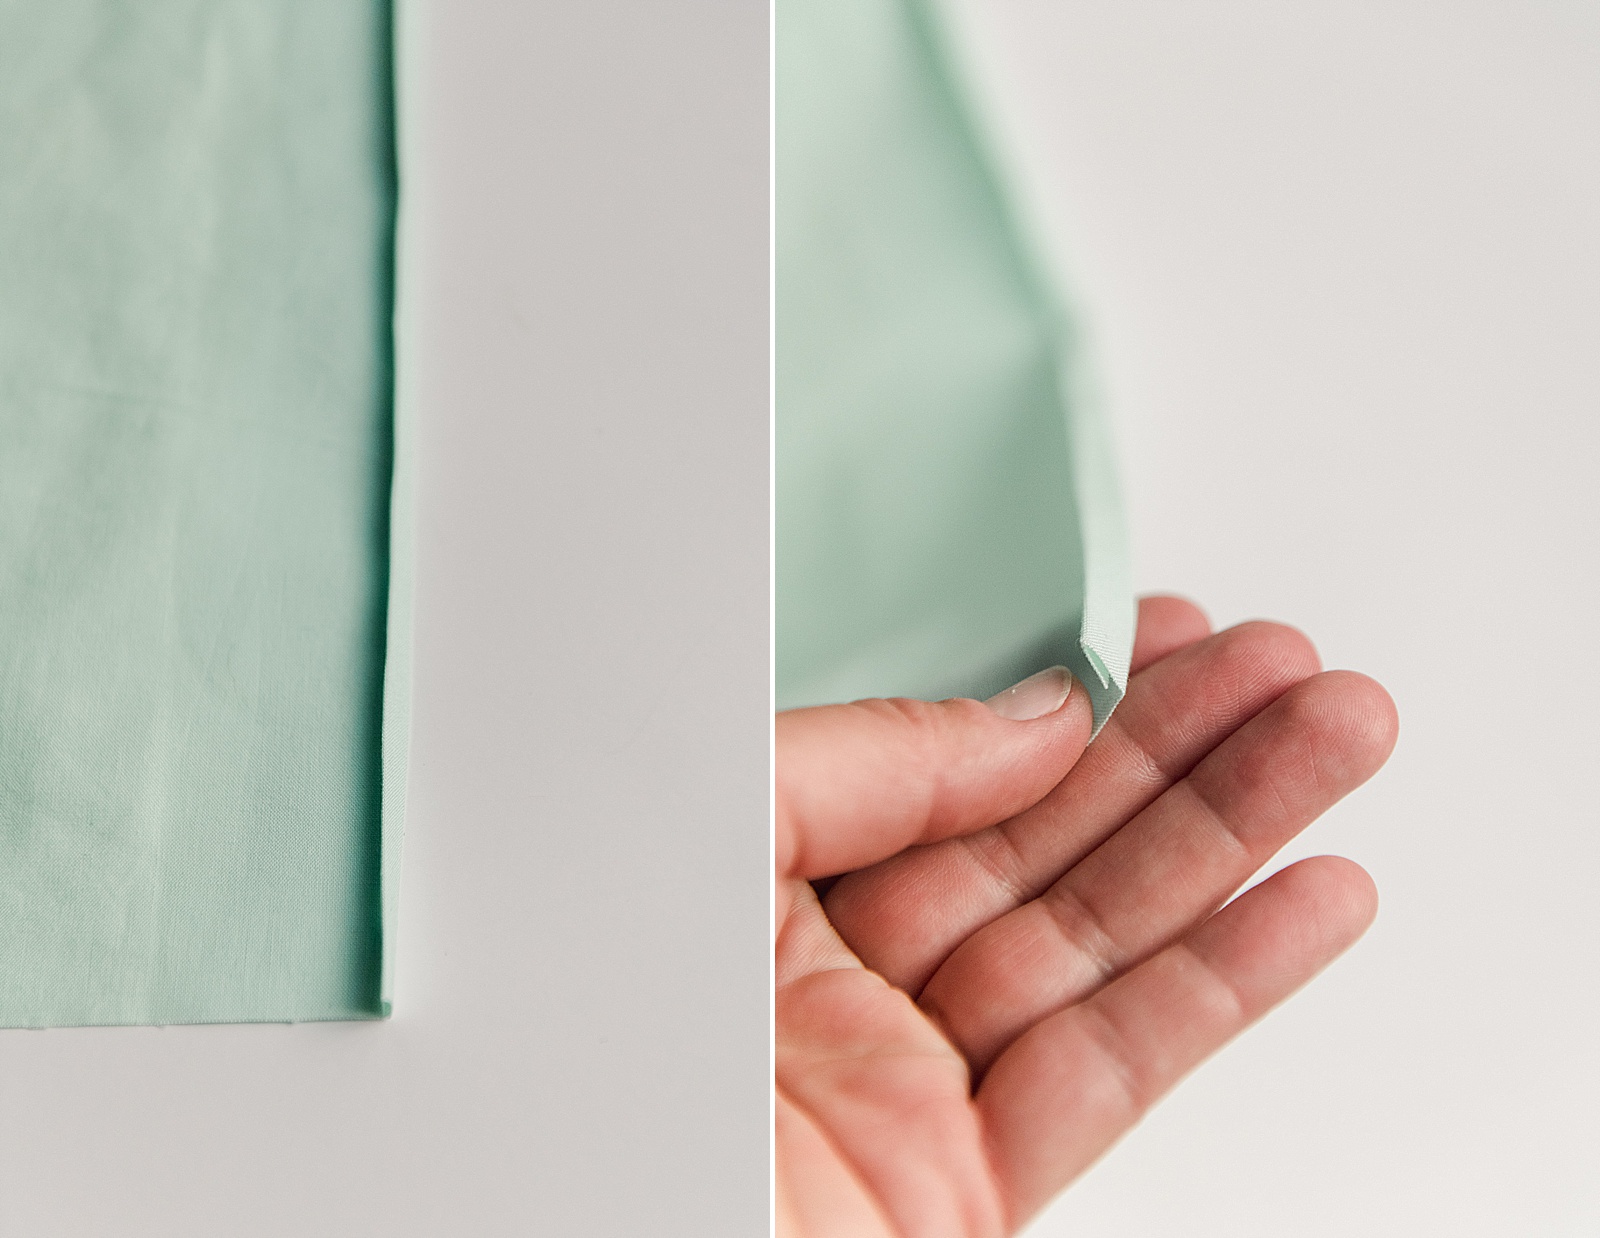
NOTE: if you have a serger or overlocker, you can just serge this edge. We just want finished edges on the inside of the bag so that nothing gets snagged or fray.
4. With your sewing machine, run a straight stitch over this ironed seam so that it holds it in place.
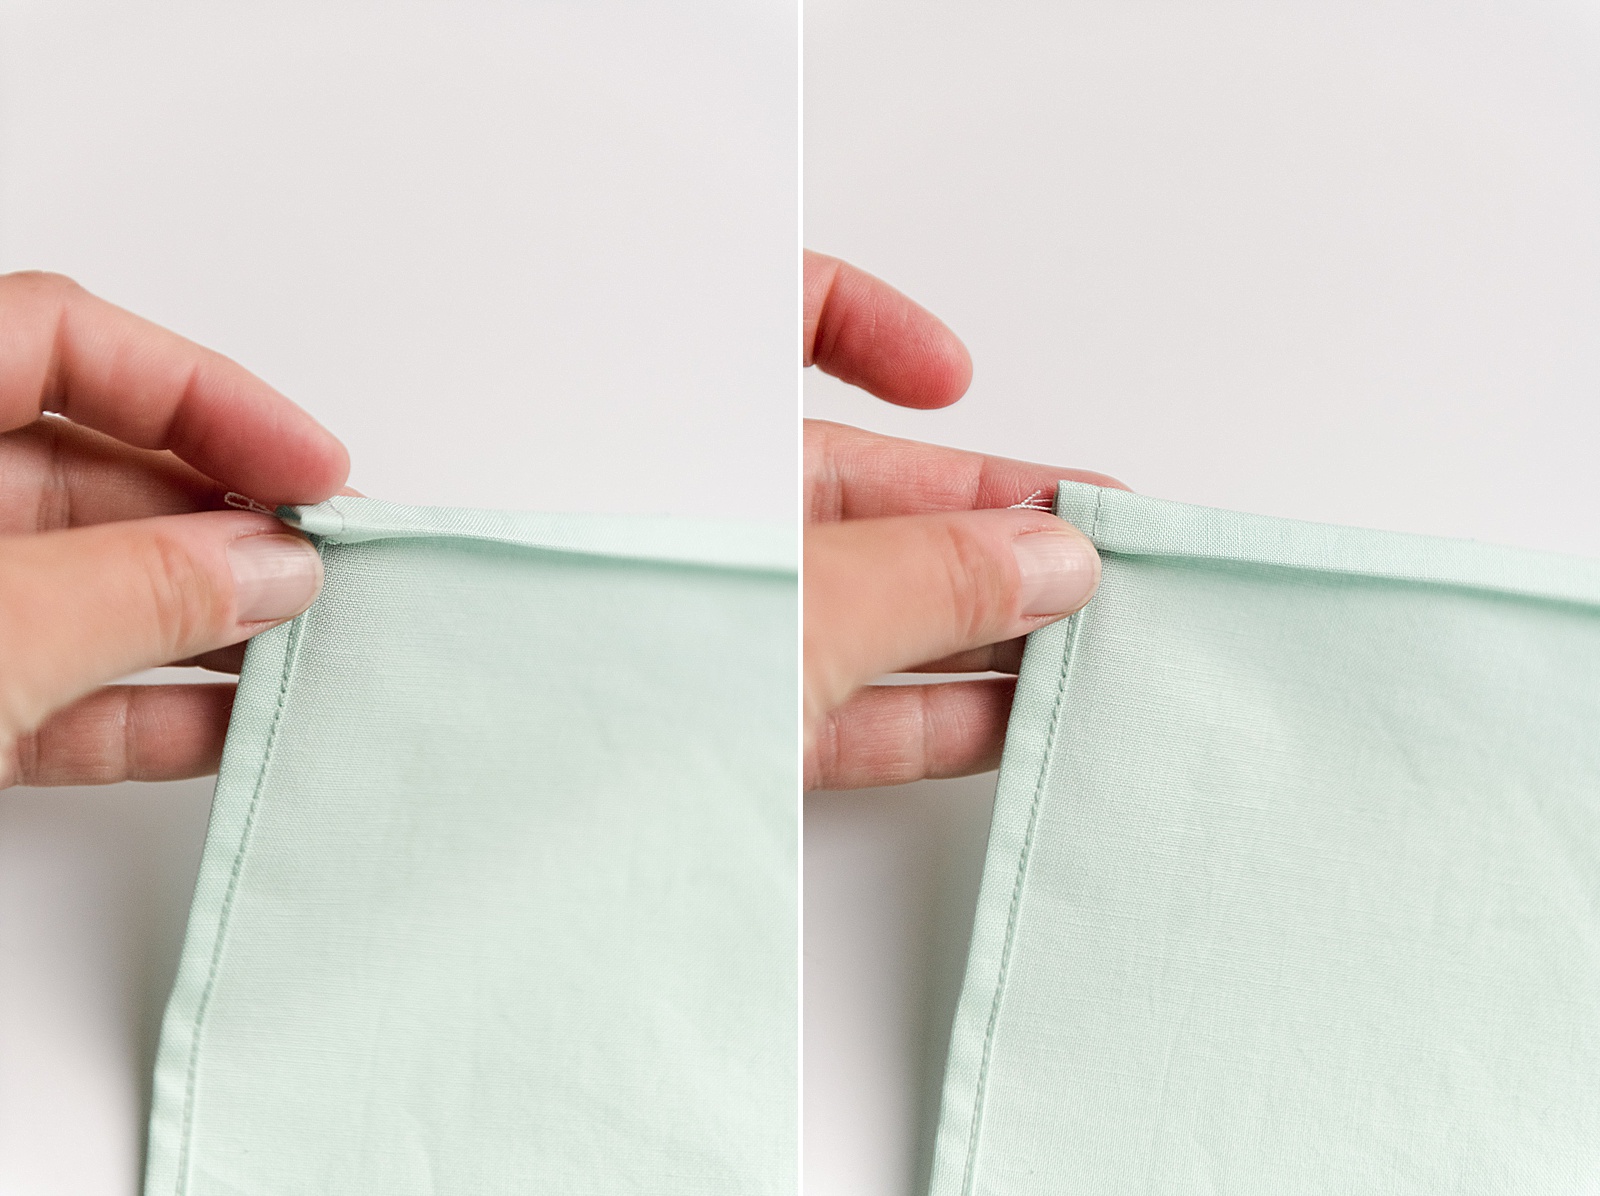
5. Repeat steps 3-4 with both of the top short edges of the bag.
6. We are going to create the “channel” for the drawstring to come through. You will do this by folding down the top towards the wrong side at least 1 1/2”. You will run 2 stitches to create this channel. The first is just above the stitched fold from step 5. The 2nd stitch will be enough down from the top of the bag to create a 1/4” channel for the 1/4” drawstring that needs to be run through. Mark with pins so that your measurements are accurate and stitch along these pinned lines to create the “channel”. Repeat this on both top edges of the bag.
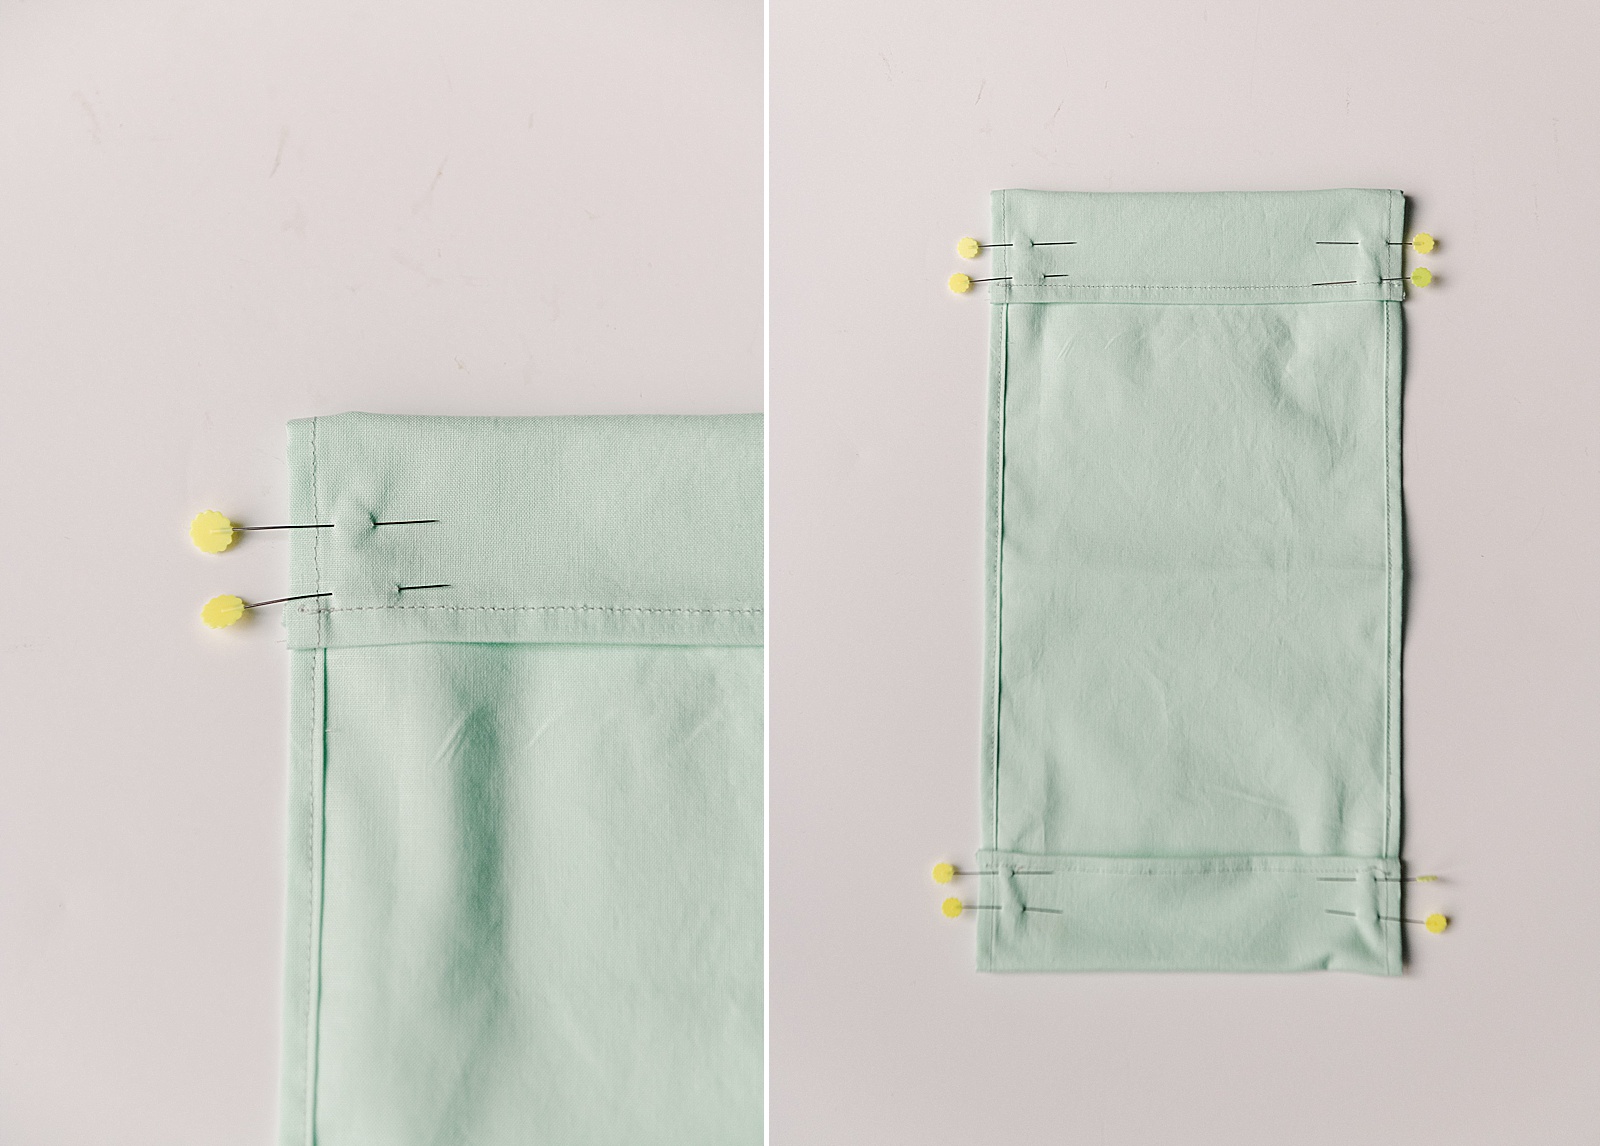
TIP: I love changing the thread color here so that the stitching can stand out 🙂
ALSO TIP: I usually run the bottom channel stitch directly on top of the stitch already in place 🙂
7. With right sides together, you will stitch the long side edges of the bag to complete it. Do this by lining up both sides and stitch along each edge from the bottom of the bag to the bottom of the channel. And then again from the top of the channel to the top of the bag. Repeat this on both sides of the bag.
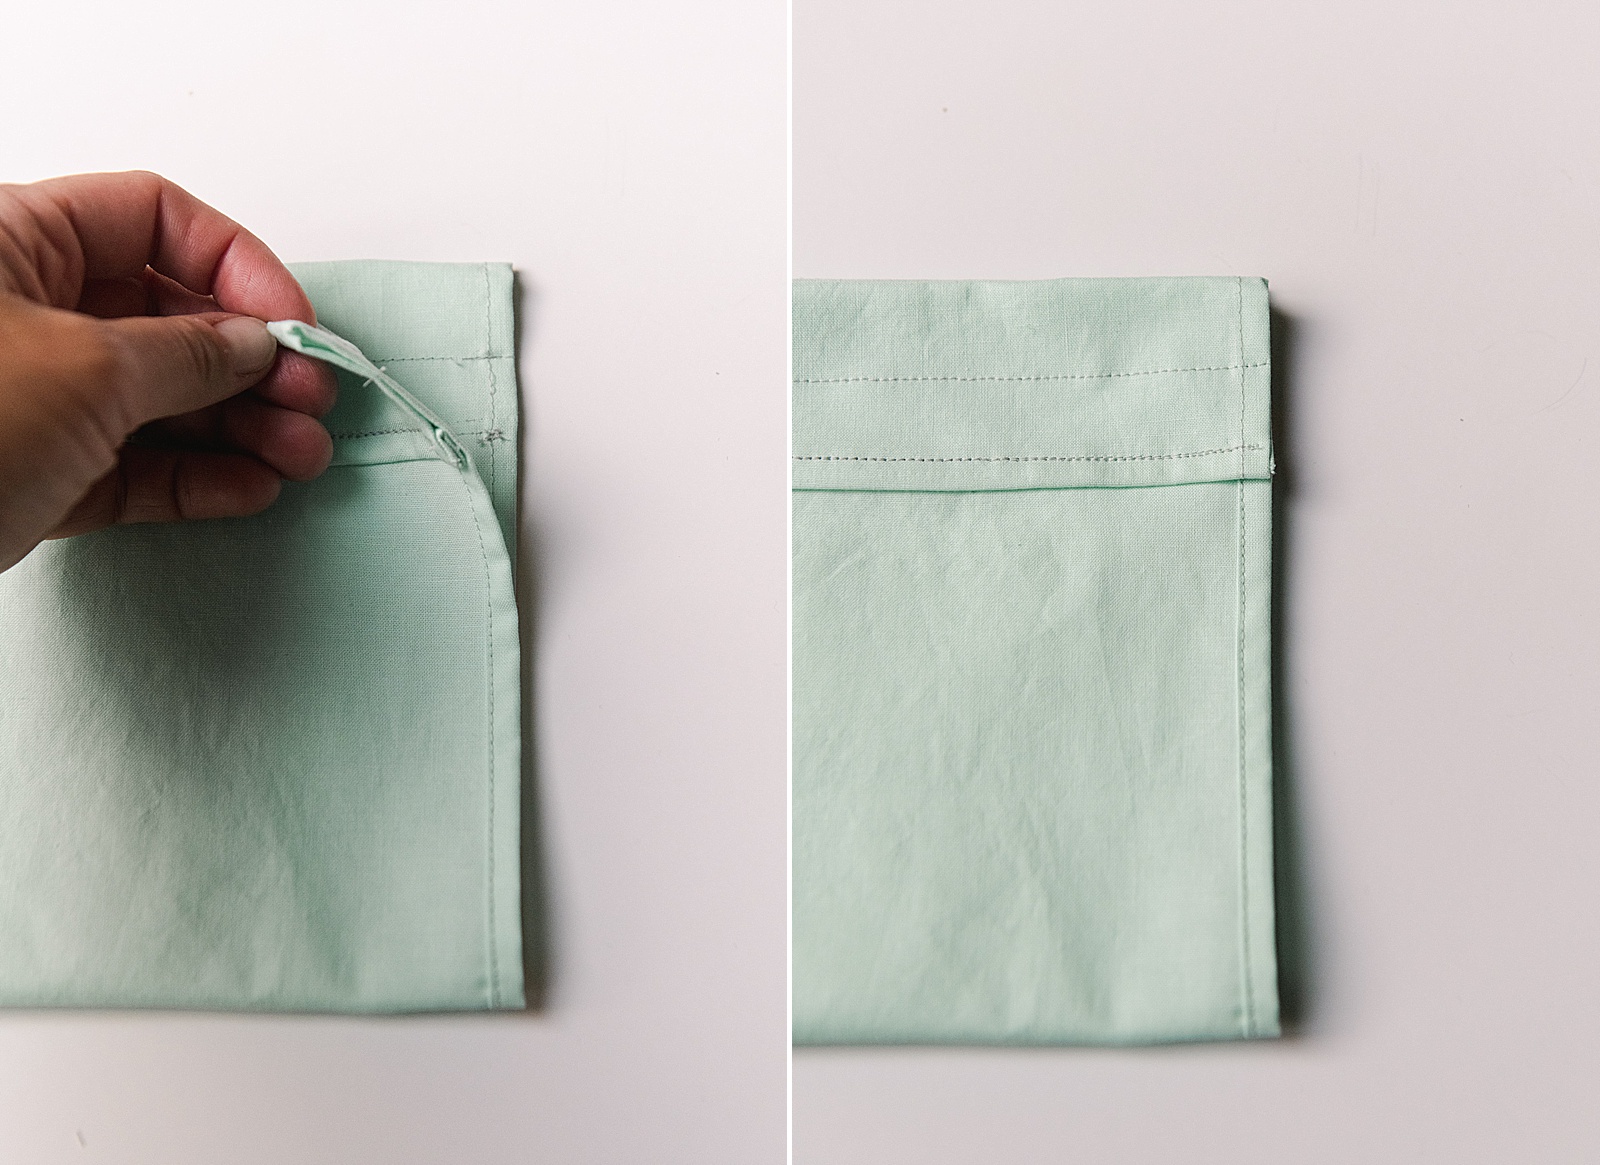
Turn the bag right side out.
8. Now grab your draw strings that you had set aside. Be sure they are measured and cutoff needed: you will need 2 drawstrings that are double the width (plus some) of the opening of the bag. Thread a safety pin through the edge of one side and begin to feed it through from right to left on the front channel of the back through the back channel left to right. Even out the string. Then repeat this with the other side (front channel left to right, then back channel right to left). Either tie off or sew off the strings to be sure they don’t come out.
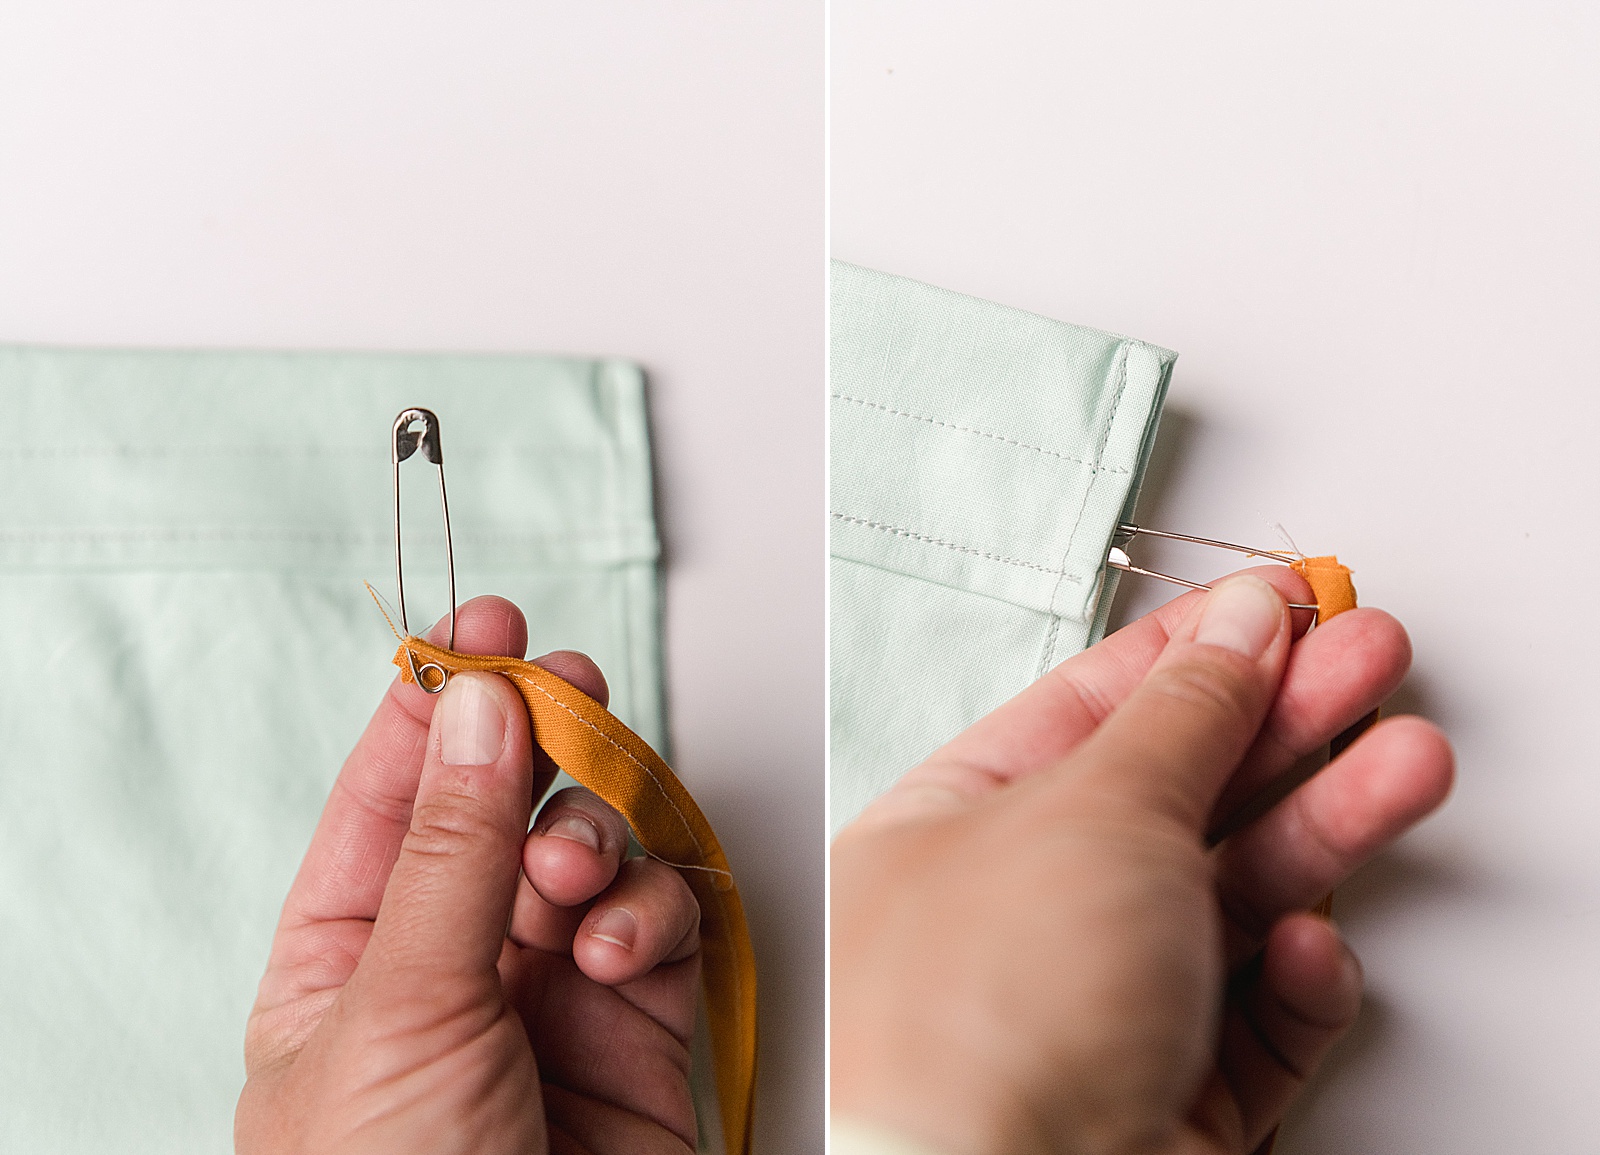

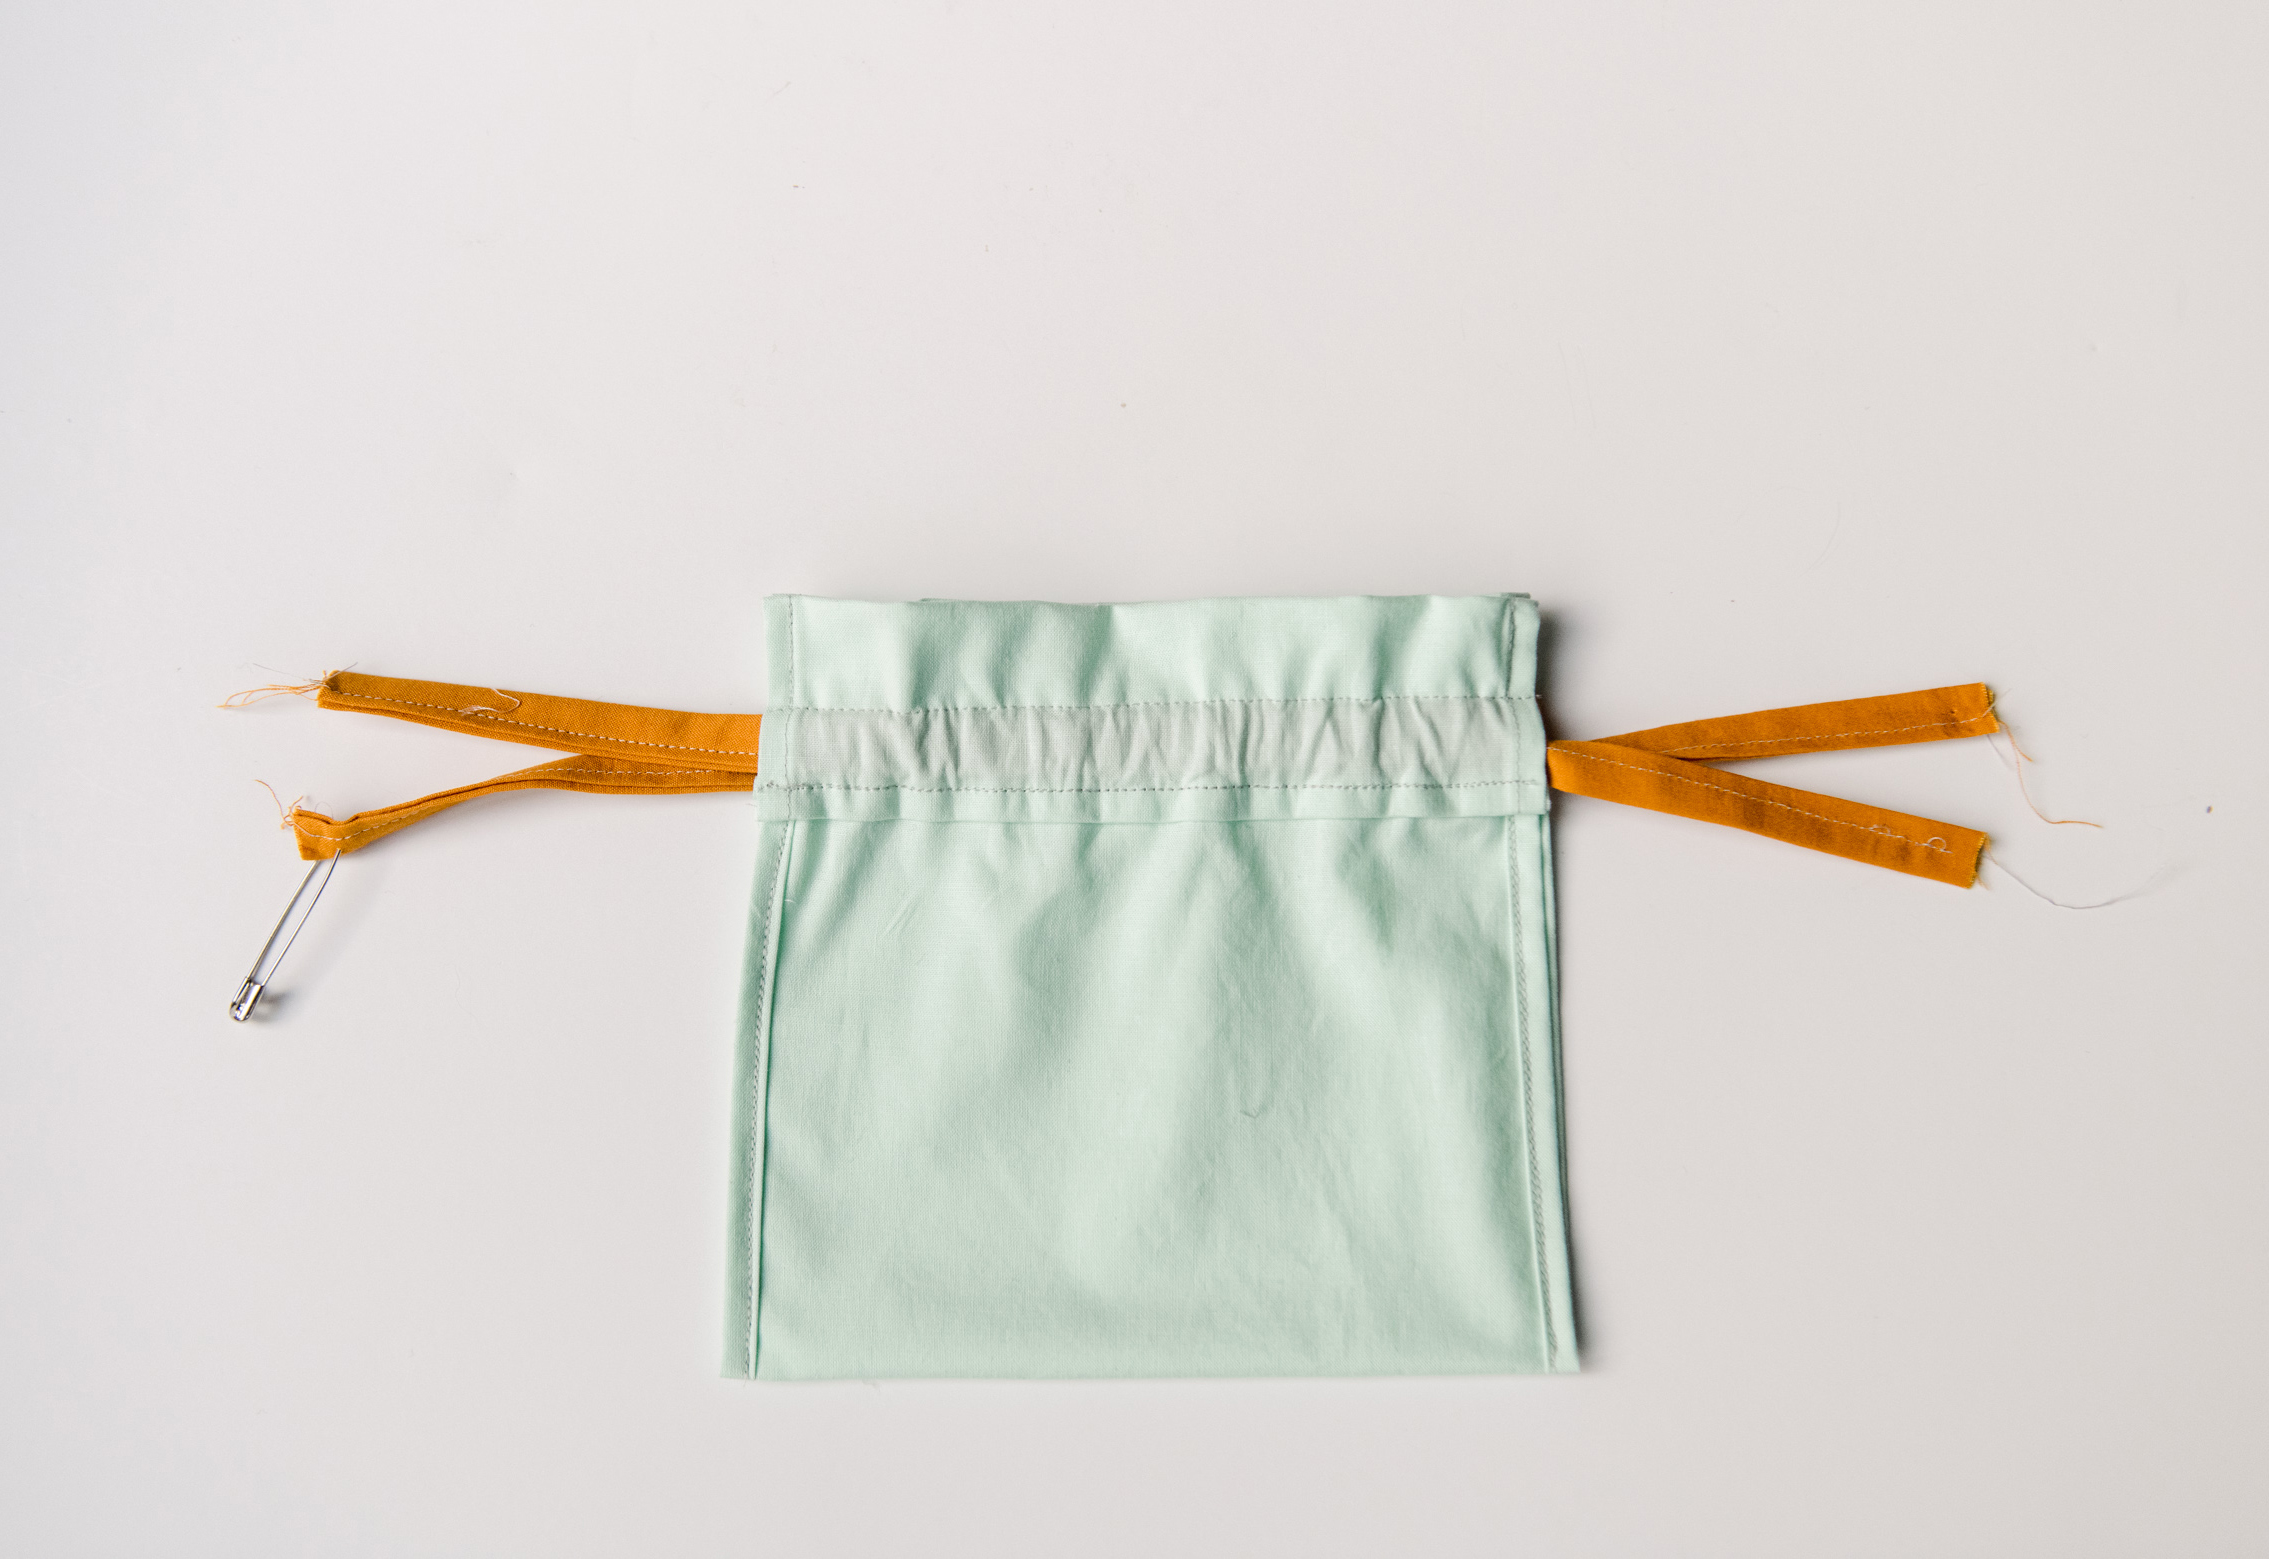
VOILA! Now you can pull on either string and draw the bag closed 🙂
