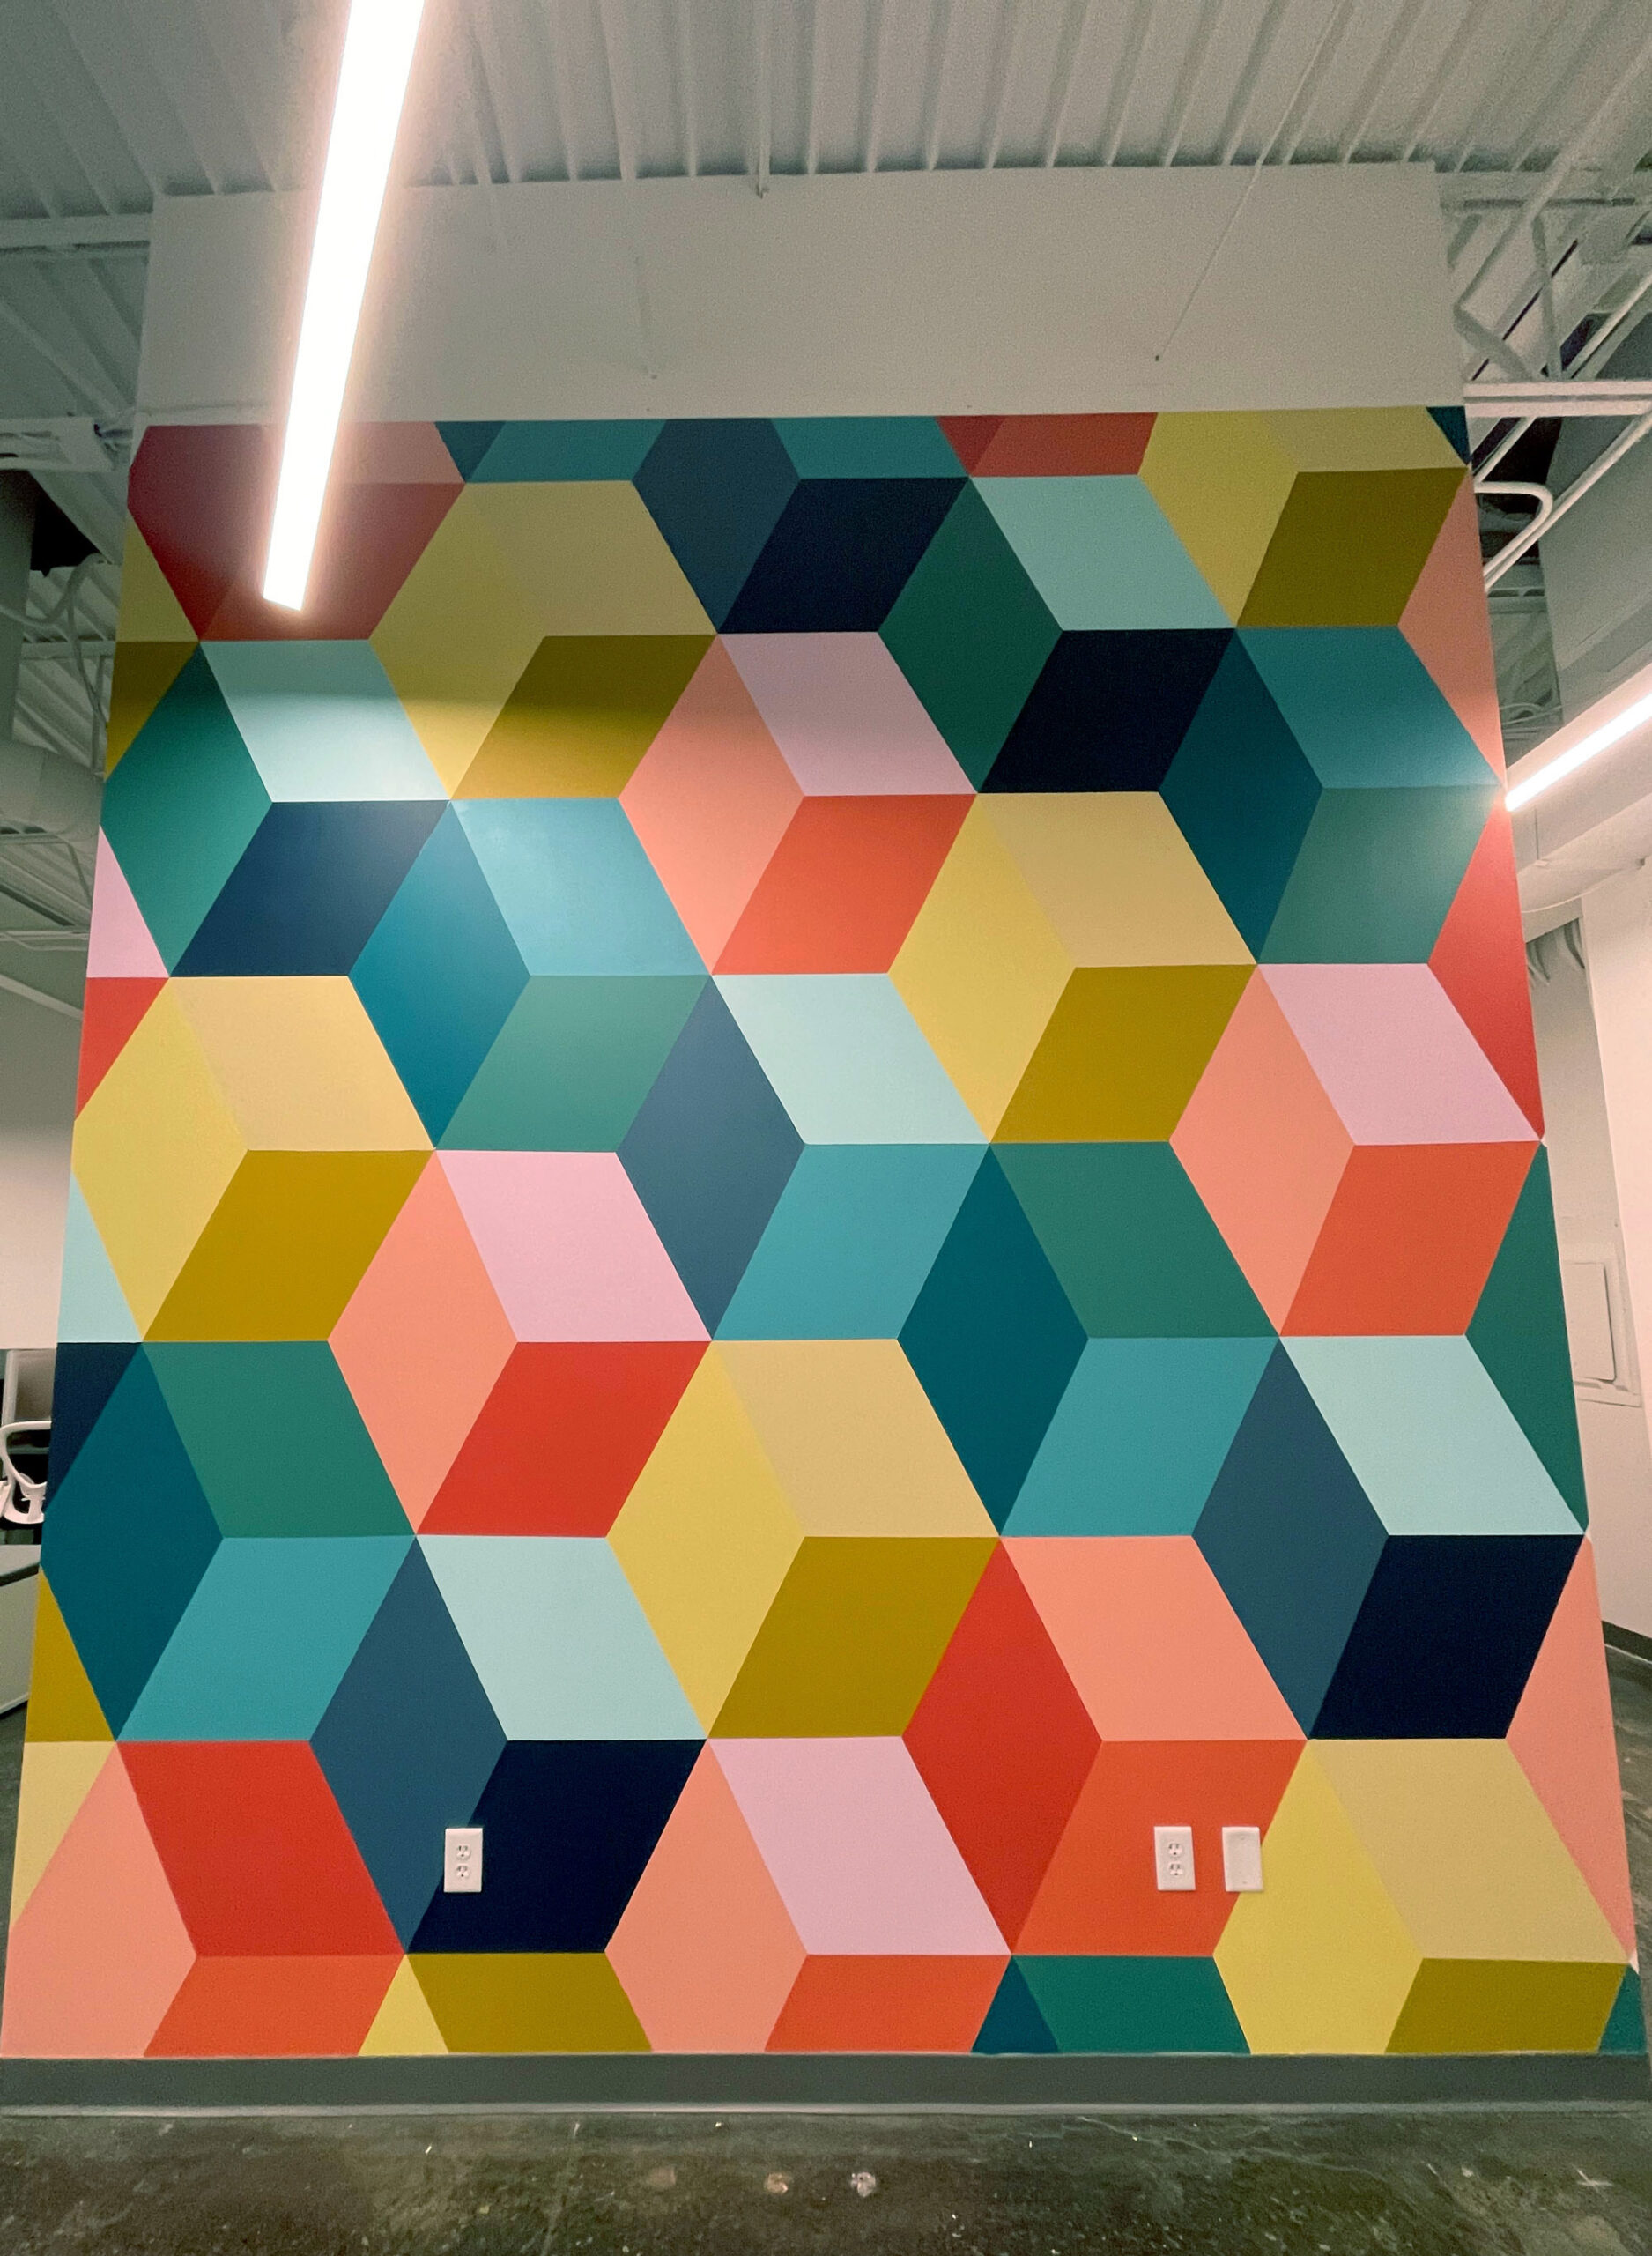
A colorful geometric cube mural!
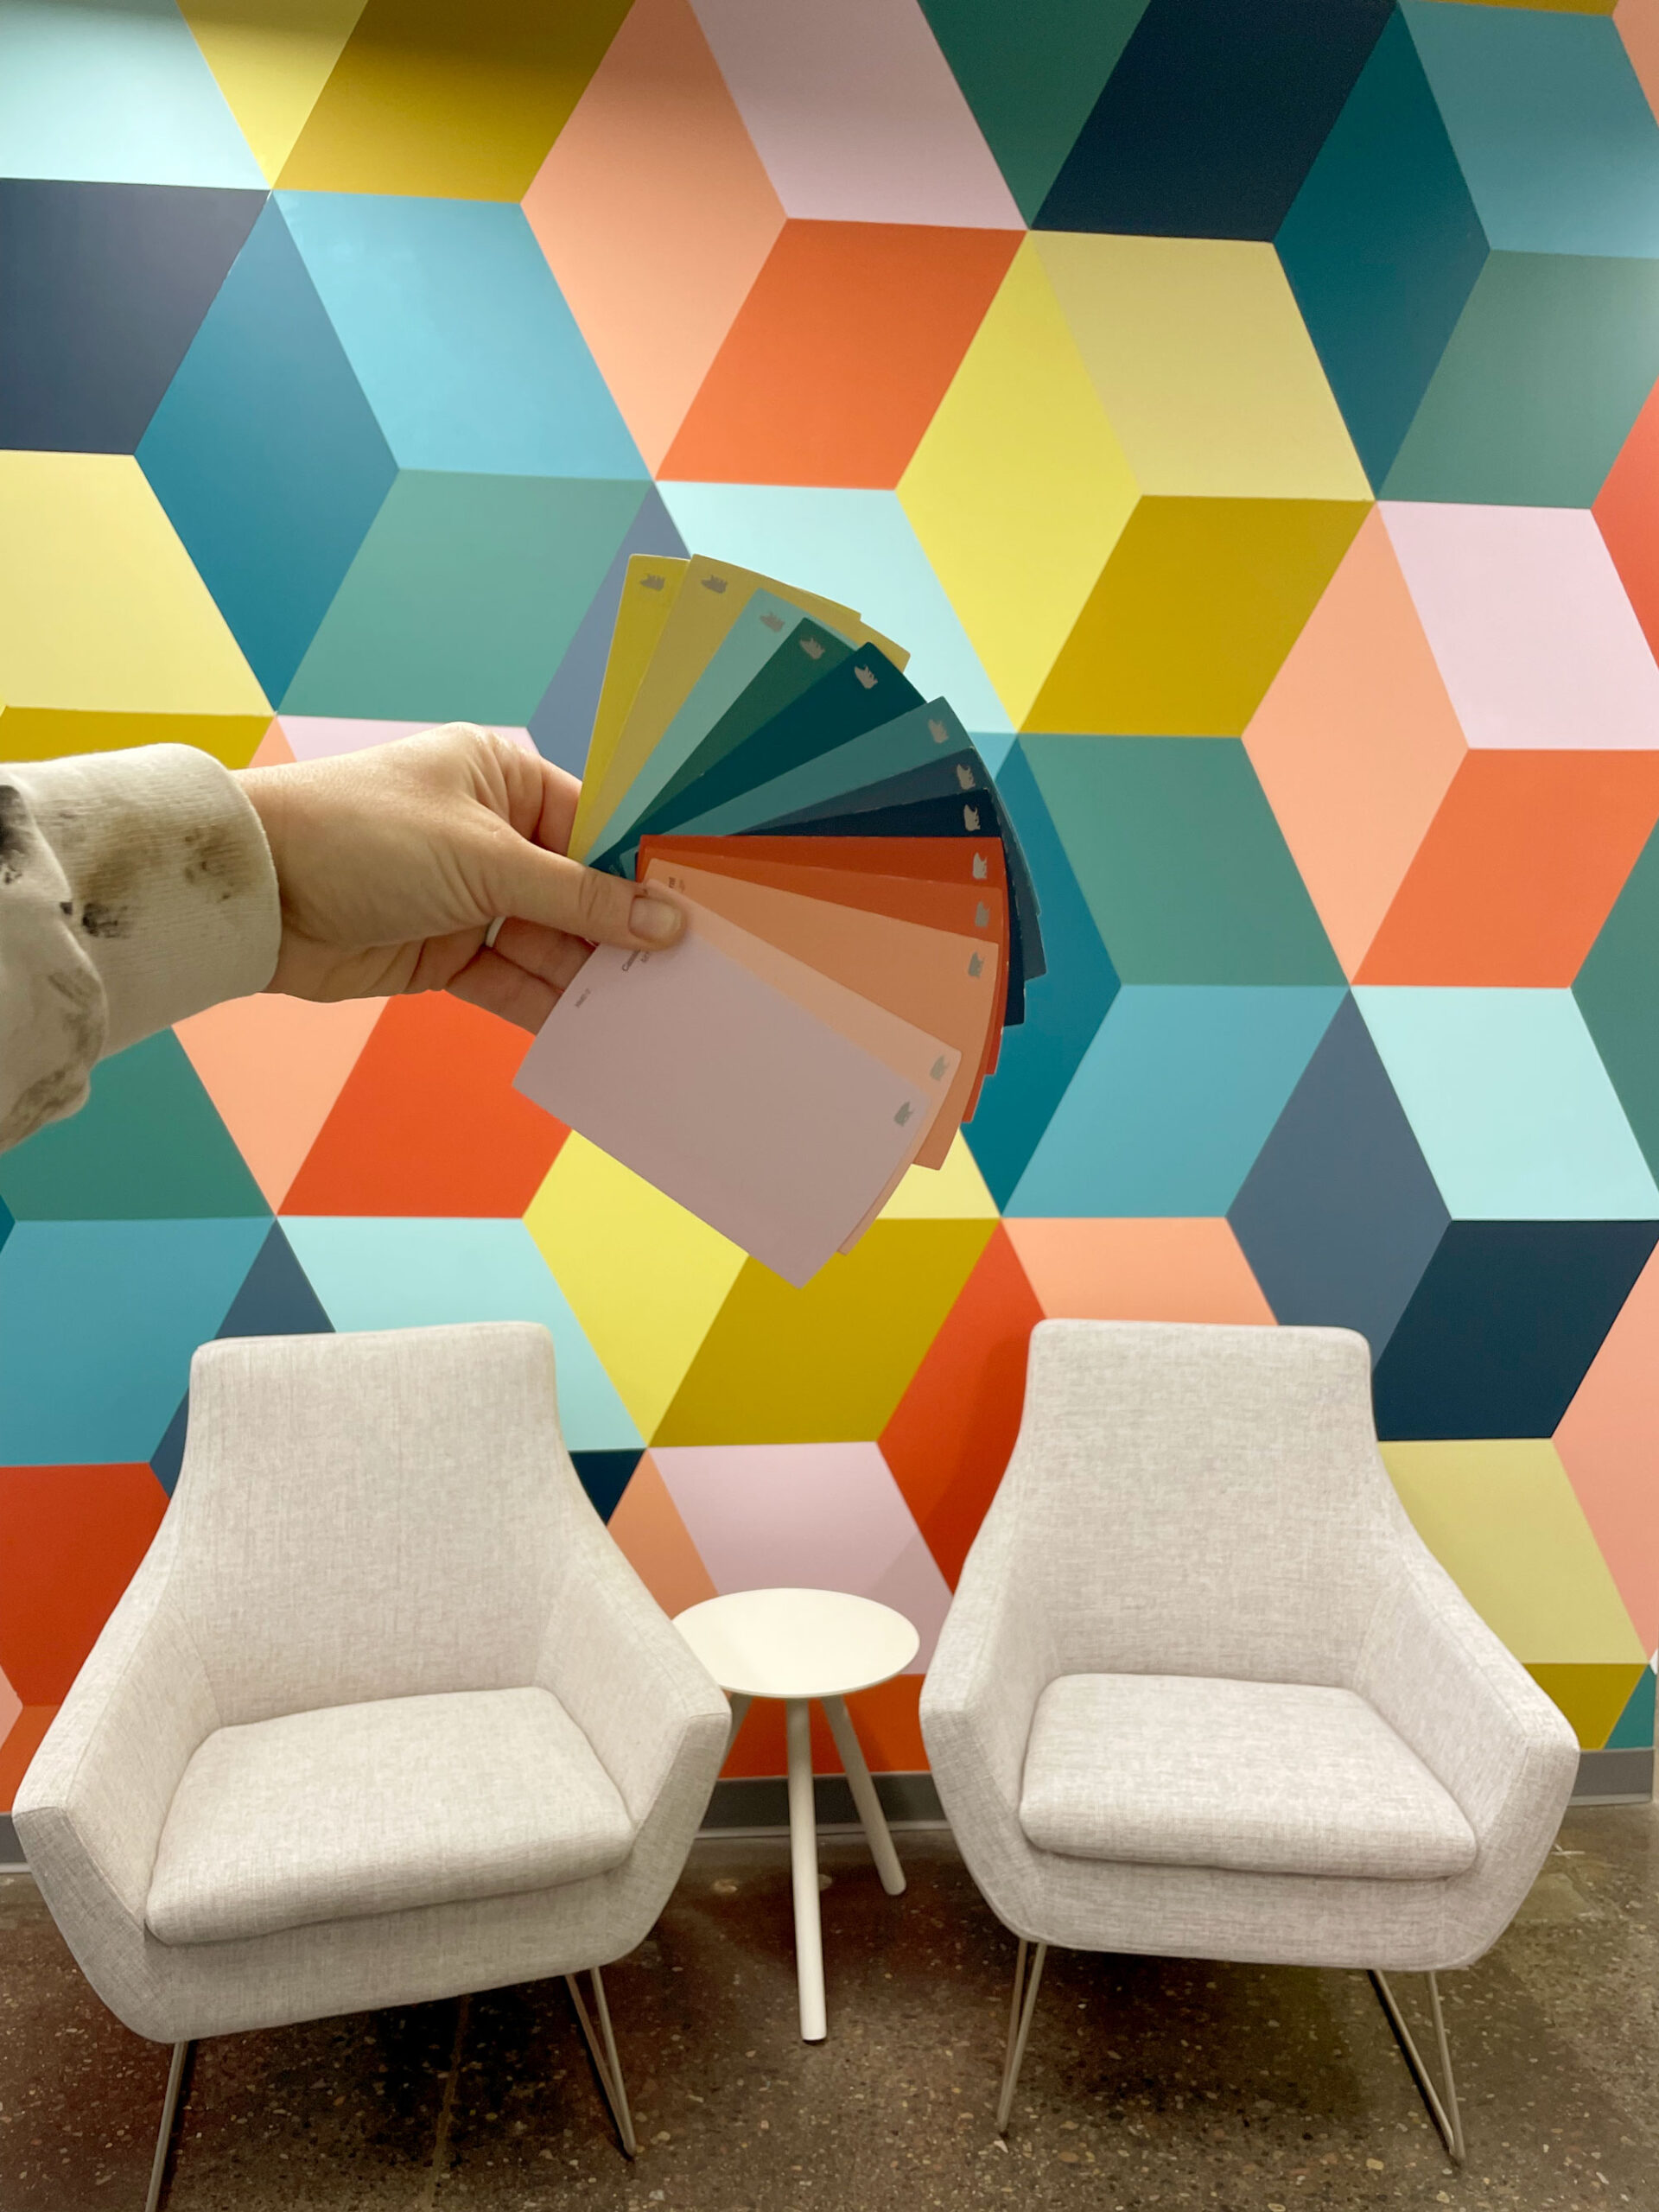
One of my most favorite group of people to make art for asked me to paint a huge, giant geometric cube mural in their office space in their marketing area! DUH! I was INNNNNNNNNNN!
Just give me some colorful paint and some ideas in my brain of how to make this cube gigantic and repeating on the wall and I am off to the races!
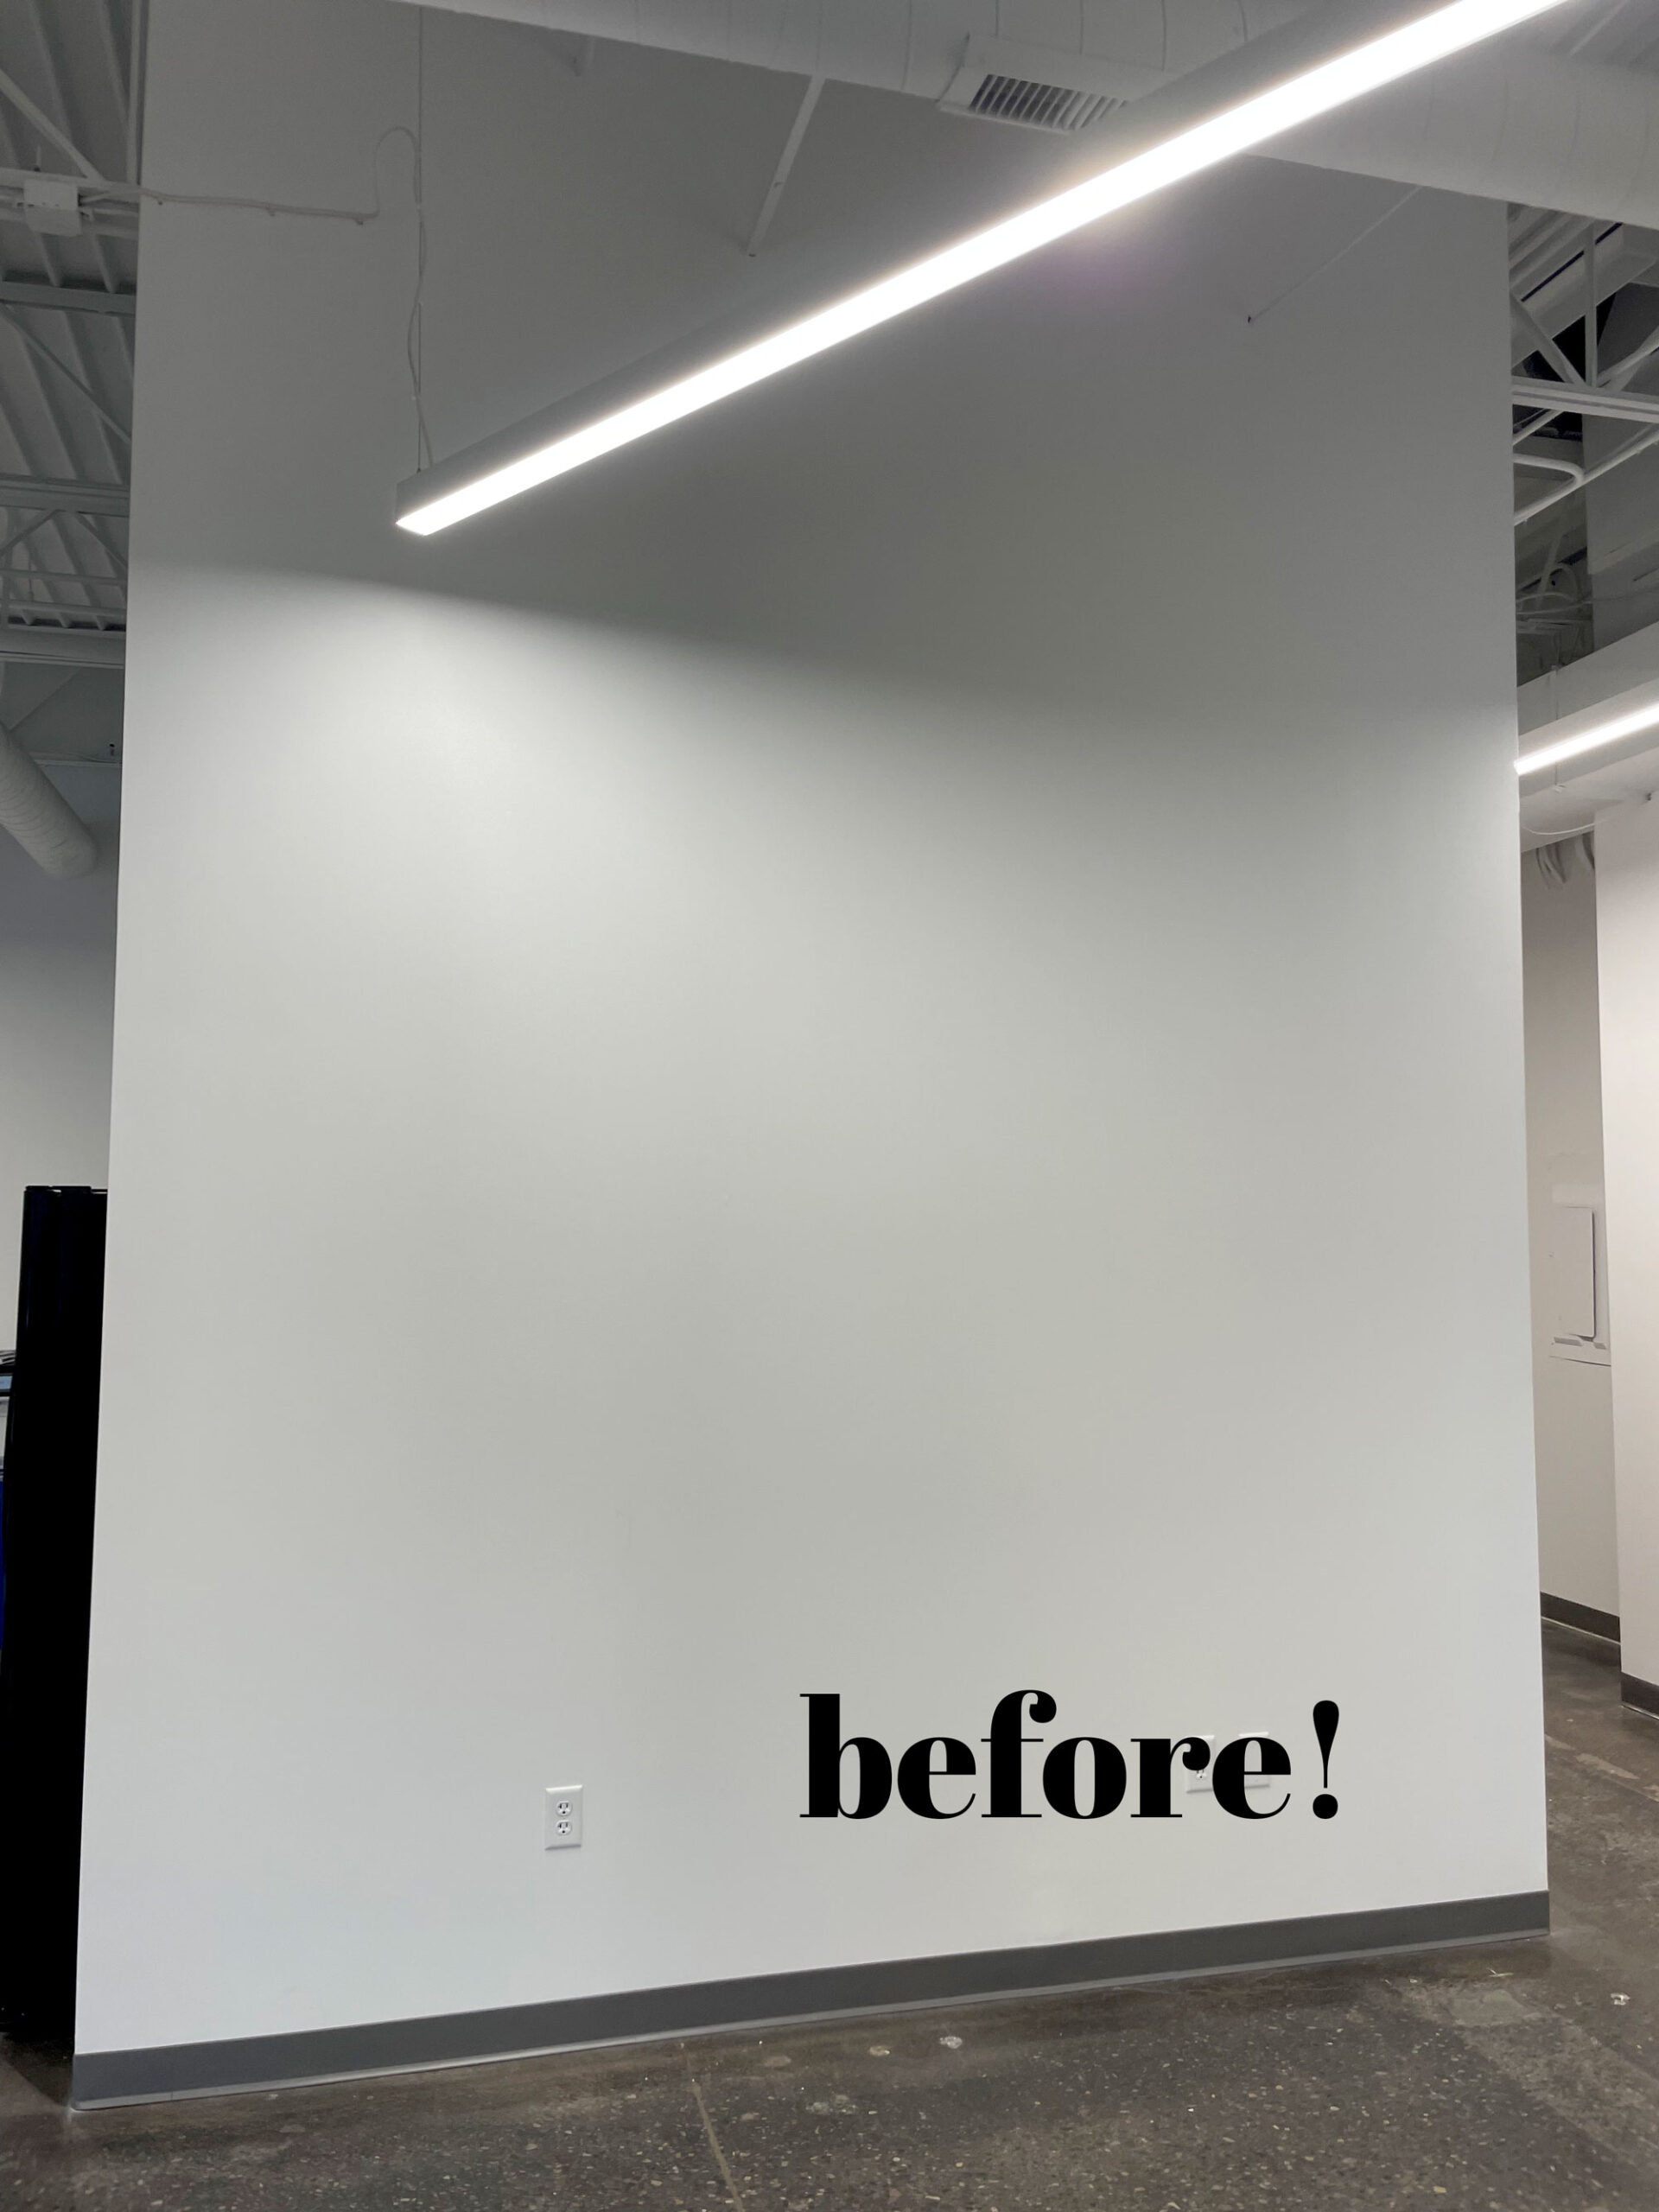
This wall is the first thing that you see when you enter the space (GASP…..what an honor!) My hope is that people walk in and are immediately excited and inspired to chat with the talented ladies and gents that work in this space!
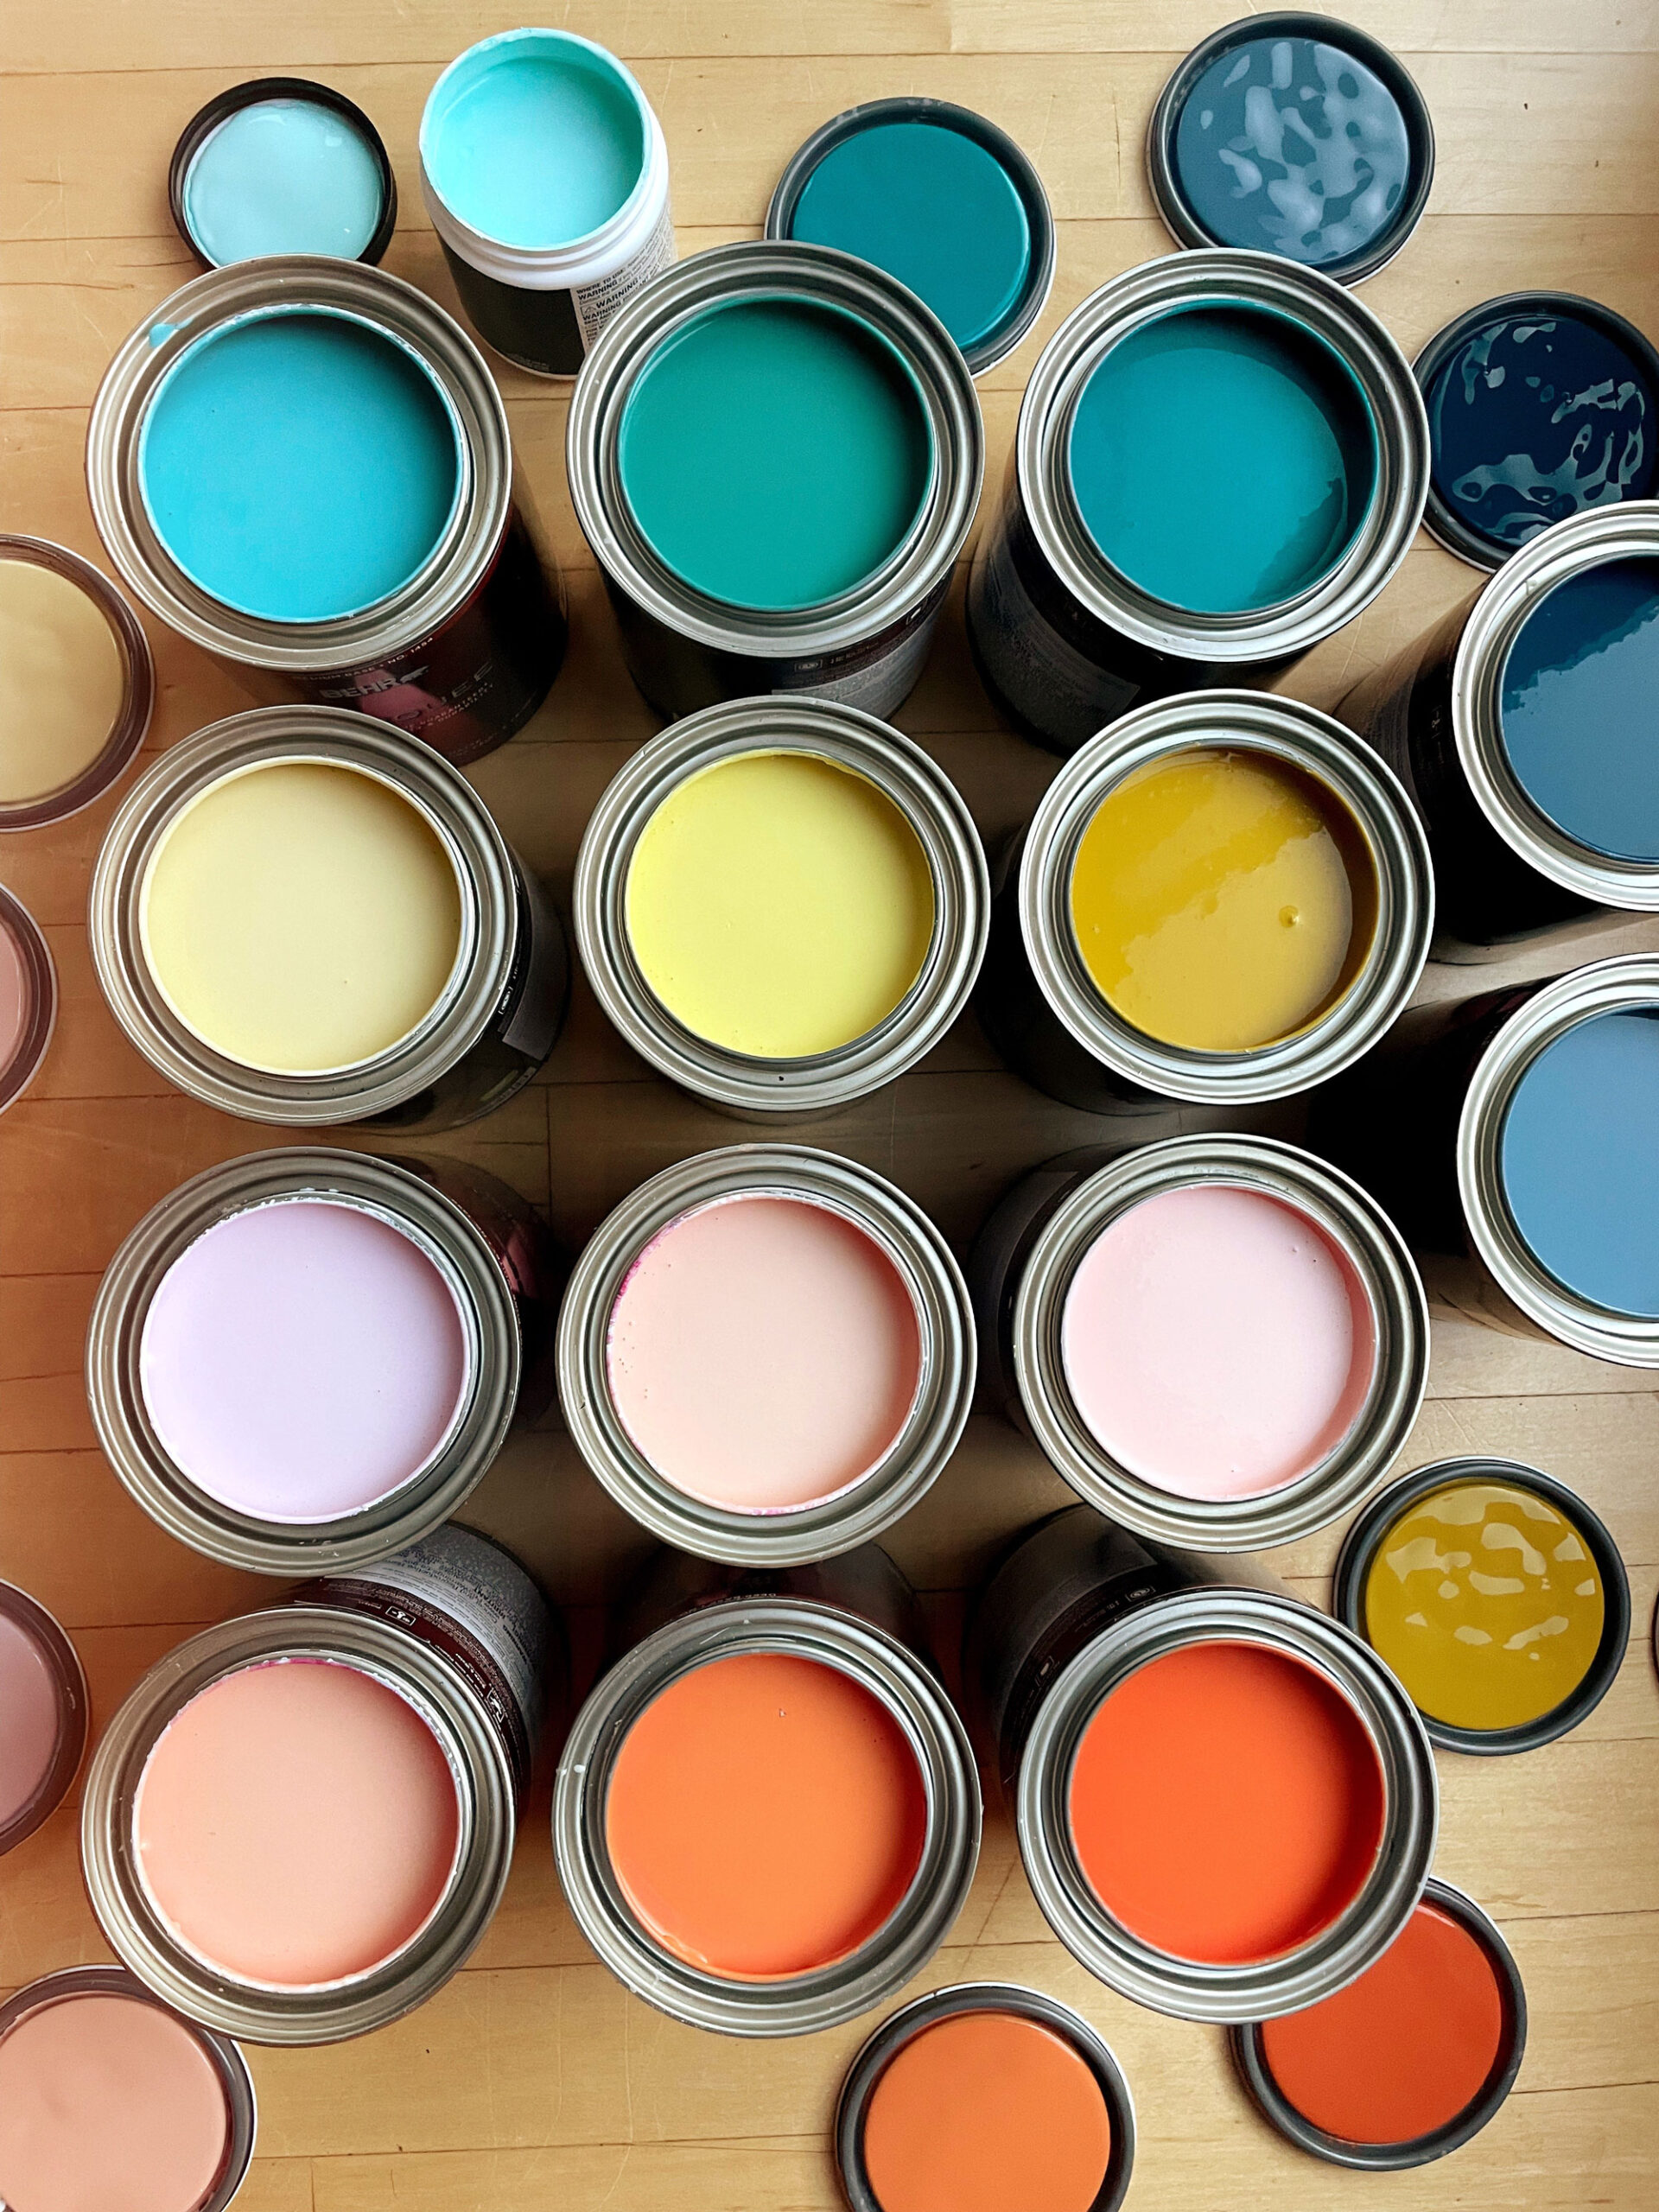
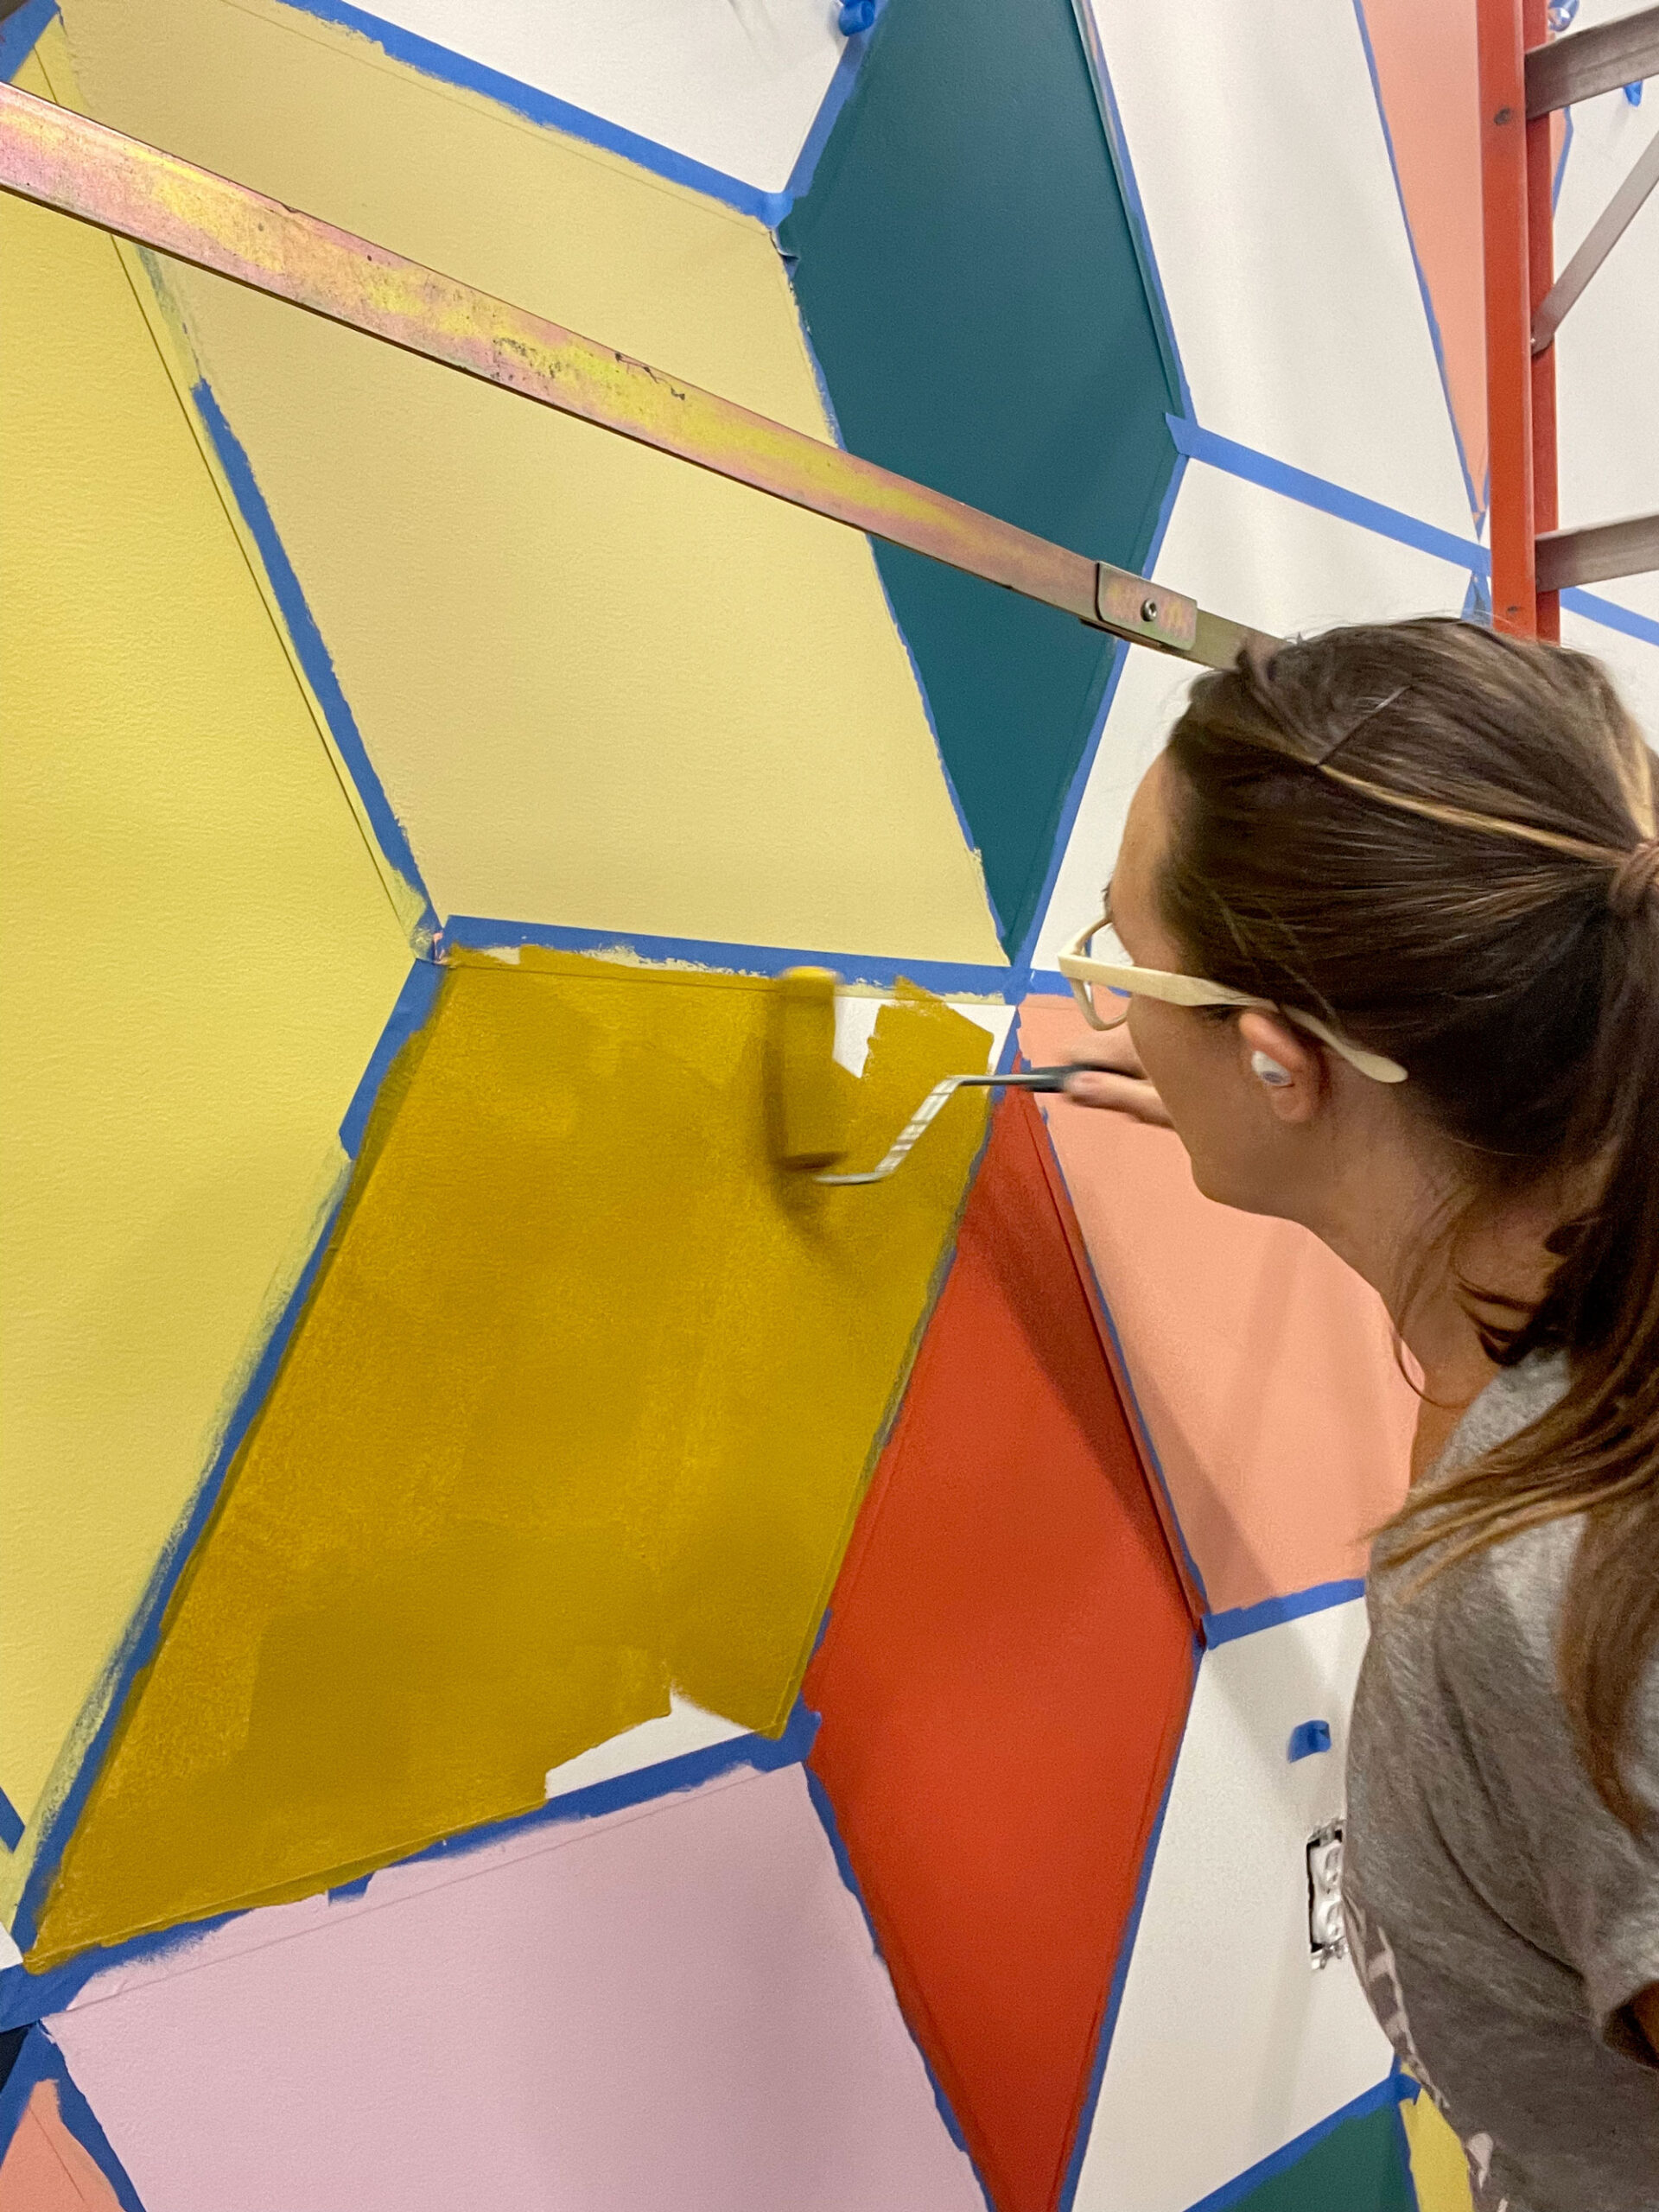
I can argue that my fave part of painting a mural is choosing the colors (this isn’t new information if you know me even one bit)! I looooove standing in the paint isle and choosing colors and seeing how each paint swatch reacts (or makes me react) to the combo! And this wall was no different…..although there was a moment during the painting process that I questioned a few of the colors….but it all came together in the end!

Here is a list of the paint colors I used (I LOOOOVE Behr Marquee paint, so these are all from Home Depot)!
- Alapulco Sun
- Tiki Torch
- Deep Fire
- Abstract
- Papaya
- Turmeric
- Caribbean Current
- Poseiden
- Nocturne Blue
- Aqua Fresco
- Bubble Turquiose
- Taffy Twist
- Flamingo Feather
- Youthful Coral
The first thing I did was make a stencil of the cube (sorta like a tessellation so they could fit “next to” and “inside” one another)….YAY MATH! 🙂
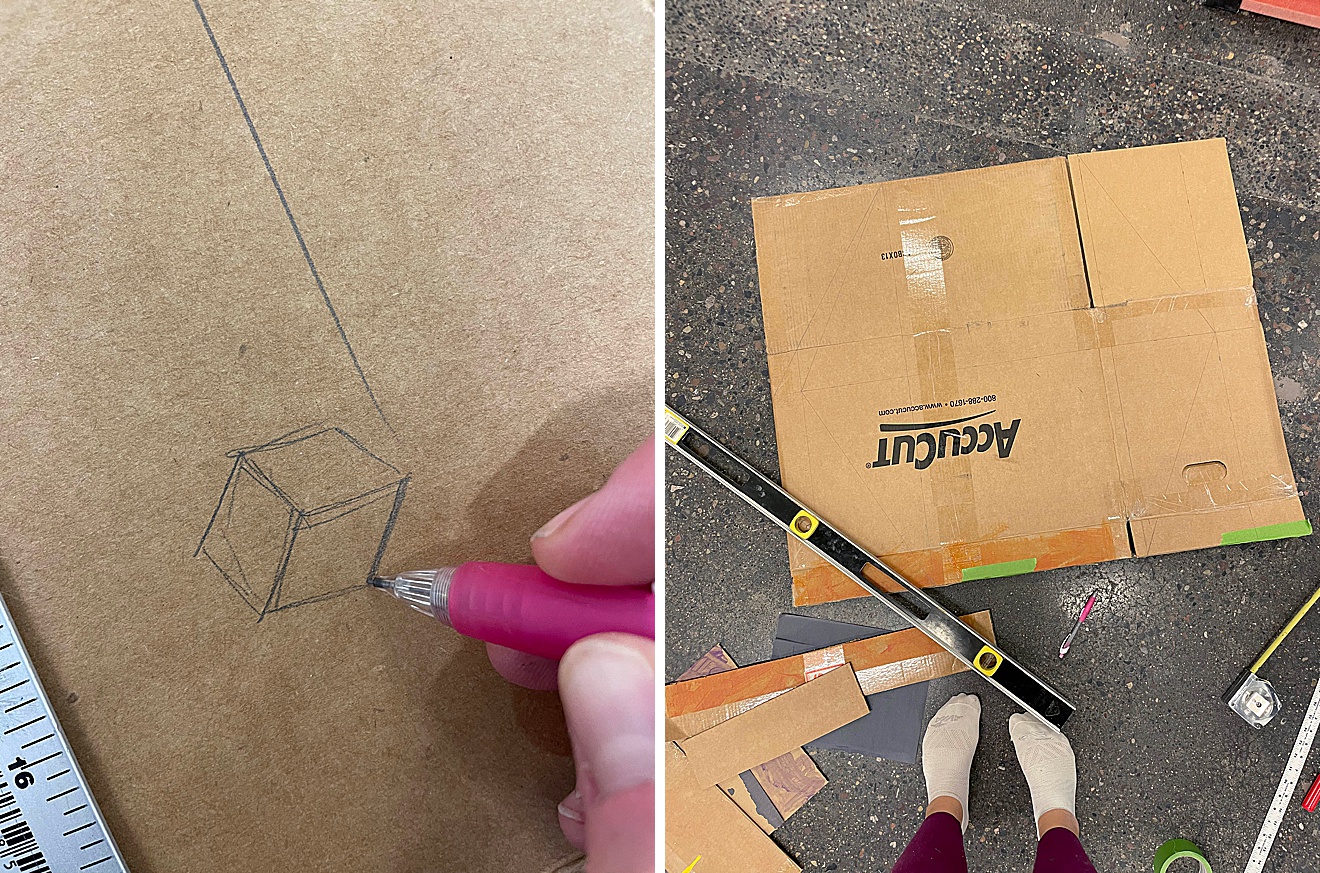
I measured the wall width wise (to determine center and therefore break the cubes up evenly on the wall). Each cube ended up being 36 1/2 inches wide and tall. I then divided the cube in half to mark the halfway point top and bottom…. then divided it in quarter top and bottom. I connected the angular lines on the left and right from those 1/4 way marks and lastly poked a hole in the very center…..taaaa daaaaaaaaa: MY CUBE TEMPLATE! 🙂
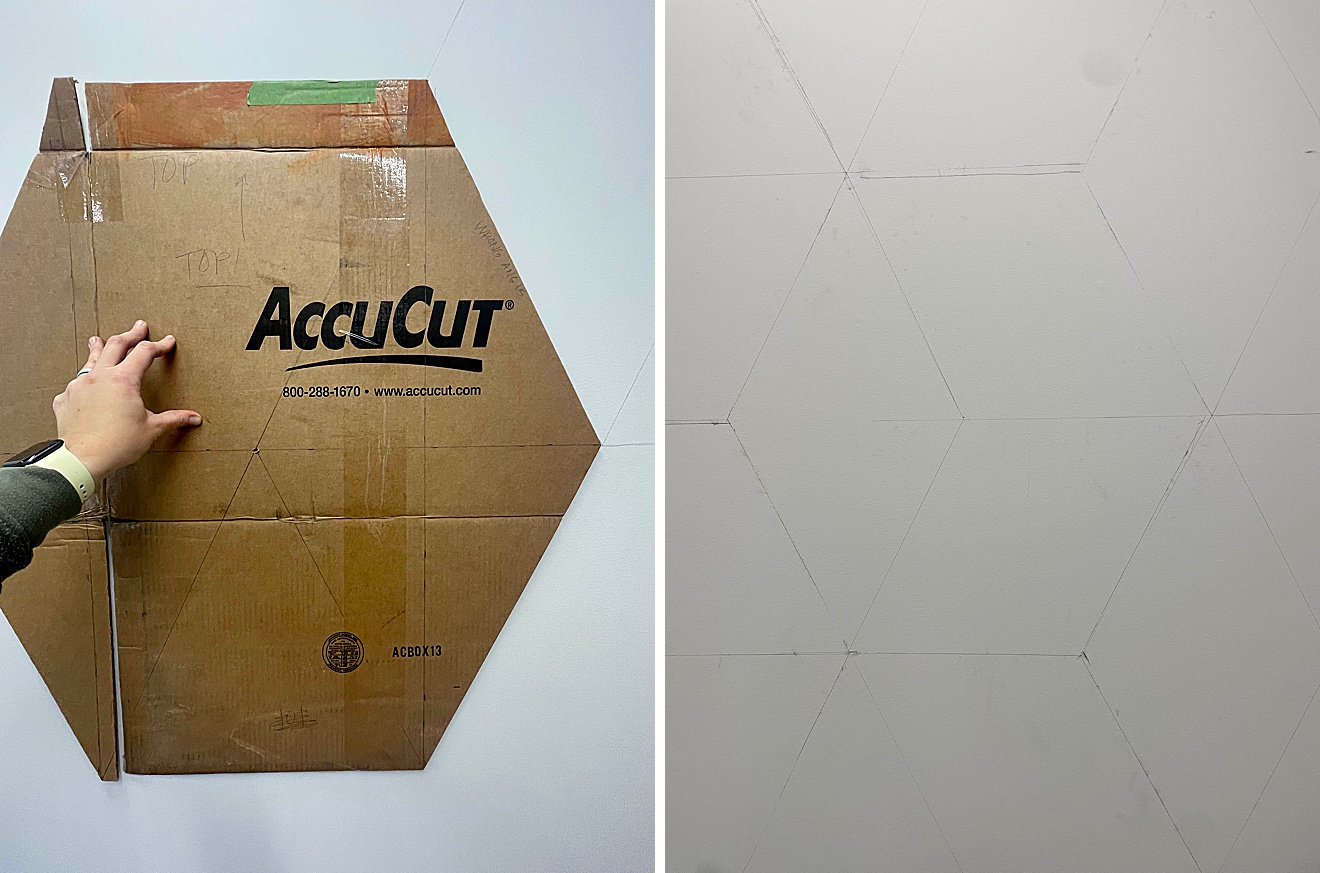
From the center of the wall (height and width) I marked the middle and began tracing the template using a level and a pencil to mark out the cubes.
The math isn’t perfect. Buuuuuut it looked great.
I don’t normally use a pencil (chalk is usually the way to go) but I needed the lines to be crisp and thin in order for the cube to keep repeating correctly 🙂
I started taping and began painting!
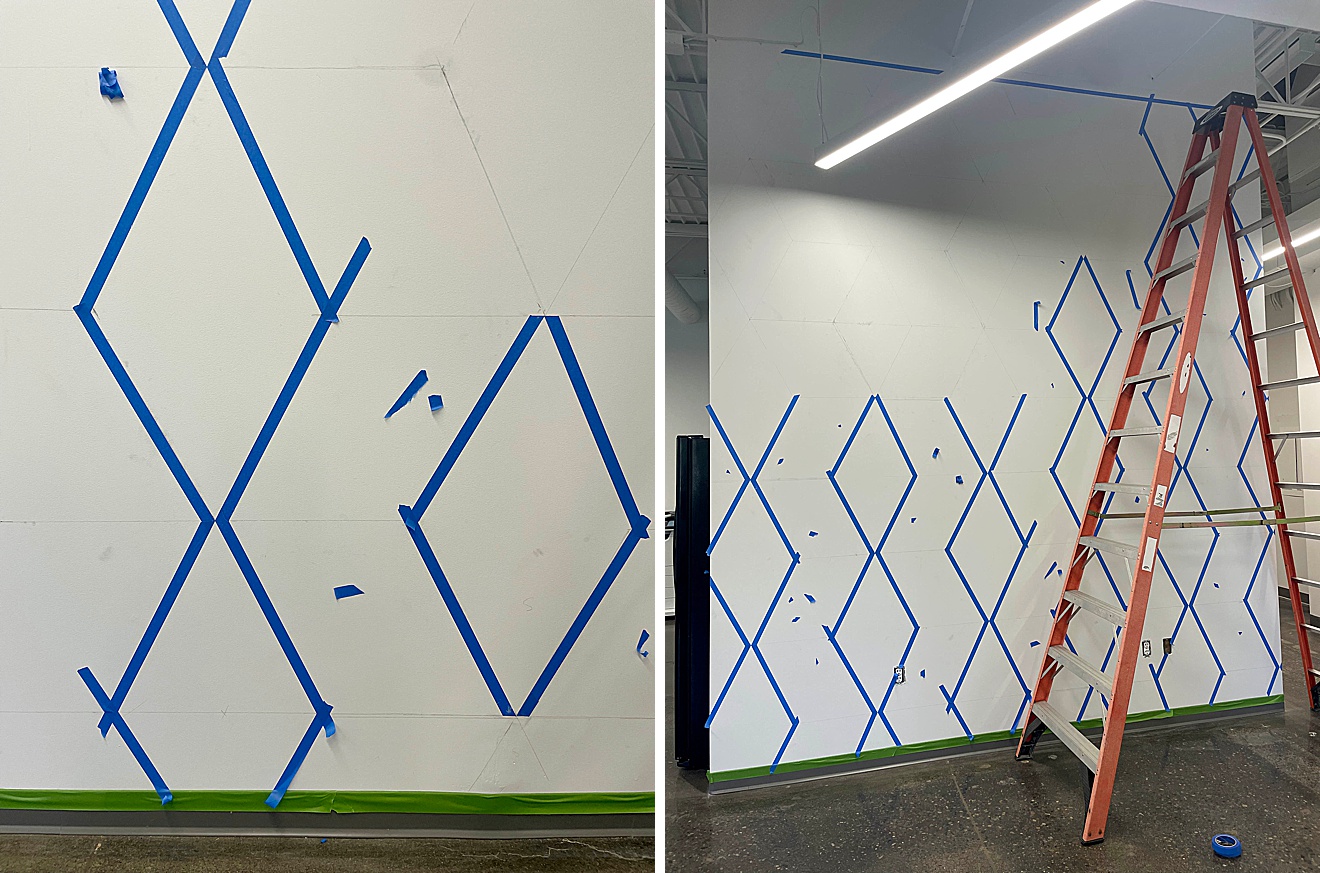
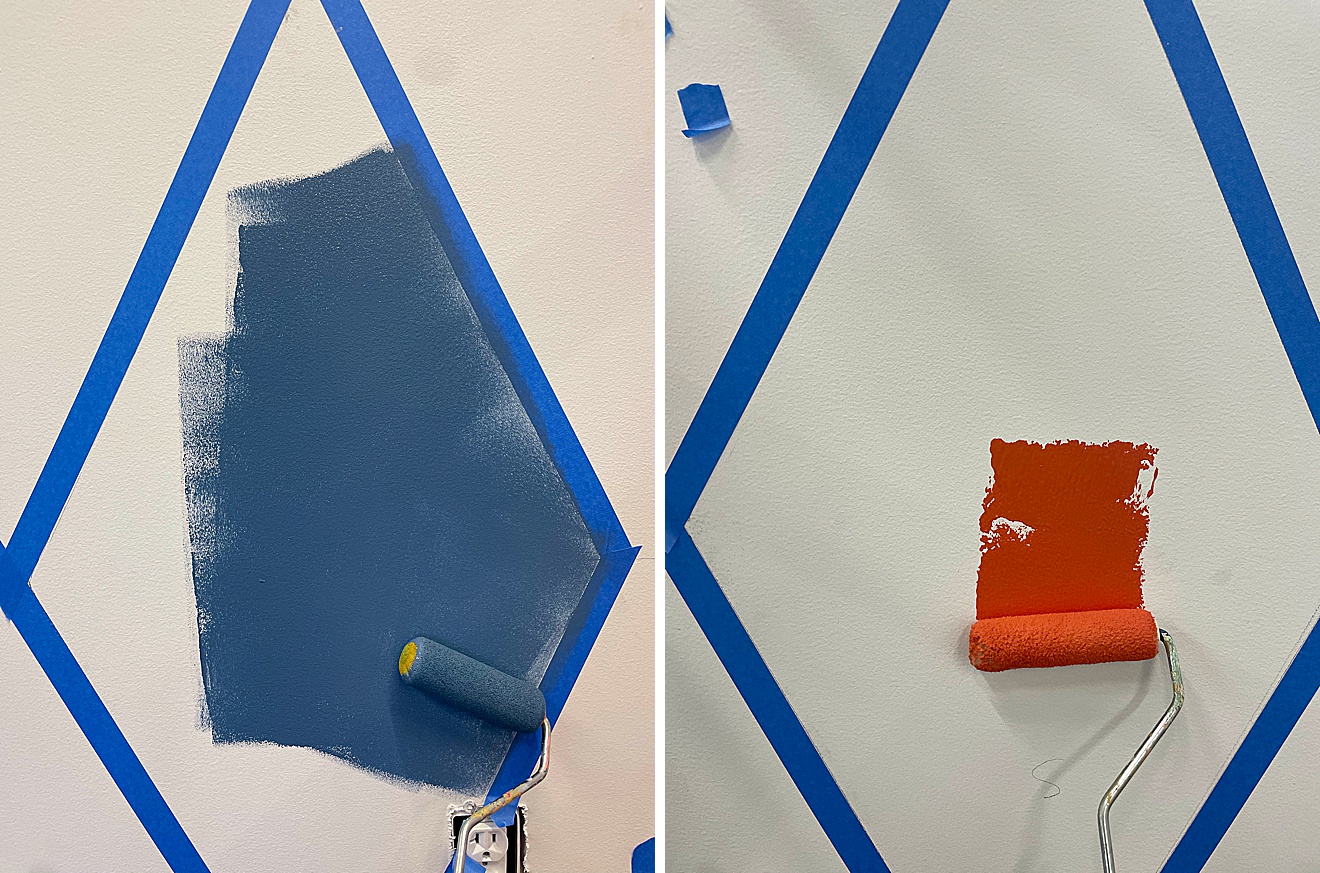
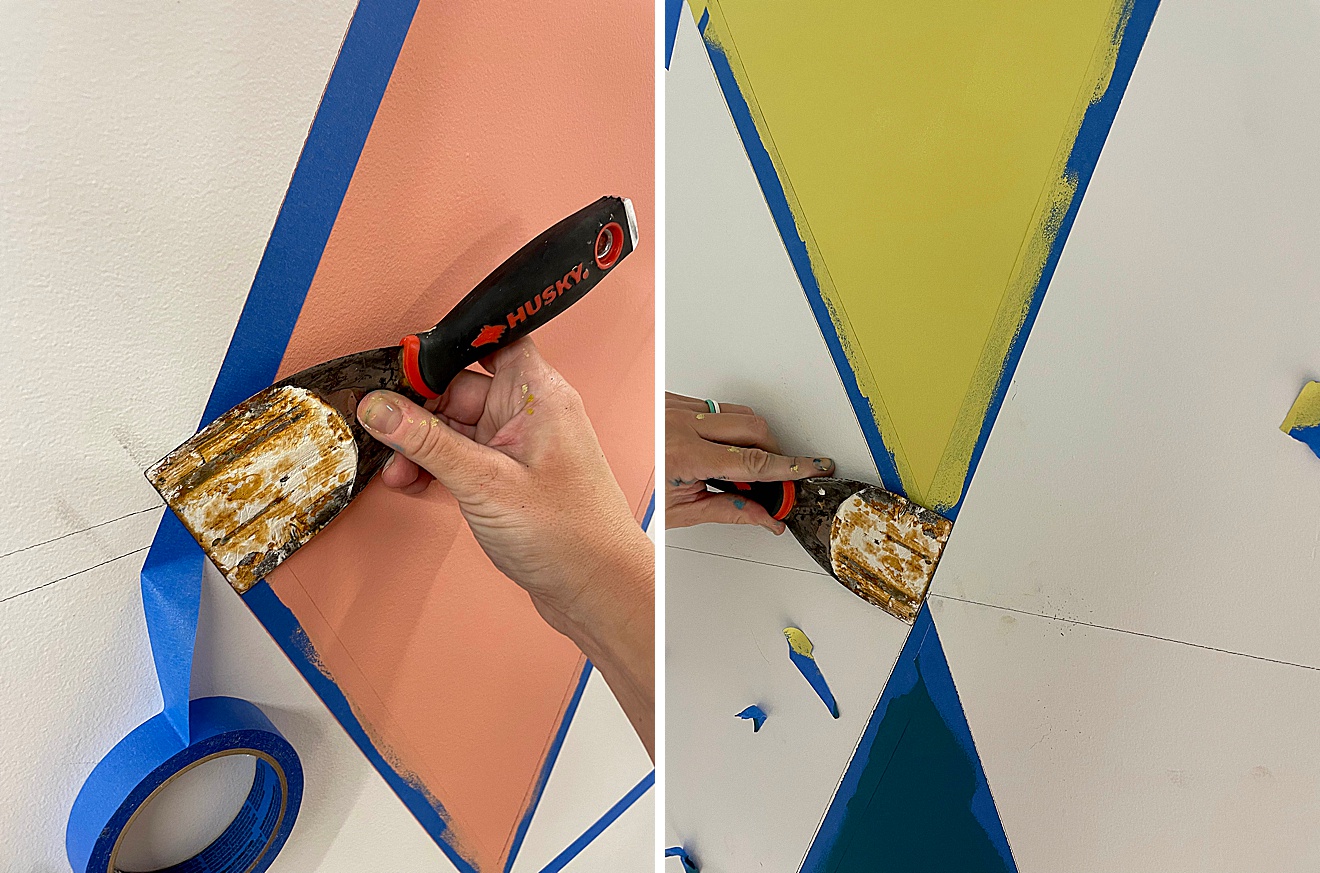
BEST TAPING TRICK EVERRRRR (like use this for all of your crisp-painting-line needs)!
- Being putting your tape on the wall and line up to the line or edge that you need that is crisp.
- When you come to the corner that you need with a point or crisp edge, line up the edge of a putty knife to the edge that needs to be cut, overtop of the tape that needs to be cut.
- Press firmly down on the handle of the putty knife and in one quick motion, tear the tape away from the wall against the putty knife which leaves you an awesome, crisp corner of tape.
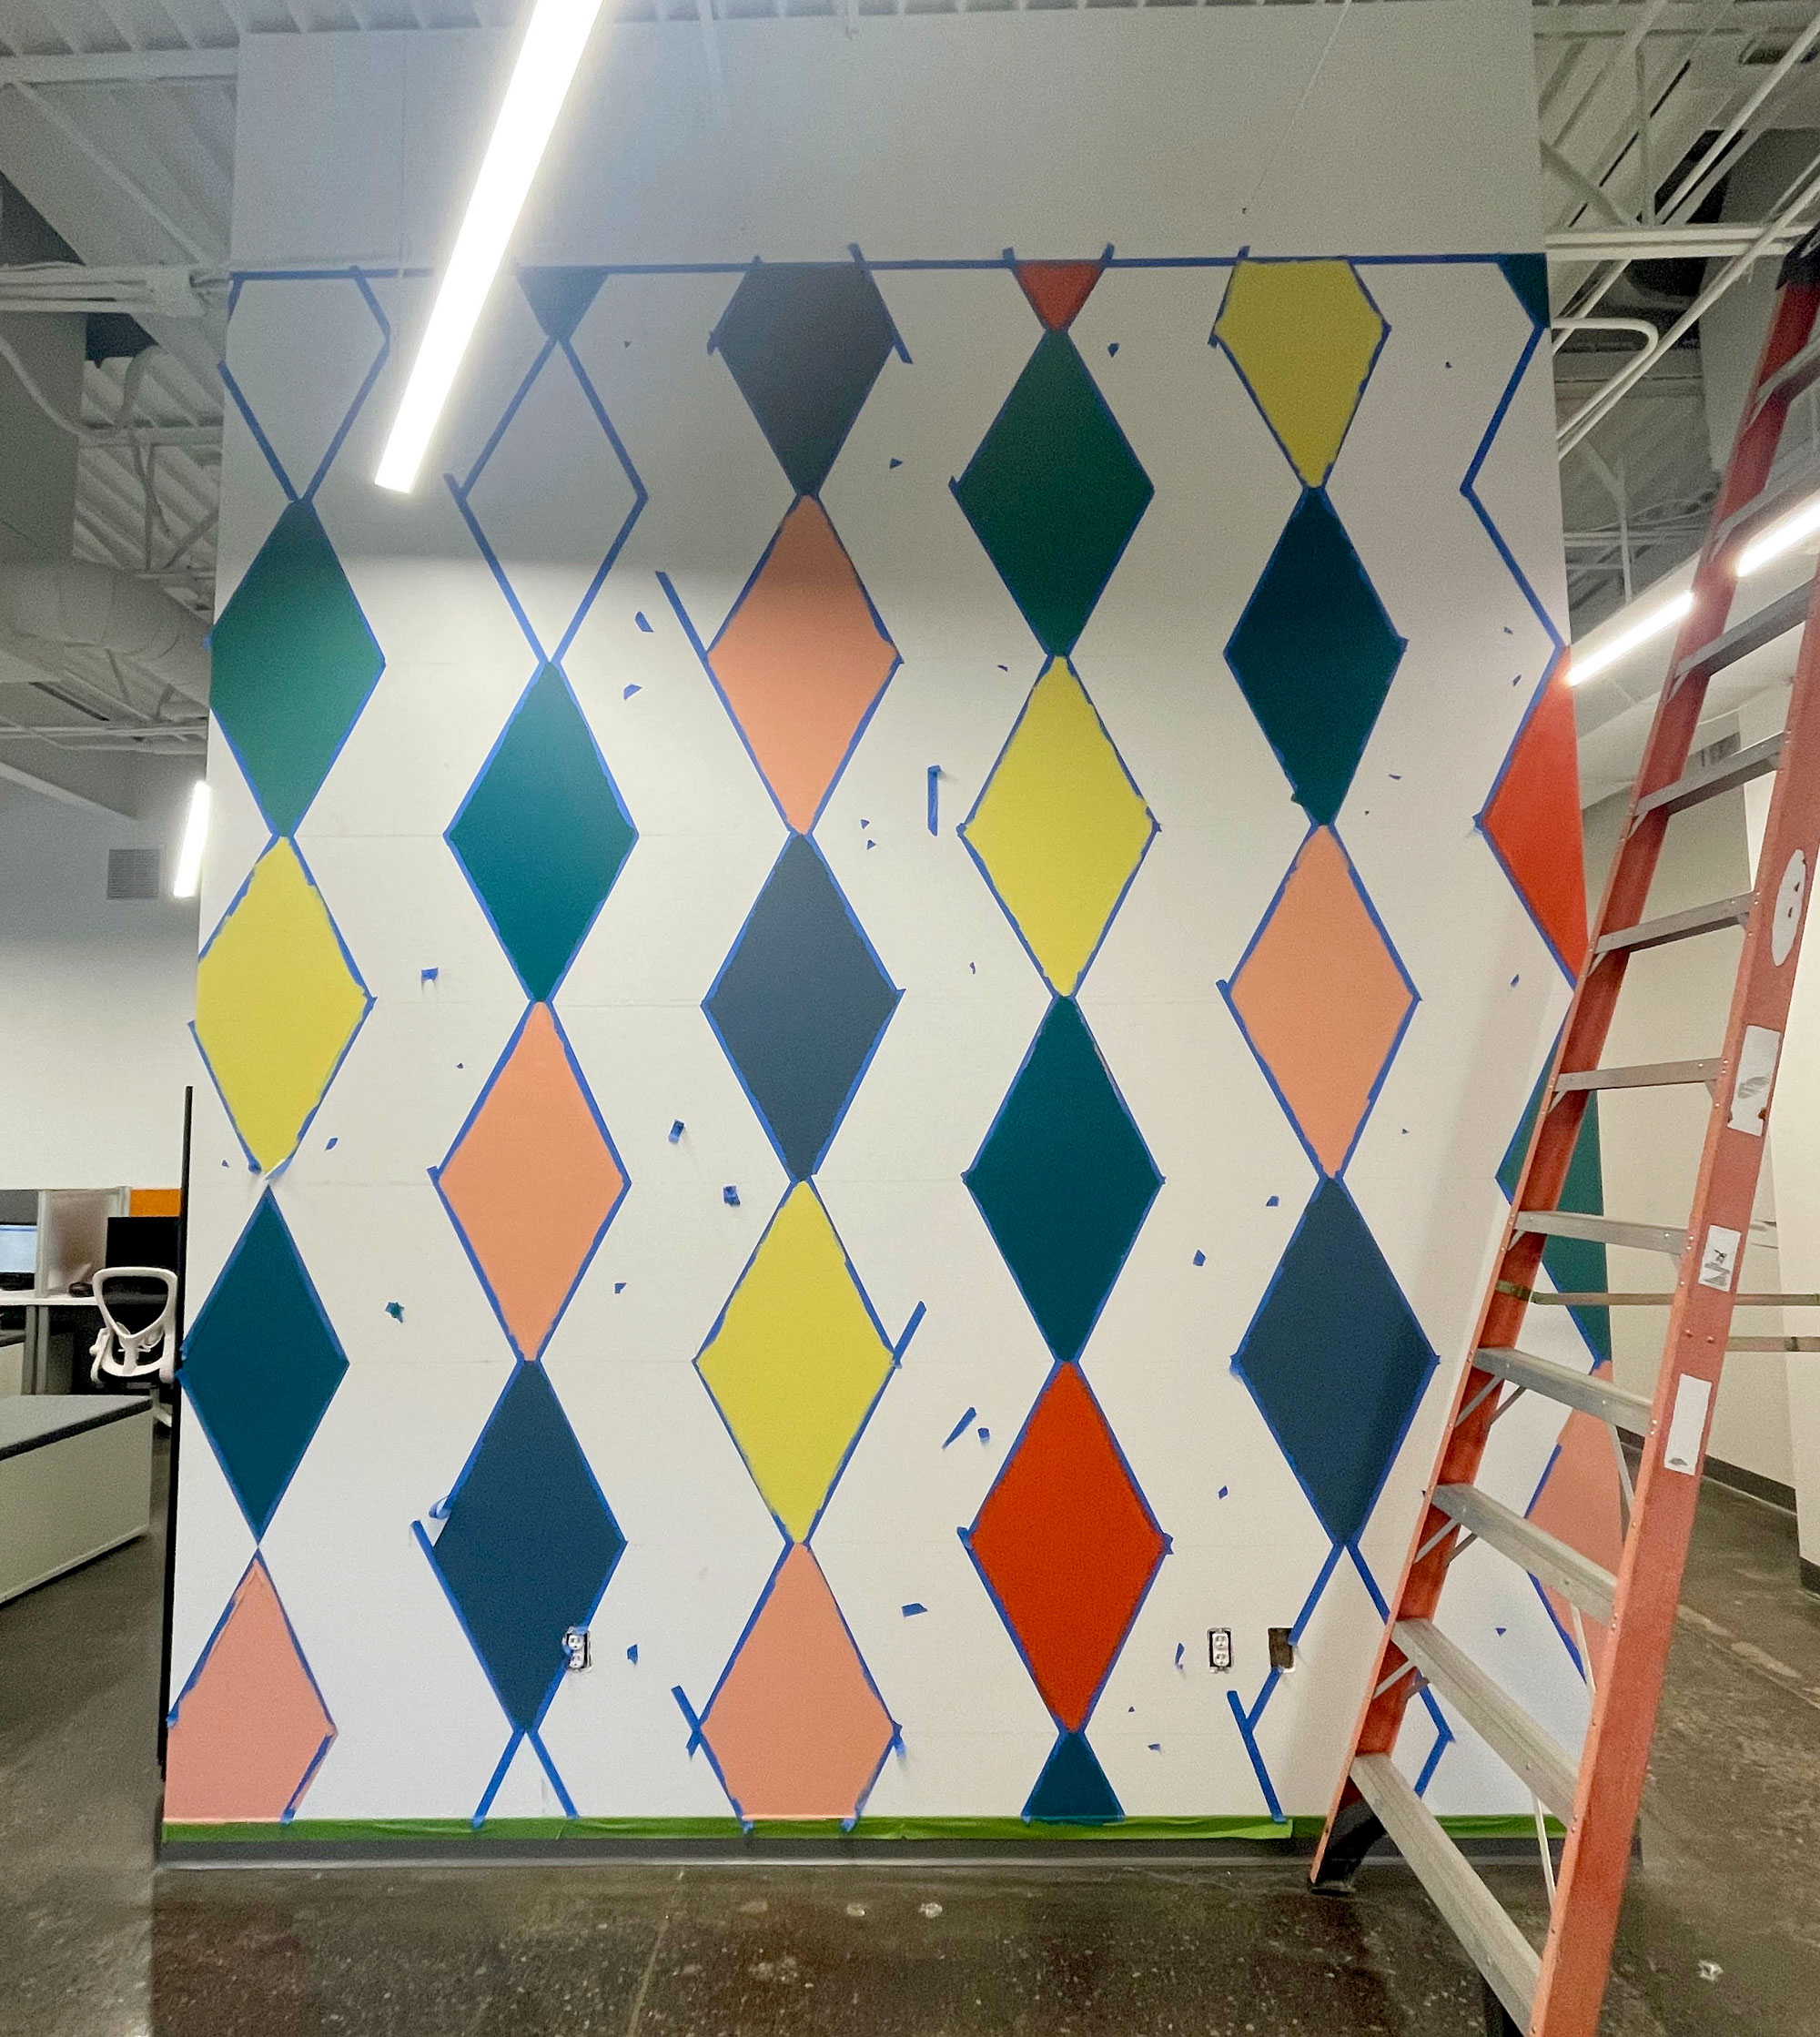
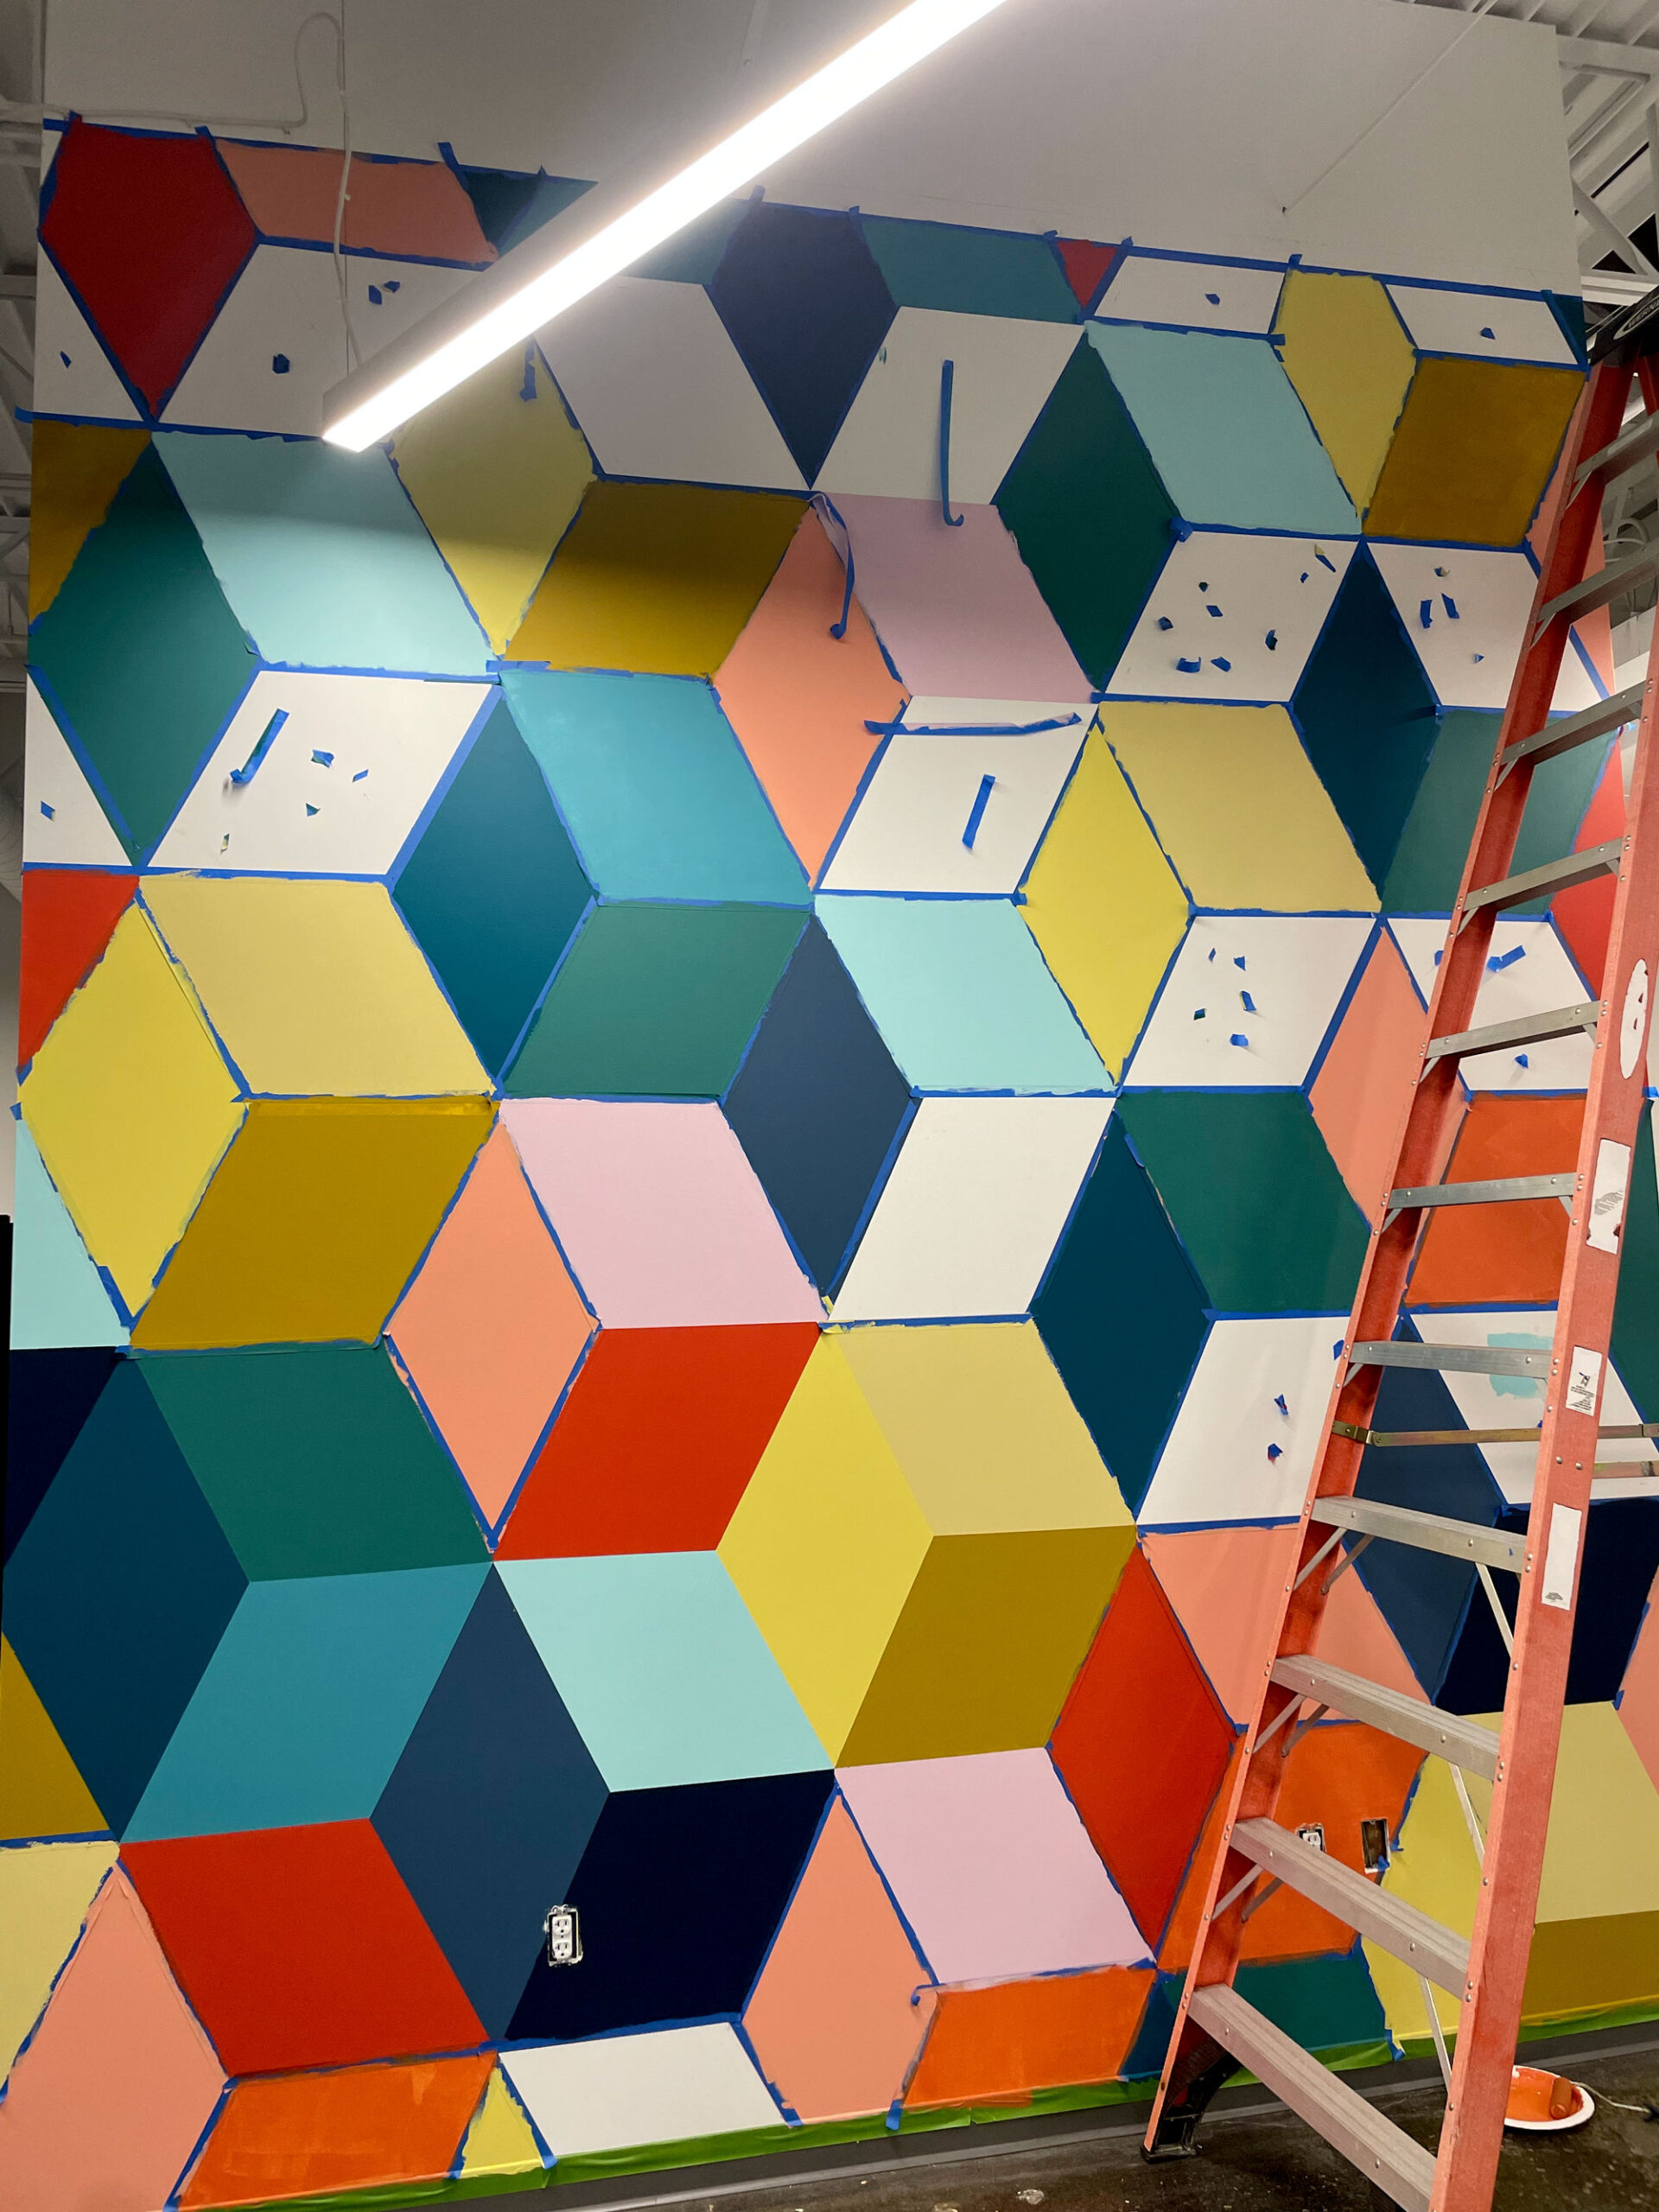
I just loooooove how this wall came together and every time I took down a bit of tape from the wall my excitement grew for the amazing colors and math and cubes and ALLLLL OF IT! 🙂 I hope you love it as much as I doooooooo 🙂
