Colorful pumpkin wreath for you fall decor!
**This post is sponsored by Colorshot and all their incredible spray paint products 🙂
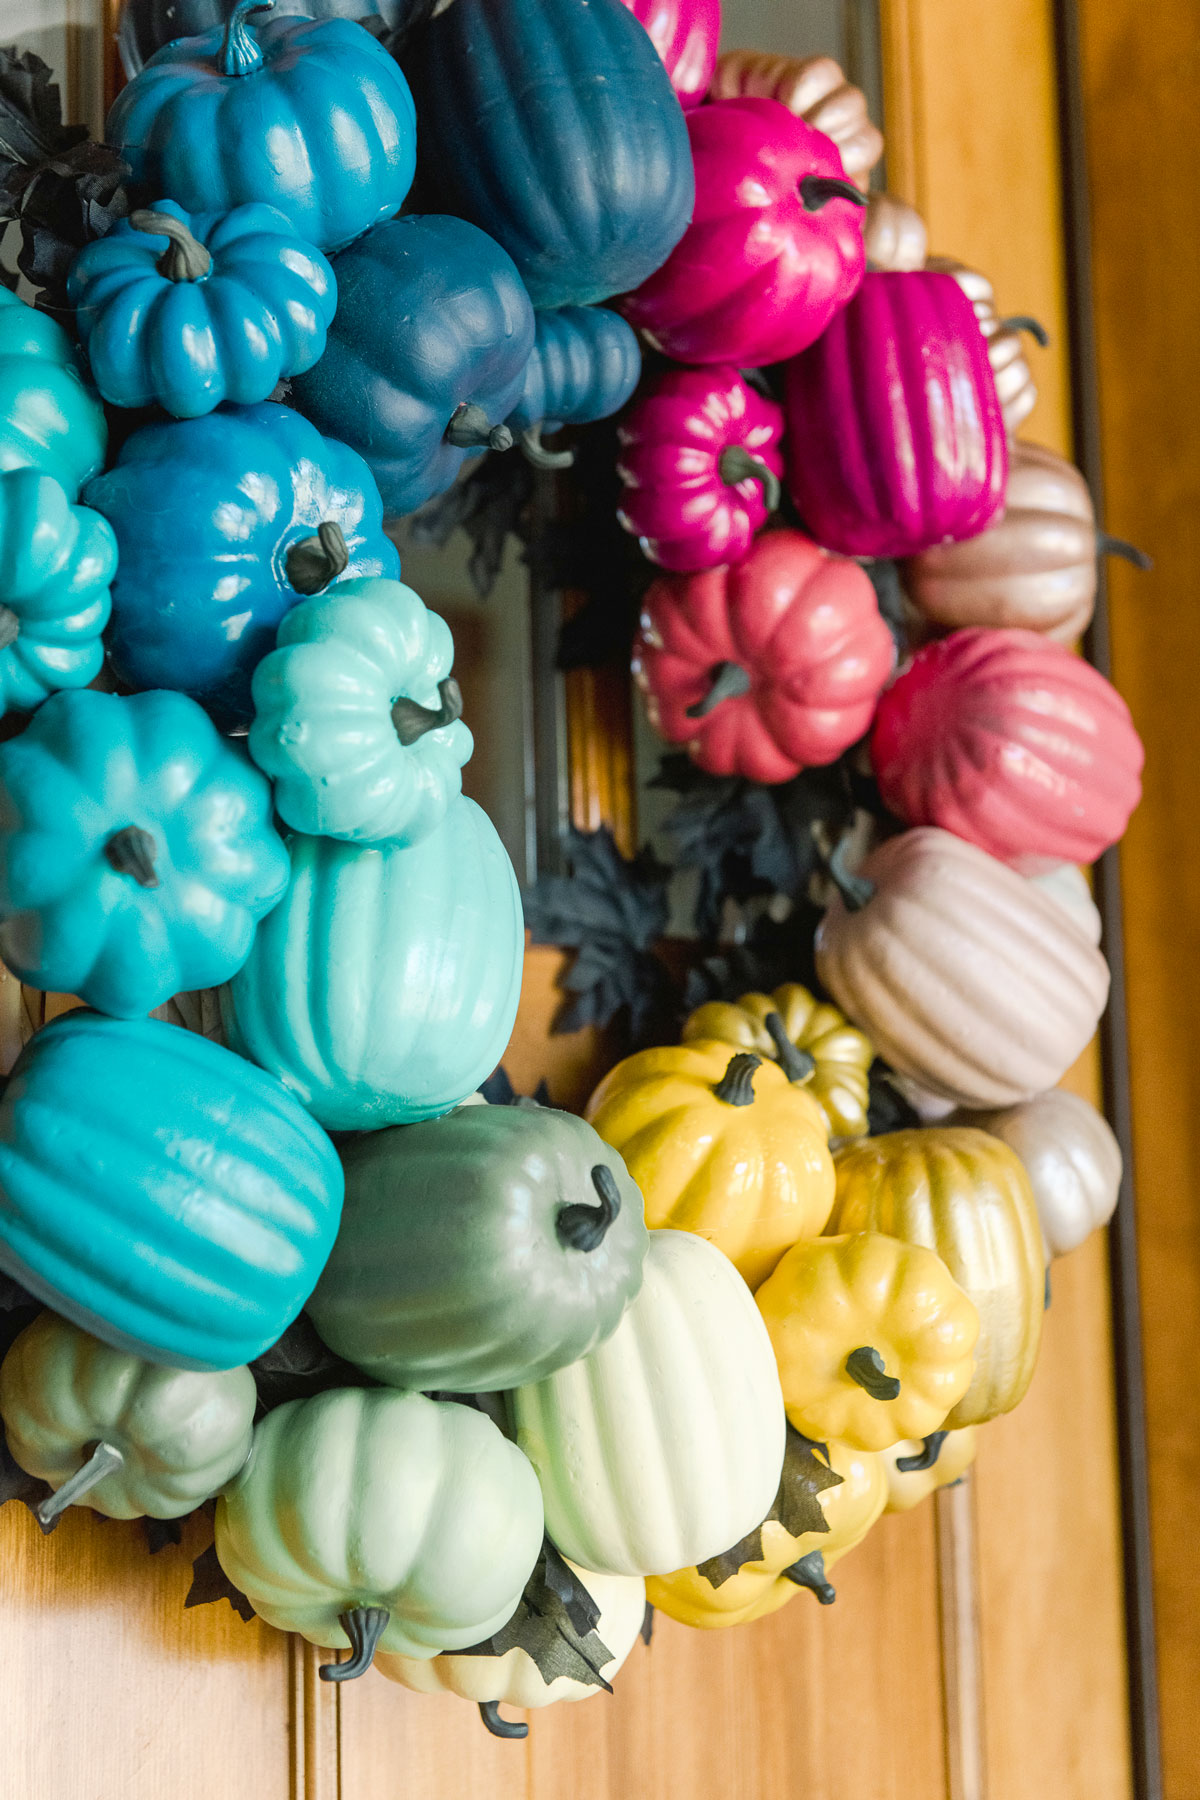
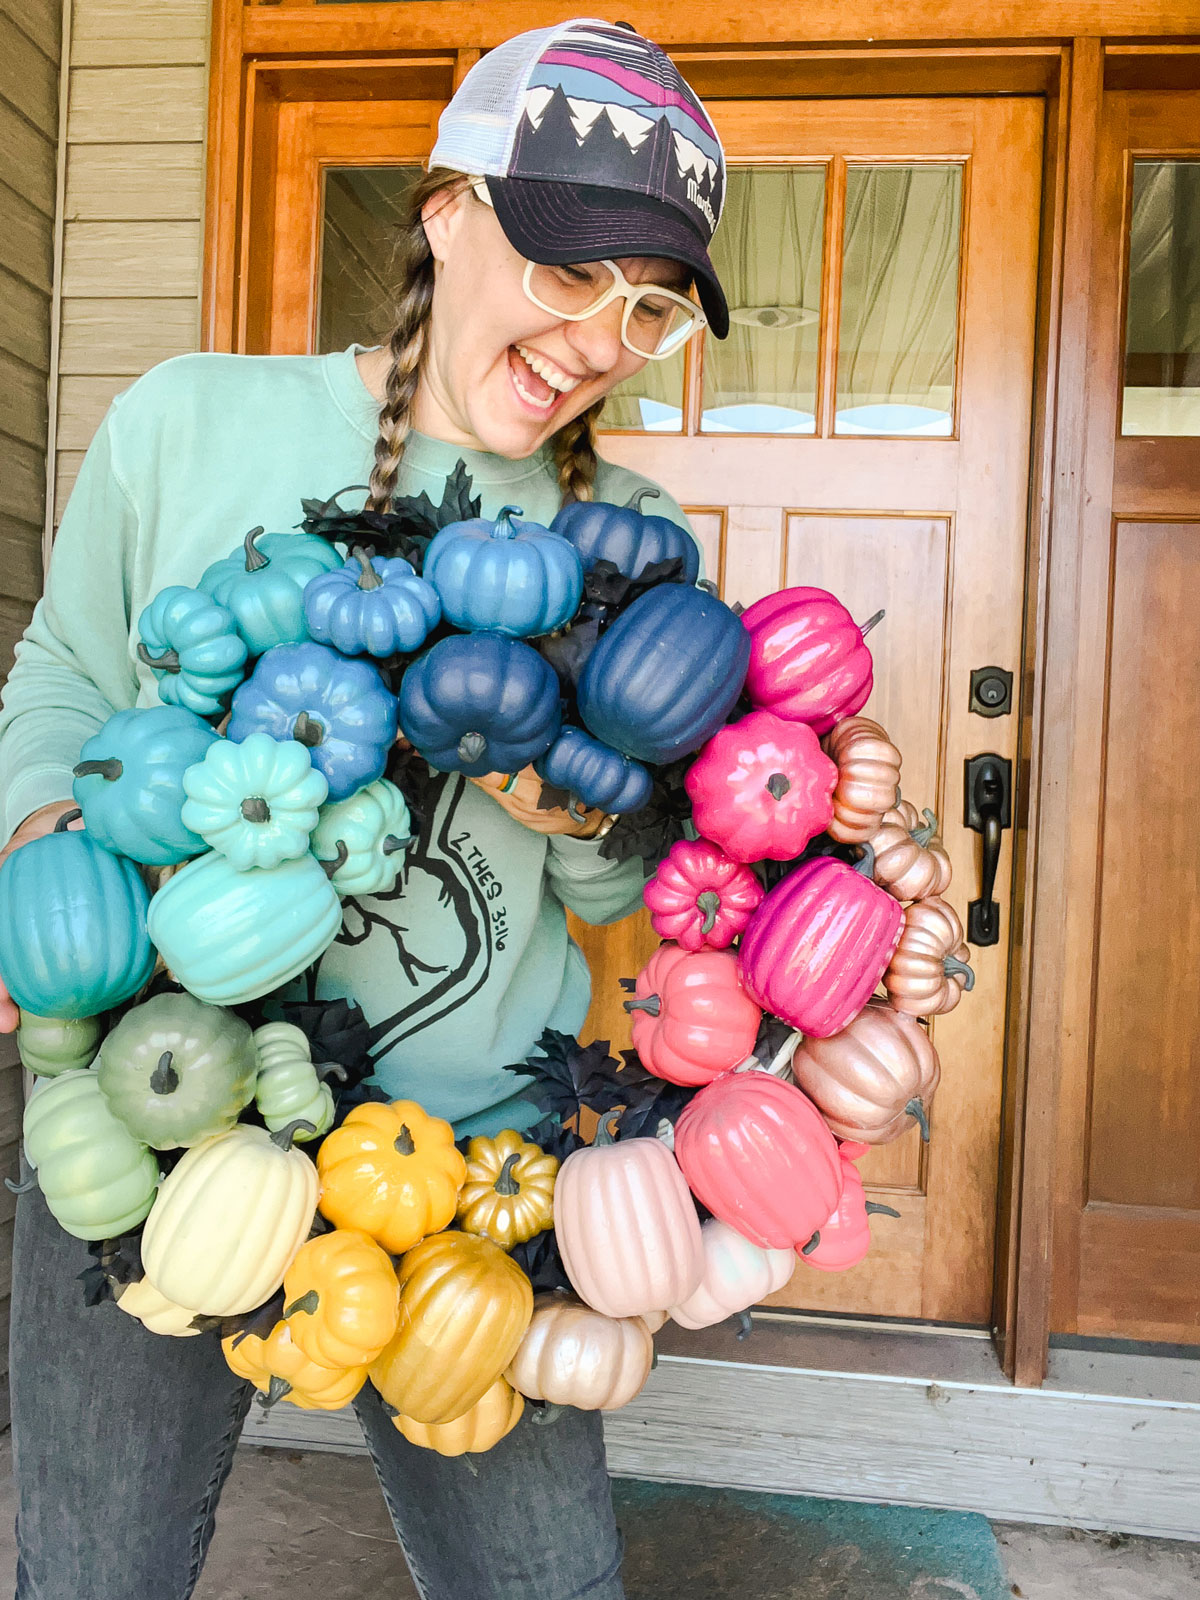
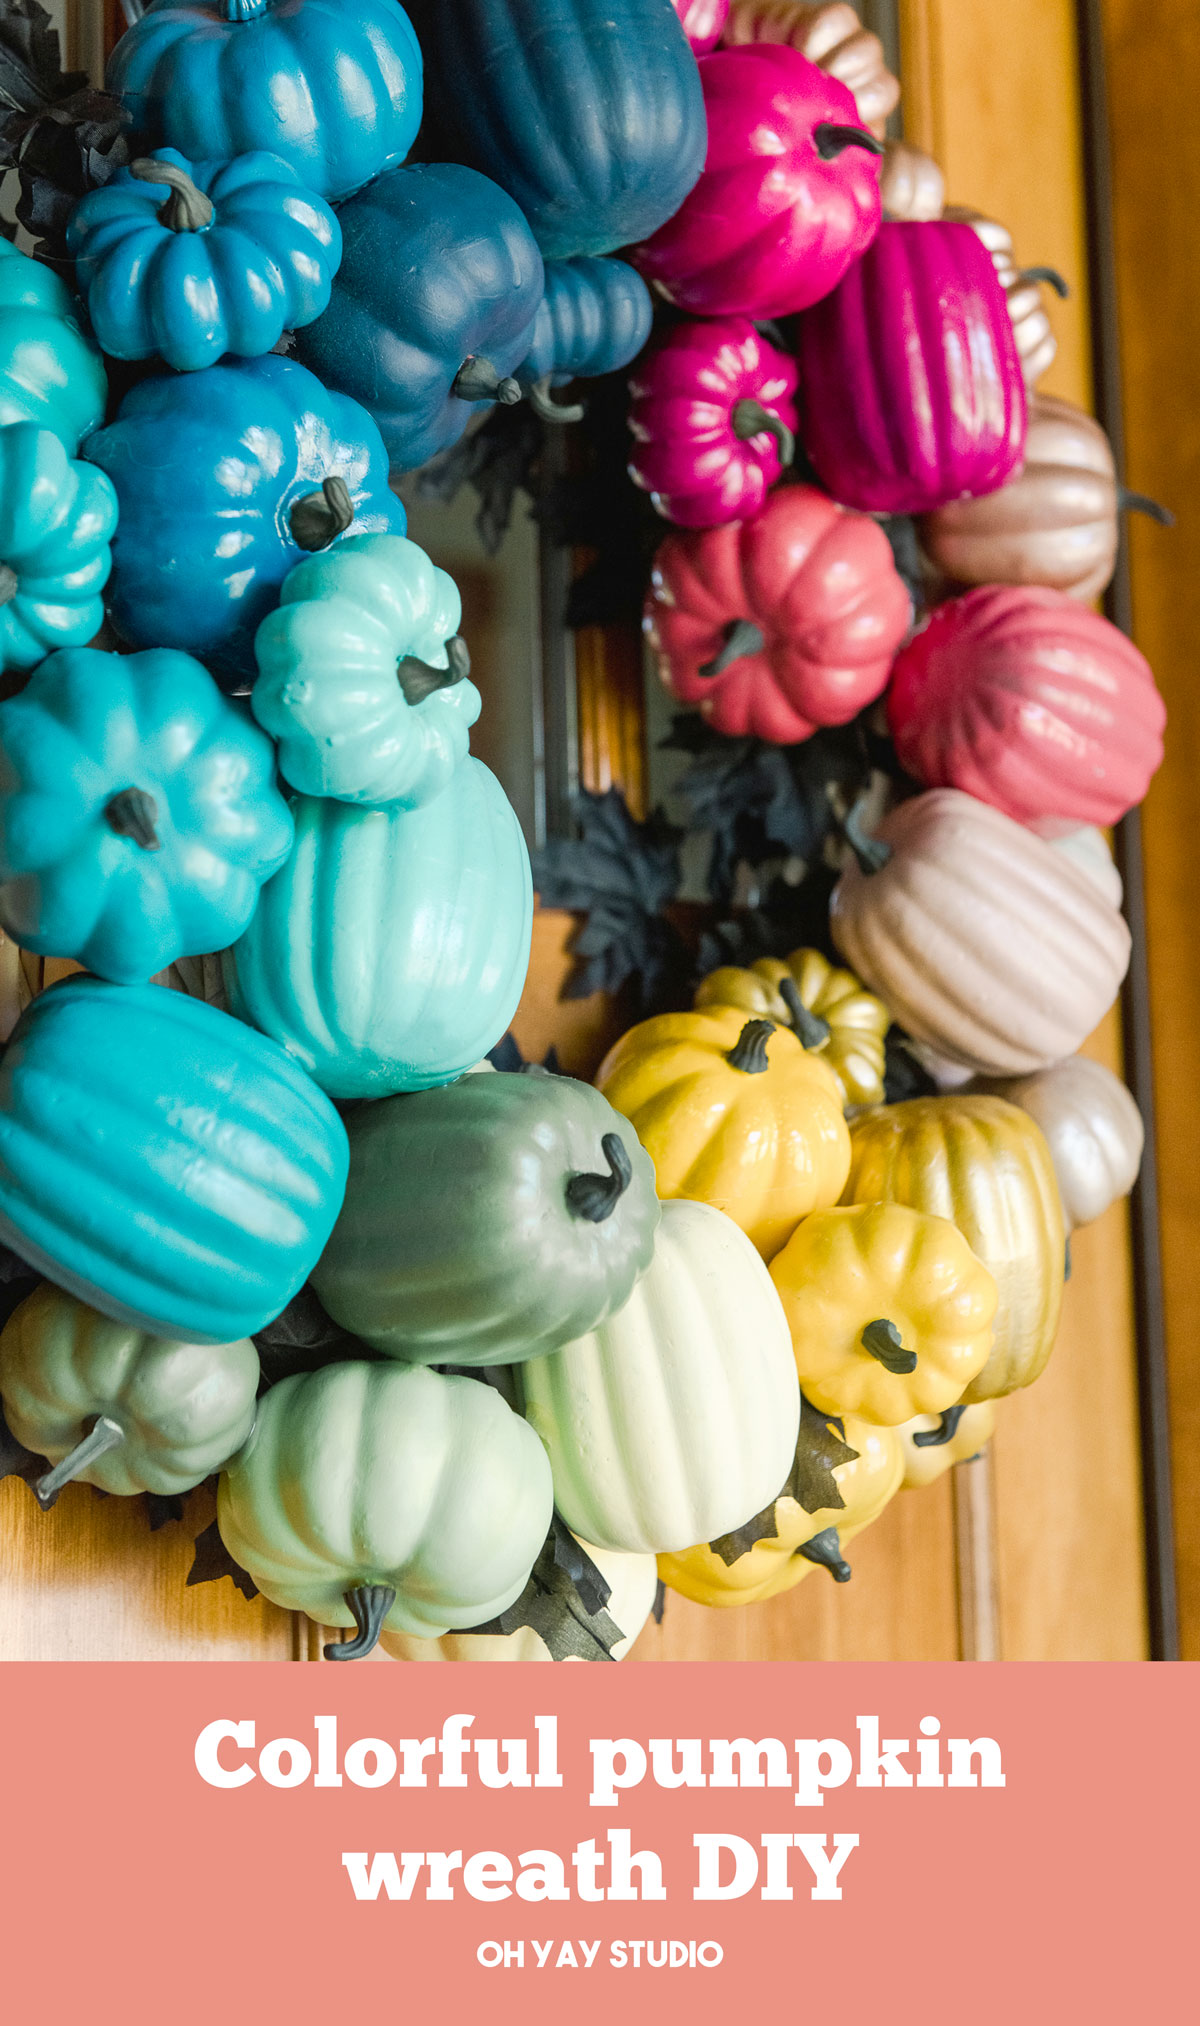
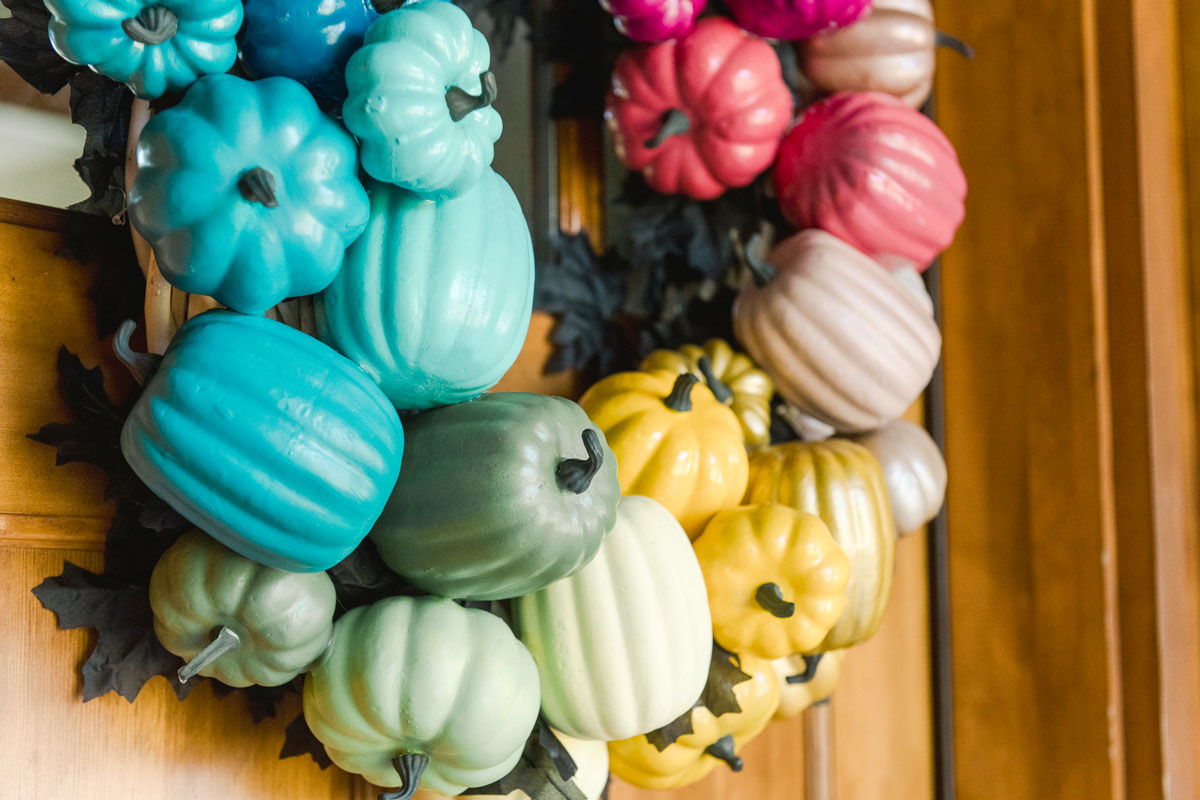
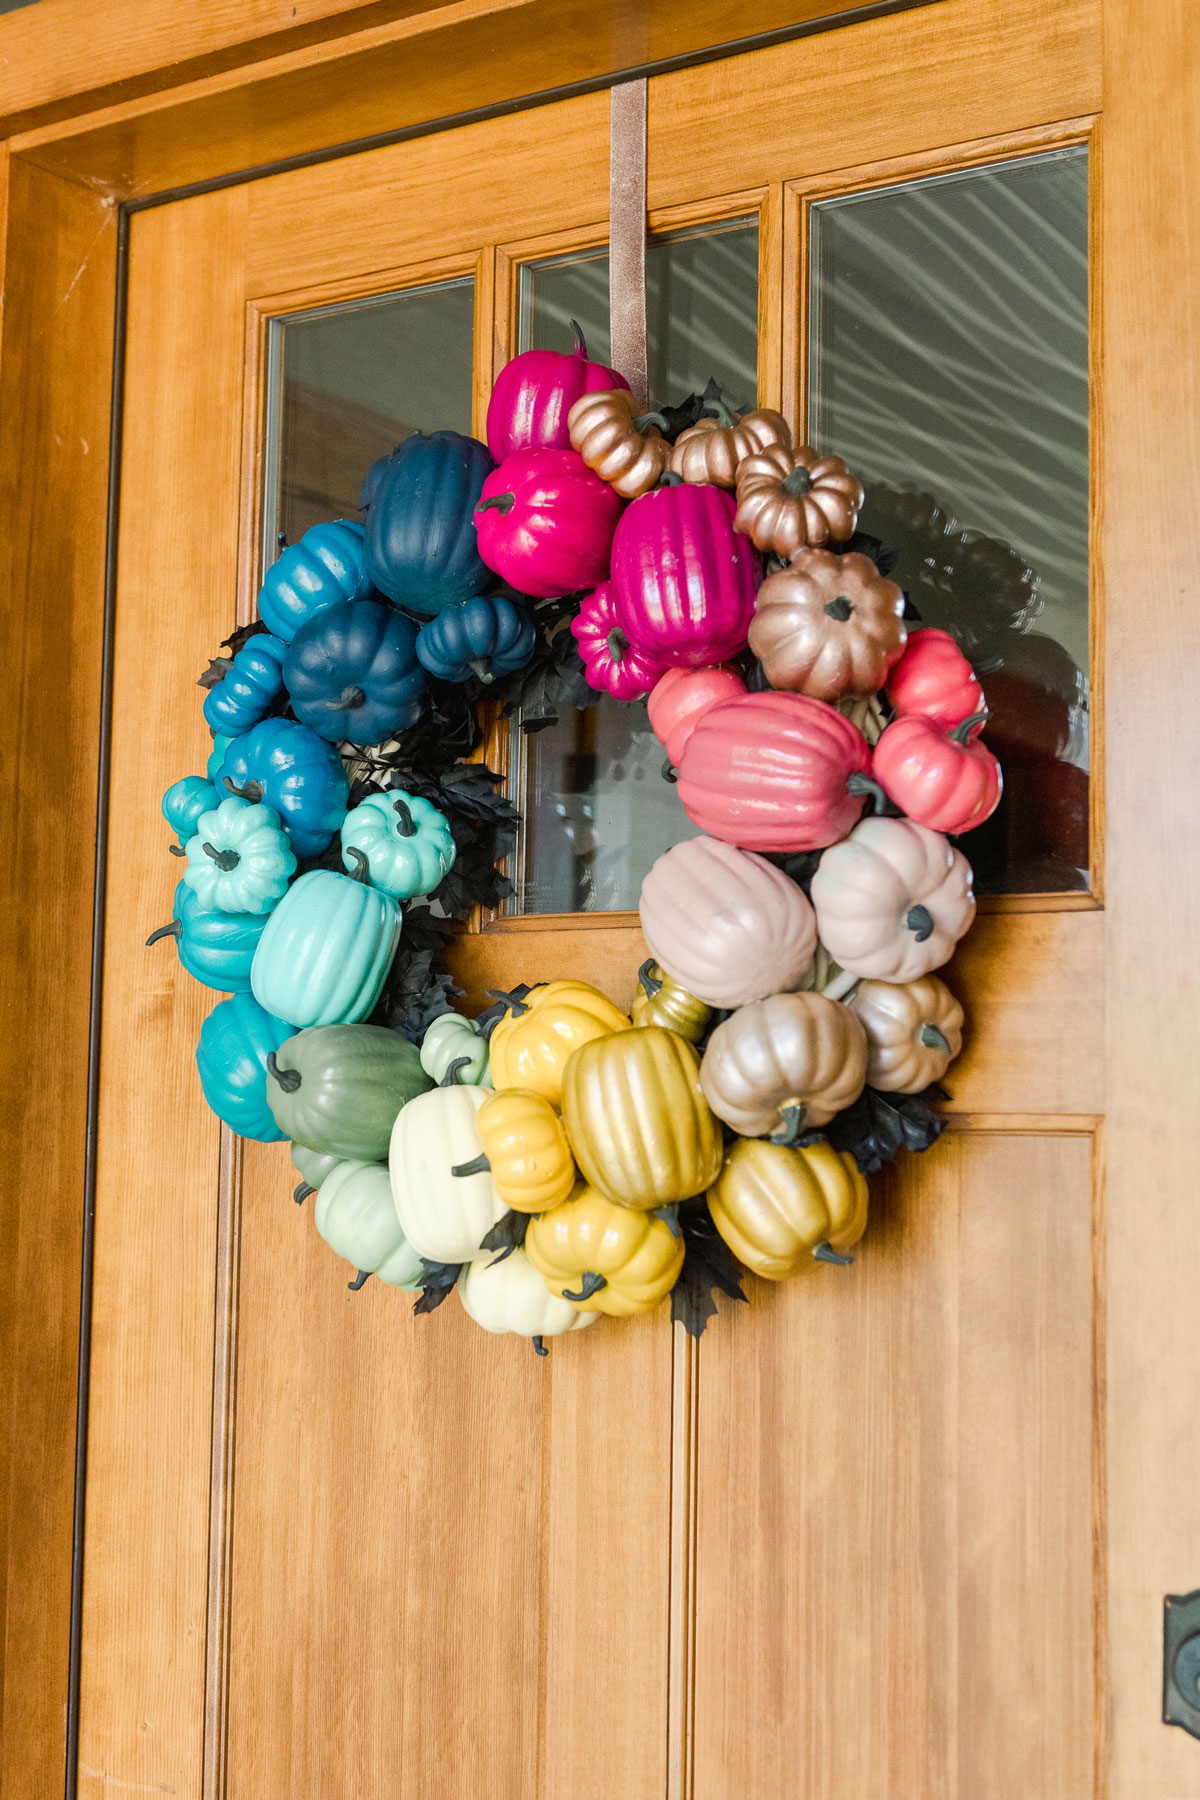
Colorful Halloween decor is the *only* kind of Halloween decor that we love in our household! (and if you disagree, its totes ok……just don’t come at me for using the rainbow of colors this season)! 🙂 My go-to is to head to the spray paint section in my studio and choose my fave Colorshot spray paints off the shelf to turn anything up a colorful notch! So turn these simple, white pumpkins into a colorful door wreath with a fewwwww simple steps! 🙂
MATERIALS:
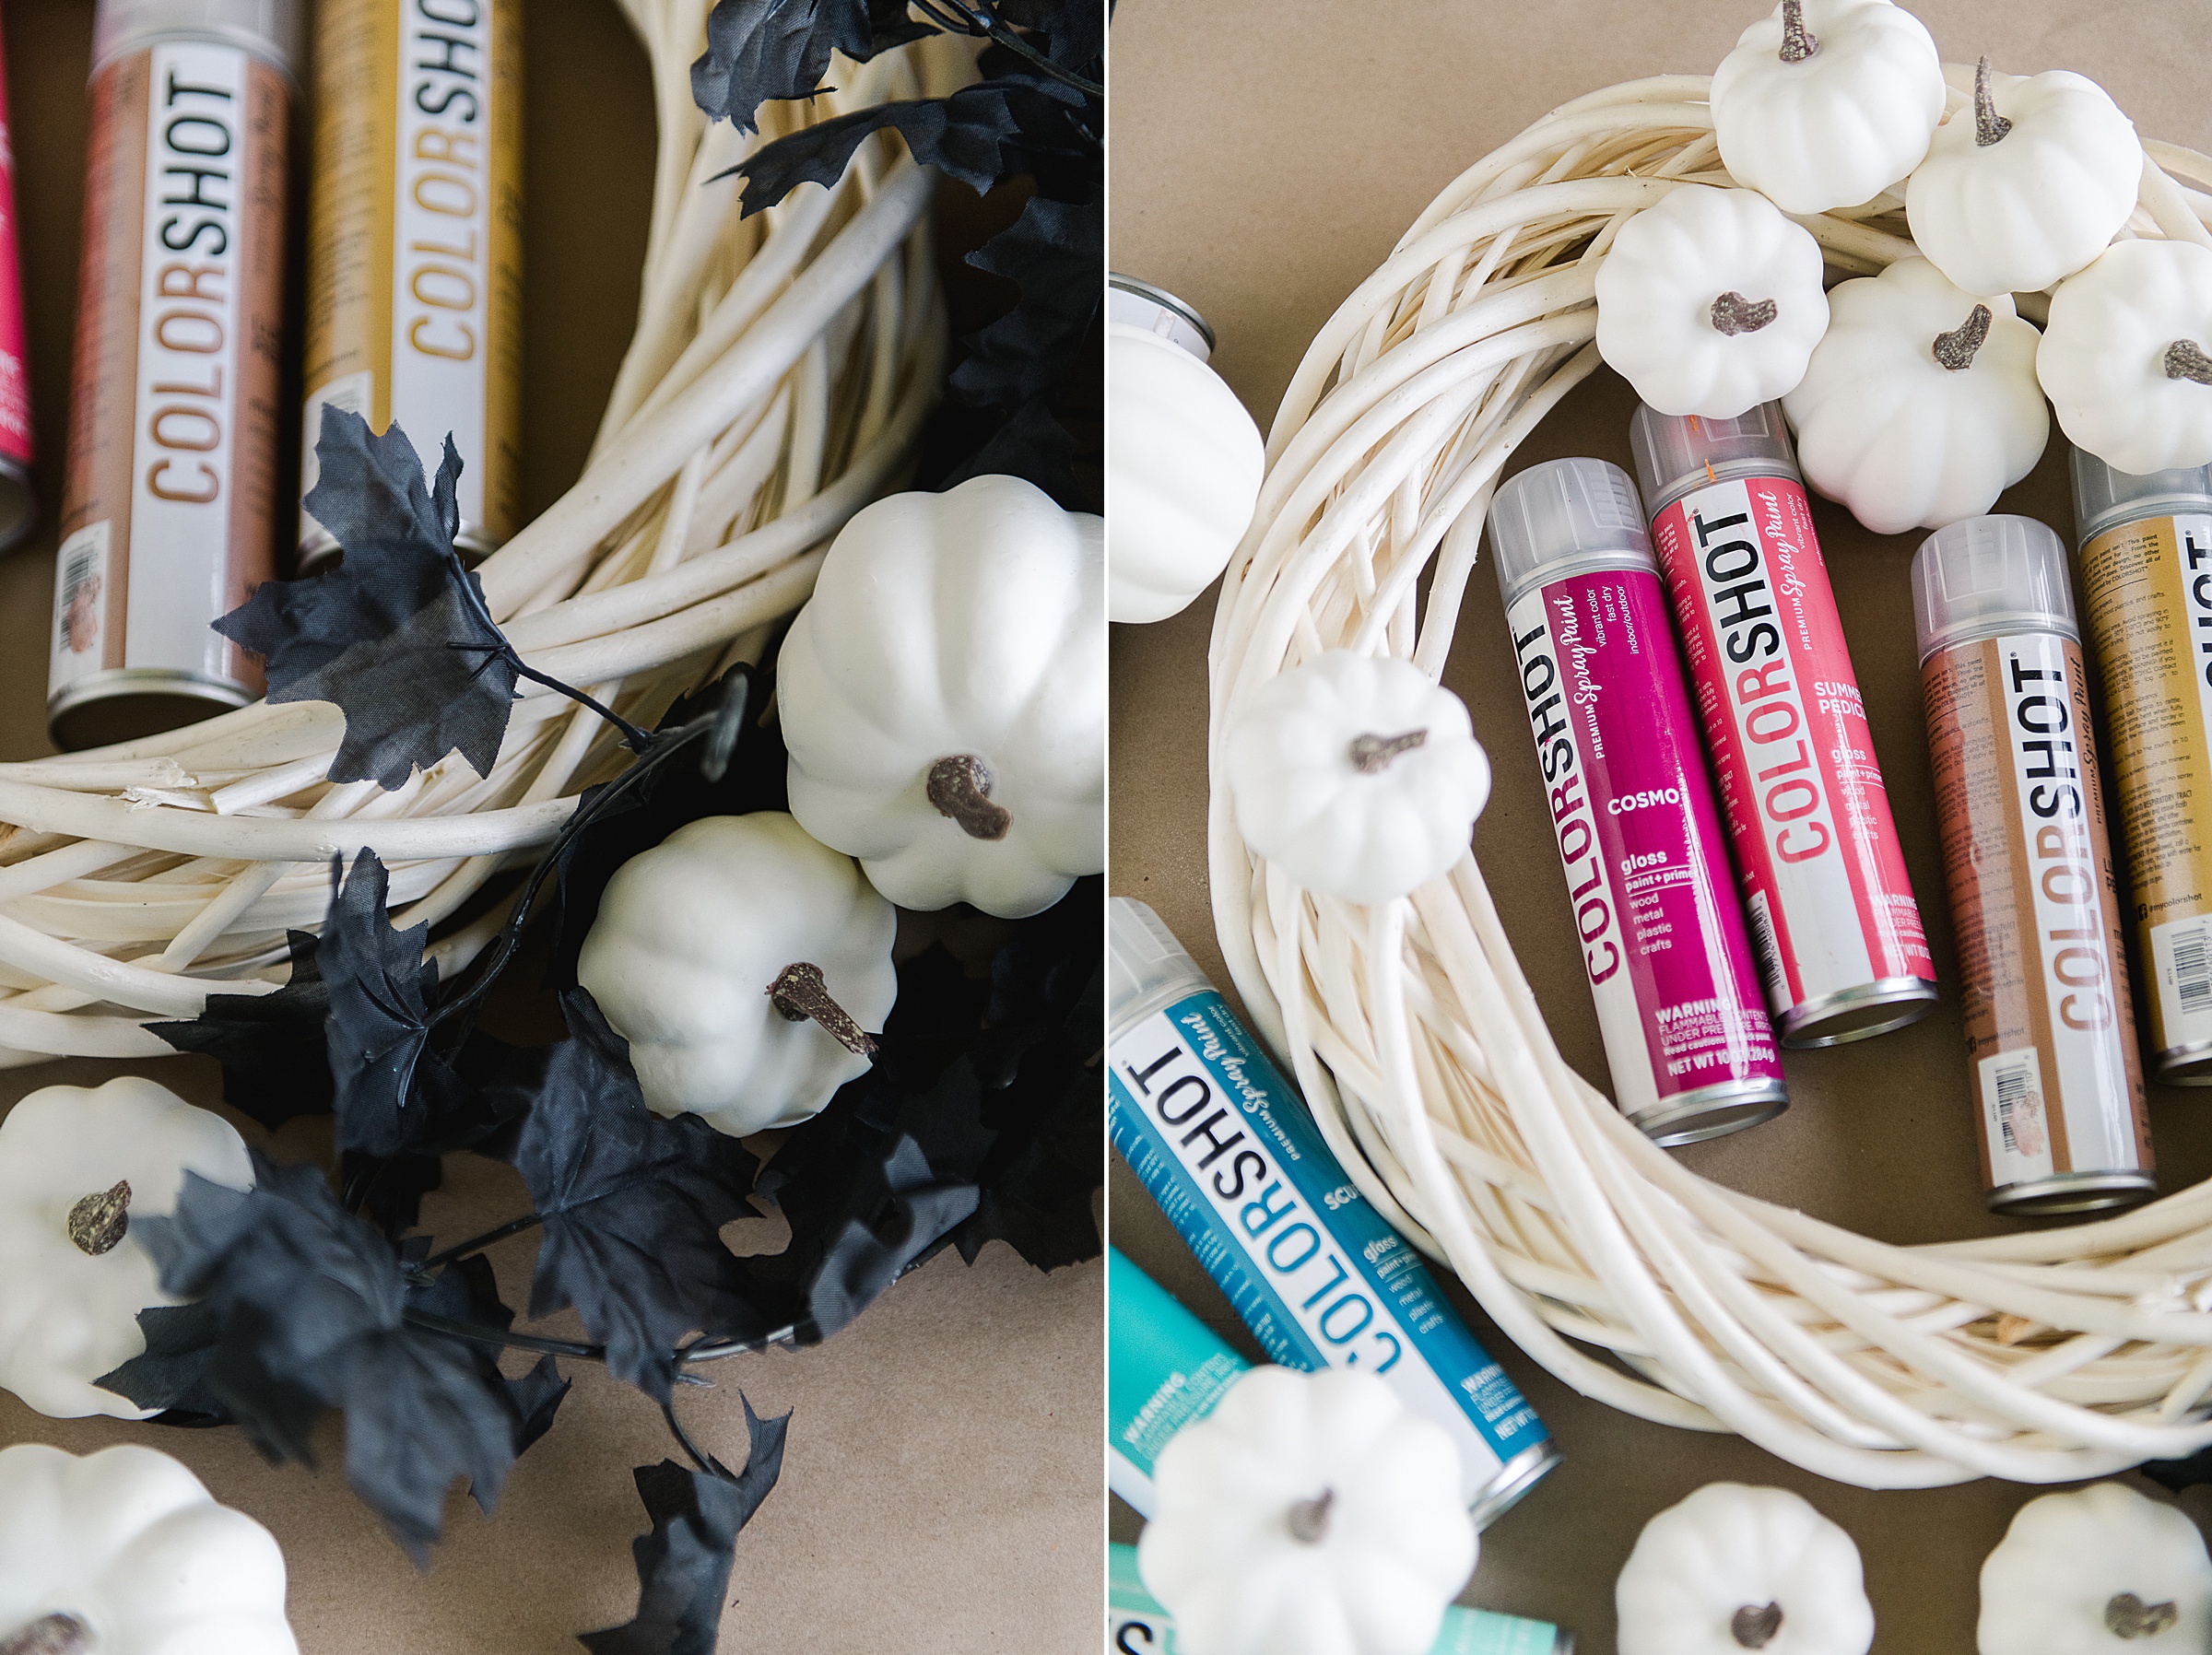
- A smattering of your fave Colorshot spray paint colors (the ones I used are listed below)
- A handful of various sizes of pumpkins
- A wreath form
- Some faux leaves or moss or something for the base/background on the wreath
- A protected work surface for spraying on in a well ventilated area
- Some black or brown paint + paintbrush for the stems 🙂
INSTRUCTIONS:
1. Prep your area and paint!
Lay out your cardboard or something to protect your surface and then choose your colors of spray paint.
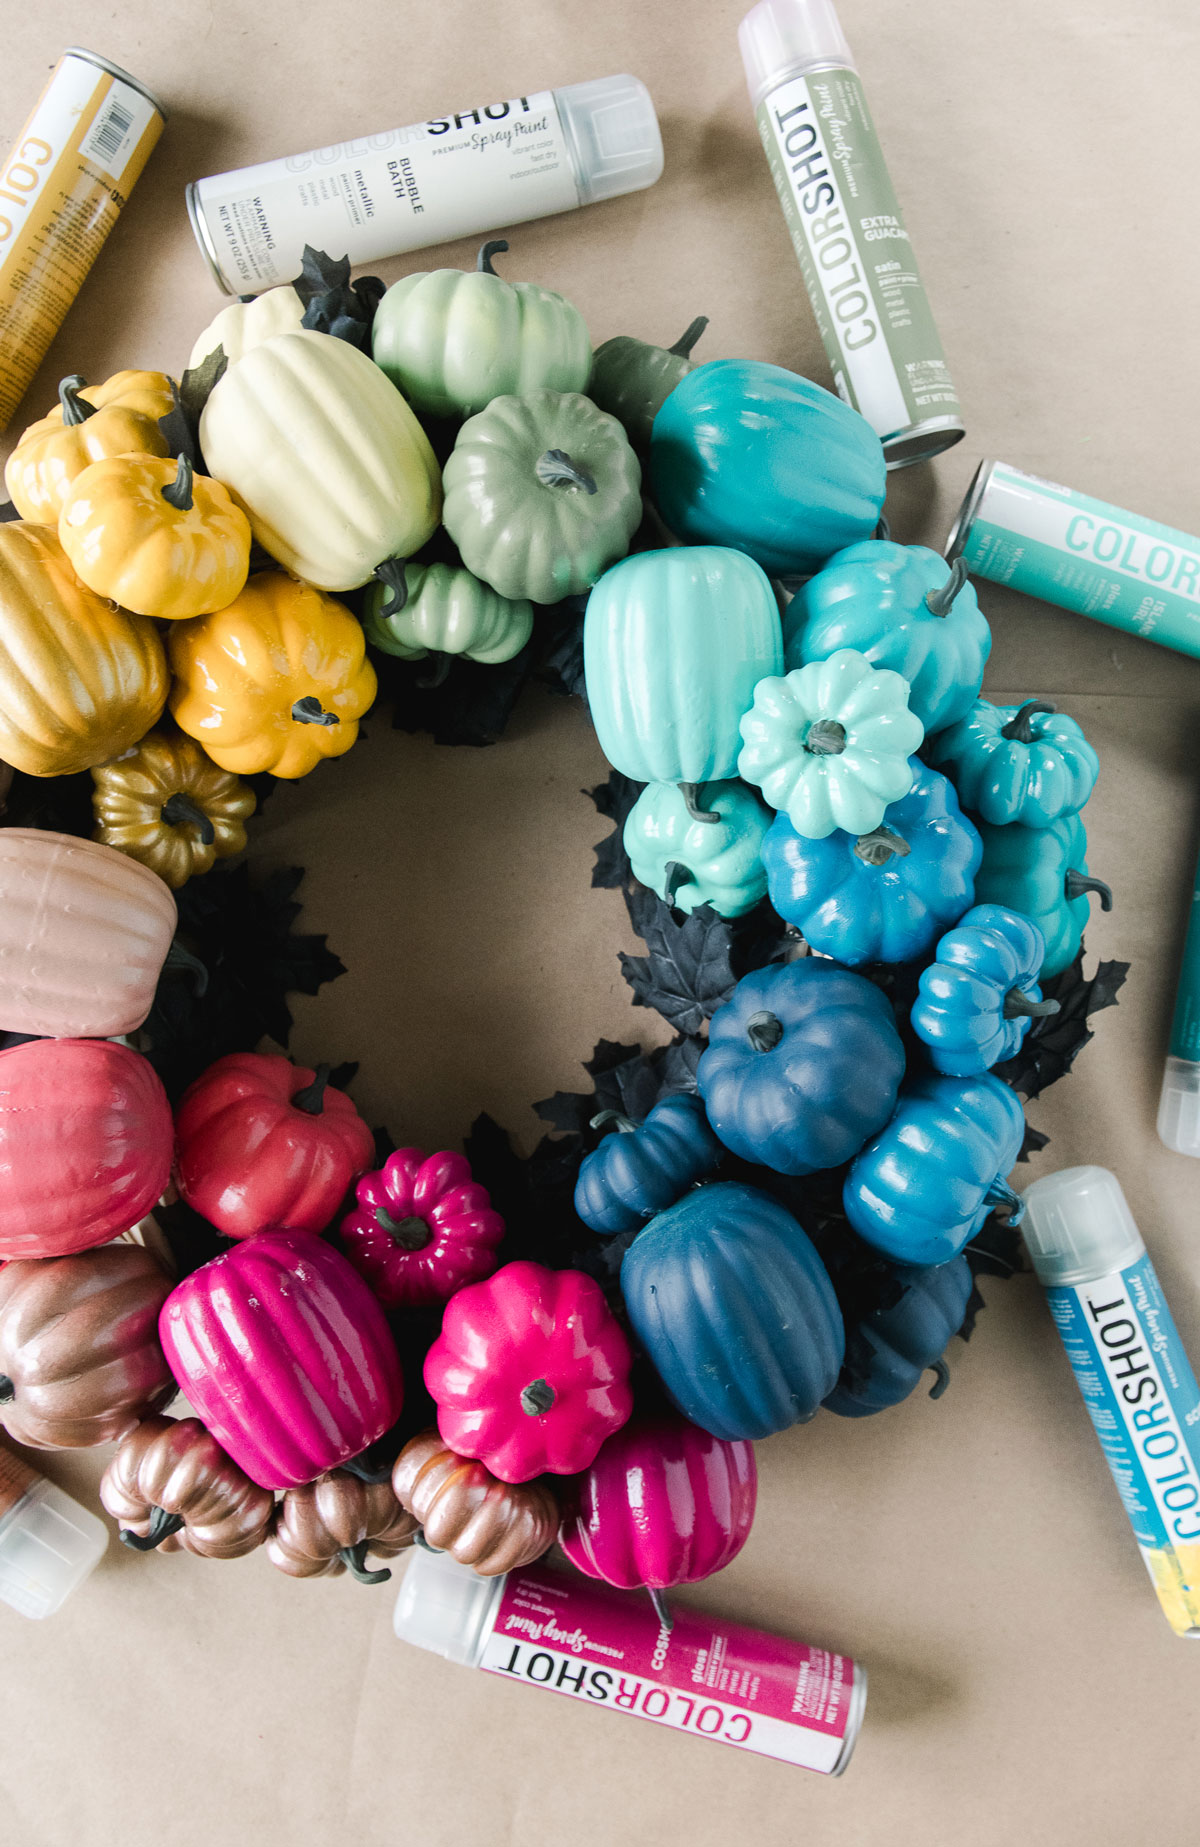
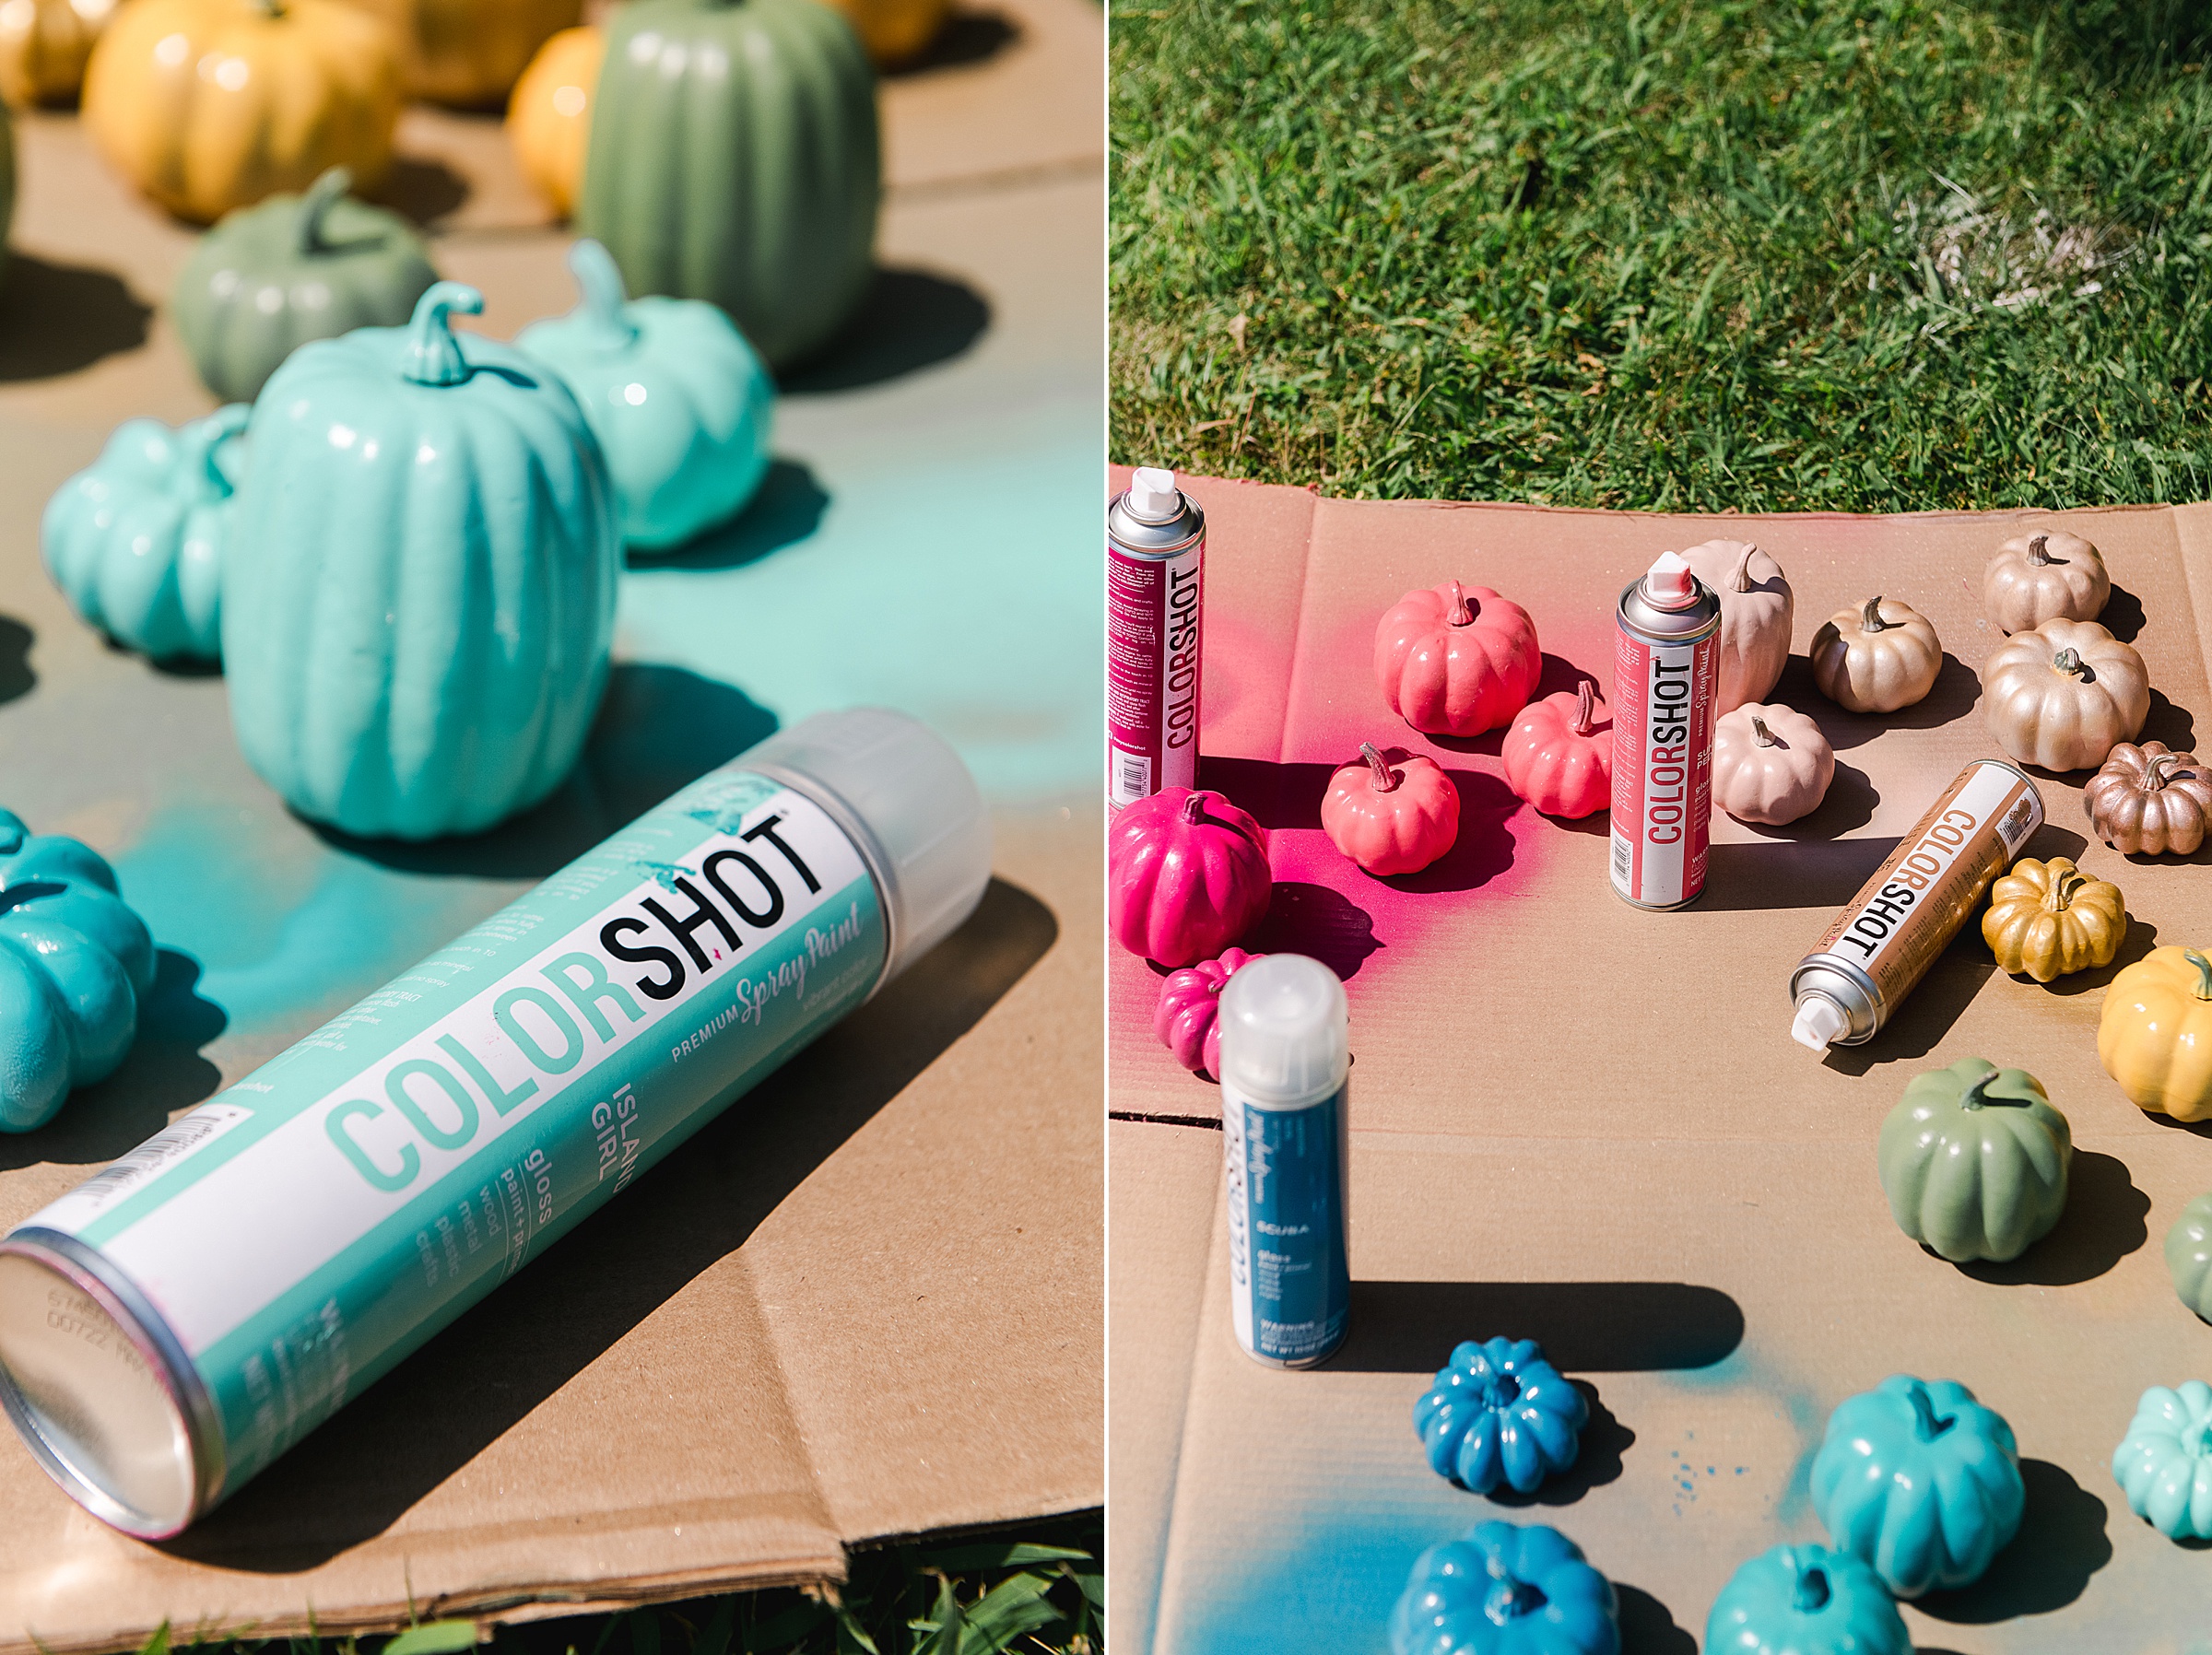
The Colorshot colors I used (in order) are:
- Scuba with Cosmo underneath (this is the darker blue)
- Scuba
- Mermaid Island Girl
- Extra Guacamole
- Extra Guacamole with some Cheers over top (lightens the green)
- Emoji with Cheers over the top (the lighter yellow)
- Treasure Chest
- Cheers
- Summer Pedicure
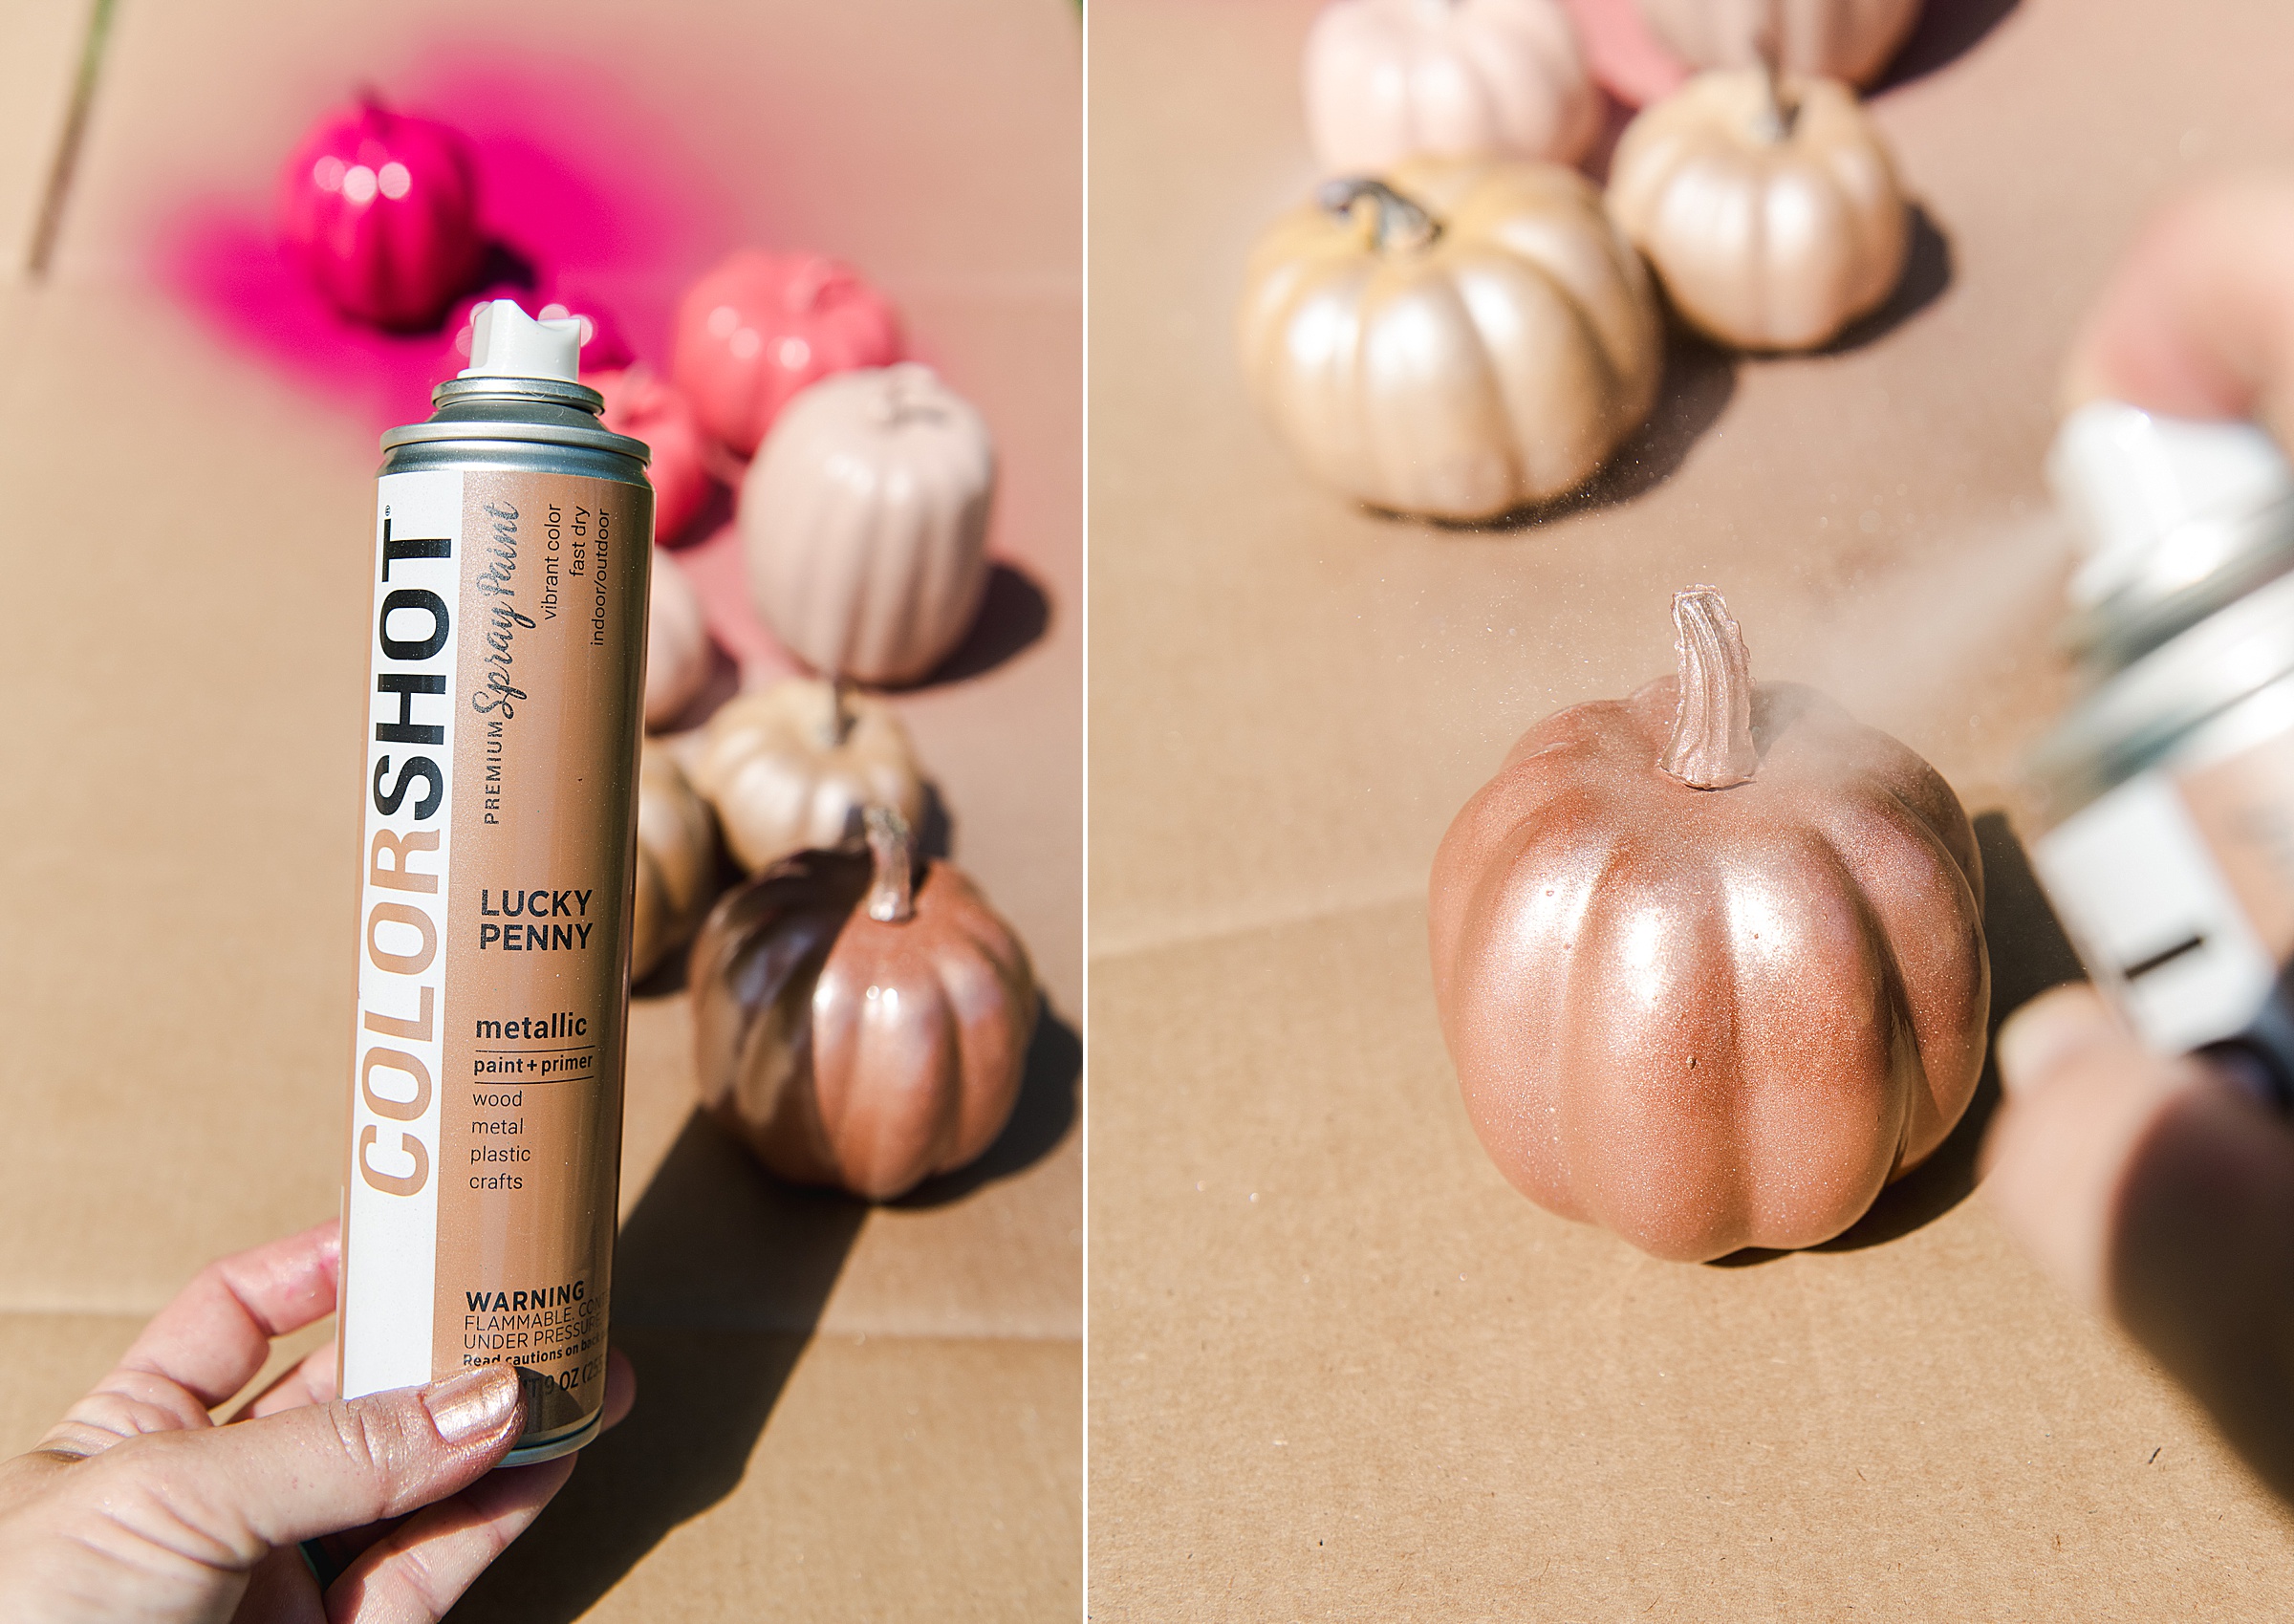
- Lucky Penny
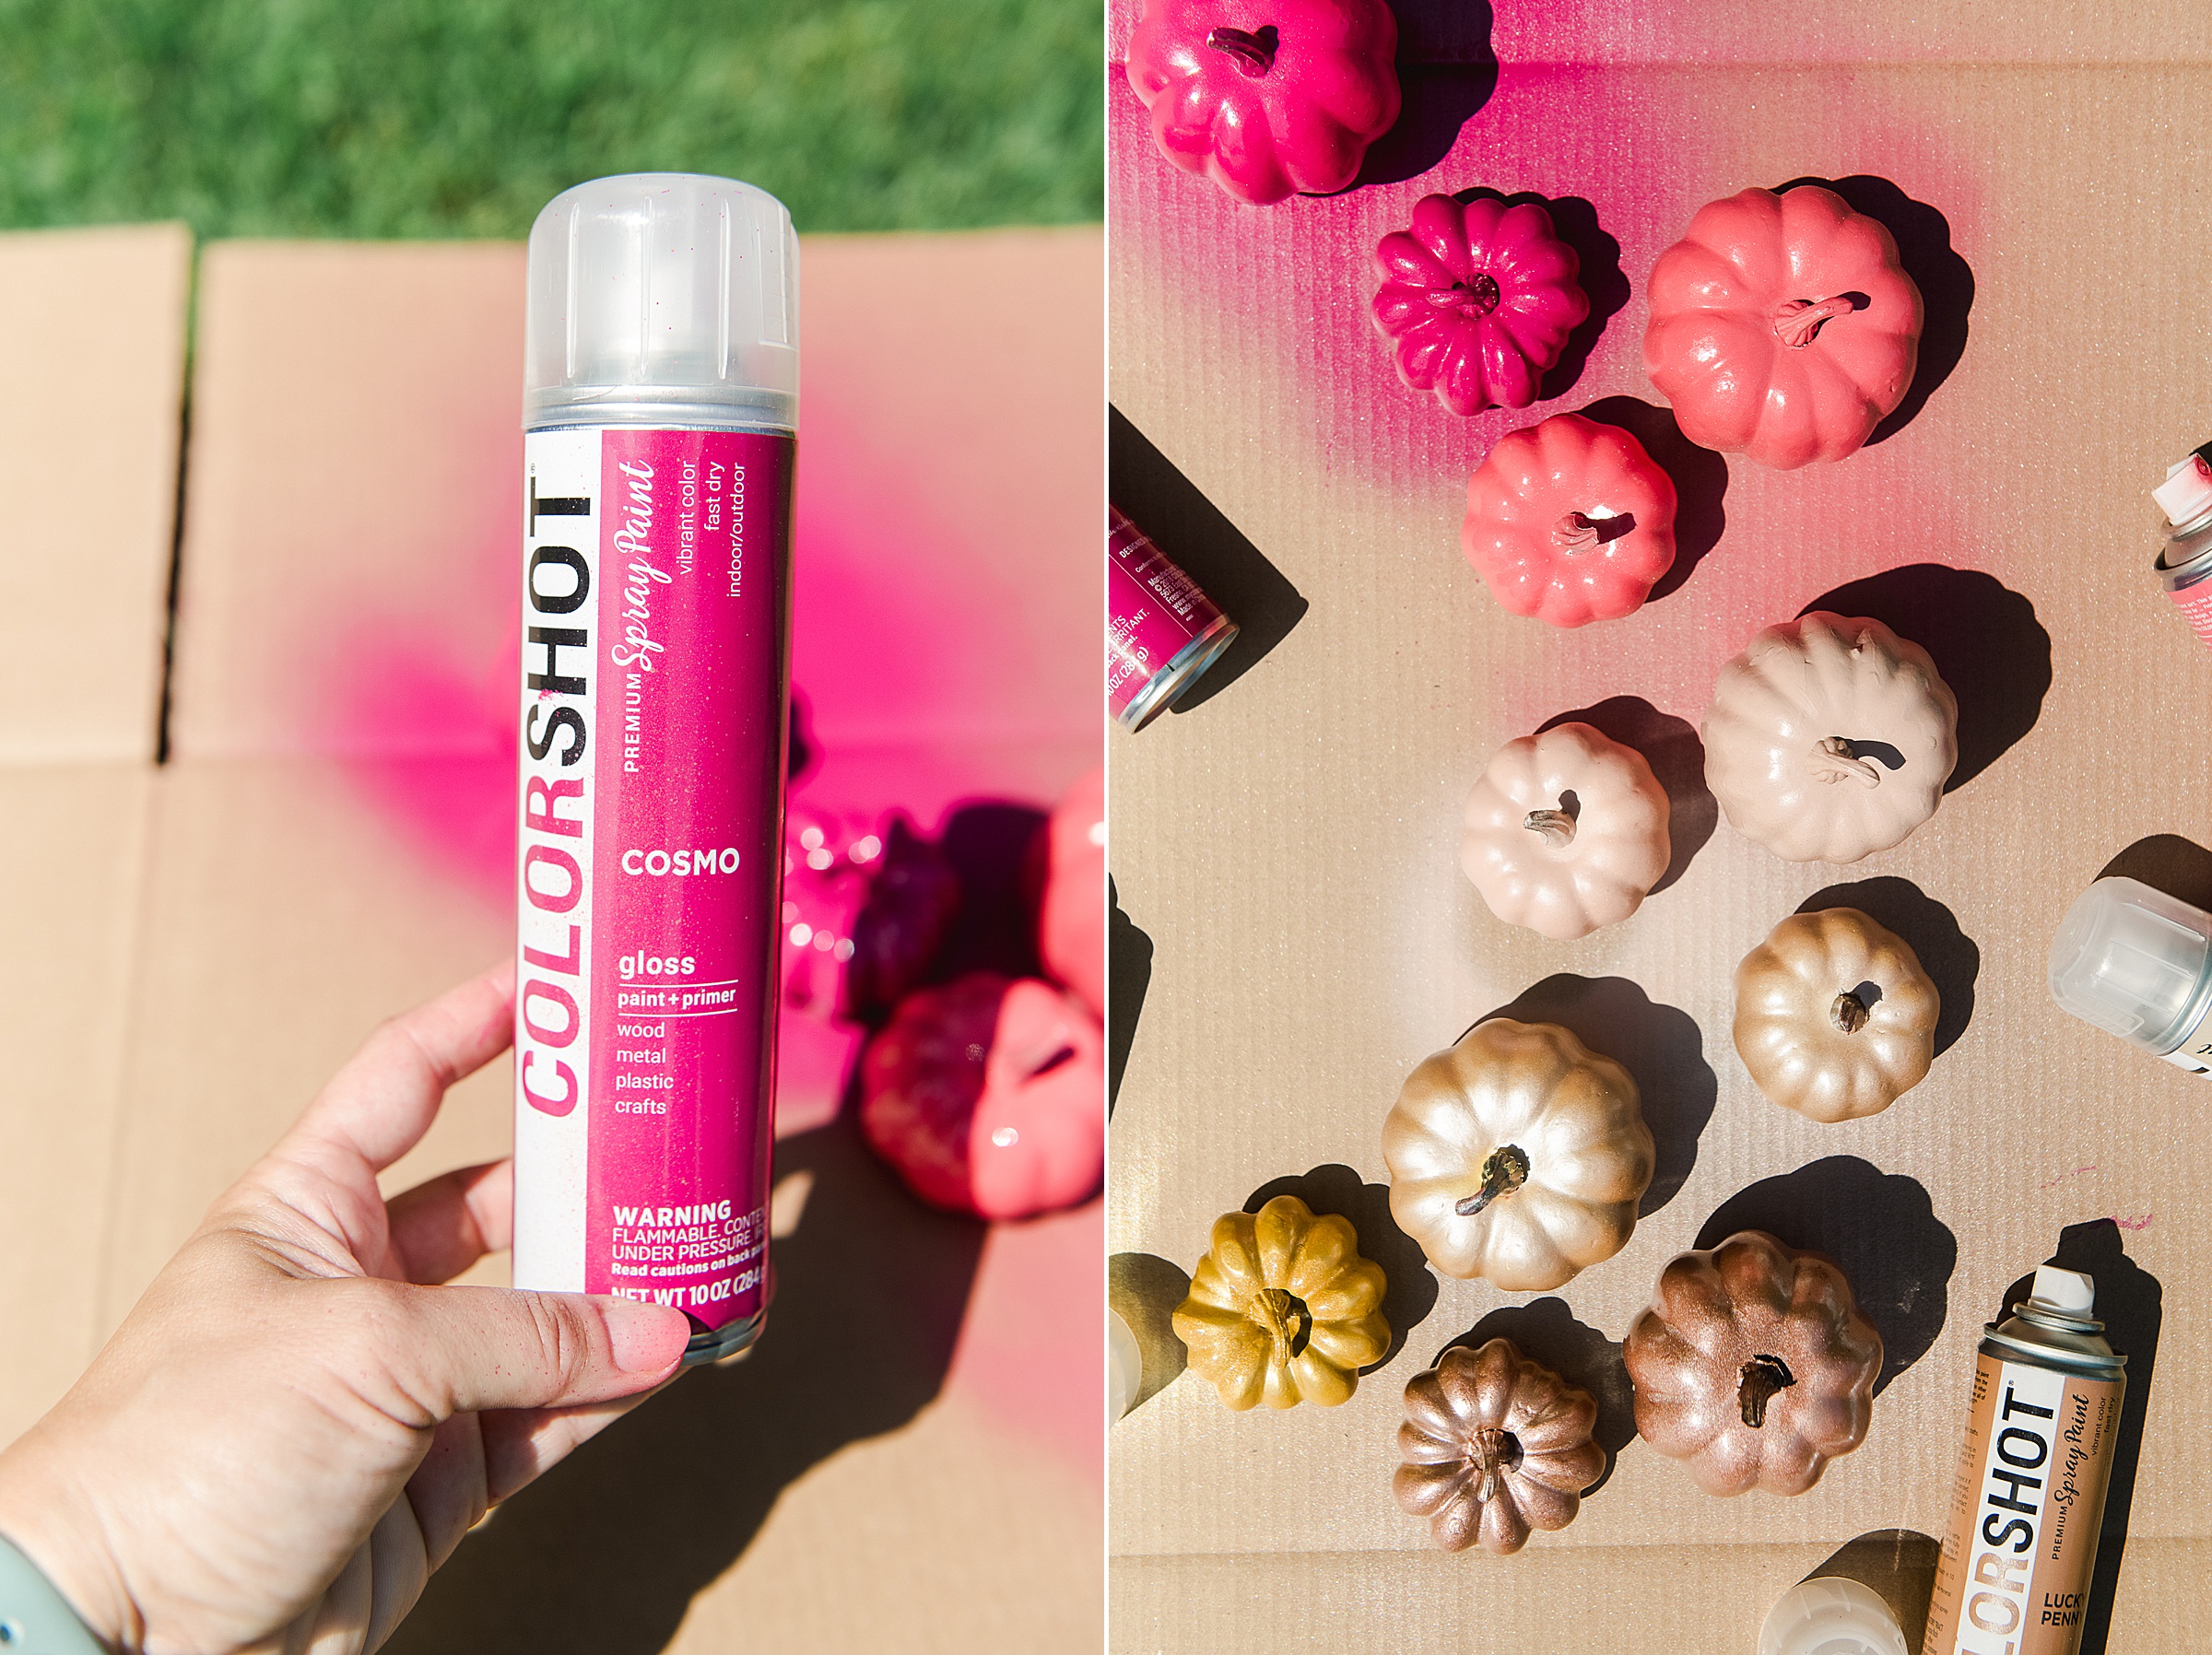
- Cosmo
2. Being spraying your pumpkin evenly with your Colorshot.
- Be sure to spray with an even coat about 2-3 inches away from the surface of the pumpkin
- I found it best and easiest to hold the pumpkin by the stem so that I could twist or turn while spraying to get the most even coat (don’t worry about the stems, we deal with those later! 🙂
- Some of the colors require a few lighter coats (like the metallic ones) so don’t be afraid to spray lightly, dry and then add another coat
- the dry time was SUPER fast for me, so I chose to do half my pumpkins at a time….spray the “top” and then spray the bottom while allowing to dry in between
- I laid out the pumpkins as I sprayed them so that I could get a visual of how many of each pumpkin to spray (and the sizing too)!
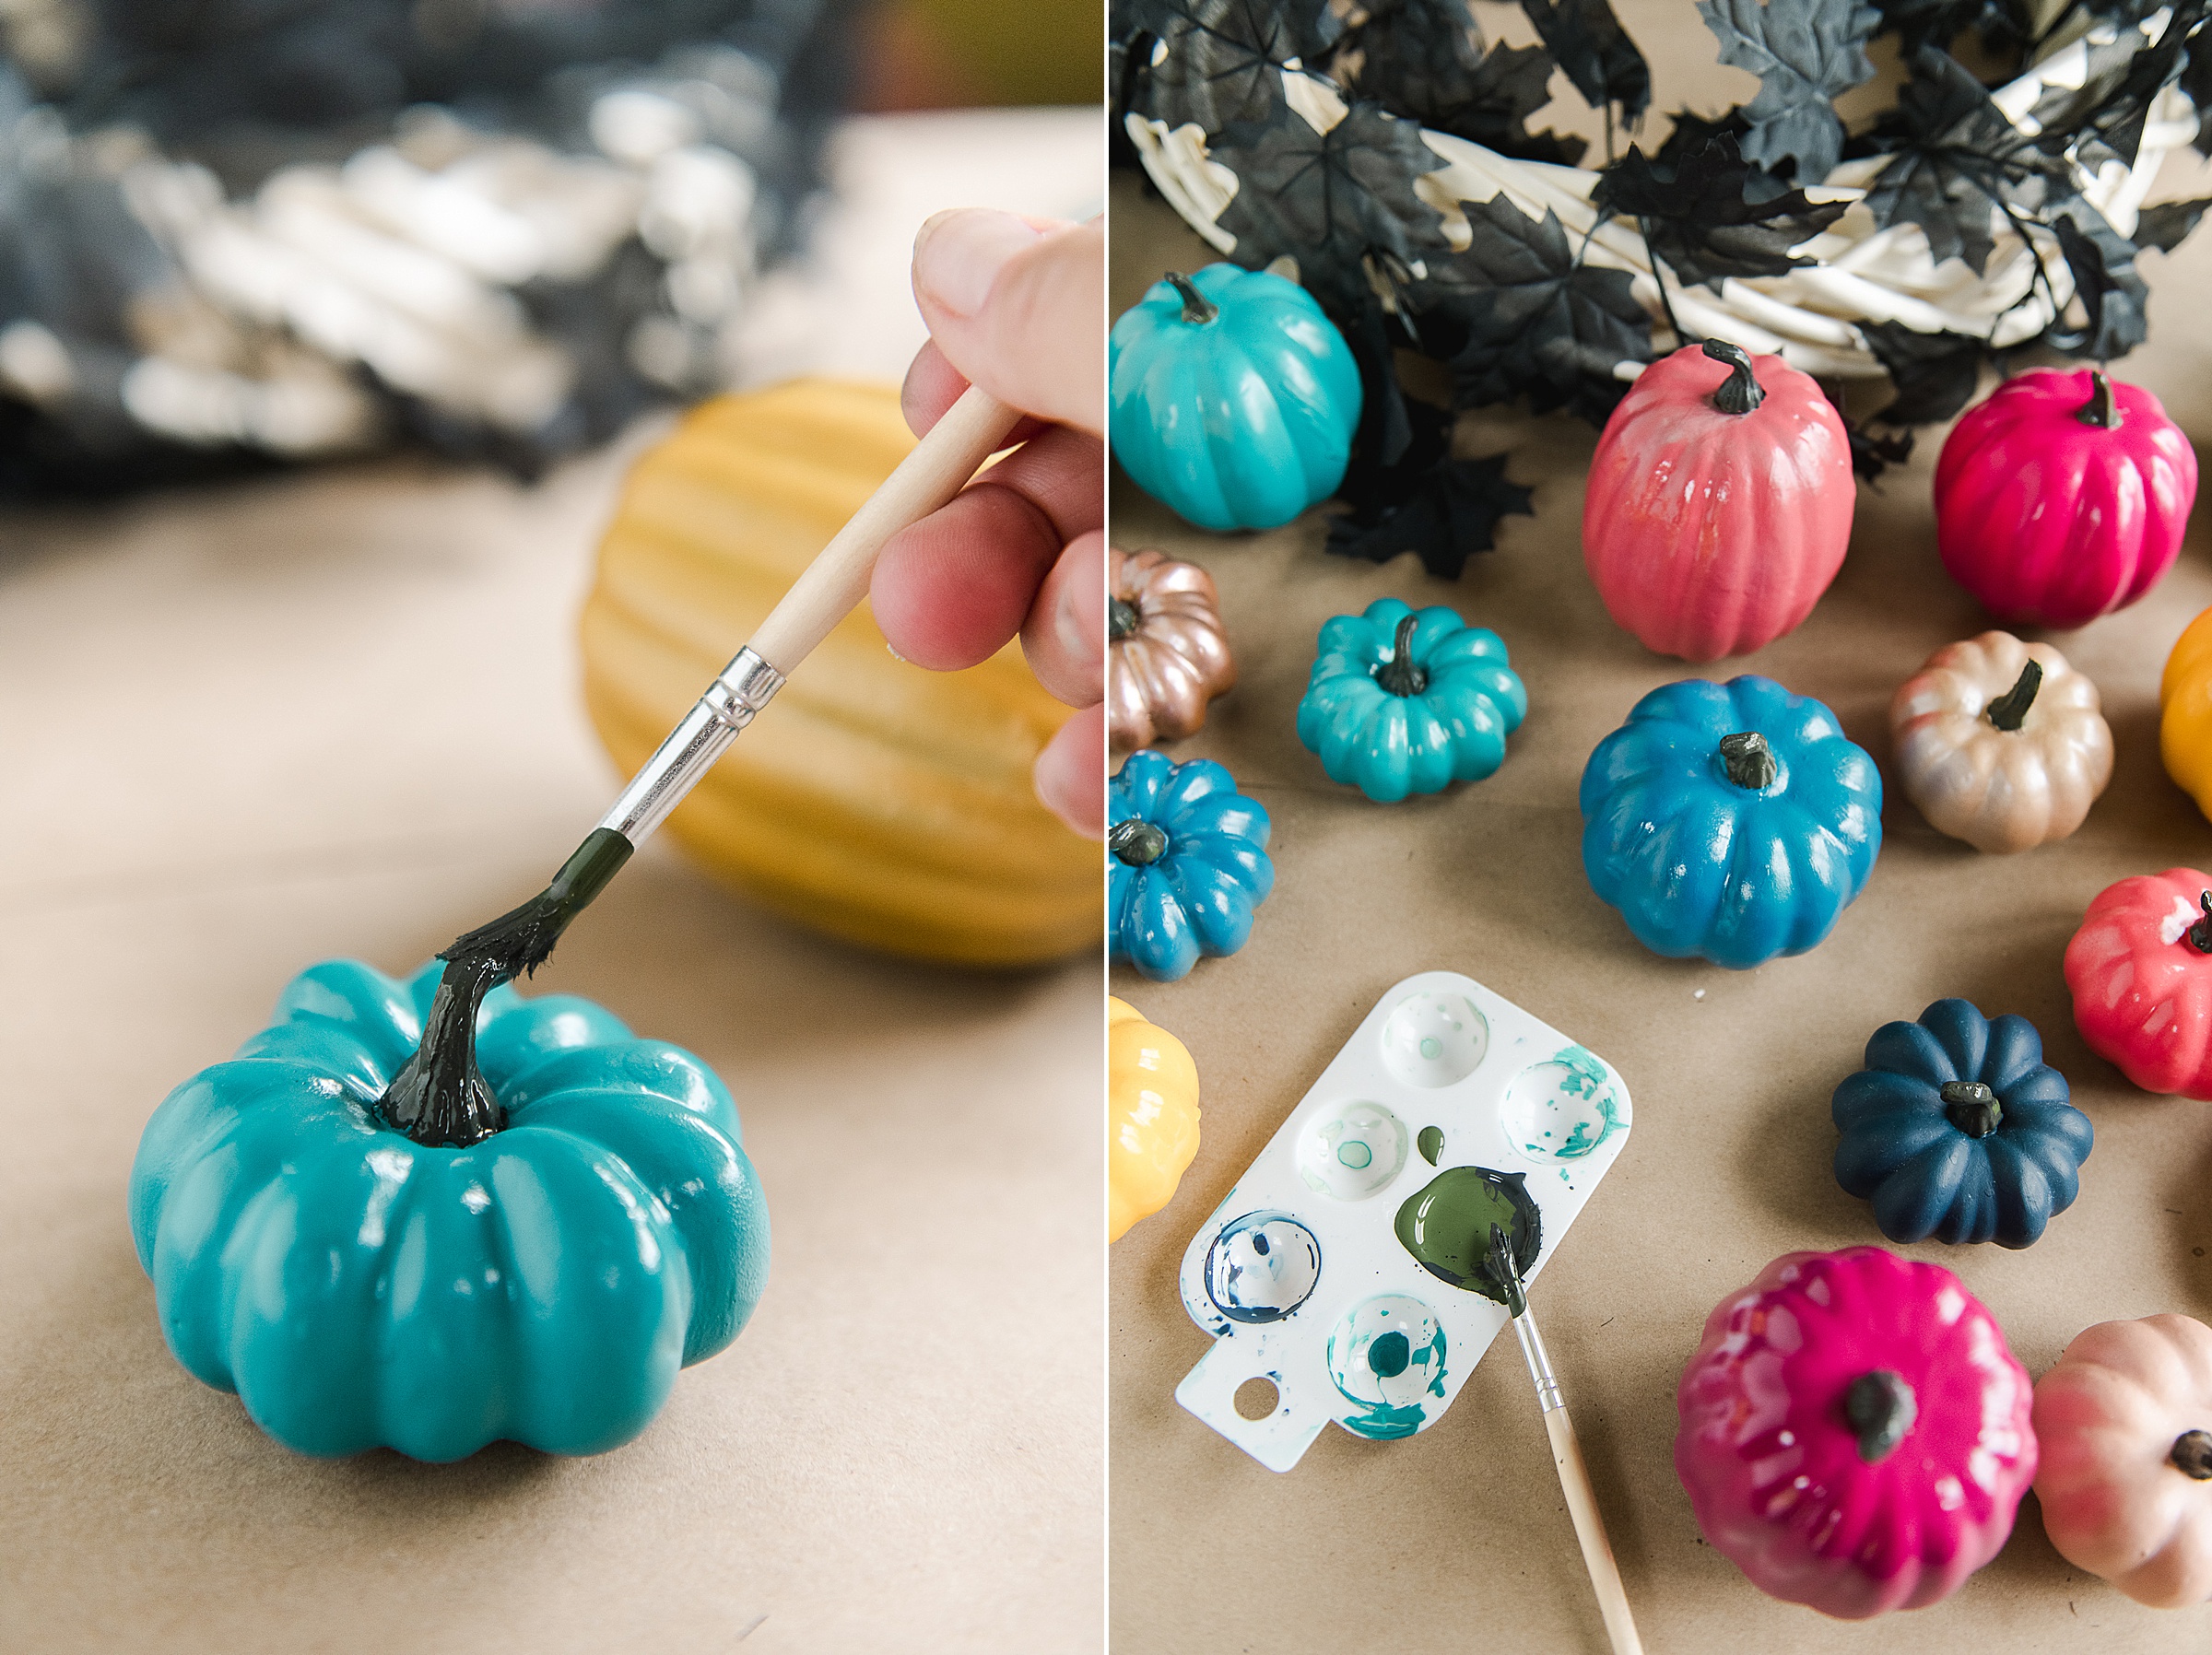
3. Once the pumpkins are dry, you will mix up some brown-black paint and simply paint the stems (not necessary, but I find they look more realistic)
4. Now it’s time to heat up your glue gun and get to gluing onto your wreath form.
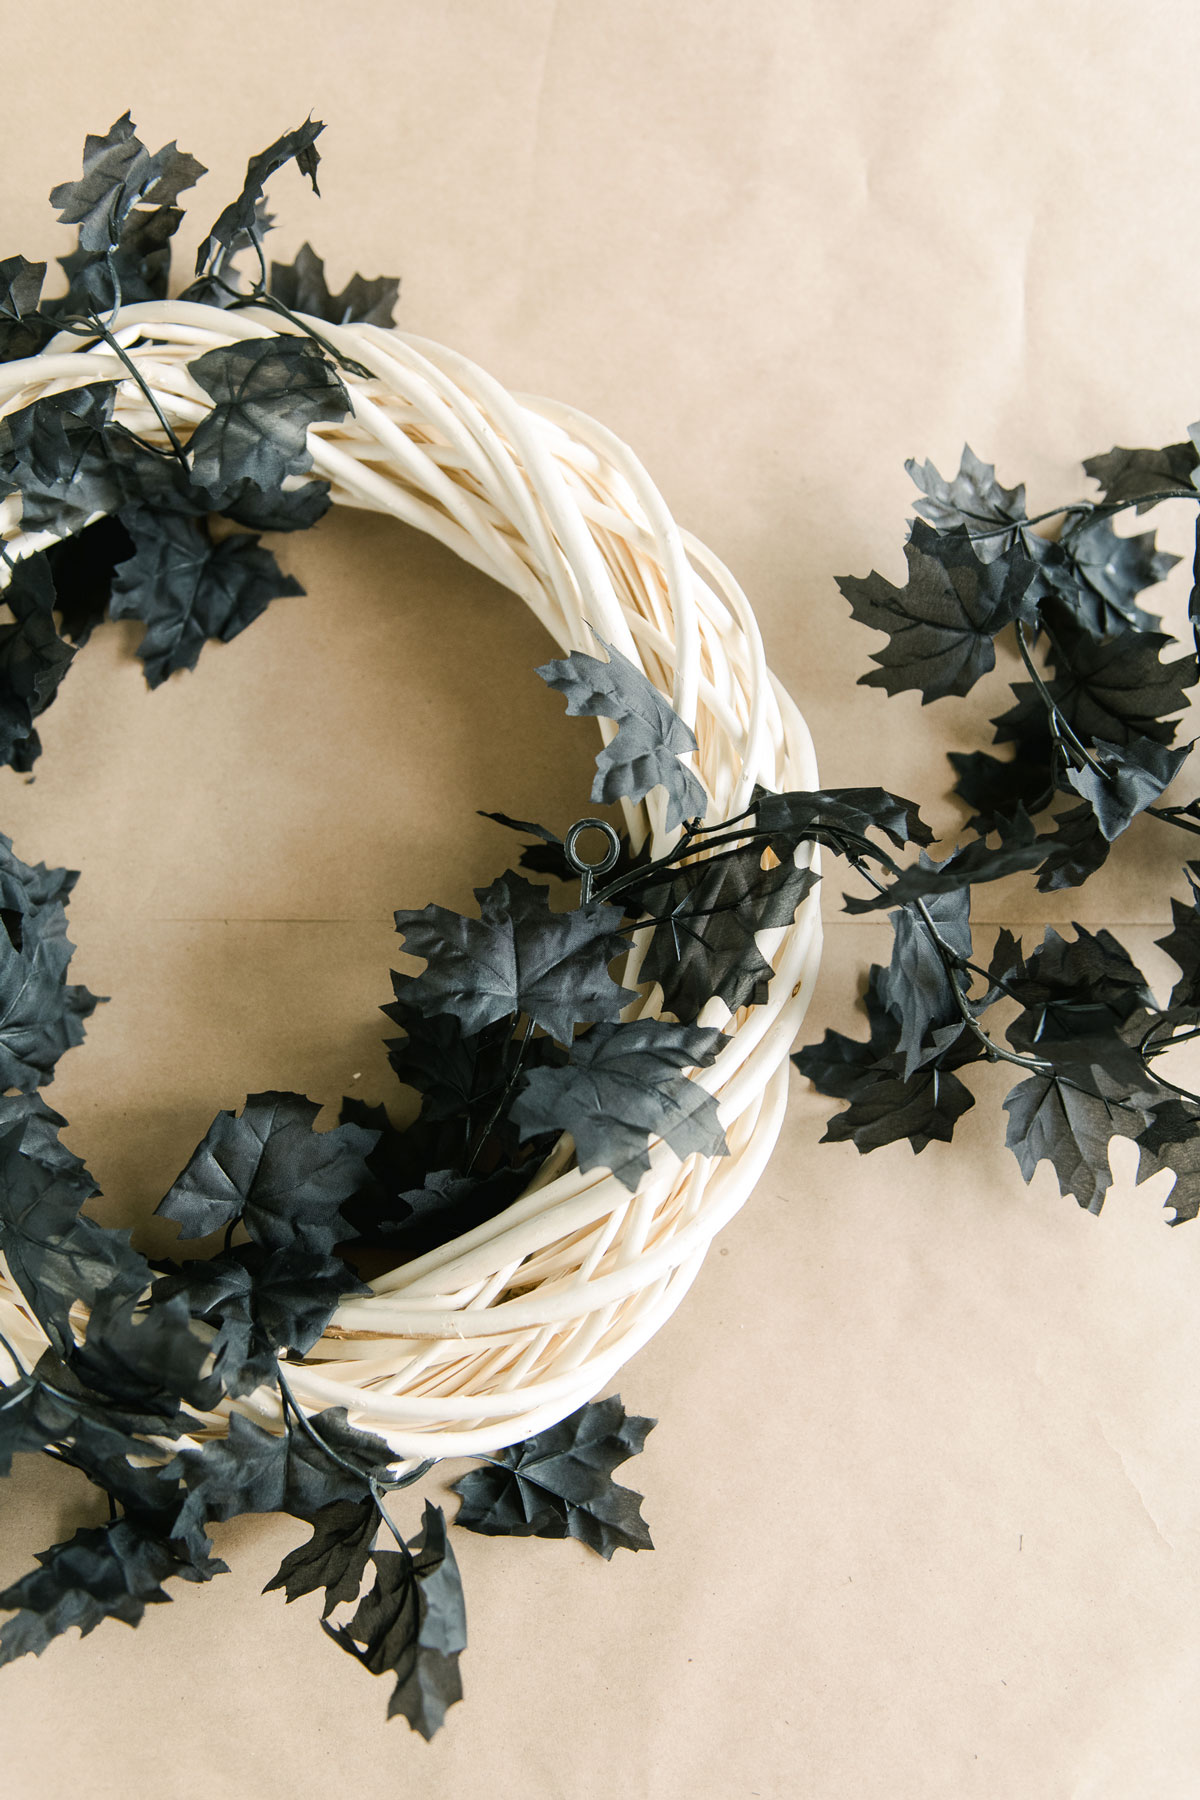
I first wrapped the wreath with my black leaf garland to add some “background” and texture! 🙂
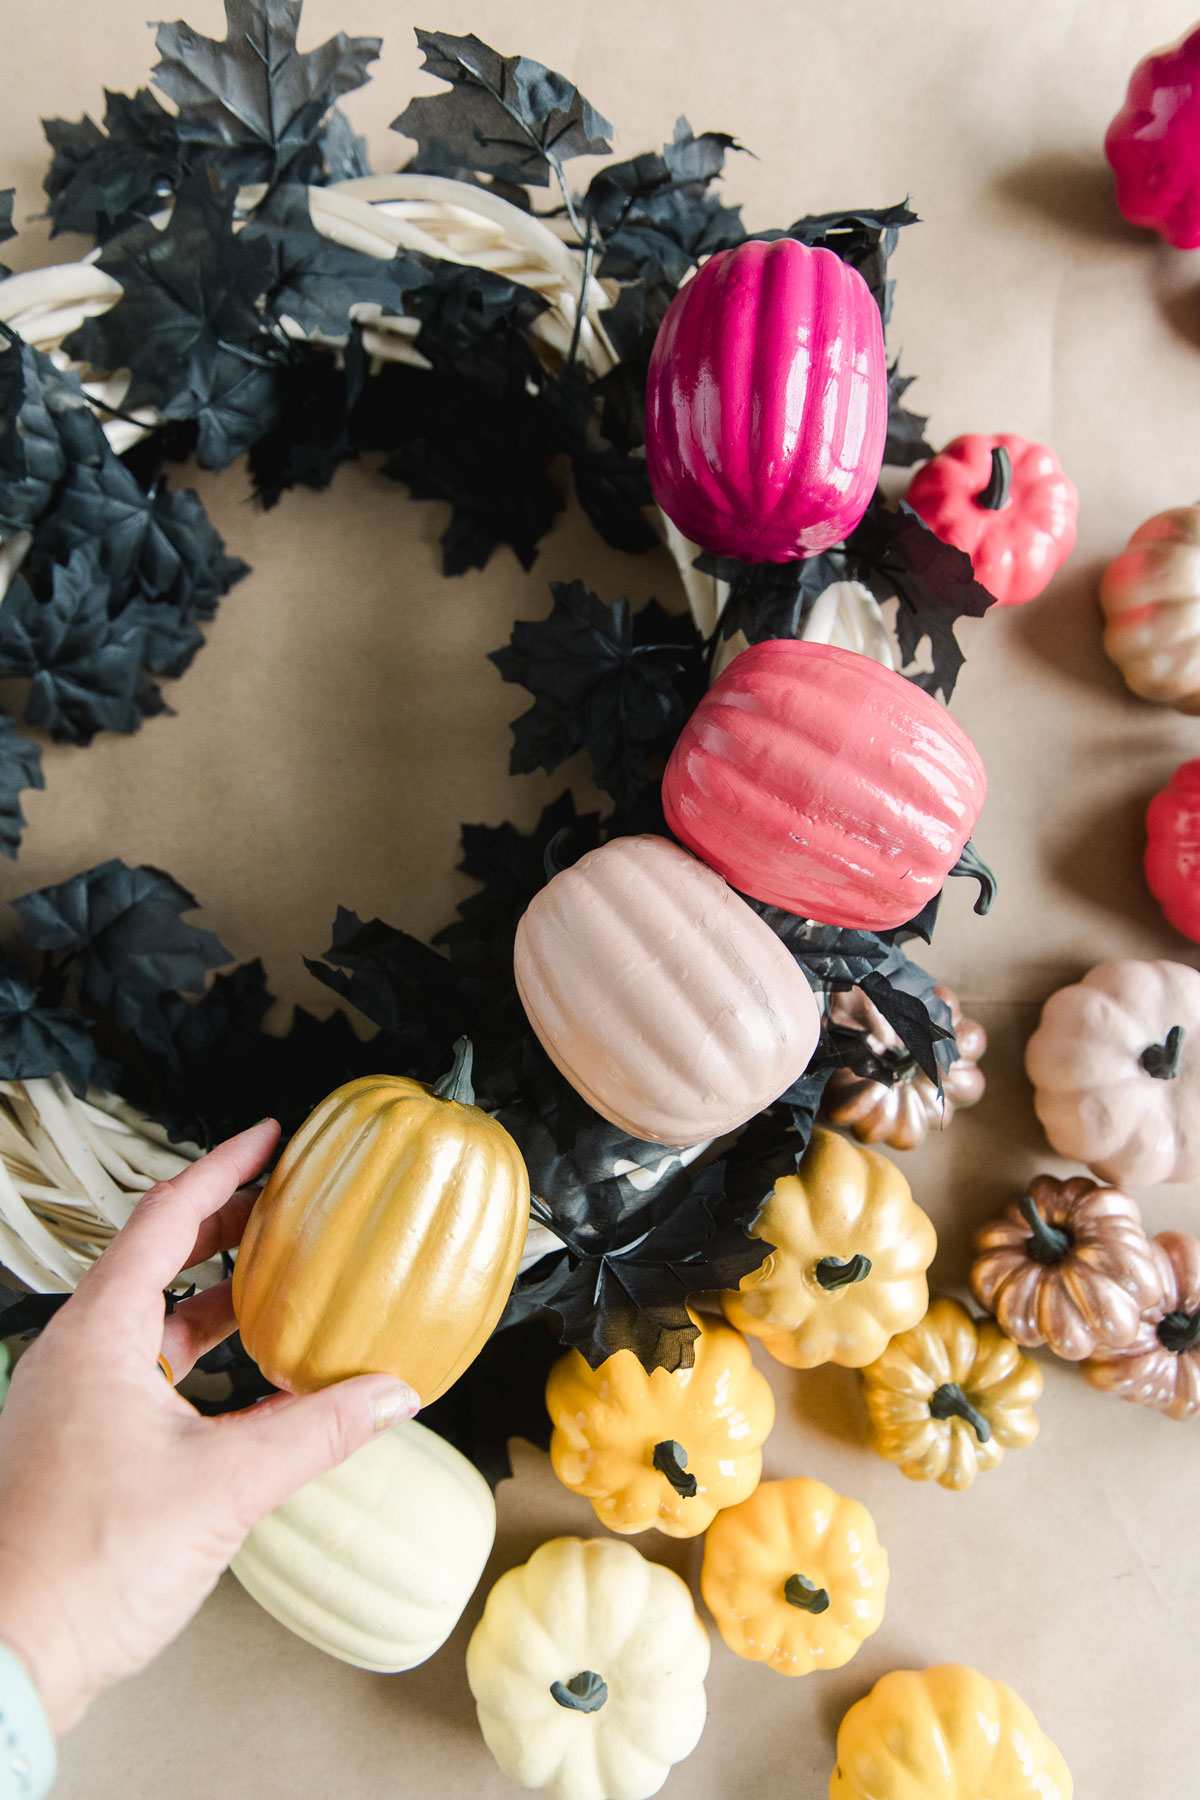
I chose to lay out the pumpkins on the outer edge of the wreath before gluing. I began gluing the larger pumpkins first (in various directions for variety) and then filled in with medium sized pumpkins and finished with small ones (to fill in the holes and gaps).
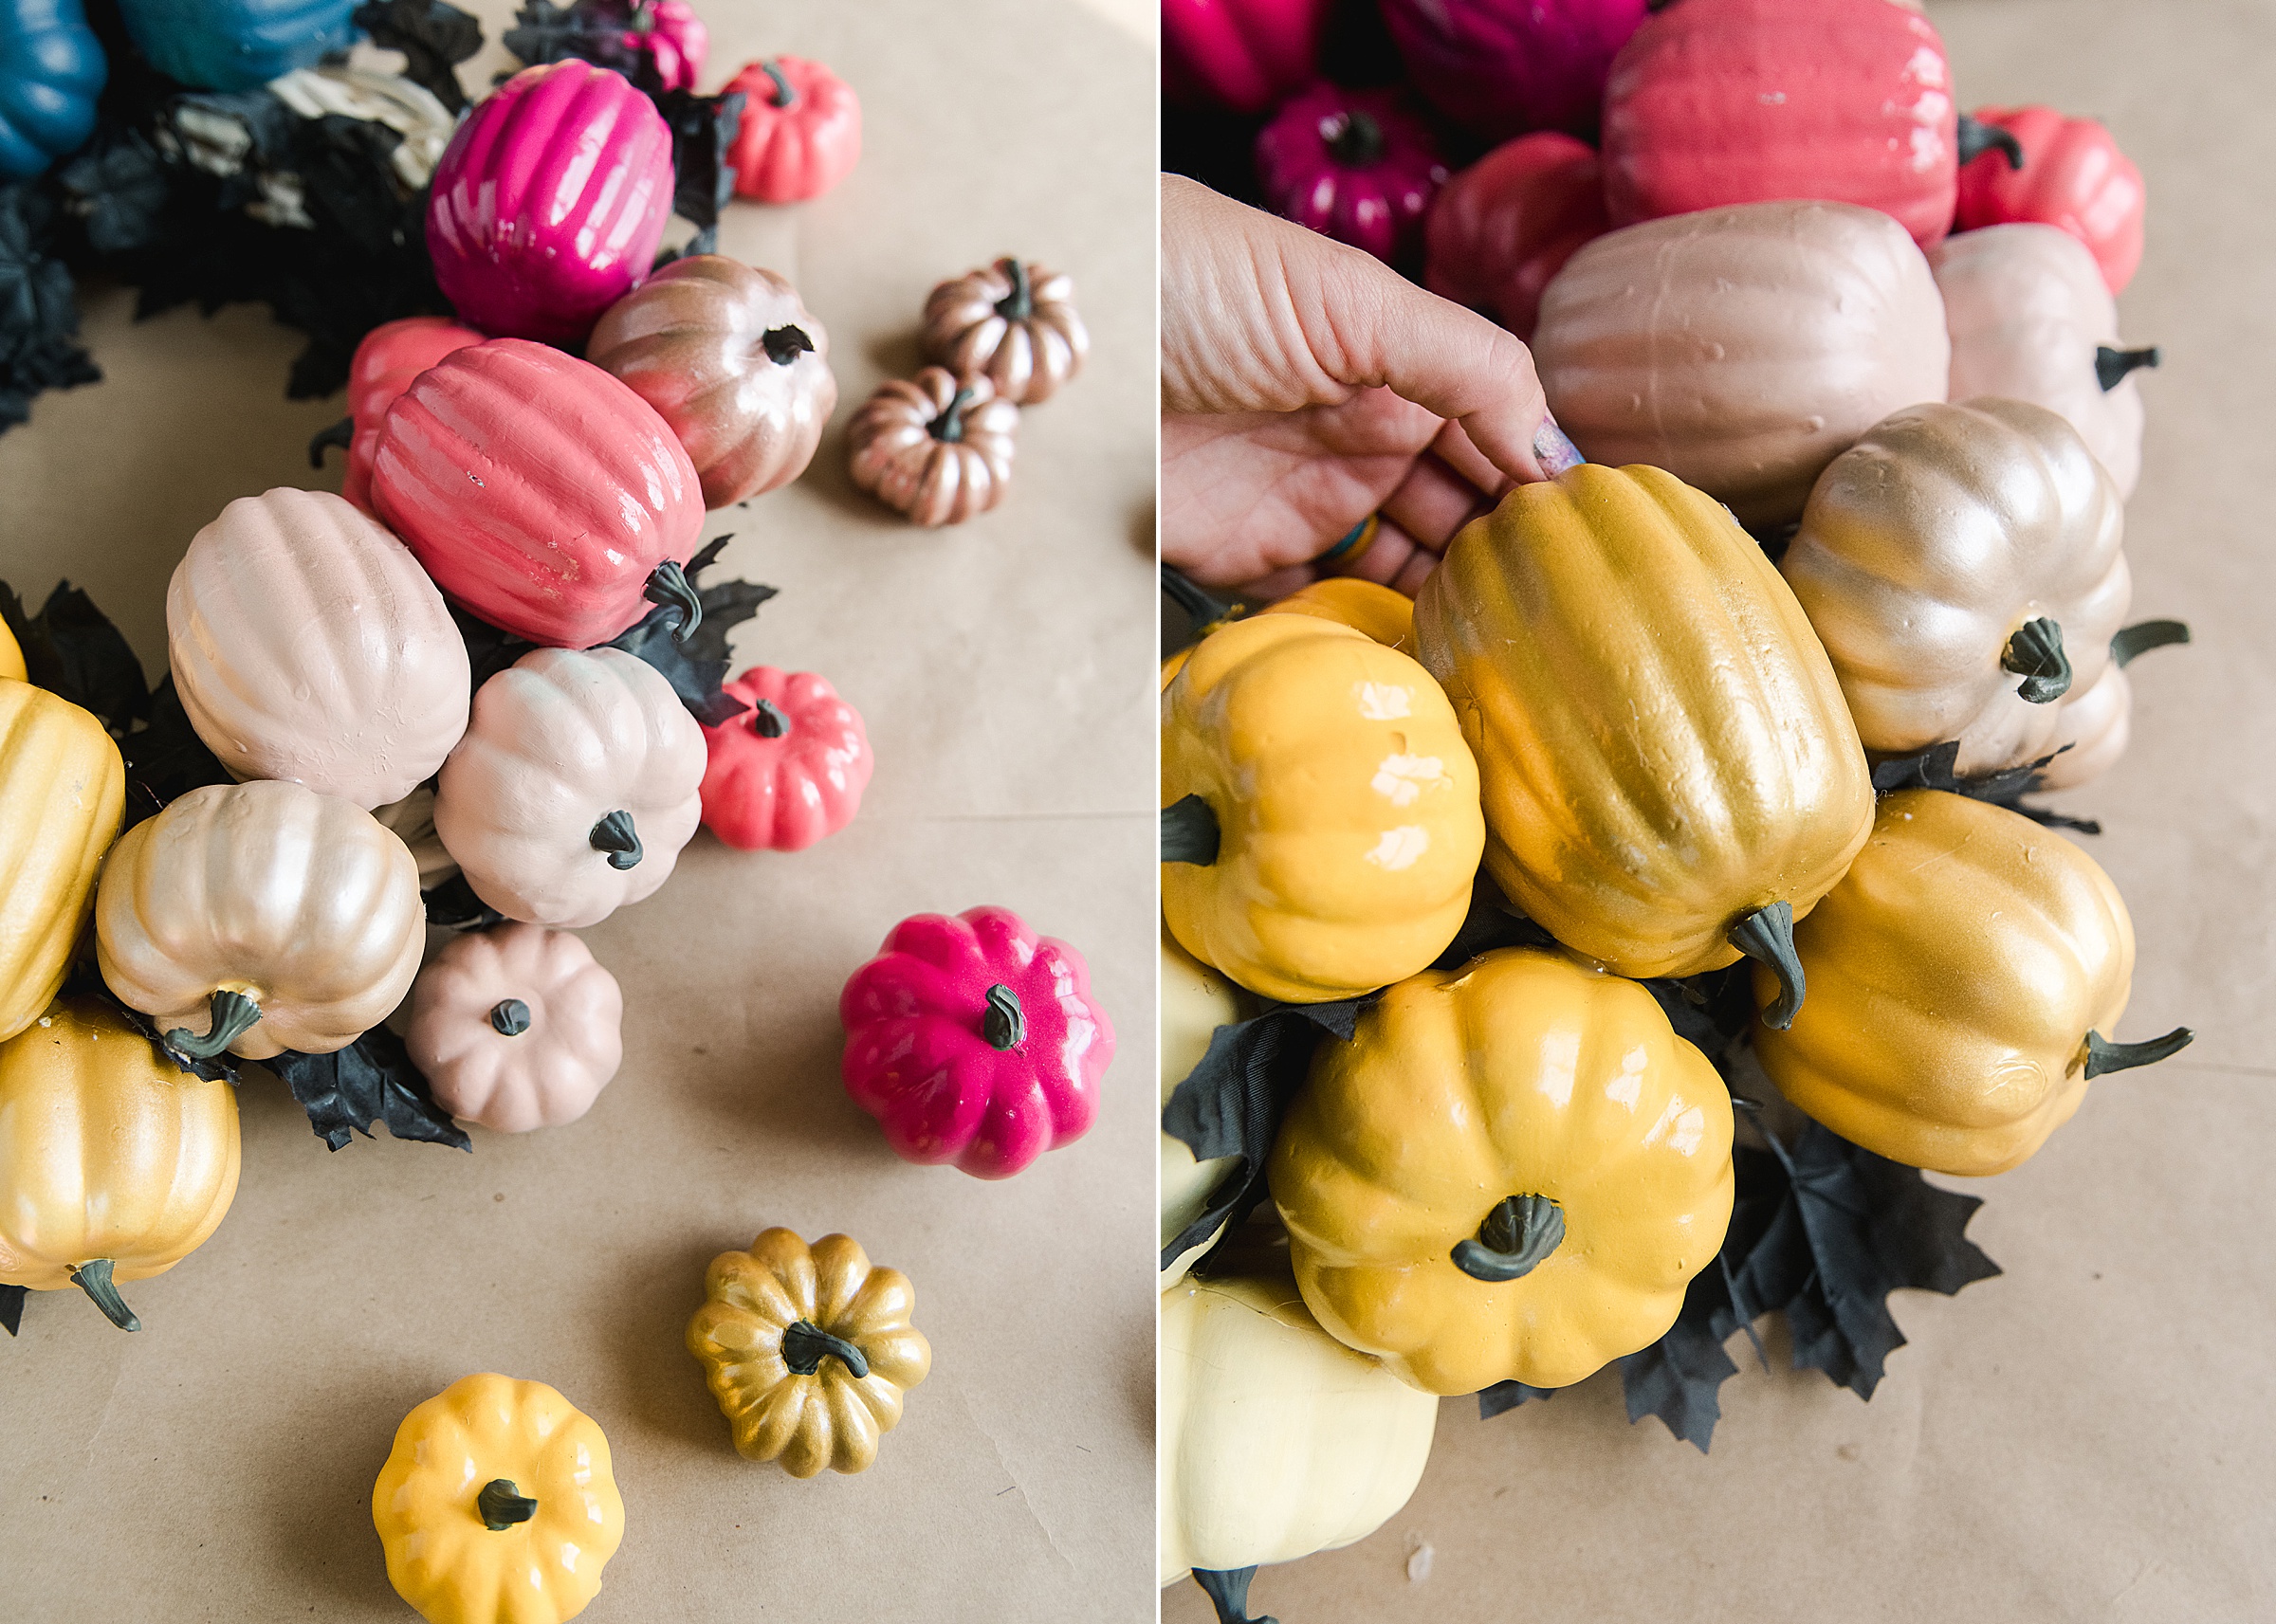
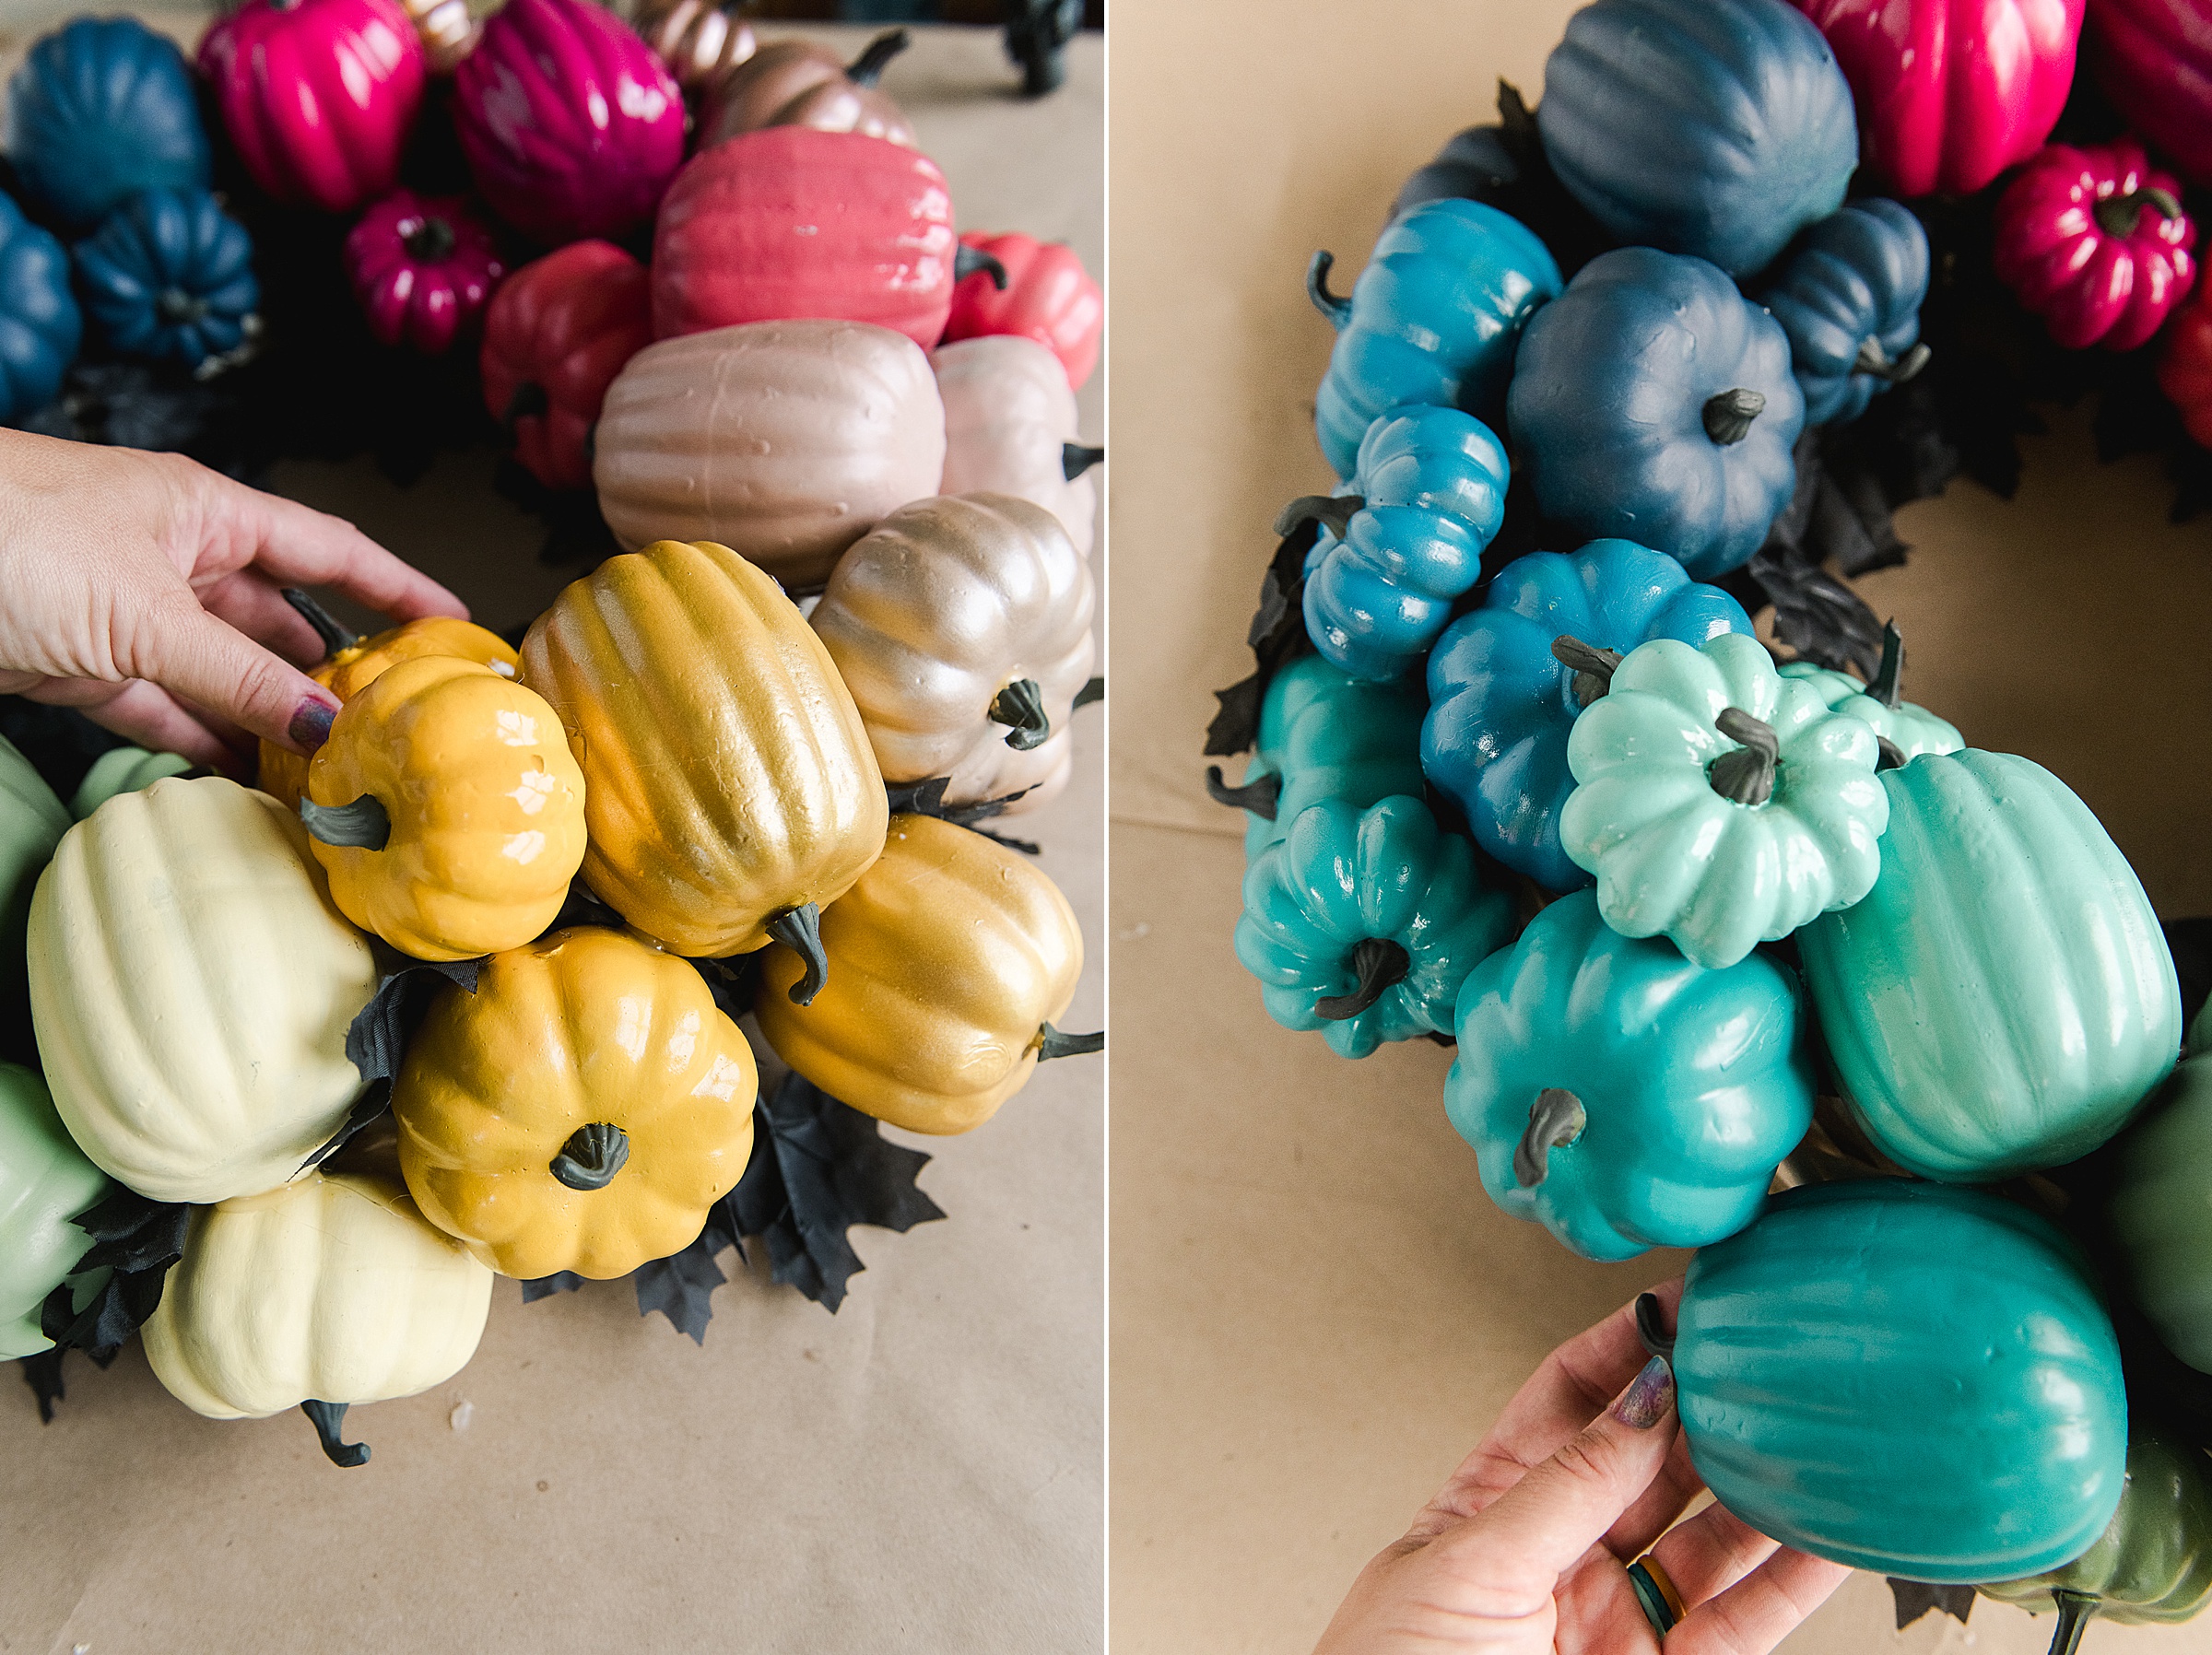
Once your wreath is full of colorful pumpkins then you are ready to hang it to happily welcome fall! 🙂
