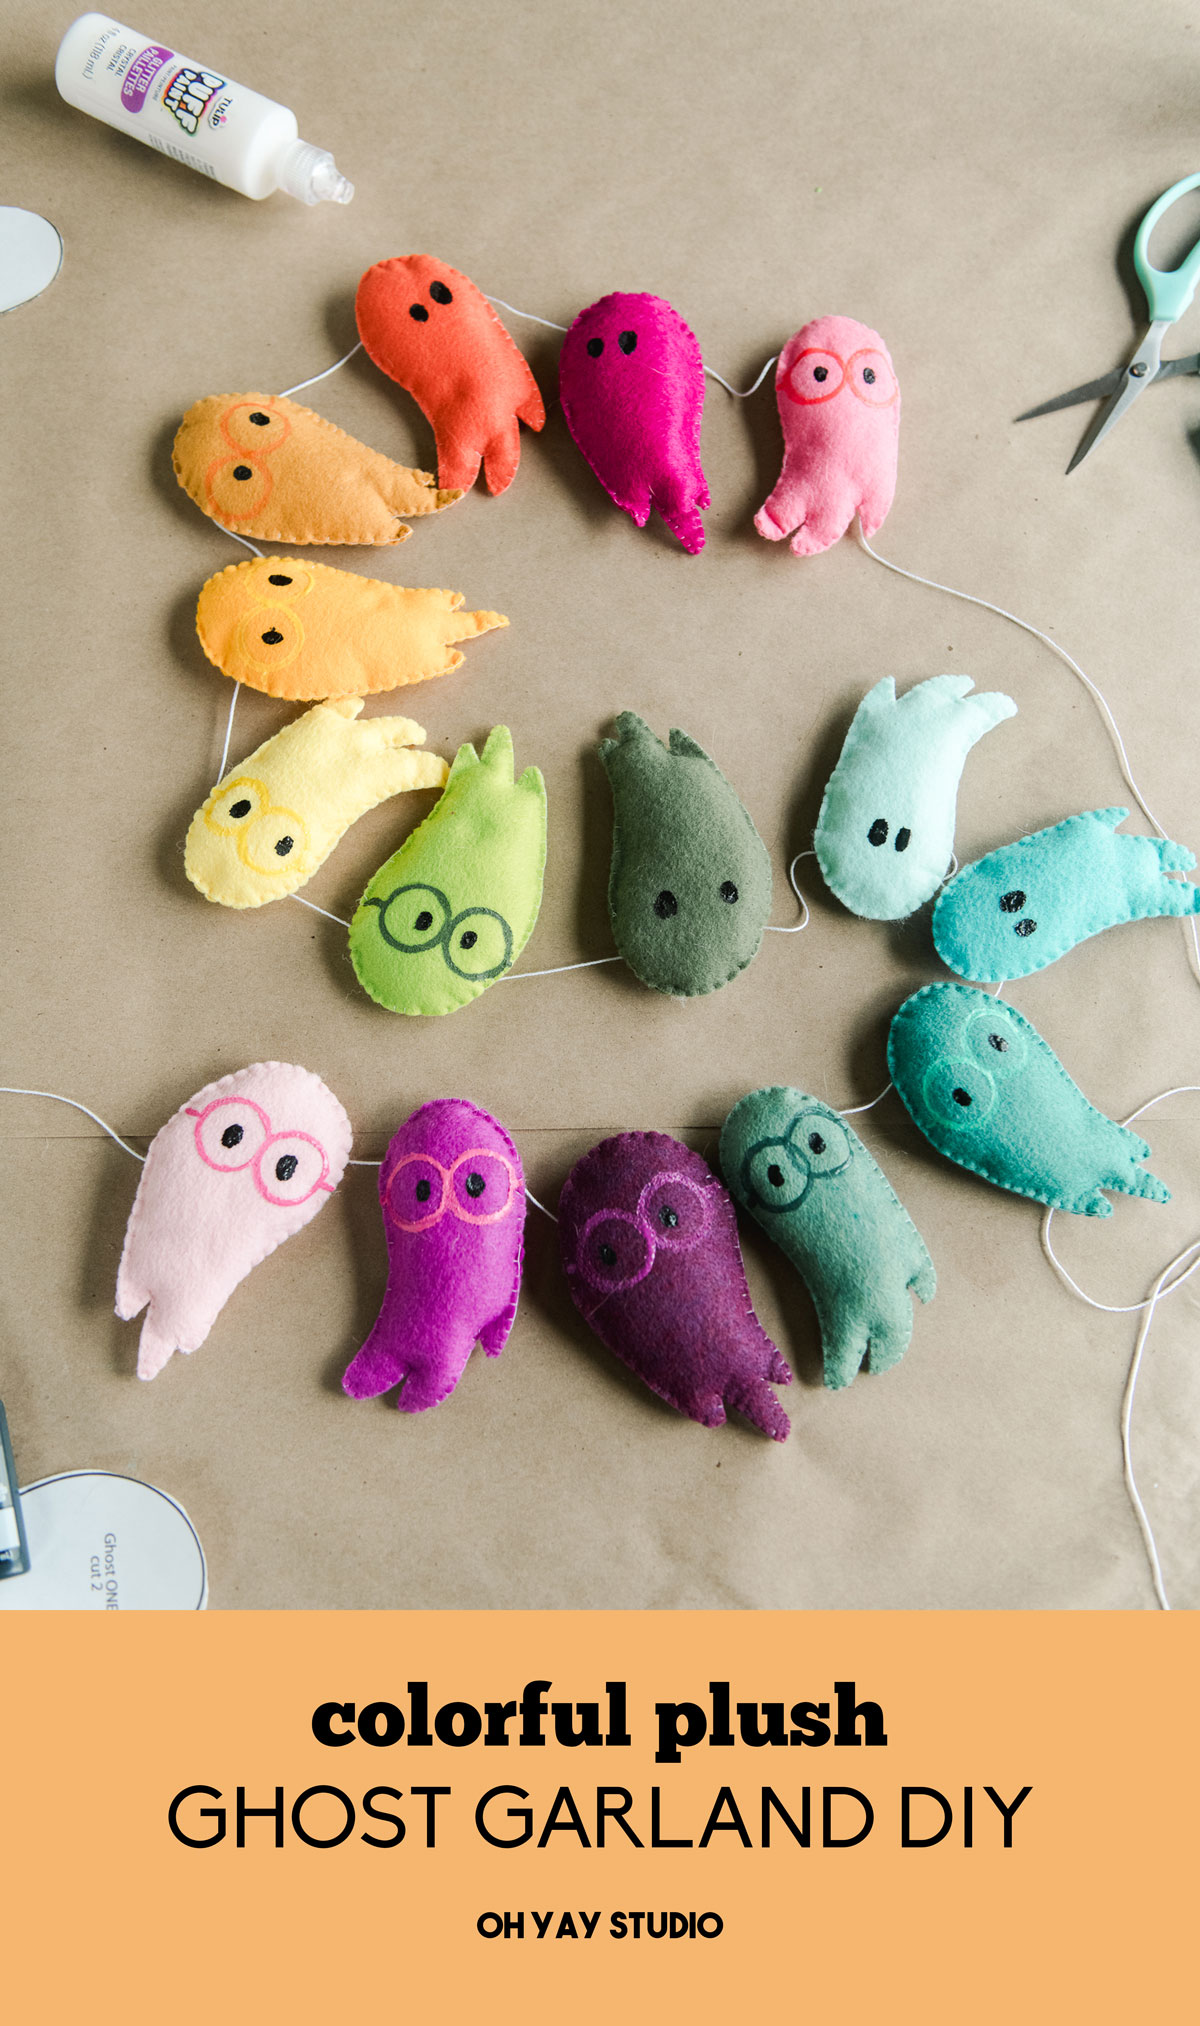
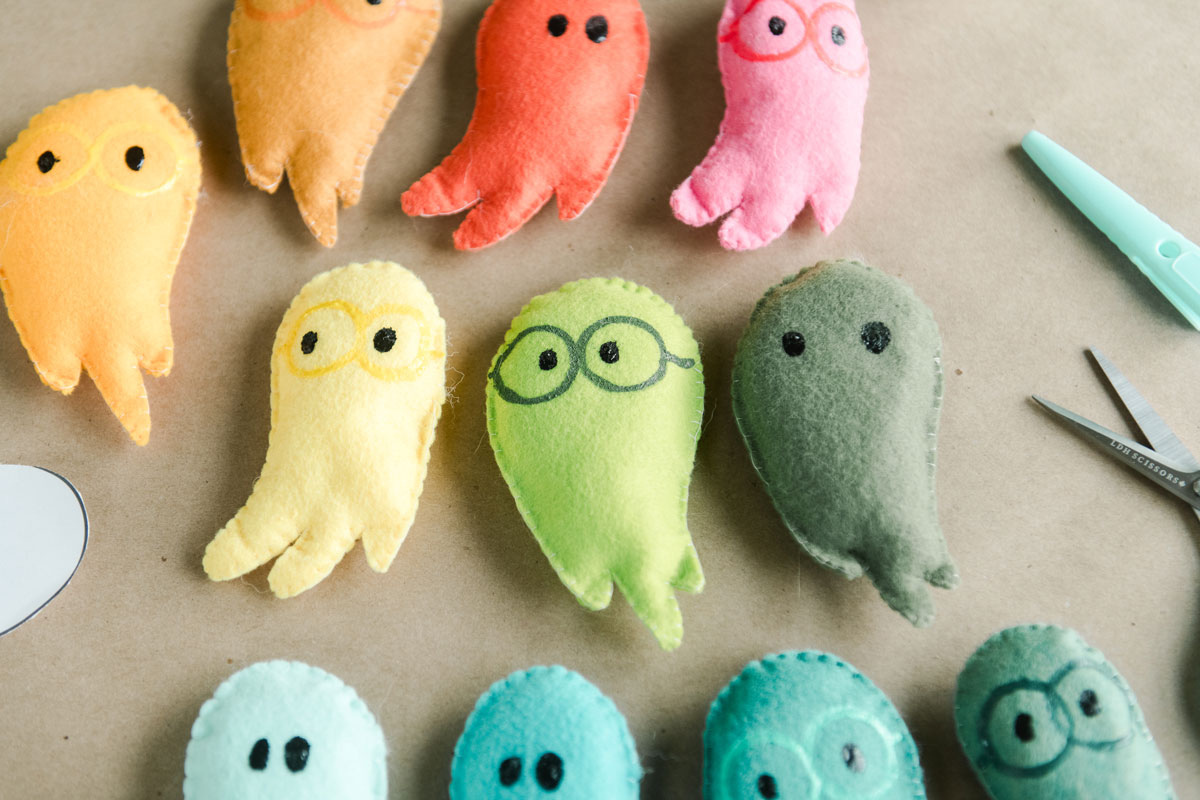
Colorful hand-sewn ghost pattern
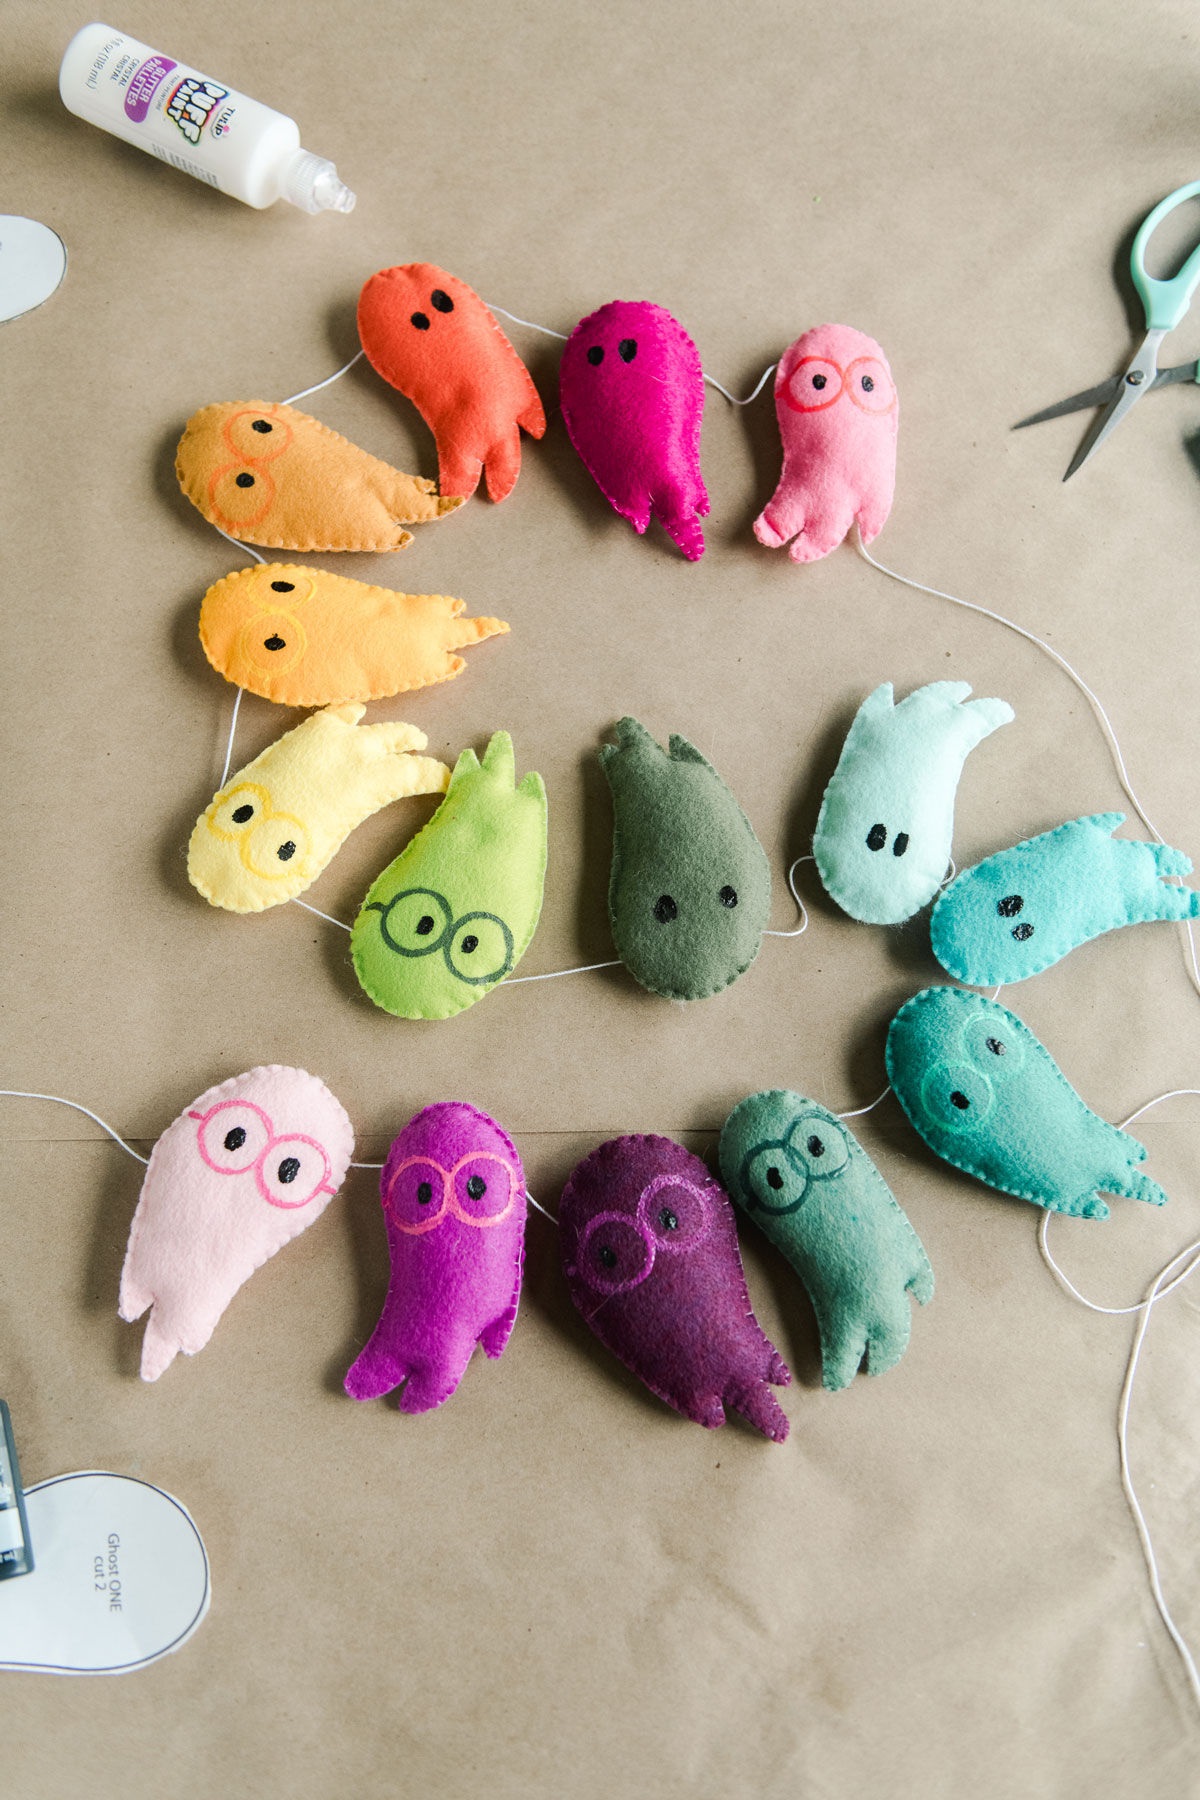
I am a sucker for fun and happy holiday decor ideas sooooooo of course when I saw these colorful sheets of felt at my *new* local Michaels (in just the right shades, mind you) an idea sparked and I was off to the races to make some colorful, happy ghosts for this Halloween season!
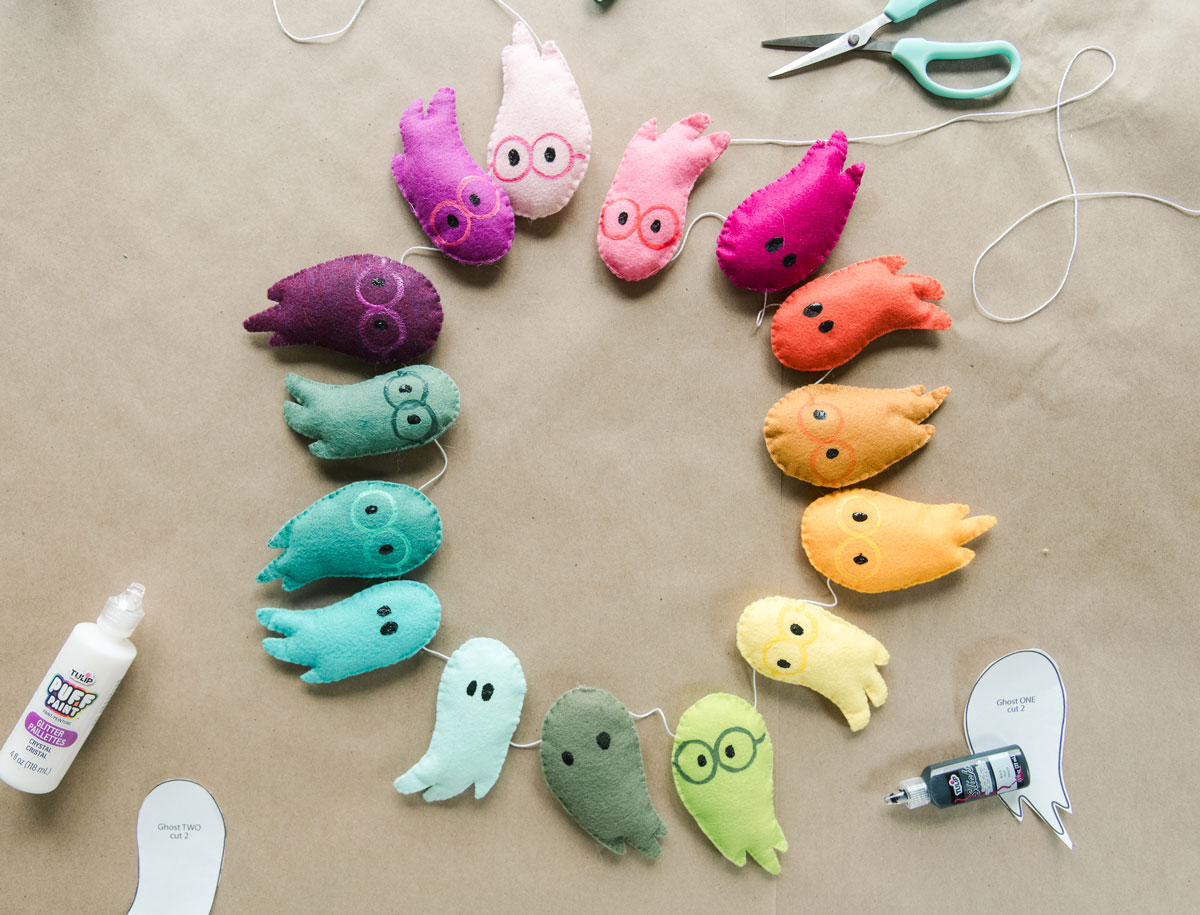
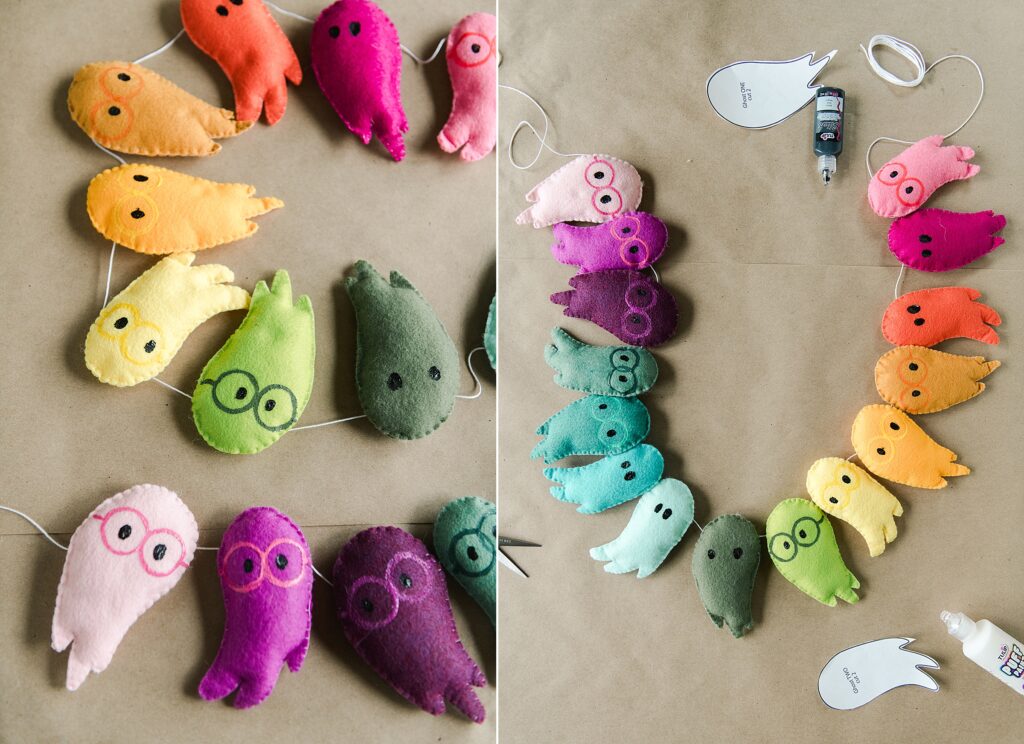
You can hand stitch these happy little guys while watching your favorite fall movie (You’ve Got Mail, duh!) and they come together quite quickly – and AND AND I might add, you don’t even have to make these into a garland…..you can glue them to a wreath, you can make them into keychains for your favorite BOO (see what I did there?!) OR you can even add some wooden dowels and make them happy little planter sticks!
MATERIALS:
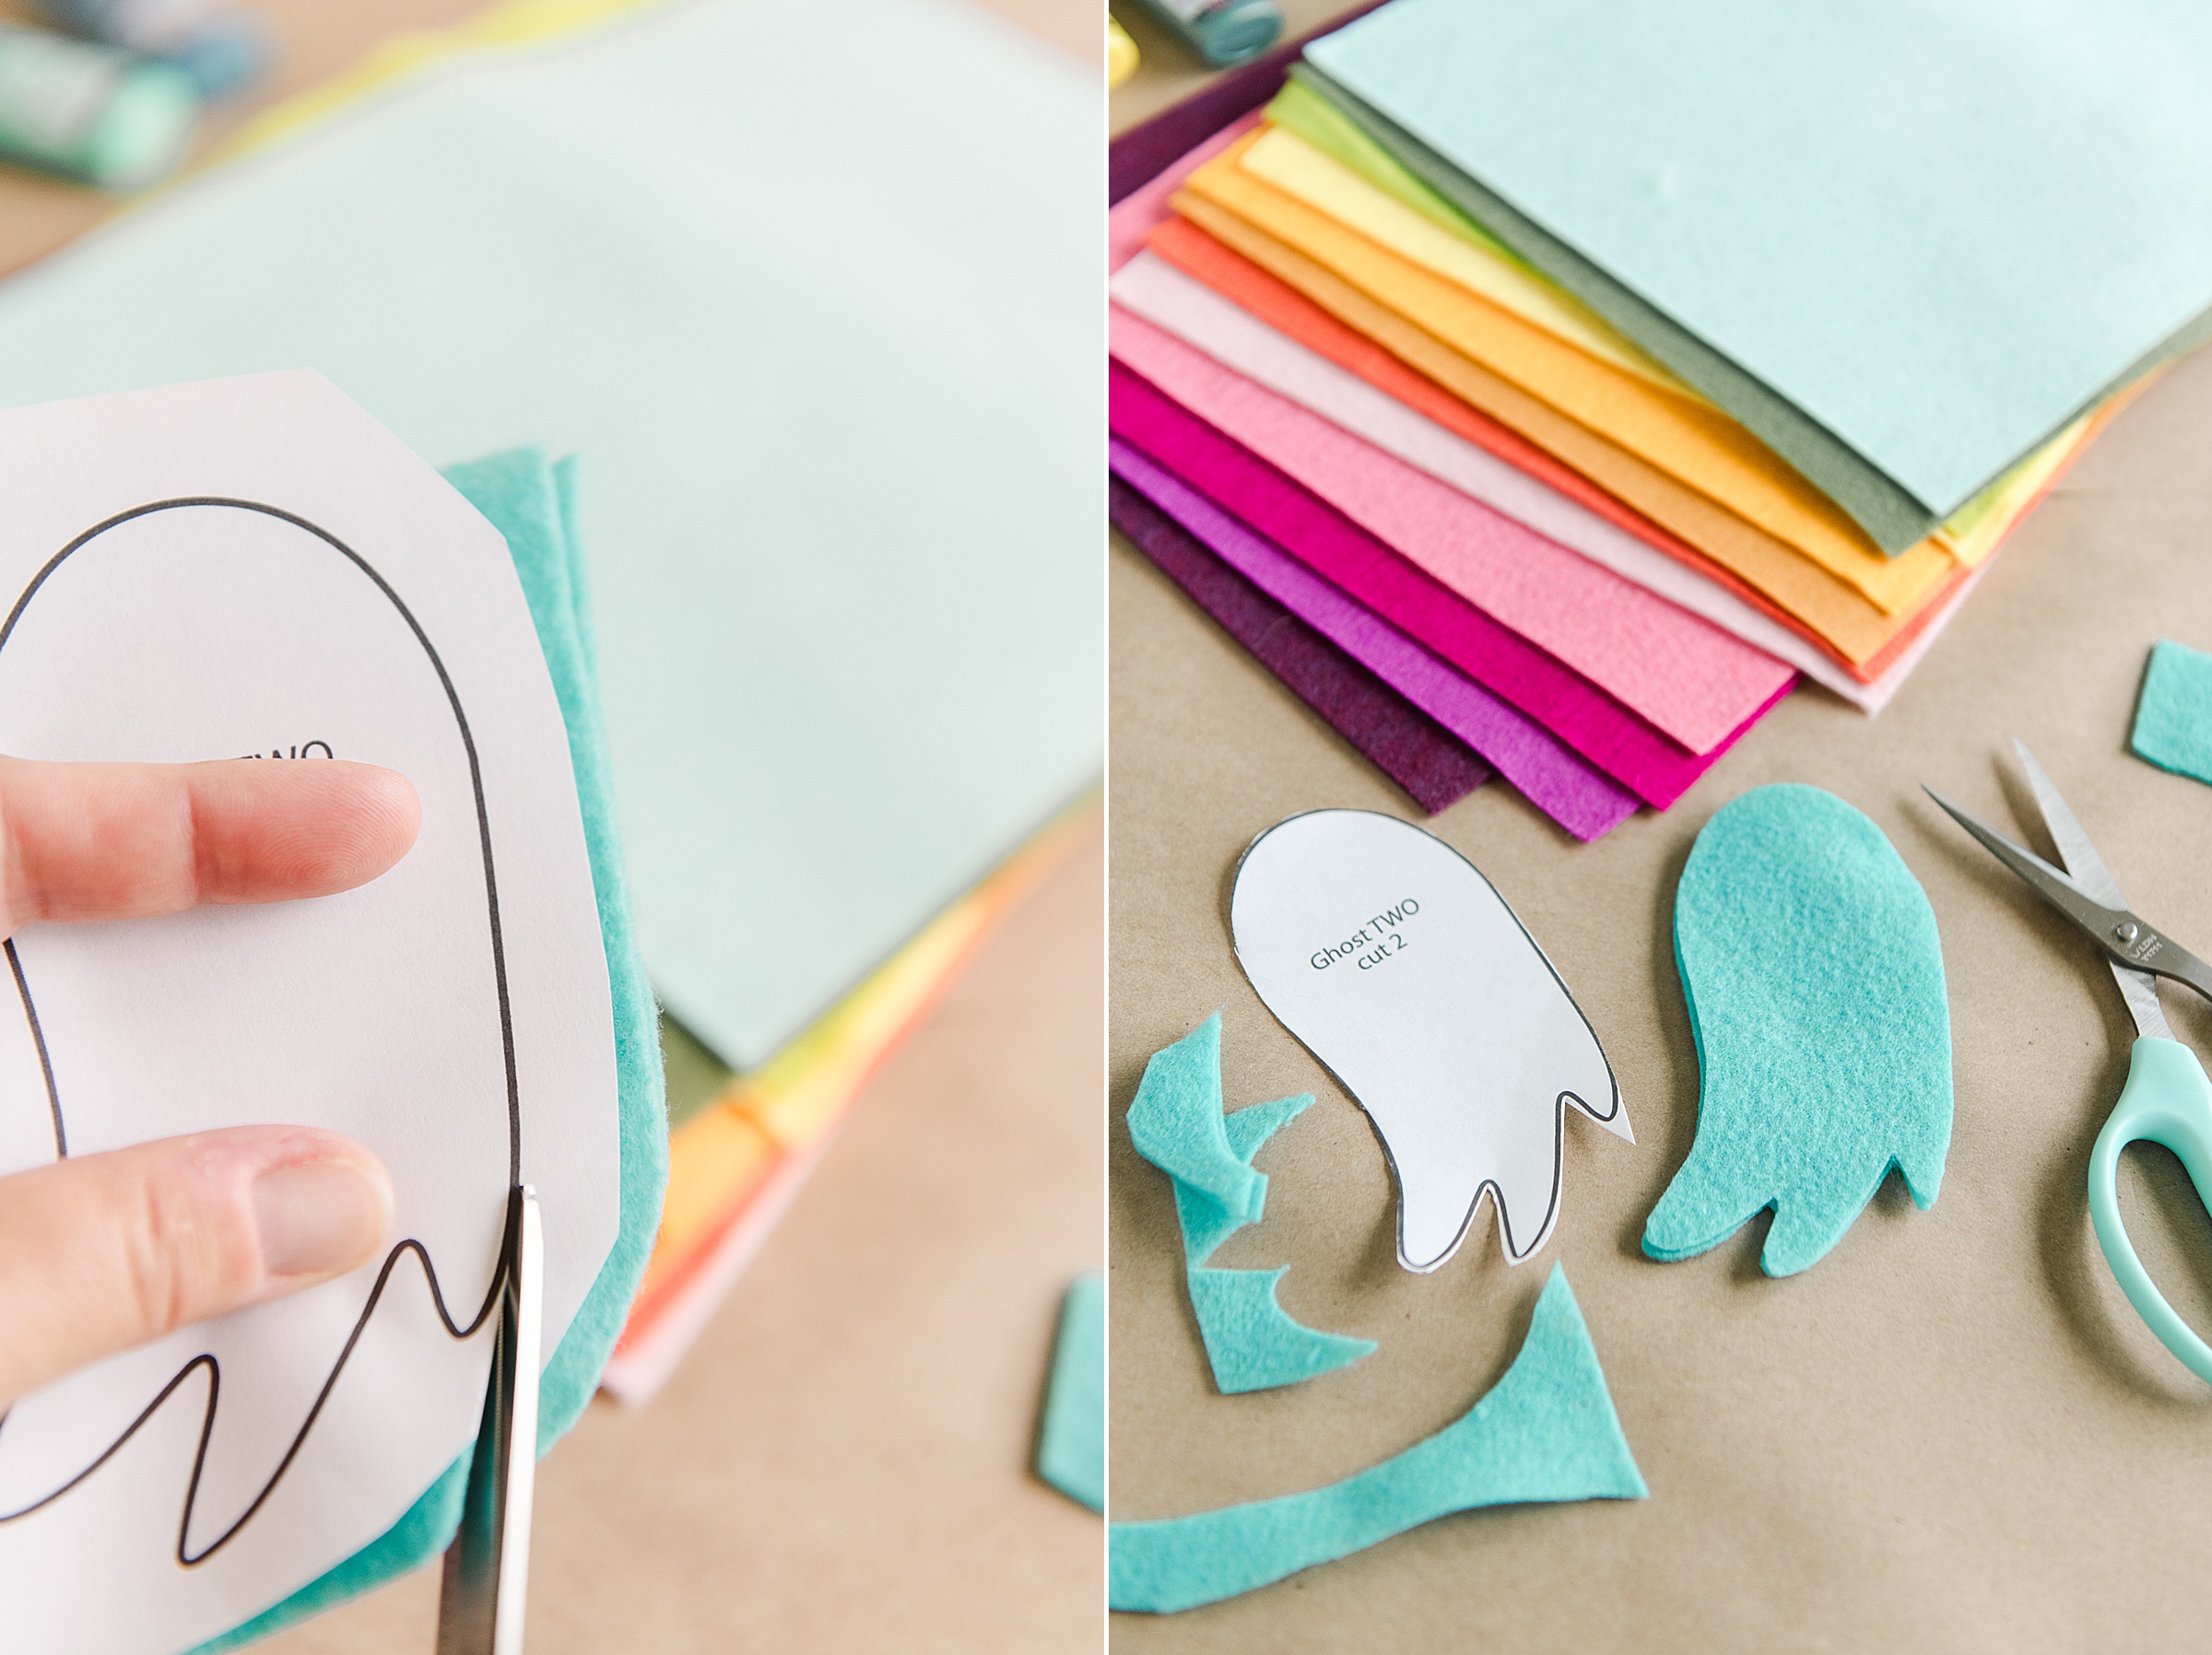
- A handful of colors of your fave felt (I’m telling you Michaels has 9×12 sheets for under 50 cents and their color selection isn’t just your normal ROYGBIV……the shades and tints are ON POINT, so snag some of your faves)!
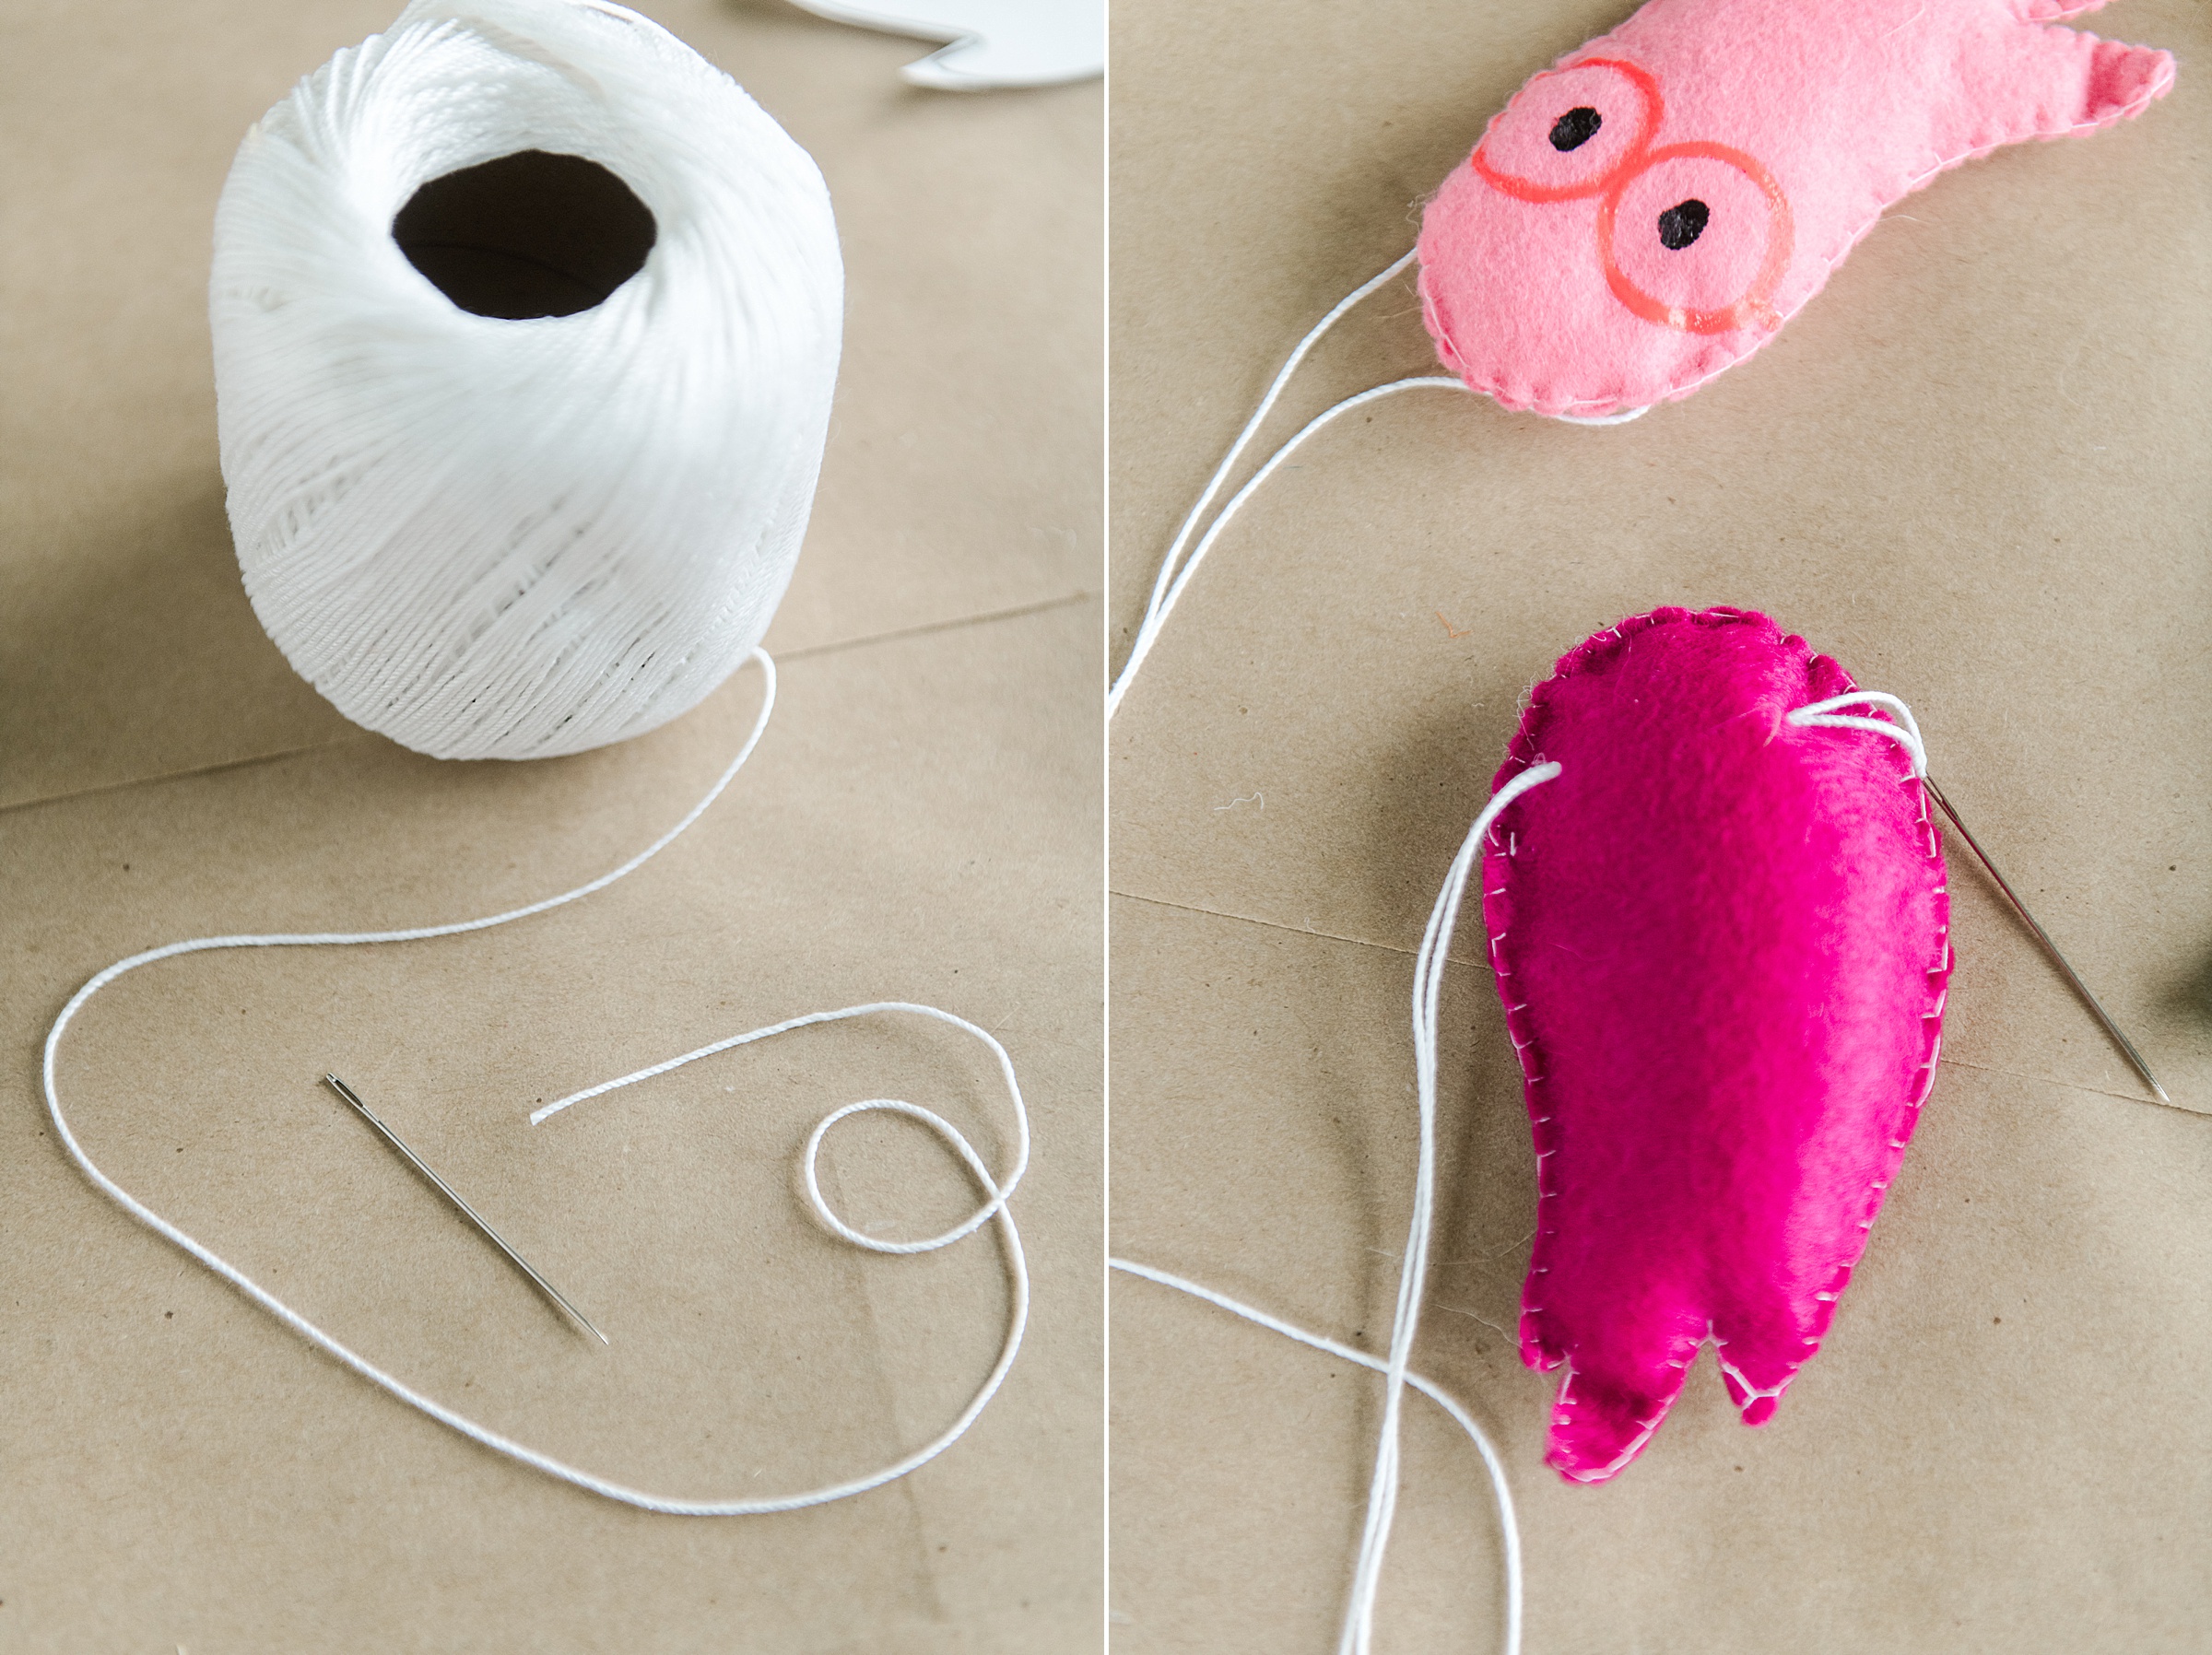
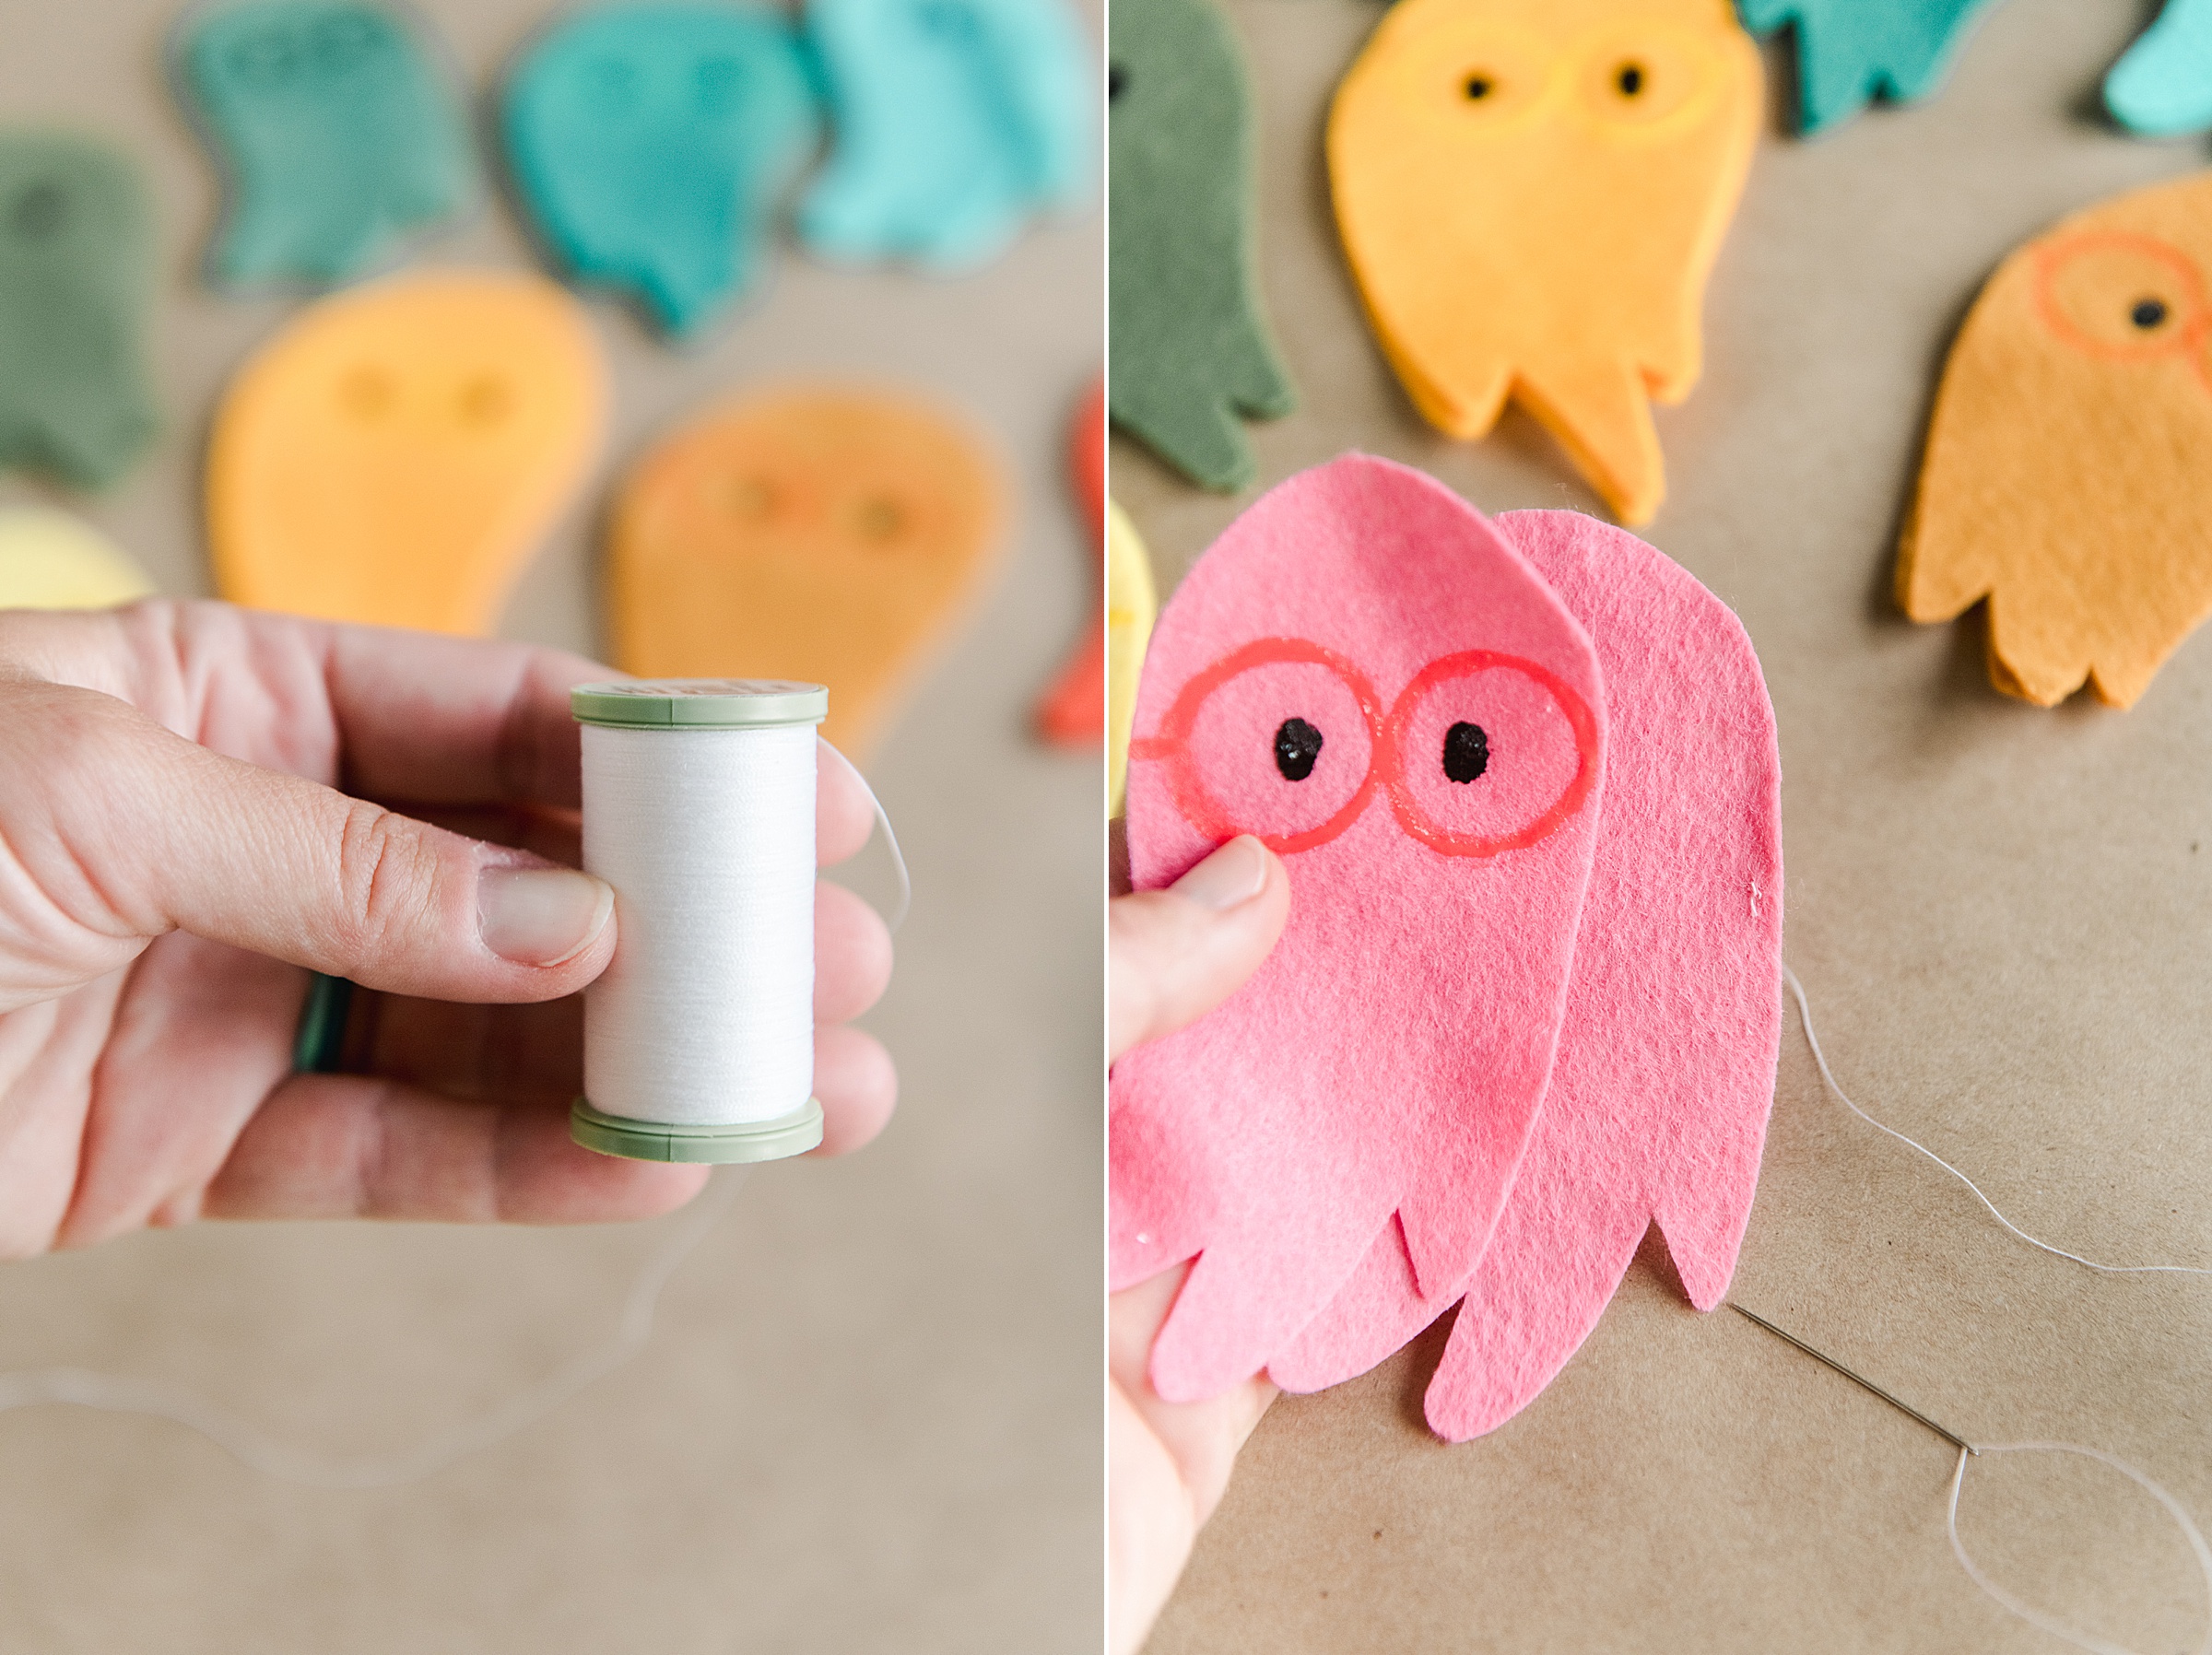
- A needle and thread (I just used white) to make things easy
- A pair of sharp scissors
- Poly-fil or your favorite stuffing
- A larger needle and cotton thread for making this into a garland (or your wreath form or anything you want for custom display)
- Some black Tulip puff paint (you all know how much I love this stuff)
- optional small bottle cap and toothpick for making glasses
INSTRUCTIONS:
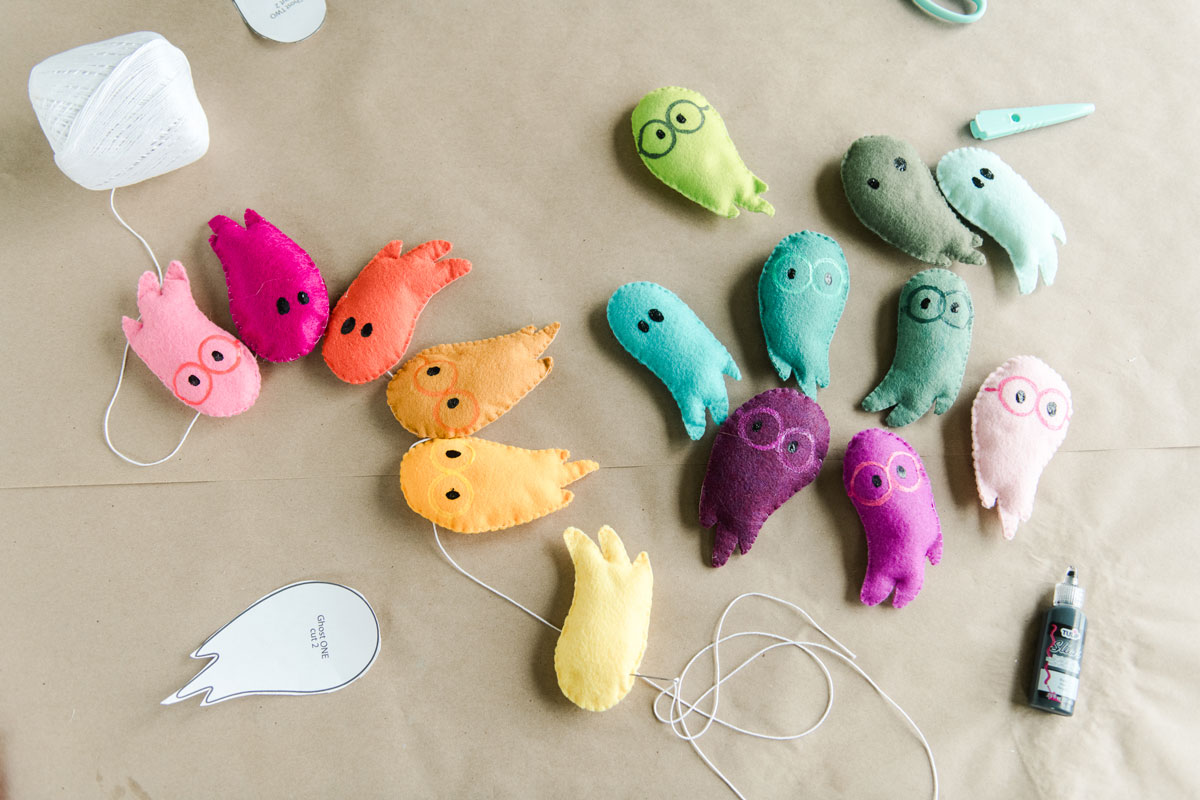
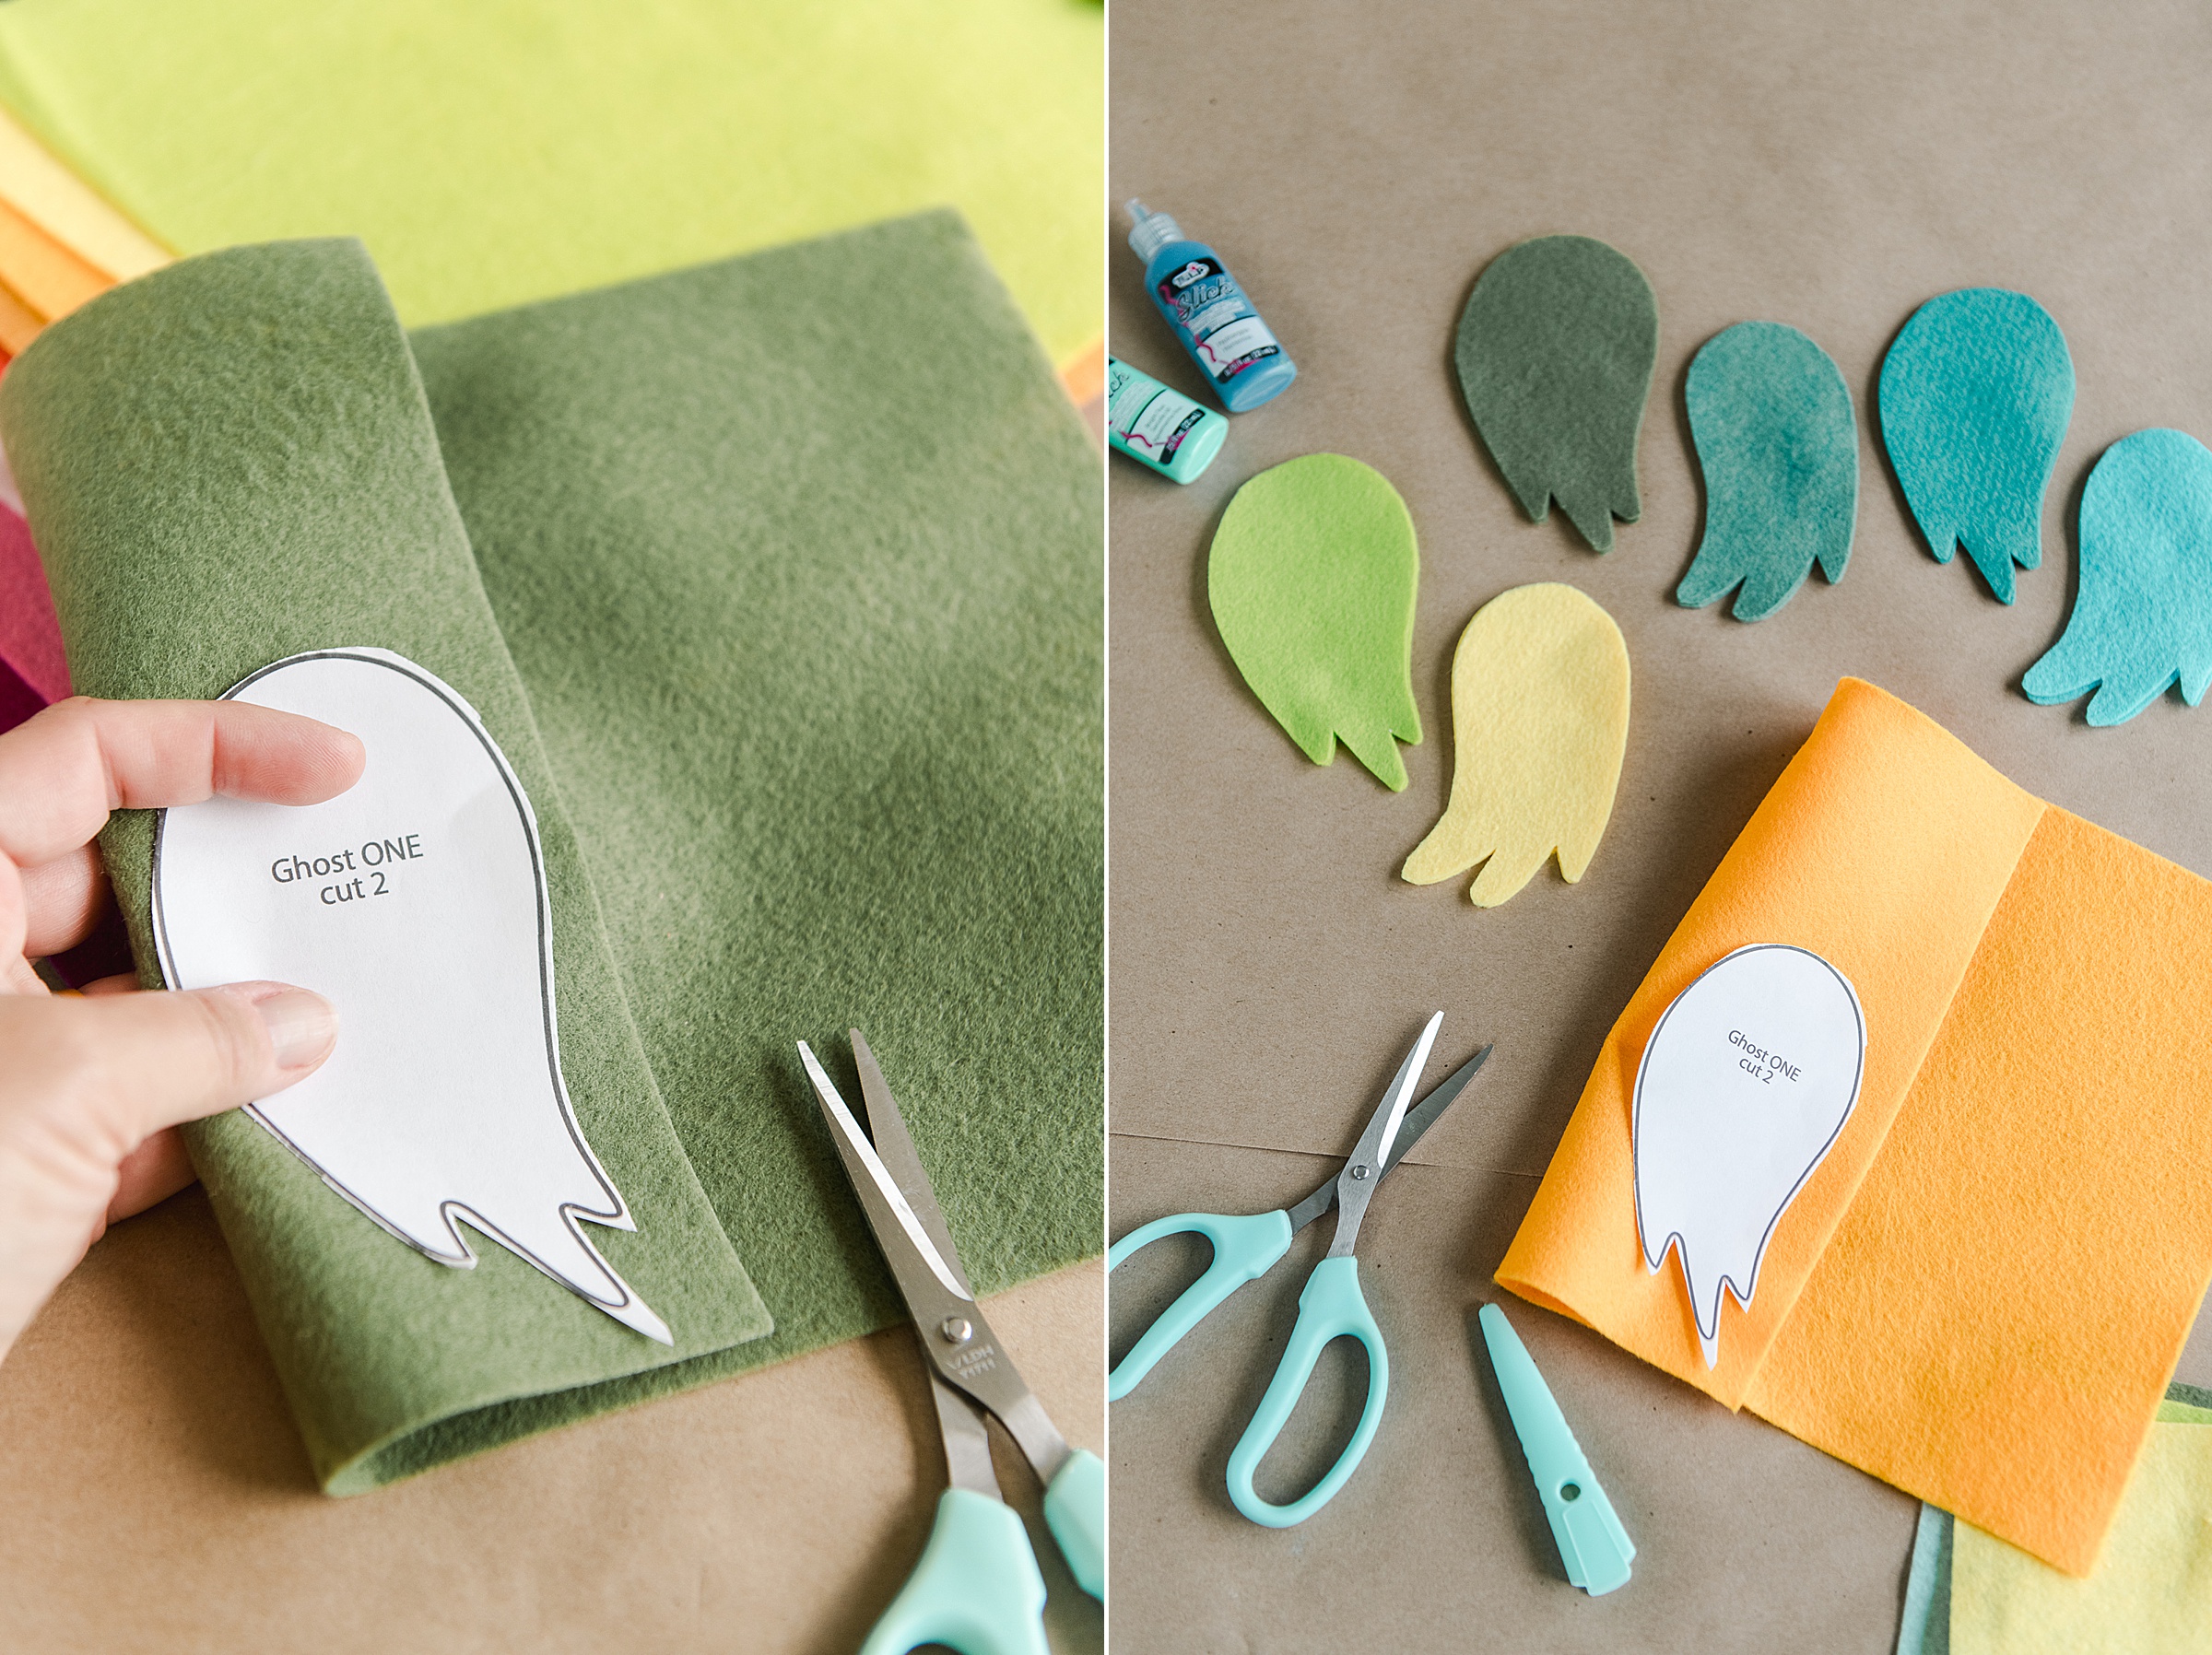
1. Download the ghost pattern HEREEEEEE!
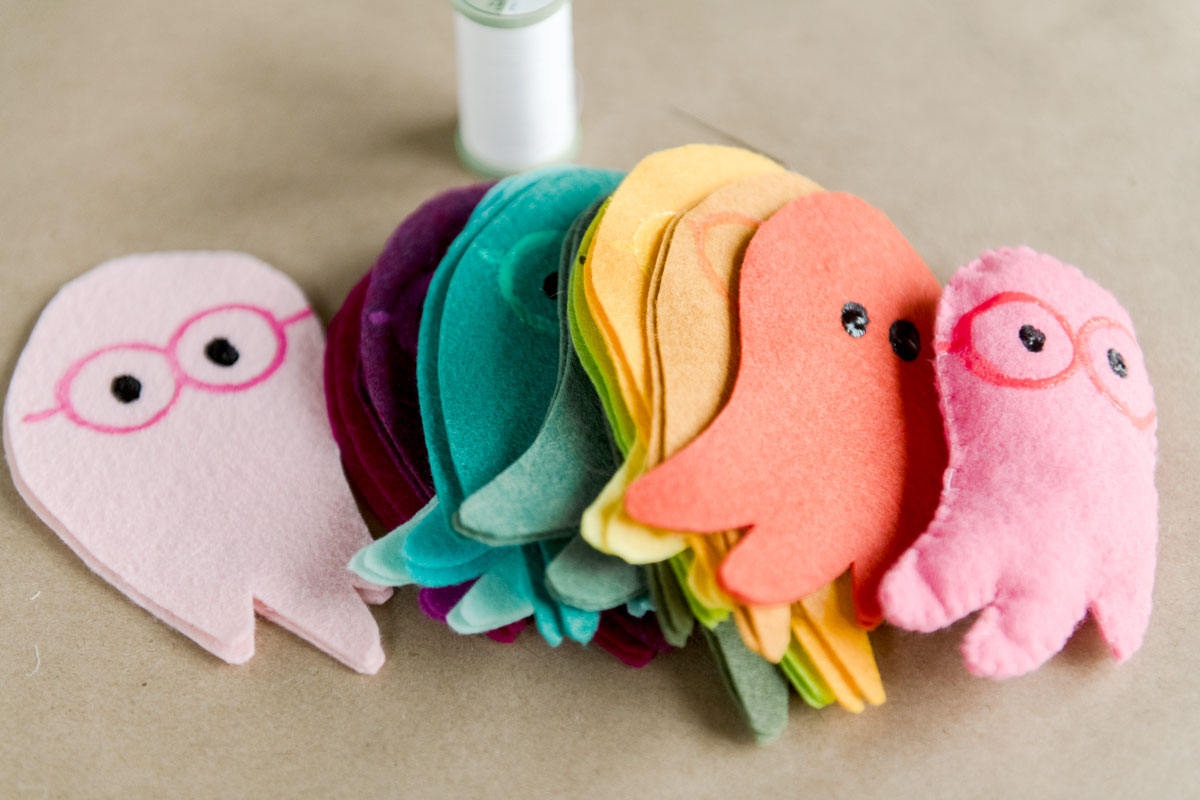
2. Begin cutting out your ghosts from your felt – remember that you need 2 ghost pieces per finished ghost, so it’s best to cut 2 layers of felt at the same time, IMO, so that your ghosts are the same front and back when stitching (good, sharp scissors are KEY to this step)!
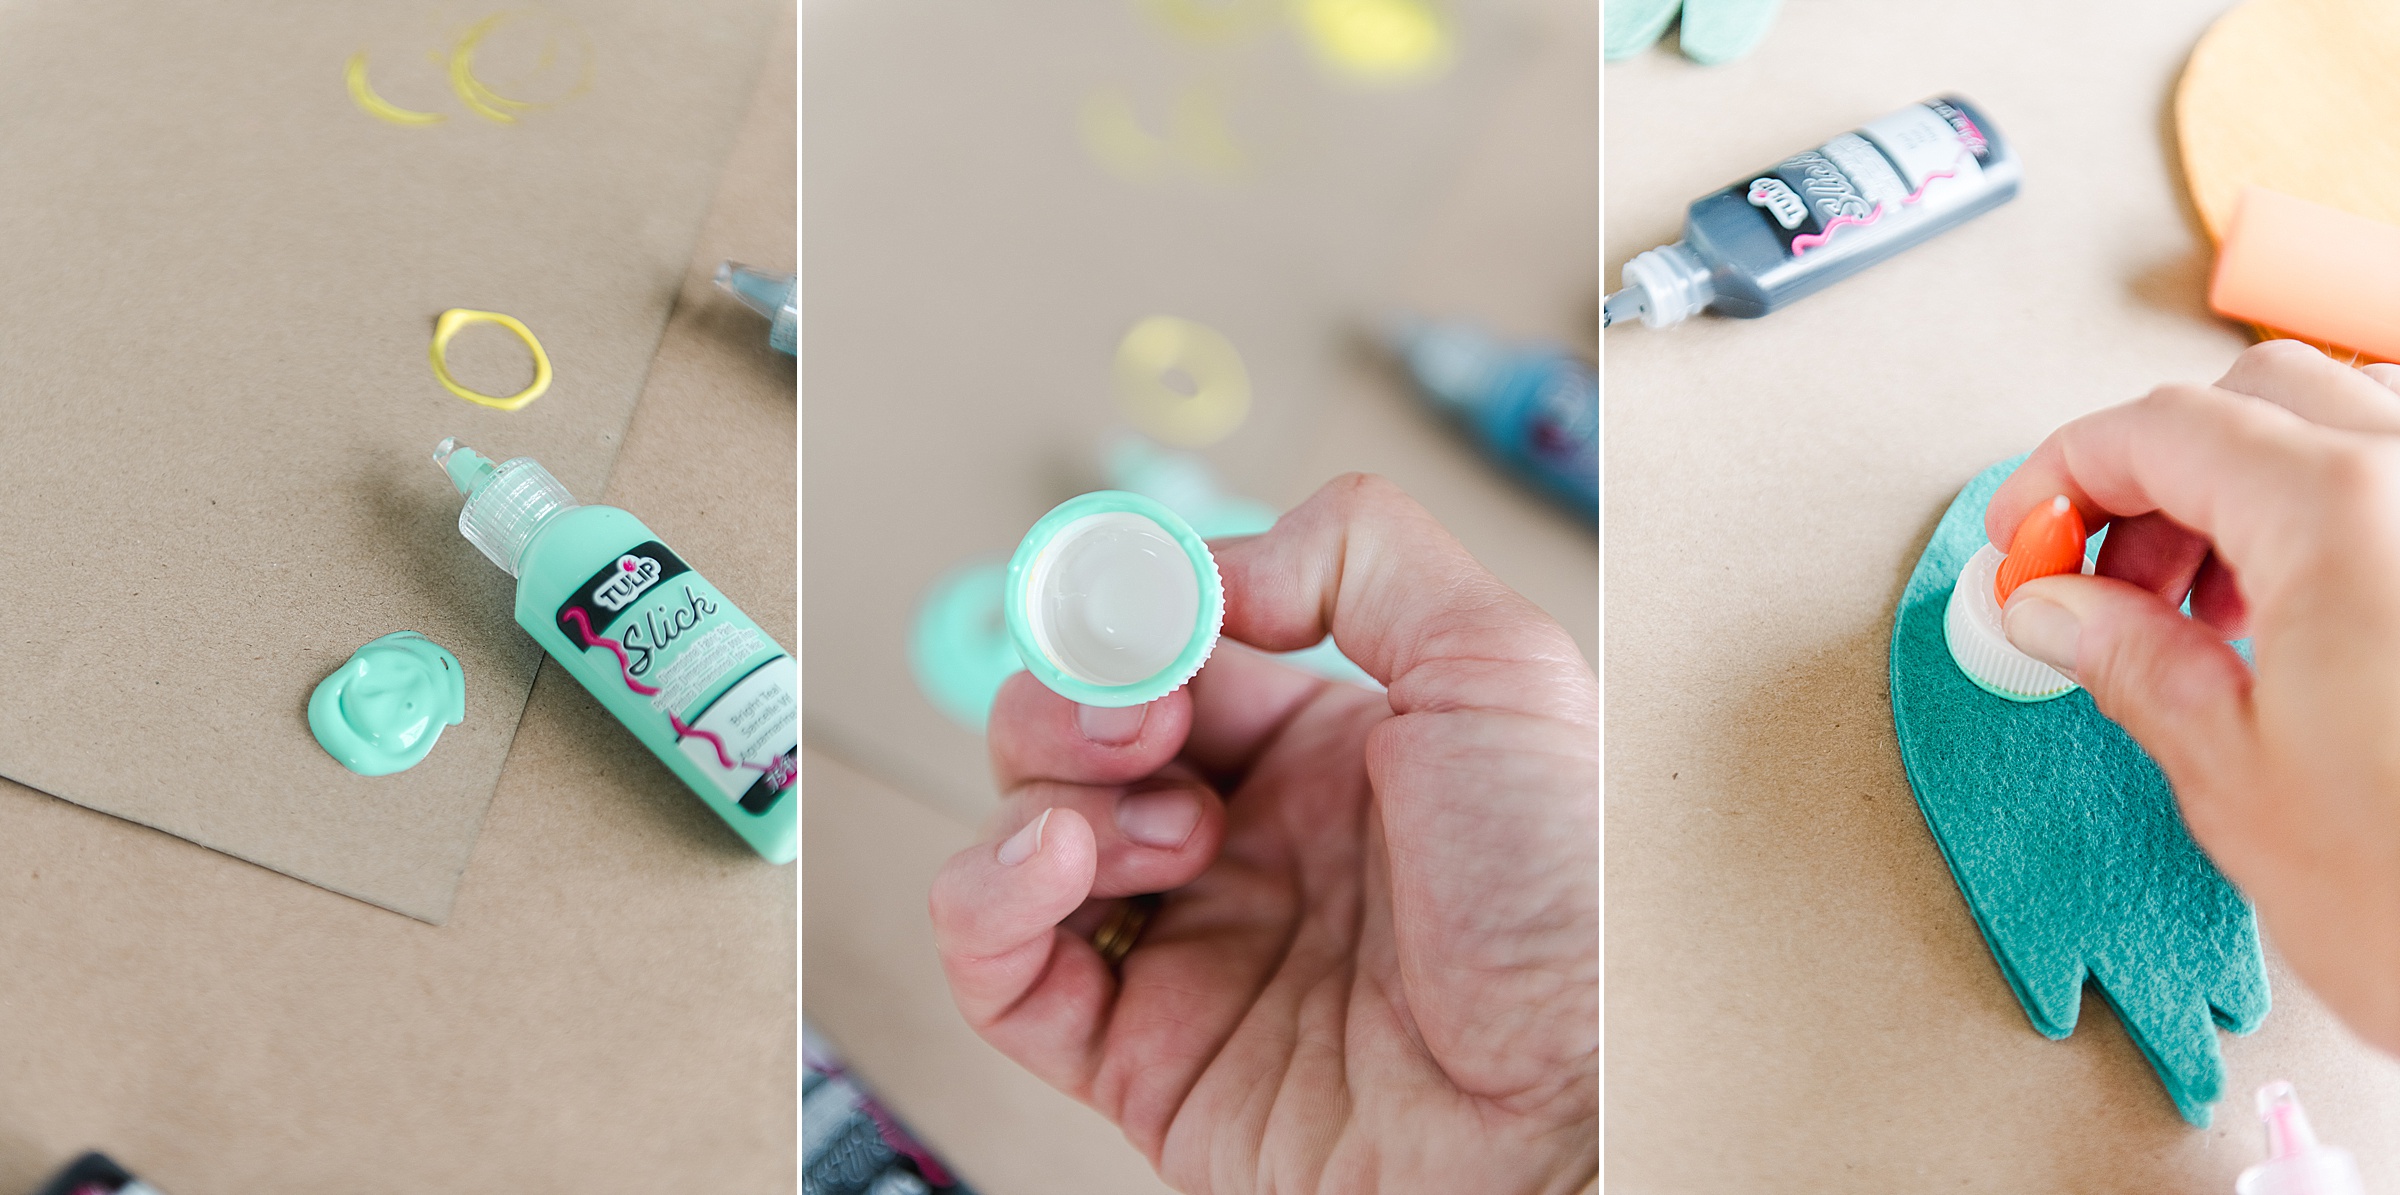
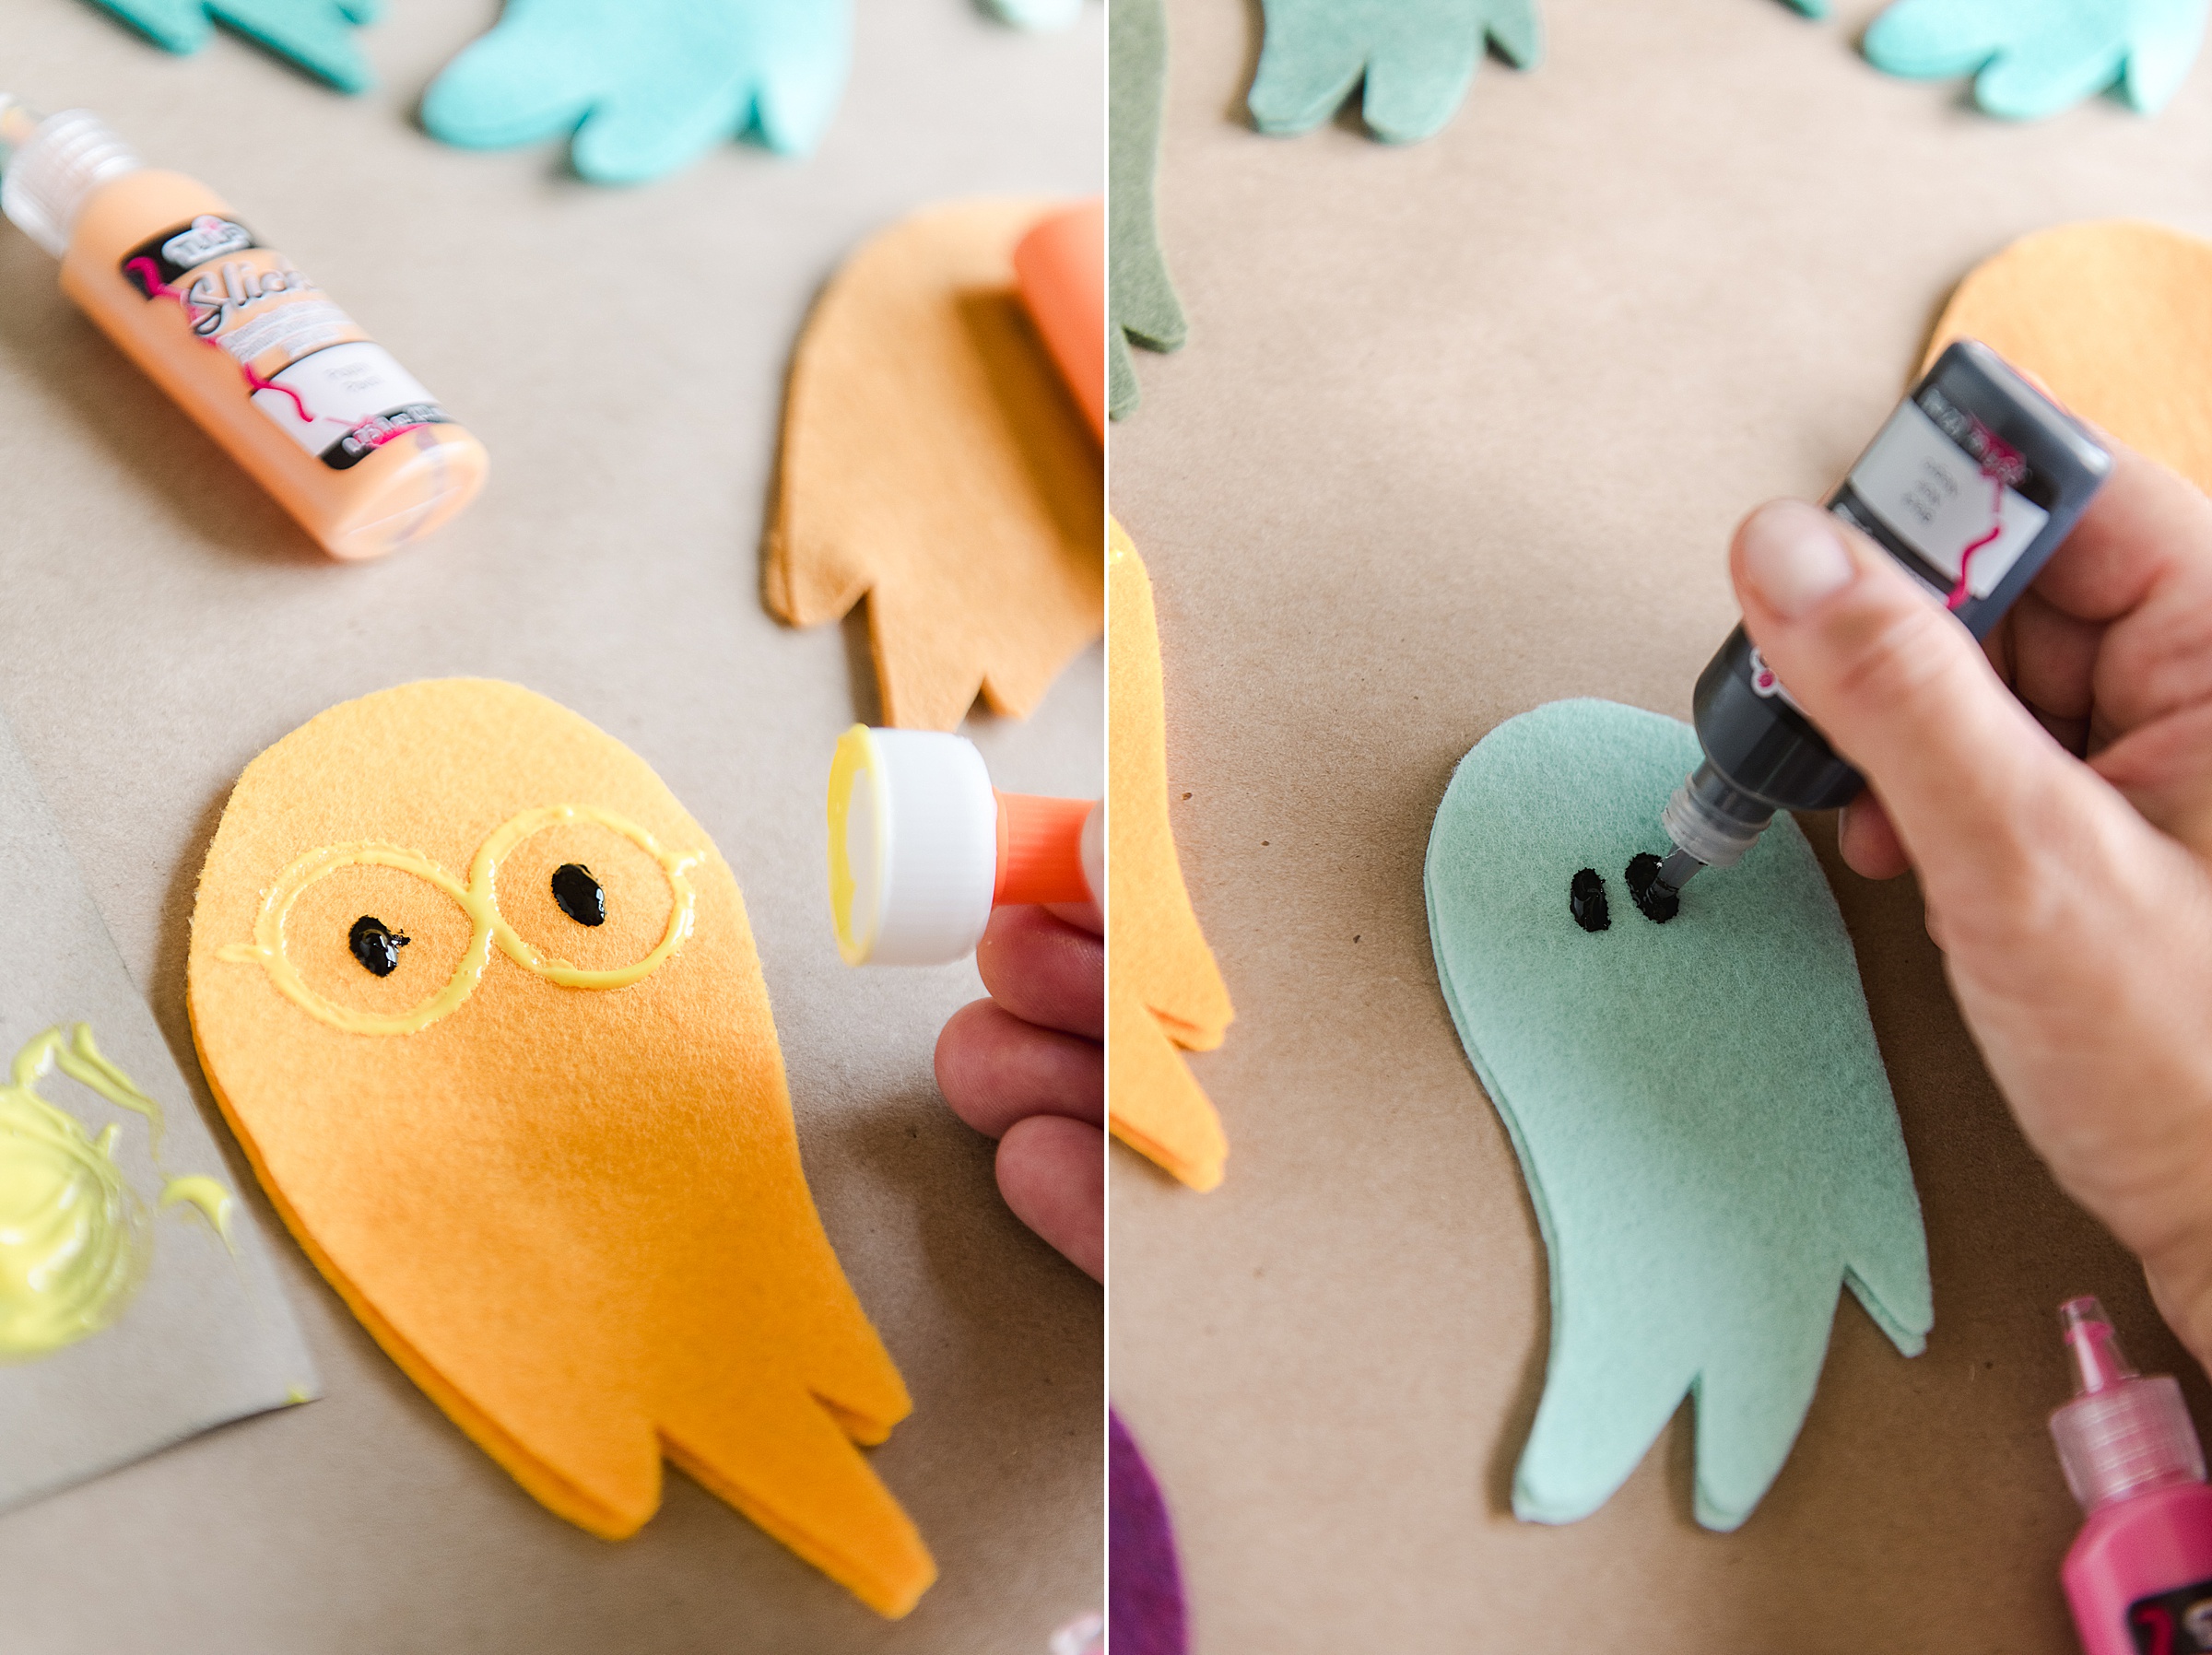
3. Add any eyes or details to your ghost with black Tulip puff paint! I used a bottle cap to make the glasses (we are a glasses family, so glasses are a MUST for us) and I also used a toothpick to dab into the black paint and paint on the suppppper small details! You can also just use the tip of the puff paint bottle because that is always easy to draw with also (It just depends on how big or small your want your details for your ghost)! 🙂
Set your ghosts aside to fully dry (usually about 2-4 hours, but overnight might be best)! 🙂
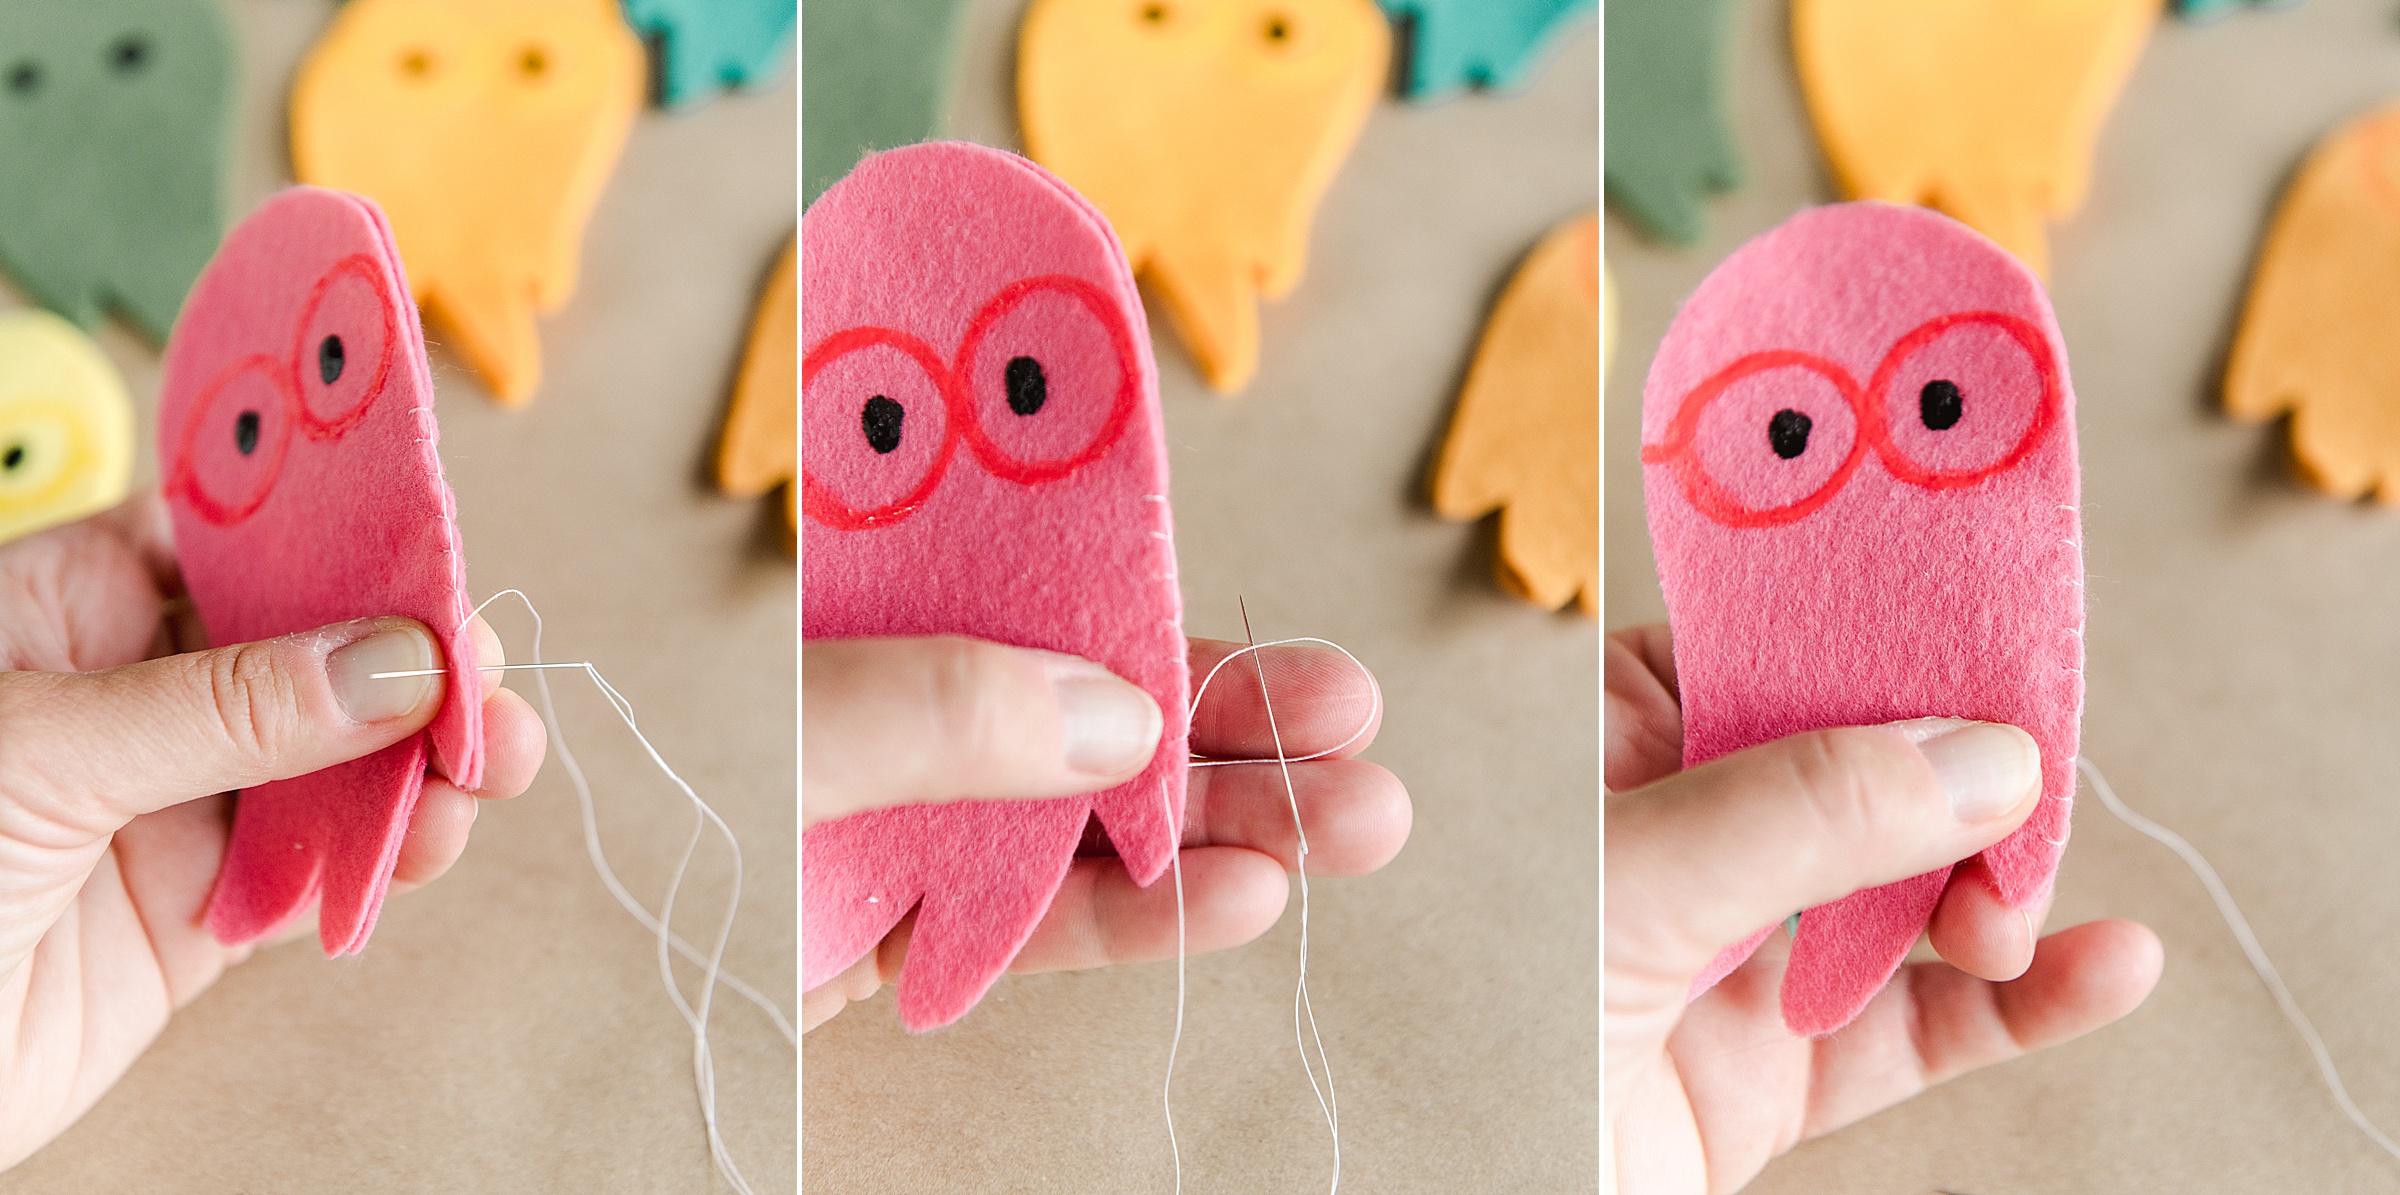
4. Now it’s time to stitch!
You will be doing what is called a blanket stitch (super easy and quite awesome once you get the hang of your tension)
Before you get into the stitch pattern you will anchor your stitch. My grandma told me never to use knots (“knottin’ is rotten” she would say. HA)! SOOOO I just do a “criss cross” on the inside of the ghost to anchor my stitch. But if you want to knot, go right ahead….just be sure to “burry” that knot between the 2 layers so that we don’t see it on the finished ghost! 🙂
Here are the steps to a good blanket stitch:
STEP 1: Start by bringing your needle and thread up through both layers of fabric about 1/4” away from the outside edge.
STEP 2: Poke your needle up from the back again so that the needle comes up through the SAME SPOT you started. This creates a loop around the edge.
STEP 3: Send your needle under the loop stitch that you just made. (Ie, poke your needle under your stitch sideways going from right to left. This isn’t technically your first blanket stitch, but gets your stitch “ready” and kinda begins the pattern.
STEP 4: *this begins your blanket stitch pattern repeat*
Poke your needle up from the bottom to top, through both layers of felt about 1/4” away from both the edge of the felt and the previous stitch. DO NOT PULL ALL THE WAY TIGHT YET 🙂
STEP 5: Before you pull your stitch tight from step 5, you will thread your needle through the “loop” along the edge and pull until flush with the thread makes a “u” shape along the edge of your felt.
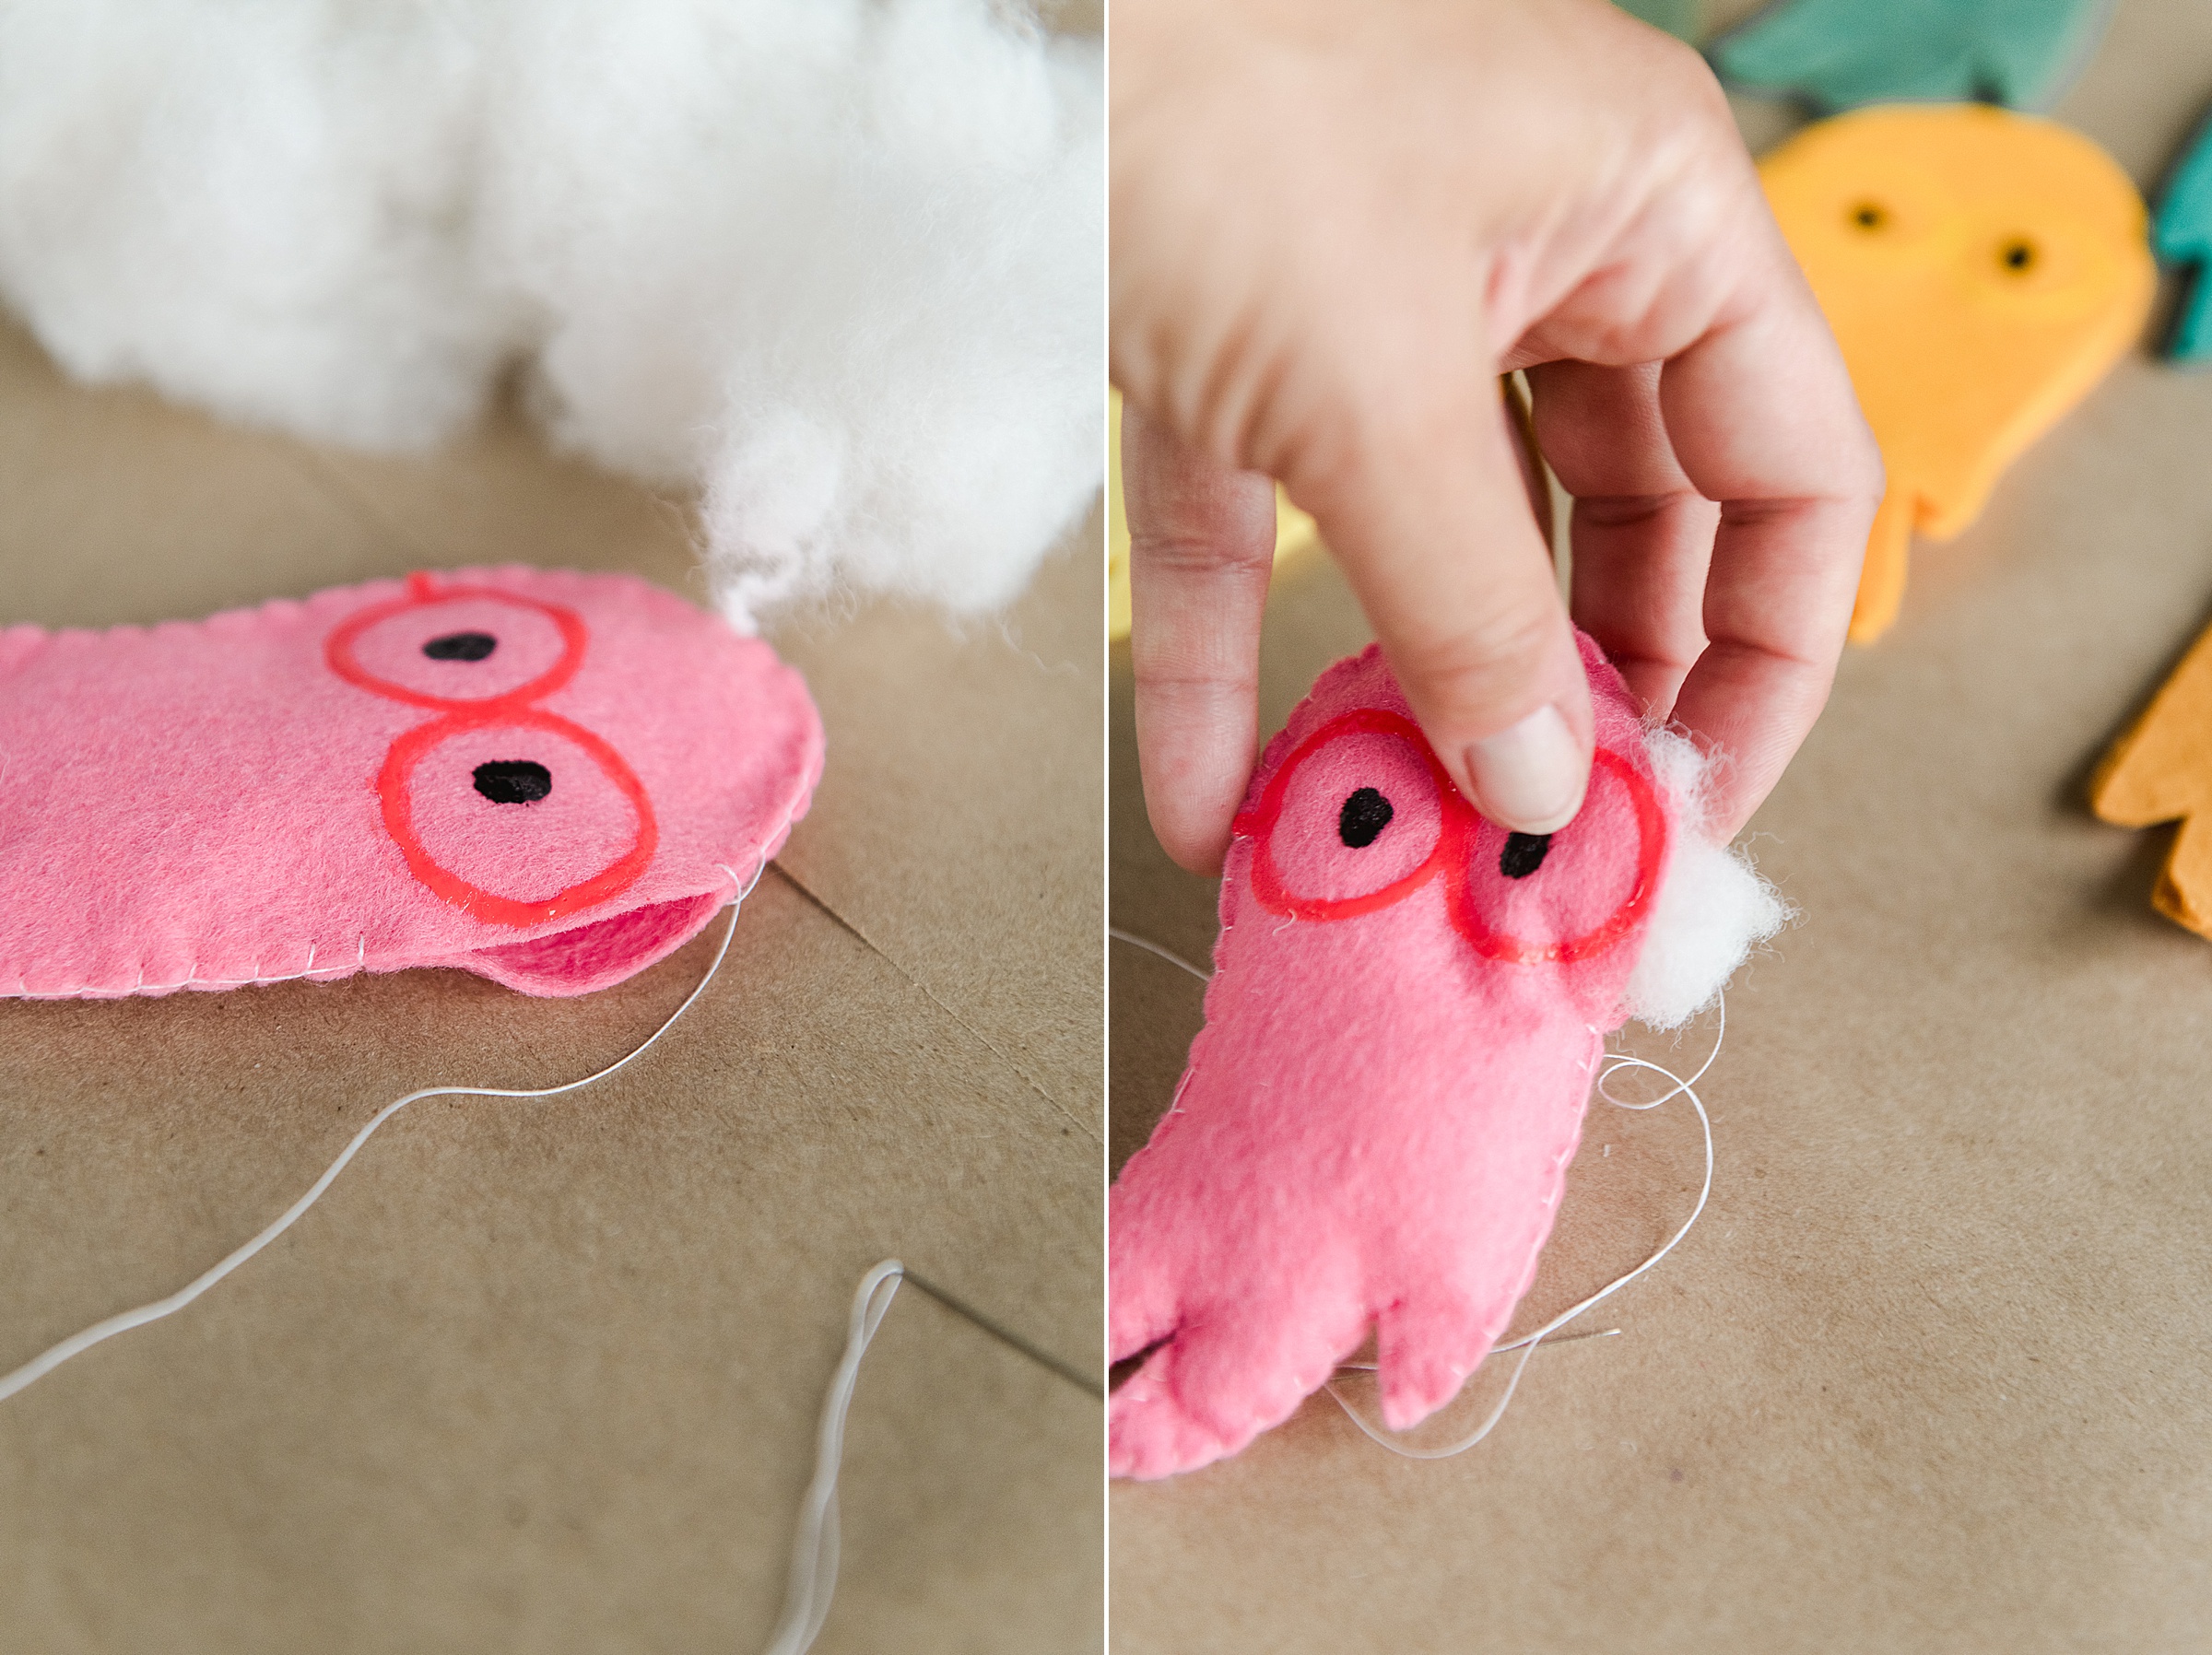
Repeat steps 4 – 5 until you’ve worked mostly the way around your ghost! 🙂 You will want to stuff your ghosts with some stuffing or poly-fil before closing your ghost completely!
Then anchor (or knot) your thread and clip your extra thread!
5. When all of your ghosts are done being stitched, you will thread a bigger needle and some thread to make this into a garland – simply thread through the top center of the ghosts so that they happily hand together for display! 🙂