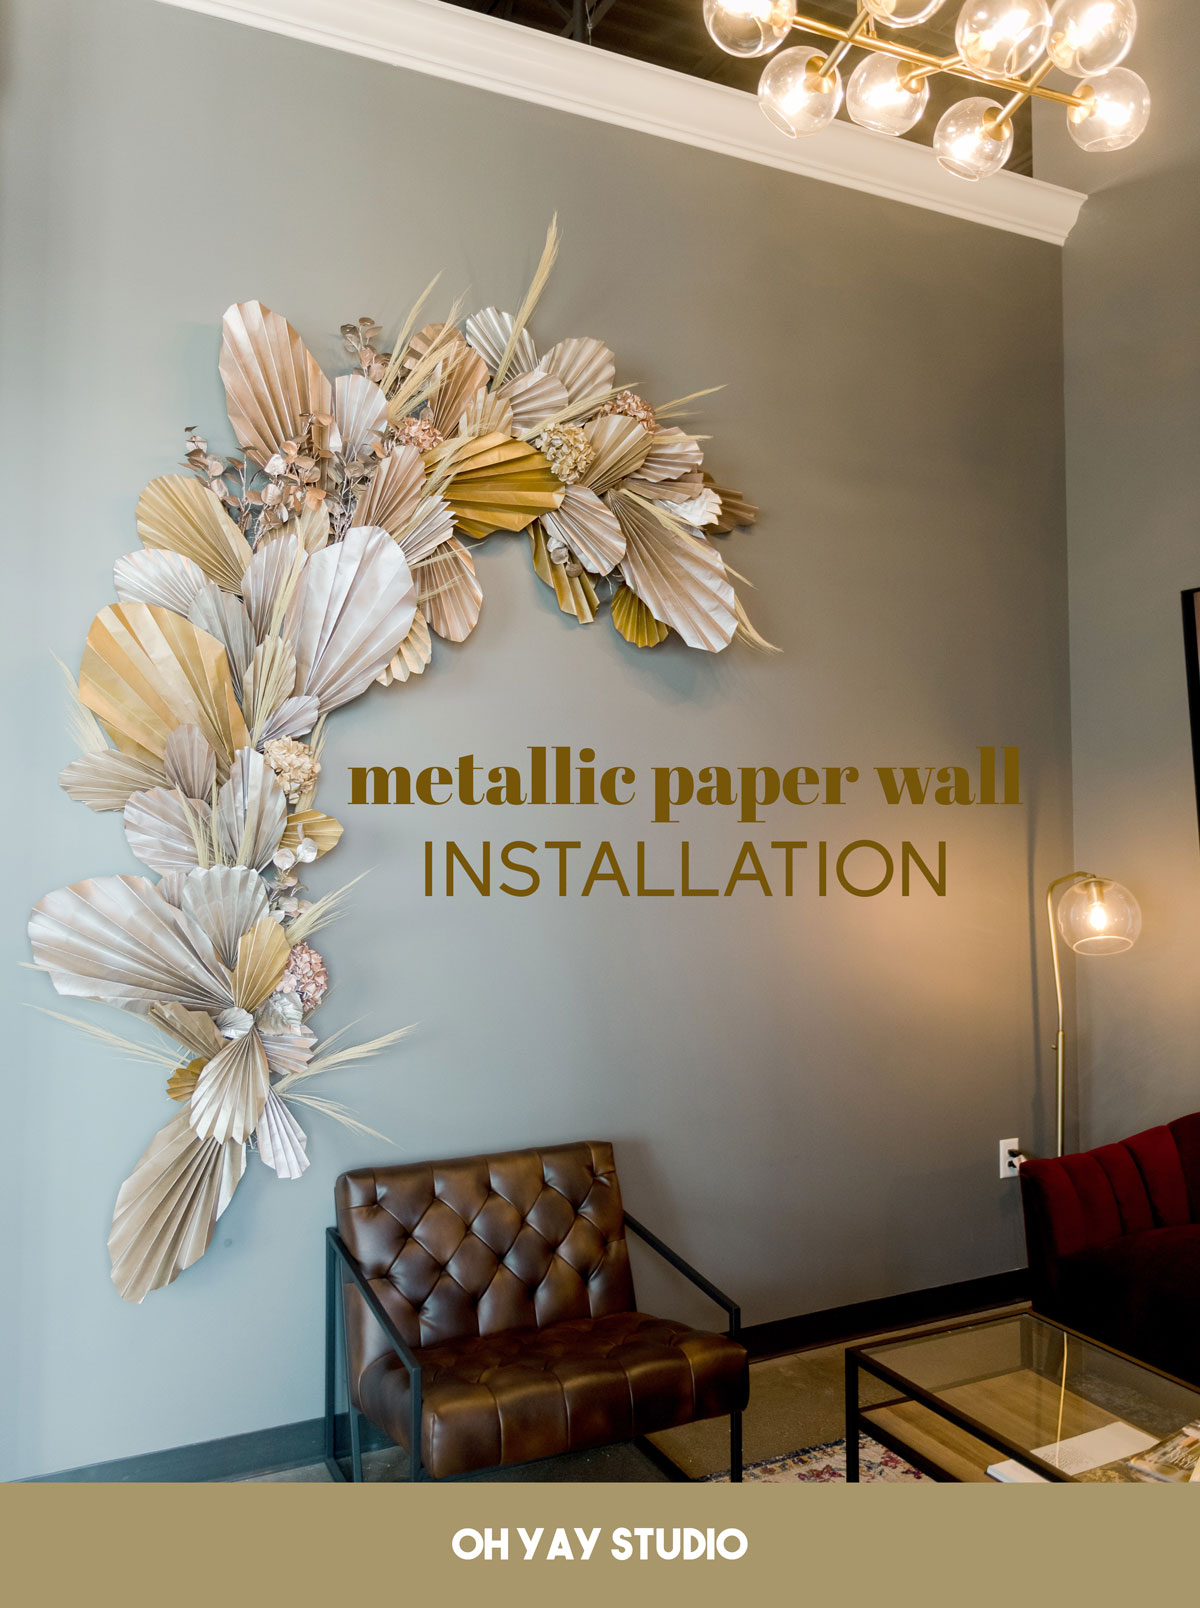
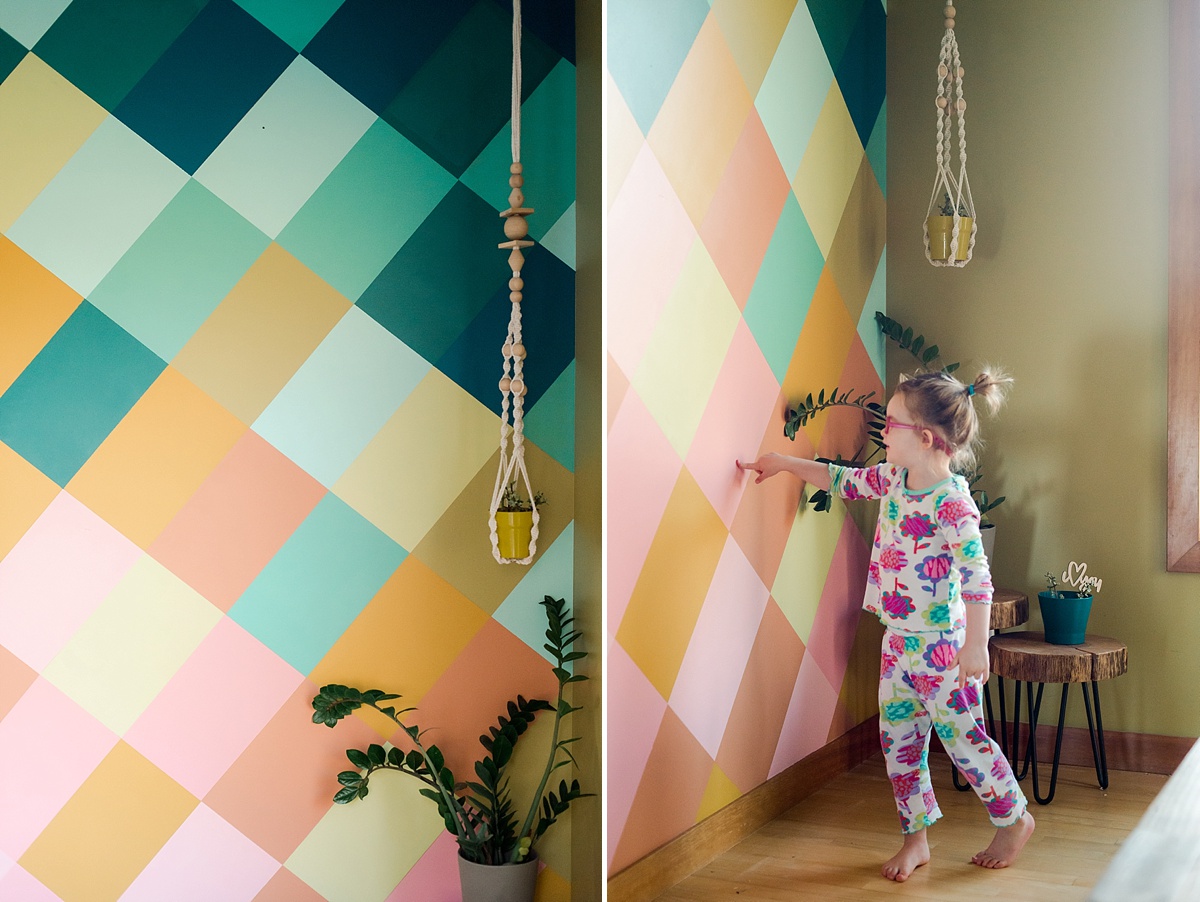
Boho metallic paper wall installation!
*this project is in partnership with Colorshot and their beautiful metallic spray paints! 🙂
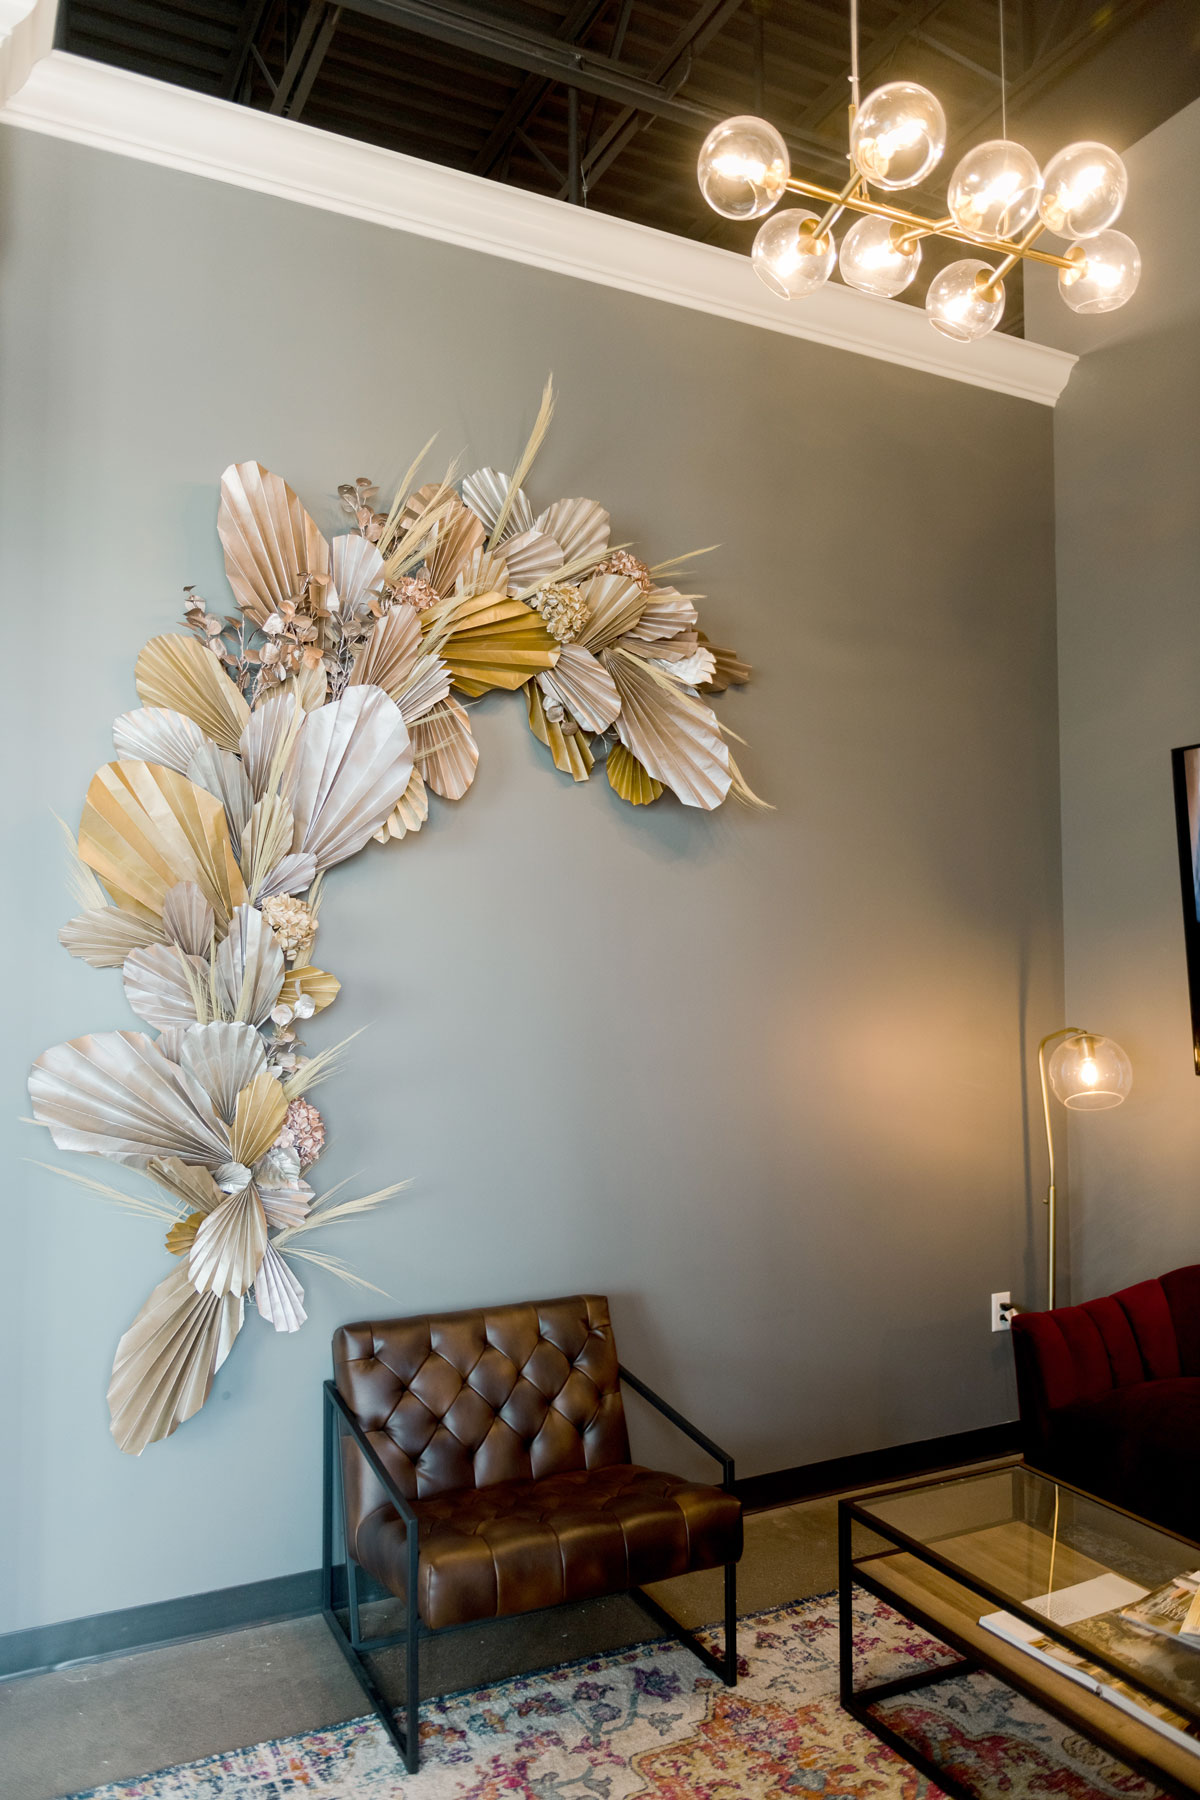
What do you get when you combine a little bit of paper, some dried florals and a smattering of gorgeous metallic spray paints?! Wellllllllll, this super versatile boho inspired metallic wall installation!
And today I have all the tips and tricks and how-to for making one of these yourself! 🙂
Honestly, as I was putting this up, I couldn’t help but think of how amazing this could be as a wedding ceremony backdrop or dessert table party backdrop or even just a selfie station! I mean, imagine all of the amazing comments at a party of celebration! WEEEEE!
MATERIALS:
- Some old paper bags or newspaper or a roll of kraft paper
- Some dried floral – hydrangea and wheat grass and eucalyptus other neutral florals
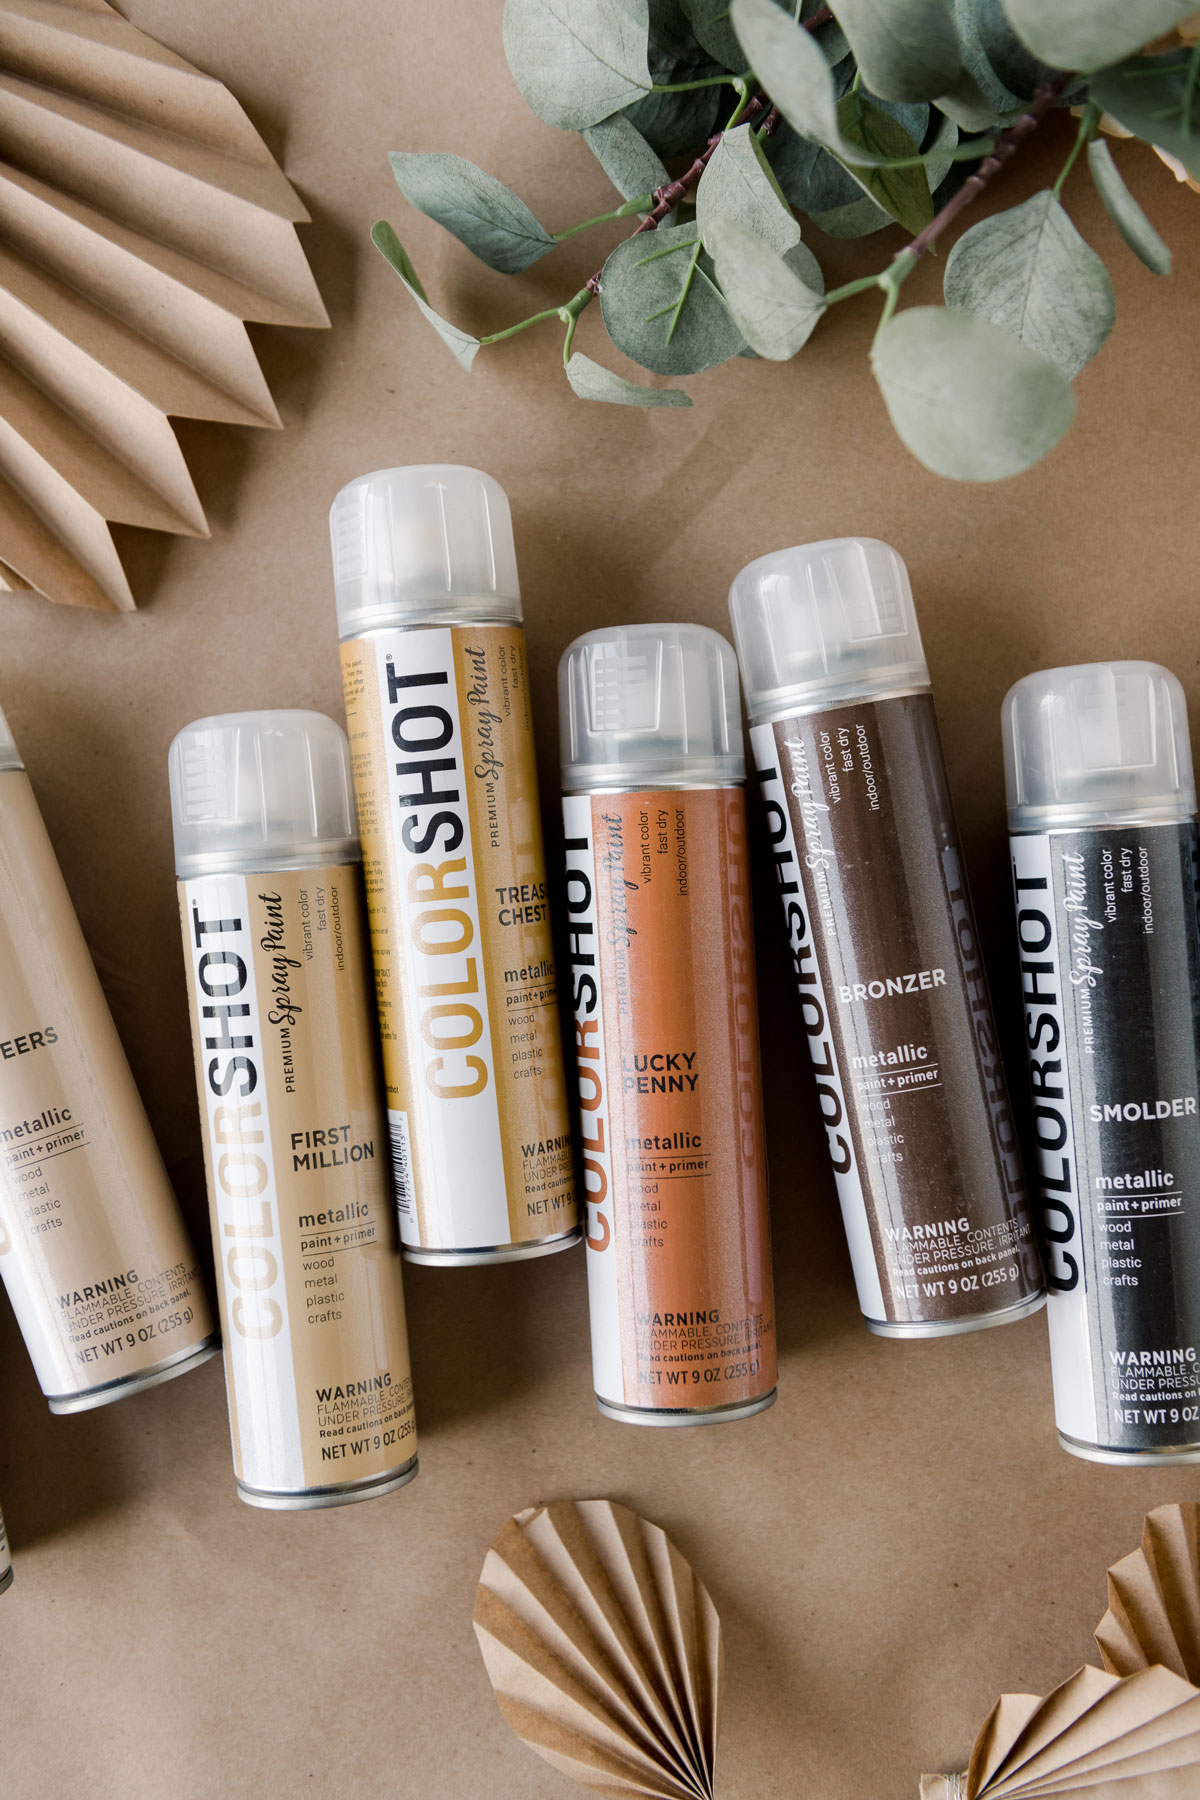
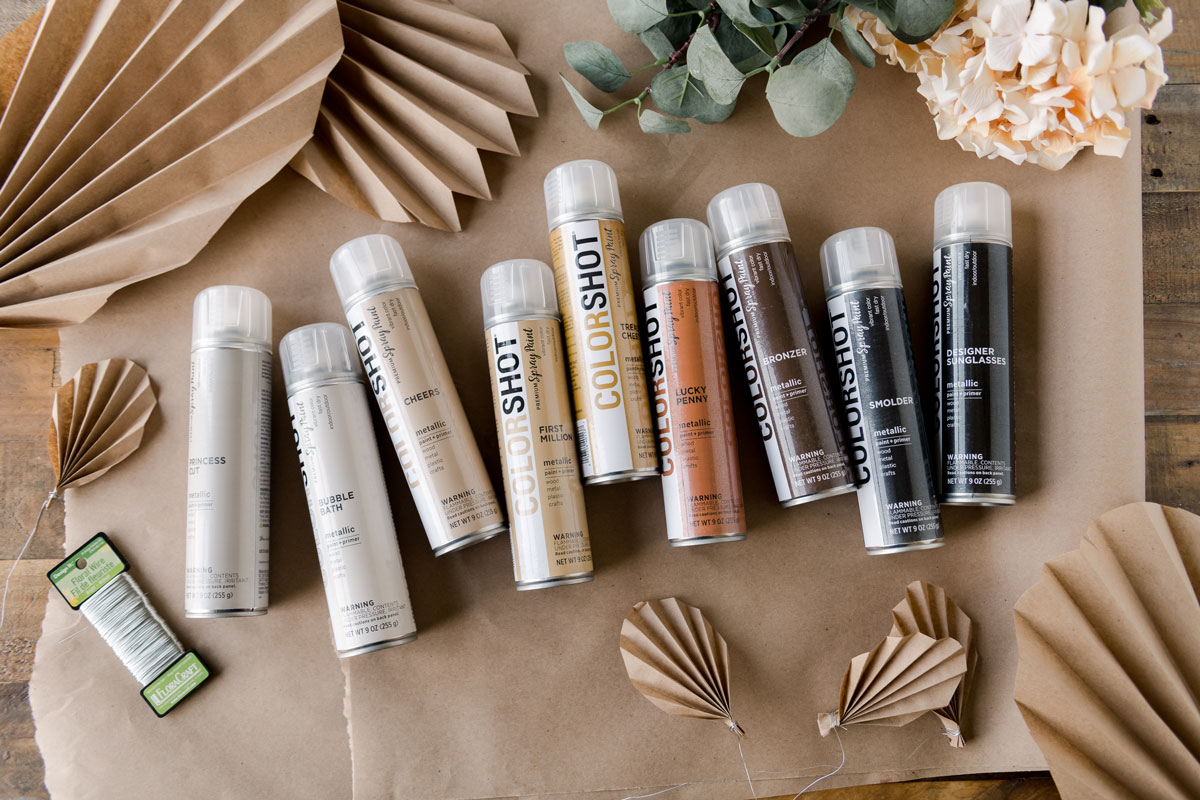
- Your fave colors of super awesome metallic Colorshot spray paint (I listed the ones I used below)
- Paper, plastic or cardboard to cover your work surface
- Chicken wire
- Some floral wire
- Scissors and/or wire cutters
- 3M hooks
- optional: glue gun + glue sticks
INSTRUCTIONS:
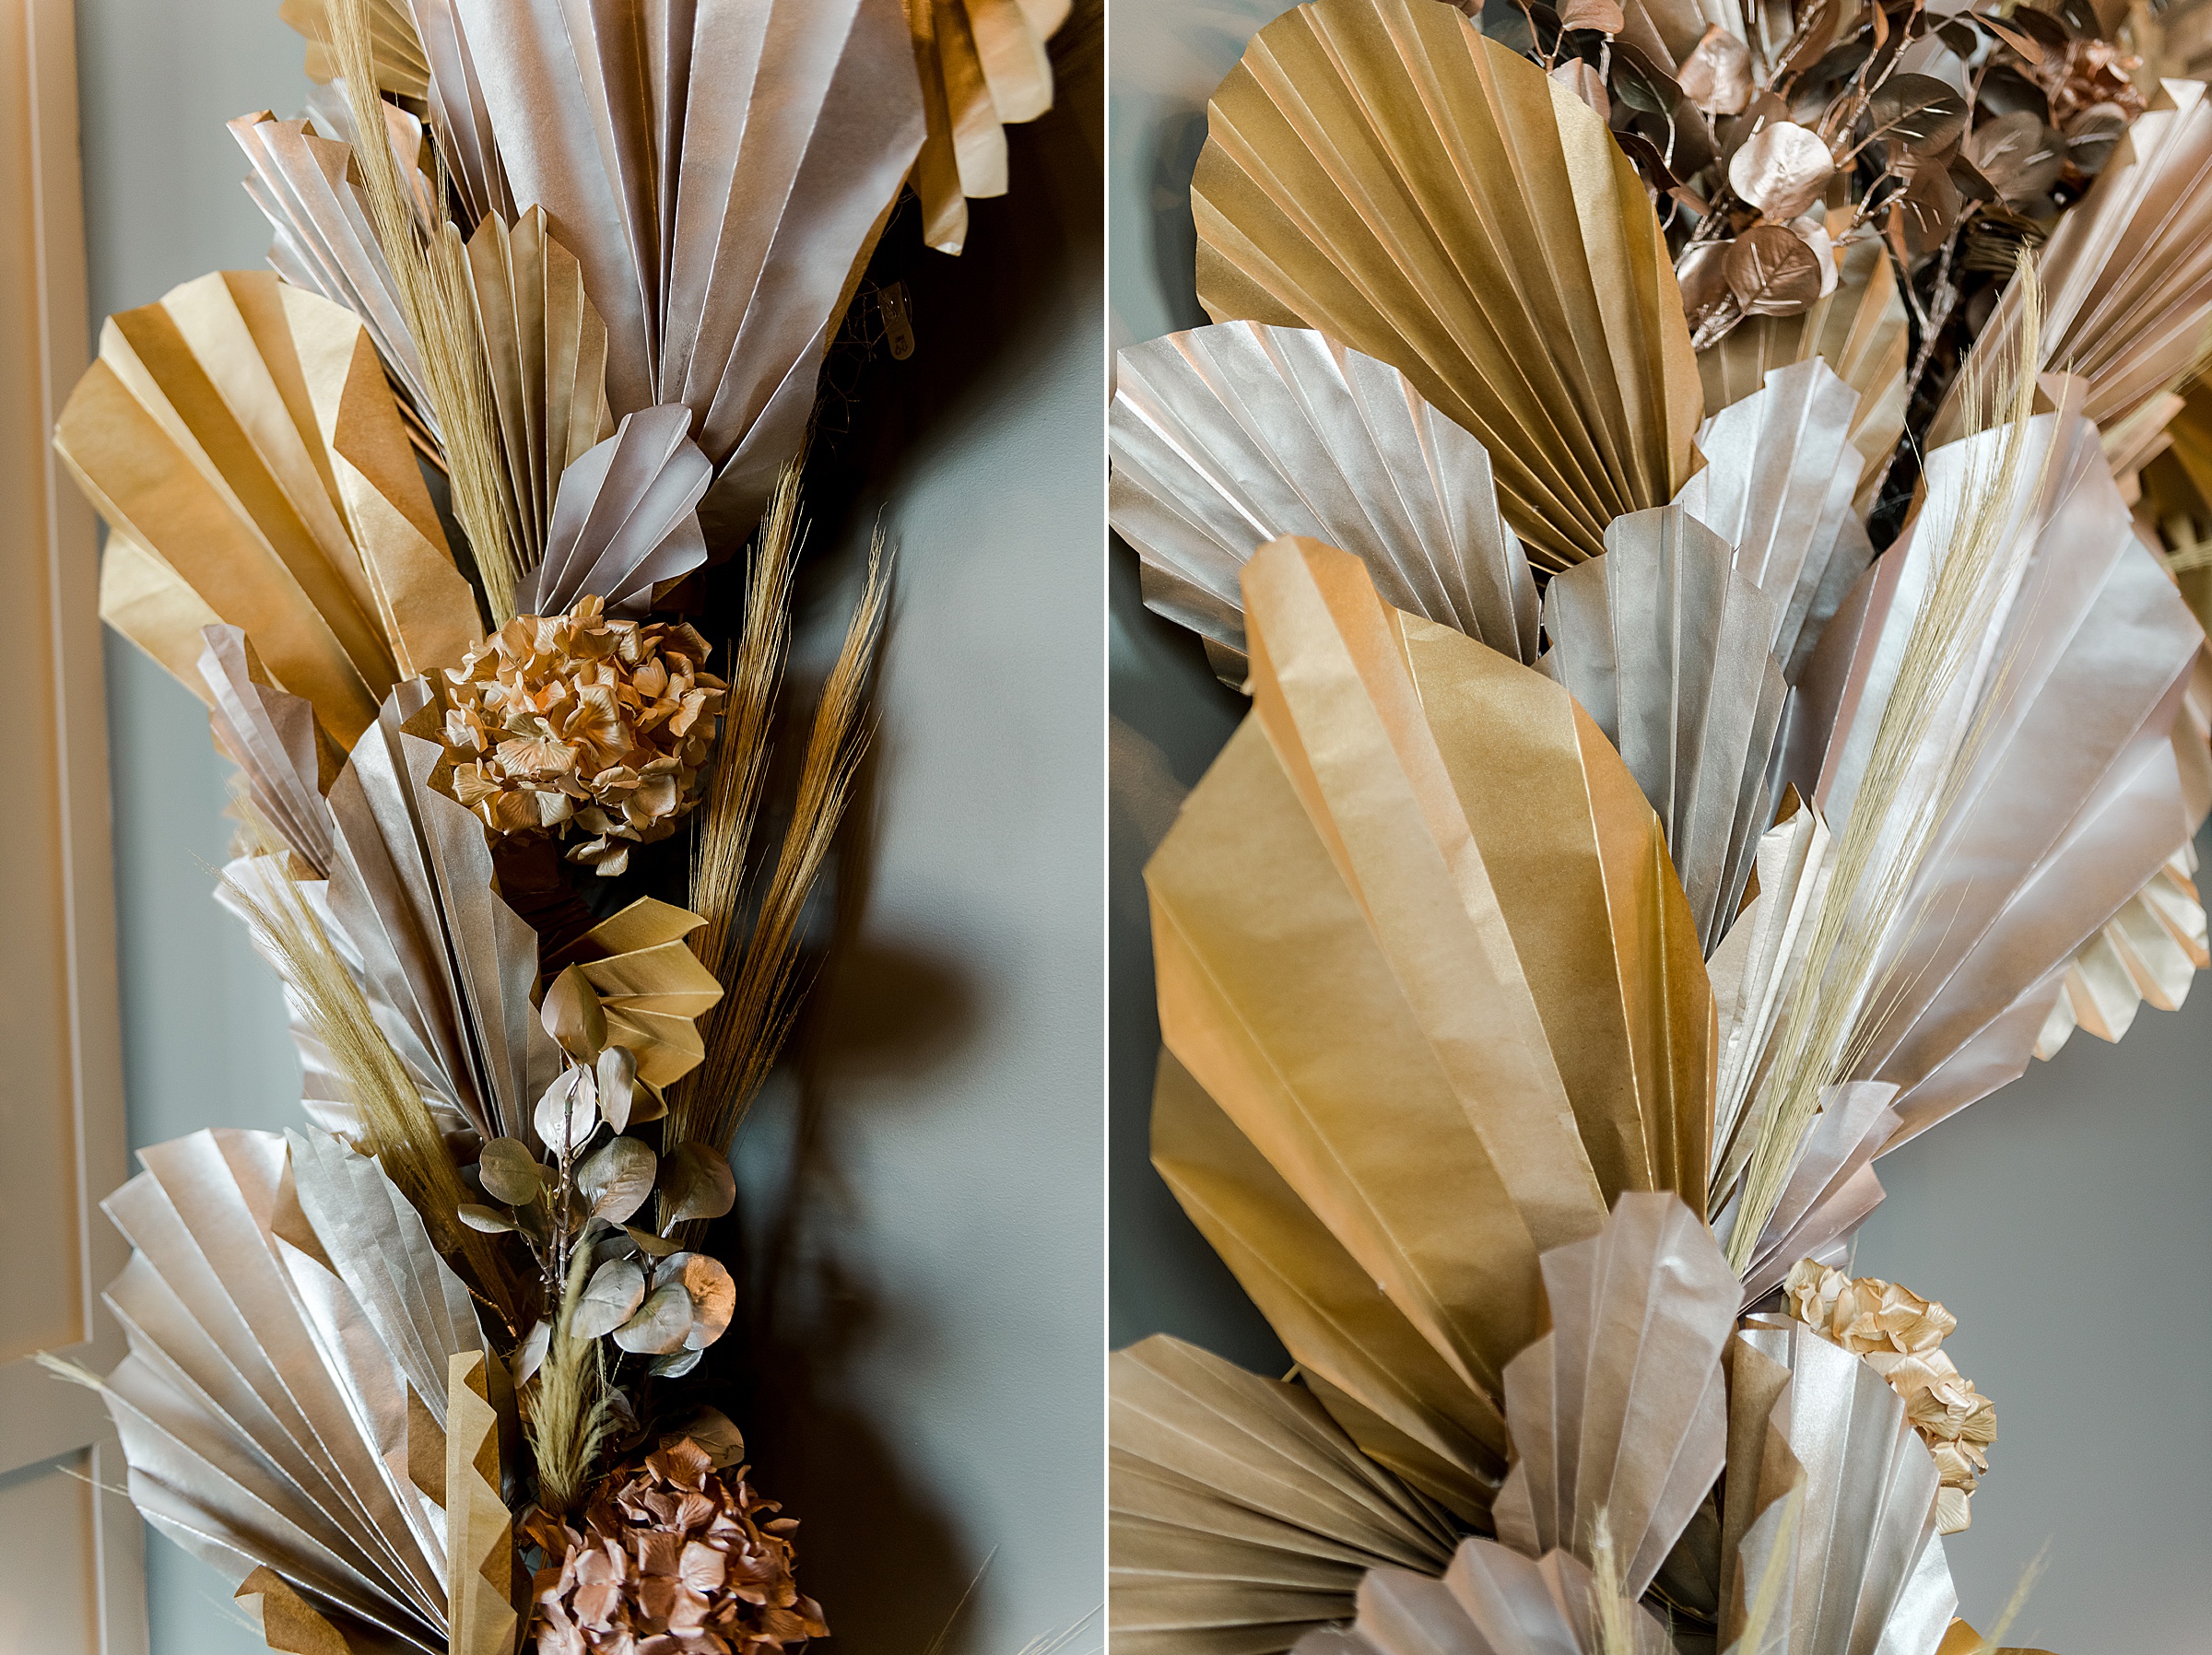
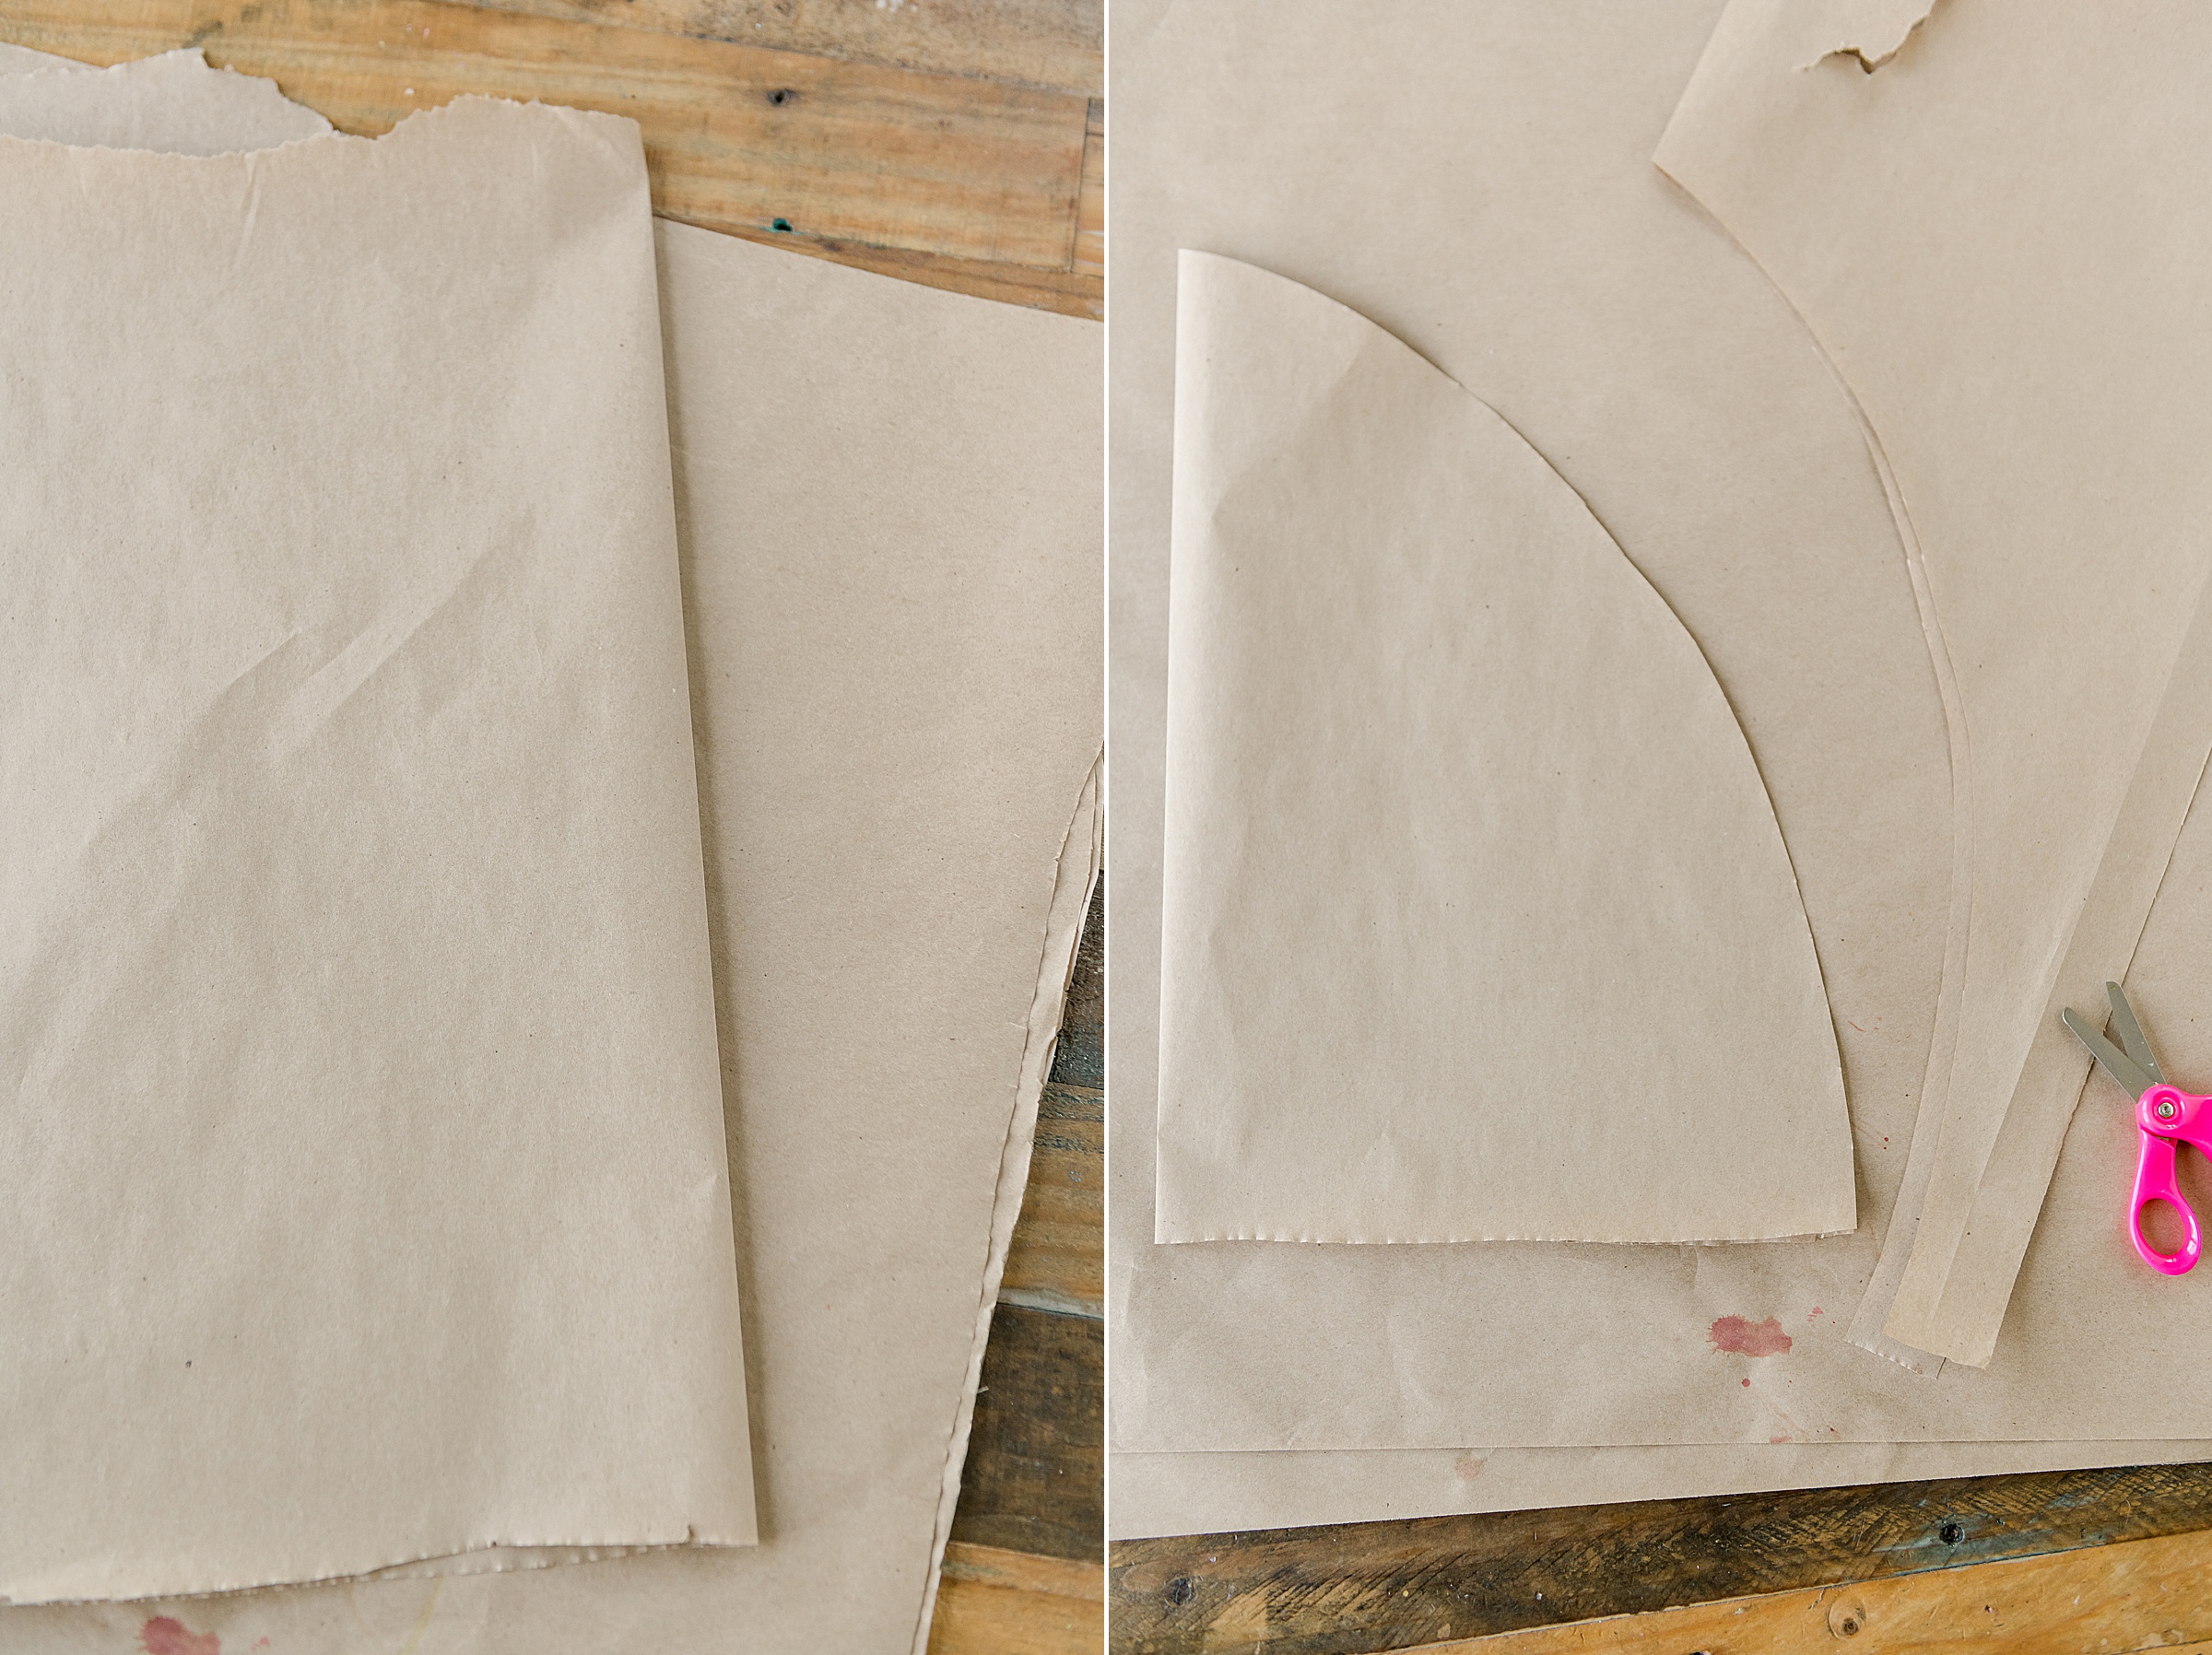
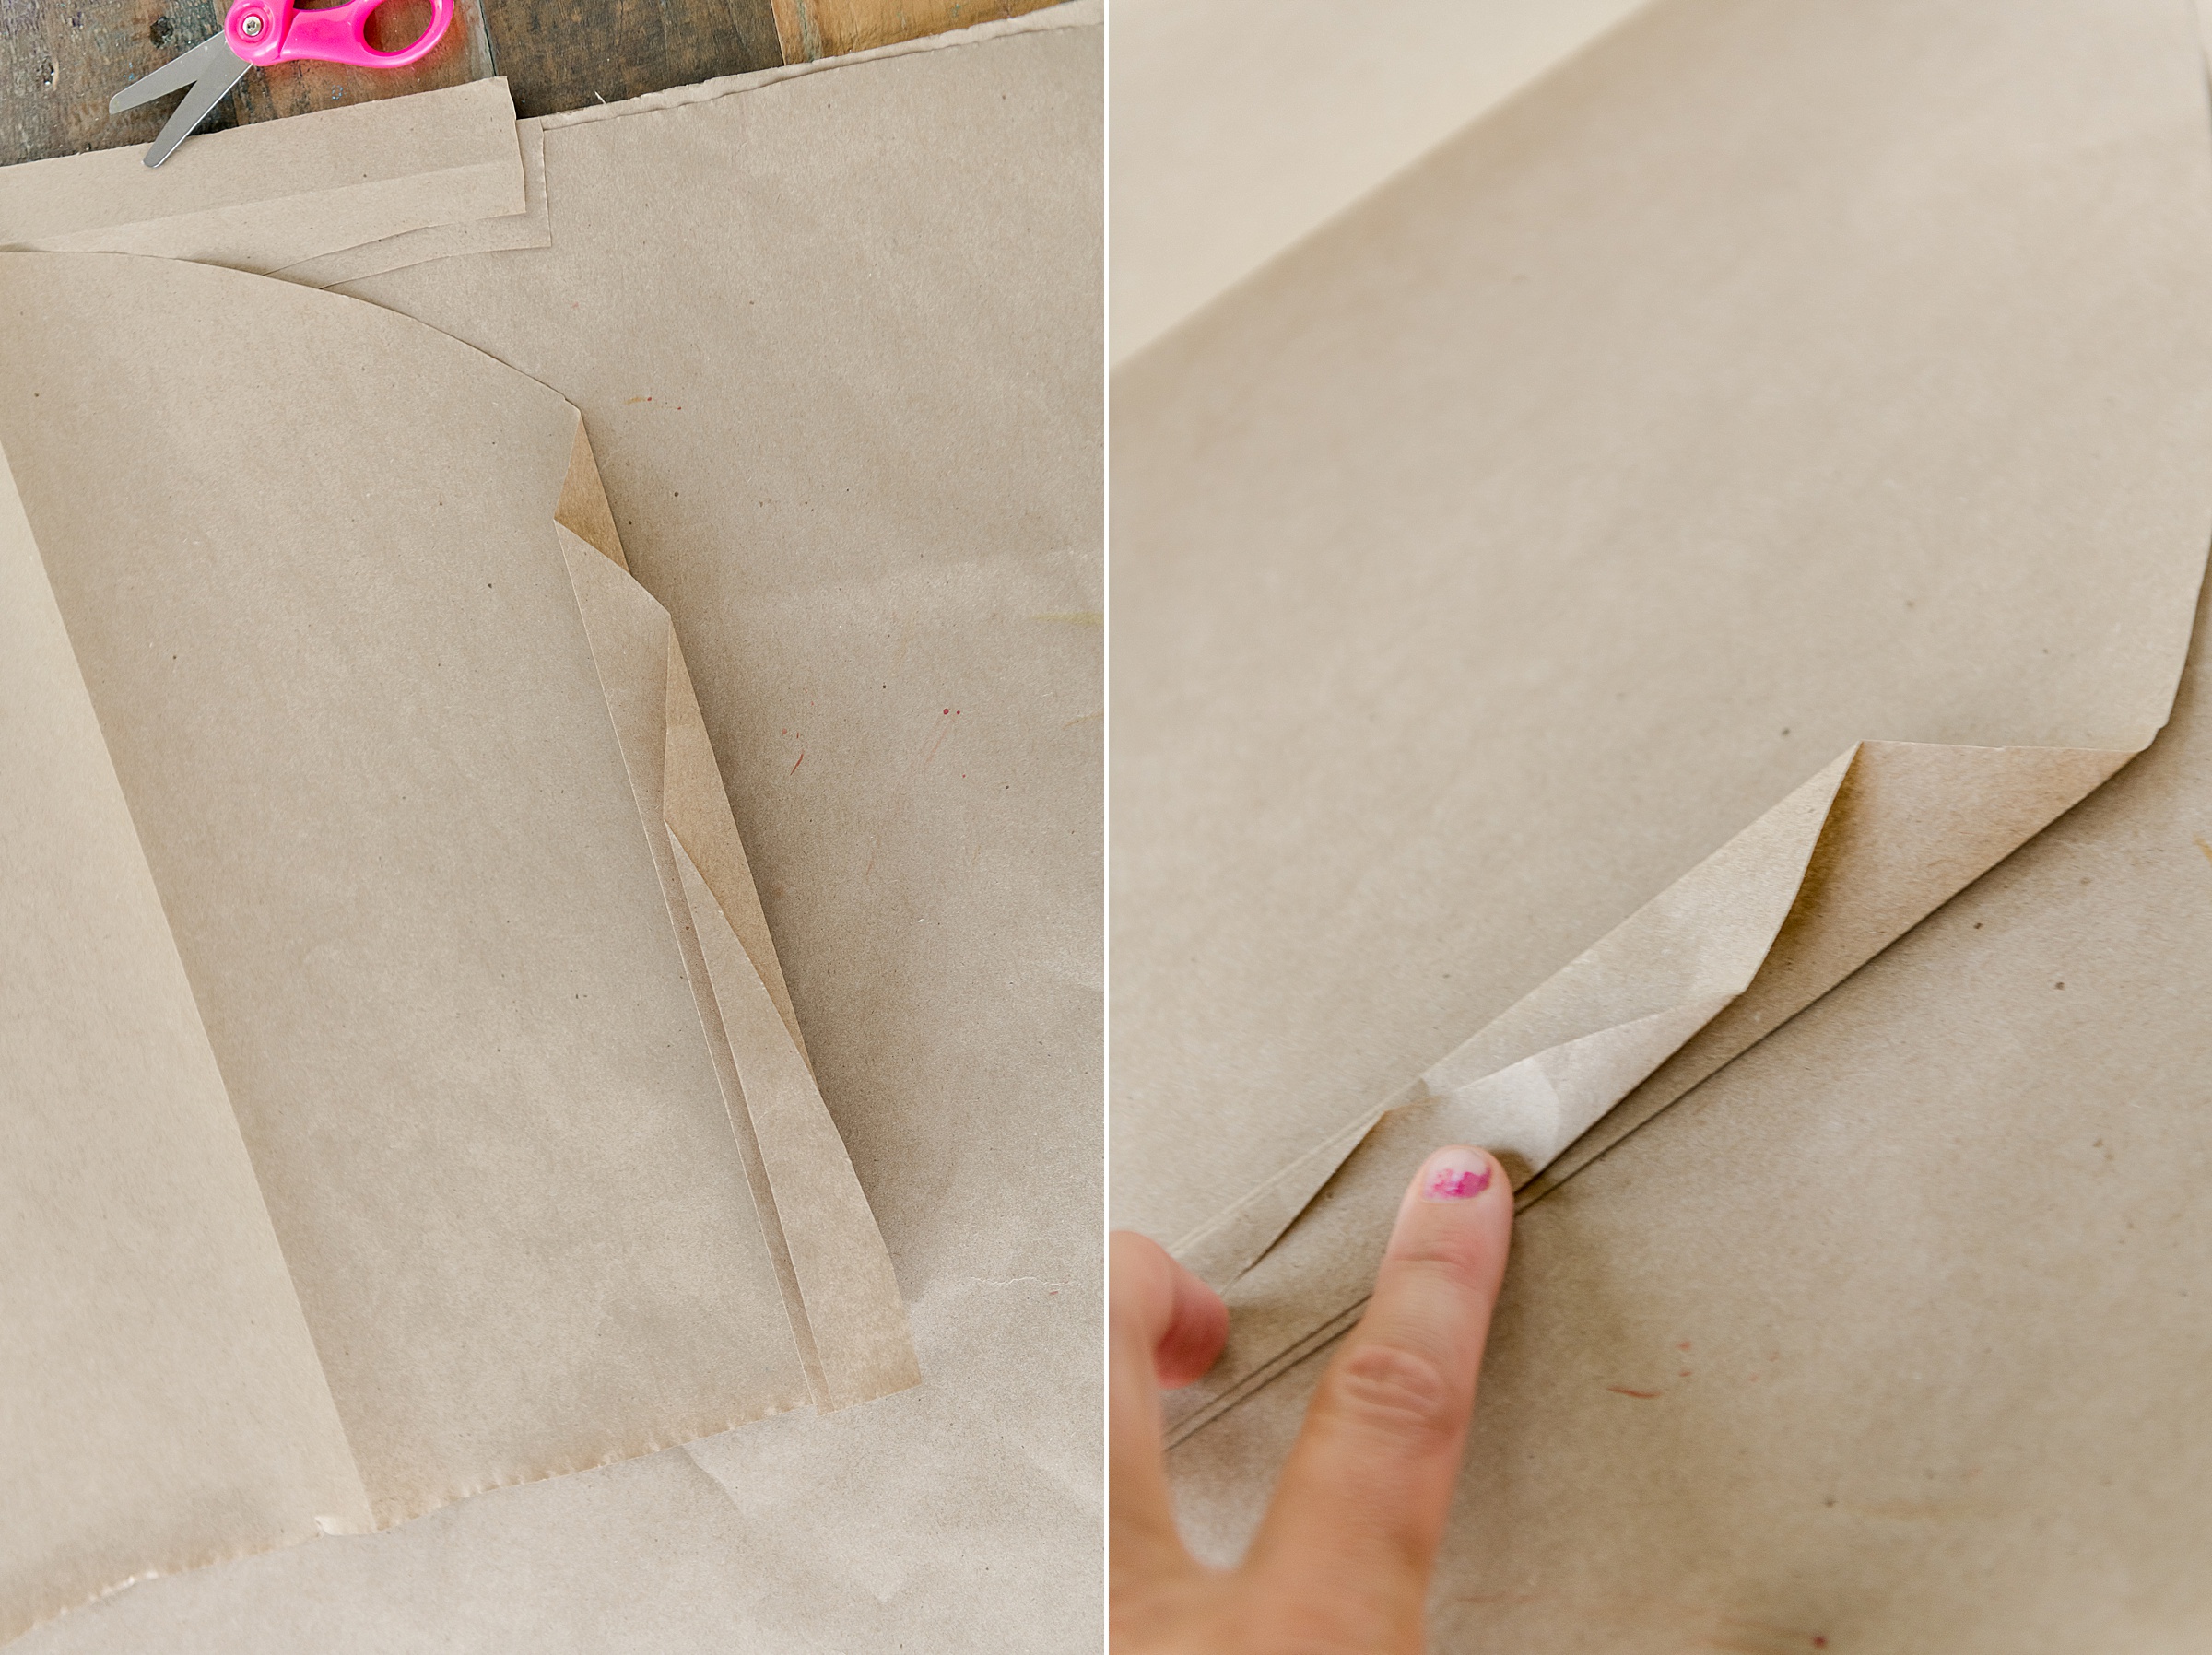
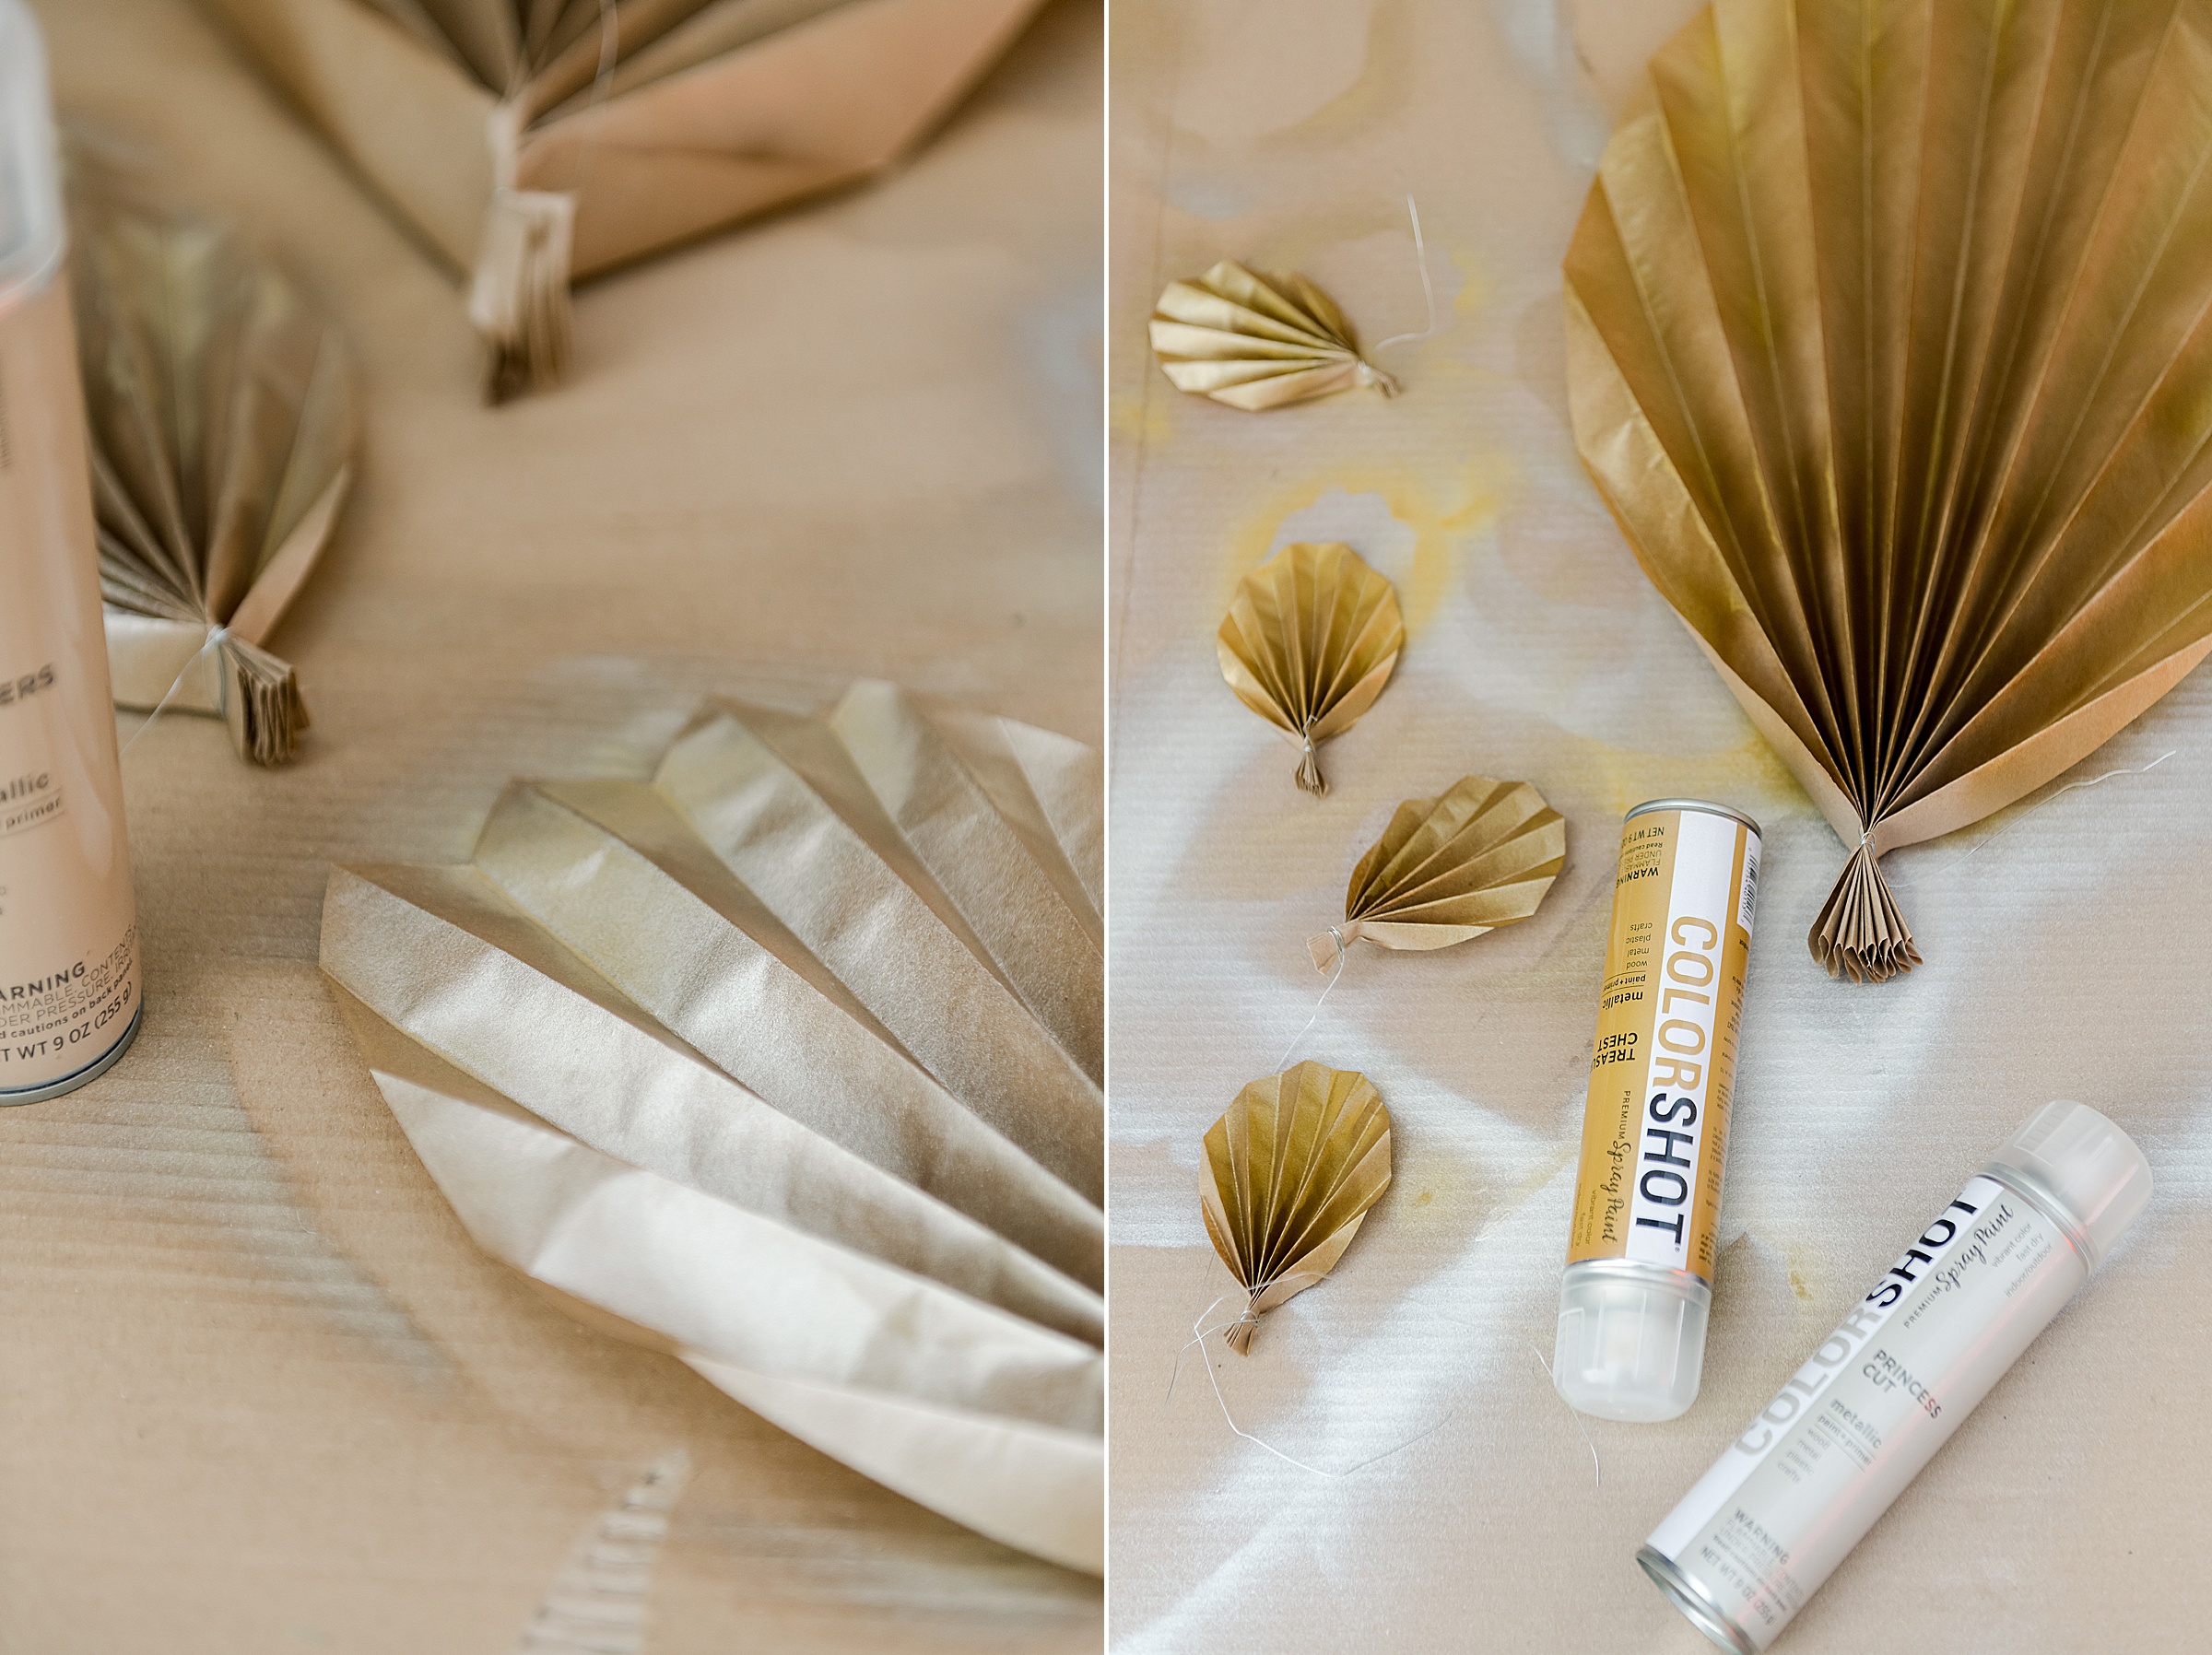
1. With the paper that you choose to use, fold in half. Then cut a rainbow (or upside down U) shape, meeting on the middle fold.
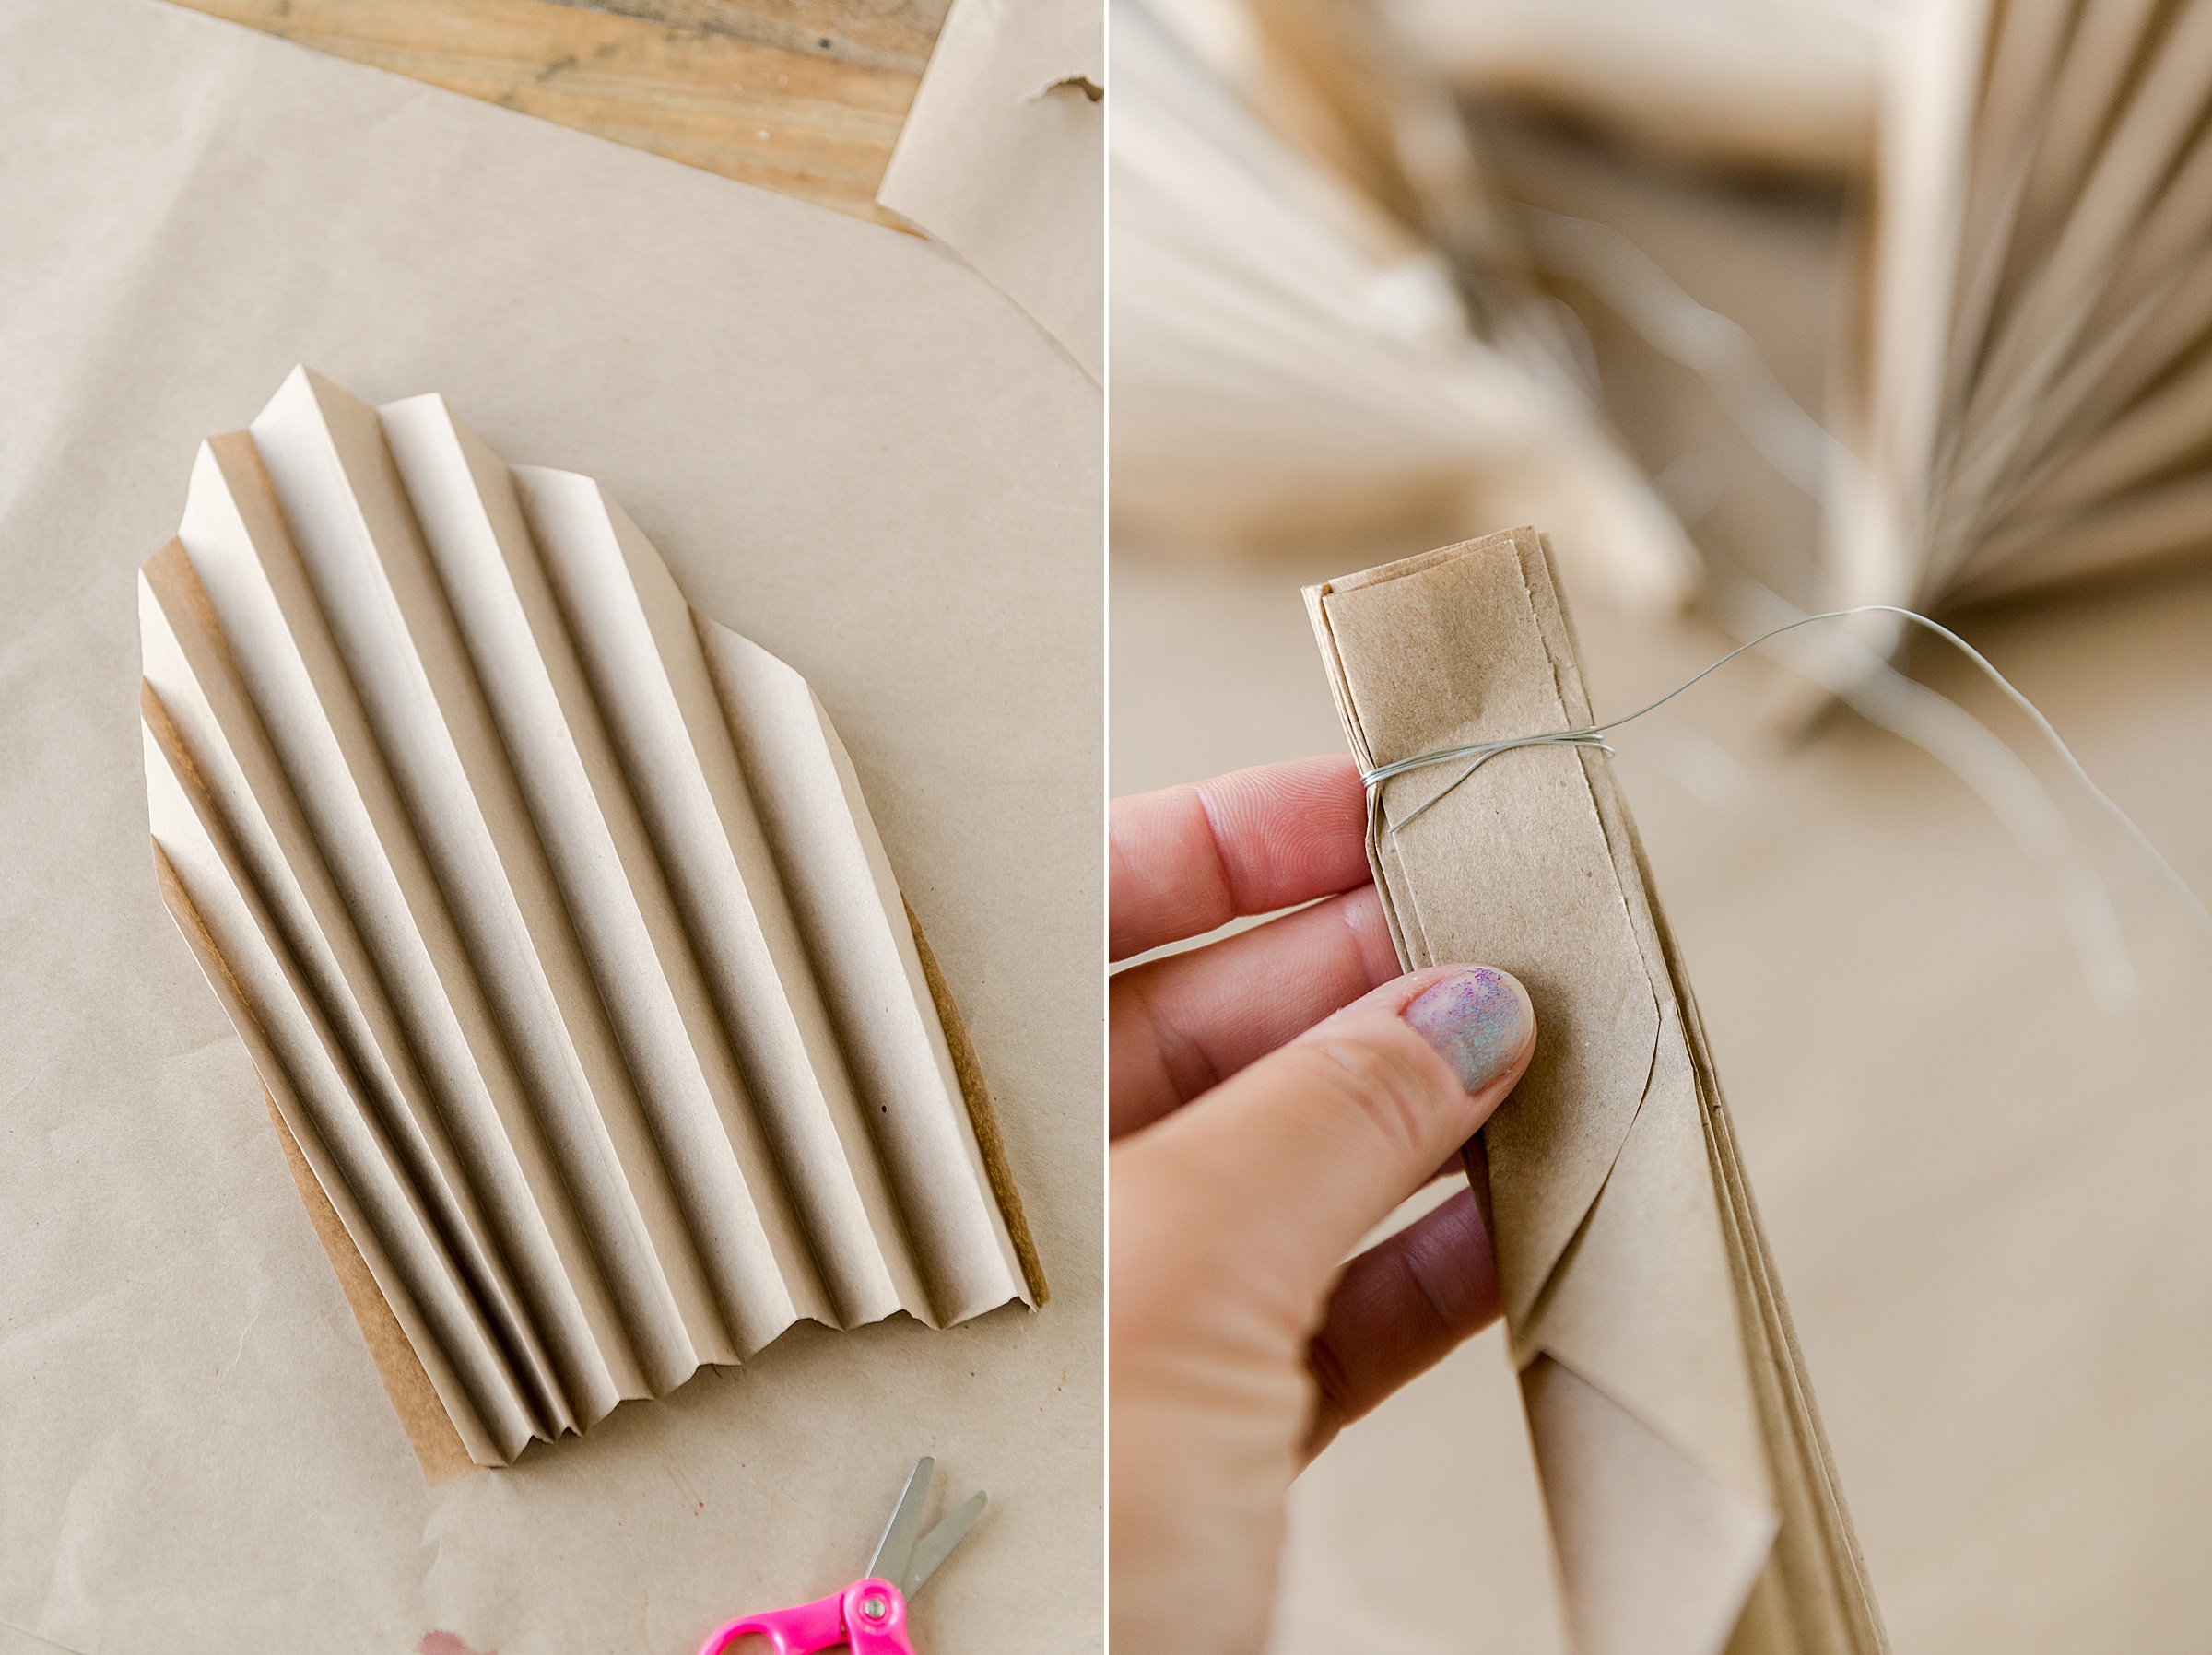
Then open up the fold and begin accordion folding, back and forth and back and forth, doing your best to keep the folds the same size across the whole paper until you reach the end. Crease with your fingers and repeat this for LOOOOOTS of other pieces of paper and sizes. I used about 35-40 for a 7 foot section 🙂
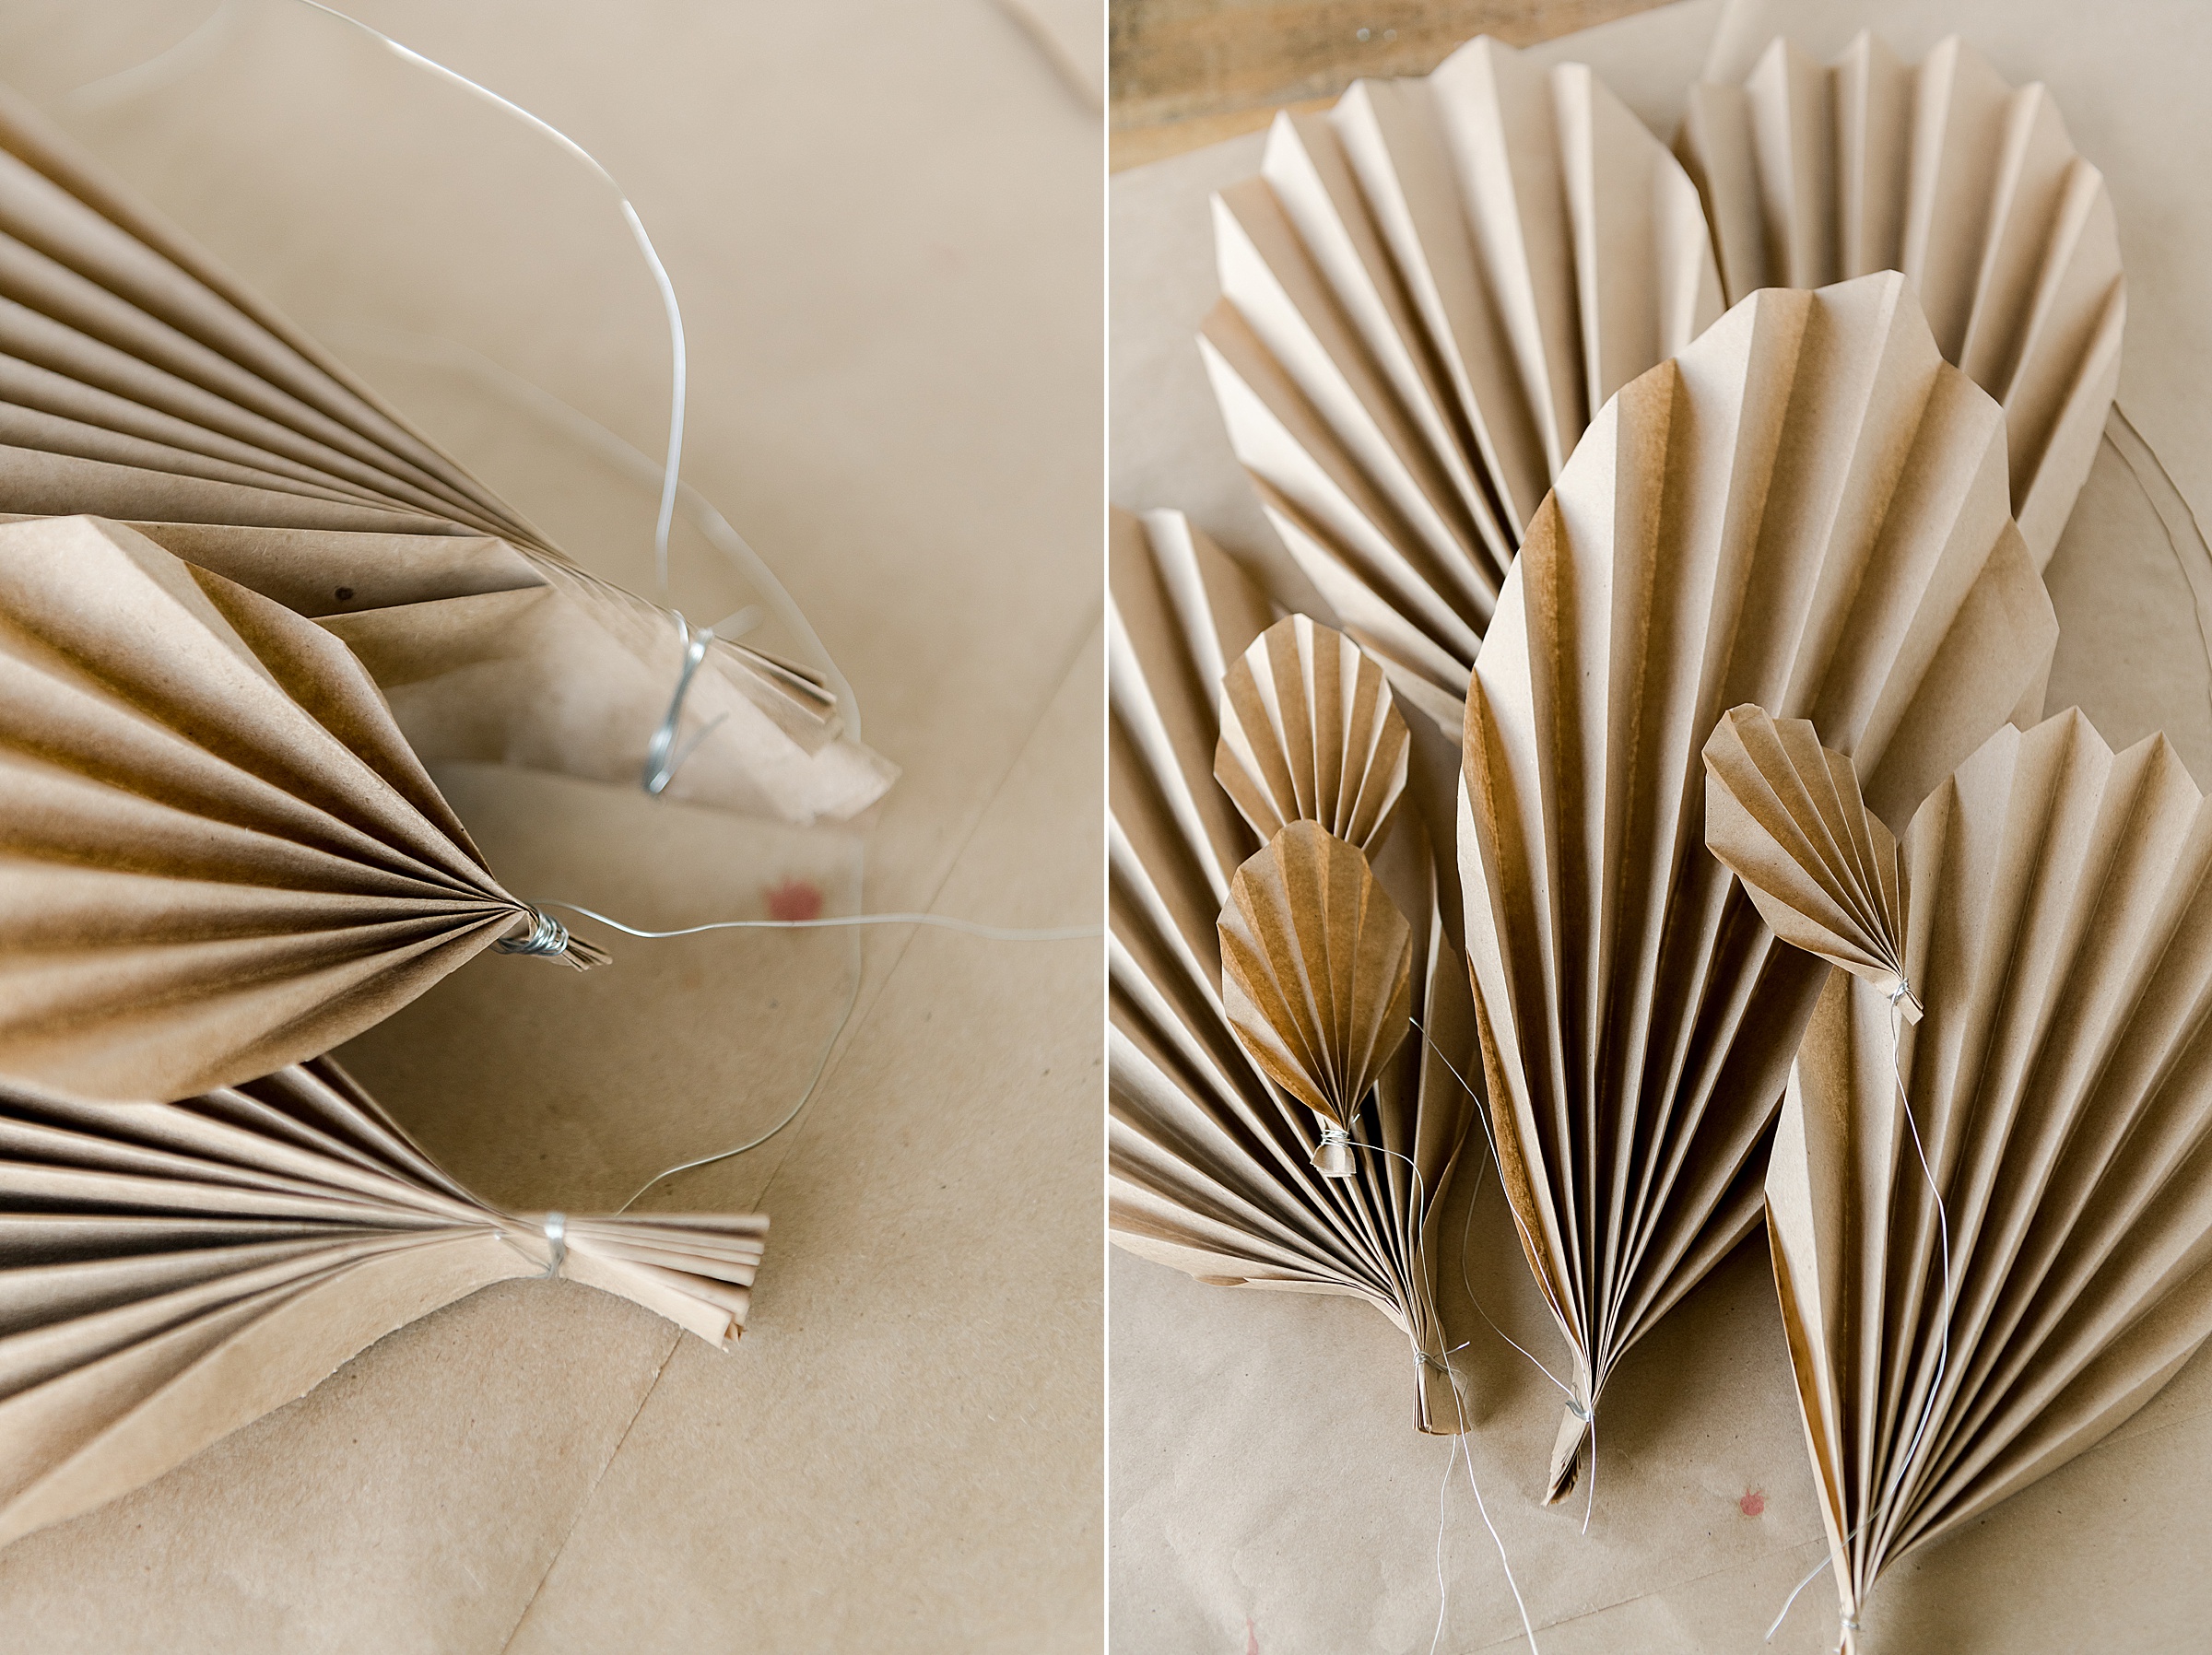
2. Pinch the bottoms of the accordion folded palm shapes and with some floral wire, begin wrapping the bottoms to hold them into place. Leave a 6” ish extra tail of wire off of the bottom for wrapping on the chicken wire frame.
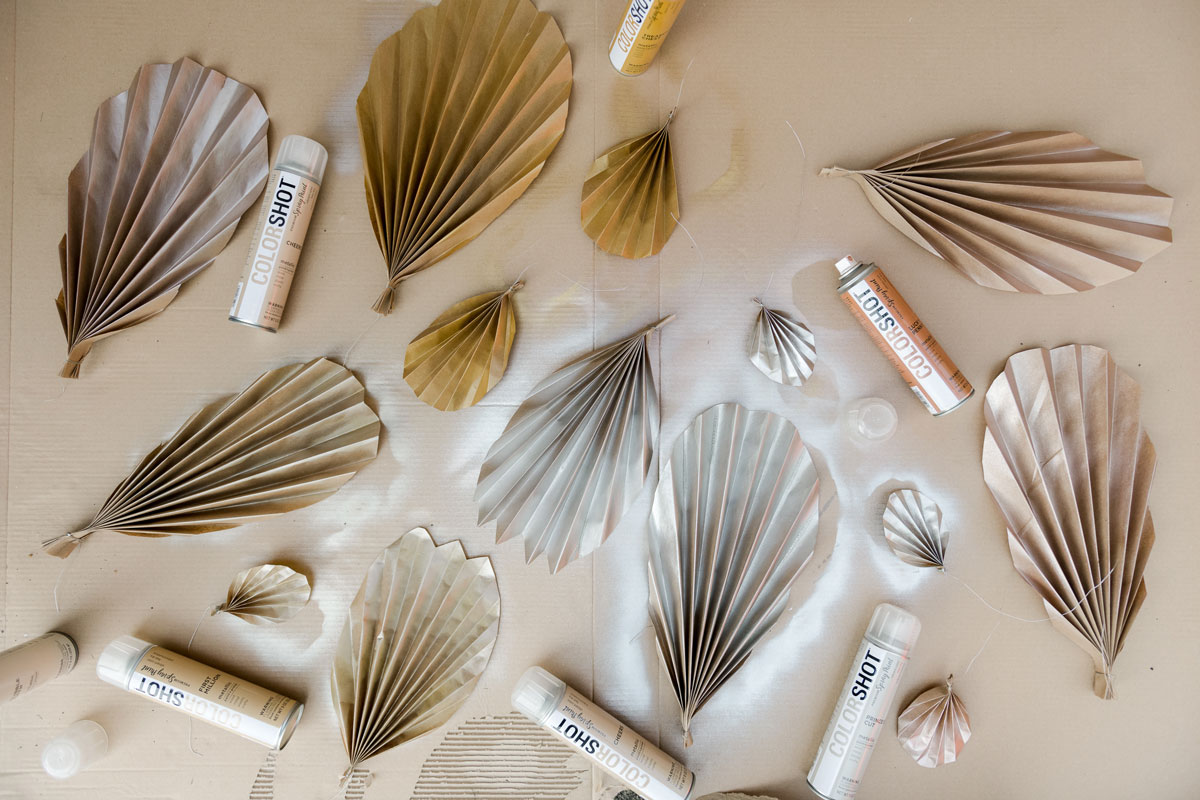
3. Set out your dried flowers and your paper palms on your work surface and start choosing which colors you want sprayed for each. Then begin to spray the awesome metallic-y colors all over your paper palms and dried florals! 🙂
The colors I used were:
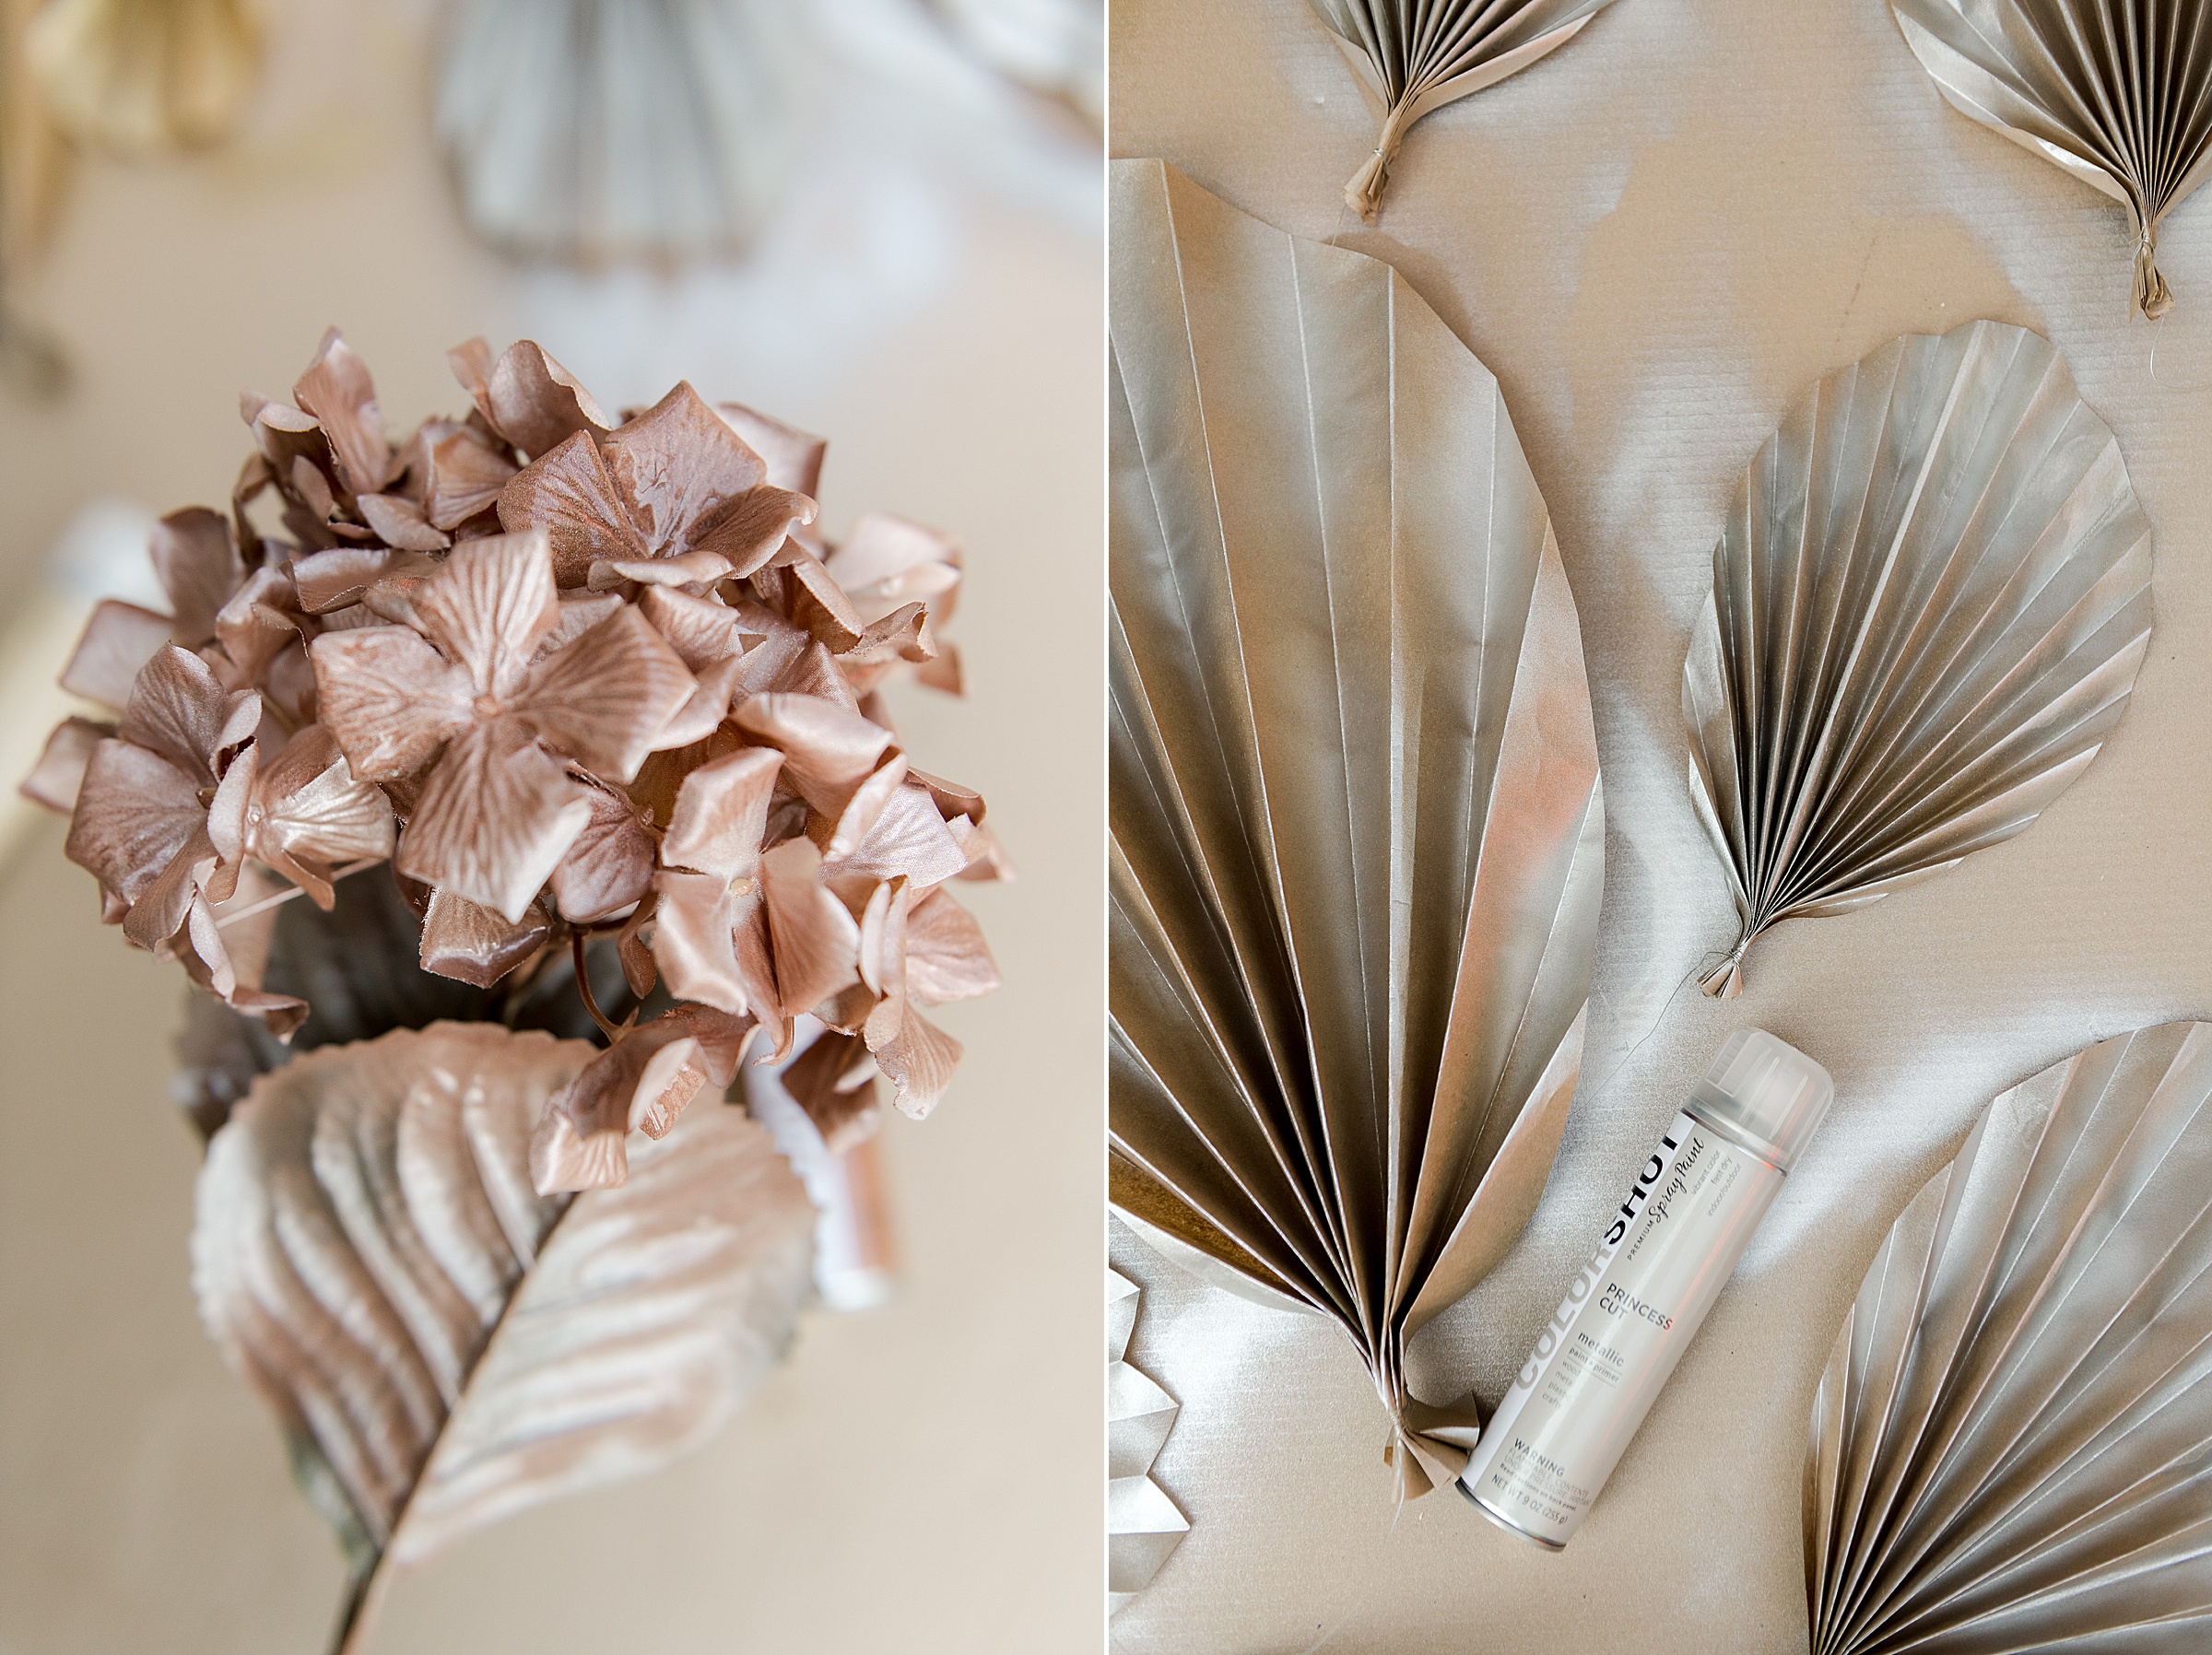
- Princess Cut
- Bubble Bath
- Cheers
- First Million
- Treasure Chest
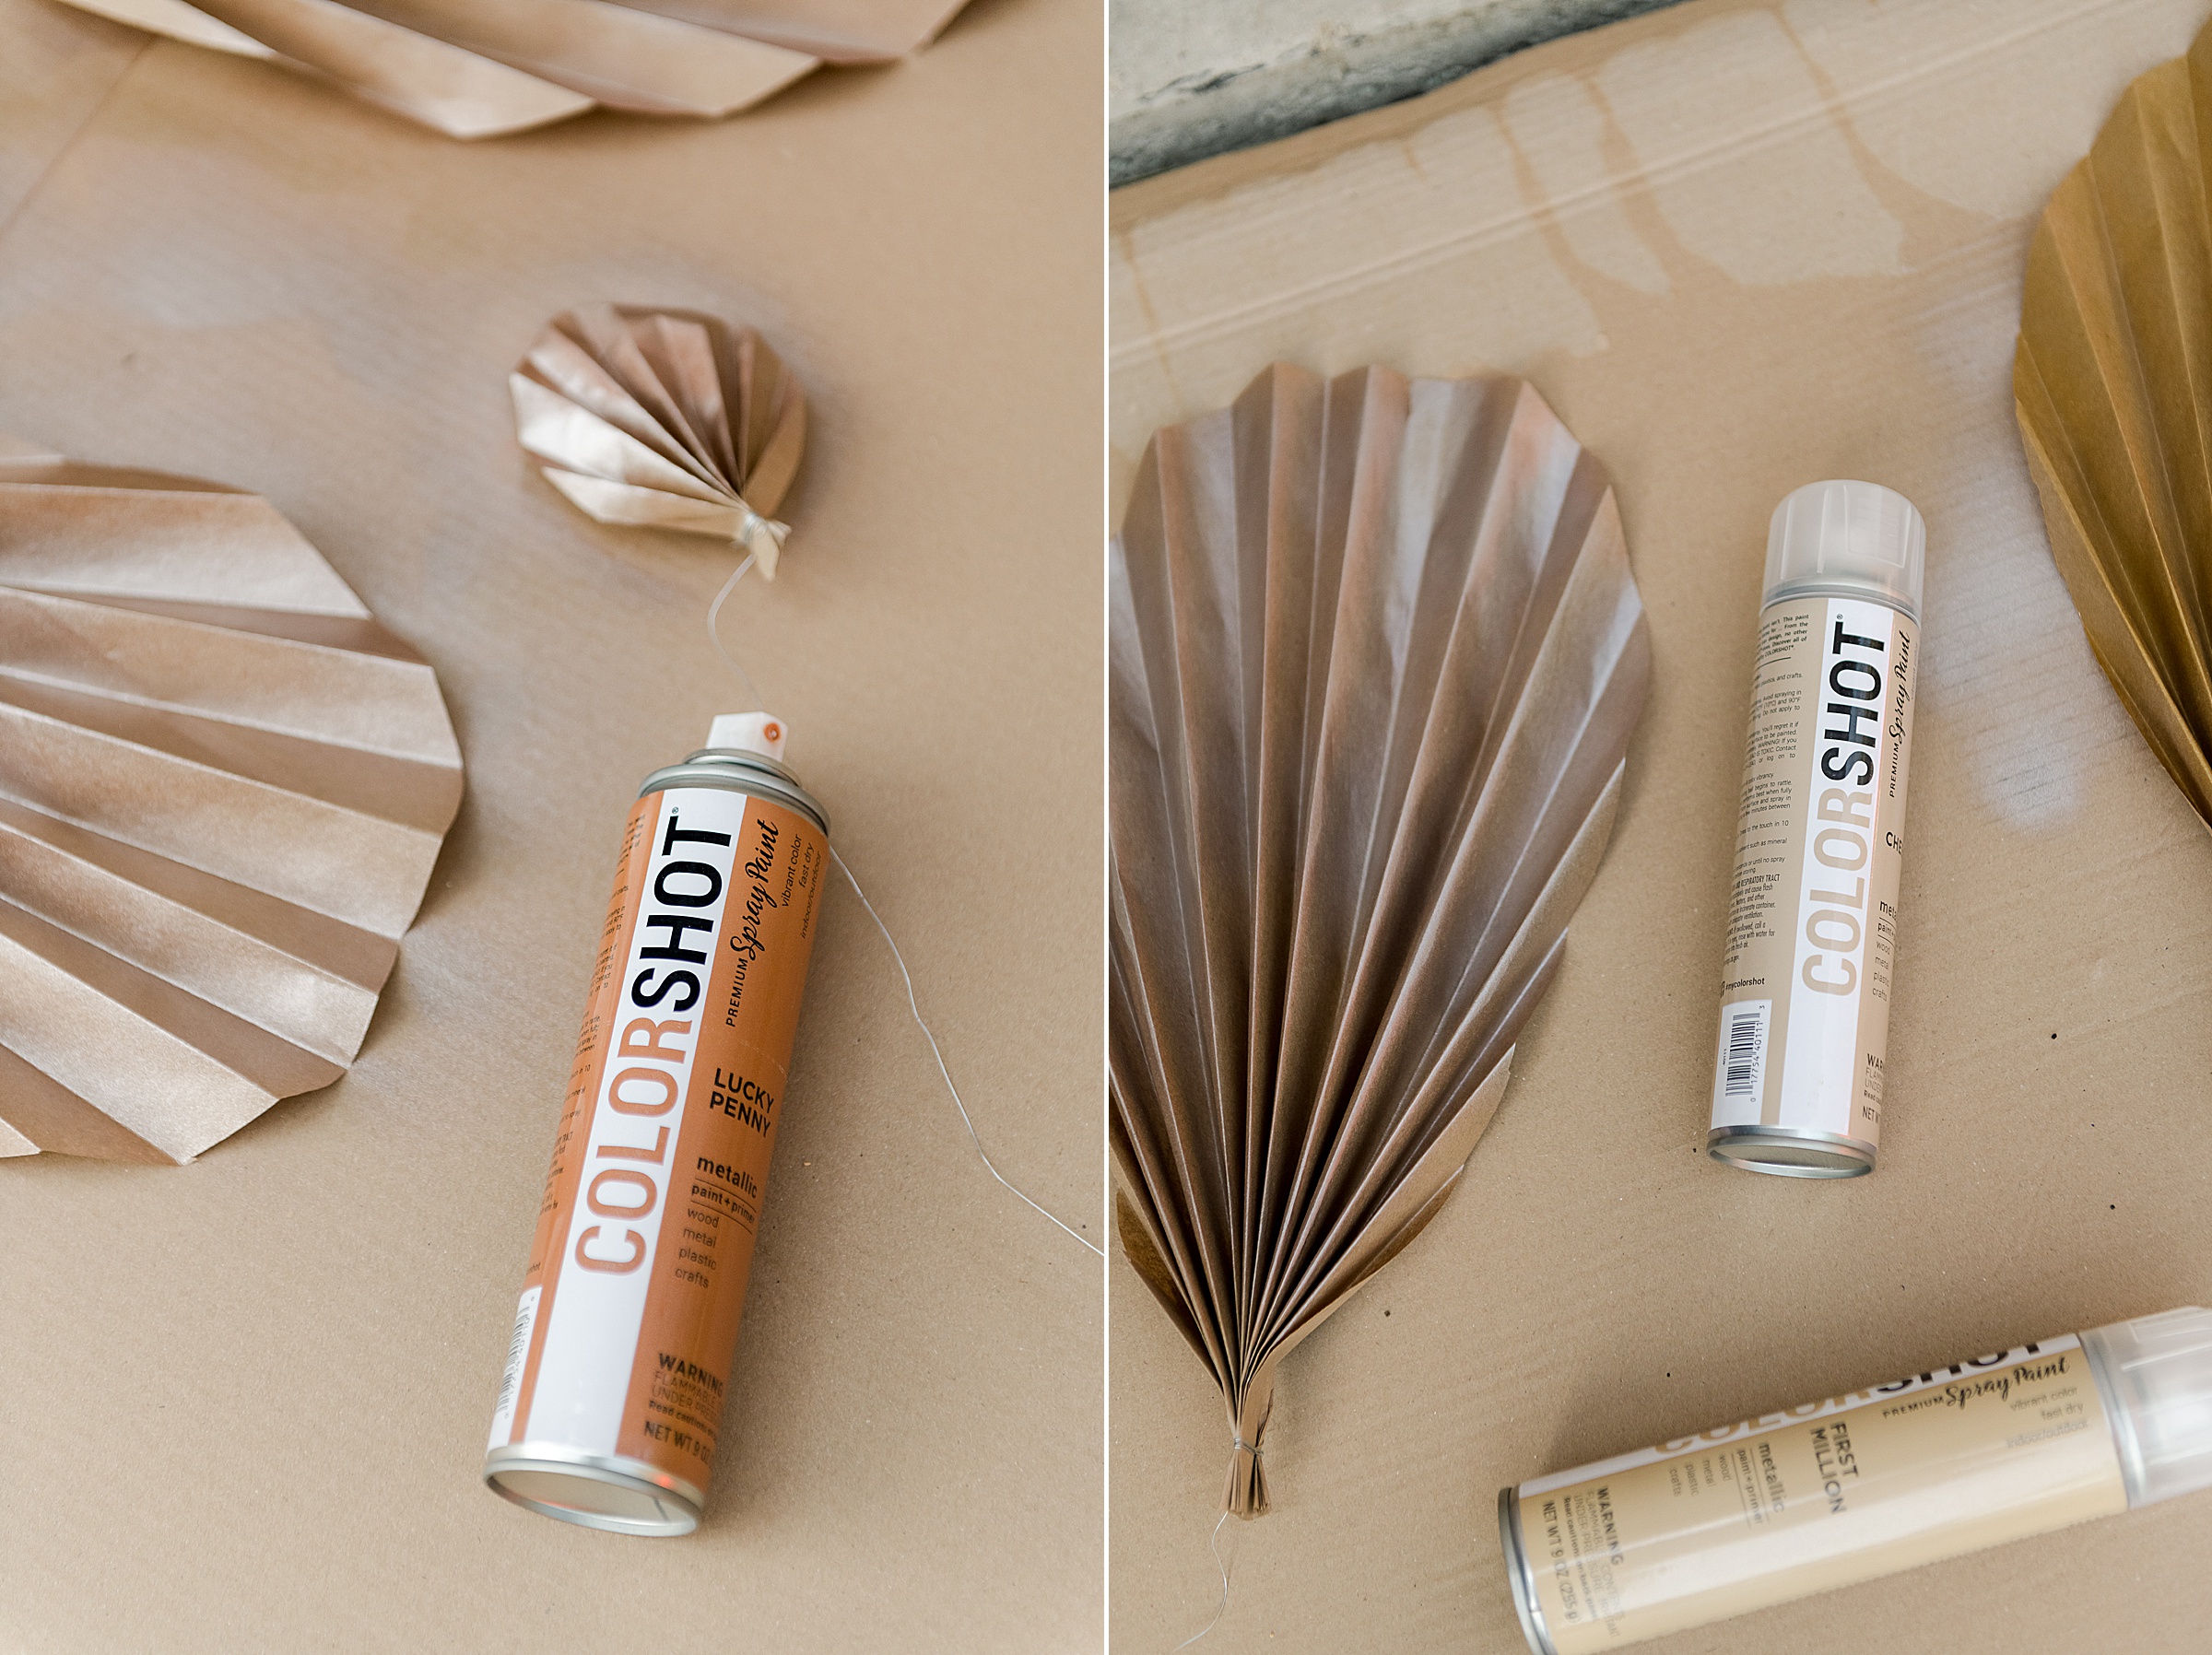
- Lucky Penny
- Bronzer
A few tips for using the Colorshot spray for this project:
- Of course choose to spray in a well ventilated area (outside is best)! 🙂
- Use an even spray on the paper palms by pressing down lightly and moving upwards and downwards with the direction of the folds to cover the whole area
- When spraying the dried flowers, use many light coats to be sure that everything stays secure and together. I probably did 4-5 light coats on all of the hydrangea and eucalyptus
- Be sure to get ALLLL sides of the dried flowers
- Allow to dry for at least 2 hours (more if you can) before pilling up to move to the installation area 🙂
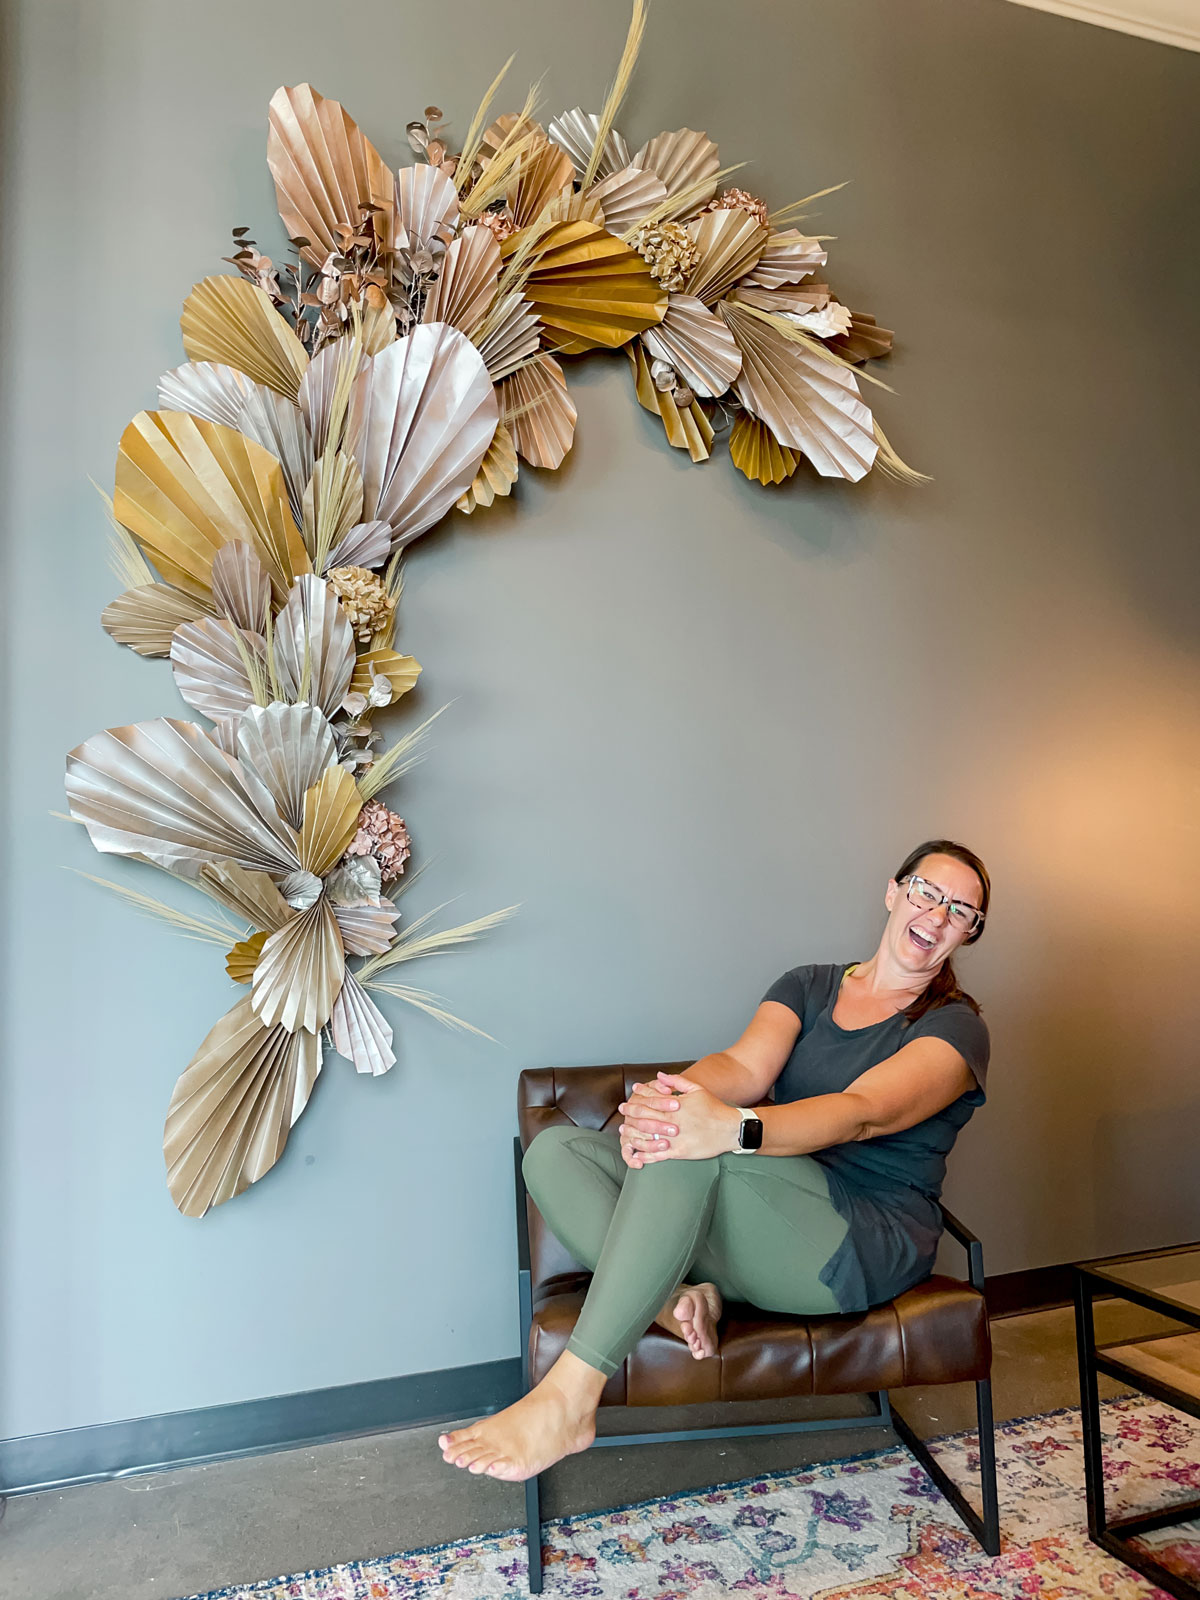
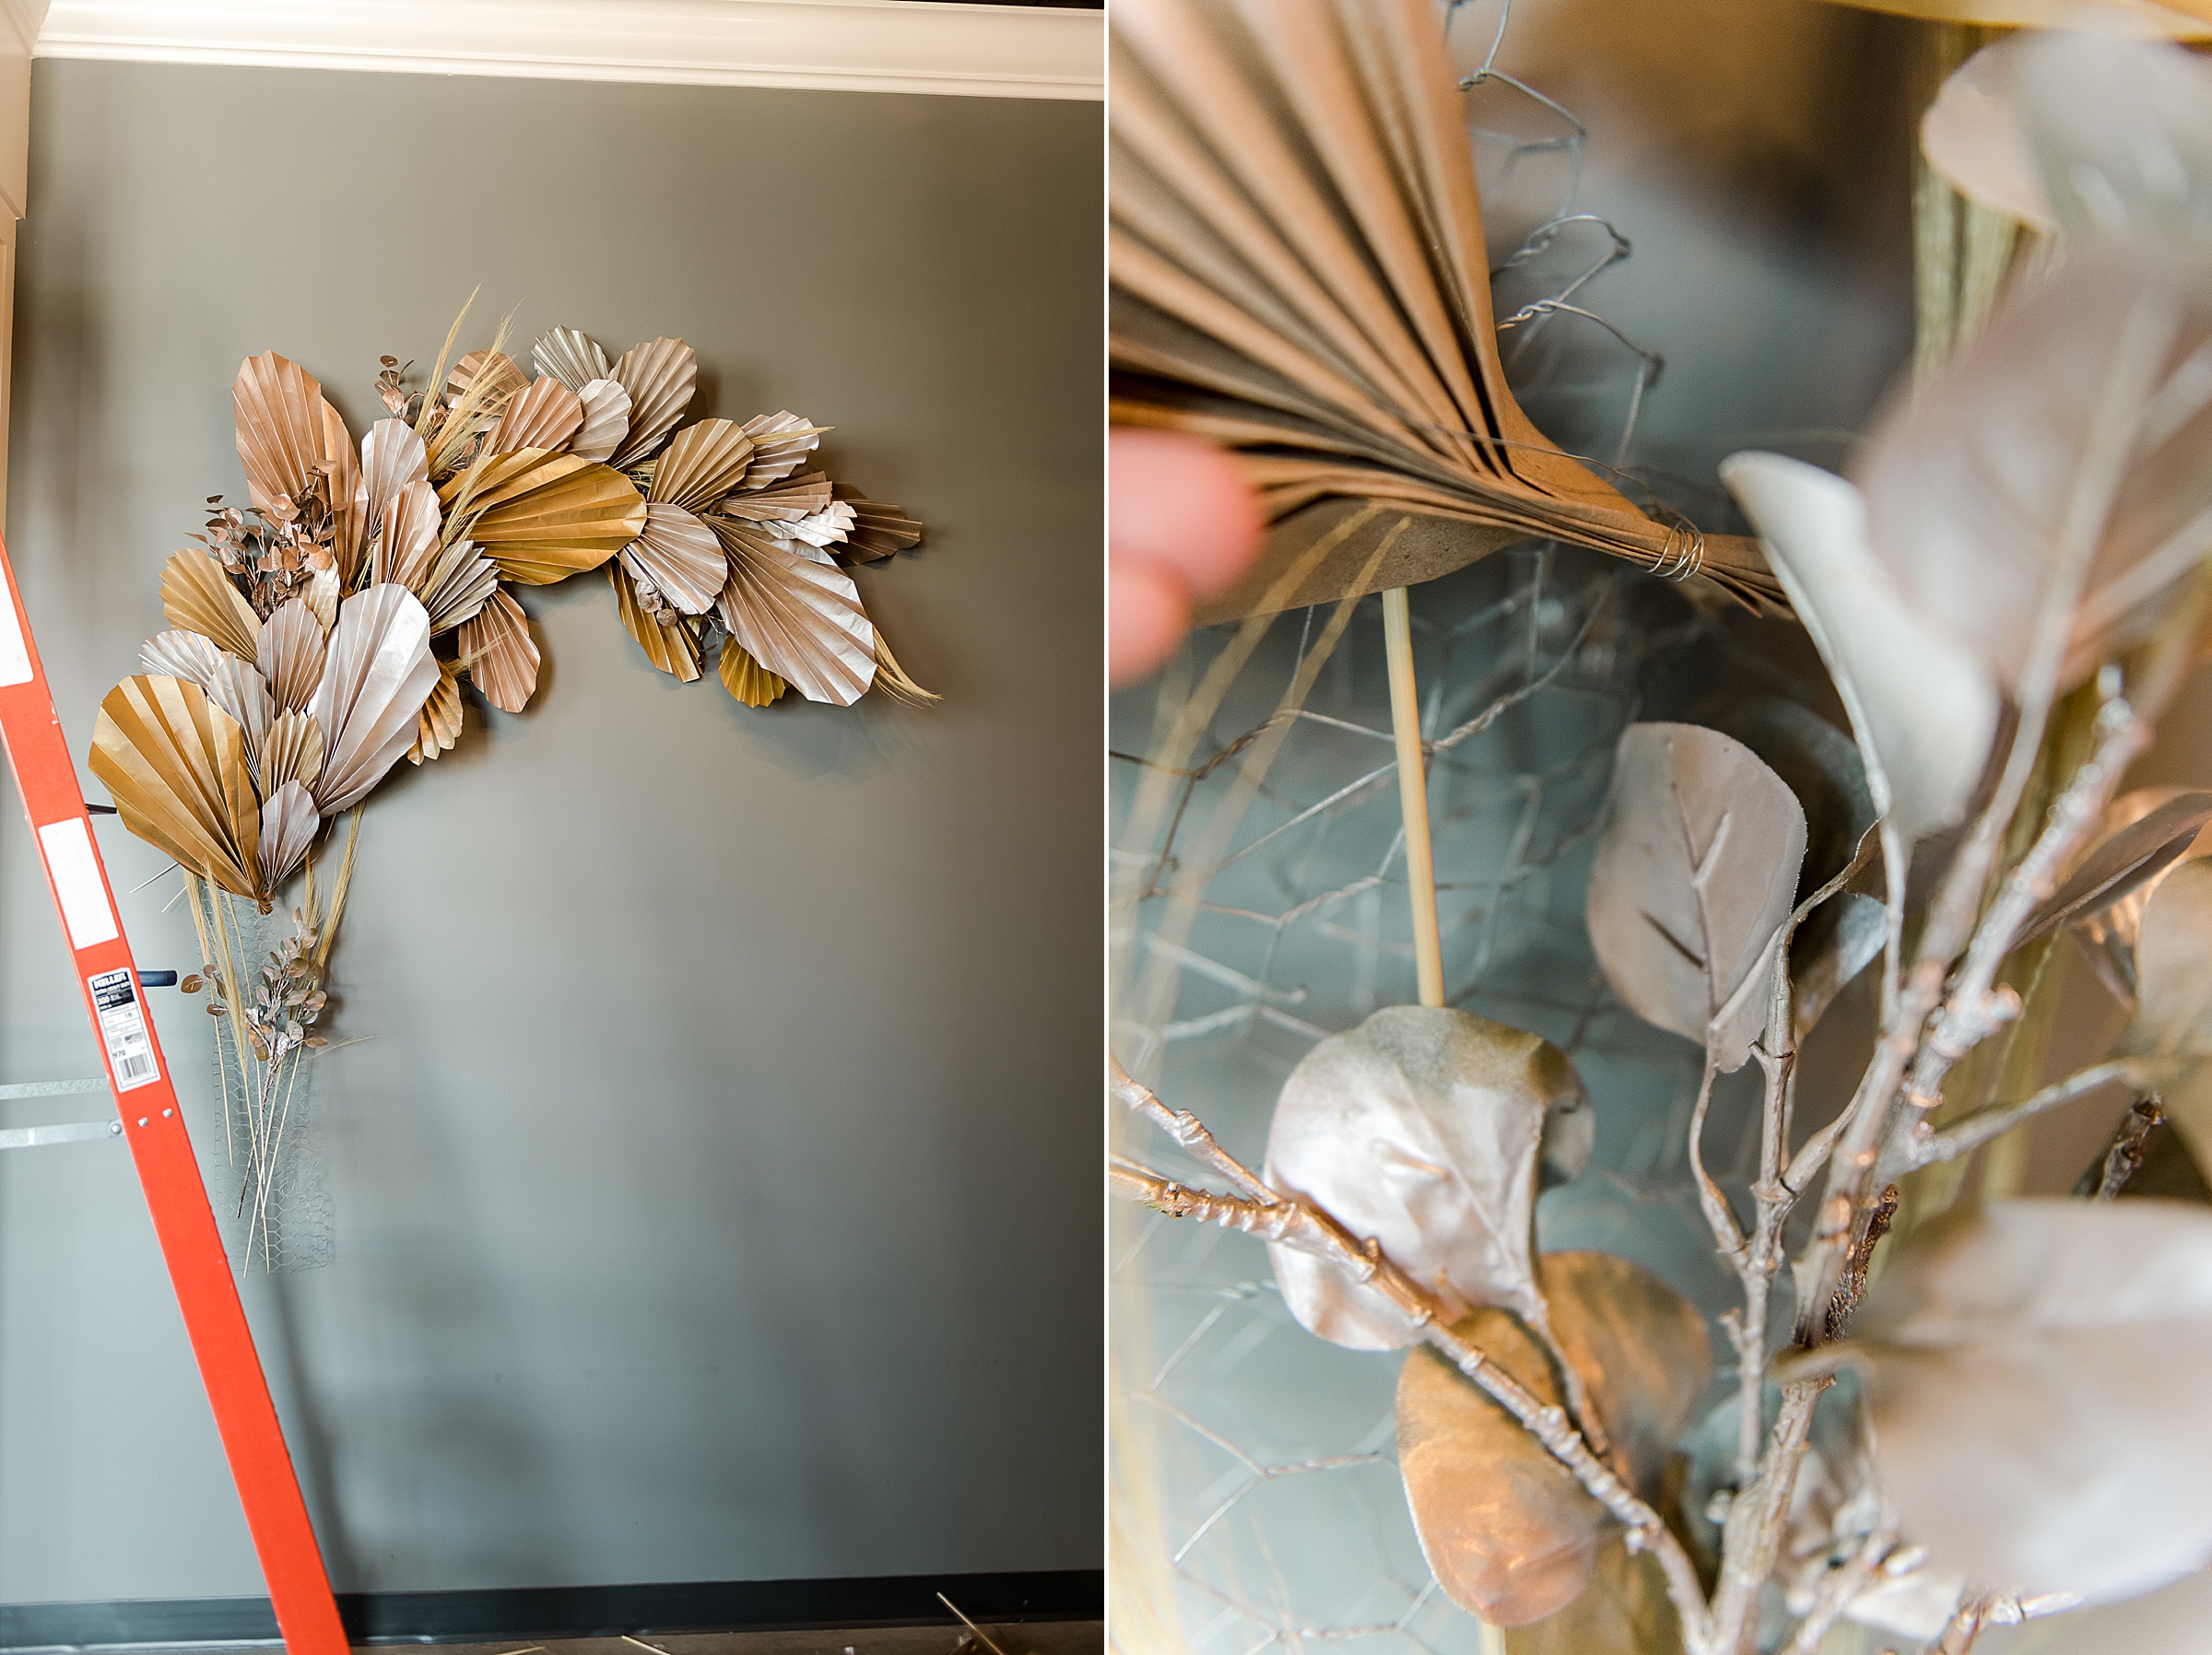
4. While your paper palms and flowers are drying from the spray paint, begin making your chicken wire structure to hold everything. I cut 4 pieces that were about 16” wide (by the height of the chicken wire). I folded them inward to make a curved, capped piece and attached all 4 together to make one long tube. These are SO bendable and movable that its easy to shape into any space or place for the installation 🙂

5. Using your 3M hooks, begin attaching the chicken wire structure to the wall in various places (it’s not heavy, so it’s SUPER easy to attach).
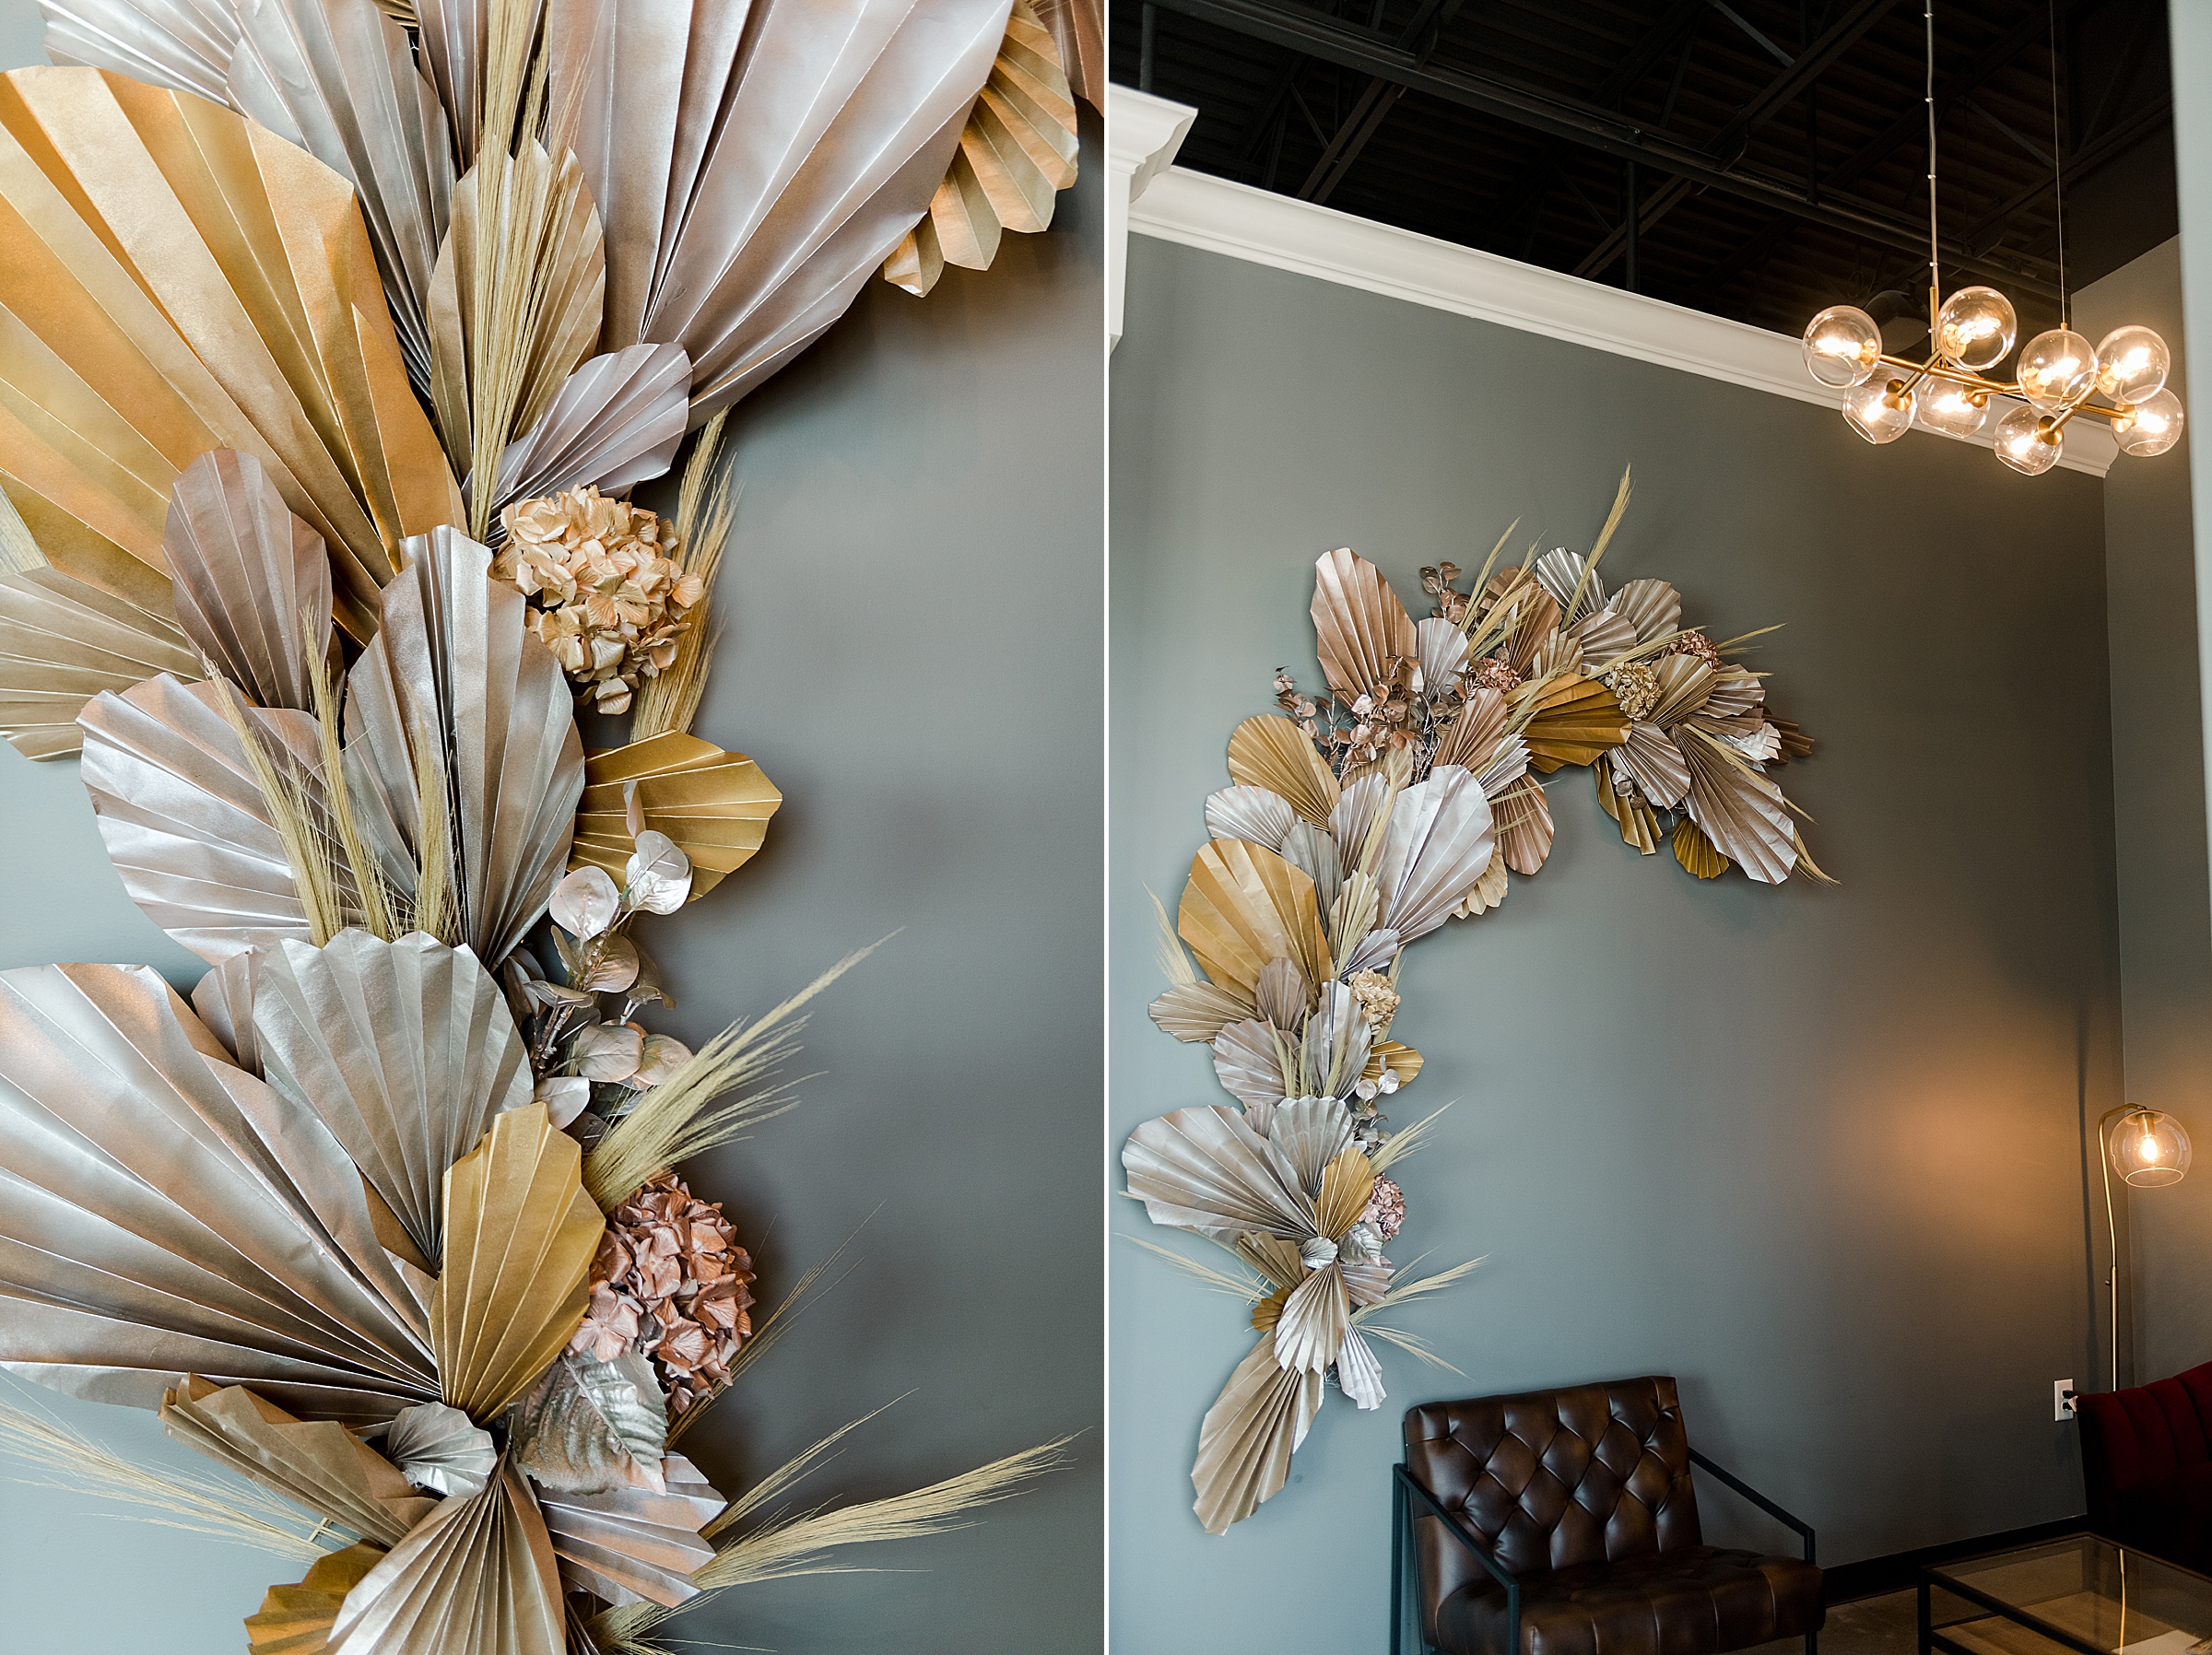
Slowly begin to add your paper palms and other elements by attaching the excess wire from the bottom of the palms and wrapping it around the chicken wire structure. Layer the palms and flowers and keep adding things as you go from top to bottom of the structure. You can use dots or dabs of hot glue on the parts that need to be pressed or secured better.
I found that it was best to start with the long grass pieces. Then begin laying the paper palms. Then add in the hydrangeas, and eucalyptus. Then fill in the “bare spots” with the smaller palms and then finish it off by adding longer grass pieces 🙂


I also found it helpful that as I was adding things to keep stepping back to get a bigger view as I went along!
As an option, you could also lay out the palms on the ground before adding them to the structure to get an idea of how they move and flow!
When you’ve added all of your elements and you’re happy with it, stand back and SMILE HUUUUUGE! Then take a couple of selfies in front of the beautiful, amazing, metallic-filled boho installation! 🙂