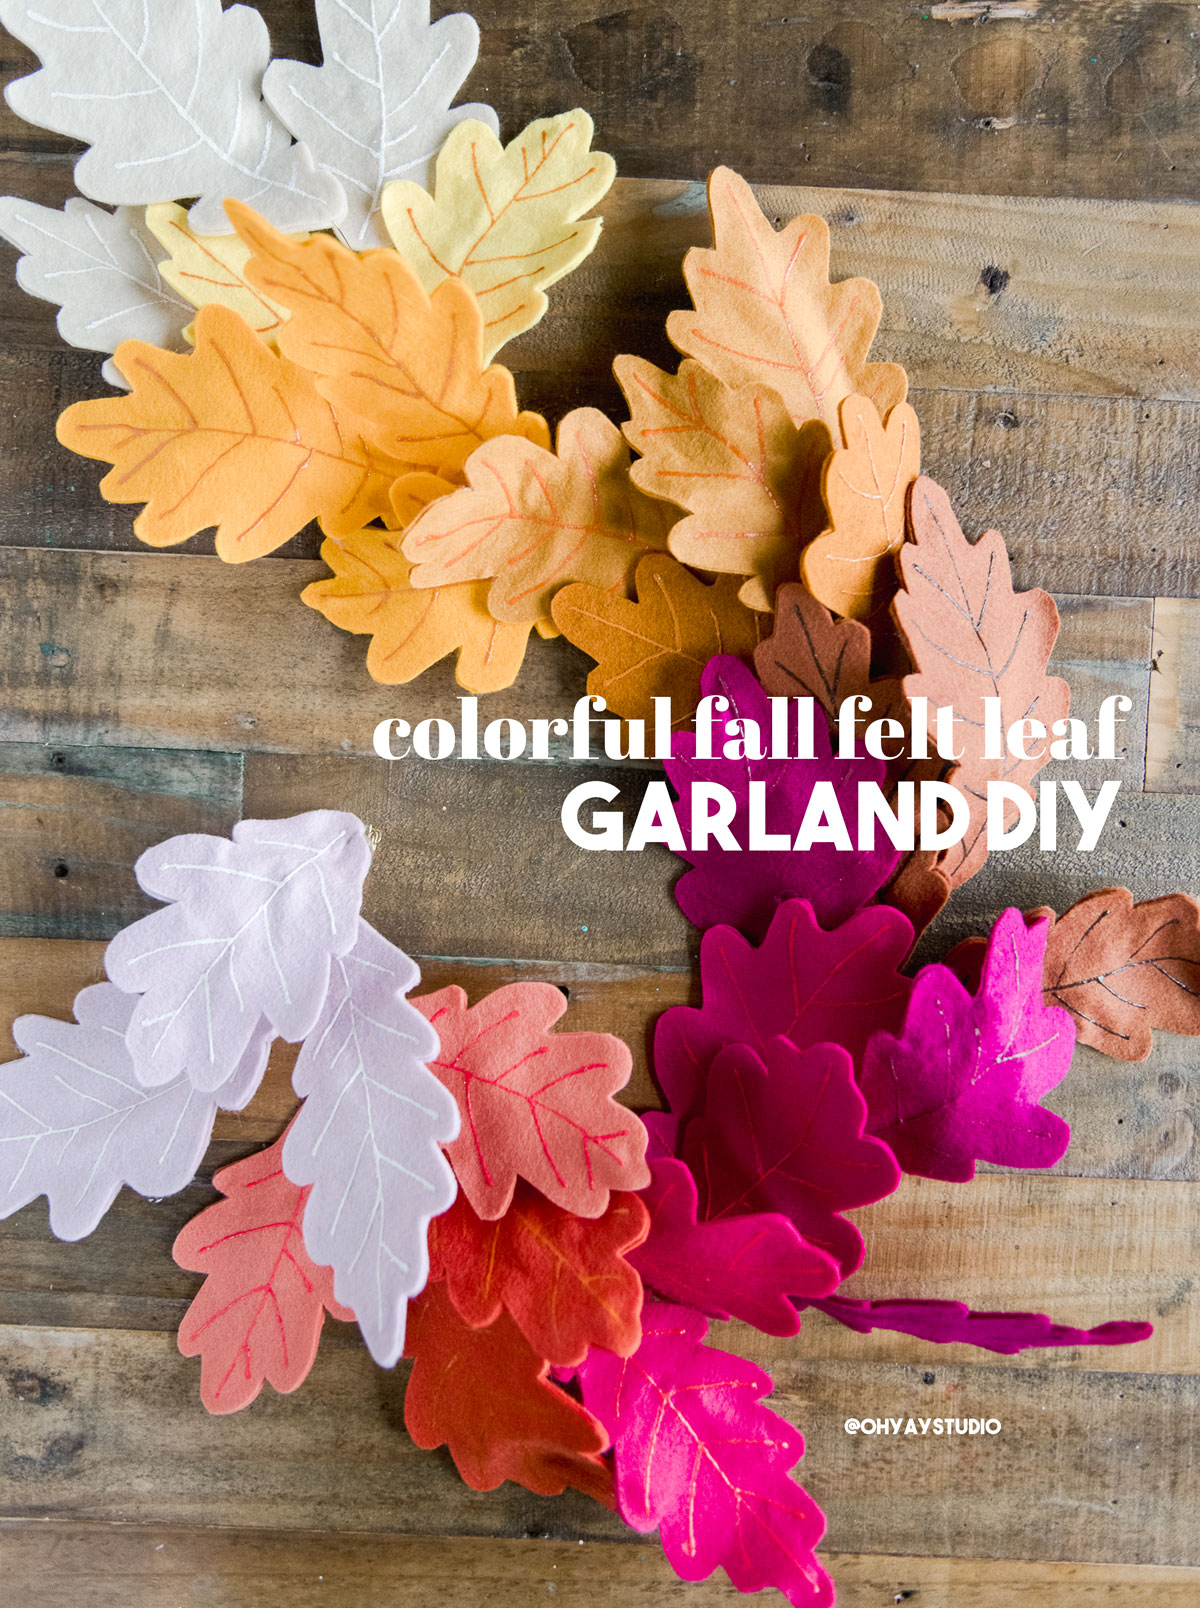
Colorful felt leaf garland DIY
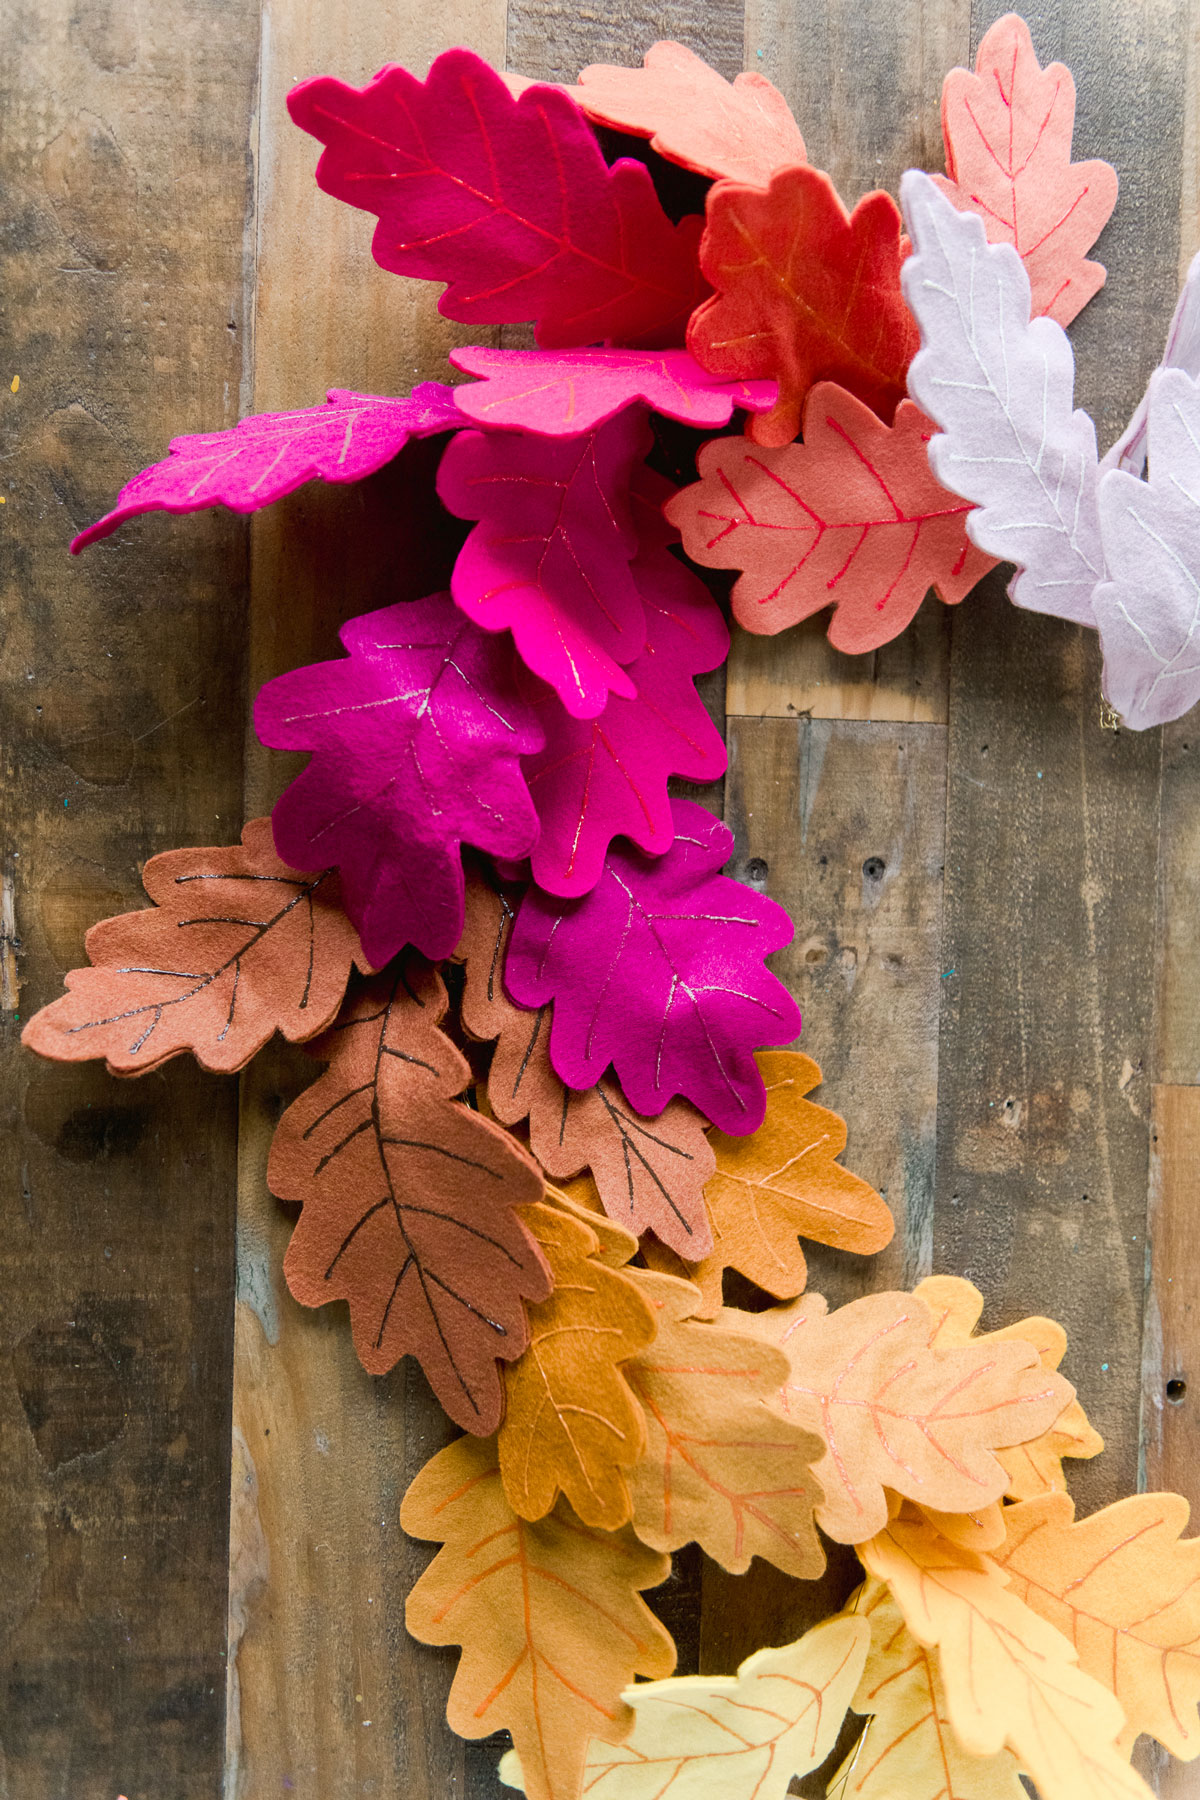
I stood in the aisle at Michaels store and fell in love with this color combo for the FALL – I feel like typically most of the fall colors I have used in the past are a more “typical” arrangement of browns, neutrals and other muted color. And while I still LOVE those color combos, this year I wanted to add in some more pizzaz and color and prove that we can mix in some brights with these muted tones and still leave feeling autumn vibes! 🙂
(*also, I did add in quite the colorful array of pumpkins to a DIY pumpkin wreath here too….so I’m still jiving off that)! 🙂
I found myself watching a few awesome fall movies while putting this garland together (double win if you get to watch some fall flicks while crafting, eh)! 🙂 And truthfully you could like turn this garland into a wreath by just making it into a circle instead of a long “line” …. so take this idea and run with it and make this 100% your own to decorate your favorite space for fall! 🙂
MATERIALS:
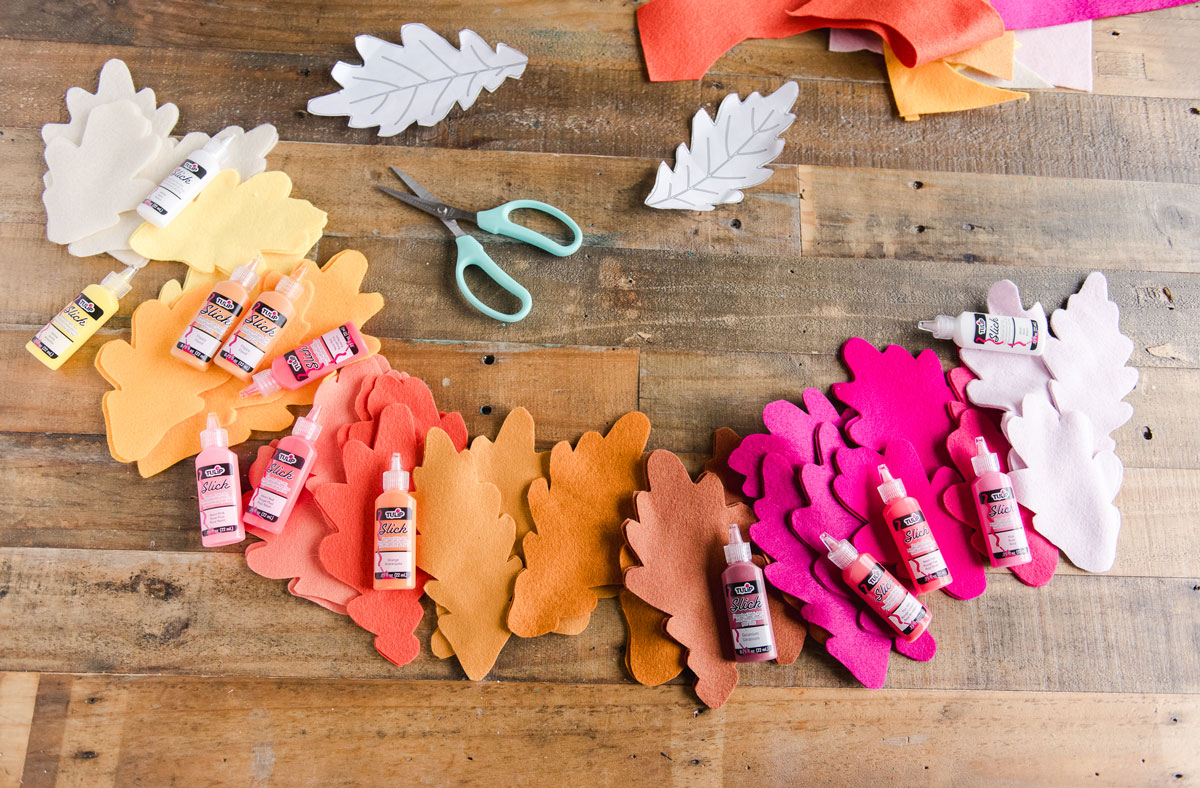
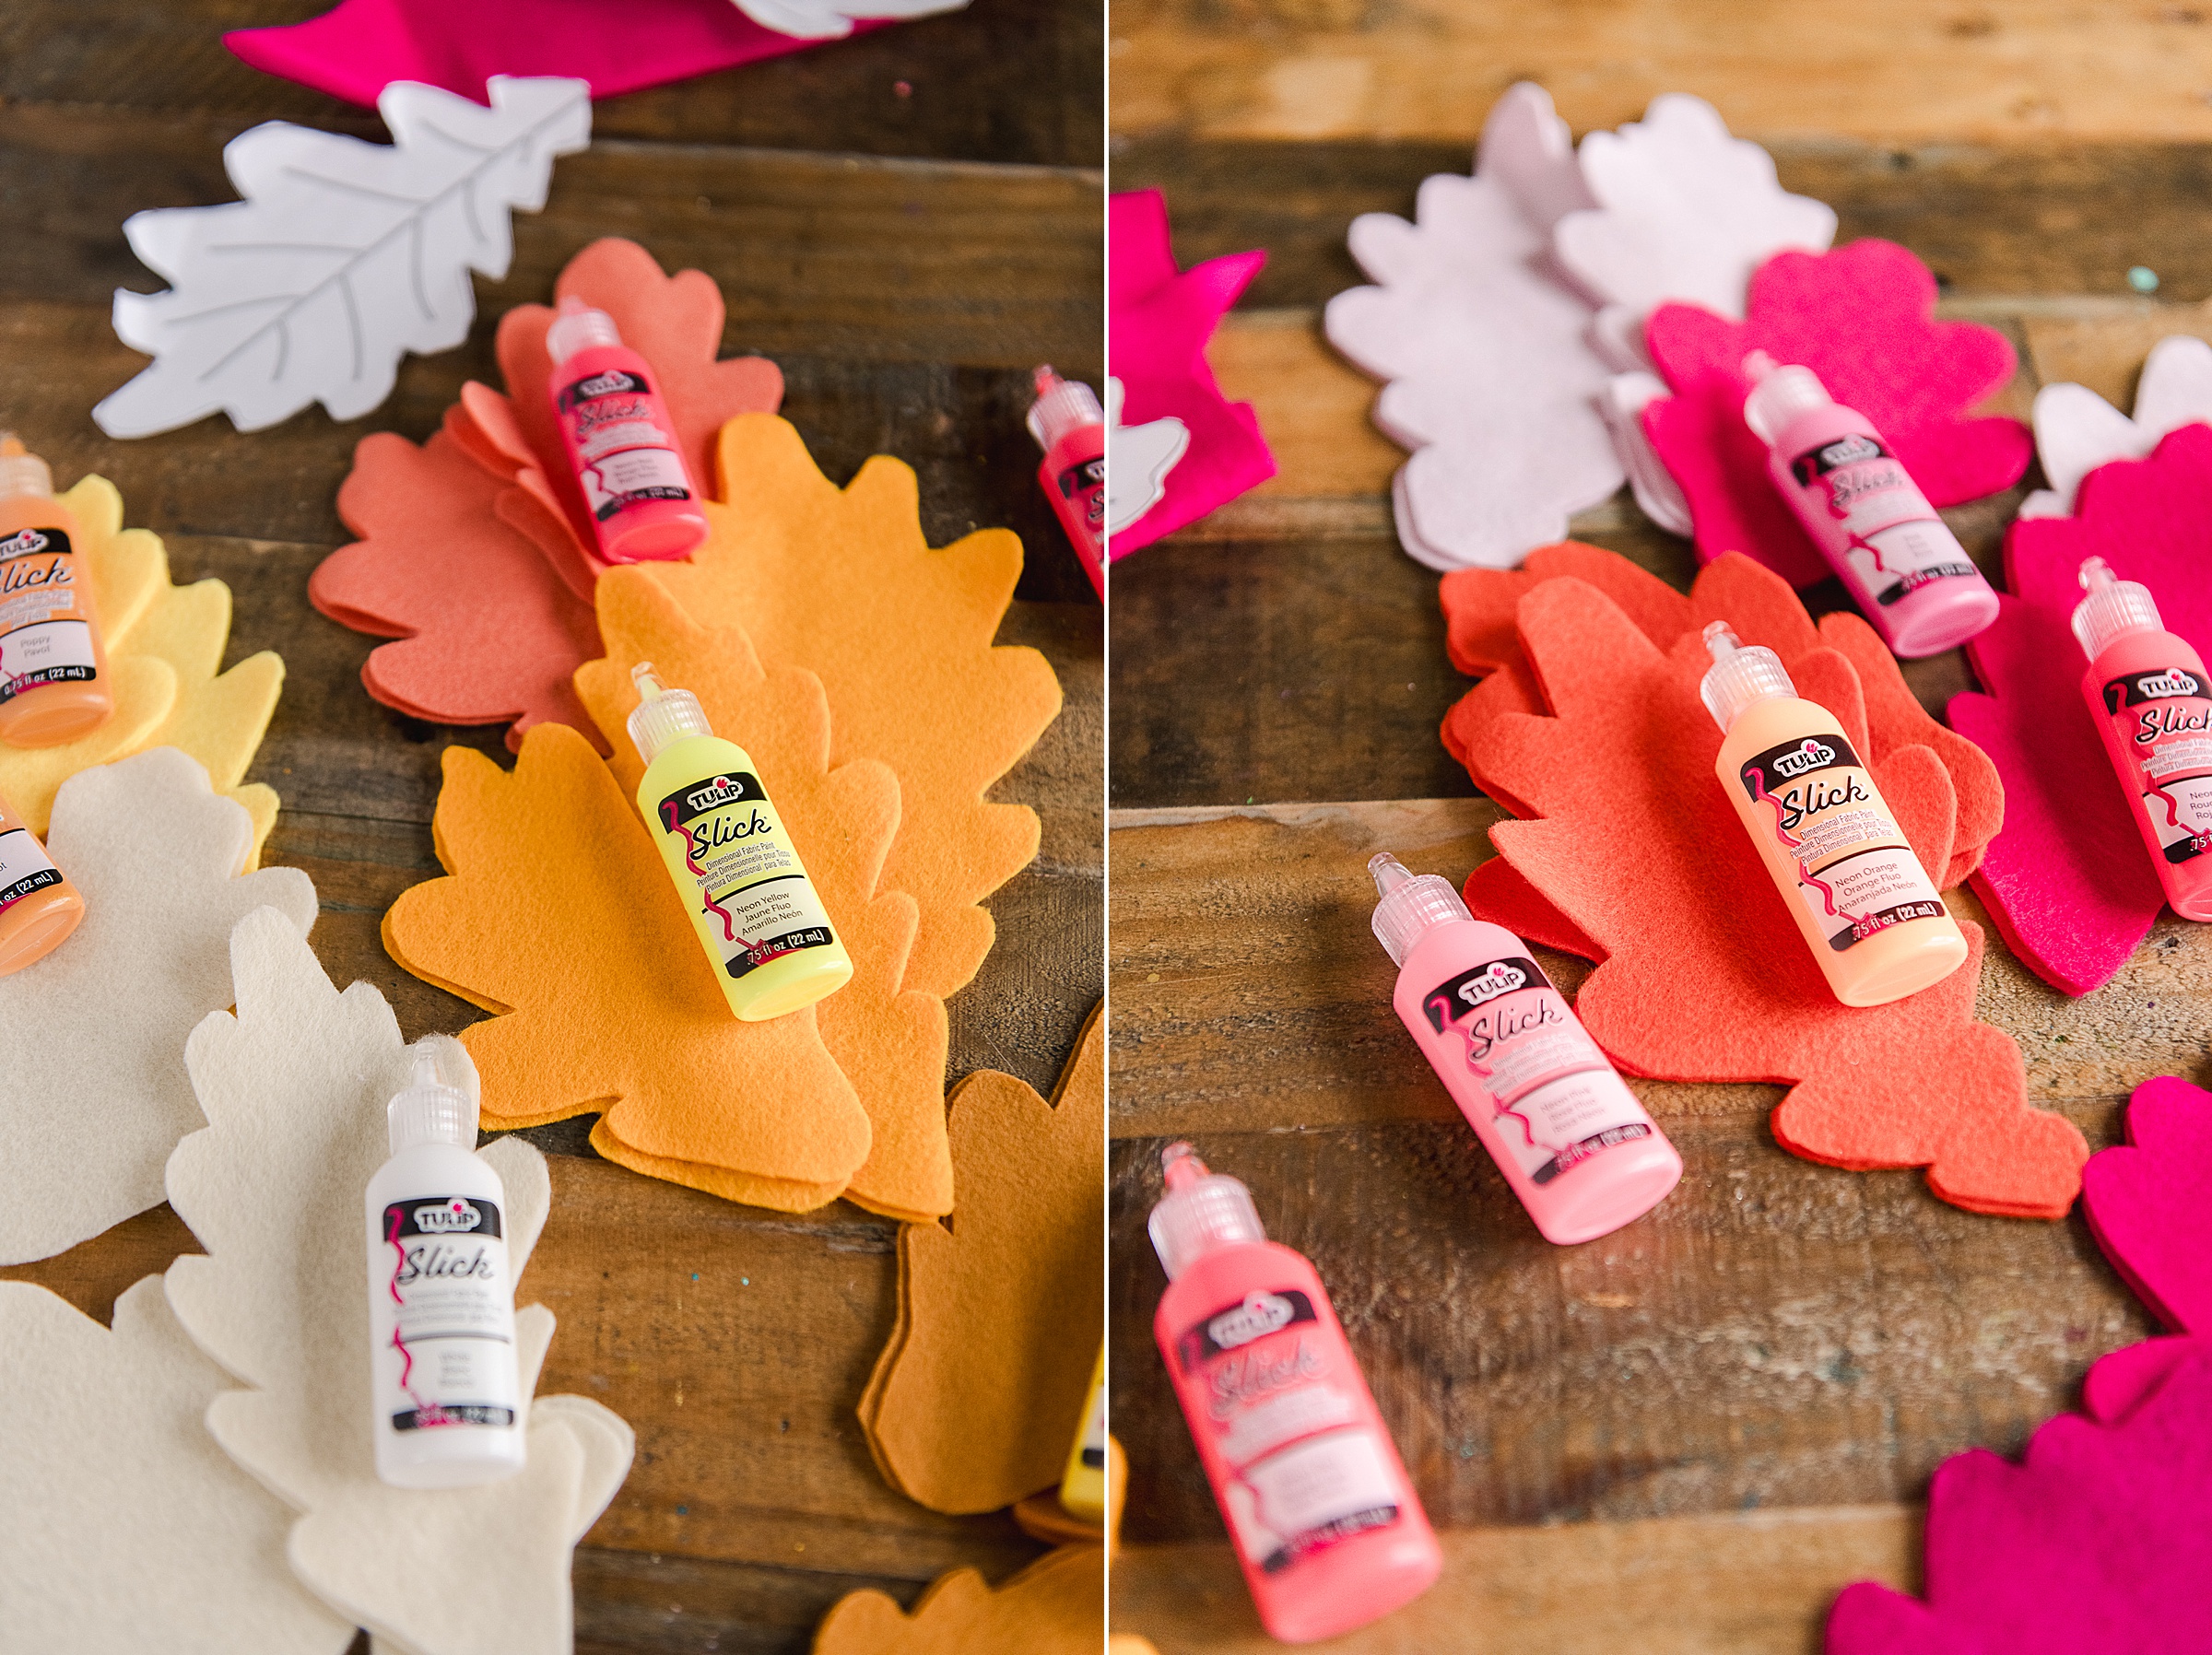
- Your fave colors of felt
- A leaf pattern (draw your own or download mine HERE)
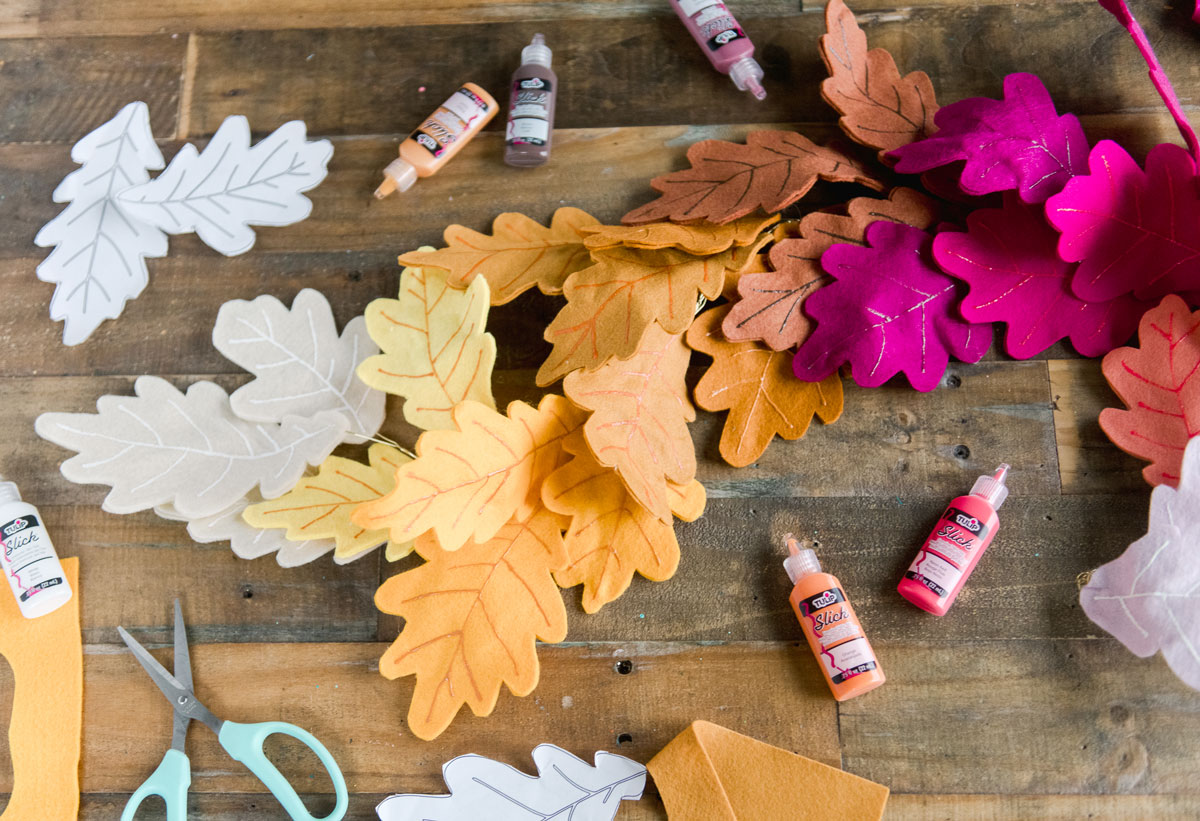
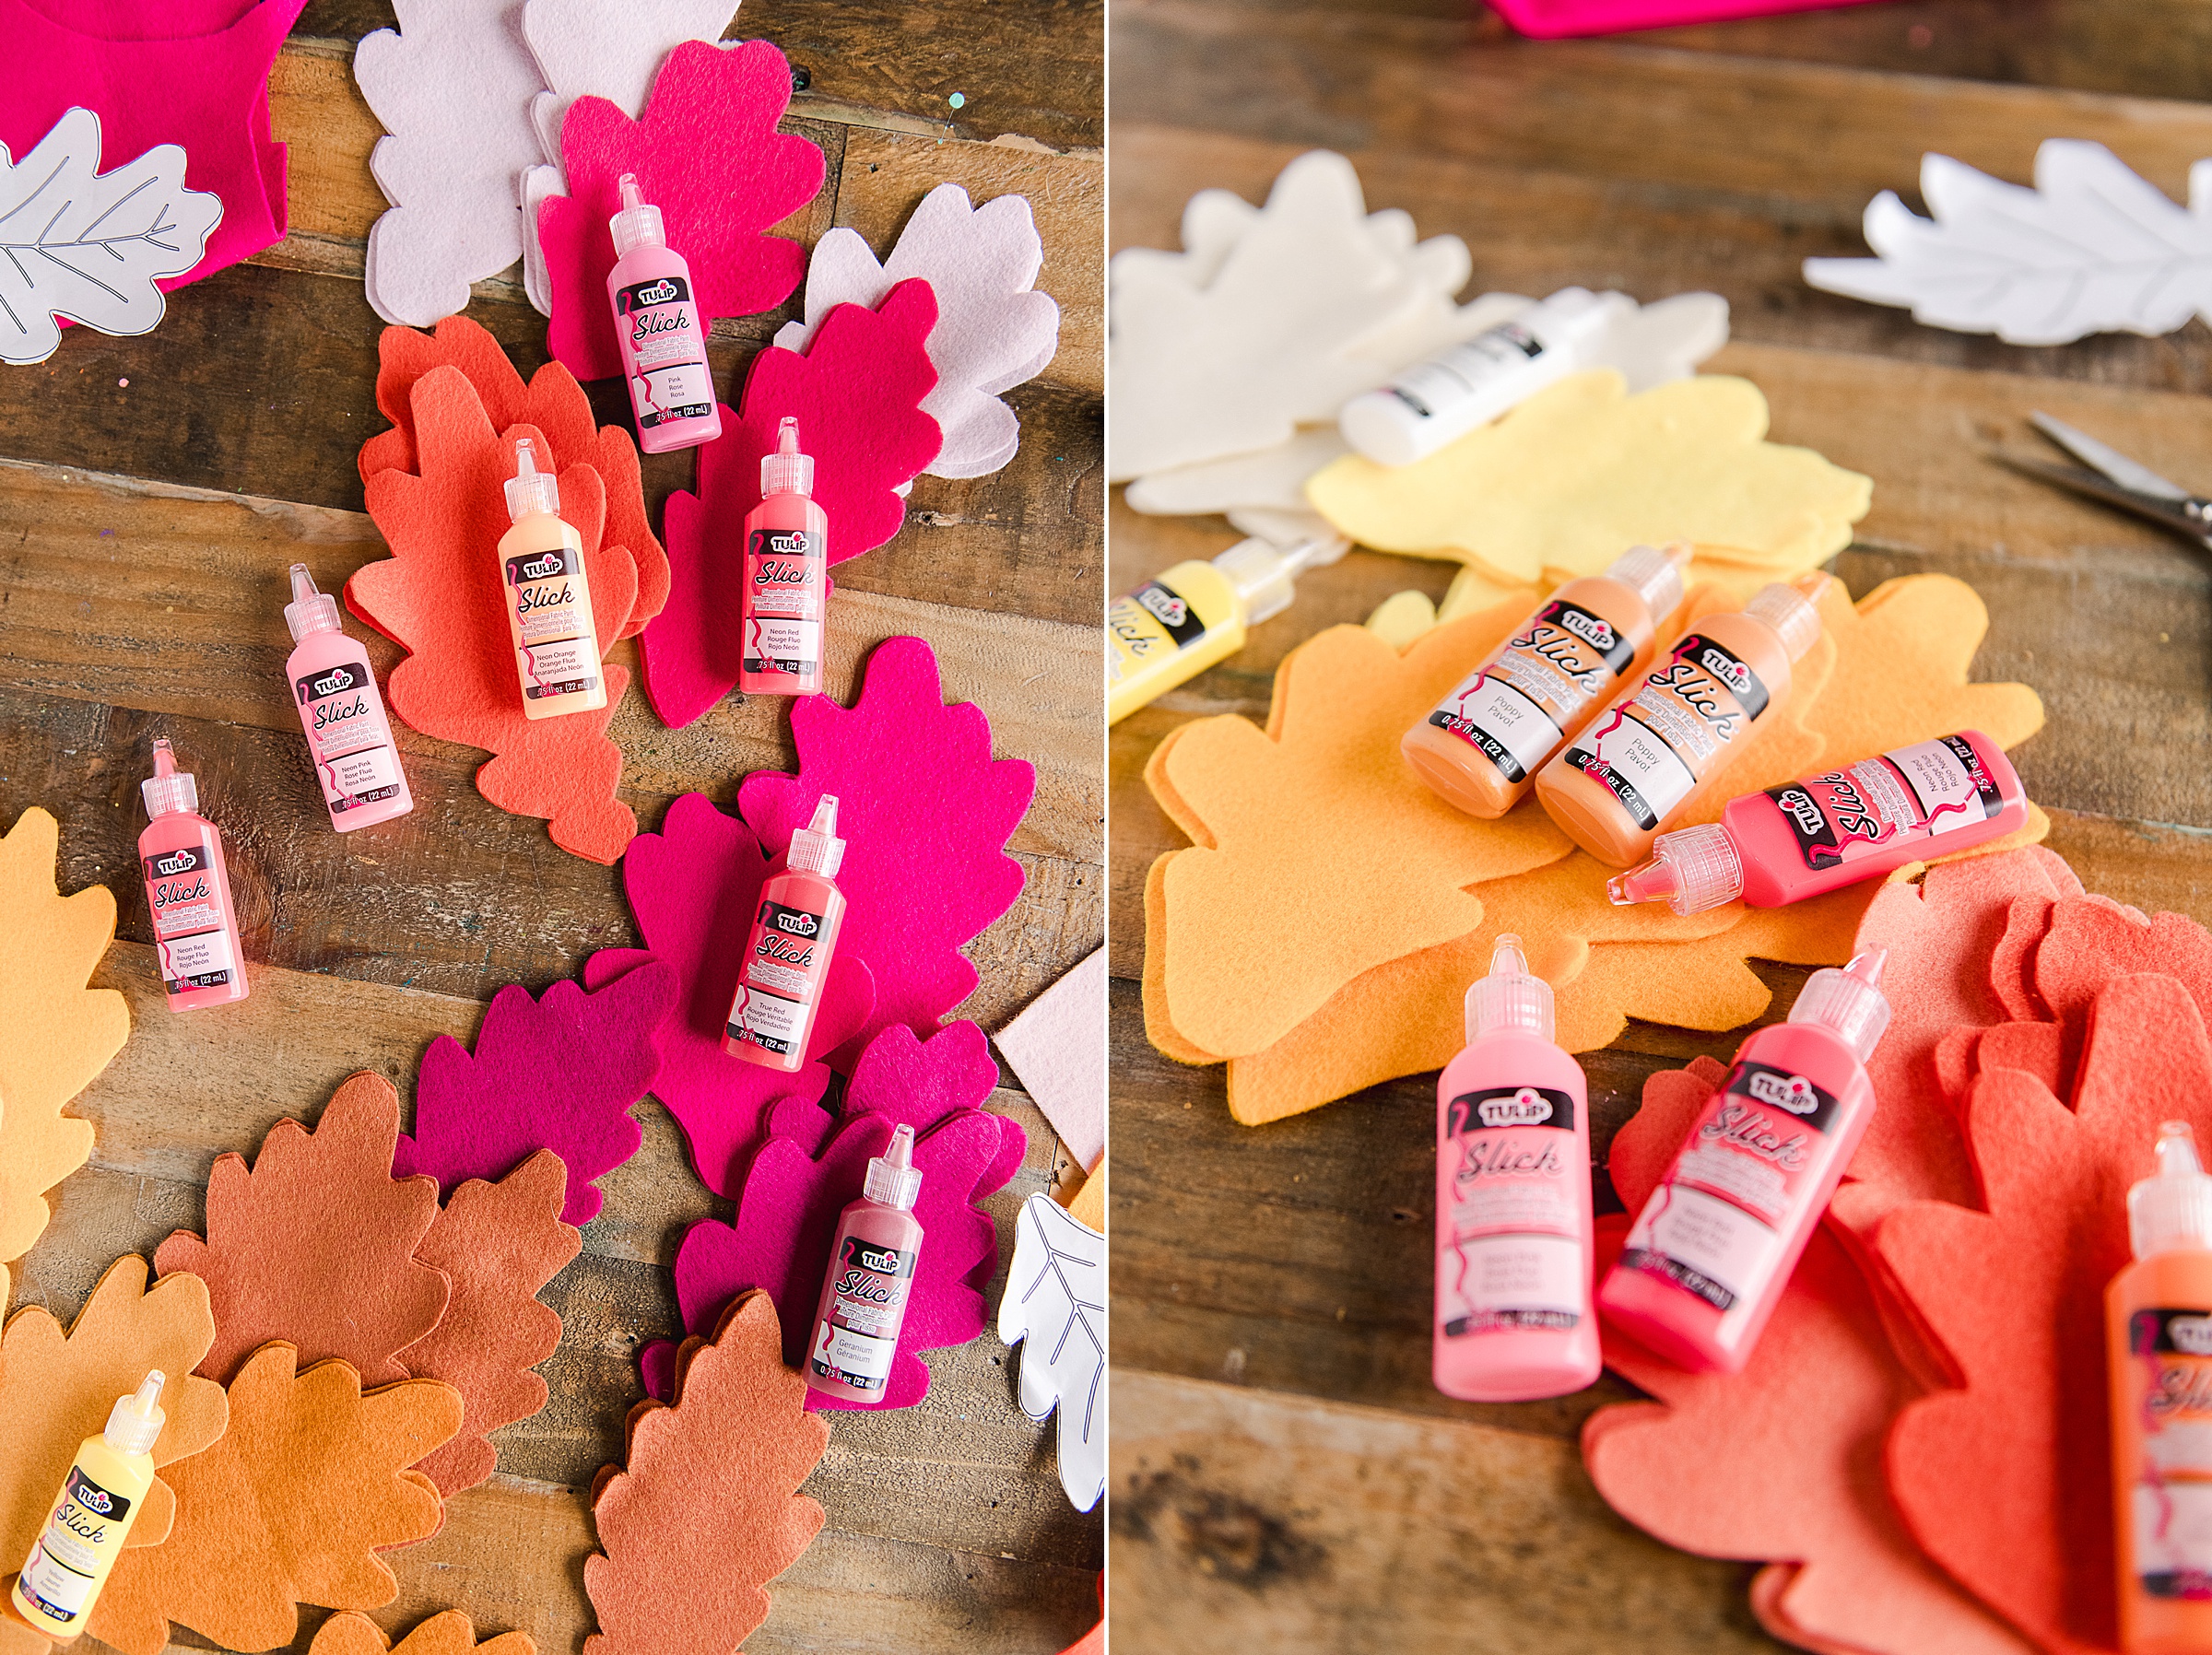
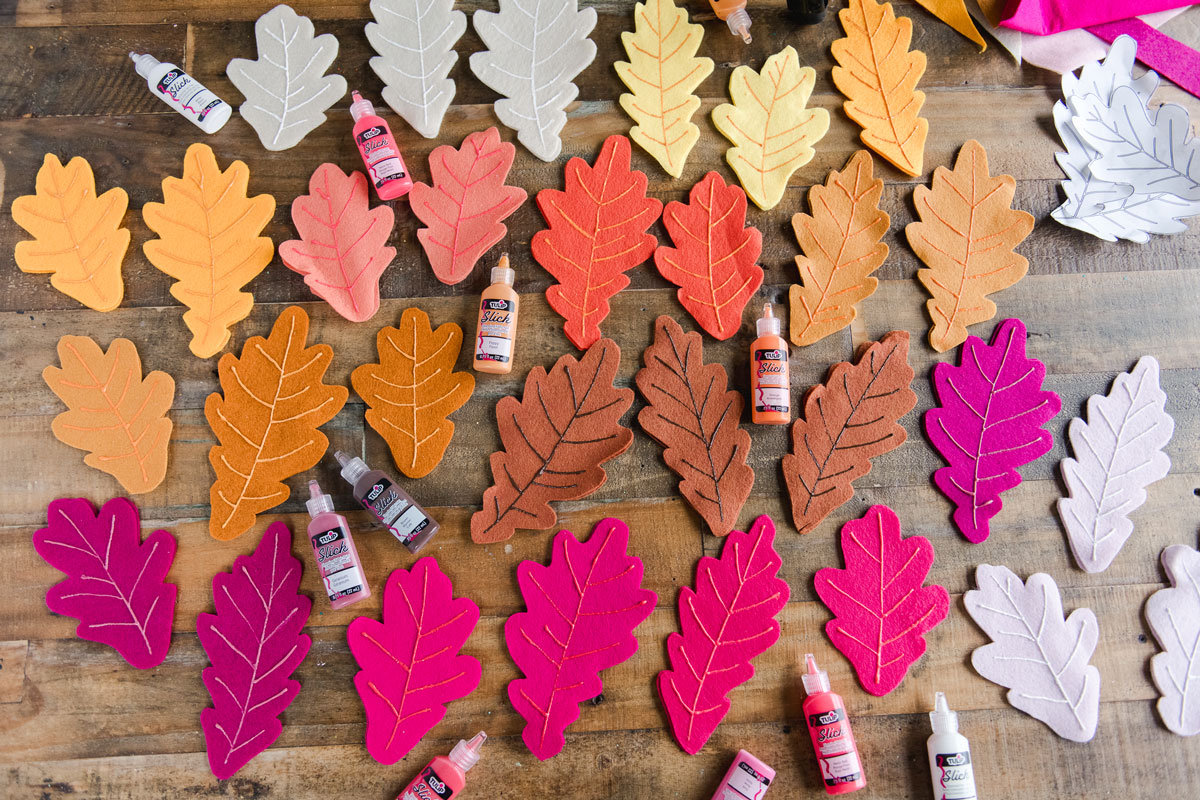
- Some coordinating Tulip puff fabric paint
- A hot glue gun
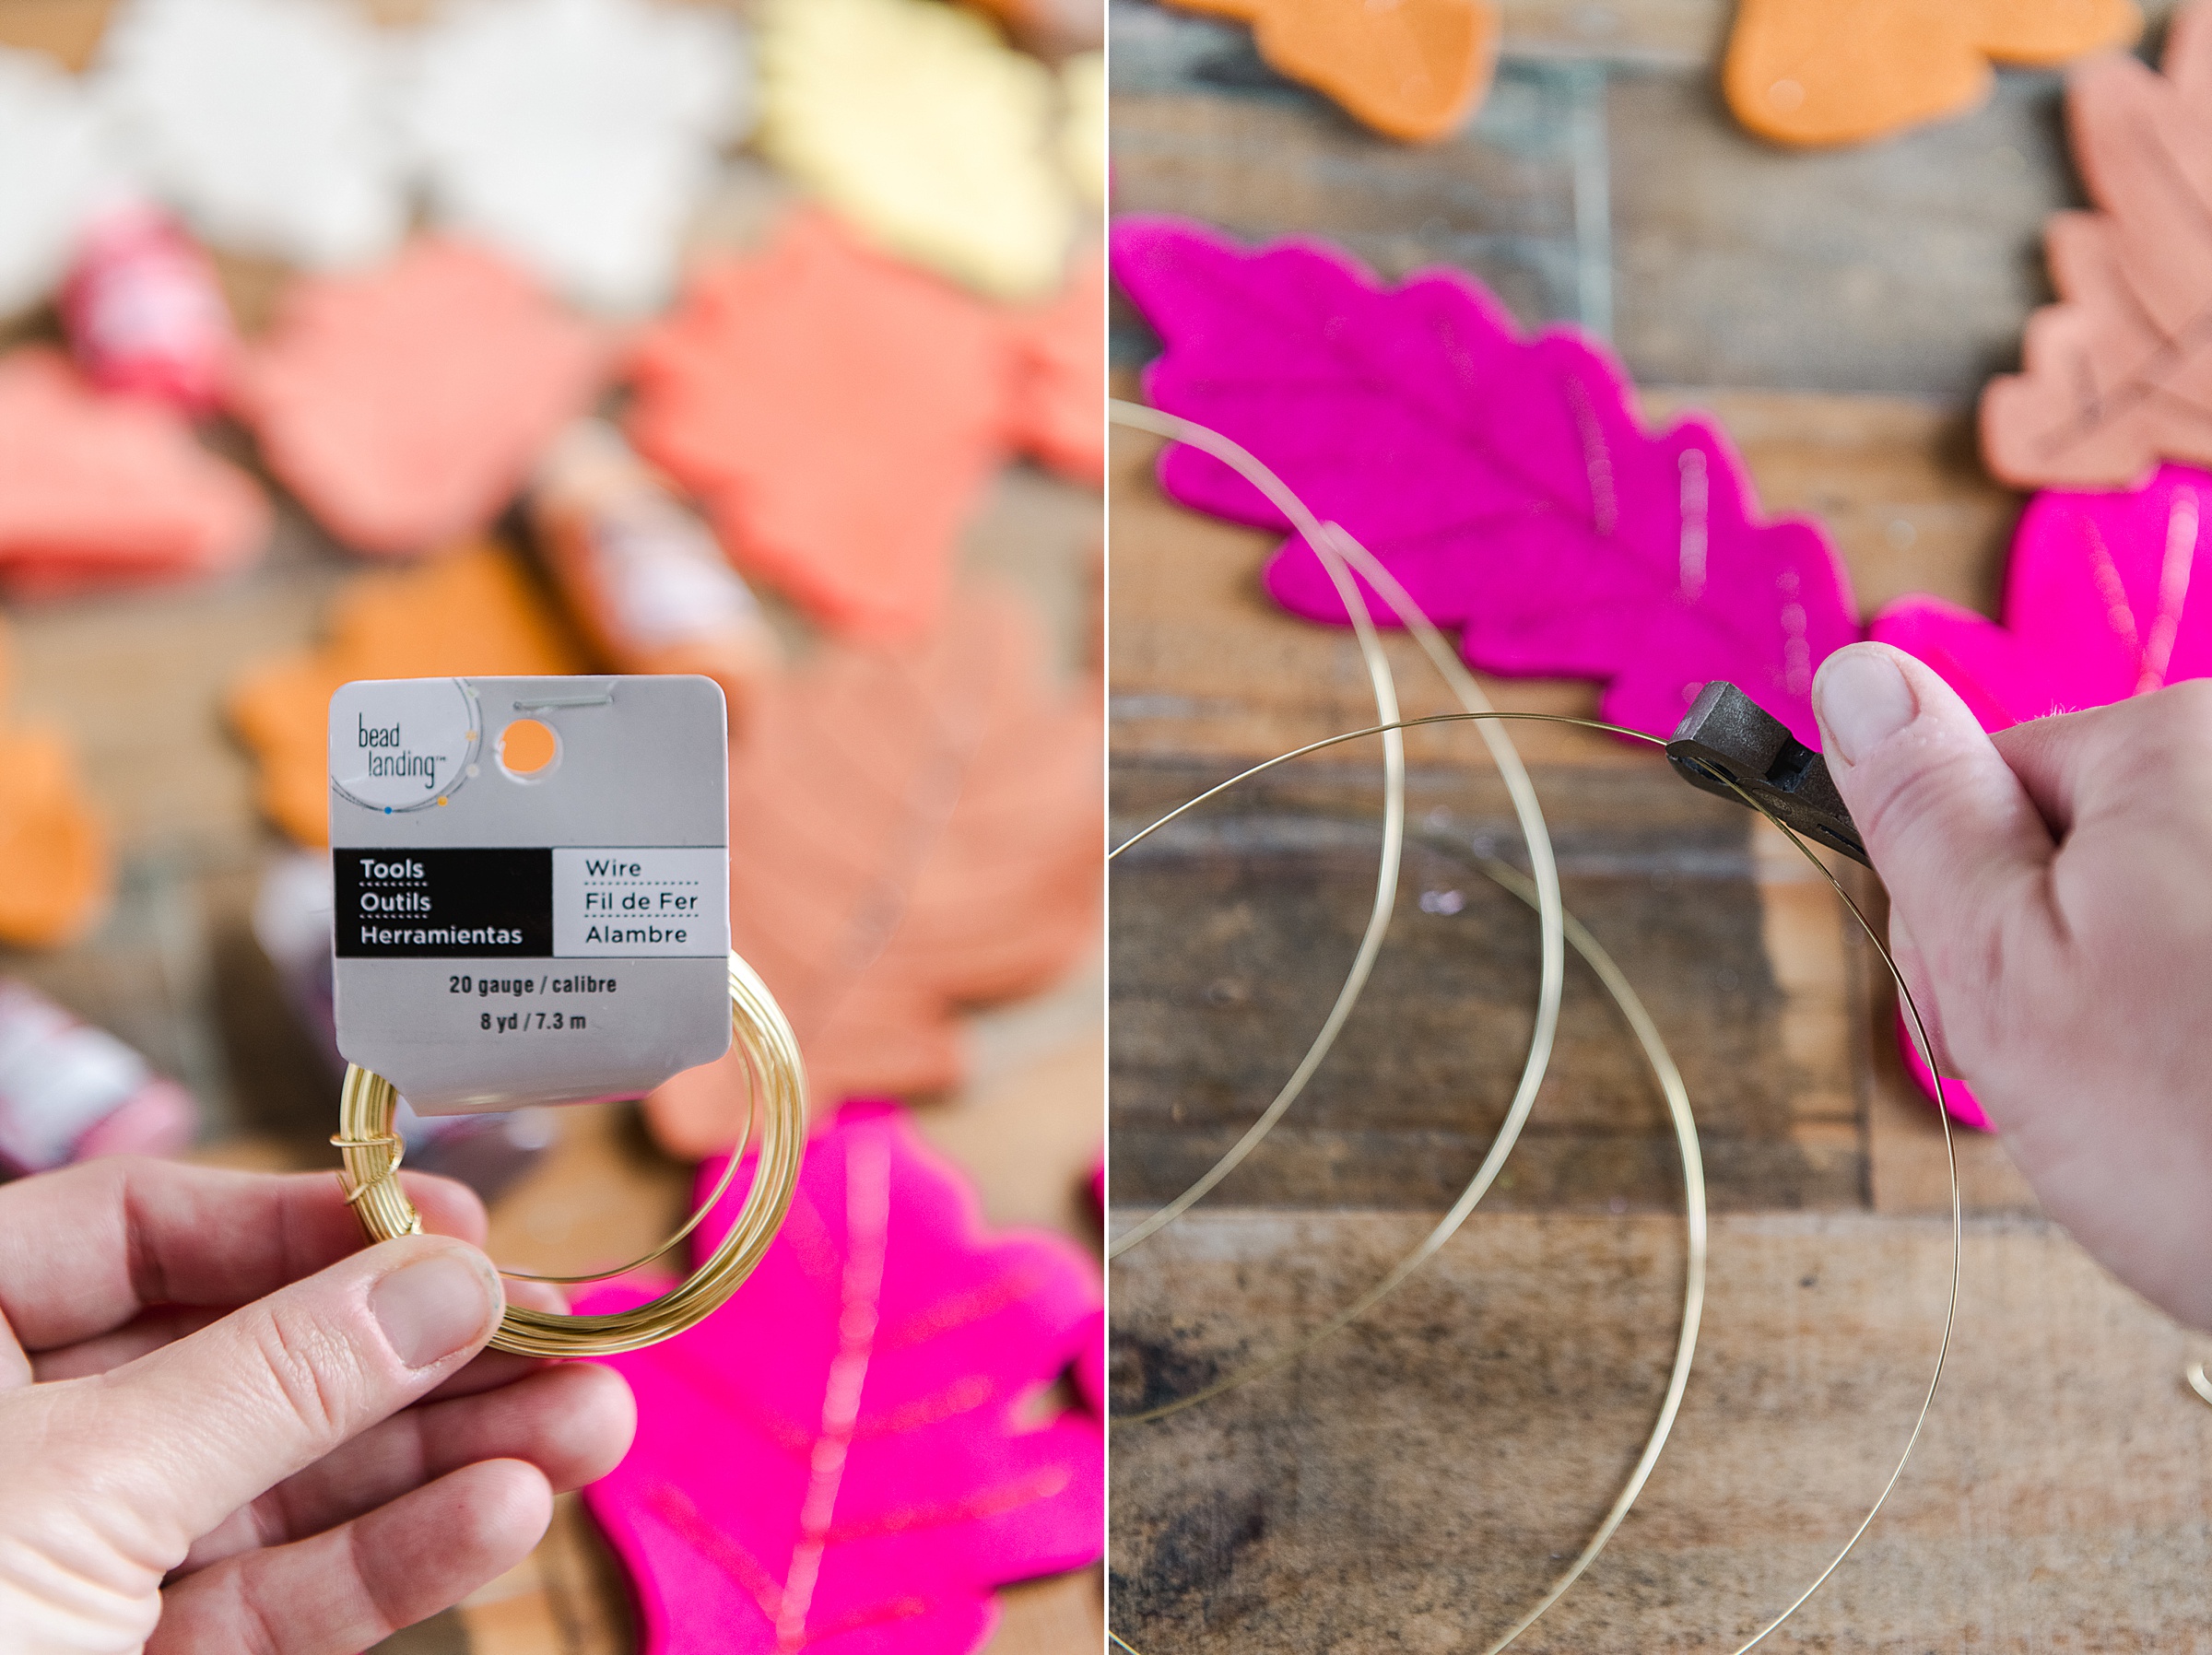
- Some wire (I used 20 gauge gold wire found in the jewelry section at Michaels)
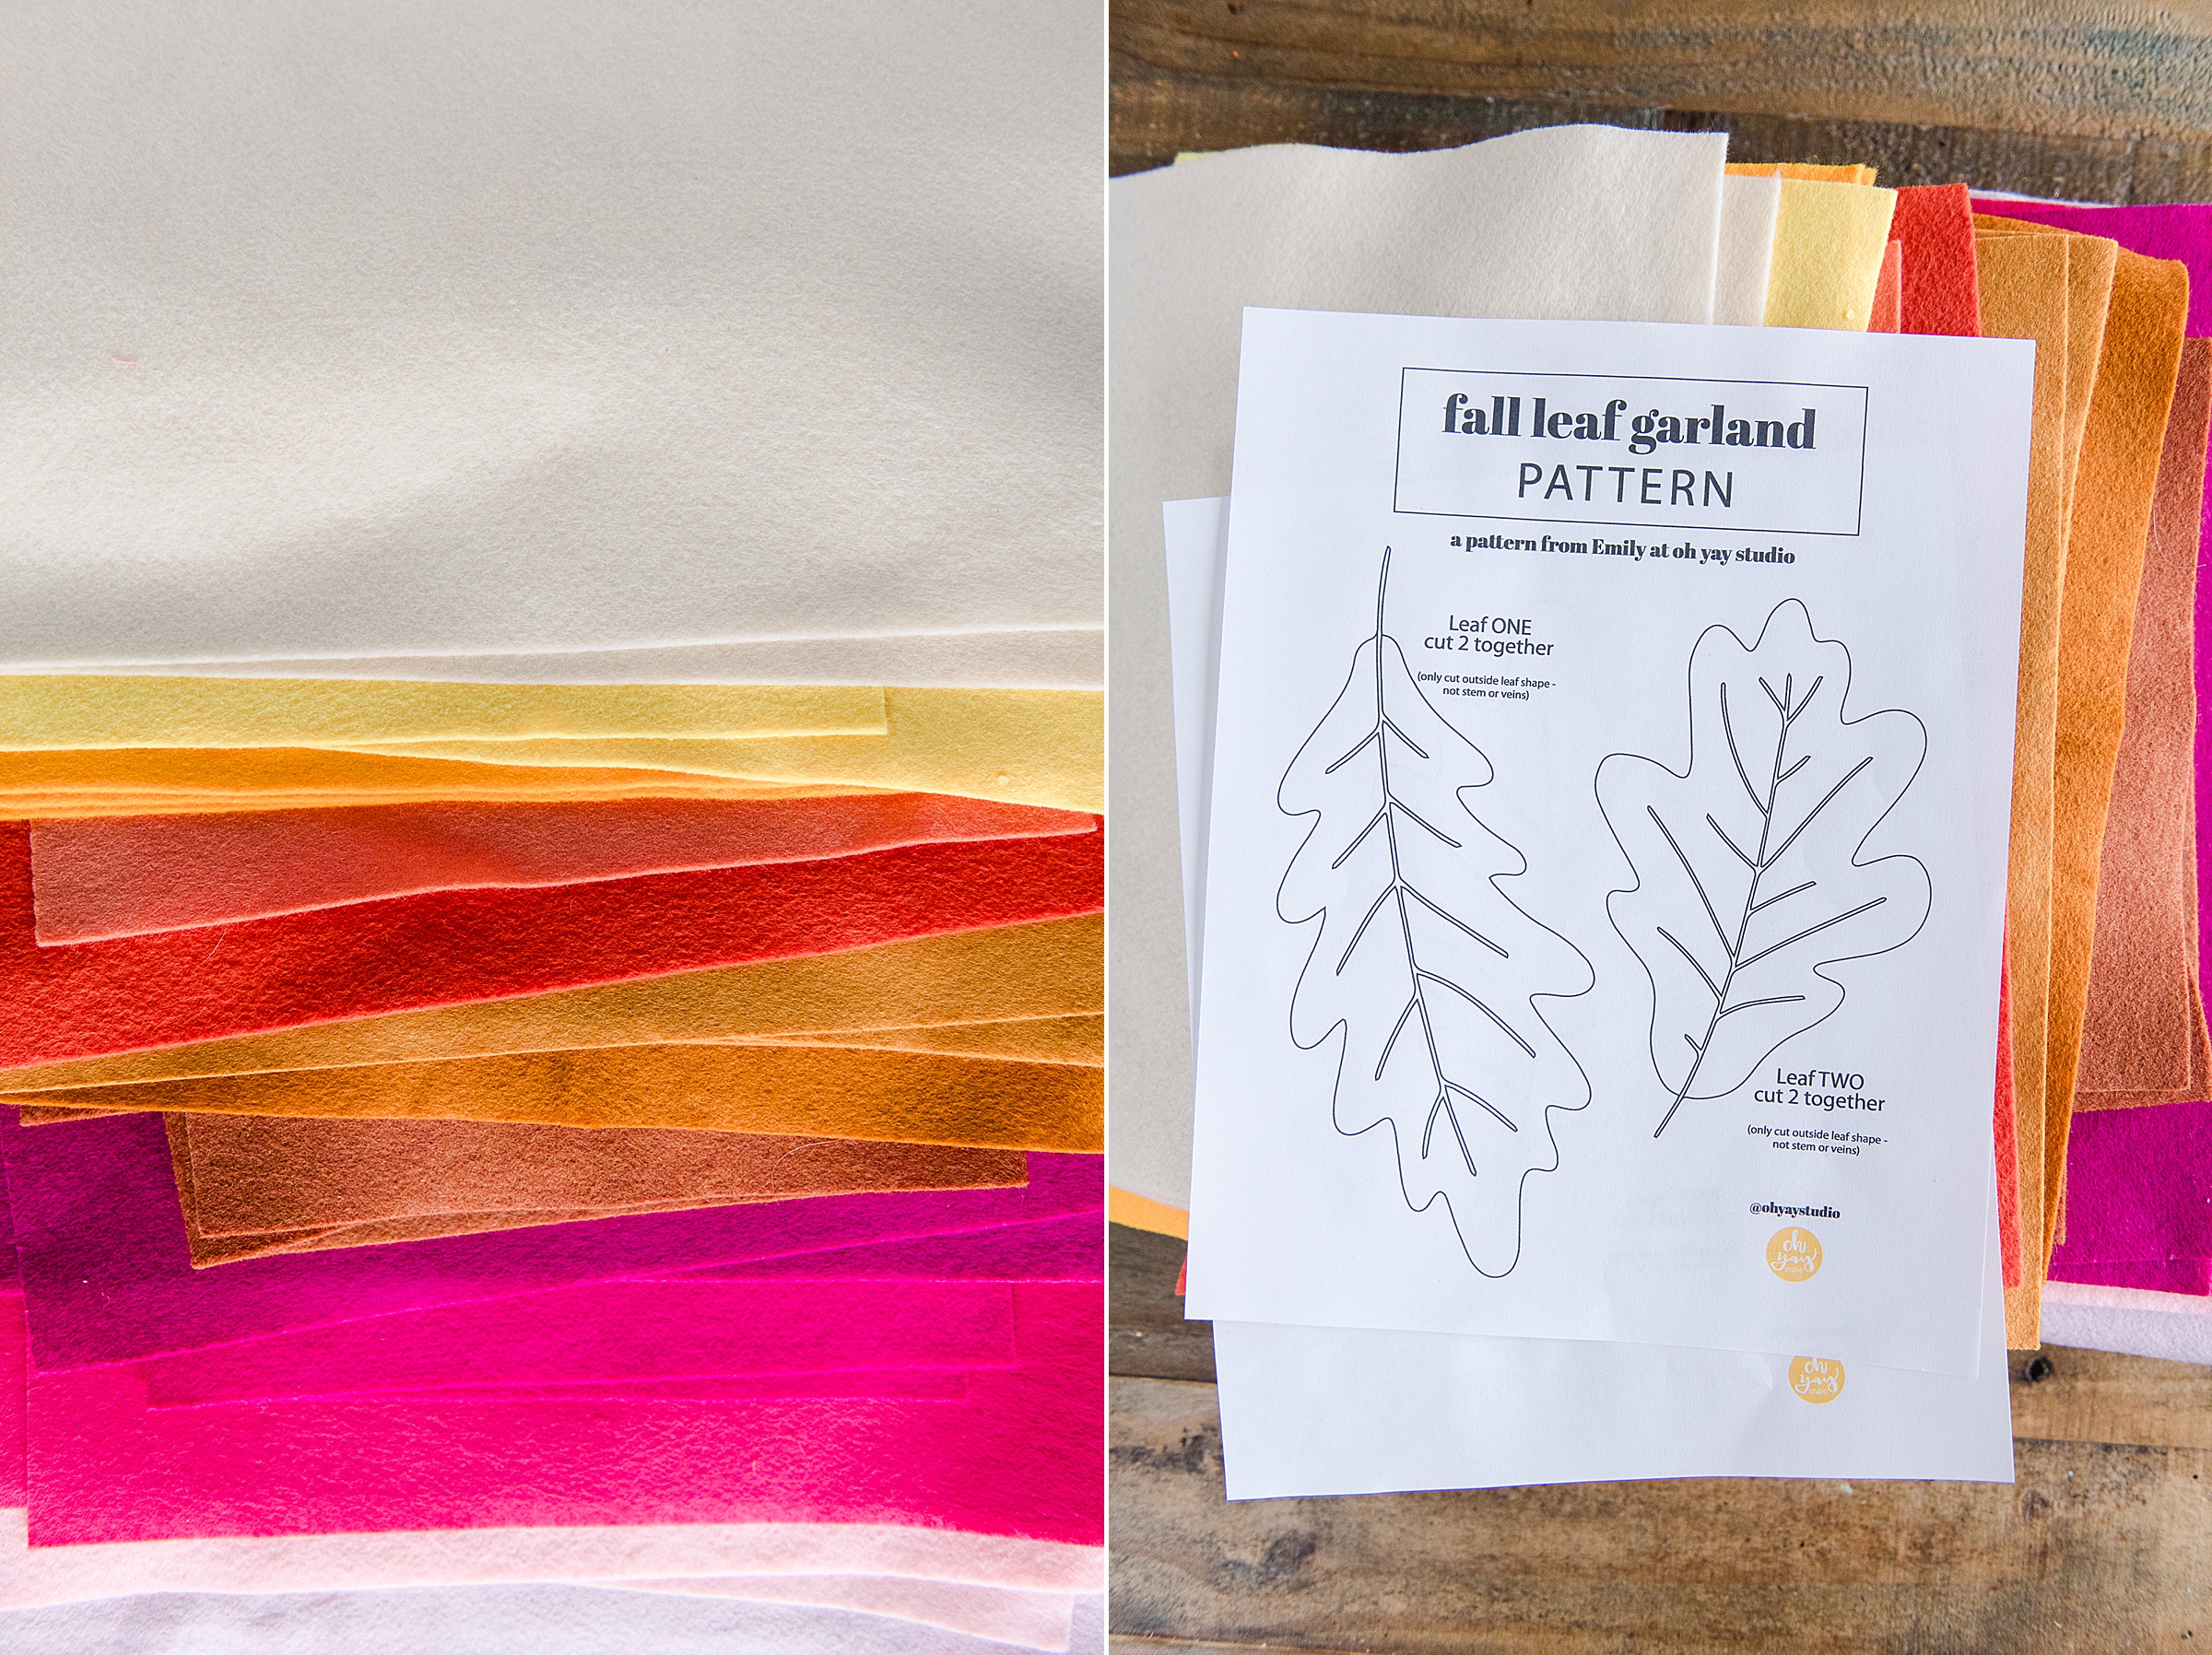
INSRUCTIONS:
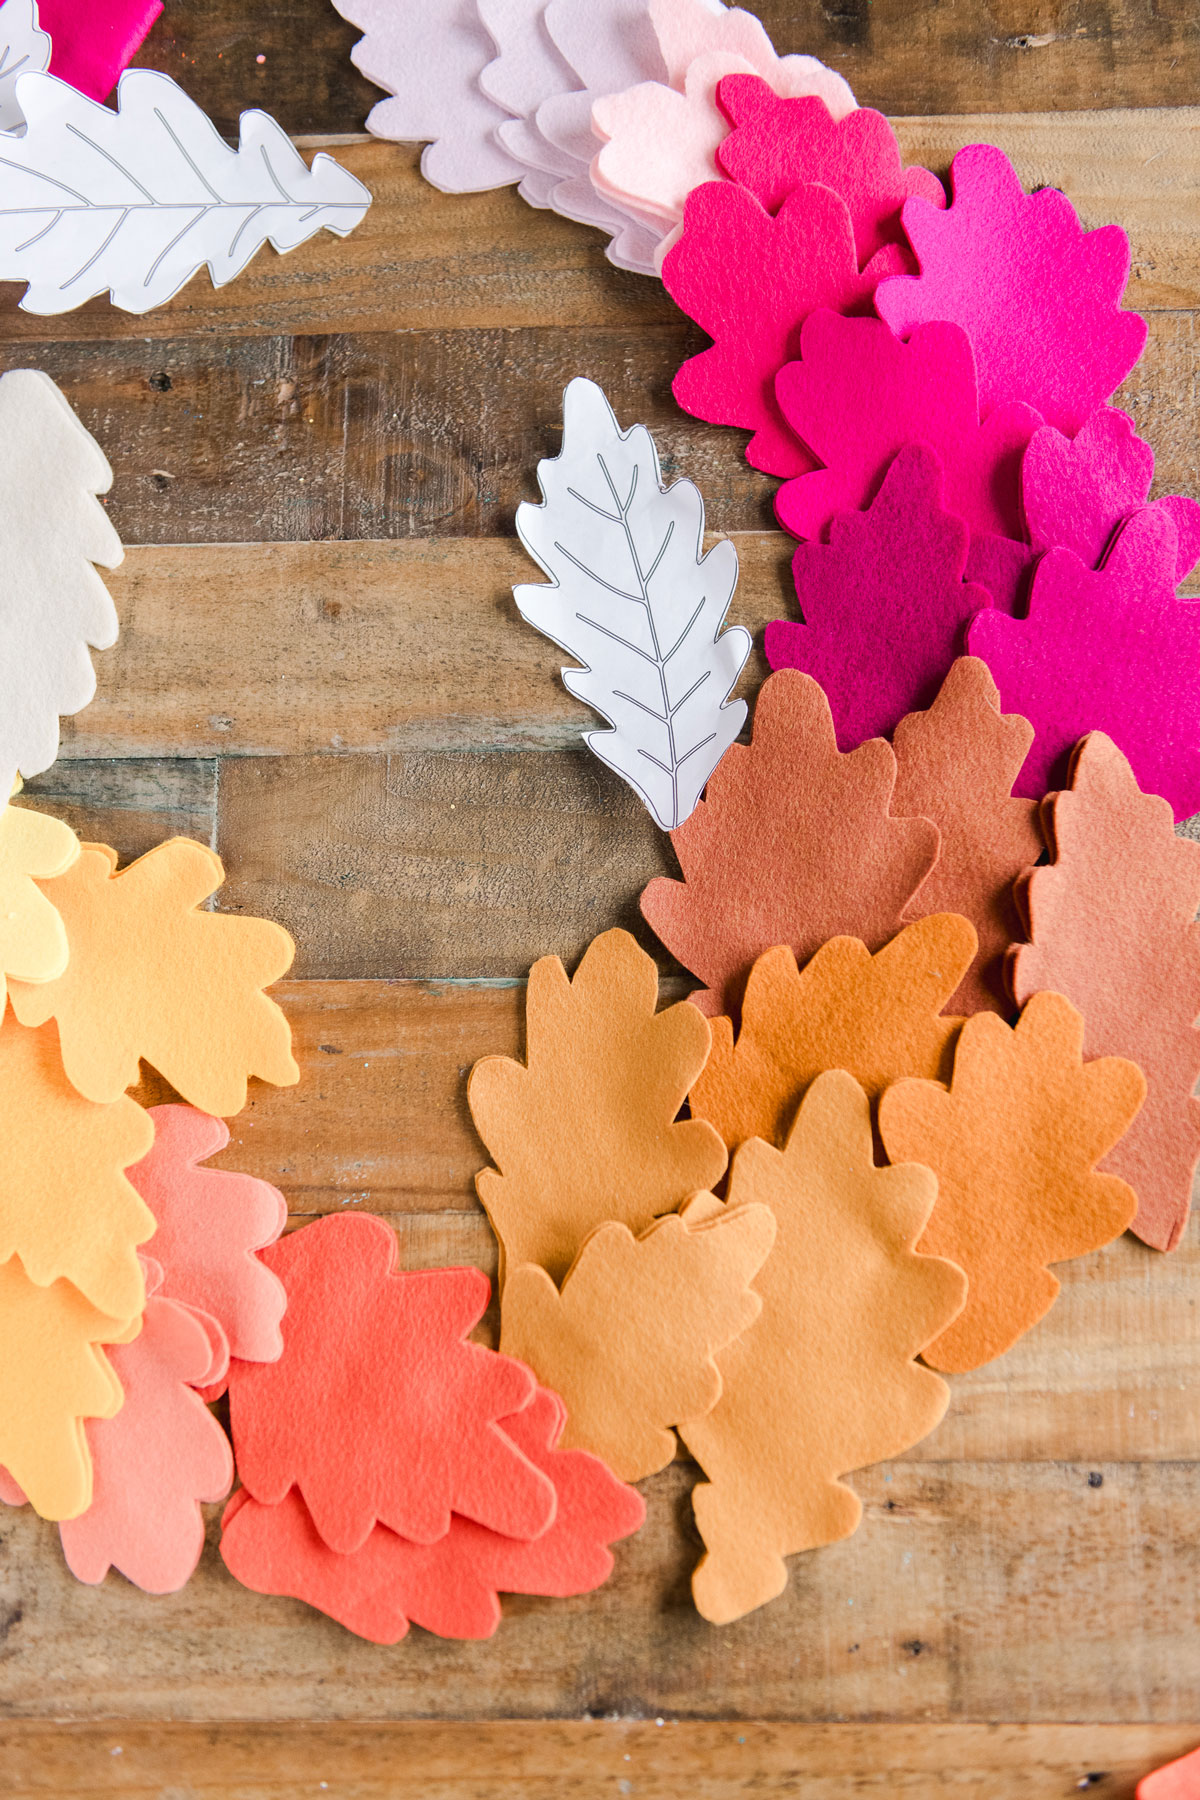
- Download leaf pattern and cut out your leafs – I chose to use out 2-3 pairs of leaves per color of felt. Think about how long you want your garland and just measure (roughly) accordingly.
Tips for cutting out the leaves:
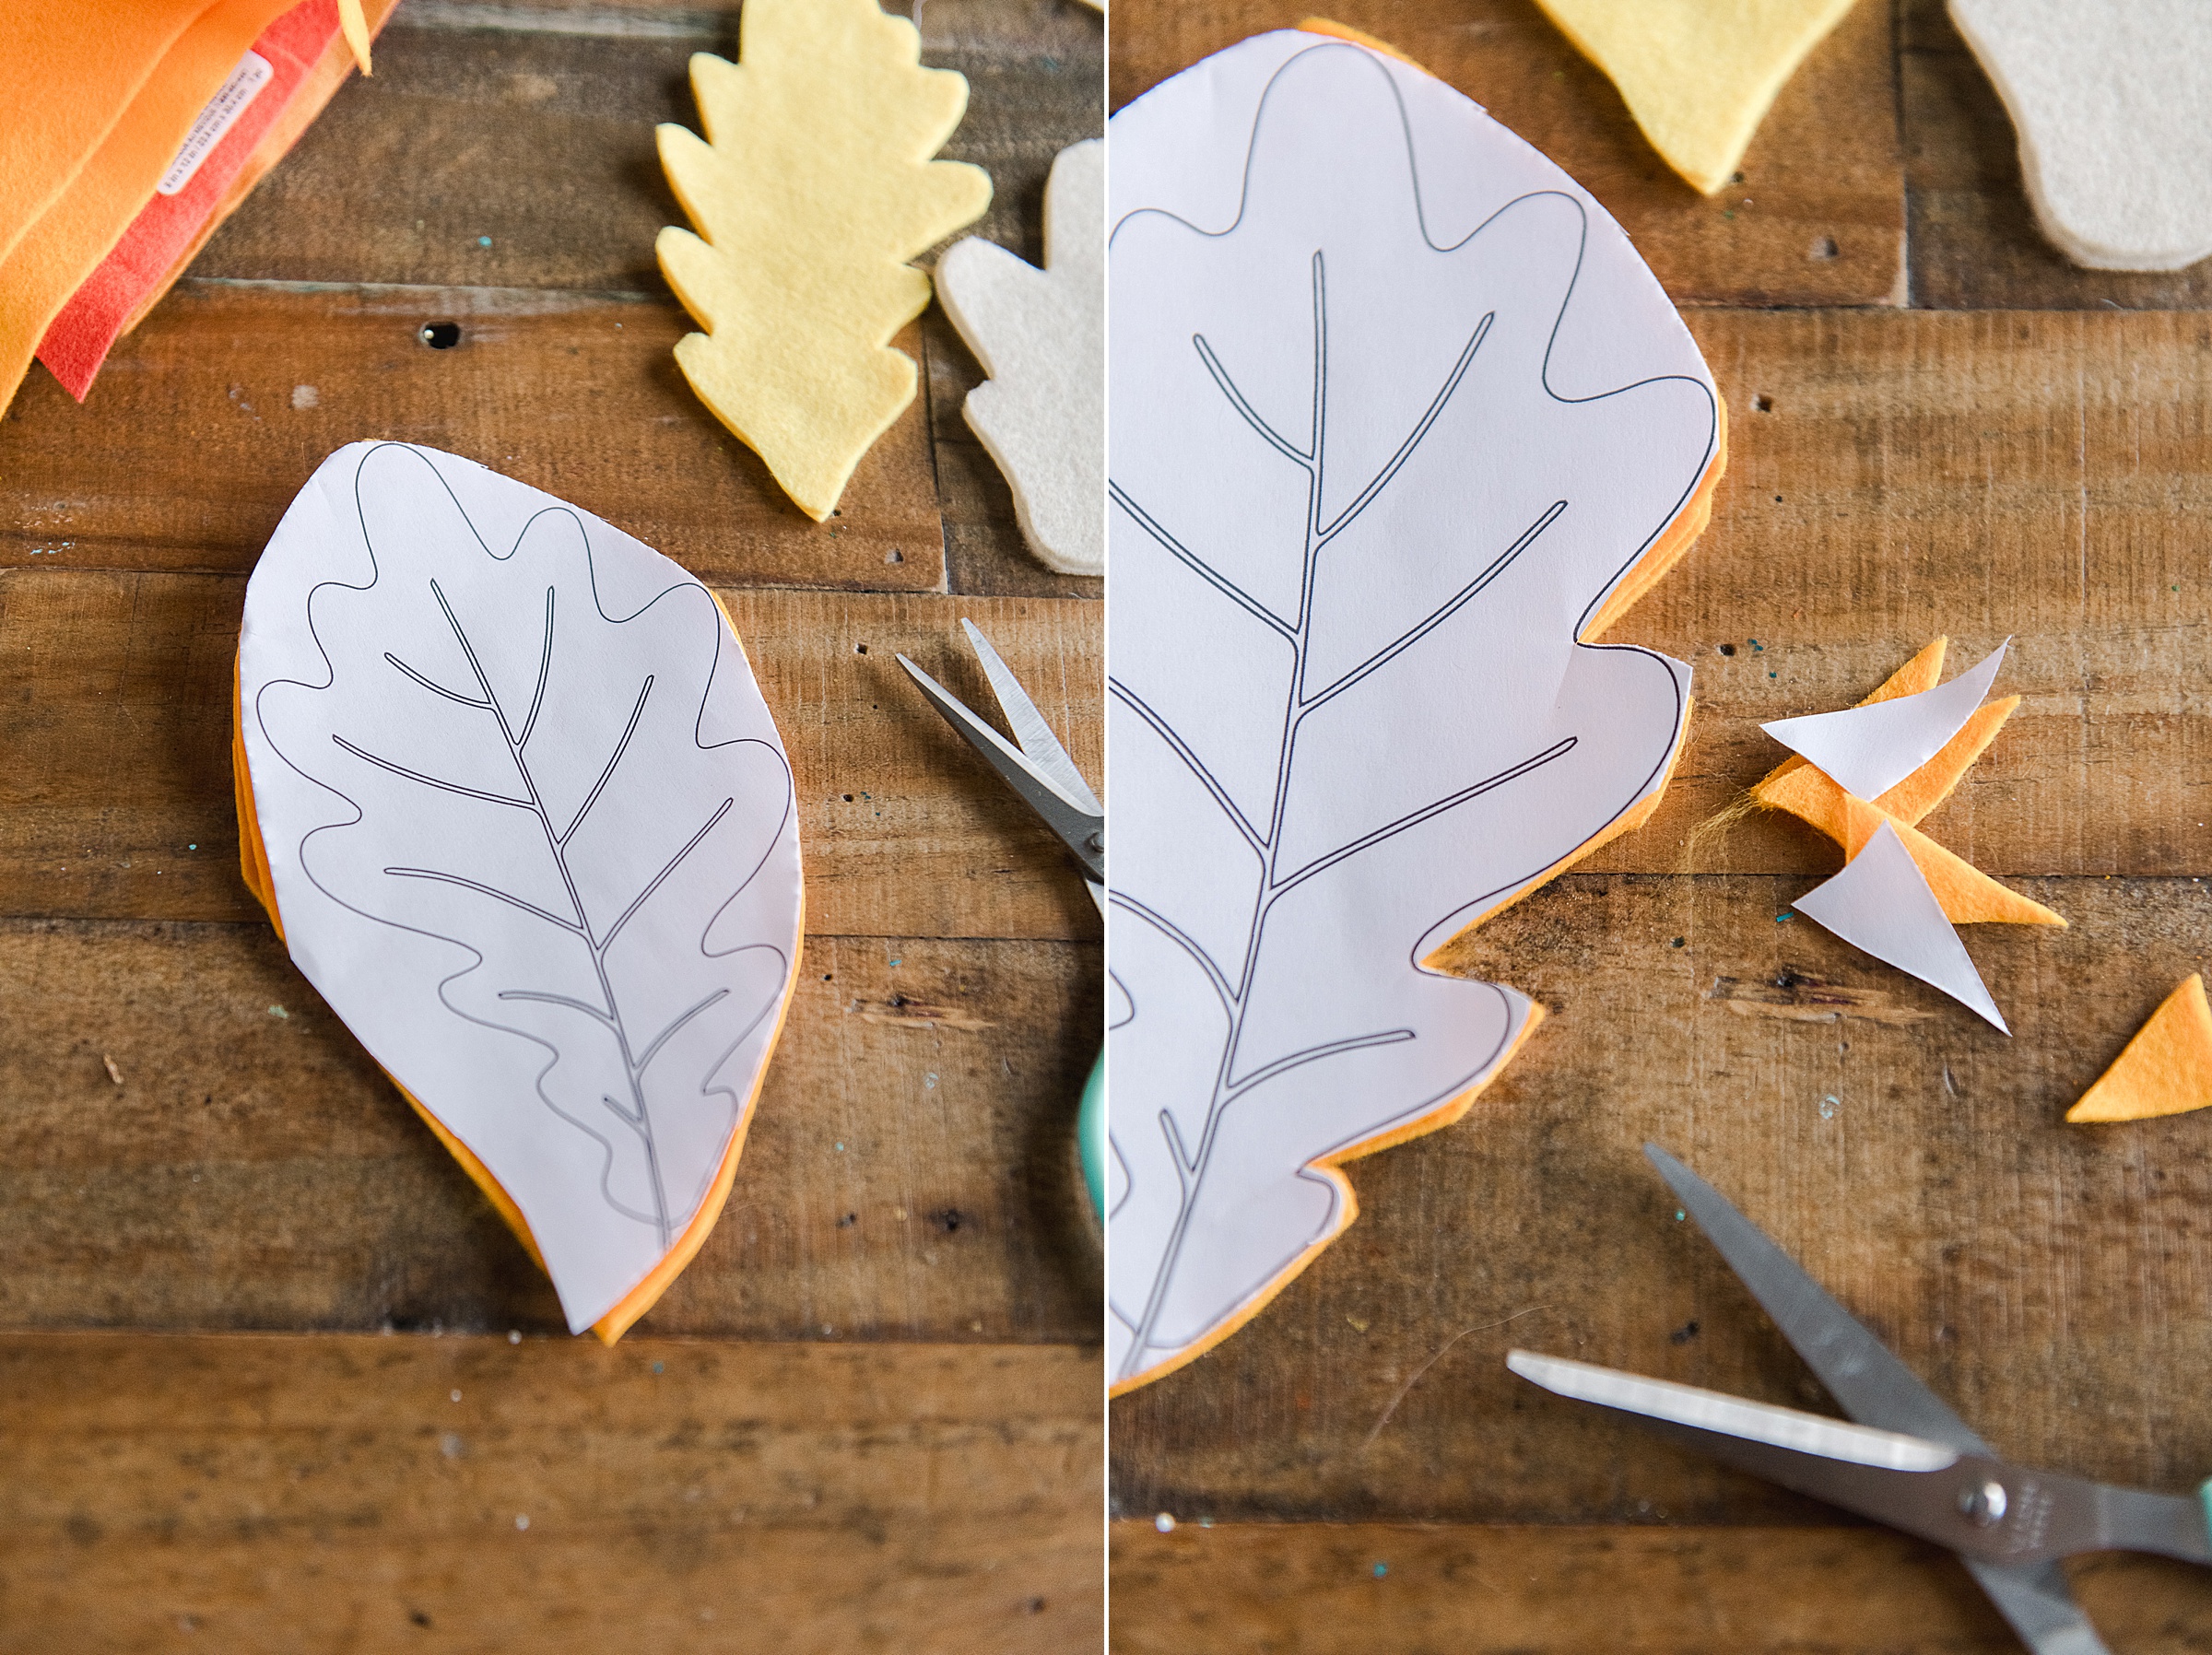
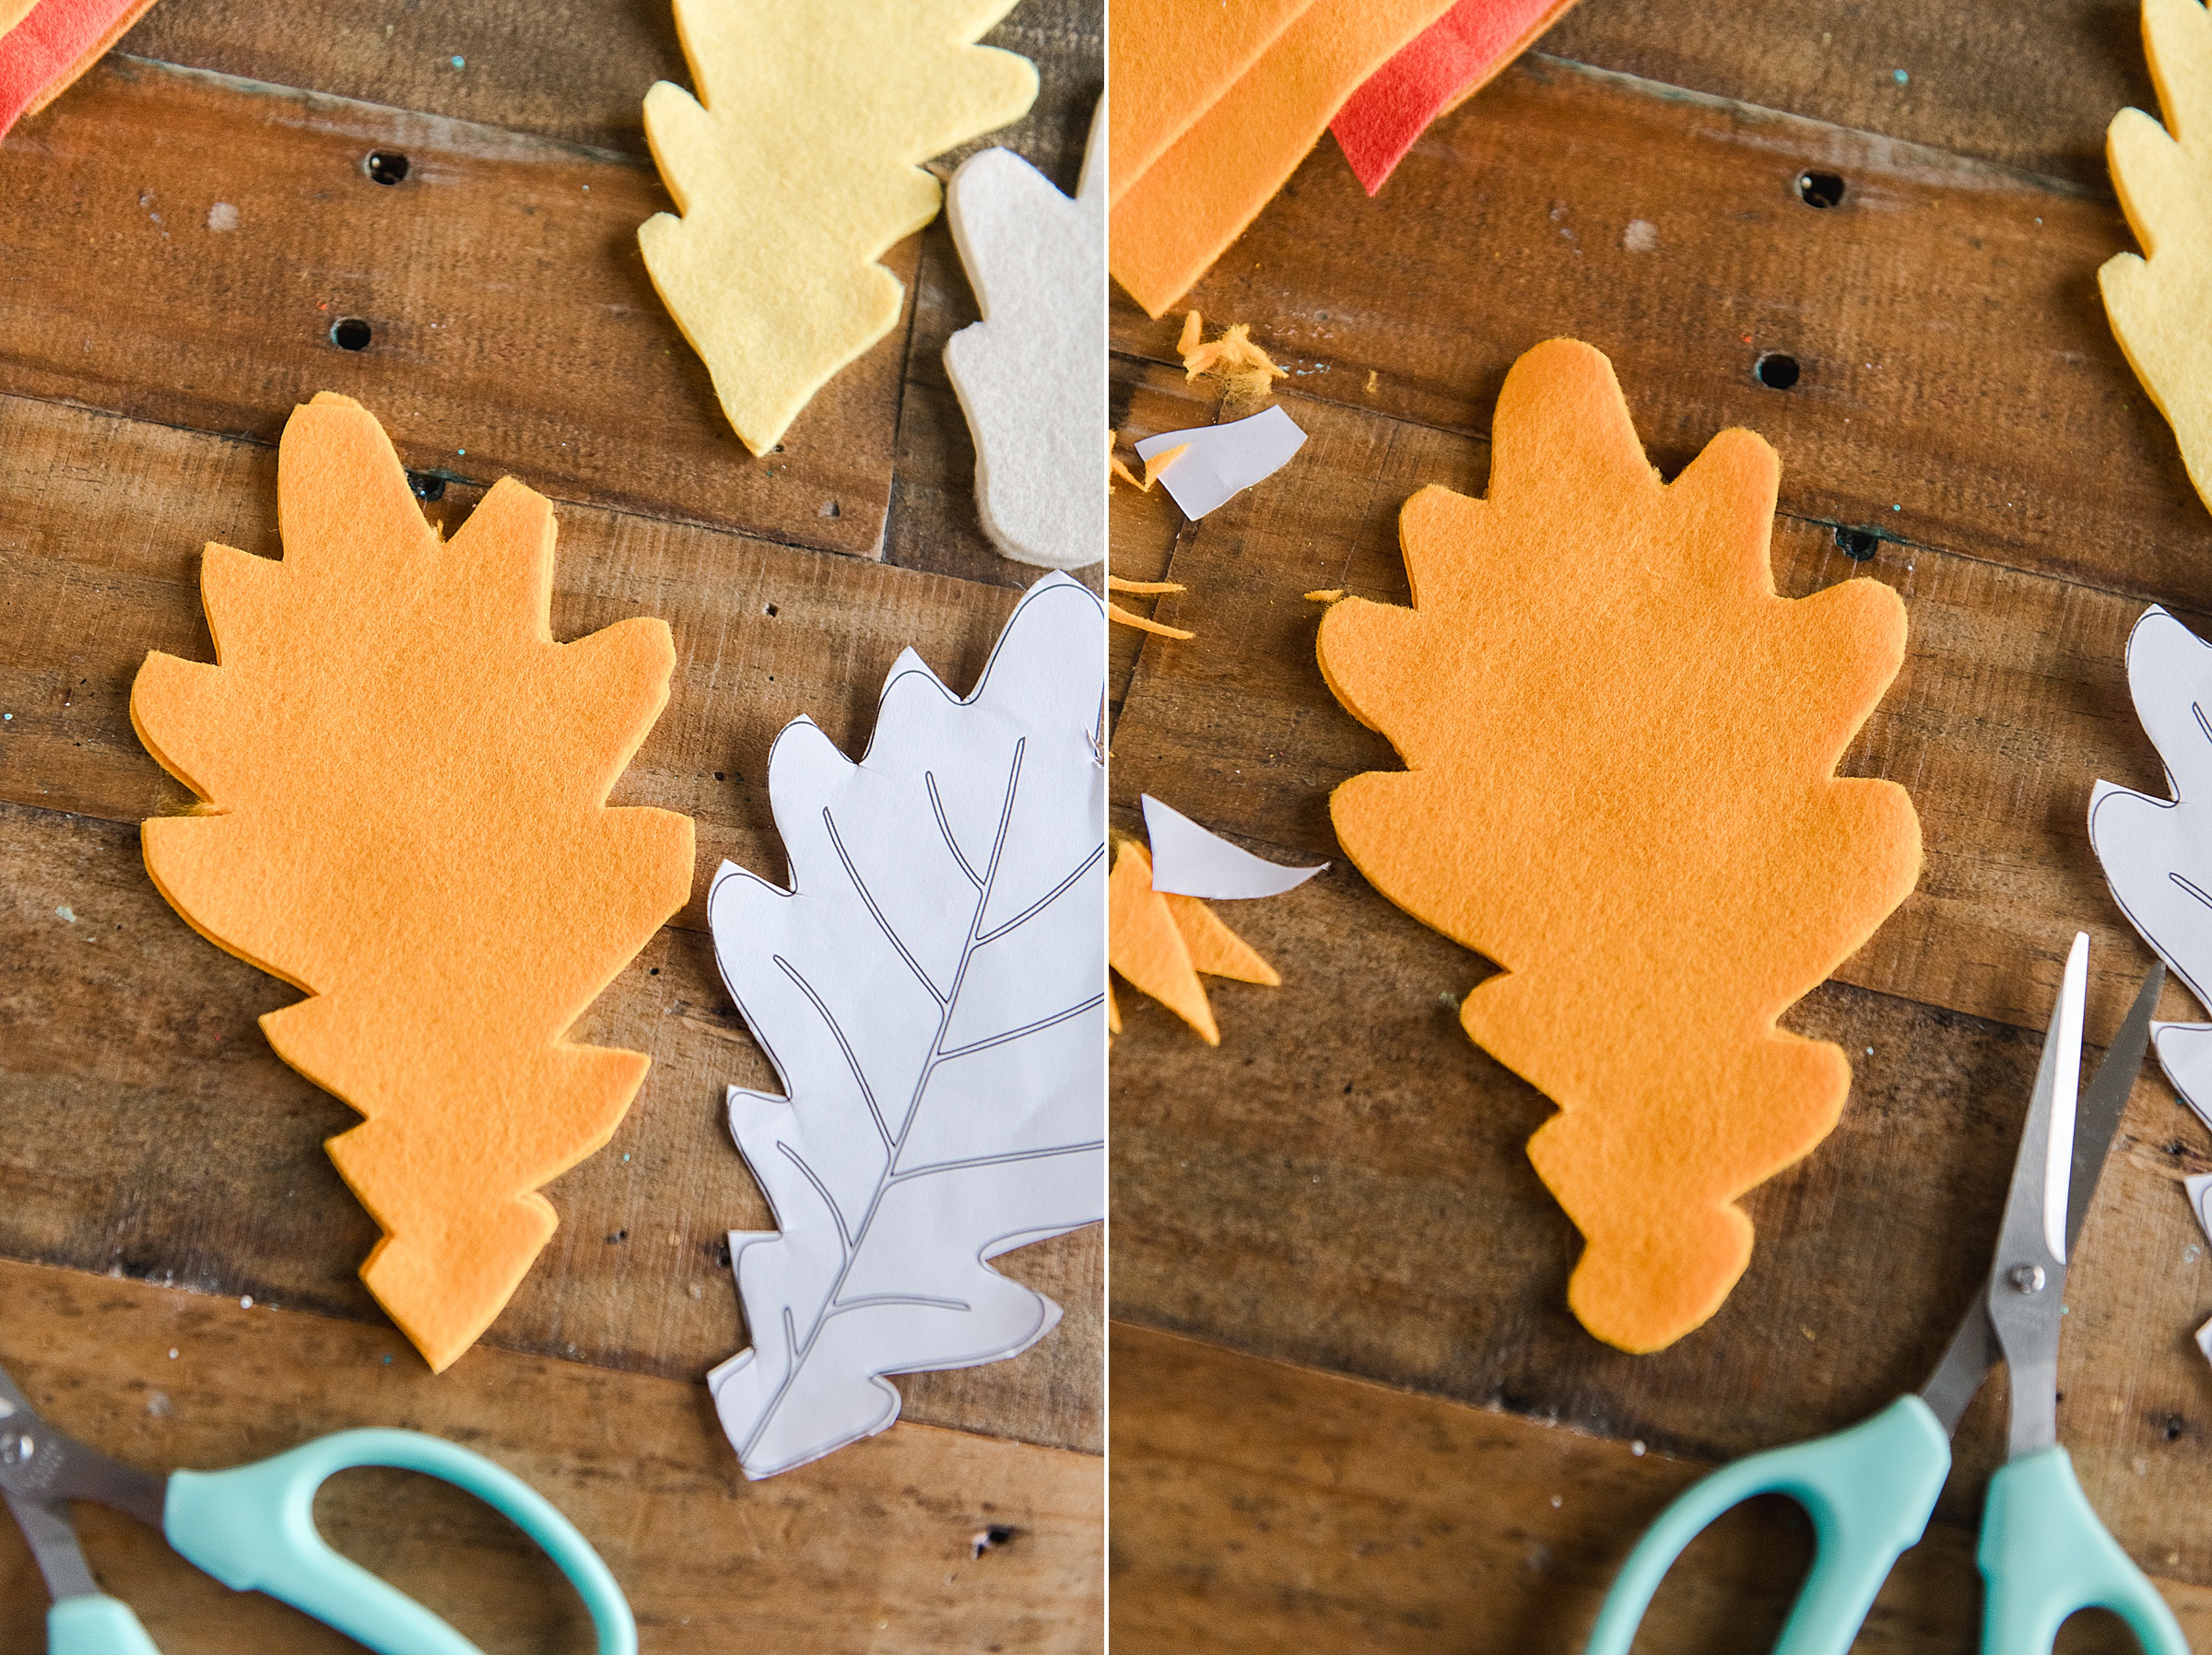
- Cut out the leaves in pairs – 2 layers per shape so that you have a matching pair exactly. Since you won’t cut out the leaves EXACTLY each time you want to be sure that 2 match up so that you have 2 layers that are as close as possible.
- Hold your pattern onto your double layer of felt and pinch (or pin) to hold in place. To make it easier to cut, cut out the rough circle for the shape first (outside of the leaf), then cut out the side notches and then remove the paper pattern and “smooth out” the edges. This is where I really got the flowing outer part of the leaf to make sure that it’s all cut smooth and easy 🙂
- DO NOT worry if your leaf doesn’t follow the pattern exactly, 2 leaves are never identical and never perfect (not needing to be perfect makes a crafting win IMO!)
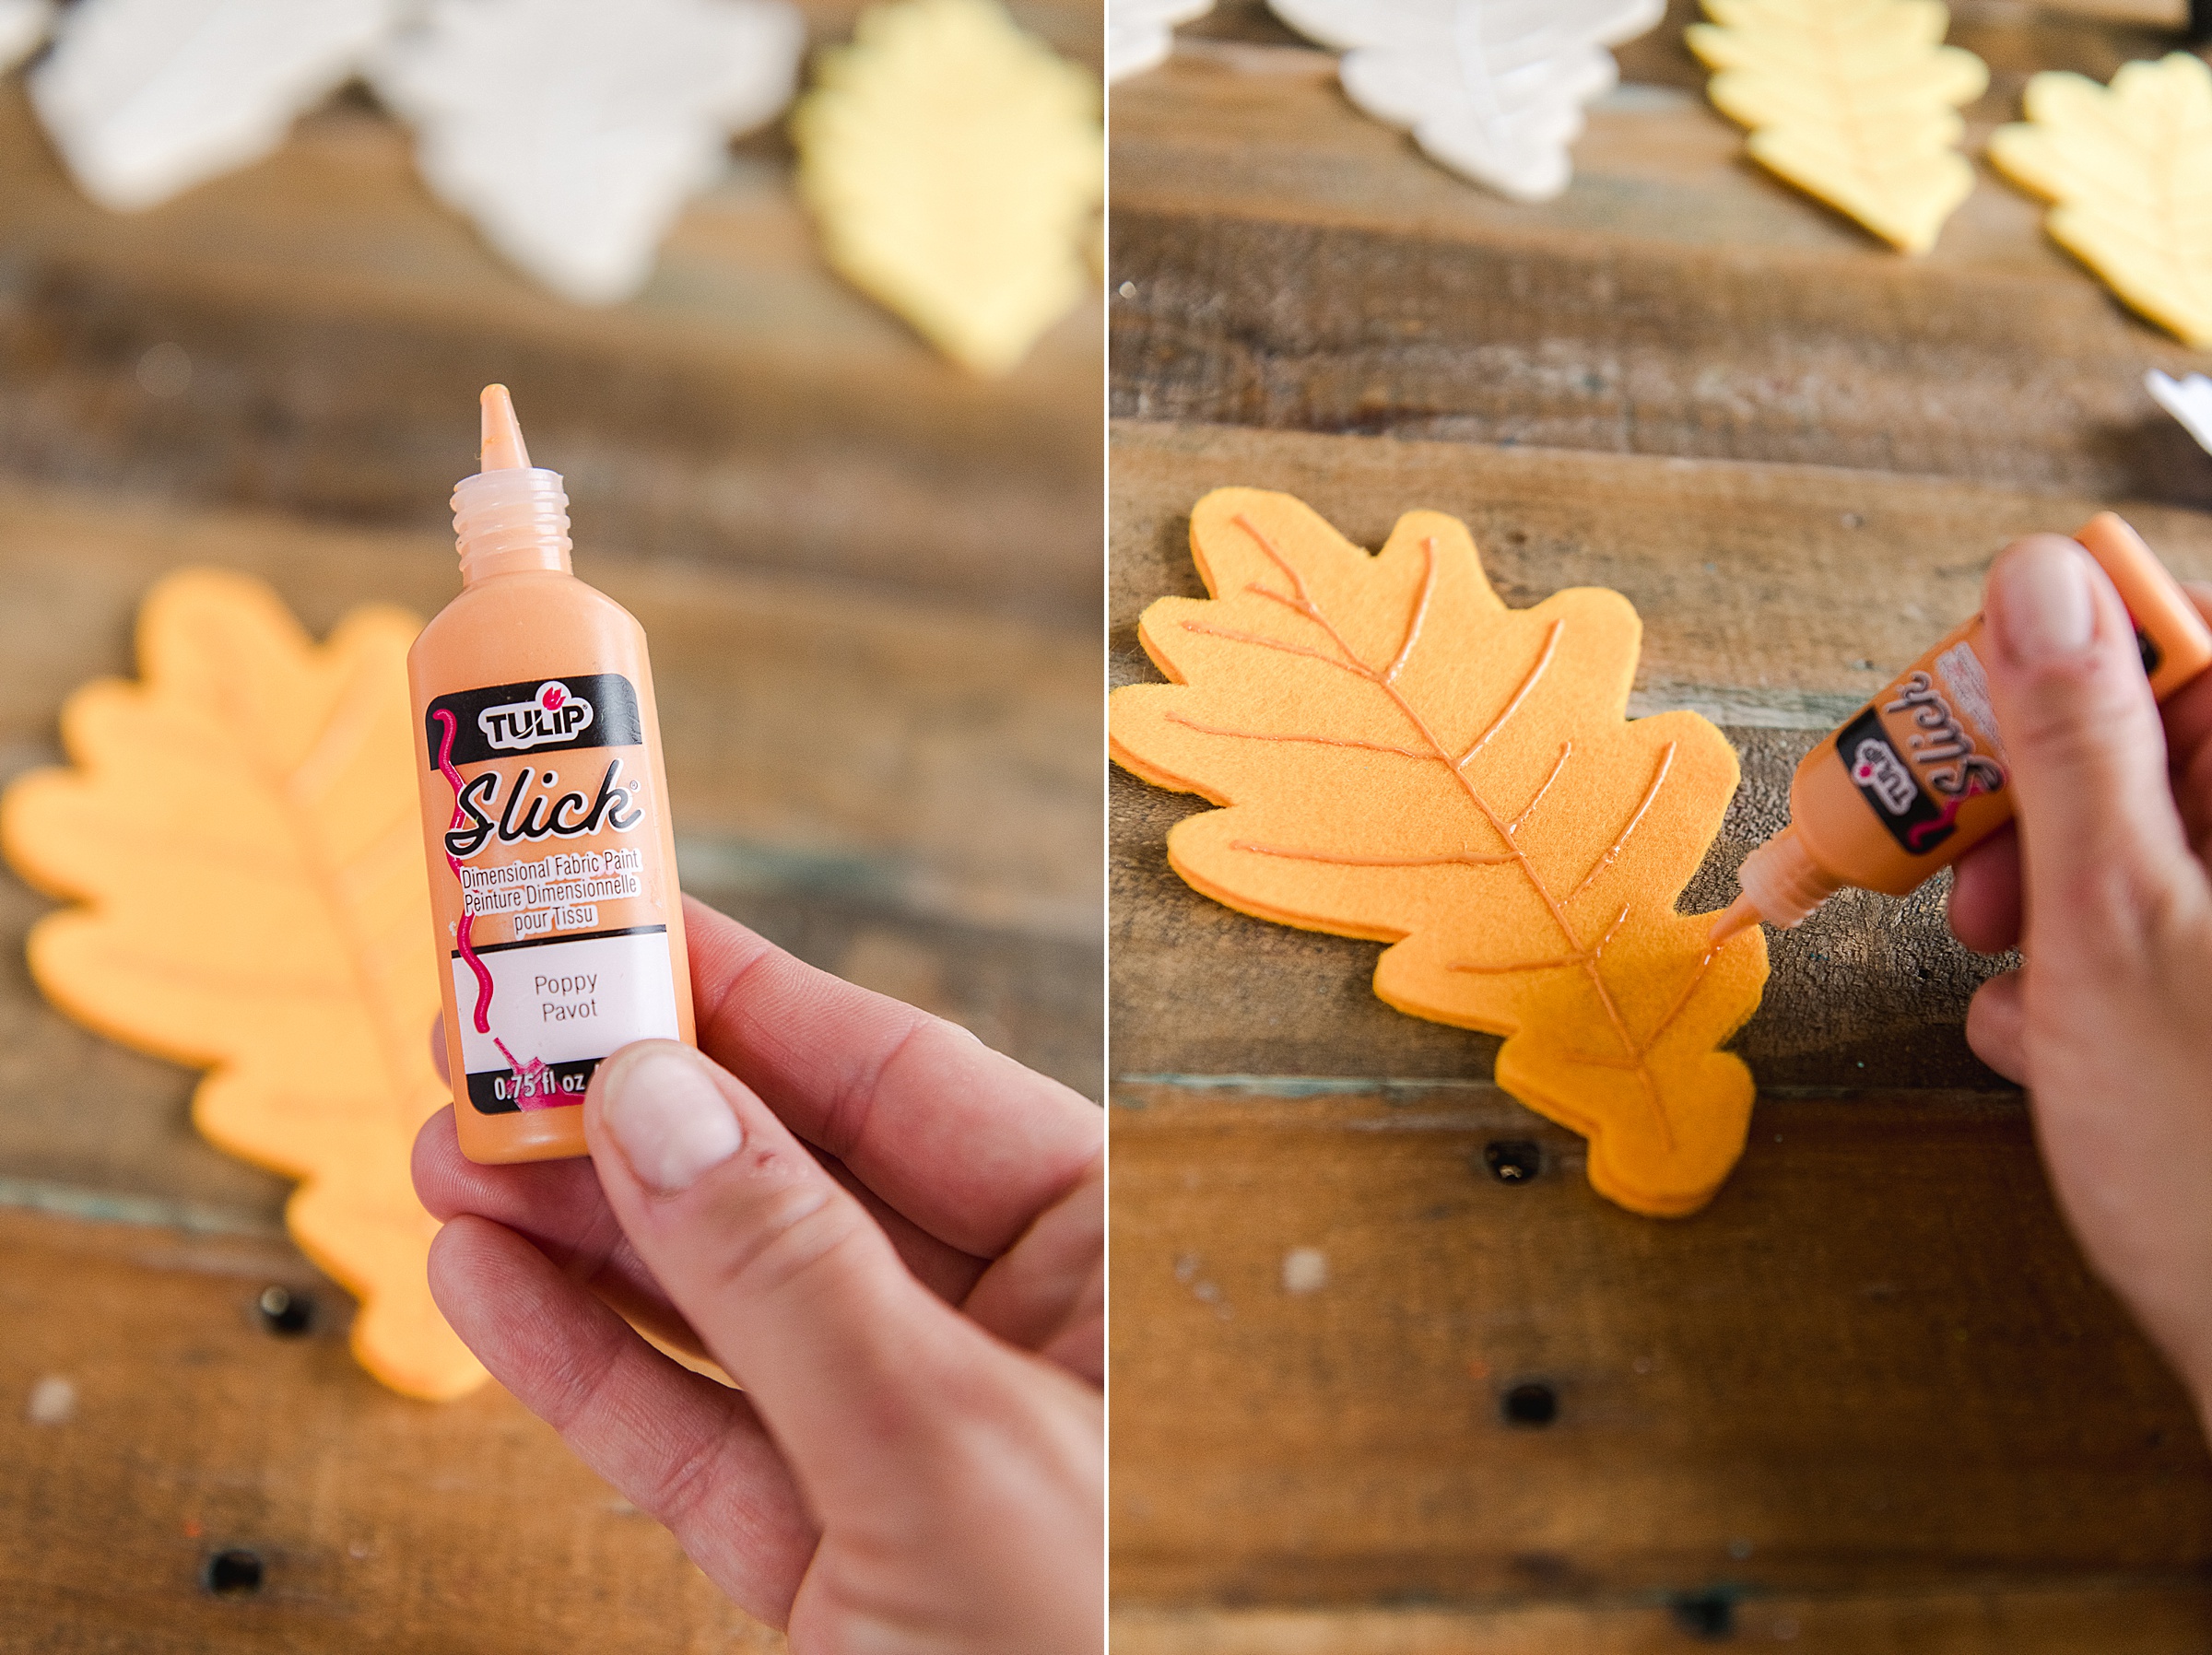
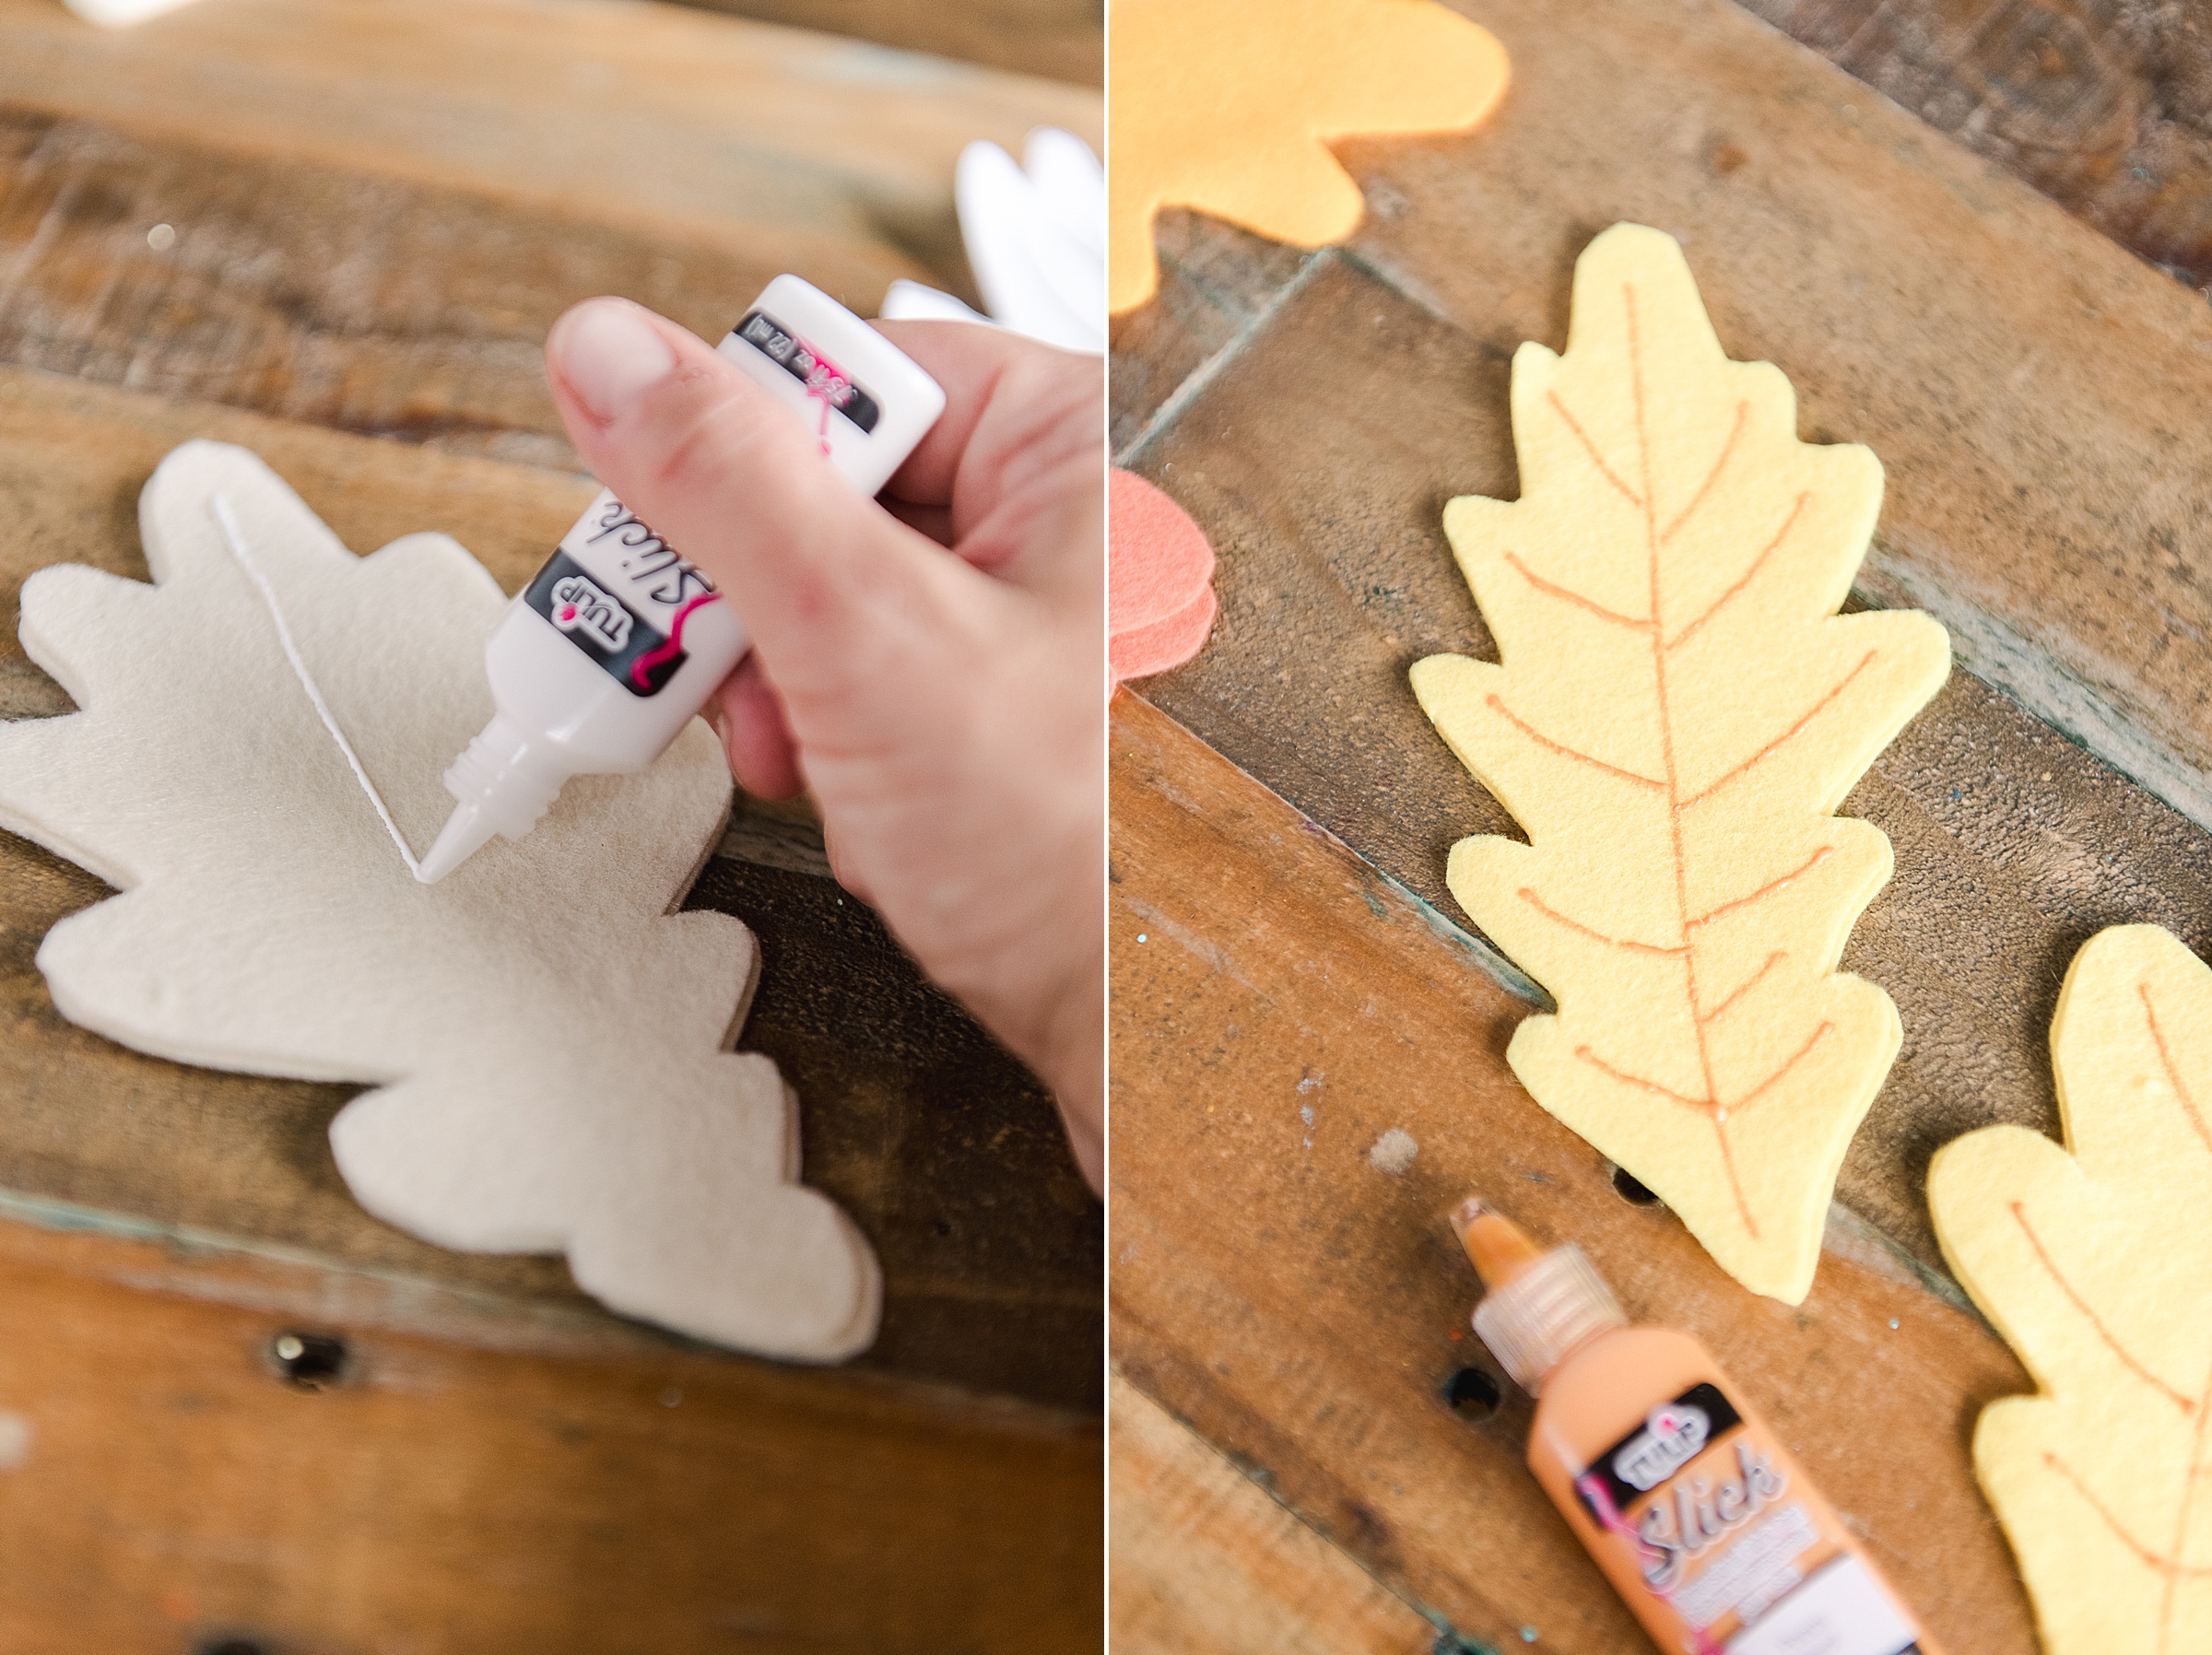
2. Add your puff paint vein details. I chose to start with the long center of each leaf going from top to bottom. I then added the diagonal lines from the side of the leaf towards the center vertical vein. Again, don’t make this perfectly symmetrical or identical to one another – you will want some variation! 🙂
Then set aside to fully dry – at least 8 hours 🙂
3. Now cut you’re wire – I cut 2 pieces of wire per finished leaf- one piece of wire which was the “long vein” that was 4-6″longer than the leaf itself and then about piece that was about 4″.
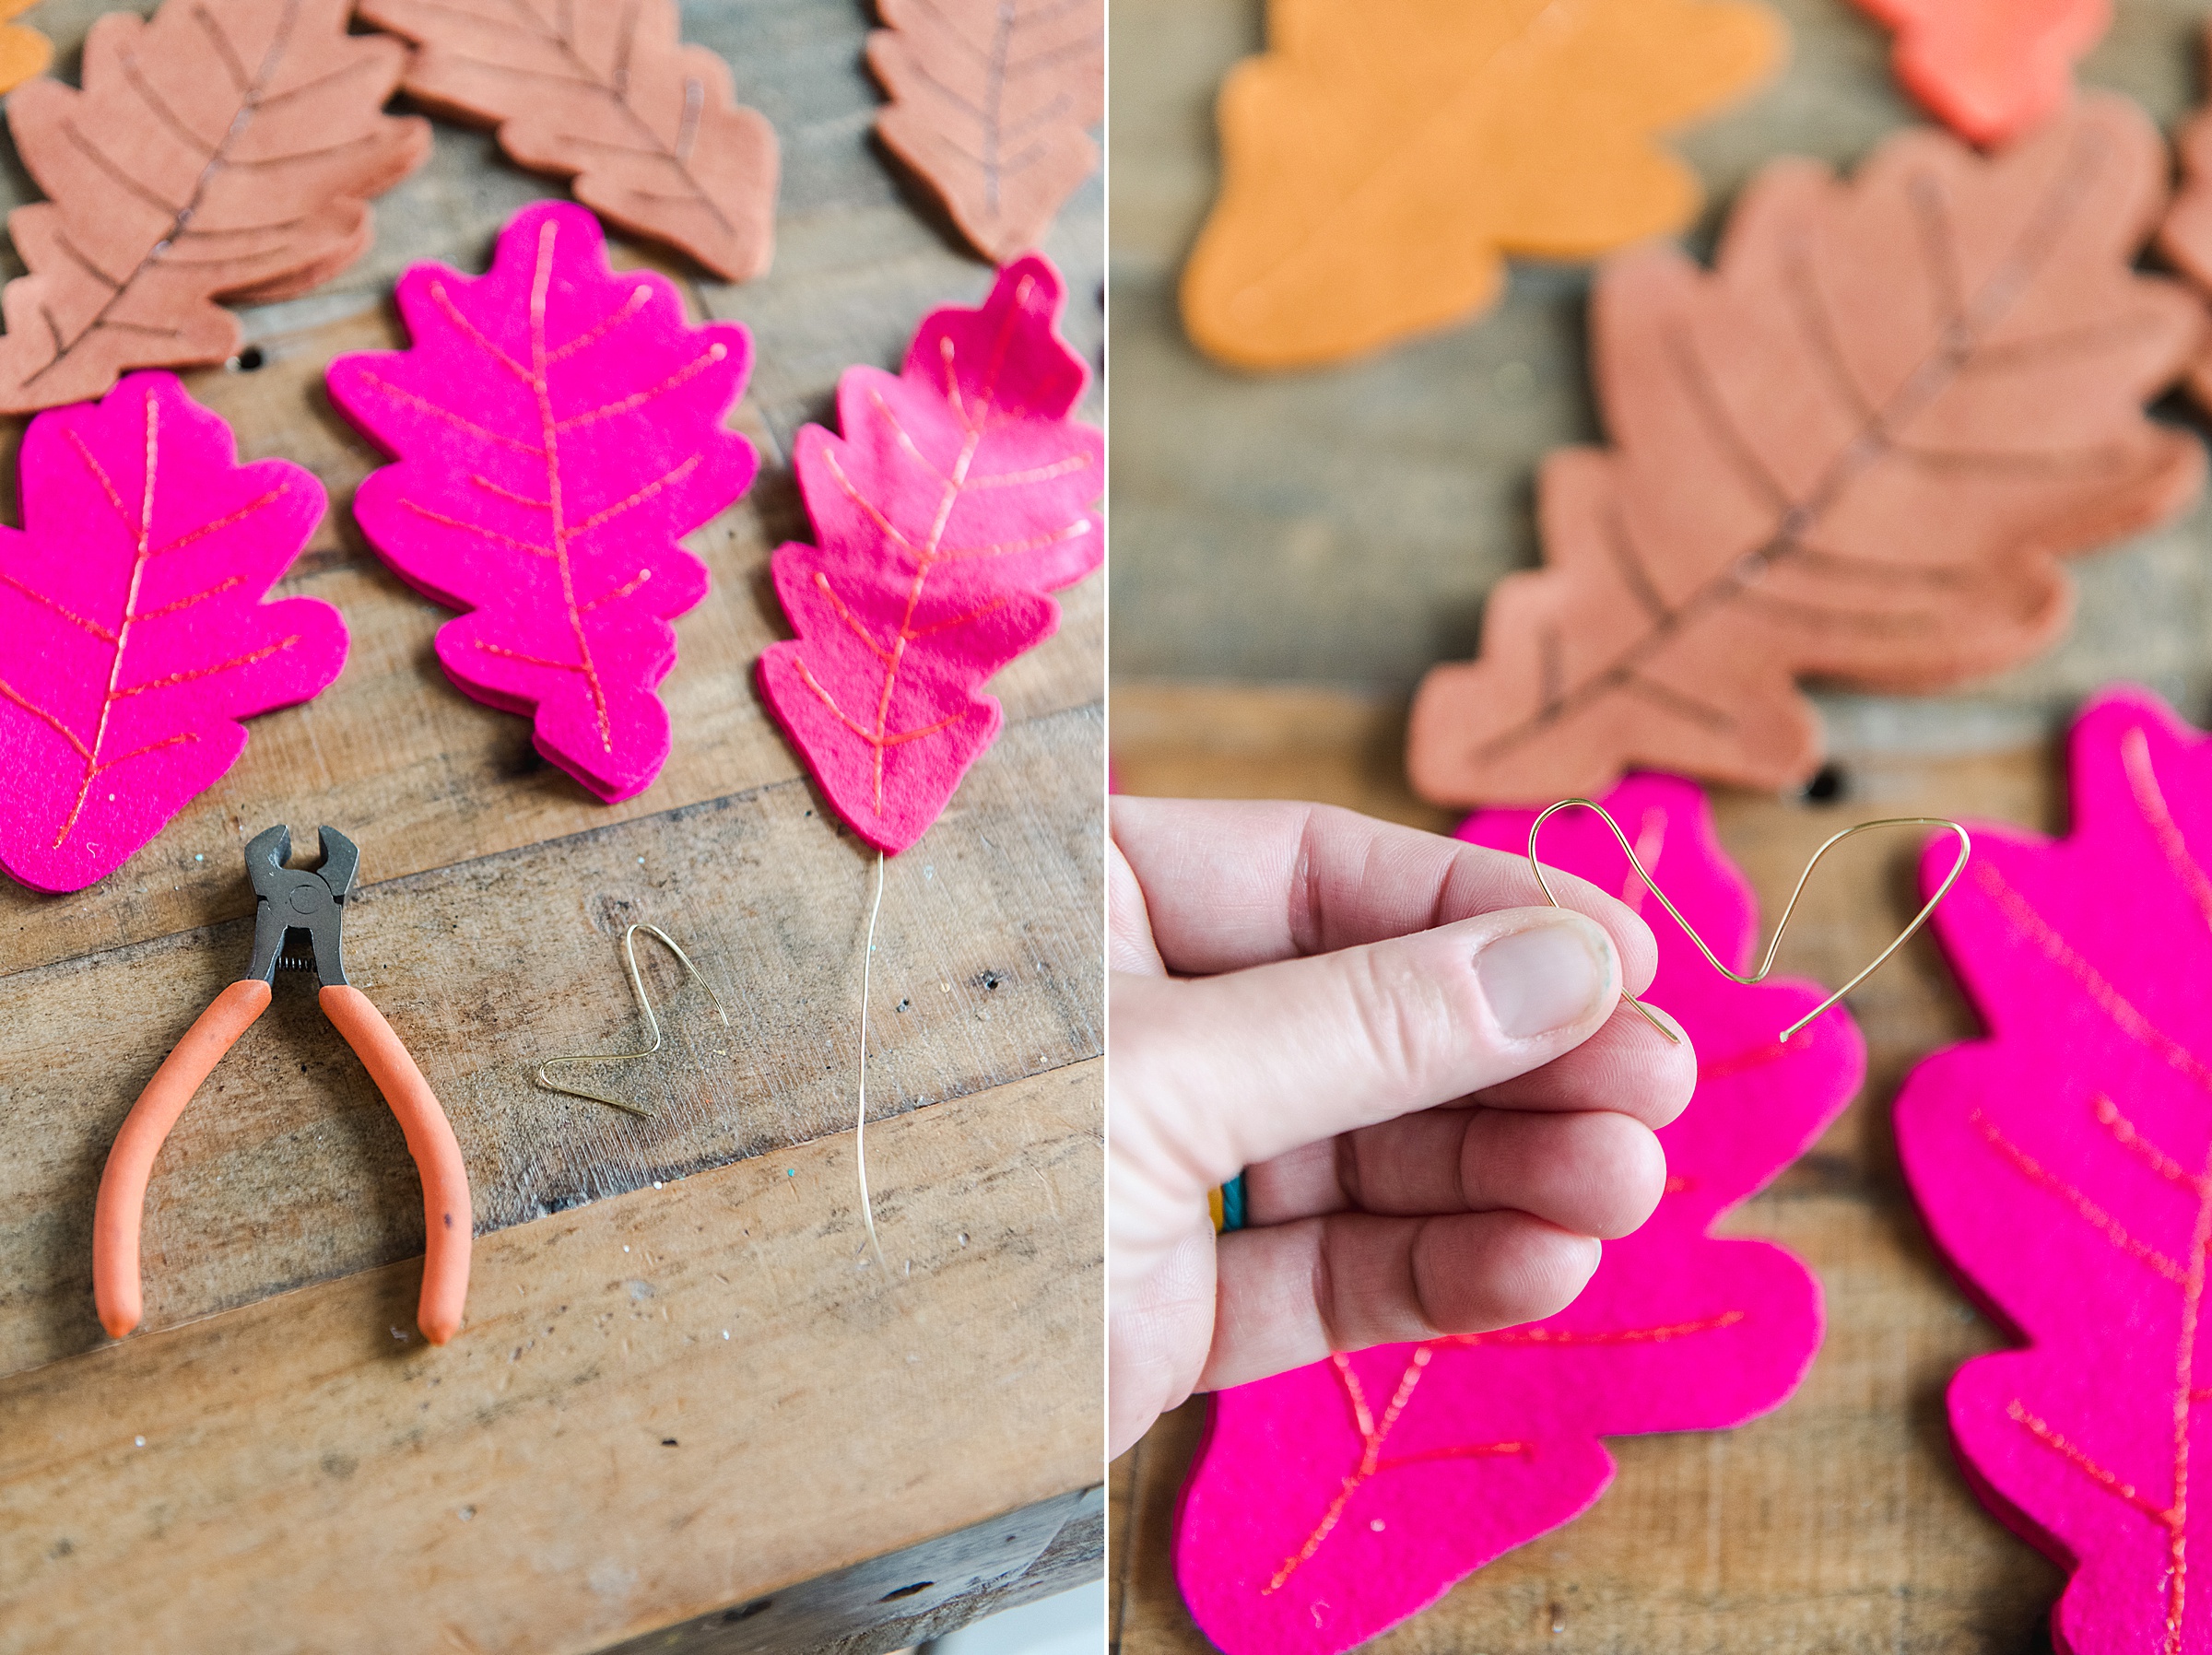
The shorter wire got bent into a heart shape of sorts – this was to add some flexibility to the center of the leaf so that I can twist them.
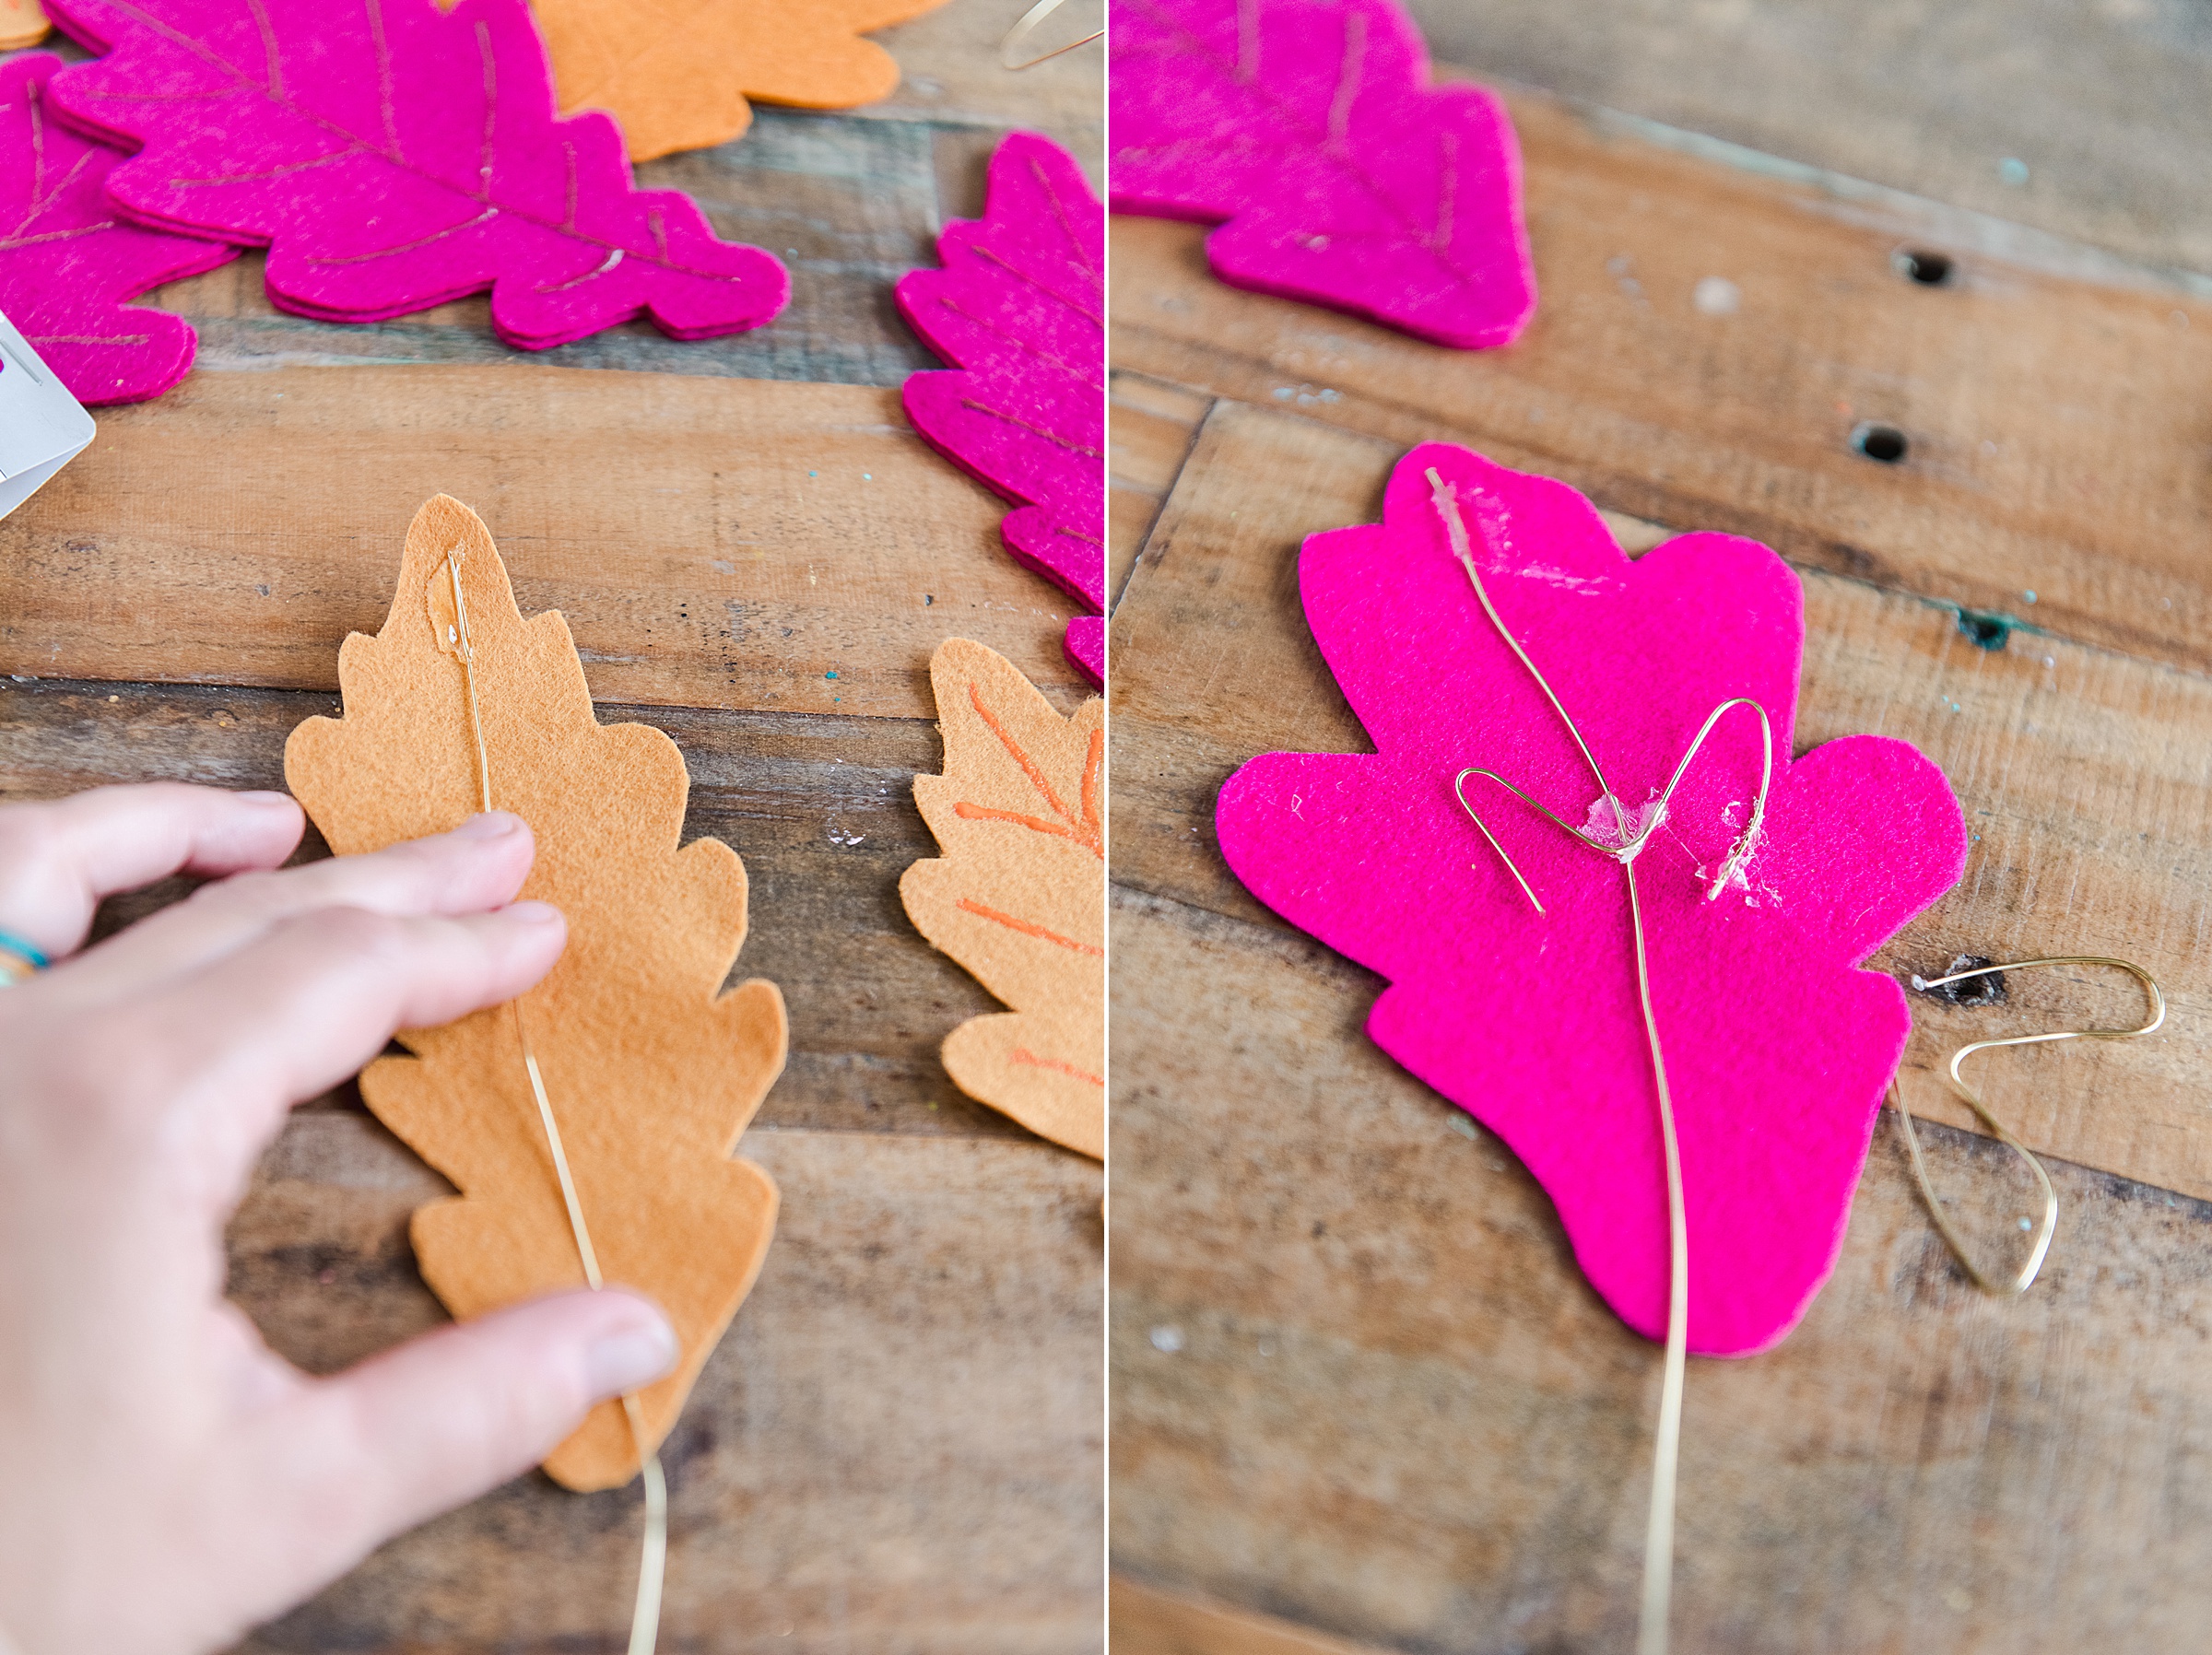
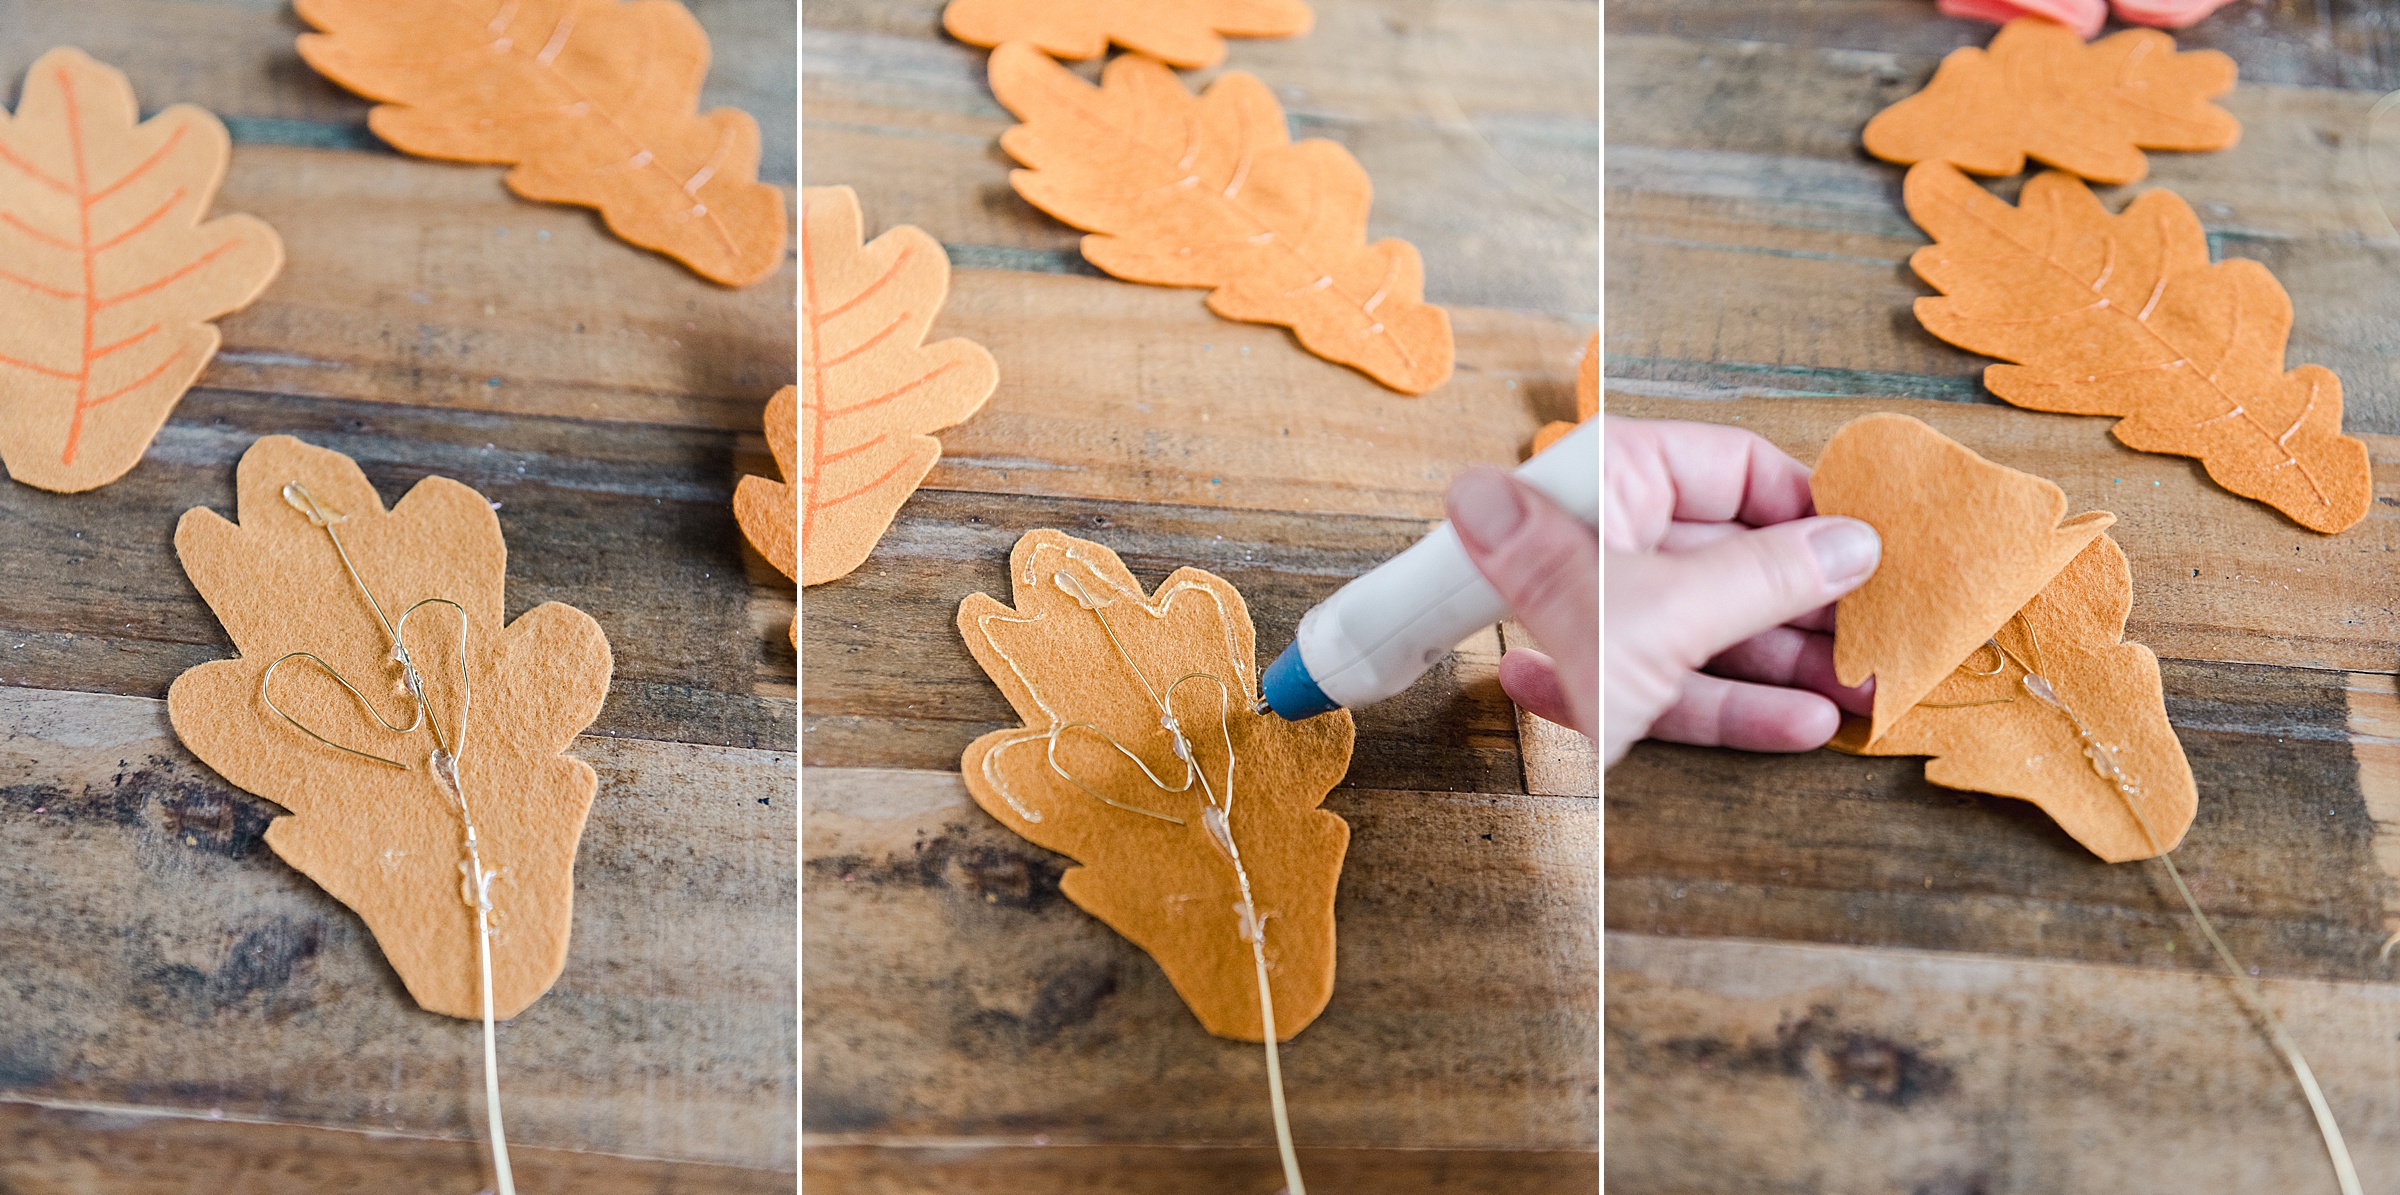
You will be glueing the wire to the bottom pair of the leaf – the leaf shape that didn’t just get the veins and puff paint details added. I glued down the long piece, with the excess coming out of the bottom of the leave to make the “stem”. I did one blob of hot glue at the top of the leave and another at the bottom where the wire/stem comes out – and then I did another glob of glue in the center of the leave, along the wire vein to add the “heart shape” onto. Hold these in place as long as needed to fully dry and harden.
4. Now it’s time to the find the matching pair of your leaf (pair up the puff painted top and the wire glued bottom). Line them up and then lift up half of the leaf, glue a bead of glue around the outer edge (on the inside of the leaf where the wire is already glued) and then press the leaf together gluing it together. Repeat this for the 2nd half of the leaf and press.
Do this with ALL of your leaf pairs until all are glue together 🙂
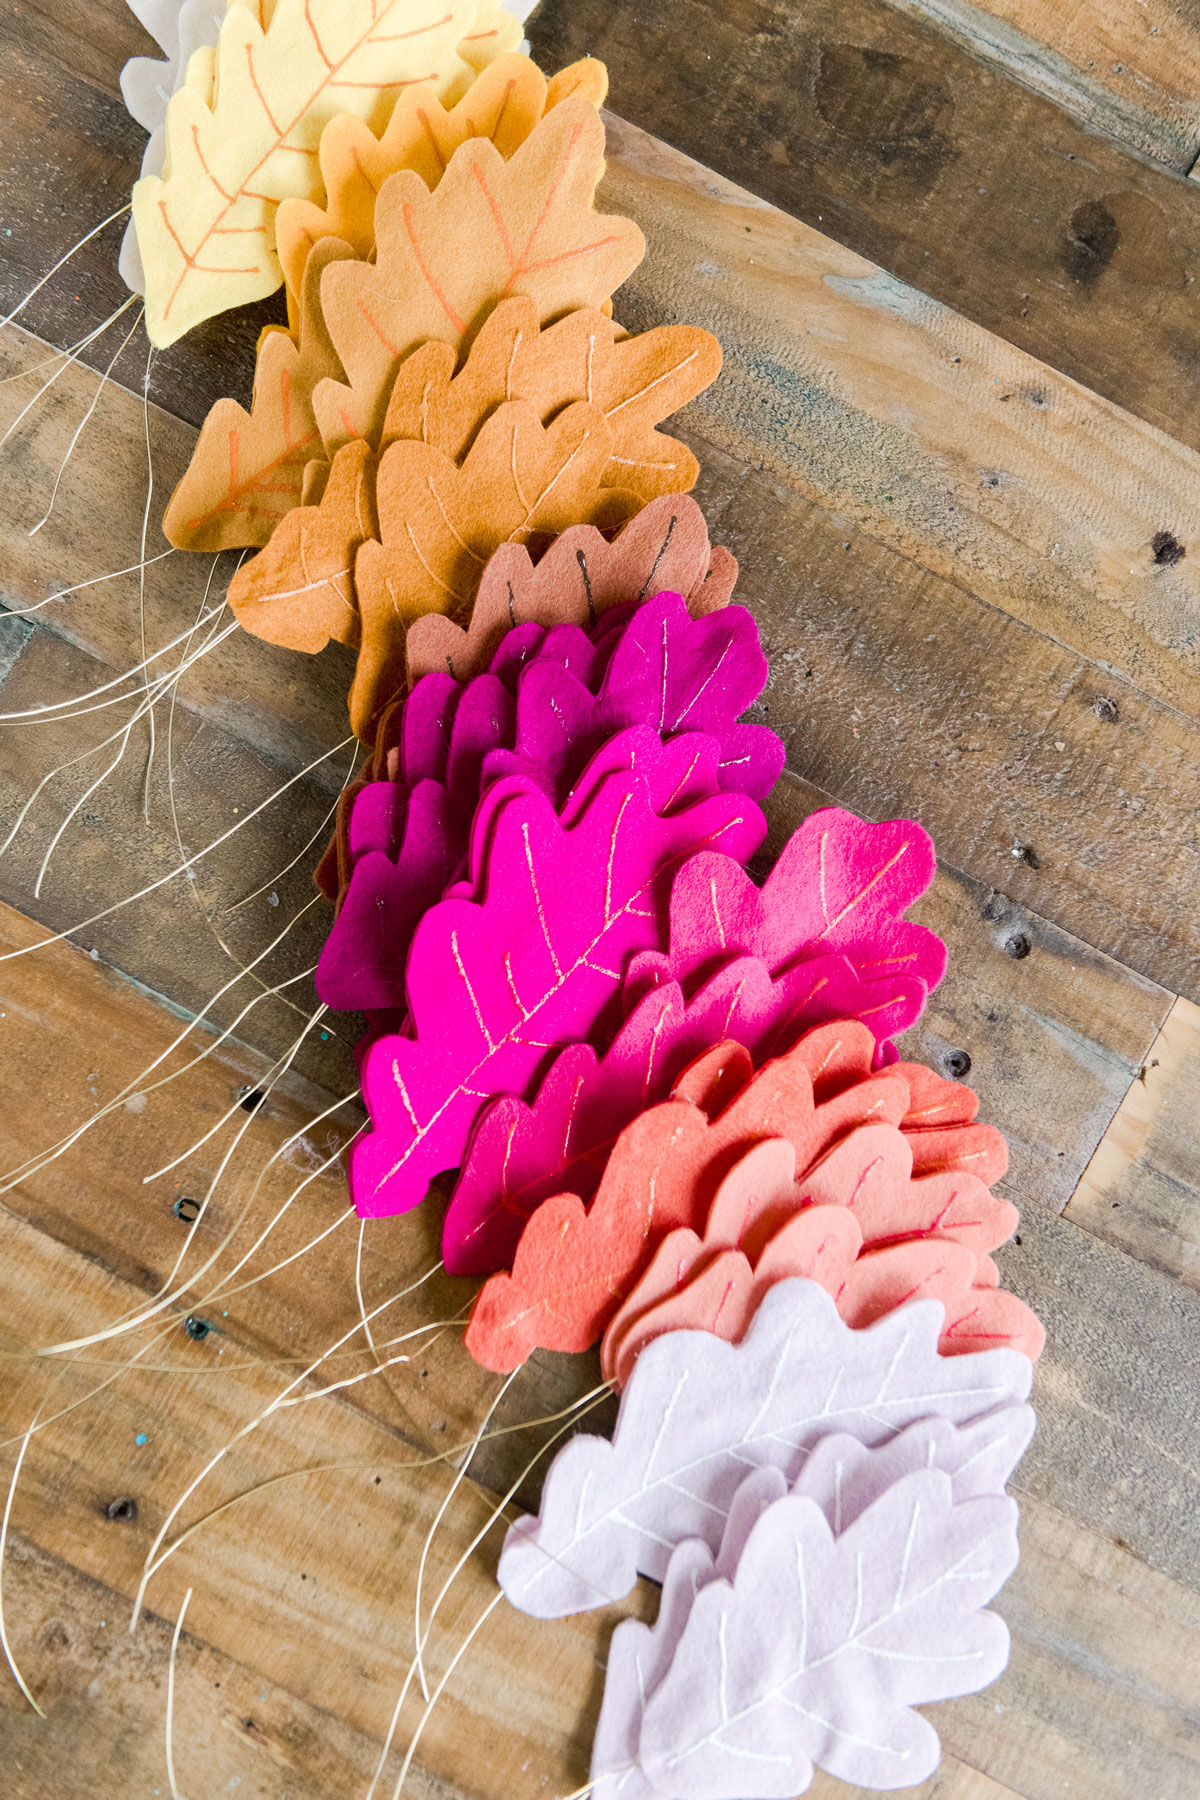
5. Now it’s time to twist the wire stems together to make our garland – and it’s really that simple. Begin with 2 leaves and twist the wire stem together. Then place one more leaf where you want it and twist that stem onto the other 2….repeat until you’ve twisted all the leaves and stems together.
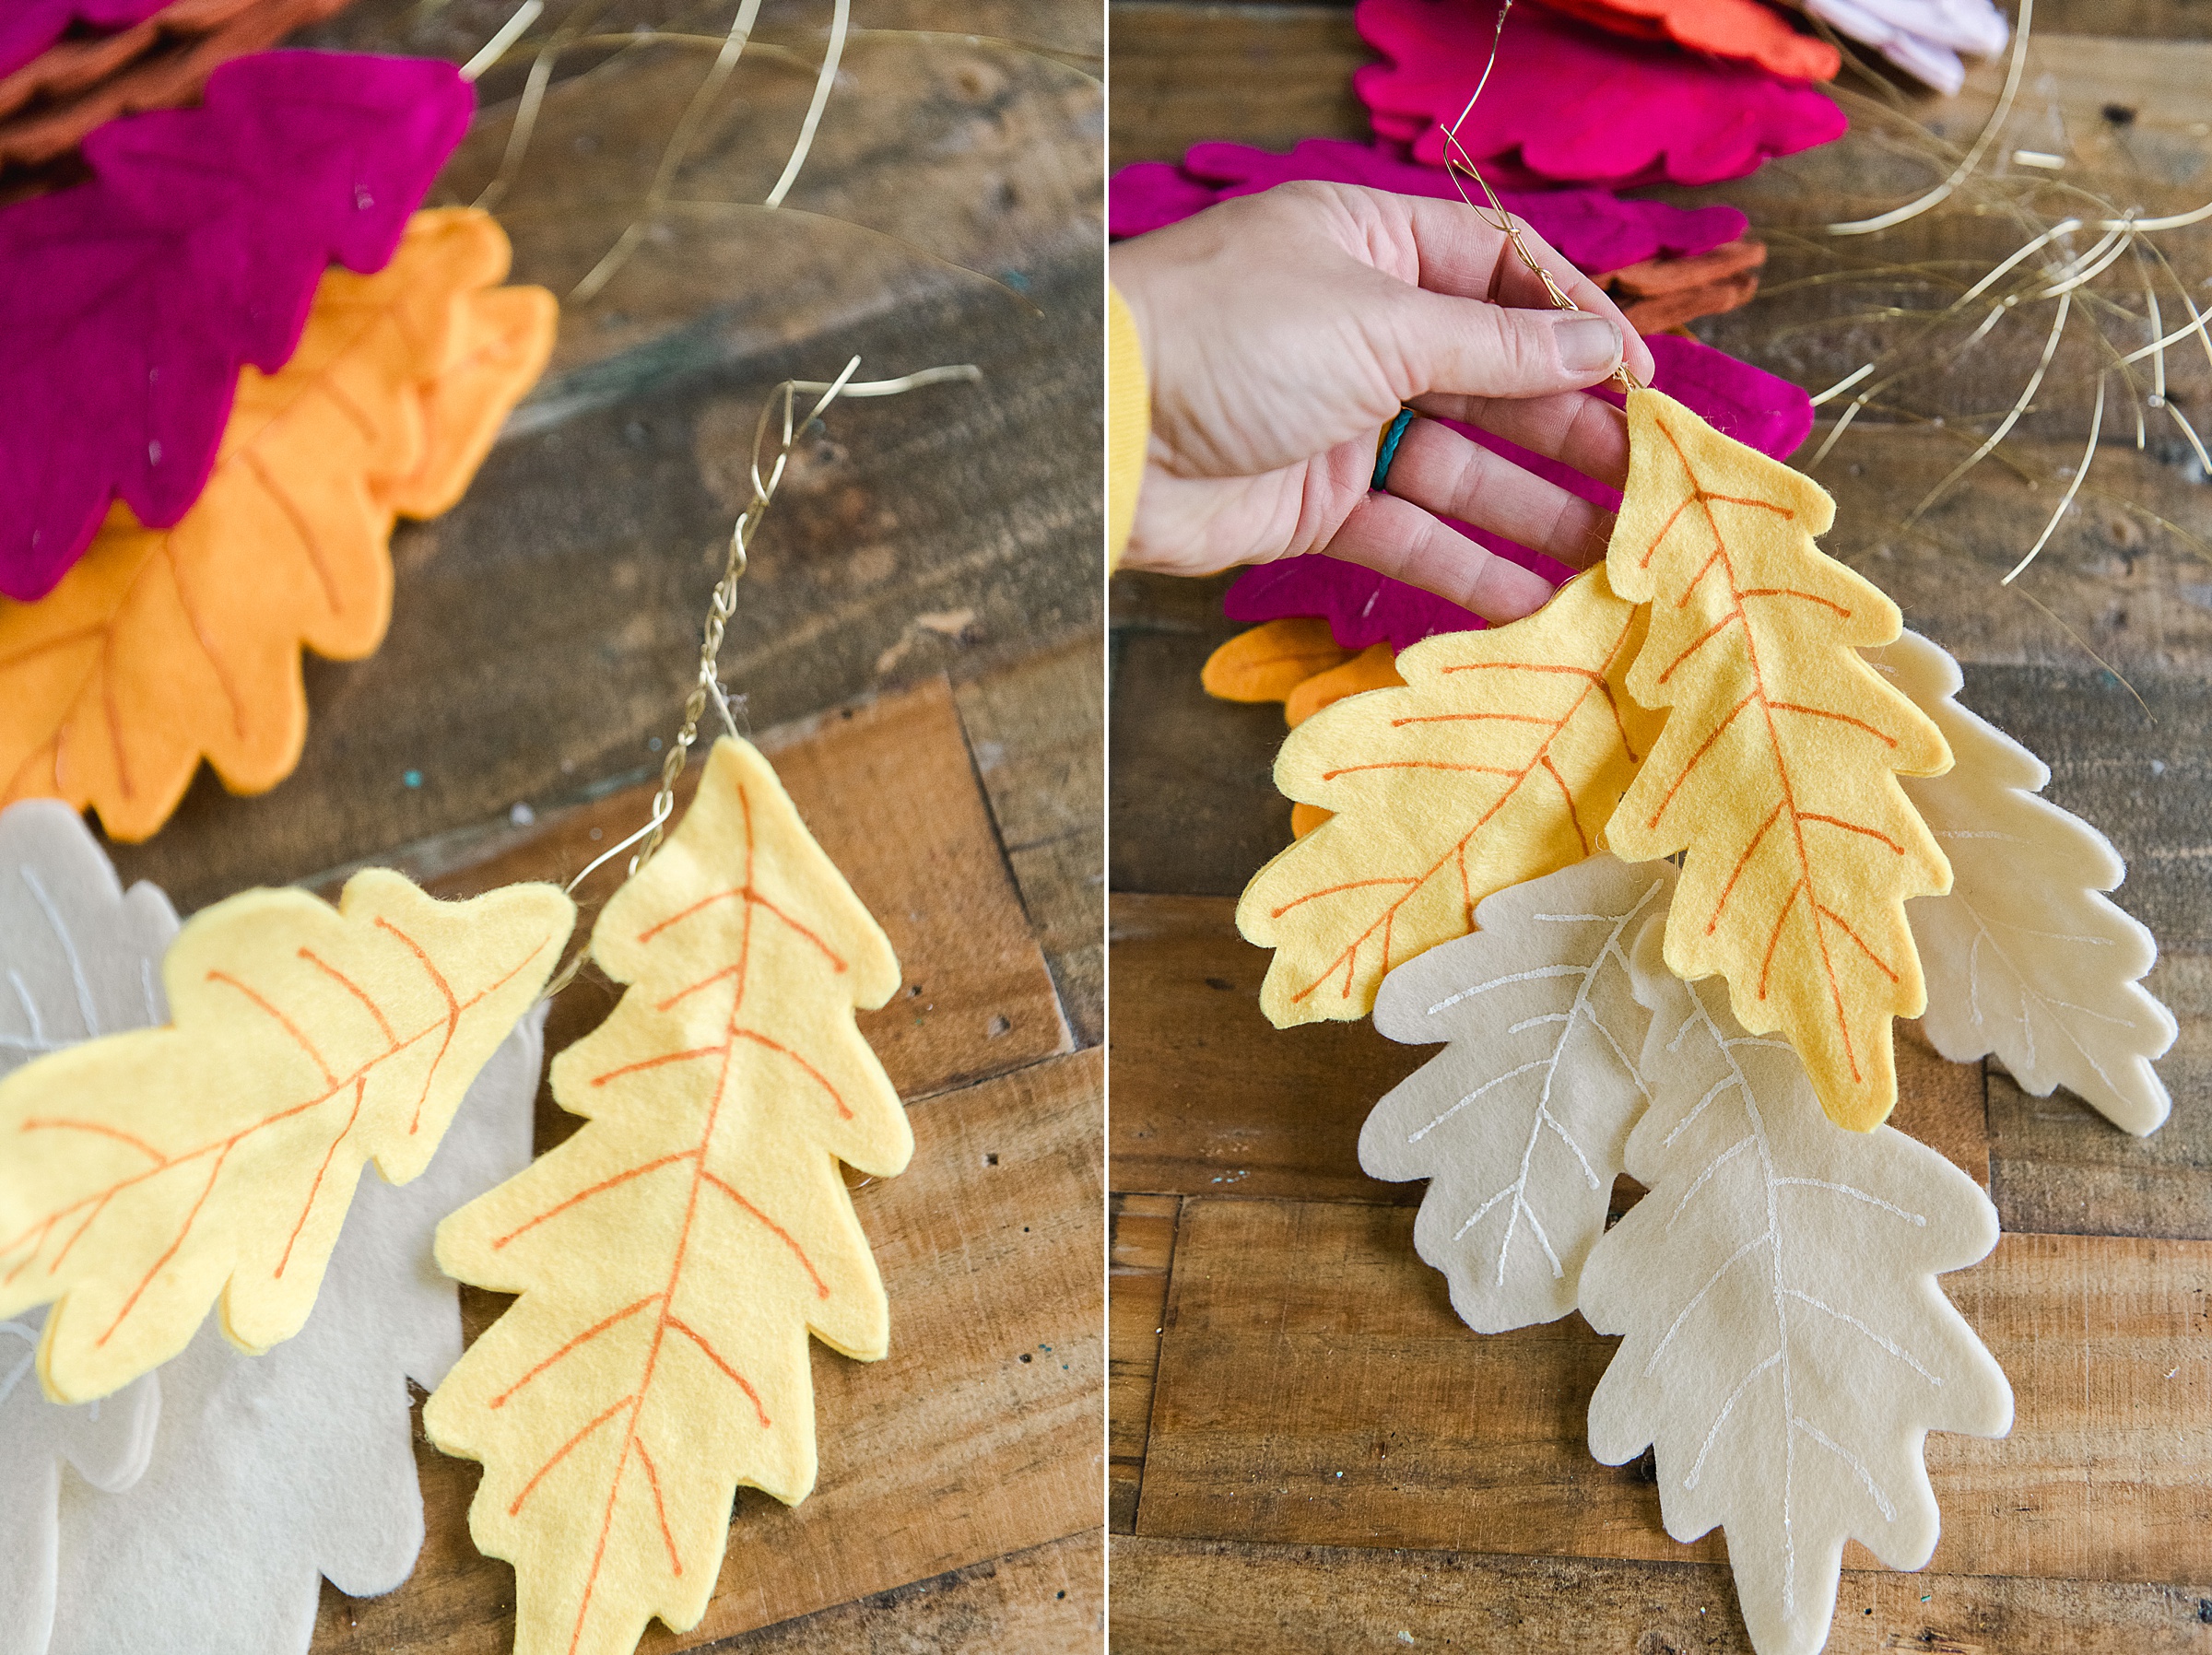
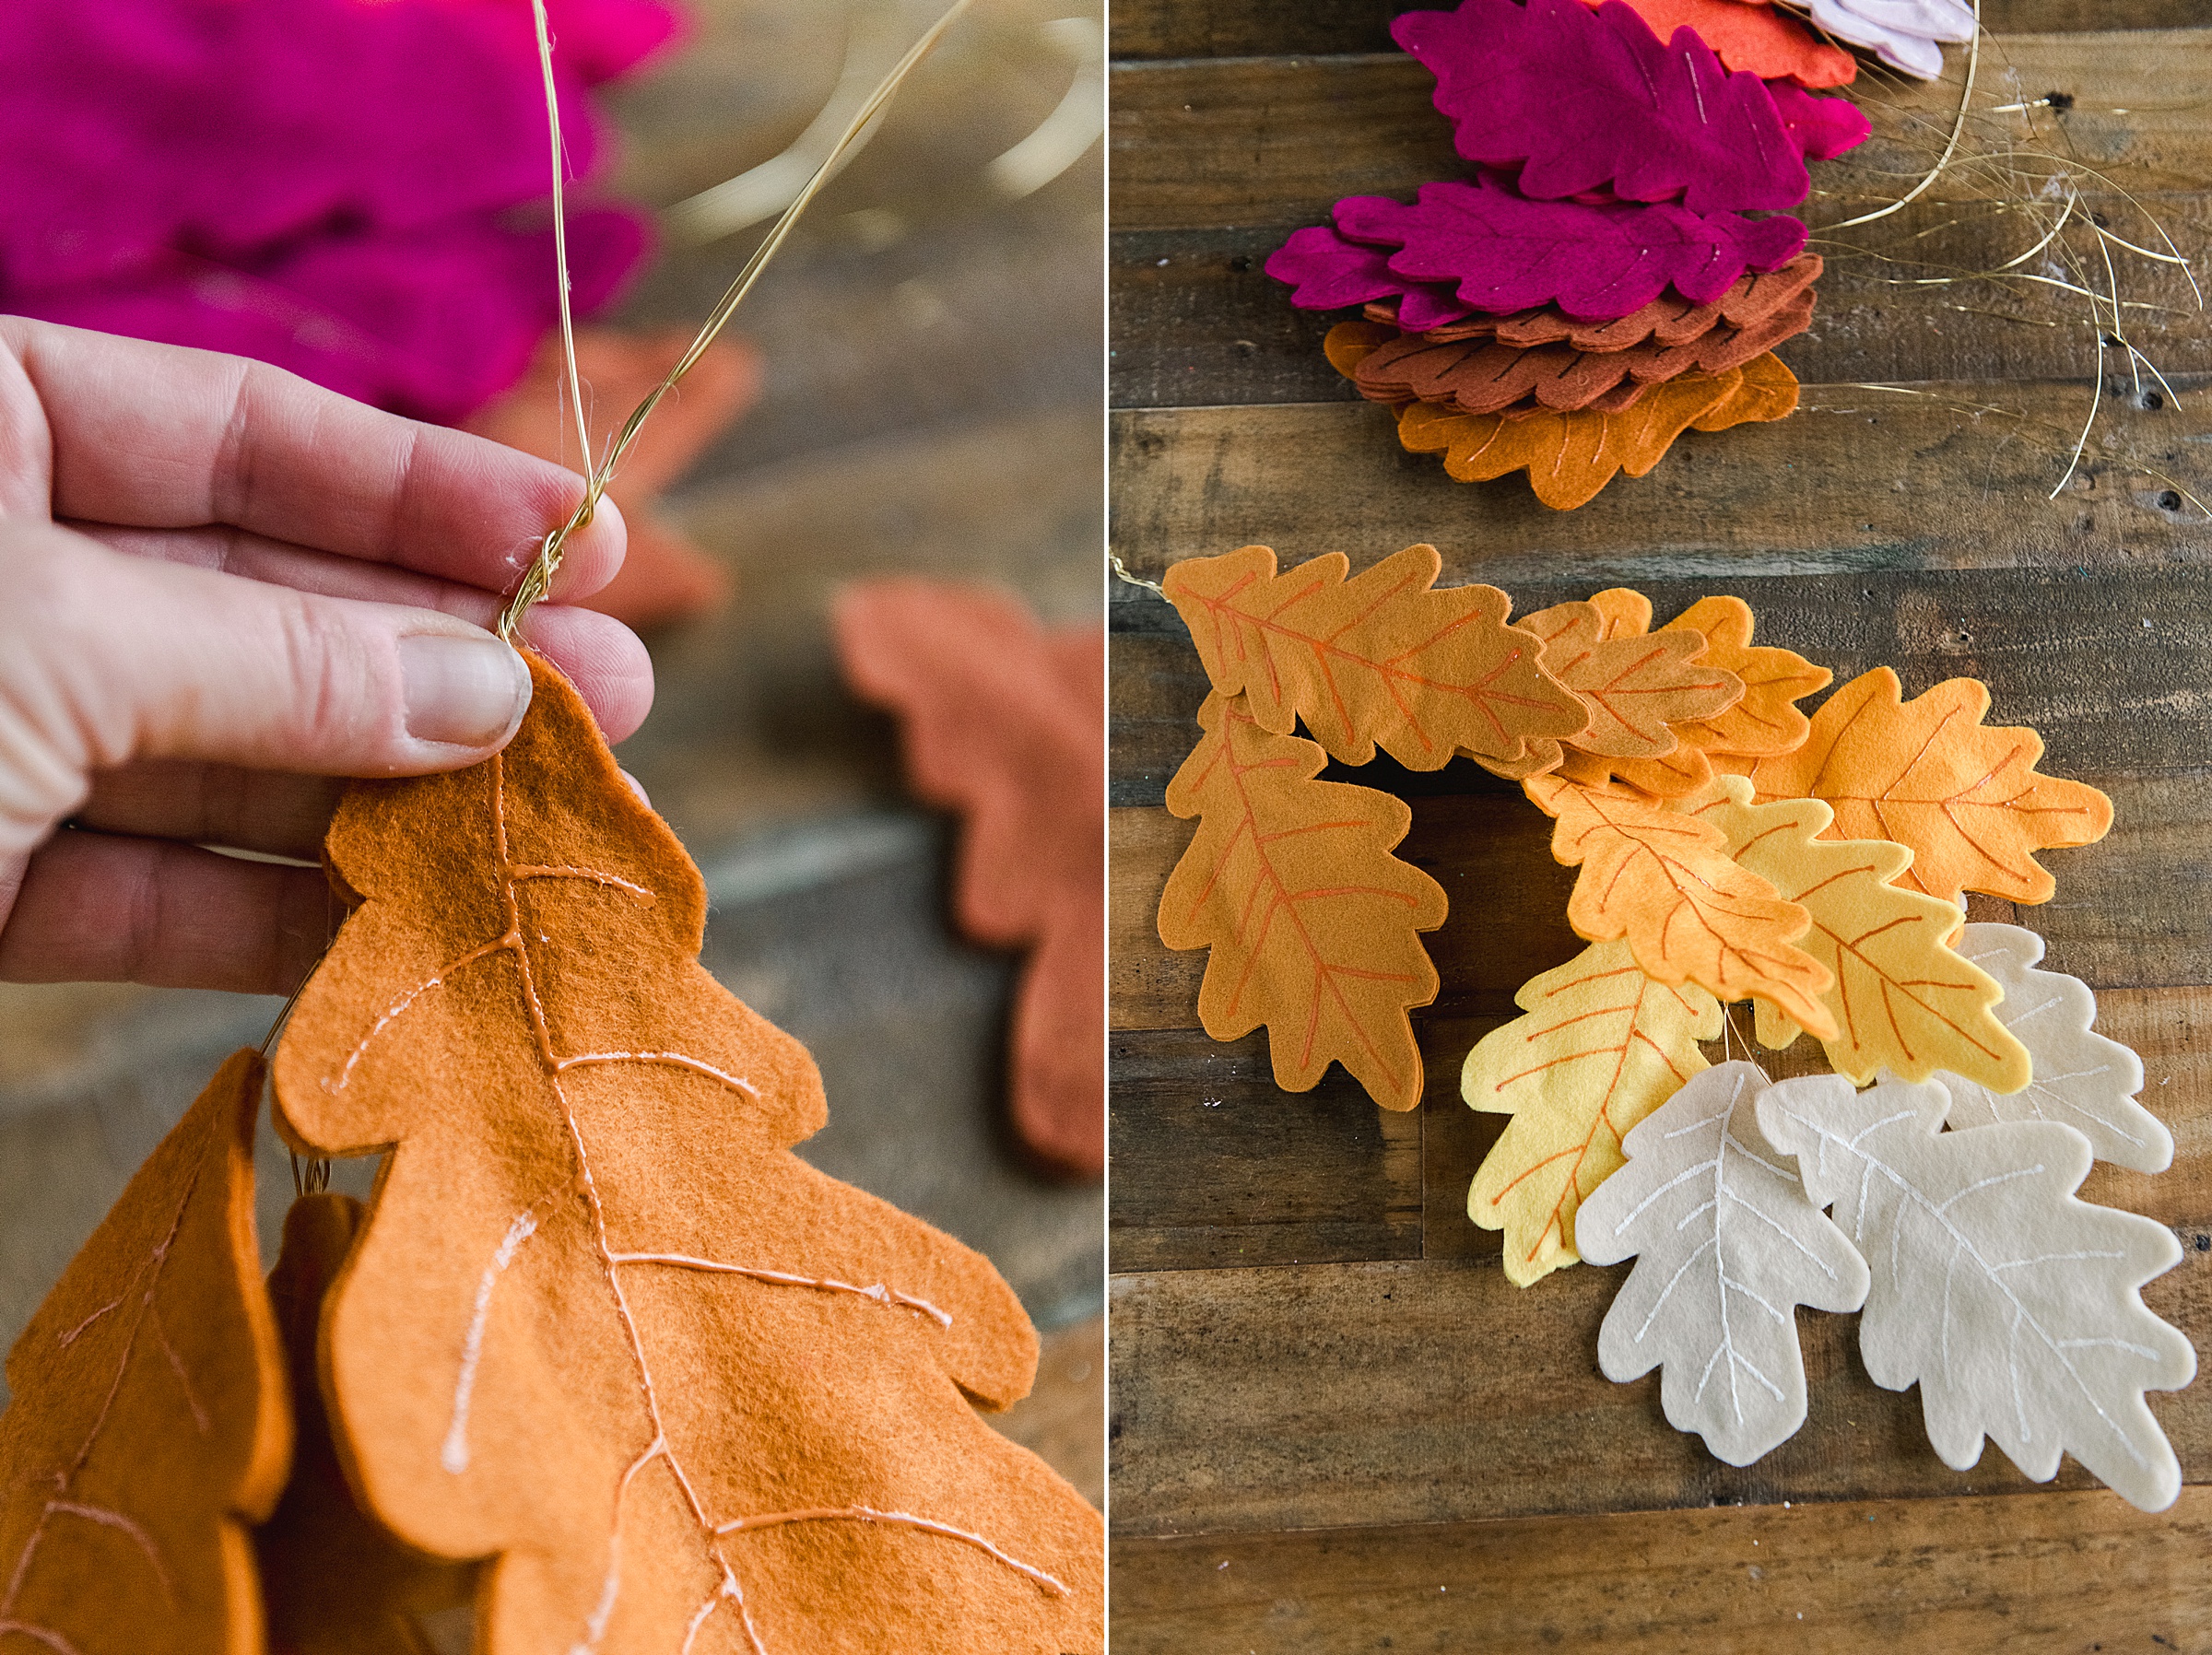
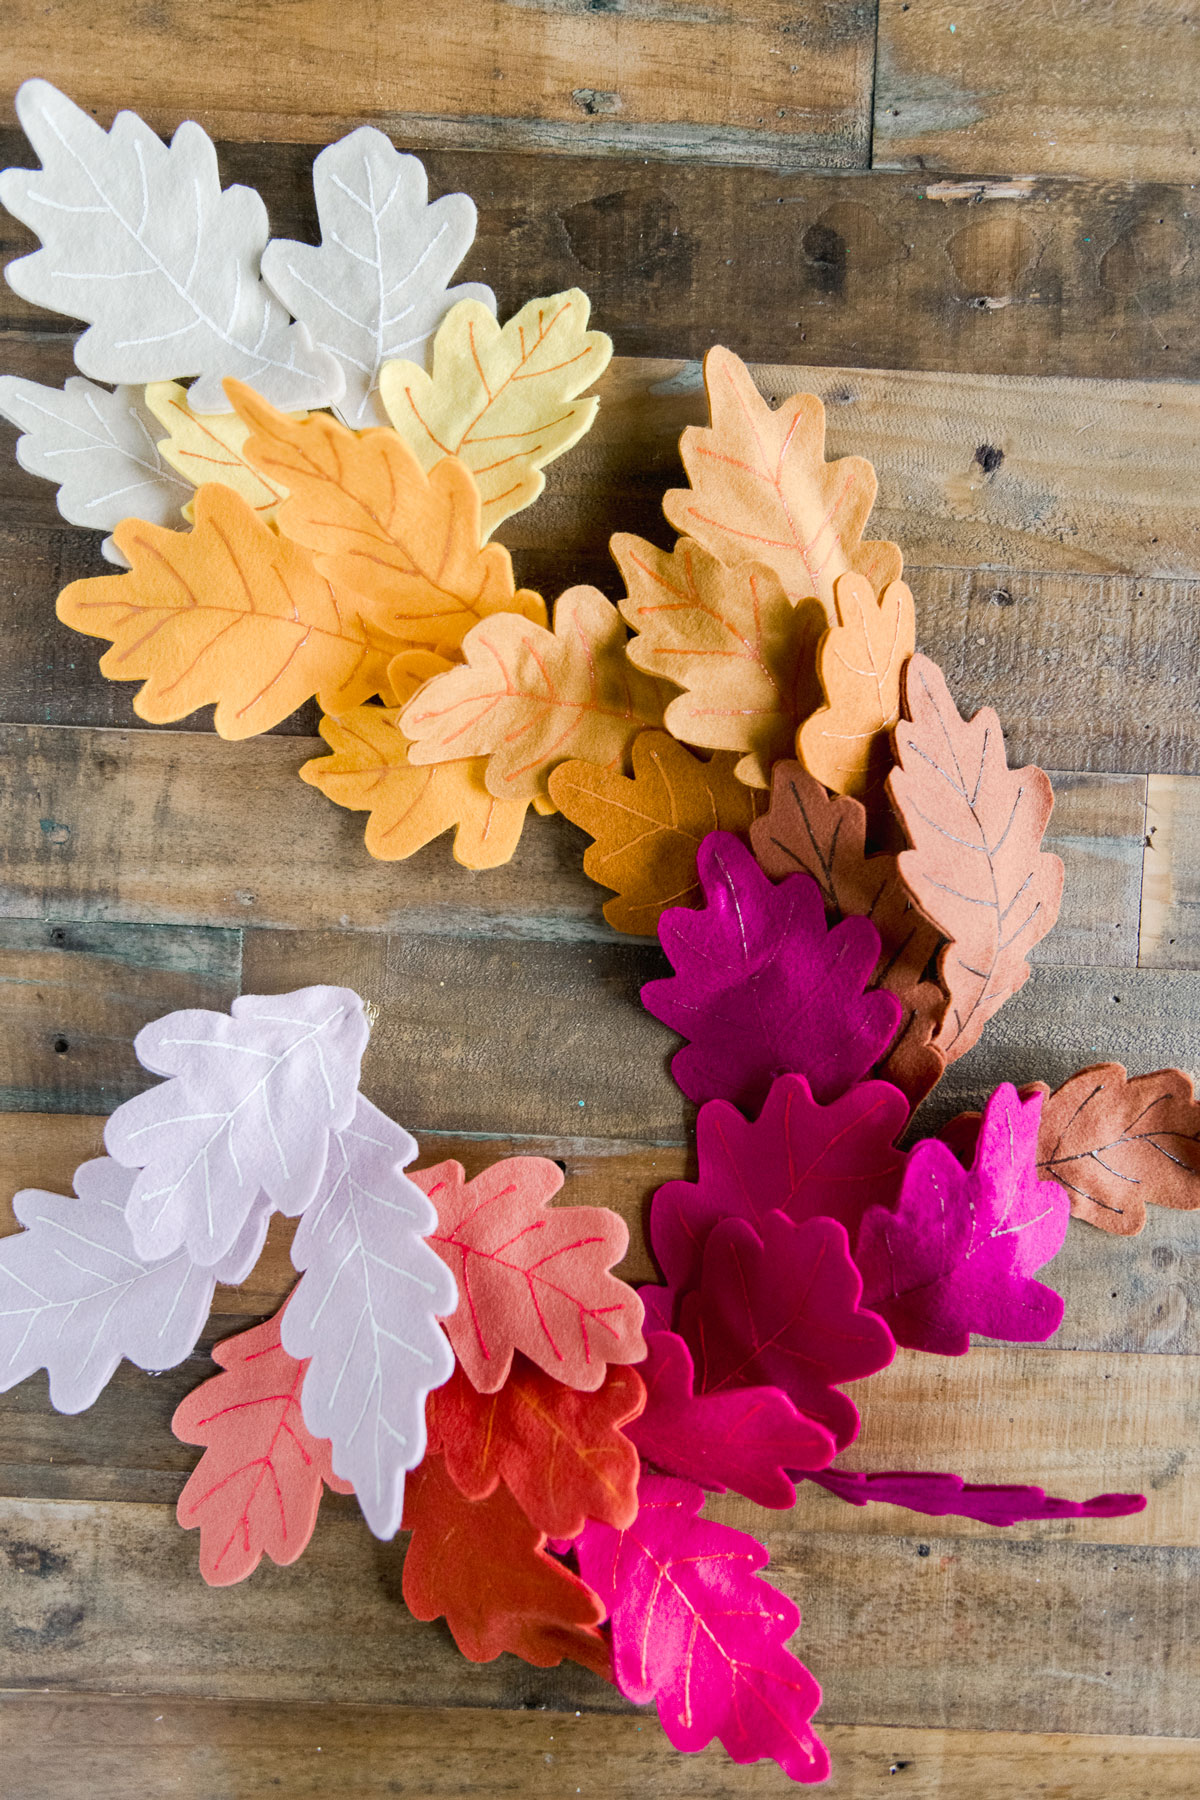
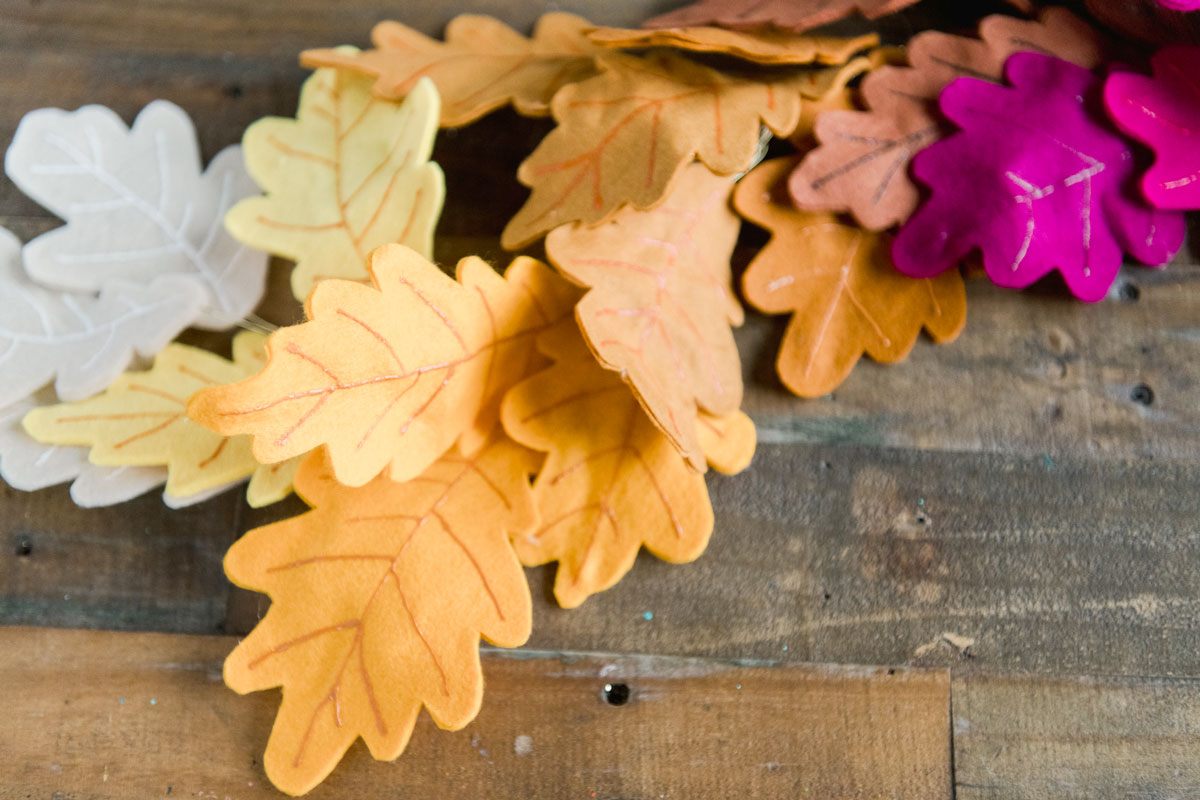
Then fluff up or move your leaves around and bend them where you want them to be (yay for the wire)! And now they are ready to display and love forever and ever! 🙂
