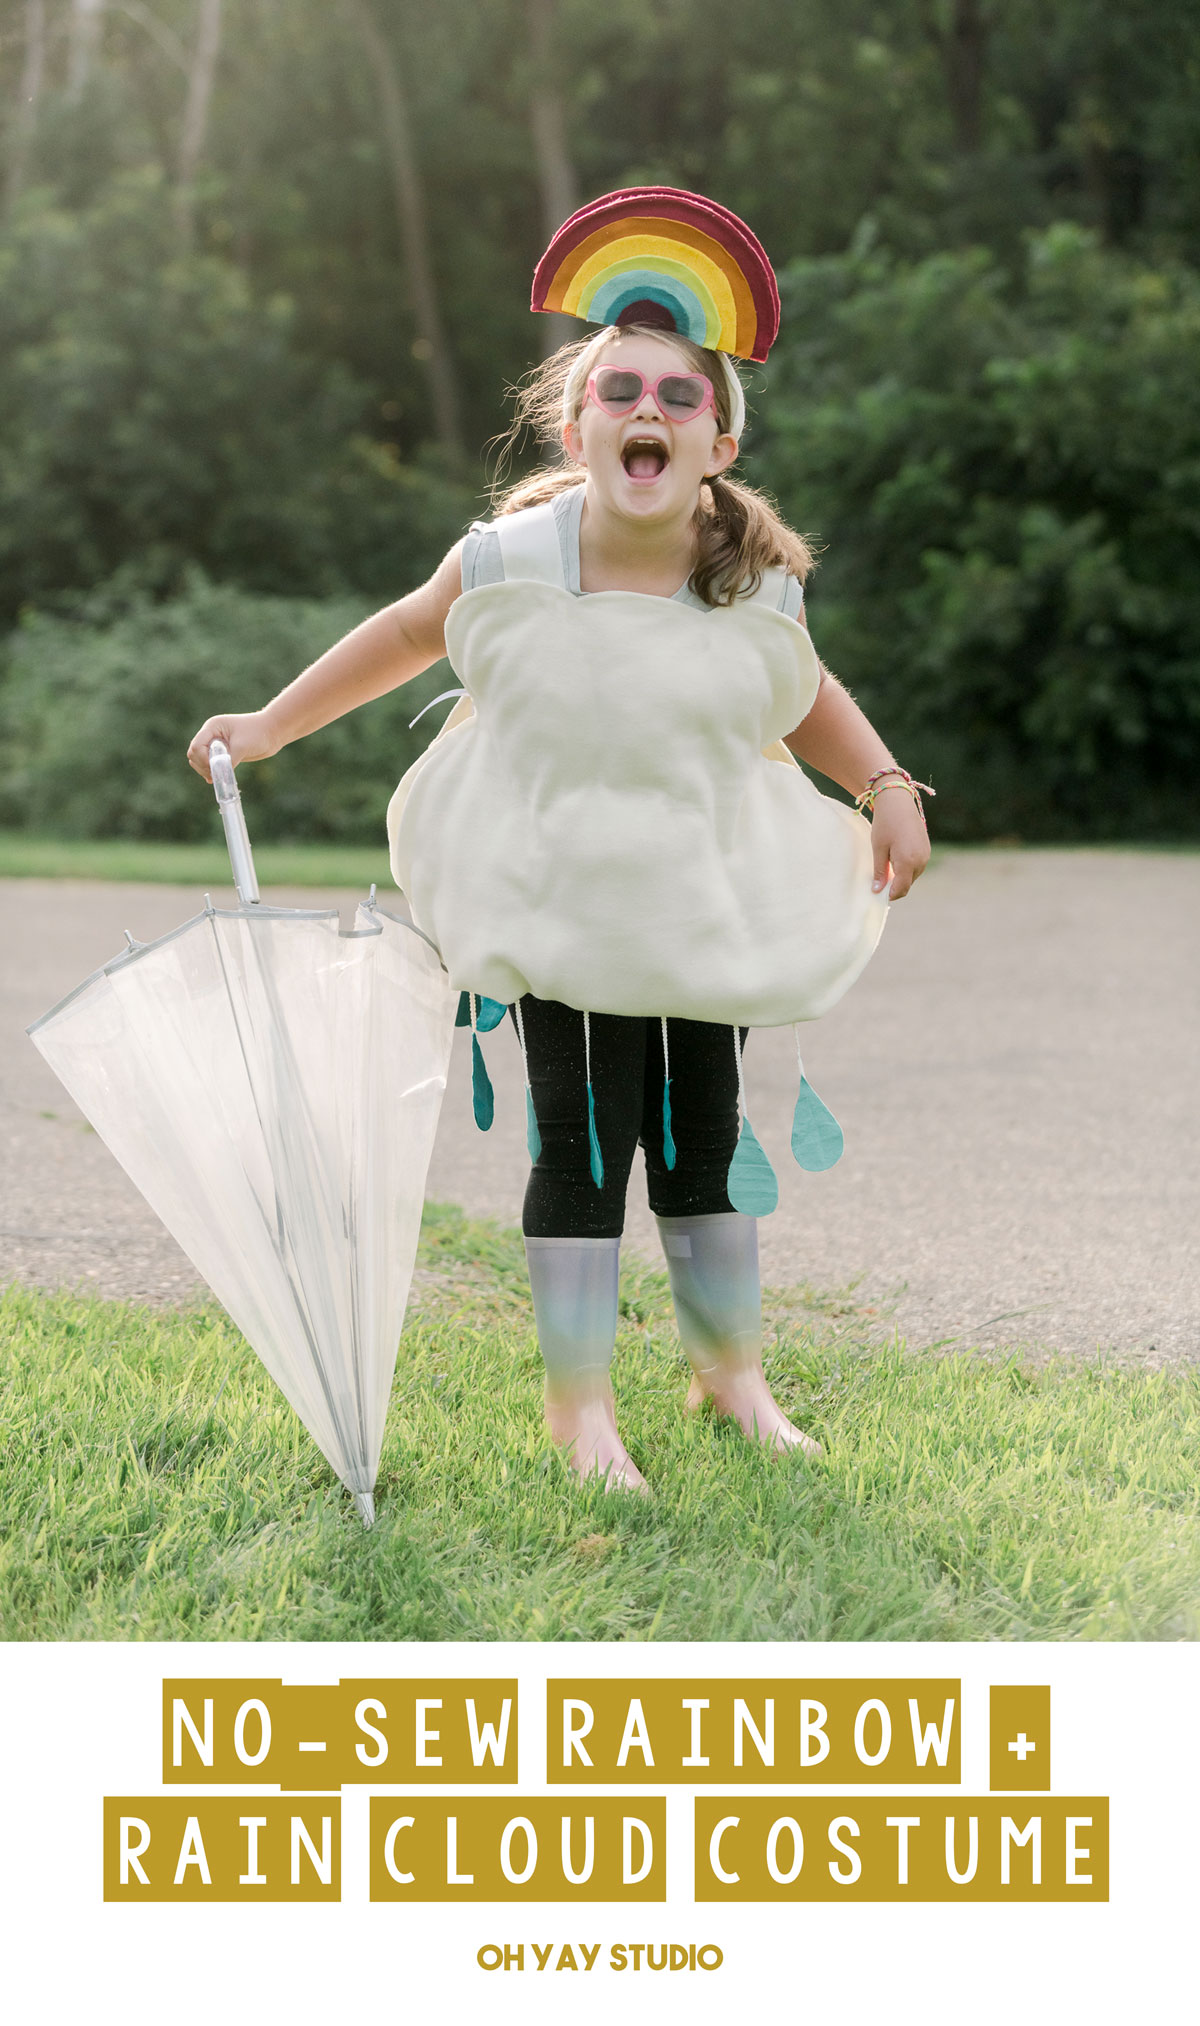
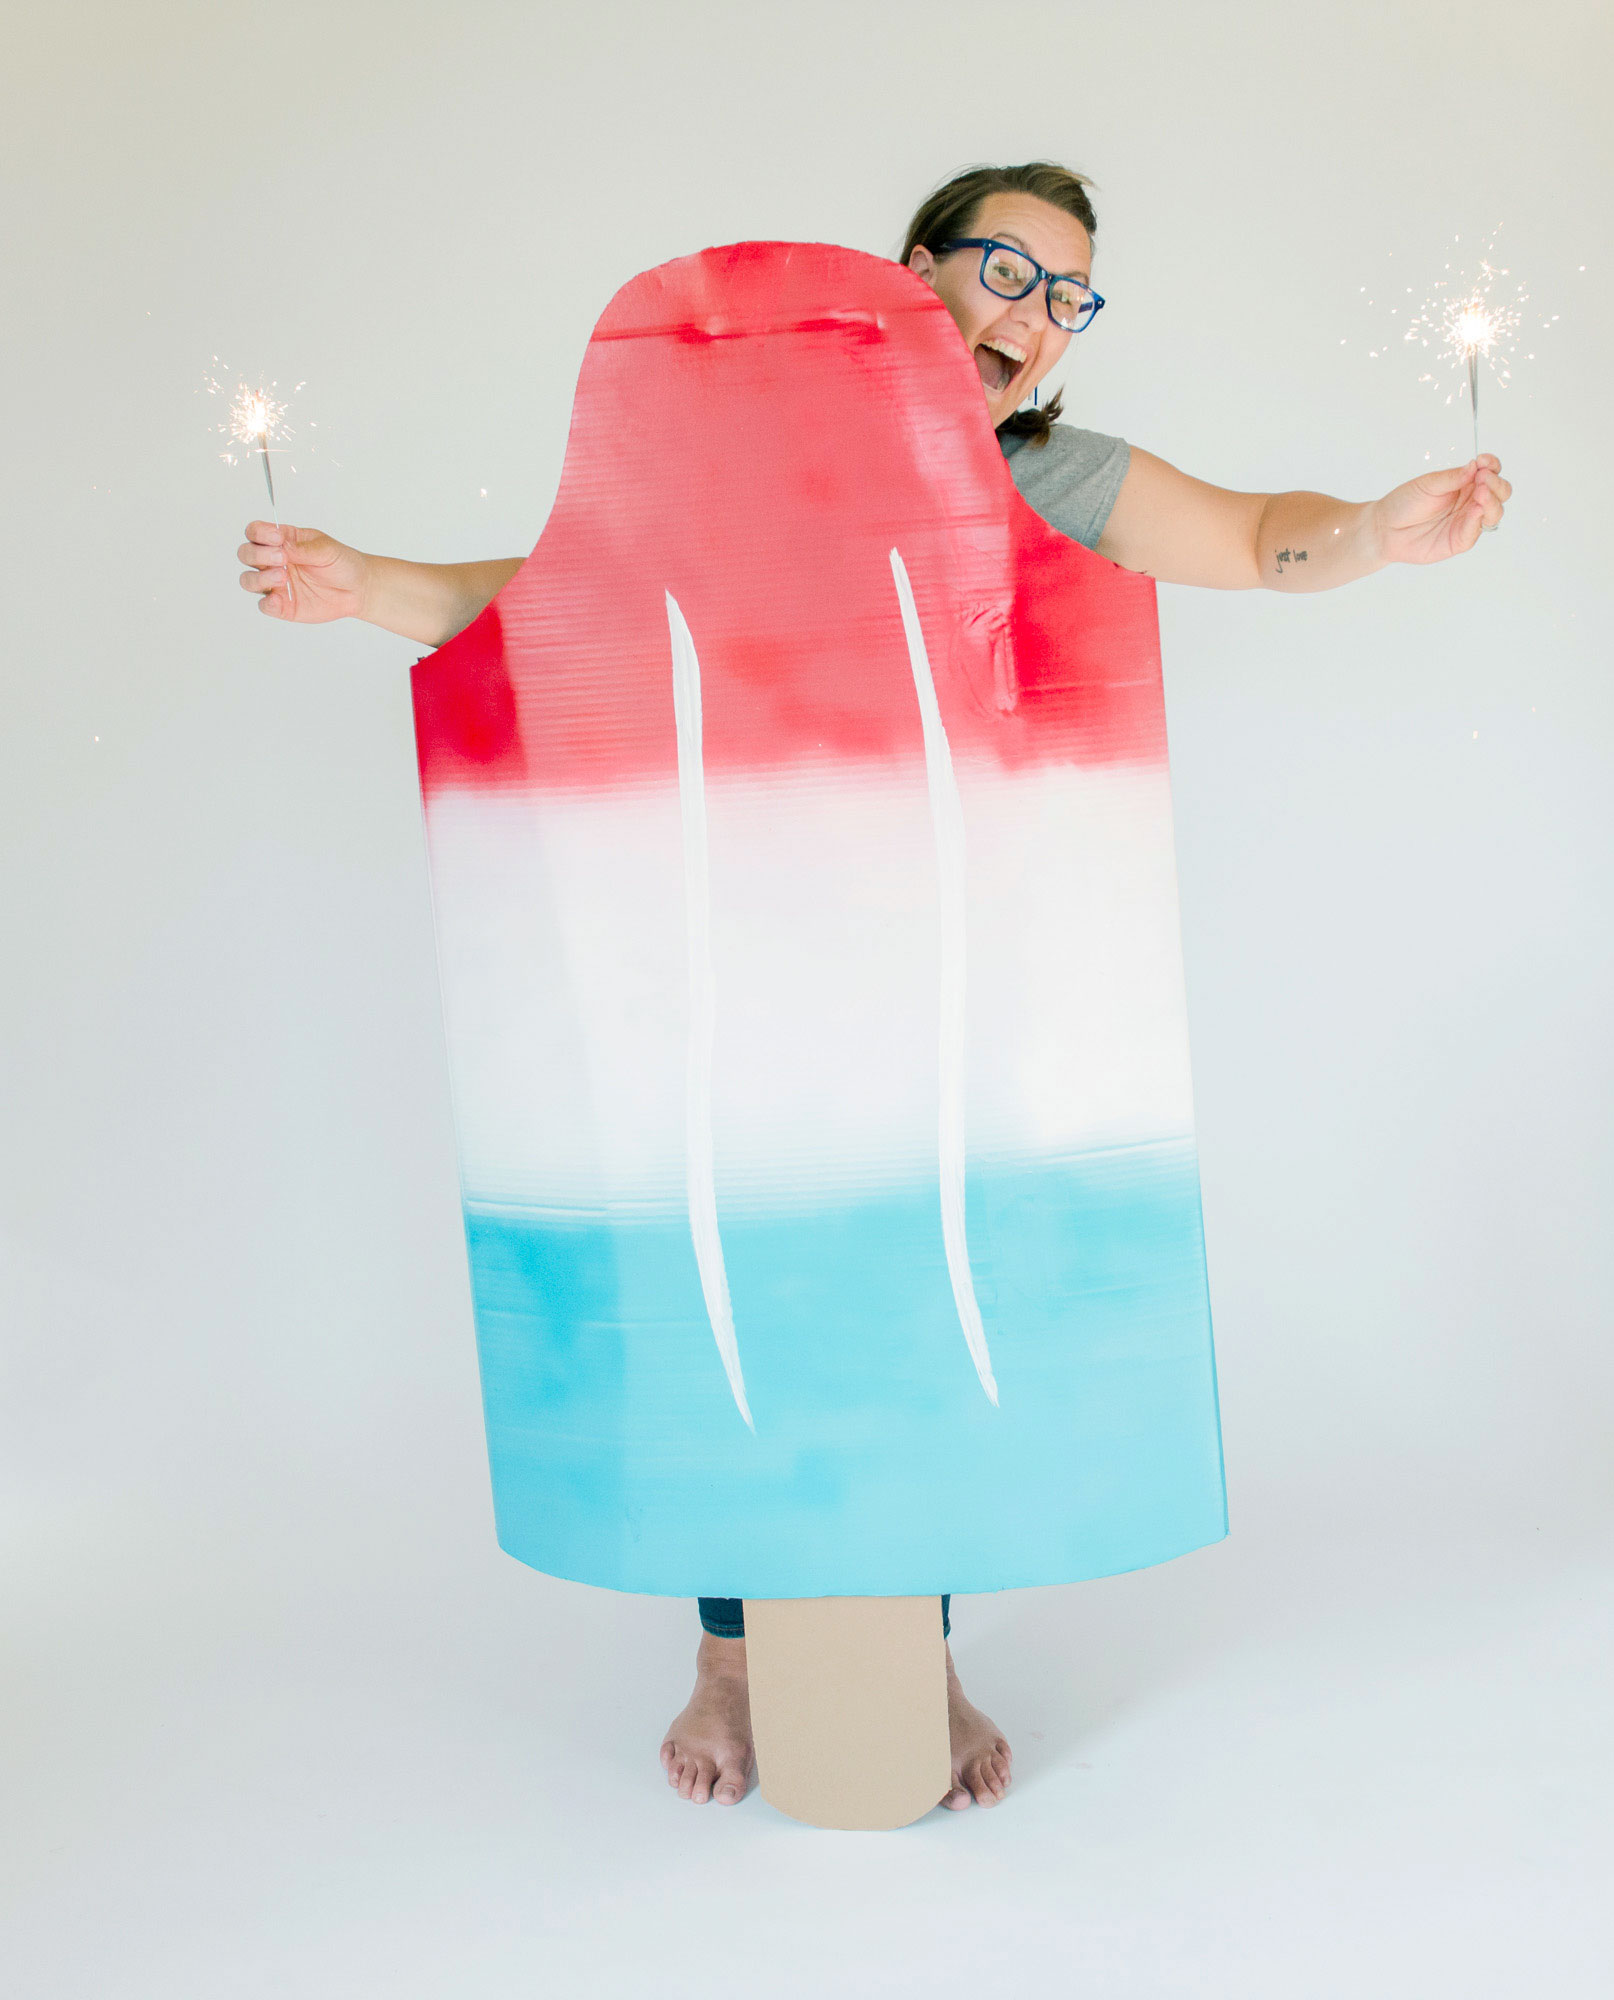
No Sew quick rainbow + raincloud costume!
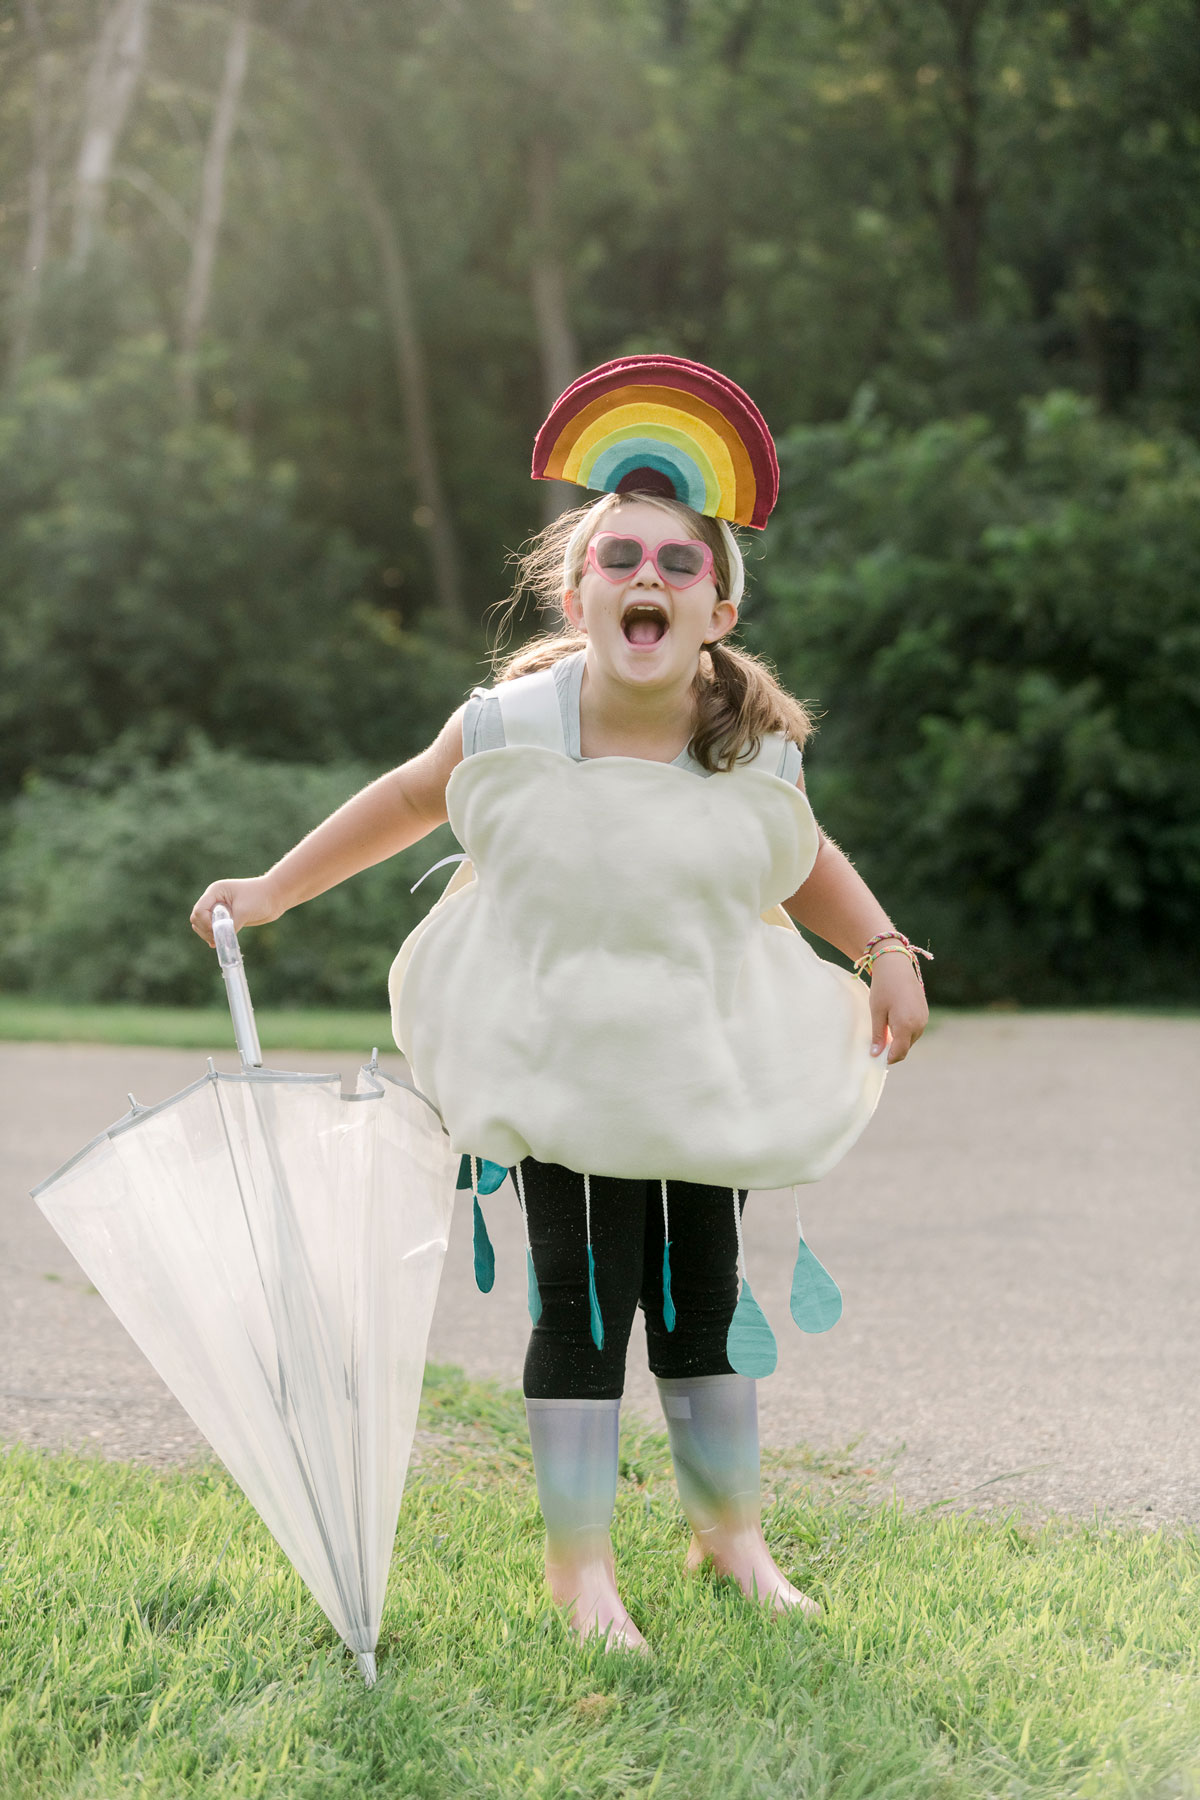
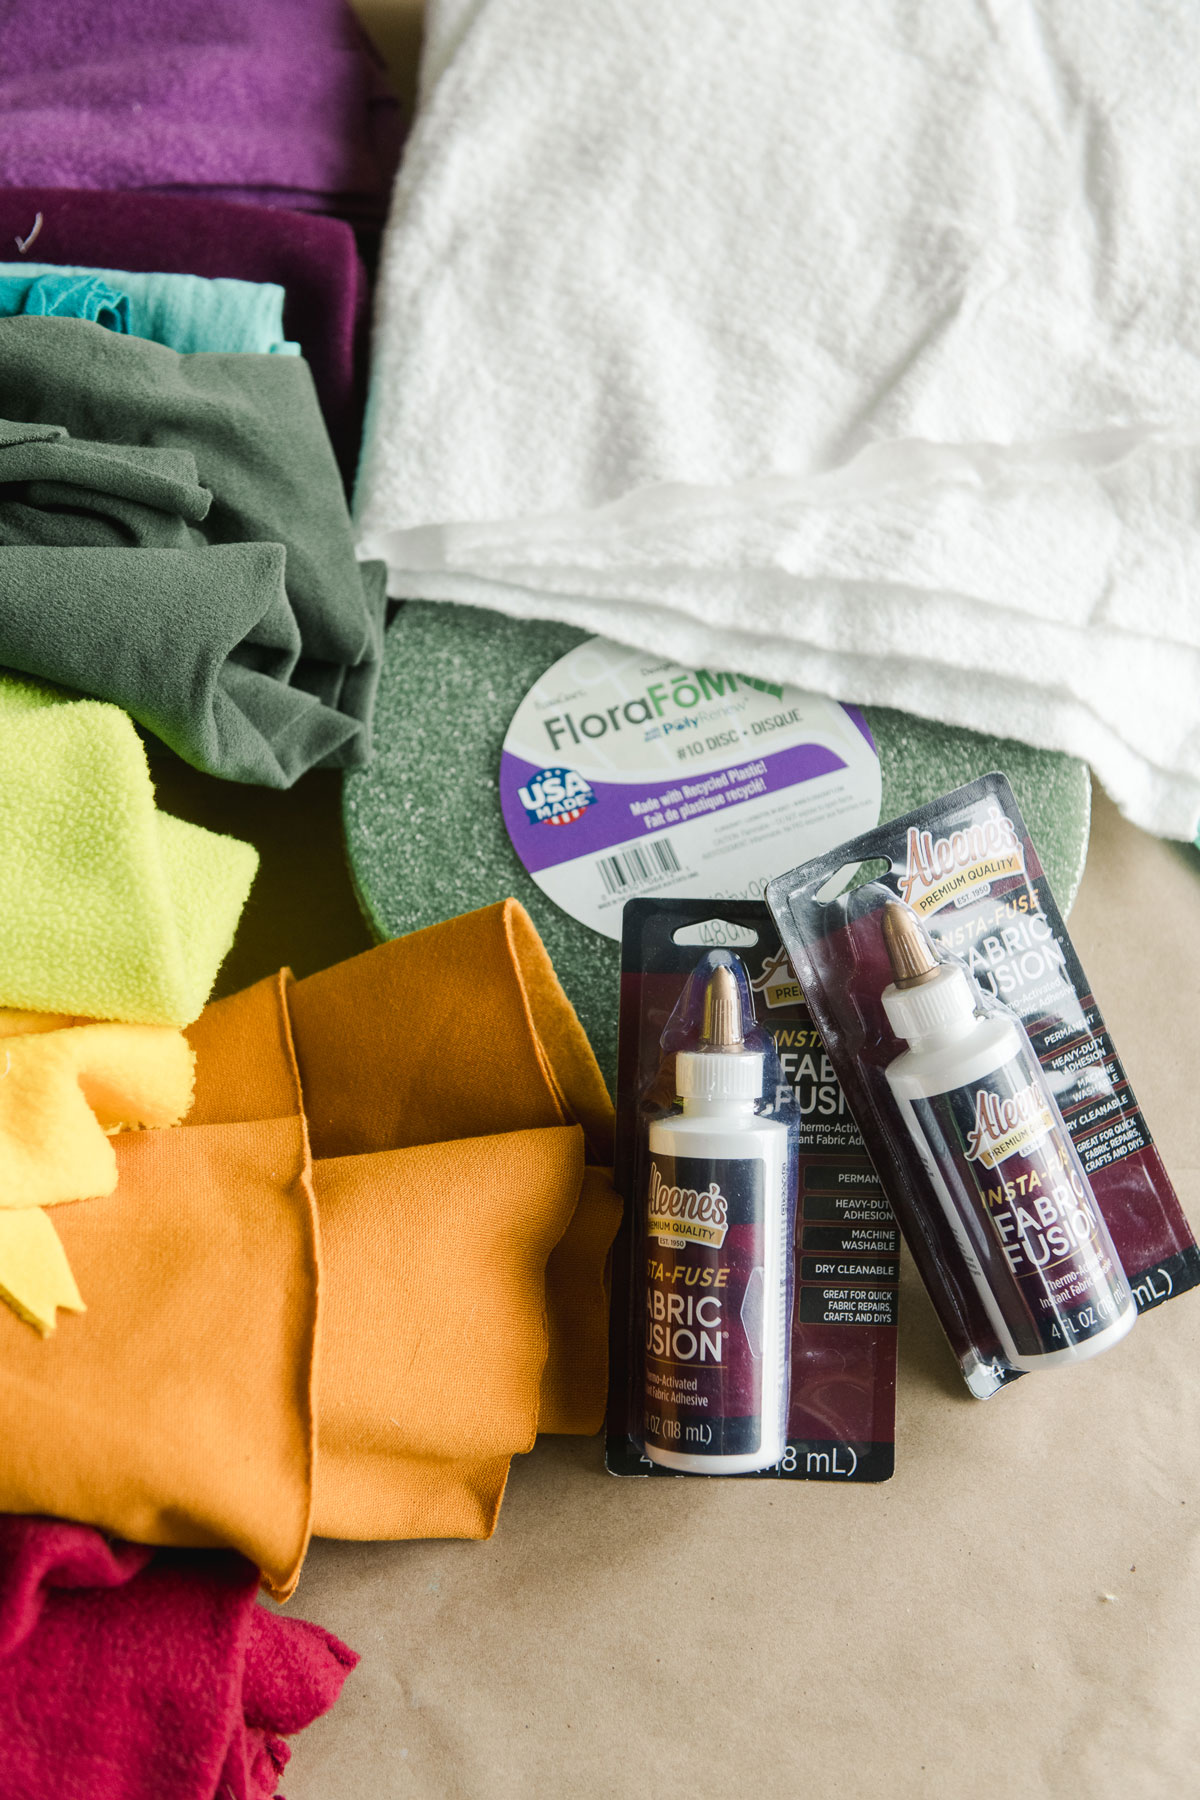
This rainbow and raincloud costume is the ultimate splash of color for a quick last minute, no-sew Halloween costume for you OR your kids this Halloween season! I mean, heck, you could even make this idea into a family costume with multiple different kinds of precipation falling from the cloud 🙂
Either way, this costume only took a good afternoon to put together with some fleece, felt, and a bottle of the brand new Aleene’s Insta Fuse Fabric Fusion glue!
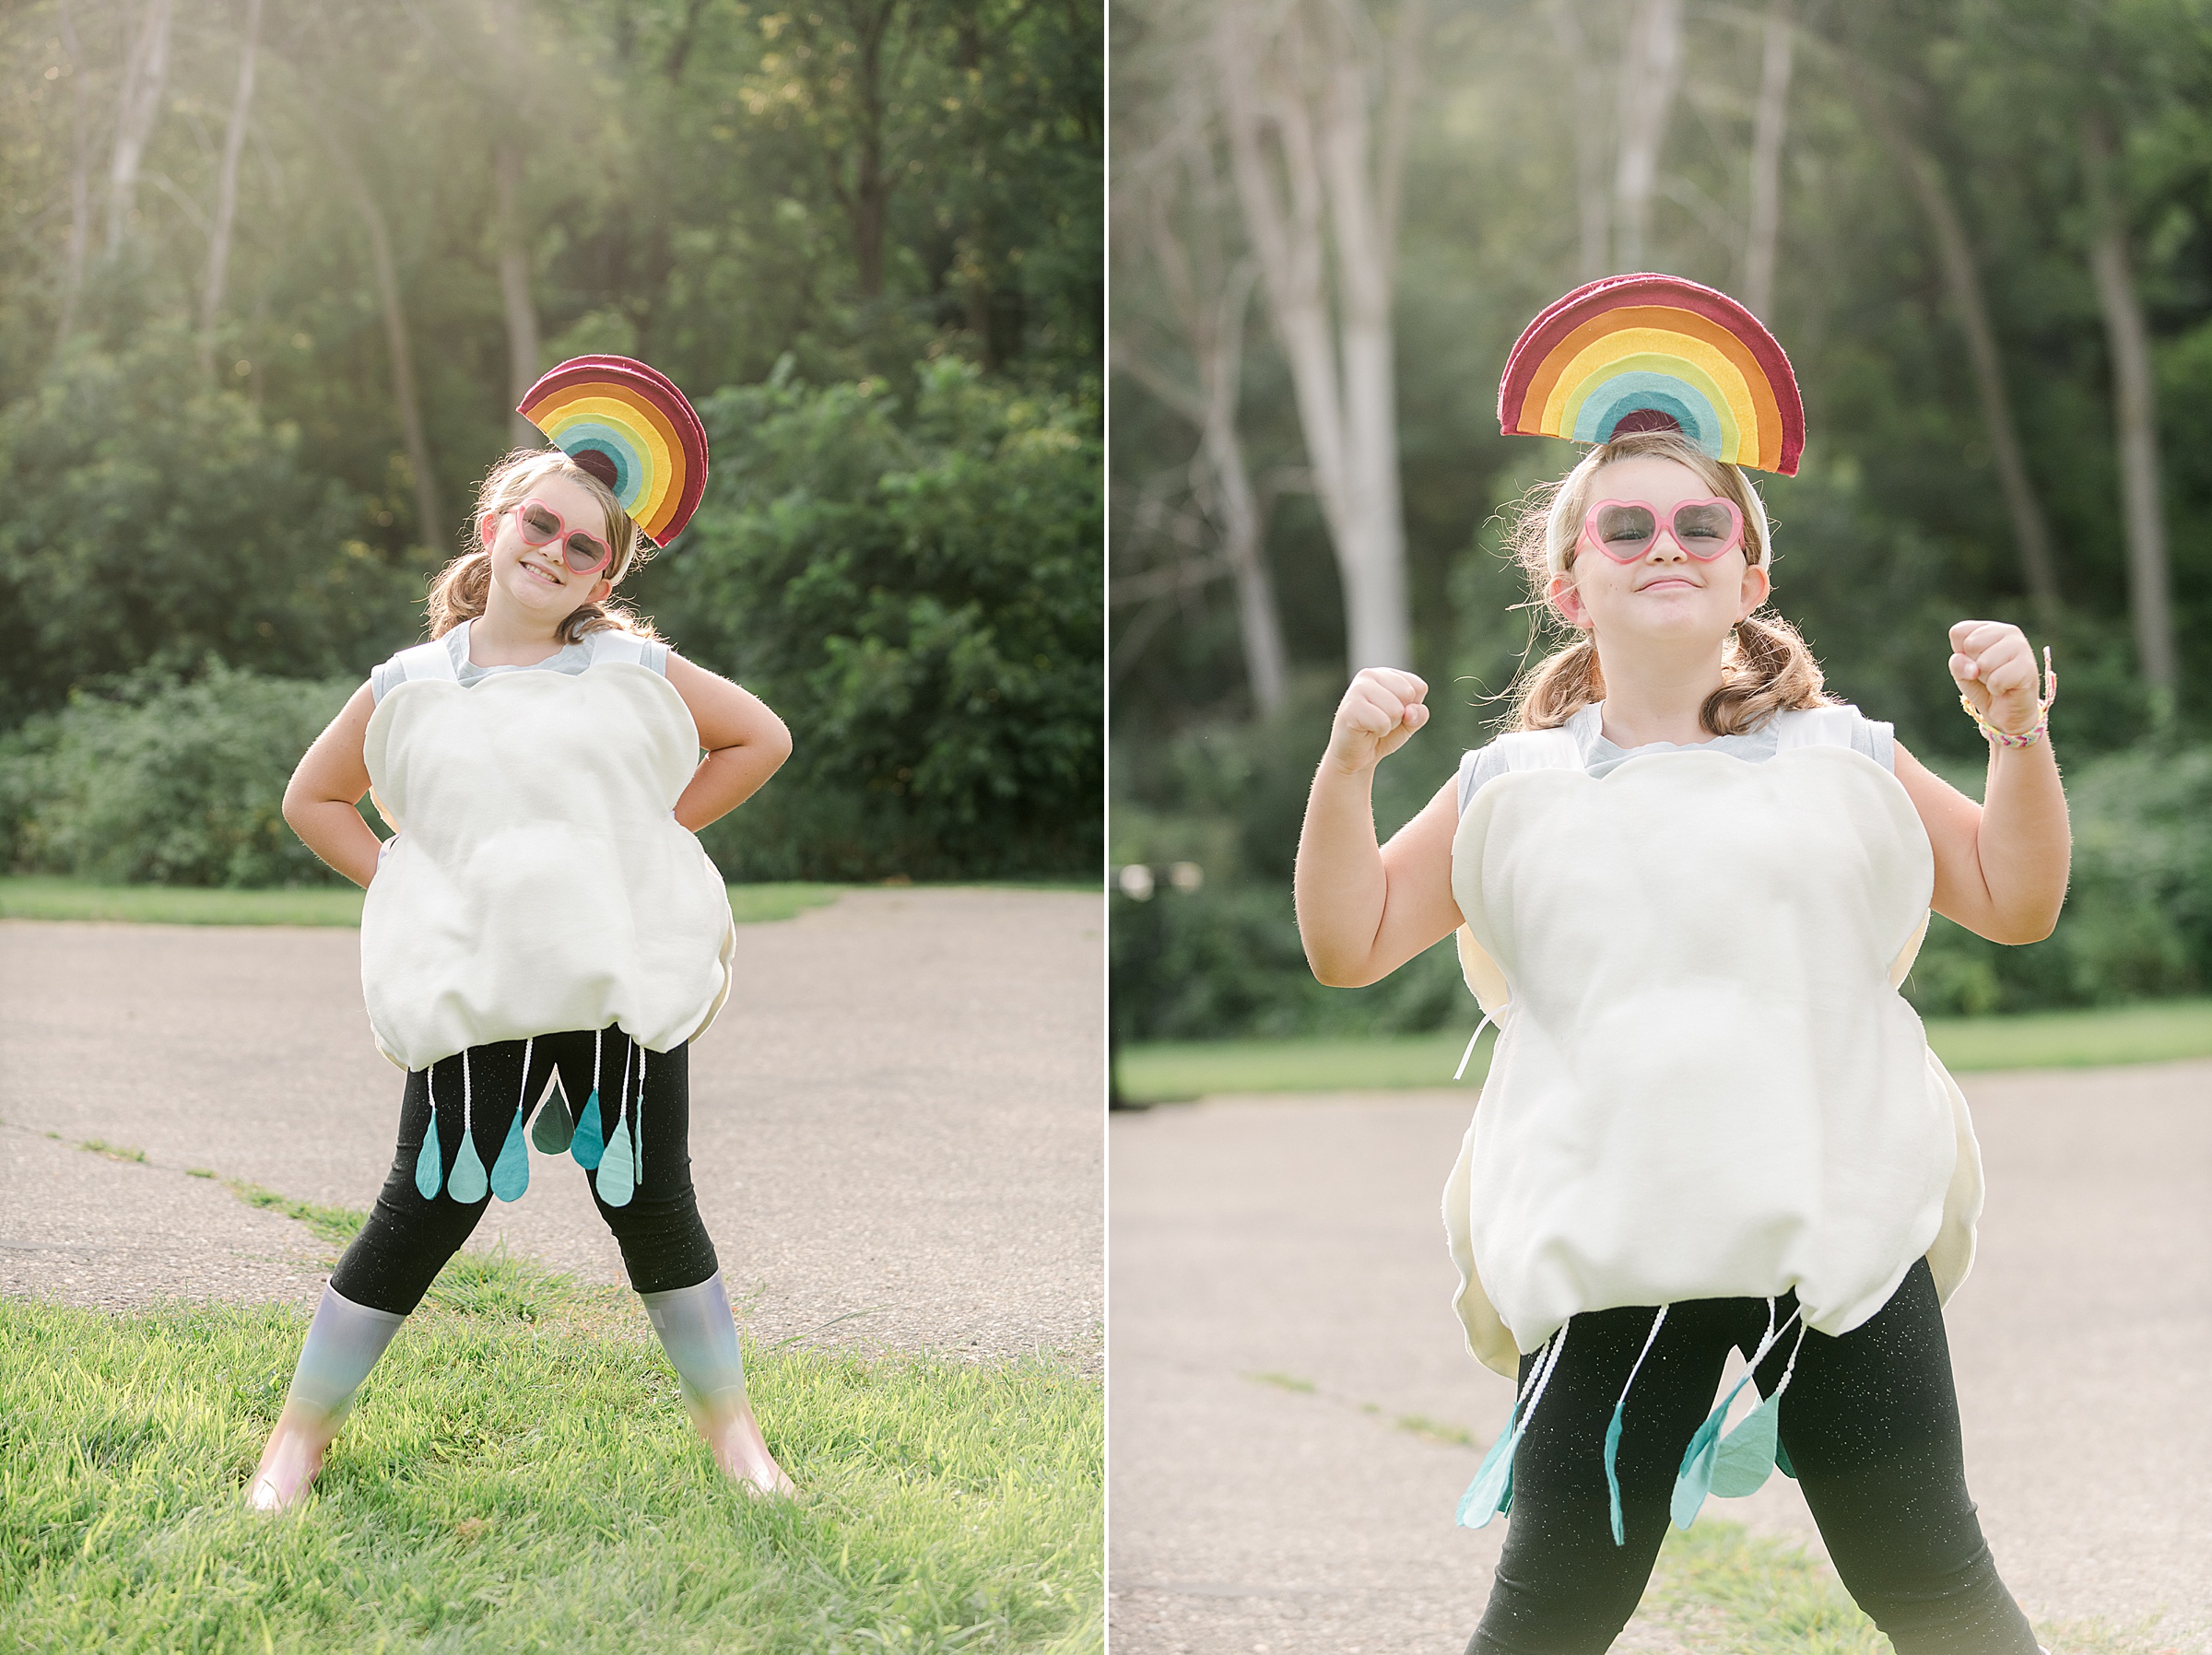
MATERIALS:
- Some white or grey fleece for the cloud body – about 1 1/2 yard (or 2-3 yards if you’re making this for an adult)
- Sharp scissors
- A bottle of the *BRAND NEW* and amazing Aleene’s Insta Fuse Fabric Fusion glue (this is the KEY to making this project no-sew)
- An iron + ironing board
- Some poly-fil, batting or fluff to make the cloud more fluffy 🙂
- Ribbon for straps (I used 2.5” thick)
- Thinner blue ribbon for the streaming raindrops
- Blue fleece, cotton or wool-felt for the raindrops
- A 10” foam disk (from the floral section at the craft store)
- Rainbow colors for the rainbow headband – make sure it’s fleece, wool-felt or cotton 🙂
- A headband
INSTRUCTIONS:
1. Cut out your cloud + straps
Measure your body and cut out your cloud. You will use 1 long folded piece for the front and one for the back (the cloud part of the costume is essentially a “sandwich board” over the shoulders). Cut the width of your white fabric in 1/2 so that you have 2 long strips (one for the front and one for the back…the short side will go across your shoulders). Then fold each piece in 1/2 width wise….you can hold this up to your body and make sure the fold is at the bottom.
You can draw the cloud shape out directly onto the fabric before cutting if desired (you will cut all 3 sides besides the bottom folded portion). I made sure to cut in bigger, circular motions so that I could make the fluffy-cloud “pockets” to stuff for Esther’s body 🙂
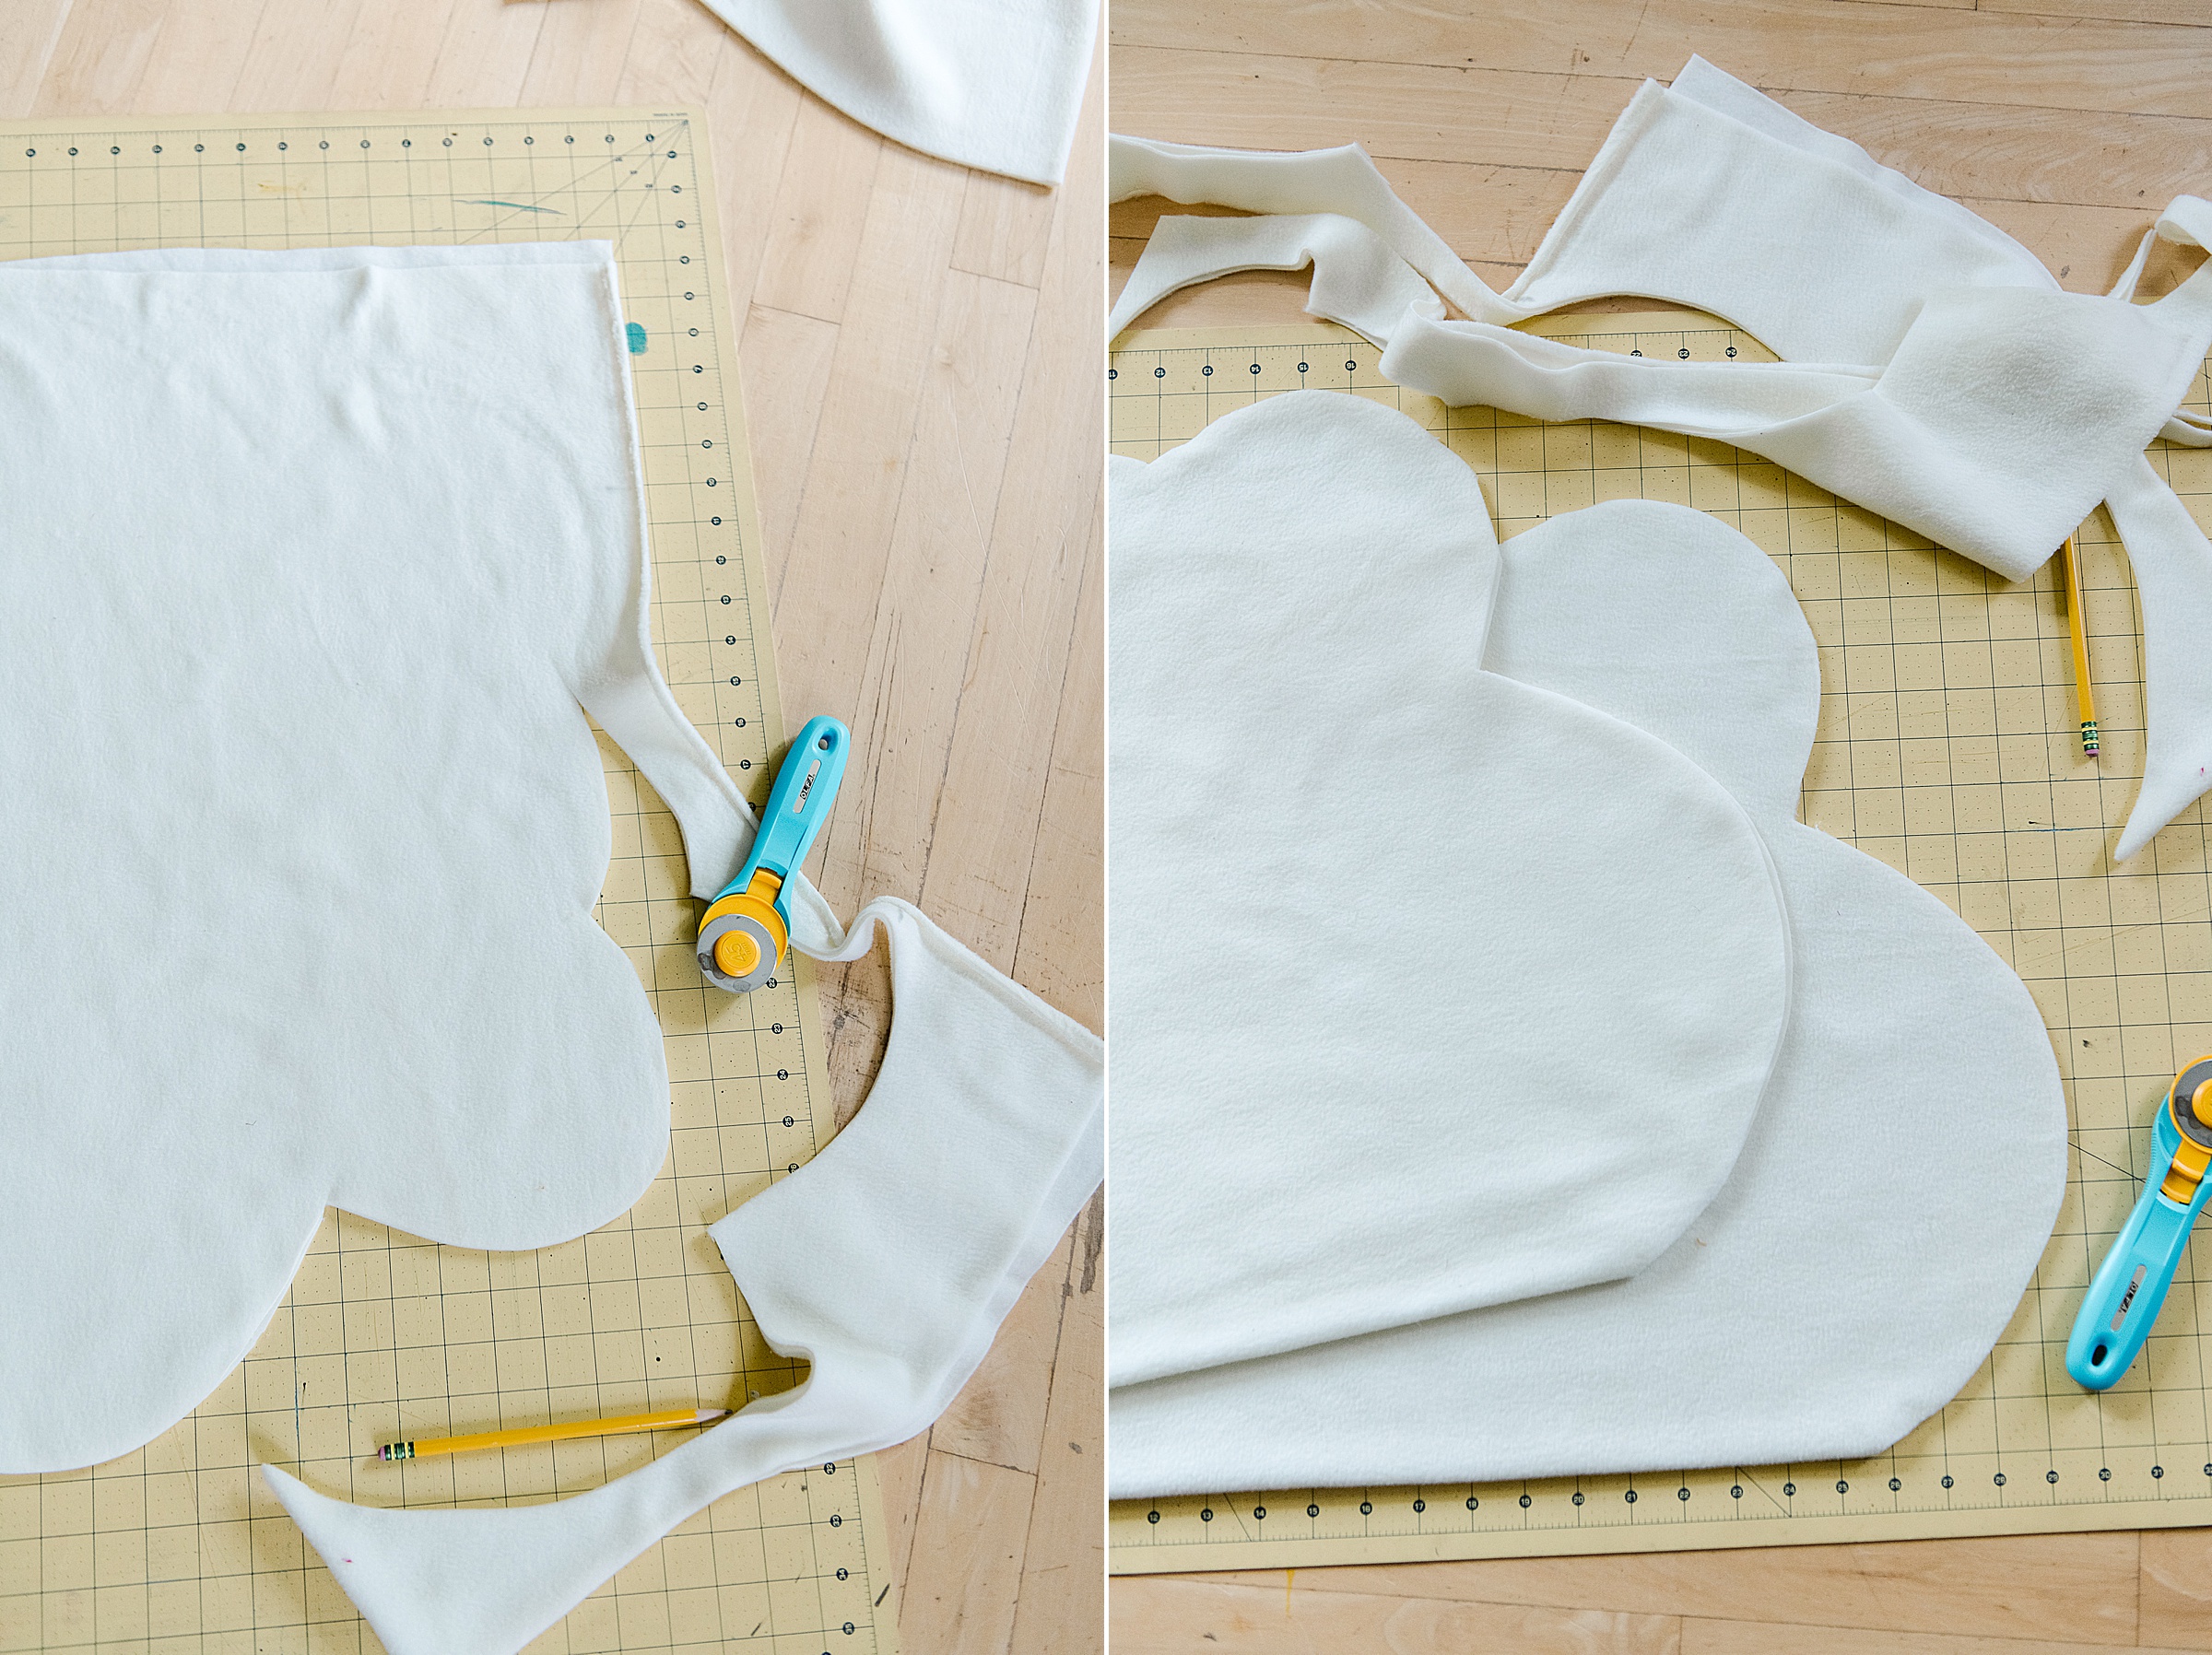
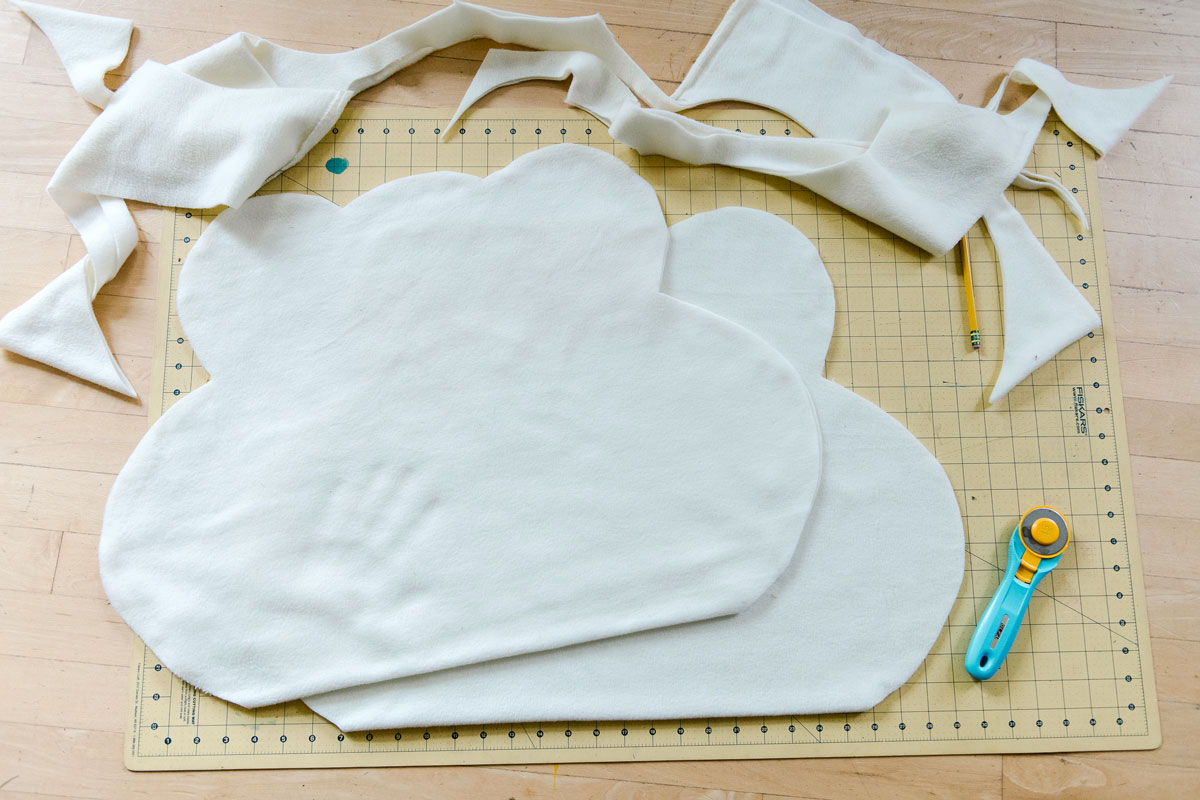
You will also want to measure and cut the over-the-shoulder straps and some tie straps for the side of the body. I cut 2 of the shoulder straps about 15” and 4 of the side straps about 8” long 🙂
2. Glue Cloud together
Prep how you want to glue your cloud together by either visually making marks with a pencil or with your fingers of how you want the semi-circles or “blobs” to be for the cloud 🙂 This just adds dimension to the cloud form.
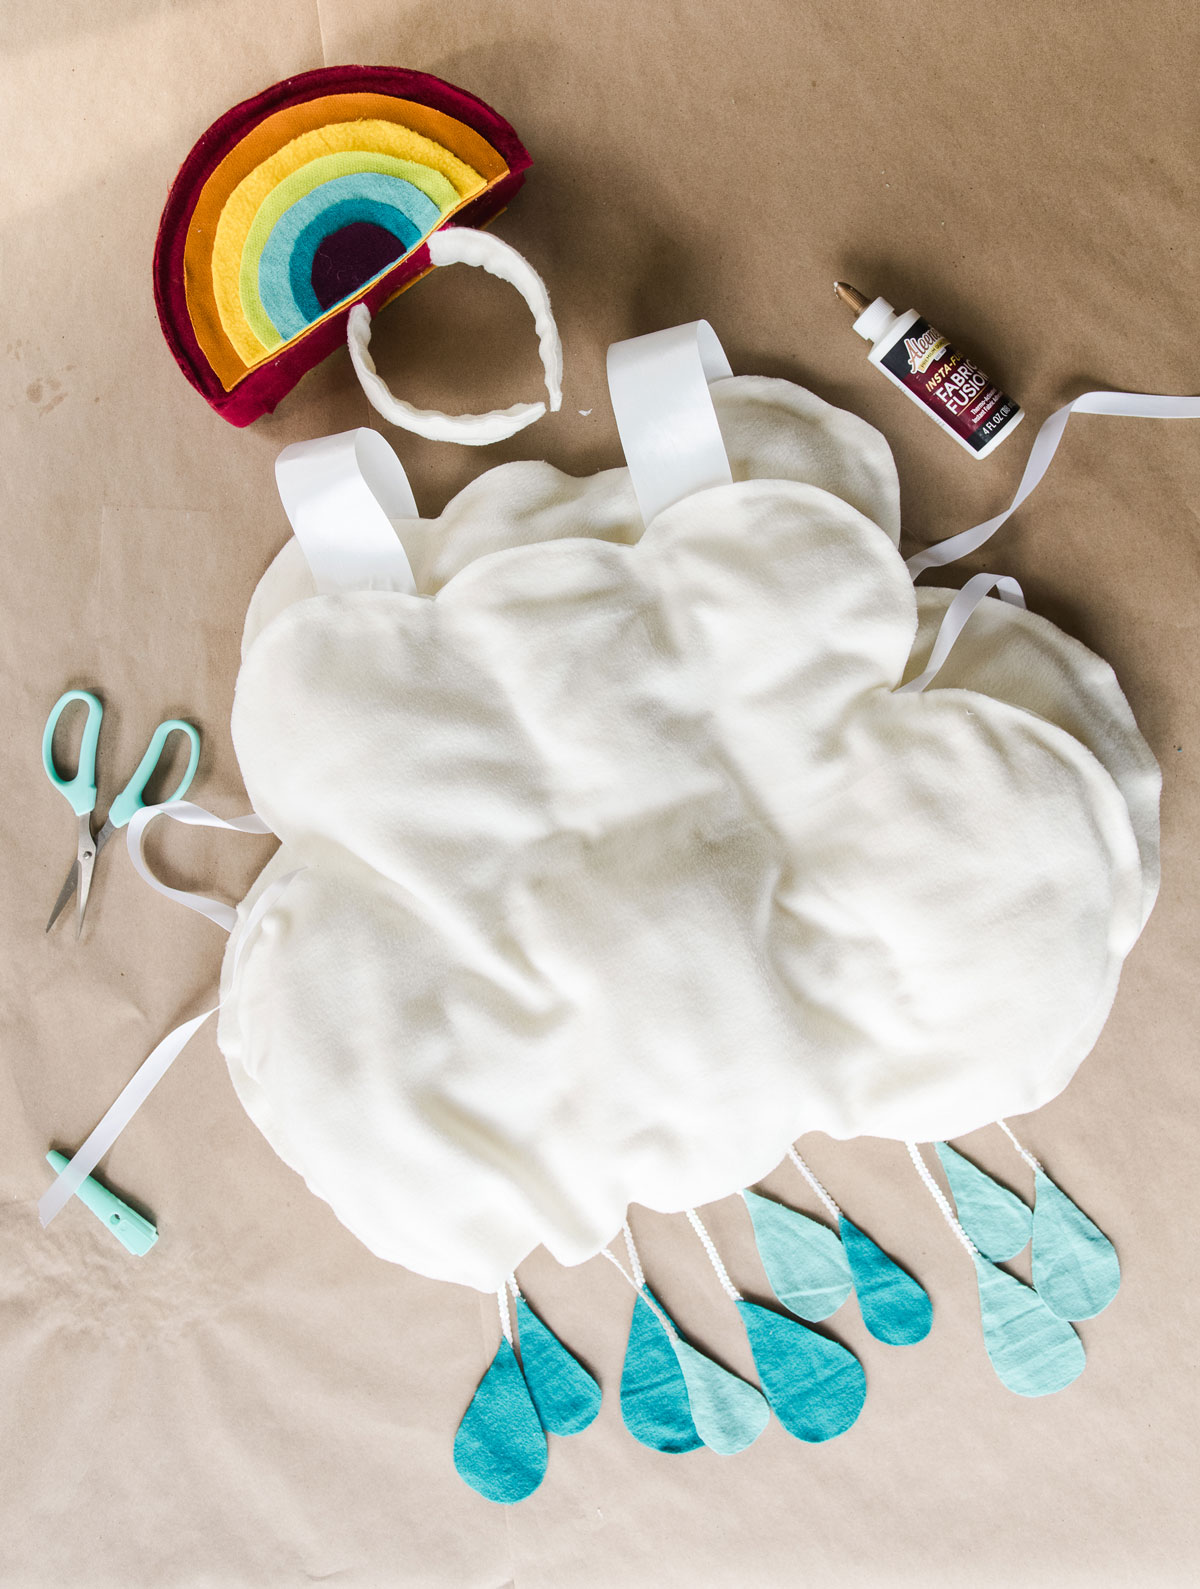
Begin with one outer edge of the cloud and you will alternate gluing – ironing – stuffing until the cloud is completely put together! 🙂
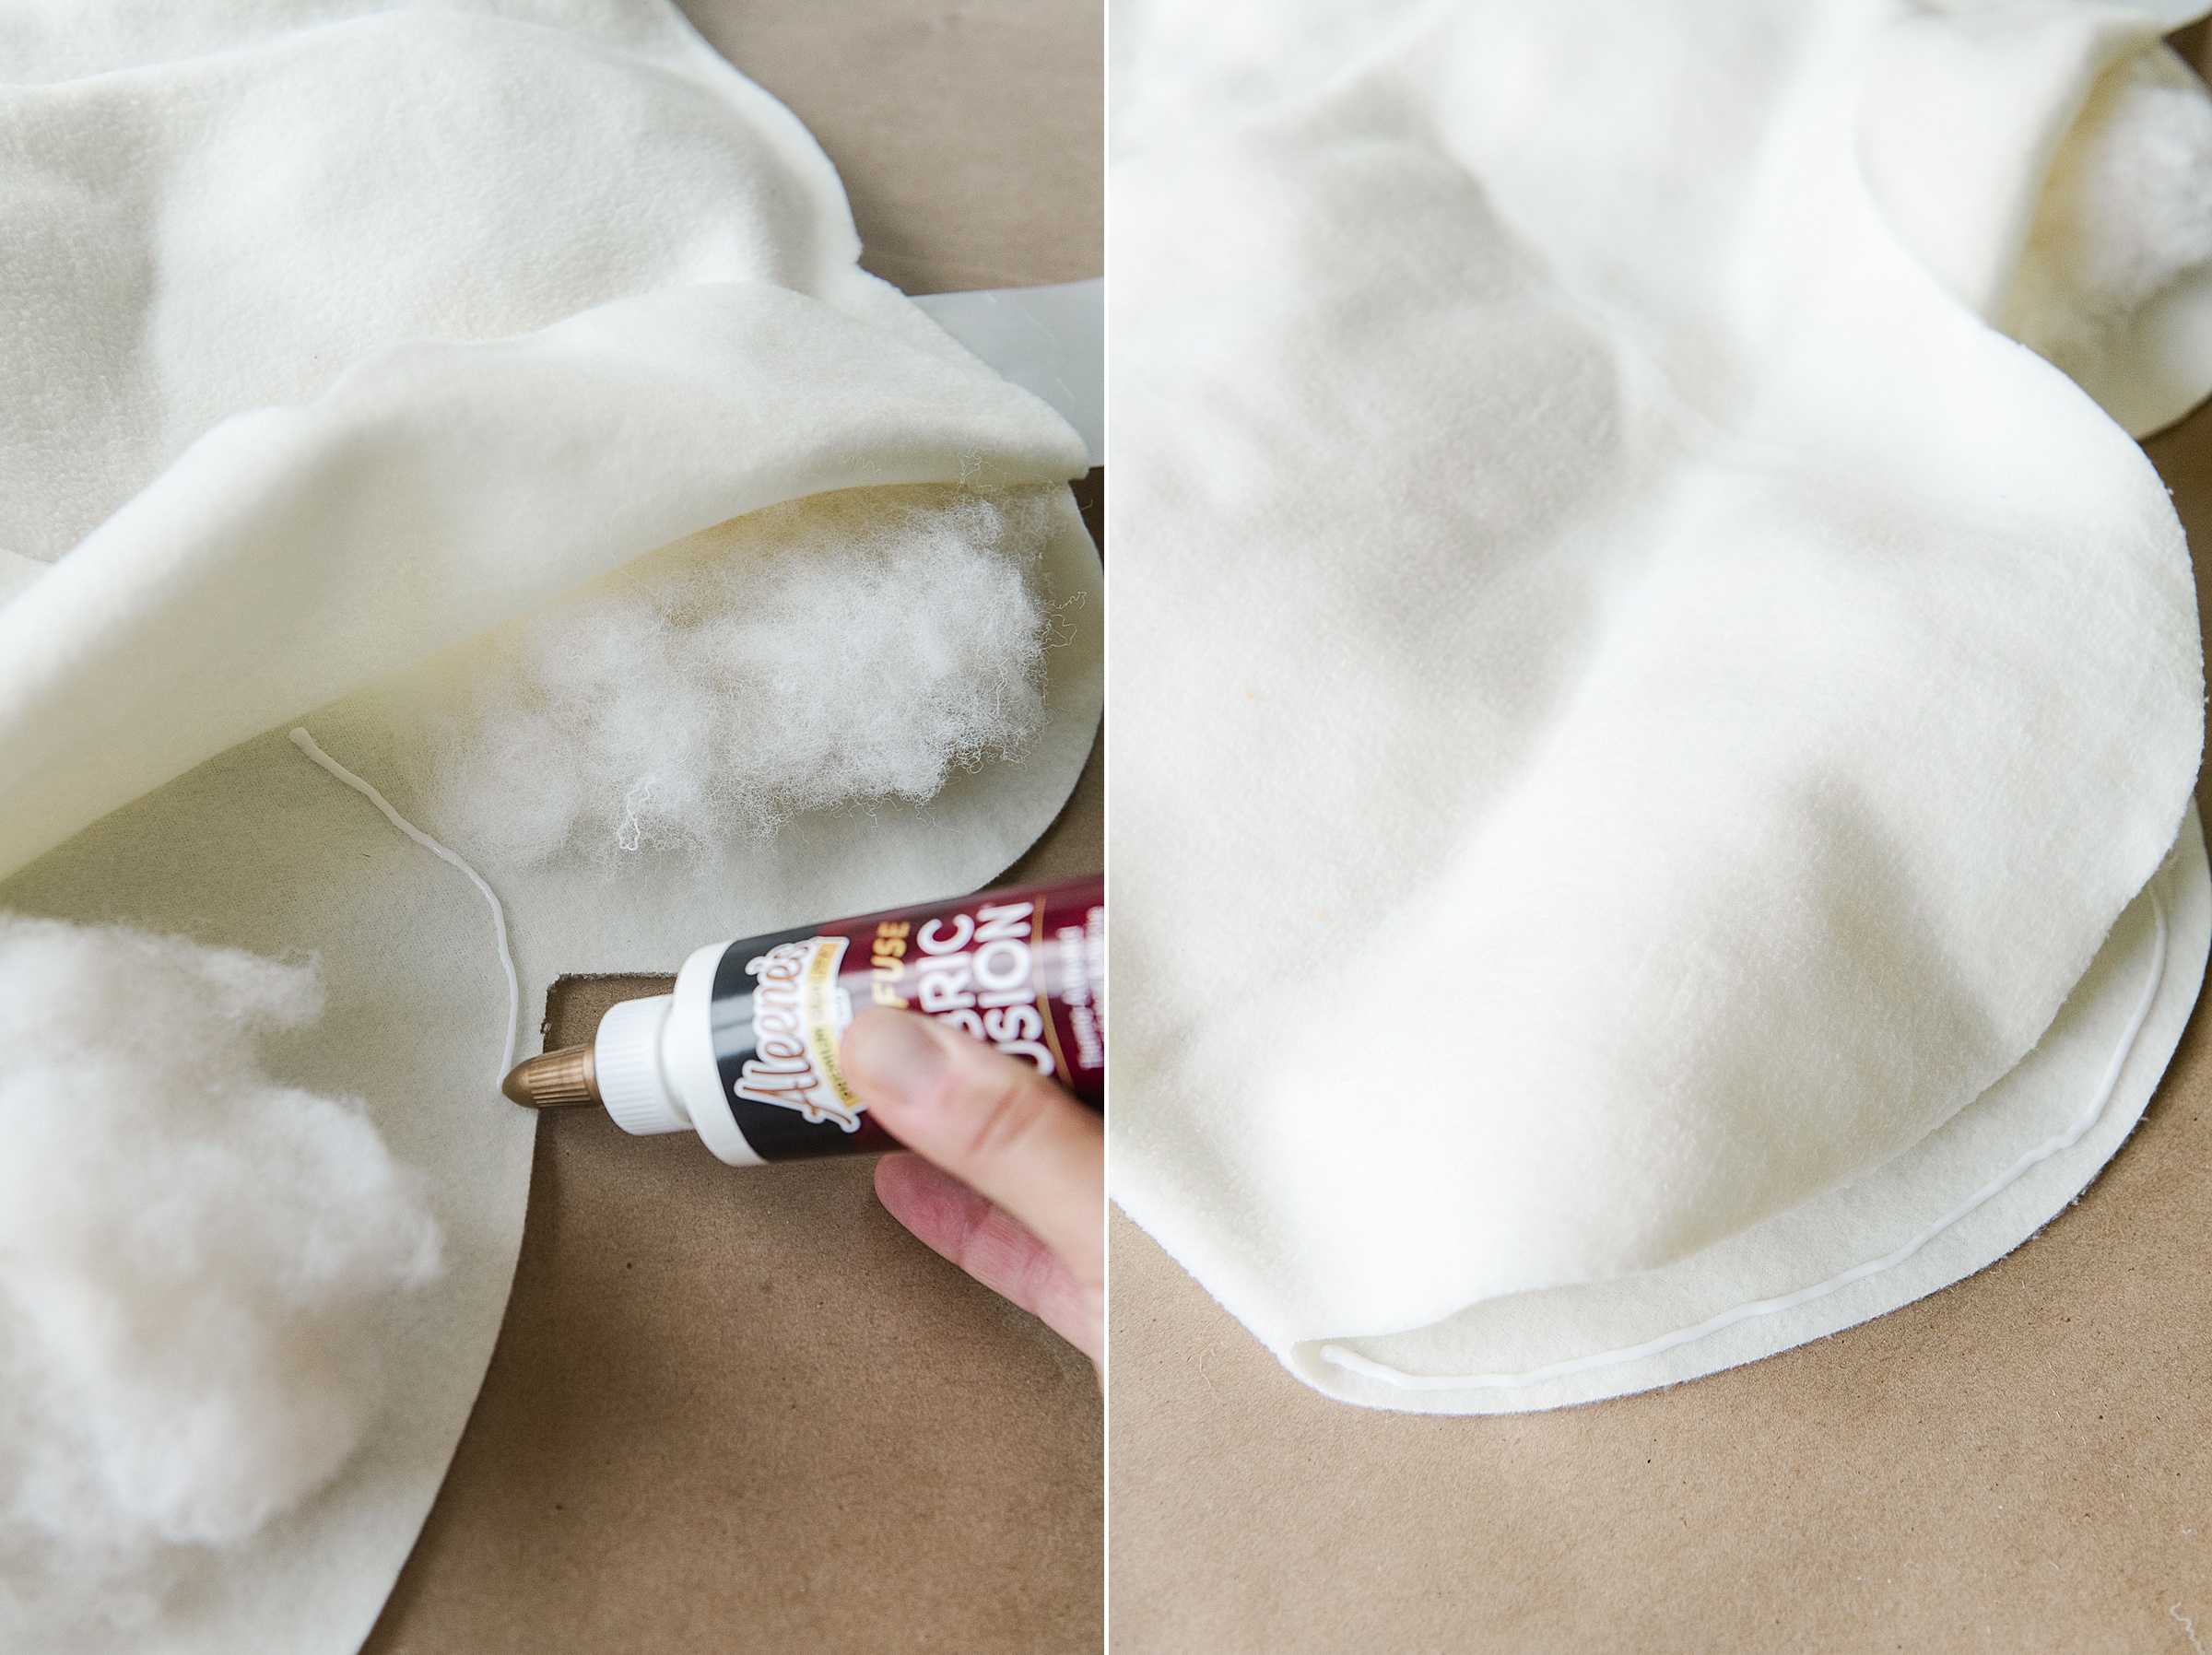
To start gluing, simply run a bead of glue (generously) along the outer edge of the cloud. Then with your iron (set to cotton setting, ie, HOT) you will iron for 30 seconds on the front and flip and repeat ironing 30 seconds on the back.
**tip: when using fleece with the Insta Fuse glue, to use a generous amount. The fleece can absorb some of the glue so be sure that you using enough without being “globby”! 🙂
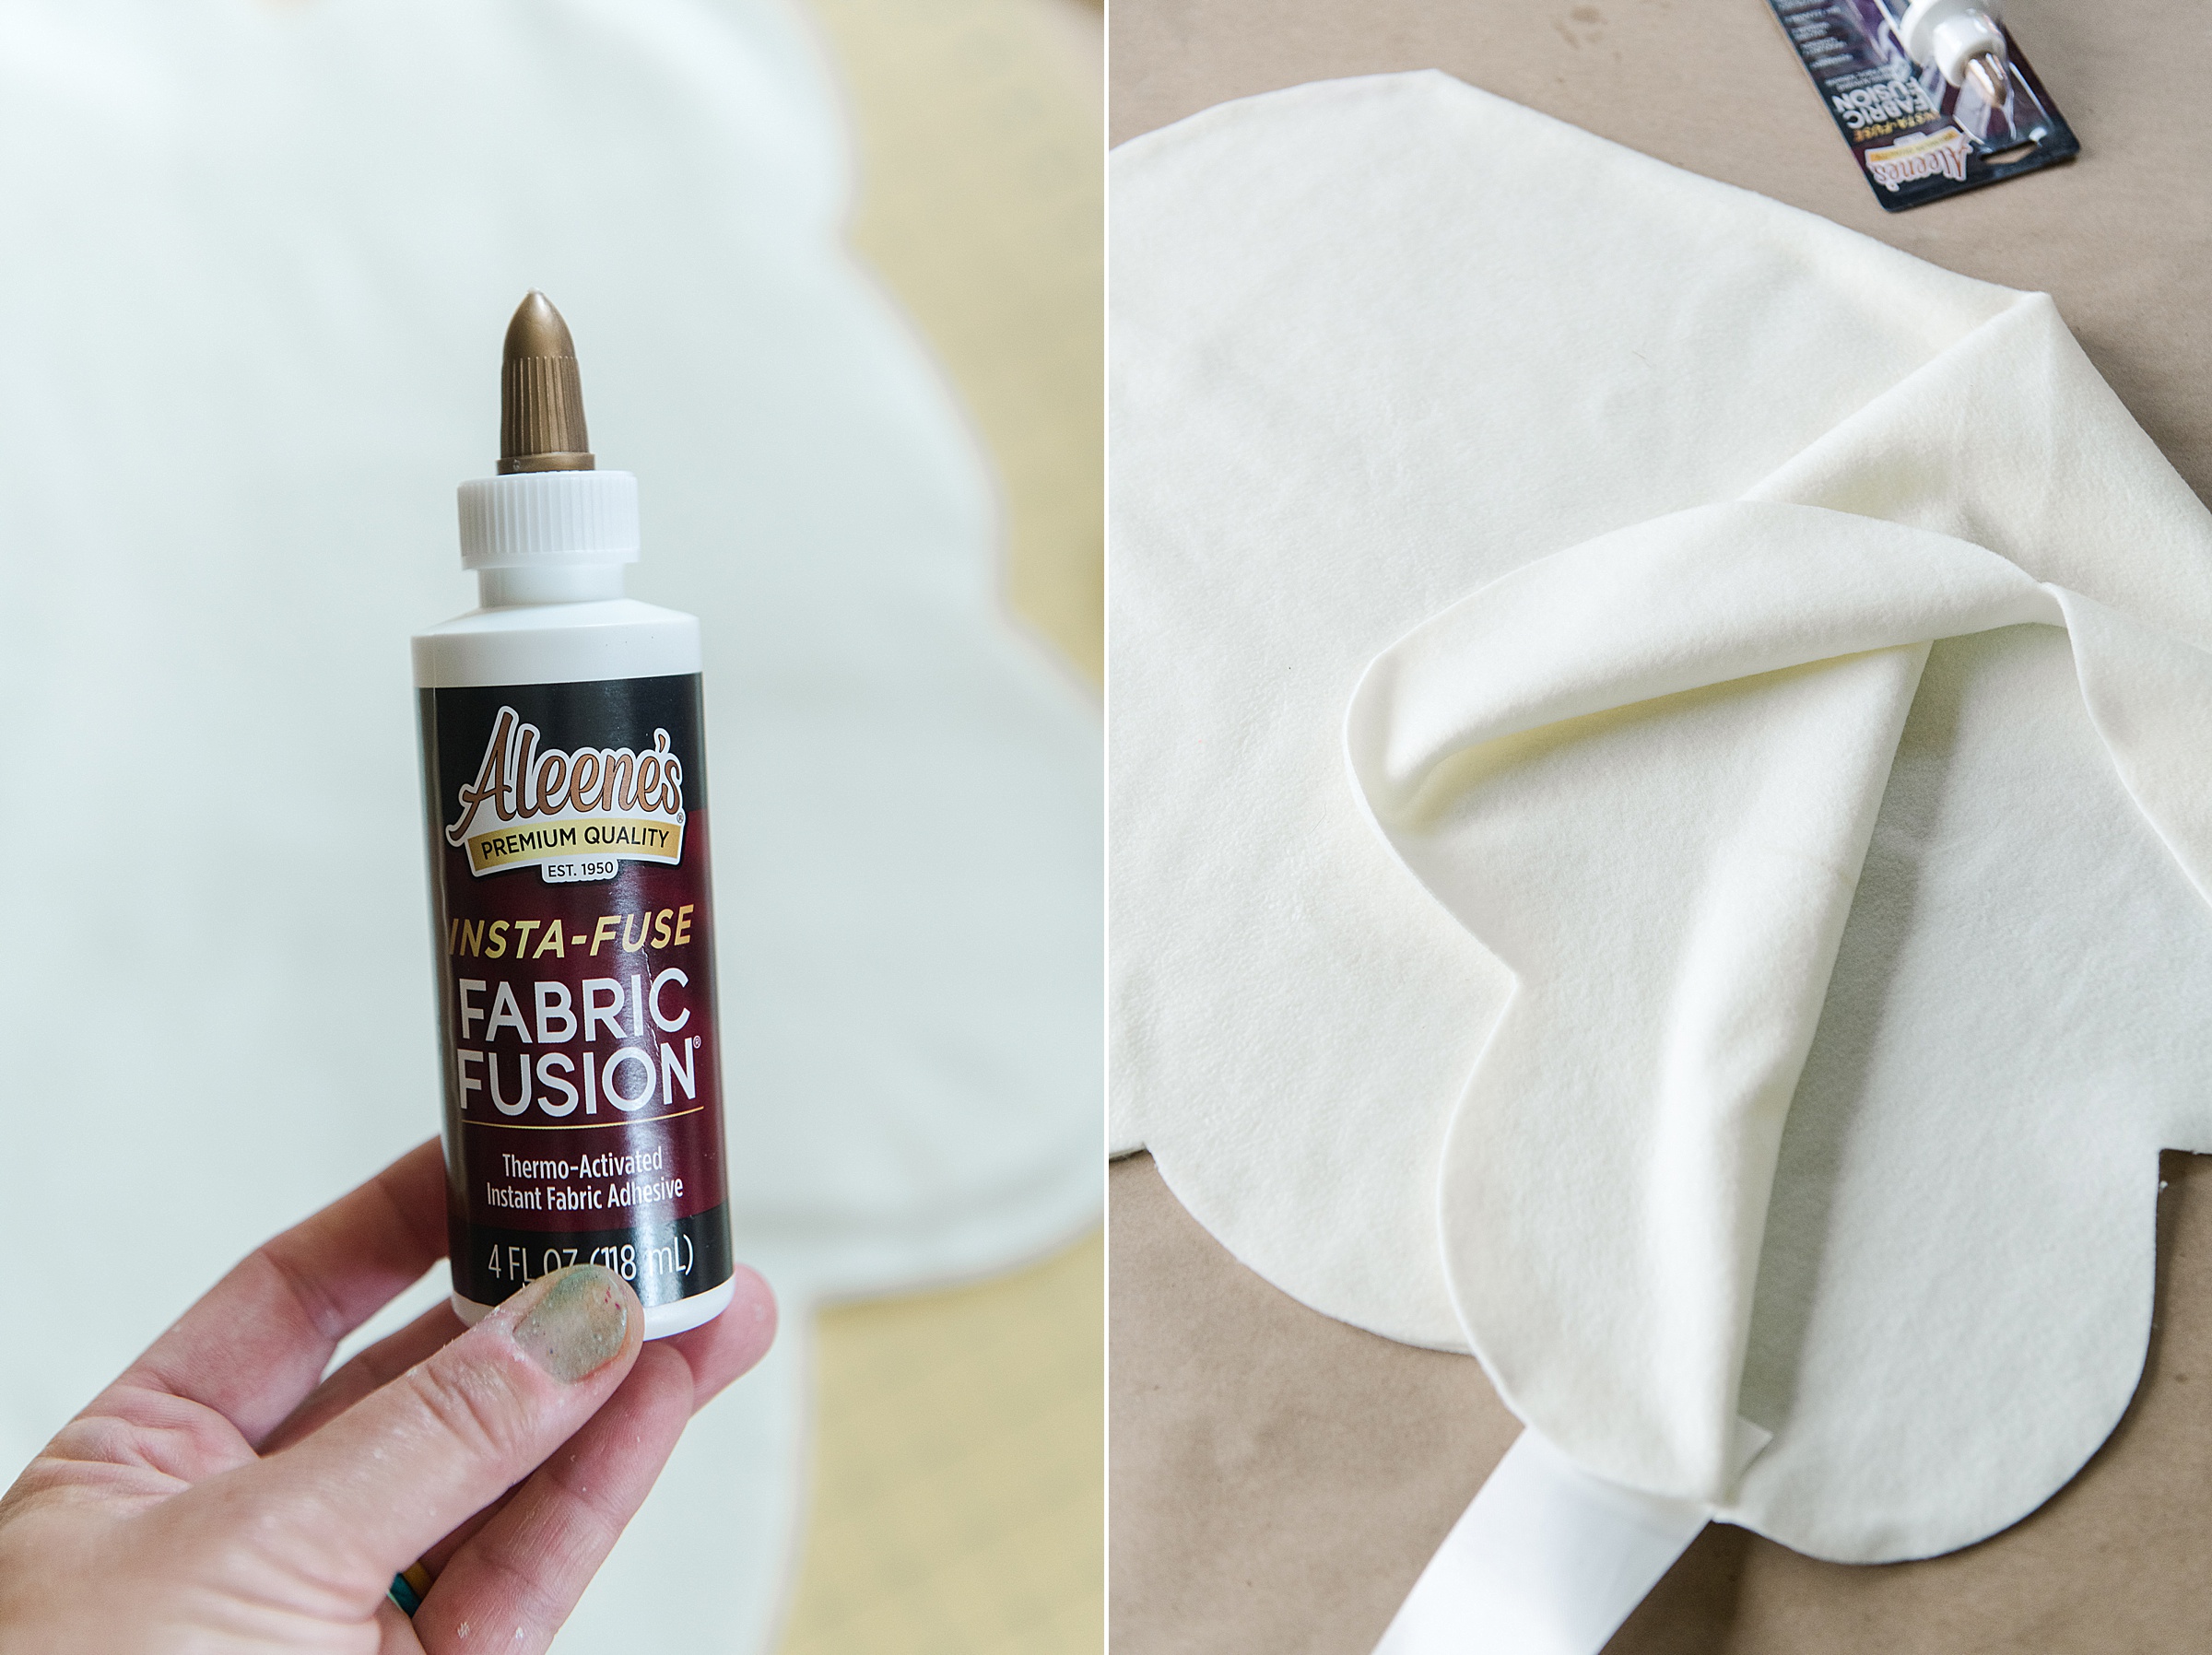
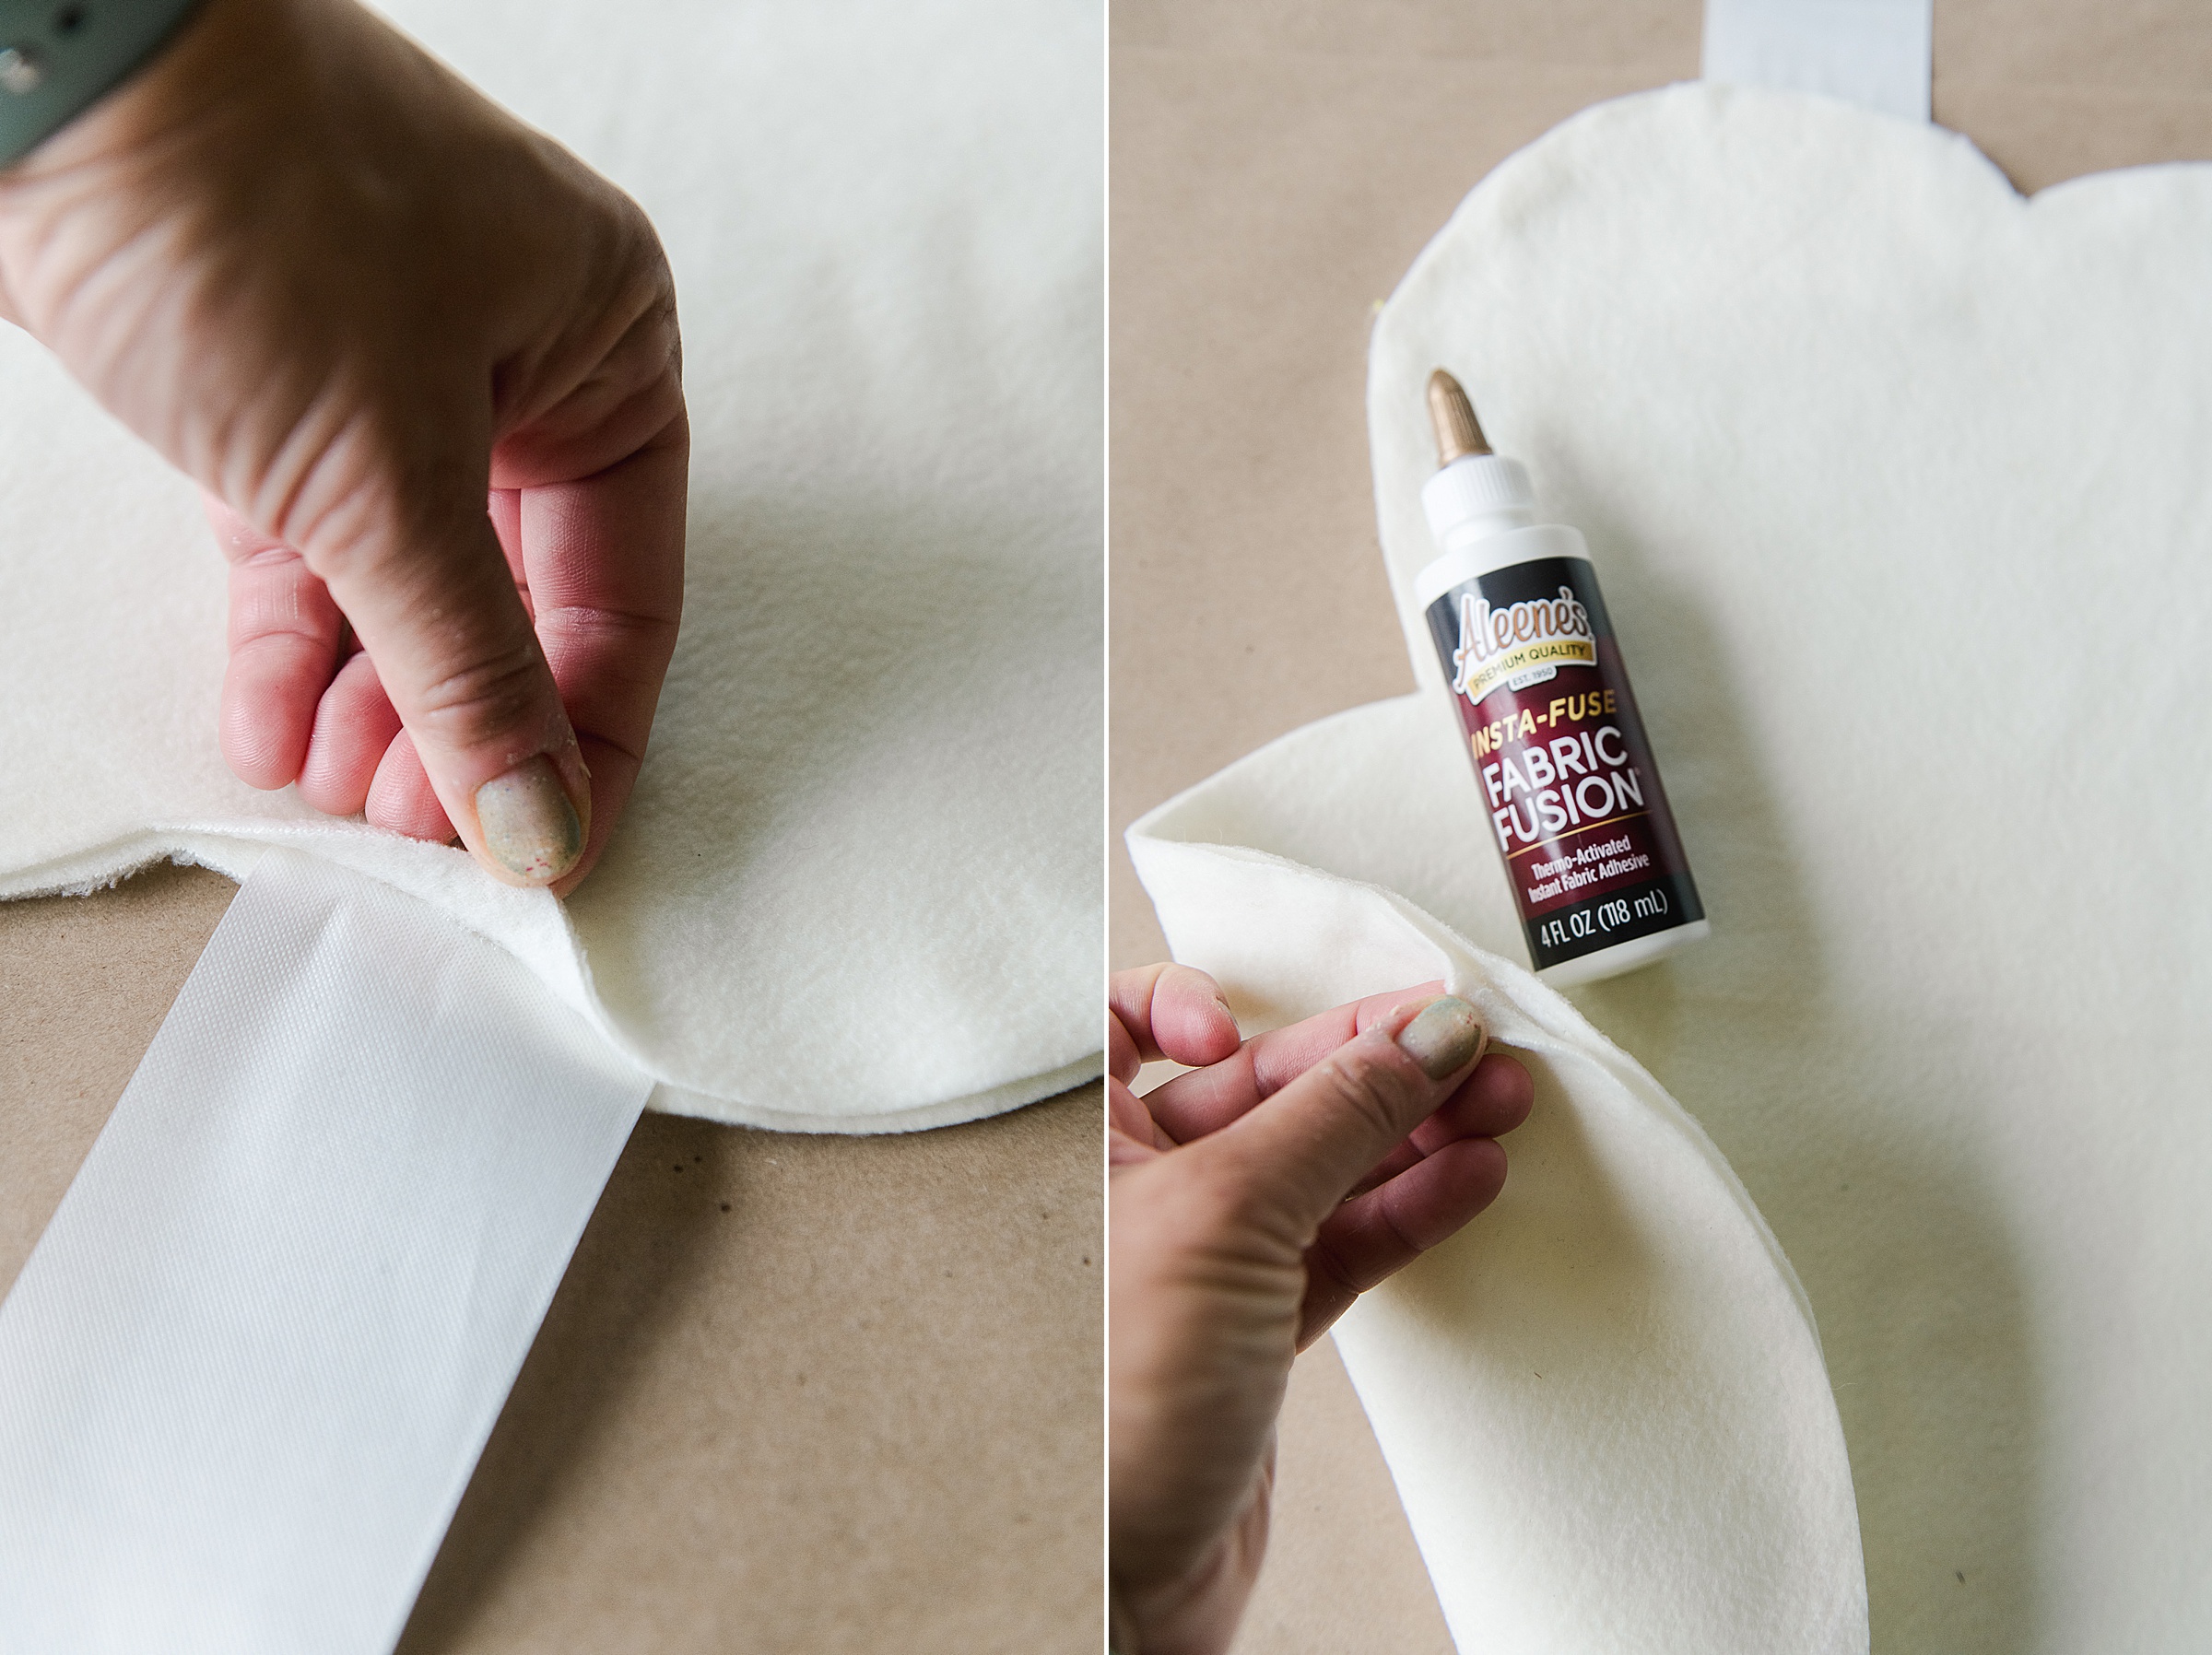
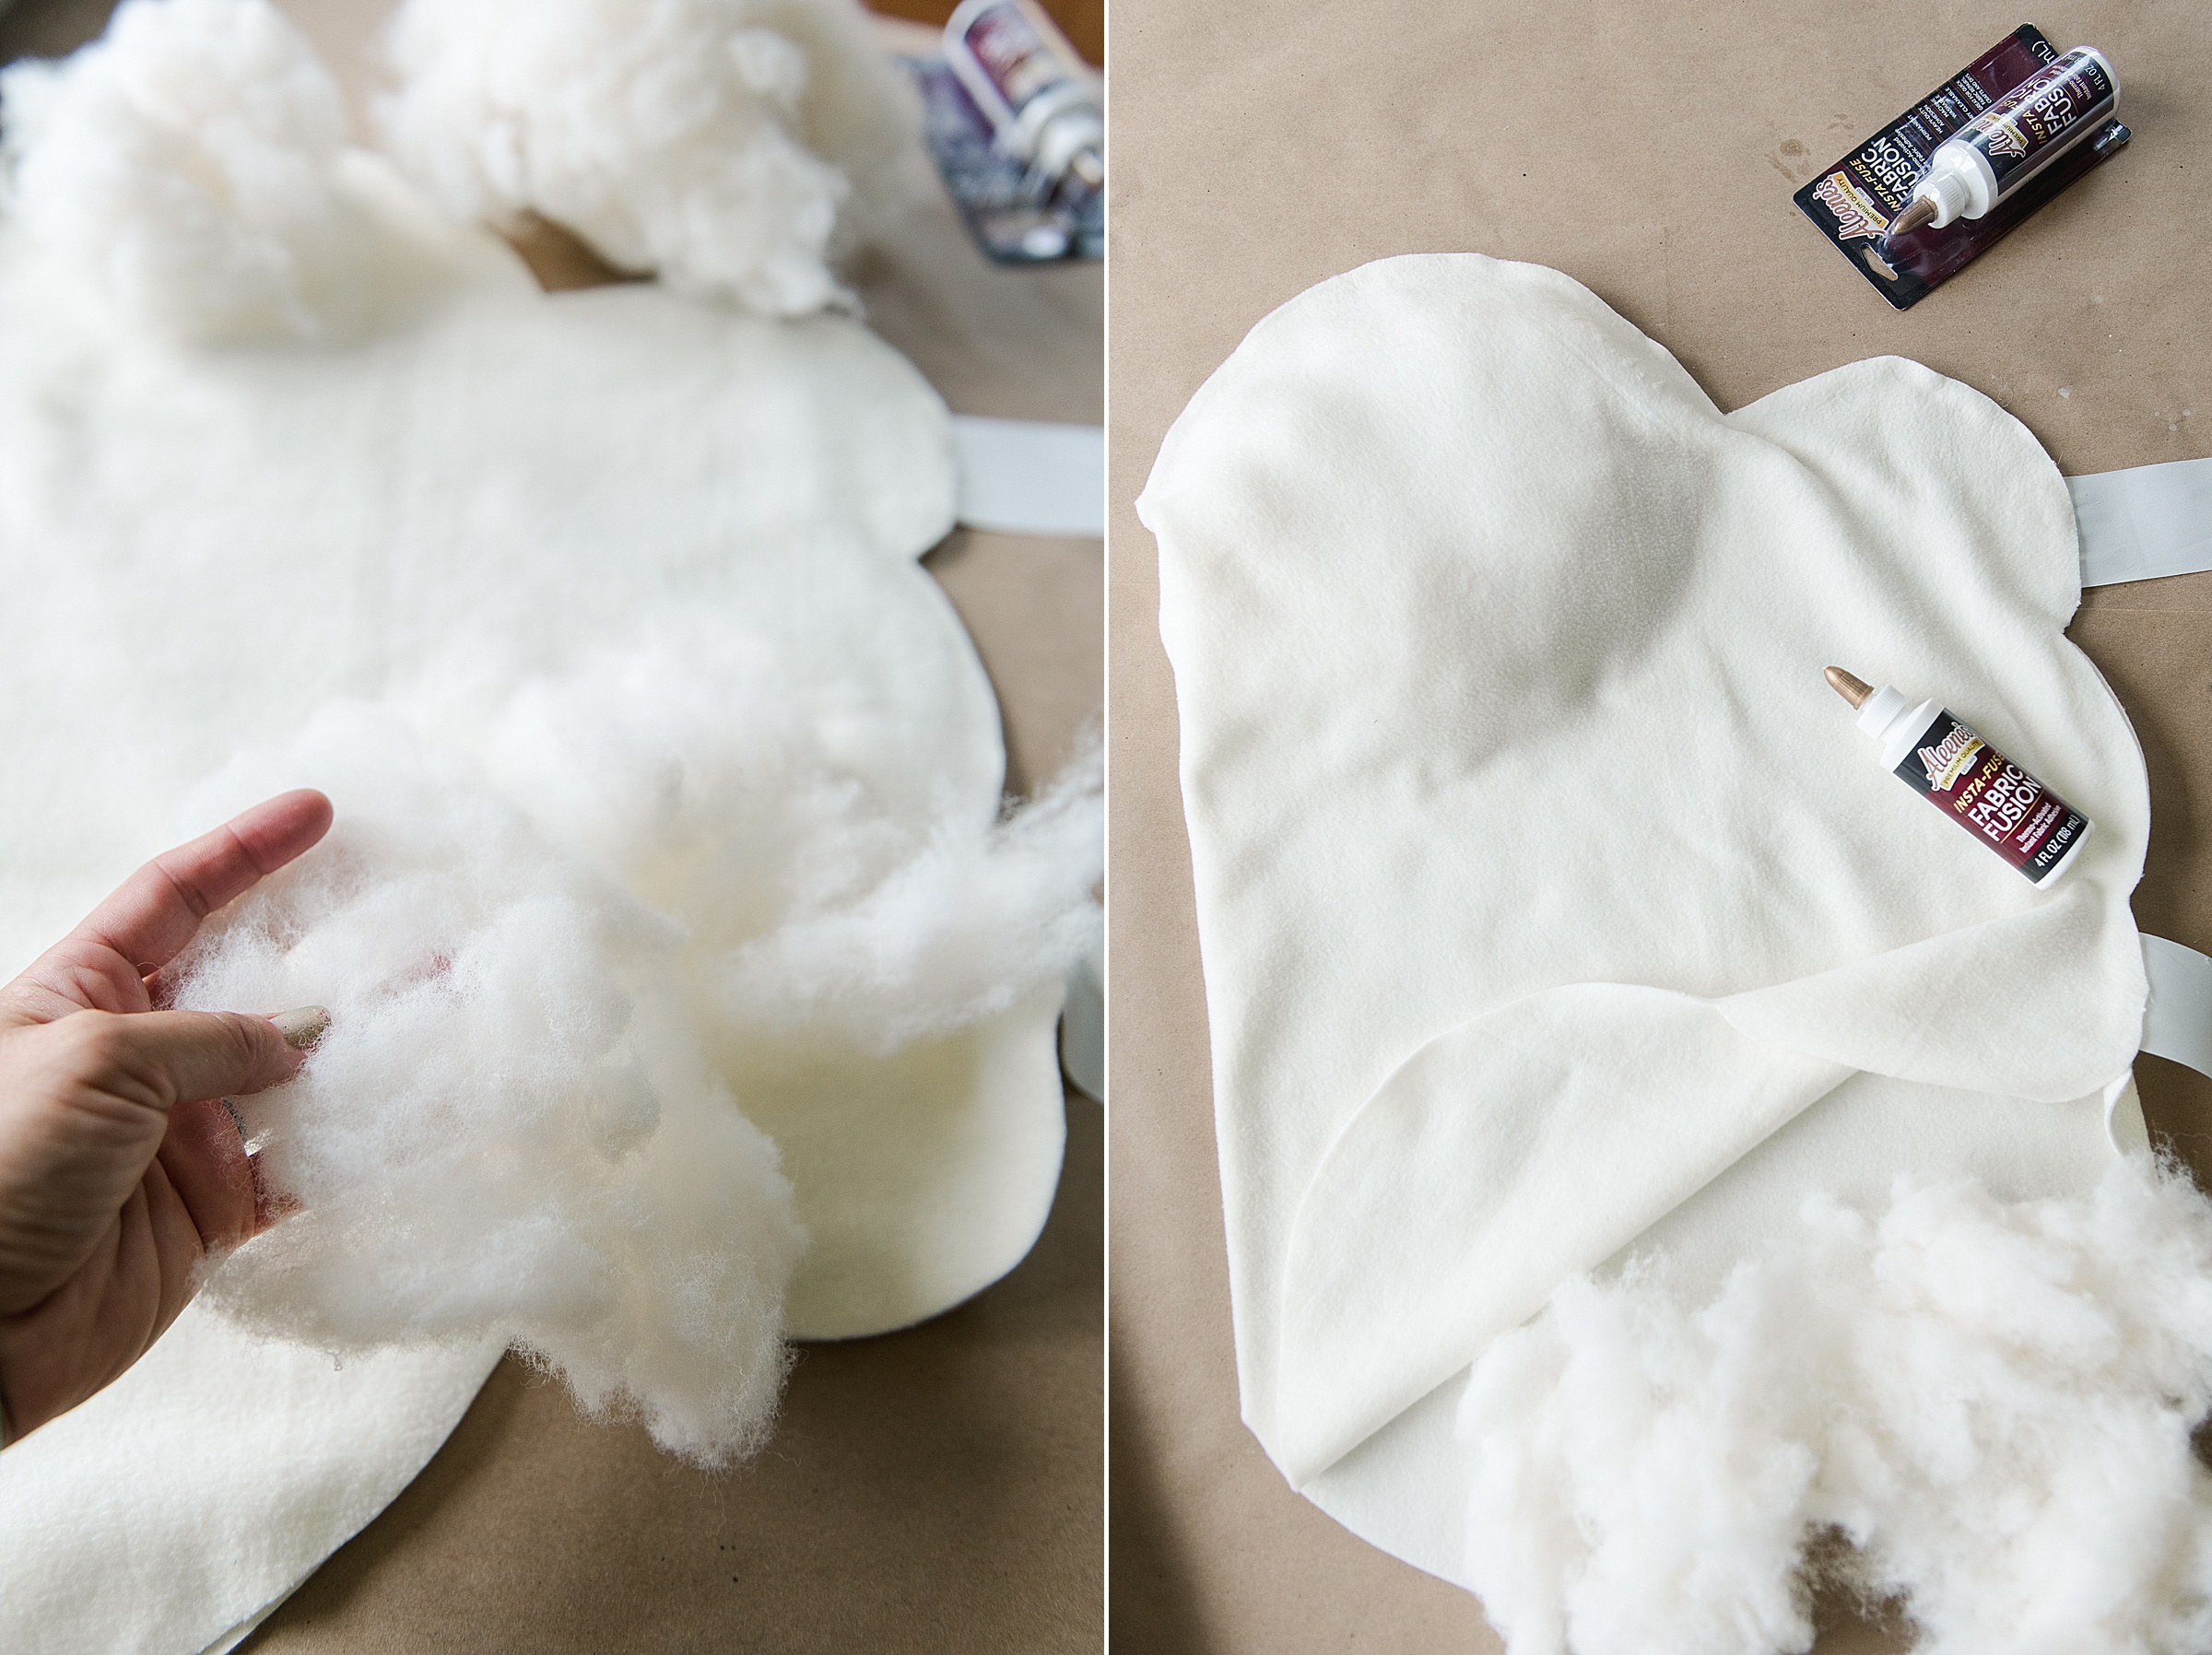
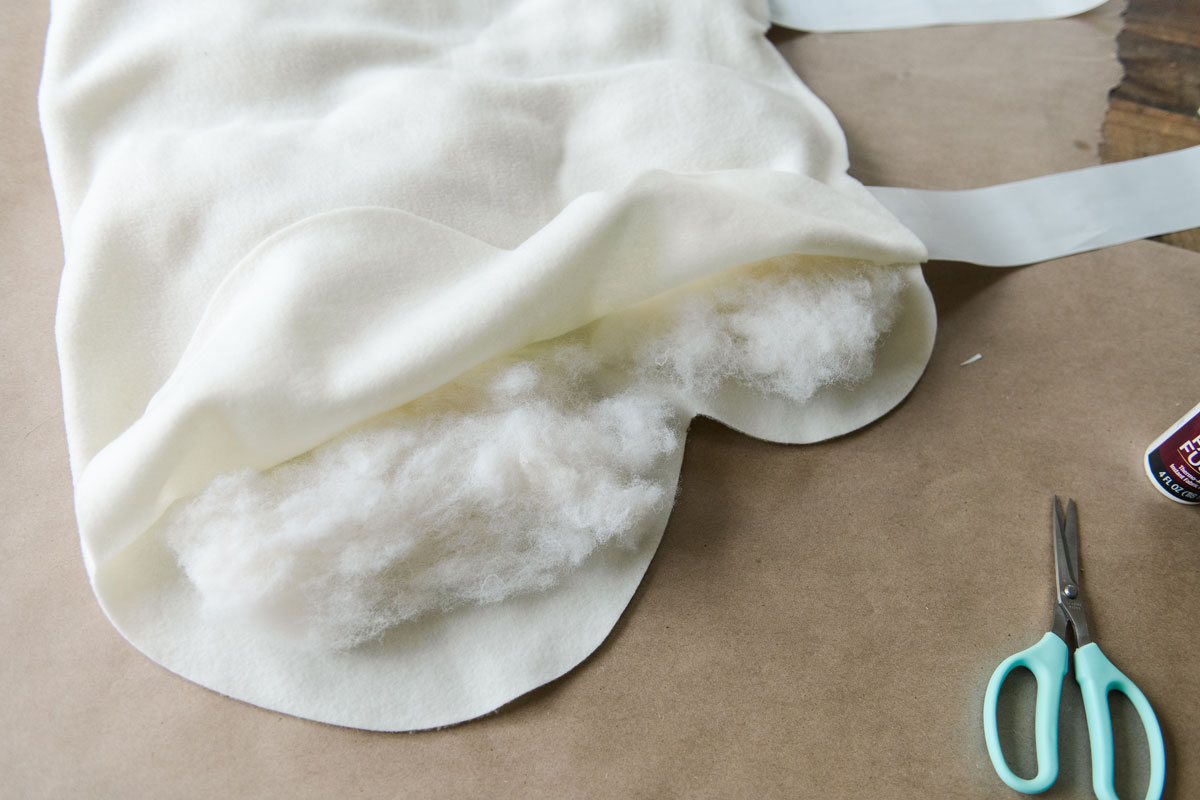
You will repeat ironing and glueing as you stuff the cloud. I worked from left to right and ran beads of glue in a circle or semi circle shape to make portions stick together in a cloud like shape and portions to stuff with poly-fill as I went.
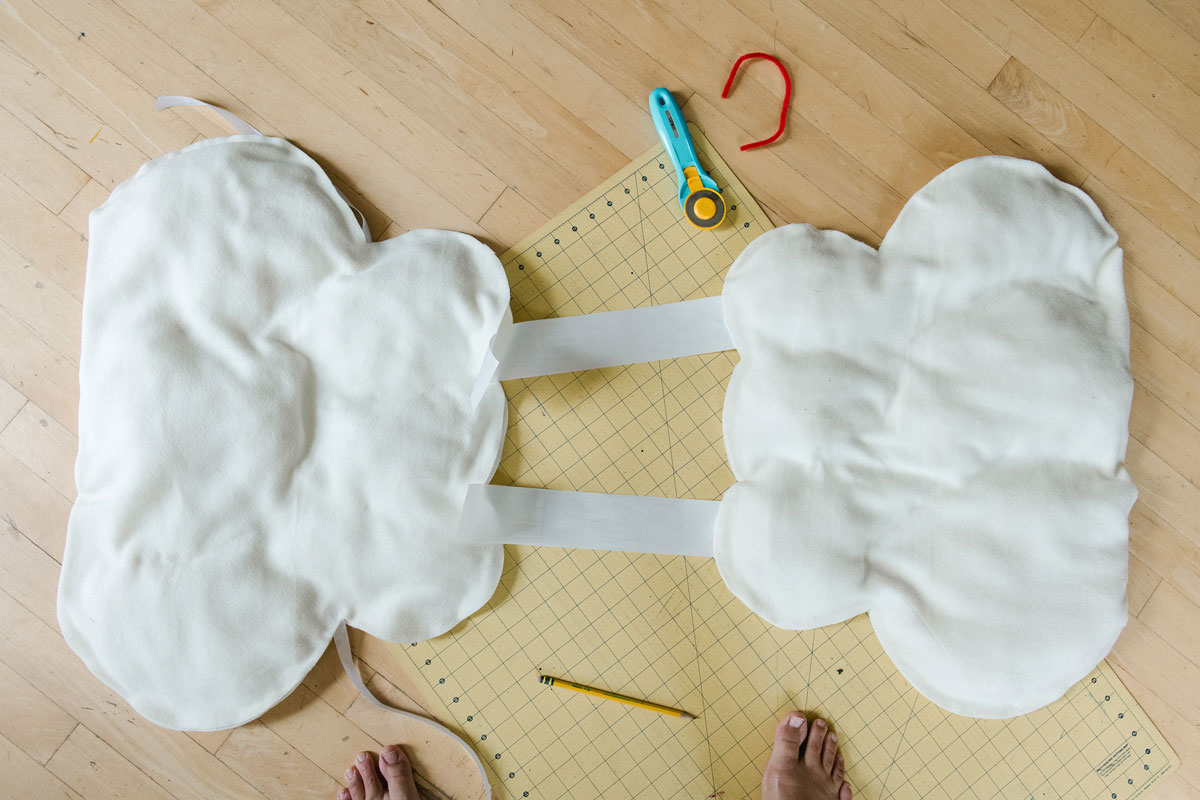
**DO NOT FORGET TO ADD THE STRAPS TO THE TOP AND SIDES! 🙂 I almost forgot this, ha! But before you close up the top seam with glue, be sure to put the ends of both of your straps along the top of the cloud and then the 2 sides straps along the sides to be tied later 🙂
Also, be sure to stretch out your filling or fluff before putting it in….you don’t want to “stuff” the cloud like a plushy, but rather just give it some air and dimension! 🙂
3. Prep and attach Raindrops
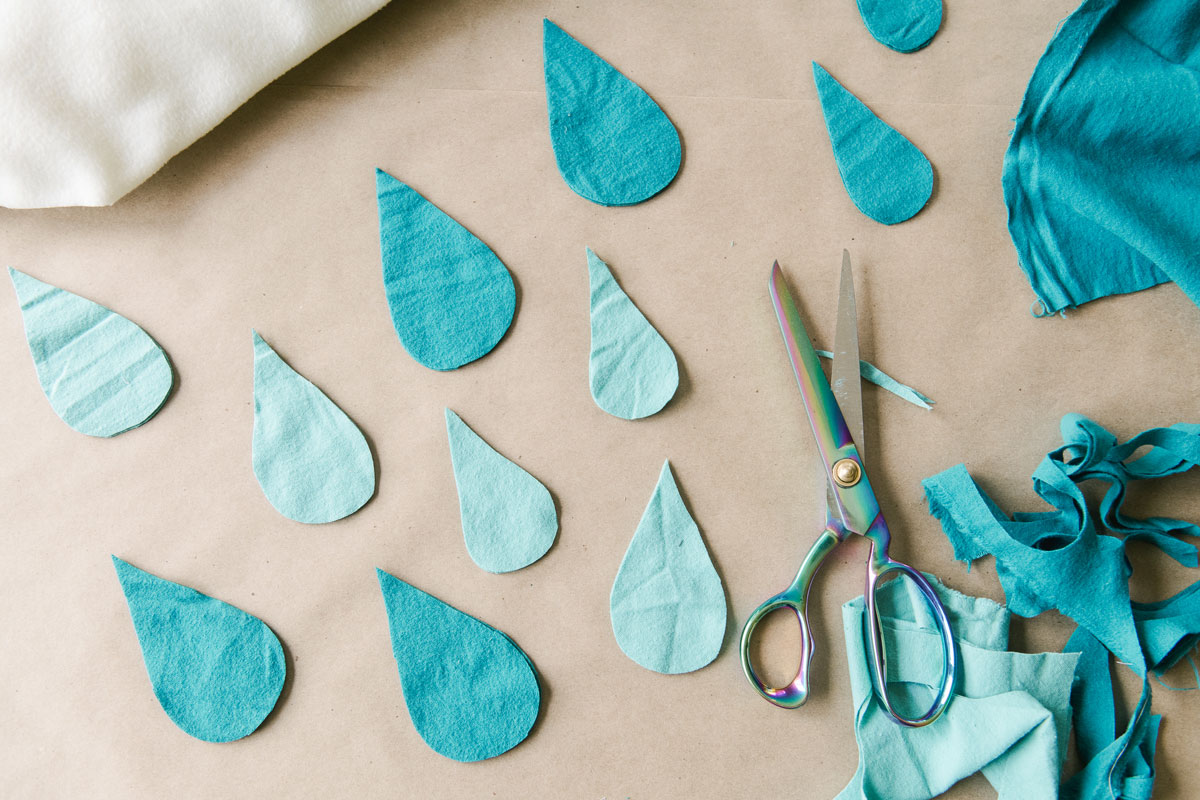
Cut out some raindrop shapes from your blue raindrop fabric. You will also want to cut your blue ribbon at various lengths to make it look like the raindrops are falling from the cloud. You will want 2 raindrops per drop because you will be sandwiching one end of your cut ribbon between 2 raindrops.
Heat your iron and get ready to use the magic of this heat-set insta fuse Fabric Fusion glue!
Lay one of the 2 raindrops right side down onto your ironing board.
Squeeze a thin layer of glue onto the wrong side of your raindrop
Lay the end of one of your pre-cut blue ribbons onto the glue, then add a bit more glue on top off the blue ribbon.
Finally, sandwich the other raindrop neatly on top of both the glued ribbon and raindrop.
Use the “cotton” heat setting on your iron to gently heat the glue by placing the iron onto the raindrop for 30 seconds
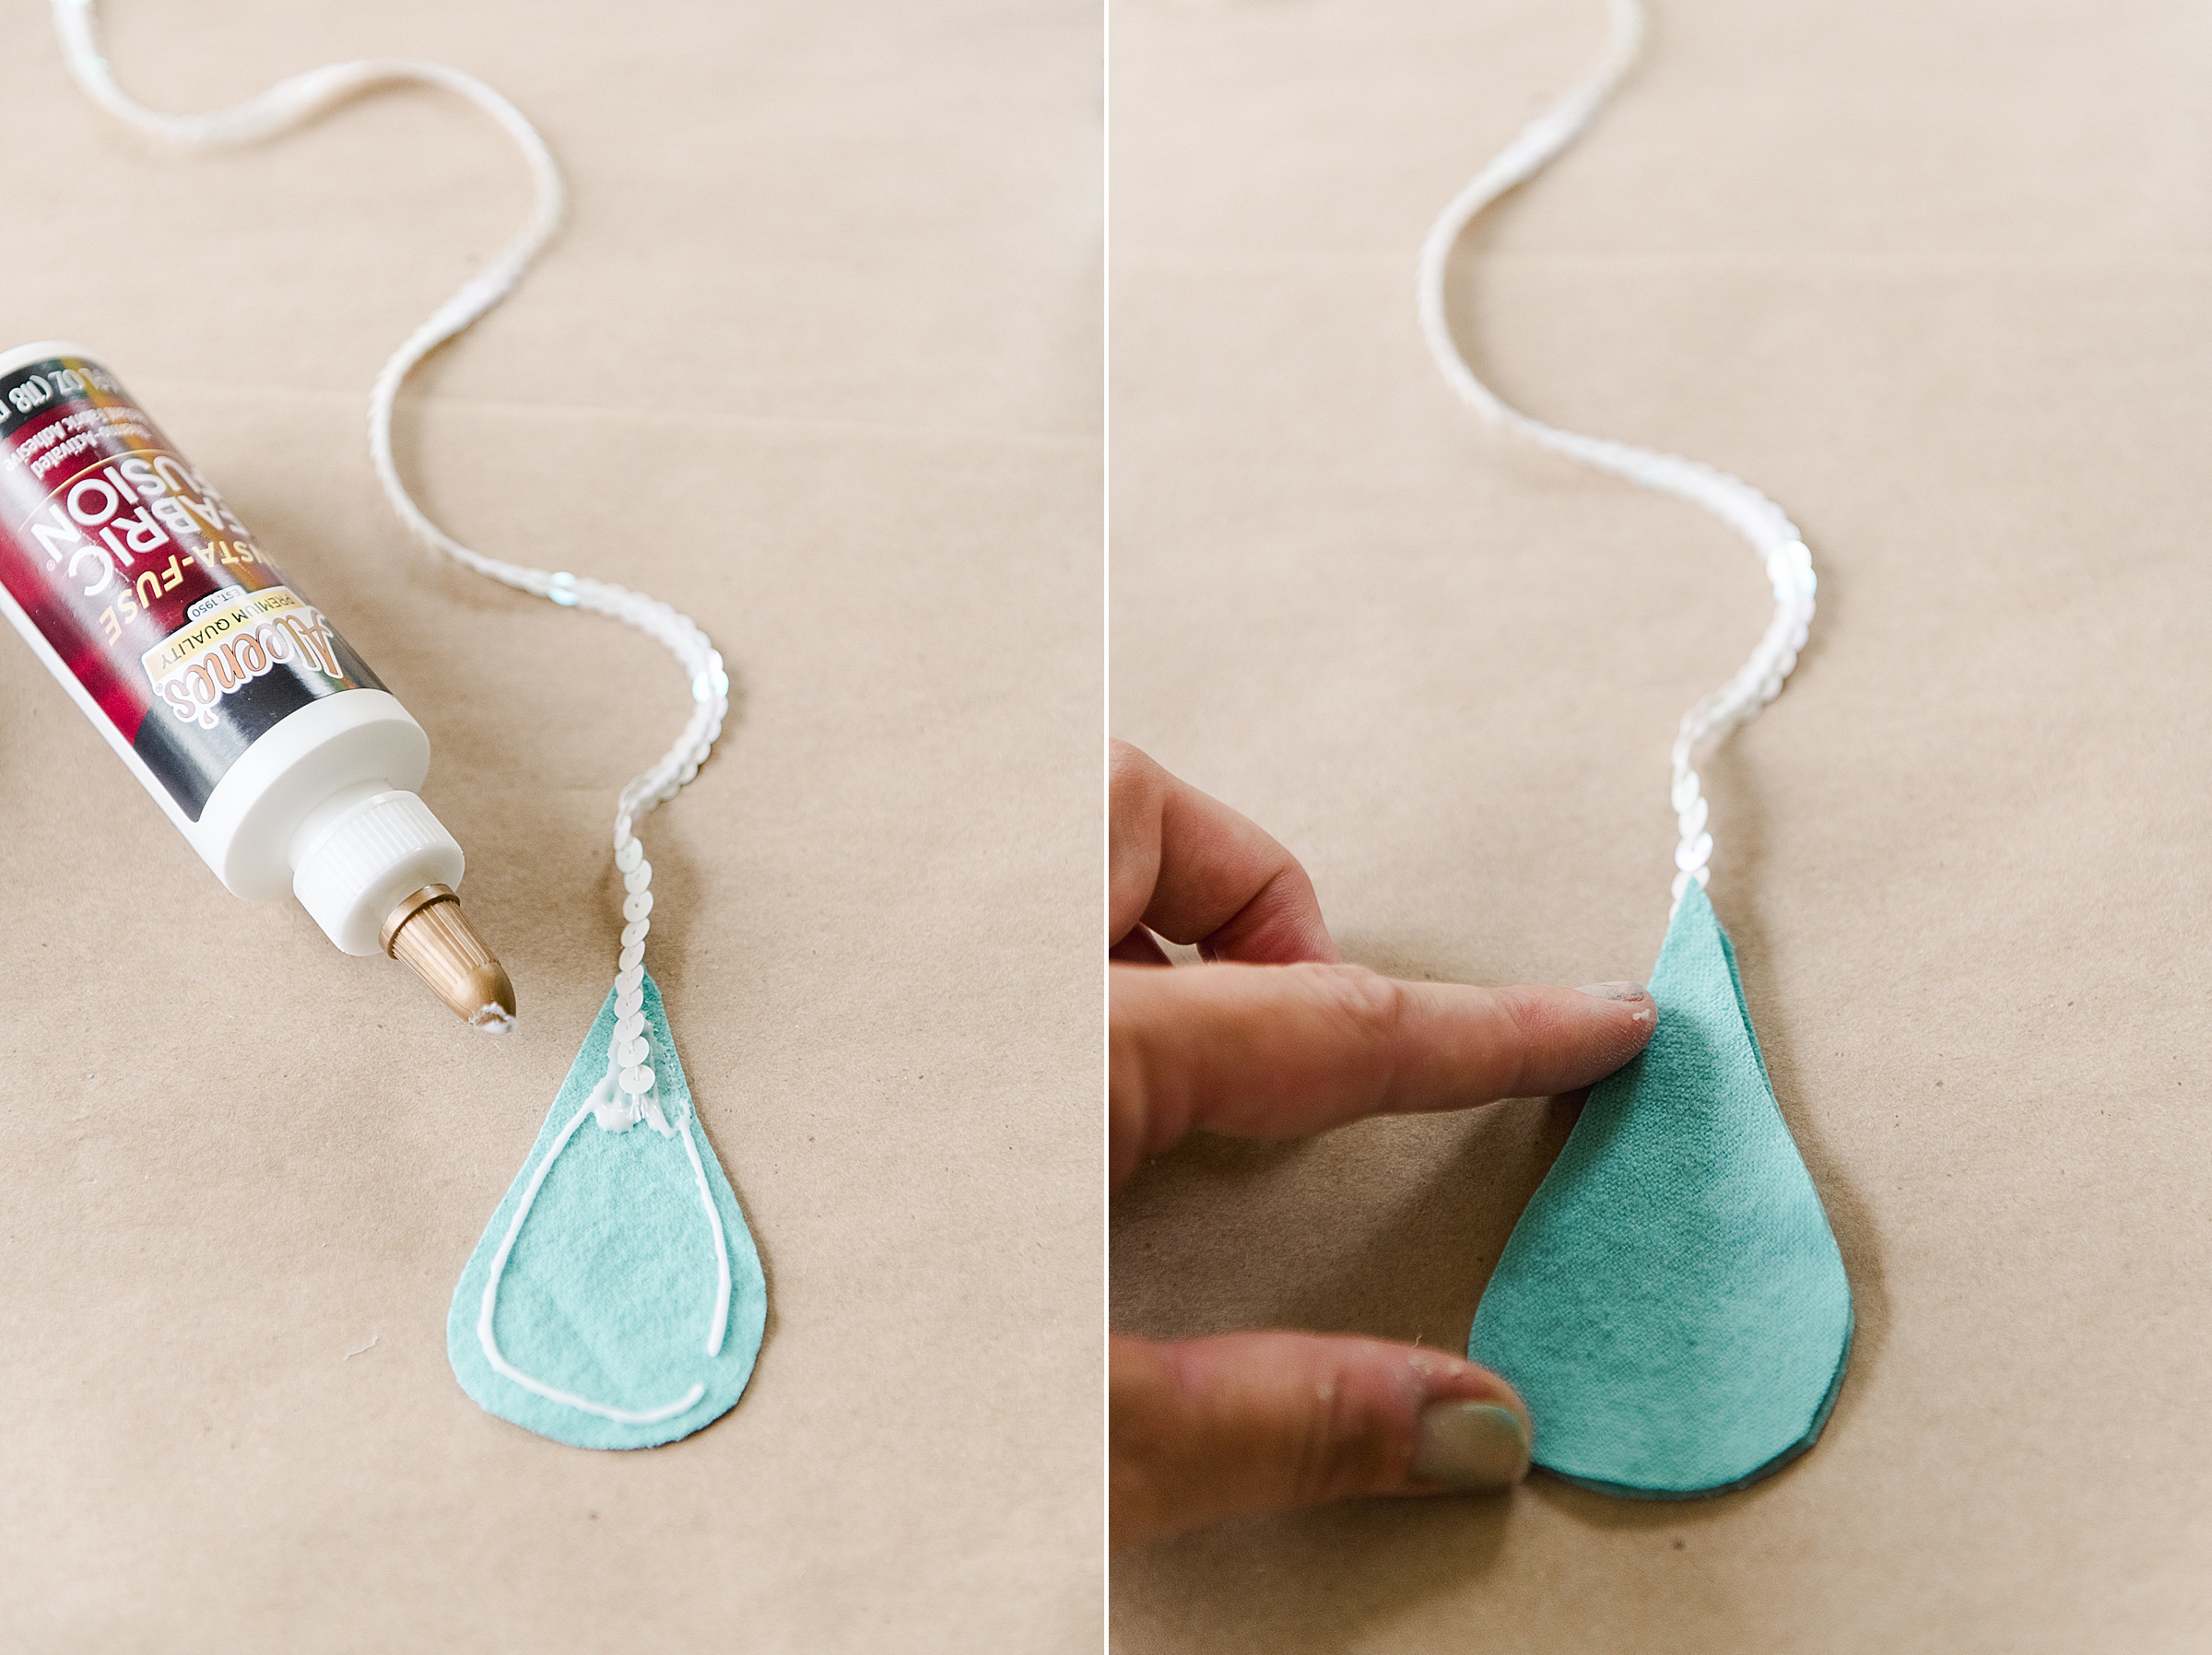
**Be careful not to heat up the ribbon, most ribbons are made of polyester and could melt….so just watch that 🙂
Flip your raindrop over and repeat the ironing process
Set this raindrop aside and repeat the gluing/ironing process with all of the raindrops and ribbons cut 🙂
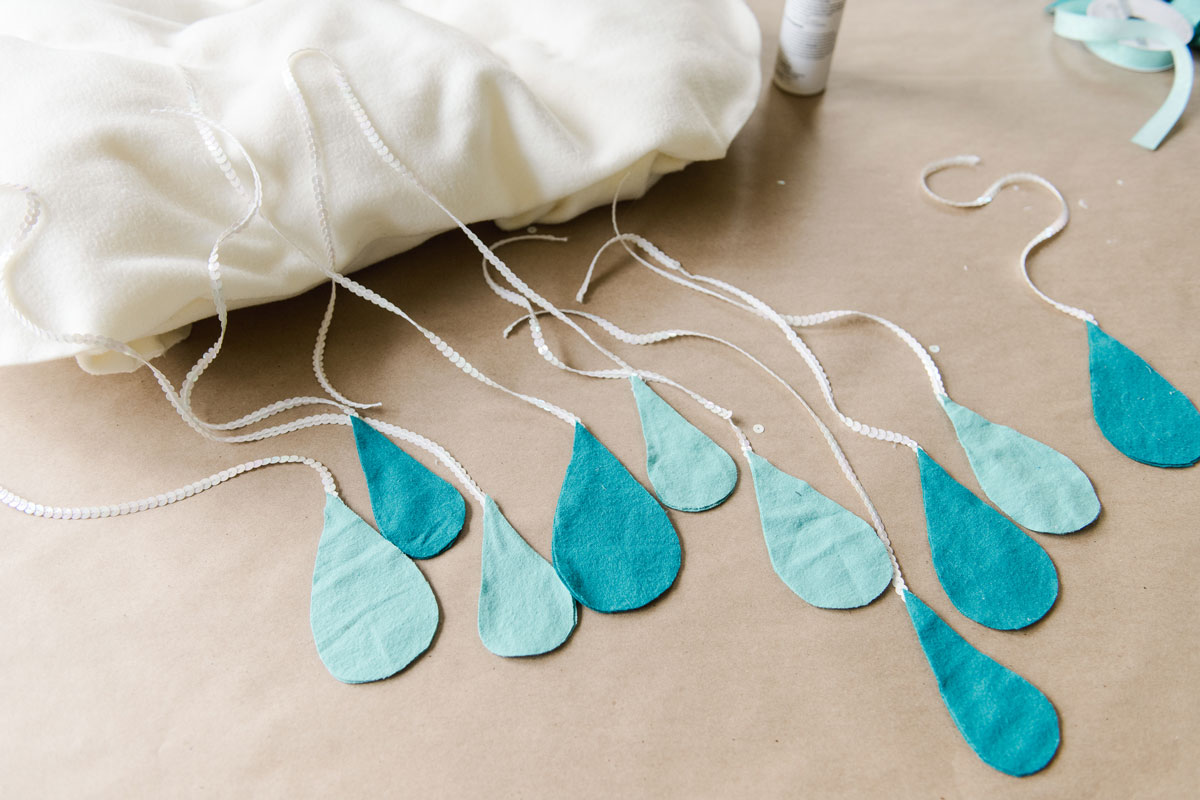
You will then attach the raindrop strands to the inside of the raincloud front and back (I wanted it to be sort of a raindrop skirt so that when she ran, the raindrops would be floating and flicking all around her)! 🙂 So attach them wherever you’d like, bit I surrounded the cloud with them on the inside of both the front and back! 🙂
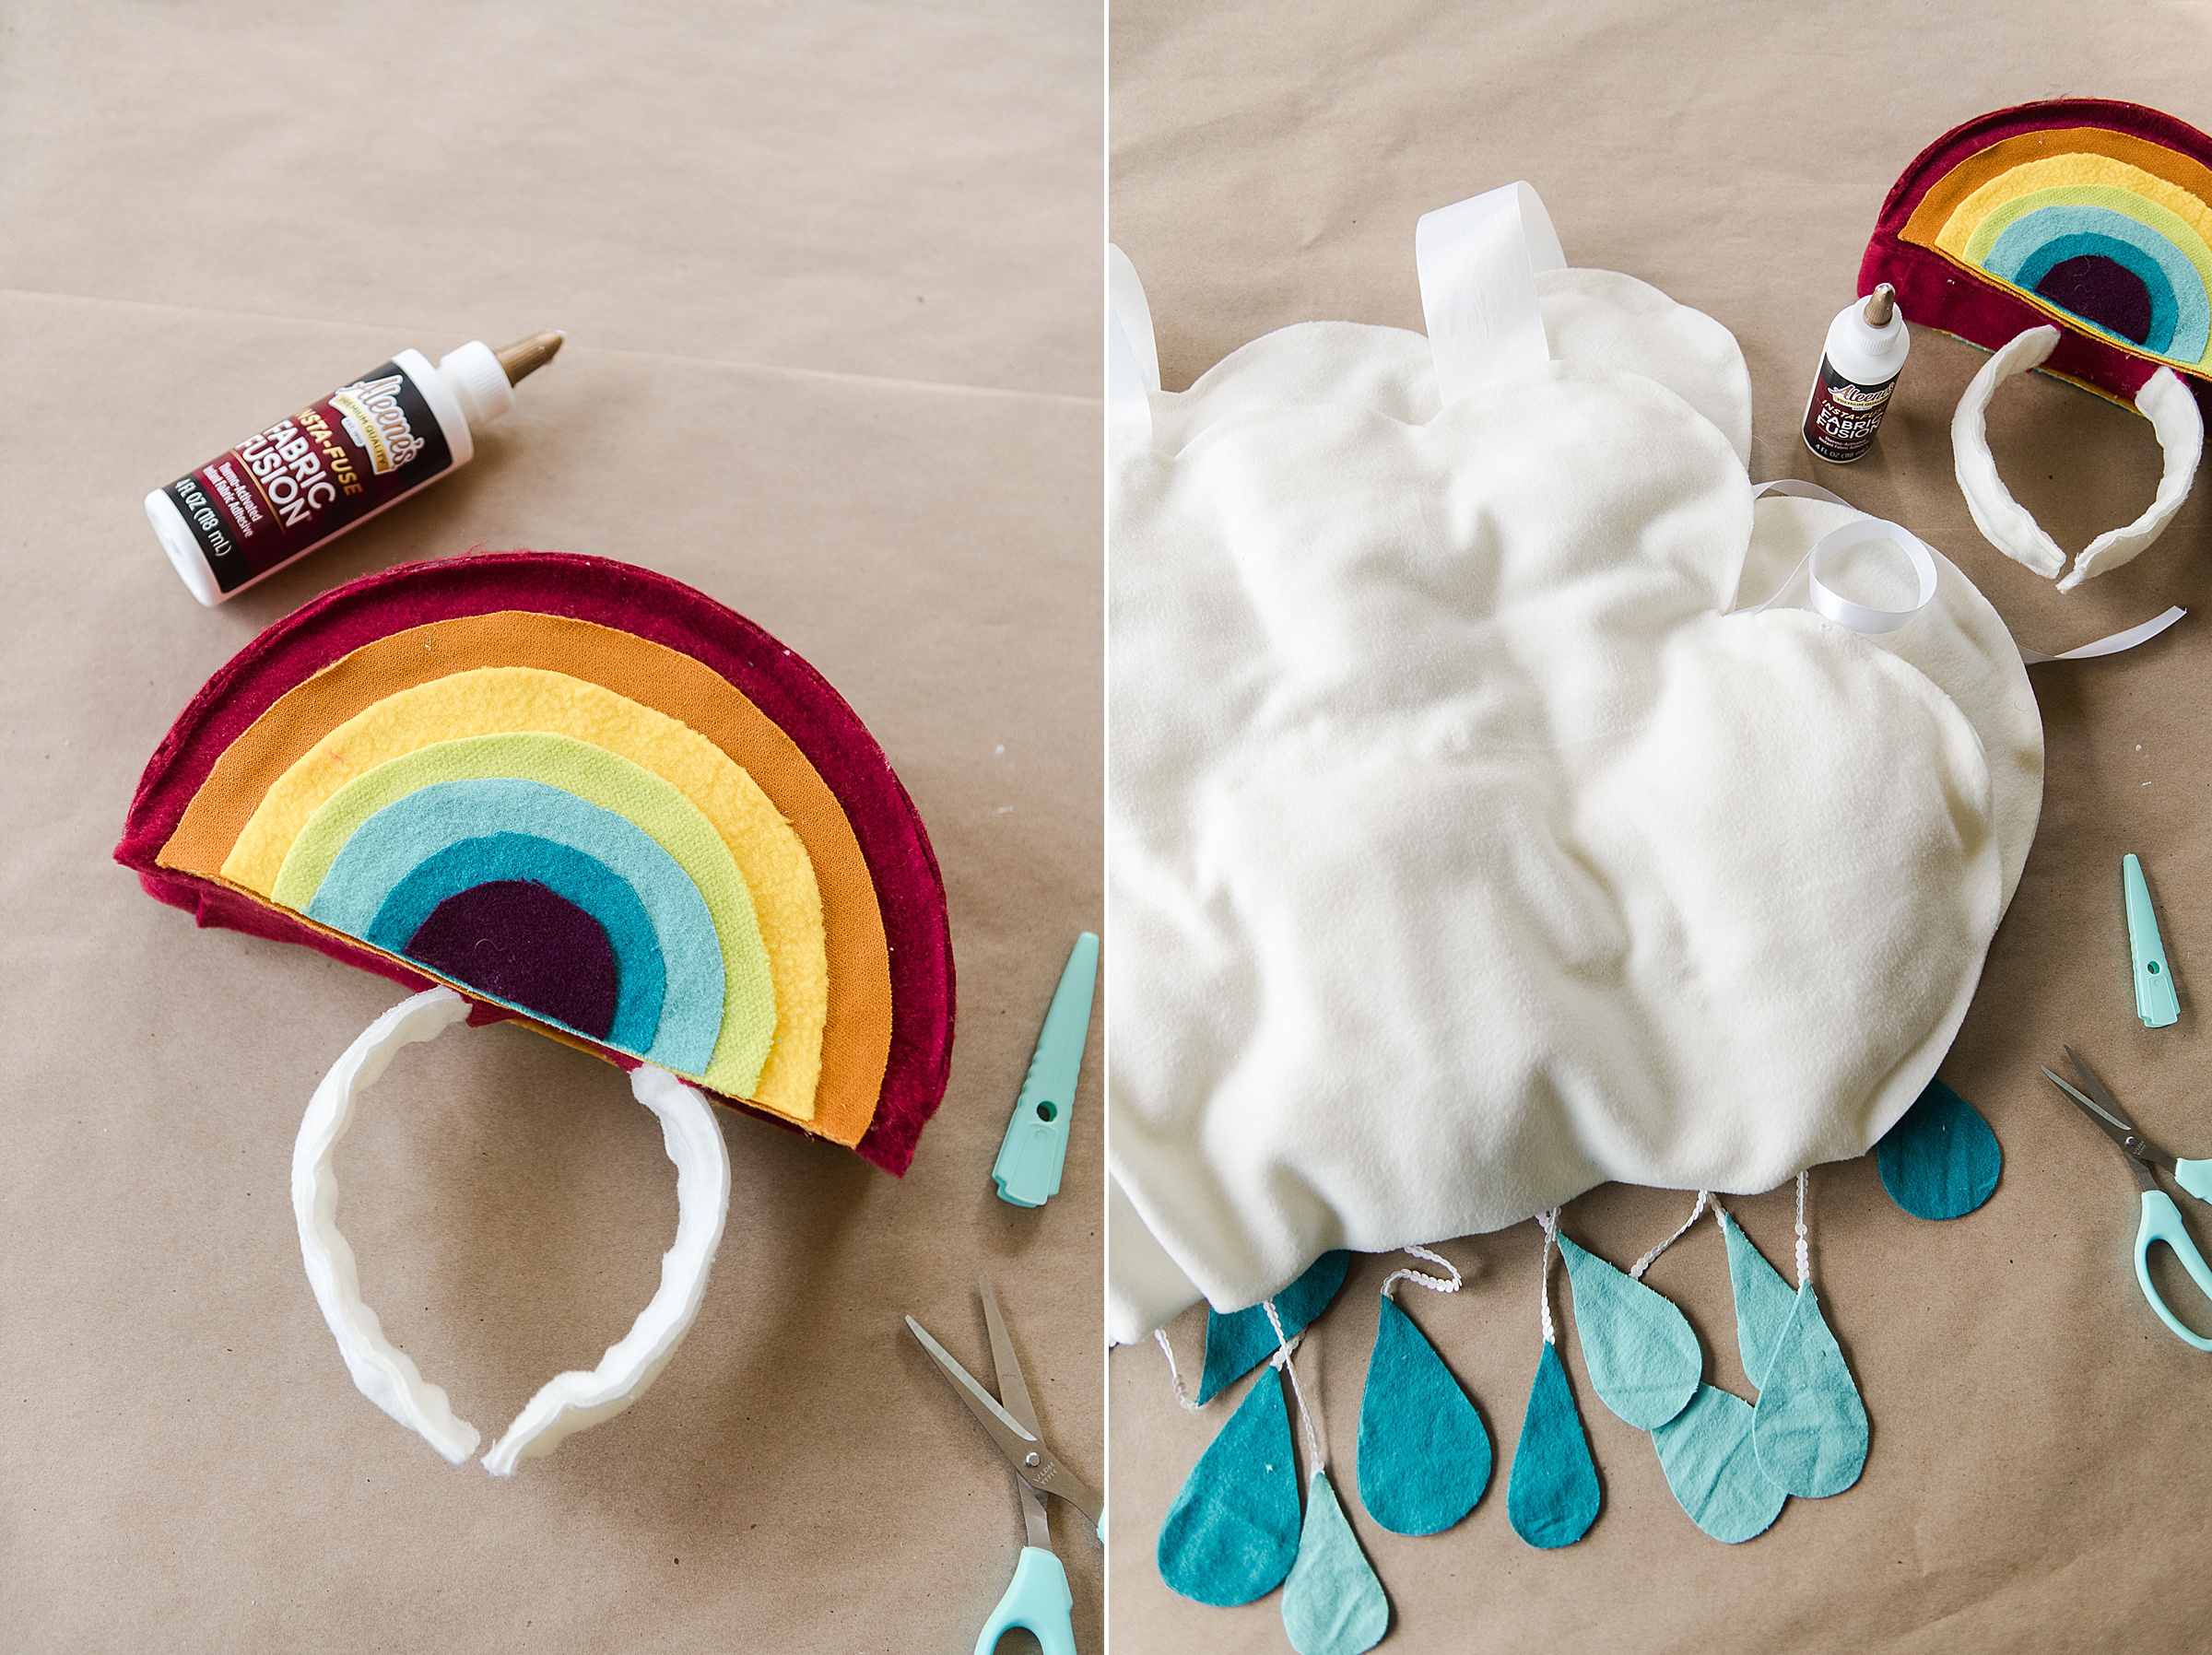
4. Make the rainbow headband! 🙂
Cut the bottom 1/2 of your foam circle off so that you are left with a rainbow shape (In theory, you can make 2 rainbow headbands from the circle so save the circle for another rainbow project )! 🙂 )
We are going to make a “sleeve” to go over the foam for the rainbow and then attach this whole thing to the headband!
Your first step is going to be to construct the front and back of the rainbow. Do this by making a pattern first – I traced my 1/2 circle onto a piece of paper and then measured out 7 arches onto the pattern (for my 7 colors) – I basically just measured out a 5/8” section 7 times to get my spacing correct.
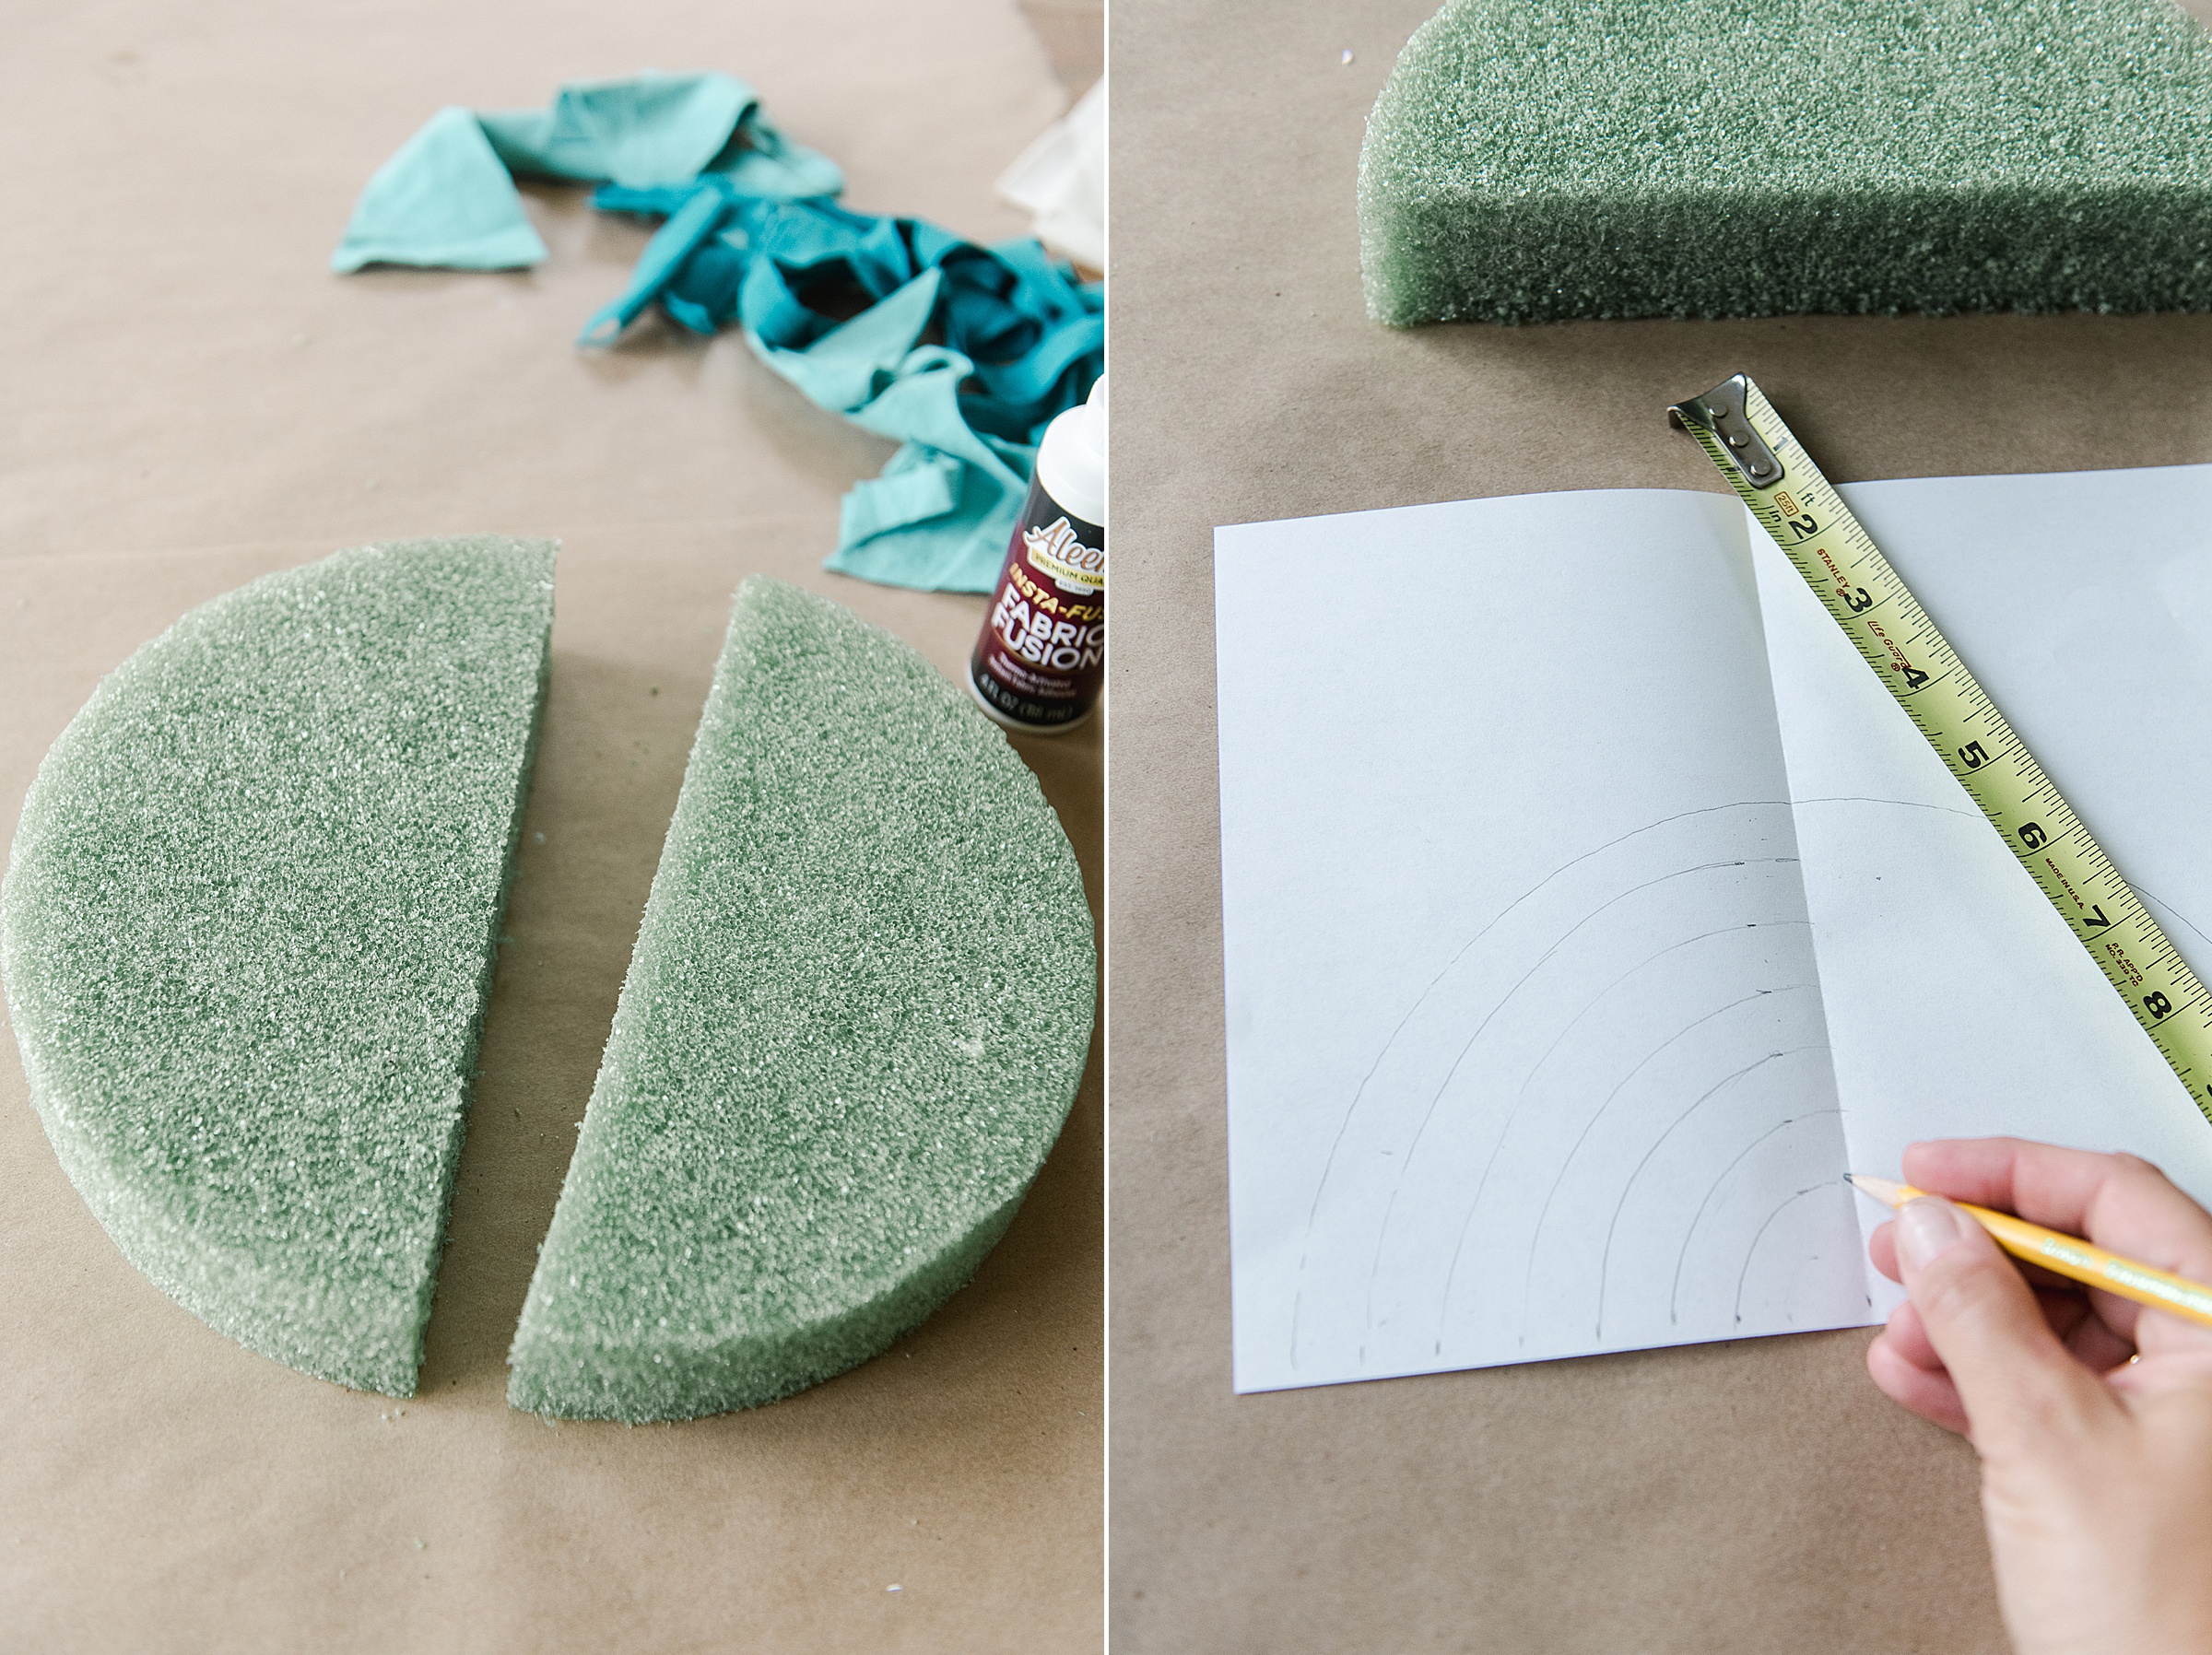
Then I used this paper pattern to cut out the outer most 1/2 circle out of red fabric (remember to cut 2 of every color…one for the front and one for the back of the rainbow). Then cut off the first arch on the paper pattern to trace a slightly smaller arch onto the orange fabric. Cut out the orange fabric and then cut the outer most arch away from the paper pattern and repeat this step with all of the colors and all of the arches until you have your complete rainbow! 🙂
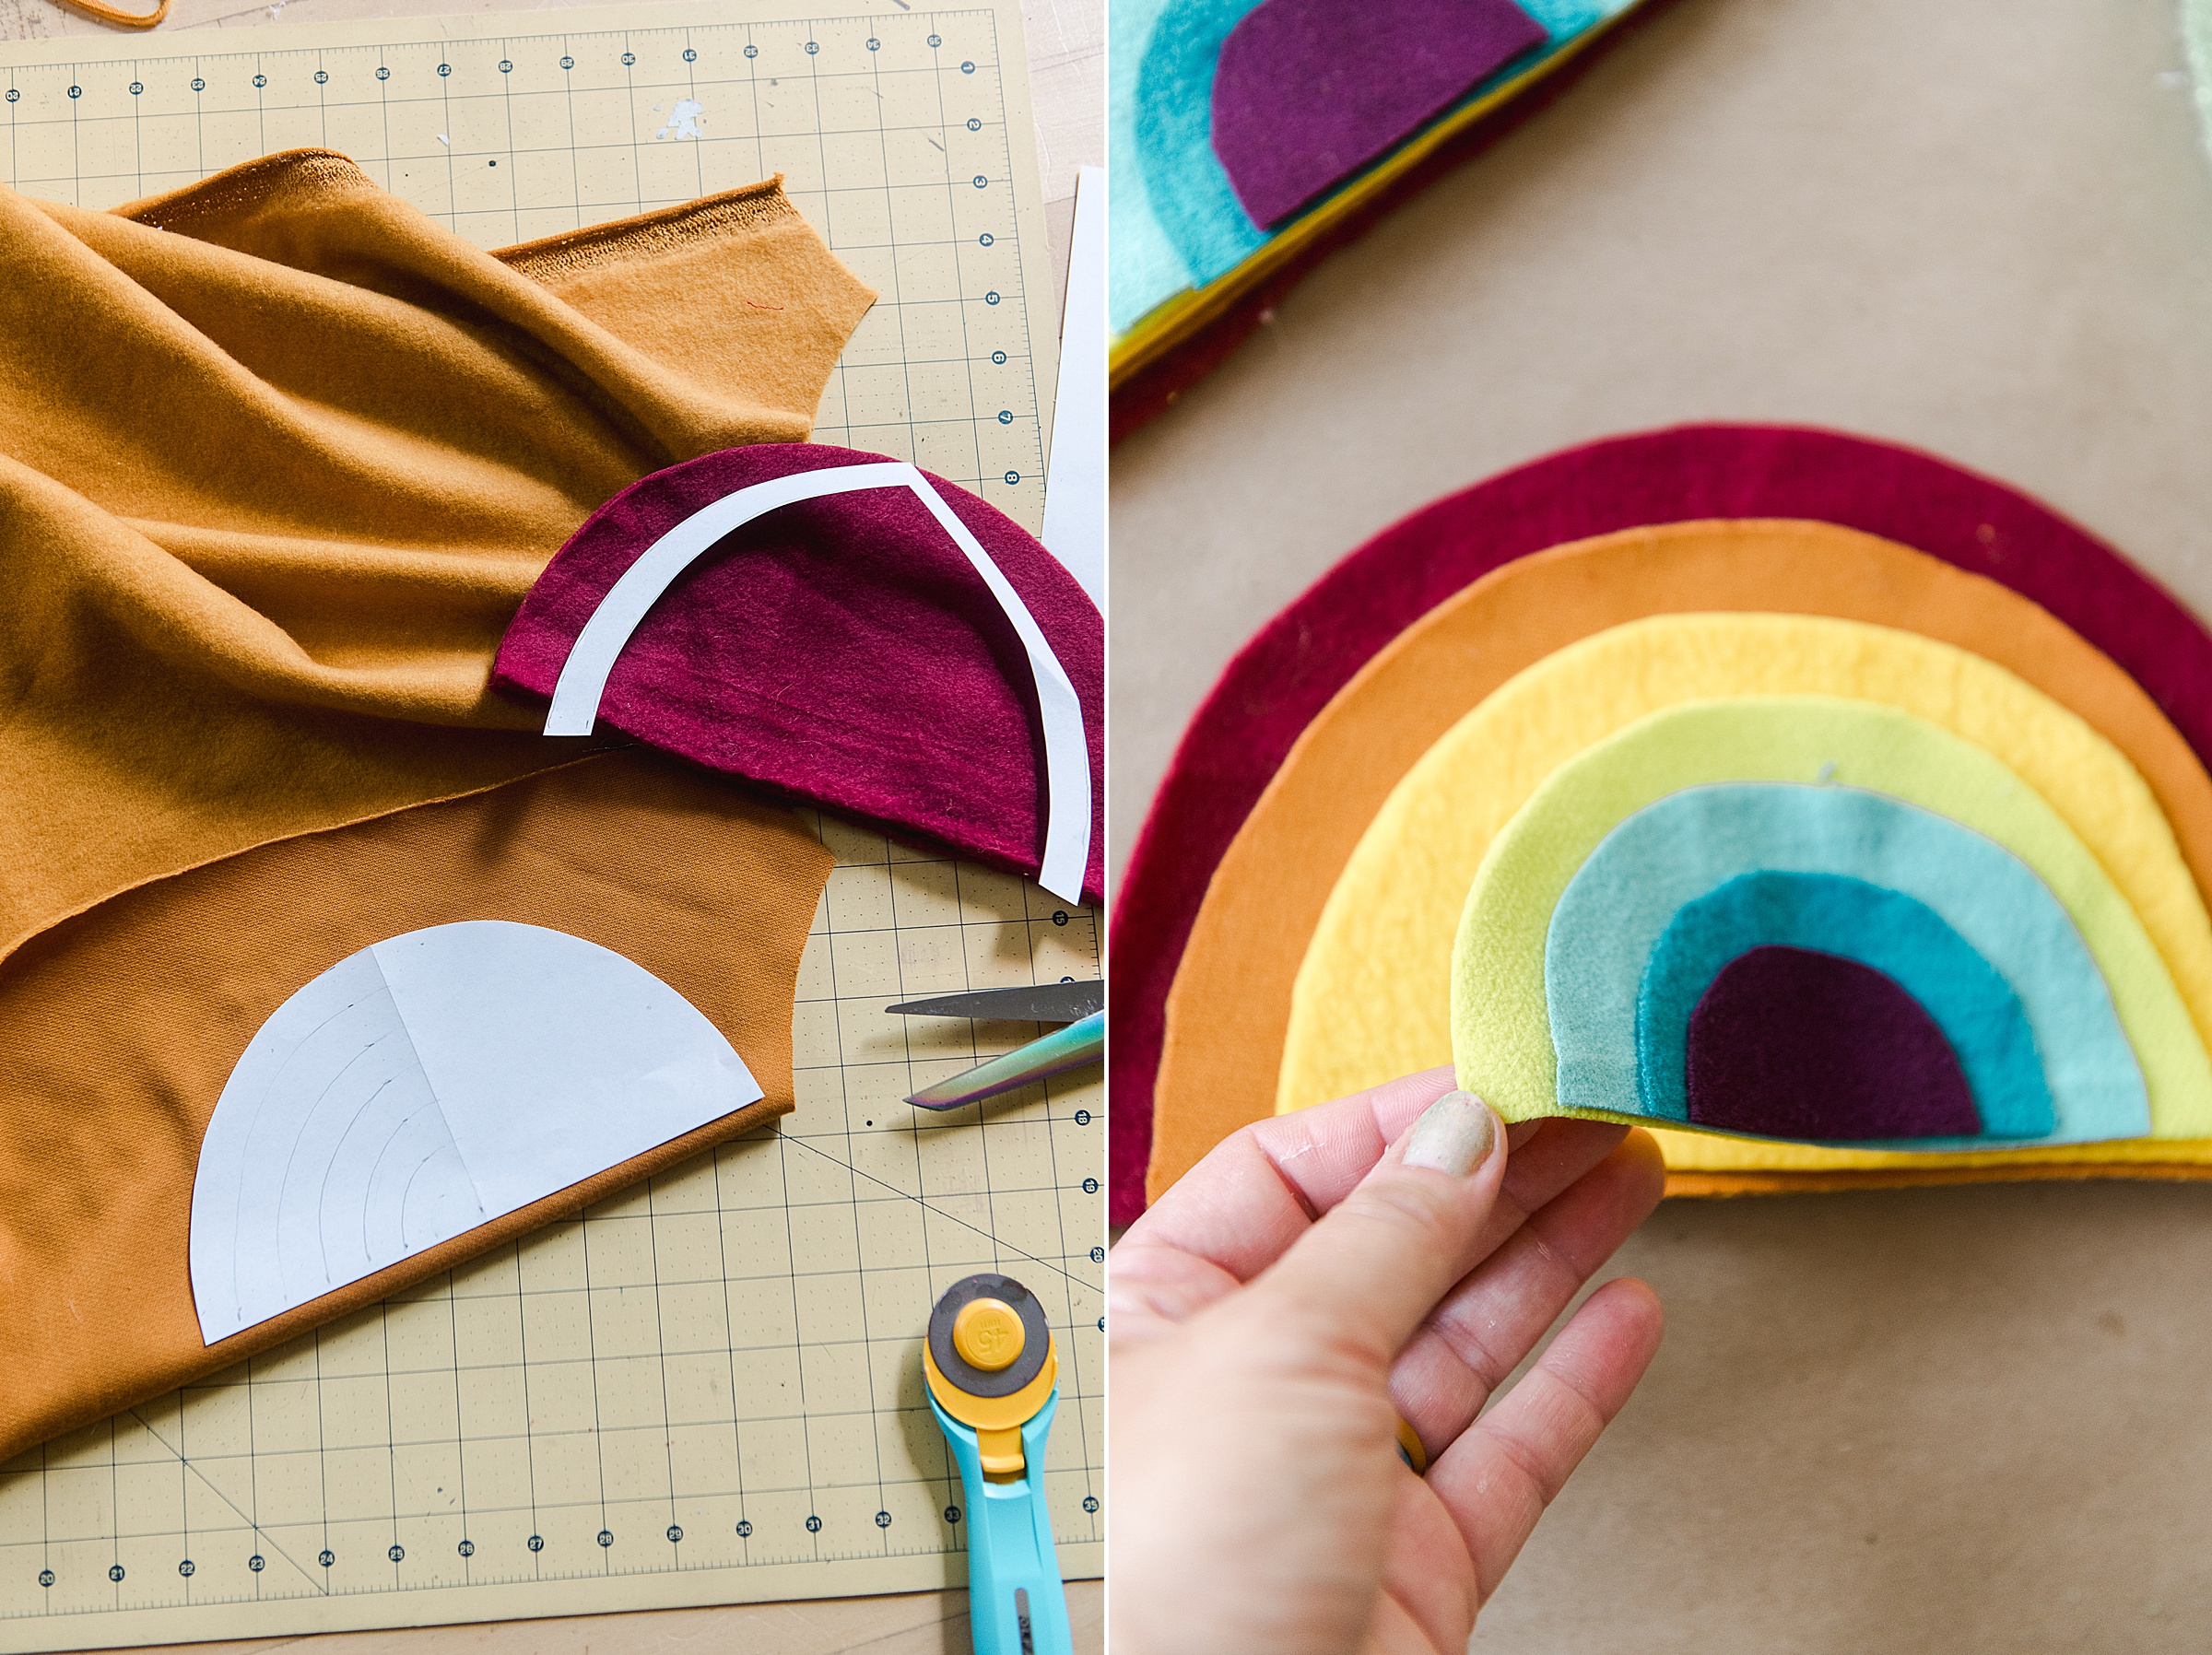
You will then cut a strip of red fabric a 1/4” wider than the foam disk that you purchased (in my case, I have a 2” disk so I cut a 2 1/4” strip of red fabric). Adding this extra width will give “seam allowance” for gluing the whole rainbow together to make the “rainbow sleeve”.
Now you will glue your rainbow arches together by gluing and ironing with heat as you layer the colors together.
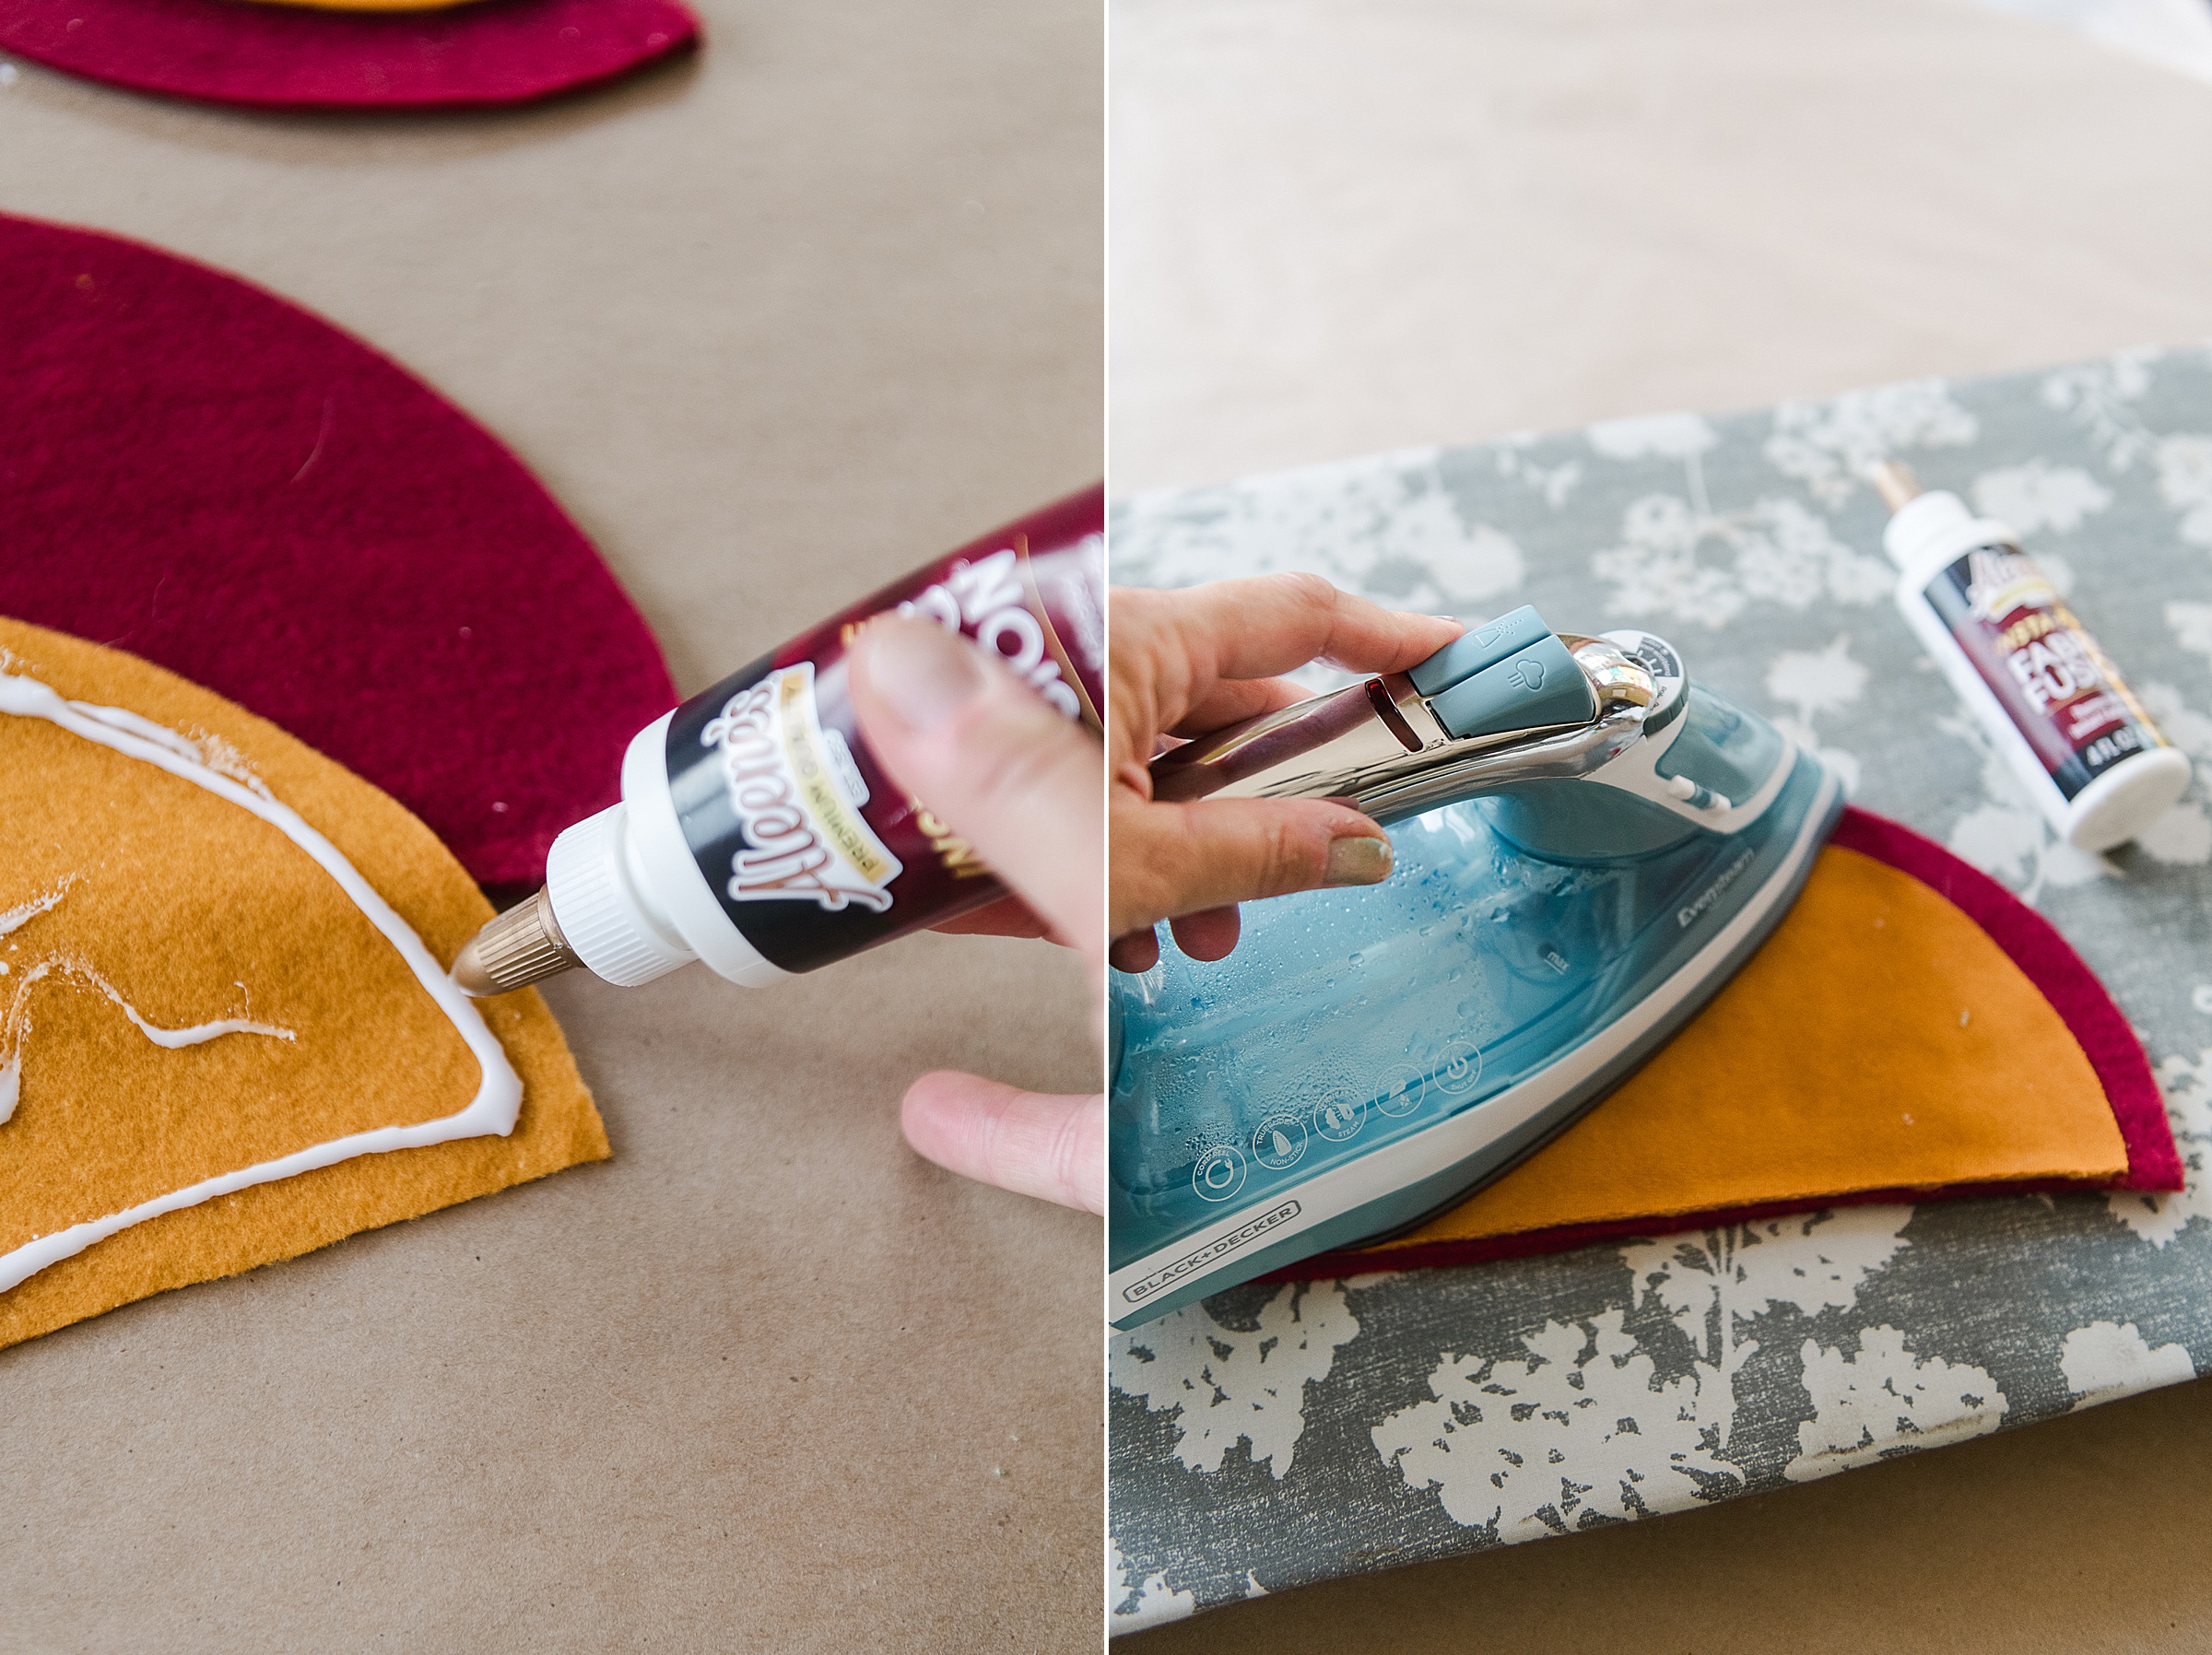
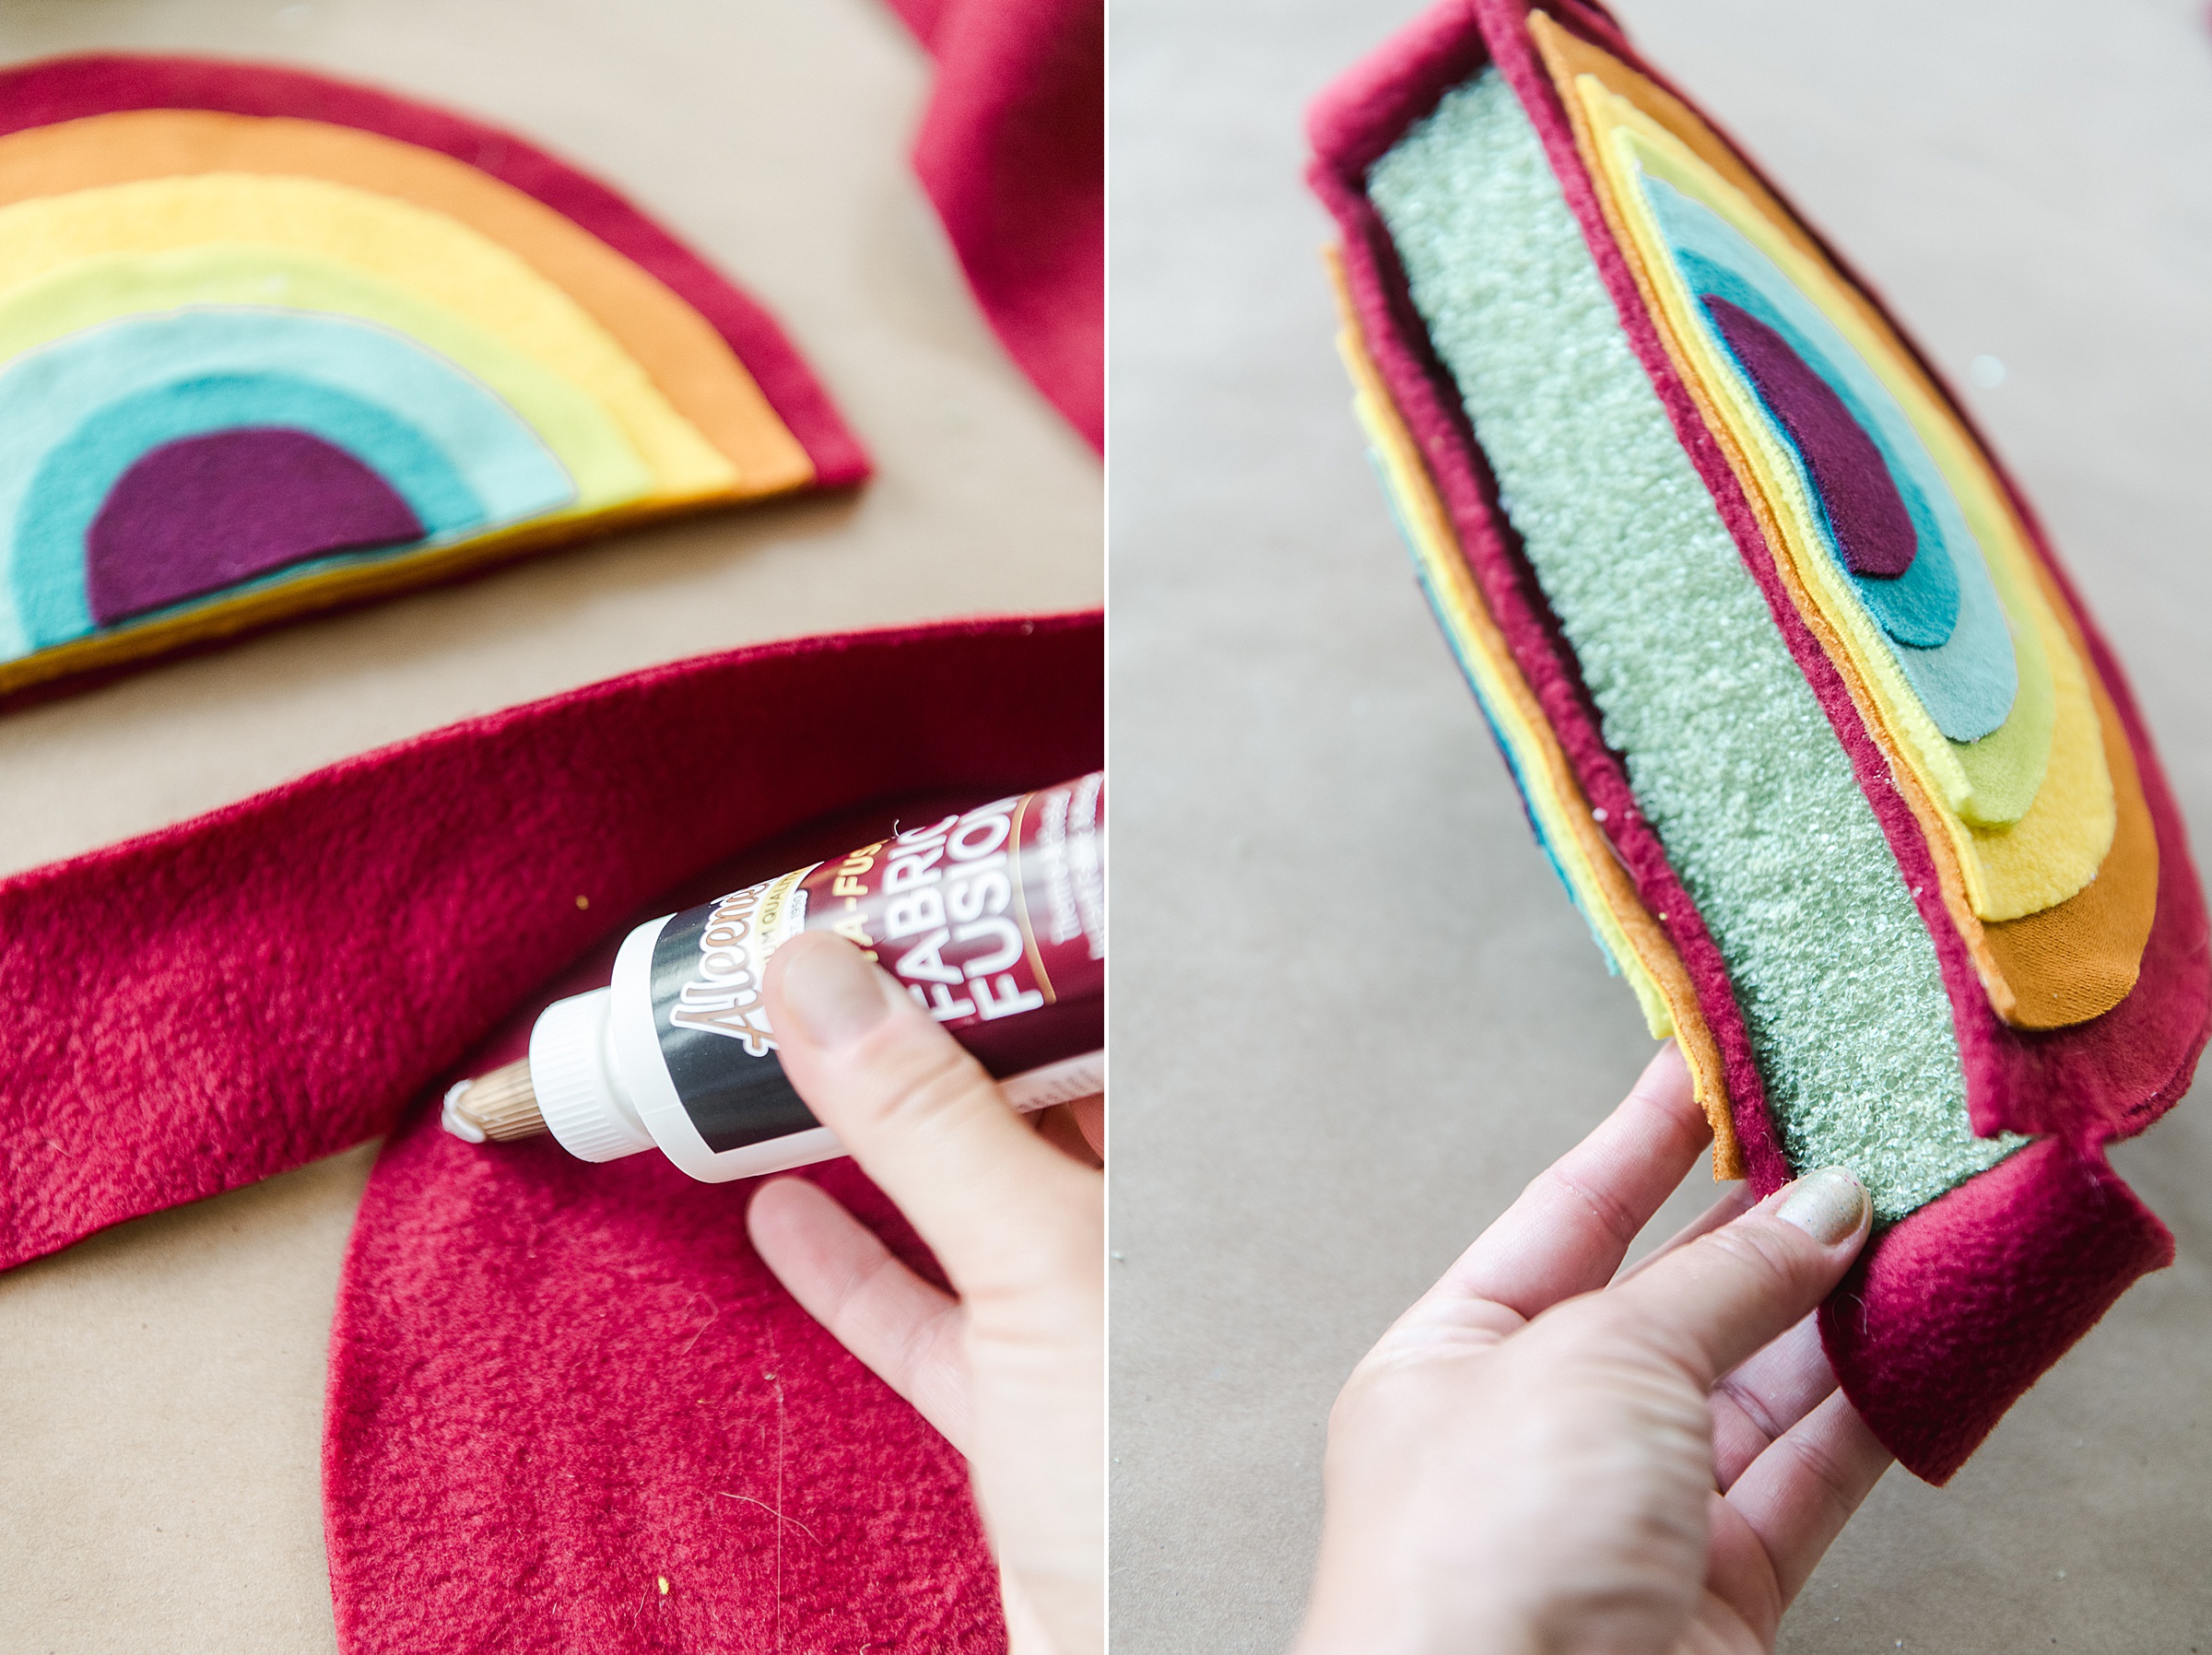
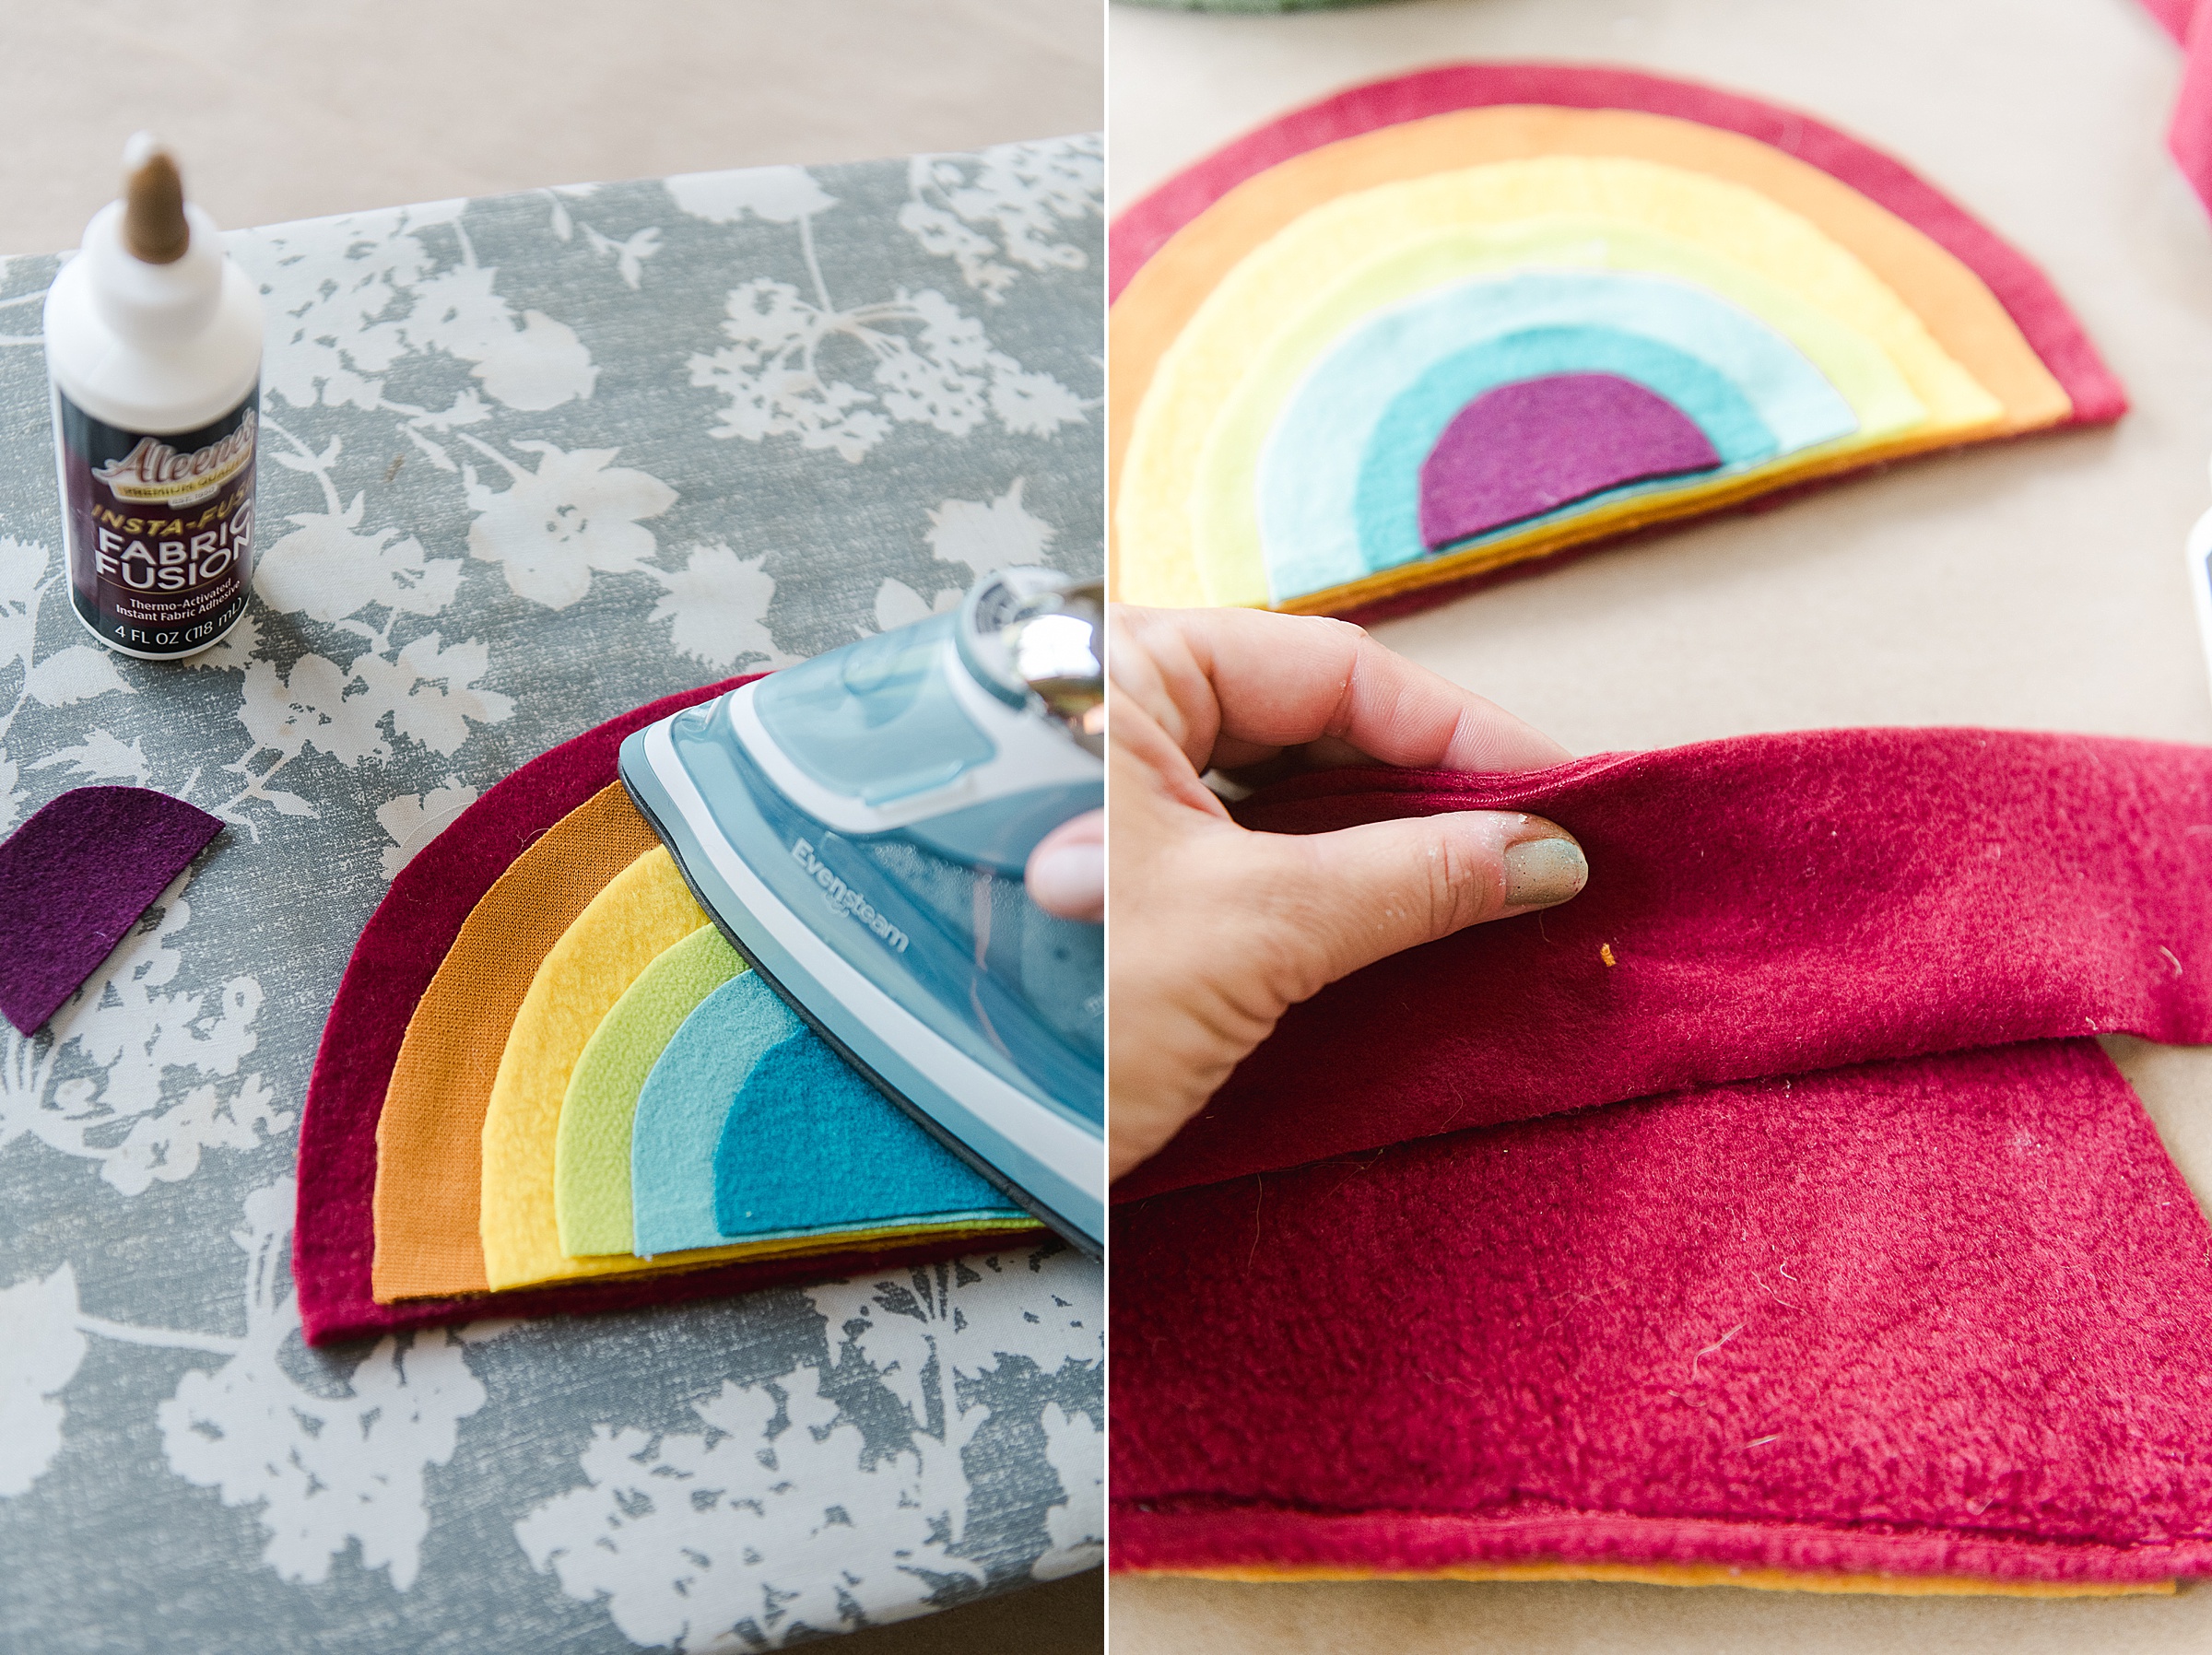
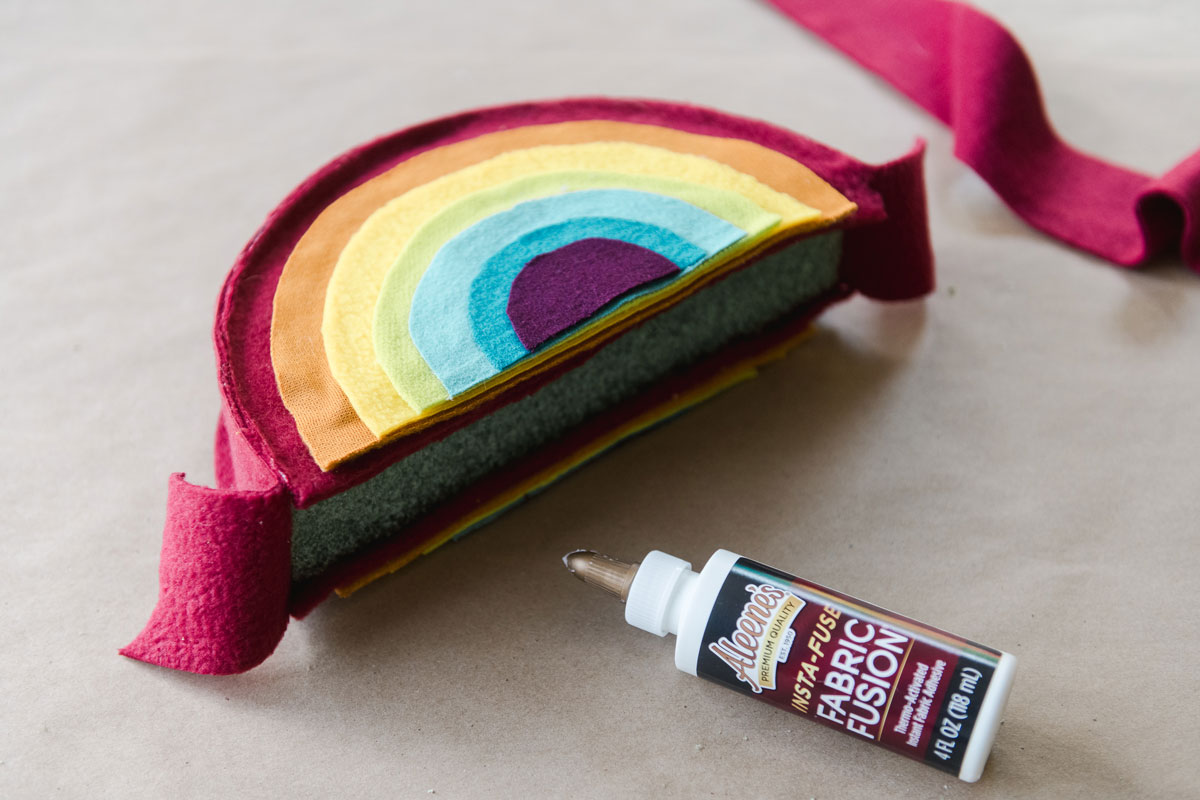
Once both rainbows are completely glued together, you will add your strip of red between the 2 arches. Do this by putting your “wrong sides” together in the center of the arch and adding glue and ironing along one half of the arch. Then repeat with the other half until the whole strip is glued on. Repeat this same method to the other side arch until you have a little rainbow taco pocket for your foam disc.
Add on your headband to complete the rainbow head-piece! 🙂
