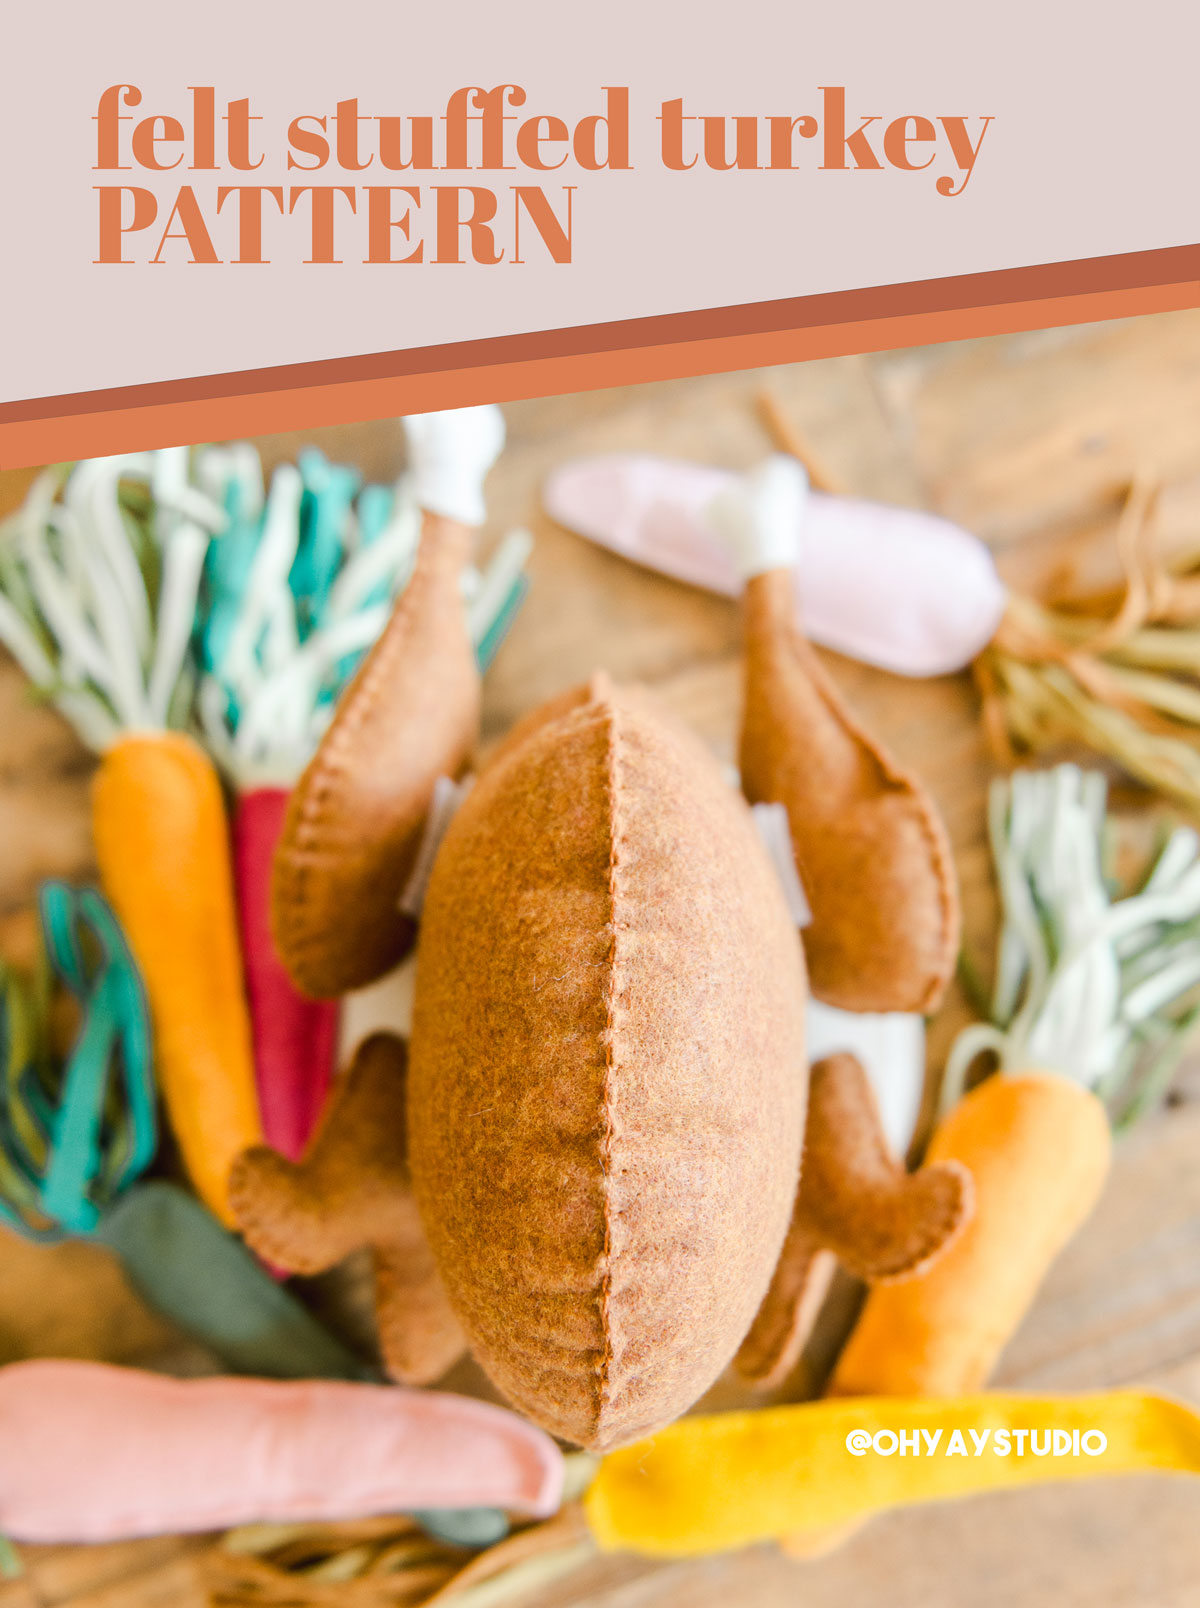
Make a felt turkey!
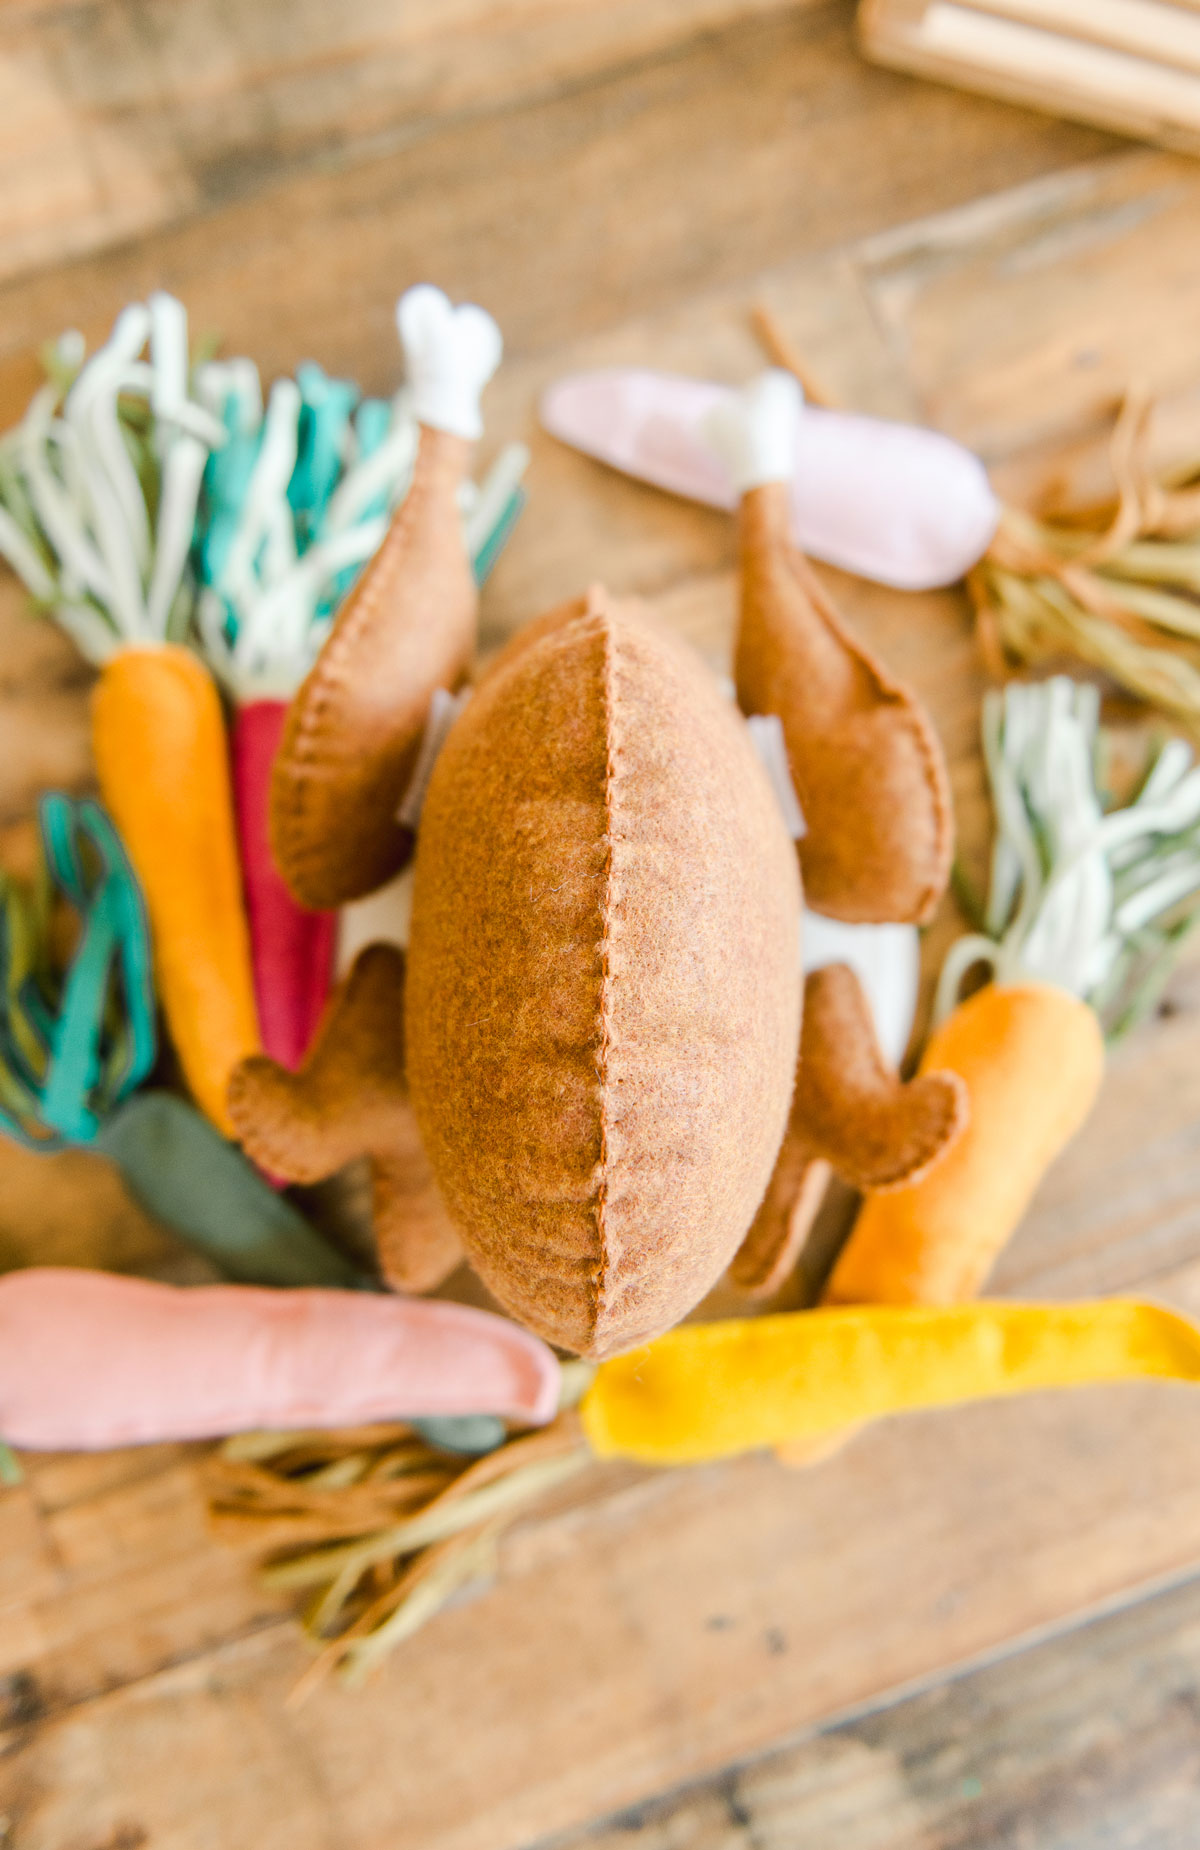
My daughter is a HUGE fan of her play kitchen (honestly, I think that the age of make-believe play is endless if we keep encouraging it). SOOOOO I decided that she needed a felt turkey for her “Thanksgiving meal” (DUH!) I looked online for a few patterns, and couldn’t find what I wanted (something with simple hand-stitching and big enough with a parts that could be removed) so, like every creative mom, I said “I CAN MAKE IT” and I did!!! I hope that you find this pattern as simple and whimsical as I did! 🙂
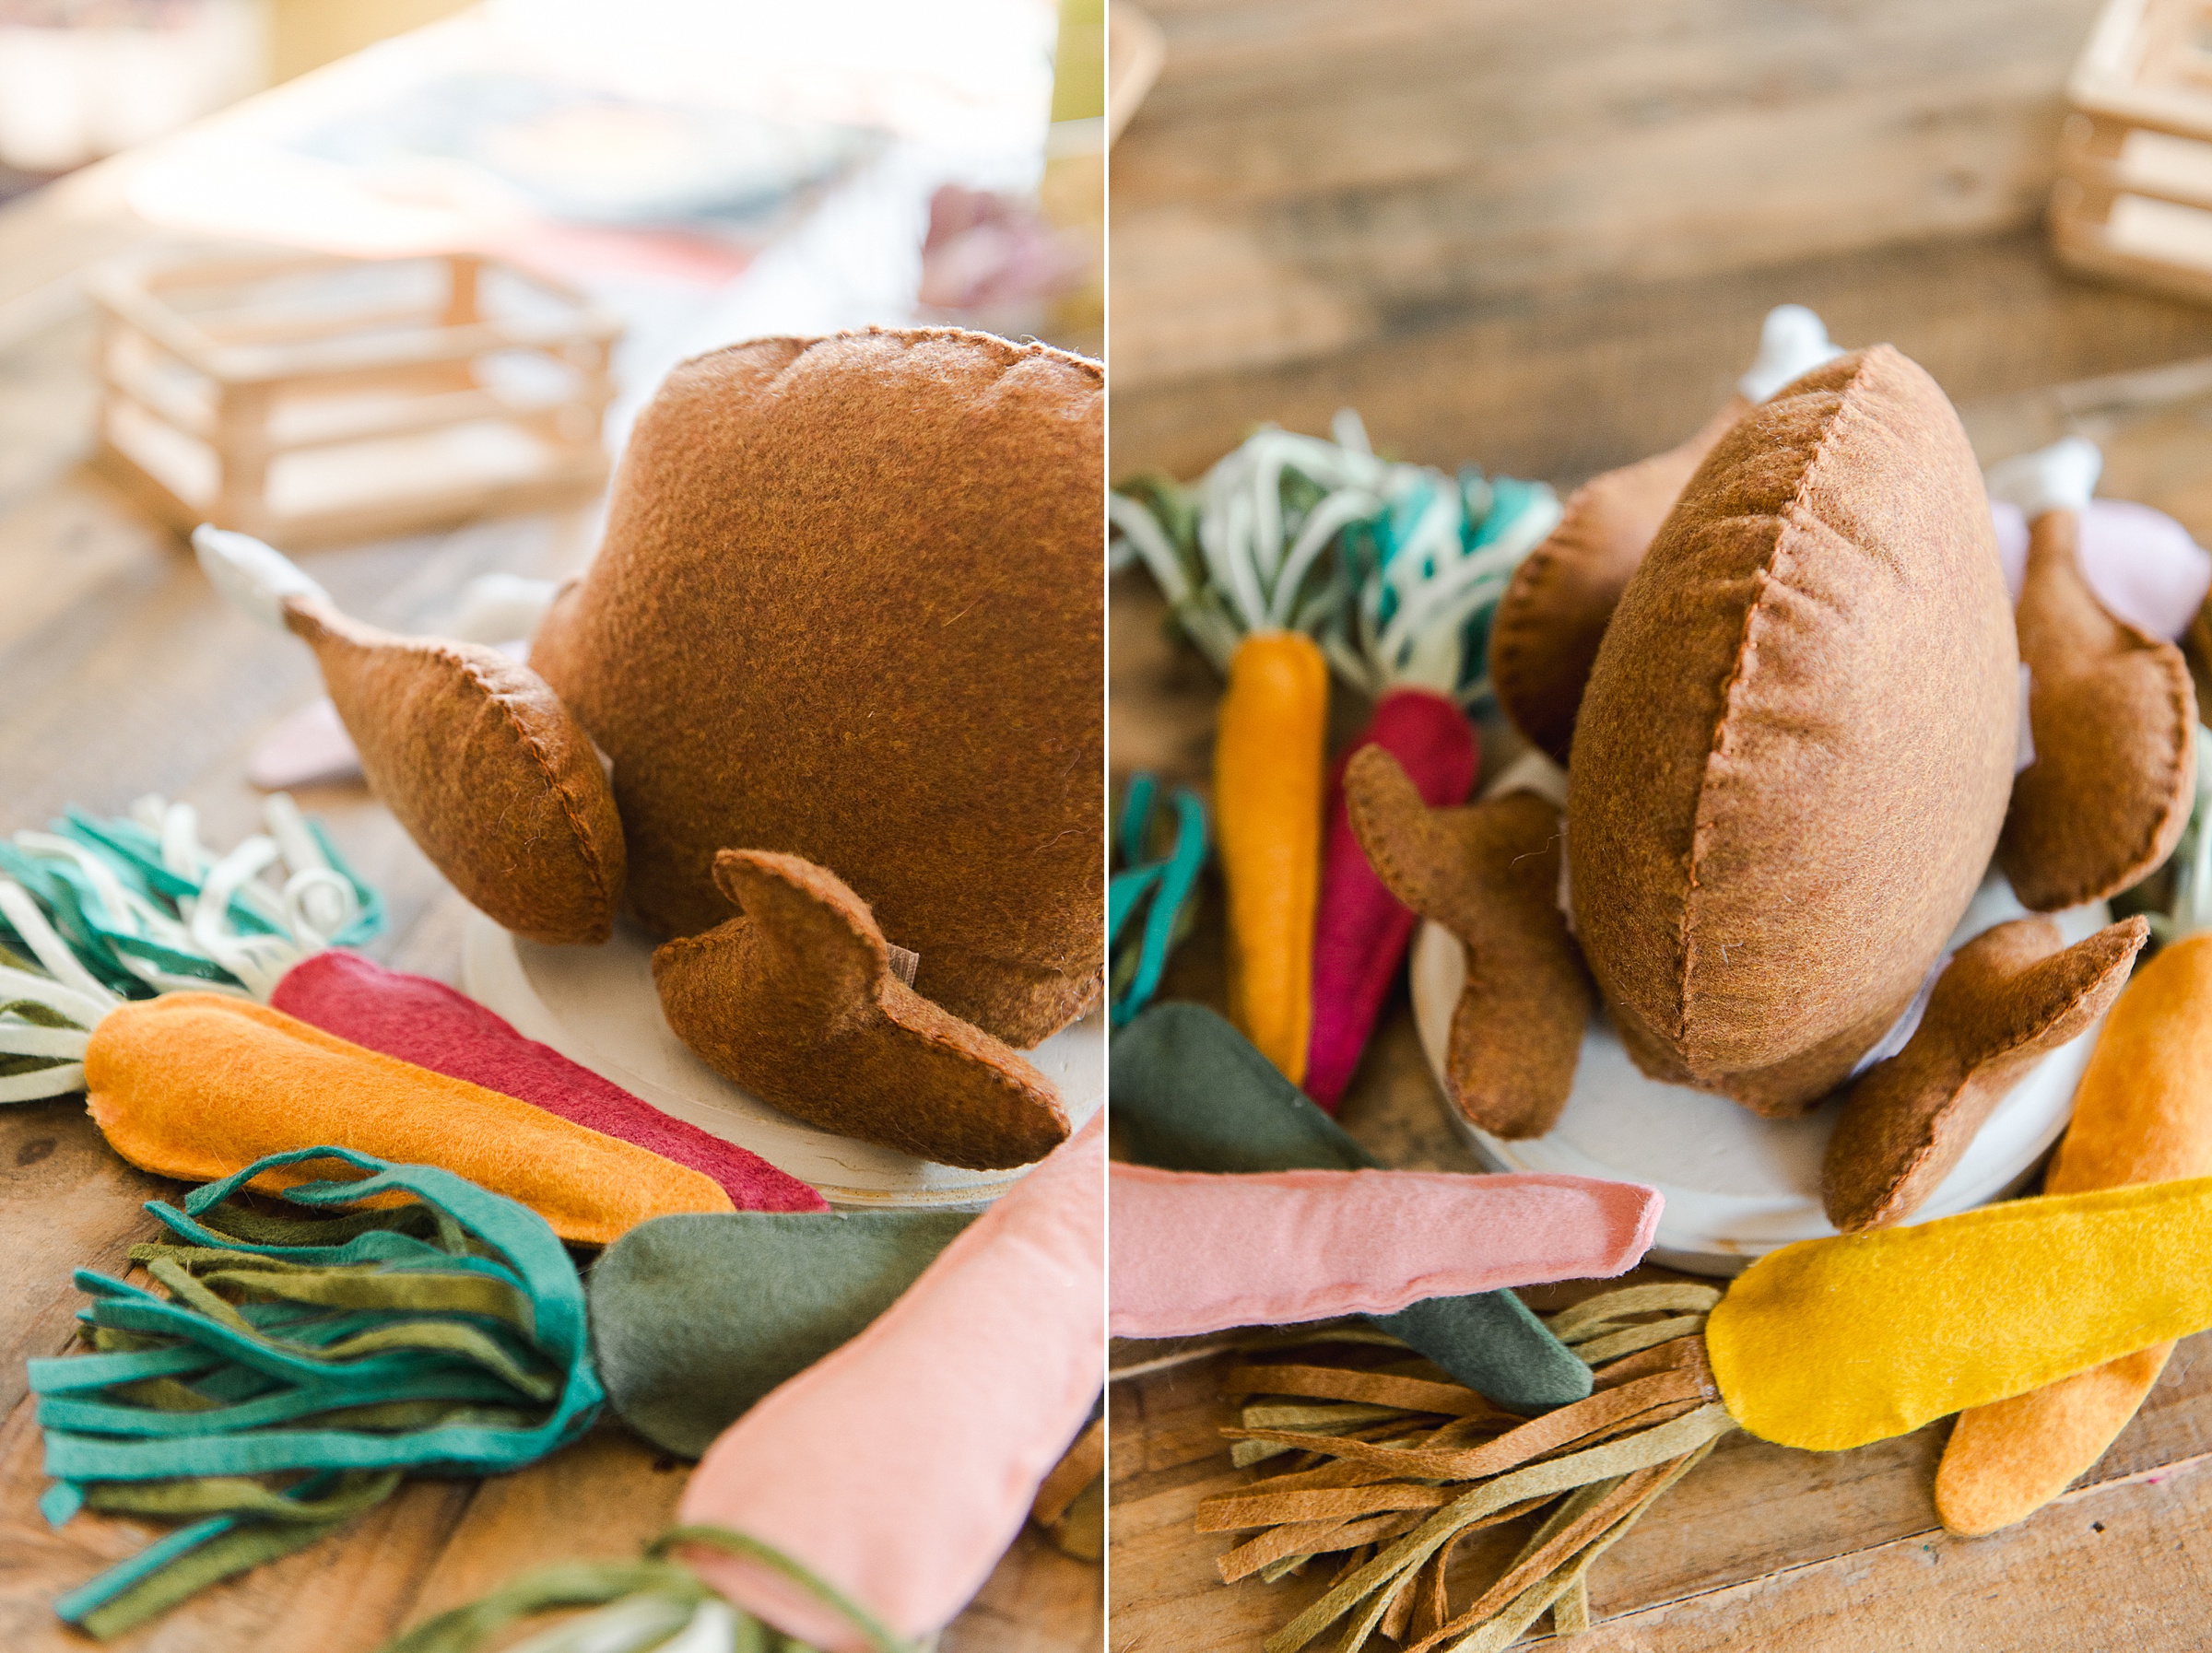
MATERIALS:
- Brown felt
- Off white or white felt
- Some brown thread and needle for hand stitching (I used embroidery-like floss) 🙂
- White thread
- Polyfil or your favorite toy stuffing
- Velcro (I used just the peel and stick kind)
- pins or claw clips
INSTRUCTIONS:
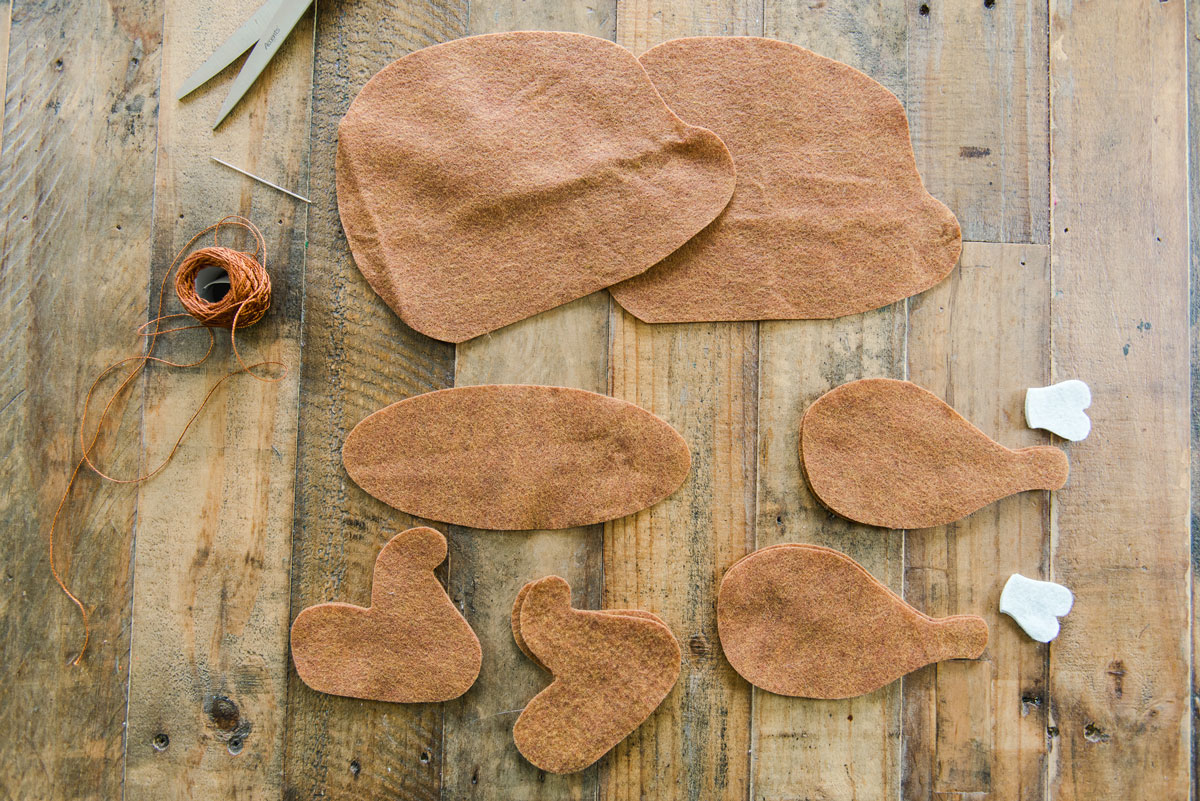
- Cut out the pieces according to the pattern. Download the PDF or SVG files (for cutting on a cutting machine) below:
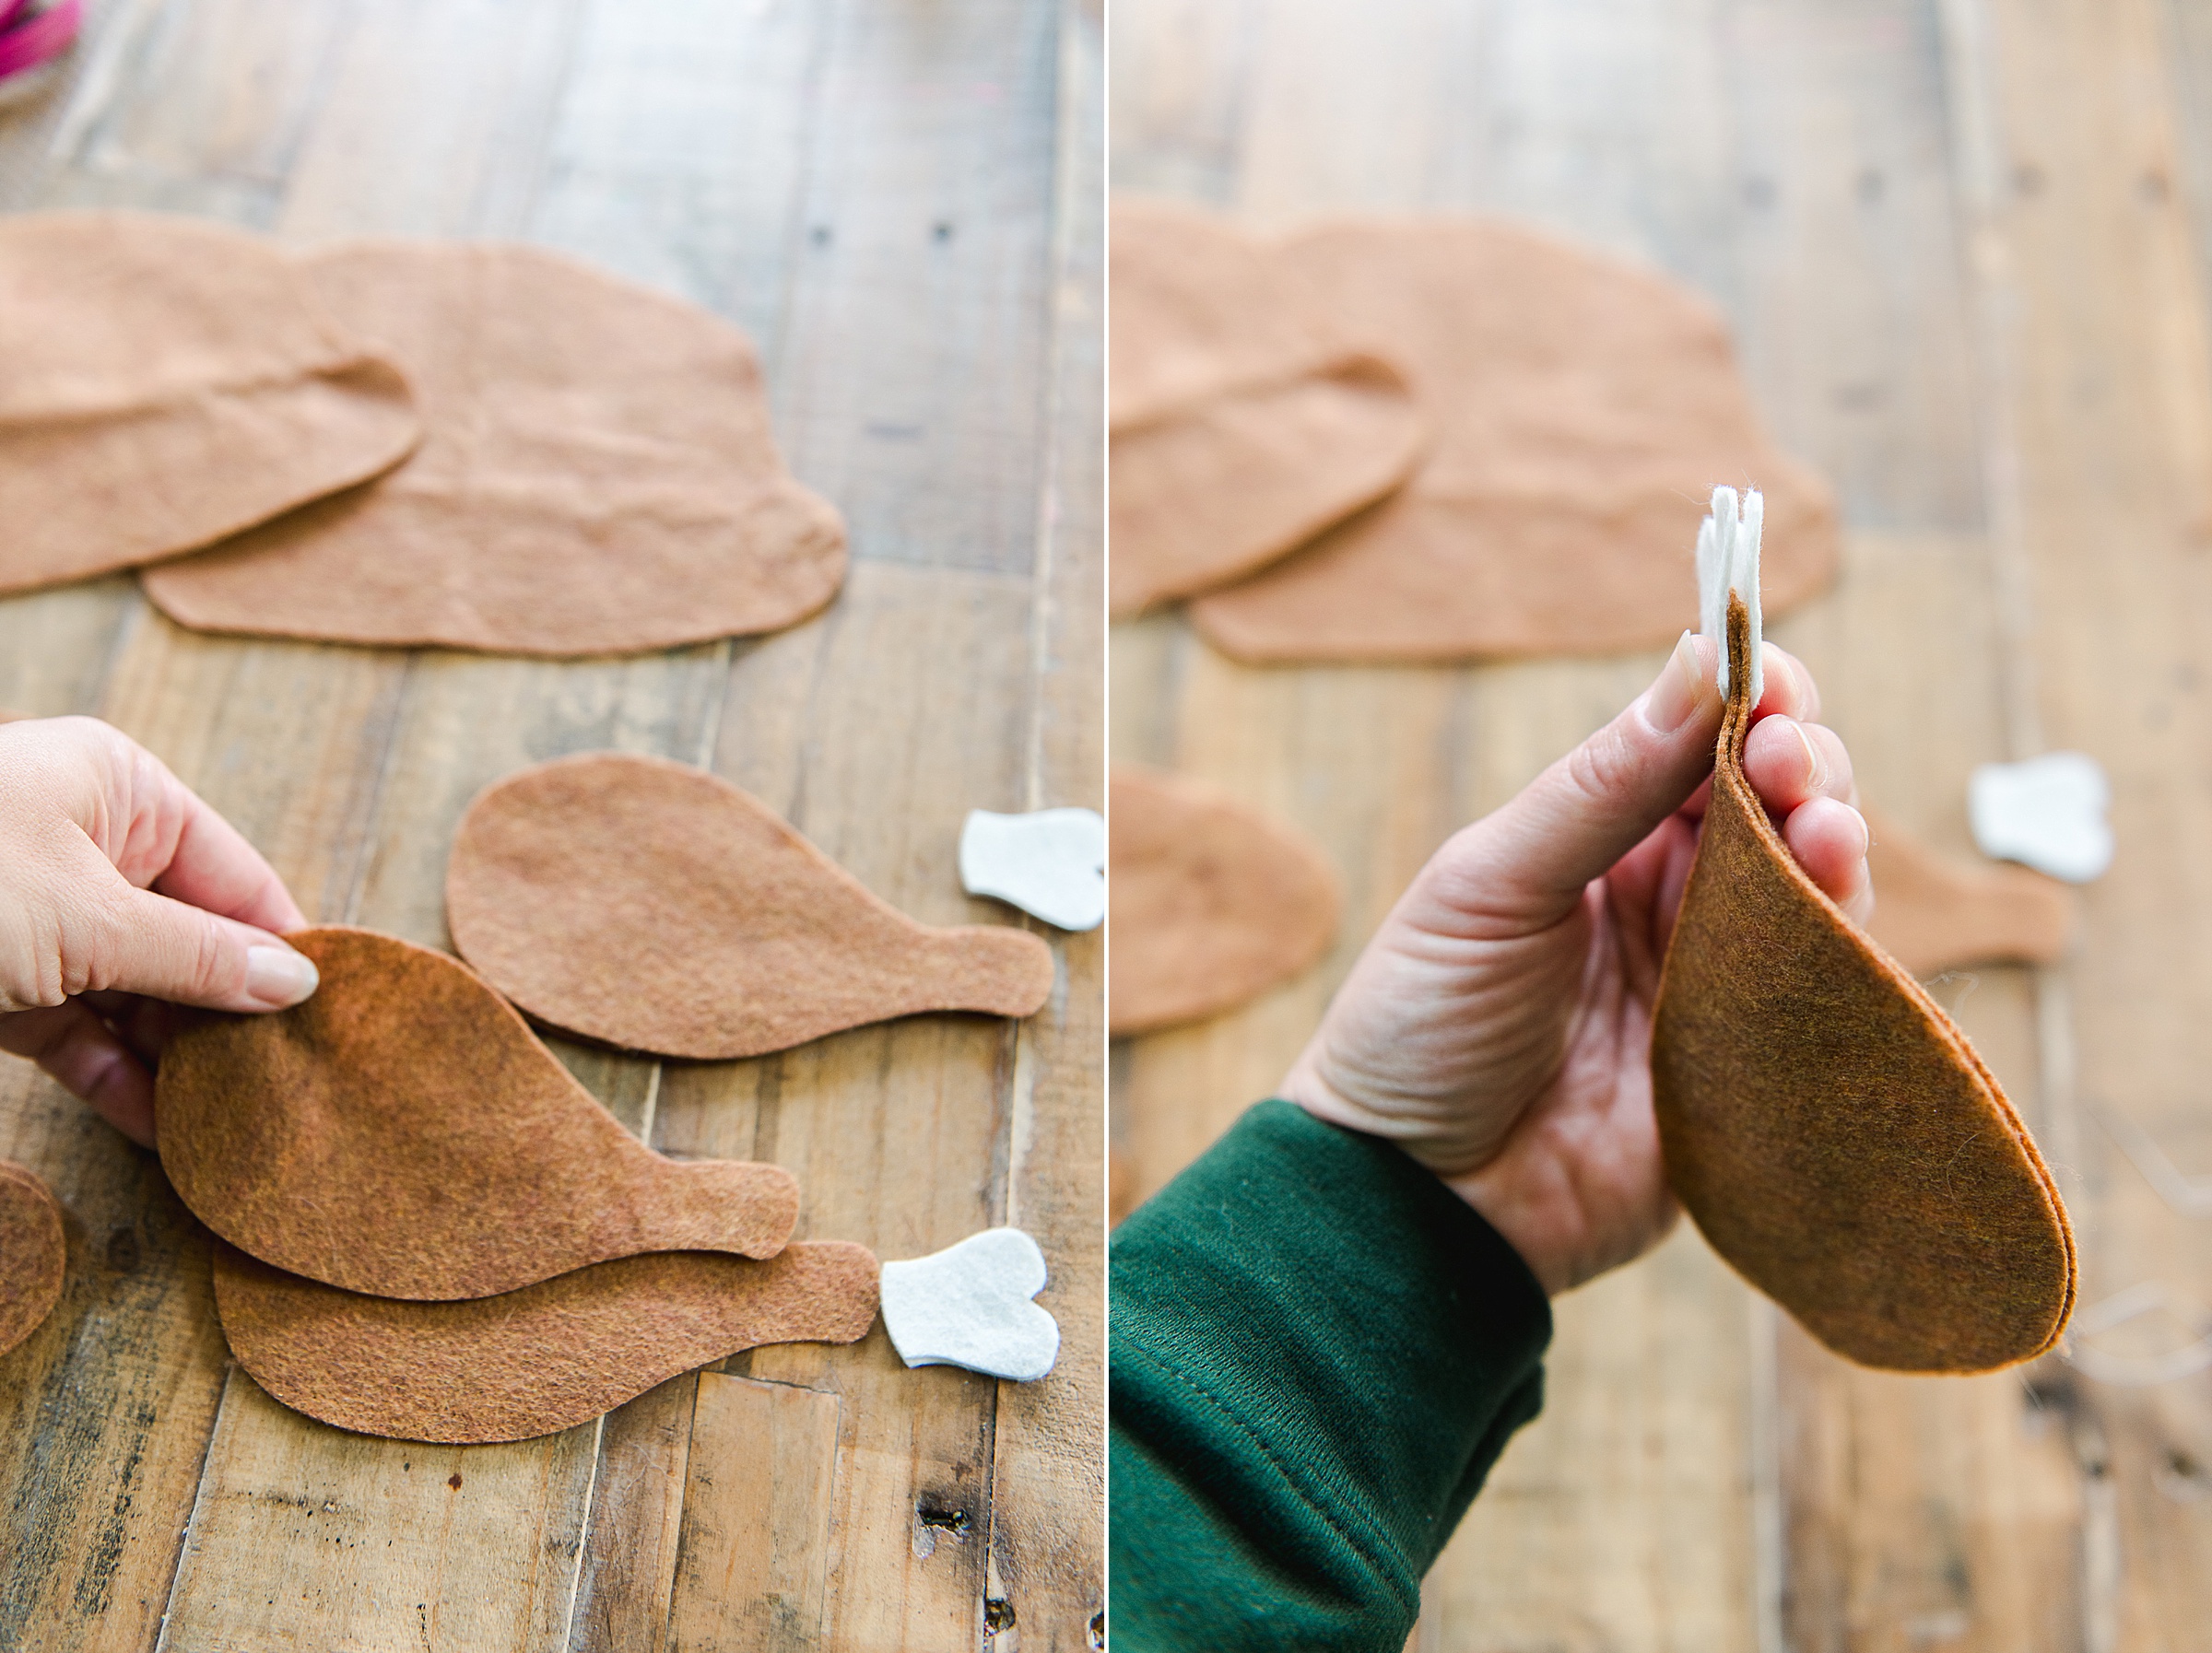
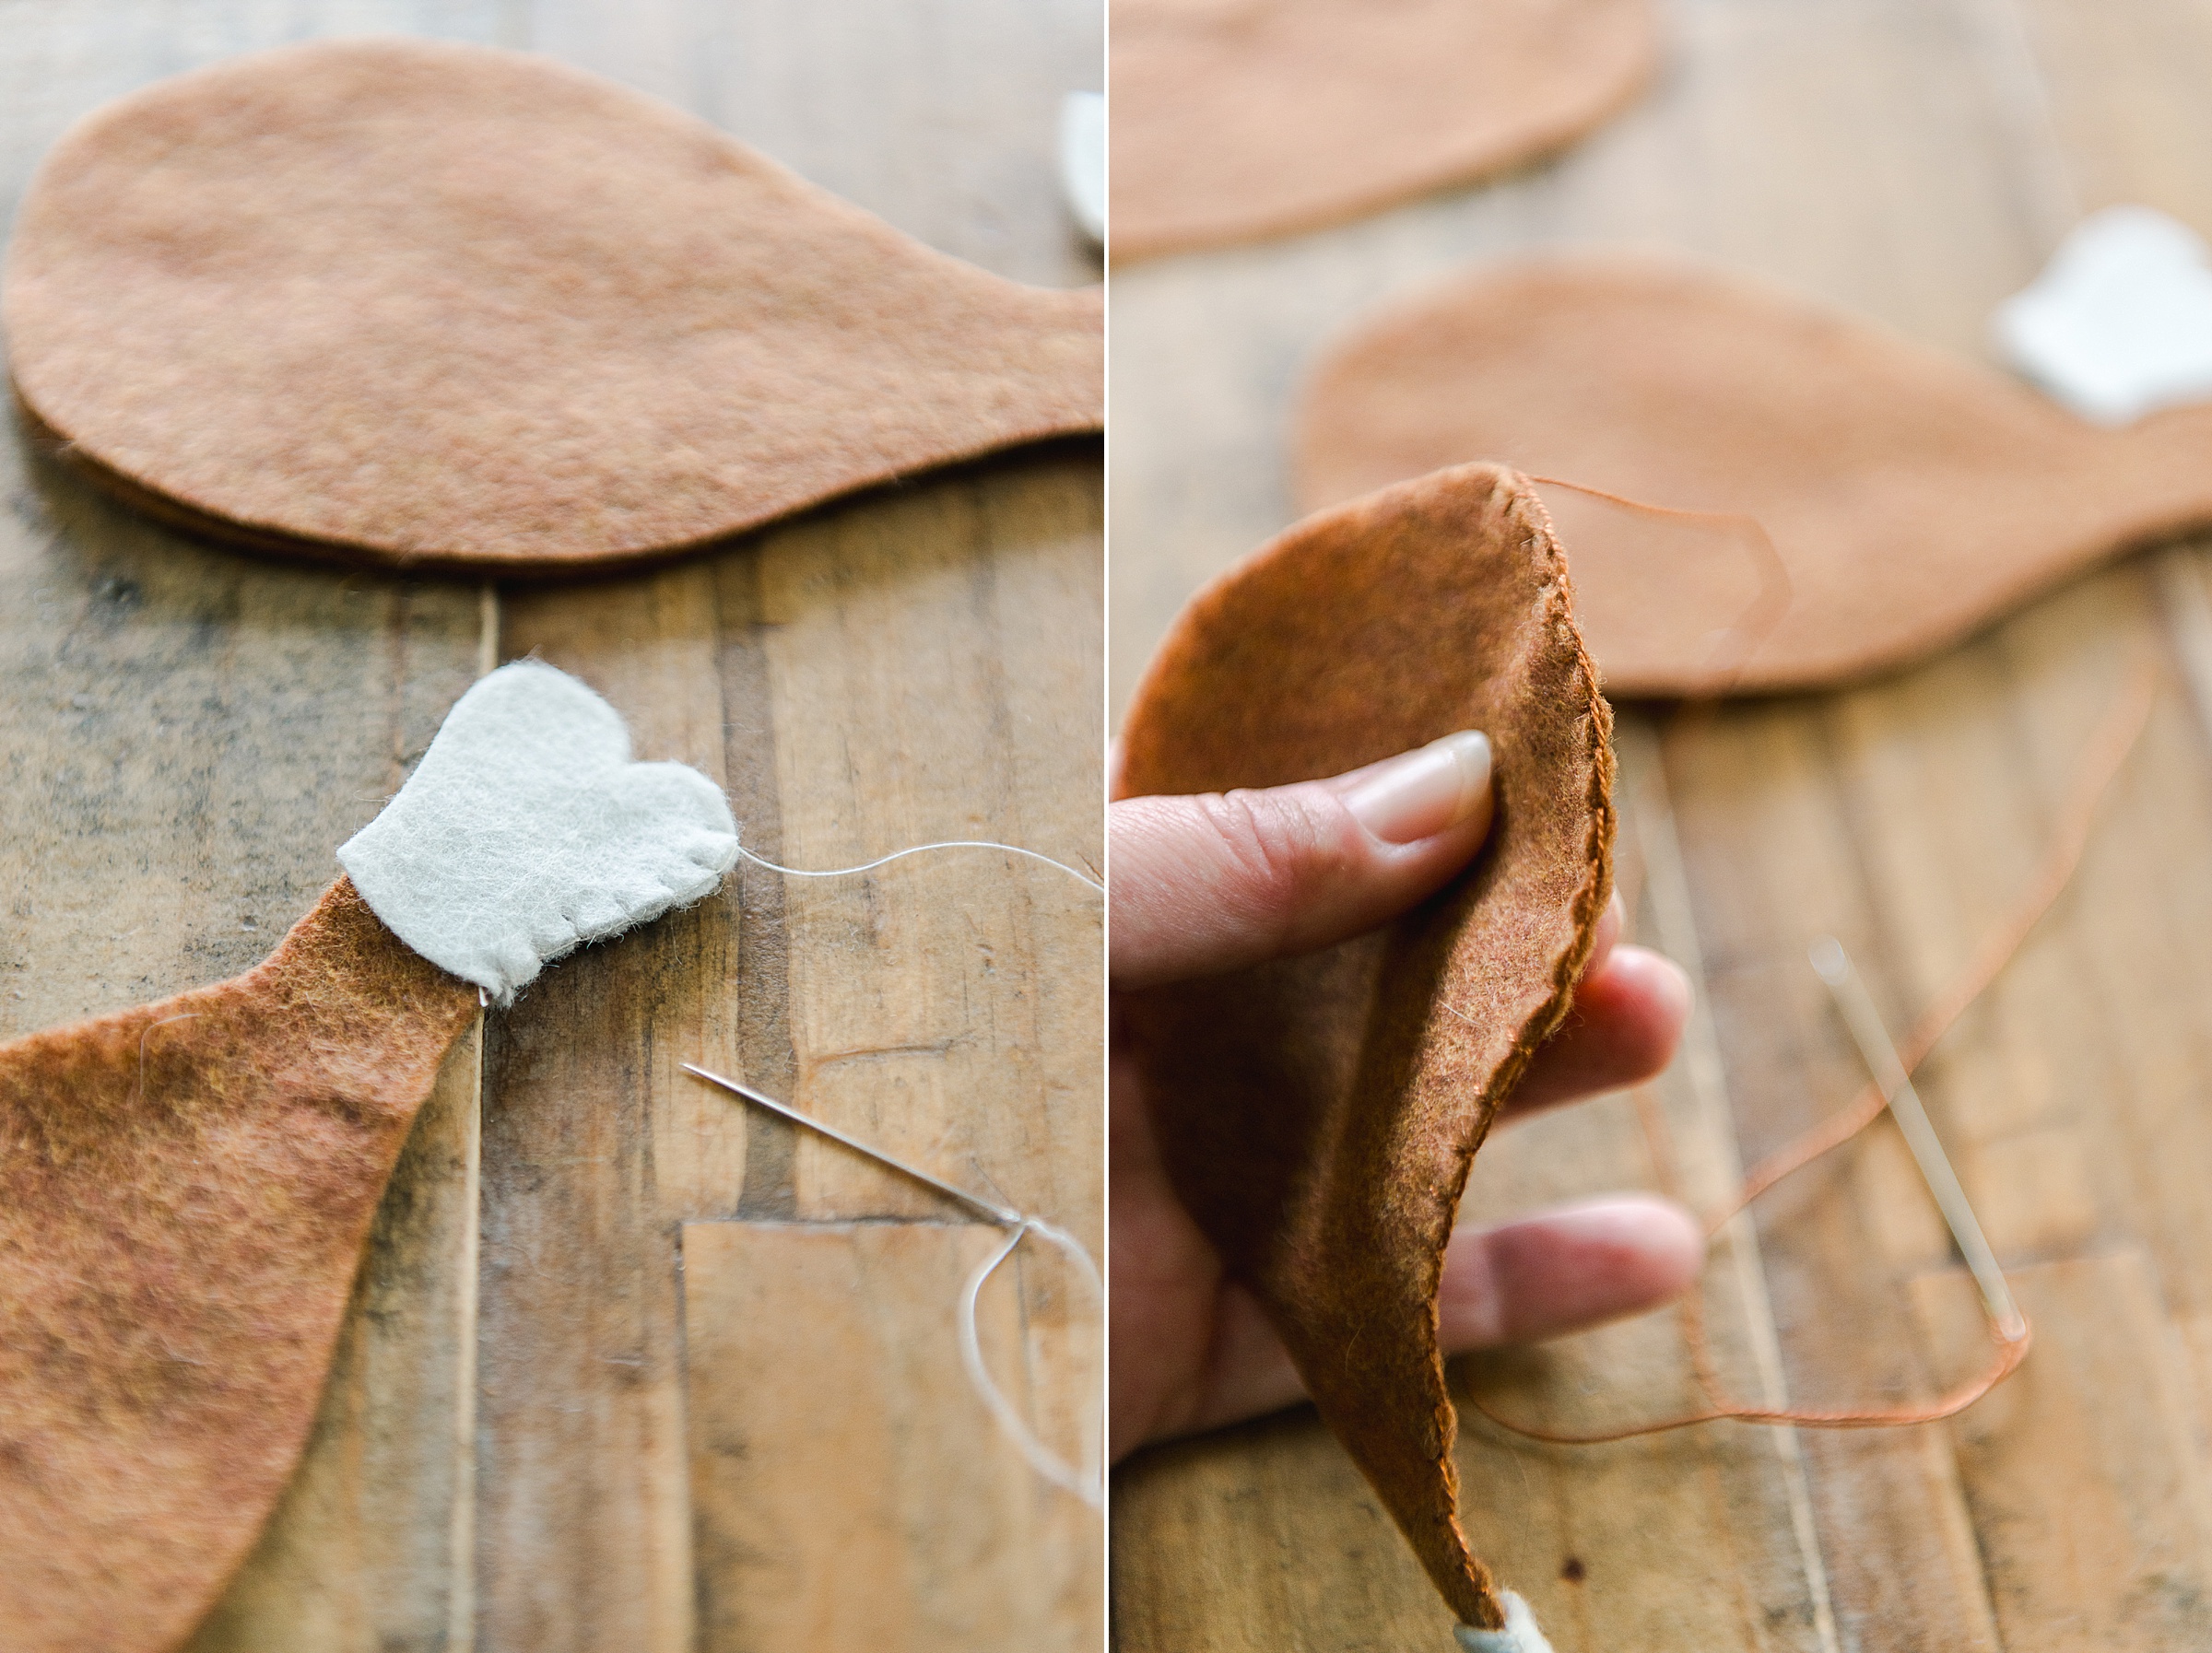
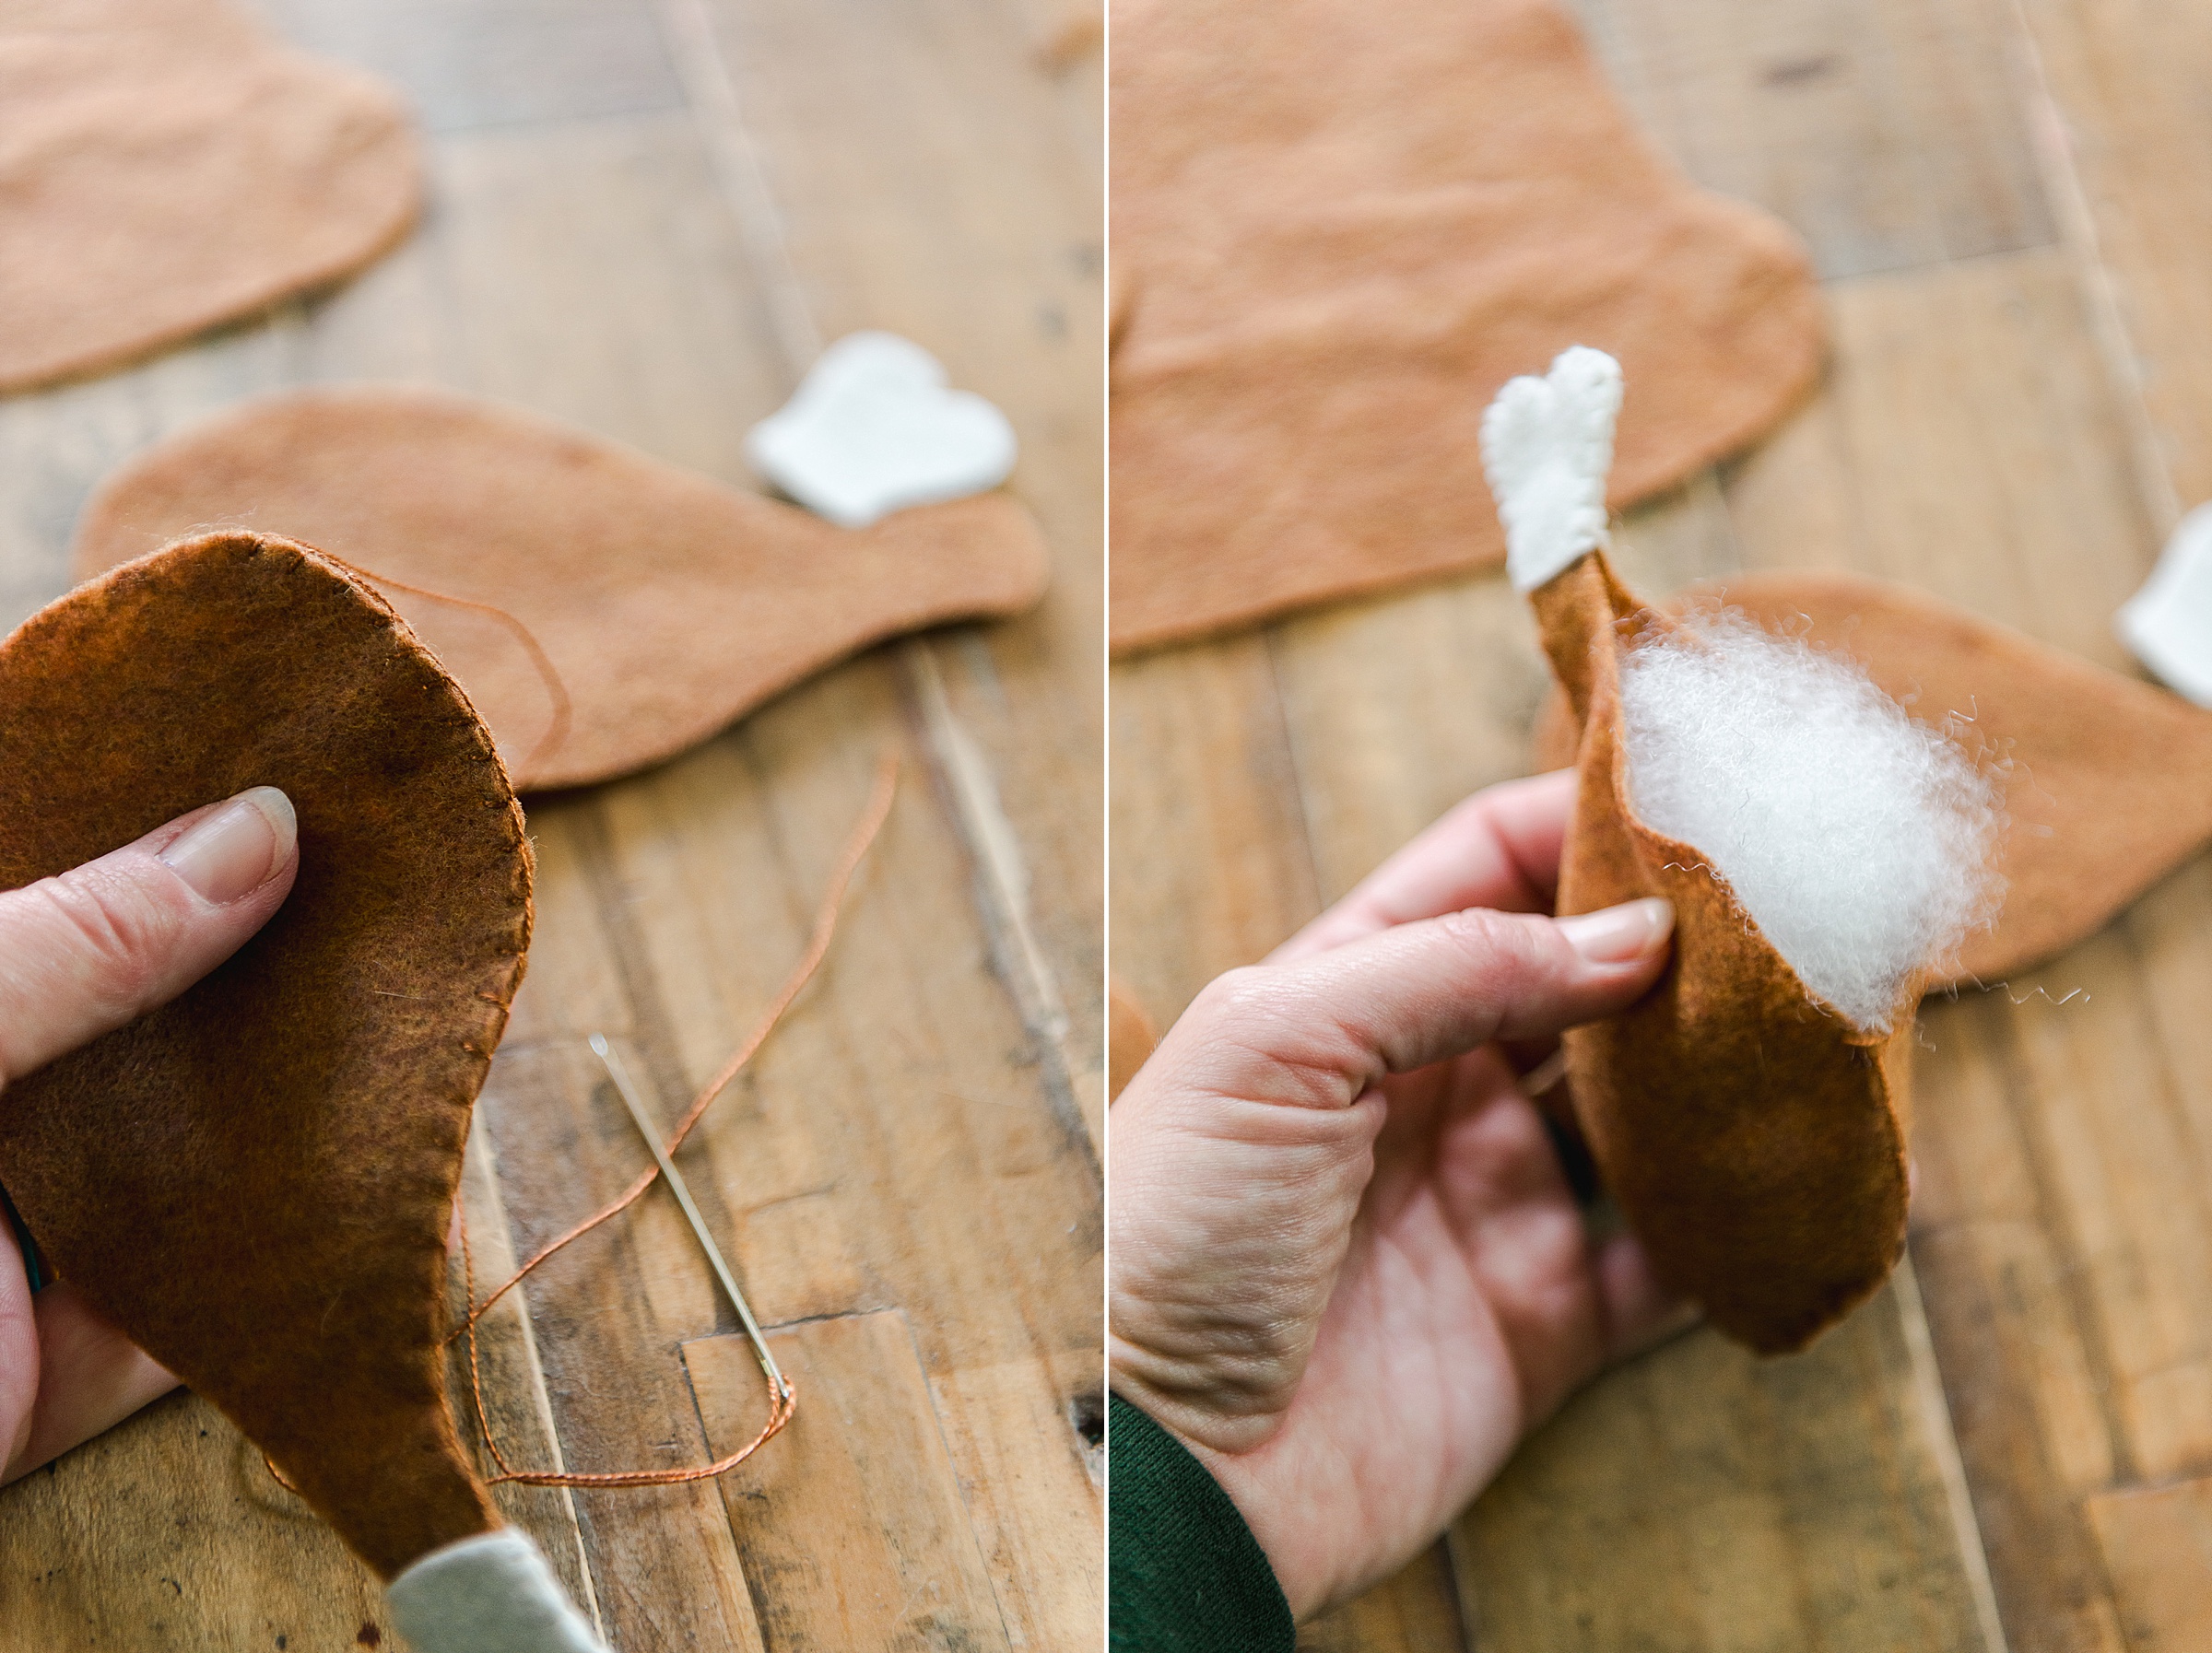
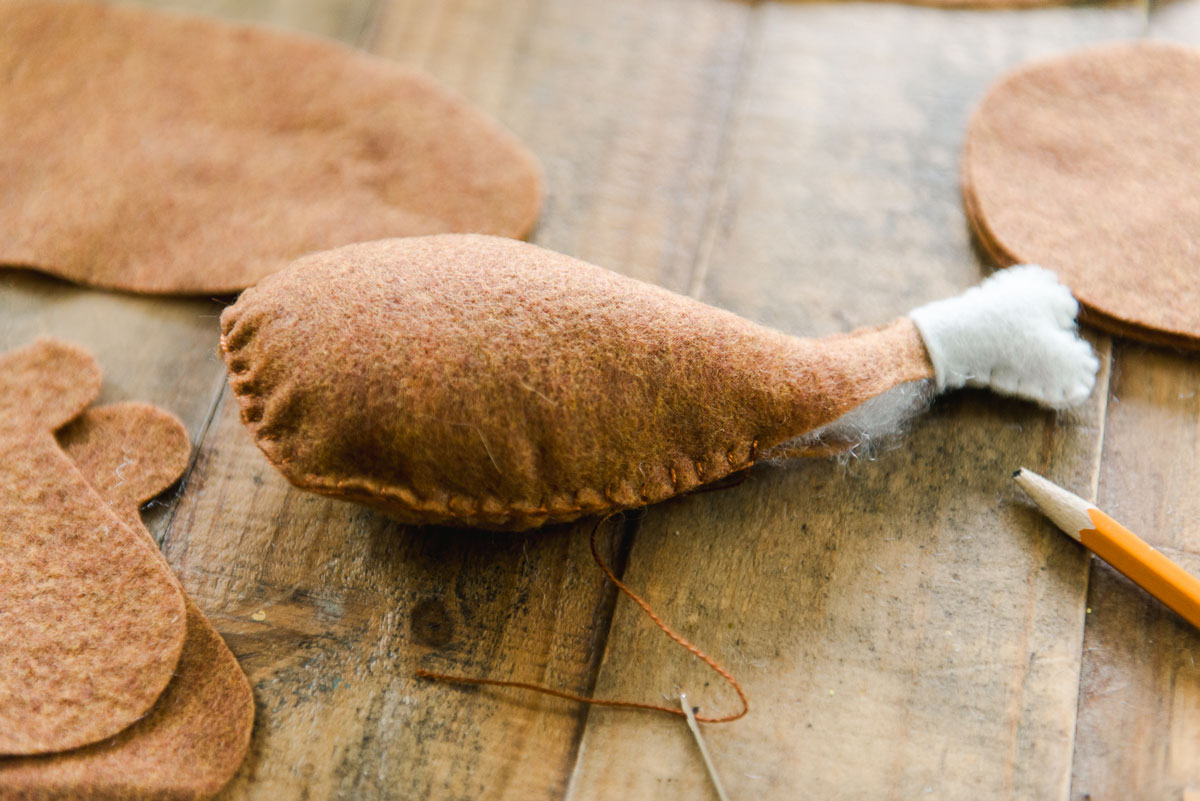
2. Add the white turkey bone to each leg. Do this by “sandwiching” the 2 bones outside both of the leg pieces and stitch with a blanket stitch around the outer edge of the white only. Then switch to brown thread (or floss) and stitch around the outside edge of the turkey bones (again using a blanket stitch). Before completely closing up each leg, be sure to stuff with poly fill.
Repeat this process with both turkey legs and then set aside.
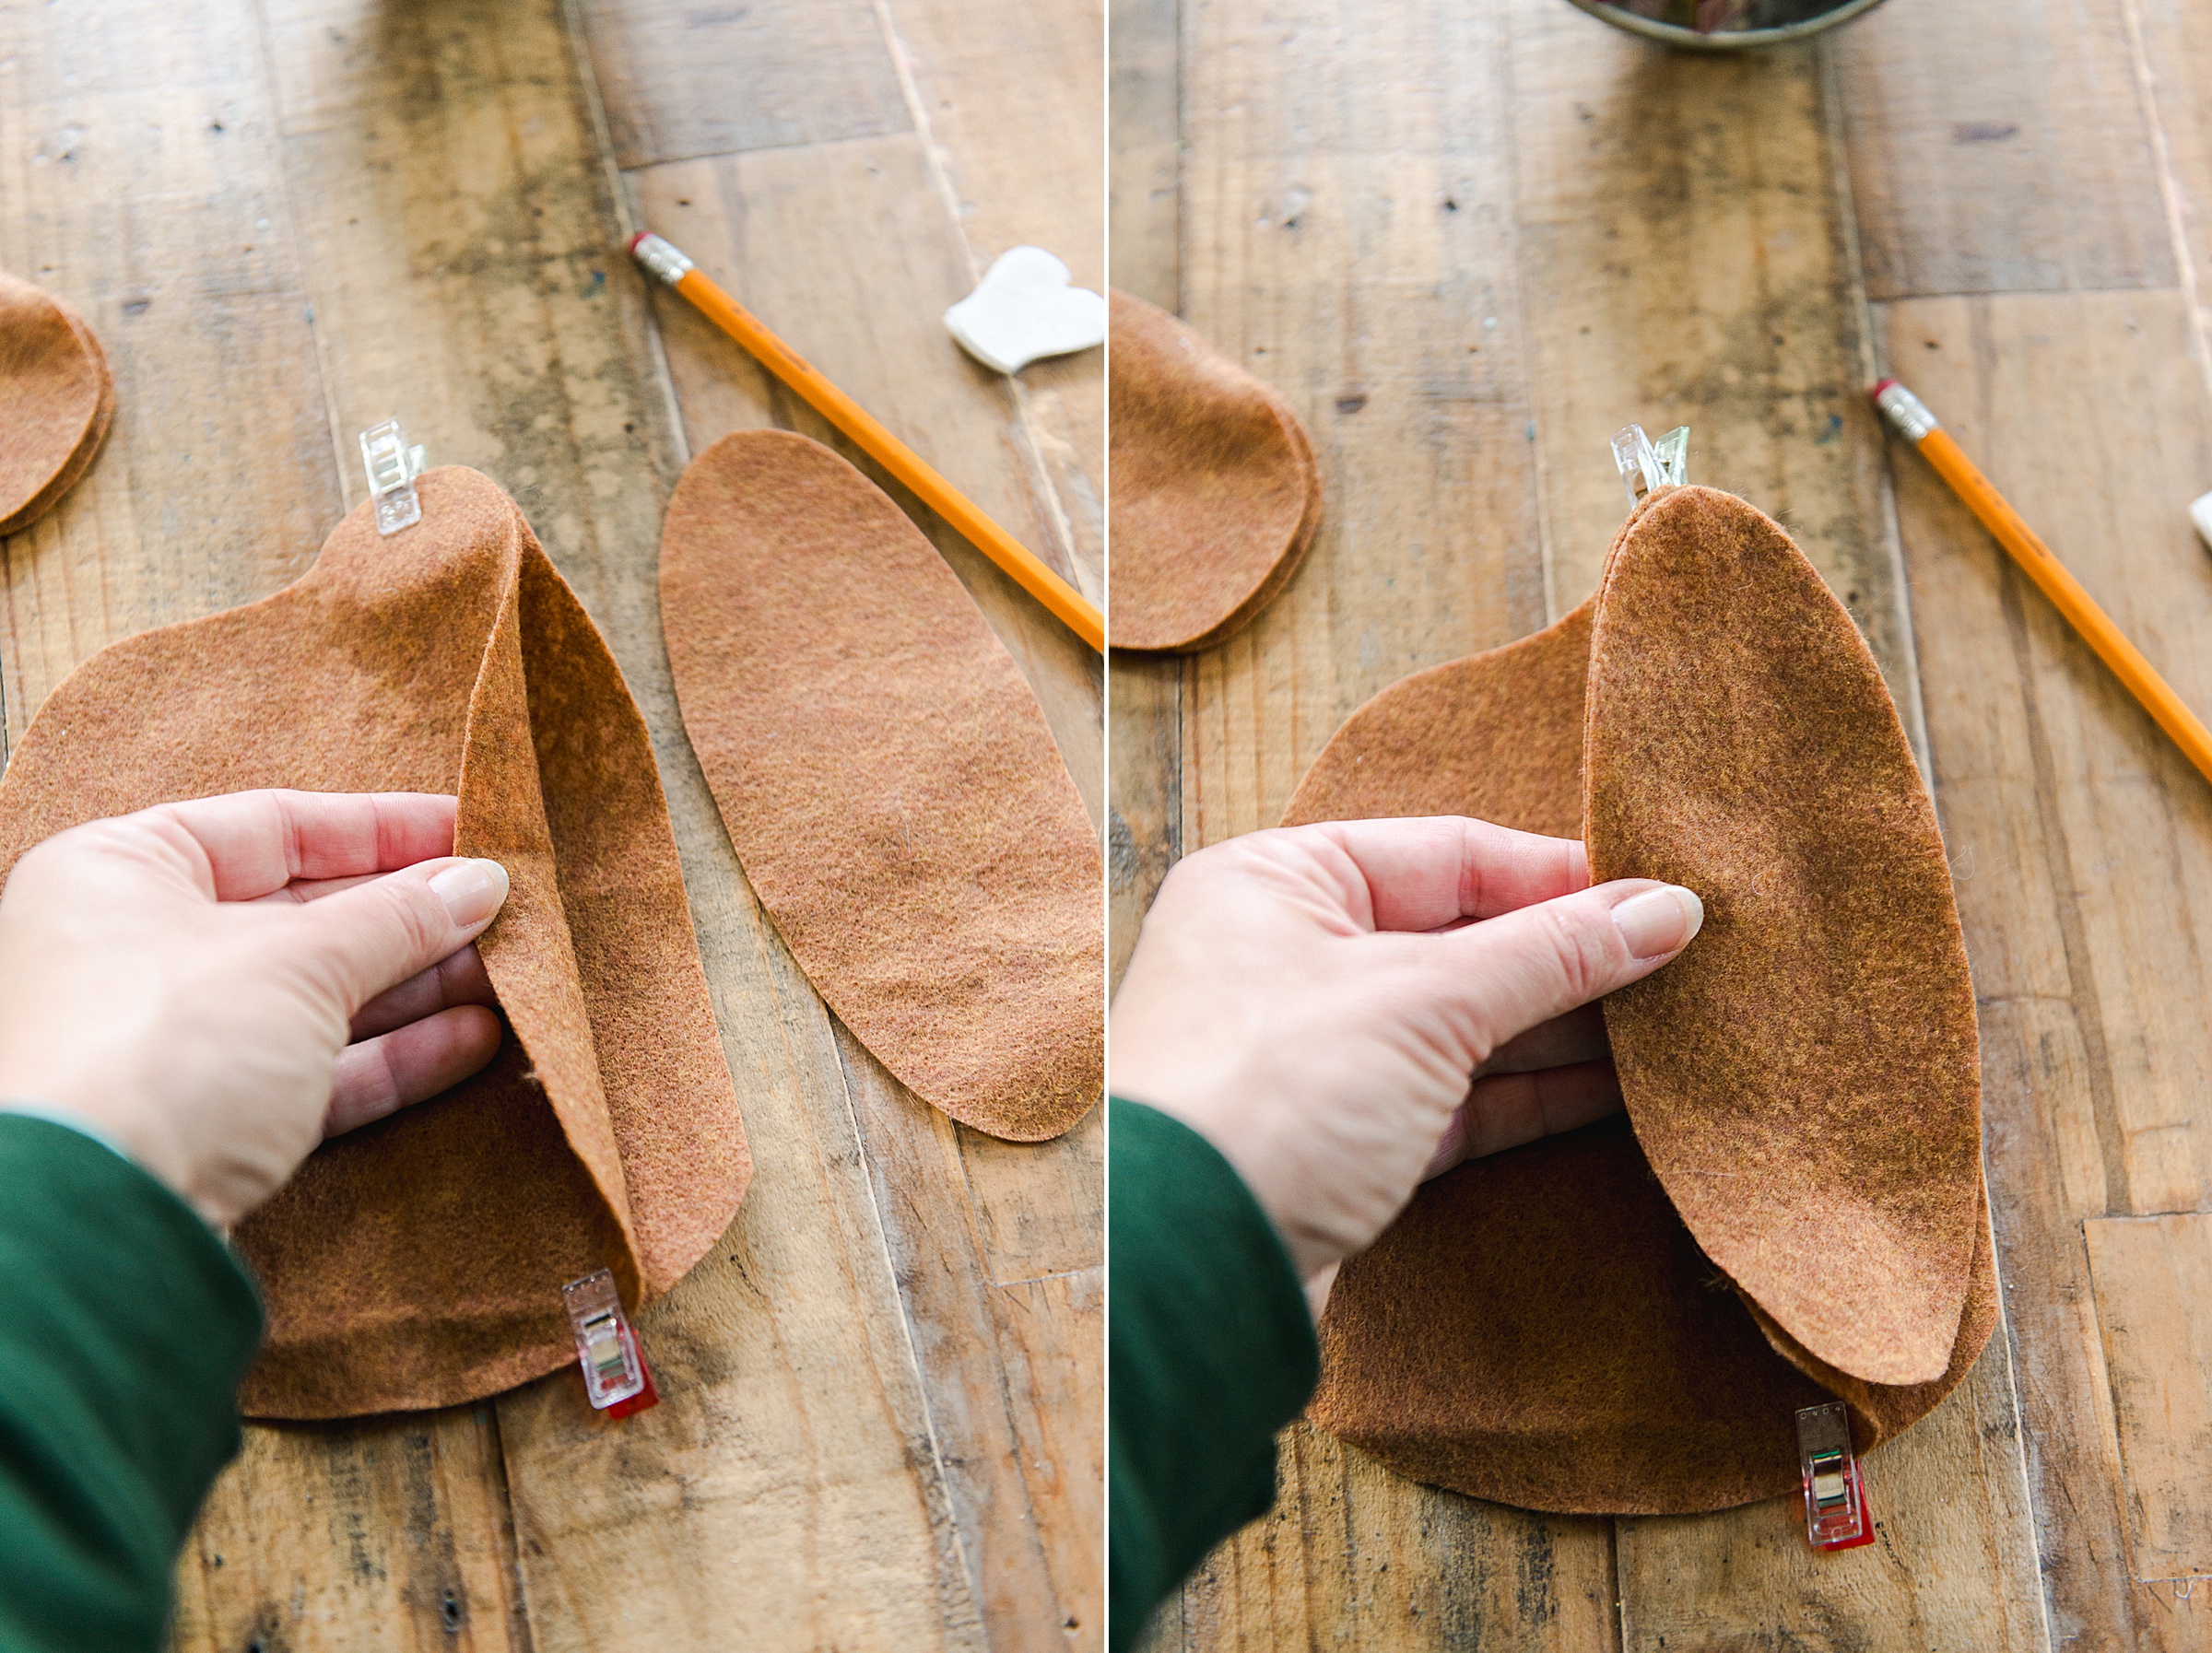
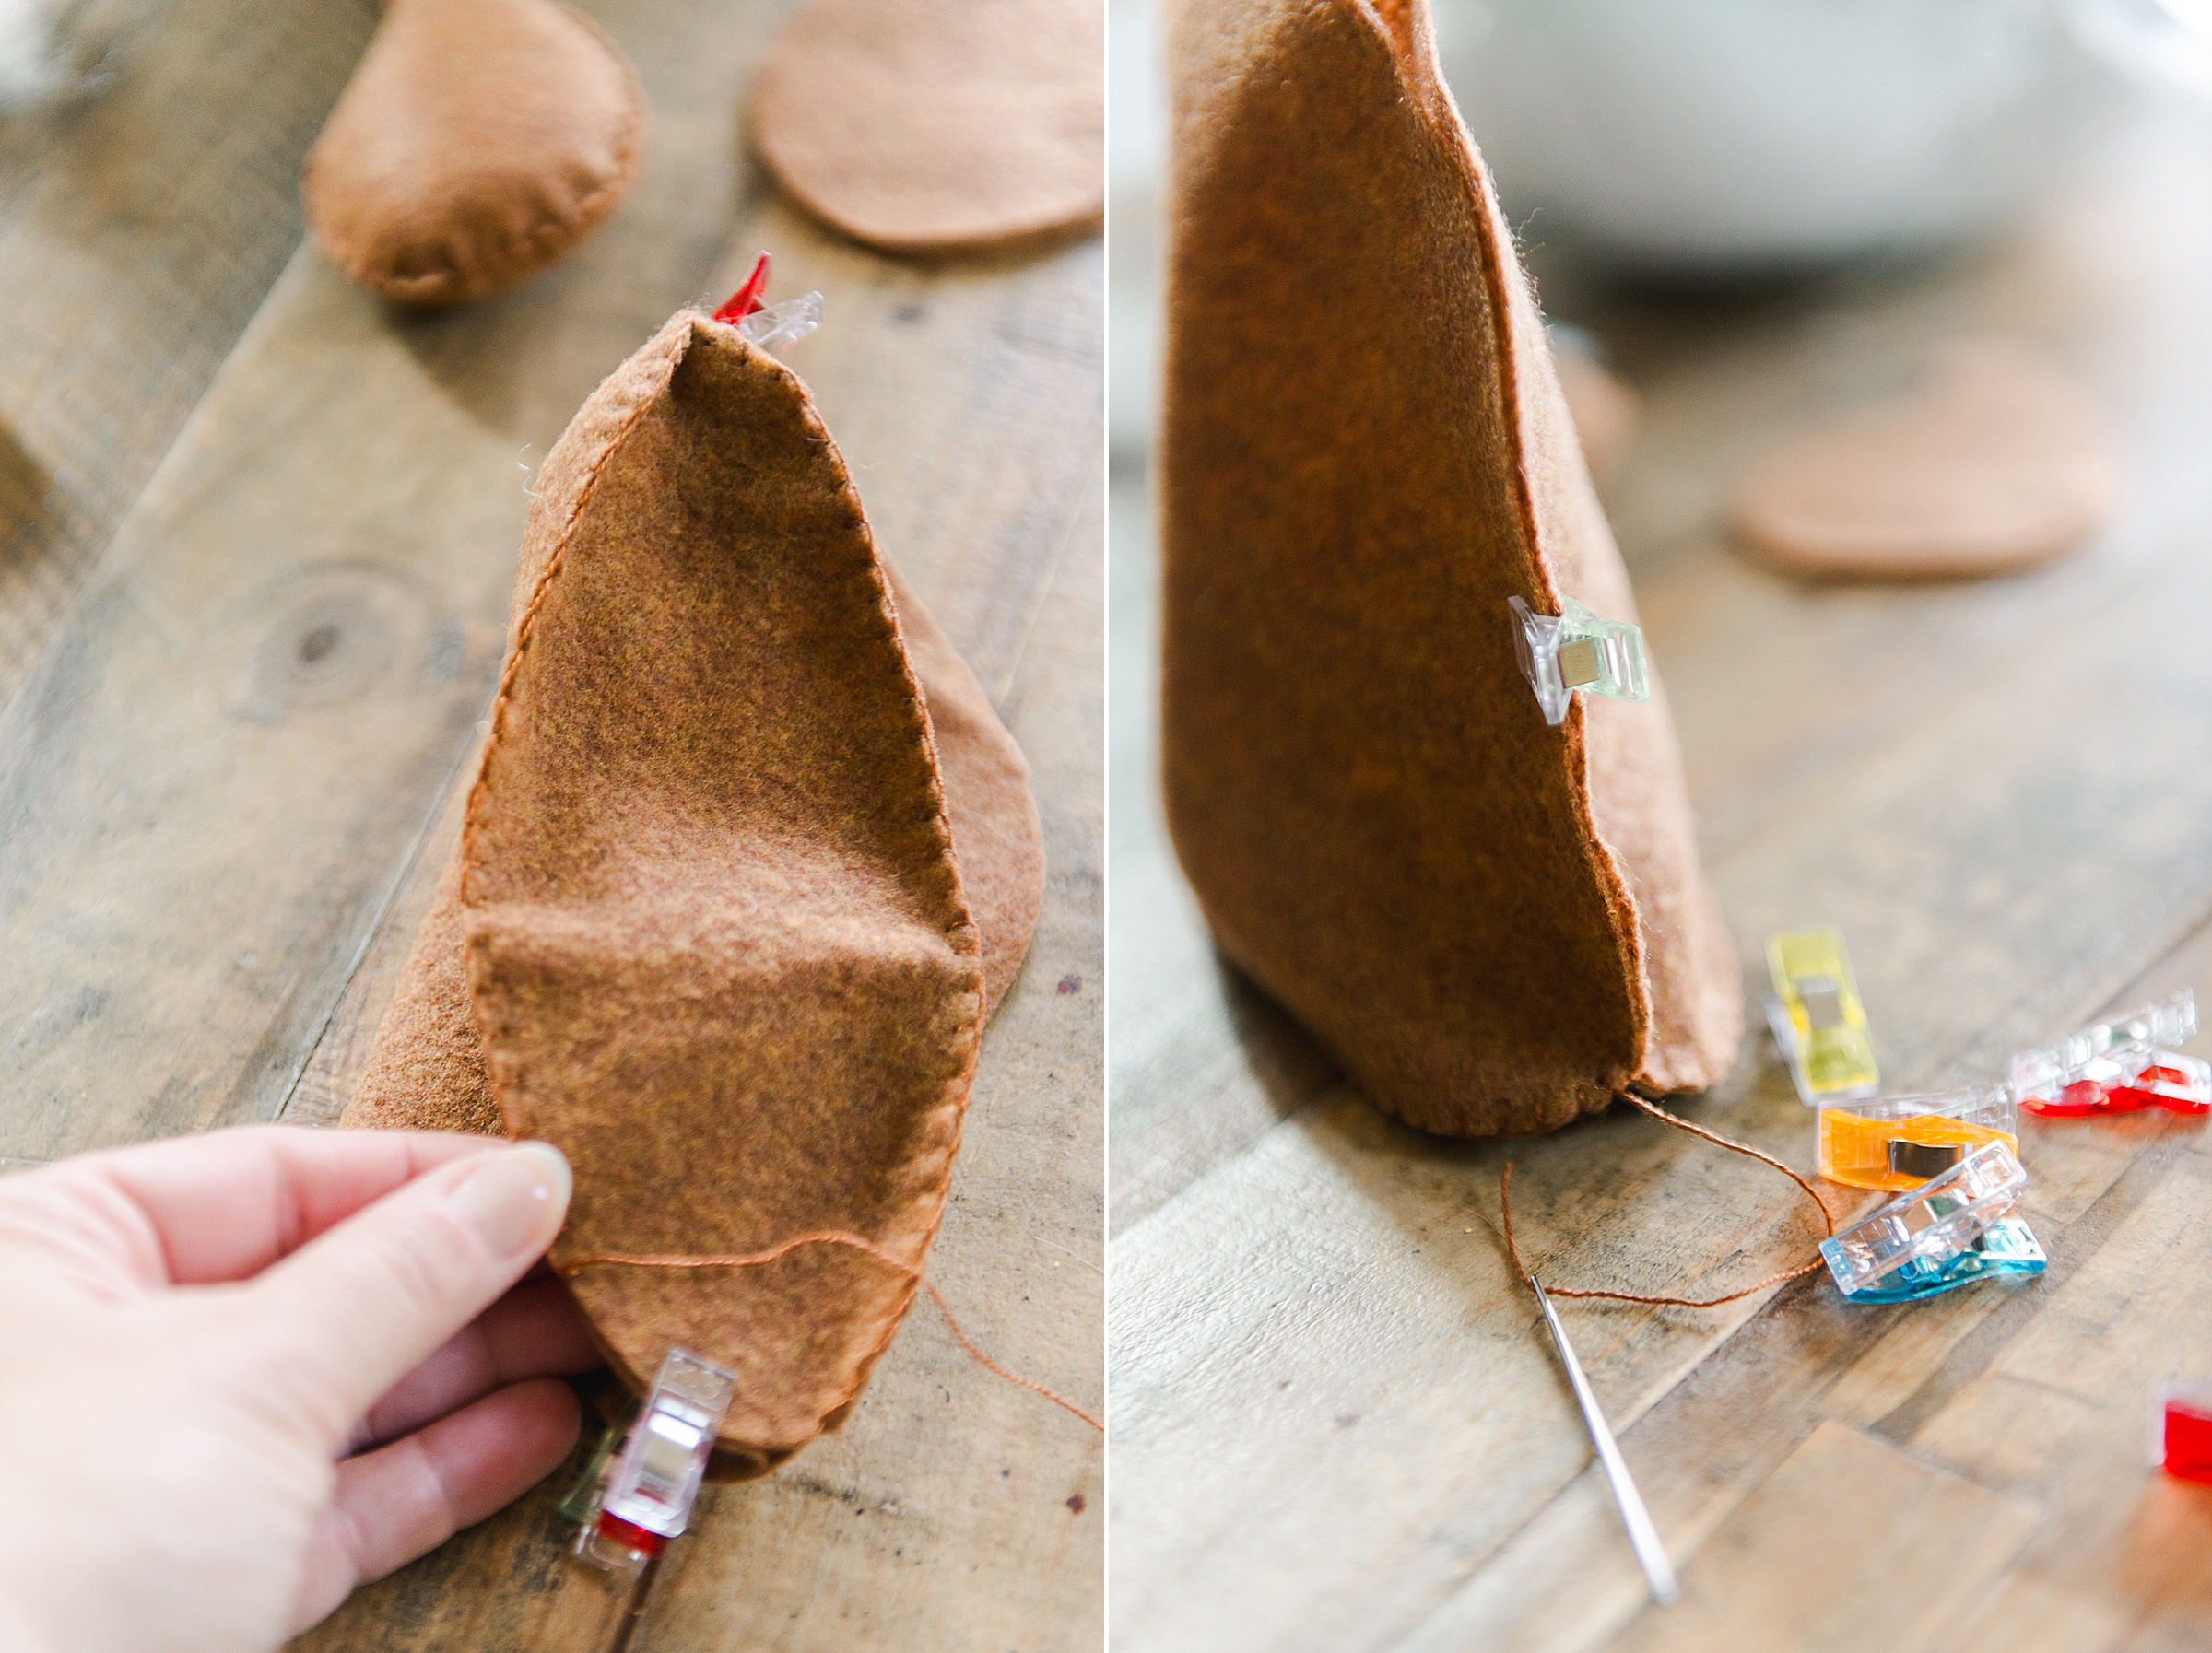
3. With your pins or claw clips, line up the 2 turkey bodies and place a few clips to hold in place. Then line up the oval turkey gusset at the bottom “opening” of both of the turkey bodies (you’ll kind of put it “between” the turkey bodies to create a “flat” bottom with the gusset). Line these up and pin/clip in place.
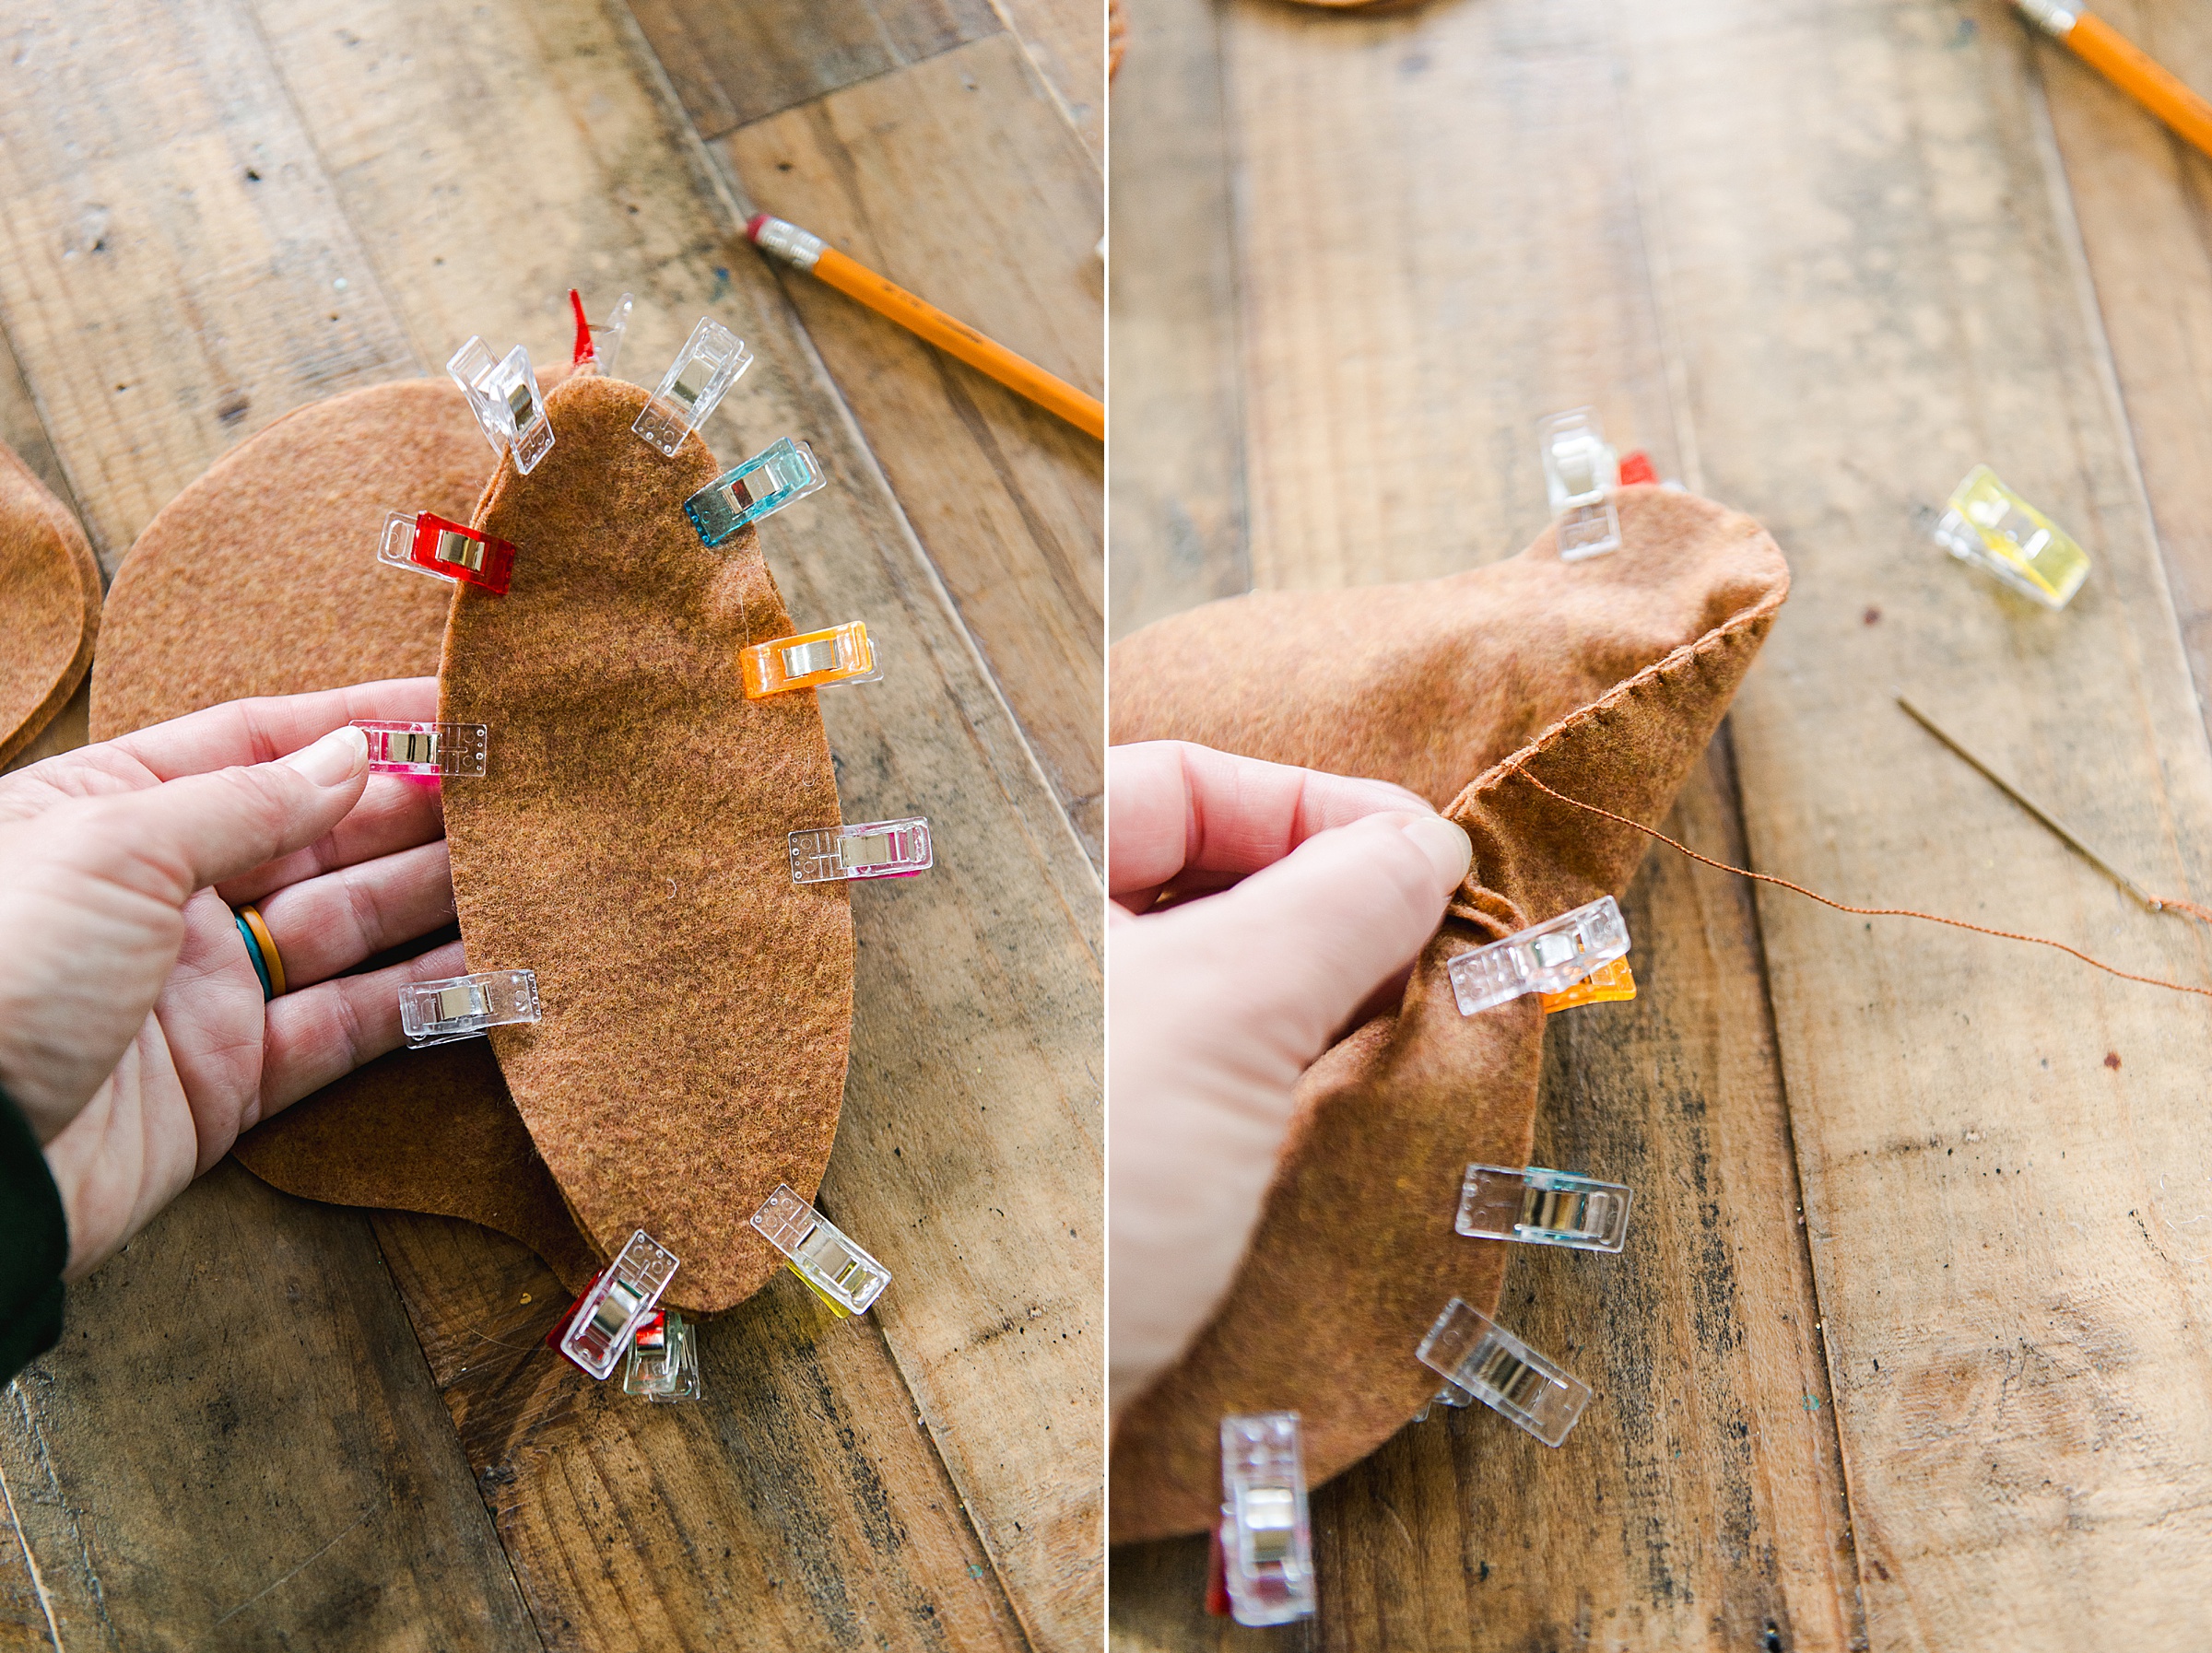
Begin to blanket stitch along the oval gusset. When the gusset is completely stitched on, you can continue your blanket stitching up the middle of the turkey body. Be sure to fill with poly fill before completely stitching closed.
4. The turkey wings are easy – simply blanket stitch 2 layers of the wings together and fill with poly fill or stuffing. Do this for both turkey wings
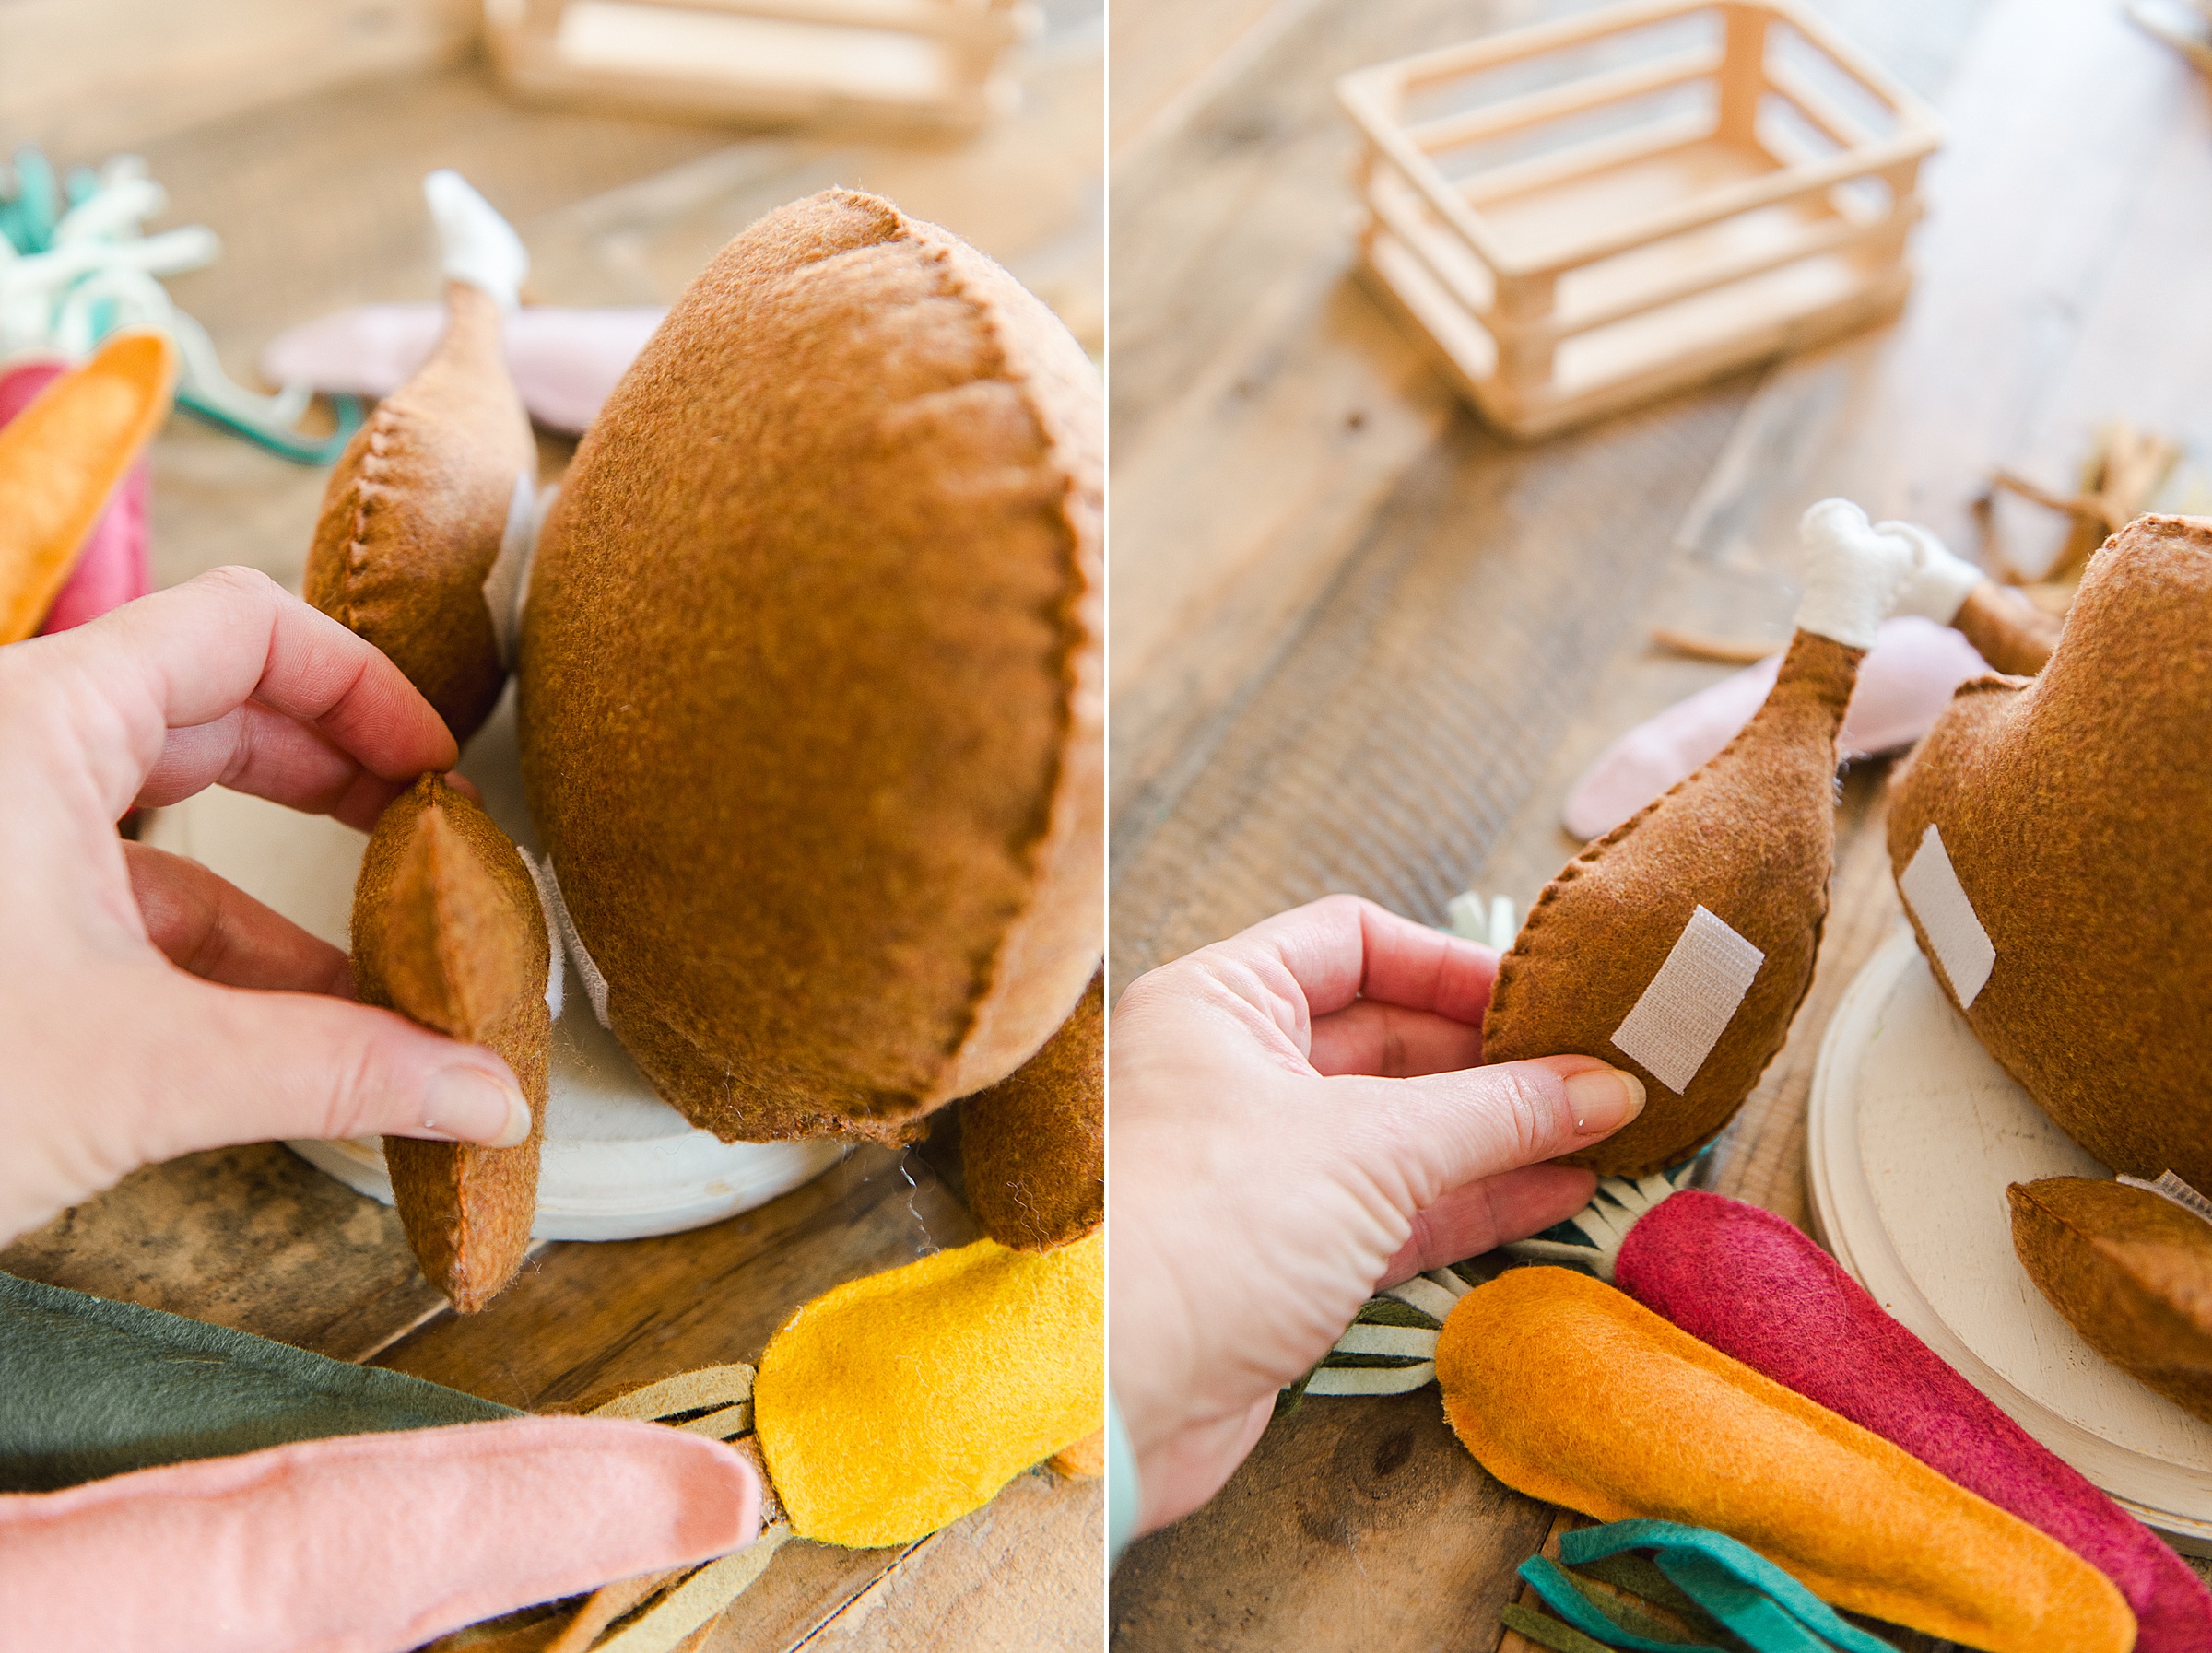
5. You will want to lay your wings and legs along the sides of the turkey body and cut a little strip of velcro to attach 2 legs and 2 wings to the body. I chose to use peel and stick Velcro, but you could totally use sew-in velcro if you wanted to.
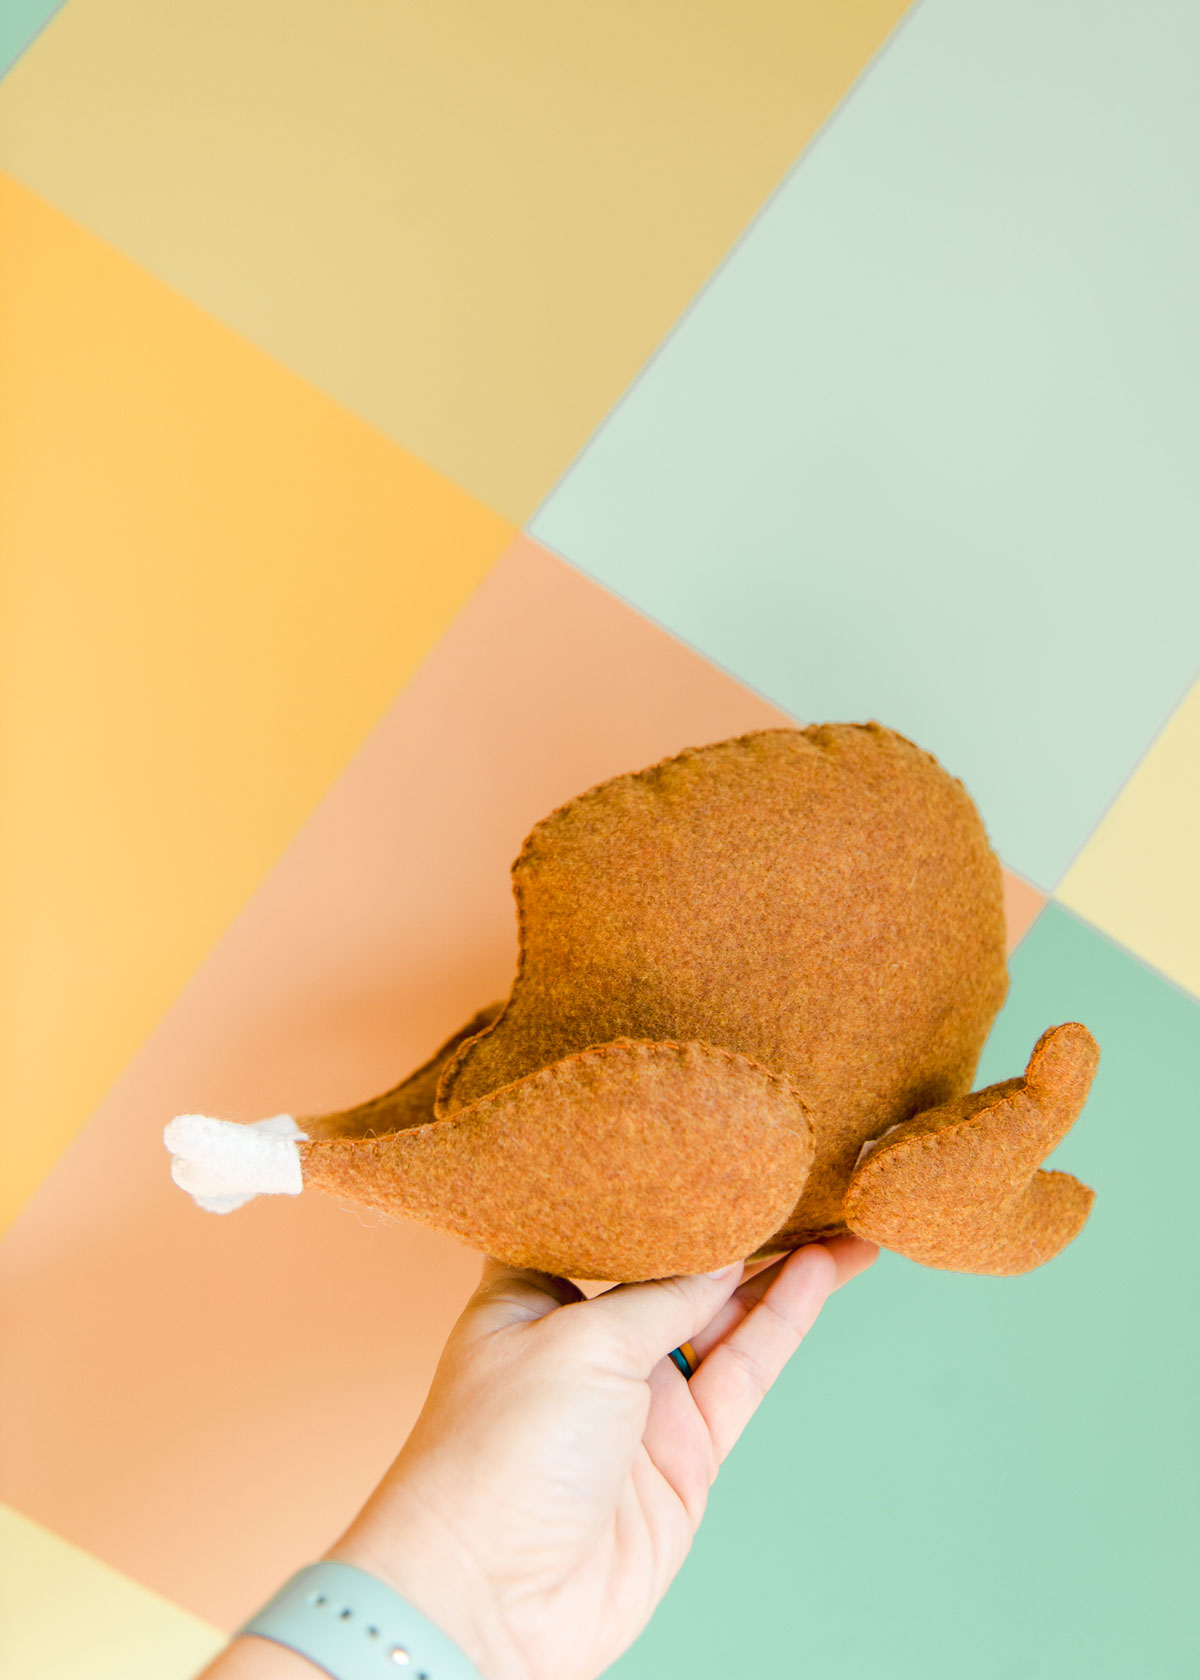
And now you have endless play time with this adorable, stuffed turkey for a play kitchen, Thanksgiving fun or even just for some funny decor 🙂
