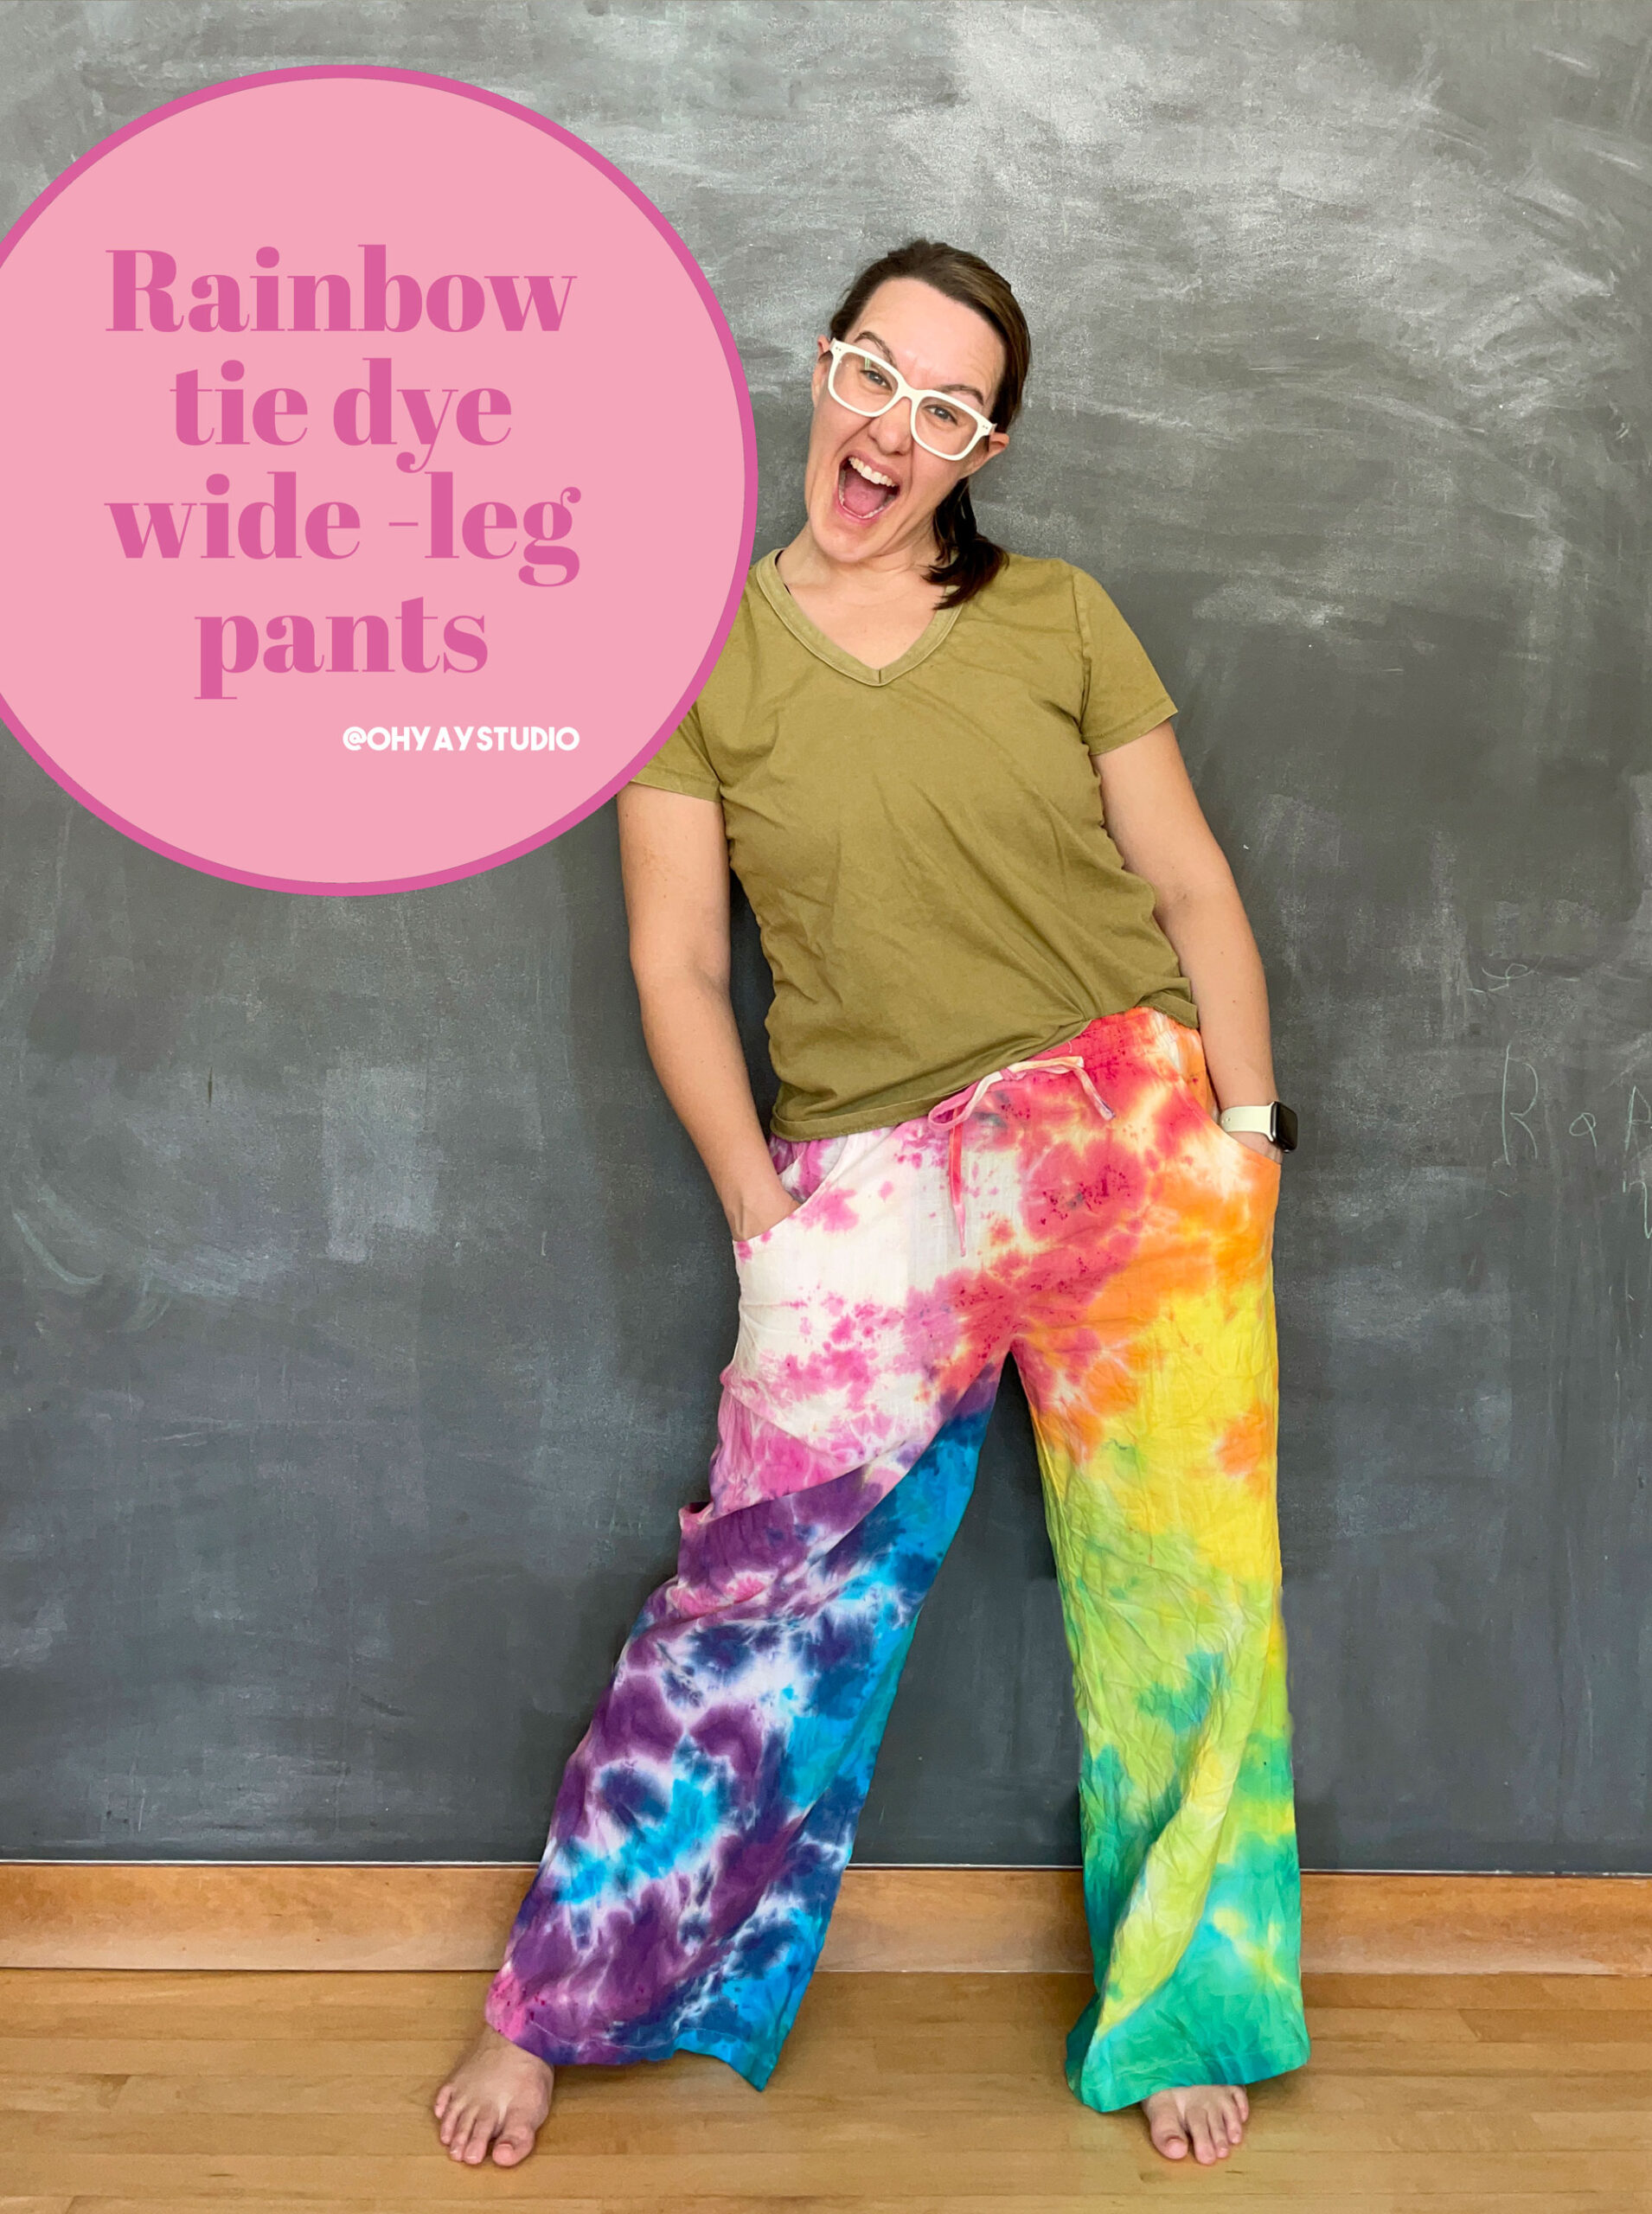
Rainbow tie dye pants!
*this project is in partnership with Create Basics Tie Dye purchased from Walmart
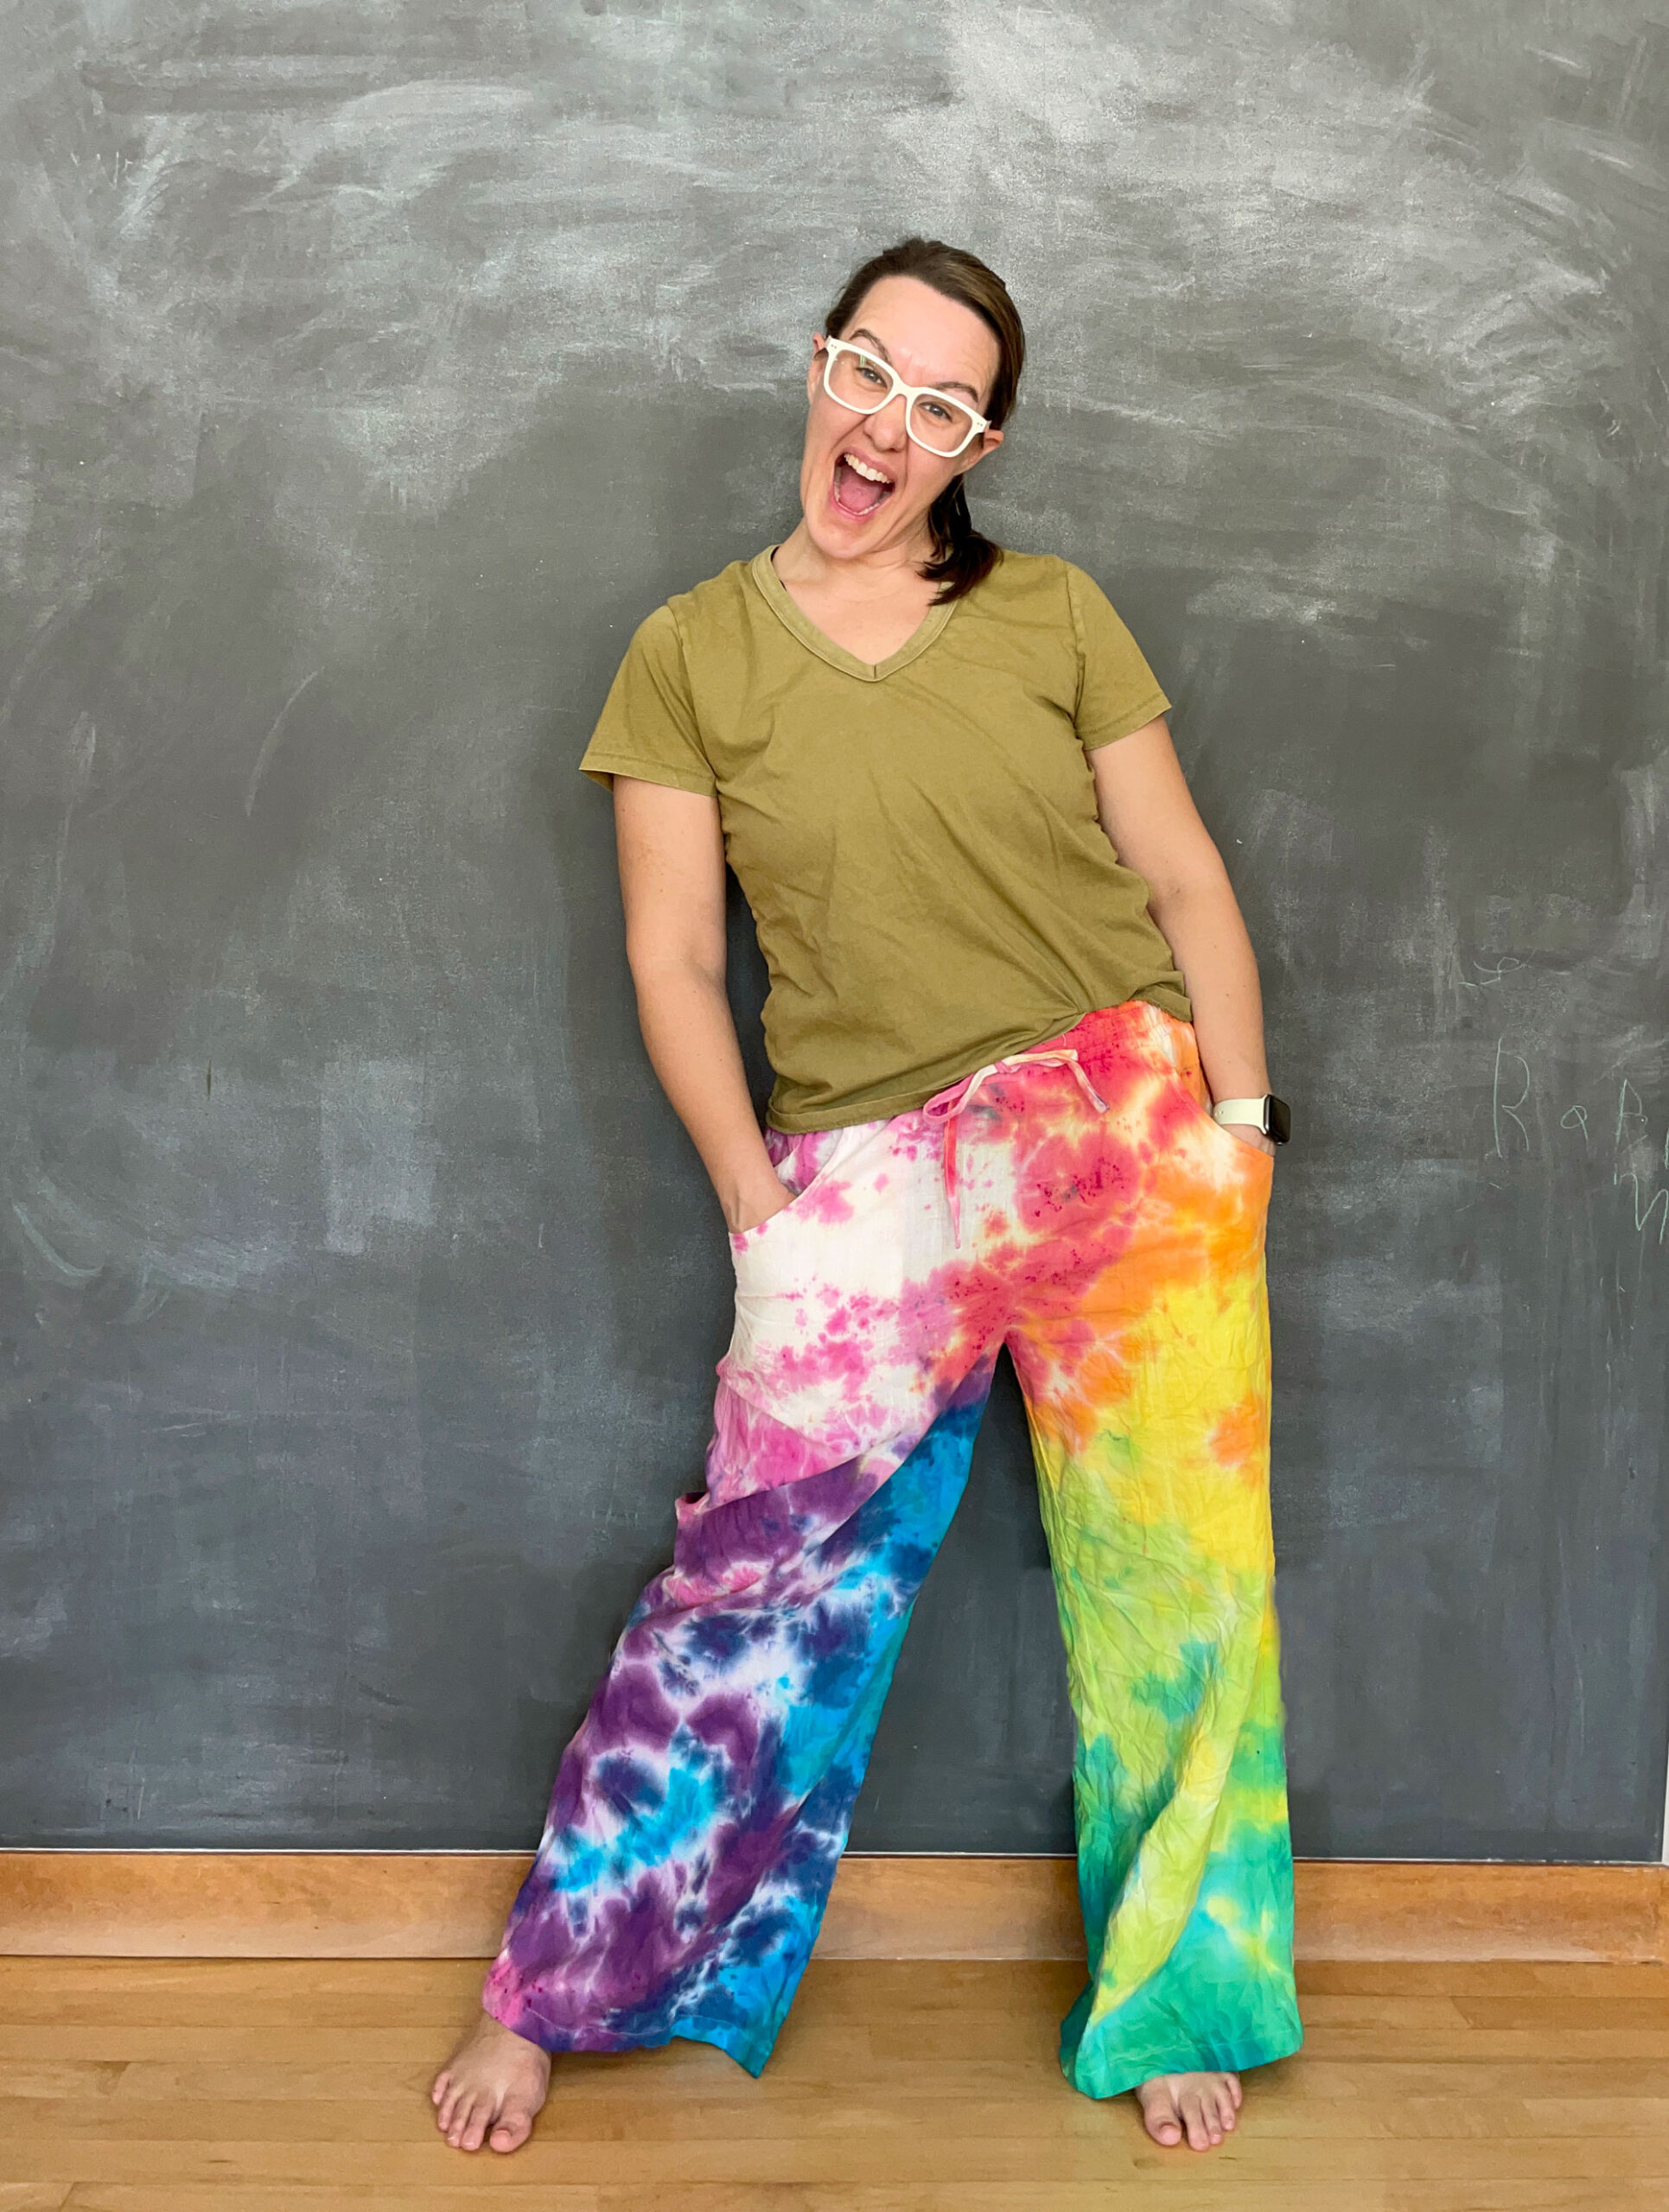
Cozy, comfy pants that are in every color of rainbow inspired by the color wheel…YES PLEASE! AKA! THE BEST PANTS ON THE PLANET! 🙂 (mark my words on this)!!!
Armed with a box of Create Basics rainbow tie dye AND a pair of wide leg cotton/linen blend pants you too can have a pair of these little ditties (that may, perhaps, just become something I wear every single day of the entire summer, probably most likely!)
I’ve said it once and I’lll say again: I LOOOOVEEE TIE DYEEEE! It’s so colorful and festive and you just never know what you are going to get when you squirt the dye on! From the folding to the colors to the application, it’s all one giant, awesome experiment and I am HERE FOR IT! 🙂 Especially here for these color-wheel inspired wide leg pants, DUH!
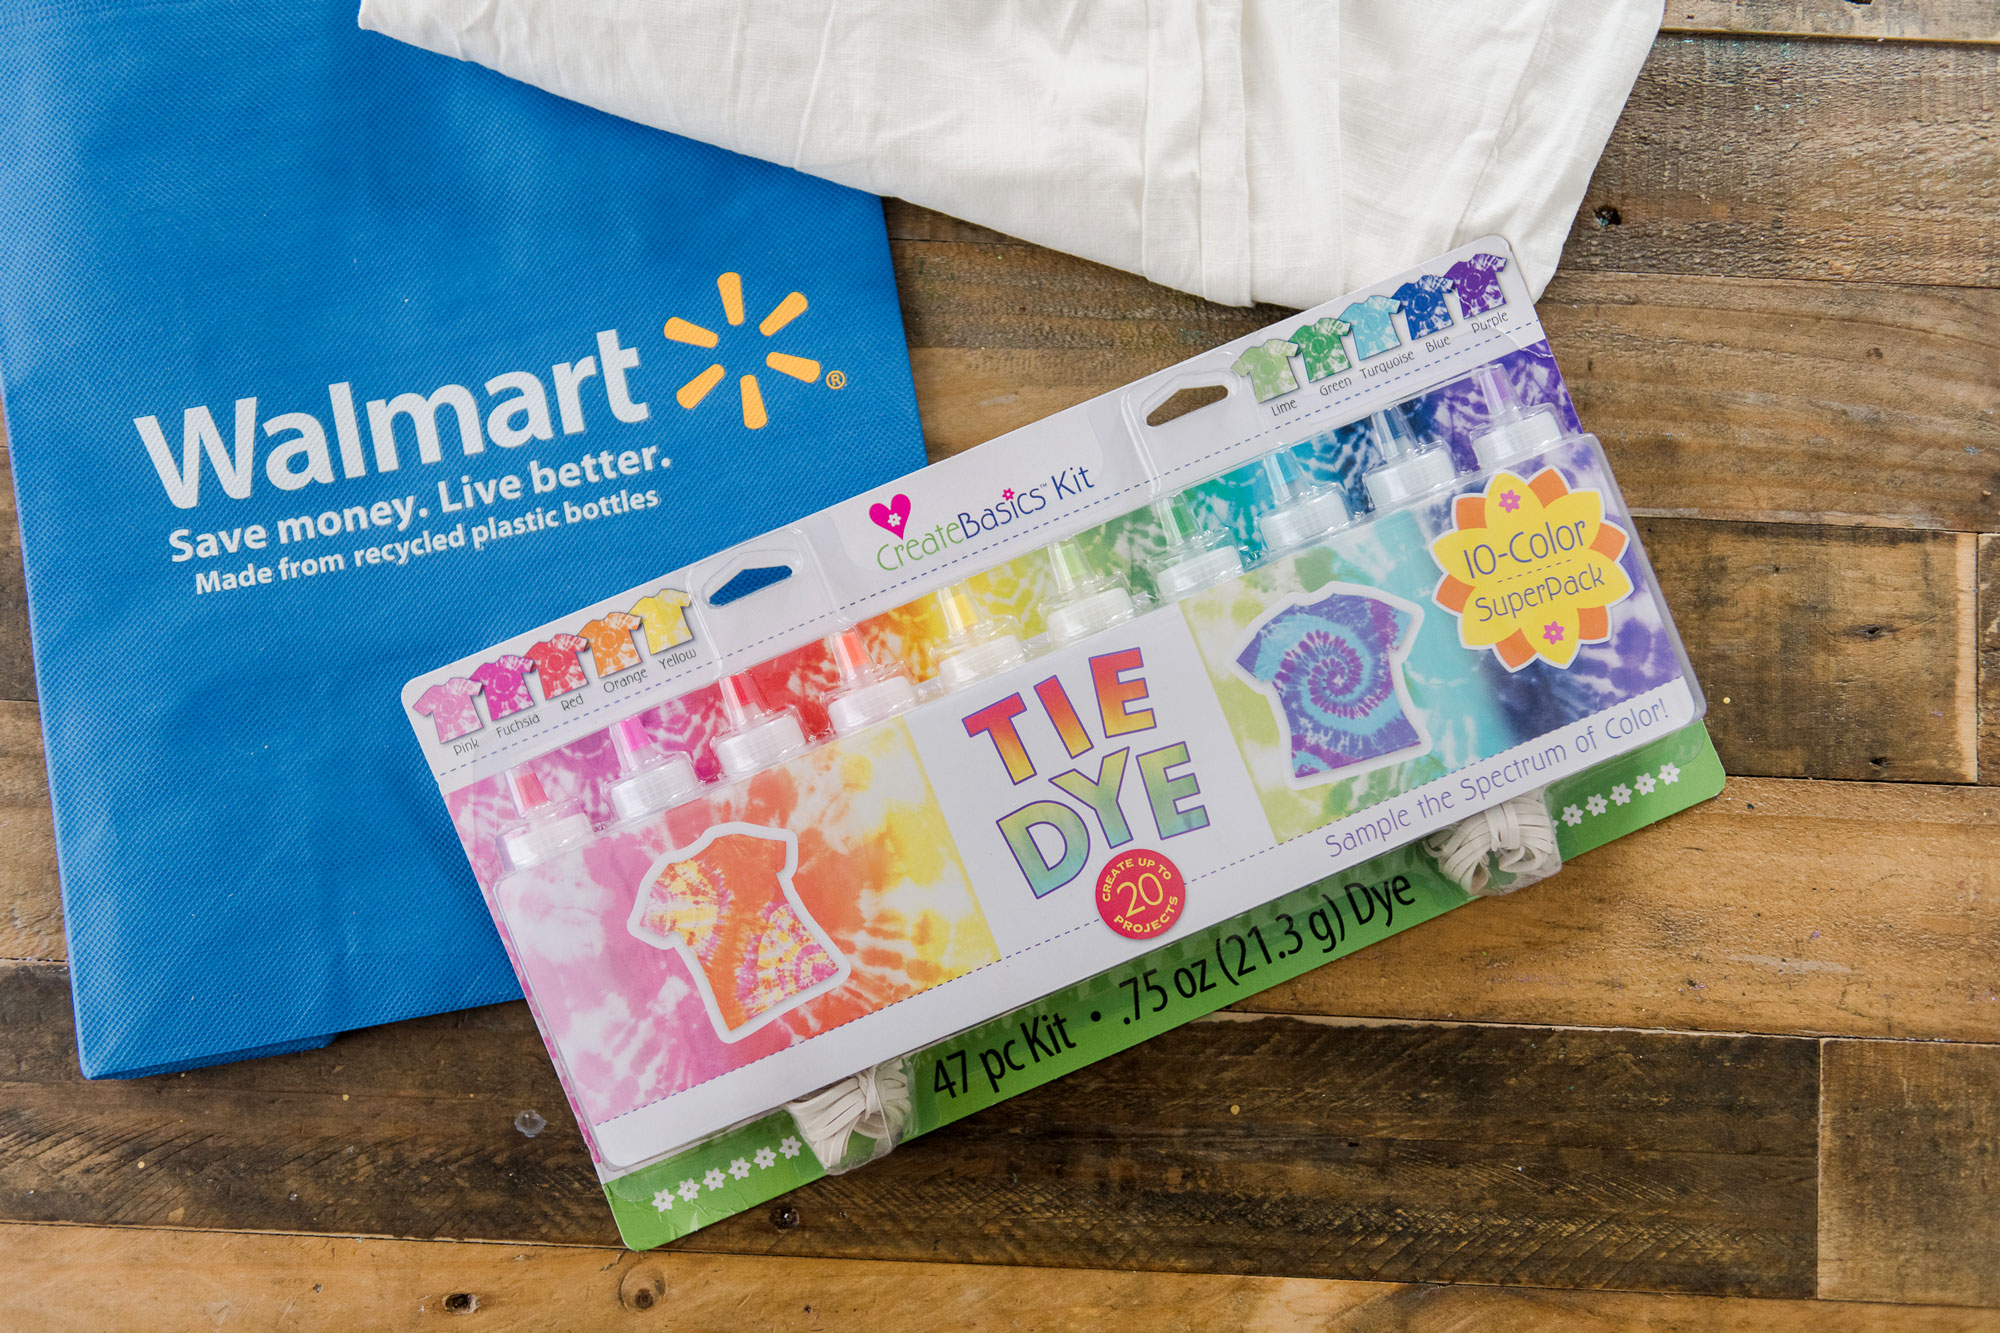
MATERIALS: (everything purchased from Walmart….easy peasy)
- A pair of cotton/linen pants in any size – kids and adults alike
- A box of the Create Basics Rainbow tie dye 10-color super pack
- A tray and a rack for you to dye on (or outdoors is ok too)! 🙂
- A plastic bag or plastic wrap to let dyed pants sit in overnight while curing
INSTRUCTIONS:
1. Wash and dry your pants!!!! You want to be sure that if they are new, all of the sizing comes out of them OR if they are used, that they are nice and clean to start with! 🙂
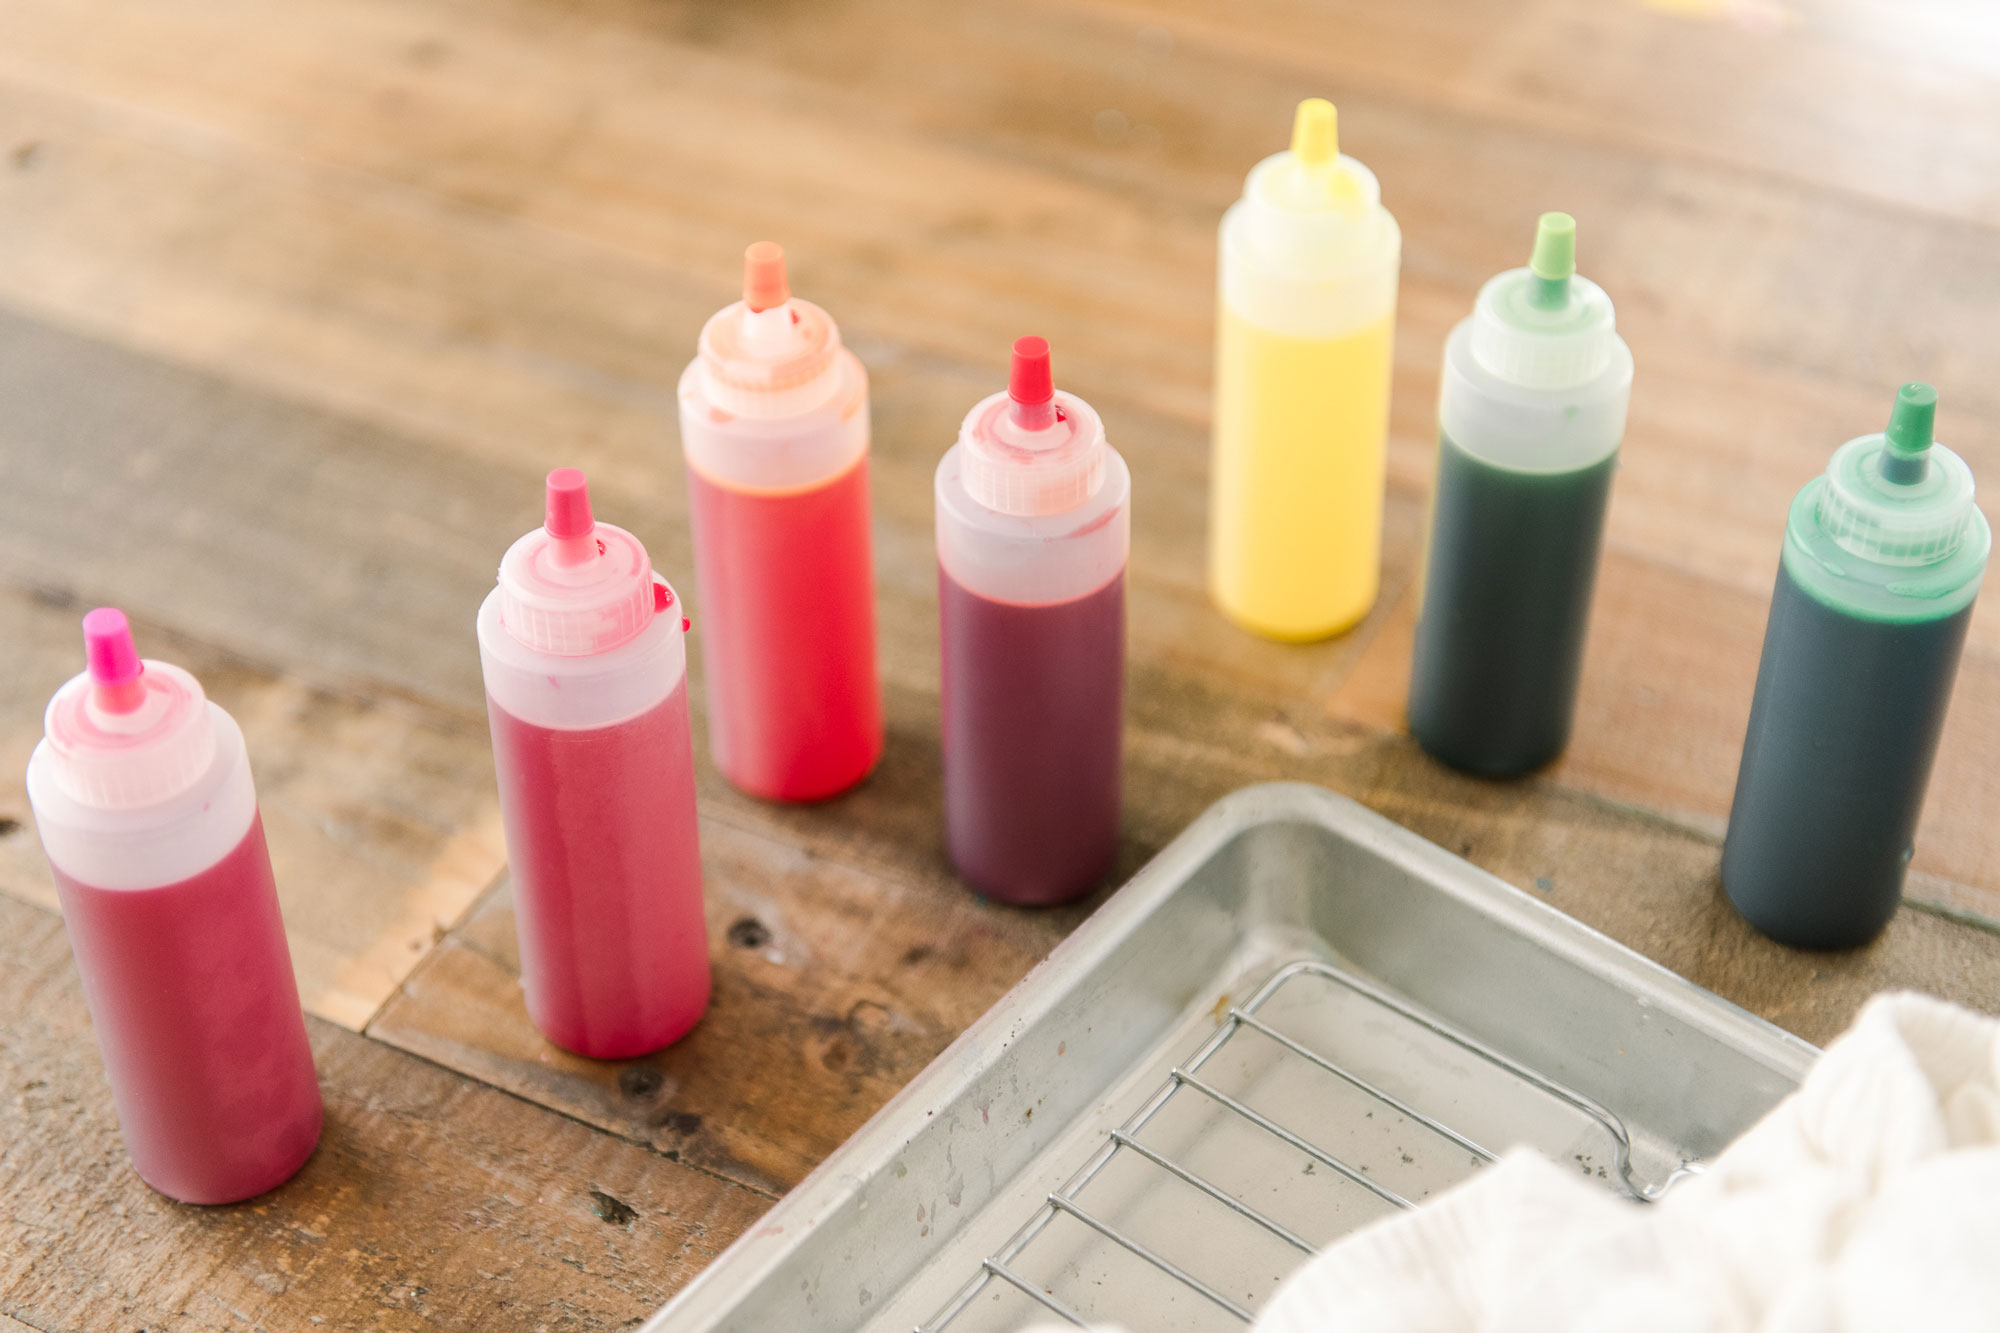
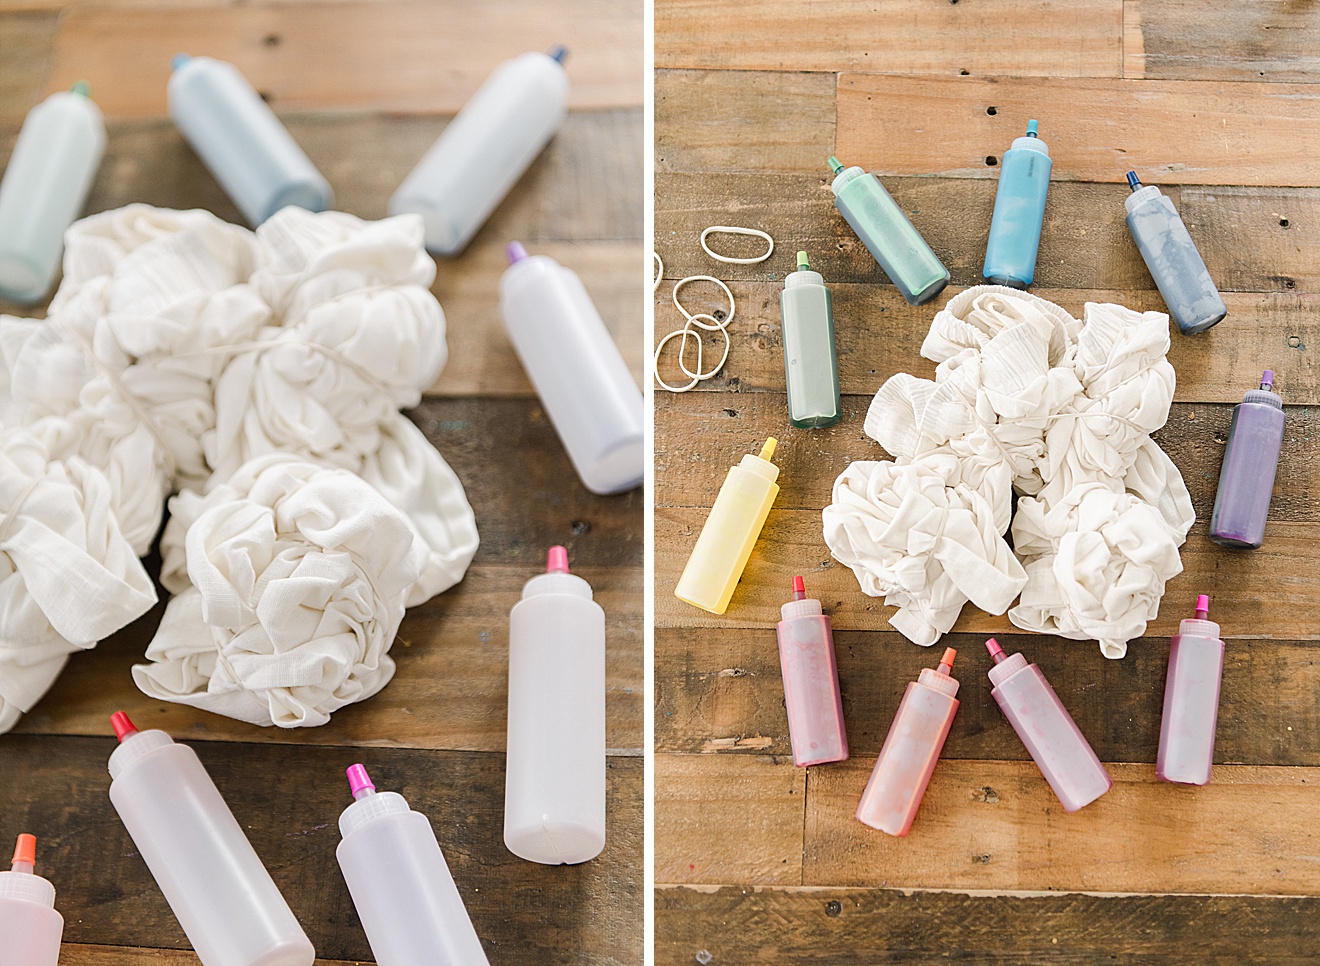
2. Prep your space with your tray and make sure your work station is covered. ALSO, prep your bottles of dye (ALLLL colors IMO) by removing the bottles from the Rainbow Create Basics dye kit and filling each bottle to the fill line! Carefully shake the bottles to make sure all of the dye is mixed (and remember to cover the bottles as you shake with a paper towel….don’t pre-dye your clothing as you shake, HA)! 🙂
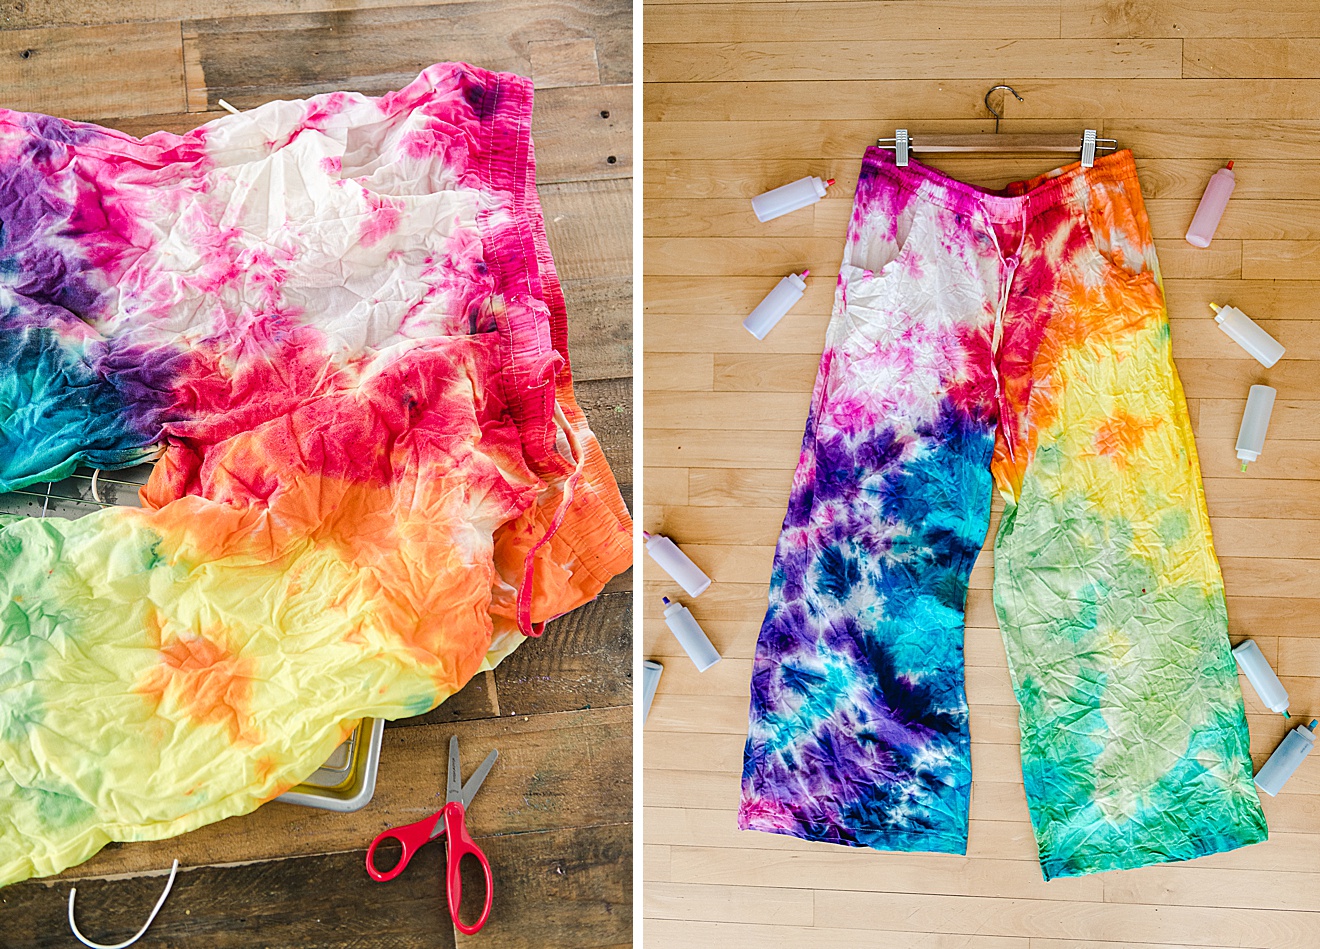
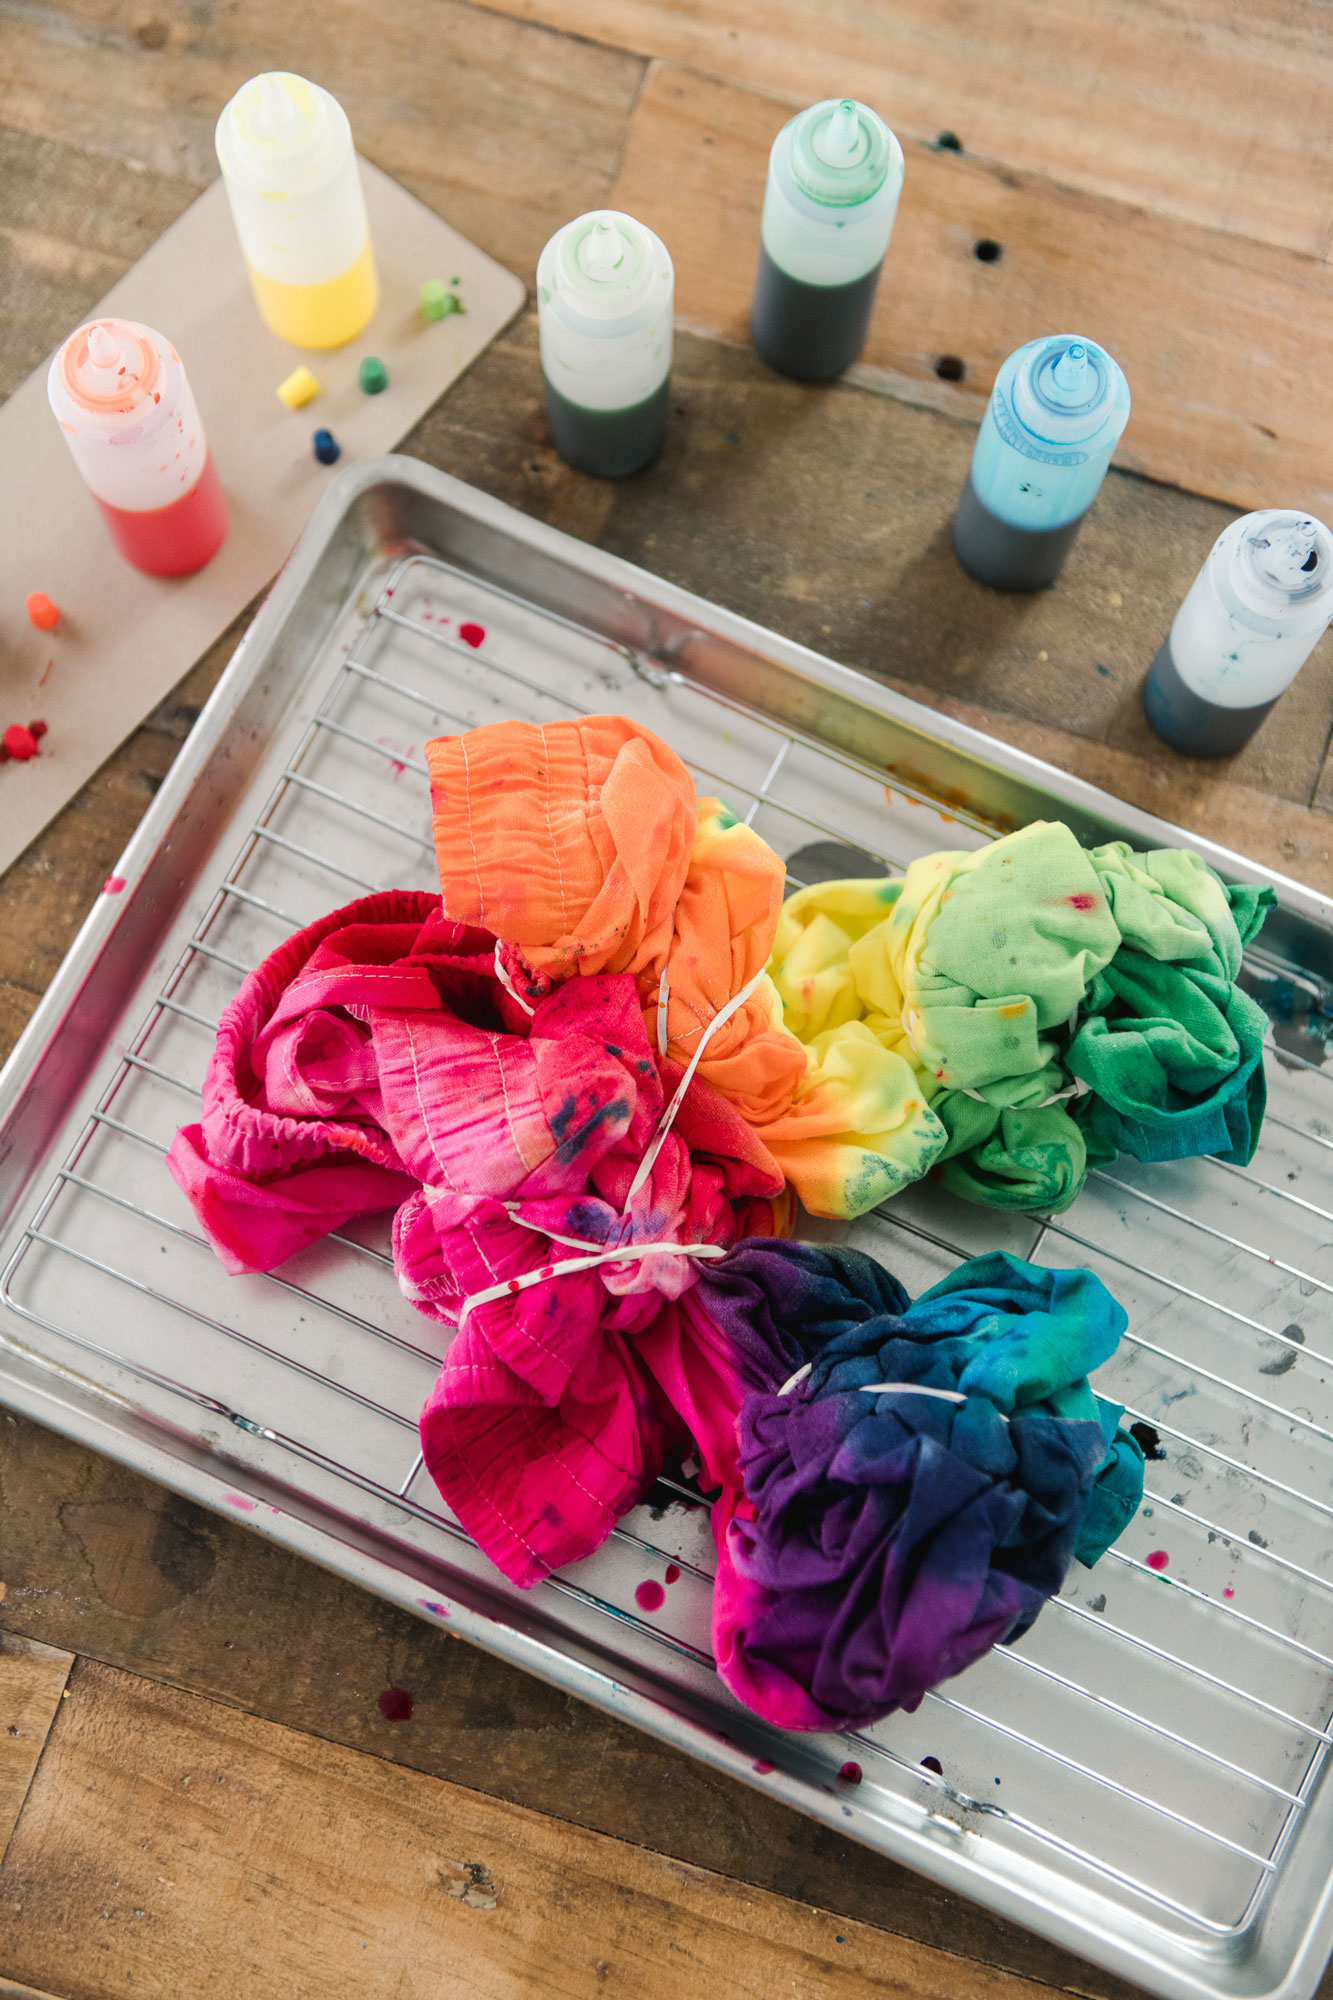
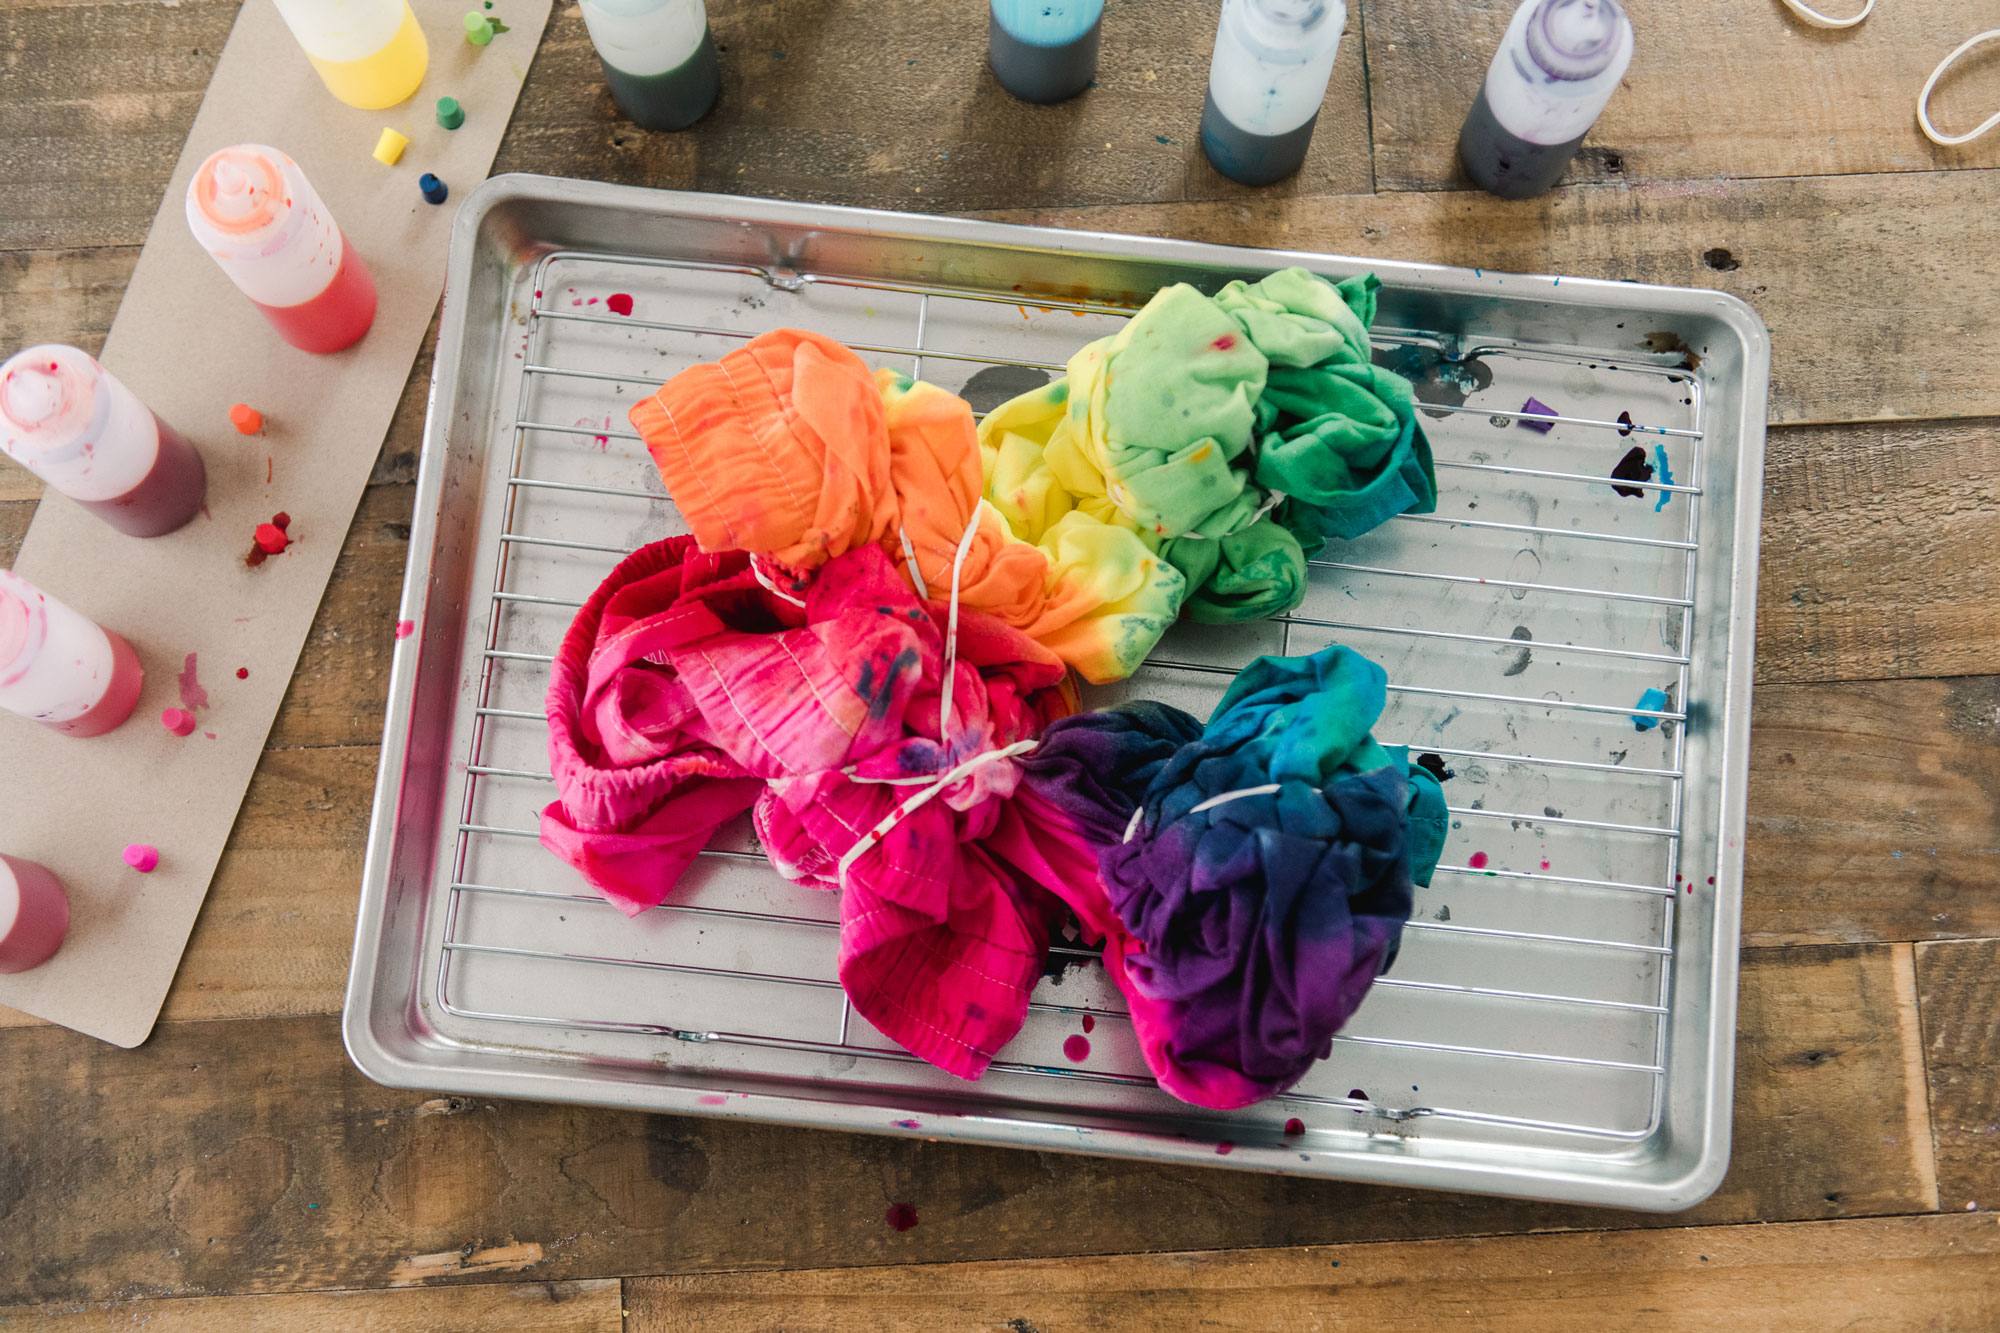
3. Decide how you will fold or scrunch up your pants – there are a few tips and inspirational ideas included in the instructions. I decided to do the simple crumpled look for the pants – I knew that I didn’t want distinct circles or lines ANNND I wanted to blend the array of amazing colors that were provided in this kit….so that led me to loosely crumpling. This technique also allowed me to dye them “in a circle” as a color wheel because there was no distict pattern with the folding or rubber-banding! 🙂
I secured each section of the pants with some rubber bands to hold it all together 🙂
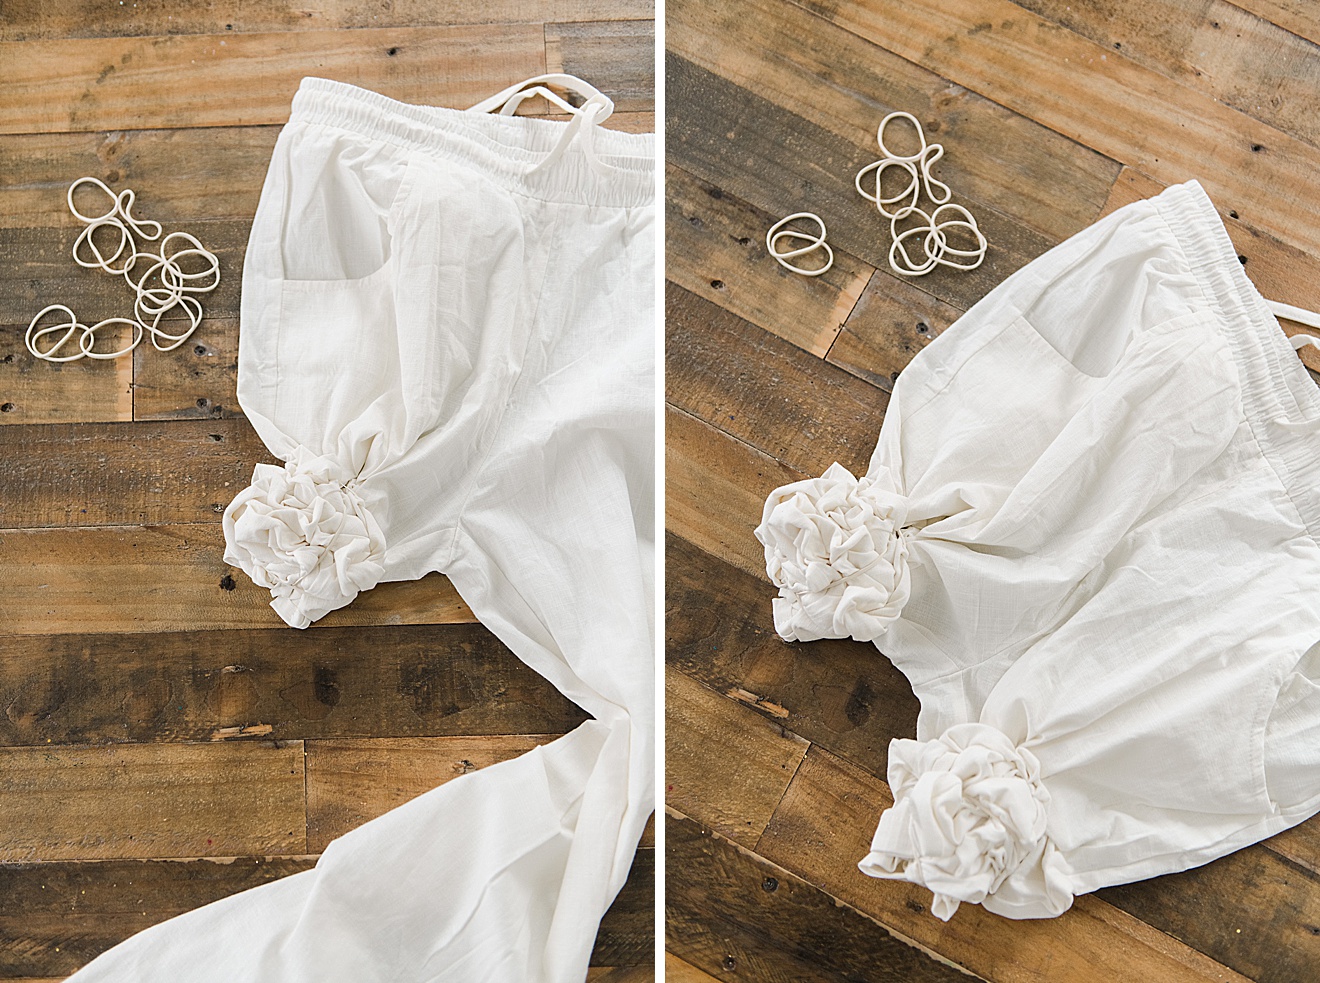
Since the pants are wide-leg, I decided to scrunch each leg separately and then scrunch the top part….so essentially I had 3 “areas” to work with. You certainly don’t have to do it this way, but I imagine if you don’t separate the areas, there will end up being so much fabric scrunched to the inside of the pants (the inseam croch area) that it would end up being very white with folded resist (if that makes sense! 🙂
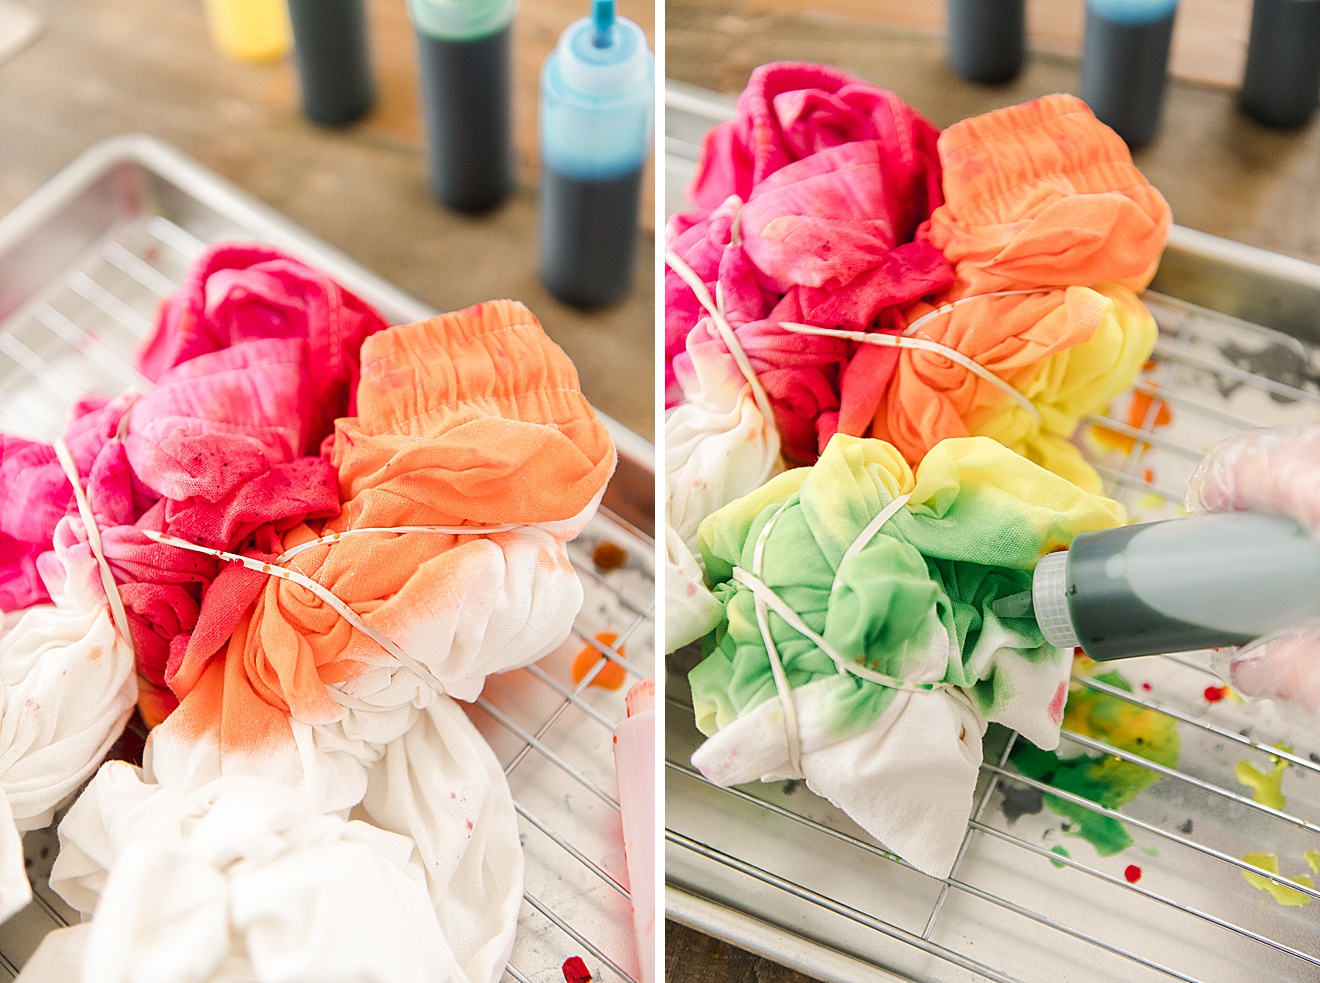
4. Begin to dye your pants – the suppppper fun part! Here are some tips when dying the pants:
- Like I mentioned before, I wanted to go in a circle and make these color-wheel inspired SOOOOO I started in one section in the first color (magenta) and then just worked my way in a circle around the pants, overlapping each color a bit as I went 🙂
- I feel like the dye works best if you go slow and touch the tip of the dye bottle to the pants. Squeeze gently as you dye with each color and you will see it start to saturate your garment — if you squeeze too much too fast, the it just squirts everywhere and leaves streaks of color.
- Be sure to get the front and back of the pants so that you don’t leave too much white space un-dyed on the pants.
- Since you will most likely be holding the garment with the opposite hand that you’re squeezing dye, you will likely get your gloves full of dye….no big deal BUUUUT I’ve found it works super well to wipe your hands between colors…just have an extra paper towel handy….you don’t want to transfer other colors of dye from your gloves.
- When you get to the yellow portion of the dye, I lifted my pant bundle off of the rack and wiped the pink/orange excess dye that had fallen under the rack. I did this because the pink and orange are darker than the yellow and I didn’t want those colors to bleed onto the yellow portions 🙂 – you can do the same when you get to the blues and purples….this just keeps colors from touching other excess colors that have pooled up
- Don’t be afraid to push the tip of your dye bottle into the creases and crevices of your garment (but not too much)….this will get it nice and saturated with colored dye! 🙂
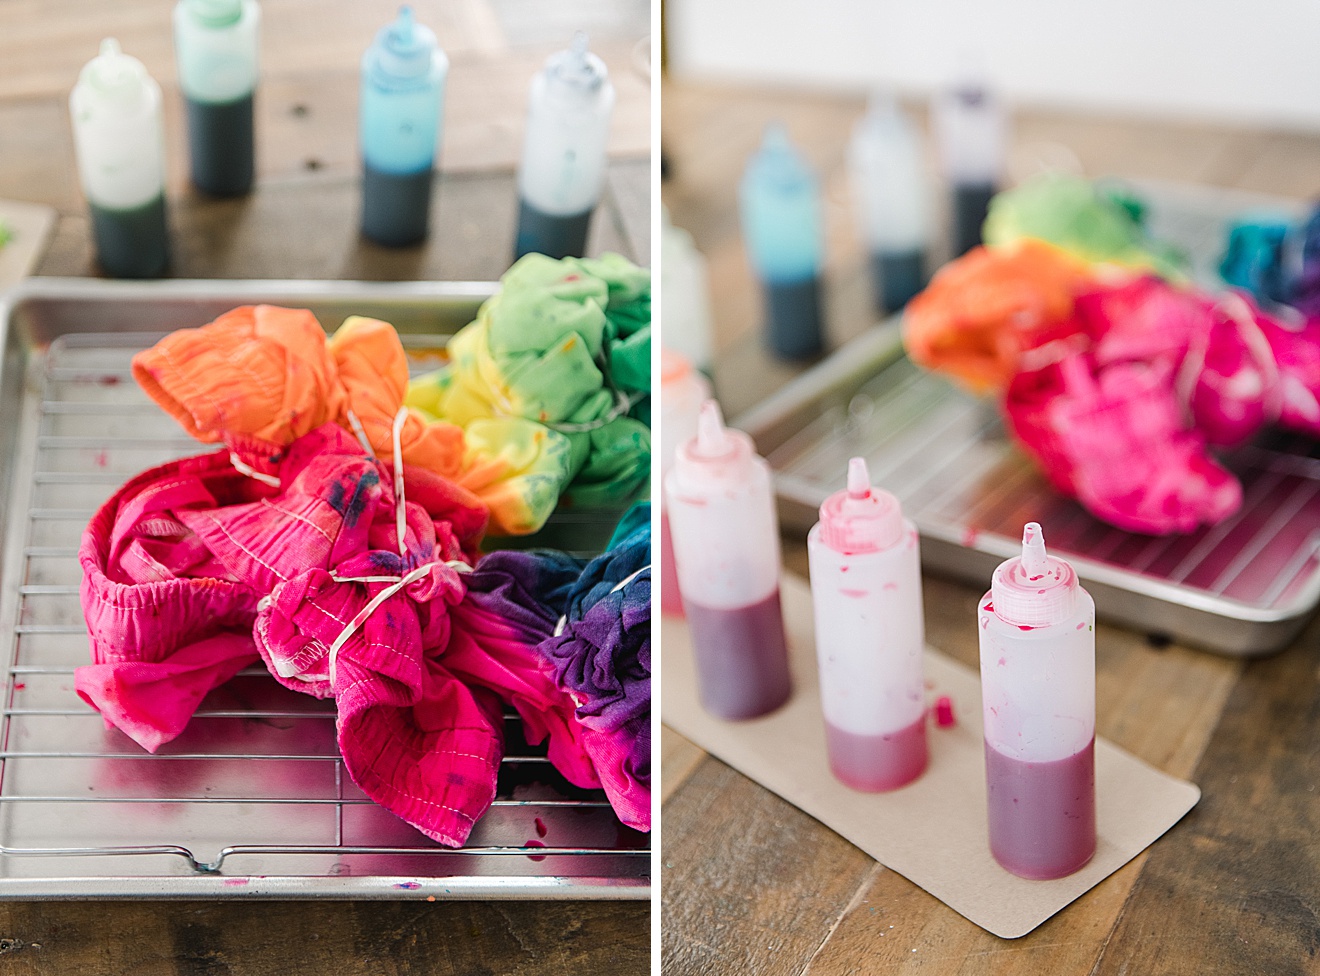
5. Once every area of your pants are covered it’s time to let them sit. Either cover the tray with plastic wrap or remove the pants and place them gently into a reusable plastic bag. Allow to sit overnight (at least 6 hours)……the longer you let it sit, the more vibrant the colors 🙂 The key here is to seal the pants so that they don’t t dry but that the dye permeates the fabric 🙂
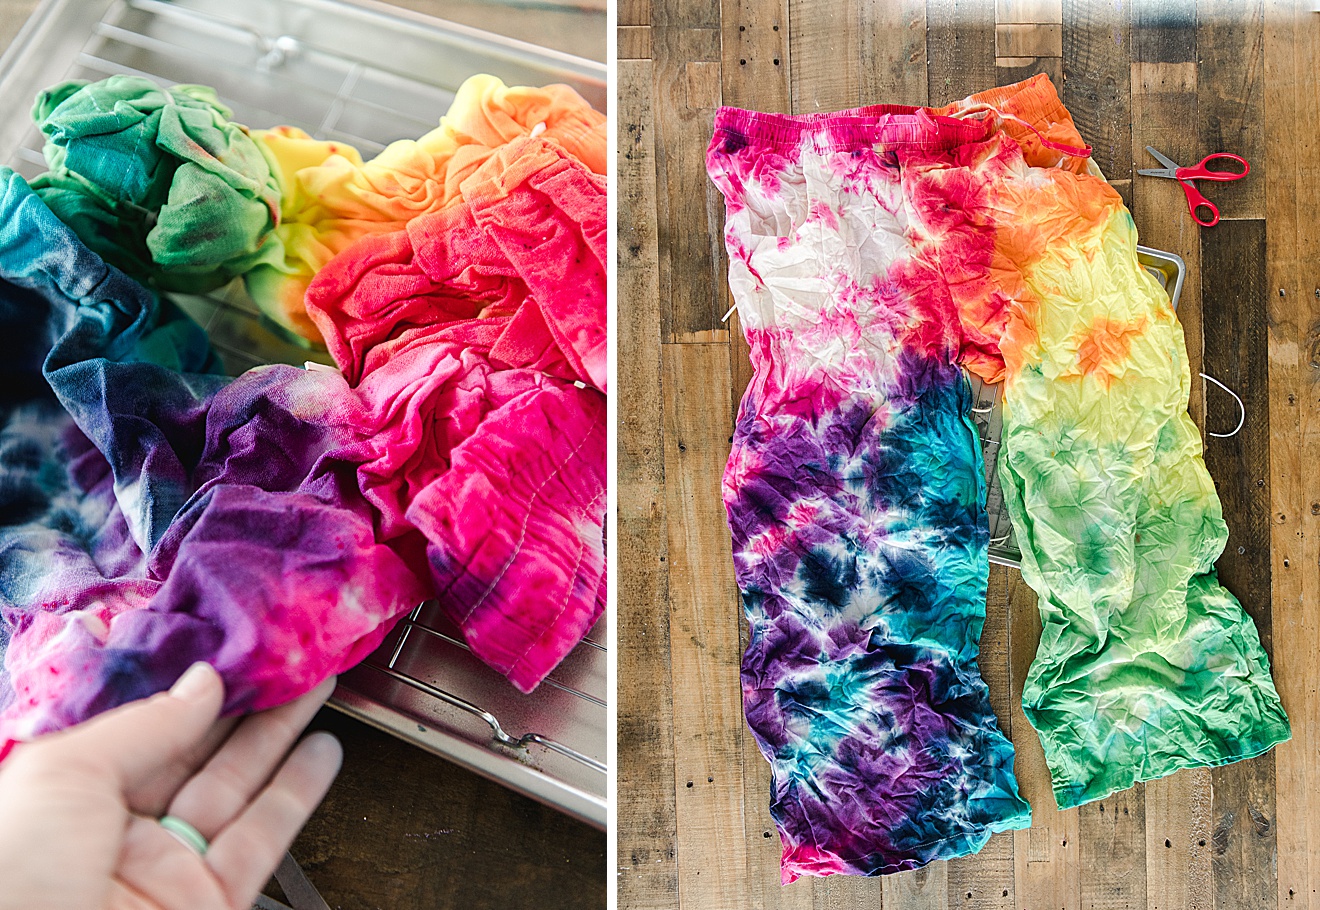
6. THE FUNNN PART!
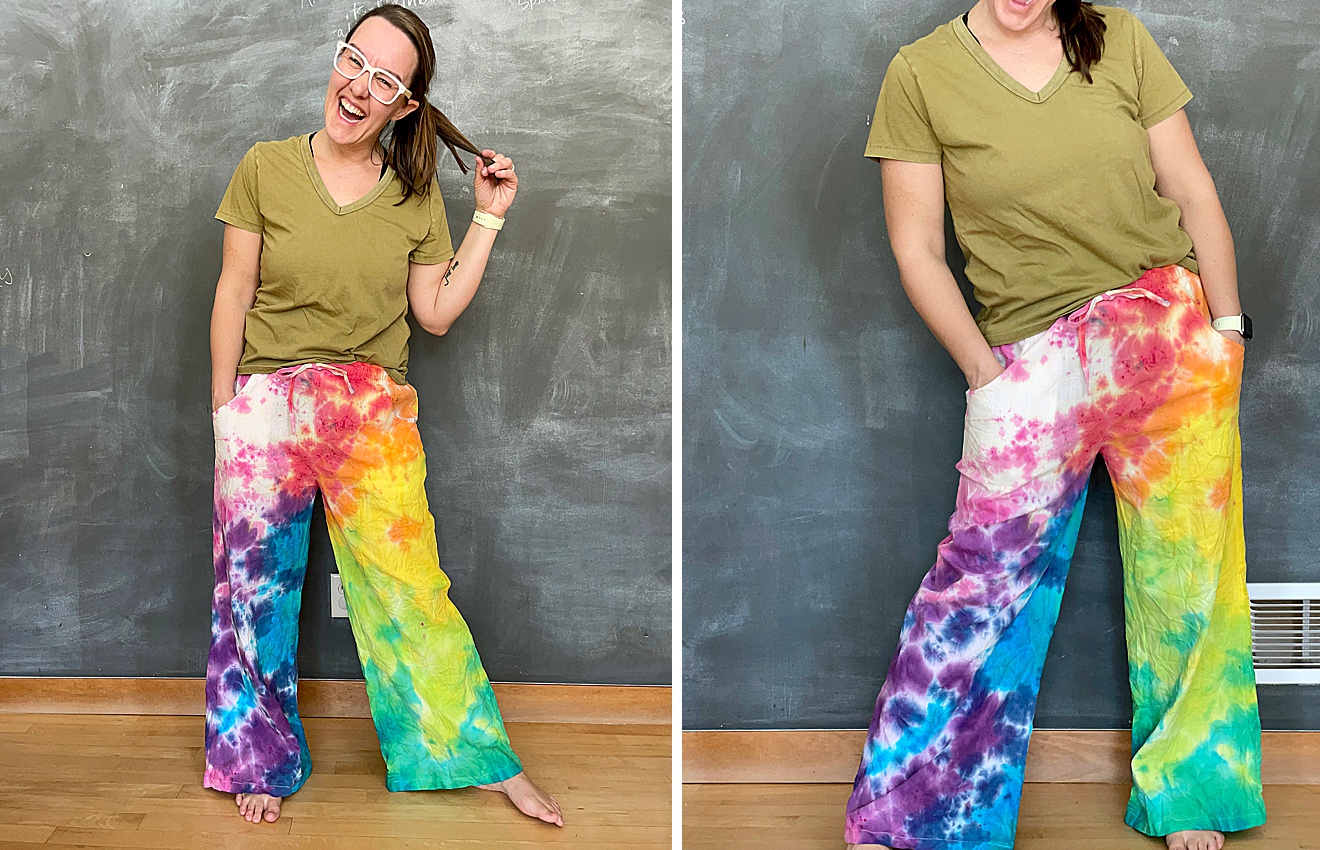
Now it’s time to reveal your amazing dye job! Either carefully snip off or unwrap the rubber bands from your pants and then rinse the excess dye off the pants by running them under cold water until the water runs clear! 🙂 You can start to see just how incredible these pants are! 🙂 Do a quick cold wash cycle and dry before wearing them about town and just showing off just how stylish and awesome you are! 🙂