How to make a fruit slice summer swimsuit wet bag!
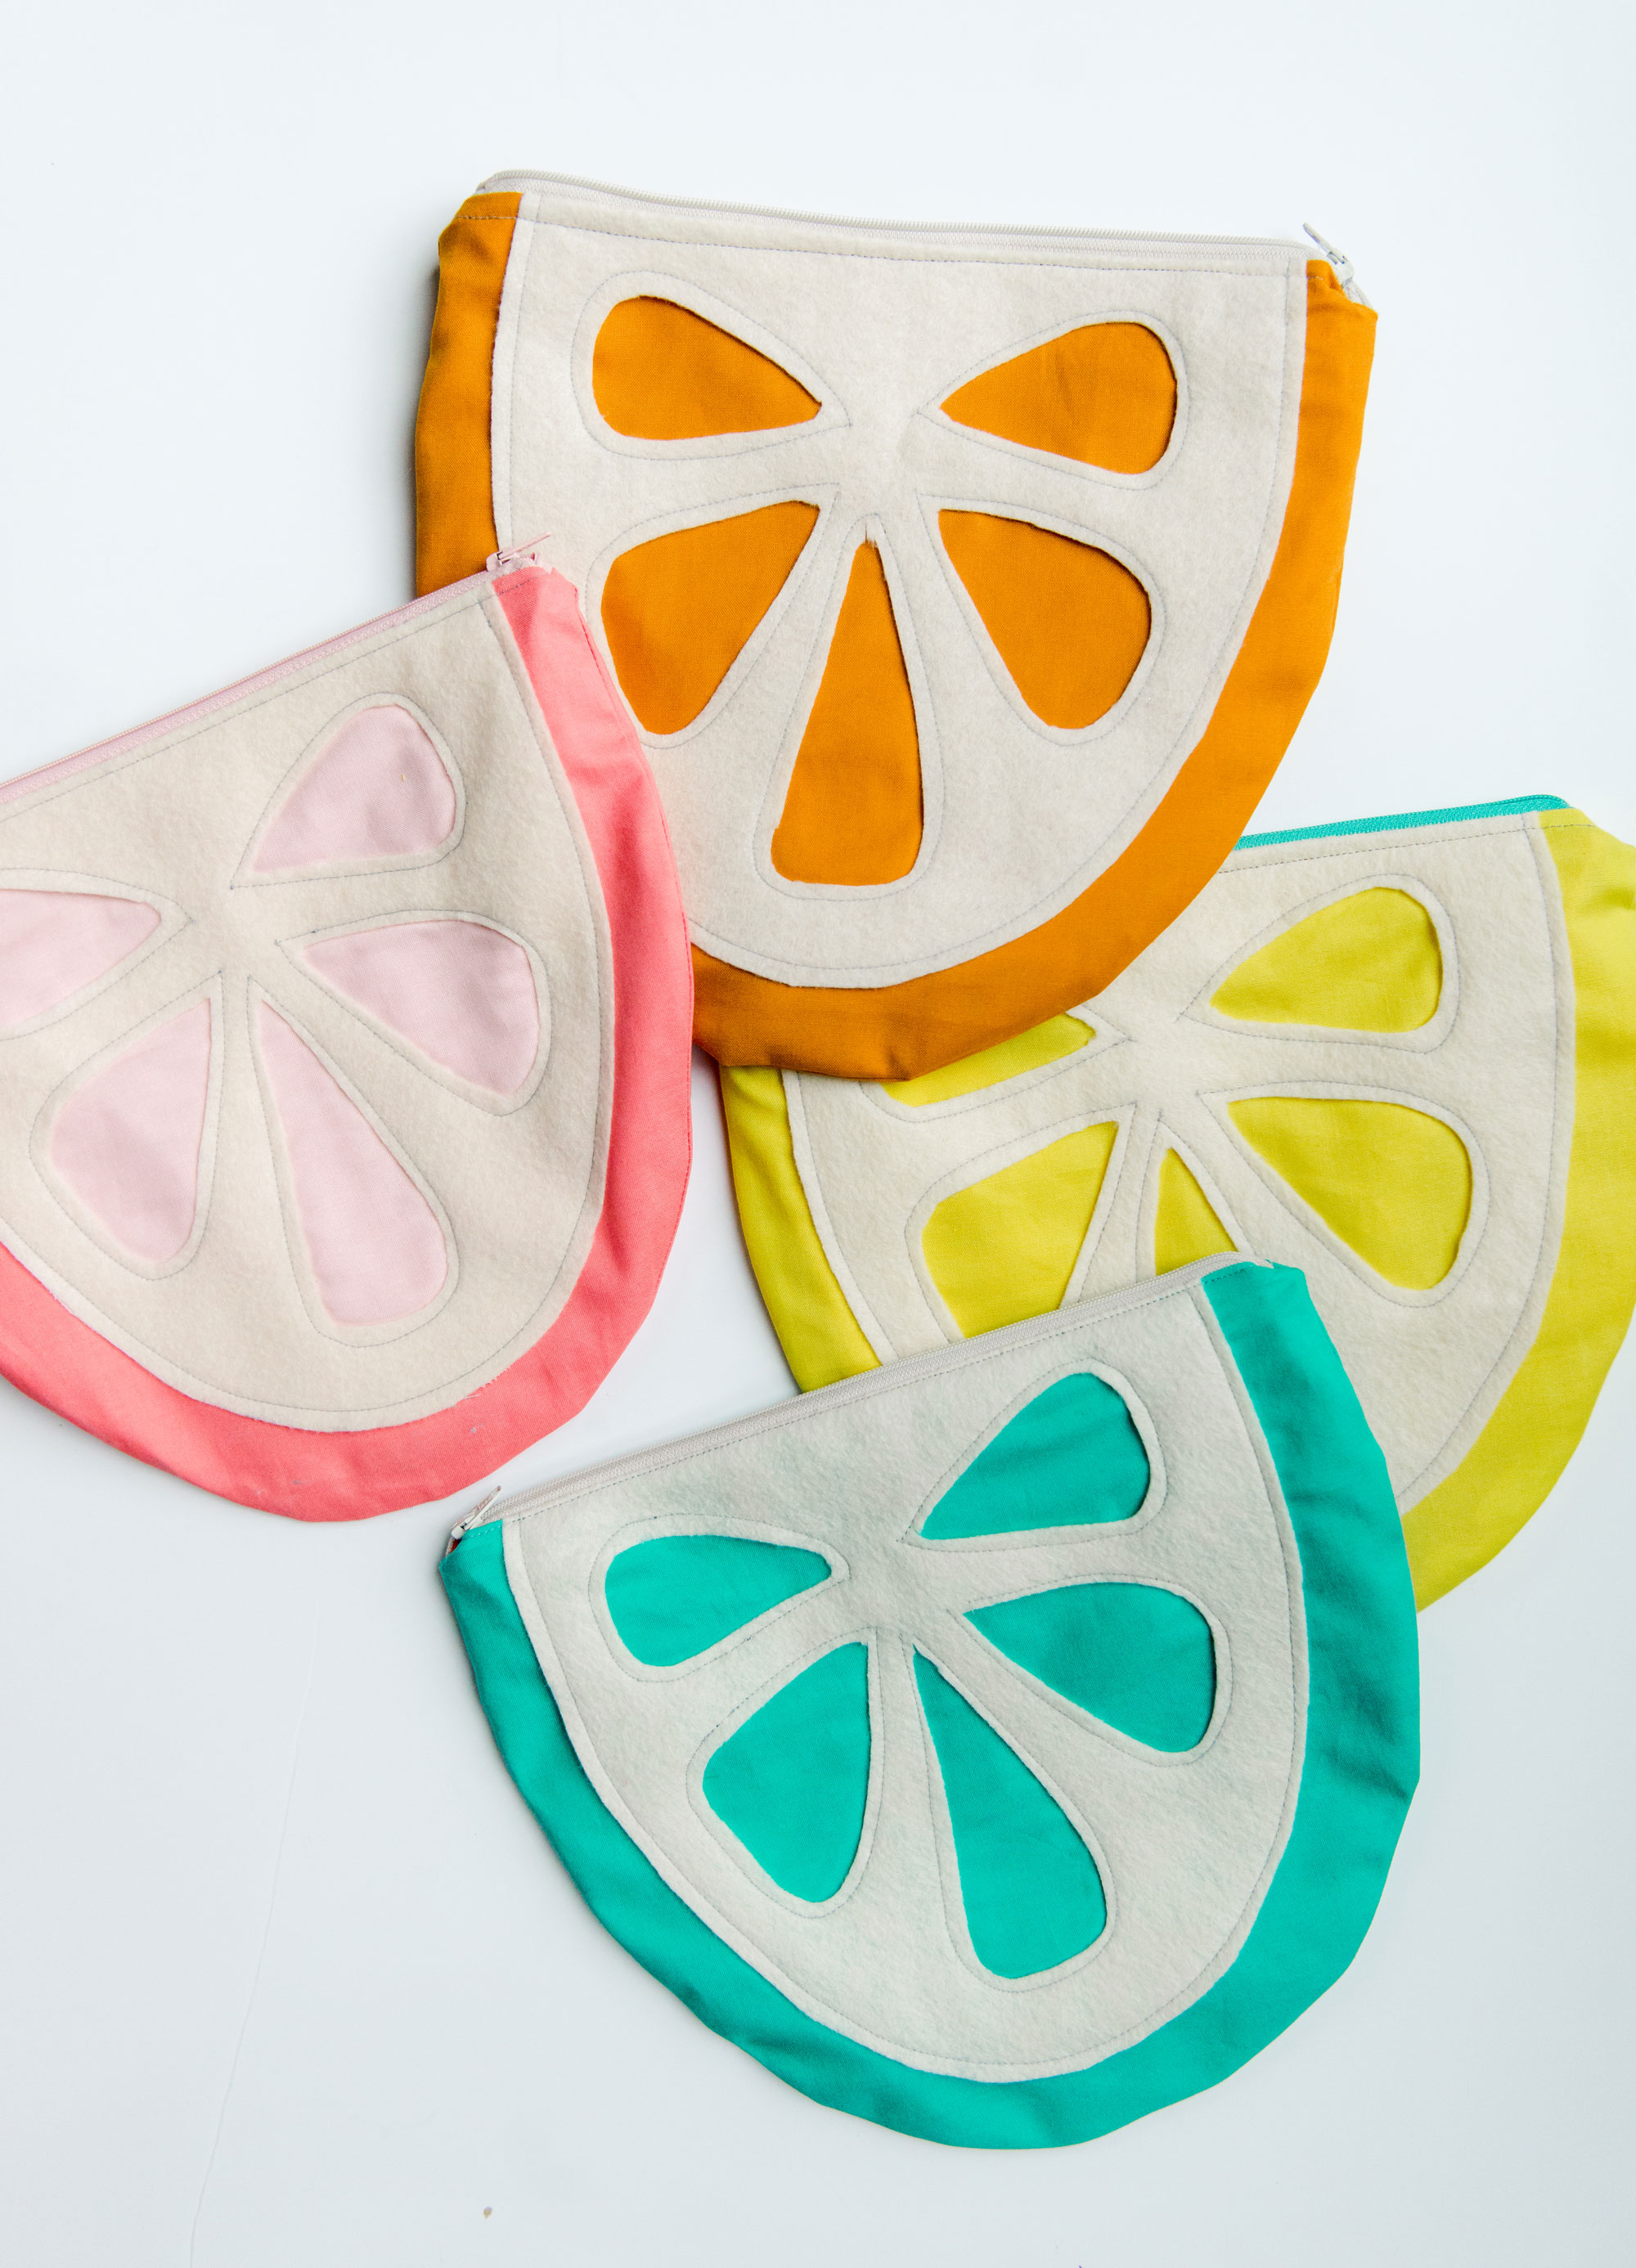
Summer is upon us ANNNNND I have one of the best summer Mom tips to make sure that the back of your car doesn’t perpetually smell like a dirty wet beach! (Because I can’t be the only one on the planet that leaves things in the back of the car accidentally)! 🙂
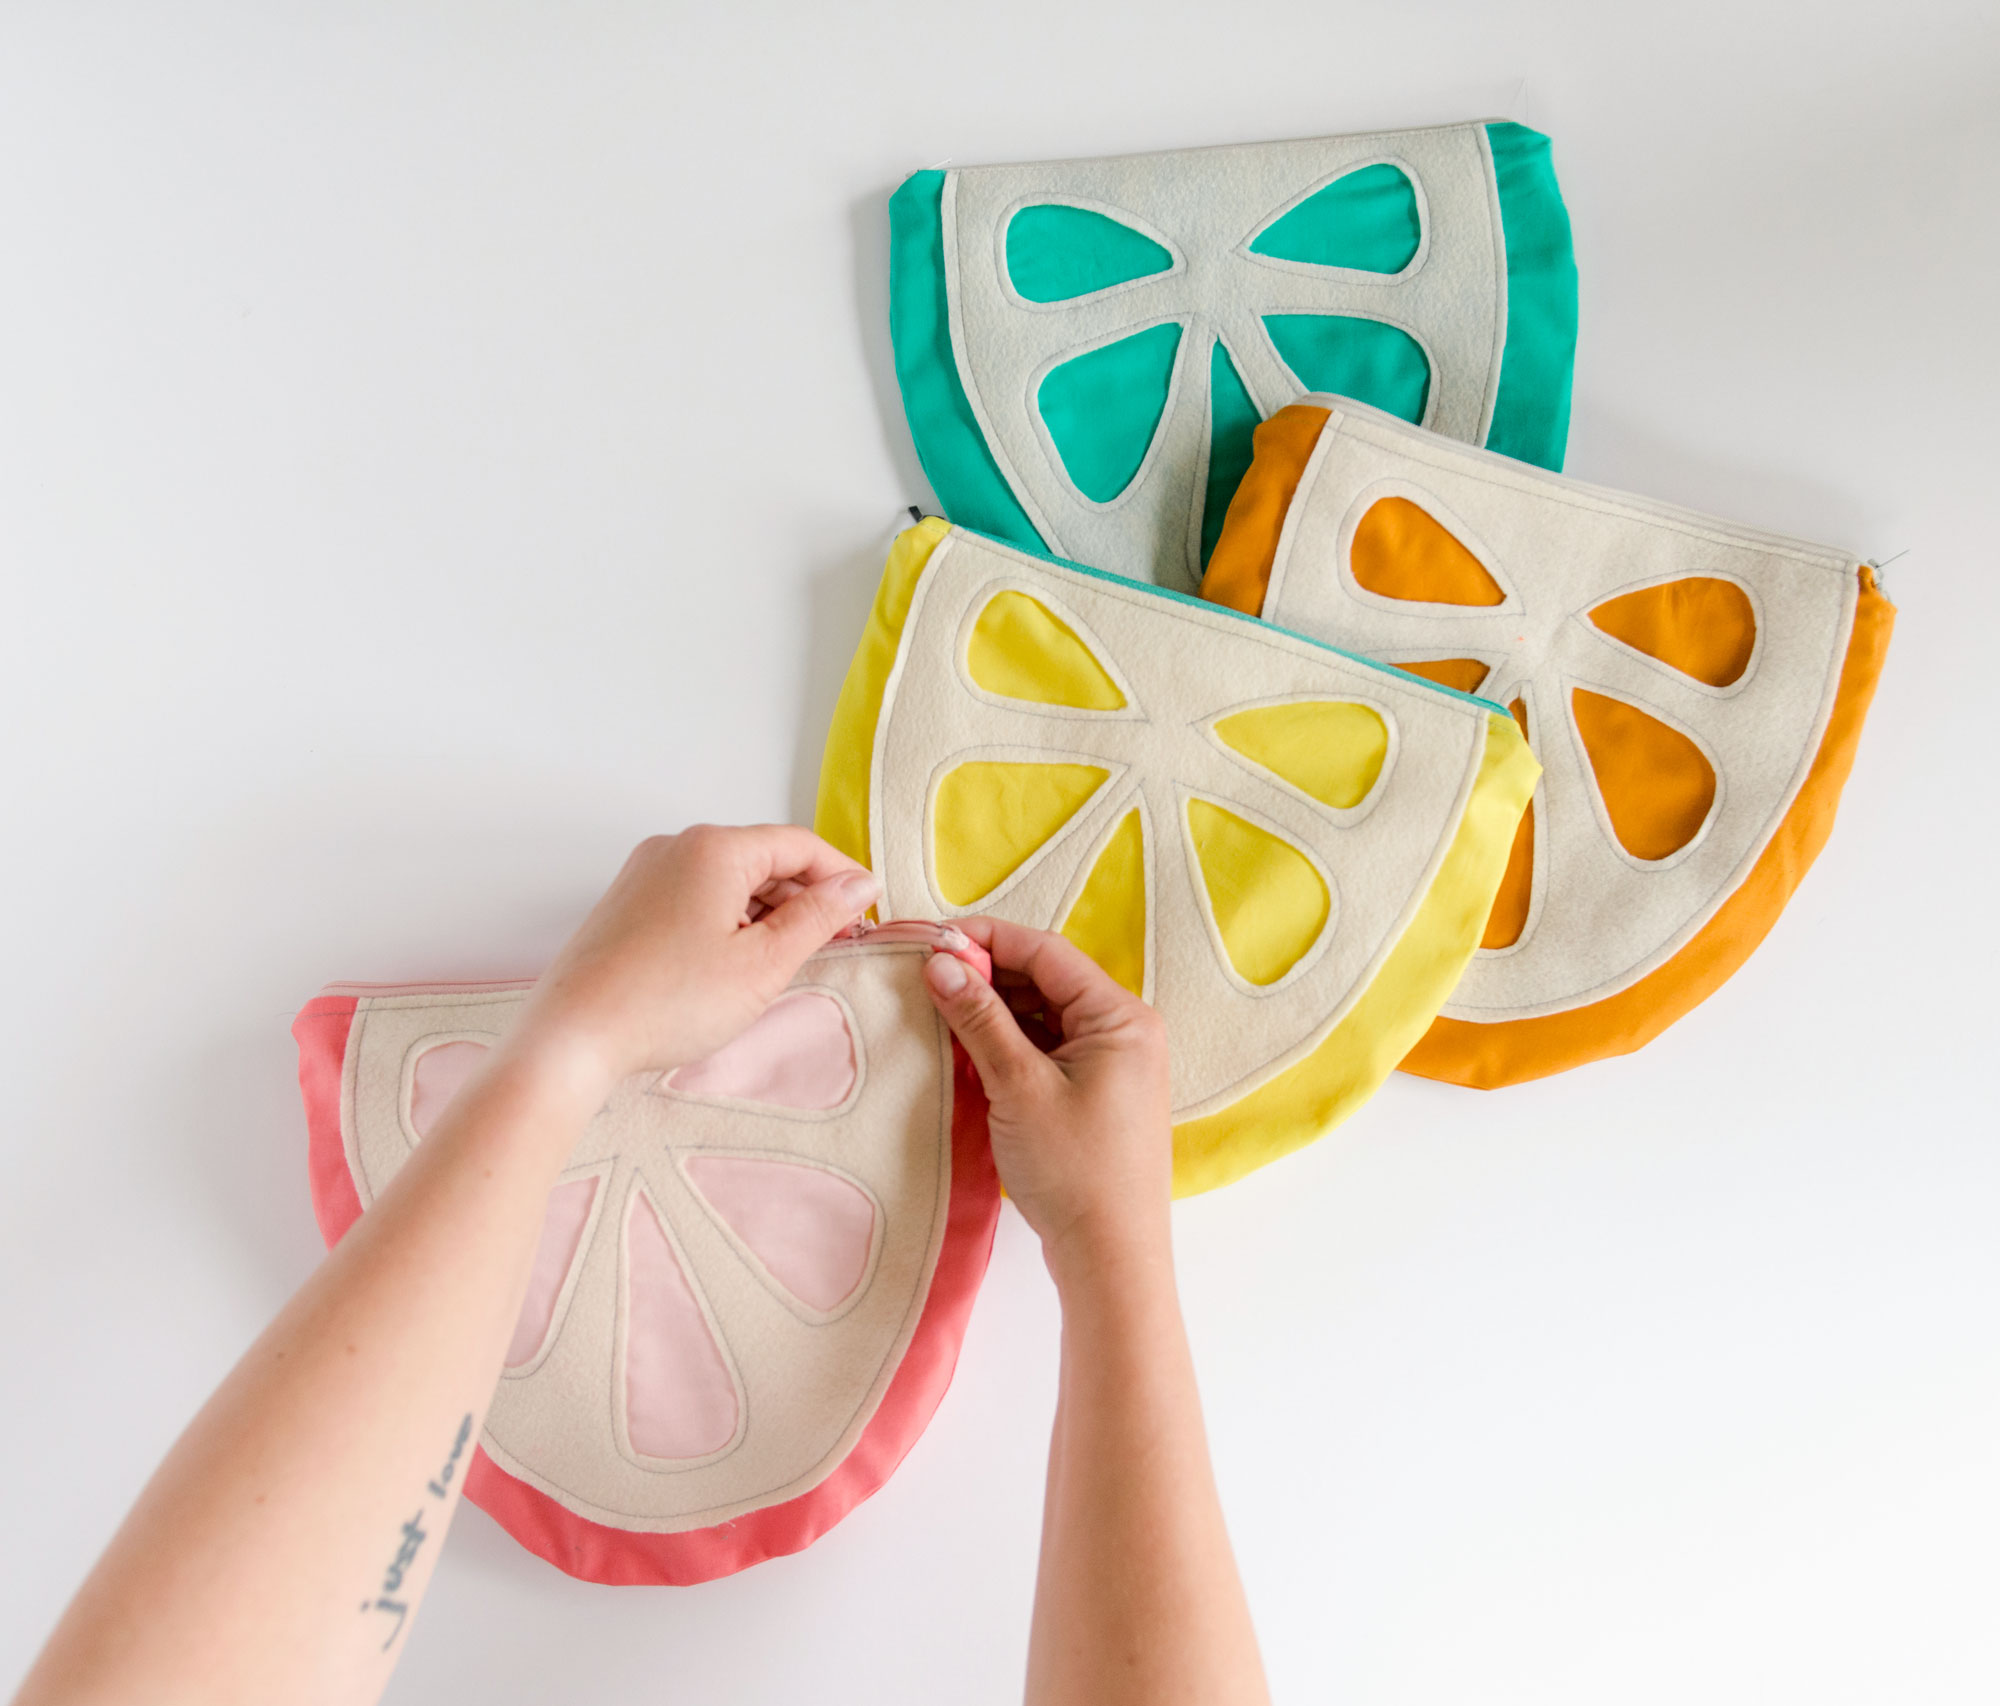
So grab some fabric and your fave sewing machine so that you can make this adorable swimsuit wet bag with me……below you will find the full pattern + tutorial, yayyyyyy! 🙂
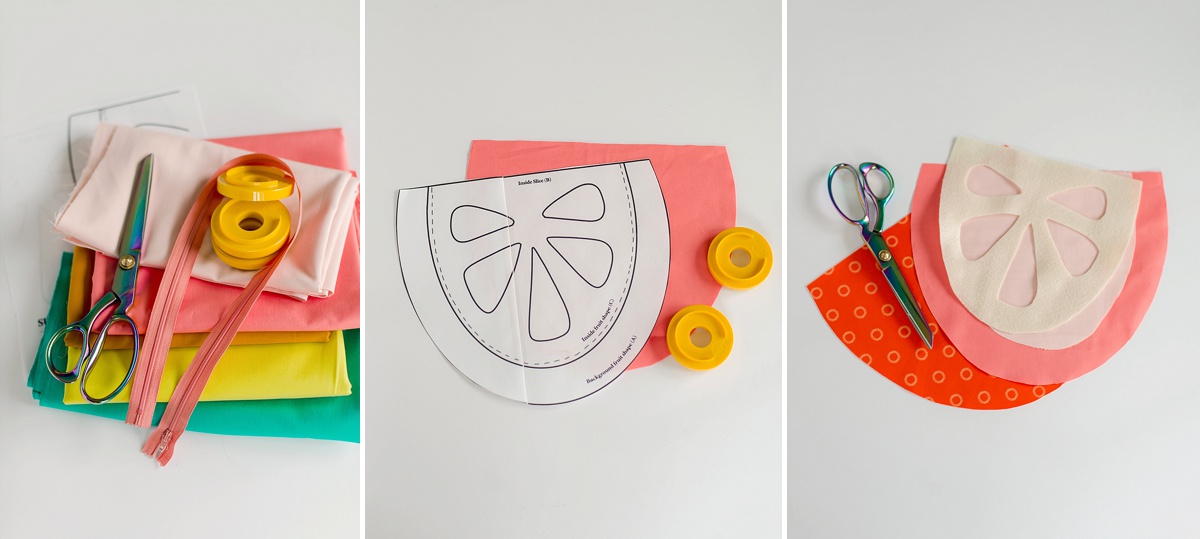
Supplies:
- PDF Pattern (download here)
- optional: SVG pattern (download here, here, and here) for cutting the fruit portion on your Cricut or other cutting machine! Make sure to have your heavy grip mat as well as the deep cutting blade for this 🙂
- Zipper in coordinating color
- Sewing machine + coordinating thread
- Zipper foot for sewing machine
- Iron
- 1/2 yard of your background fabric (you really could get away with 2 fat quarters but a regular 1/4 yard won’t be wide enough)
- fat quarter of white felt
- 1/2 yard of your inside lining (I used cloth diaper fabric, and again you could get away with 2 fat quarters if you were piecing together)
- optional fat quarter of coordinating fabric (light pink for the inside of watermelon)
Instructions:
- Cut out pieces (either by hand or with your Cricut….both PDF + SVG download above)
Out of main color, cut 2 background fruit shapes (Piece A)
Out of white felt, cut 1 inside fruit shape piece (Piece B)
Out of your lining fabric, cut 2 background fruit shapes (Piece A)
If you are doing the watermelon (or have a coordinating color you want to include), cut 1 inside fruit shape along the dotted line (Piece C)
If you are using your Cricut to cut out your pattern pieces! Using your Cricut to cut fabric is super simple: you will upload your file into your Cricut design space and with your heavy grip mat + deep cutting blade, begin to cut out each piece!
NOTE: I decided to only cut out PIECE B on my Cricut (because it is quite simple to cut out the other pieces with a scissors whereas the Fruit Piece B is more challenging with the holes, etc)! 🙂 Of course all SVG files are included, but I only need to to cut one felt piece B! 🙂
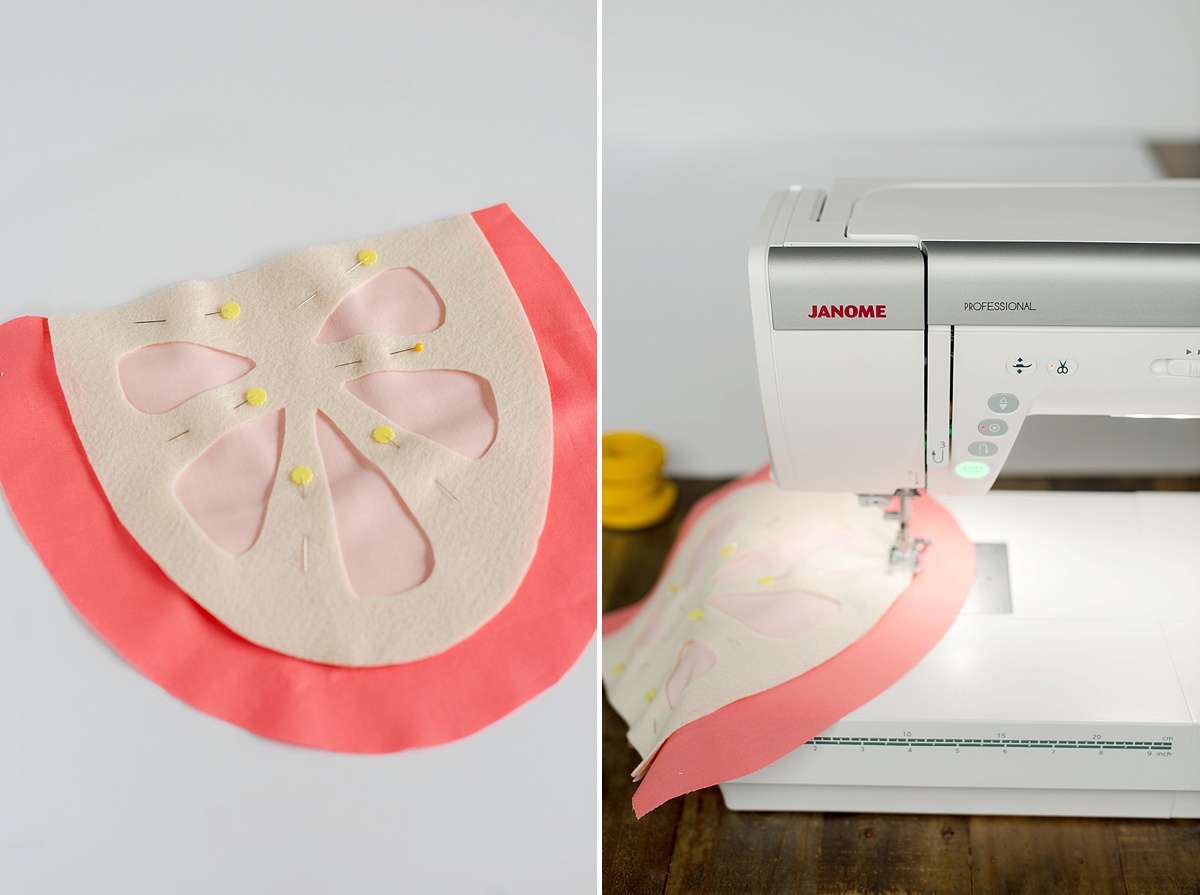
2. Assemble front of fruit
Lay the felt fruit shape (Piece B) on top of one of the fruit shapes (Piece A). Lining up the top edges, slowly stitch around the felt piece and the inside “seed holes”.
3. Attach the zipper
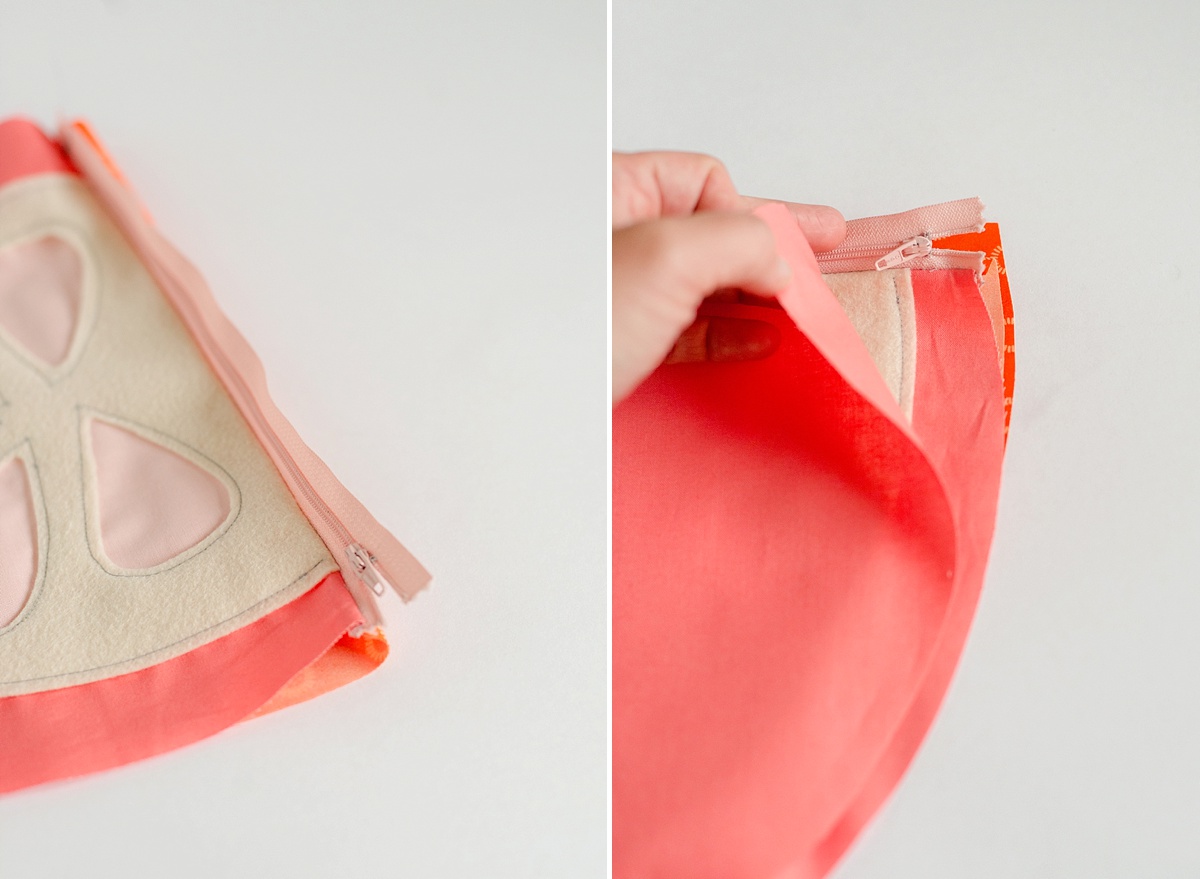
Sandwich the layers as follows: lining fruit piece right side up, then lay the zipper and line up with the top edge, then place the front fruit piece right sides down. Pin in place. With your zipper foot, stitch all 3 layers together.
Repeat with the other lining piece + background fruit shape.
Tip: When sewing the zipper, begin the stitch below the “pull”, sew down the edge to the end. Then go back up, open the pull and sew the remaining top portion. This will ensure that you will get a straight, beautiful seam without the bulk of the zipper pull getting in the way of the foot while sewing.
4. Iron open + top stitch
With your iron, press the zipper seams open so that they lay flat. Then top stitch along the top parts of either side of the zipper, sewing the lining to its respective outside fruit shape.
Note: When ironing, do a test with your lining fabric to be sure it can withstand the heat your iron is set to (since you likely have a lining cloth or some other waterproof material)
5. Open the zipper!!!!!
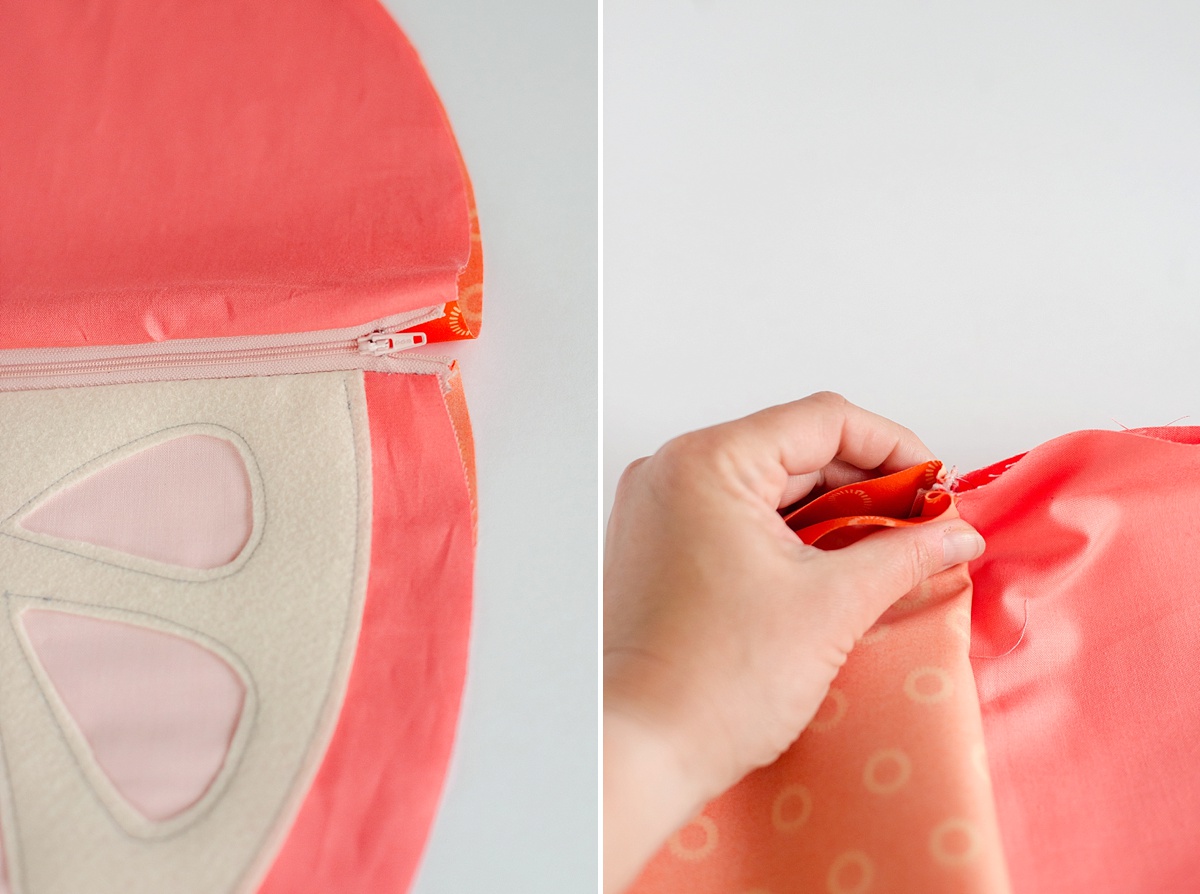
This is *SUPPPPPER* important otherwise you won’t be able to open your wet bag! 🙂
OPEN THE ZIPPER!
6. Pin + sew front together
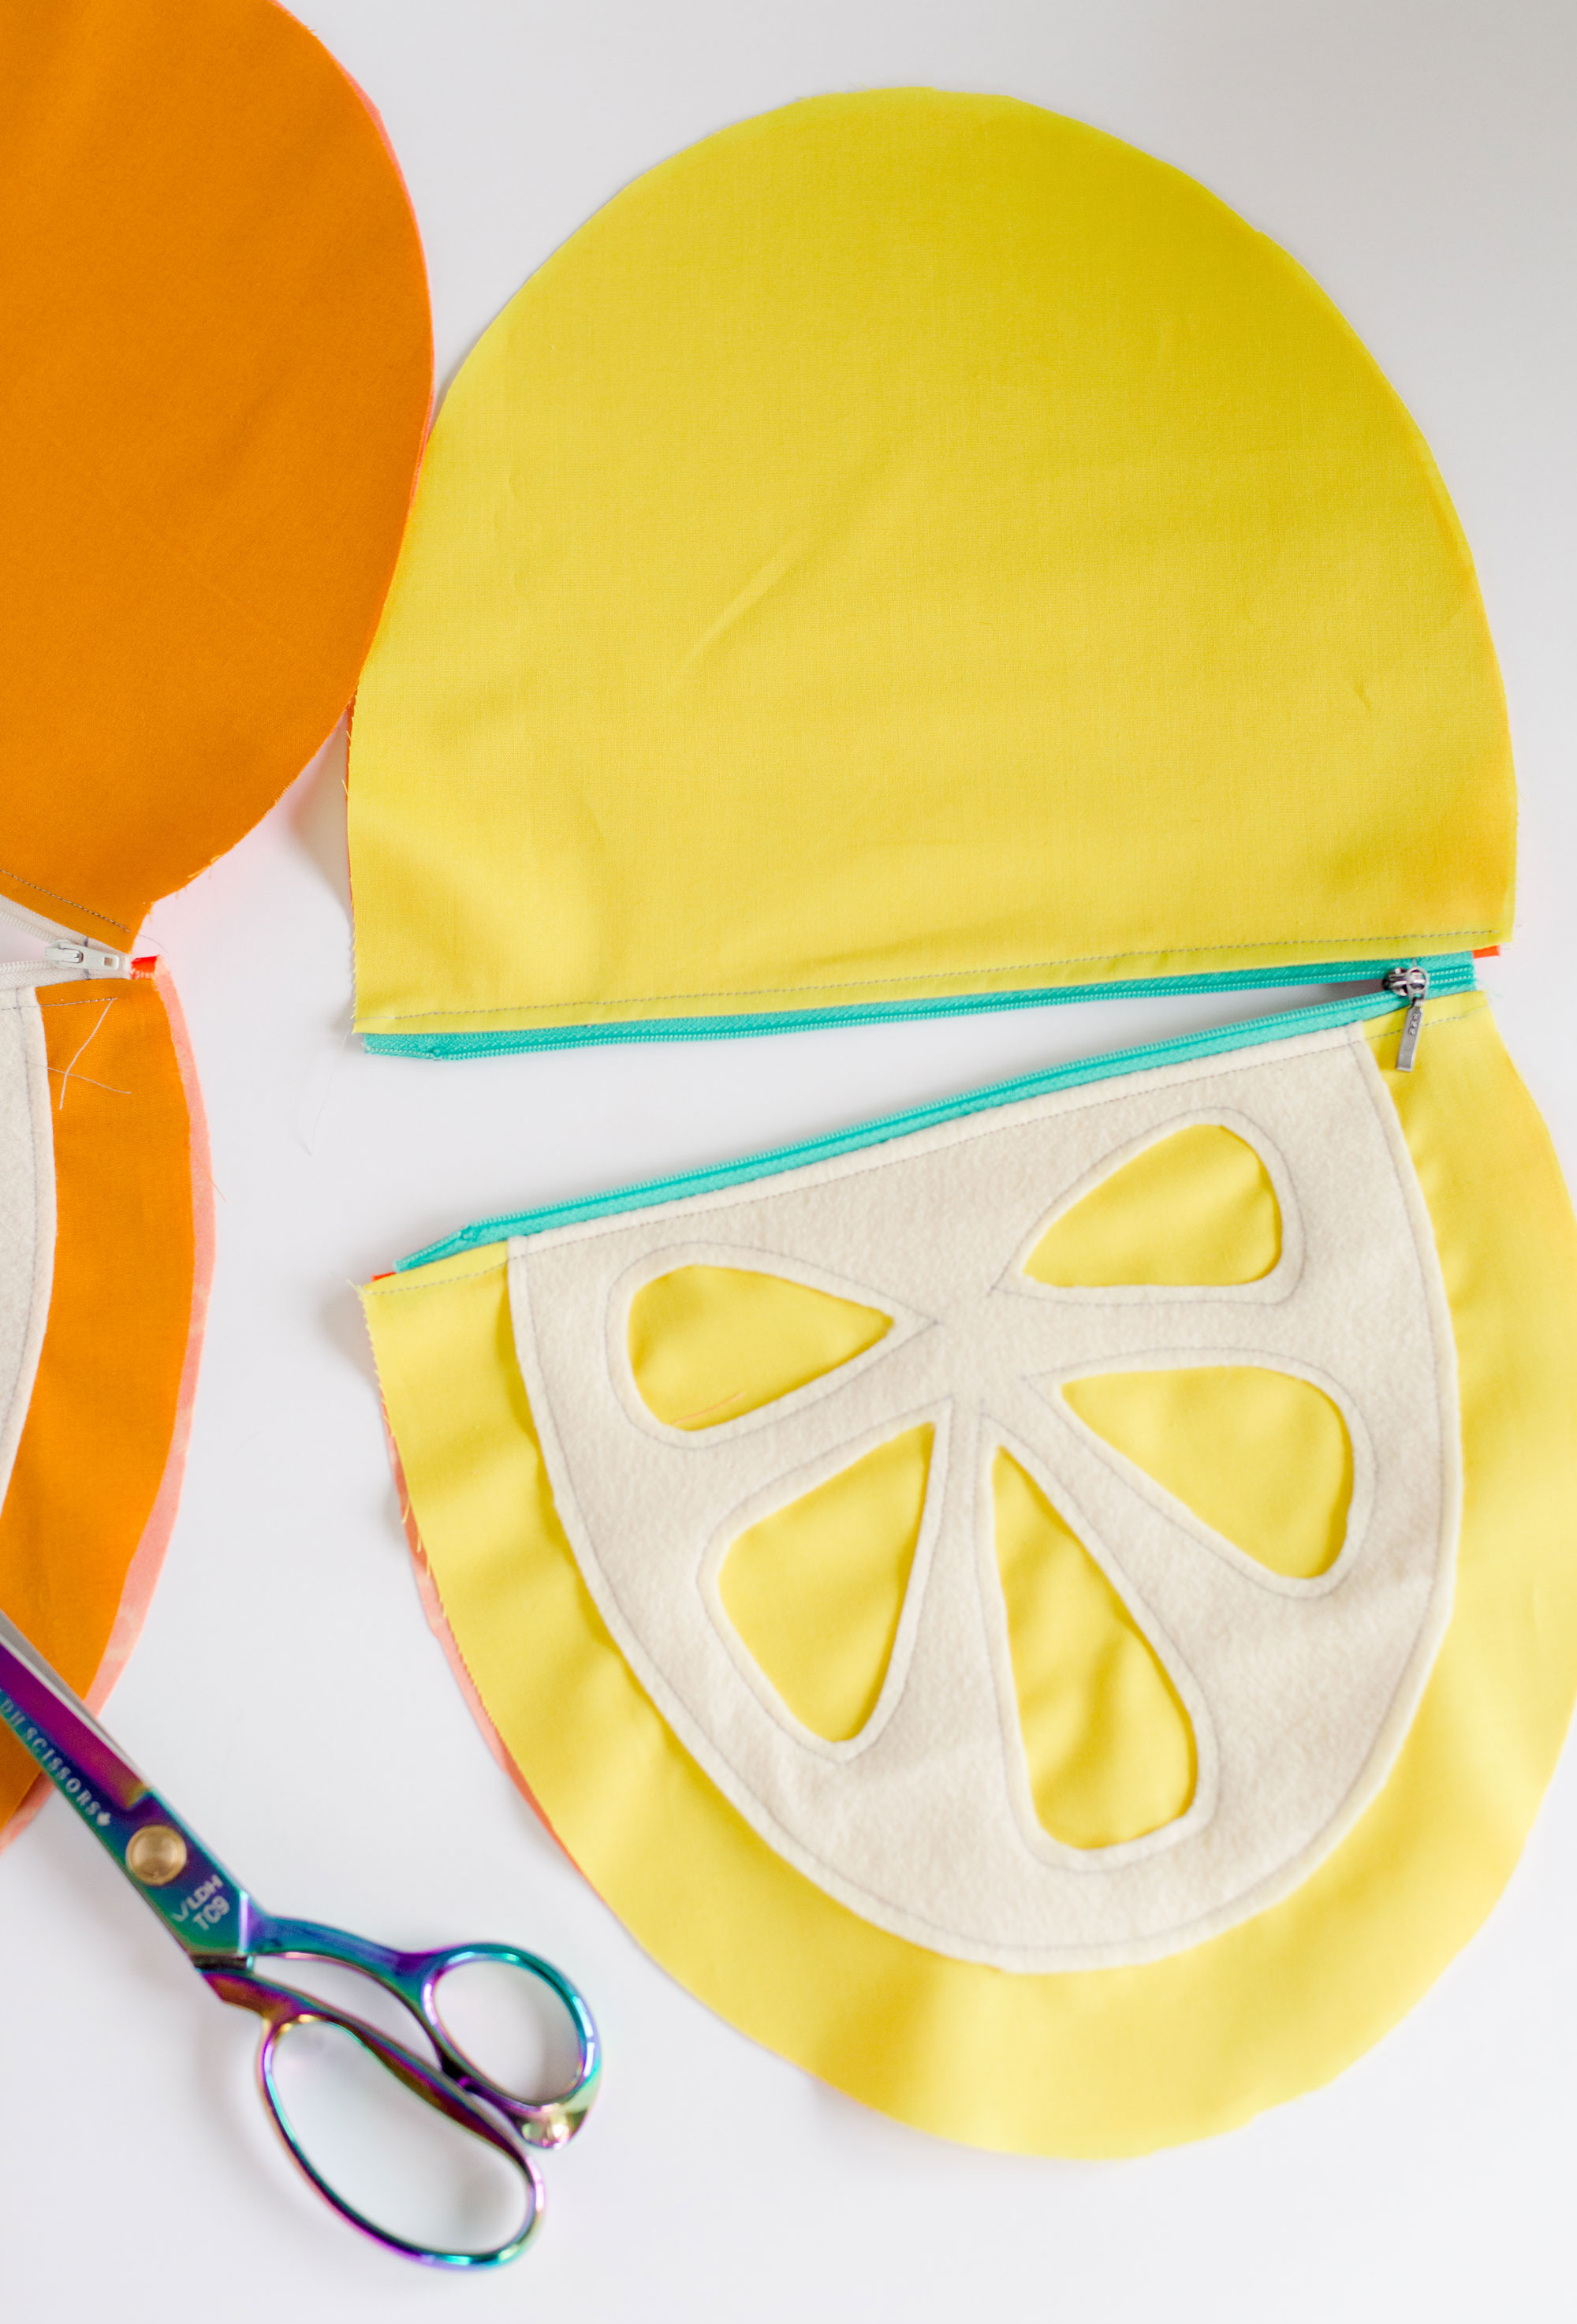
Open up your bag and then line up the 2 lining pieces with one another as well as the front background shapes with one another. Pin in place, being careful to line up the 2 areas where the zipper joins (this is important to make sure the zipper is straight across when finished).
Stitch all the way around the bag, leaving a large enough opening on the lining portion to turn the bag when done.
TIP: Make sure that your zipper edges fold towards the lining and not out towards the front when you are pinning. (see above pic)
7. Clip inside seams
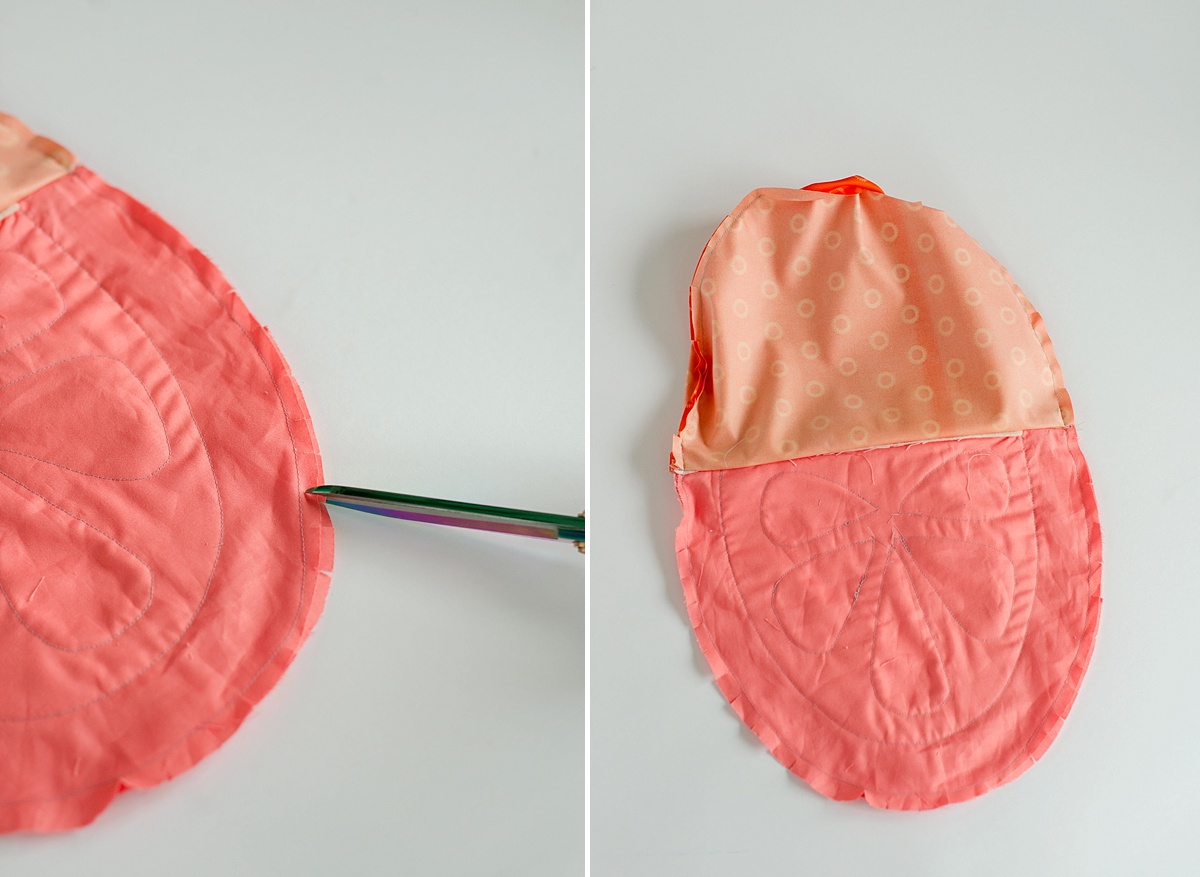
With scissors clip around the round edges of both the lining and the front.
8. Finish!
Turn the bag right side out and polk all of the corners of the fruit shape with your fingers to smooth the edges. Then turn edges of the lining opening (where you pulled the bag through) inward to mimic the seam allowance and top stitch closed.
Press the bag with an iron + fill with goodies for the beach! 🙂
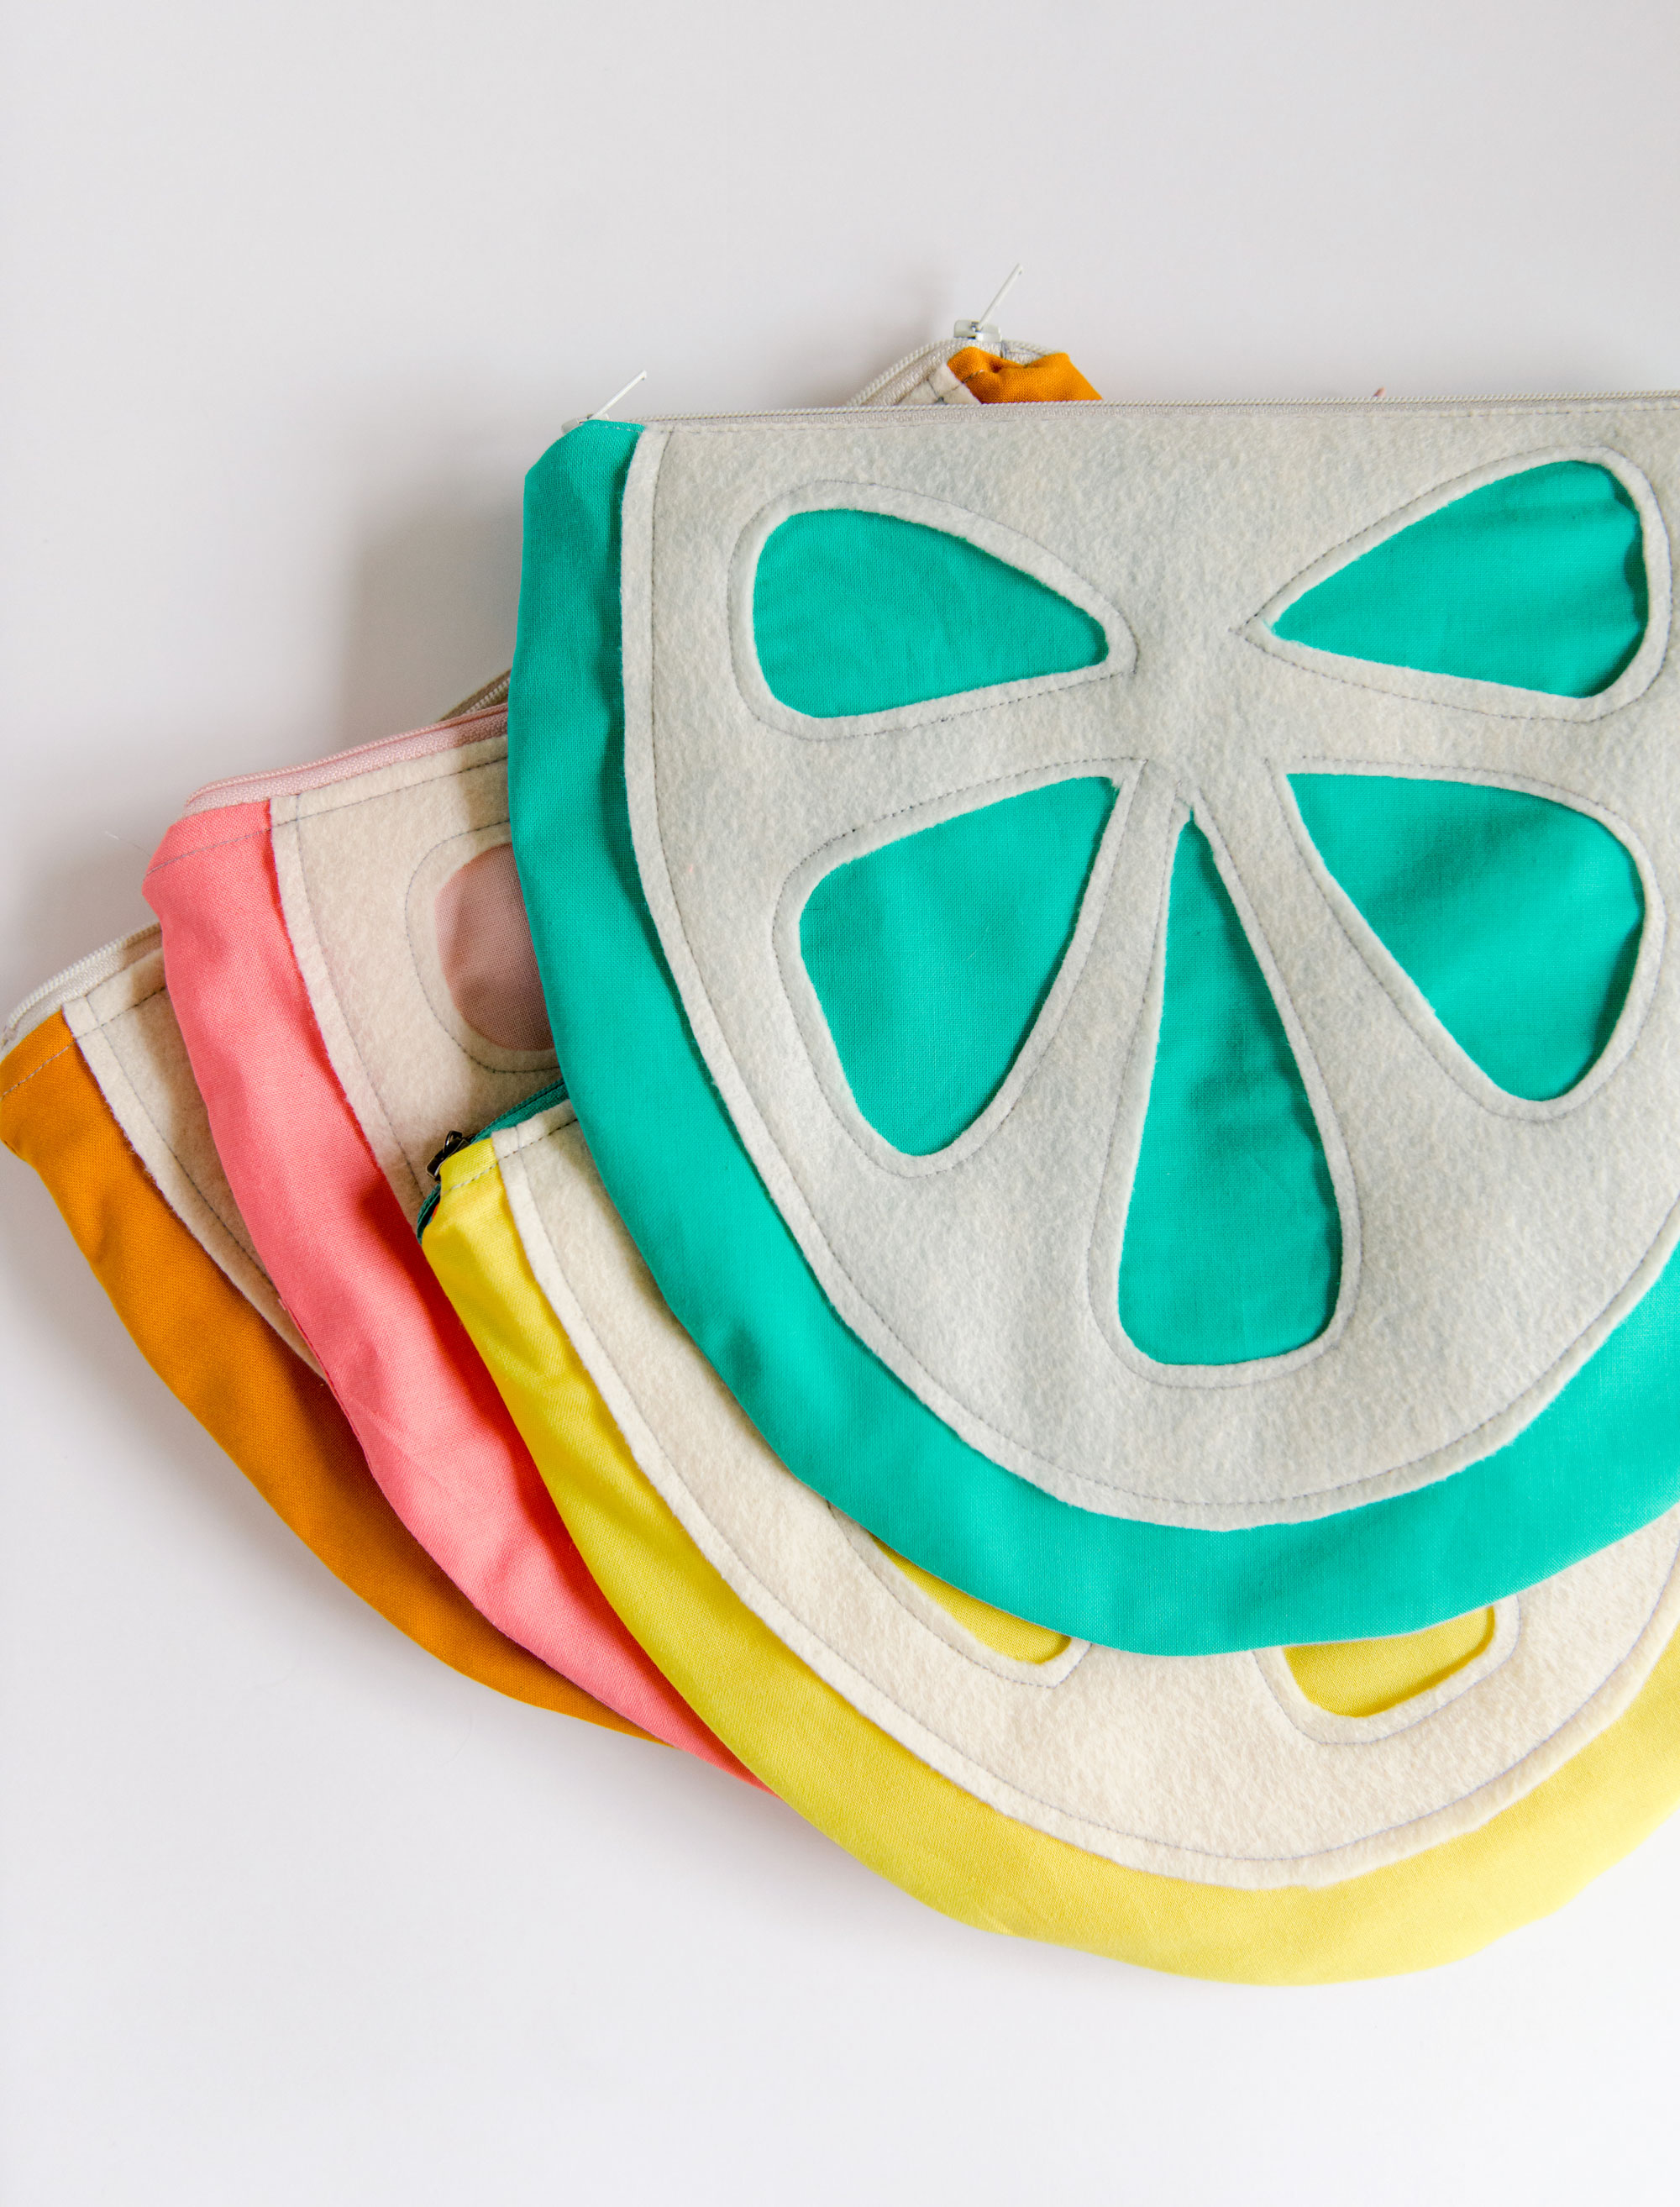
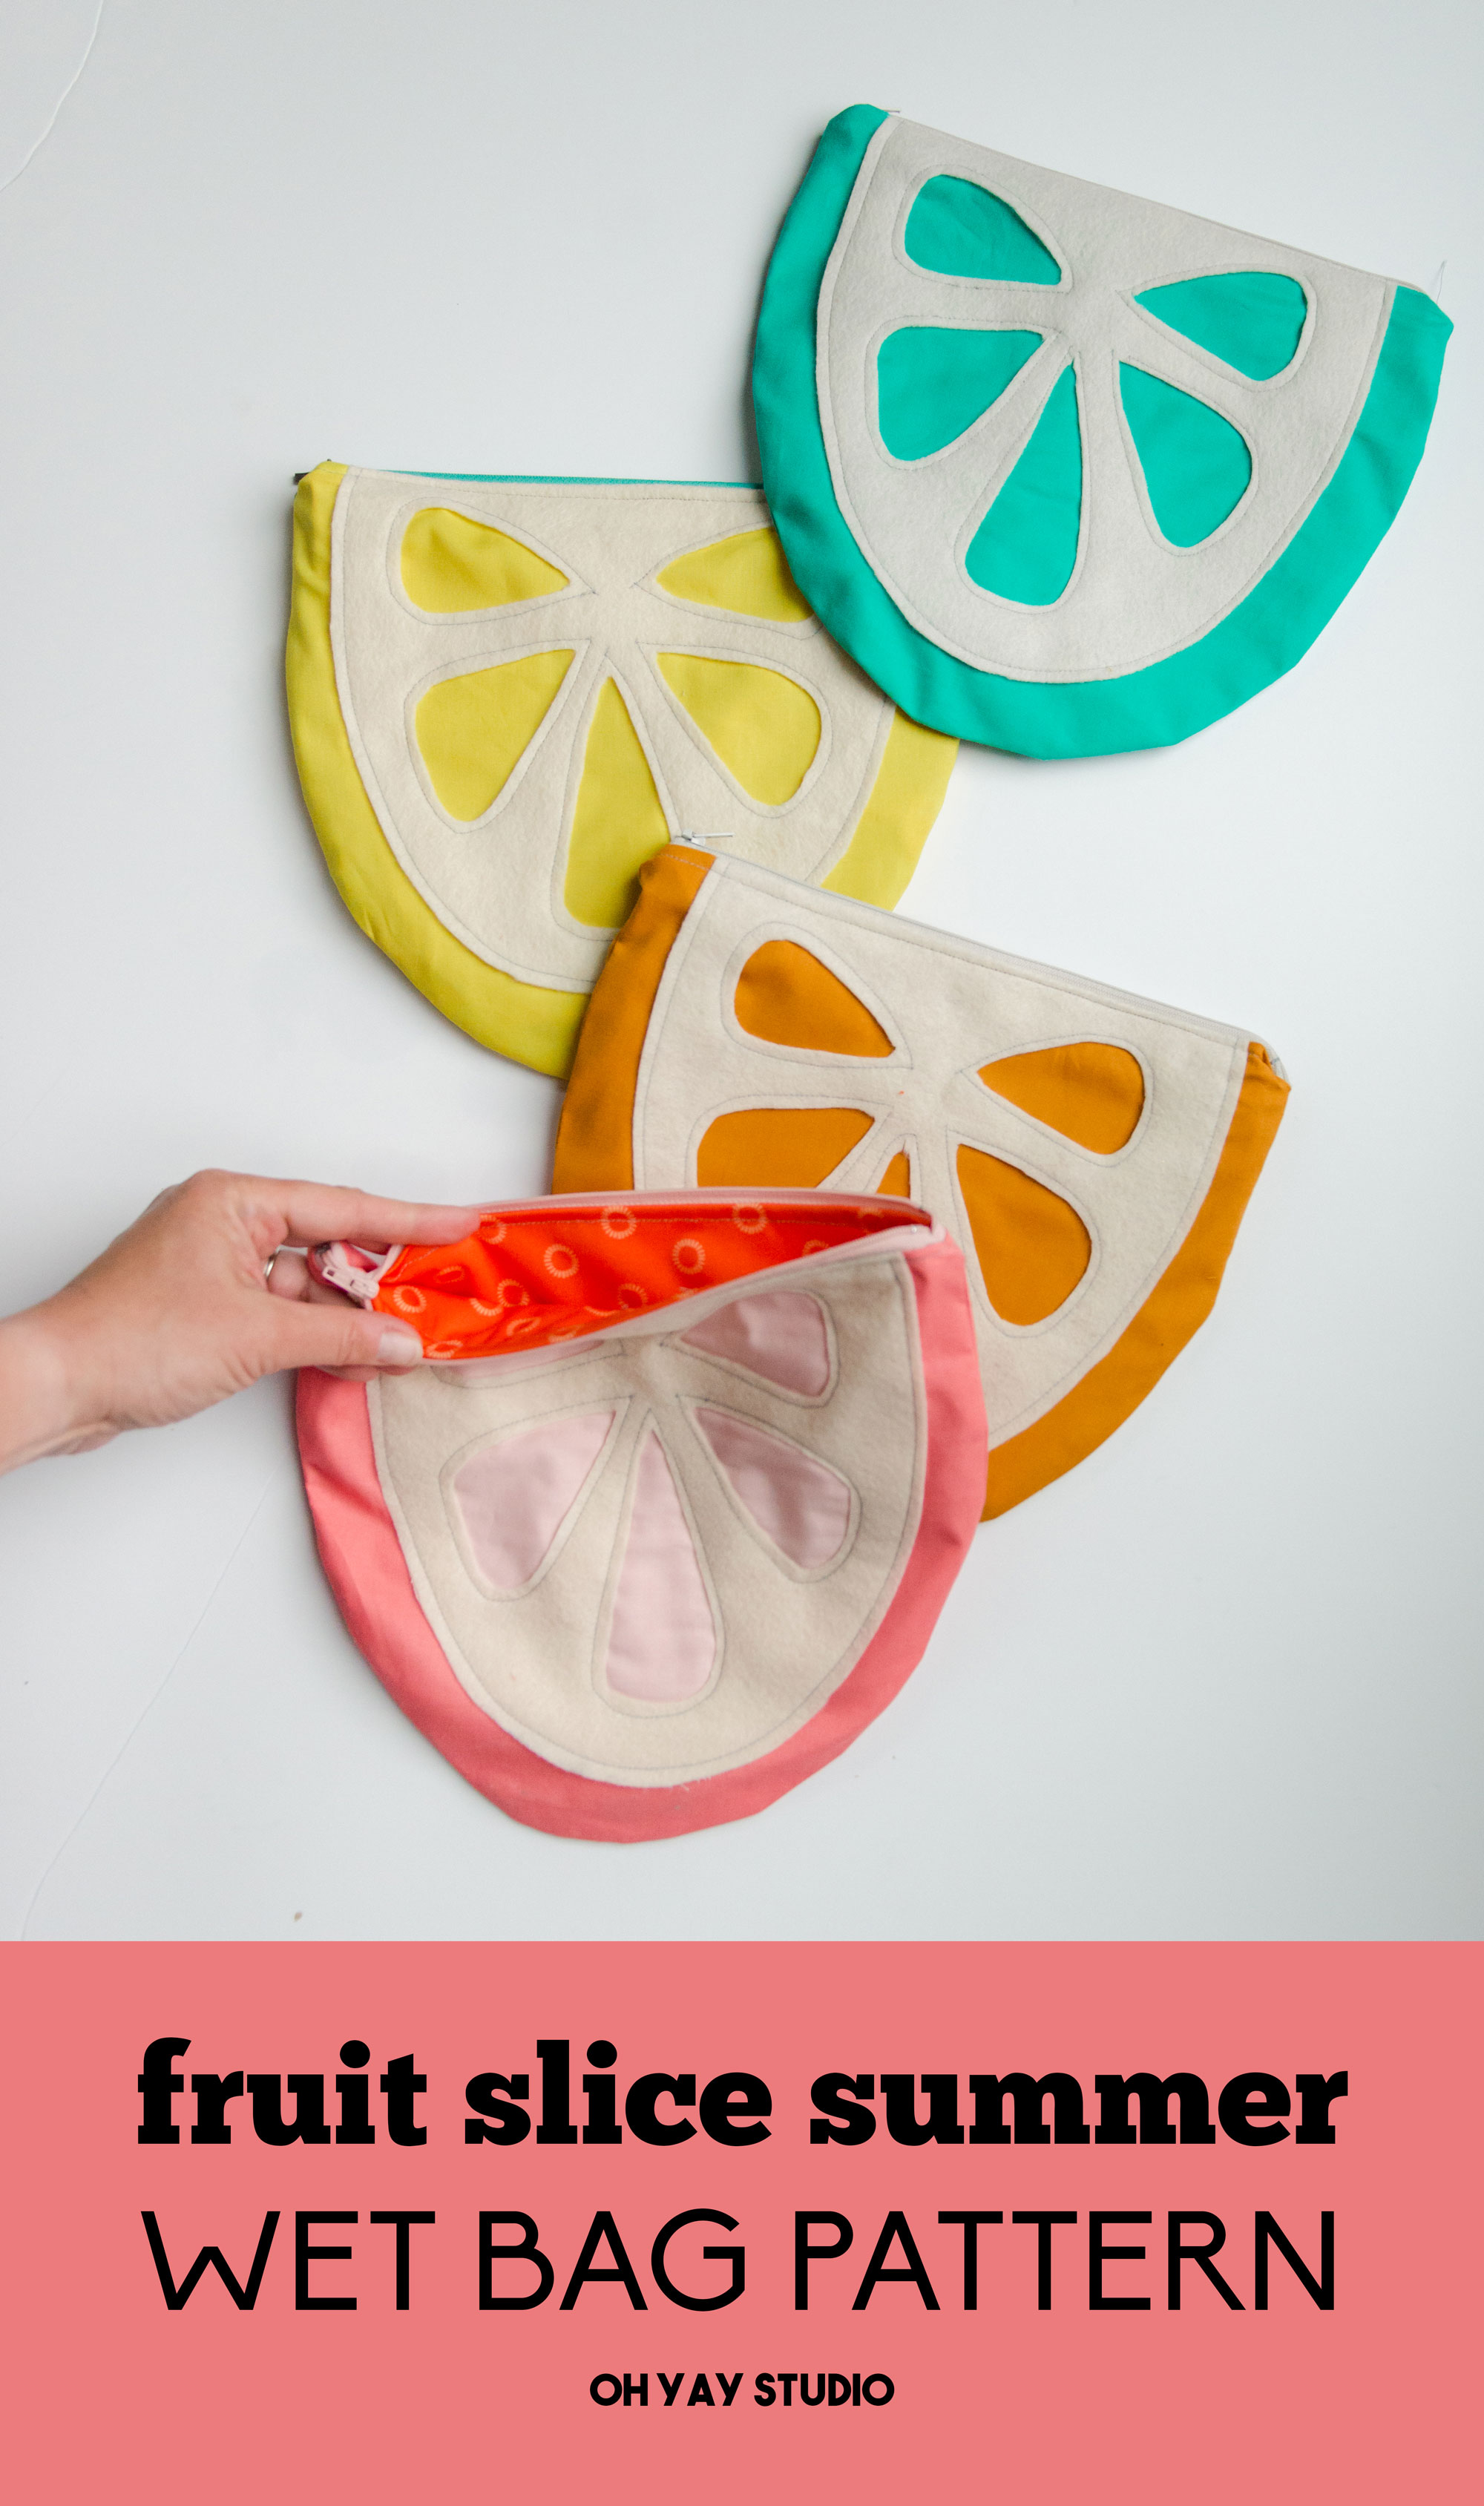
ALSO! If you are in the summer crafting mood, check out these other incredible free SUMMER SVG files from some talented designer friends.
Beach Ball SVG from Persia Lou Make a Splash from Crafting Overload Summer Vibes from Studio Xtine Pool Party Lifeguard from Polka Dotted Blue Jay Citrus Swimsuit Wet Bag from Oh Yay Studio Pool Party Cut Outs from Gina C. Creates Goodbye School Hello Pool from Poofy Cheeks Ice Bucket from Me and My Inklings Pool Hair Don’t Care from Artsy-Fartsy Mama Sweet Like Summer from Crafty Life Mom Unicorn Pool Float from Liz on Call Life is More Fun at the Pool from My Designs in the Chaos Dive In from Weekend Craft Pool Party Side Edge Card from the Bearded Housewife Pool Side Vibes The Walnut Street House Pool Life from Sunshine and Munchkins Cannonball Pool SVG from Lettered by Stephanie Flamingo Table Decoration from Craftara Creates Summer Slim Can Coozies from Spot of Tea Designs Pool Junkie from Simply Made Fun Pool Vibes from Tried & True Creative



These are so darling. The colors are great for summer and fruit cuteness. Great job.
How cute are these? I love them! So bright, fun, and cheery! <3
Love this! I wish I could sew.
You can! Just takes practice and a little patience. Find your local sewing machine repair place and pick up a refurbished machine to get started. I’m still using my 1973 Kenmore. Buy a more expensive machine later on, or not! Those old workhorses are great for learning.
These are so cute!! Sharing with my friends!
Looks like a cute easy summer time project that would be good to teach older children to do.
It’s so cute!!!!!!!!!!
This looks like something my daughter would love!
Well isn’t this super cute! I think you did great. I don’t think I could do so well, but I love it!
Adorable!
You’re so creative and these are super summer wet bags, so cute!
How cute! I love this!
This is so cute! I am terrible at suing though. I should ask my mom to make it for me 🙂 Thanks for the steps on how to make it!
I’ve never successfully sewed a zipper on before. With your instructions, I really think I could do it! Very cute project!
These are adorable! I could totally use a couple of these during the summer!
Great job! You’re very talented.
Soo adorable! I can’t sew though, to save my life. My mother-in-law tried teaching me many years ago, but she got so frustrated with me that she finished the project! Haha!
These are too cute!
Awww, I just love these. I can see little girls going crazy over them!!!
The colours are vibrant and perfect for summer! You’re creative and thanks for sharing this!
Oh, so cute! I’m teaching my daughter how to sew and we are just about ready for zippers! This would be an easy way to start.
So, so, SEW cute!!! Now I just need one big enough for the stinky hockey clothes from after practice!!
These are so adorable!!! I love that it is this simple, but still looks super cute! I am going to have my daughter make one of these as we are always in need of them.
These are so cute and they look really easy. I’m going to have to pull out the sewing machine. Good thing I’m in the city today so I can get fabric.
oh my gosh these are so so so cute! I am currently sewing a few regular “rectangle” wet bags as we do cloth diapers, your pattern is much cuter!
This is too cute!
You should sell these ….. to people like me who can not sew! lol
Oh my goodness! Incredible article dude! Thank you, However I am encountering troubles with your RSS.
I don’t understand why I cannot join it. Is there anybody else getting the same RSS issues?
Anyone that knows the solution can you kindly
respond? Thanks!!
They are cute bags. Nice and bright for the beach.