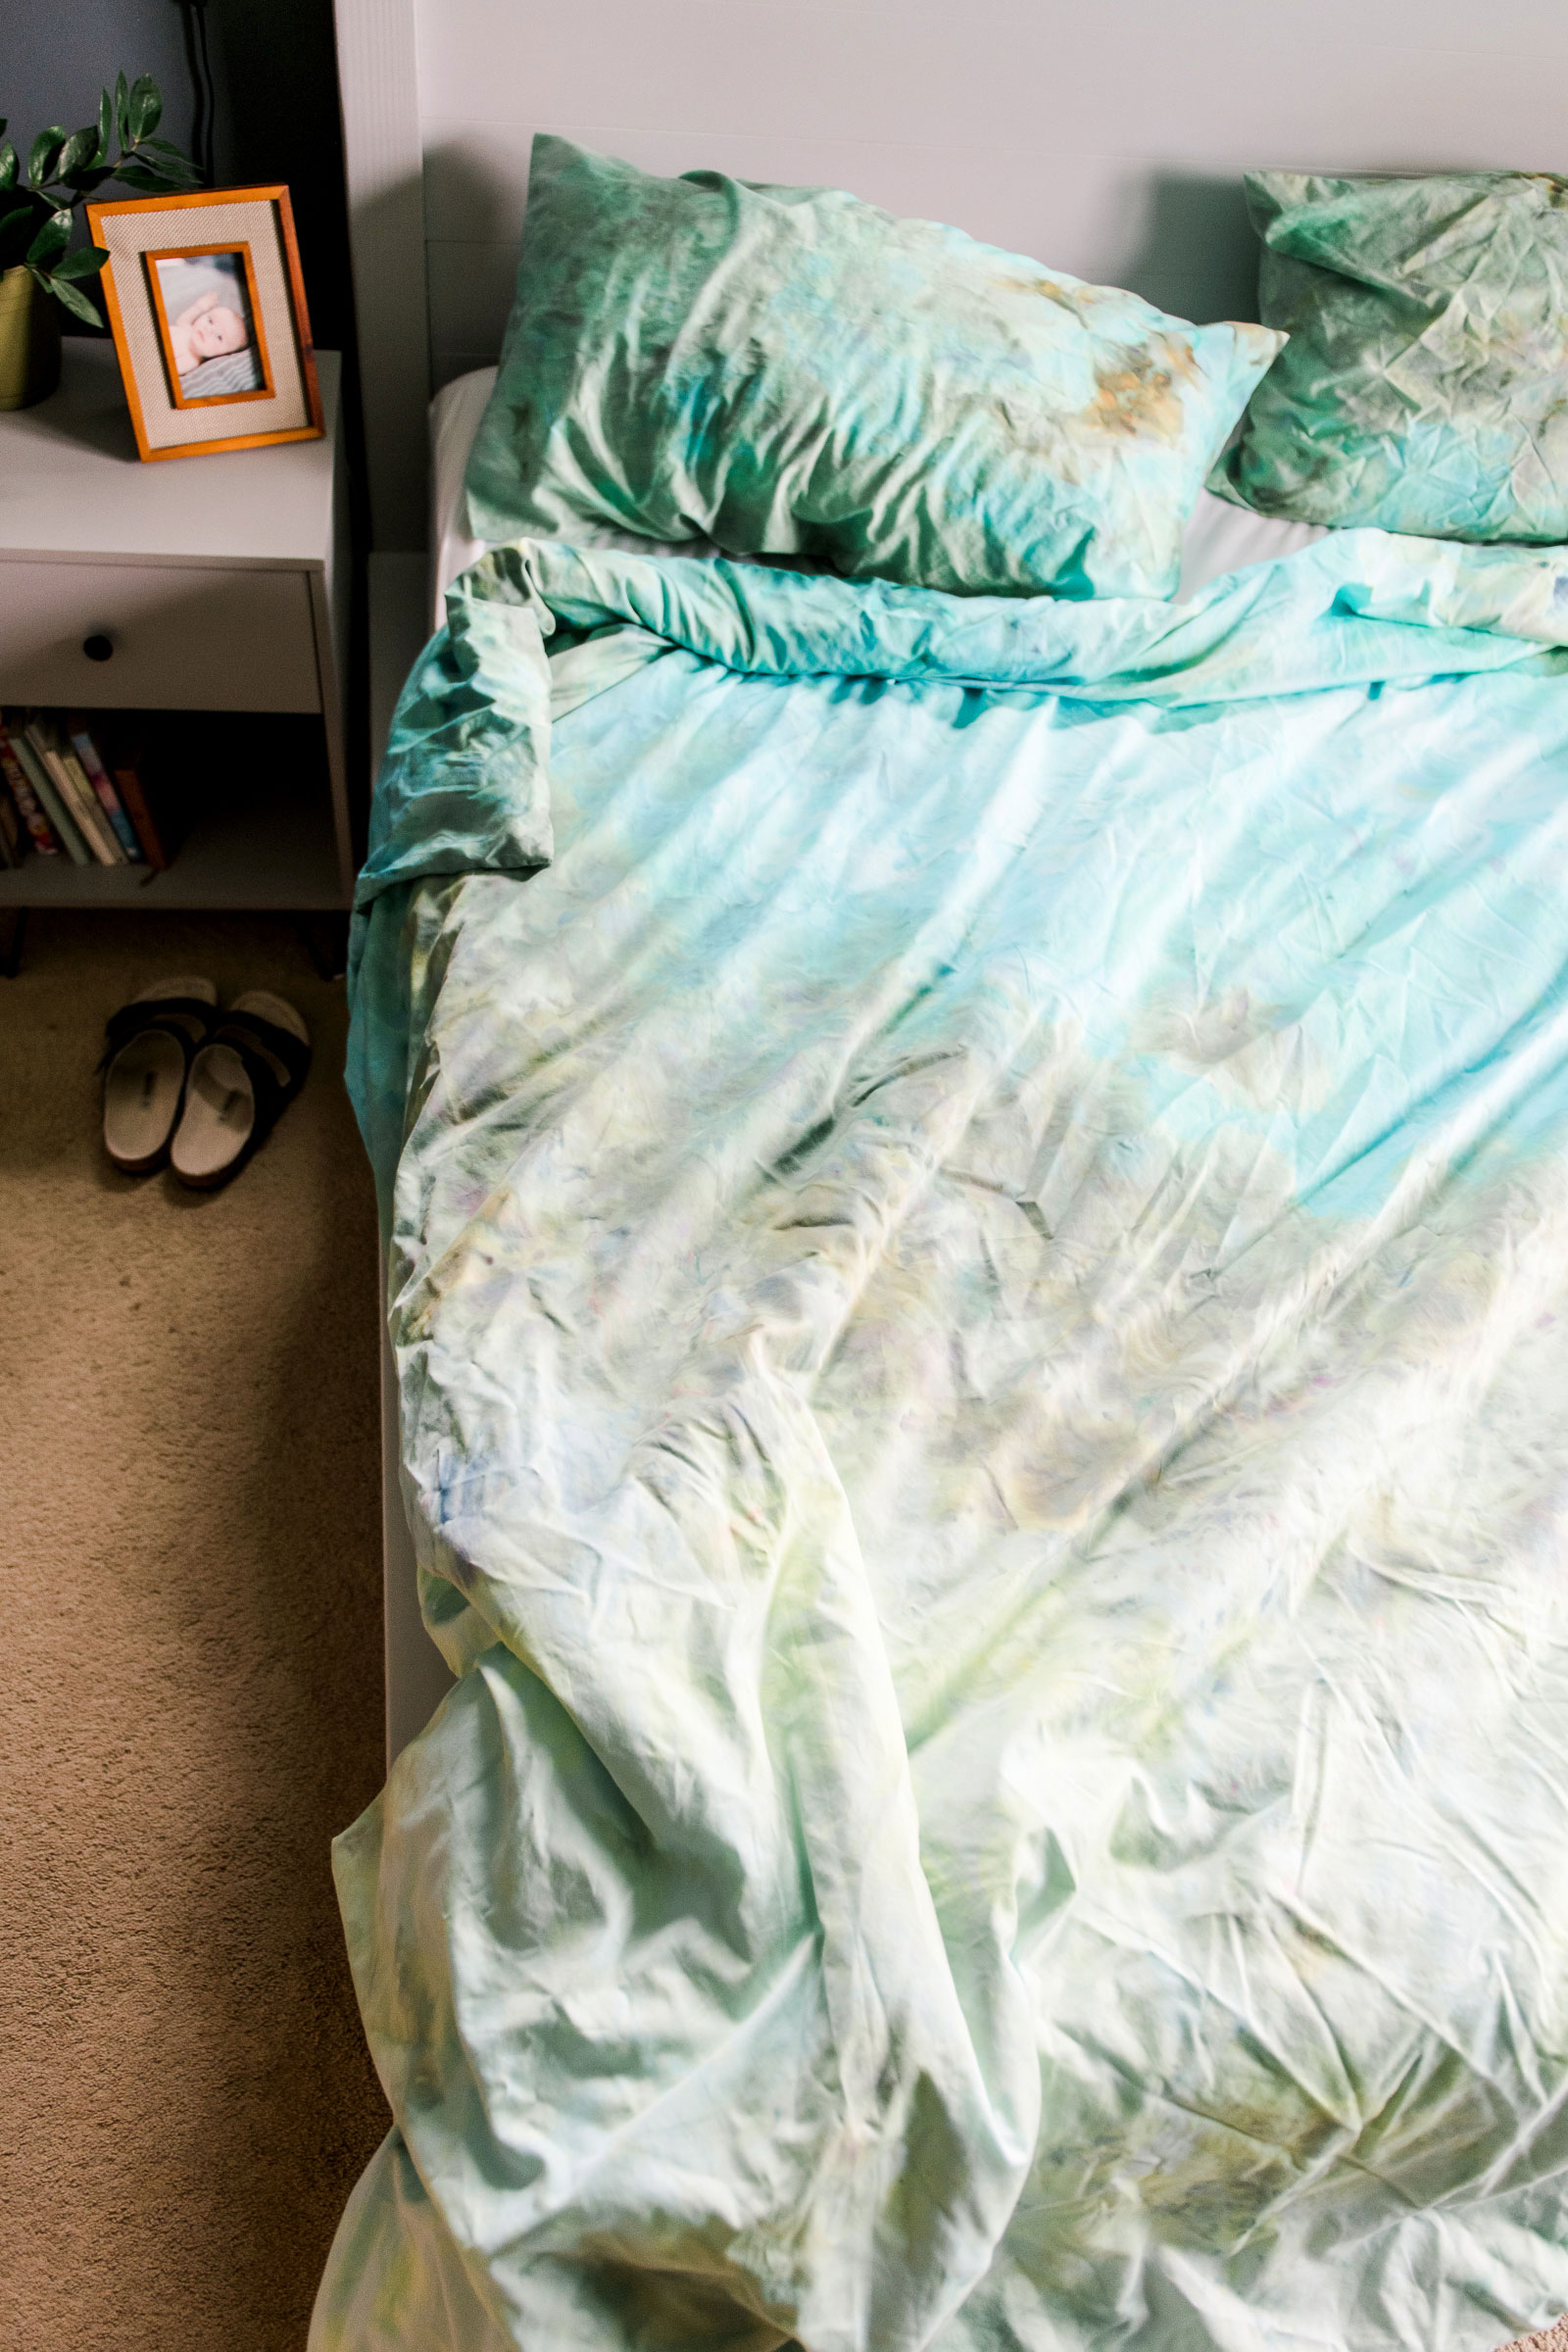
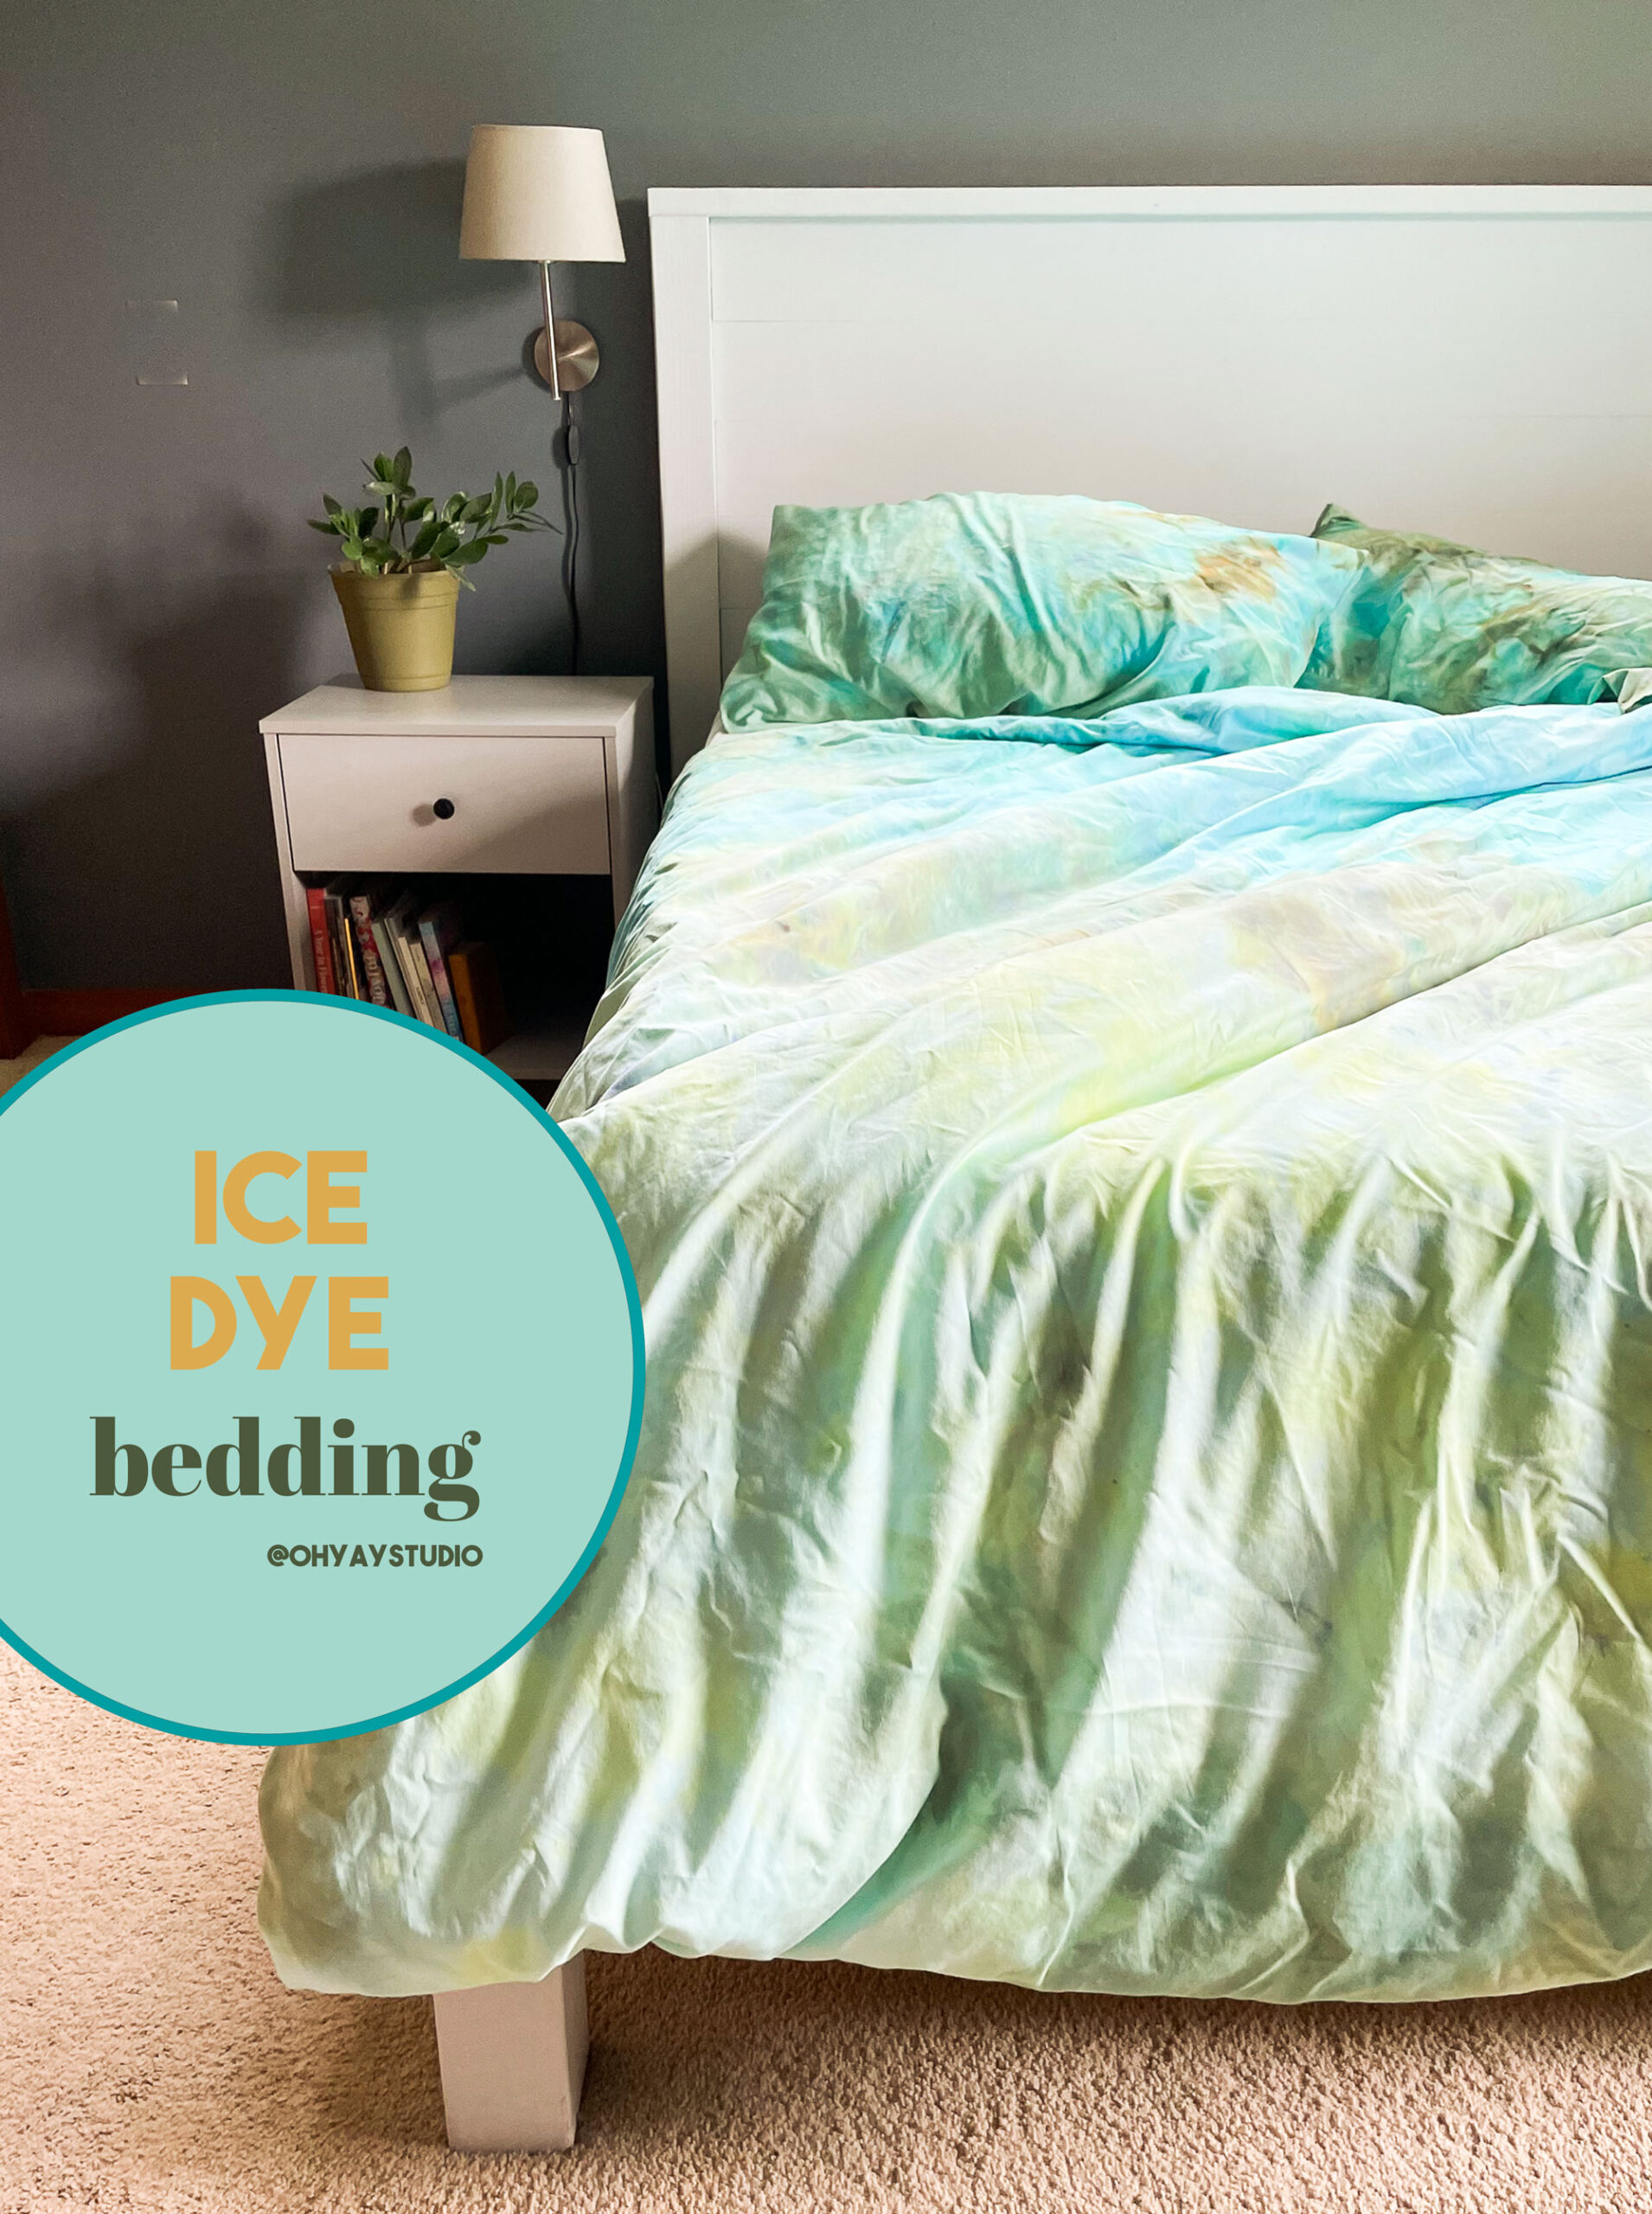
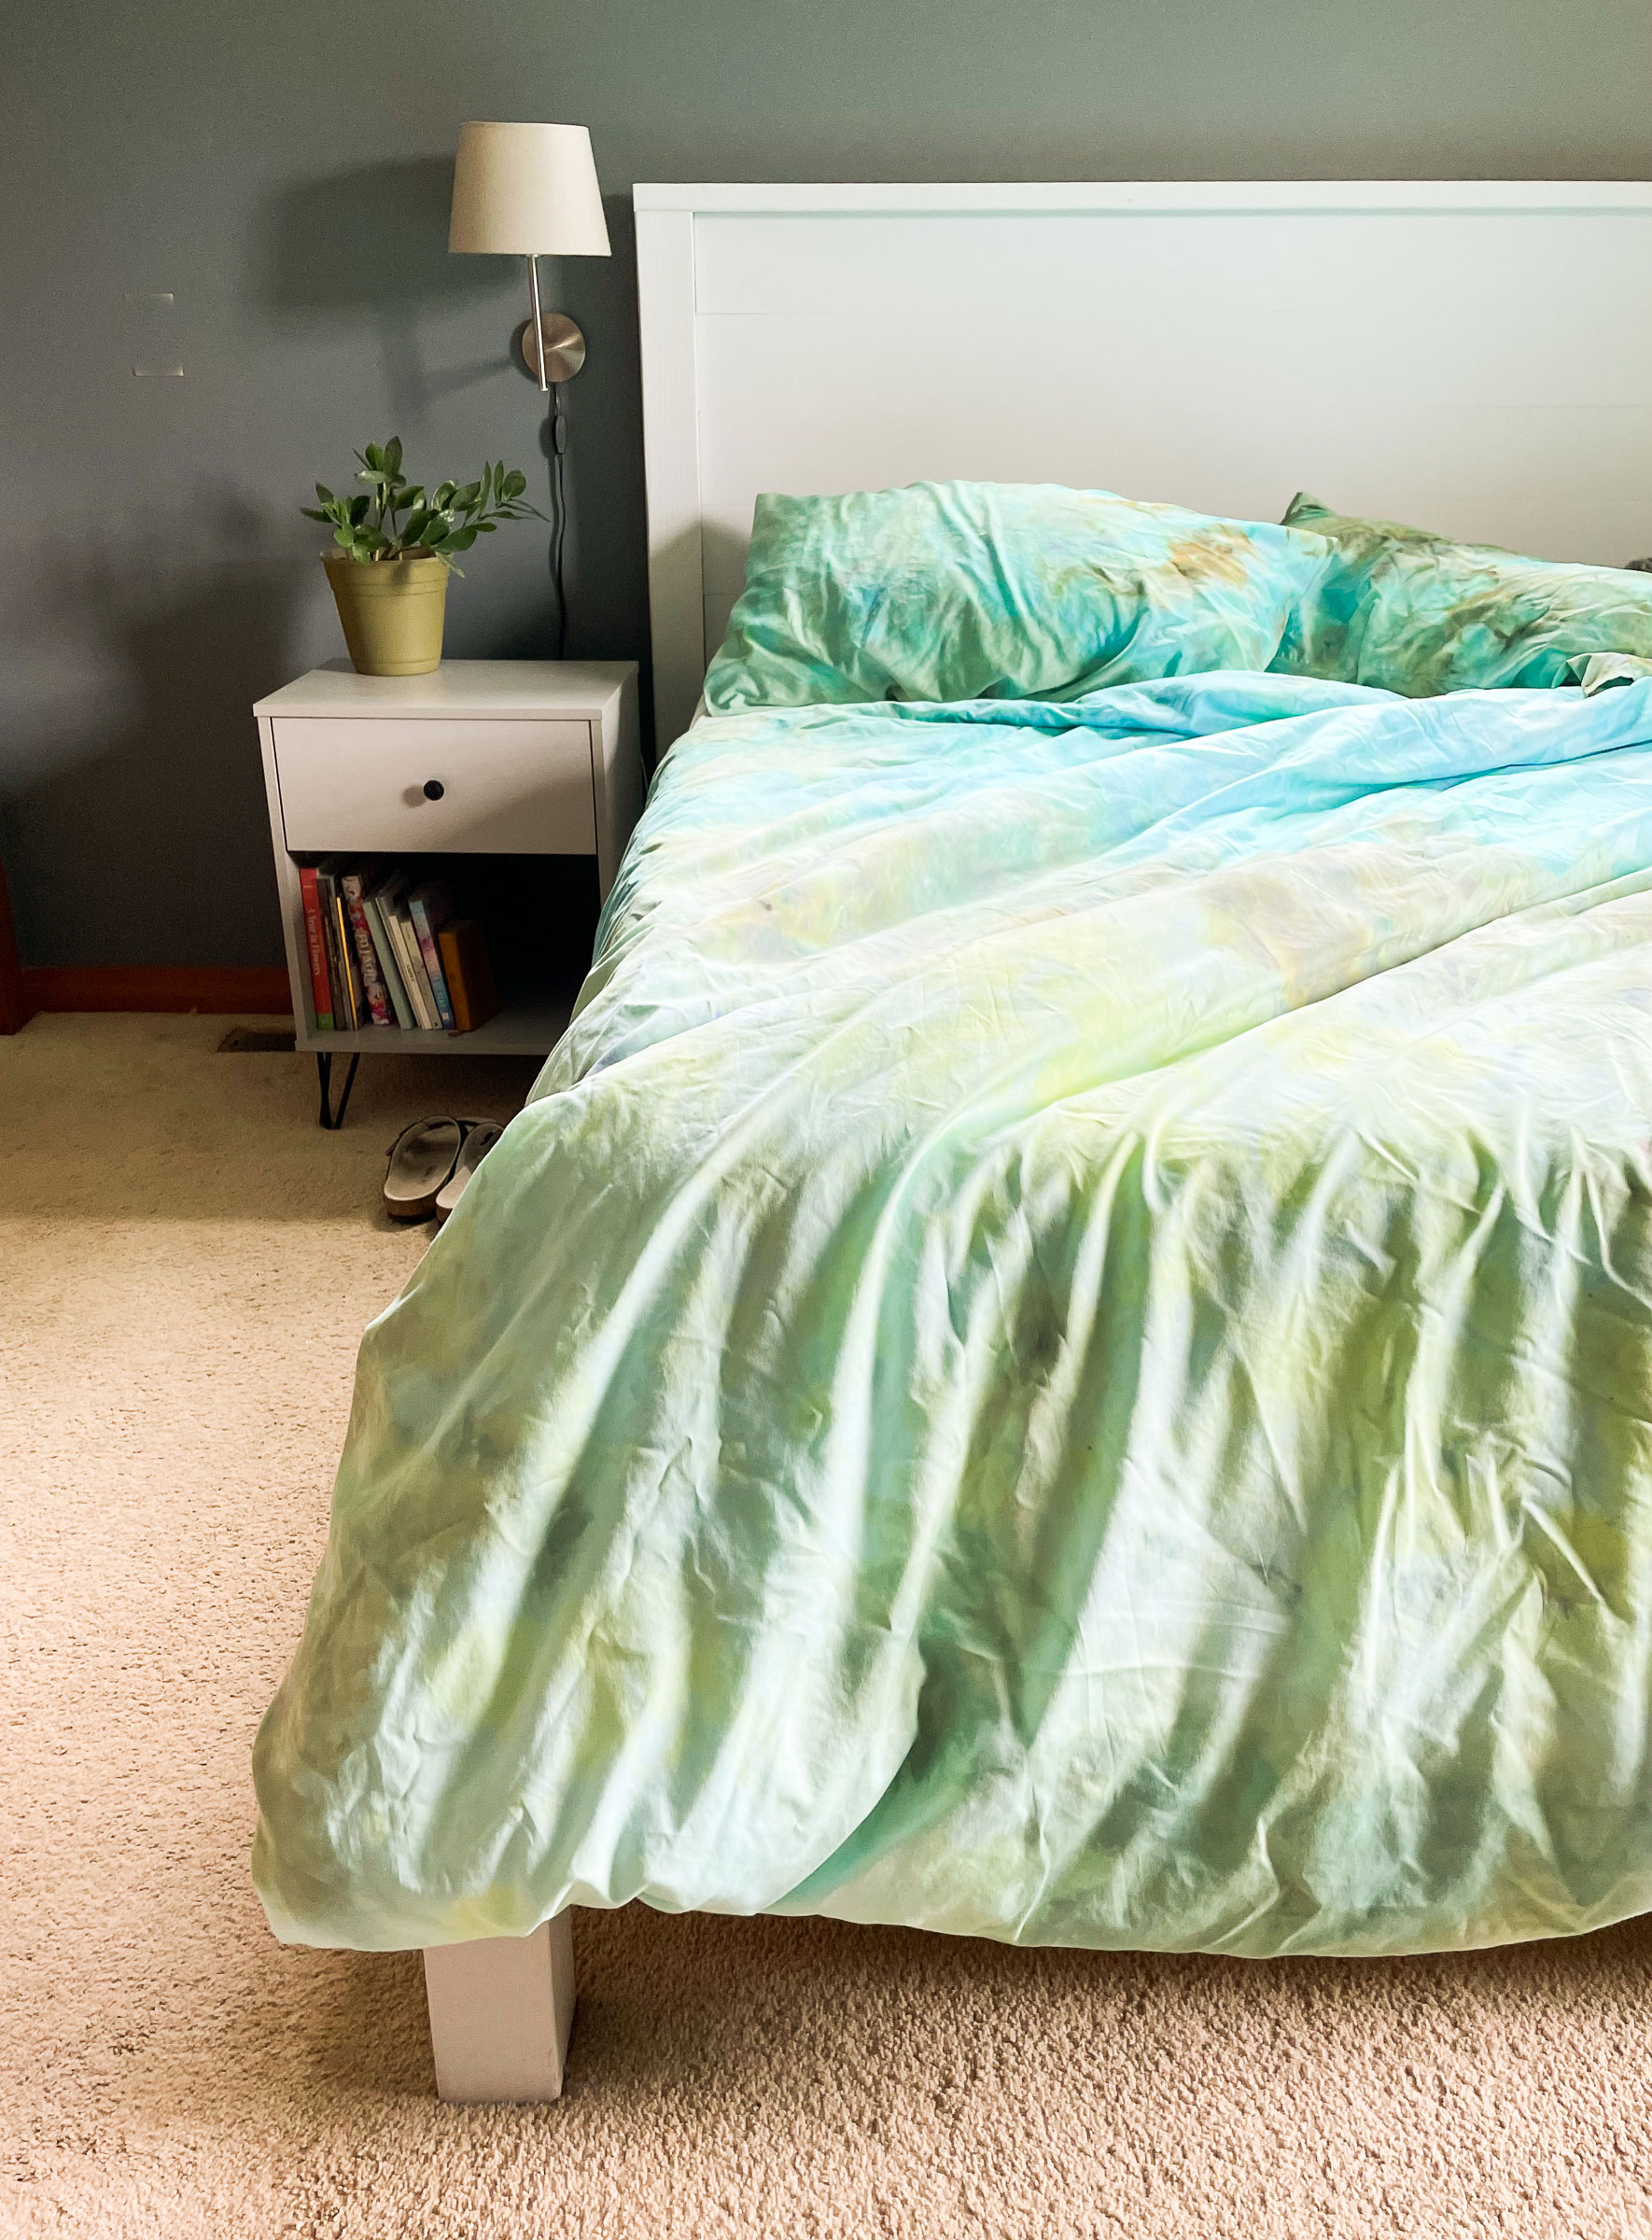
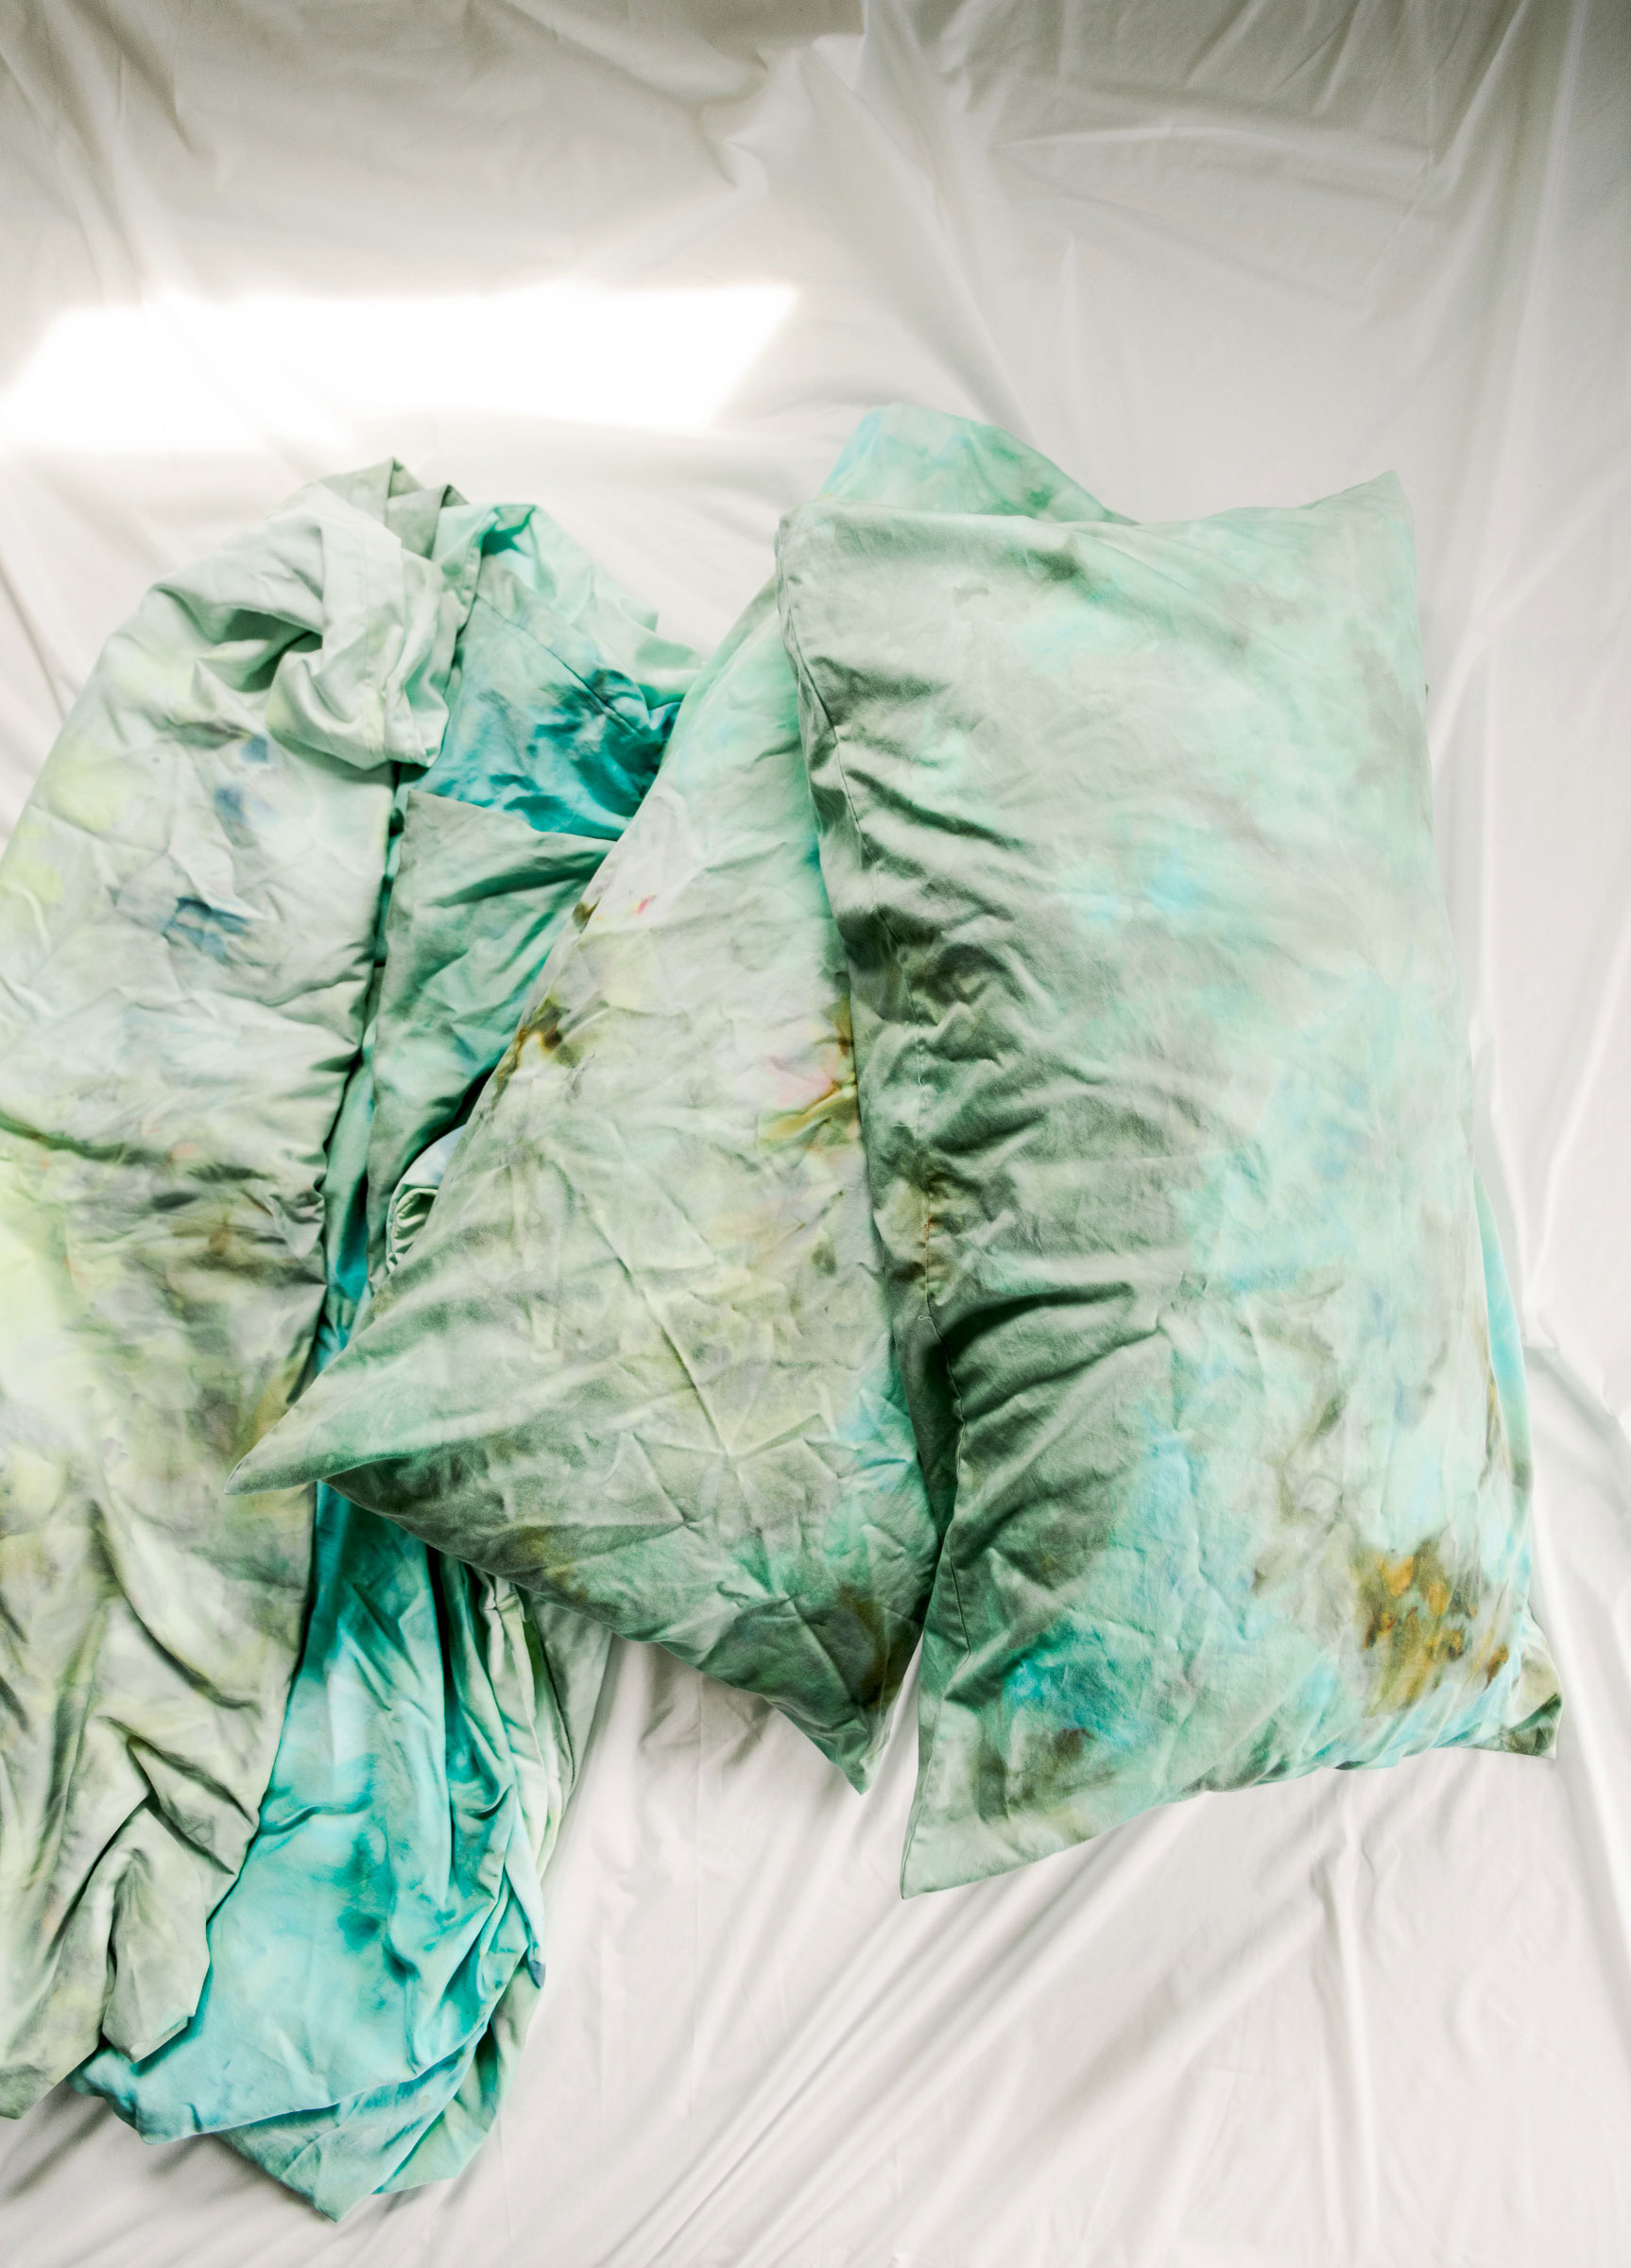
Ice Dye bedding!
*this project is in partnership with Tulip
Tie dyed bedding! YES! Absolutely 100%, for surely YES YES YES!
Like, I can ramble on and on about how tie dye is one of *THE BEST* ideas for any household with kids (for covering stains and dirt and adding pizzaz to anything) so this idea to tie dye bedding legit has me SO EXCITED to make 6 more sets!! 🙂
When going through these steps, you can choose to dye your bedding with a more subtle, overall look (which we did) ORRRRR you can totally make this wild an crazy and overly colorful (although in my opinion there really can’t be anything OVERLY colorful) so honestly this look can be customized for the vibe of your room or home very easily! 🙂
MATERIALS:
- A set of 100% cotton duvet cover and/or sheet set (I got some awesome organic ones online – 100% natural fibers are best, like cotton, linen, silk, wool, etc)
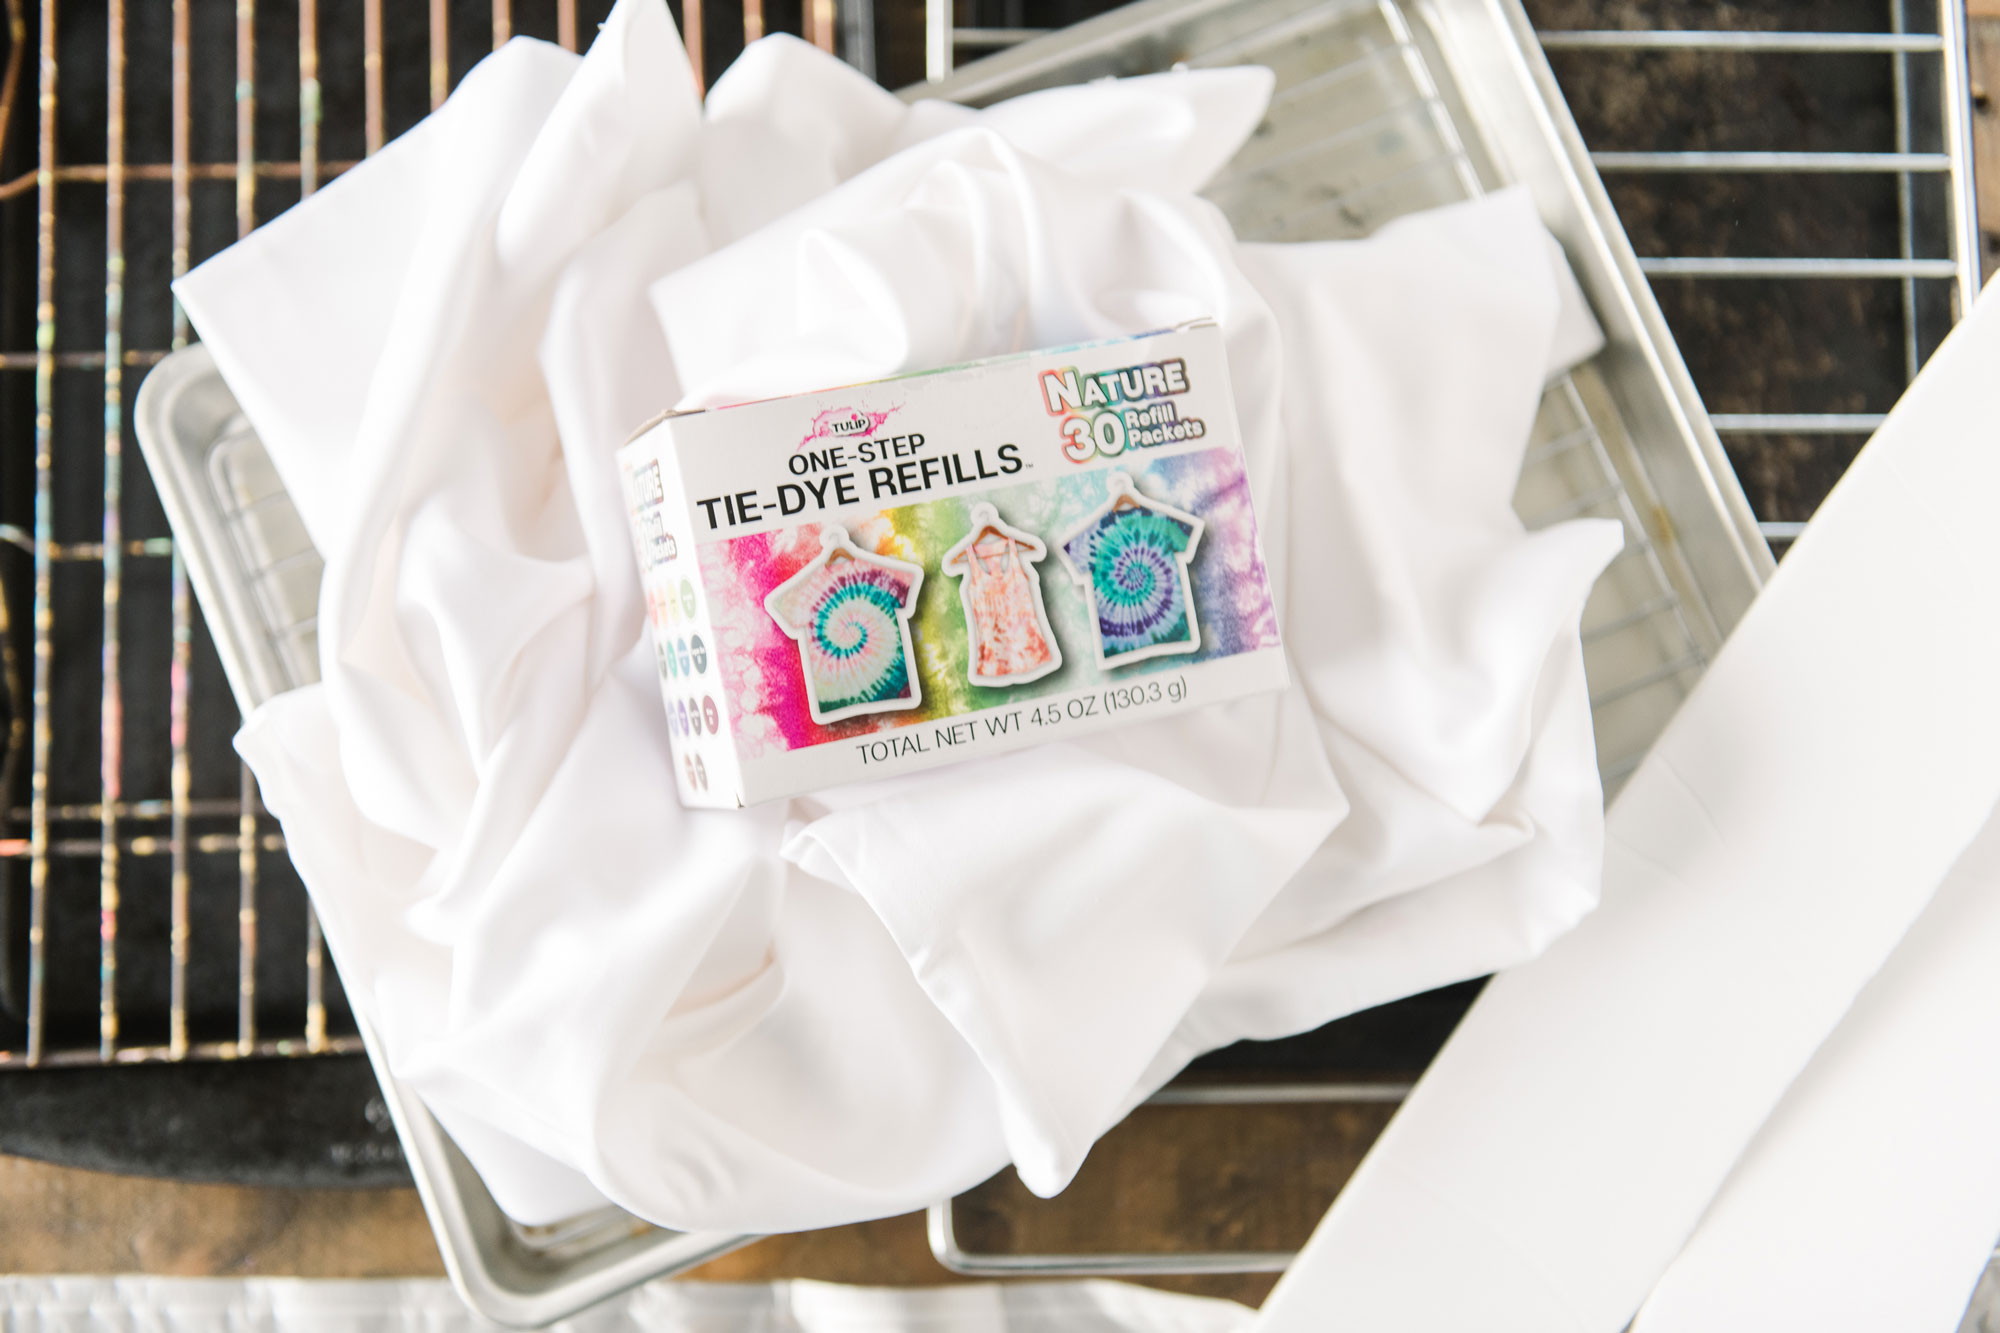
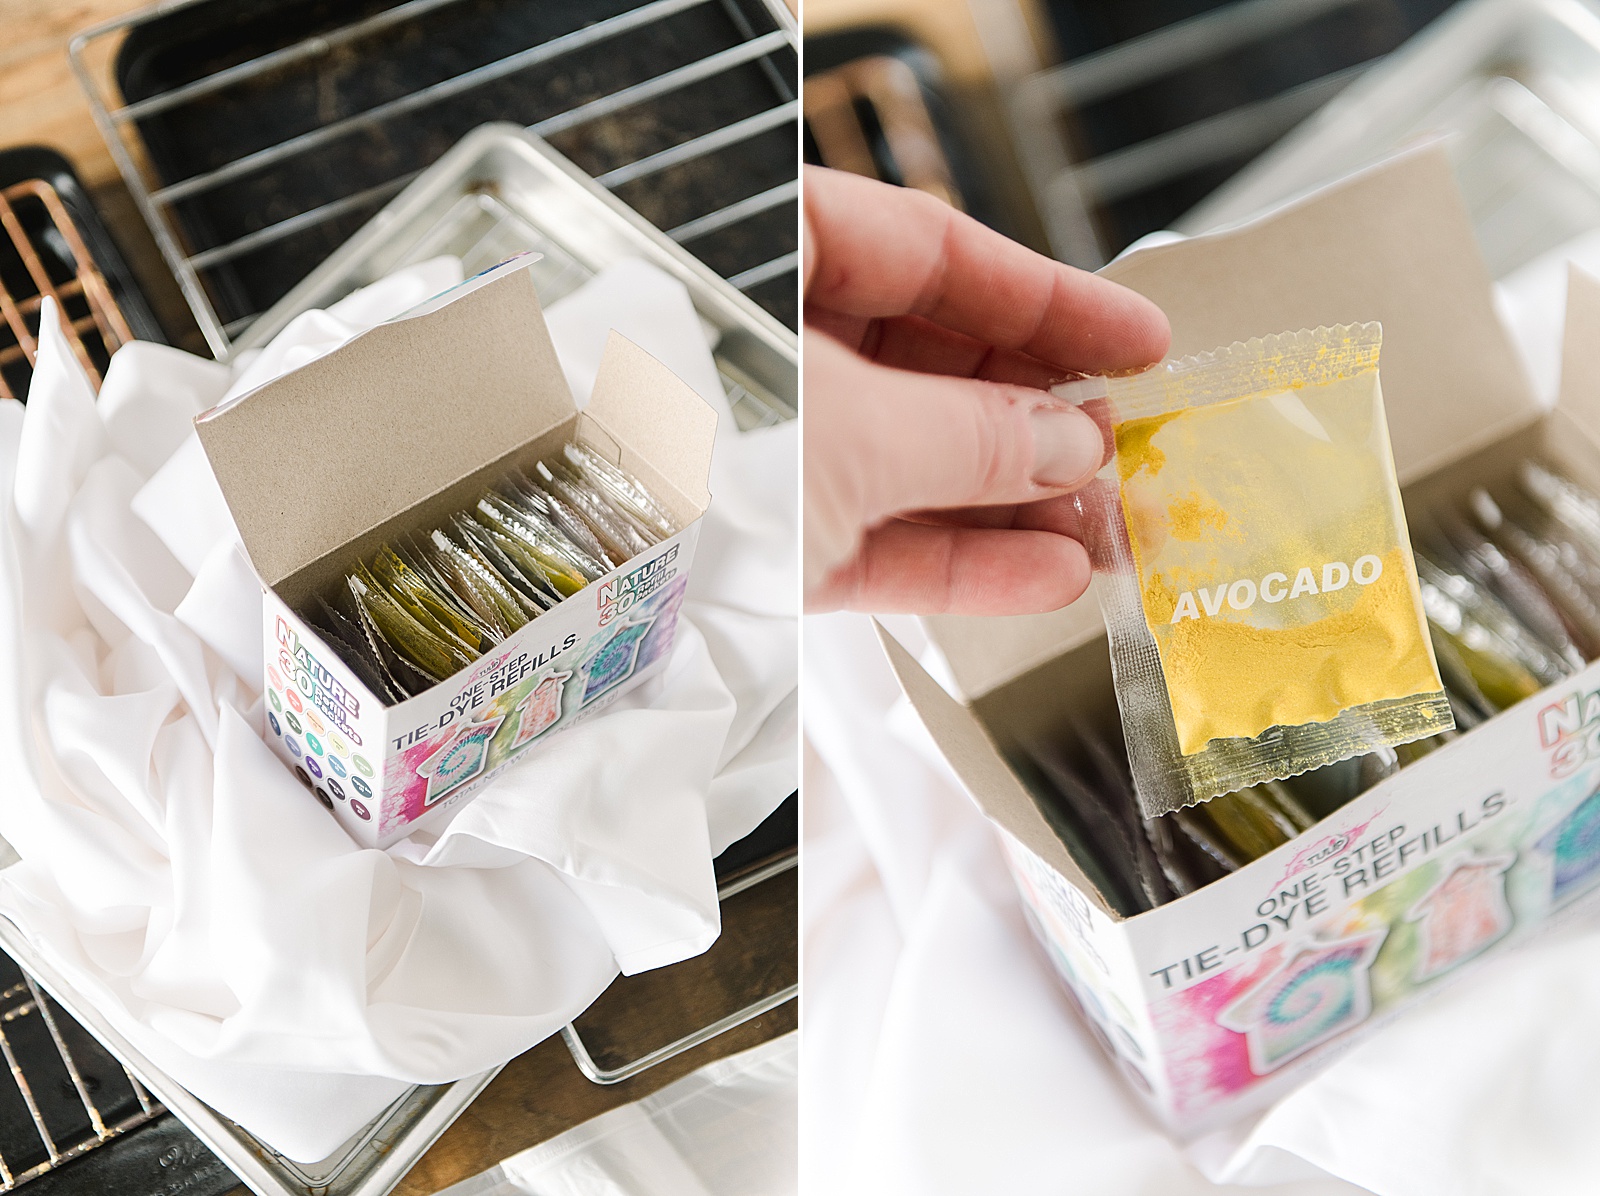
- A box of the Tulip one step tie dye refill – Nature! (this is 30 refill packets people….THIRTY)!
- A rack to help catch the dye/water in (like a cookie rack or drying rack)
- A tray of some sort to catch water – jelly roll pan, plastic bin, tray, etc
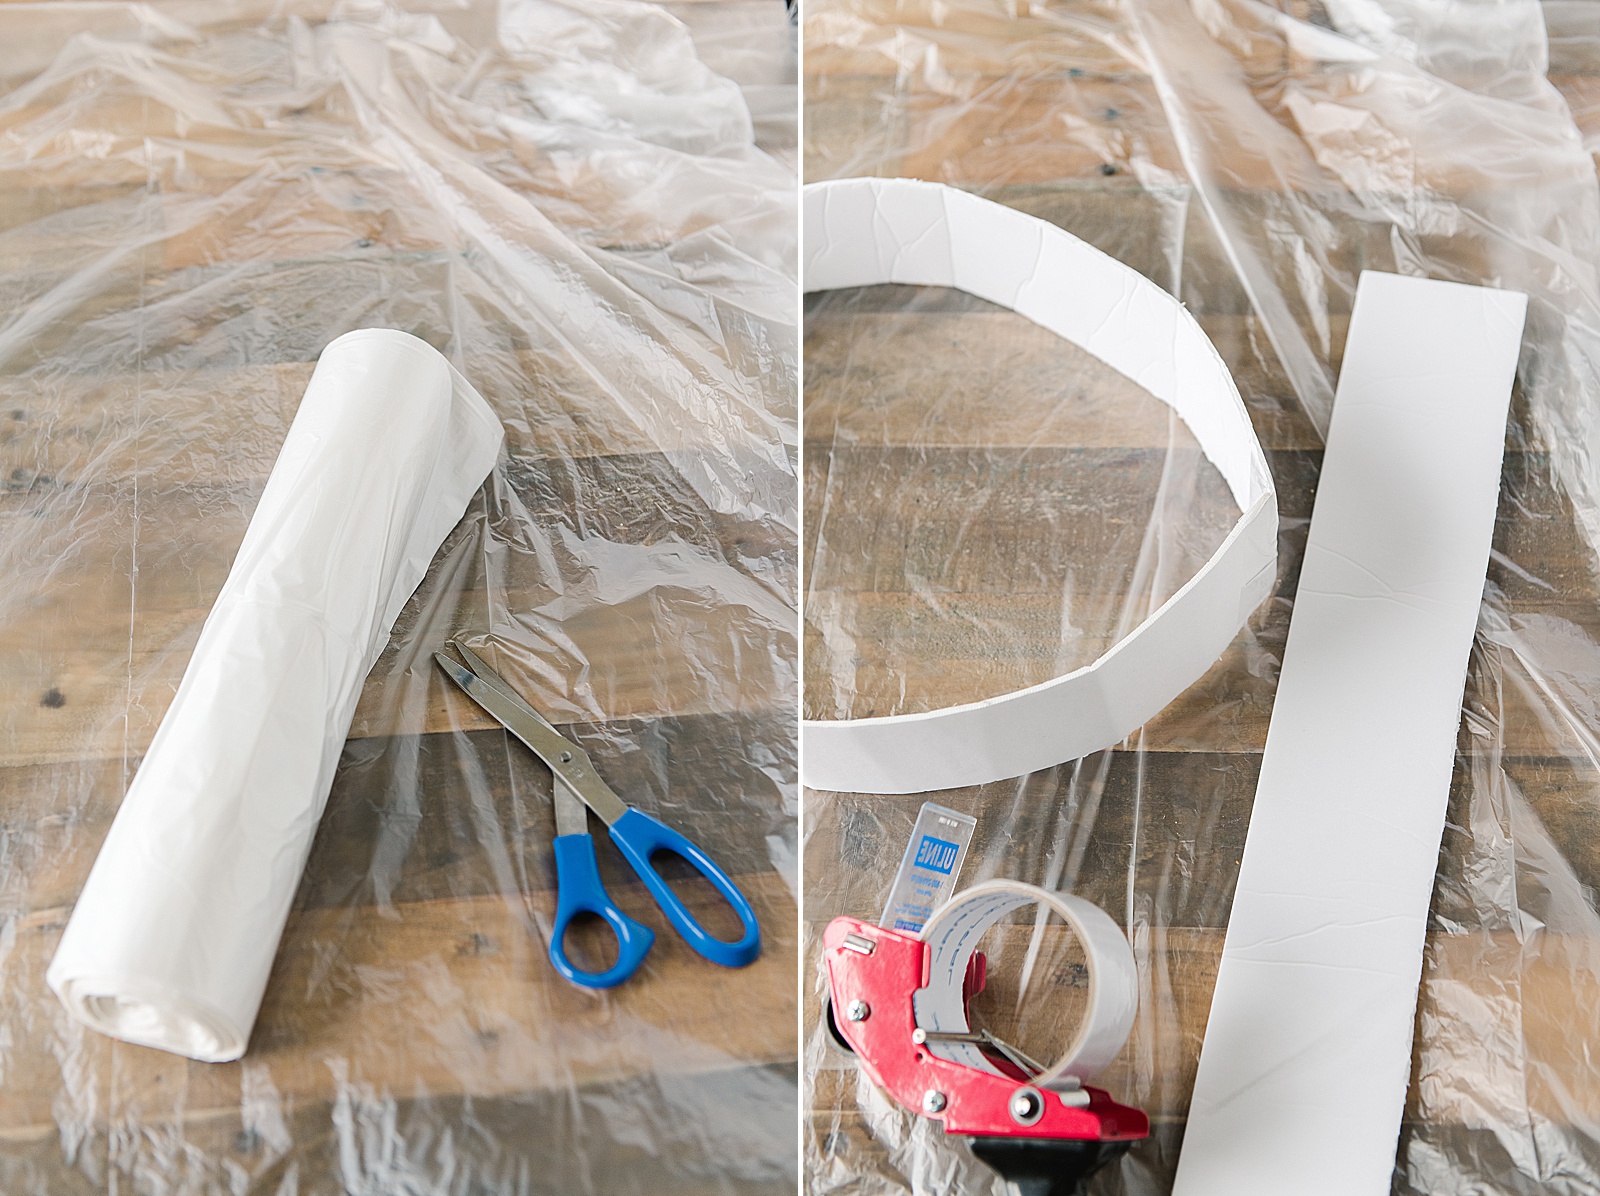
- Some cardboard strips (I actually used the cardboard insert that came from the sheets)
- Masking or packing tape
- Gloves
- Plastic drop cloth or table cloth if dying inside
INSTRUCTIONS:
1. PREP! 🙂
Prep your work surface by putting down the drop cloth or table cloth to protect your surface (essentially the ice will melt over time and you don’t want the dye sitting on anything that is porous)
Then place the cookie/drying rack inside the tray to catch drippings – I actually used 2 super close to one another to create a giant tray for the big duvet and then third one for the 2 pillowcases 🙂
Scrunch up your duvet or sheet and place it on the drying rack (you also COULD use rubber bands and tie up your duvet if you wanted to). The duvet should have lots of folds and creases but still laid out “flat” enough with enough surface area for the ice/dye powder. Then create a paper “hoop” out of your cardboard, big enough to surround your duvet! I used packing tape to tape together 3 sections of about 3” tall cardboard to make a “hoop”. Make sure the hoop is big enough to go around the scrunched up duvet semi-snug to keep all of the ice and drippings in 🙂
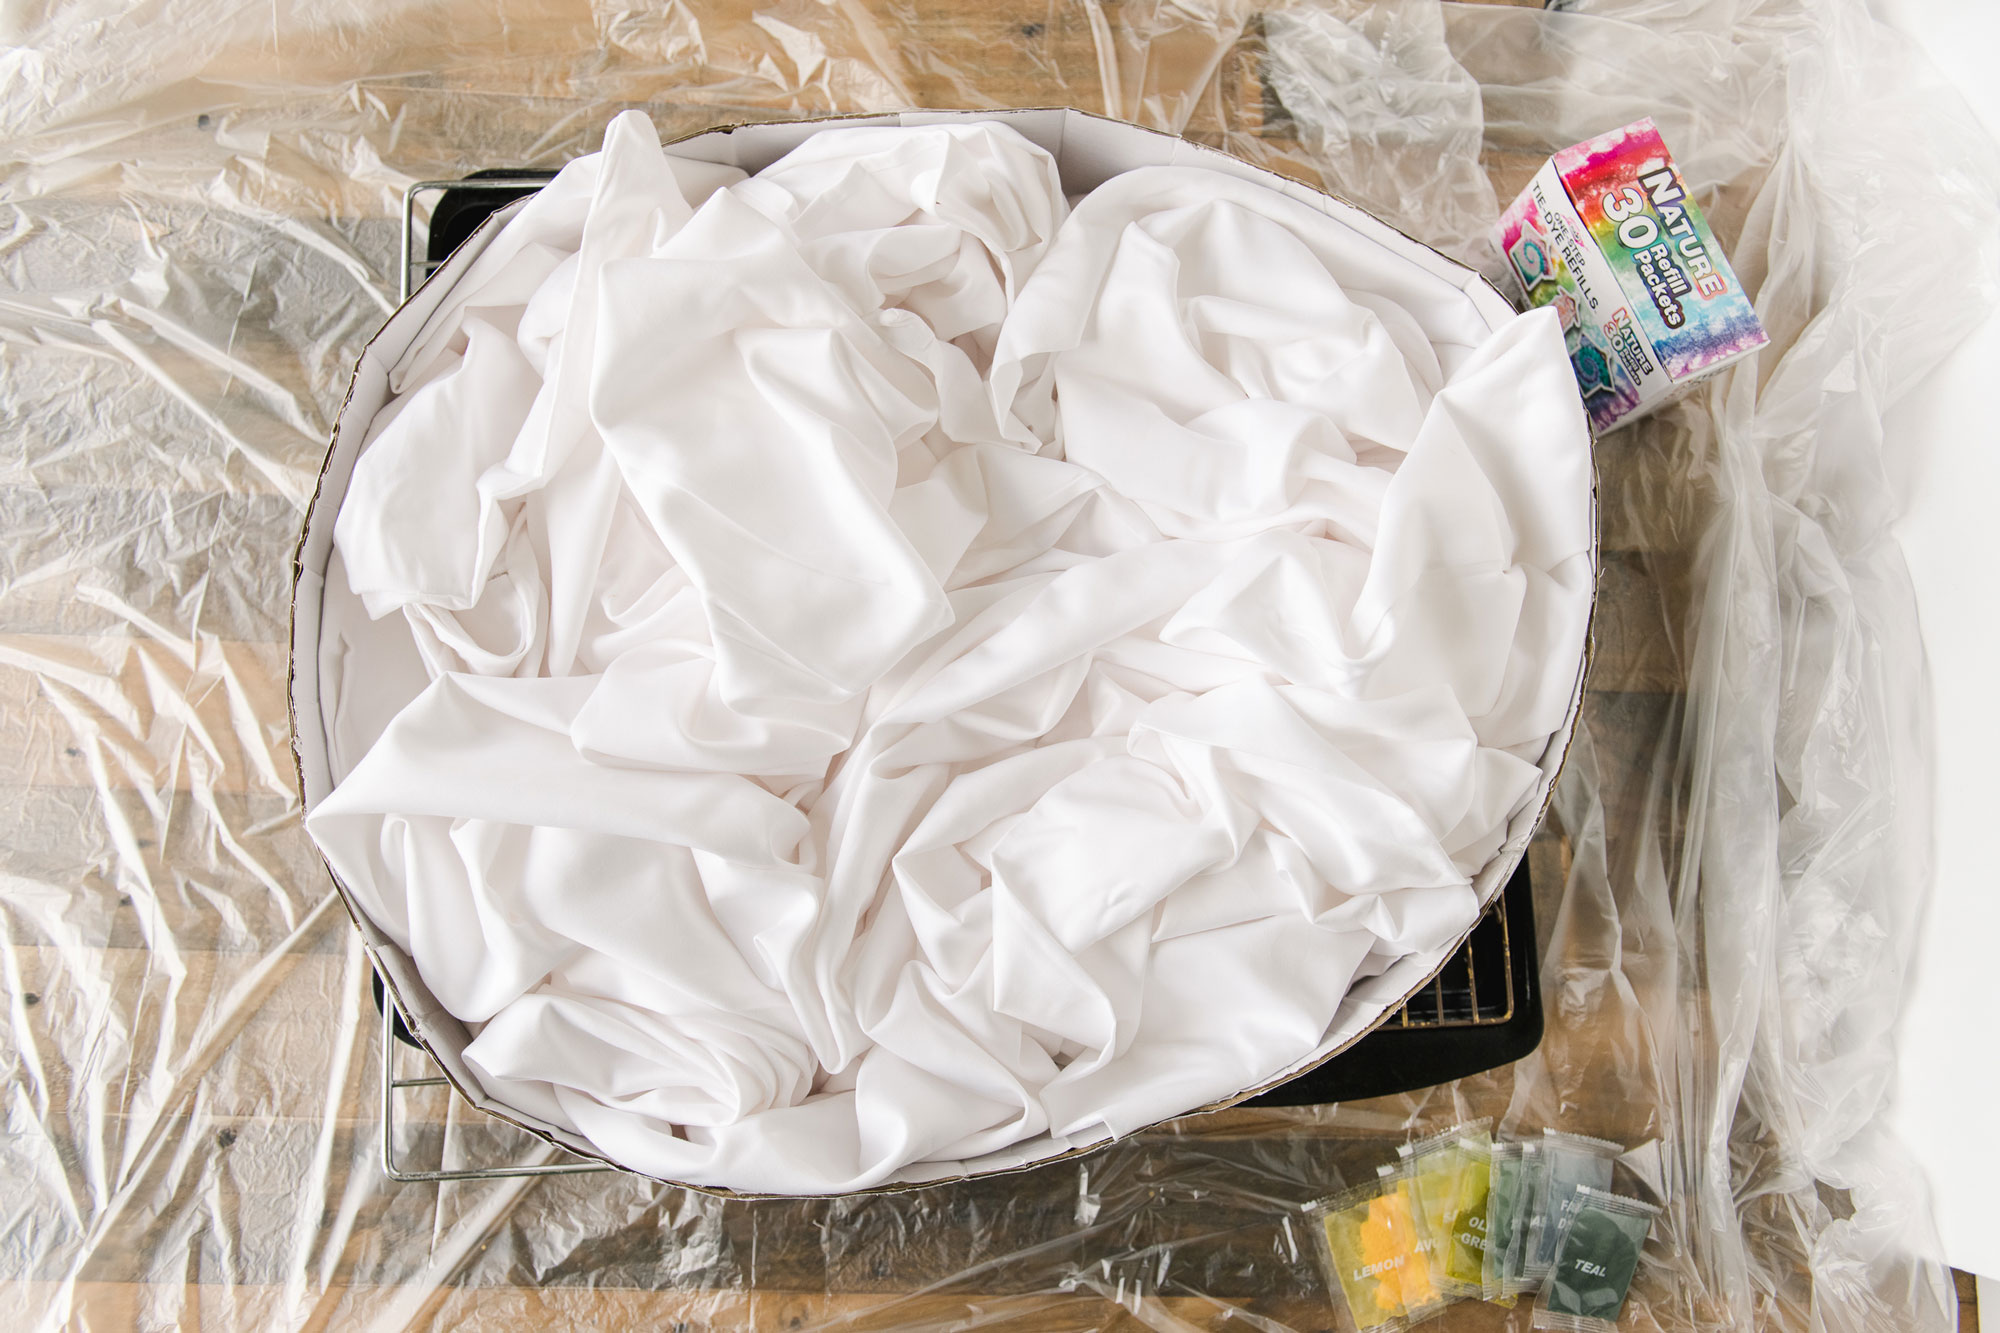
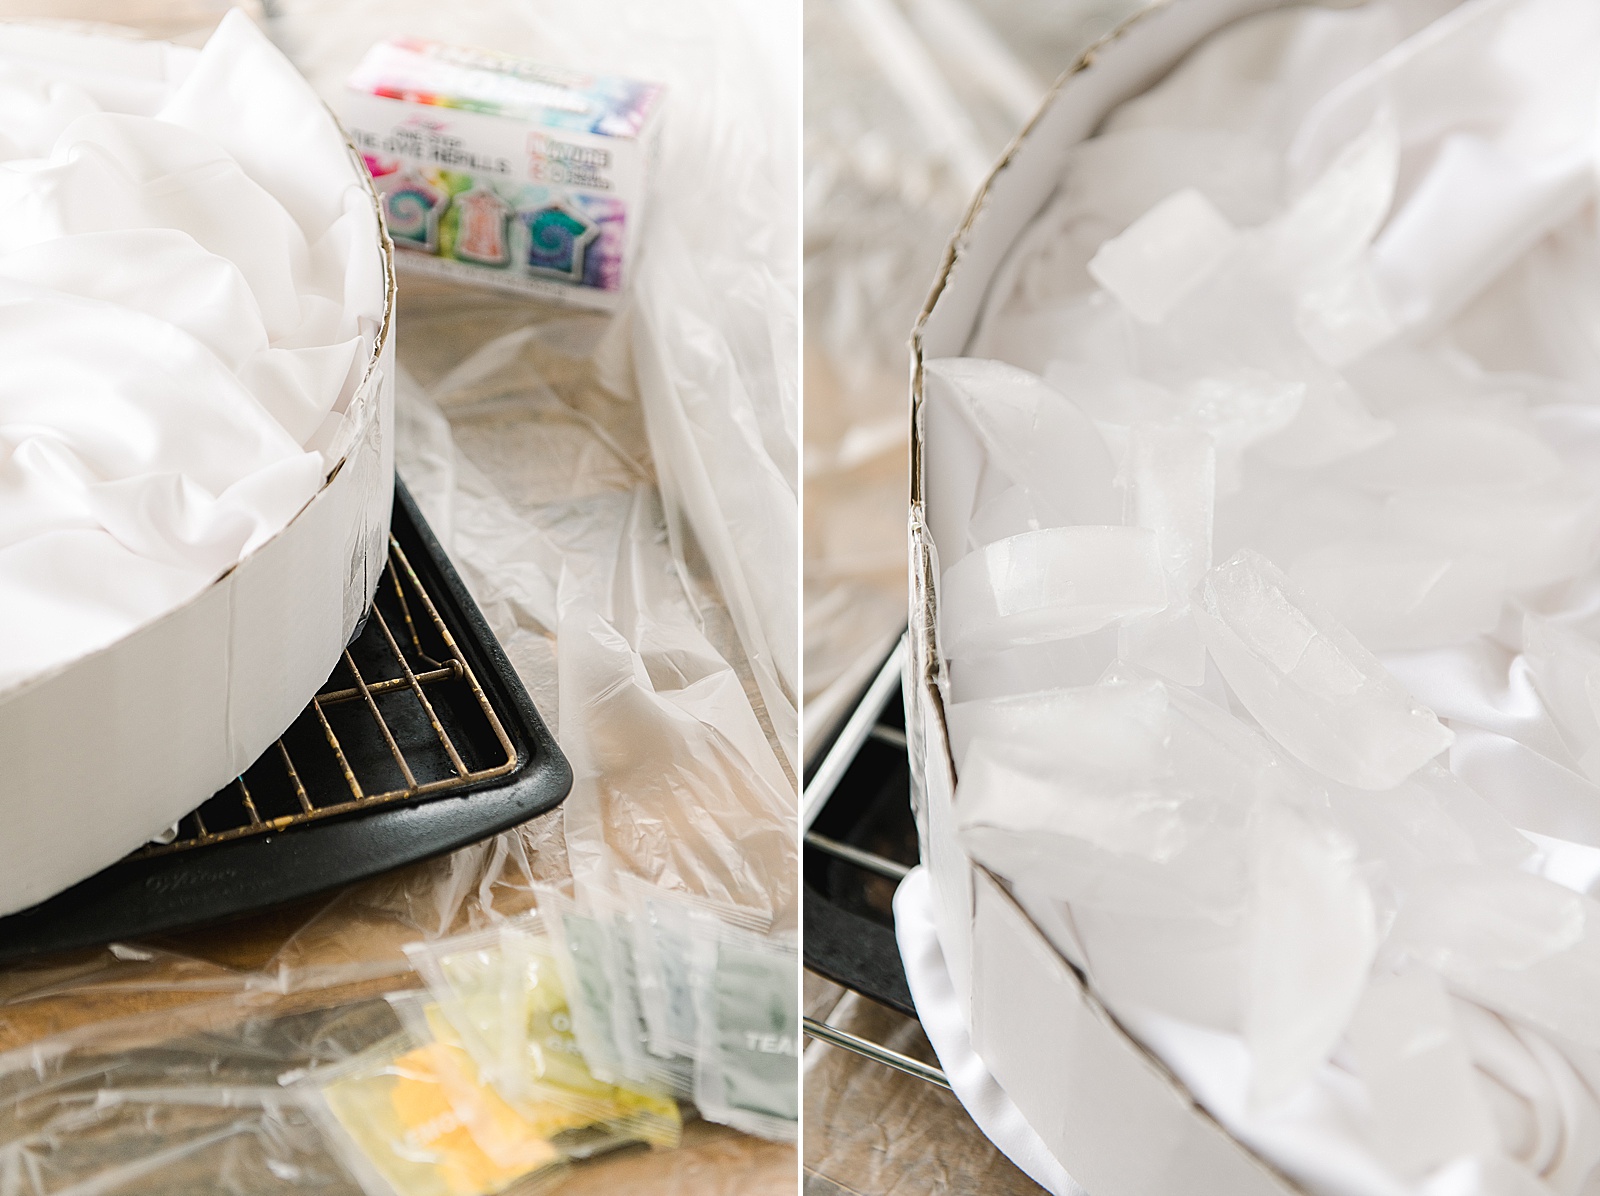
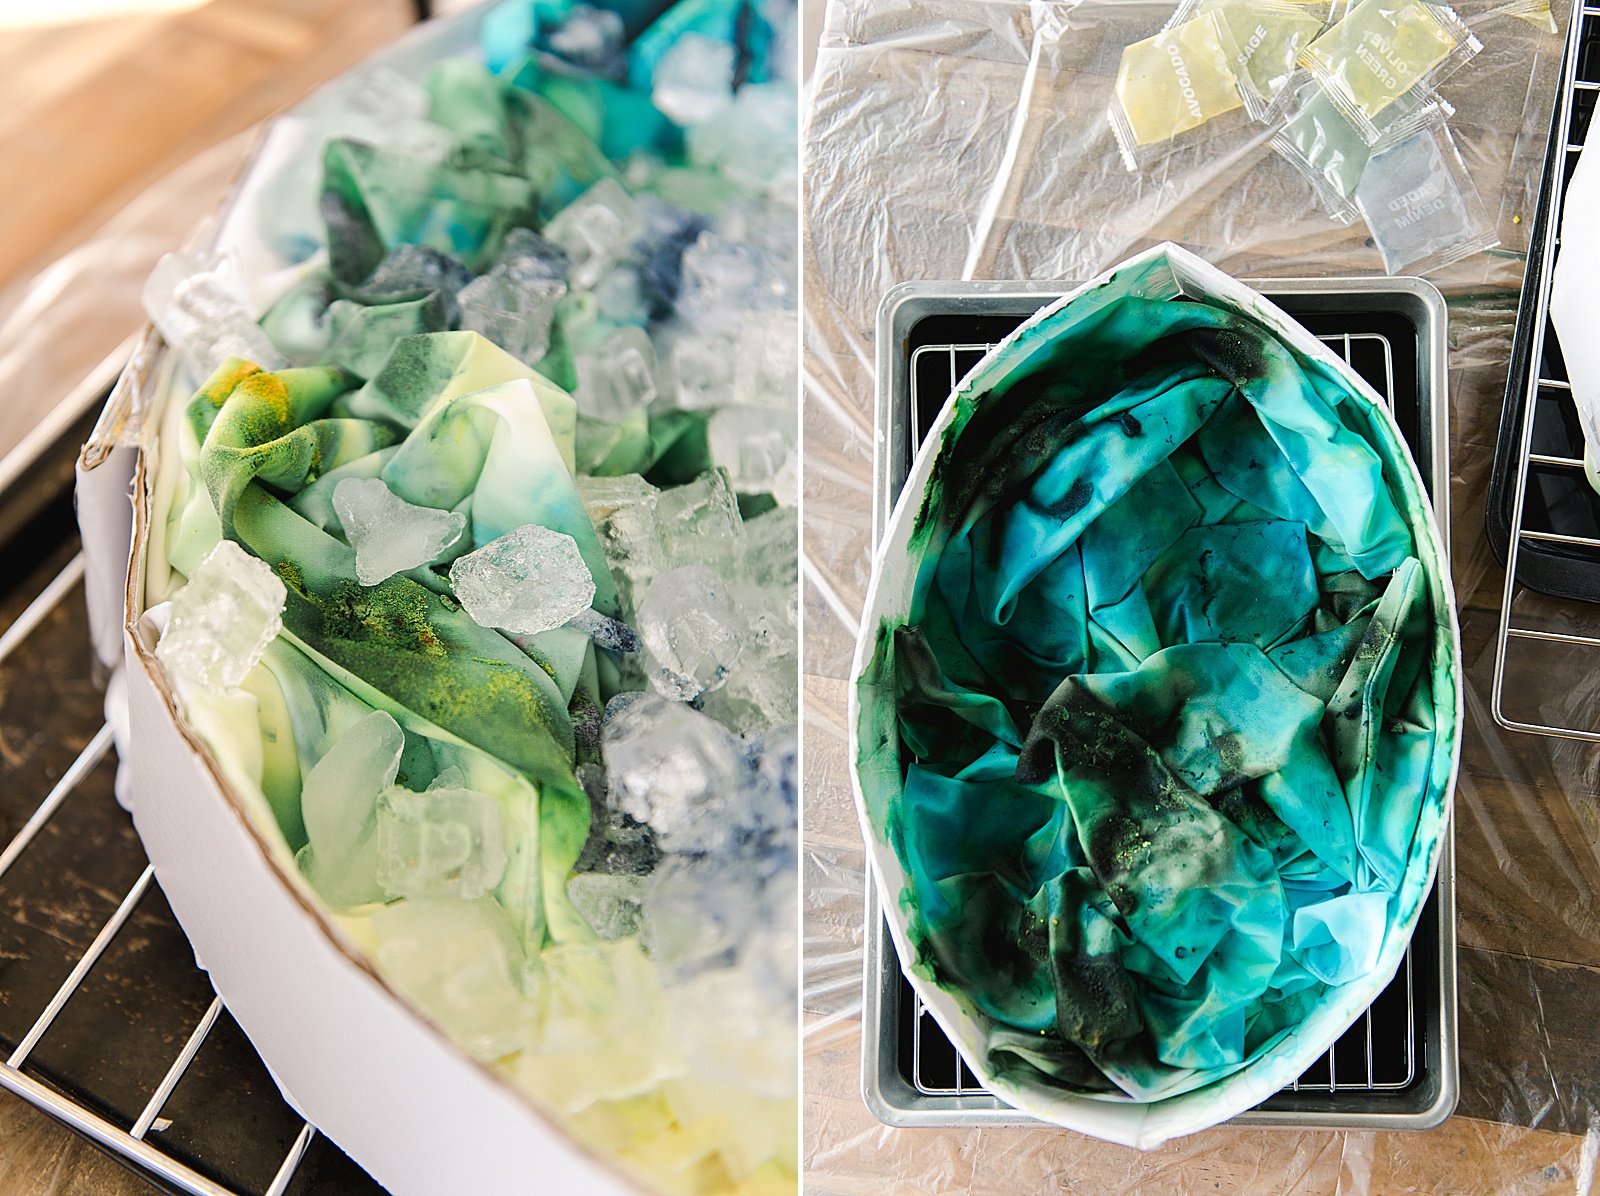
2. ICE! 🙂
Cover your duvet with an even layer of ice across the whole surface area of your scrunched up duvet. Keep all ice inside the hoop and spread out evenly.
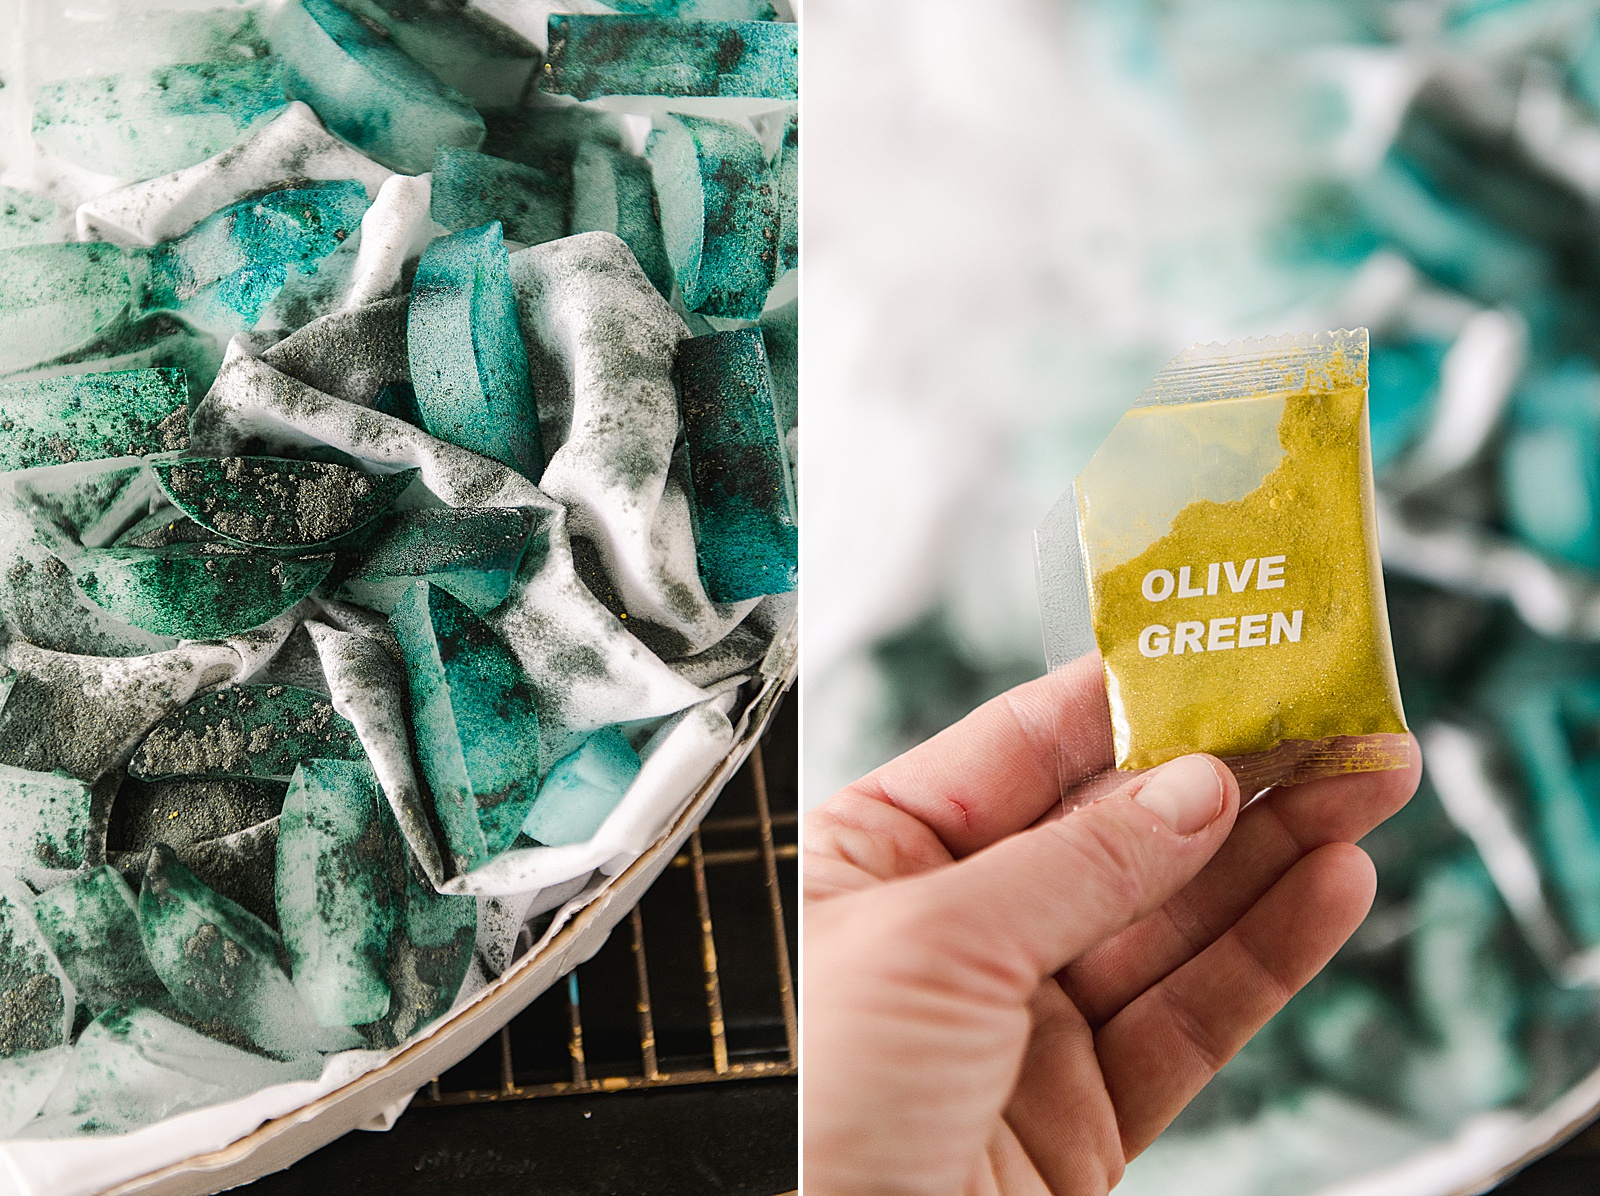
3. DYE!
This is the fun part. Choose your colors from your Tulip dye refill pack. Then begin to sprinkle the dye powder directly onto the ice over the duvet! Do your best to avoid large chunks in one area (but be generous)….ideally you’d want a nice even dusting over the whole layer of ice in various colors. You can choose to migrate your colors across the whole duvet (that’s what I did) OR you can choose little “pockets” of color across the whole duvet so that all colors are evenly disbursed! 🙂
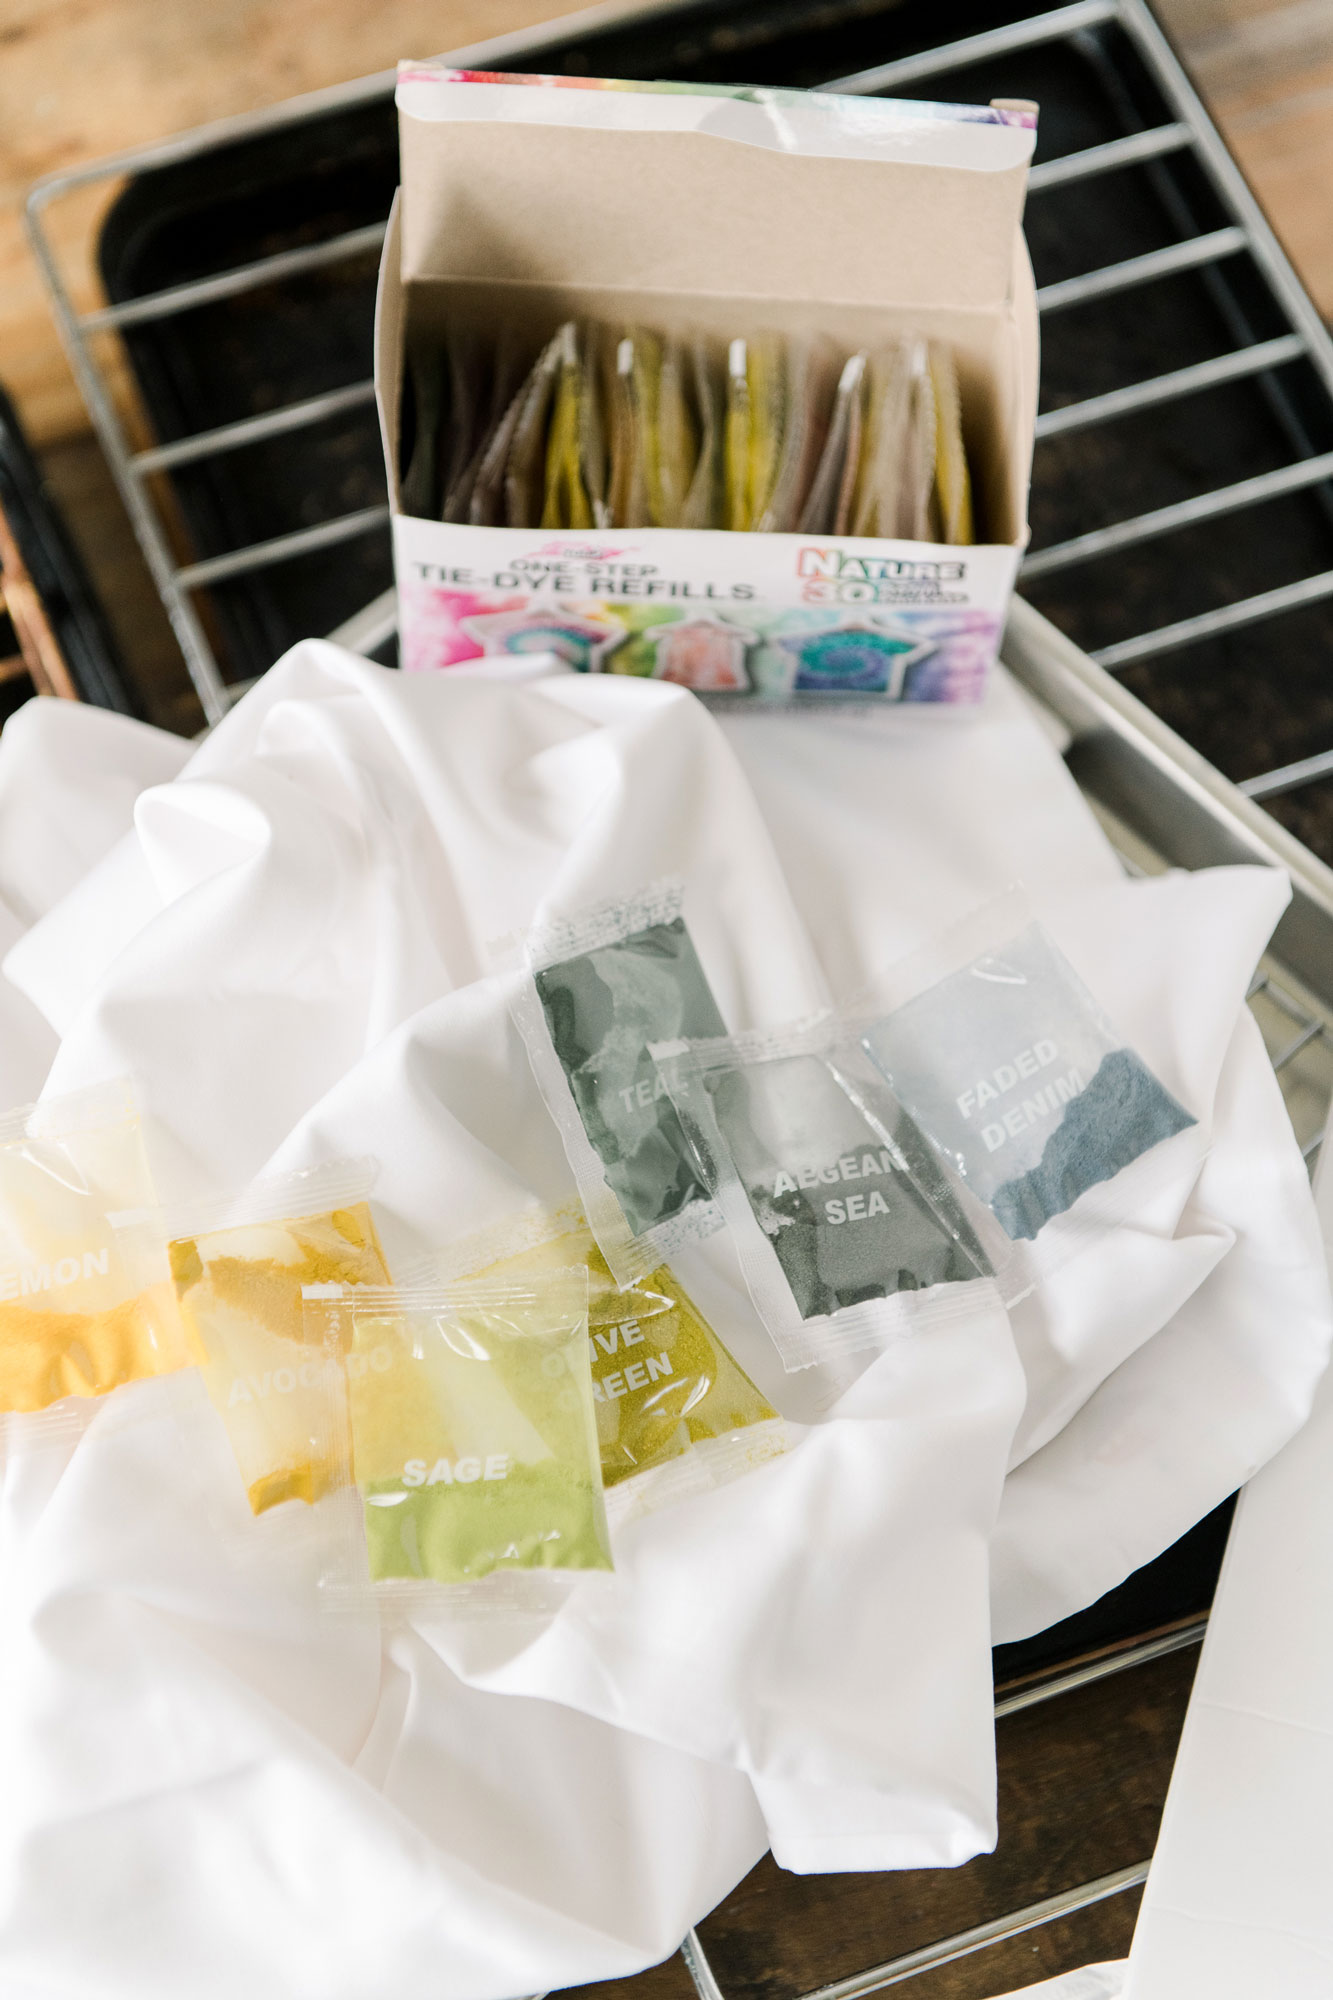
The colors I used:
- Lemon
- Avocado
- Sage
- Olive Green
- Teal
- Algean Sea
- Faded Denim
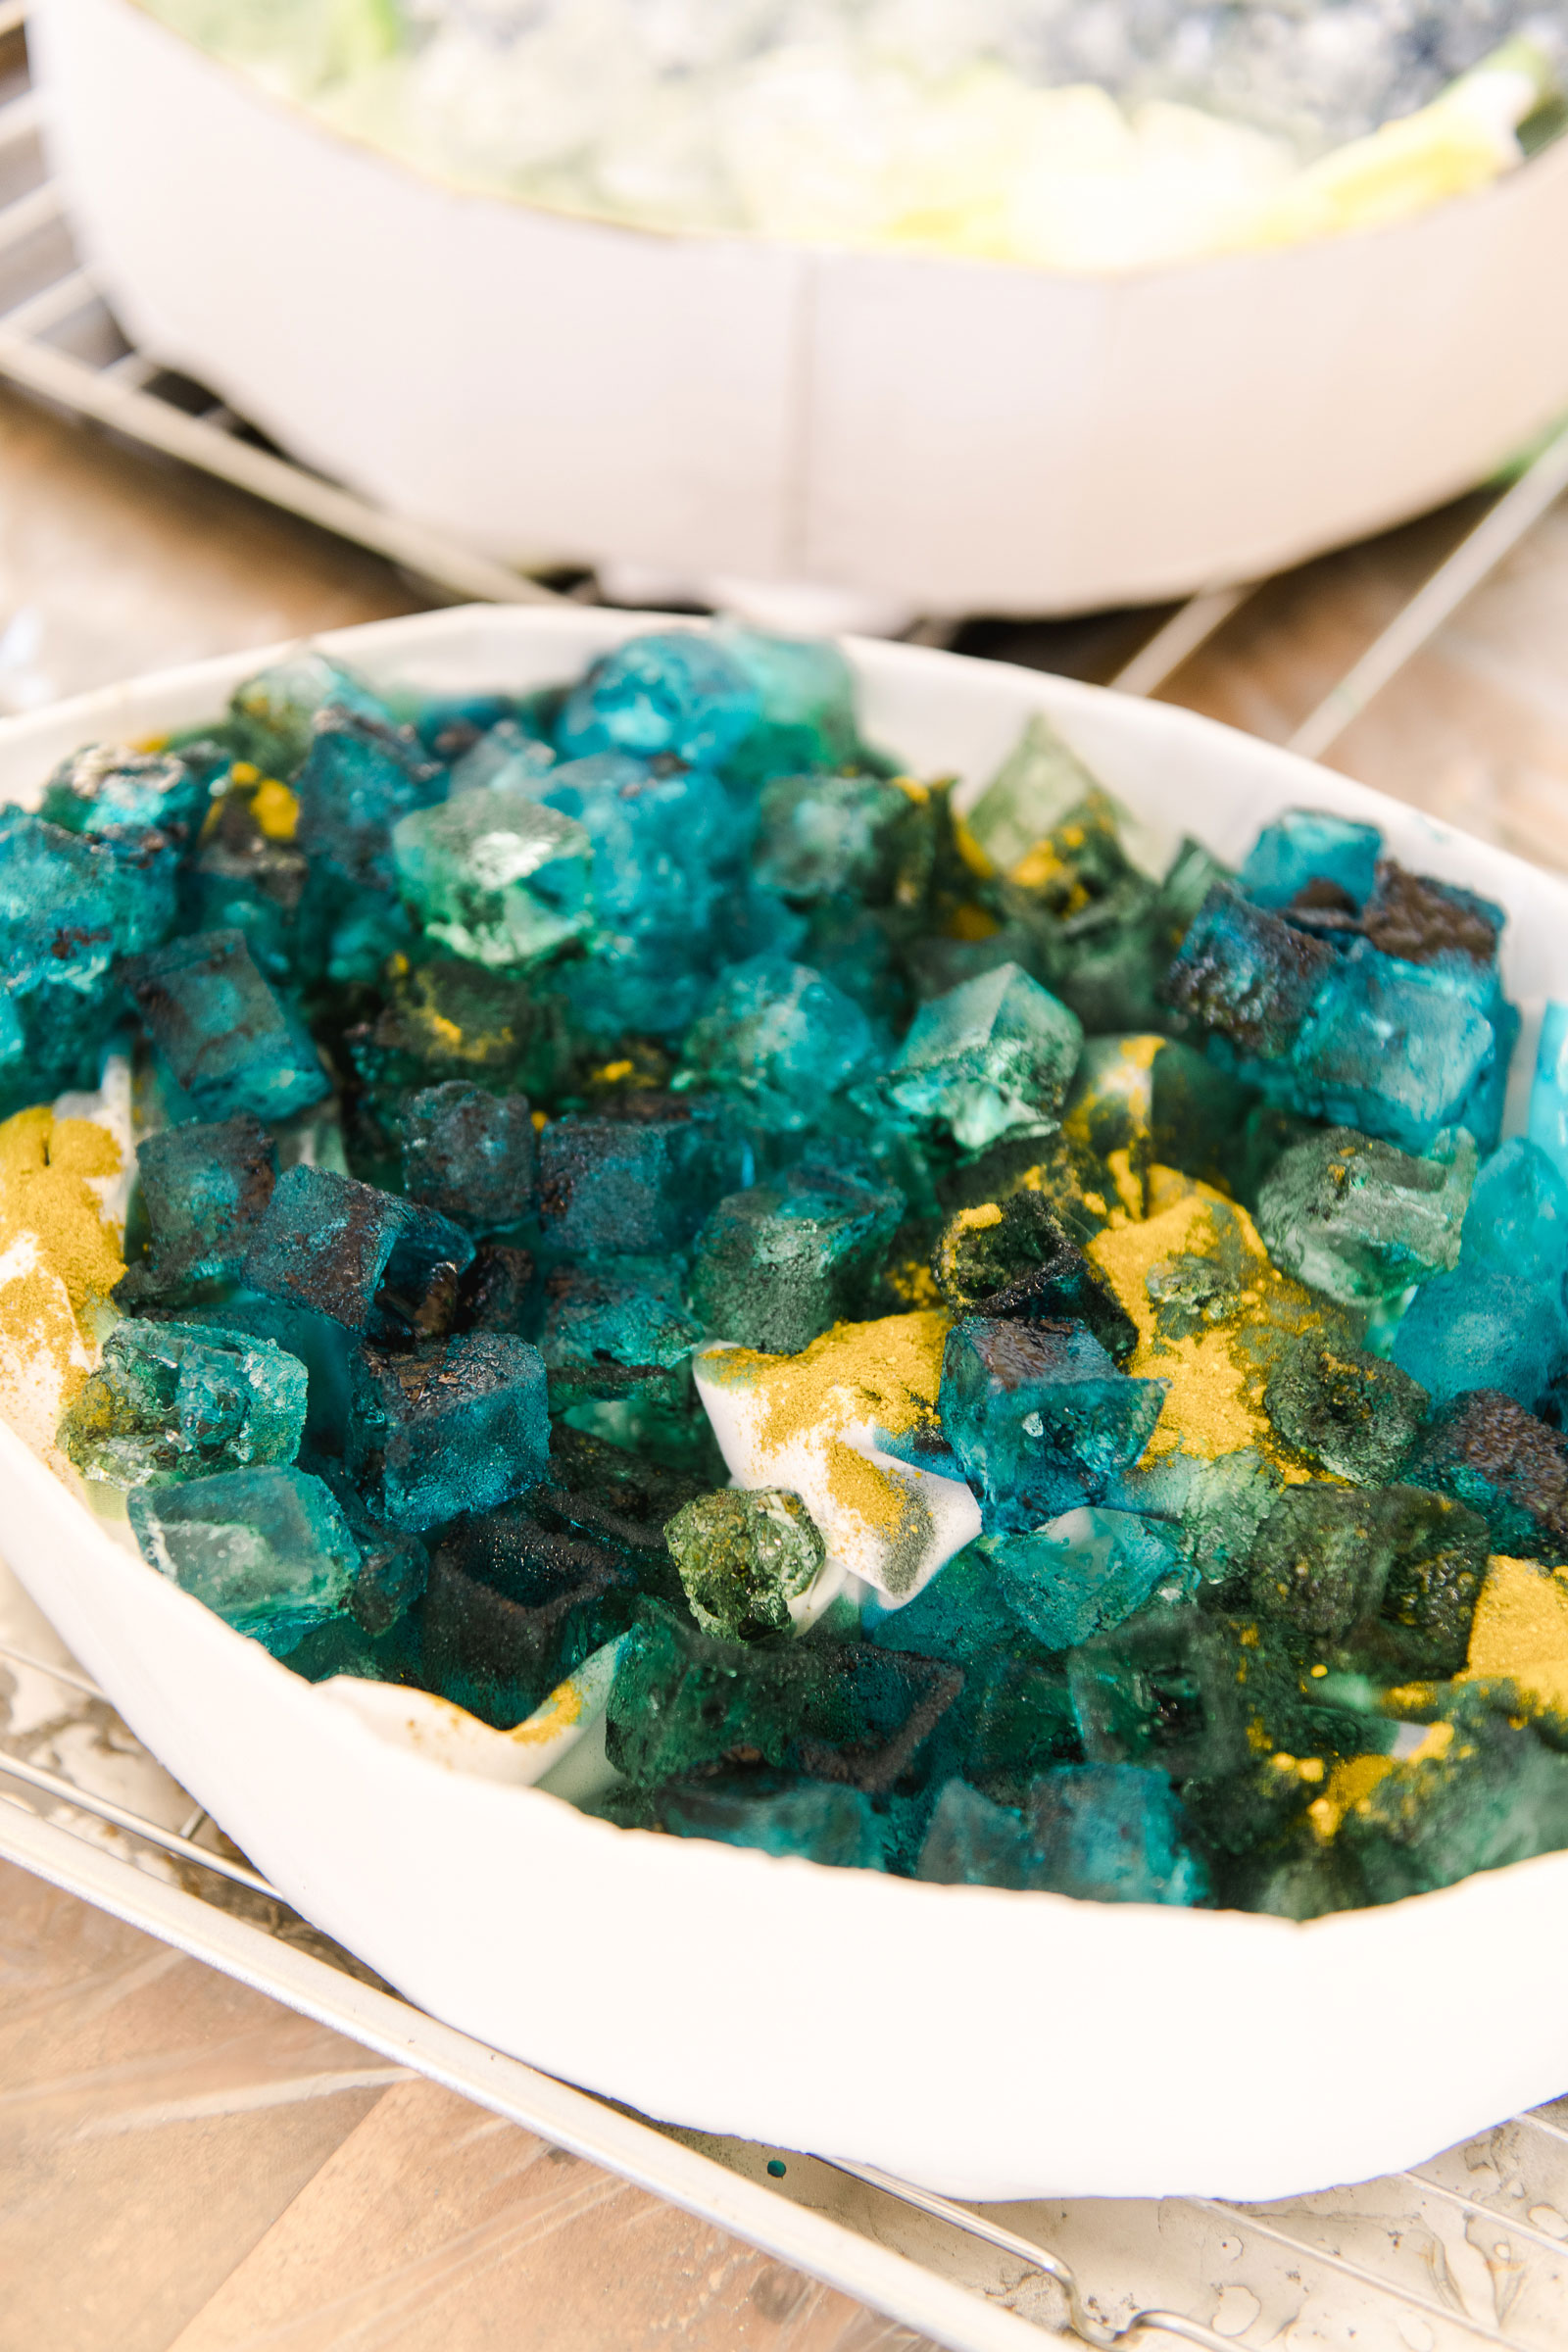
Note: Be sure to avoid sprinkling colors next to one another than may turn brown (Complimentary colors or colors across from one another on the color wheel typically mix to brown! 🙂
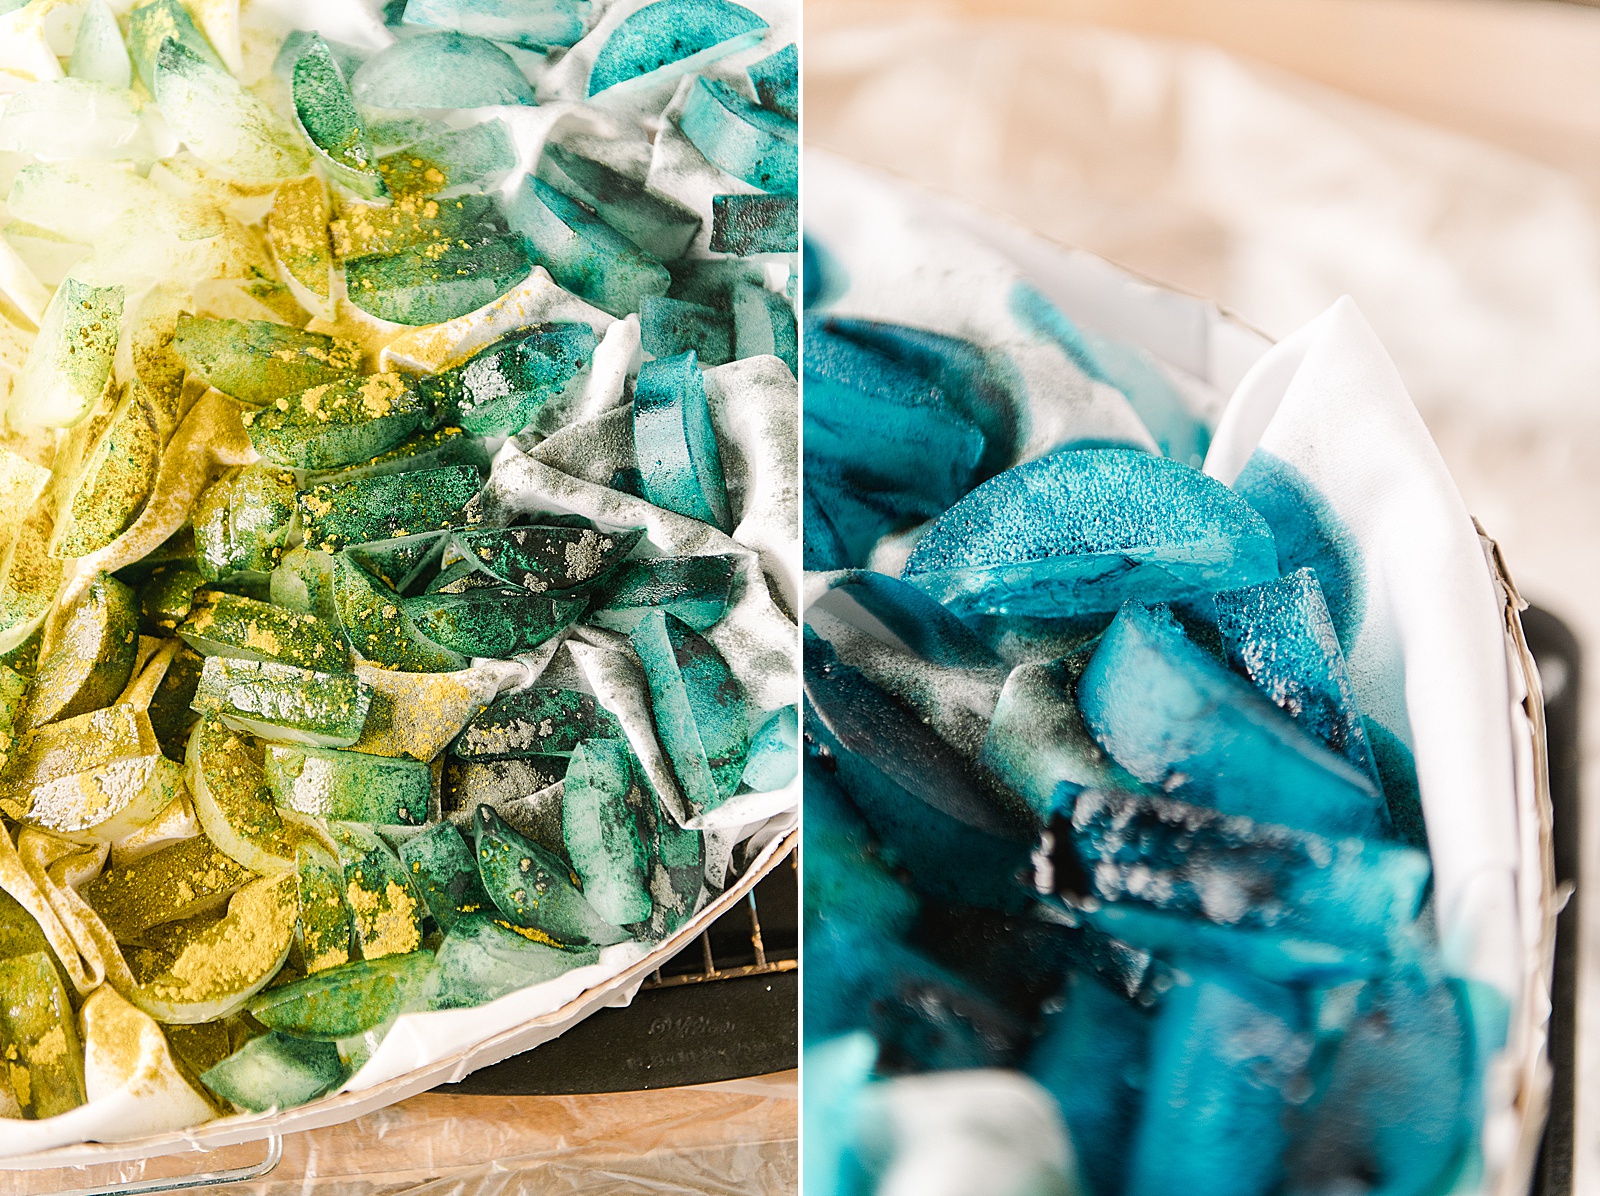
4. COLOR
Allow all of the ice to melt (we left overnight) and when you come back you will have a duvet cover that is covered in dye (just like if you had dyed it wth the traditional Tulip one-step mixed dye)! 🙂 You can choose 1 of 2 things:
1. For a more subtle look: Rinse out the excess dye in cold water and then wash the duvet in a cold cycle in the washing machine.
2. For a more intense color look: Notice where there are blank spots or spots with less intense color and add more ice + dye powder where needed (remember not to mix colors to turn brown)! Then allow to sit and let the ice melt again. You can choose to let sit for another 4-8 hours after the ice melts or begin to rinse out. Rinse in cold water until water runs clear and then wash in a cold water cycle + dry! 🙂
Dry your duvet and then happily add to your bedding of choice! My son was literally SOOOOO SO SO HAPPY to see this bedding that he’s already requested a set for his own room!!!! OFFFF to make more, I guess! 🙂