Colorful Dried Floral DIY
*this project is in partnership with Tulip
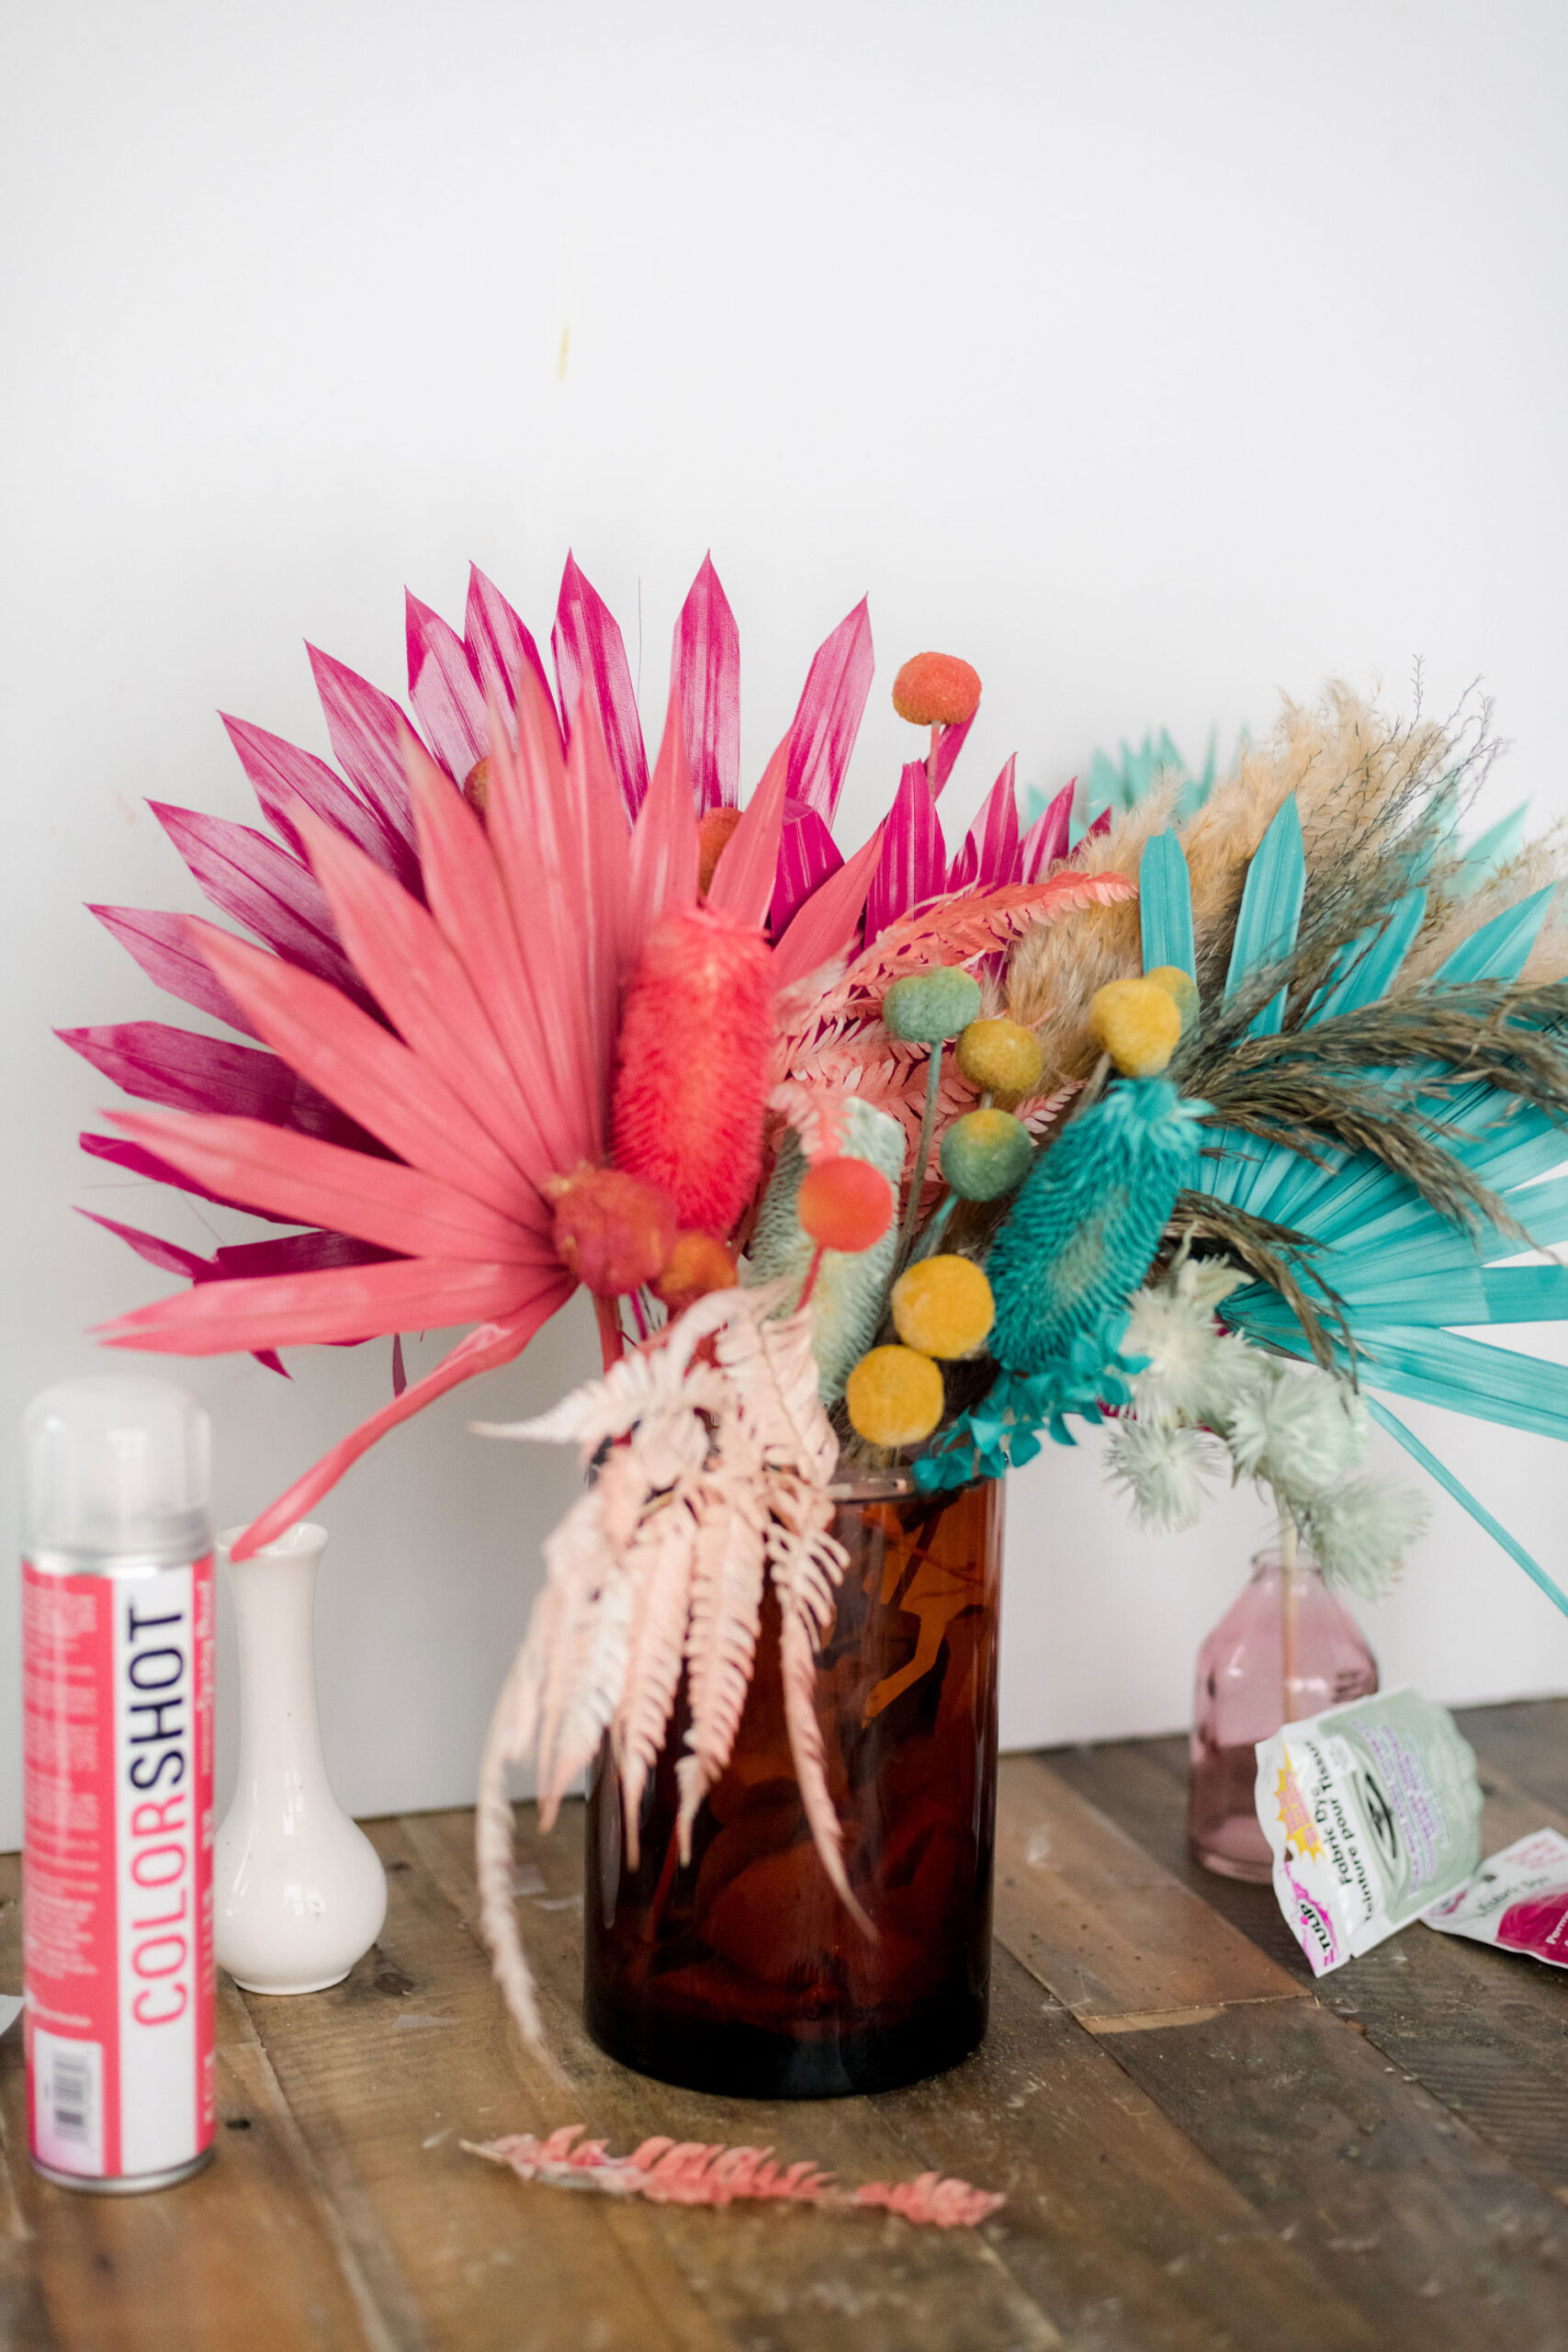
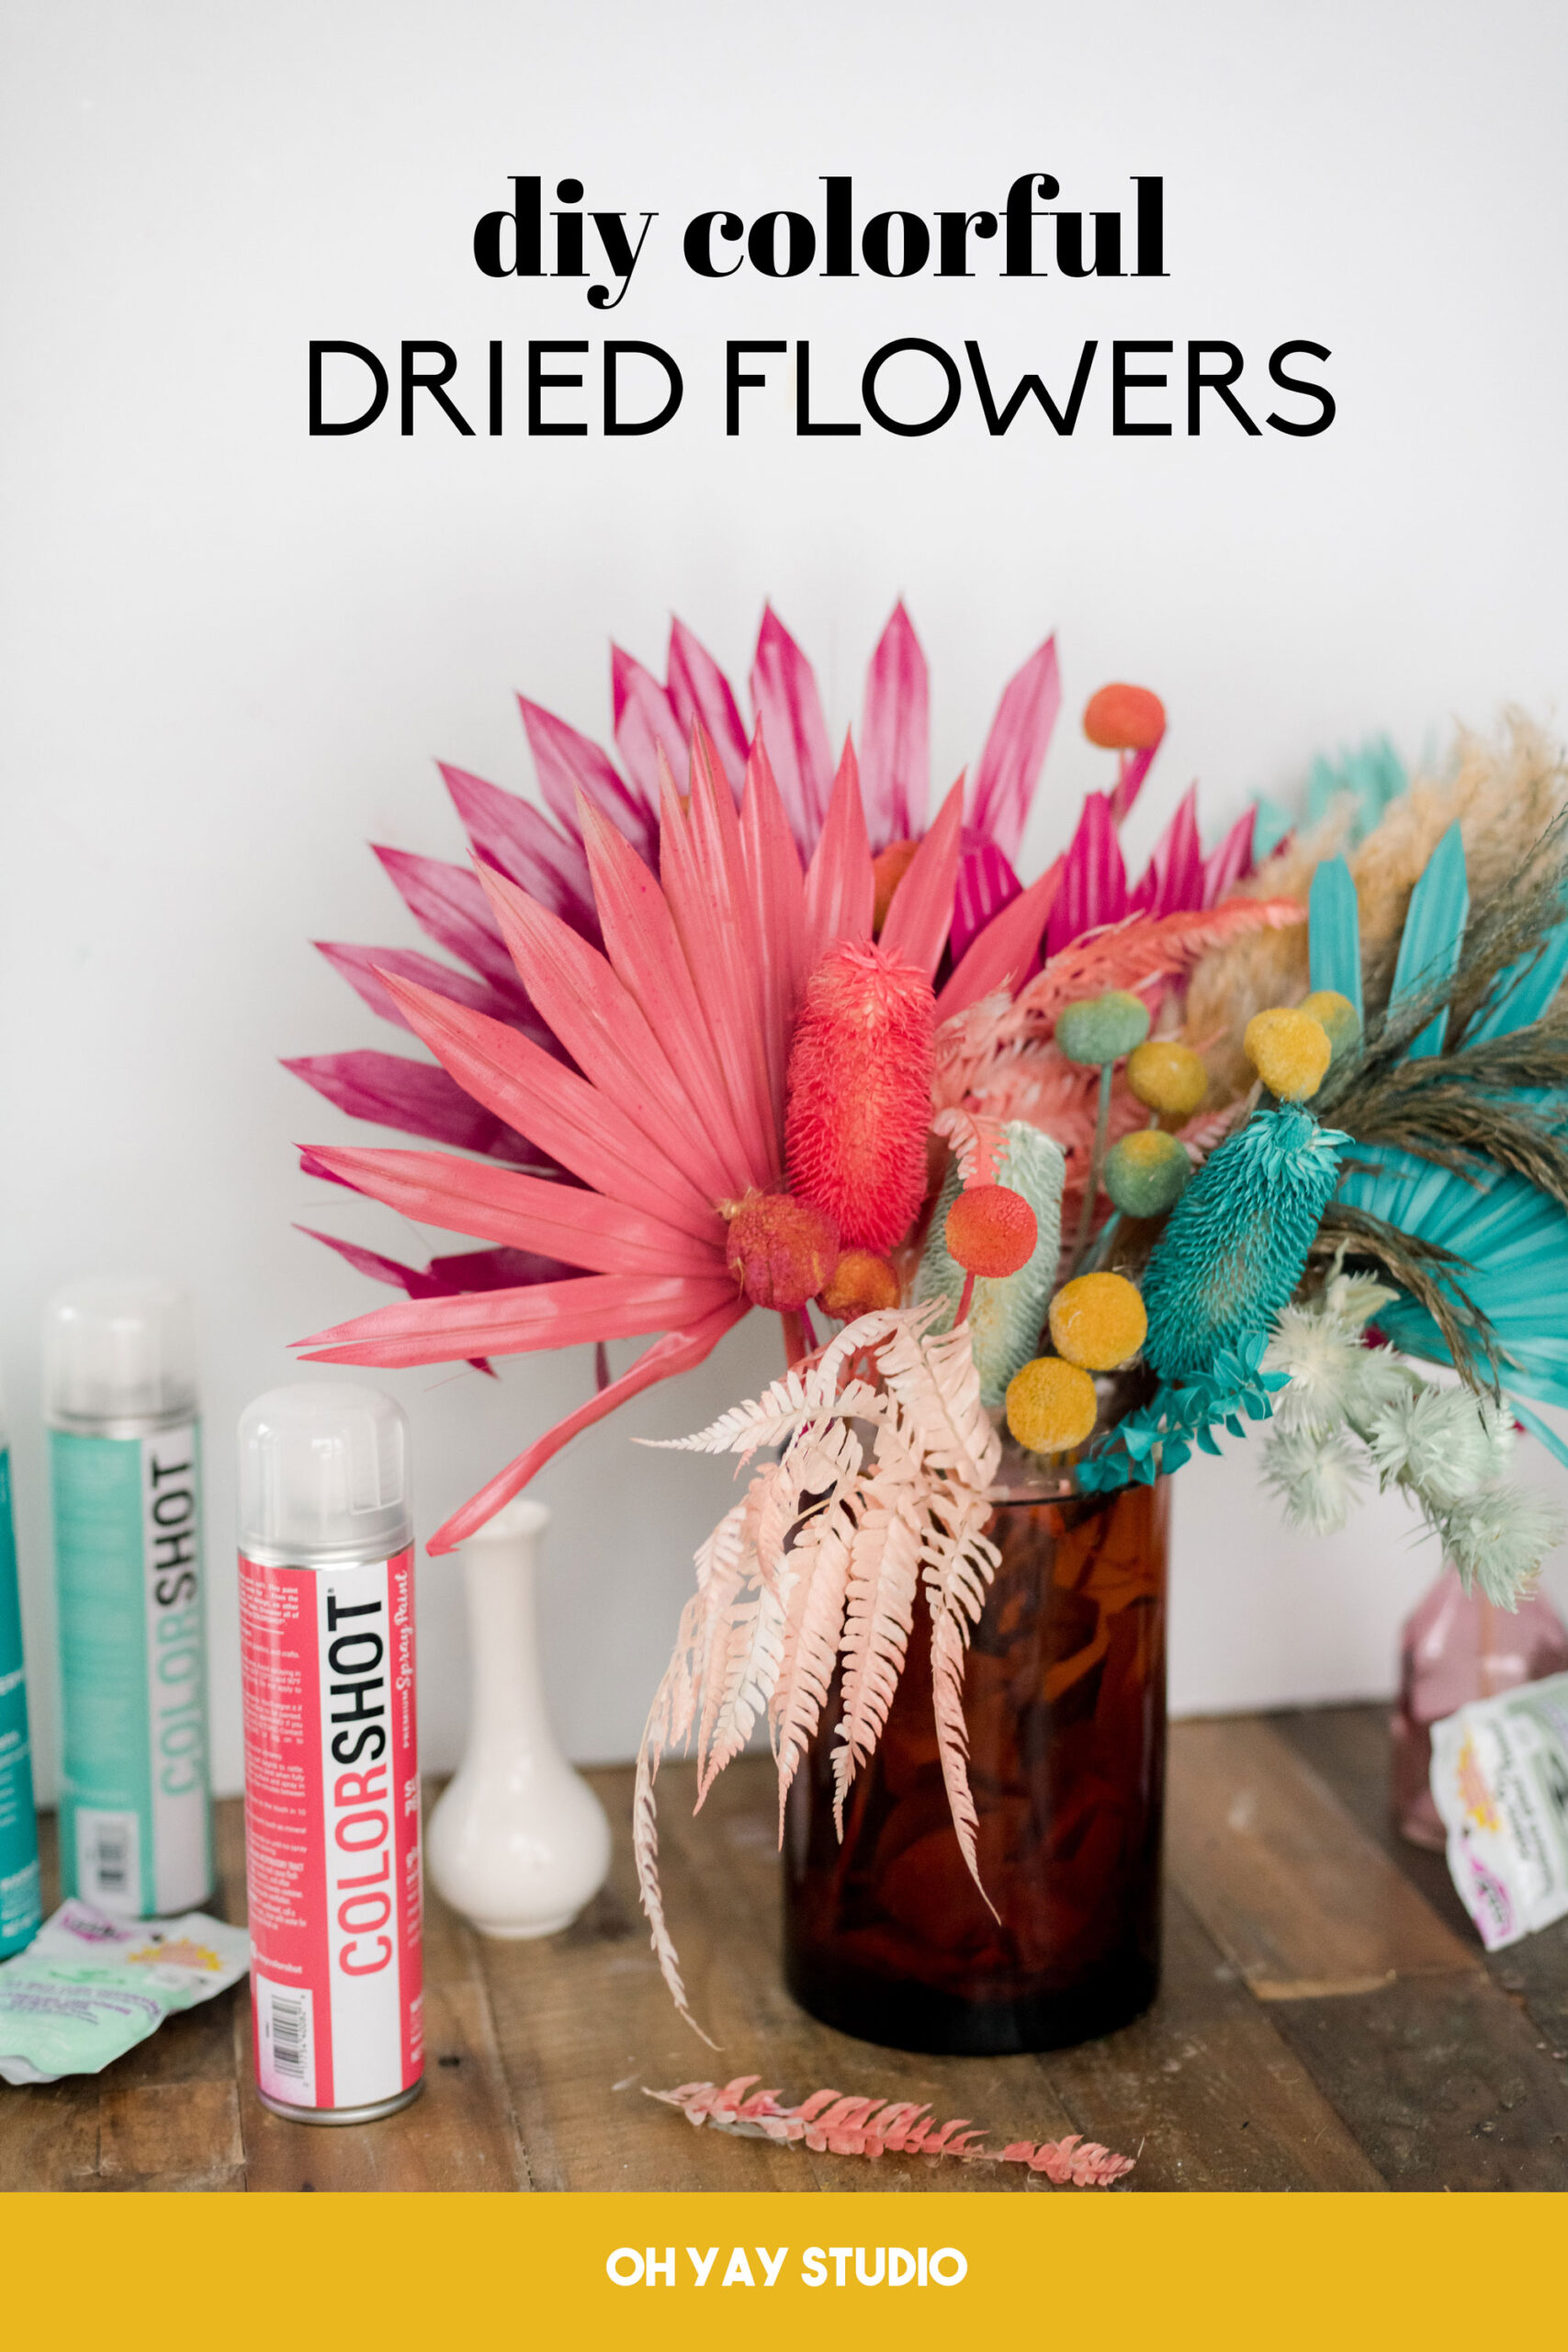
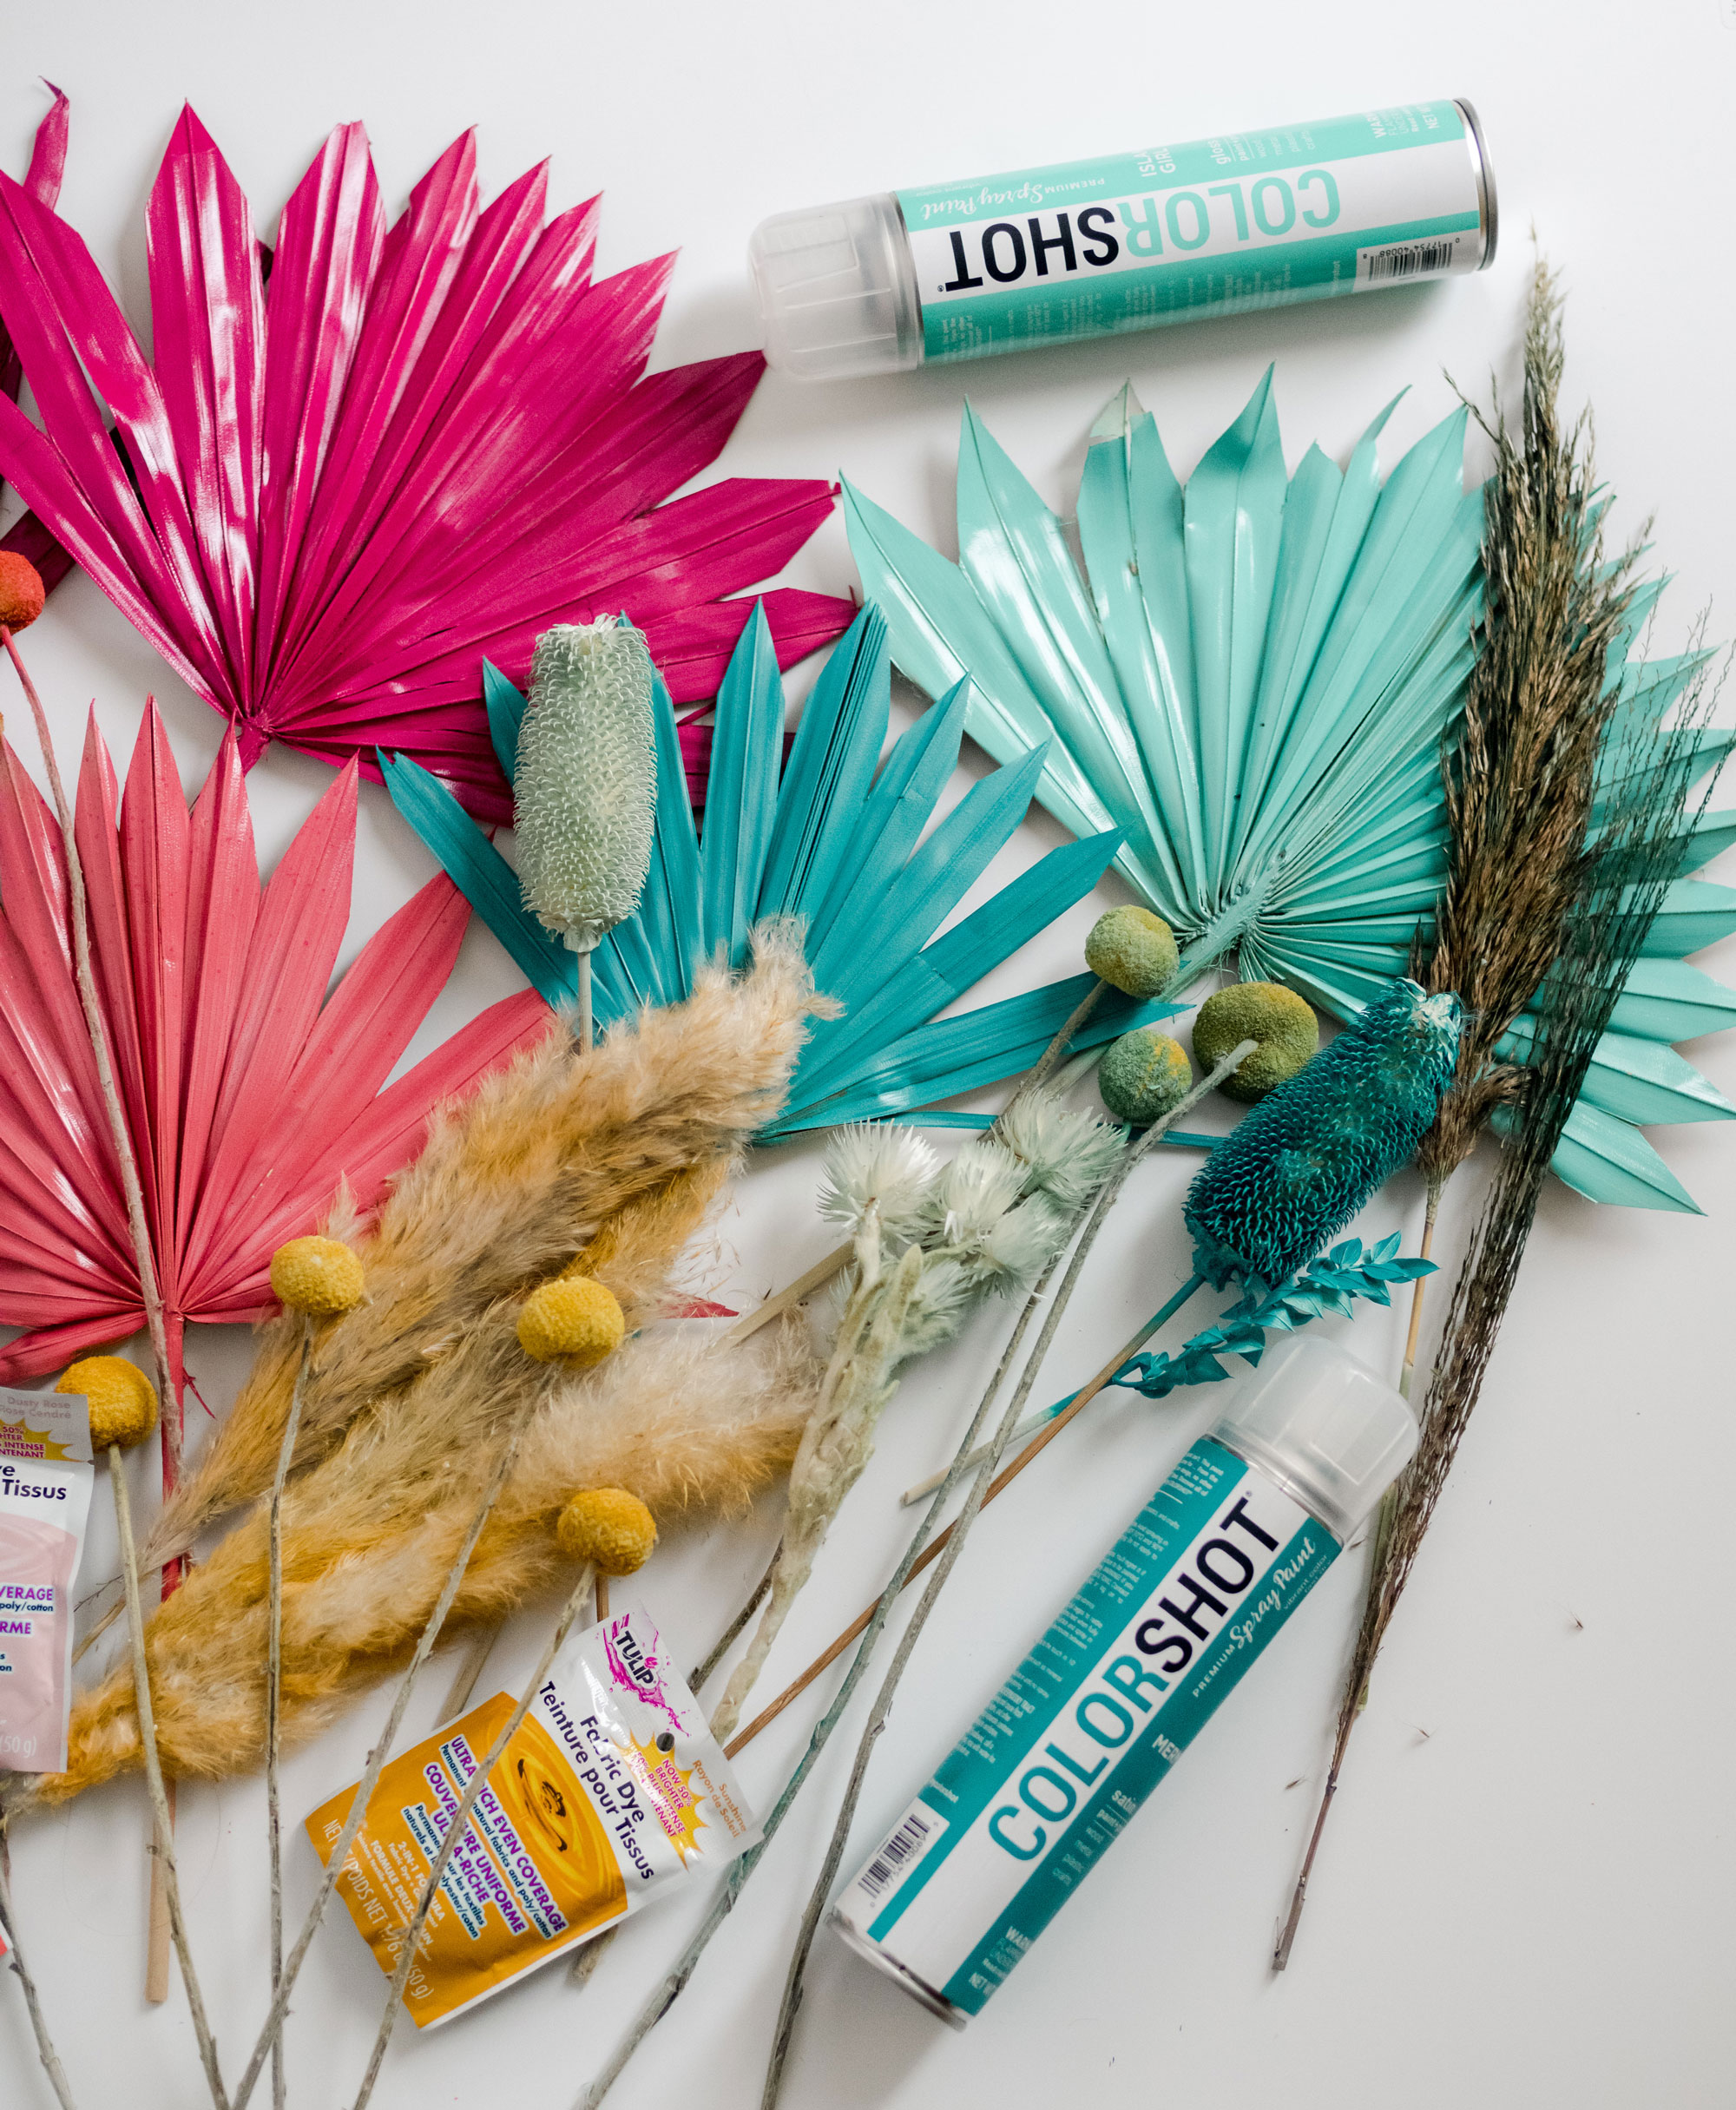
Color color COLOORRRRR! 🙂 If you love color in your home, but can’t keep anything alive (ahem……not naming names here) then I’ve got one heck of an easy and quick DIY for you using some dried florals, some Tulip fabric dye and a few cans of the vibrant Color Shot Spray paint! So buckle up and follow along, this is a quick one (ok….quick, besides drying time but you can do laundry or doodle or watch TV while everything is drying)! 🙂
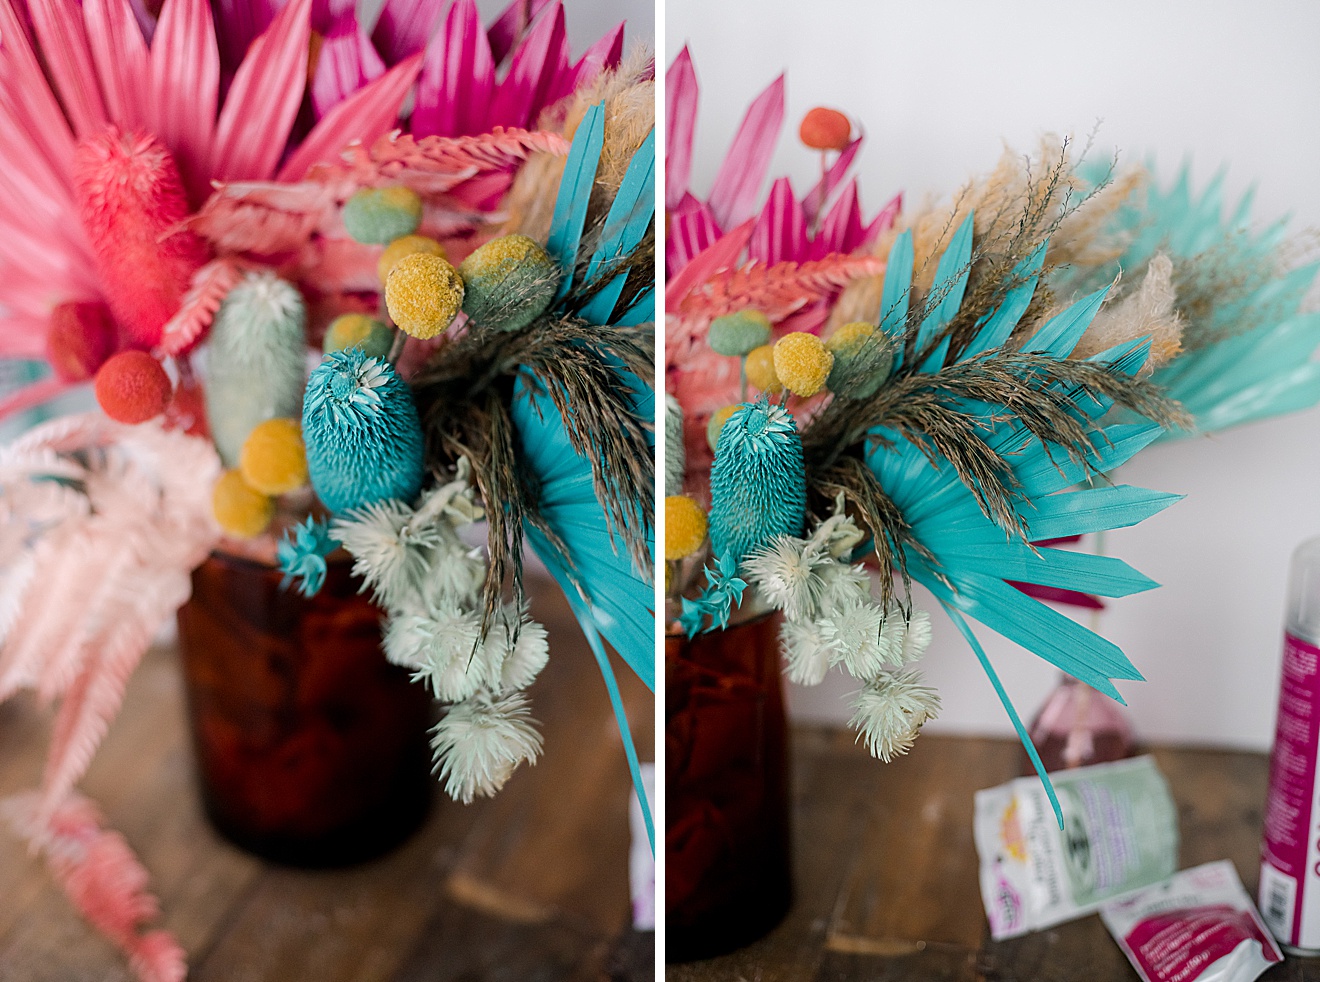
I mean, who doesn’t love a splash of color in the corner of a living room or table or mantle or legit about anywhere you’d want to put a gathering of flowers?! 🙂 So, this solves the “my flowers keep dying all the time” problem and gets your creative floral juices flowing!
MATERIALS:
- A handful of dried florals, palm leaves, monstera leaves, grasses or ANYTHING you’d like…heck, perhaps you’ll even use sentimental wedding flowers or something amazing like that 🙂
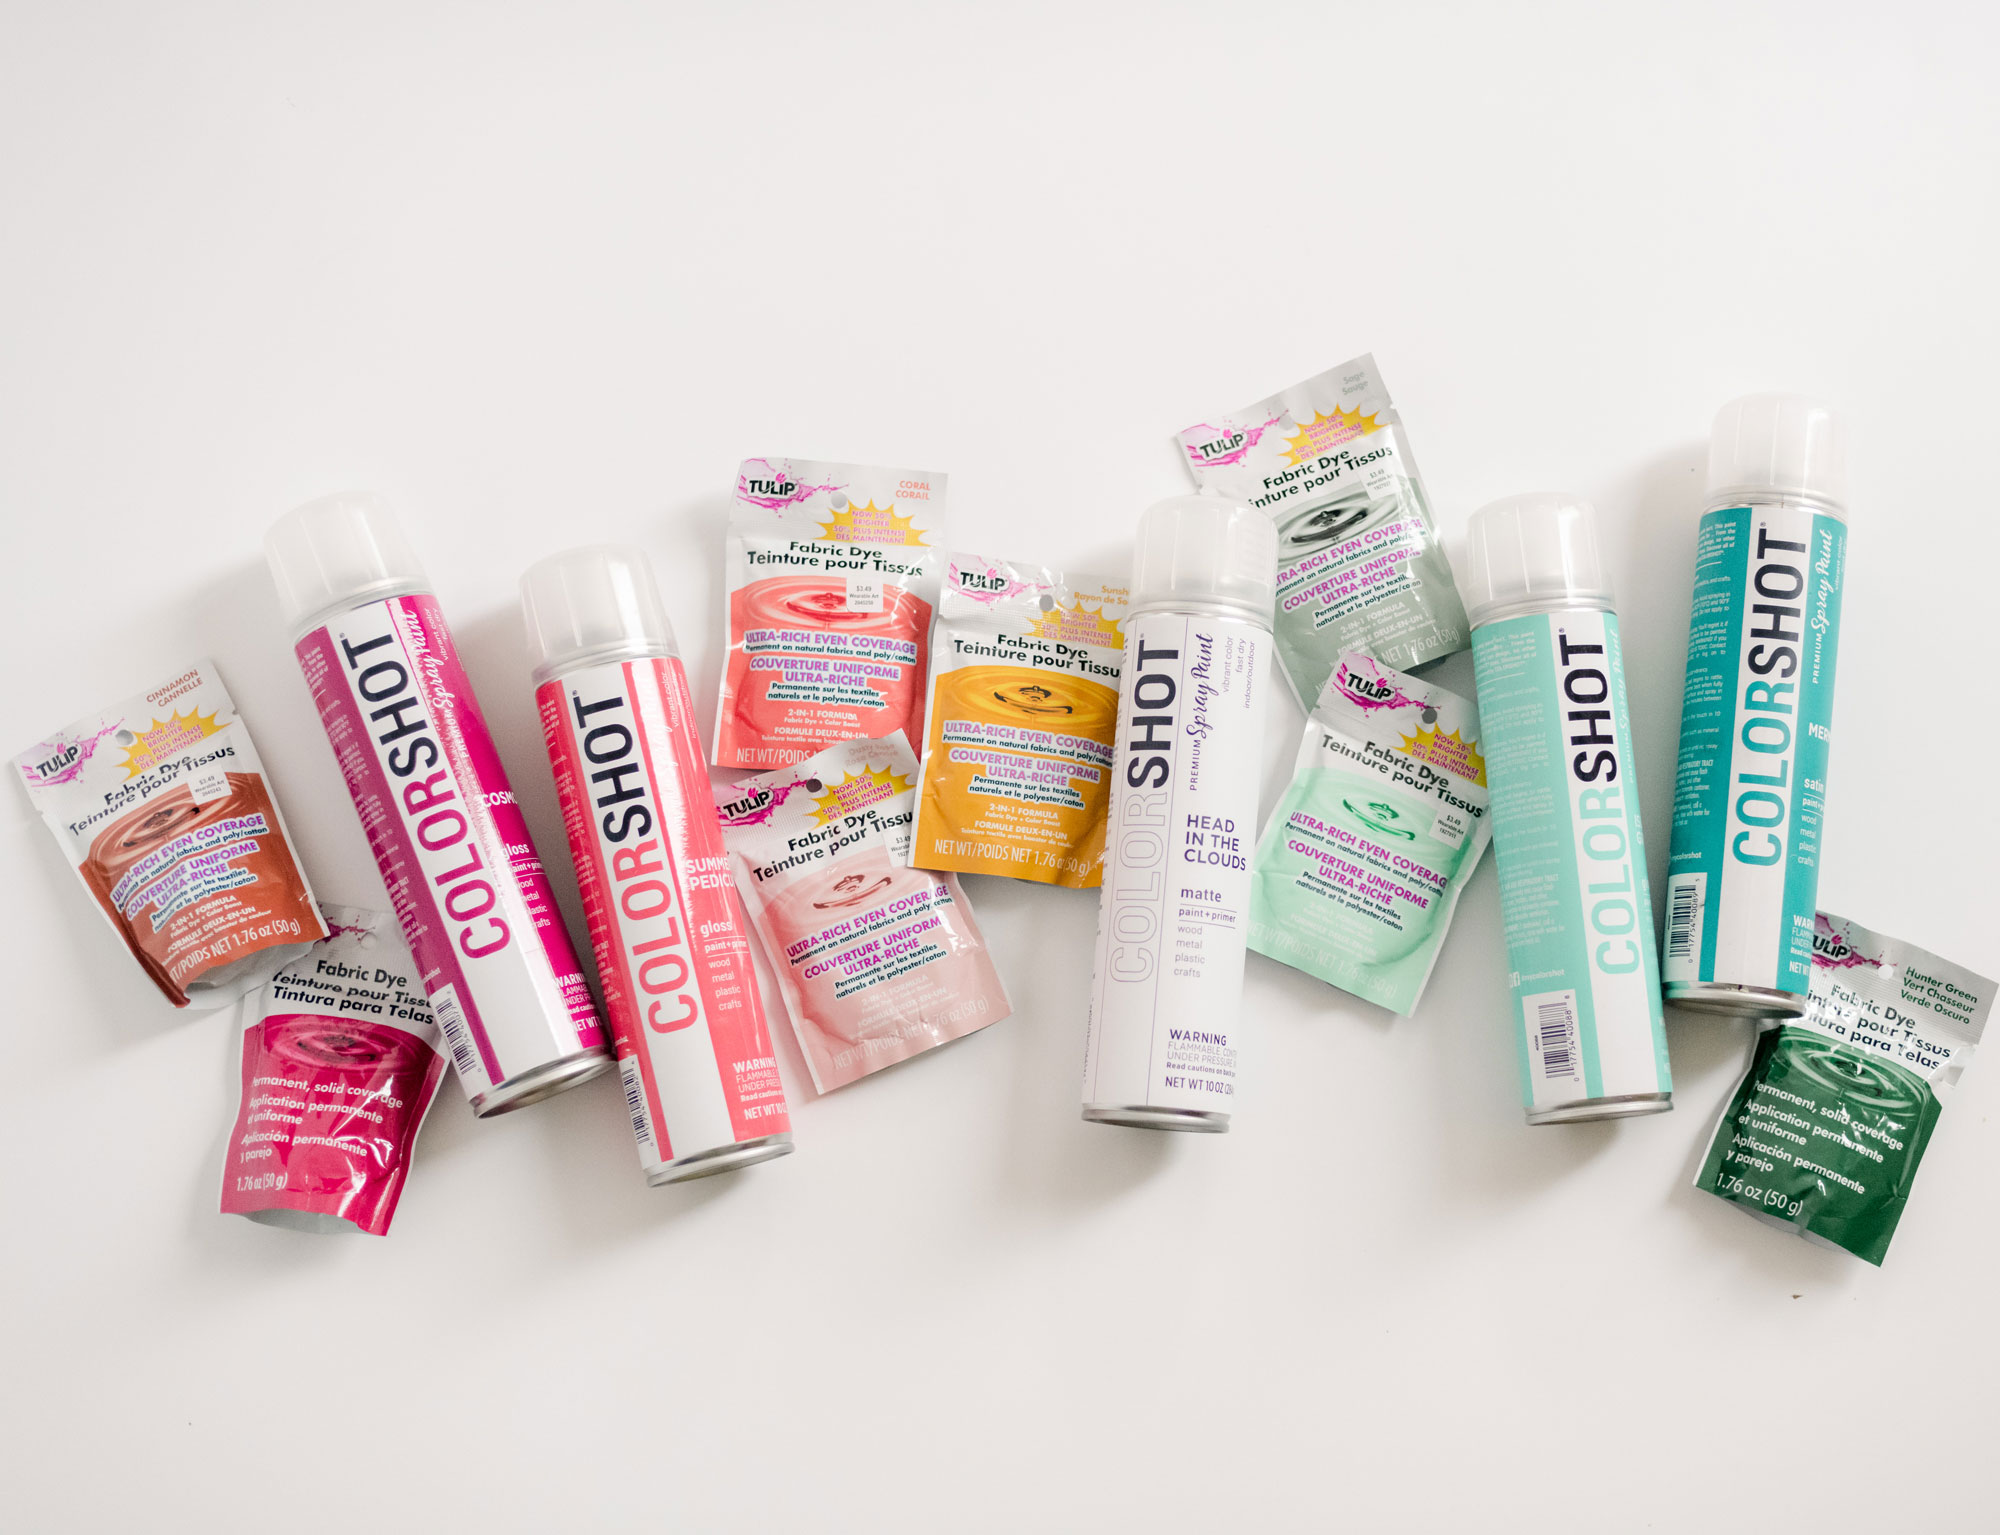
- Some of Tulip’s Fabric Dye (I used colors “Hunter Green”, “Sage”, “Sunshine” “Dusty Rose”, “Coral”, “Cinnamon”)
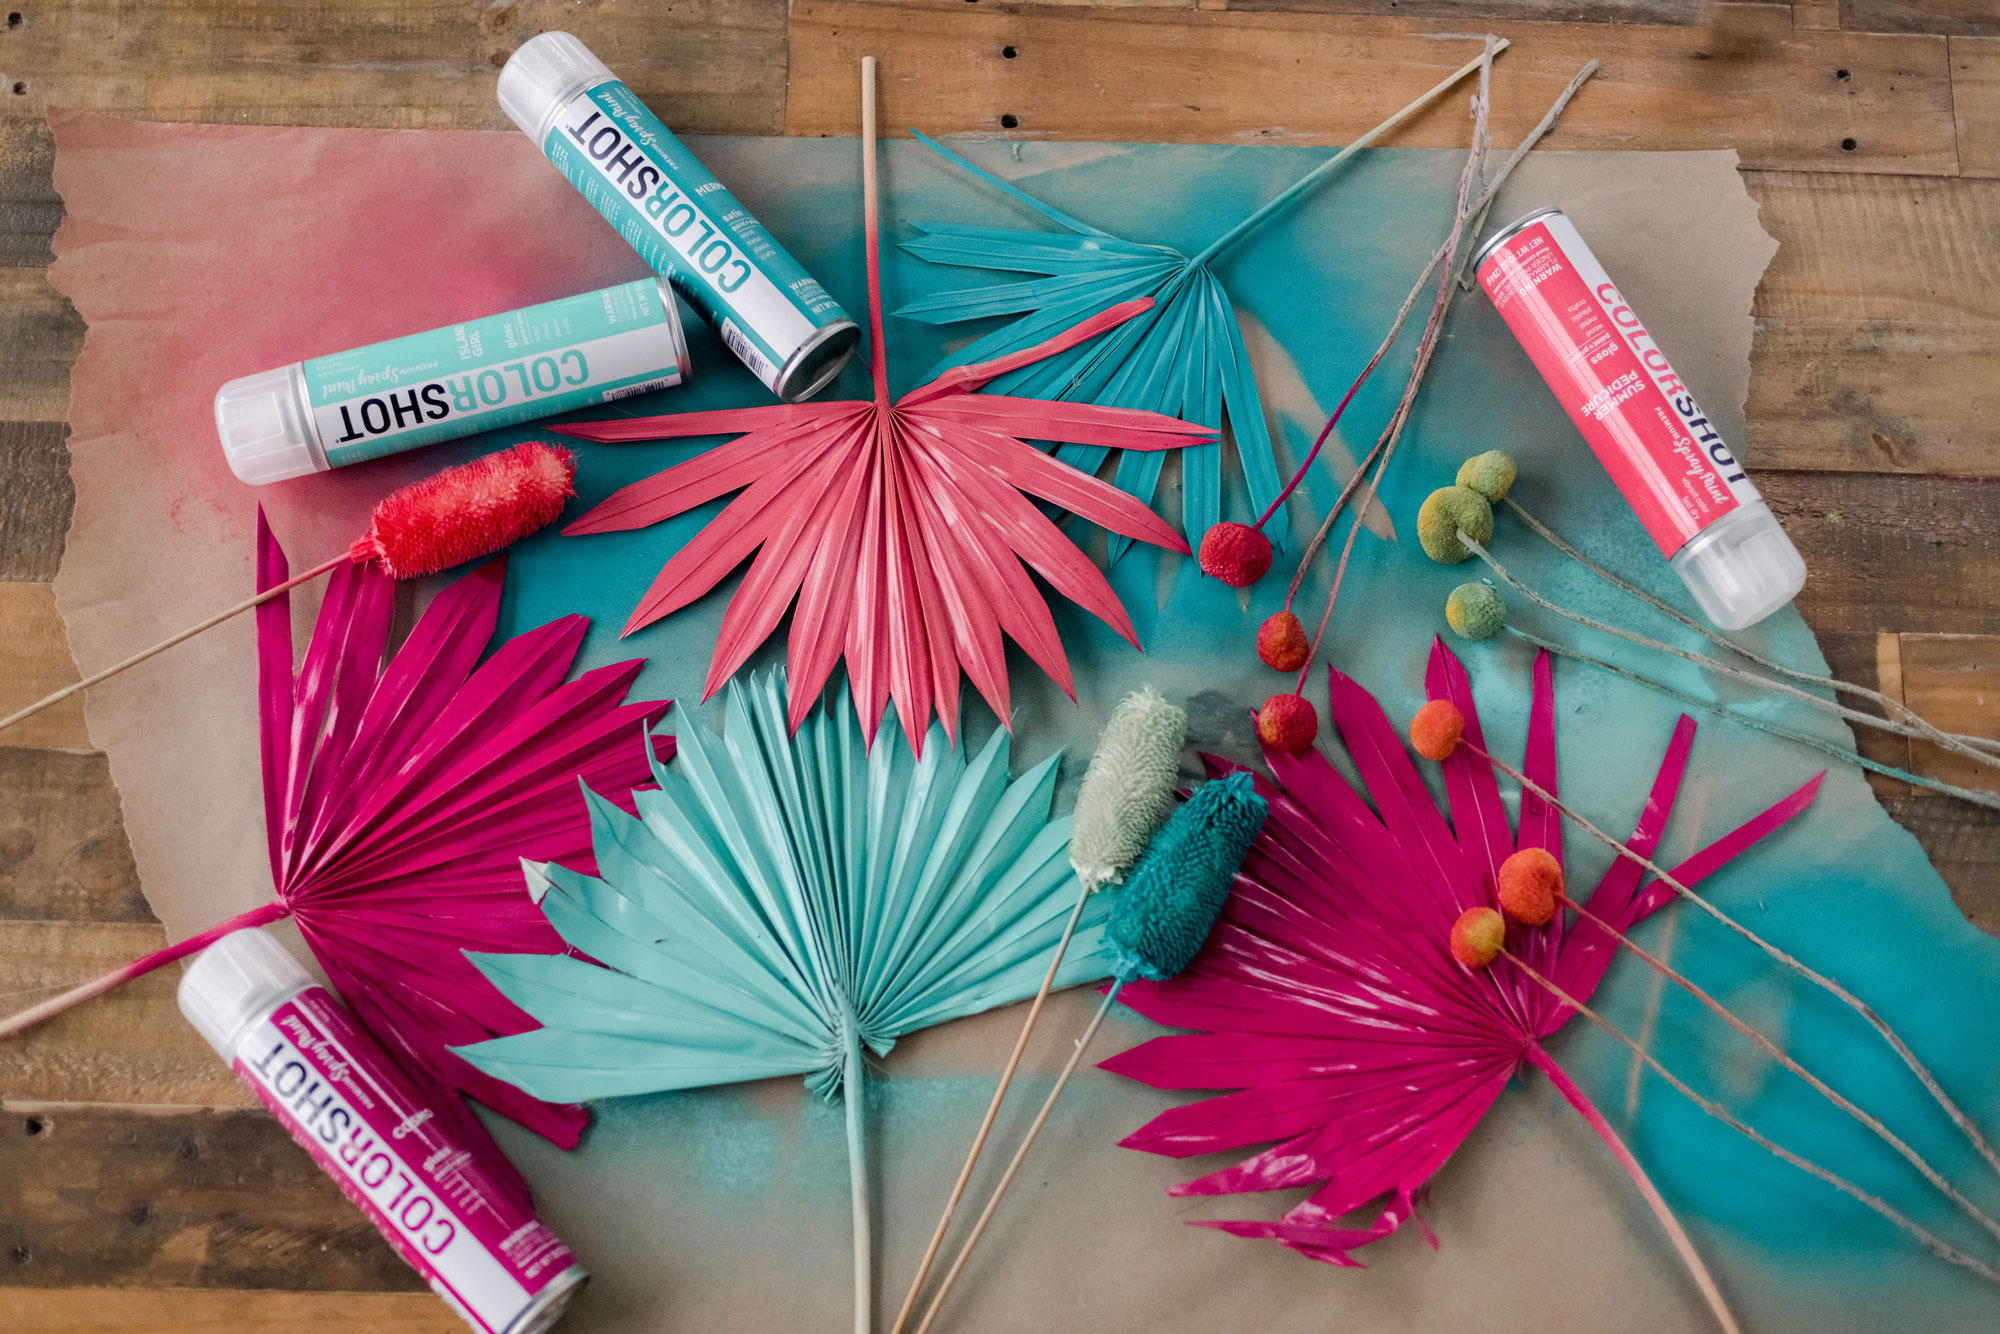
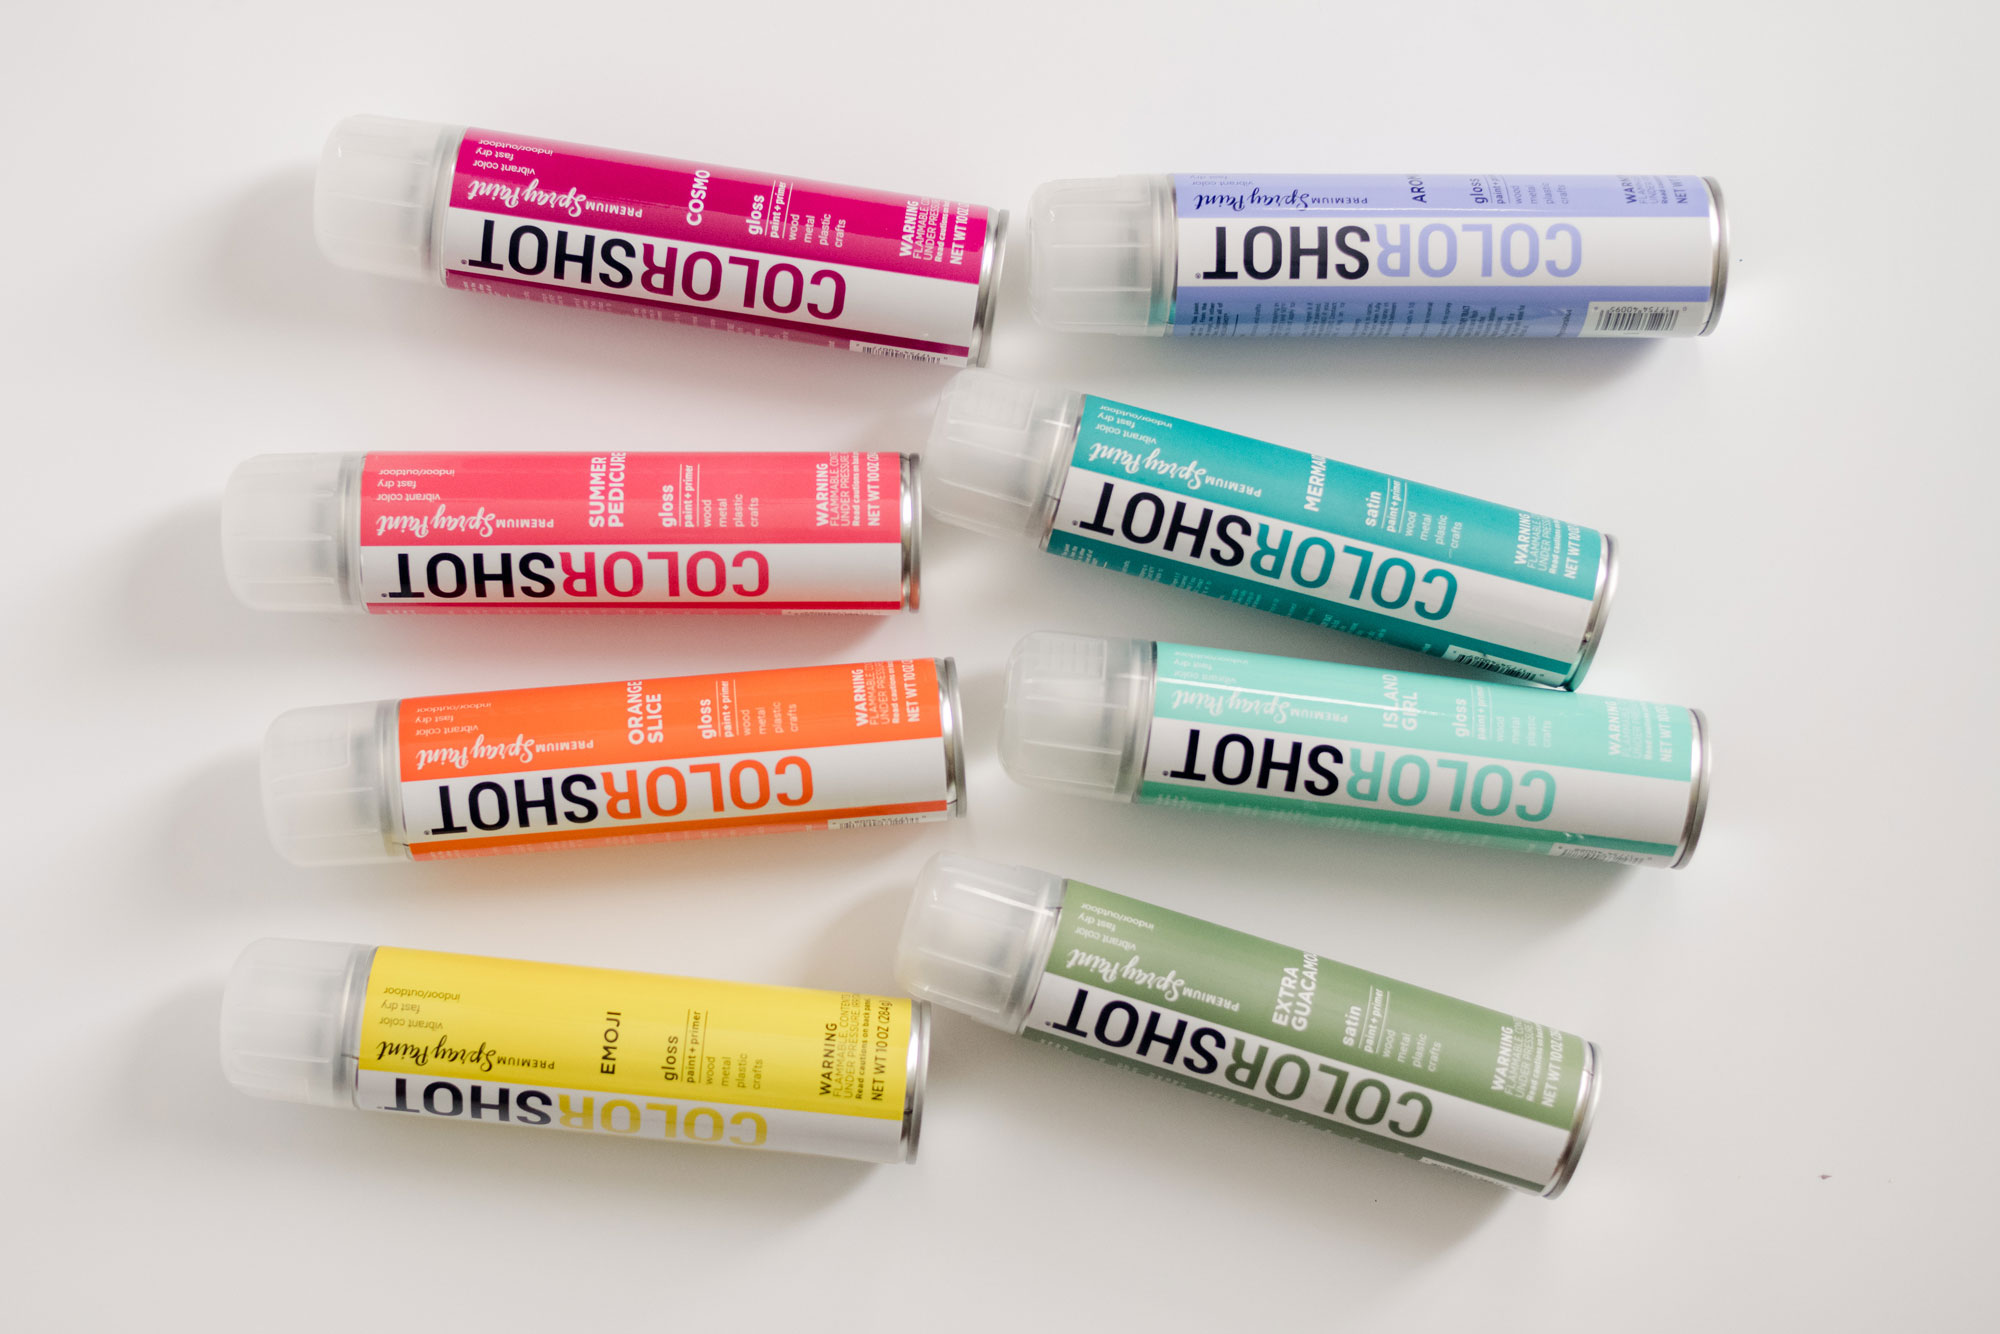
- A few Colorshot spray paint colors (I used colors “Summer Pedicure”, “Cosmo”, “Island Girl”, and “Mermaid” )
- Spray bottle
- Salt (just regular table salt)
- Water
- A drop cloth or something to spray paint on in a well ventilated area
- A vase or vases to display
INSTRUCTIONS:
1. Choose your colors of Colorshot paint and Tulip fabric dye!
OK! So the idea here is that the spray paint is best used on the most “solid” florals….like the palm leaves and the things with twigs and “branches”….anything that doesn’t fall apart easily! 🙂 The dye is used for the more fragile things like the grasses and delicate flowers! 🙂
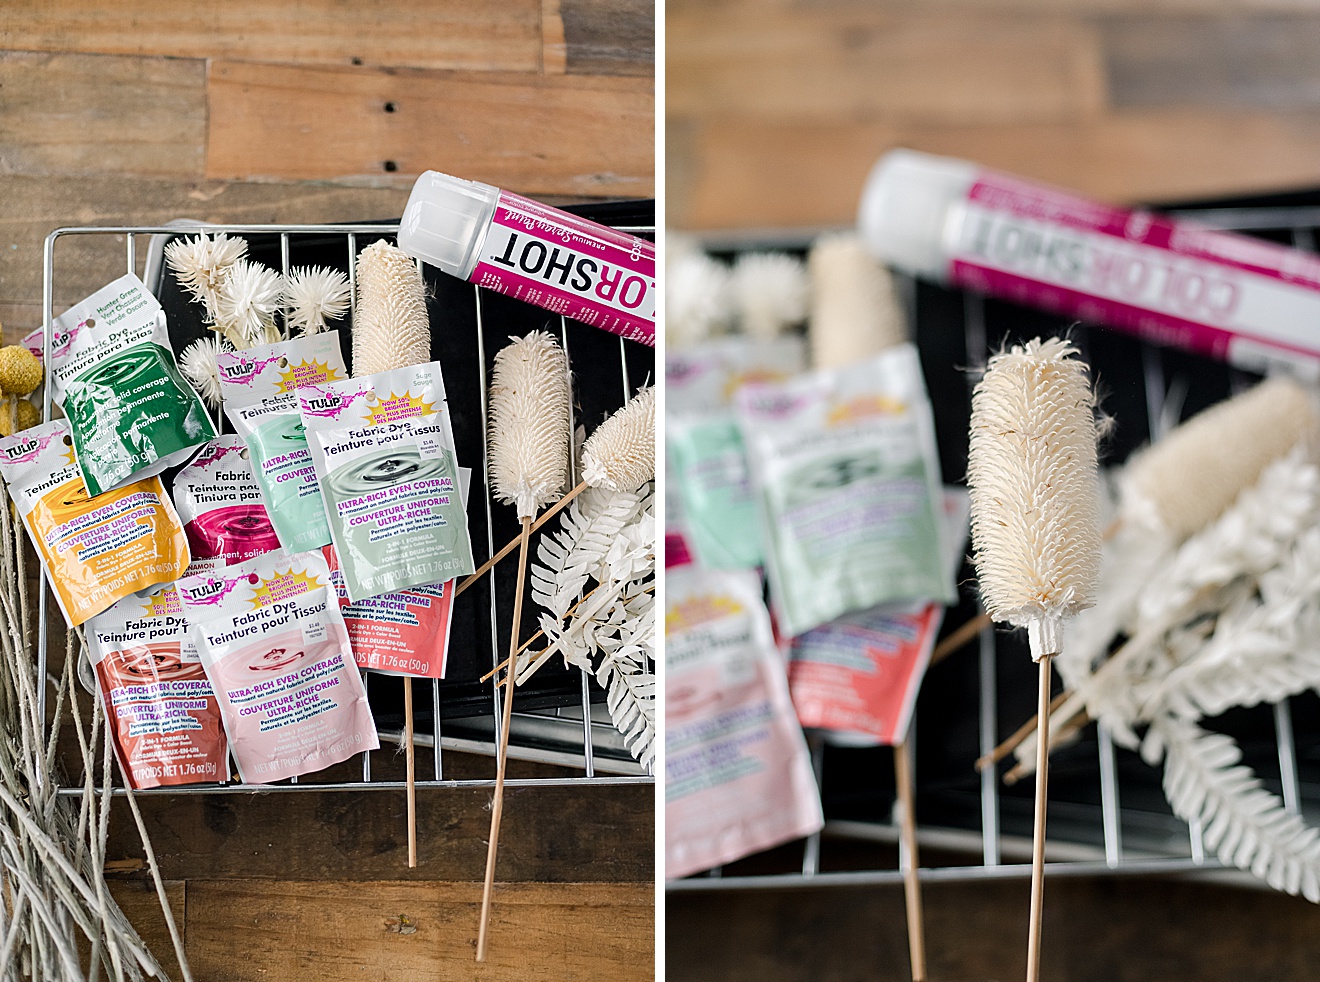
2. Warm or boil some hot water and while your water is boiling add 1 tbs of salt to a spray bottle (more if the bottle is larger….I am using a 12 oz bottle, so one tbs should be fine). Then pour your hot water into your spray bottle and mix until the salt is completely dissolved (BE SUPPPPPER CAREFUL WITH THIS PLEASE)! Pour the hot water in, swish around a little and then let cool for a few minutes while you sort out your florals. You DO NOT want to shake boiling water (PLEASE)! You want the salt to dissolve, but you do not want any burns! NONE PLEASE! 🙂
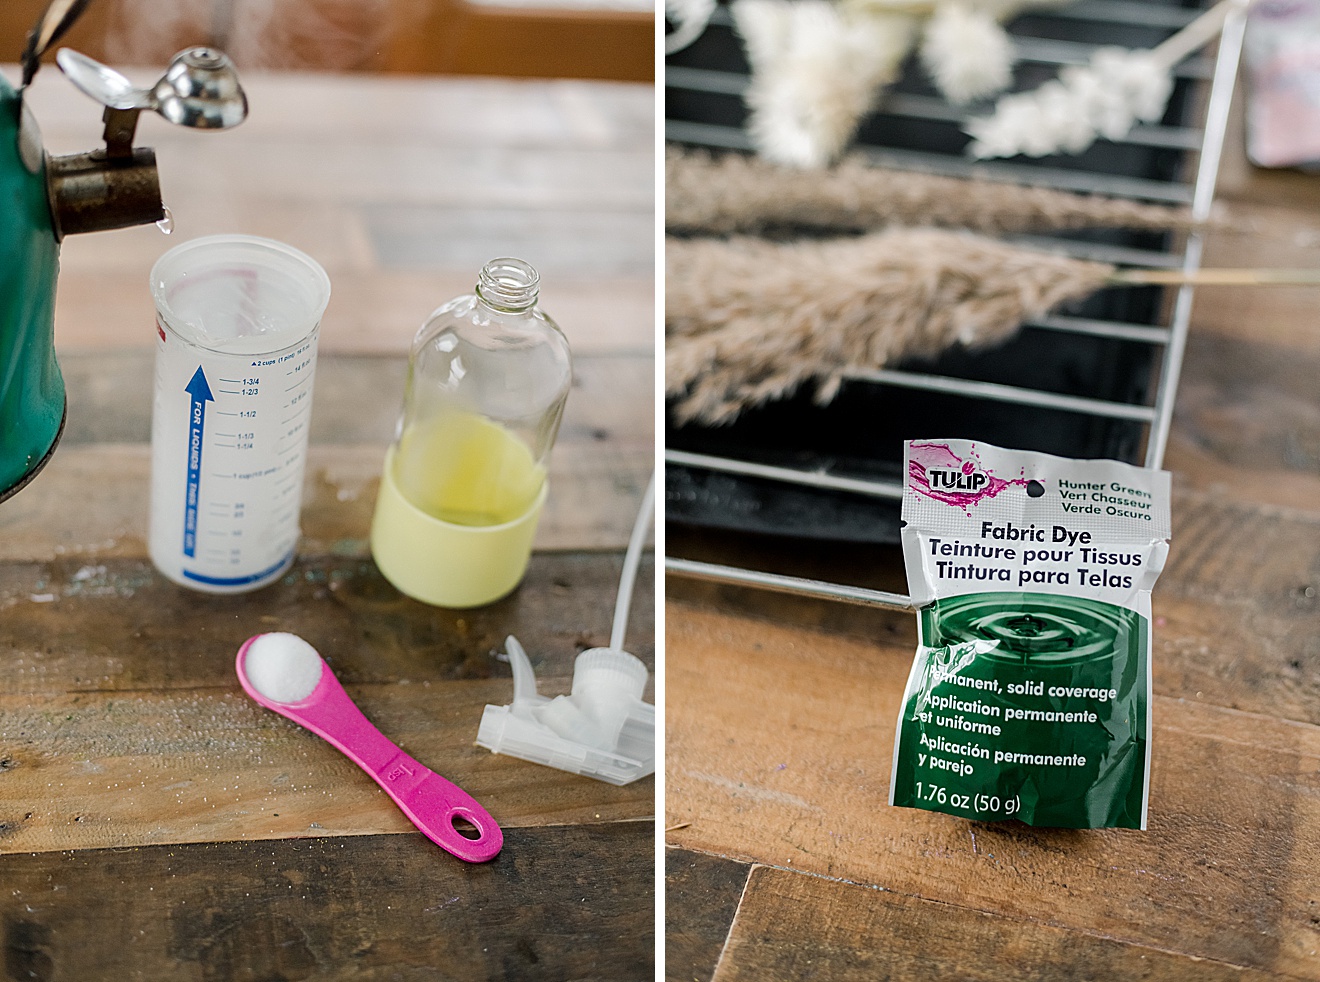
3. Sort out your florals so that you have a game plan of what floral will get what dye or spray treatment 🙂 Then begin to lay out your florals to be dyed onto a cookie sheet/drying rack combo. You will want a cookie sheet under to catch the excess dye as we sprinkle……but be sure it’s one that is ok to get “crafted” on 🙂
tip: I look for cookie sheets at thrift stores or garage sales for this very purpose! Keep them handy for beading, dying, using play dough and soooo much more! They are used endlessly in our house 🙂
TO DYE FLORALS:
Lay out your florals onto your cookie sheet, then lightly spray them with your salt water mixture. Sprinkle your dye evenly onto your florals. Do not clump the dye and a light coat will due. Then lightly spray the florals again with your salt mixture. If necessary, spread out the florals with your fingers so that they can dry fully flat.
Allow to dry and repeat for the other side of the florals (flip them over) – mine took about 8 hours or so to dry for each side.
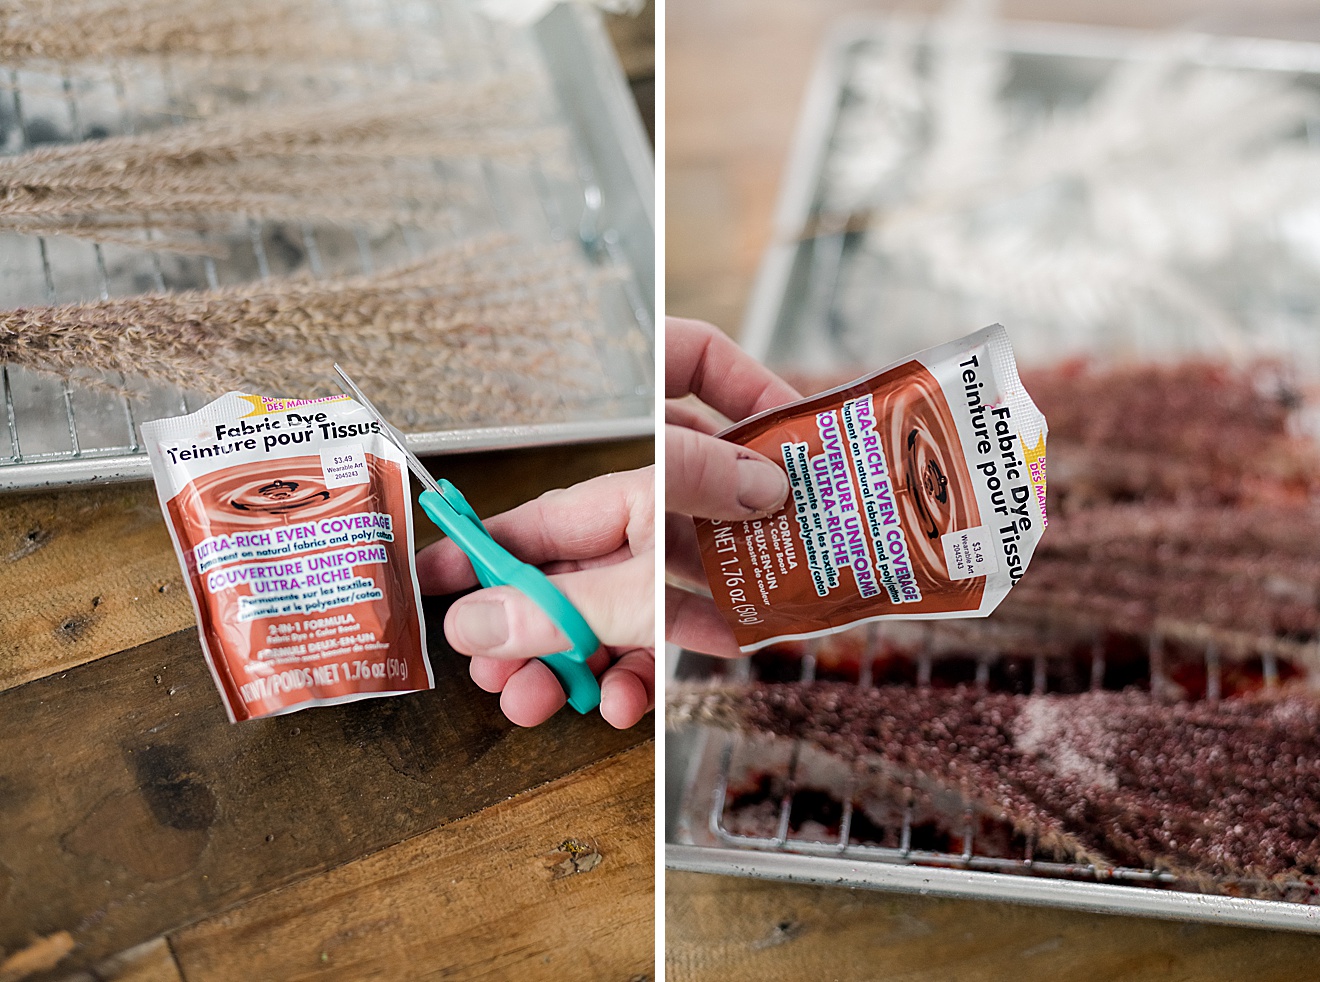
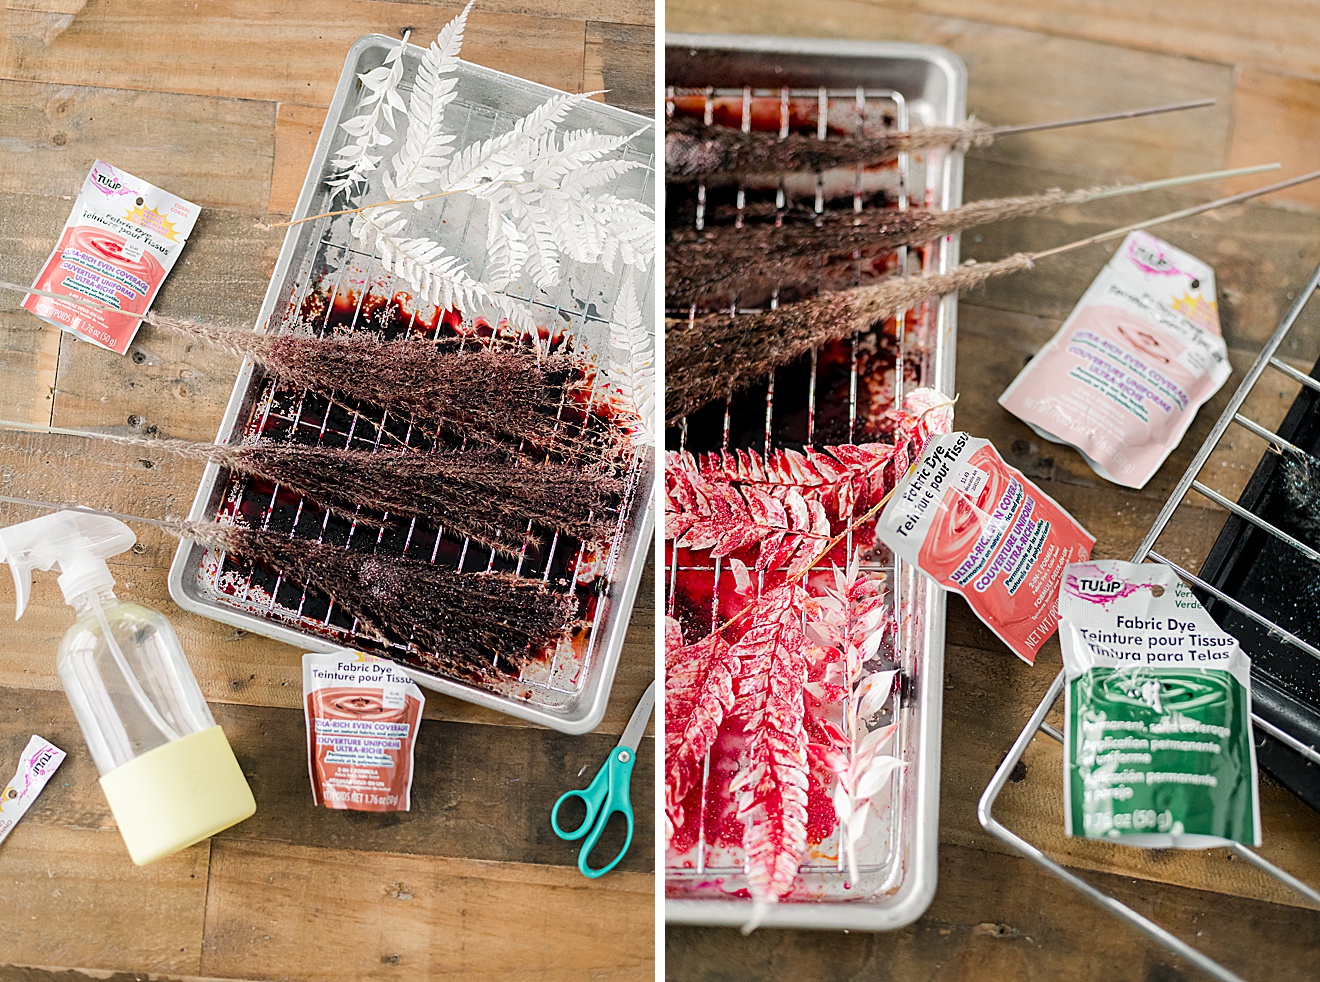
*note, if you layer your dye on too thick and it doesn’t all “dissolve” you may need to brush off, wipe off or lightly wash off the excess dye (once you’ve left it to dry) so that it doesn’t fall off onto carpet or other fabrics and permanently dye those 🙂 I had to do this with my grasses because I put too much dye on them to begin with!!! But, as I always say DIY is part trial and error….and in the end the dye is still amazing and worked, I just had to wipe some off so that it wasn’t clumpy 🙂
TO SPRAY FLORALS:
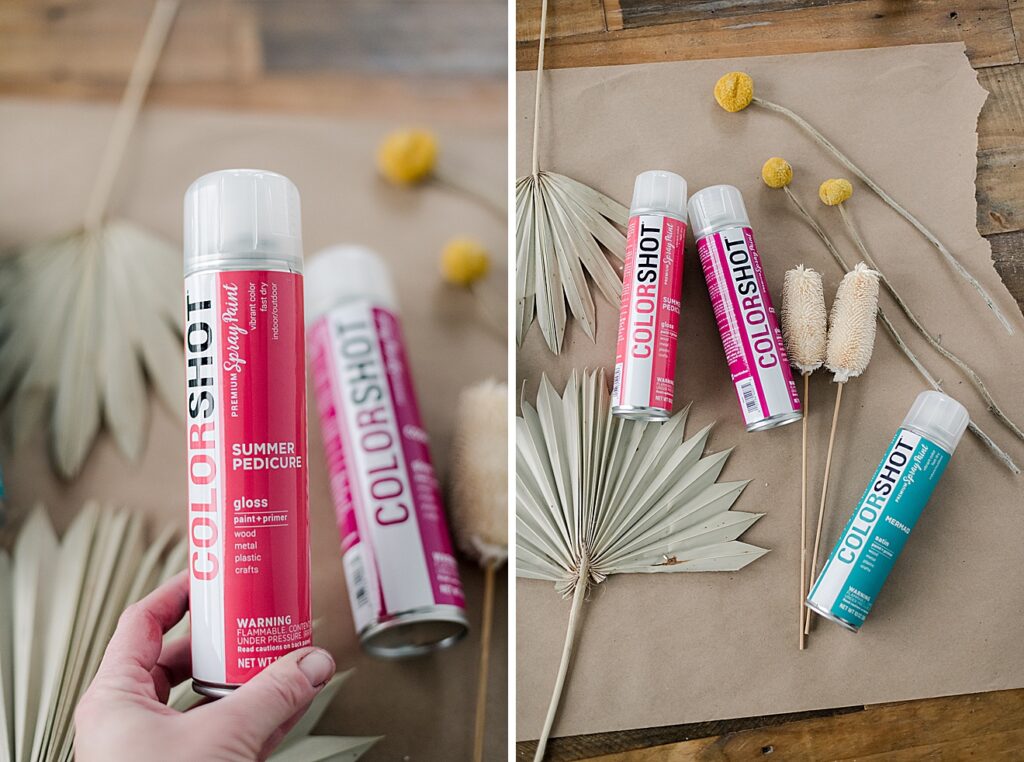
Lay out your florals in a well ventilated area and begin lightly spraying each floral with your Colorshot spray paint. This spray paint is amazing because it’s primer and paint all in one, so one light coat may do the trick. But if 2 coats are necessary (for those florals with lots of holes, crevices and “corners”) then allow to dry for about 1 hour adn then keep repeating a very light spray until you’ve covered the floral completely. The colorshot spray is FULLLLL of pigment, so this spray paint is PERFECT for delicate florals like this….no need to soak or saturate your coats! 🙂
4. When everything is dry, begin to arrange your florals in the best and most colorful way! 🙂
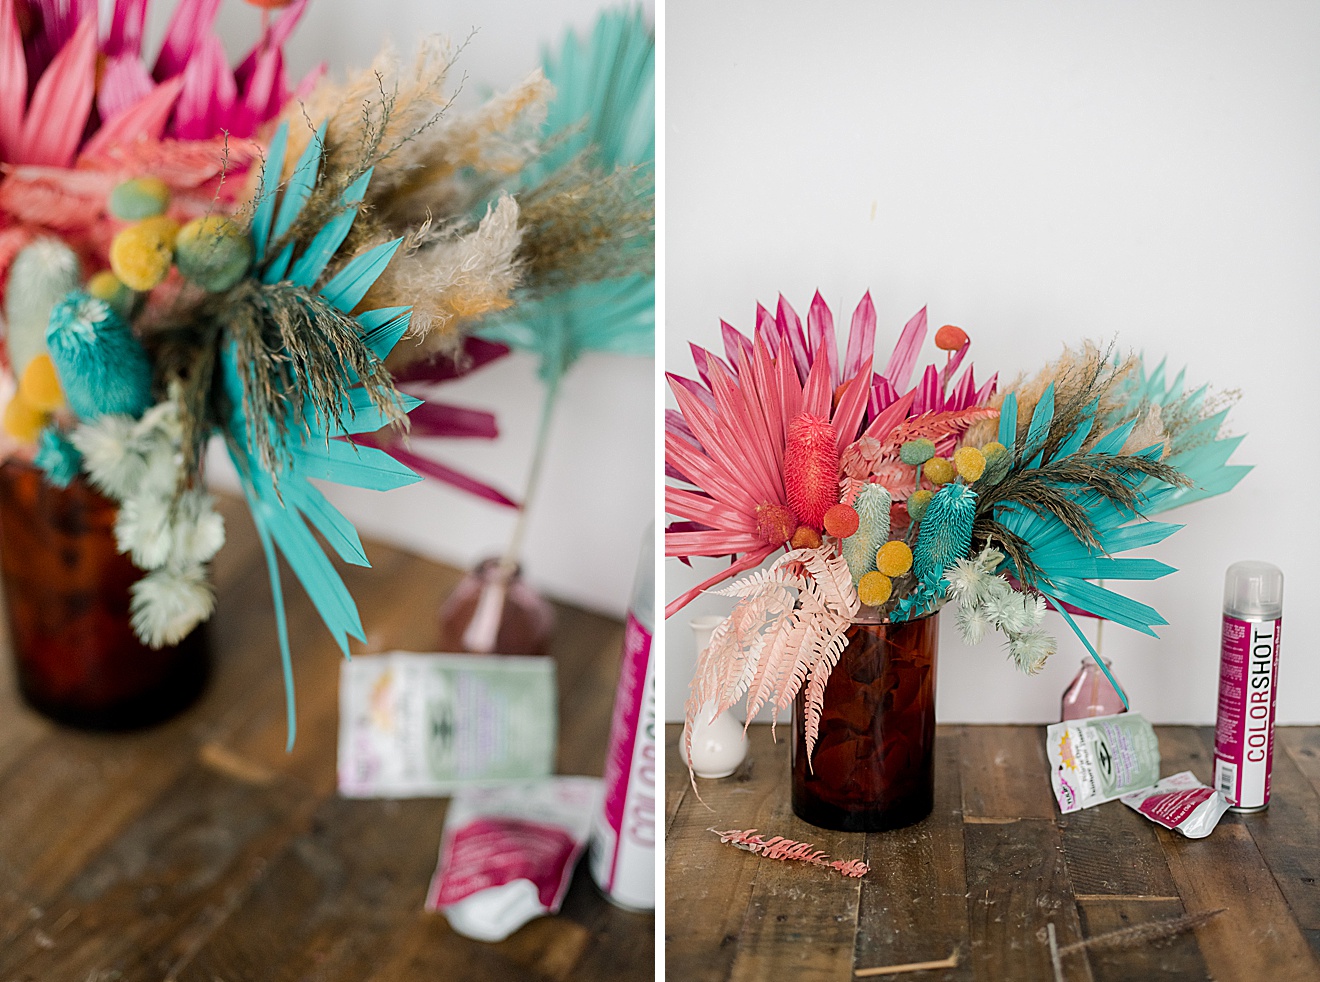
Have fun with this part – I mean, this whole DIY is fun, but have fun playing around with how this looks and where each floral can go and how to arrange the height and depth and how everything “lands” in the vase! 🙂
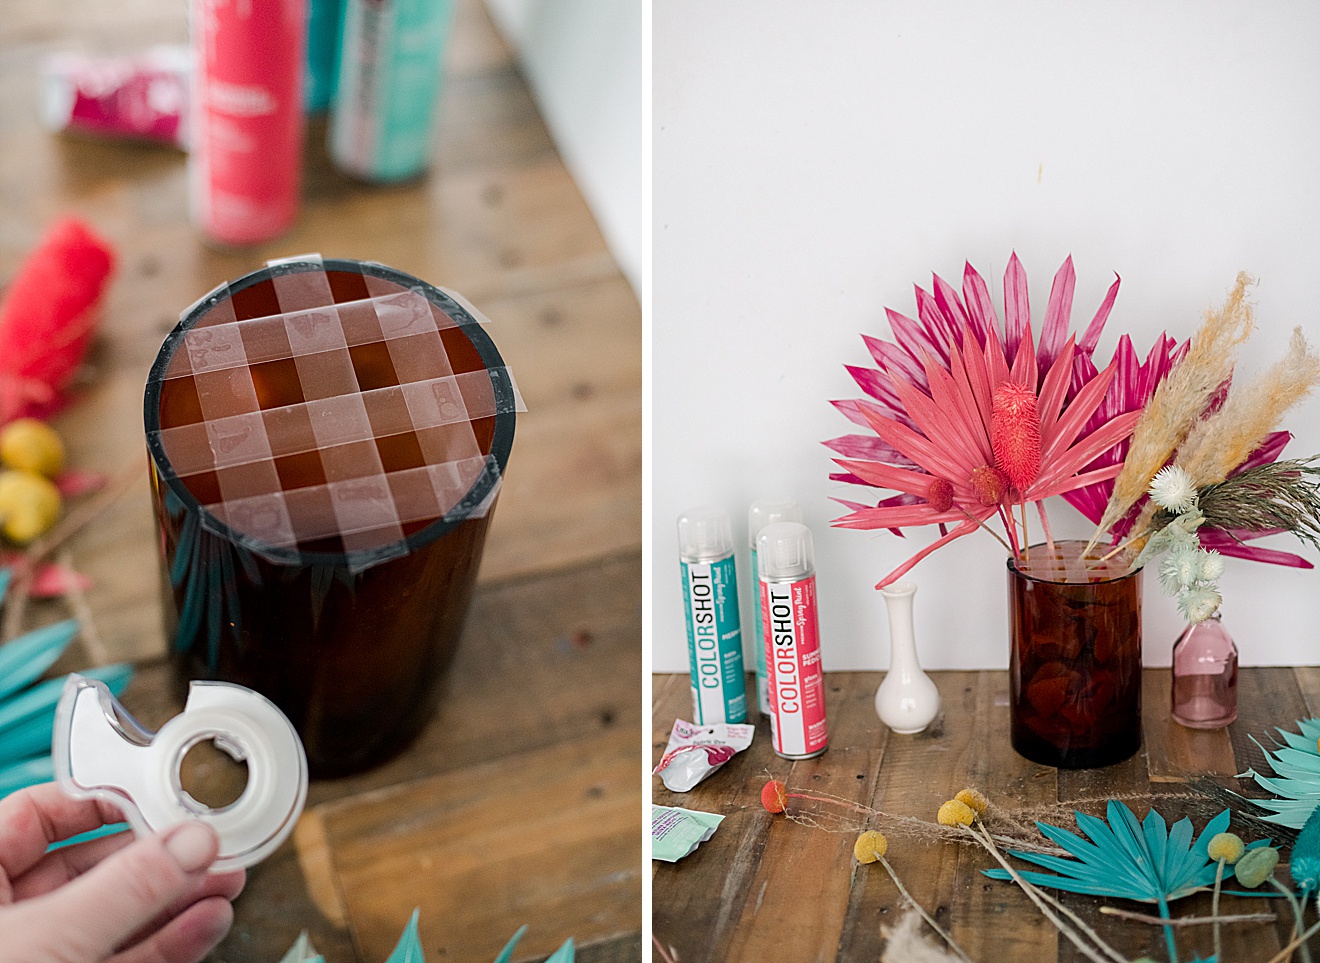
Oh and tip – use some scotch tape or any kind of tape to “grid” off your vase so that you have sections to put your florals in to make it seem full and create space between florals 🙂
VOILA! Now you have the quick skills to make the most colorful bouquet on the block! 🙂
