Colored Pencil Wreath
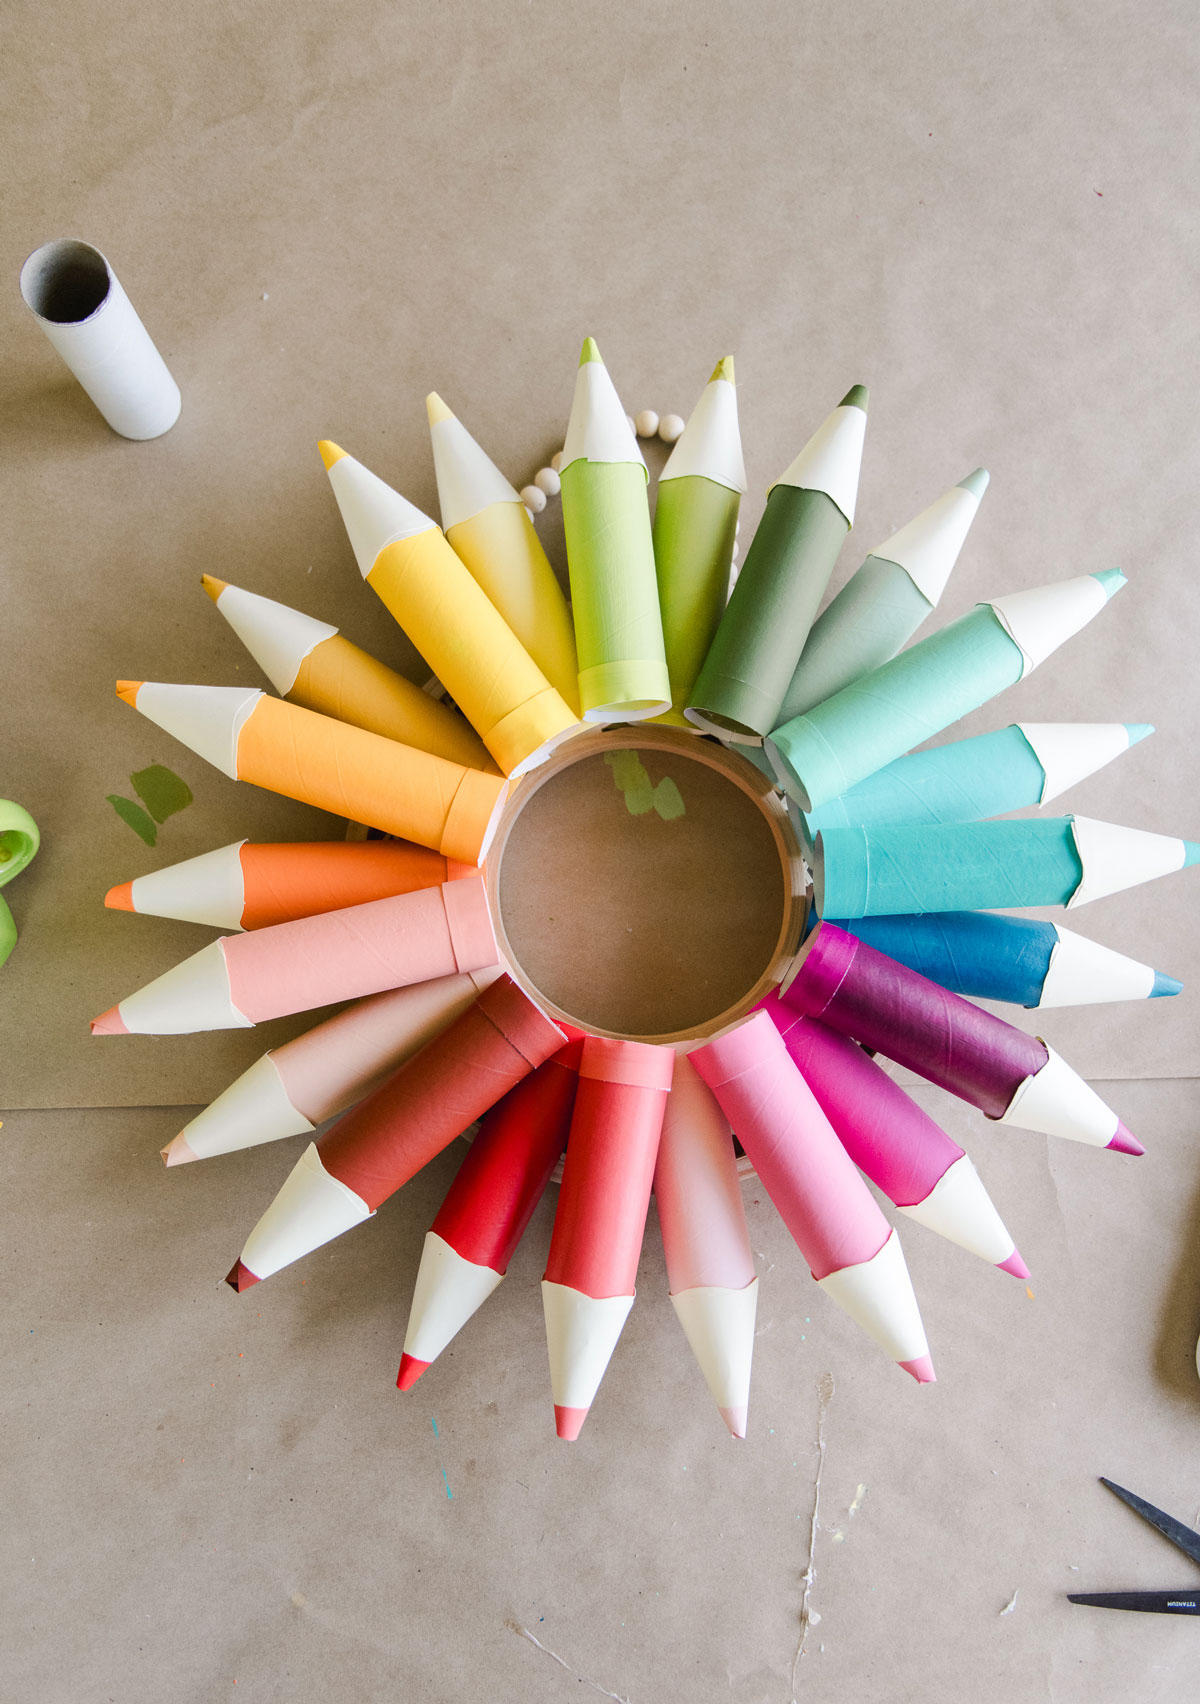
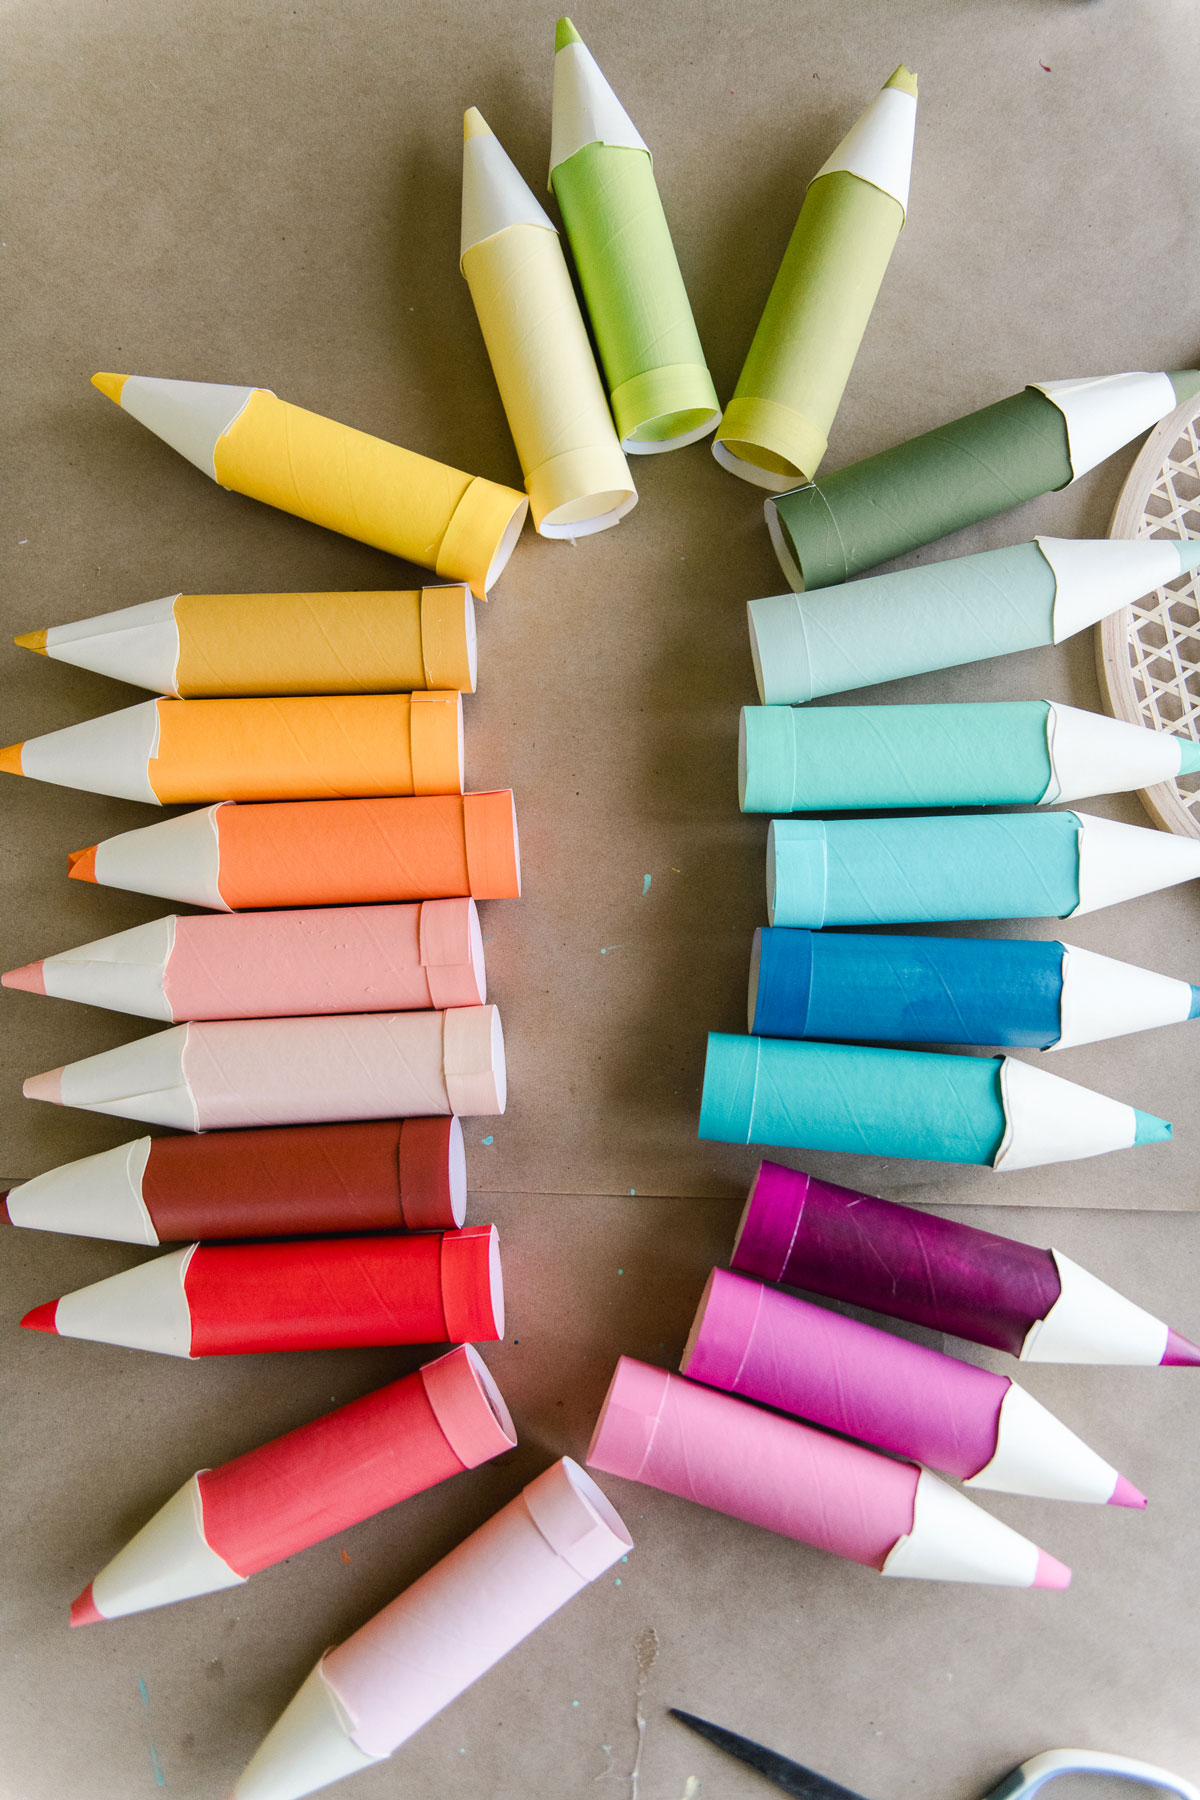
How do some toilet paper tubes, paint and a wreath form work together?!
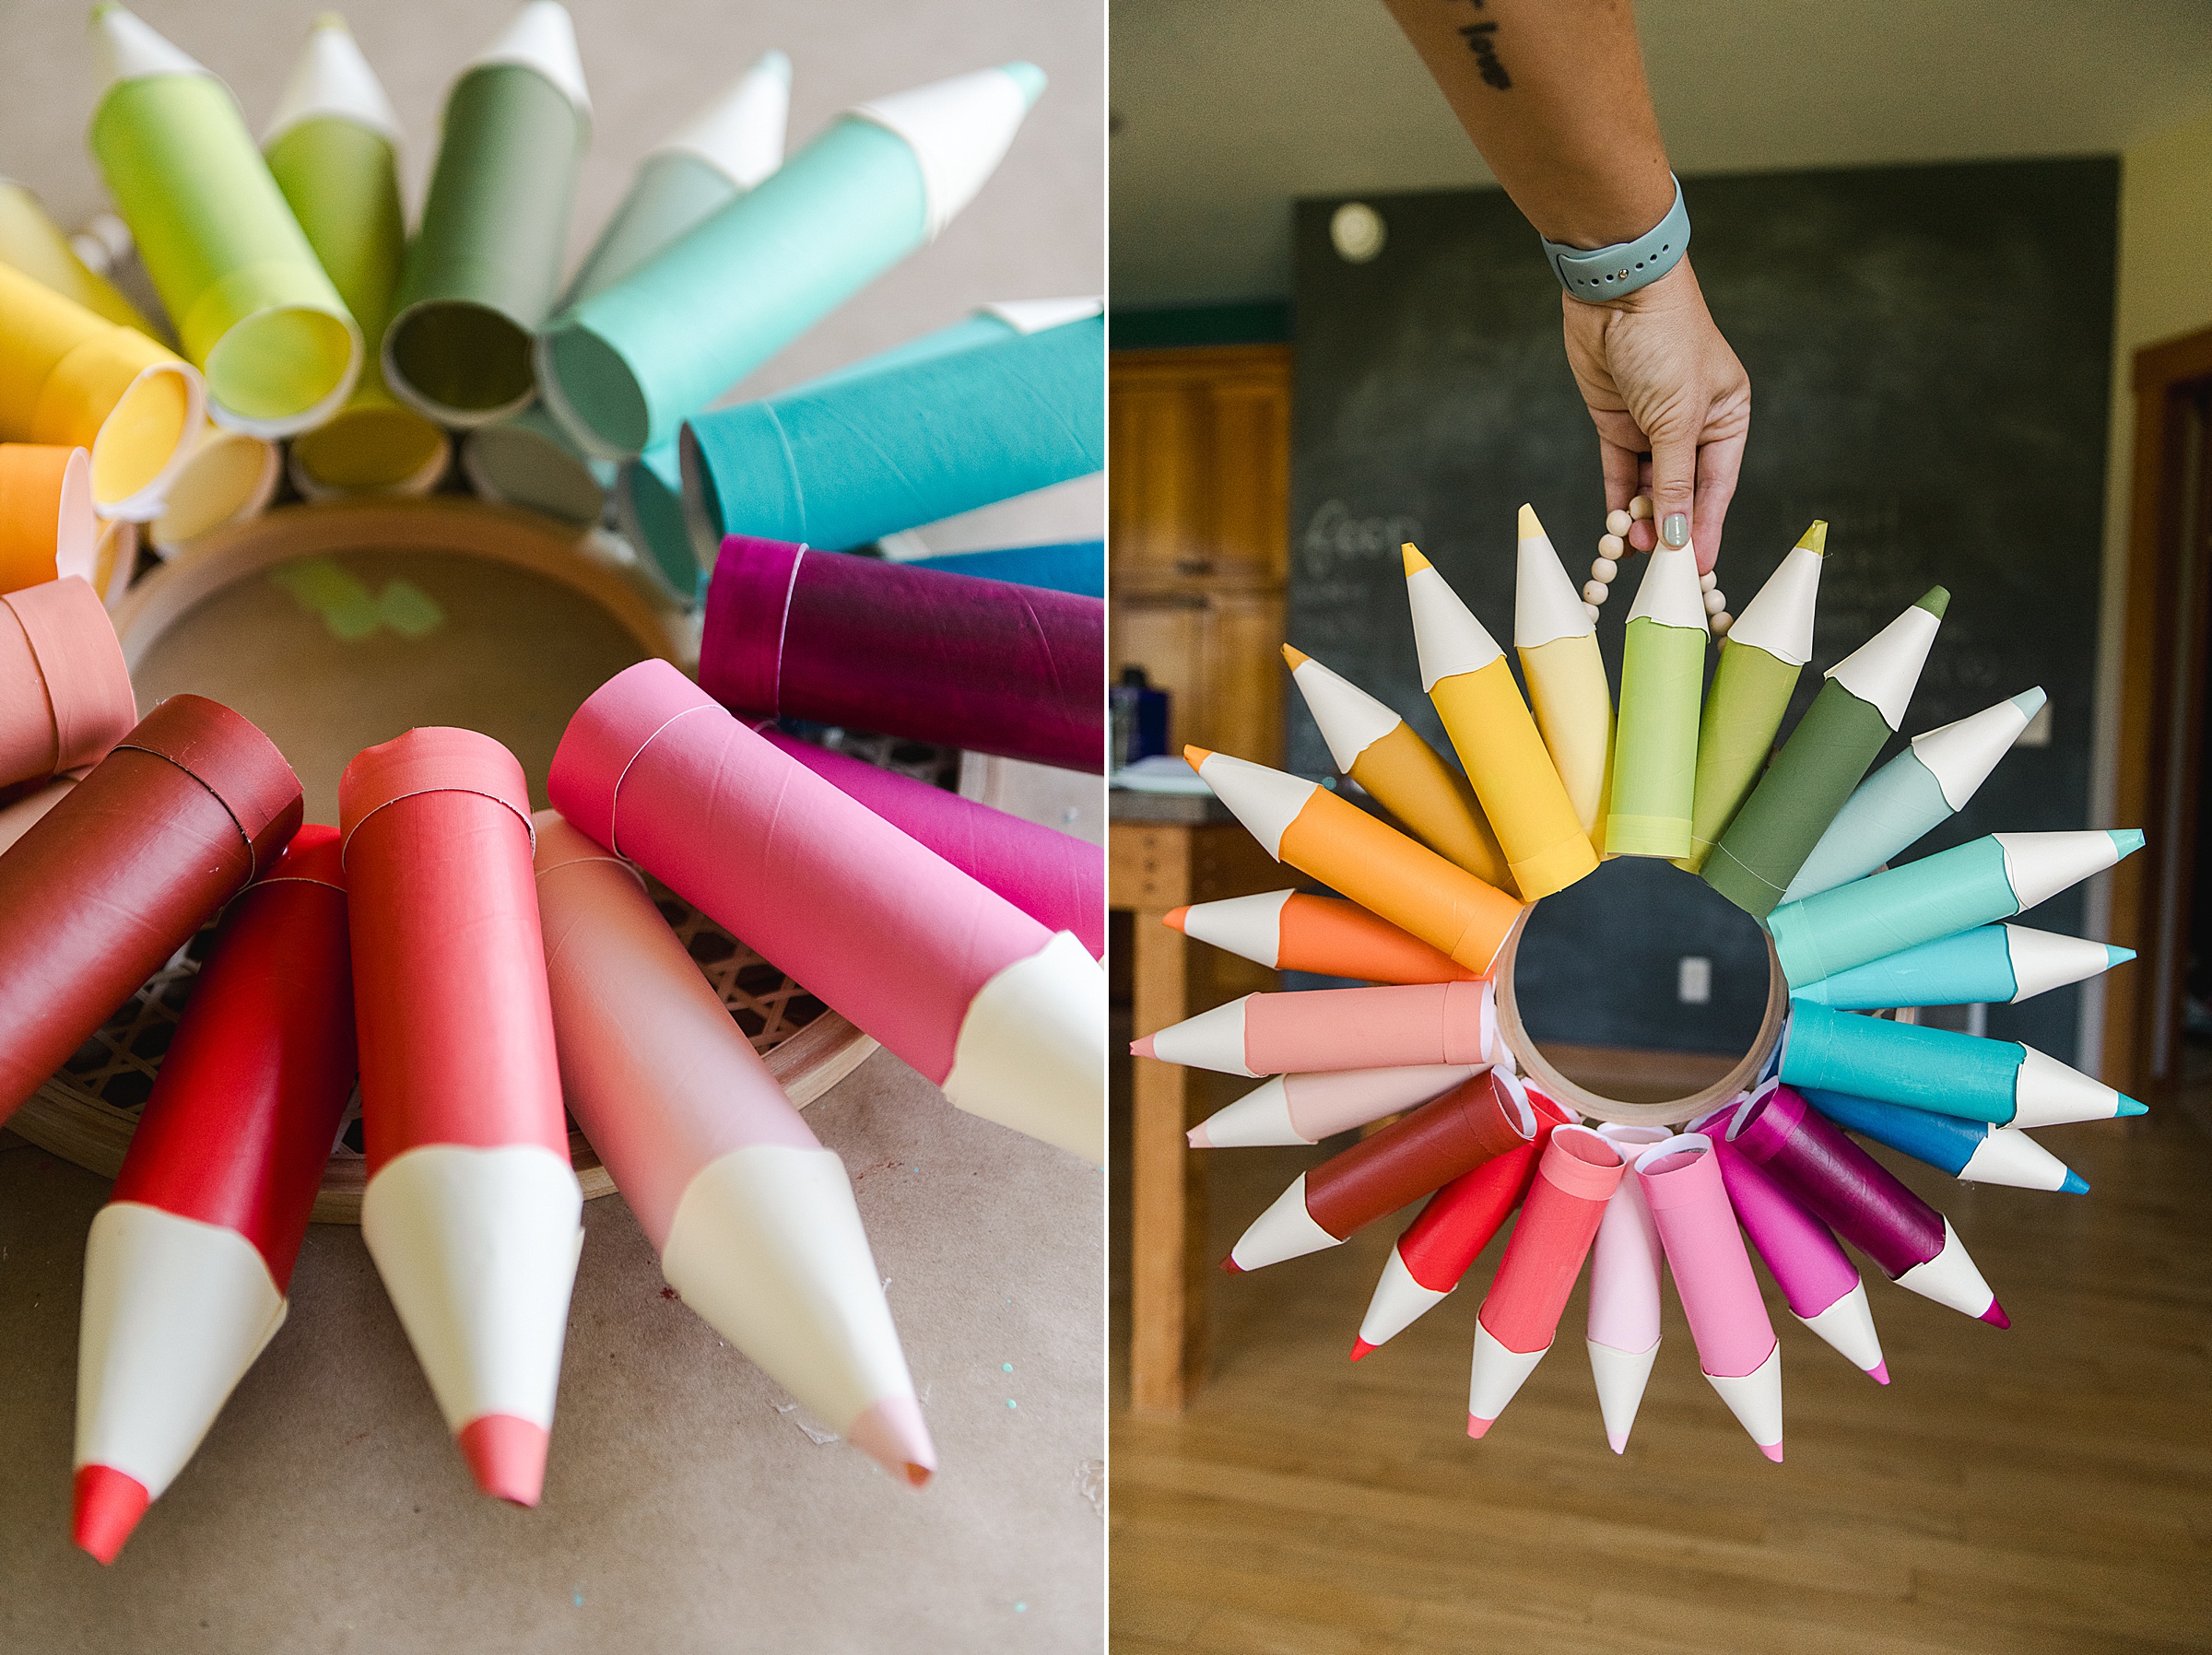
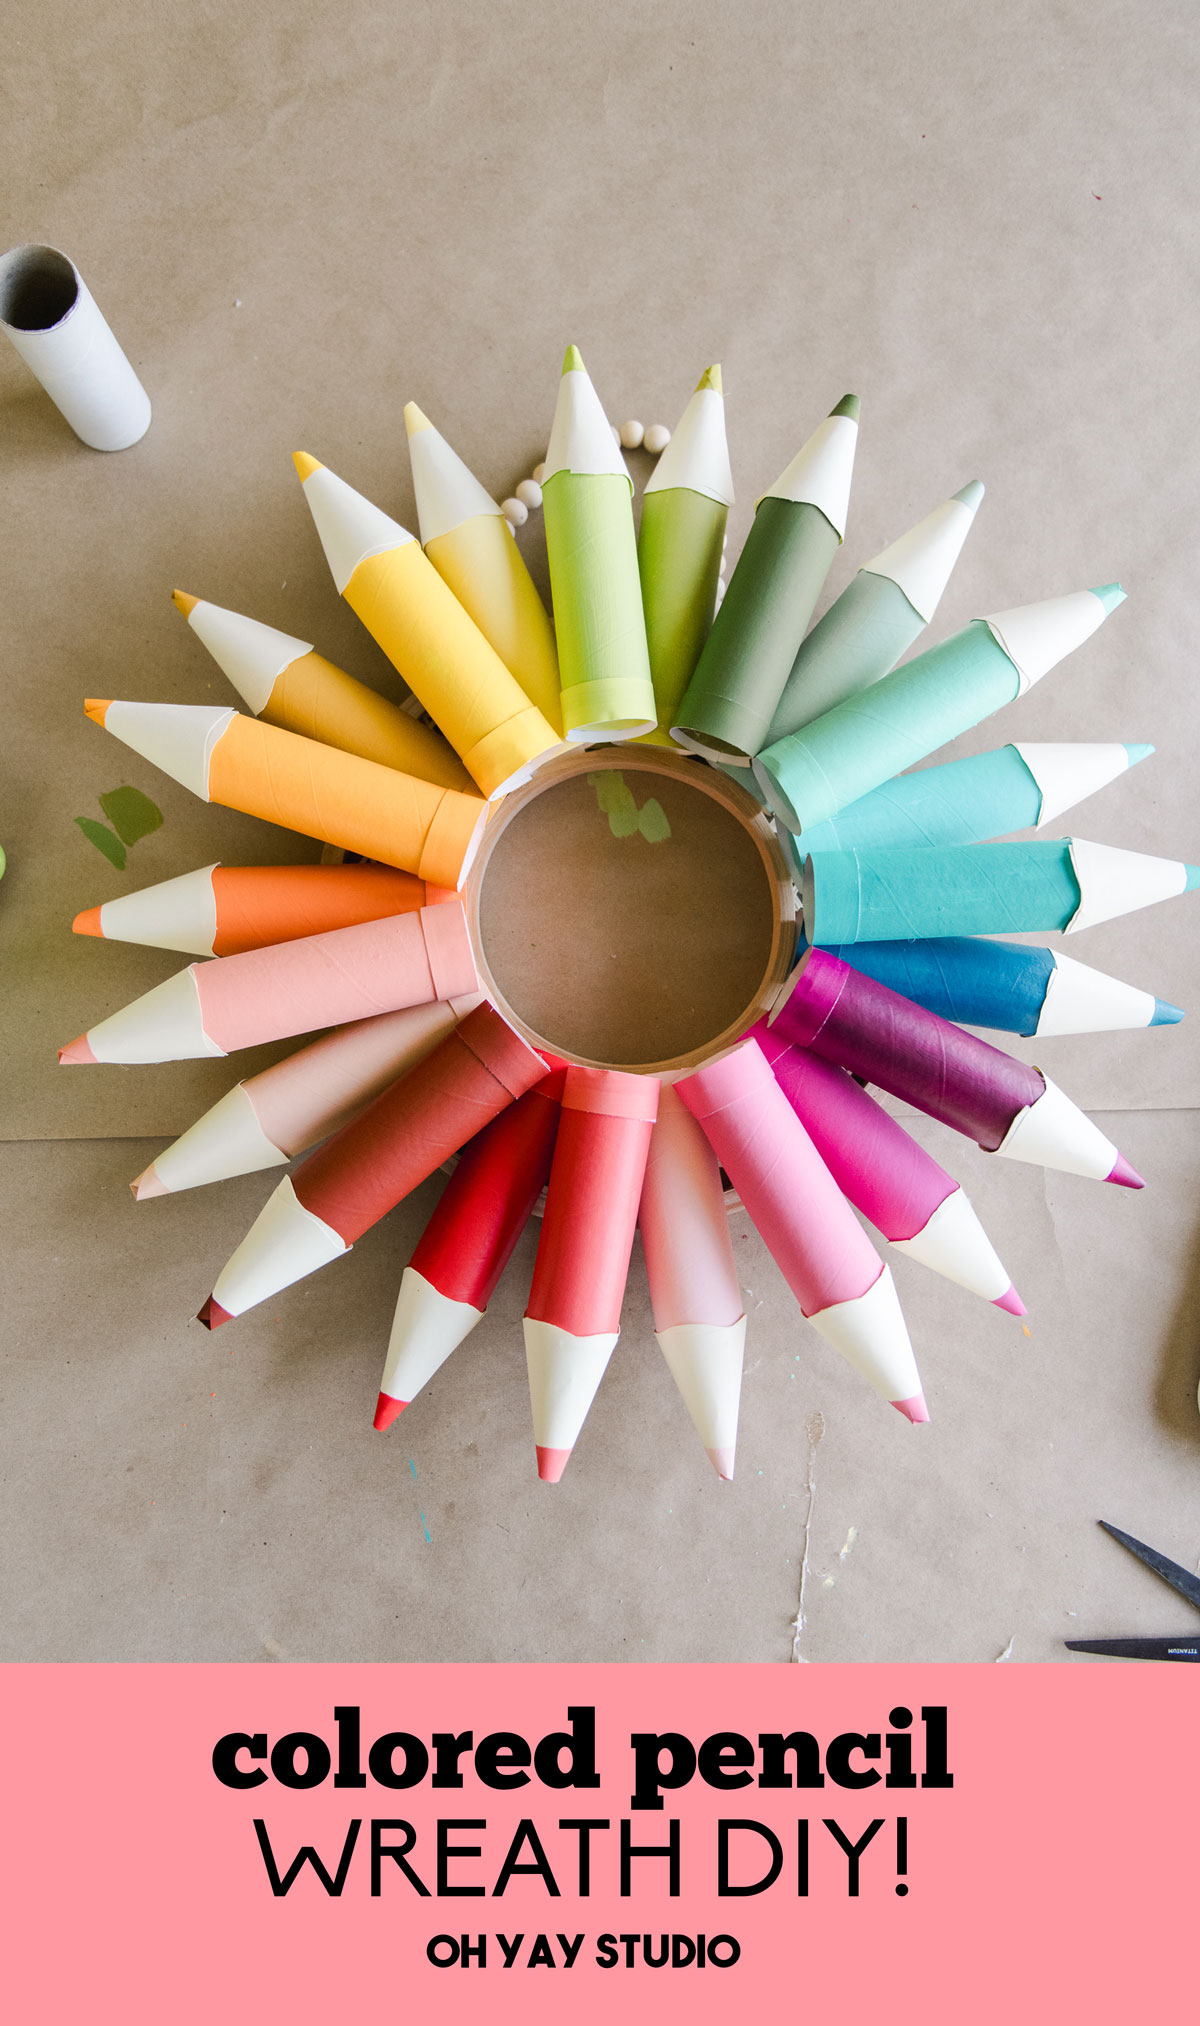
WELLLLL – they make one of the cutest colored pencil wreath DIY’s EVERRRR! I made this for the front door of the art space that I teach in so that the students are welcomed in, ready to make colorful things and learn about ALLLLL the art! 🙂
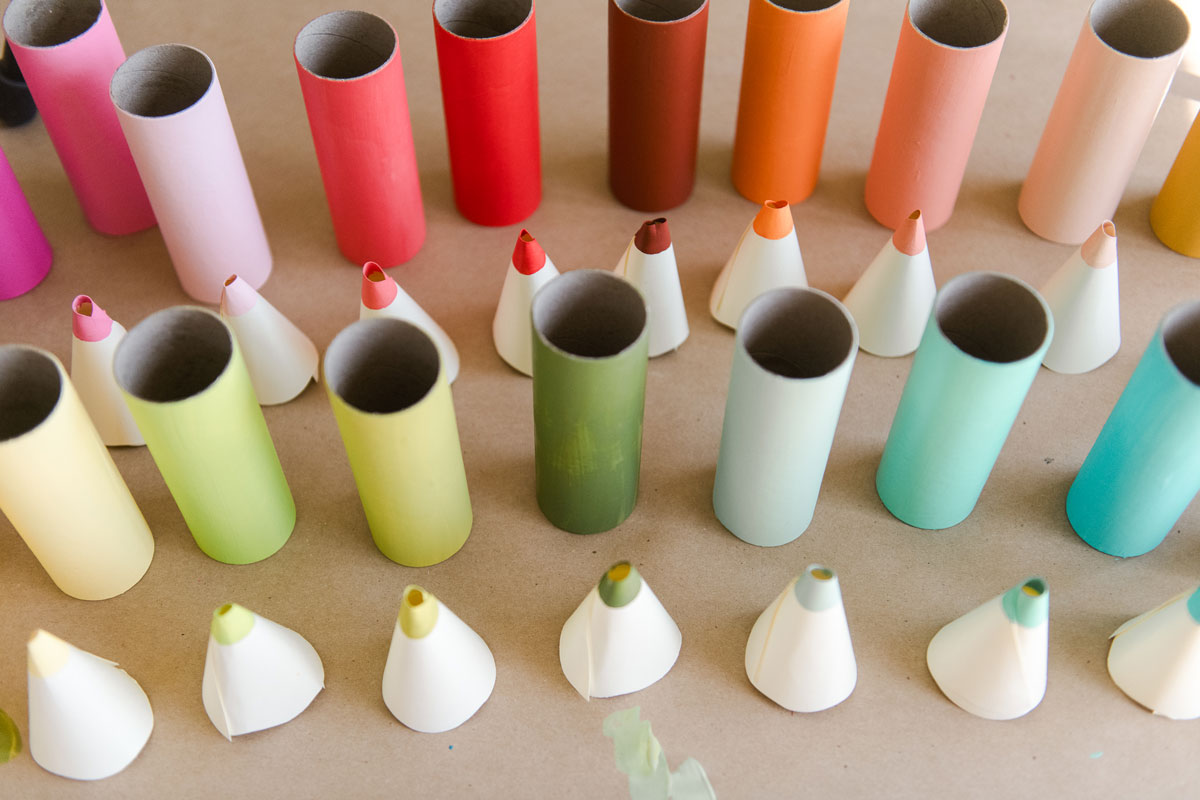
MATERIALS:
- A wreath form of any kind (I got mine at Michaels)
- 22 tubes (you can use paper towel or toilet paper tubes, I found a set of thicker, more sturdy tubes for inexpensive at Michaels – Creatology brand. And the quantity depends on the size of your wreath form….so keep that in mind as well).
- Some cardstock – I used both white and off-white
- Your fave acrylic paint colors
- some paint brushes and clean up supplies for painting
- A hot glue gun or your fave glue
- Scissors and a pencil
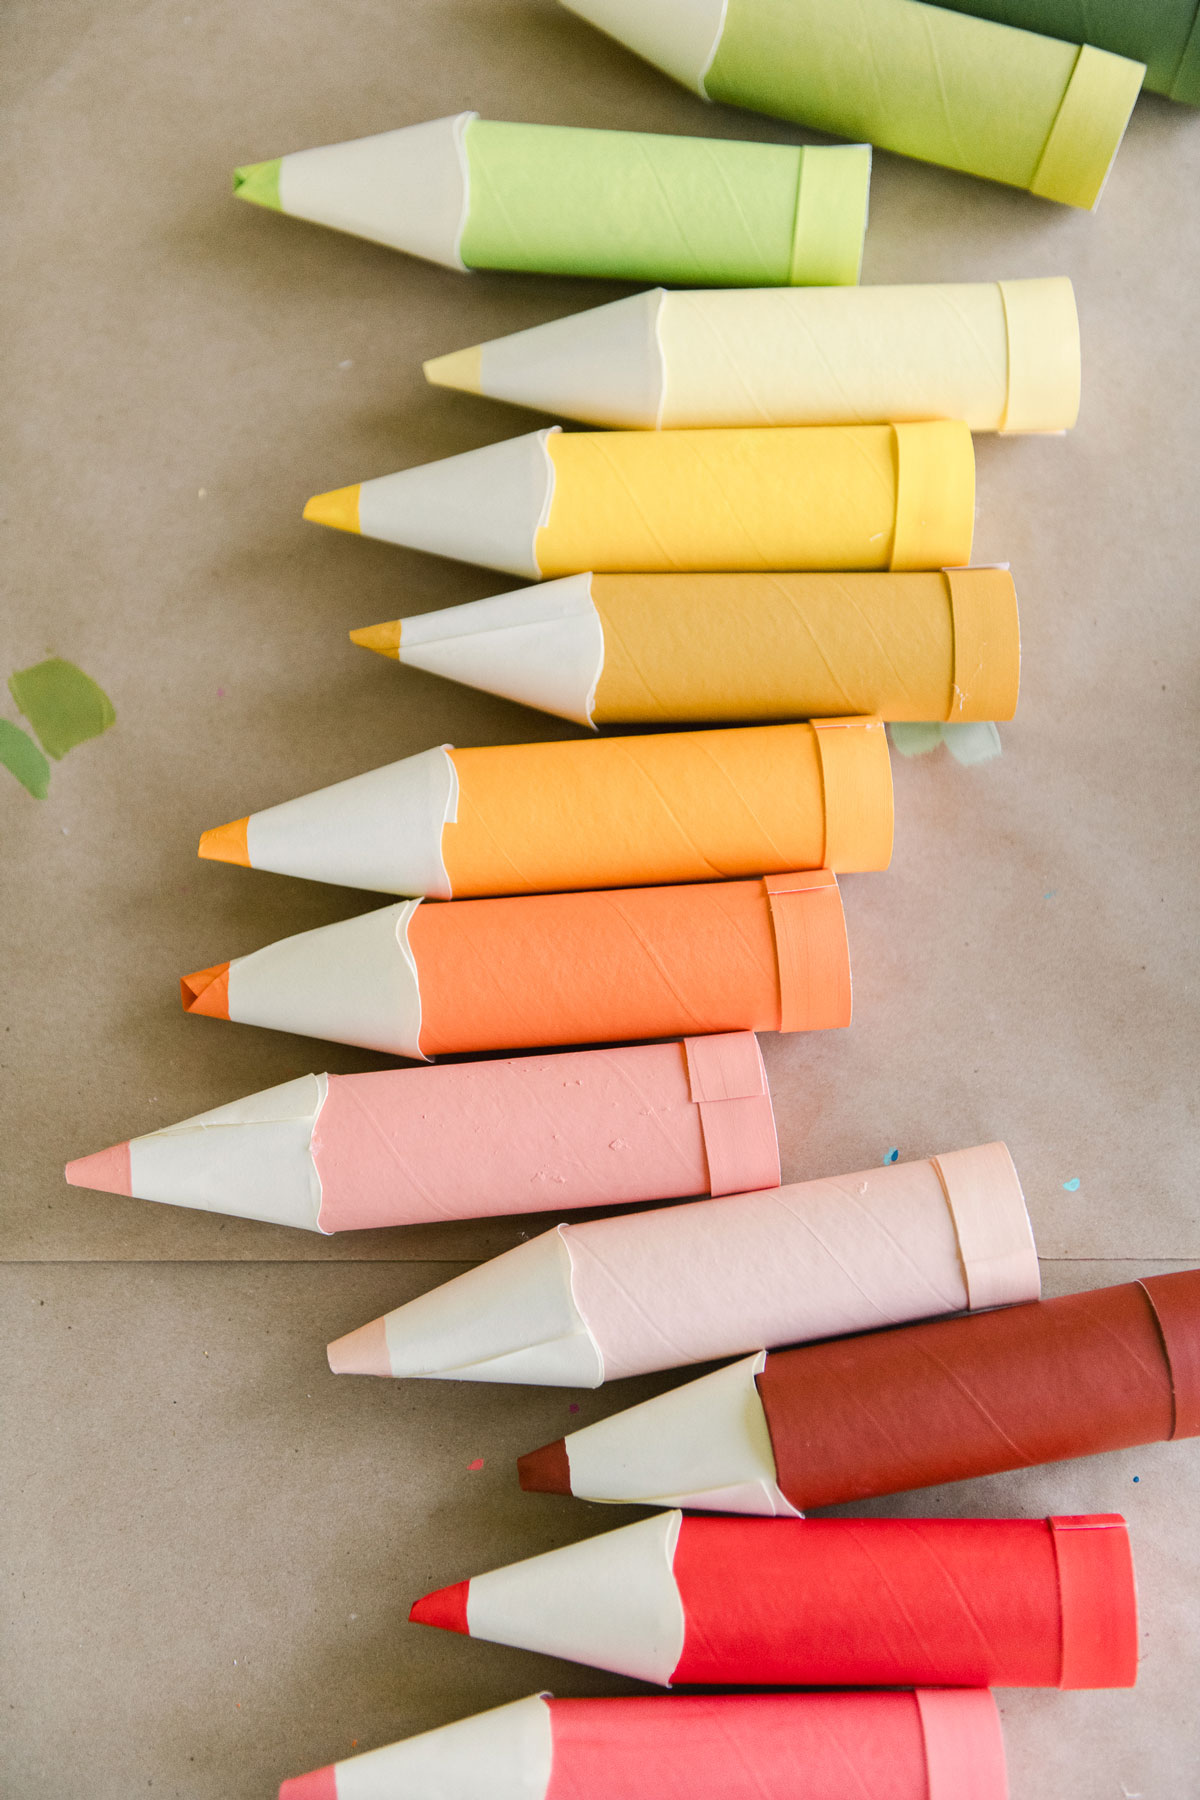
INSTRUCTIONS:
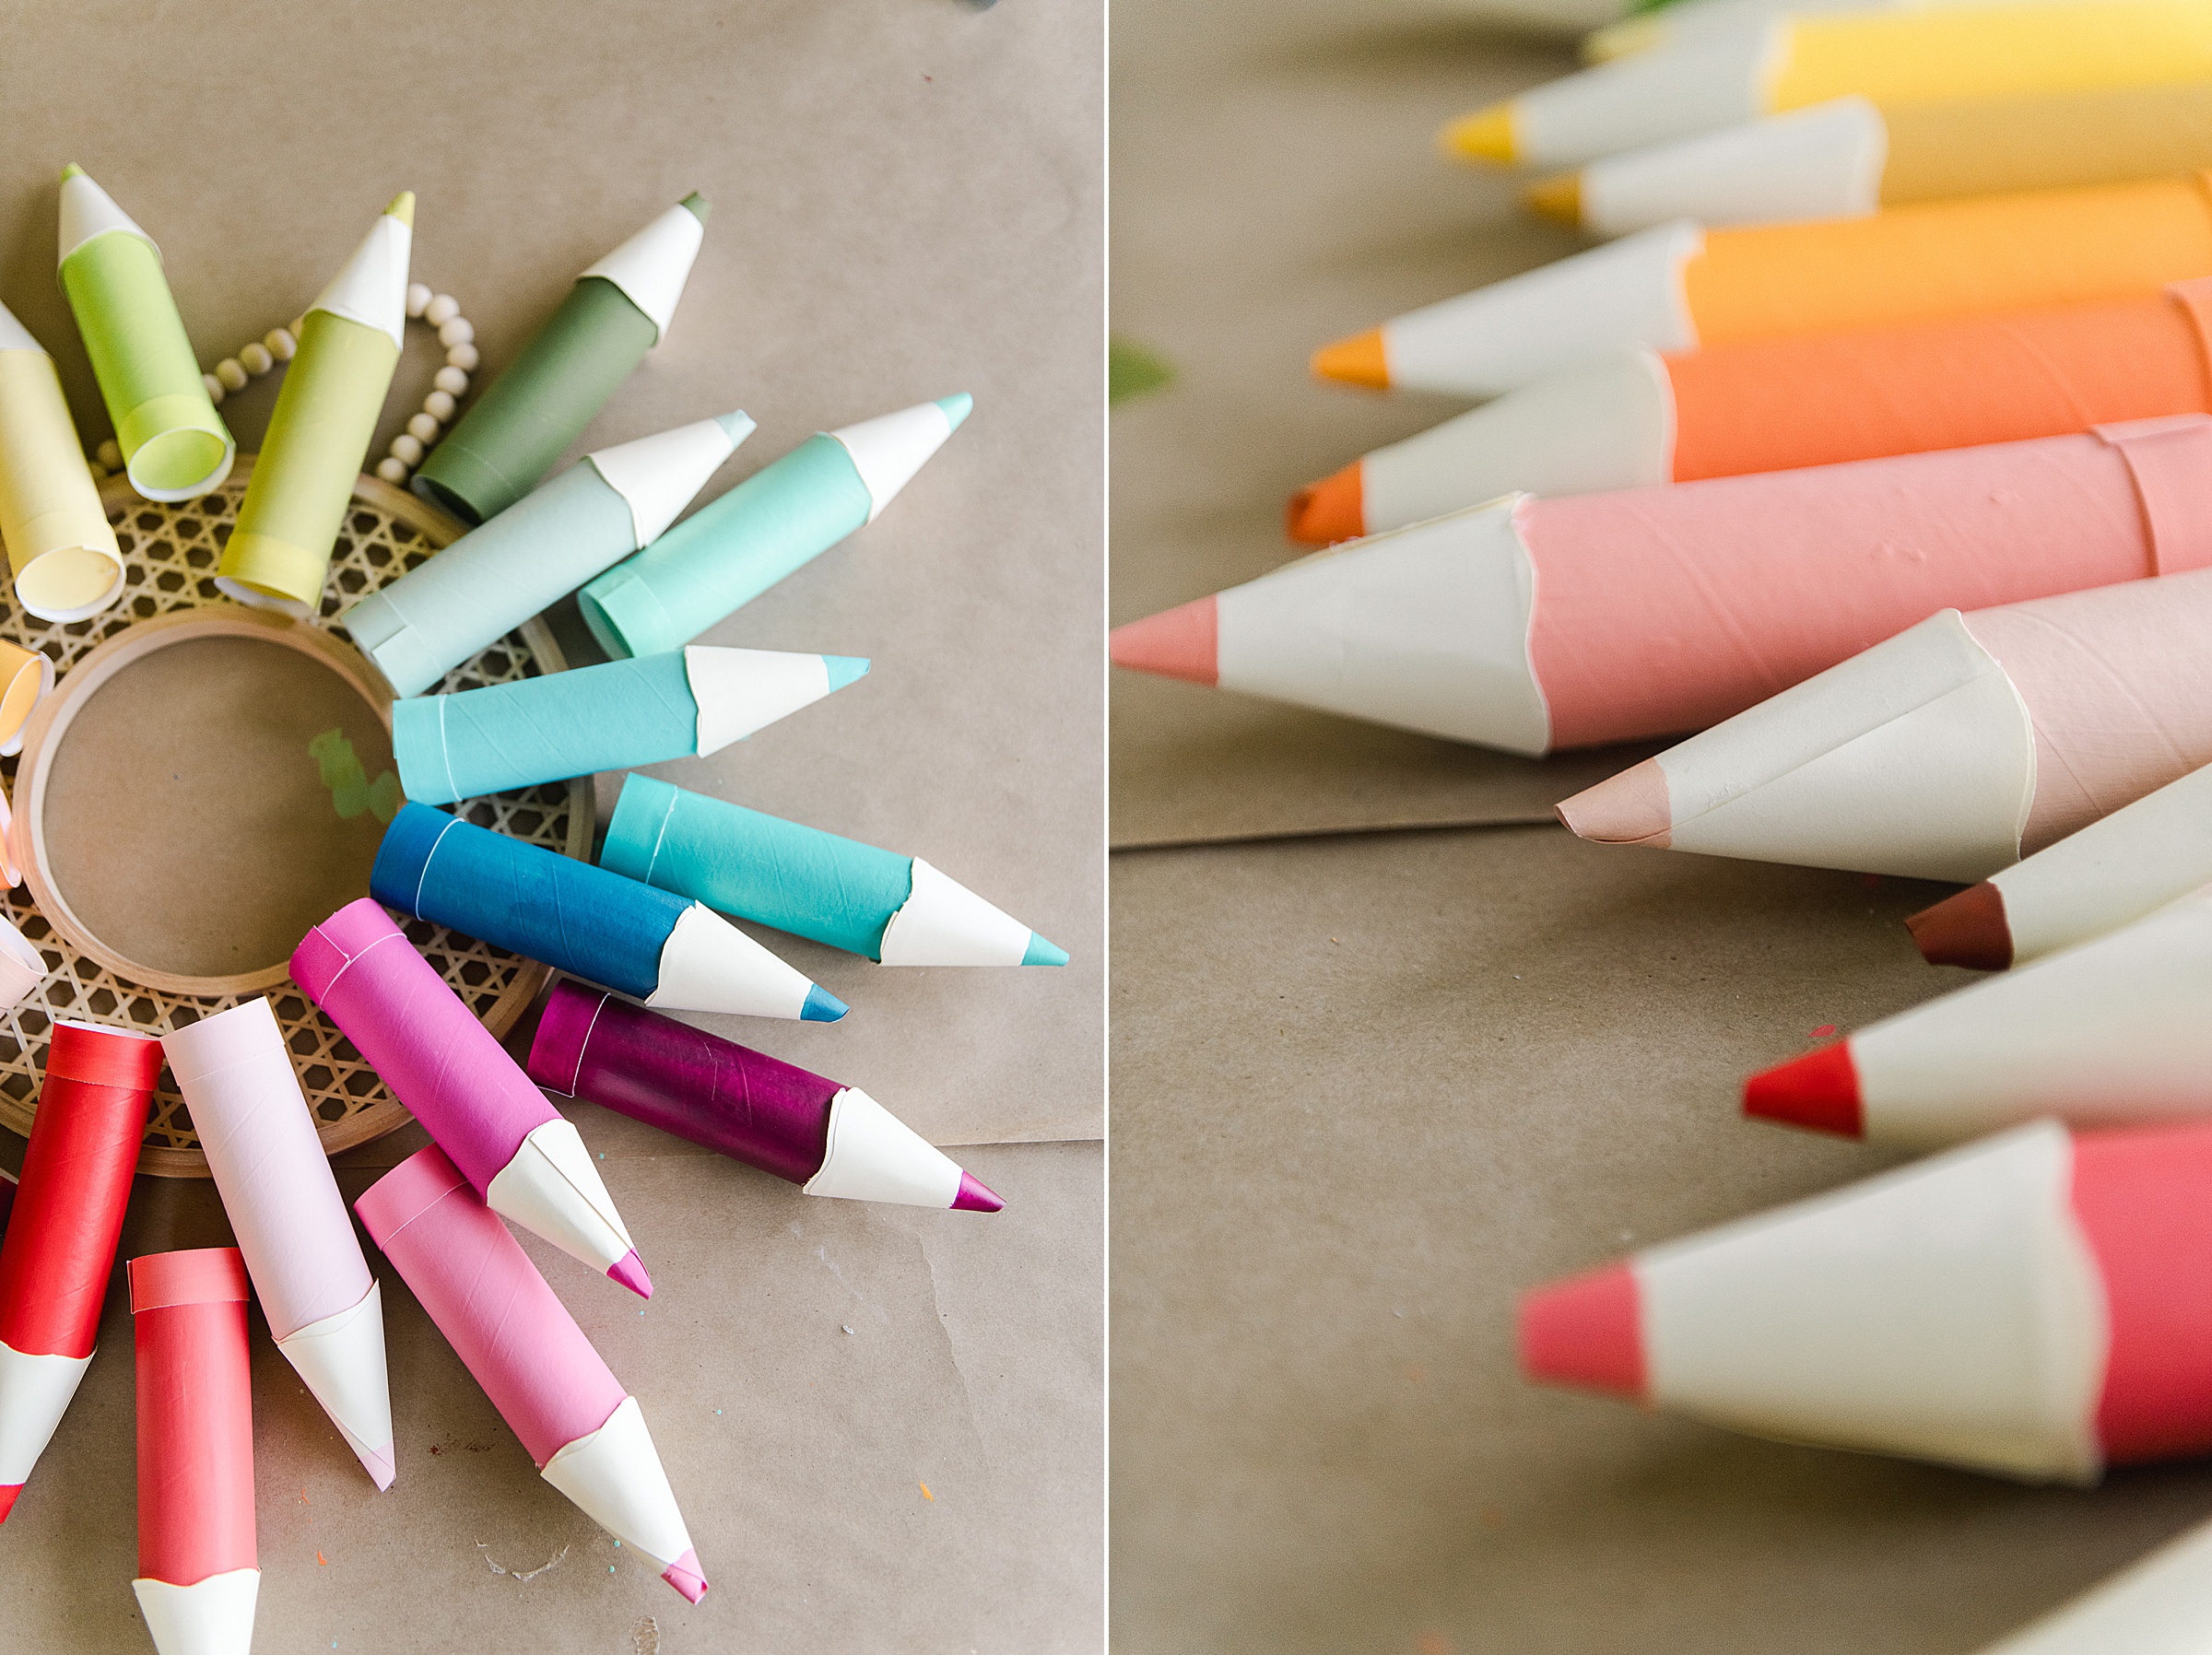
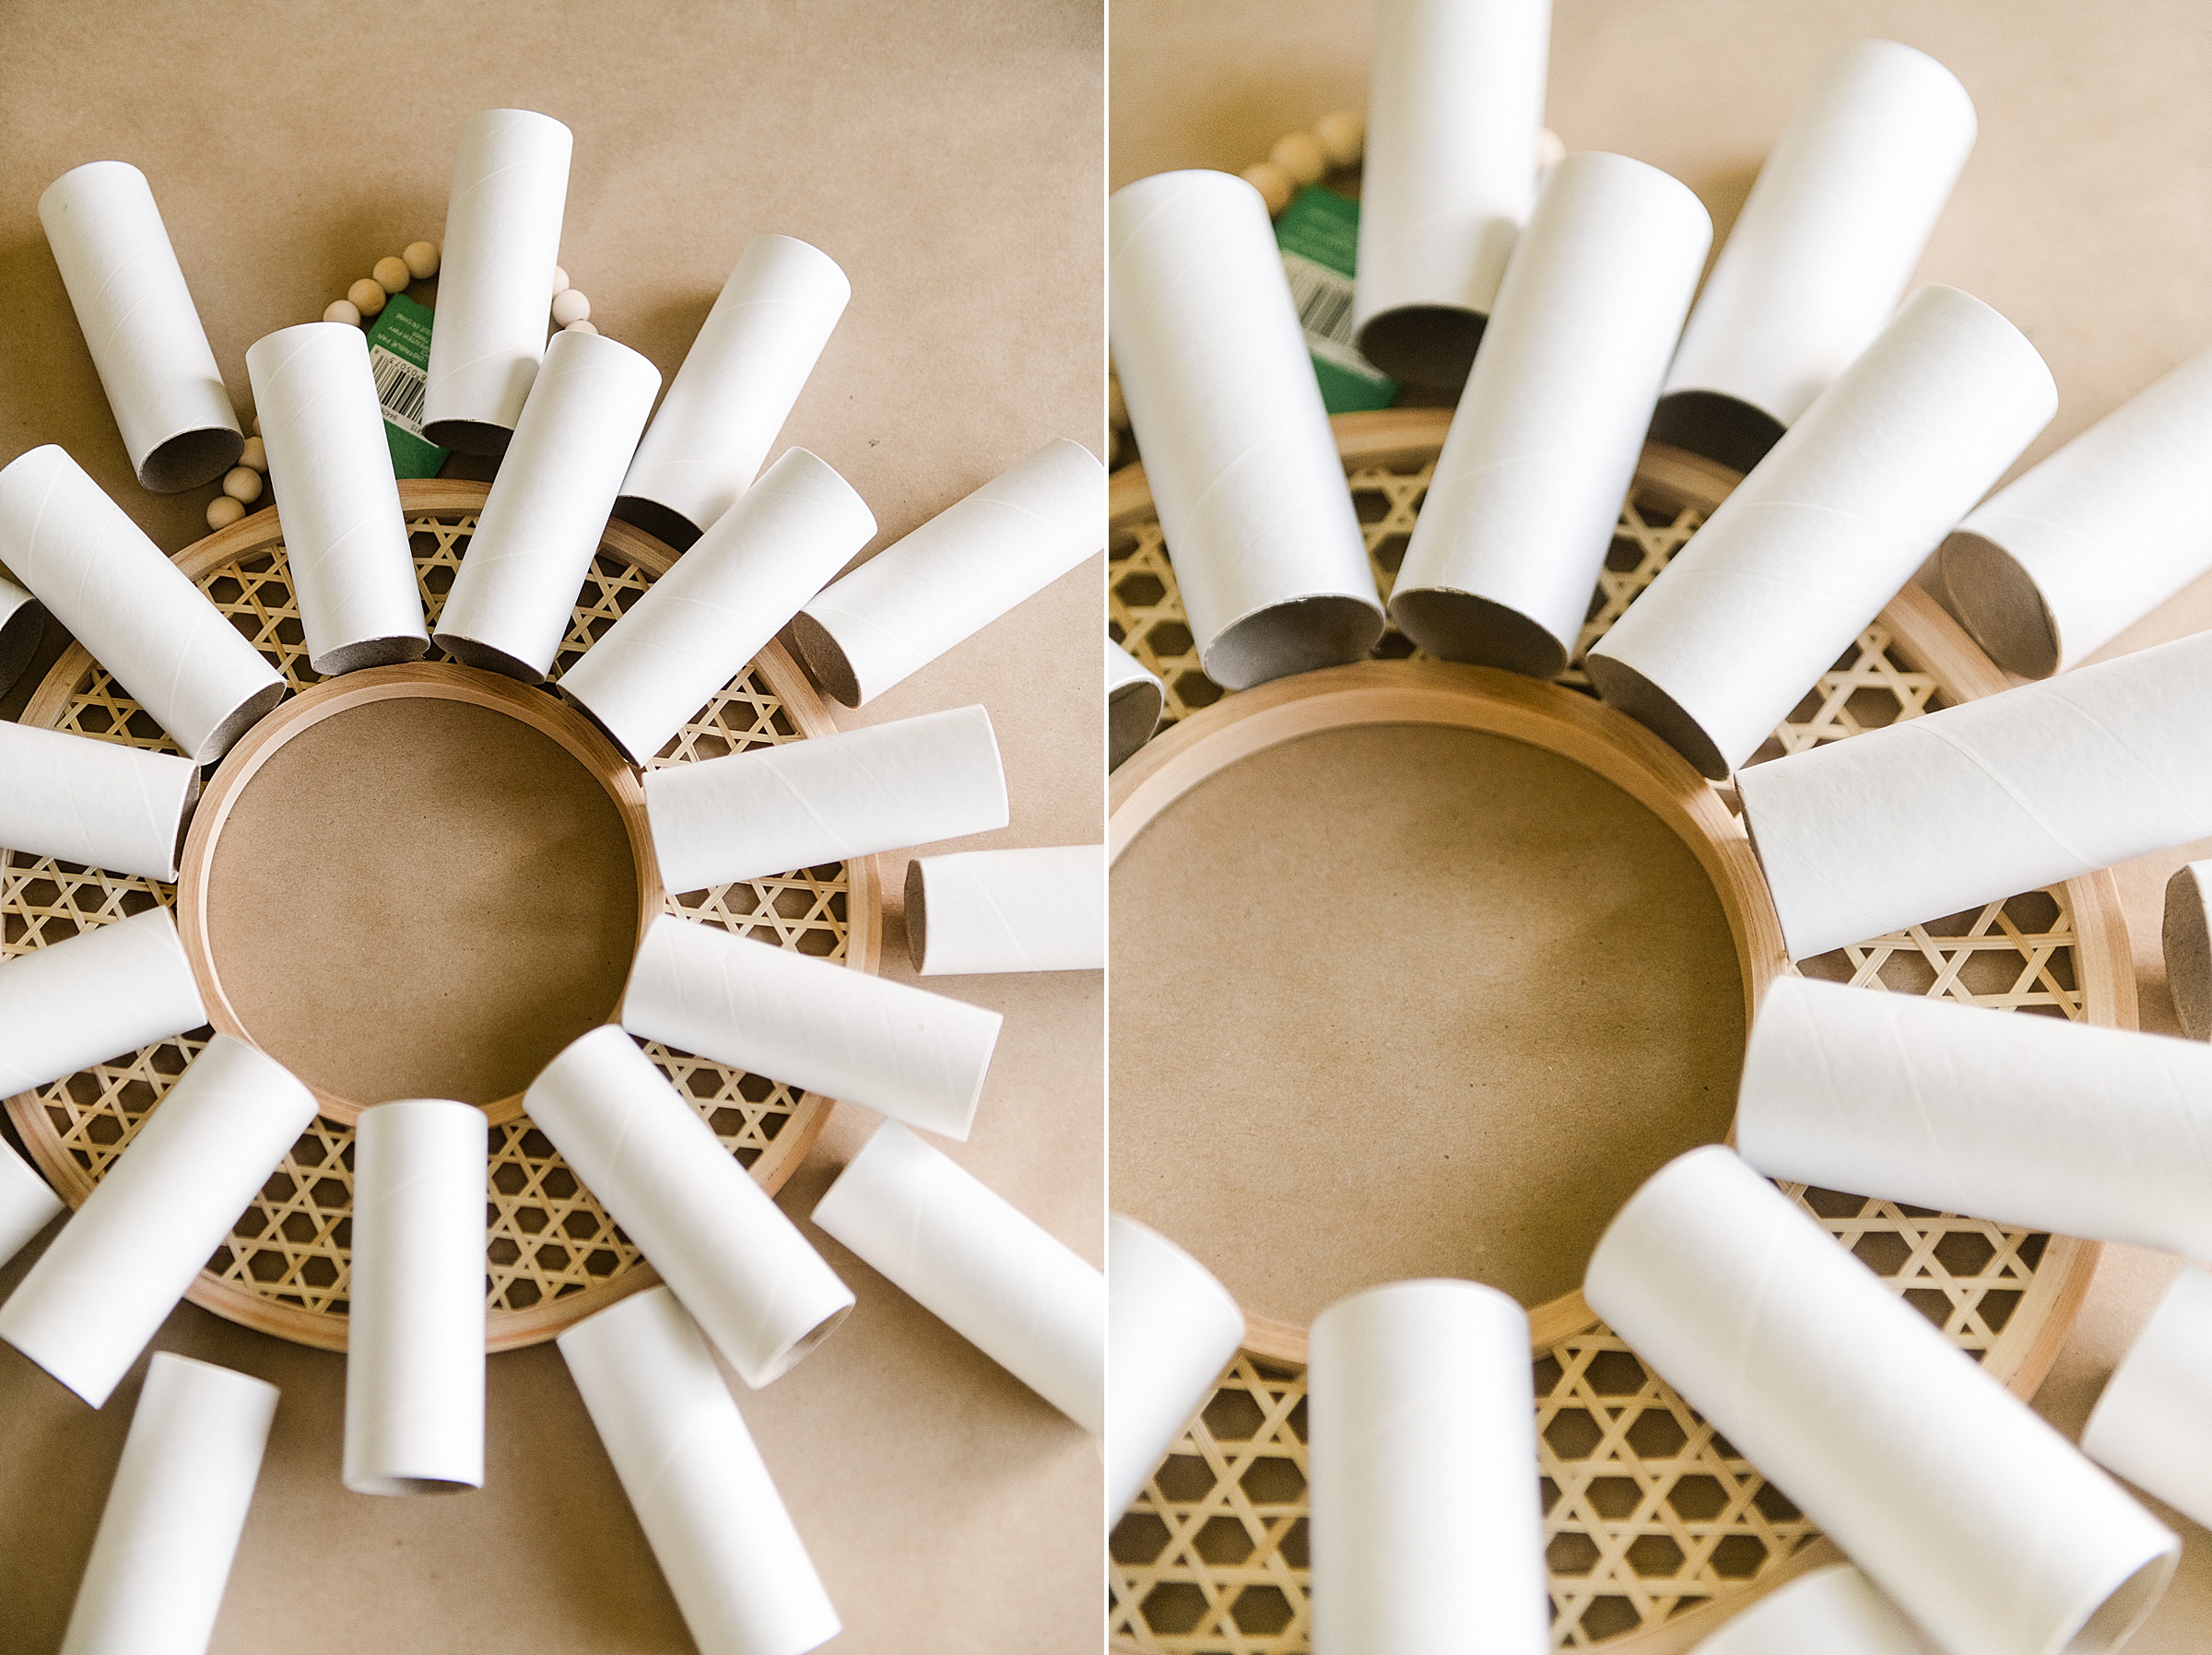
1. Lay out how you want your tubes to lay so that you can get an idea of how many colors you need to choose from and the layout that you want (each wreath form is different so you may choose to arrange yours differently than mine! 🙂
2. Before you start doing the fun stuff, like painting, make the top cone part of the pencil tips! 🙂 You will want these done ahead of time so that you can use the same color paint to paint the cones and the pencil body before you paint dries out, so just get then done and set them aside to paint everyone in one swoop! 🙂
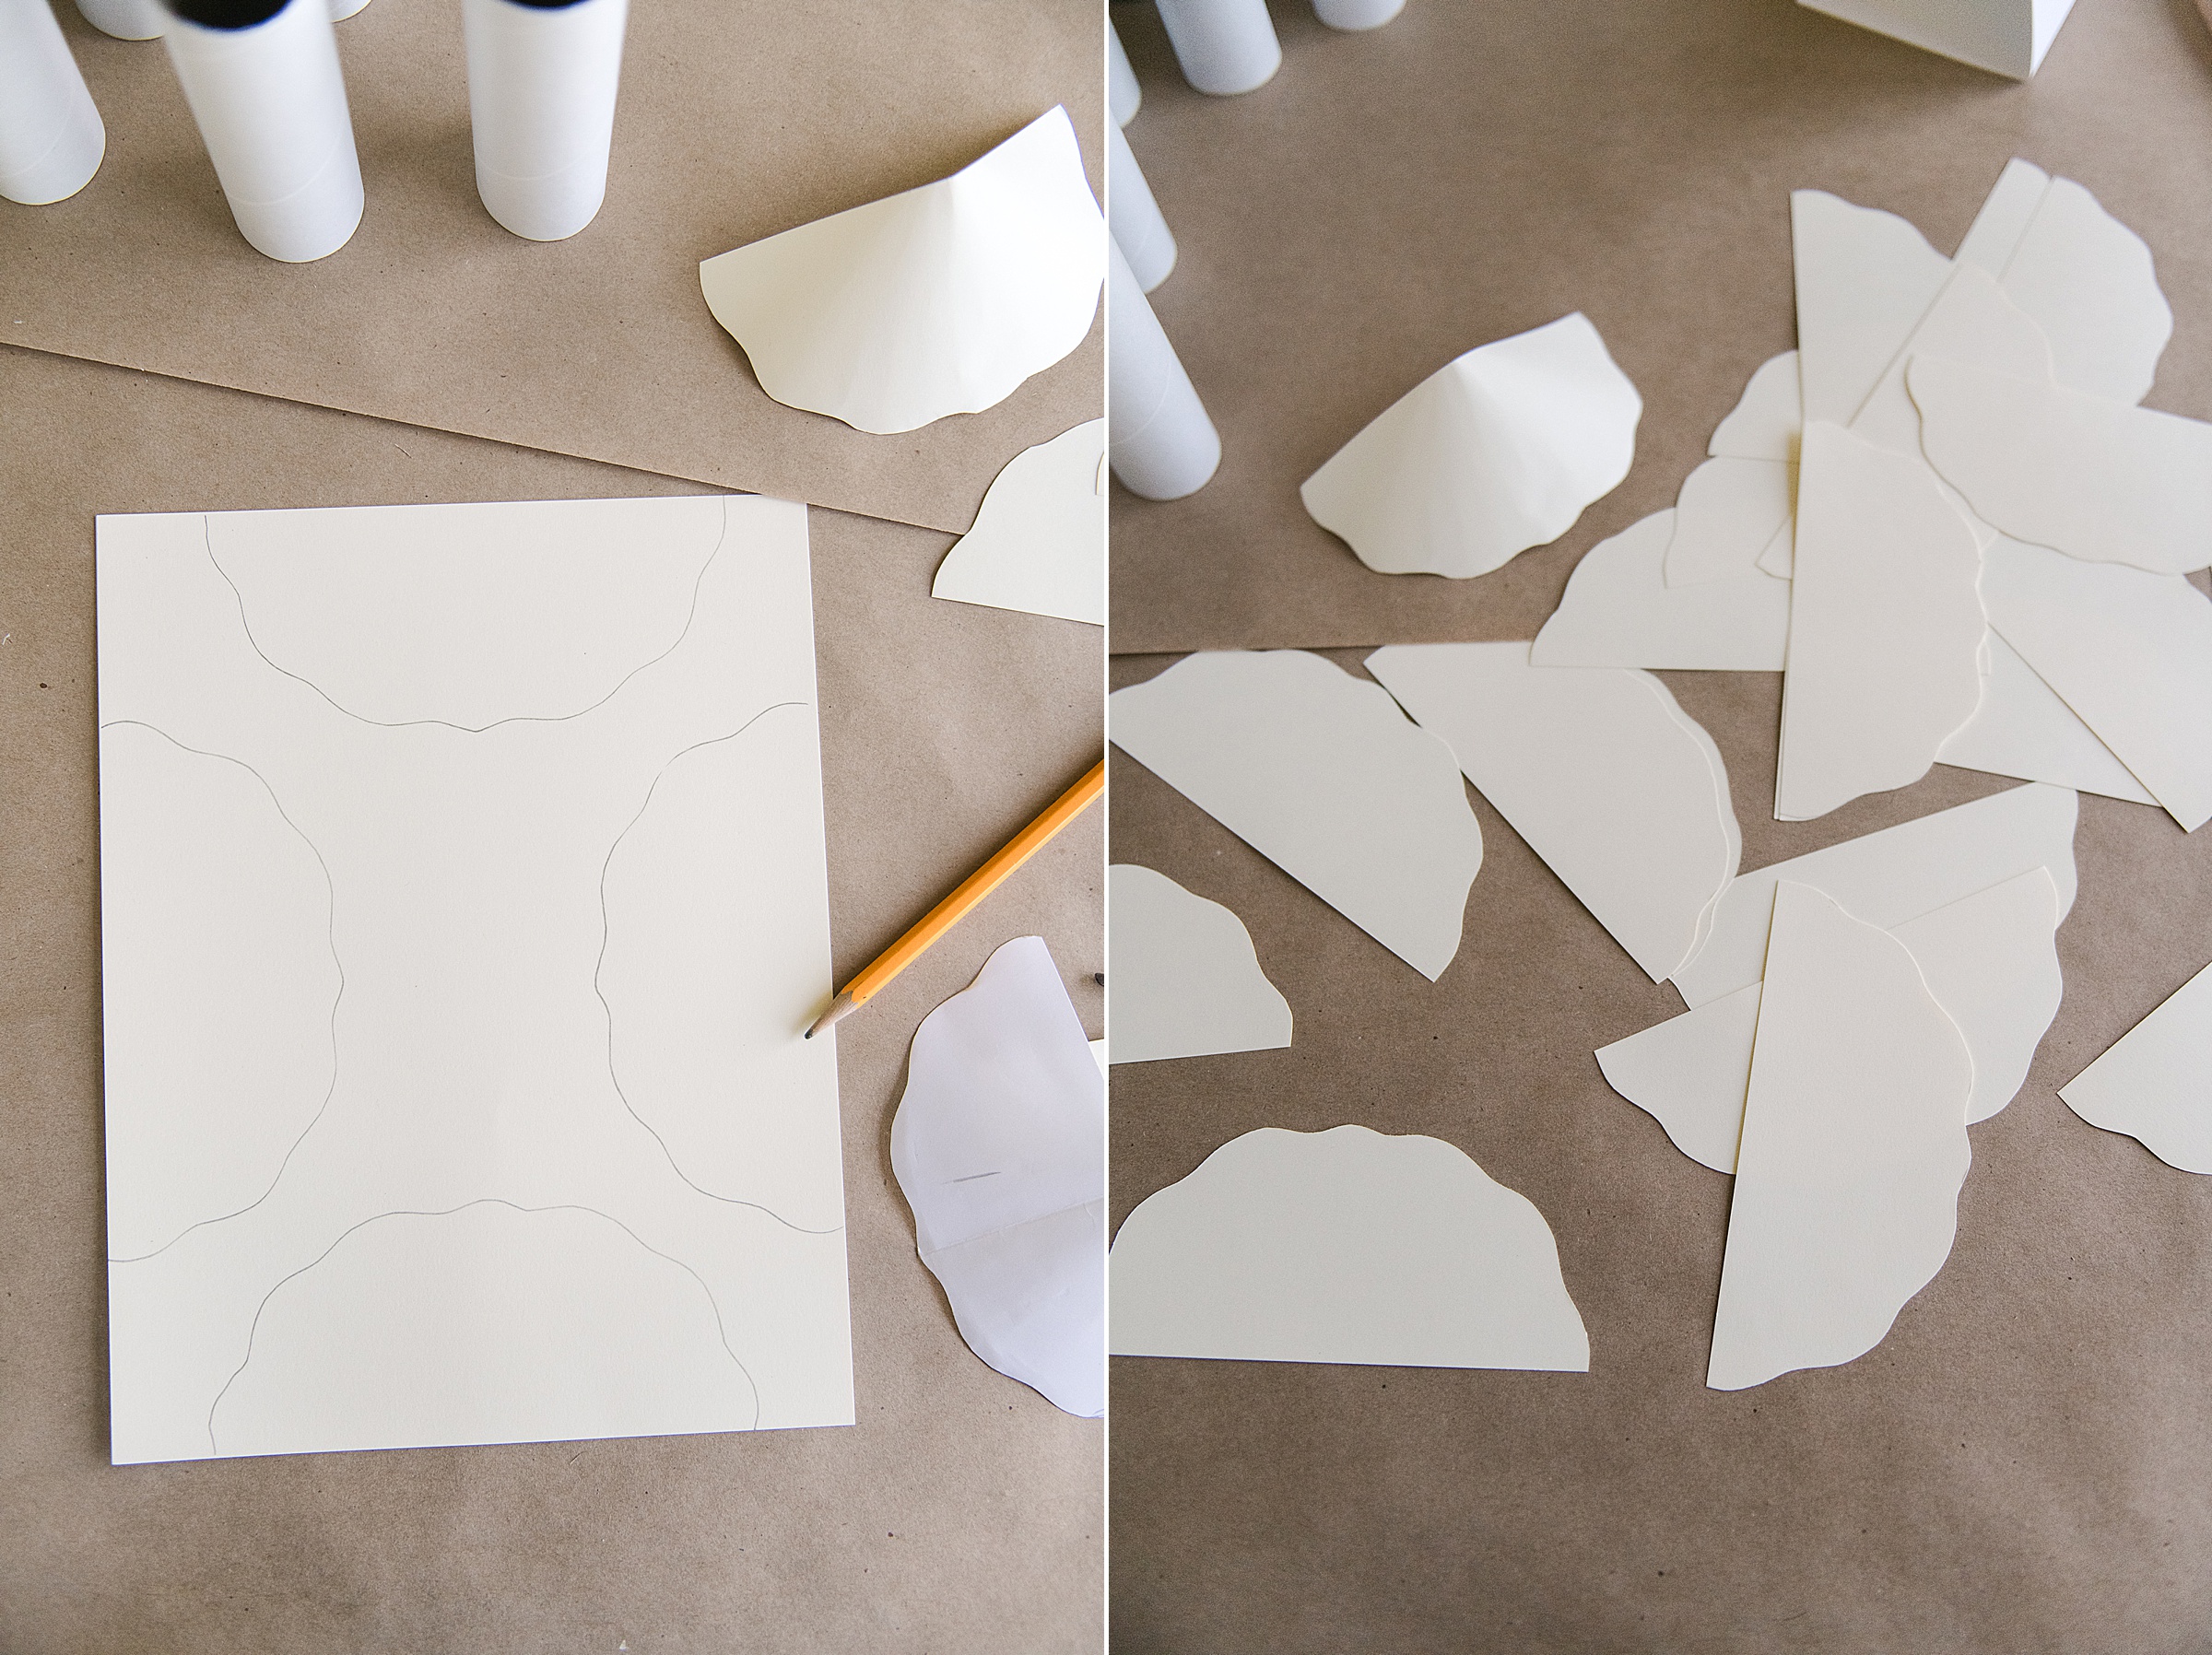
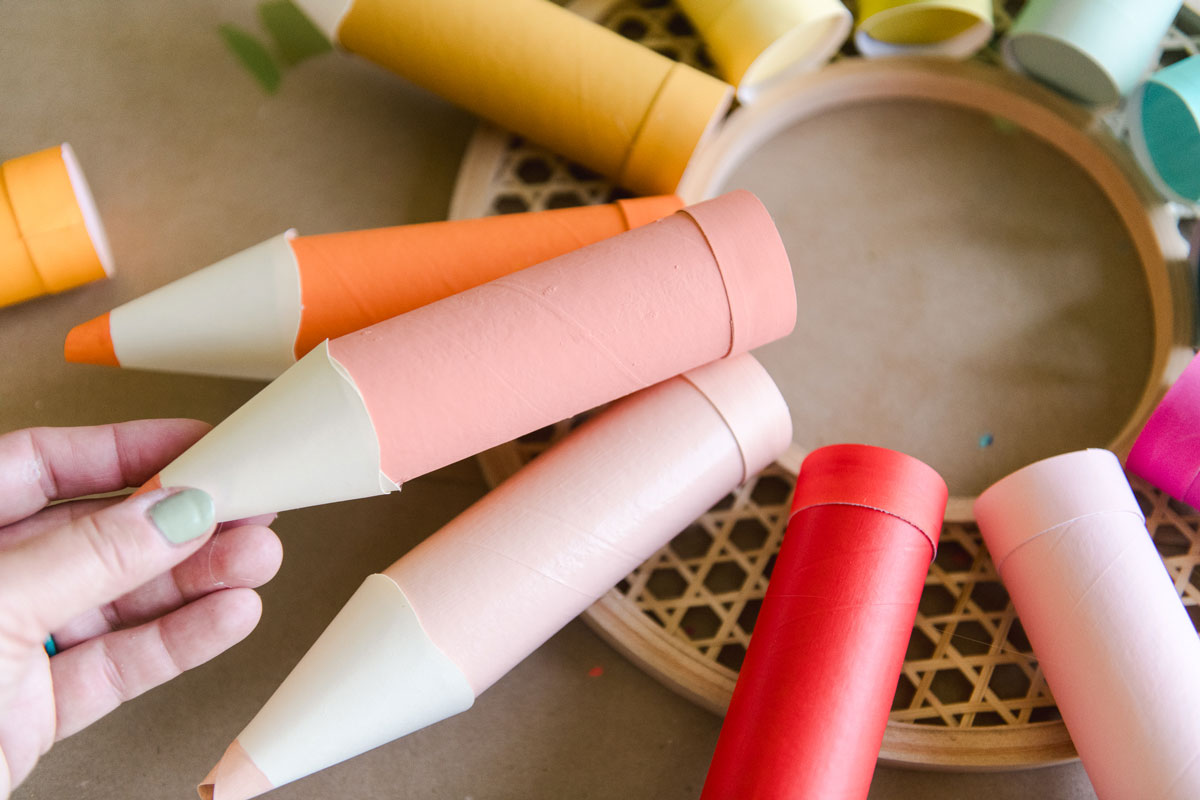
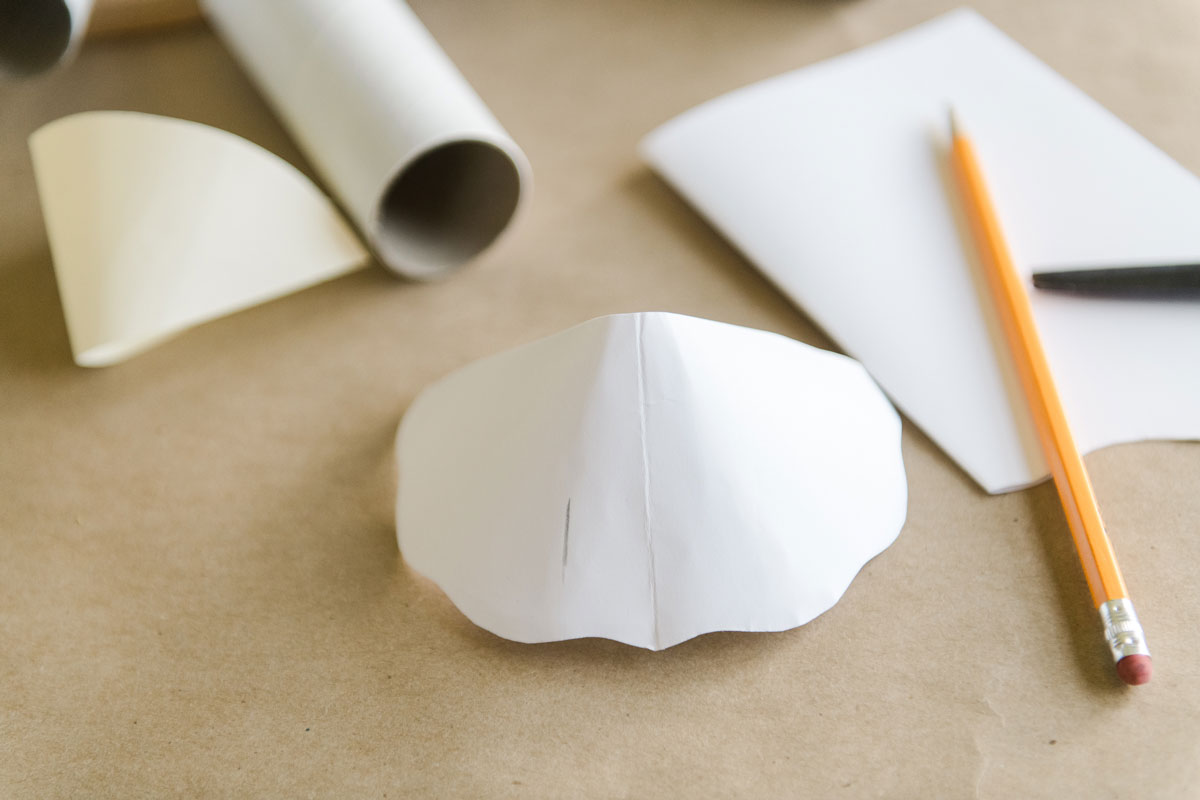
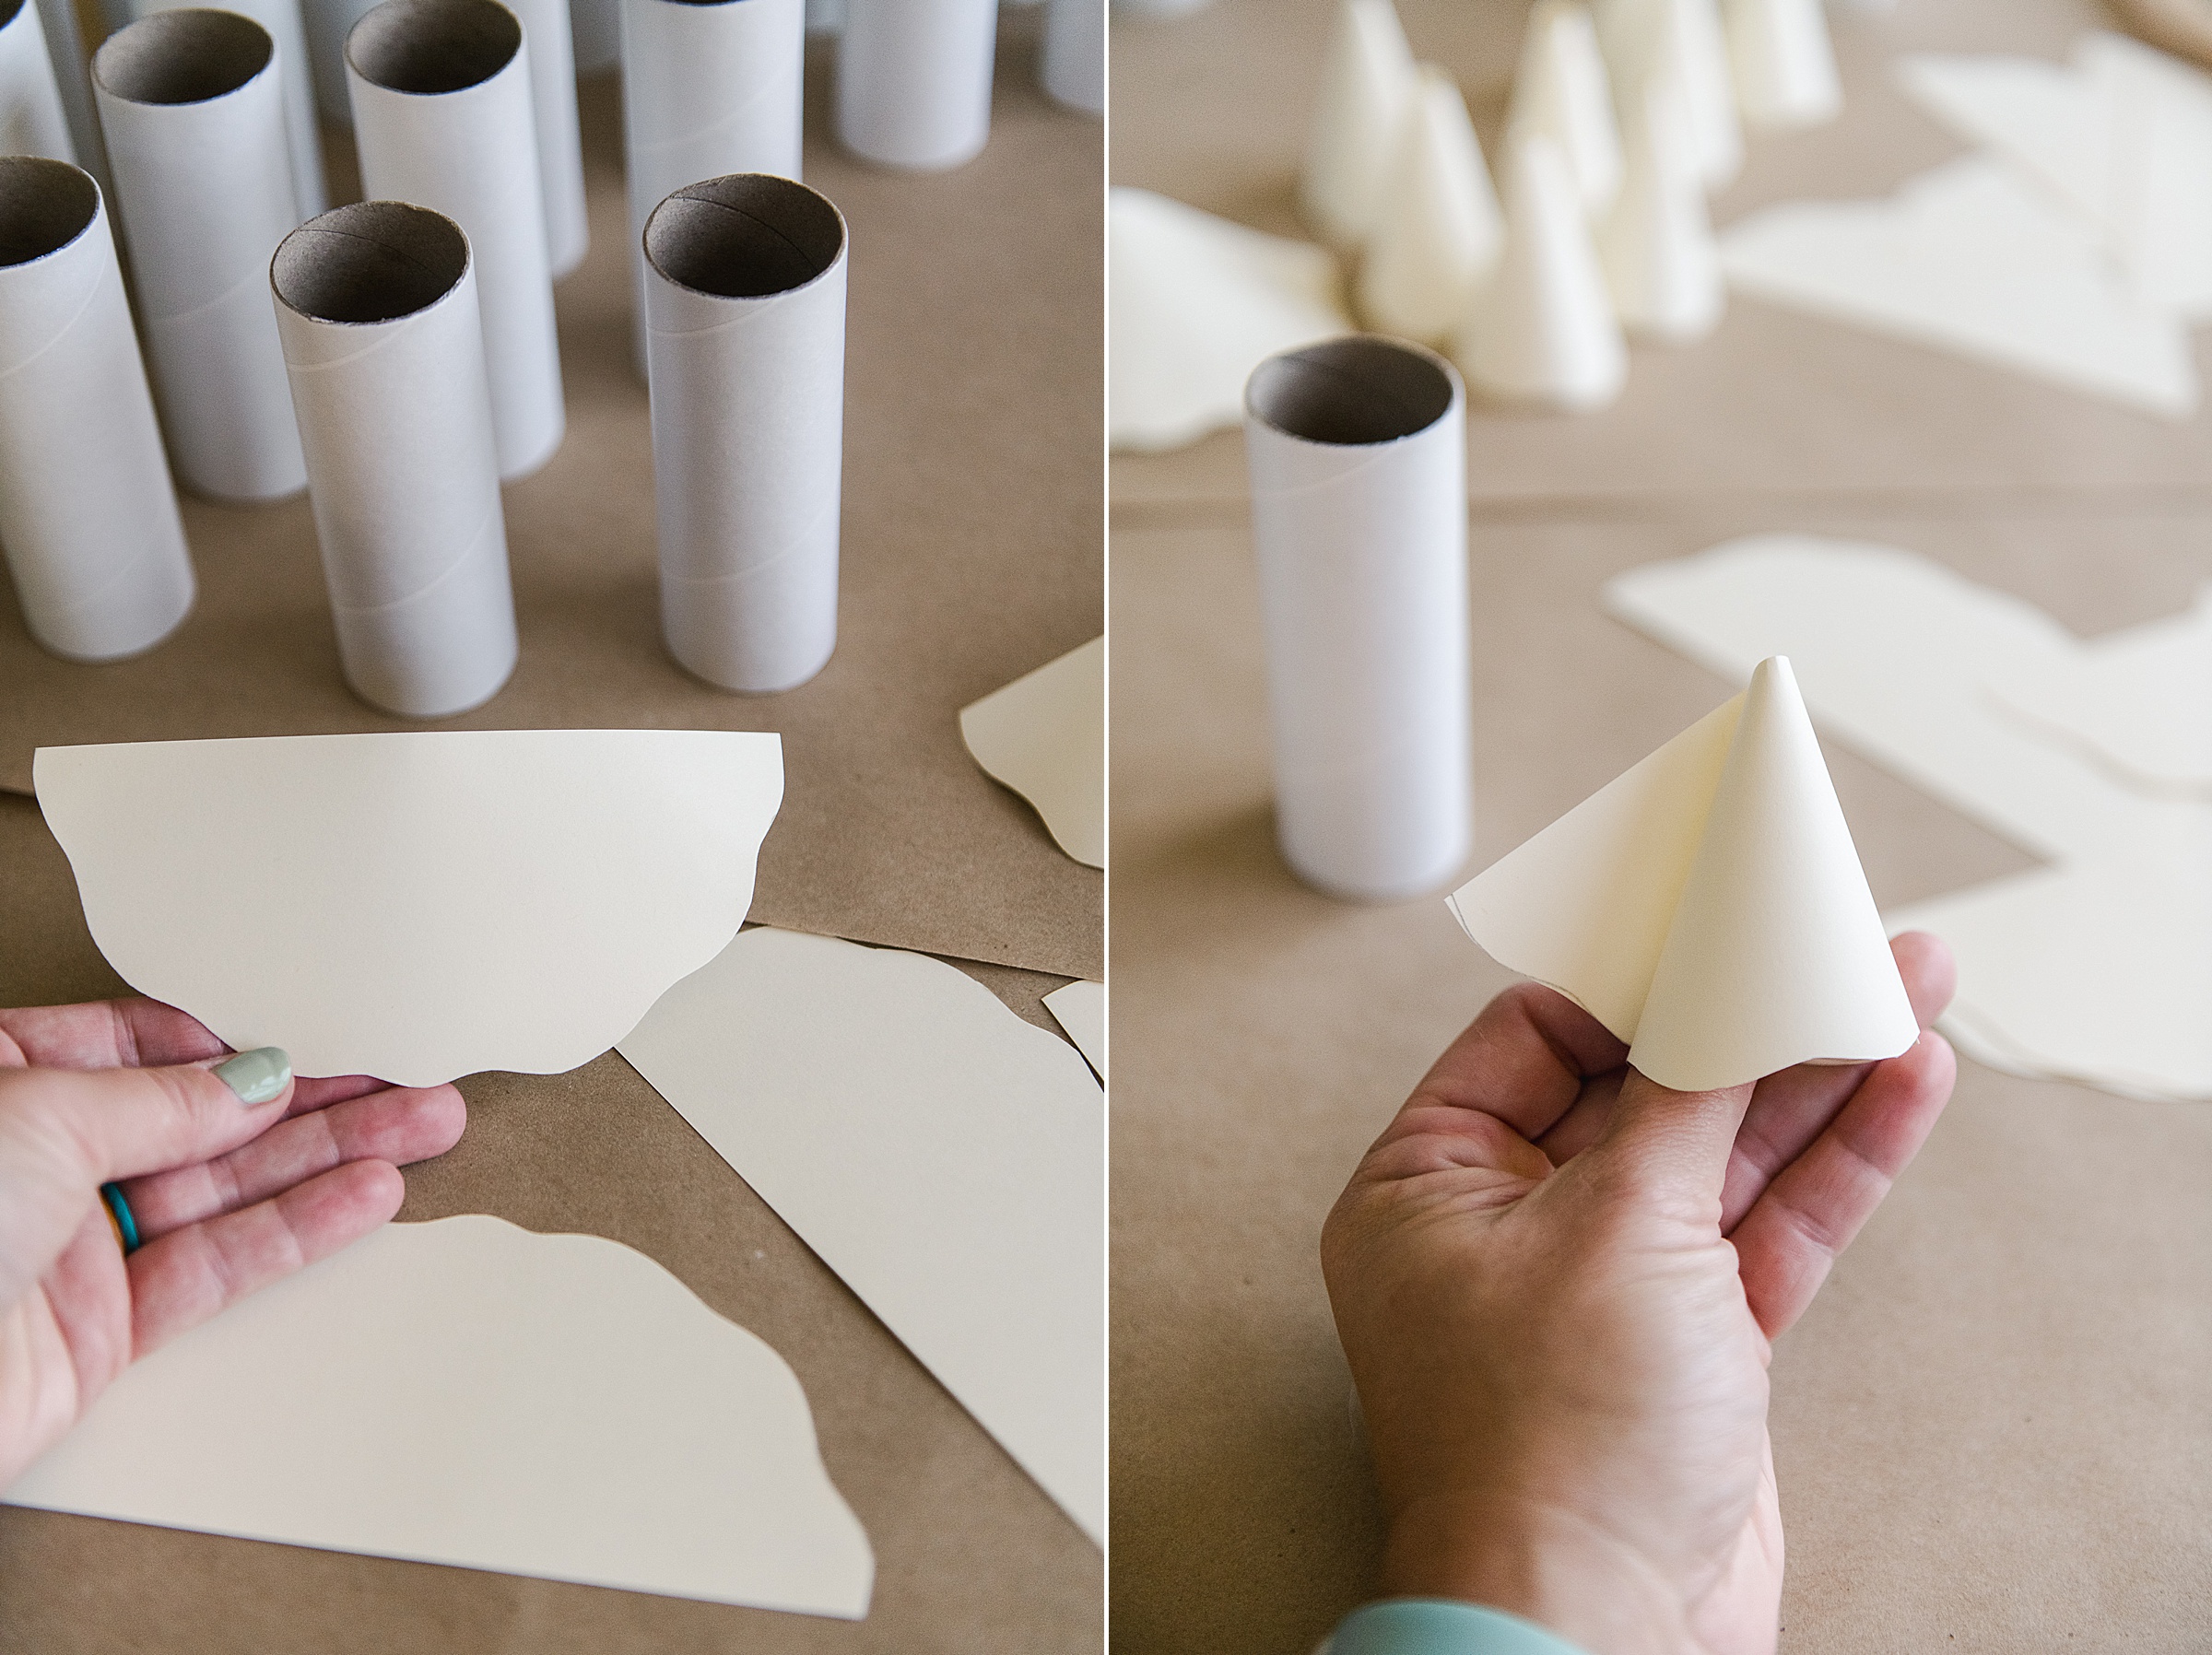
I made the pencil tip by creating a half circle with a squiggly line across the “arch” and then rolling to make the pencil tip. Be sure that your pencil tip fits snugly onto your pencil (this makes it look the most realistic – I found that I needed to make my pencil tip “tracer” first (ie, I cut out a few different shaped arches and then found the one that fit the best) and then I traced this onto the pieces of cardstock (4 x on each page) before cutting out 🙂
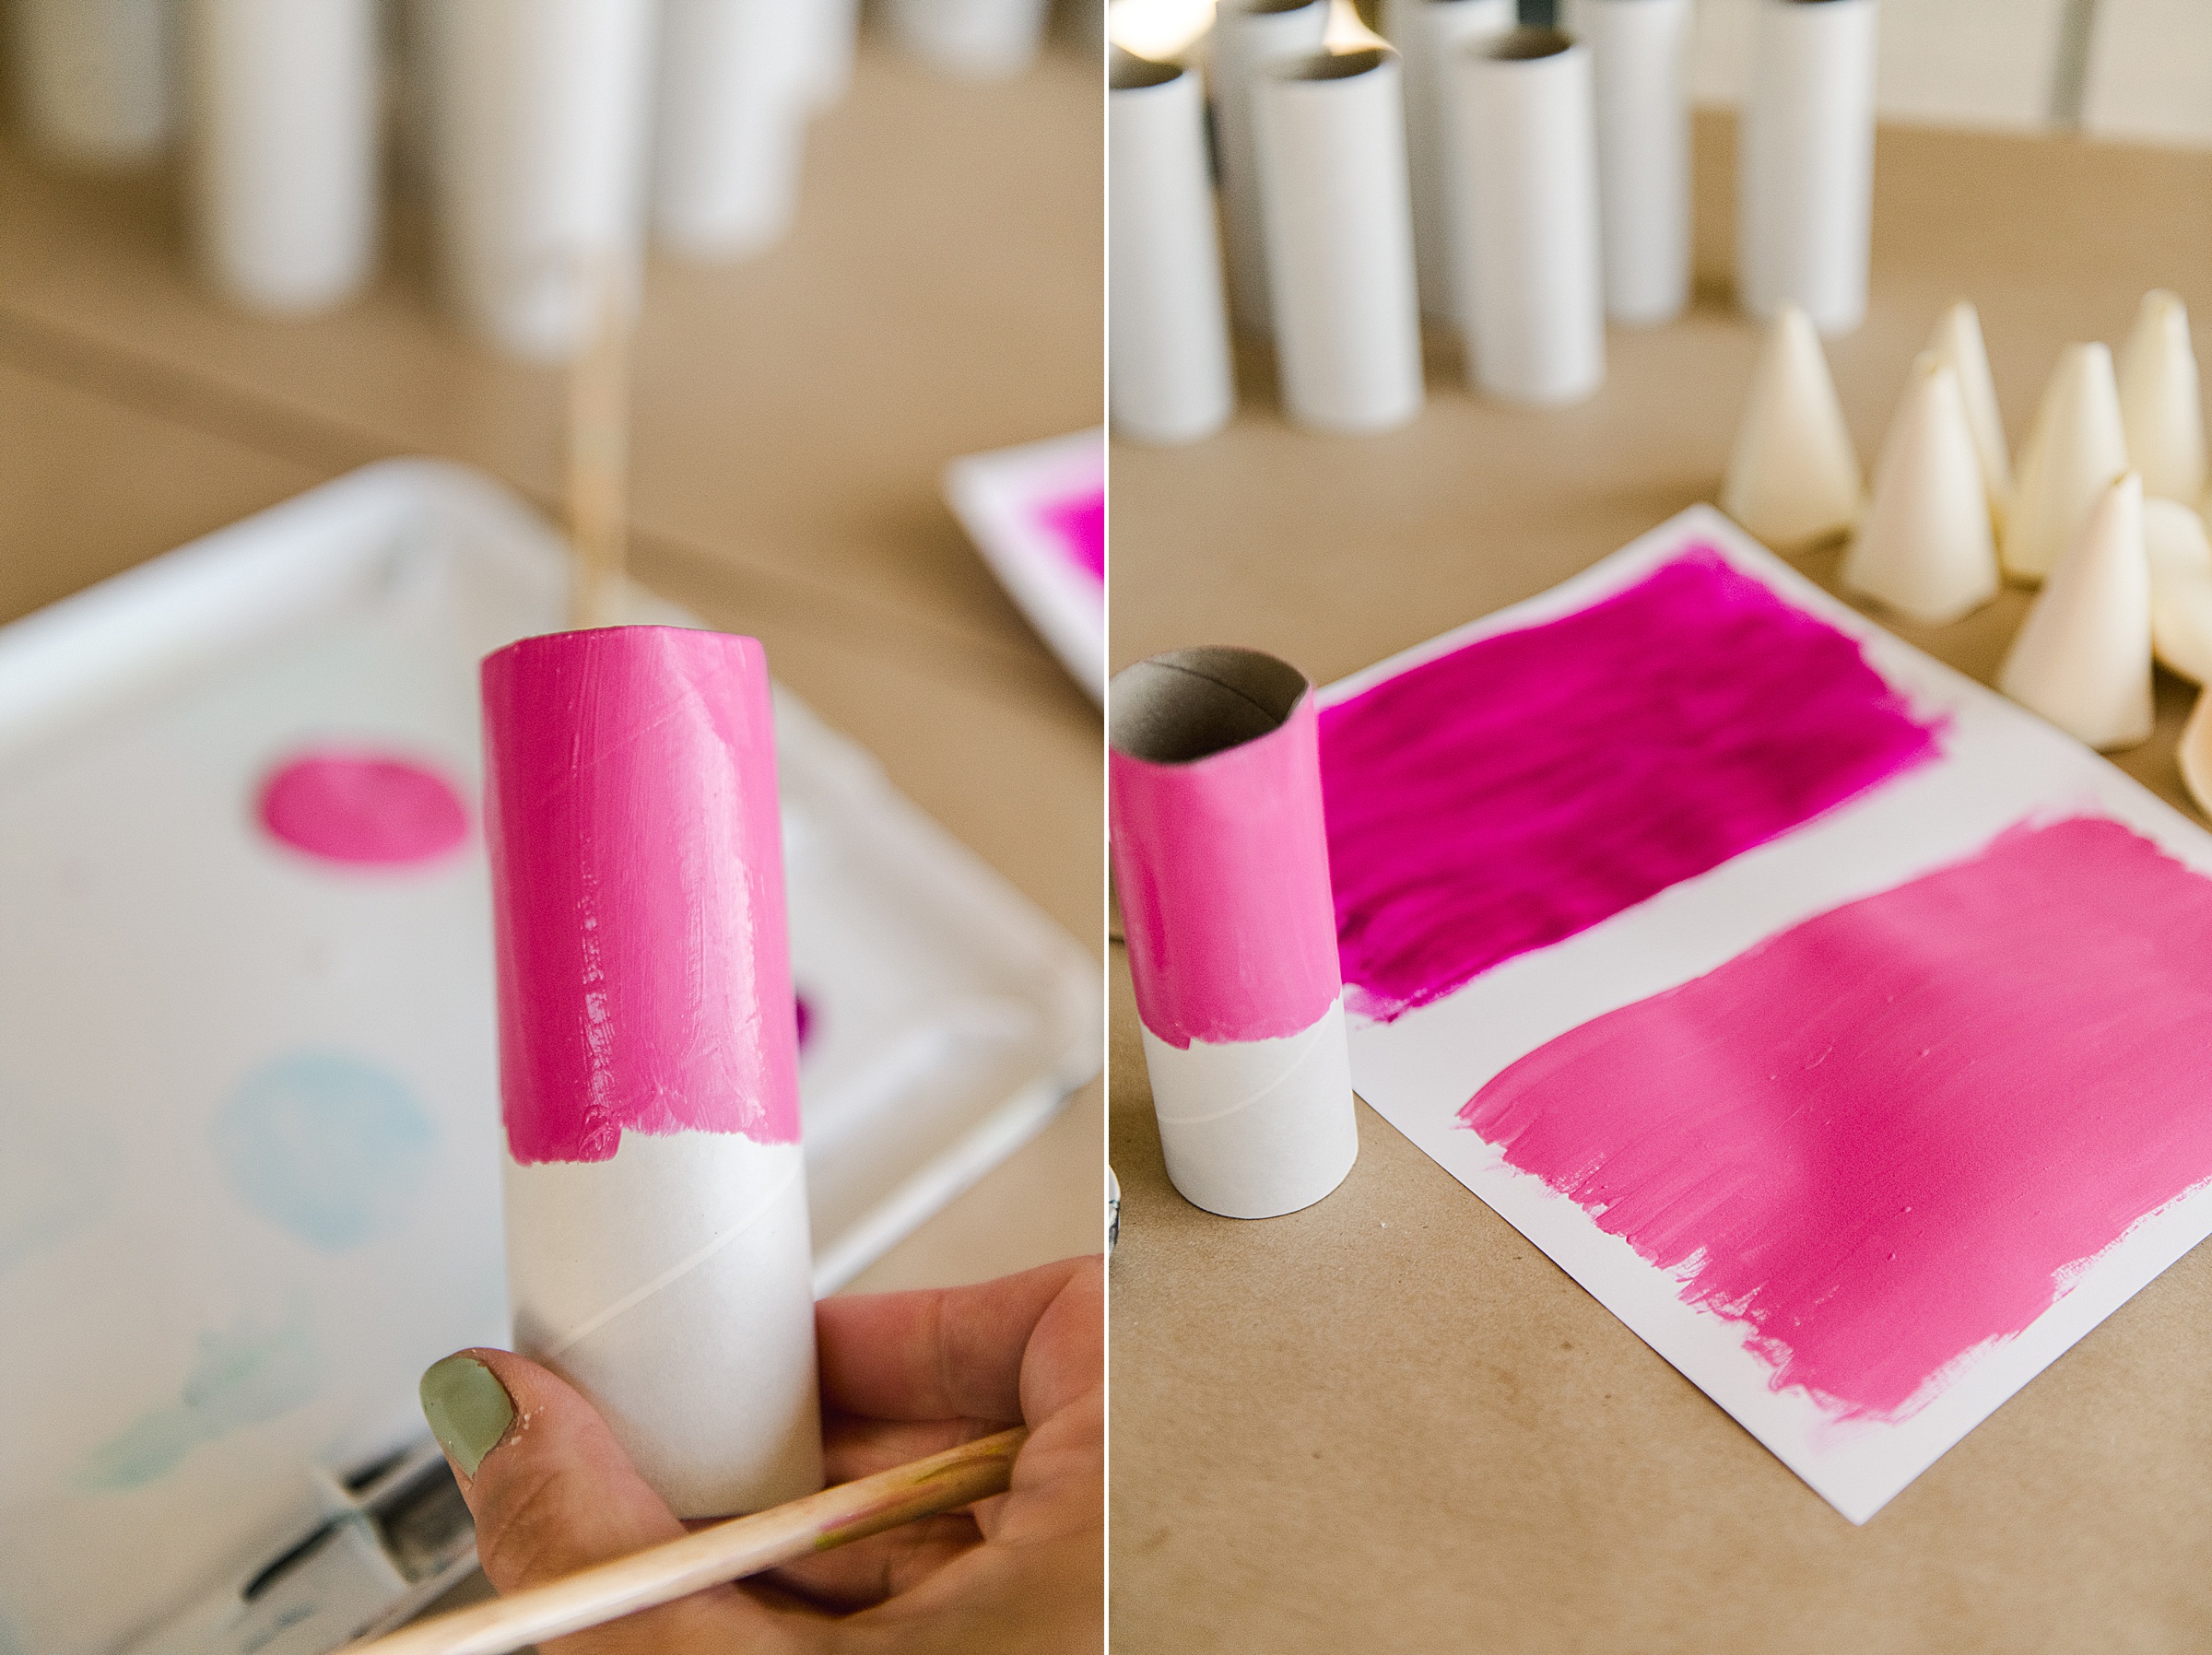
3. Pick out your paint colors and start painting!
I painted the tube, a quarter to half sheet of cardstock AND the top of my pencil tip (cone made in step 2) in my selected color.
The cardstock paper will be the “bottom” of your colored pencil so that they don’t look just like tubes 🙂
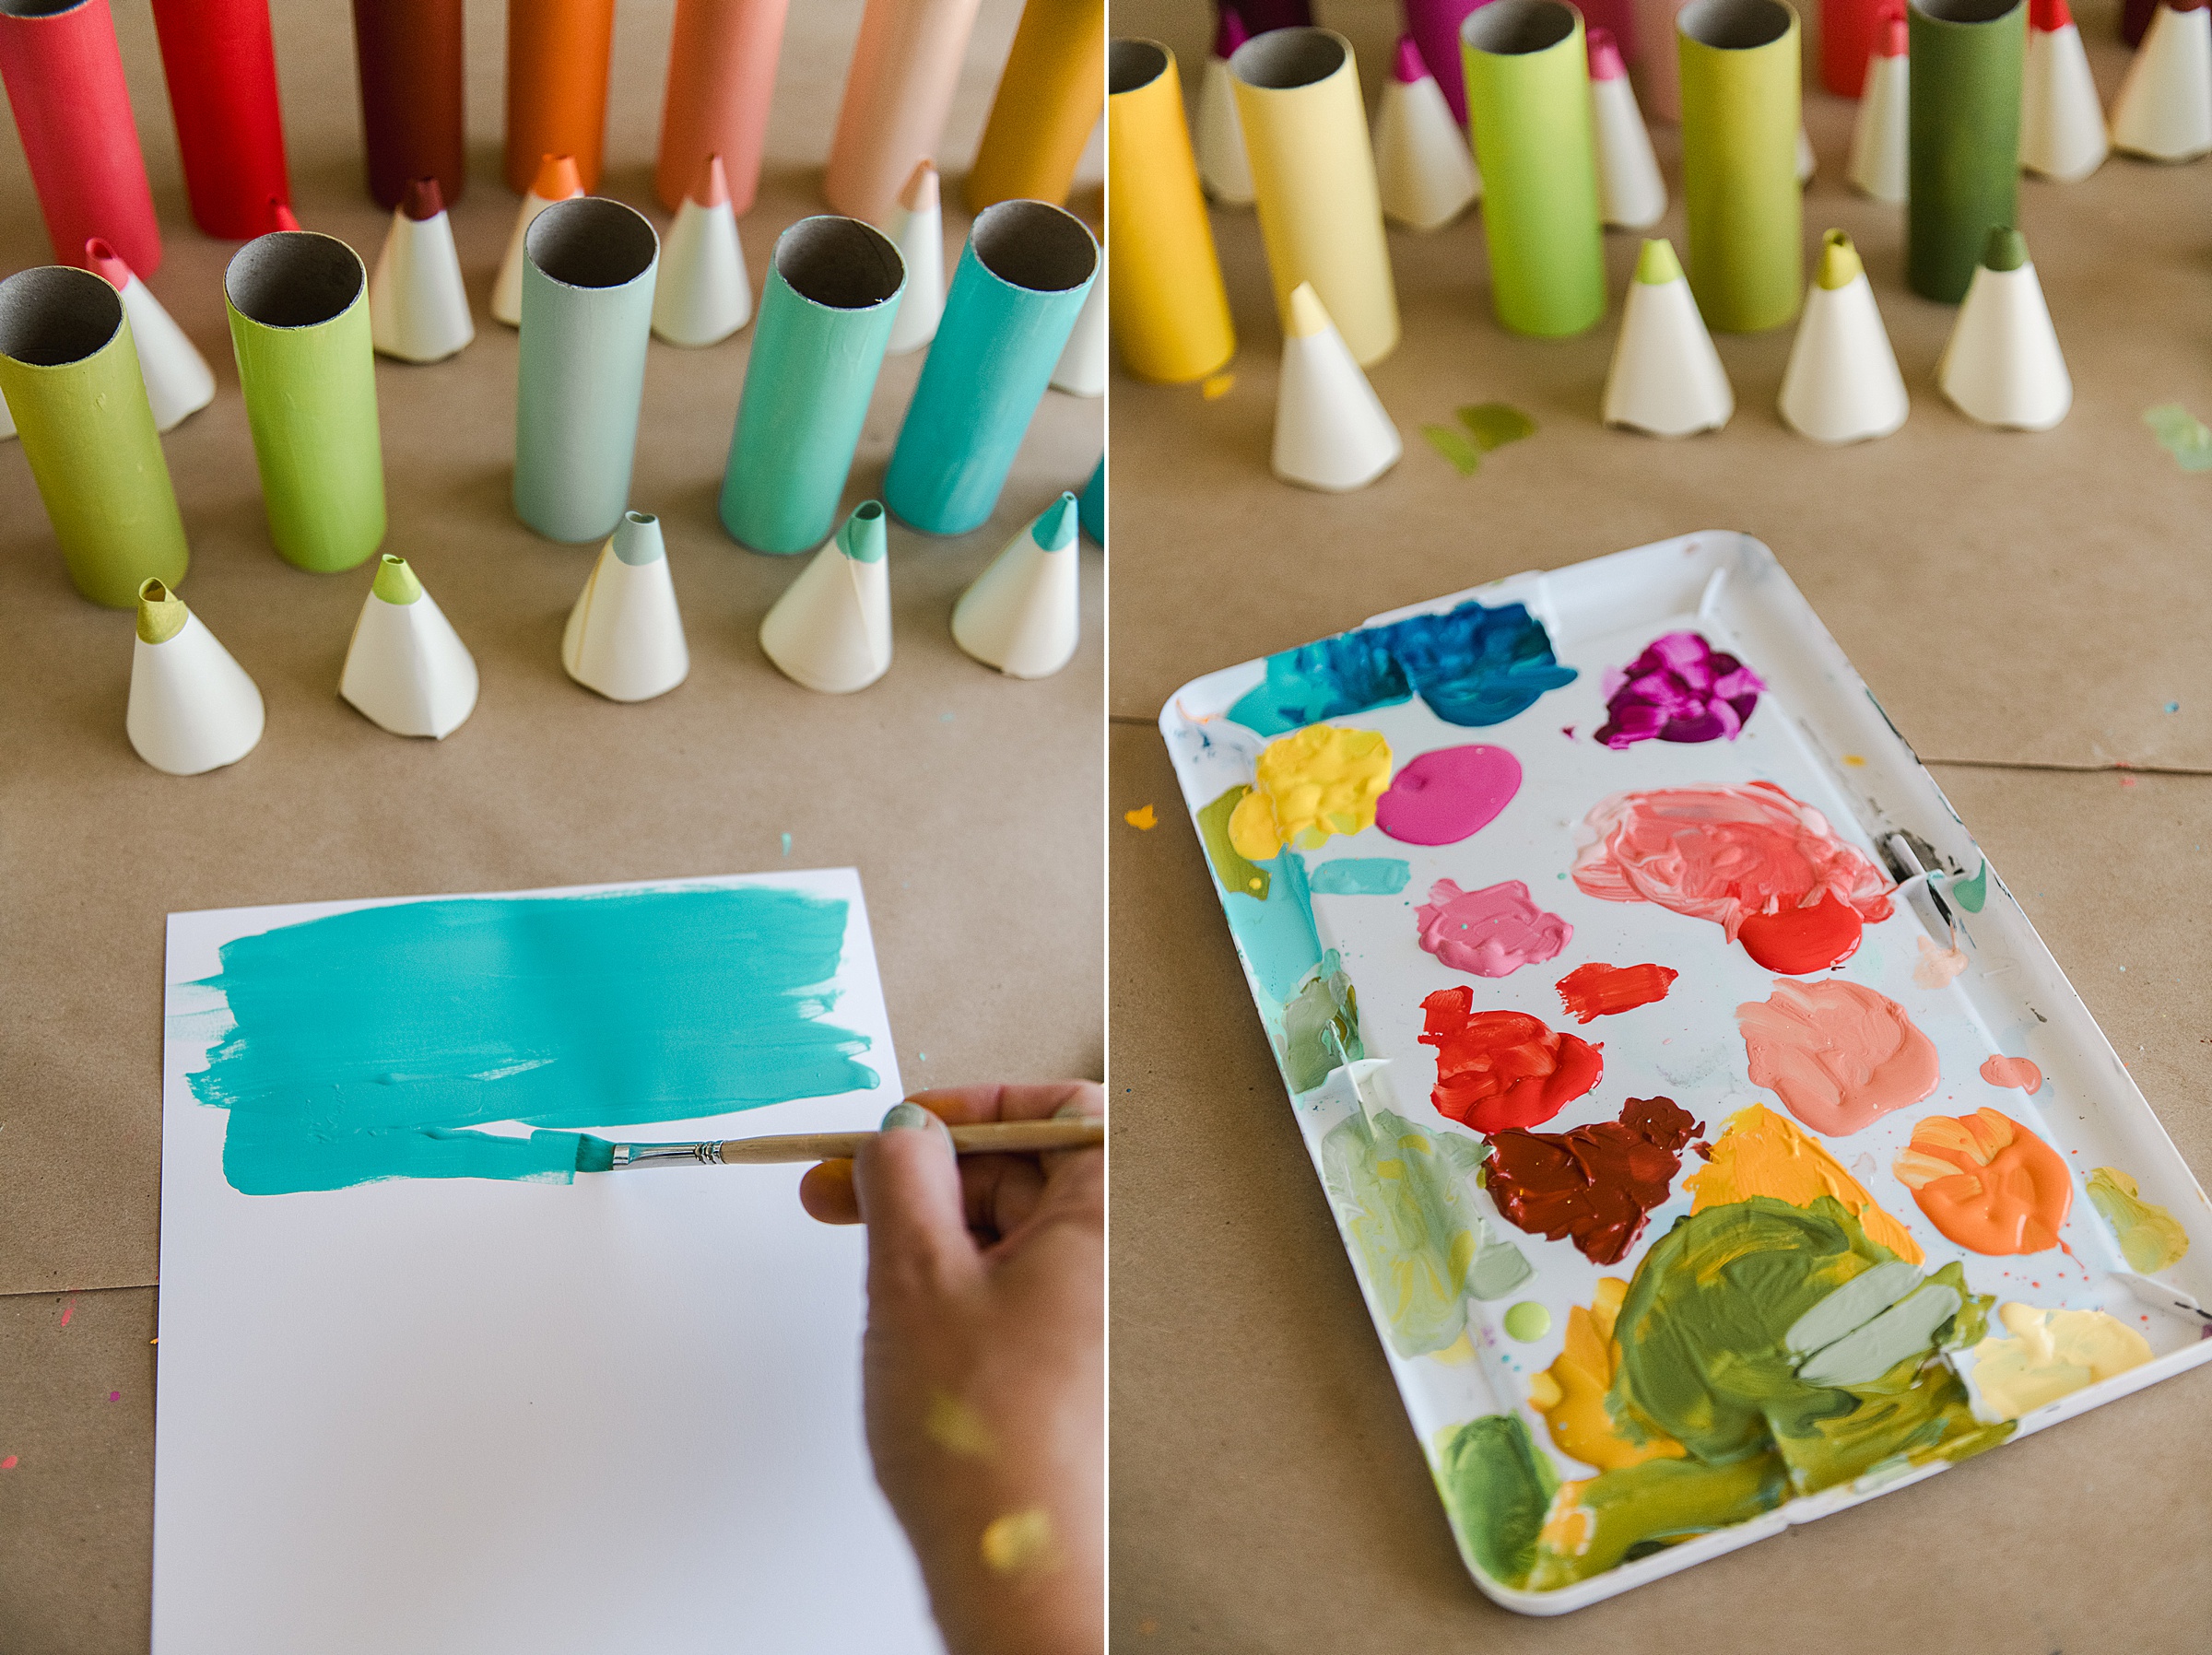
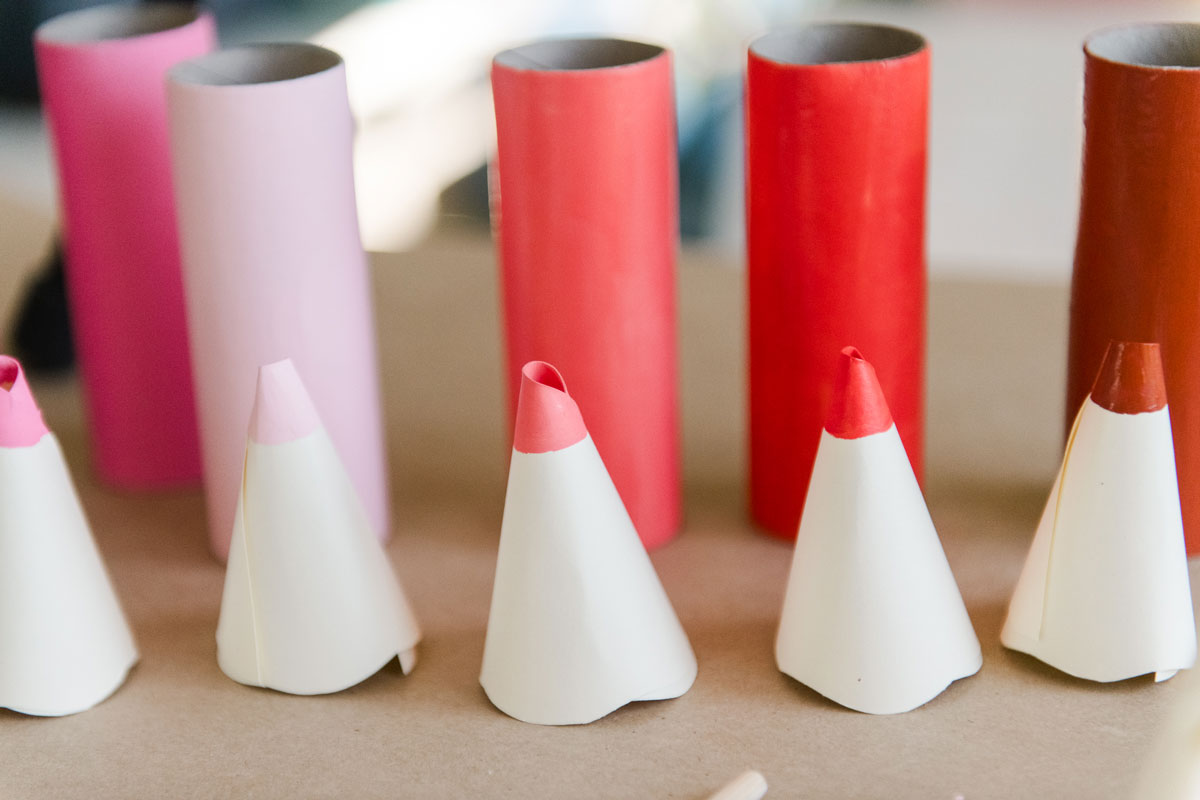
Set everything aside to fully dry.
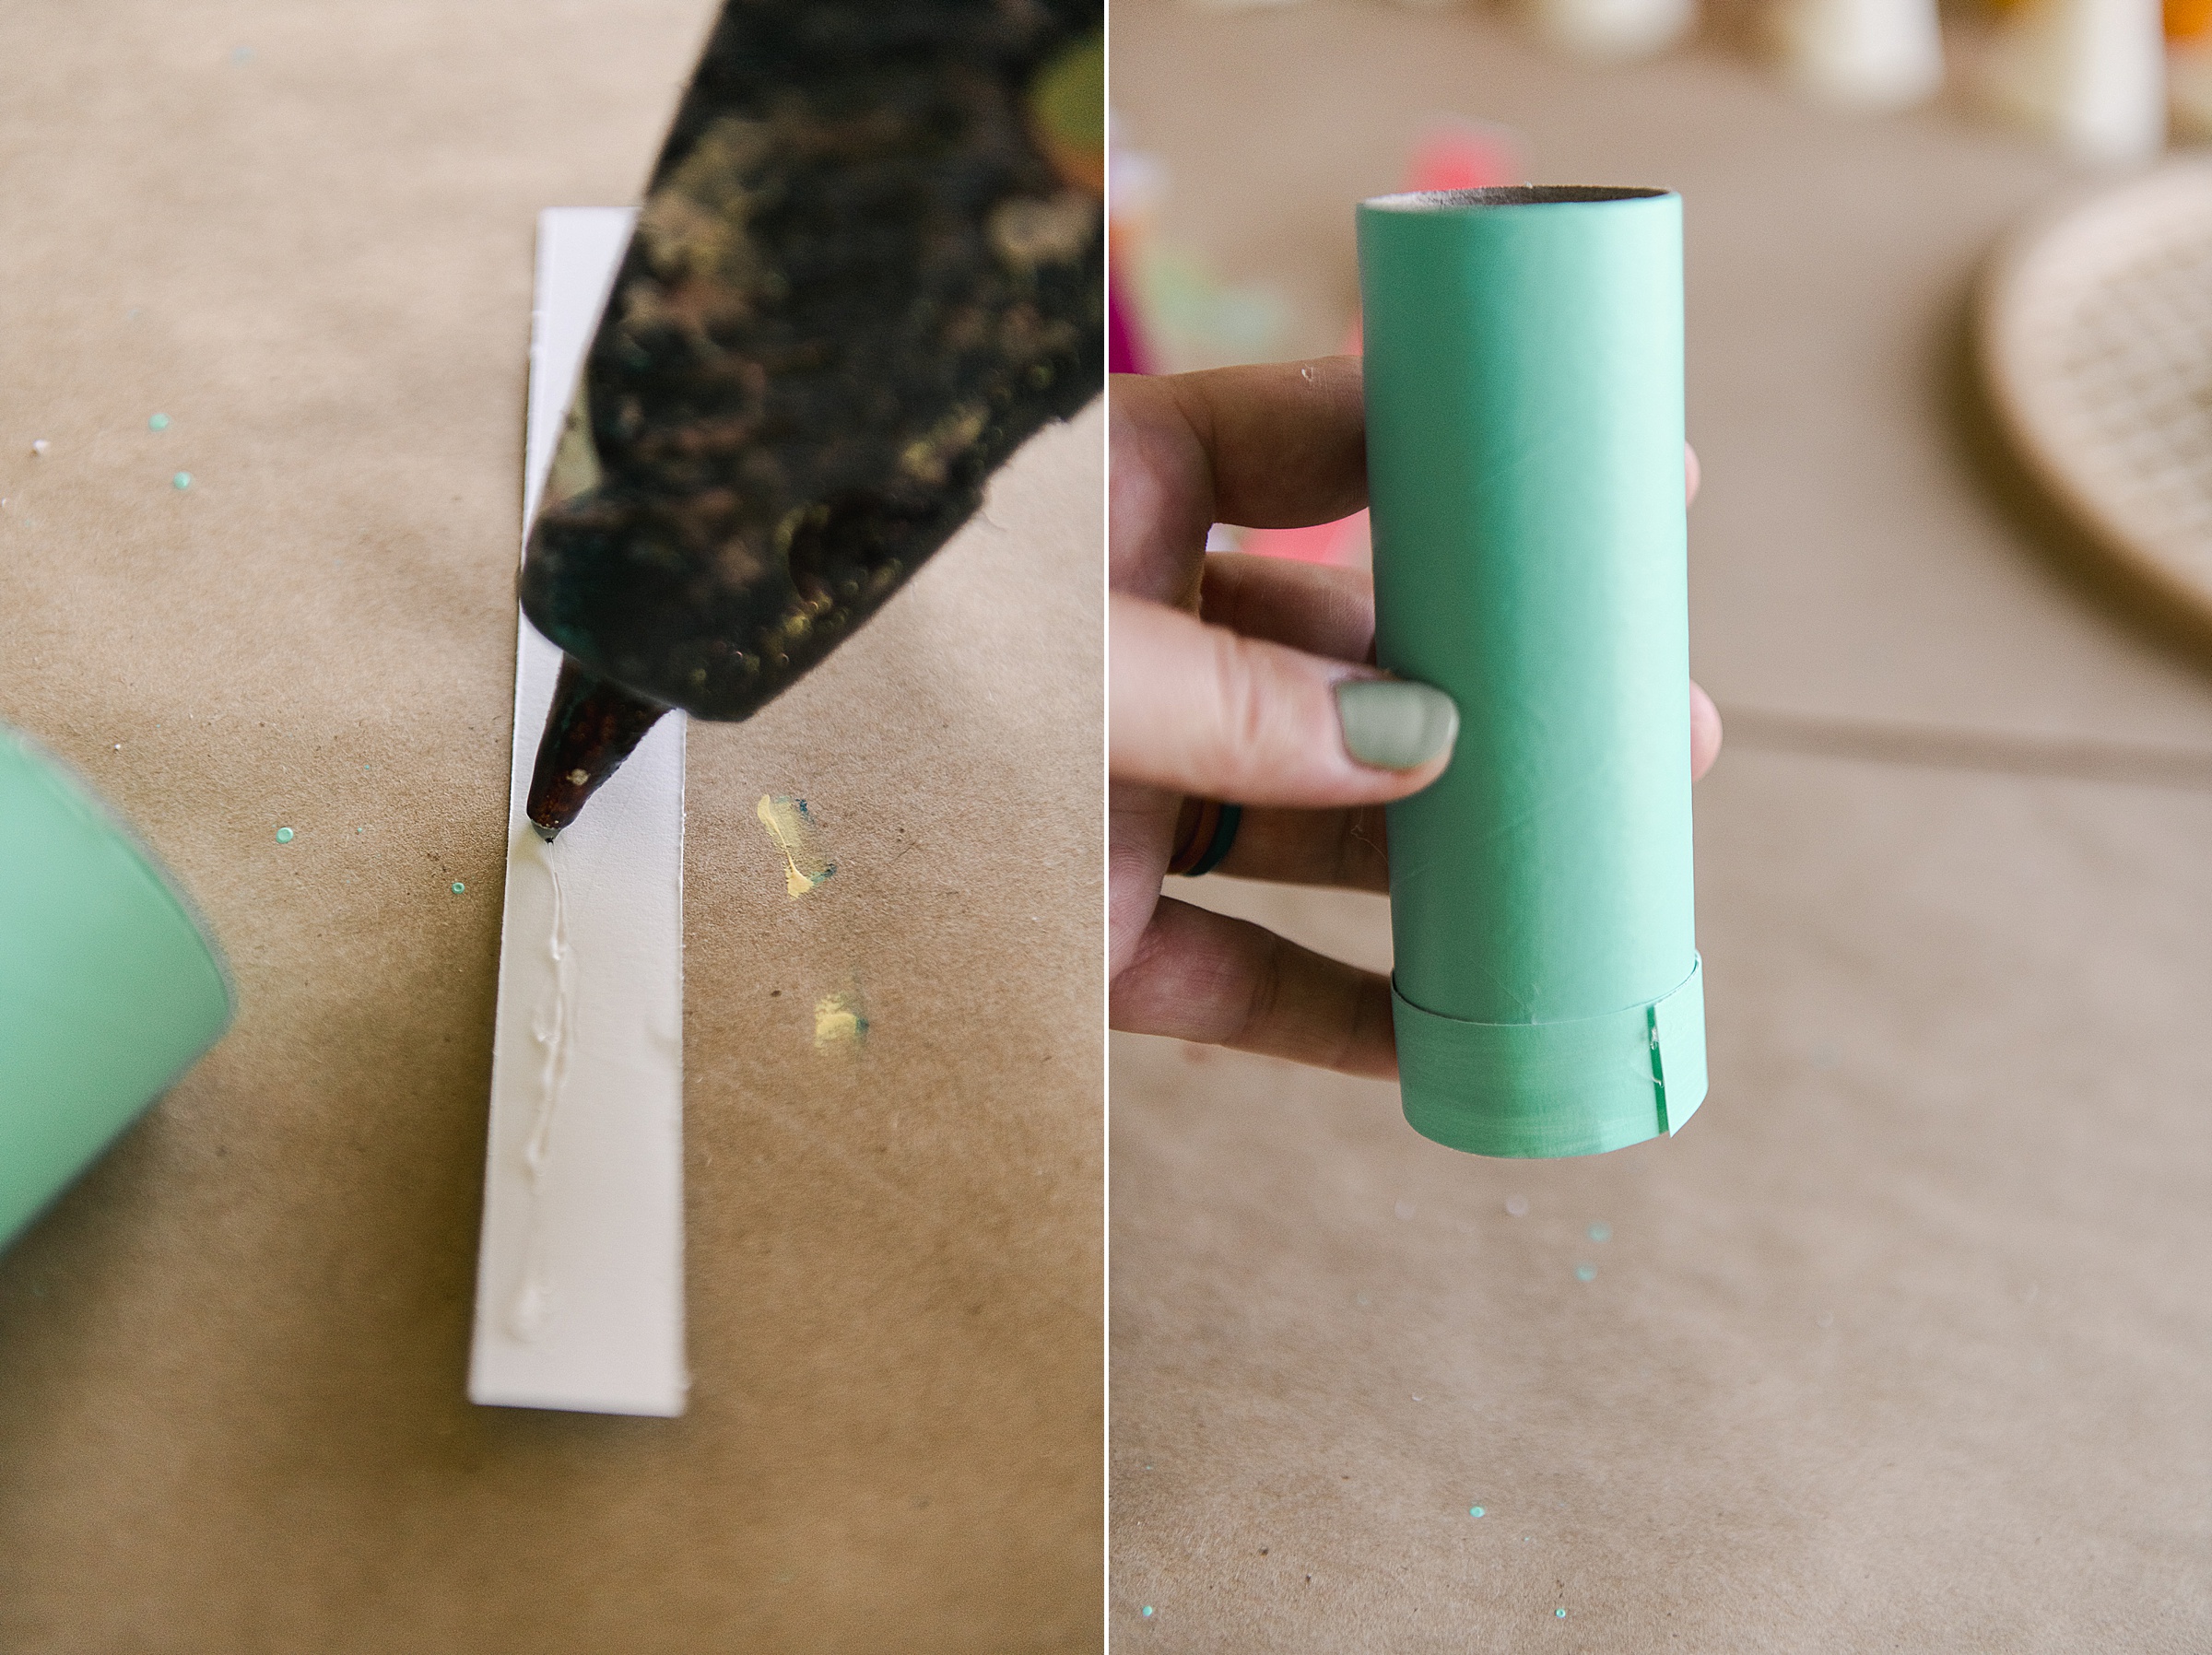
4. Once everything is dry, you will want to cut out a 3/4” strip out of your cardstock and a circle to fit exactly inside the bottom of the tube.
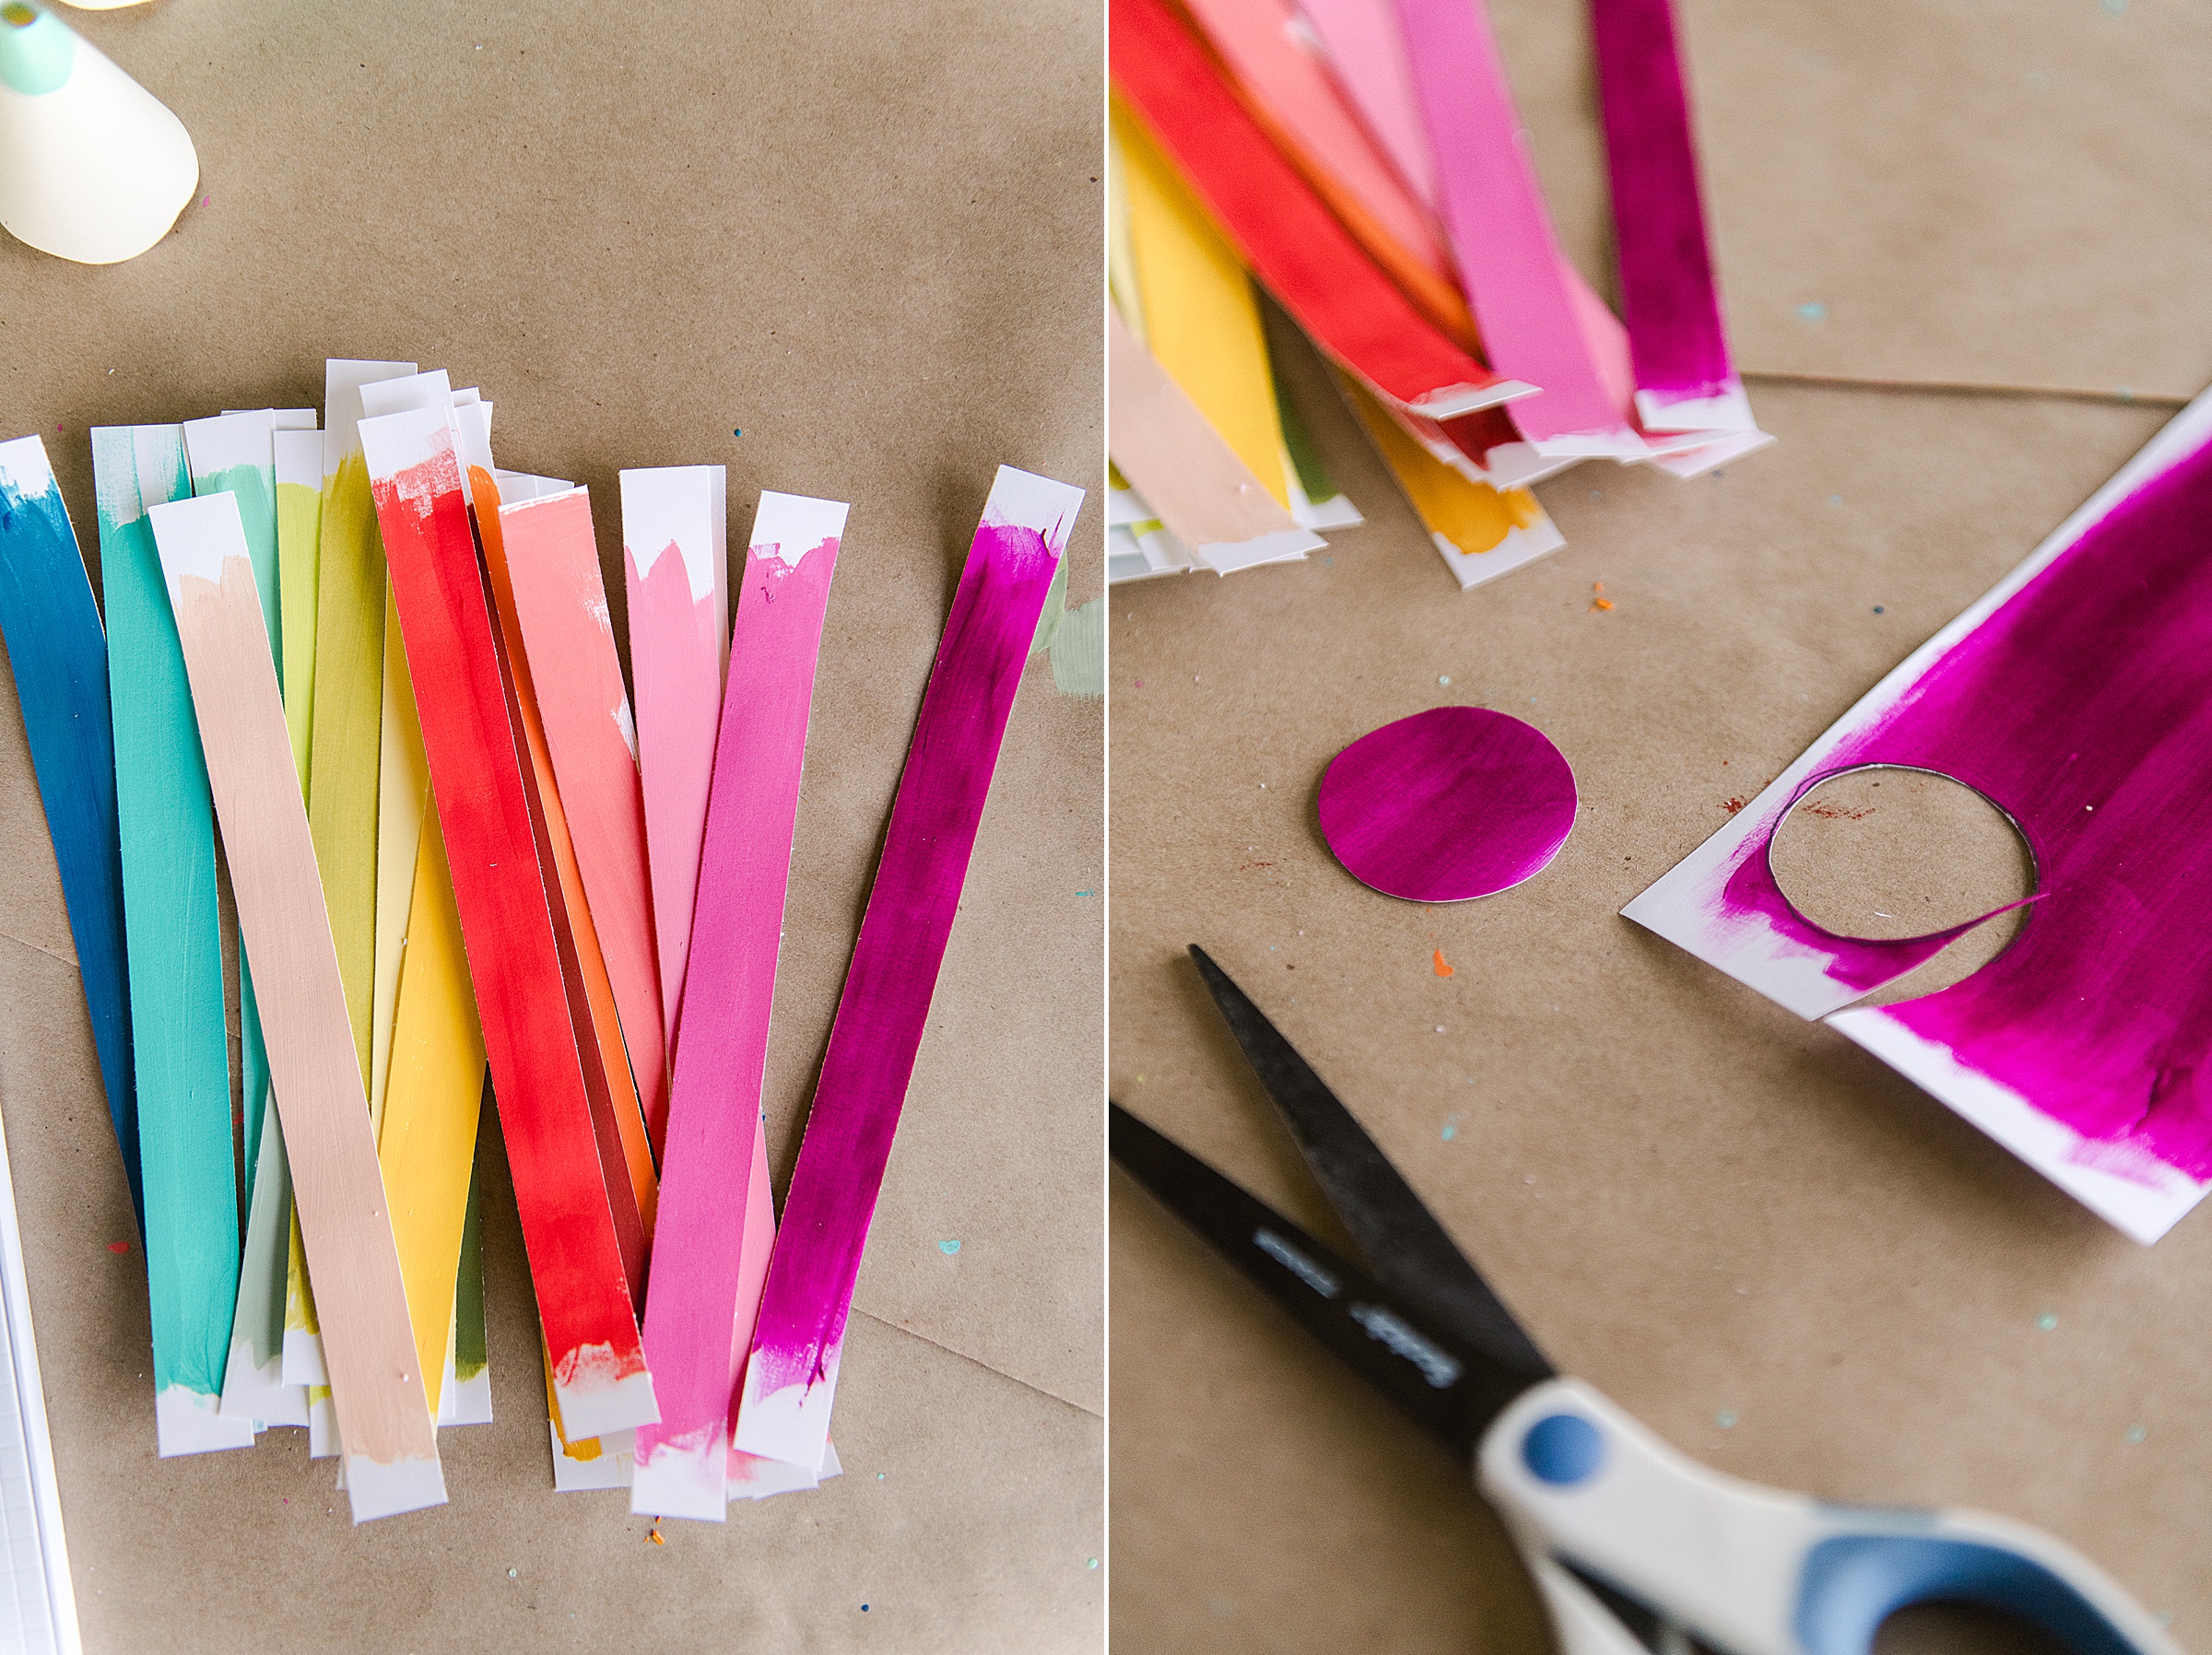
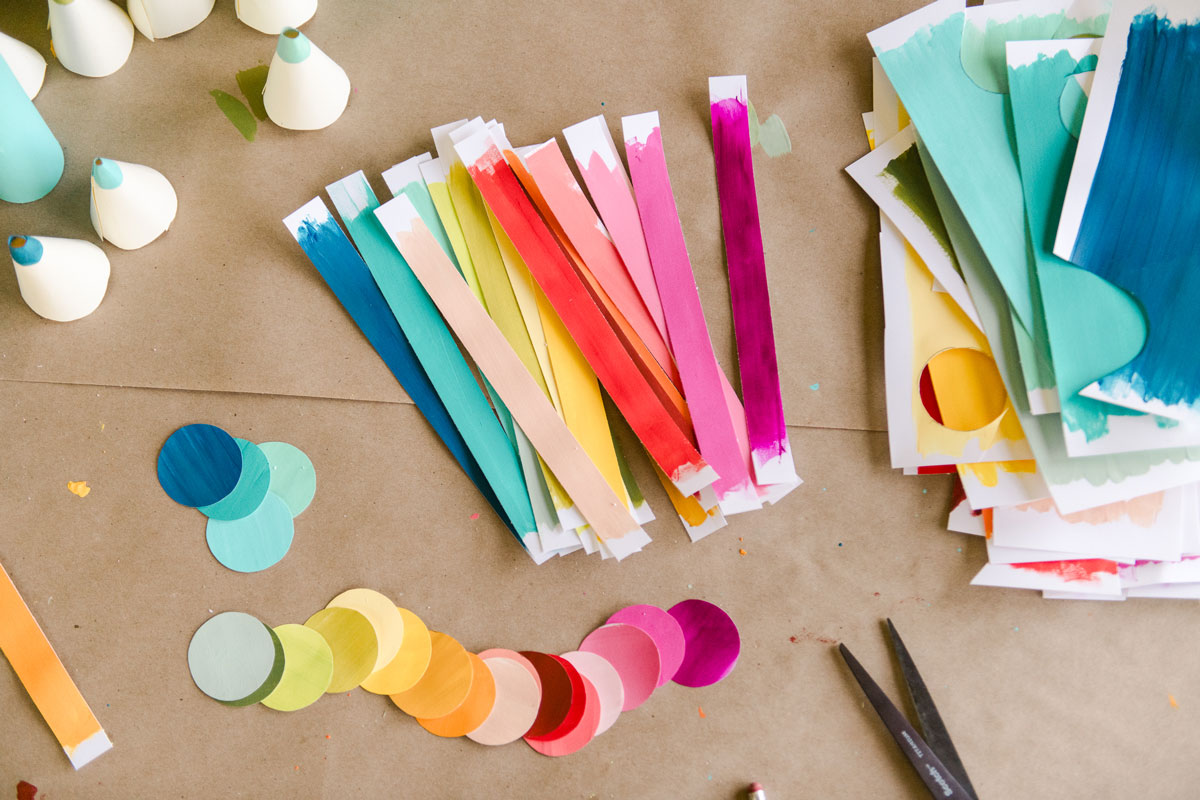
5. You will begin to glue each colored pencil together with the pencil tip on the top, the circle on the bottom and then the 1” strip across the very bottom perimeter of the pencil to give it a nice finished bottom edge.
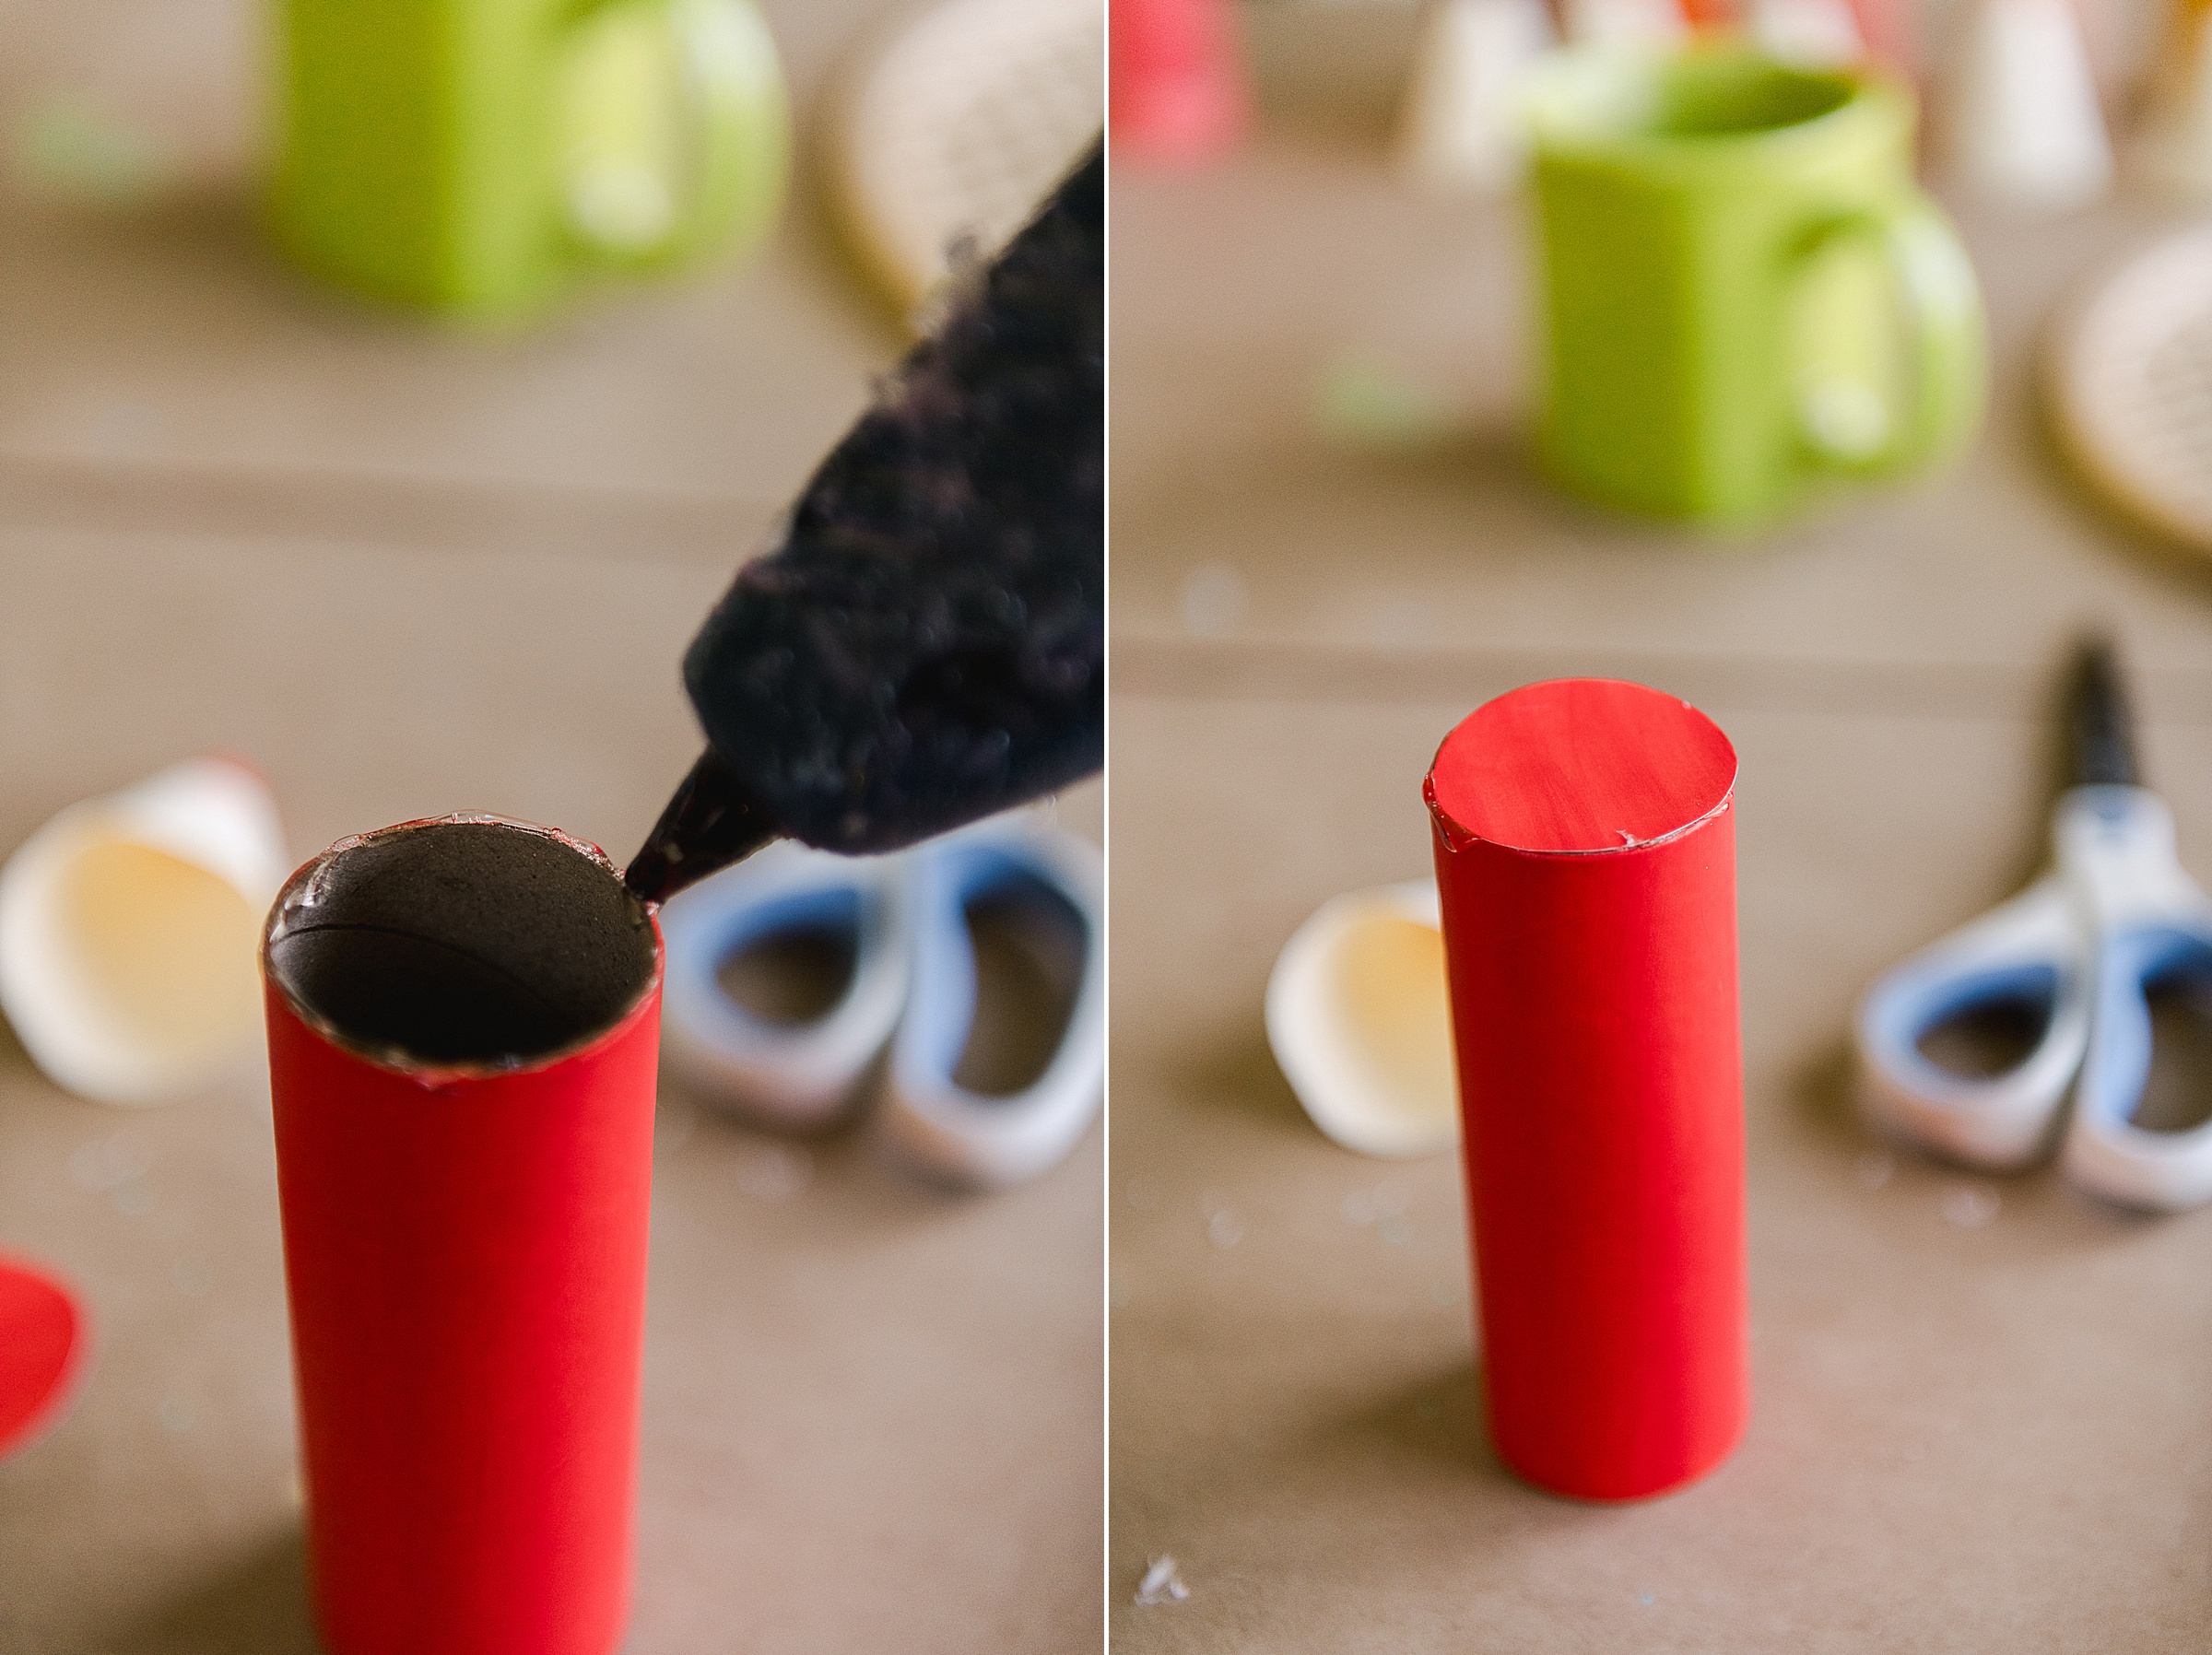
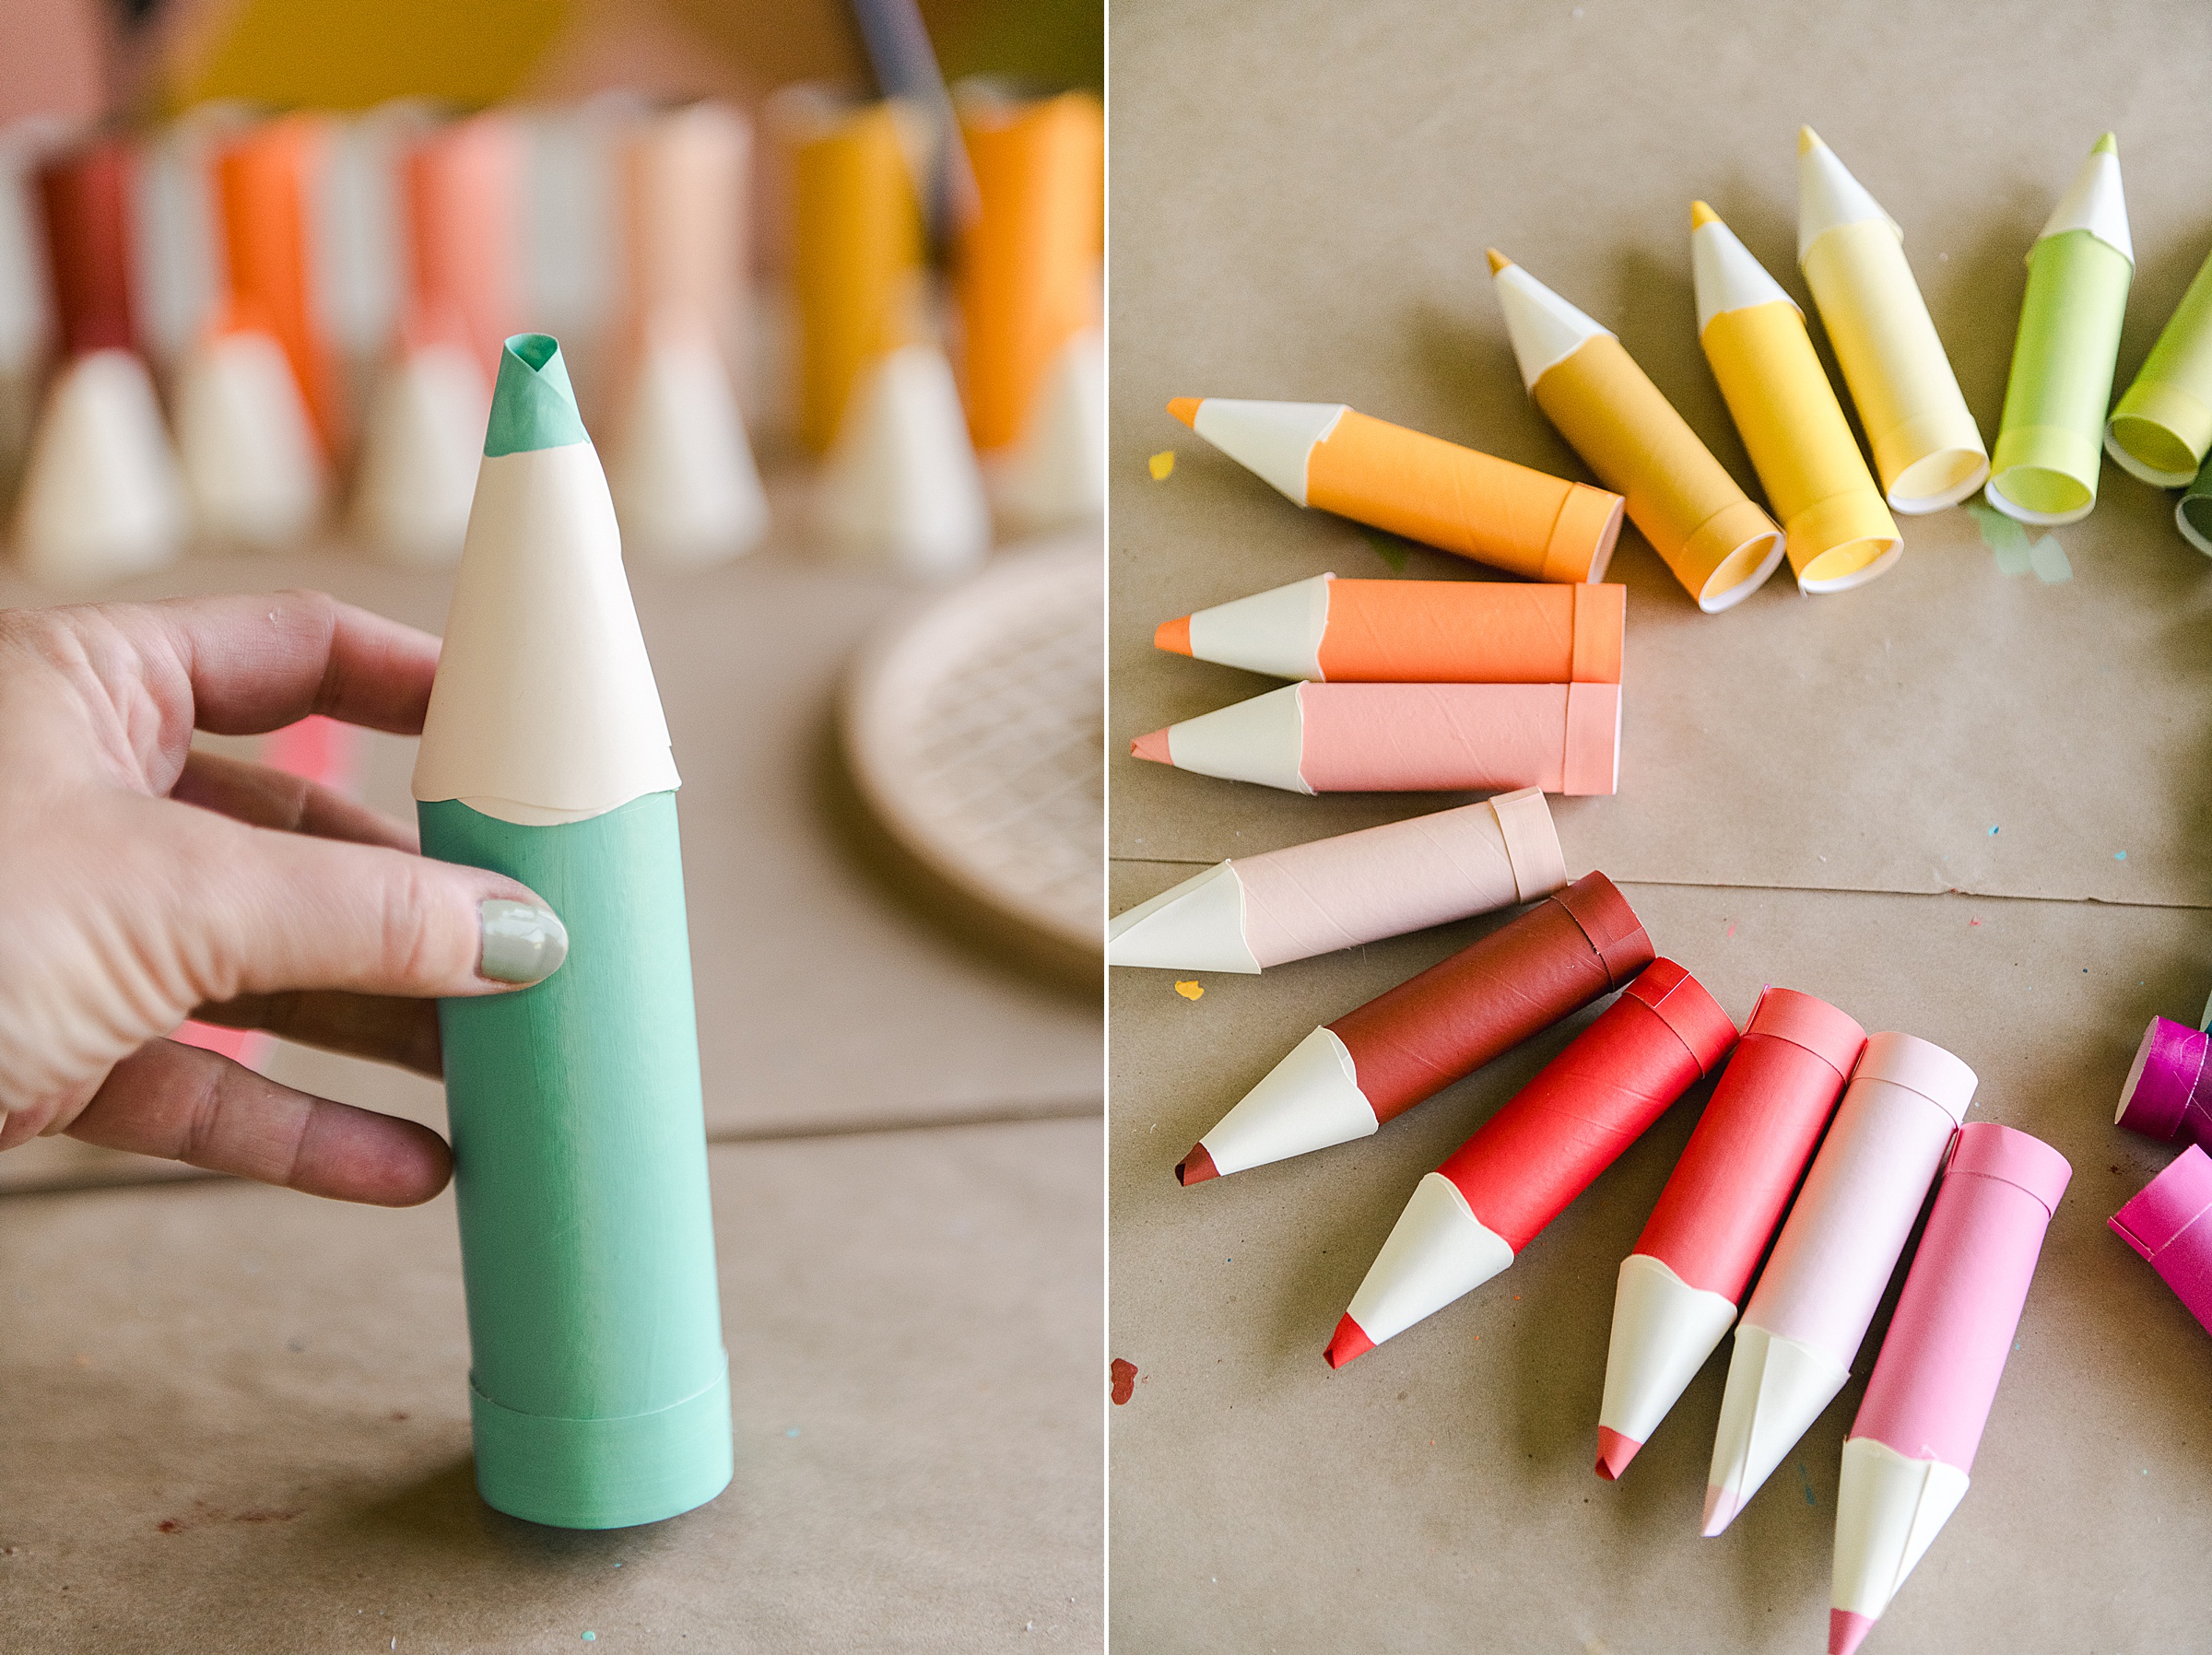
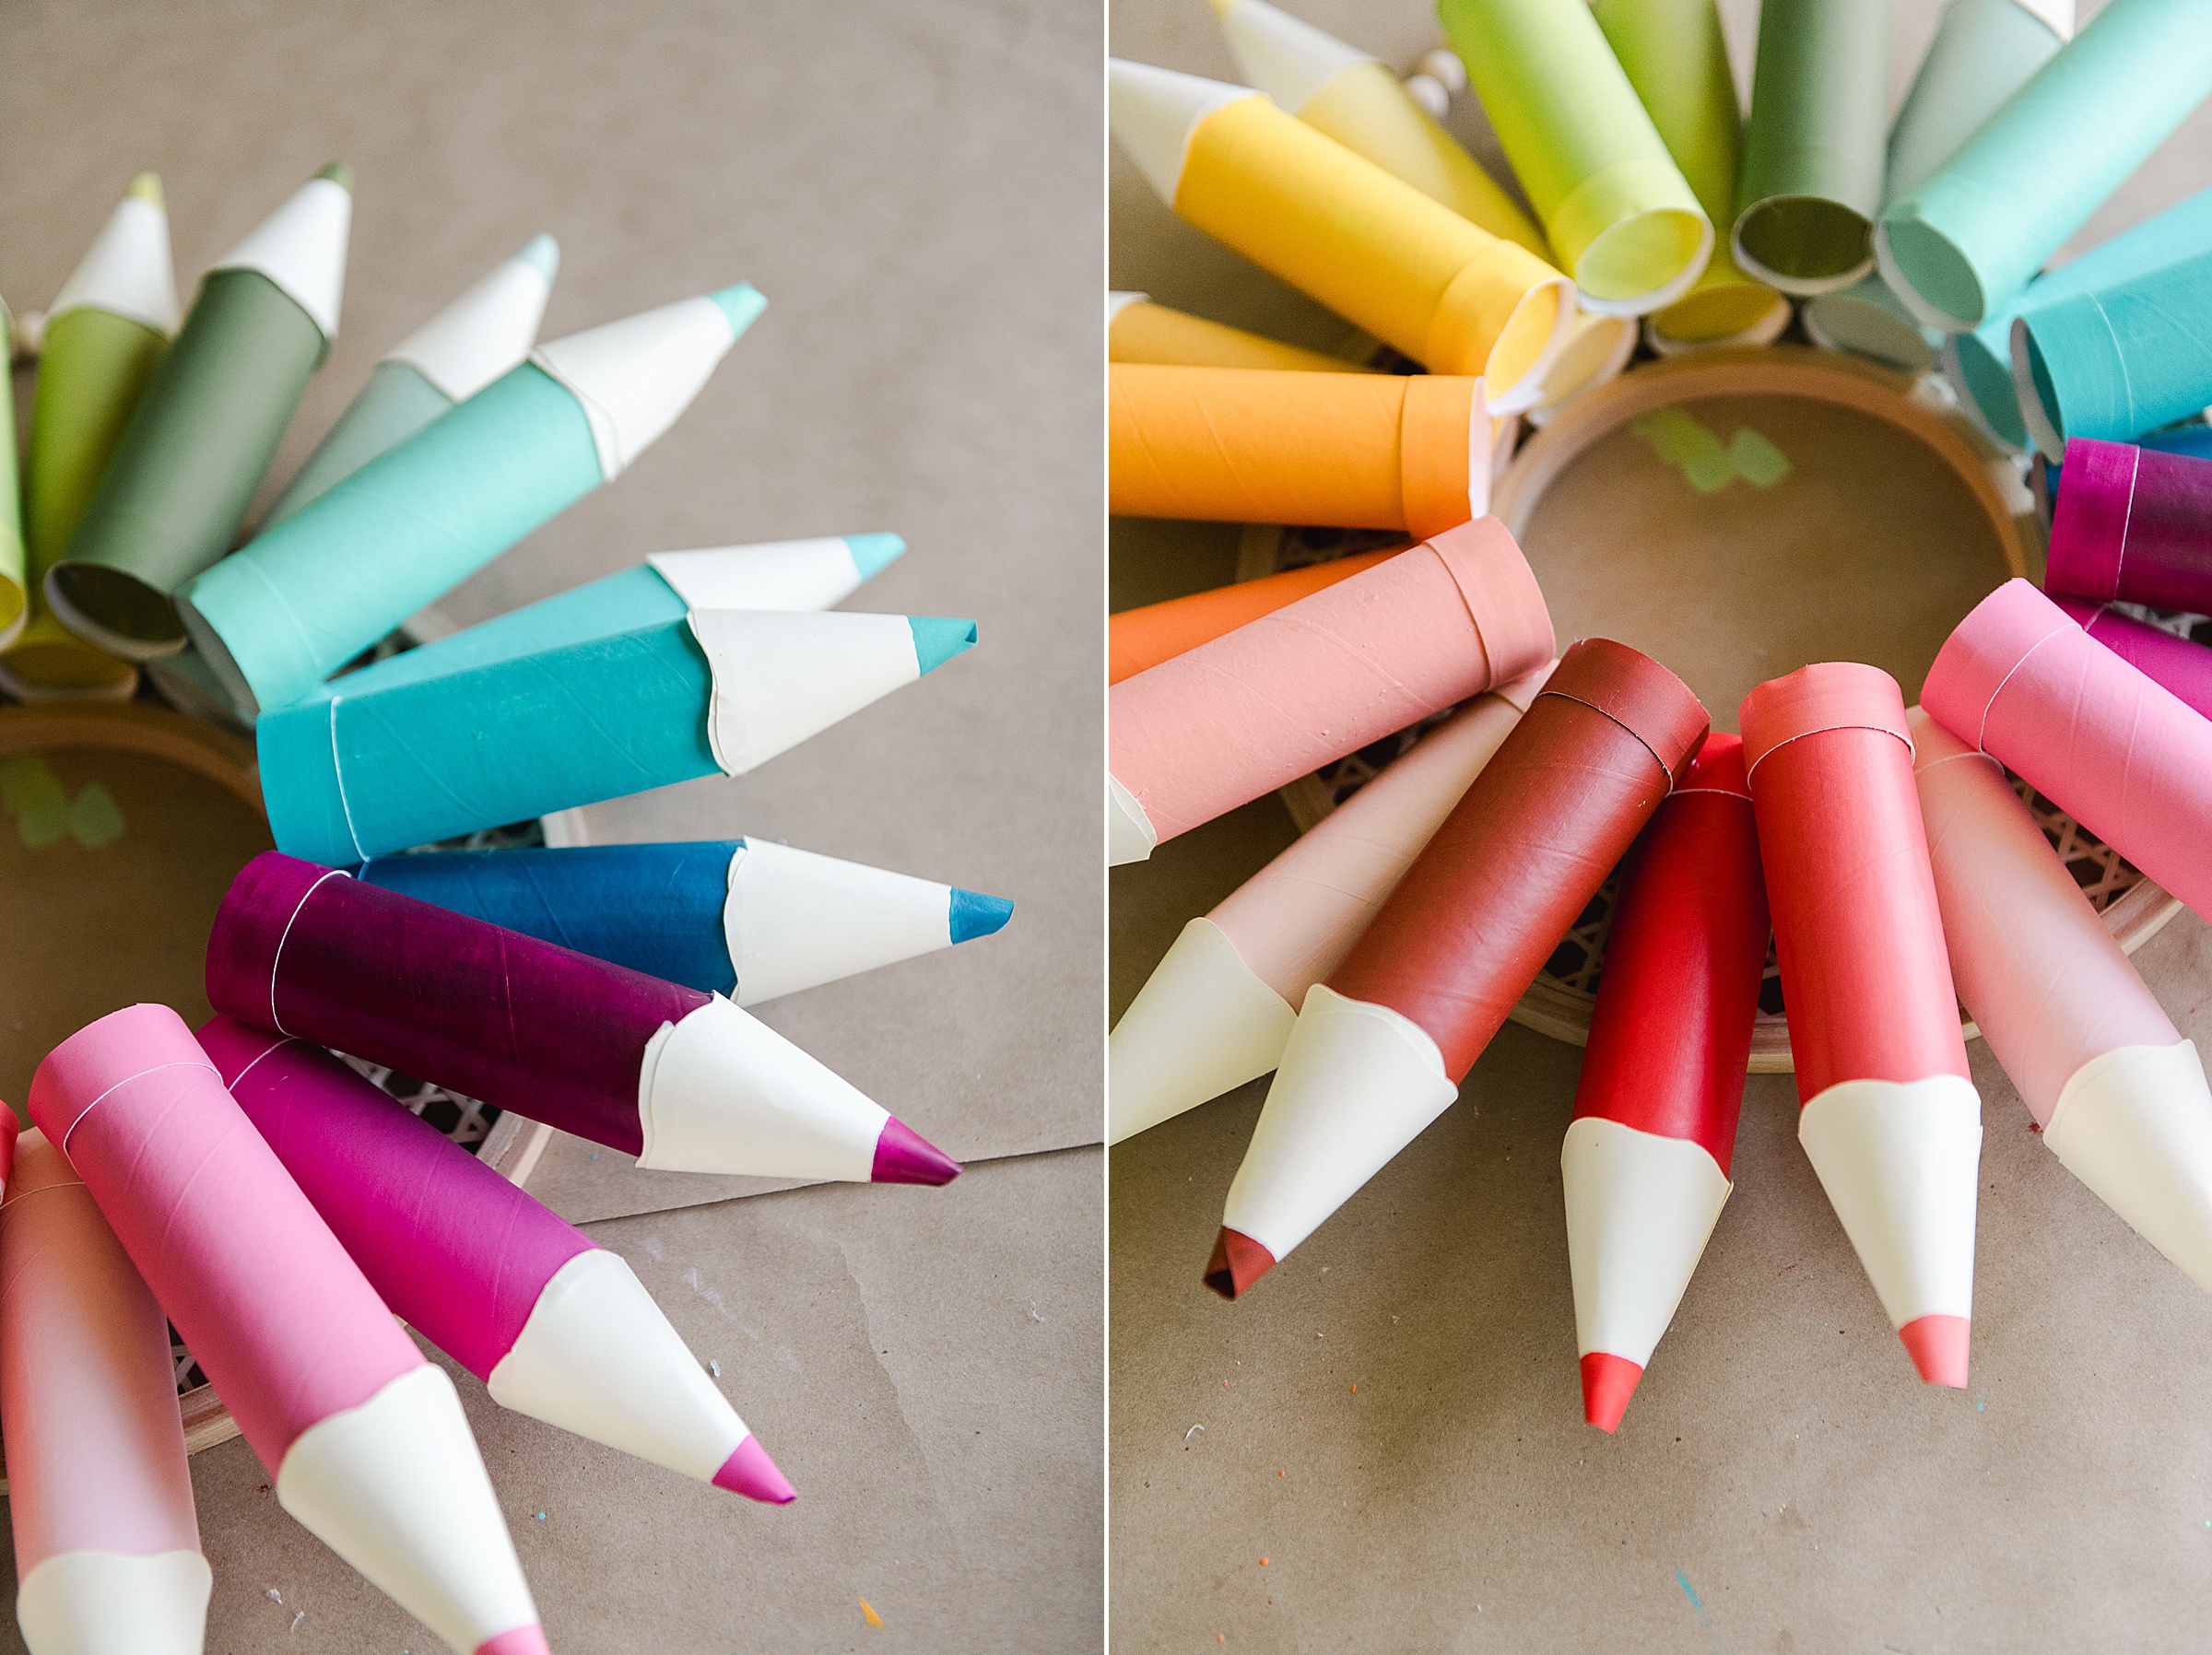
After everything is glued together, you will assemble the finished colored pencils however you’d like on the wreath form. I chose to do 2 “layers” of pencils and I think it turned out SOOOO happy and wonderful! 🙂
