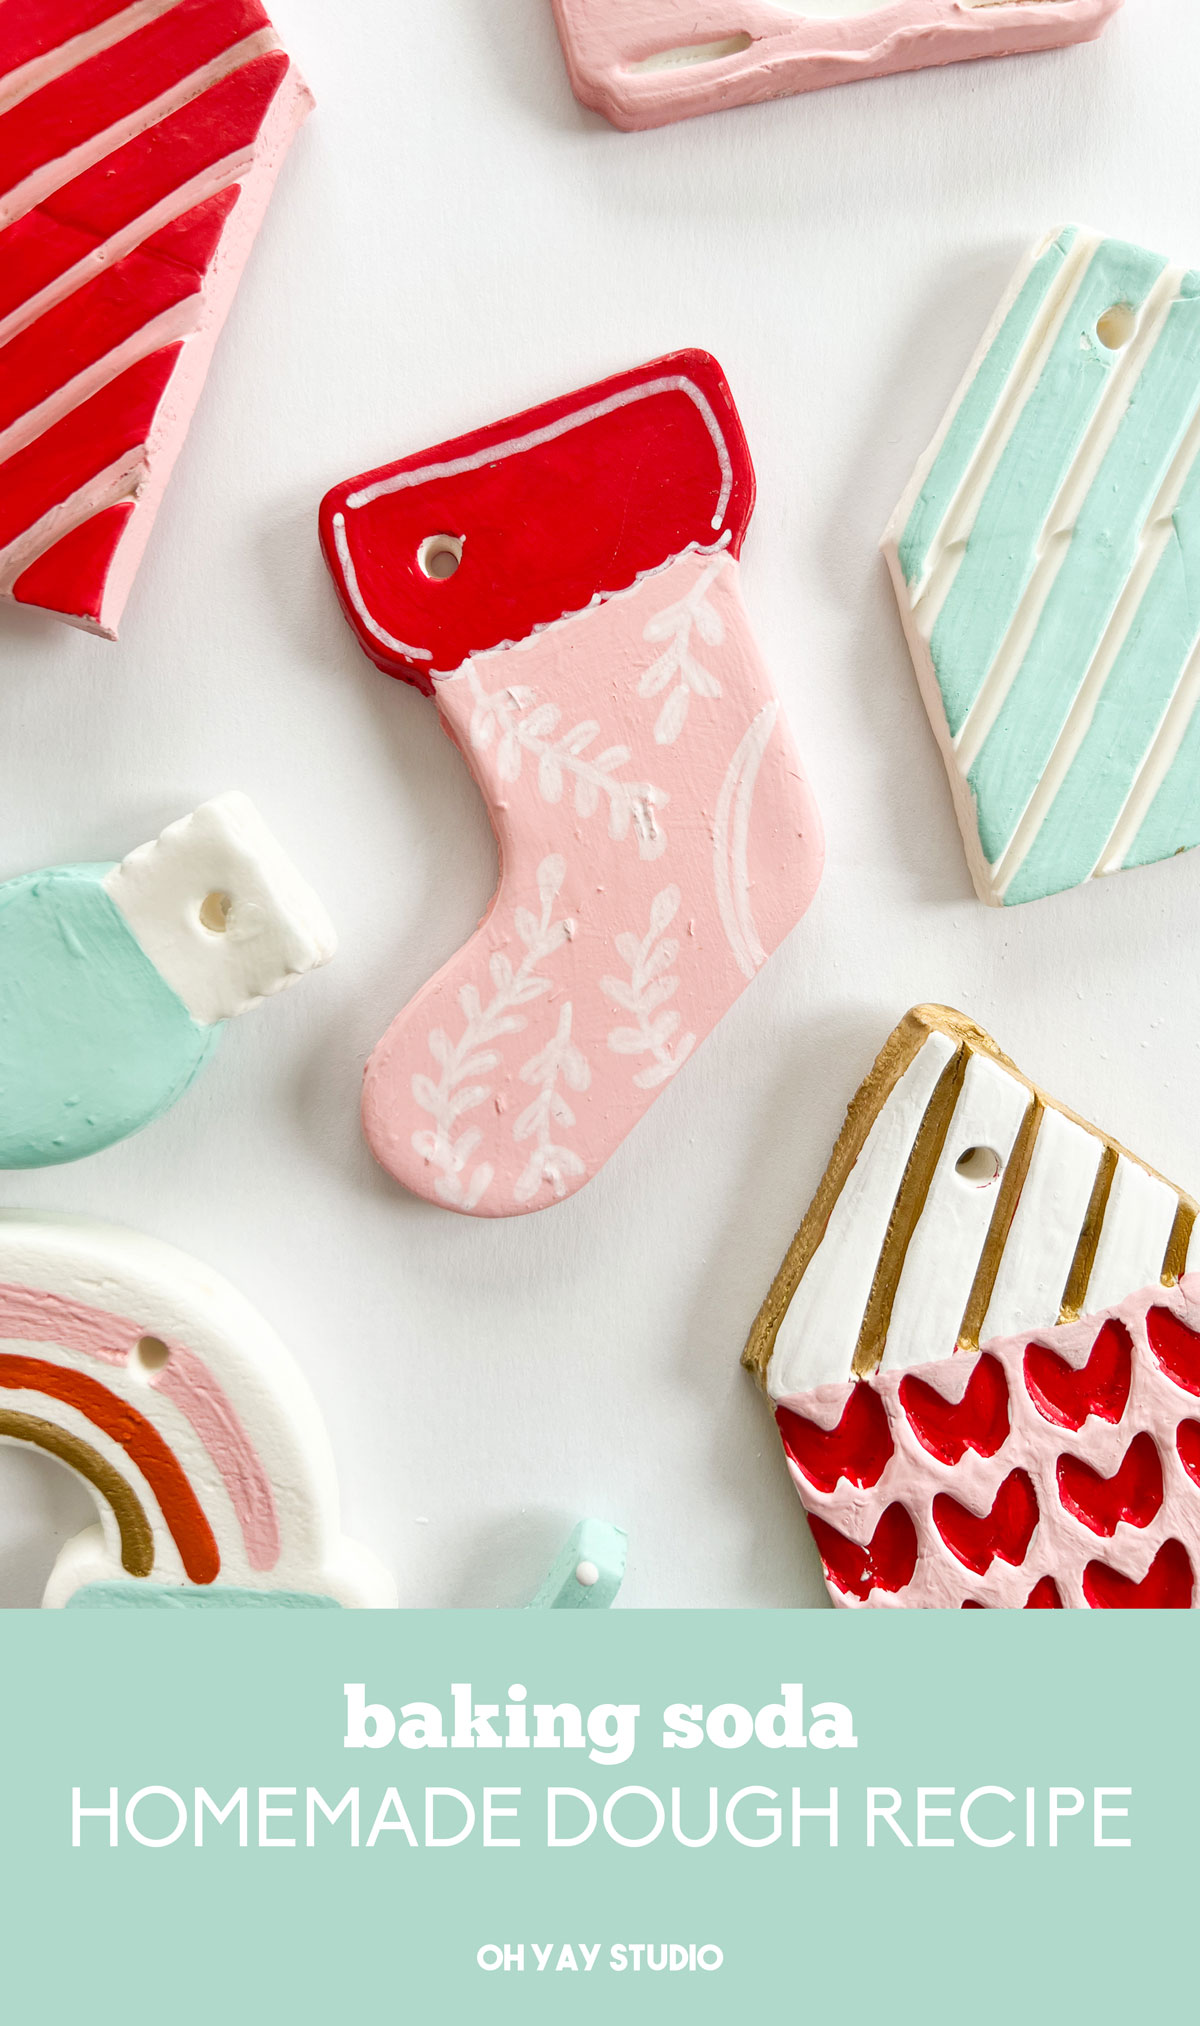
Baking Soda dough ornament DIY (perfect for ornaments or hand prints)
We have made salt-dough ornaments many many years in the past for gifts or gift toppers and while I love love LOVE the idea of a make-at-home dough, I’ve never loved the salt dough situation! SO I HAVE A SOLUTION if you are in the same boat as me (us)……BAKING SODA DOUGH is it! This baking soda dough recipe is soft and smooth and crisp white and dries AMAZING and is so so so easy to paint!
SO bust out a few simple kitchen ingredients to make this baking soda dough recipe! 🙂
Use this baking soda recipe to make ornaments or gift toppers or stocking tags or even if you’re looking to make handprints for kiddos or paw prints for pups, this is an AMAZING dough to make! 🙂
What do I love about this baking soda dough:
- It’s very pure white in color which makes it SO easy to paint
- The finished product is SOOOO smooth (unlike the gristly texture of salt dough)
- It’s *SO* easy to make – like I said, a few ingredients all listed below
- There’s multiple options to “finish” them and personalize them (paint, sealing, etc)
INGREDIENTS + RECIPE:
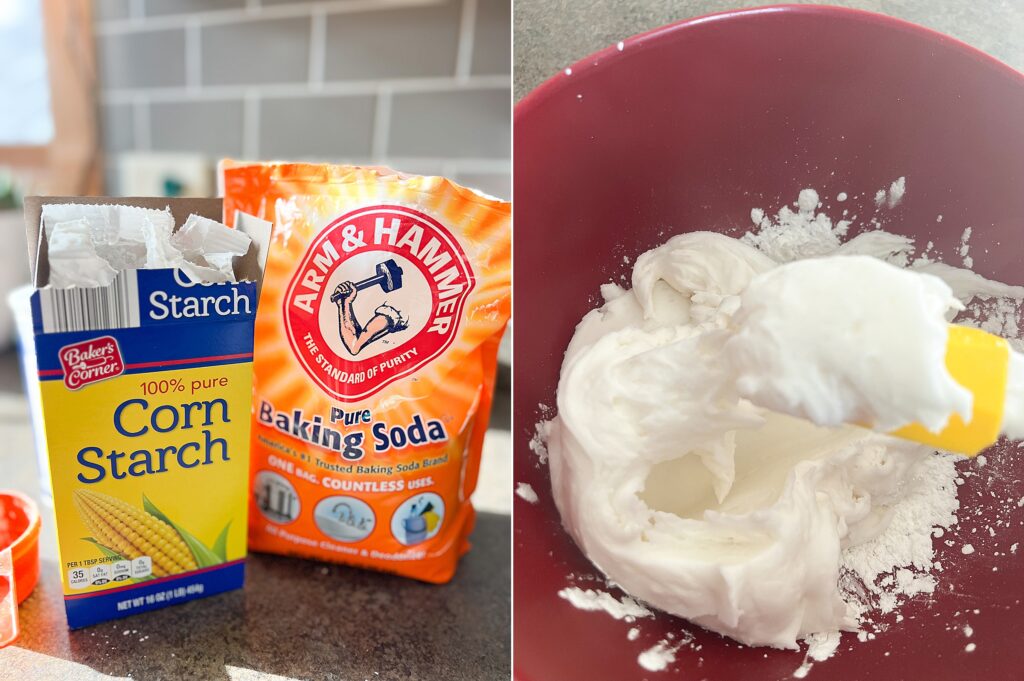
- 1/2 cup cornstarch
- 1 cup baking soda
- 3/4 cup (or a touch less) of water
- cookie cutters, a straw or dowel and any other embossing or cutting materials that you want
- Parchment paper + a baking sheet
- Paint and paint brushes
- string or ribbon for hanging ornaments
- (optional) Mod Podge for sealing
INSTRUCTIONS:
- In a pot on your stove, mix together the cornstarch, baking soda and water. Turn to medium heat and stir stir stir…..at first the mixture mixes like oobleck, but then it will loosen up and eventually start to thicken again in the right way!
Keep stirring the mixture over heat until the dough starts to thicken to like a smooth mashed-potato consistency (only a few minutes, it starts to come together quickly) and then remove from the heat.
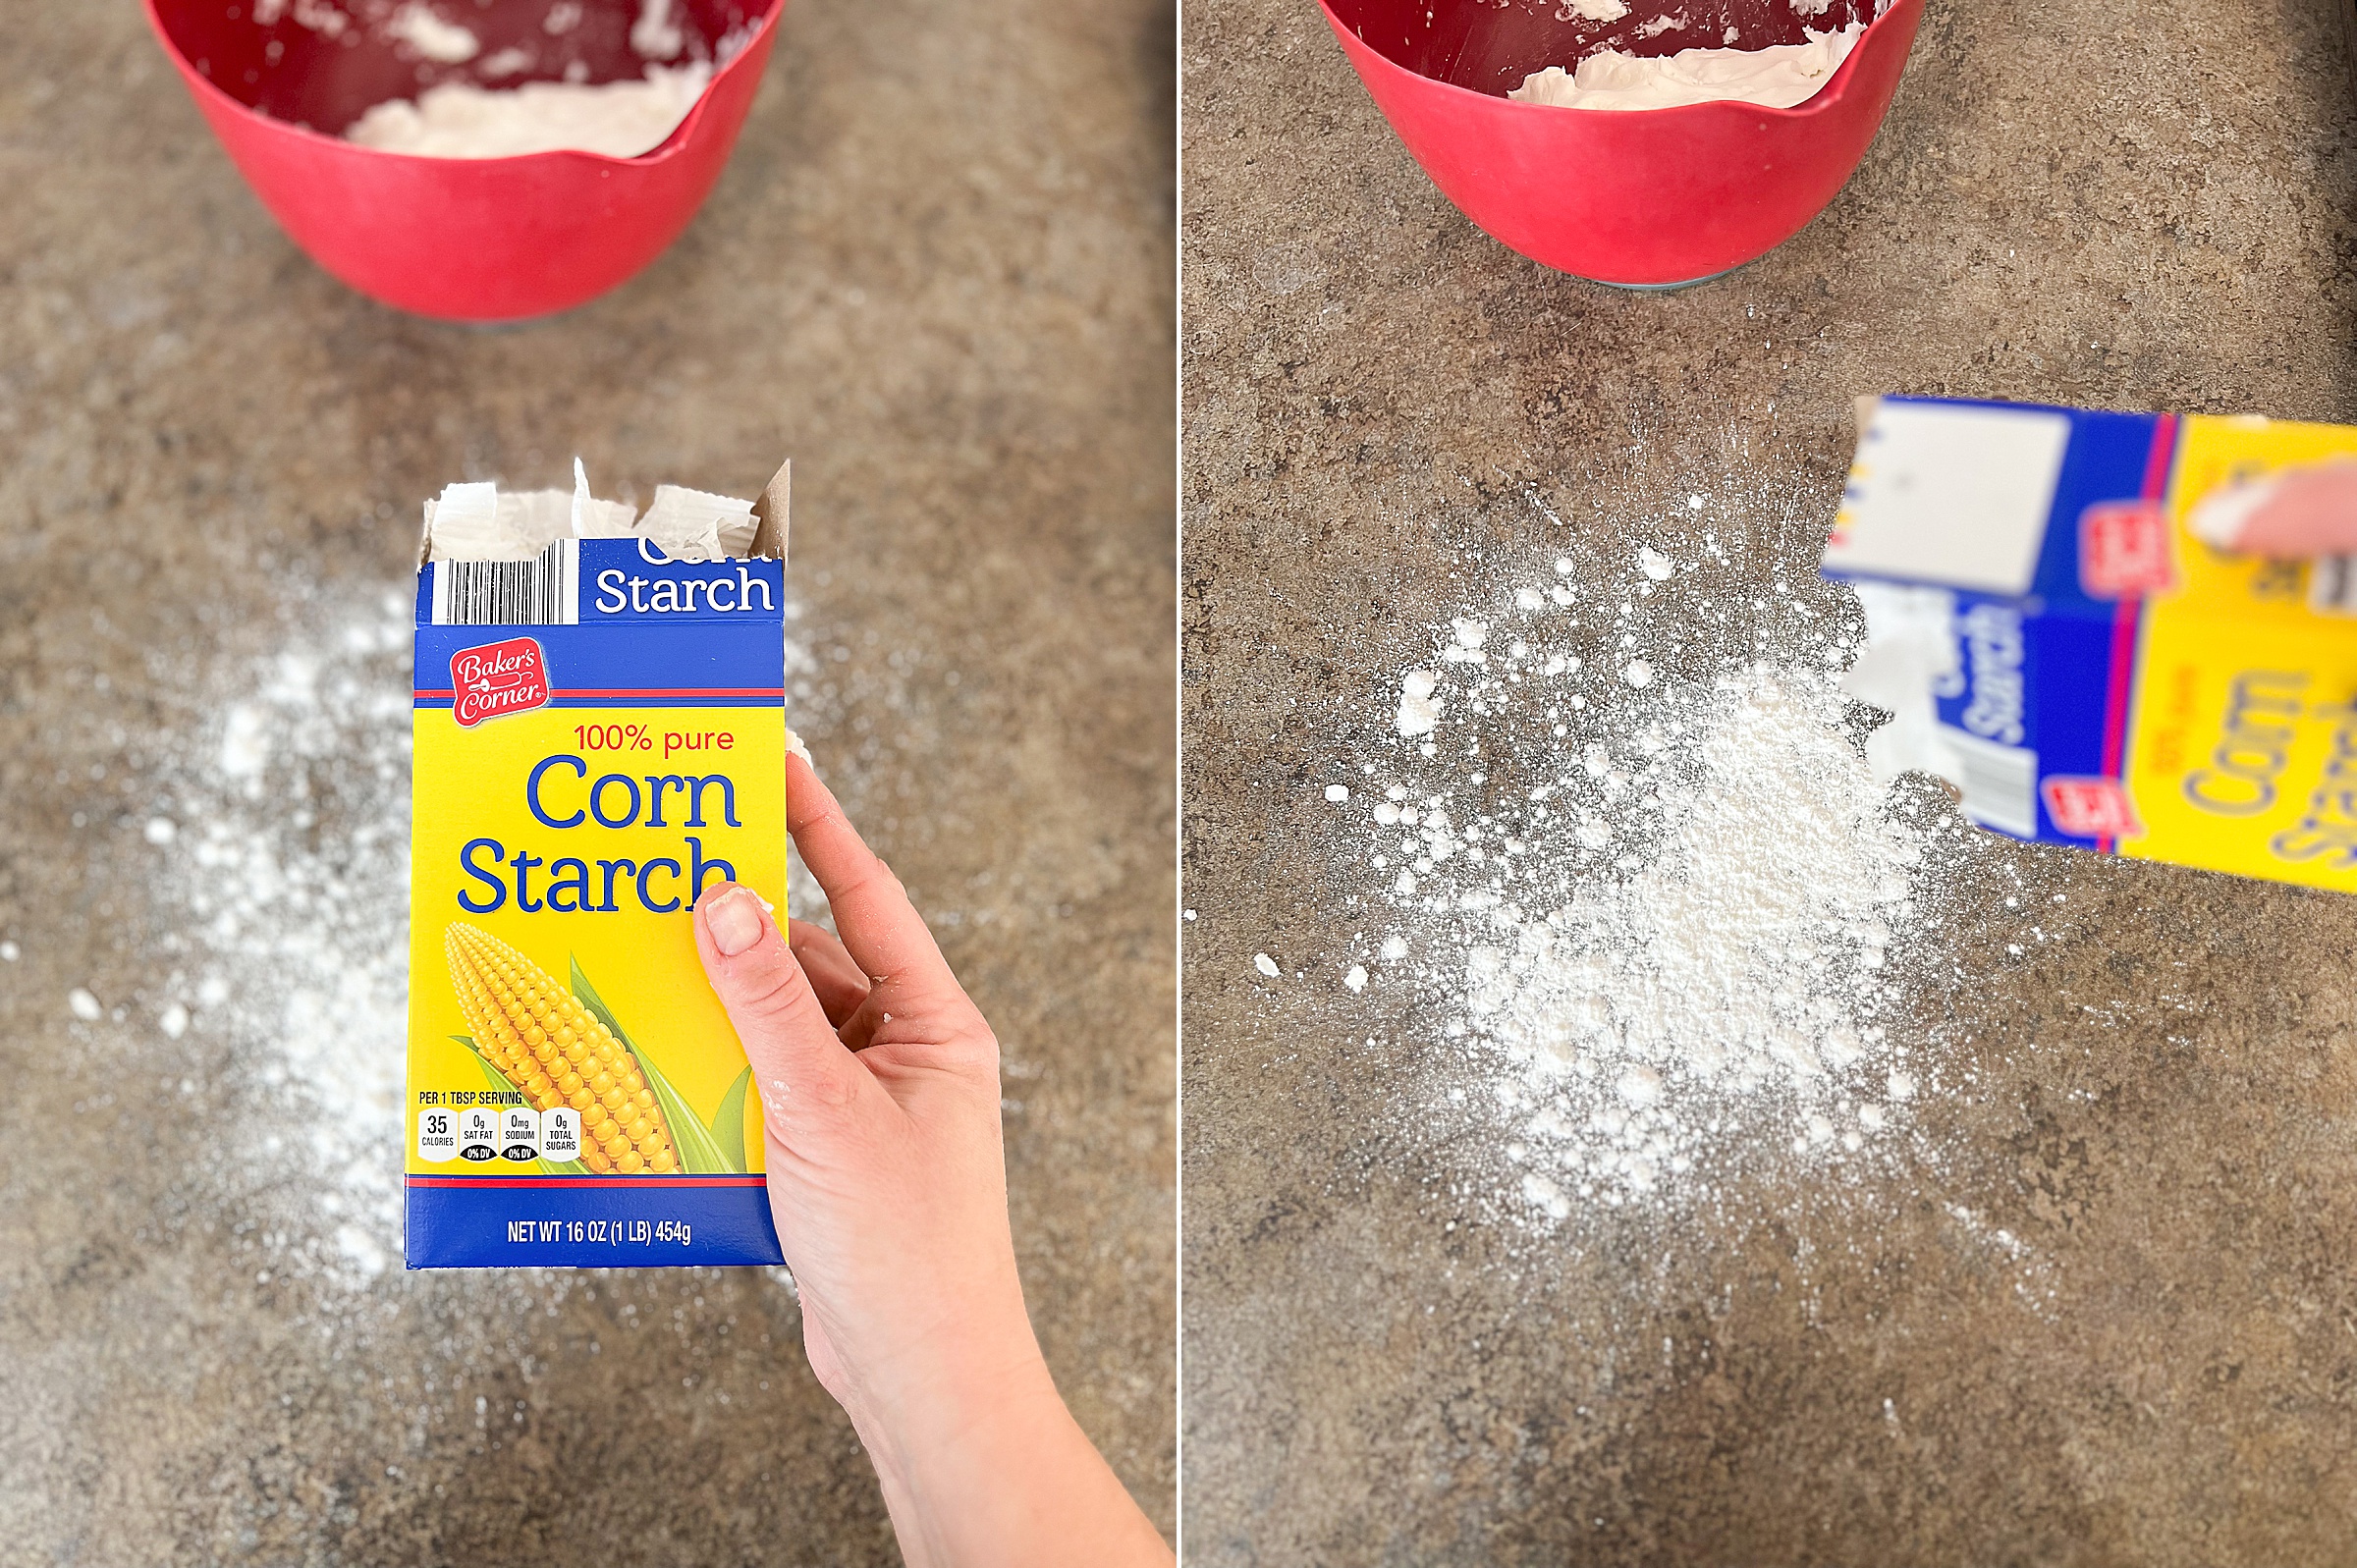
2. Place the ball of dough in a bowl, on the counter on in a pan to cool a bit until it’s cool enough to “work” and start rolling out (you can also use a bit of extra corn starch sprinkled on the counter or bowl before spooning the hot dough from the pot).
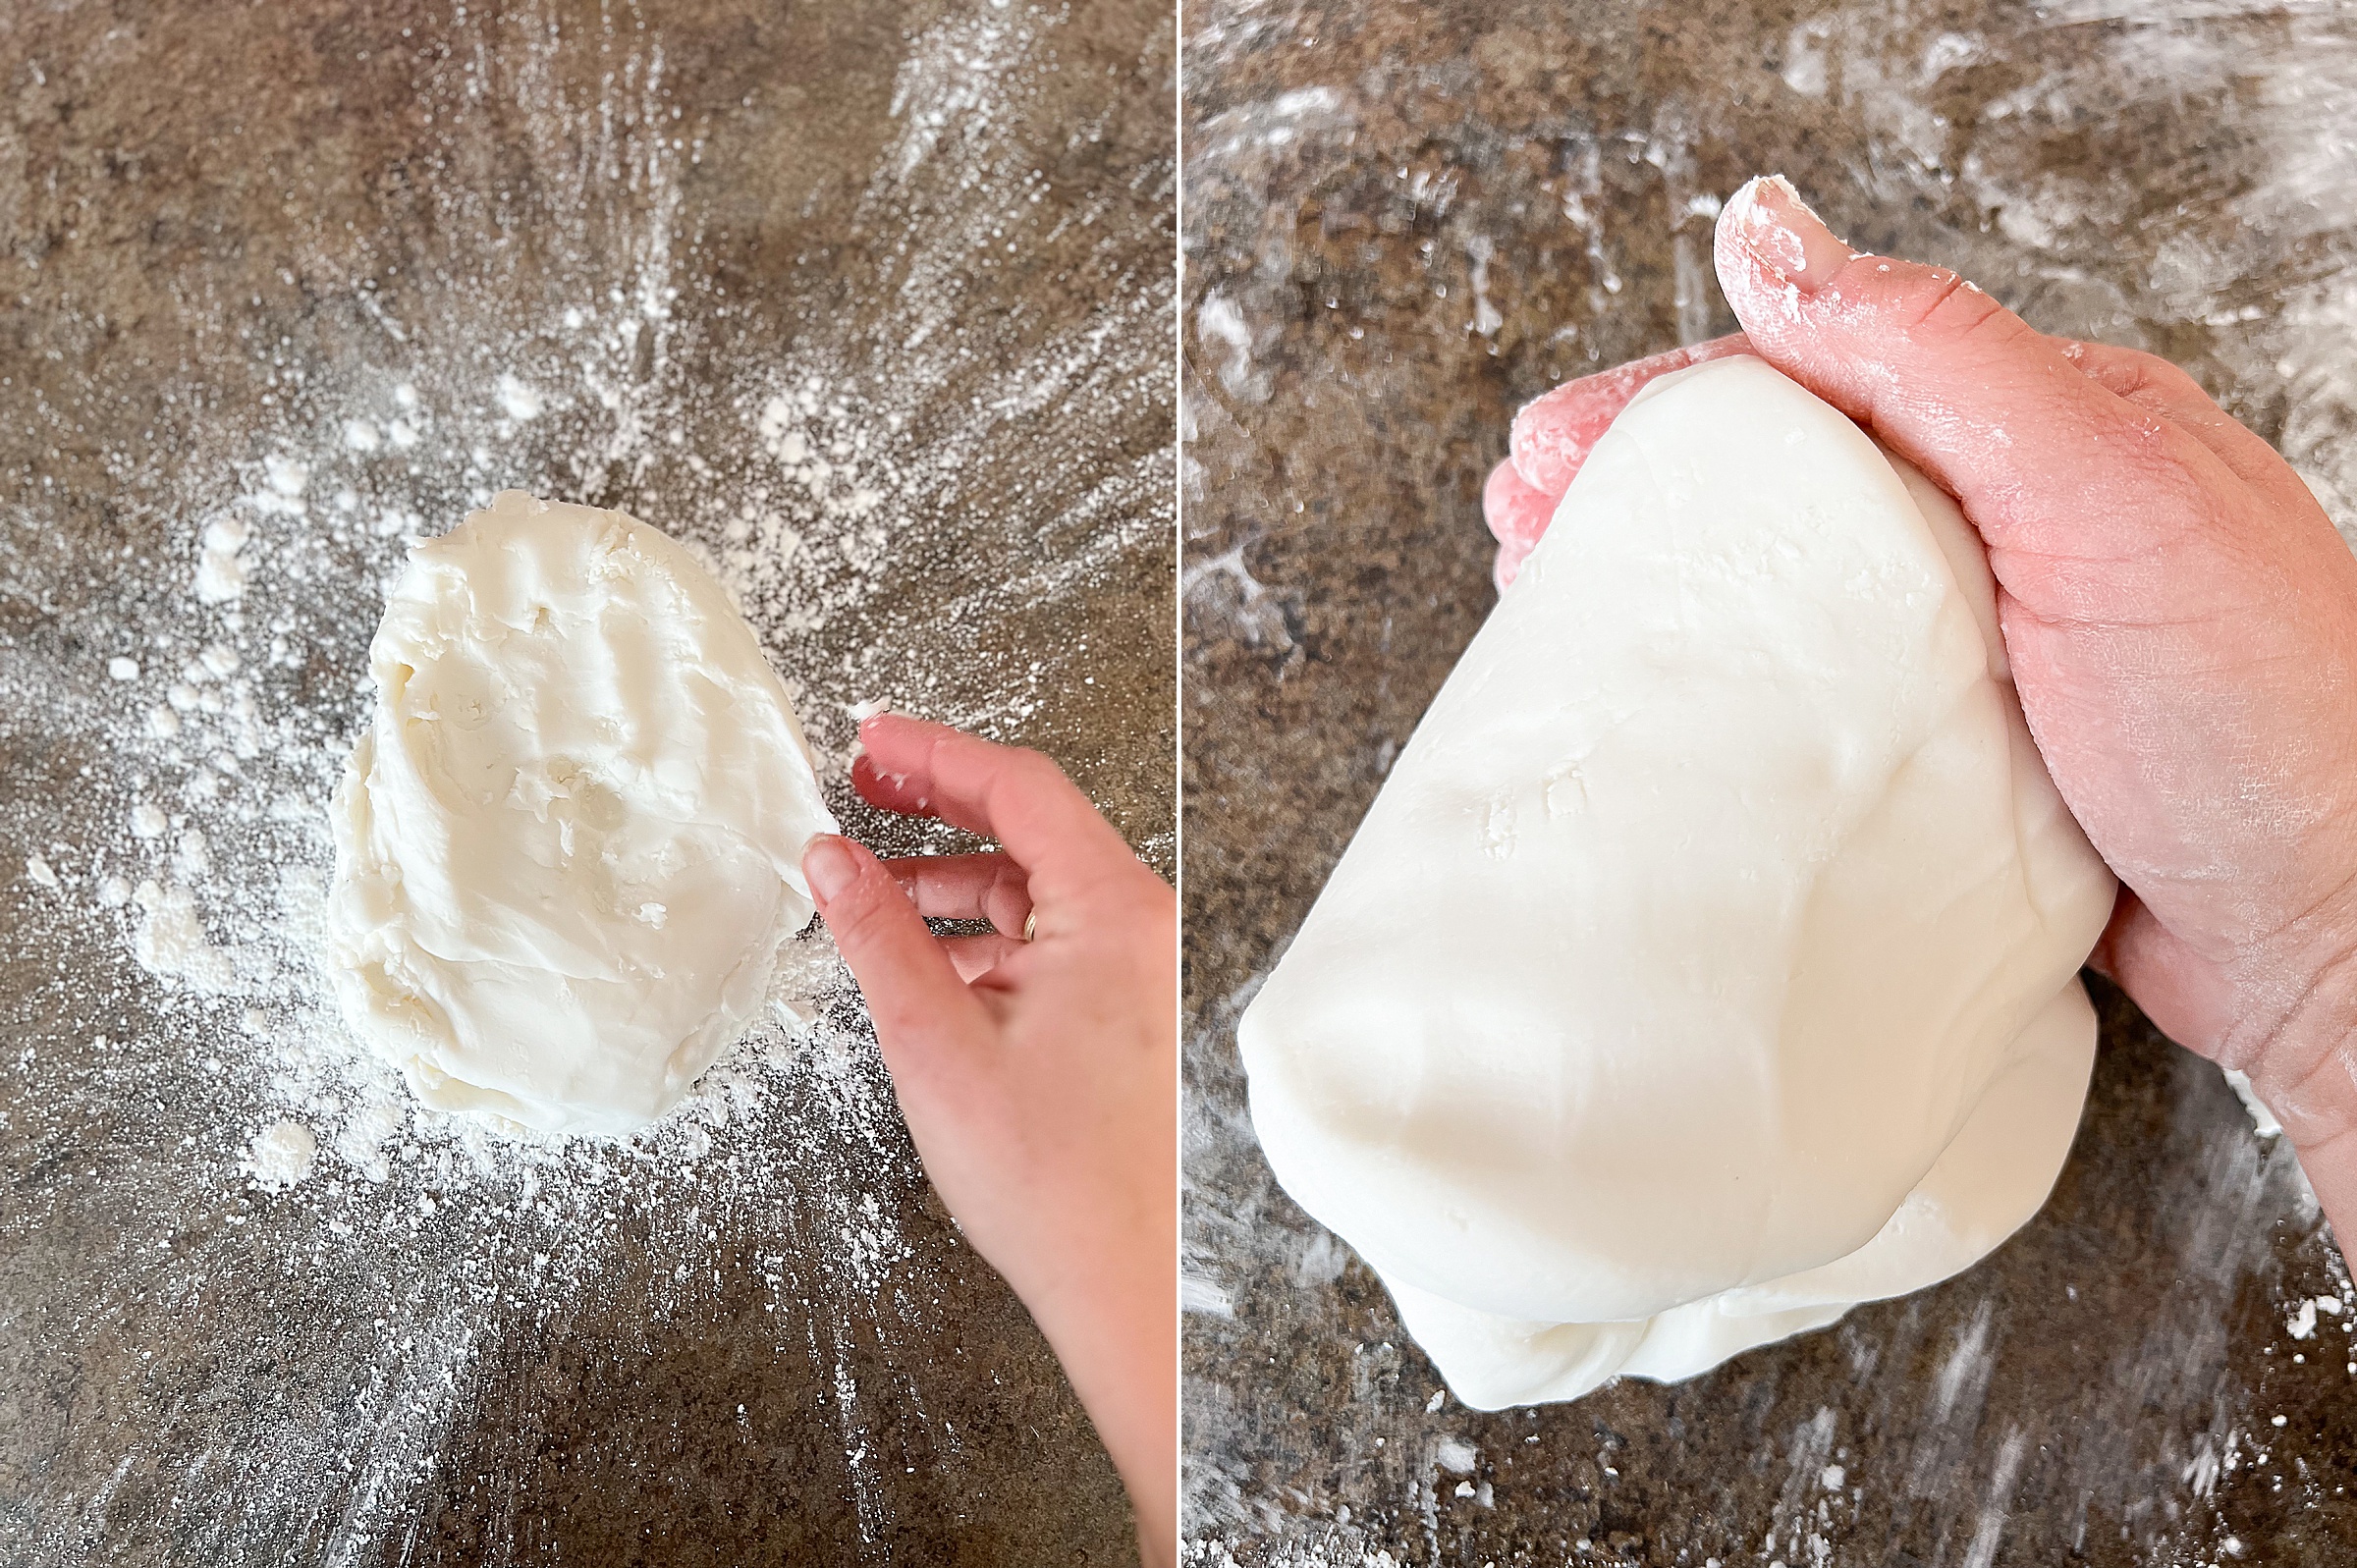
**I chose to cover the dough with a damp towel while it cooled down – you will likely want to do this because you don’t want the dough to dry out at all during this step if possible! I also began to start to kneed the dough while it was still a bit warm to alleviate any drying opportunities before cutting out.
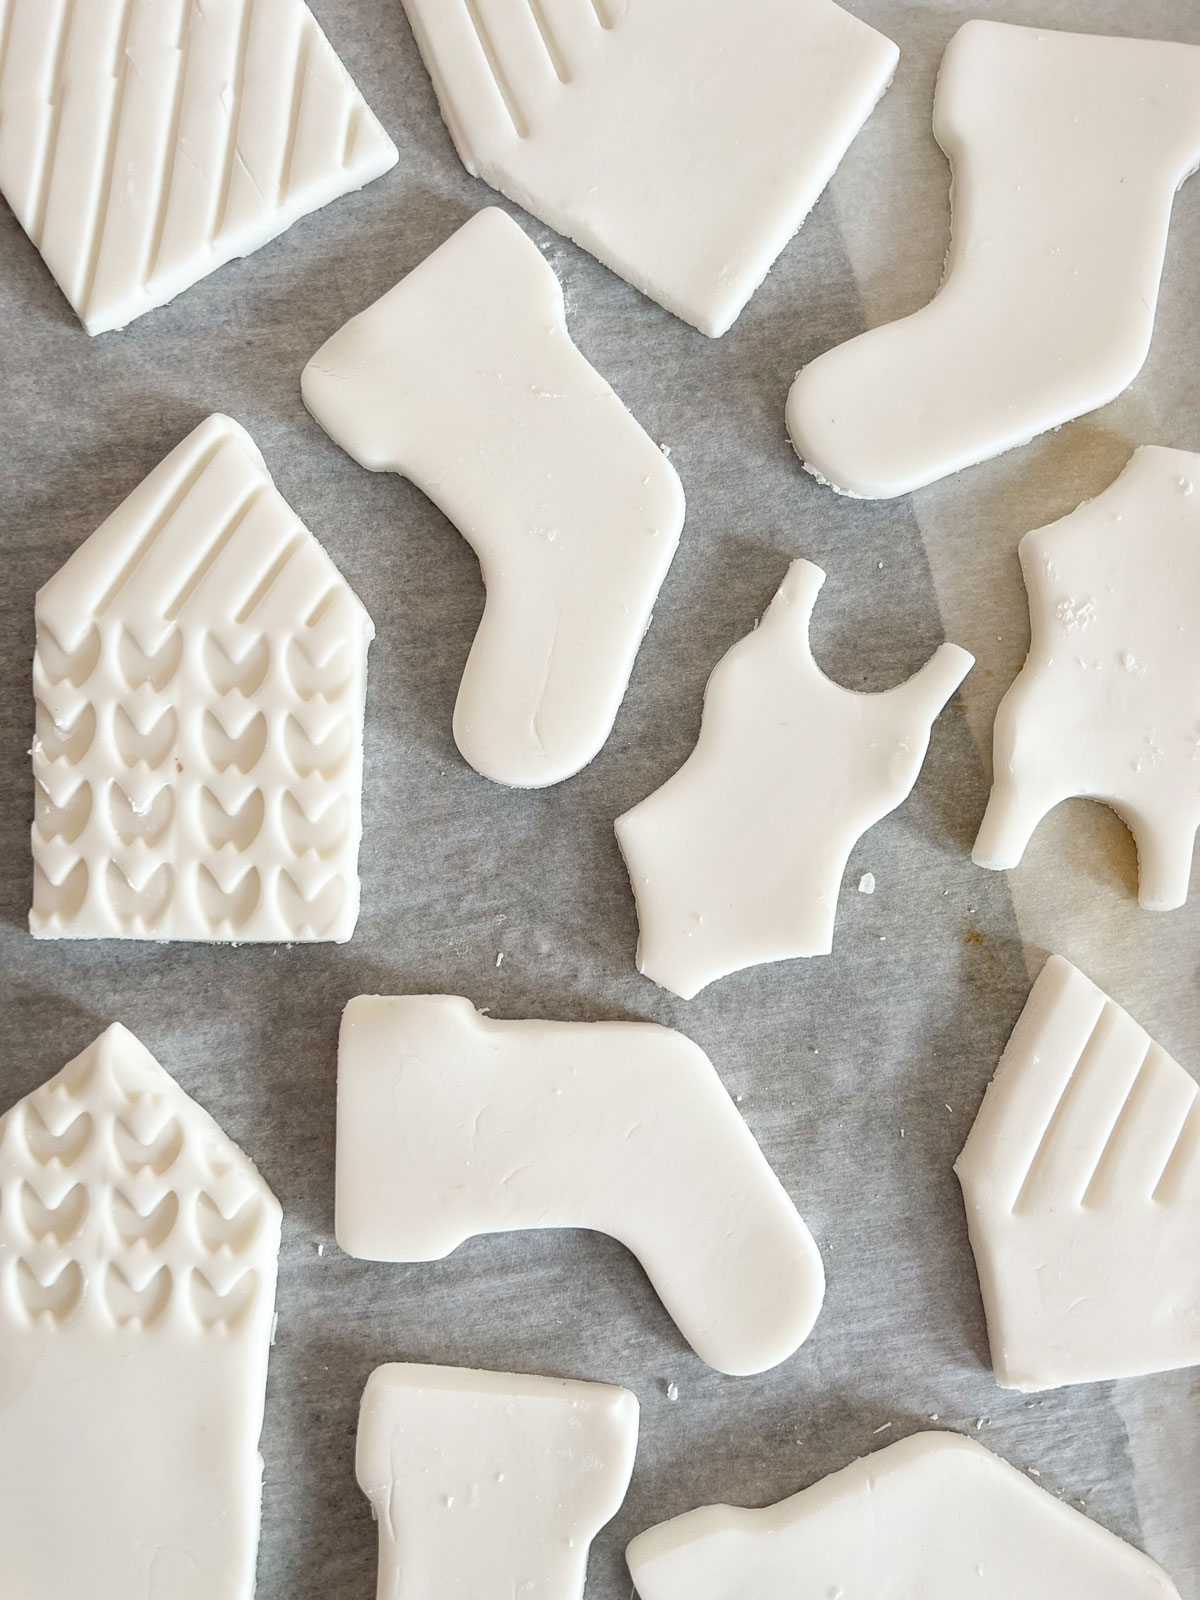
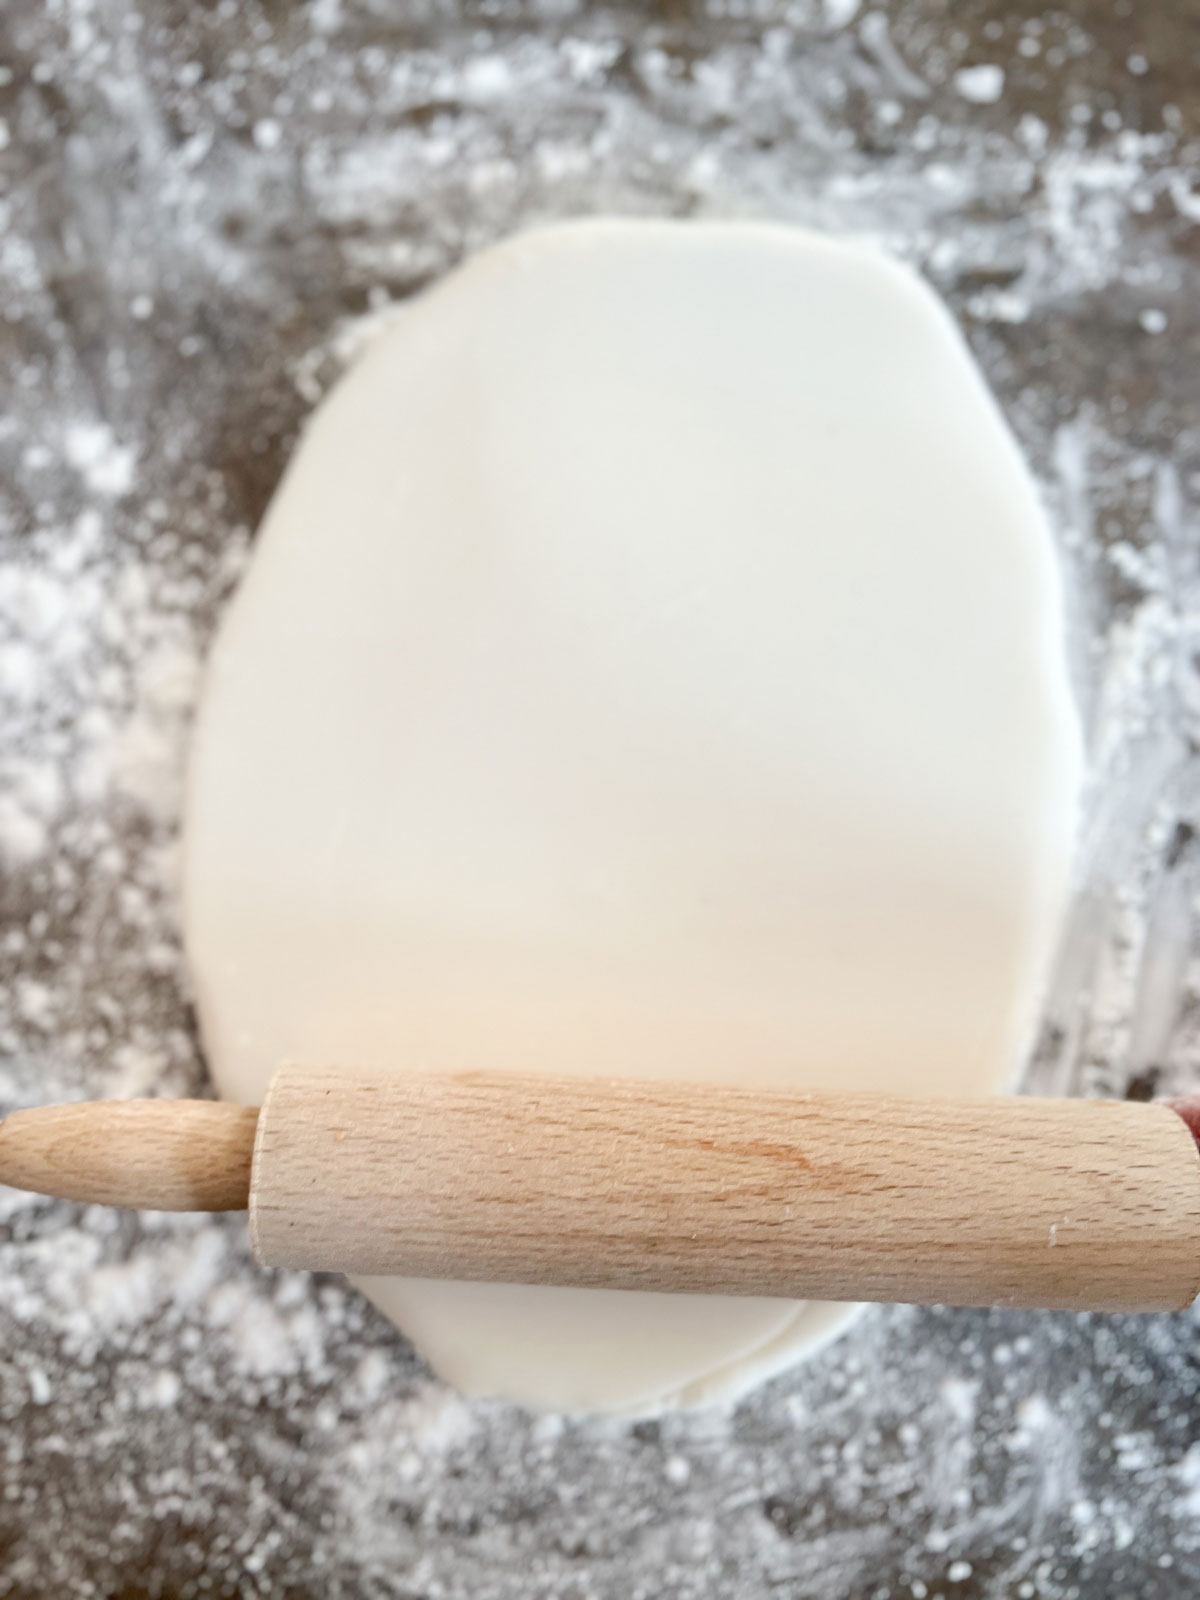
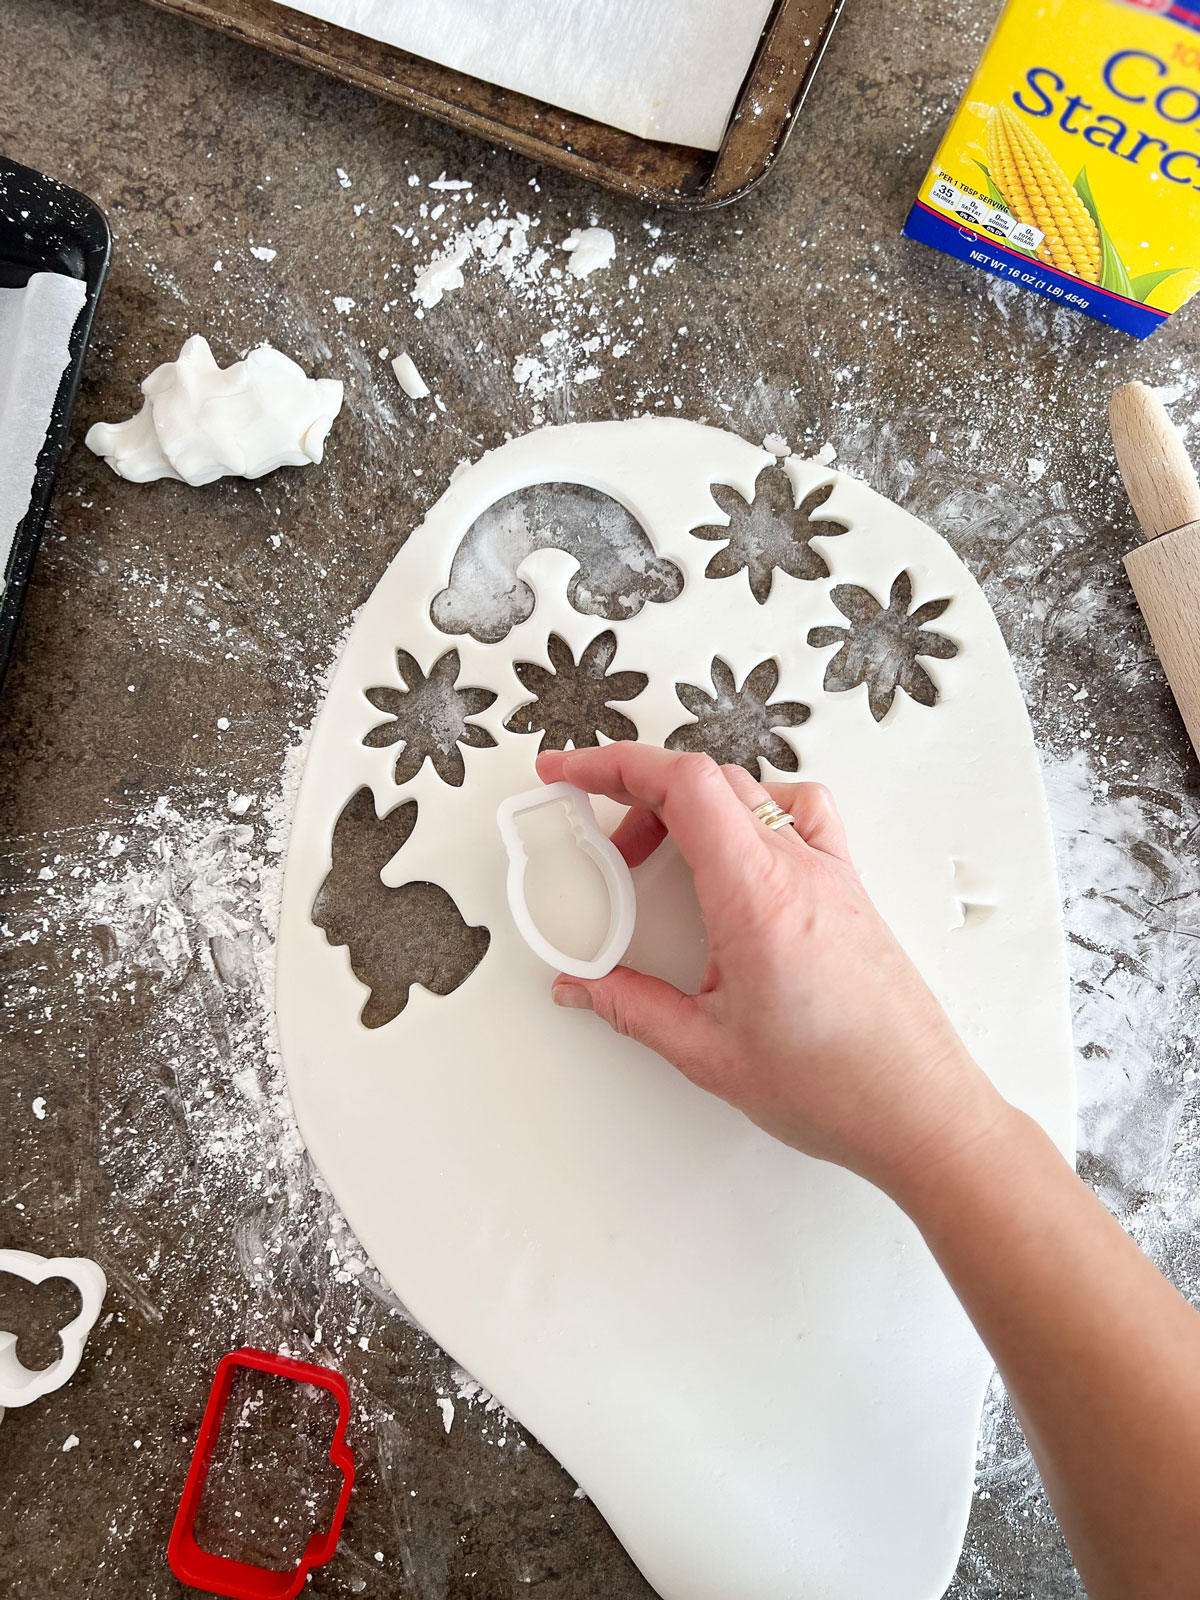
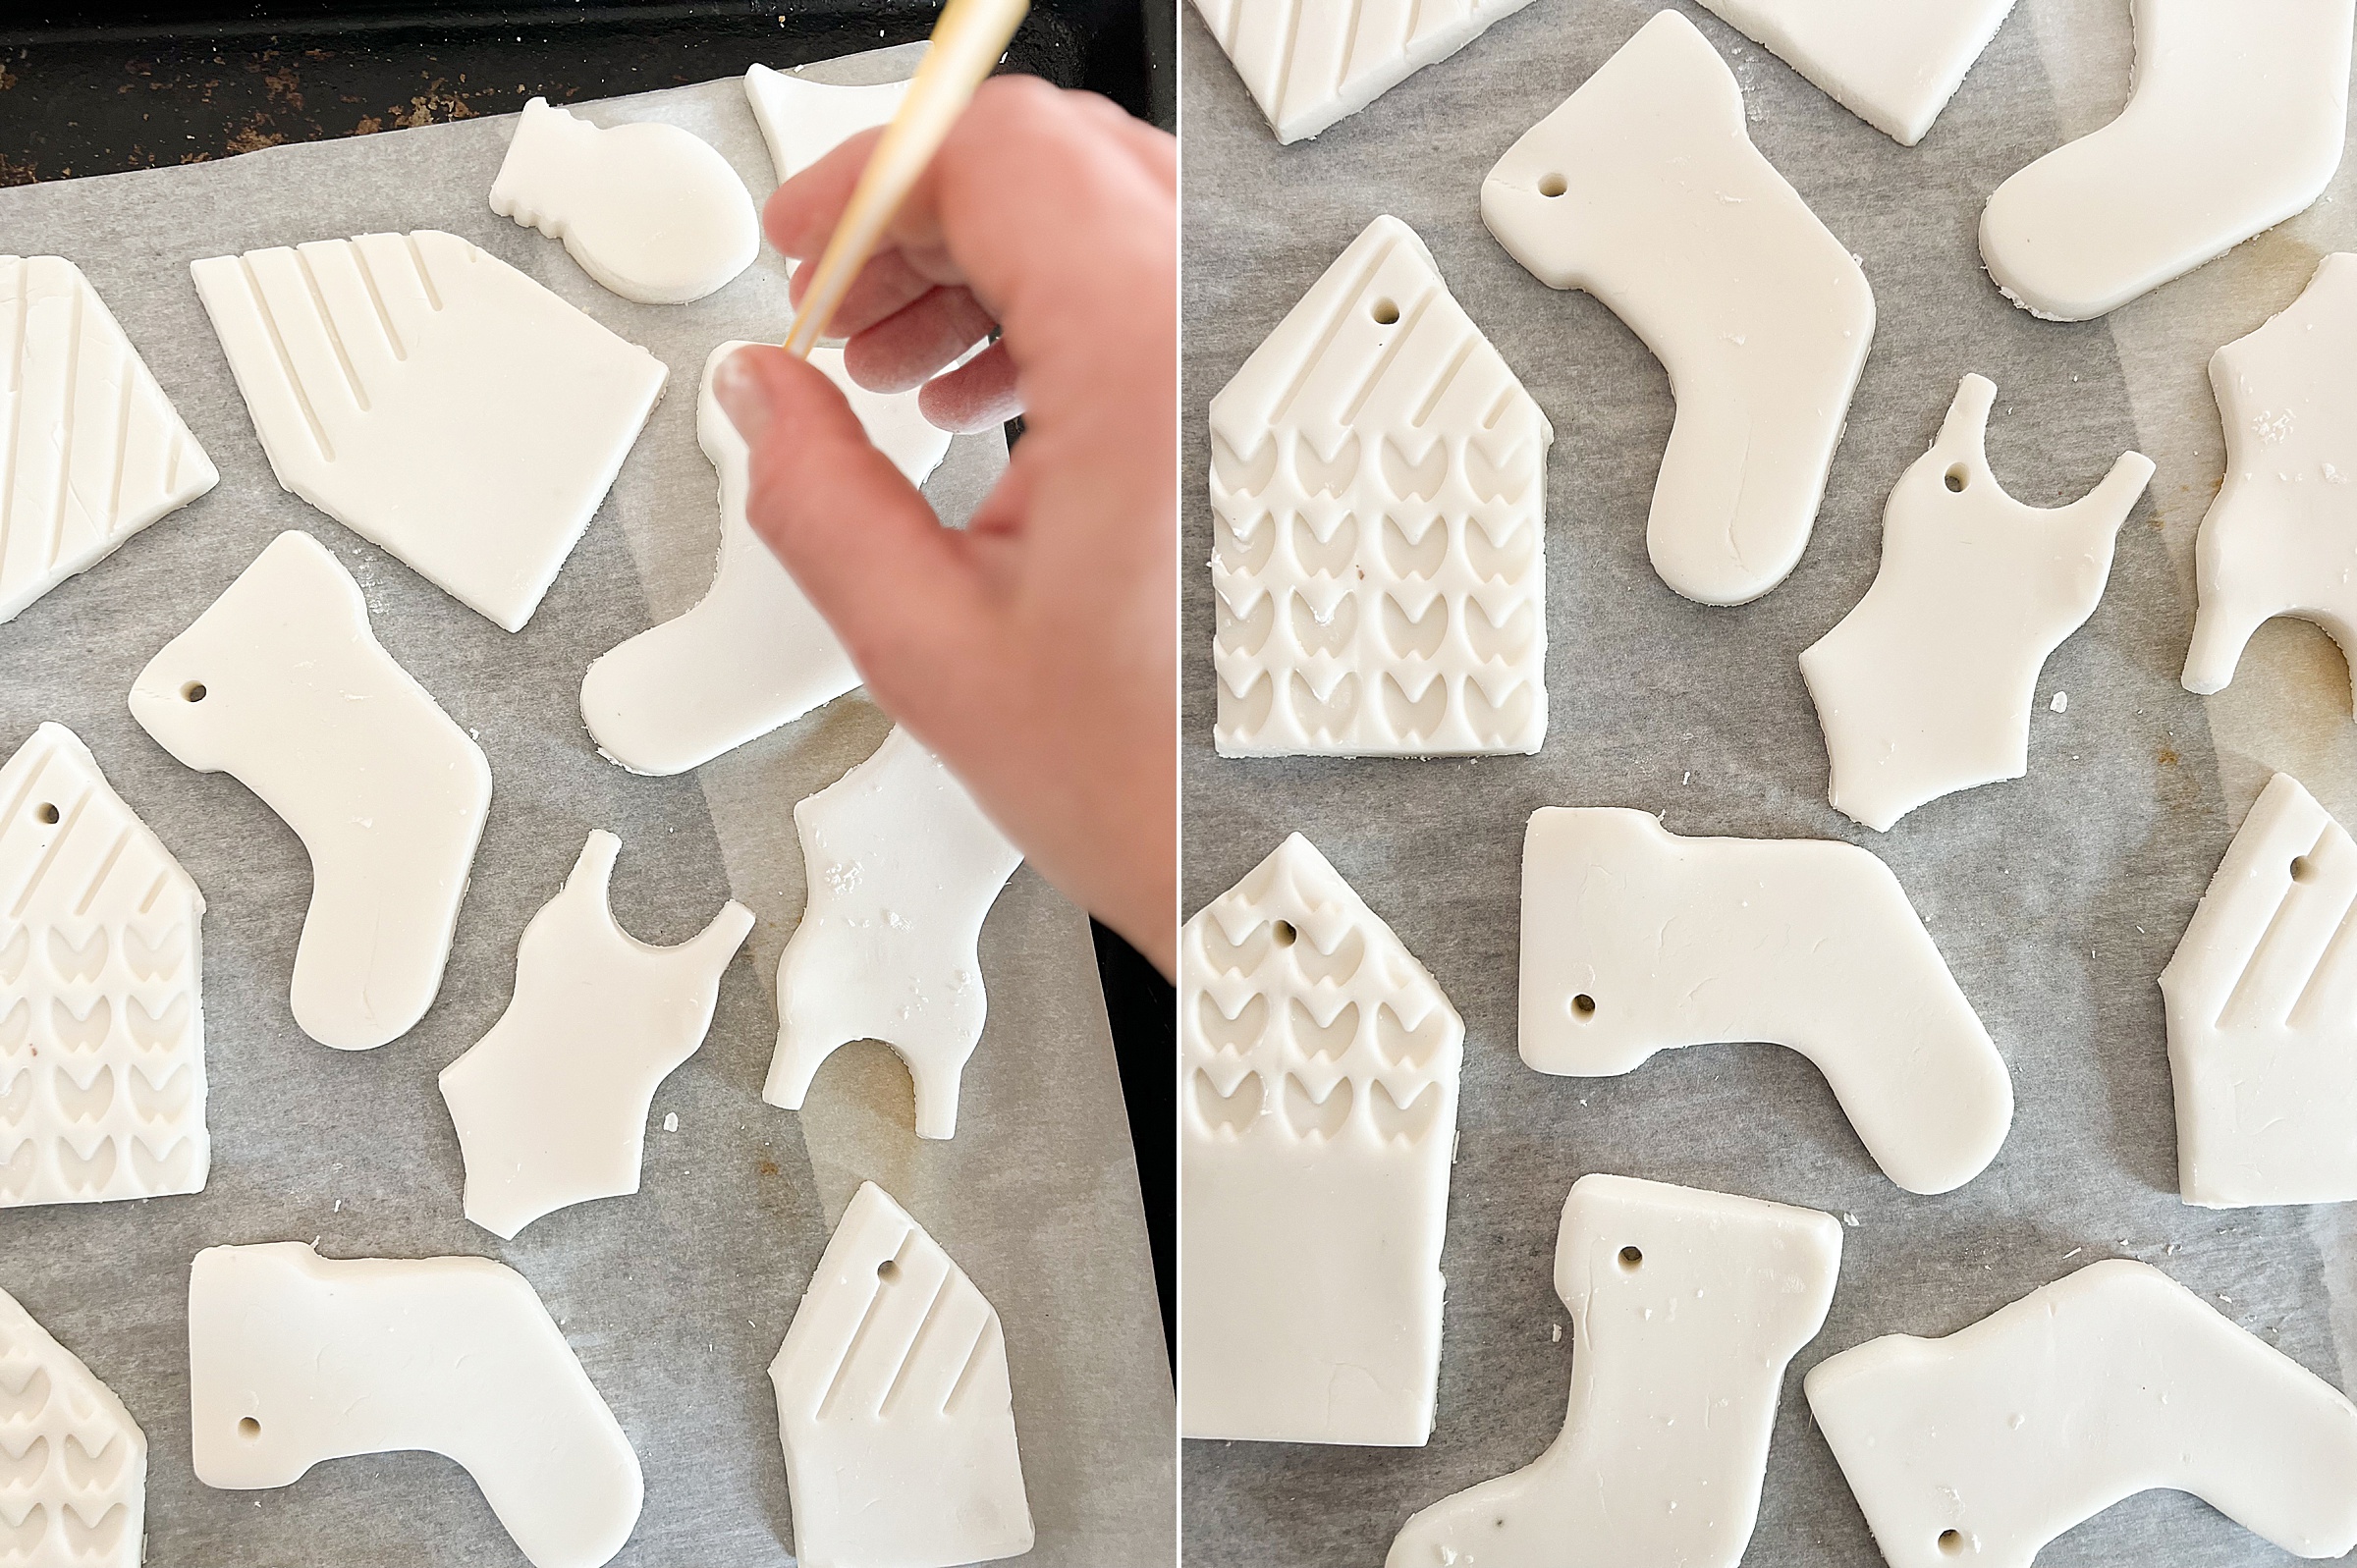
3. Sprinkle a bit more corn starch on your counter or board…..then kneed, roll out and cut the dough 🙂 I rolled out the dough to about 1/4″ thick (you can do thicker or thinner if desired). Feel free to keep rolling and cutting until you’ve used all the dough up (no need to waste any dough) 🙂 Then use a straw or skewer to polk holes for hanging the ornaments.
Place your cut-outs onto a parchment lined backing sheet.
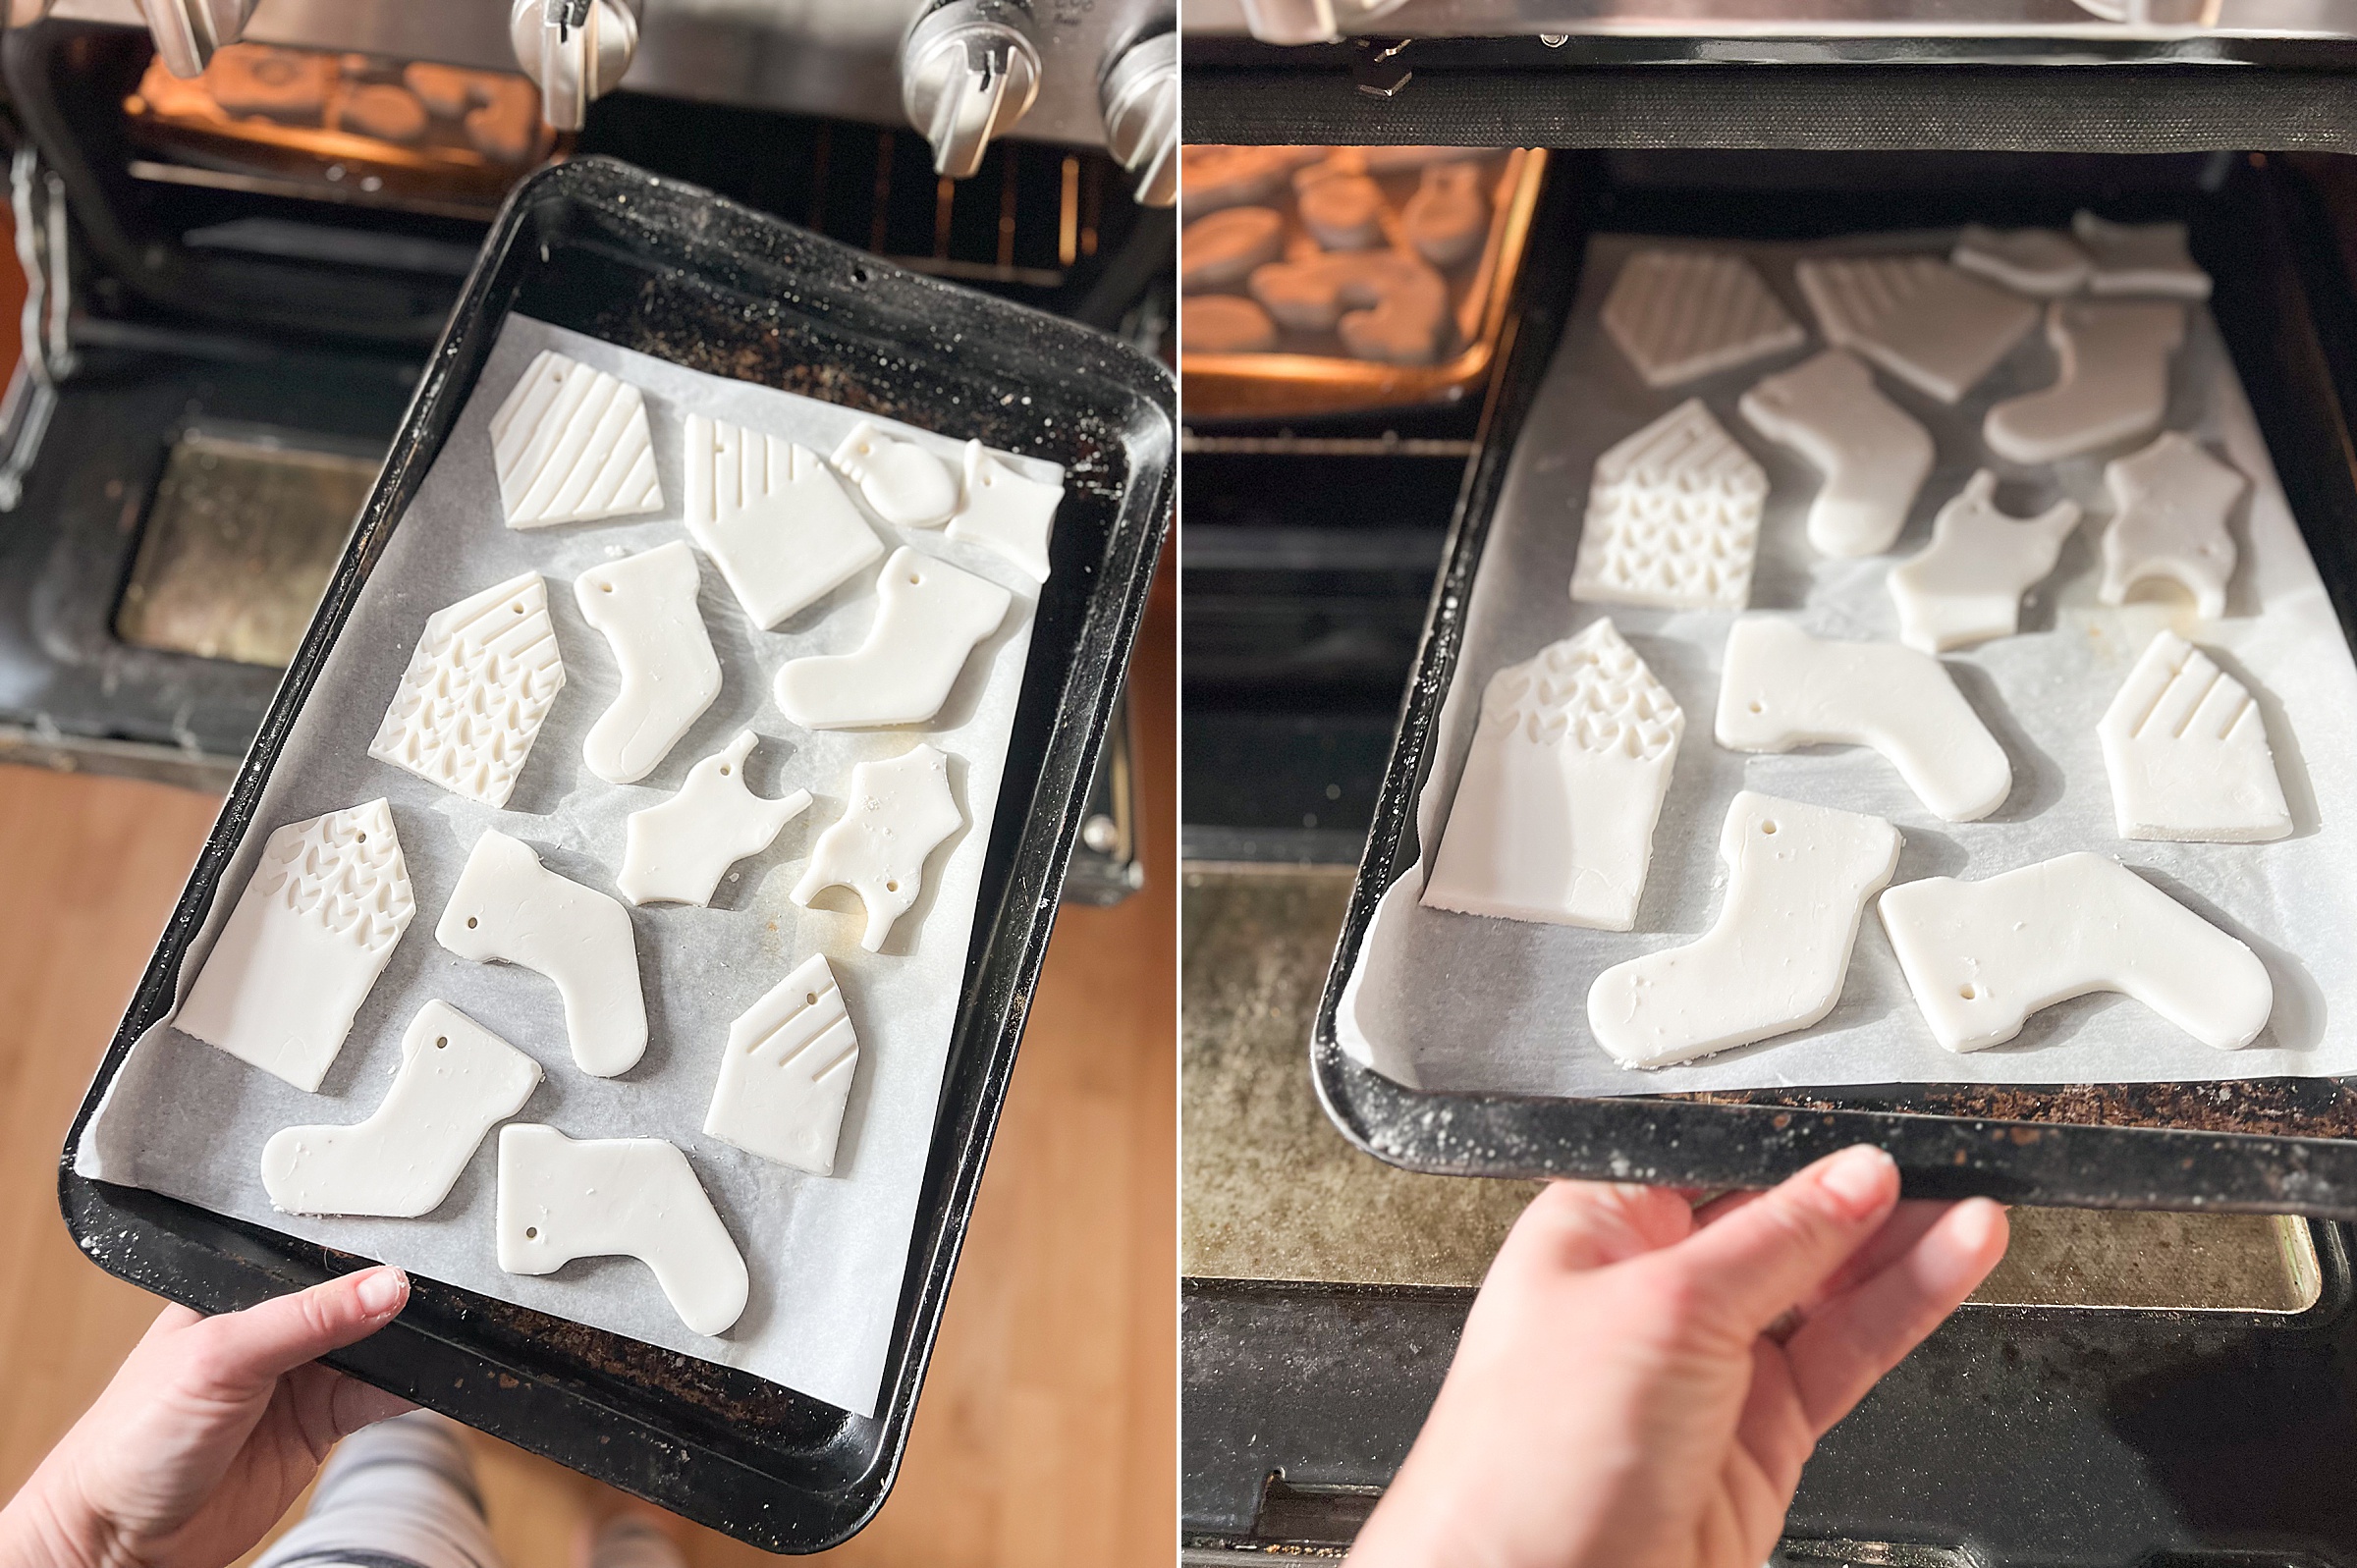
4. Pre-heat your oven to 175*F and place your tray of cut-outs into your oven to begin to dry. This process can vary just a bit depending on how thick your ornaments are OR how “sticky” your dough was when rolling.
Here are a few tips on the baking/drying process:
- Set a timer and turn the ornaments every 20 minutes (this will also help them dry SUPER flat, because you will notice that the edges start to curl up when they begin to dry)
- When you turn every 20 min, check the “squishy-ness” to be sure that the moisture is coming out of the ornaments as they dry (you can kind of tell that they get more opaque as they fully dry)
- When it seems like there isn’t any more moisture, then you can remove the tray from the oven and let completely cool
- I baked my tray of ornaments for about 80-90 minutes, turning every 20 minutes
- The reason you bake these at a low temperature is that you want them to dry/bake slowly….if they bake too hot, too fast they will crack! SO if you start to see cracking, that is why.
If you’d rather just let your tray of ornaments air dry, you can TOTALLY do that! Be sure to keep them in a warm place and just let them dry overnight, turning every hour or so when you can to be sure they dry flat.
tip: if you find that your ornaments have cracked as they bake/as they are drying, it is likely either that the cut-outs were too thick and didn’t dry slowly enough to allow the moisture to come out slow OR the cut-outs were baked/dried too fast.
You can either try and repair the cracks with some new dough (watered down and filled in the cracks then bake SUPPPPPER slow to allow to “fuse” to the old dough) OR you can try and slow down the cracking process by slowing down the drying!

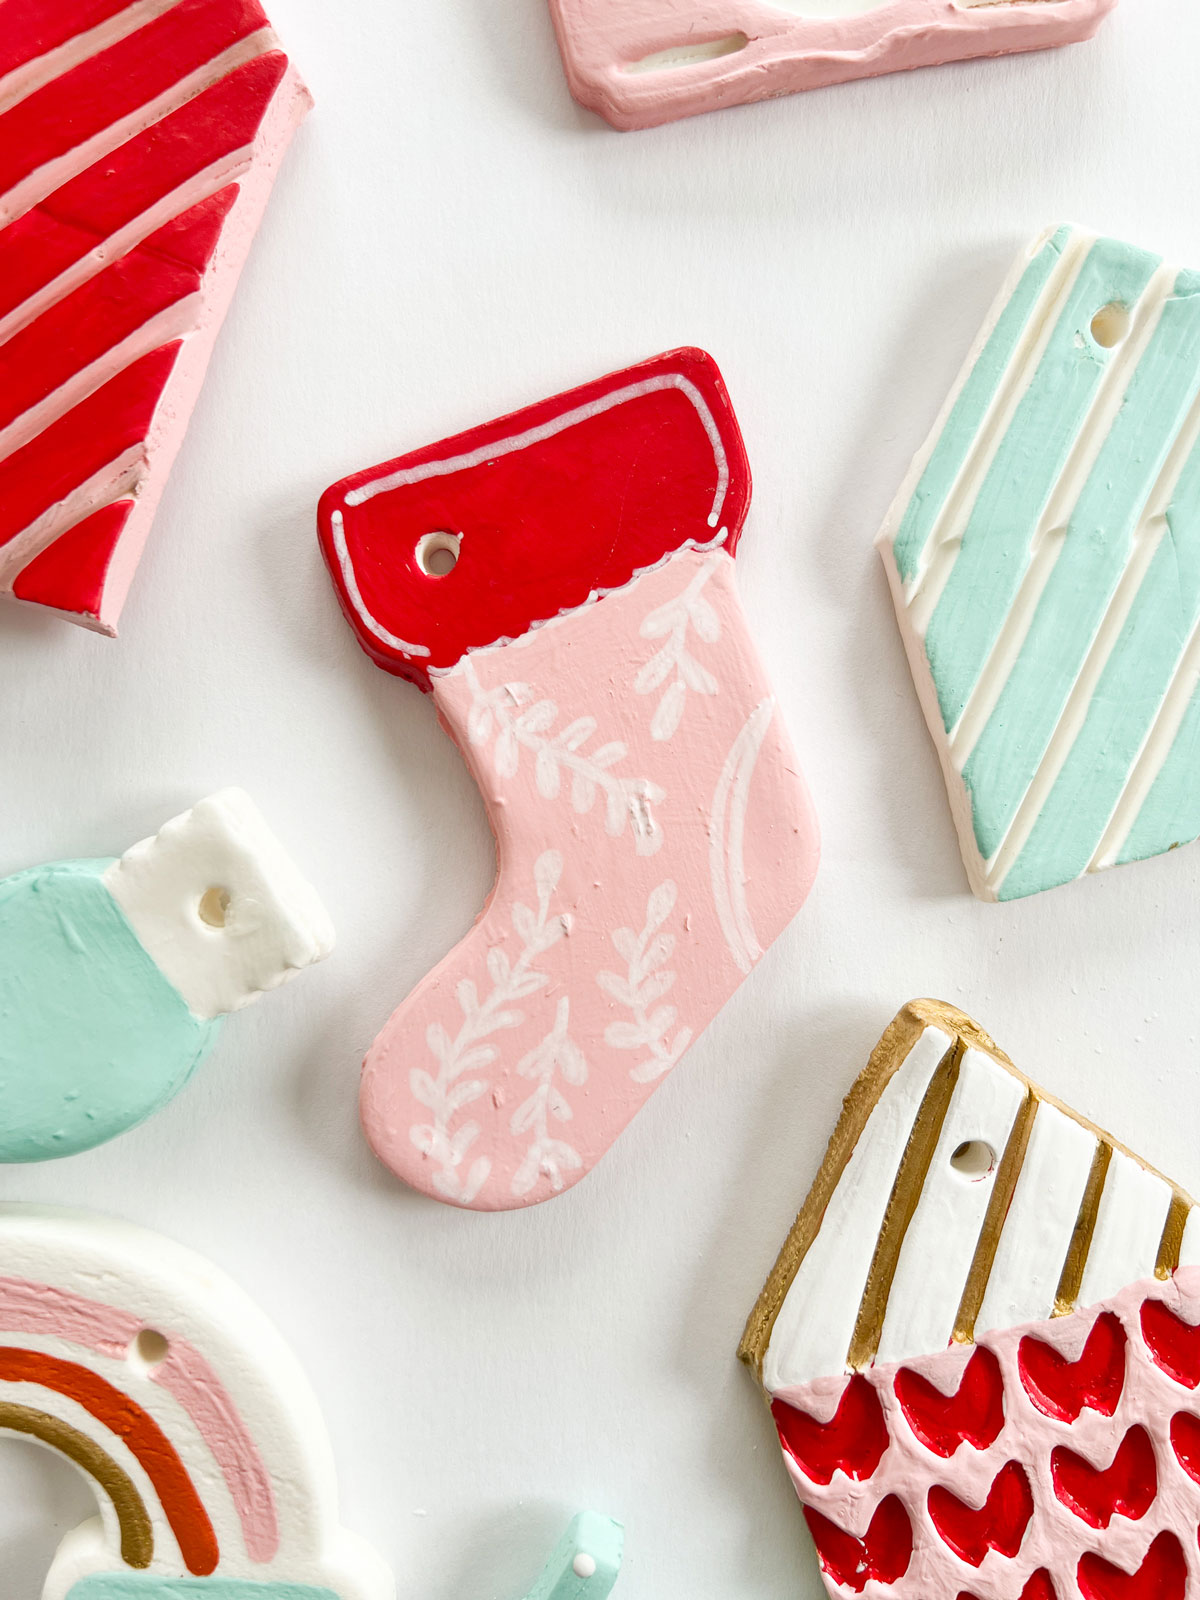
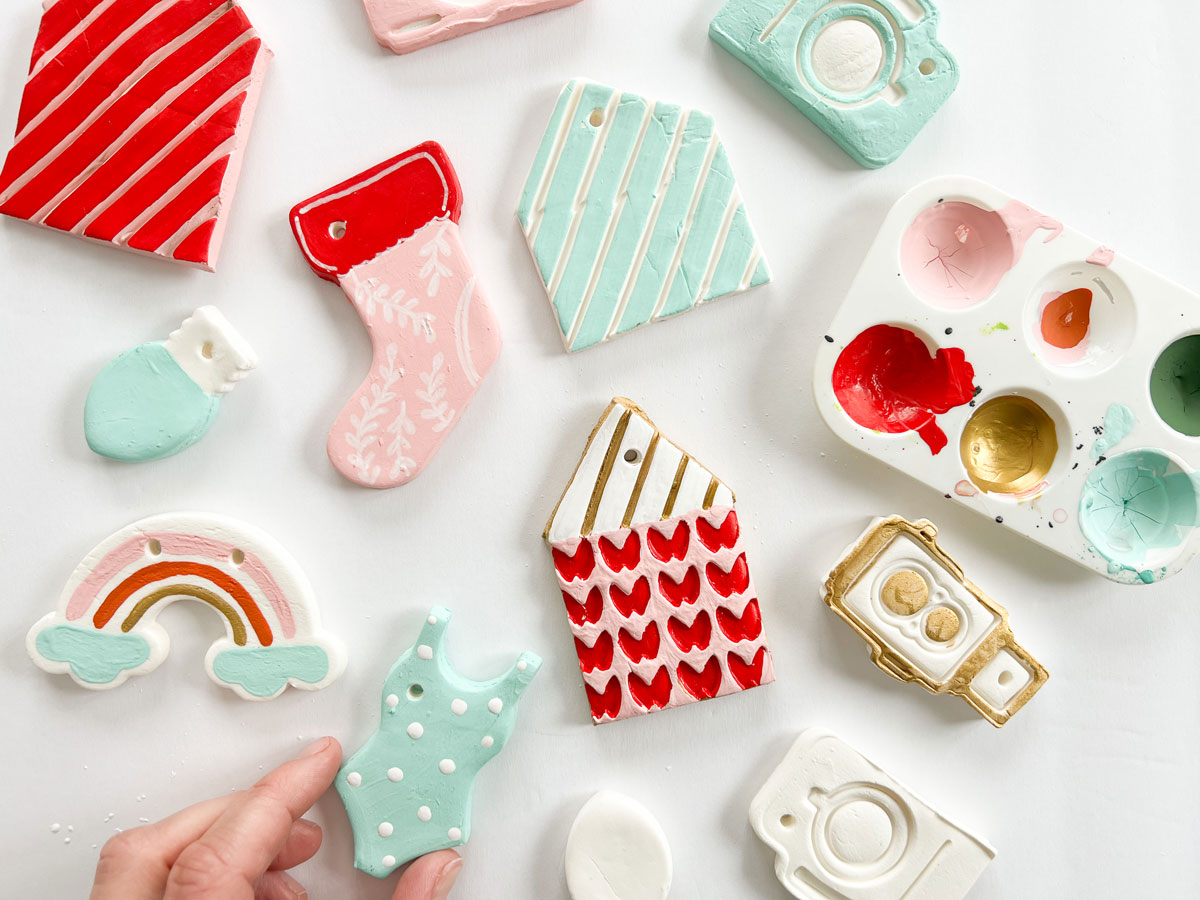
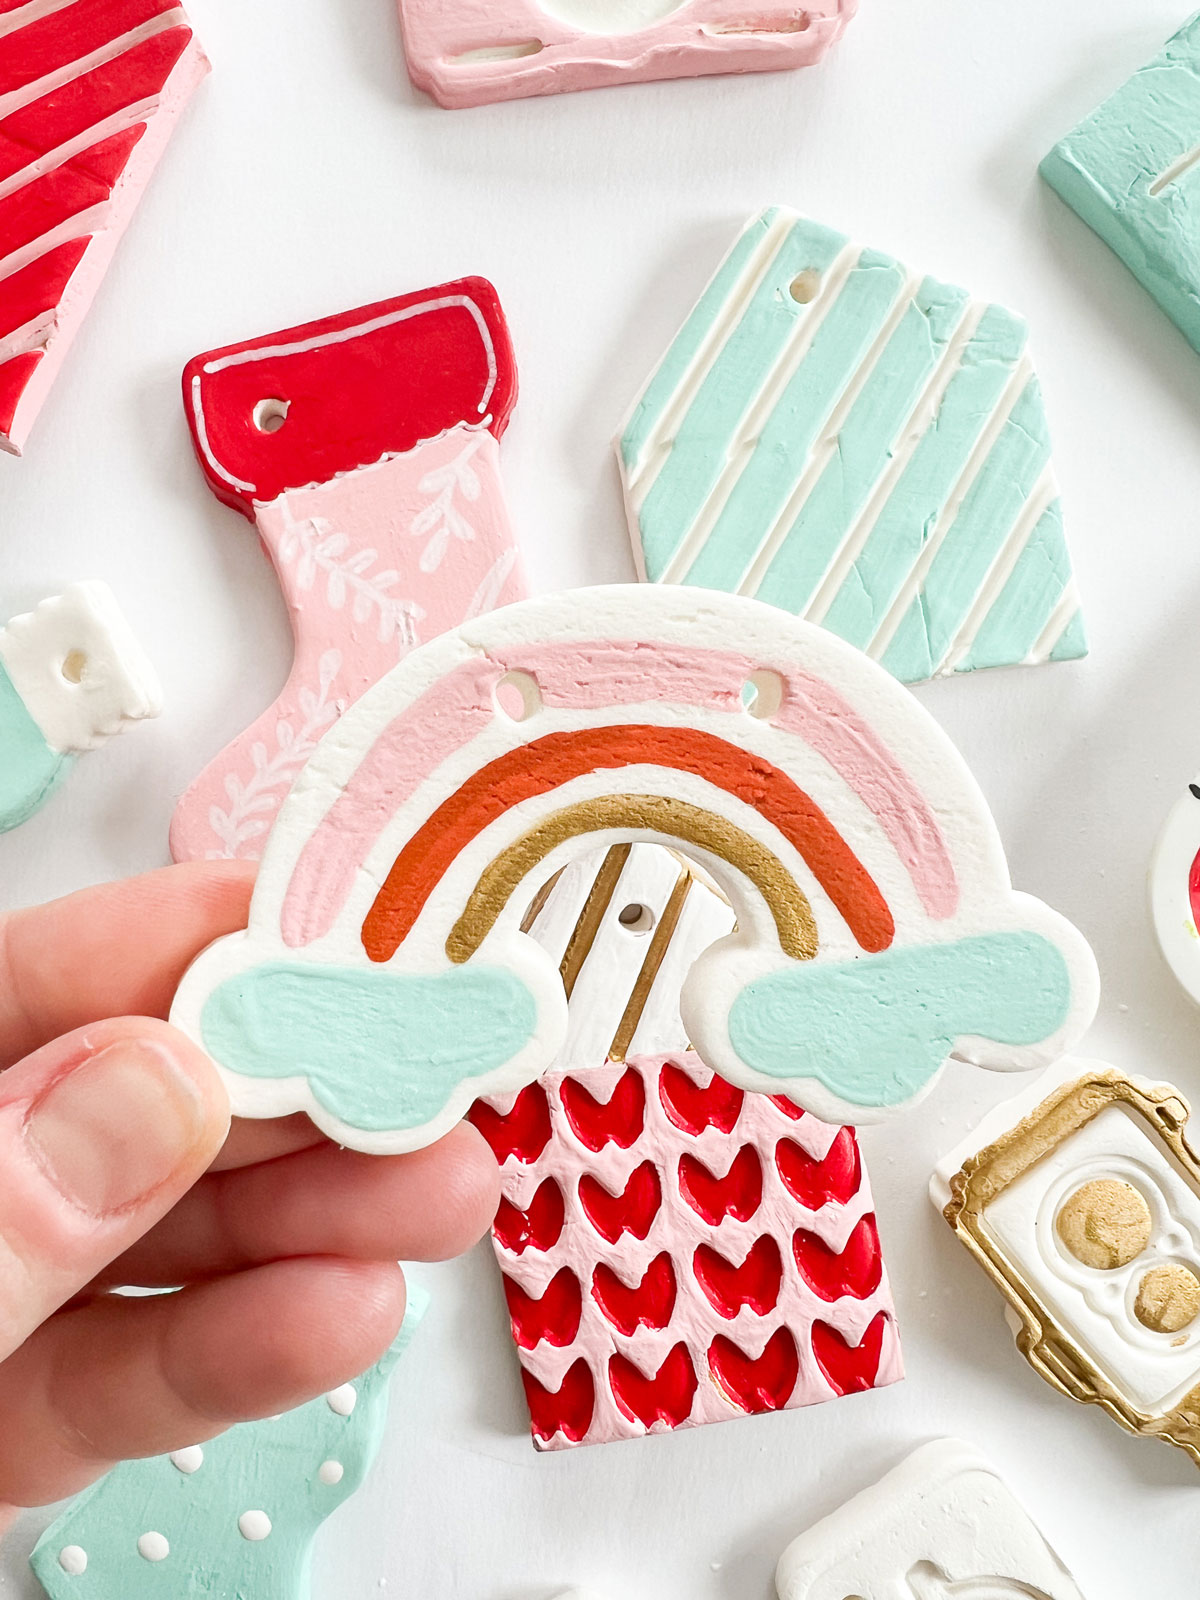
5. Now it’s time to decorate and paint! We used acrylic paint on our ornaments – be sure to paint both sides of your cut-outs and HAVE FUNNNNNN! Then we then did a layer of Mod Podge to seal everything off before stringing them to hang on your tree or stockings or even make into gift tags! 🙂 Honestly, the sky is the limit with this dough!!!
HAPPY MAKING and a big HAPPPPPY HOLIDAYS! 🙂


Hi! I tried this and my dough was too dry. When I tried to roll it out, it just cracks. Help please, what am I doing wrong? I love the look of these and would love to give them as Christmas gifts.
Thanks so much!
Heidi
Rats Heidi, I’m so sorry! Does it crack when you’re kneading it (while its just finished cooling?) Or is it cracking after you’ve rolled it out a few times?
I would be sure to look at the texture as you are mixing on the heat and be sure that it’s a mashed potato consistency before you remove it from the heat – maybe you left it on the heat too long? It should go from oobleck consistency to mashed potatoes fairly quickly.
Hope this helps!