Custom Bridal Jean Jacket DIY!
*this project is in partnership with Aleene’s
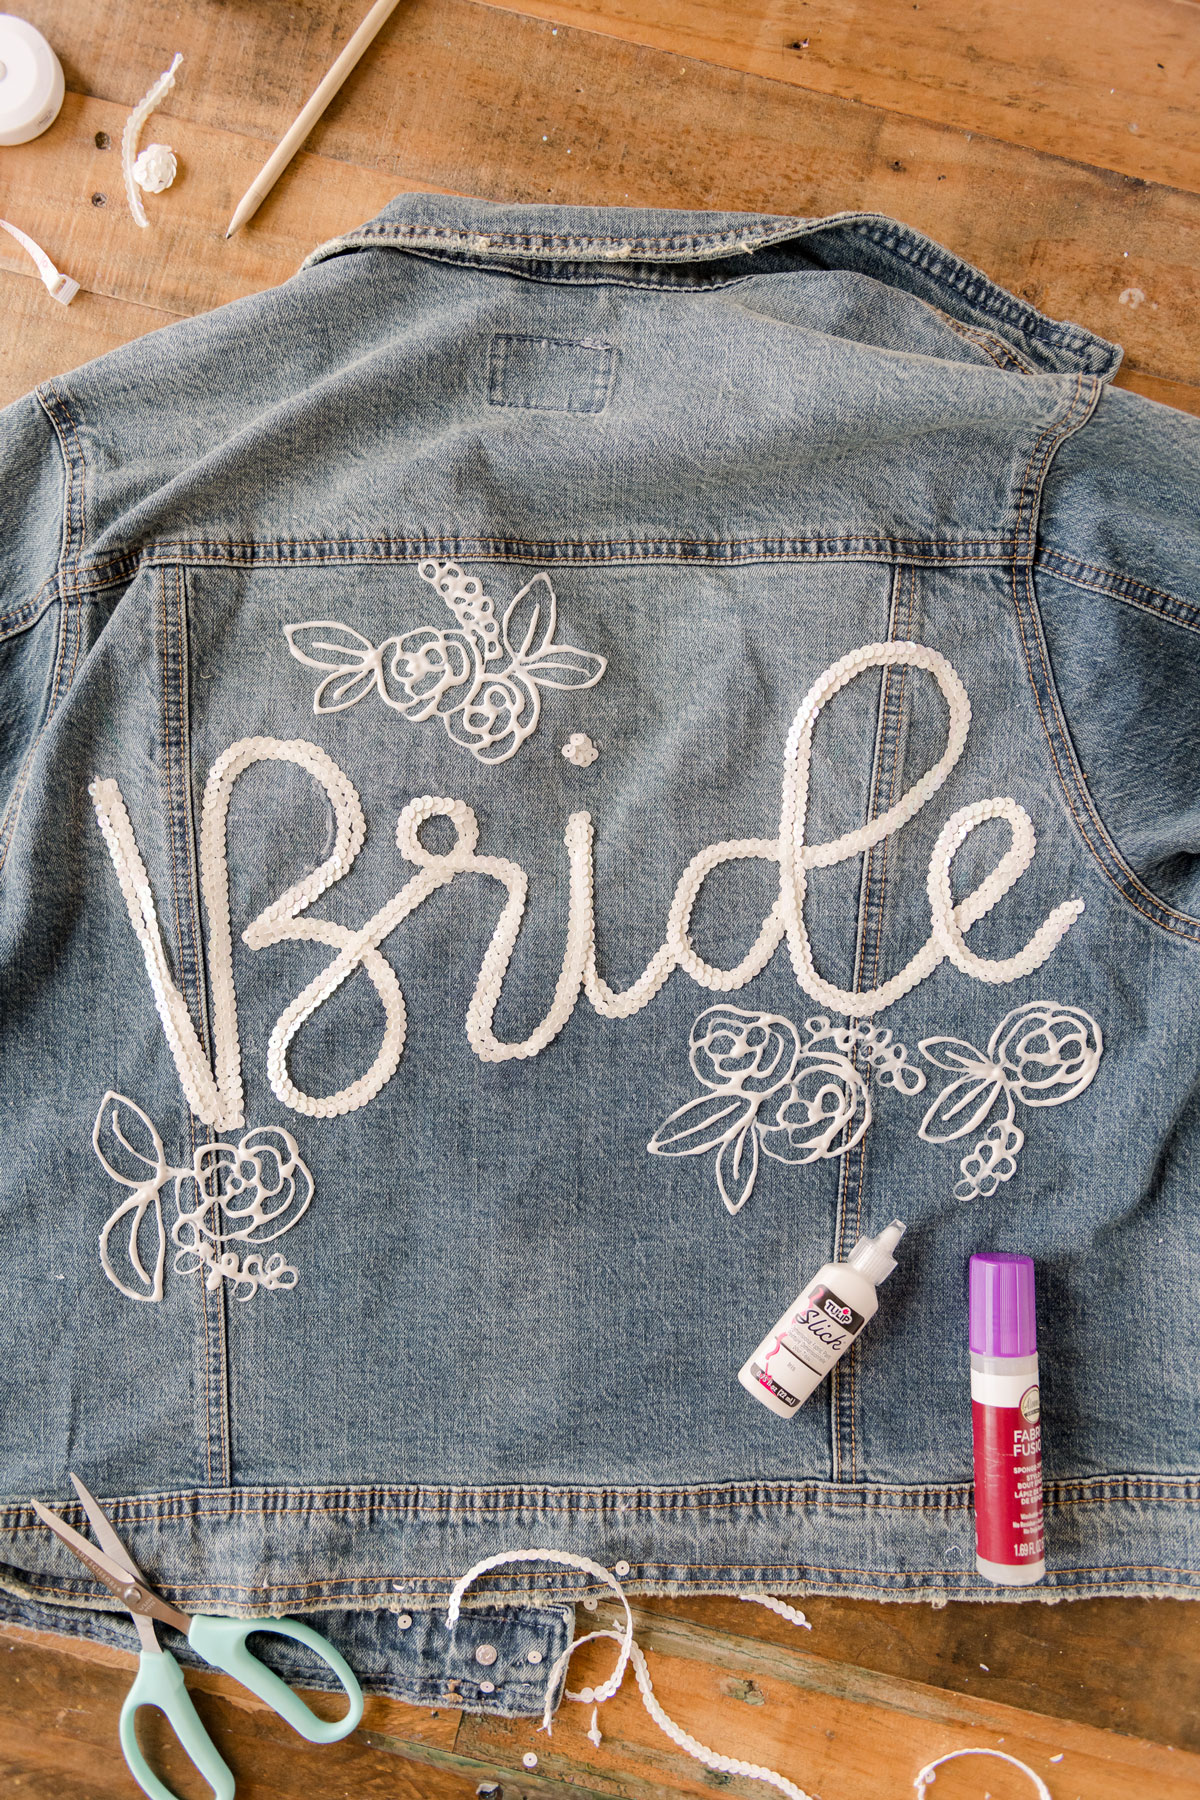
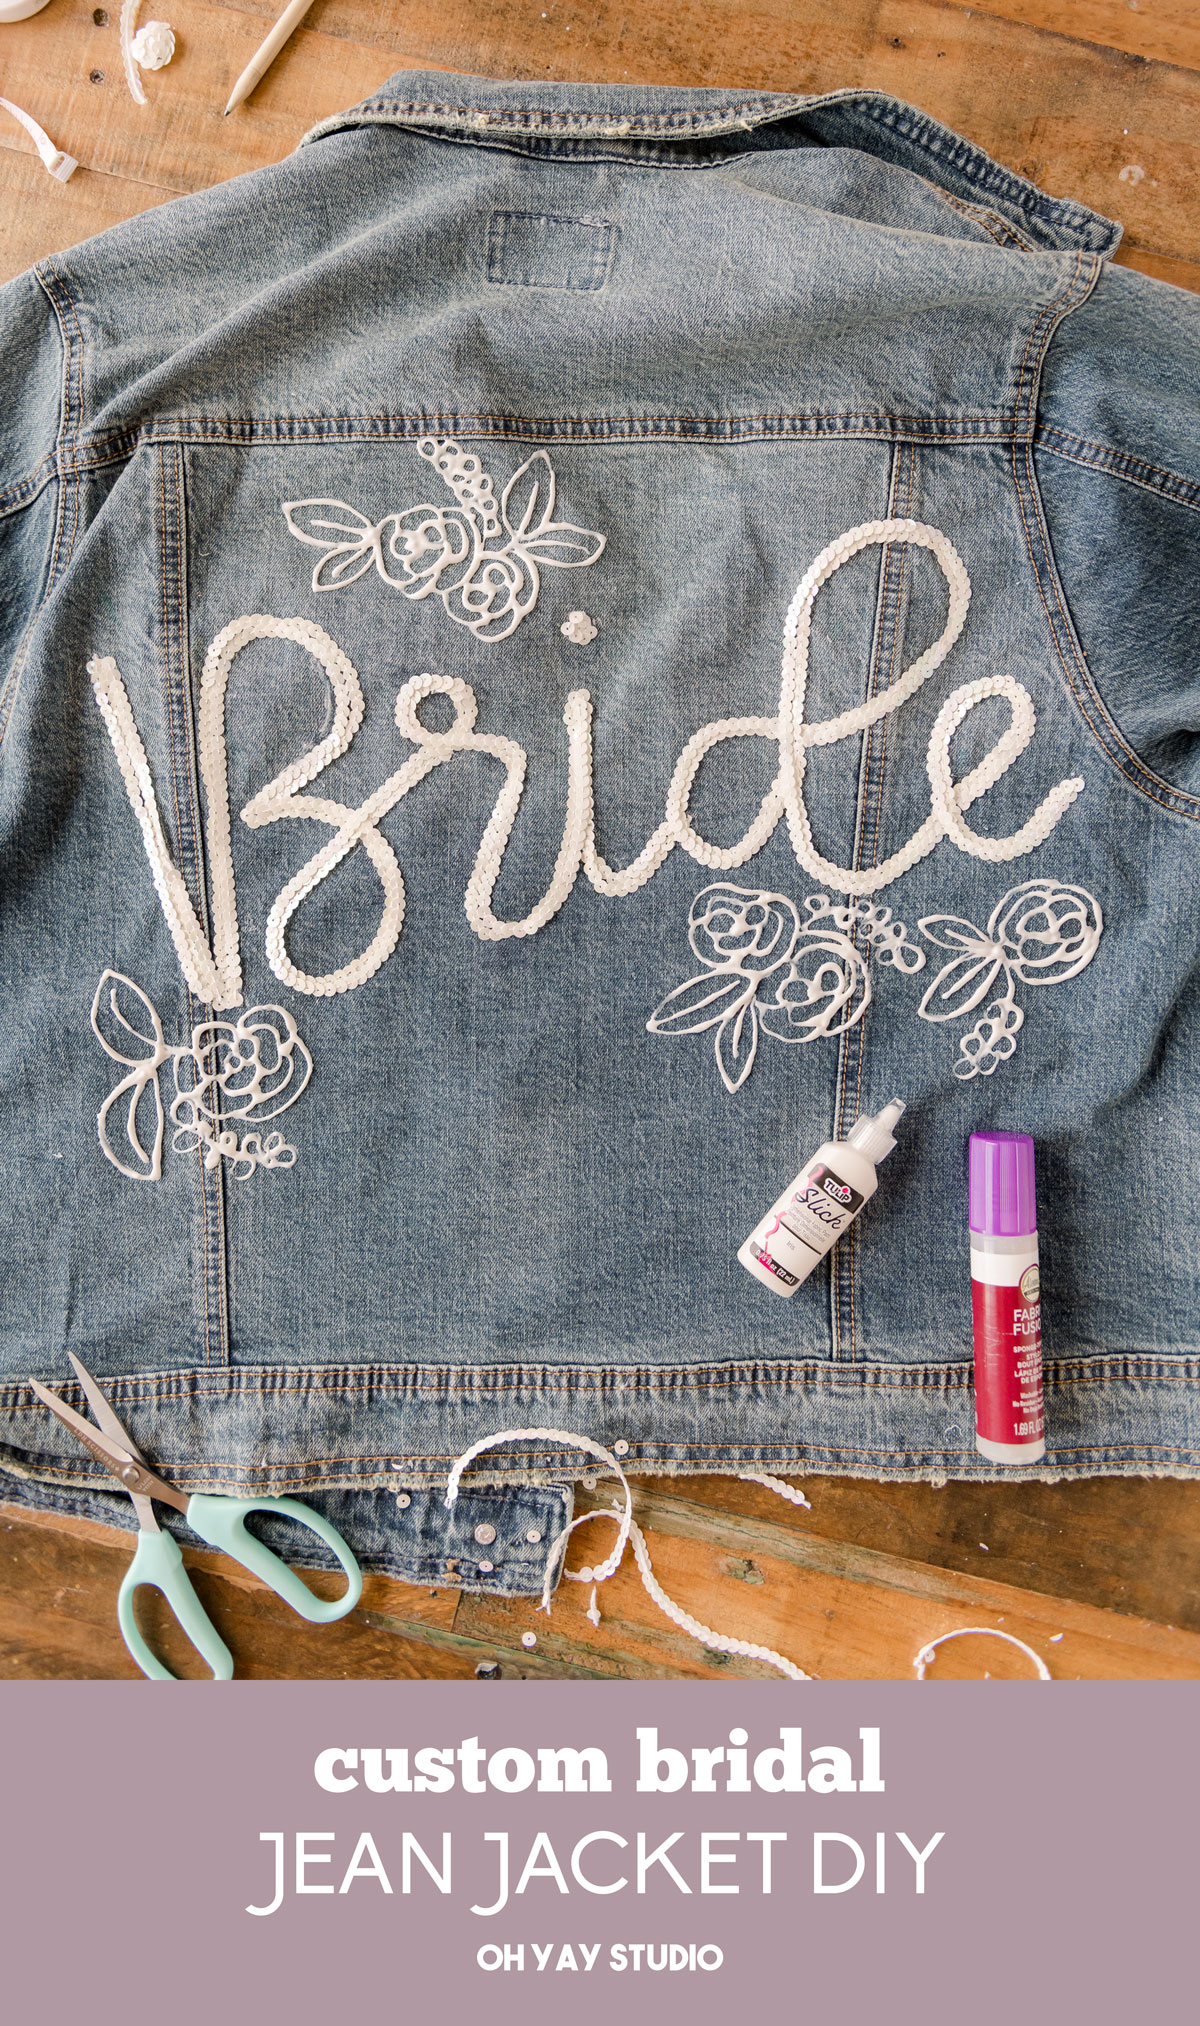
If you have a favorite bride this summer or if you are a bride yourself this summer, let me share with you one of the best little DIY’s for your wedding EVER! A custom (totally custom, like change the lettering to your new last name even) bridal jacket using the easy, flexible and awesome Aleene’s Fabric Fusion glue! 🙂
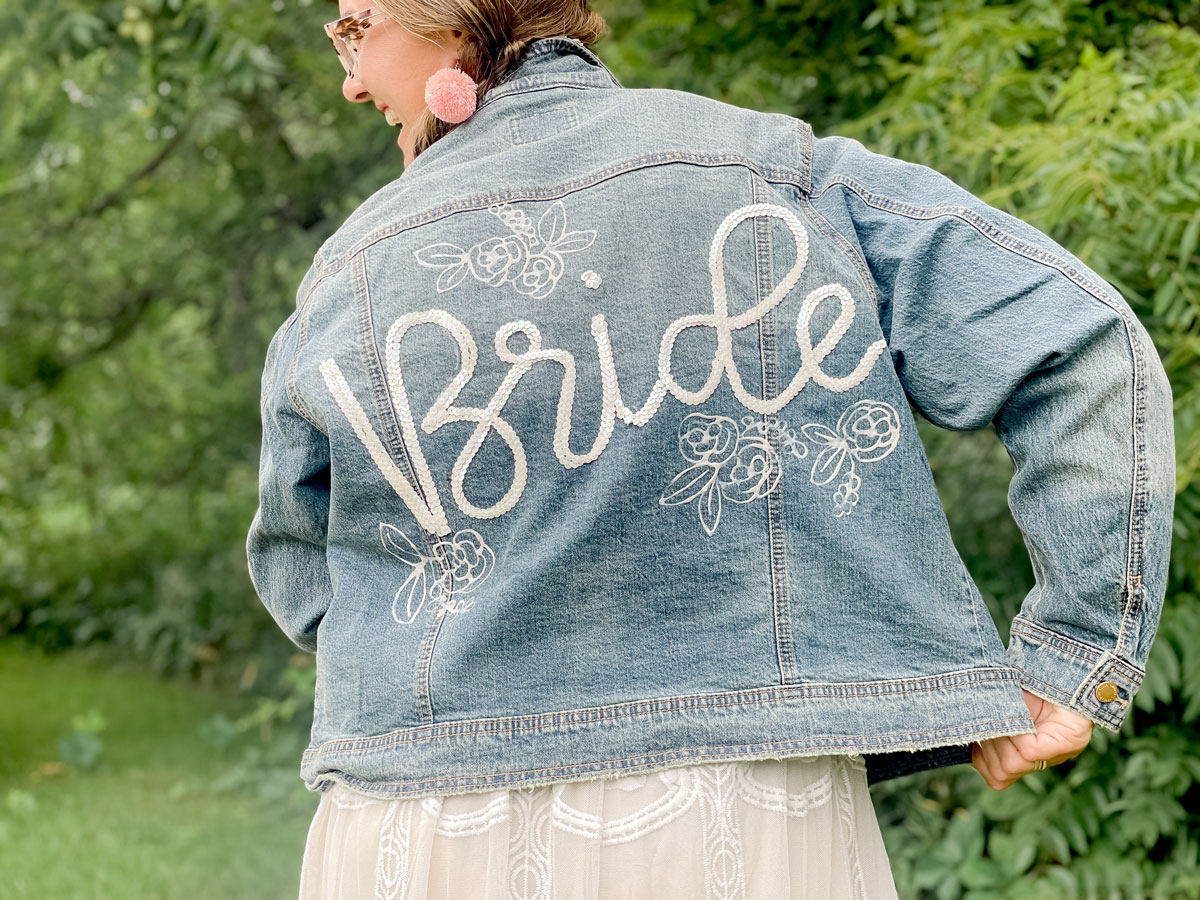
Make this for a party, a shower, a weekend away or even for the morning of your wedding or your bestie’s wedding day!
ANNNND you can make these for the whole bridal party even…like heck, why not?! 🙂
MATERIALS:
- A jean jacket – new or used, just be sure to wash it first 🙂
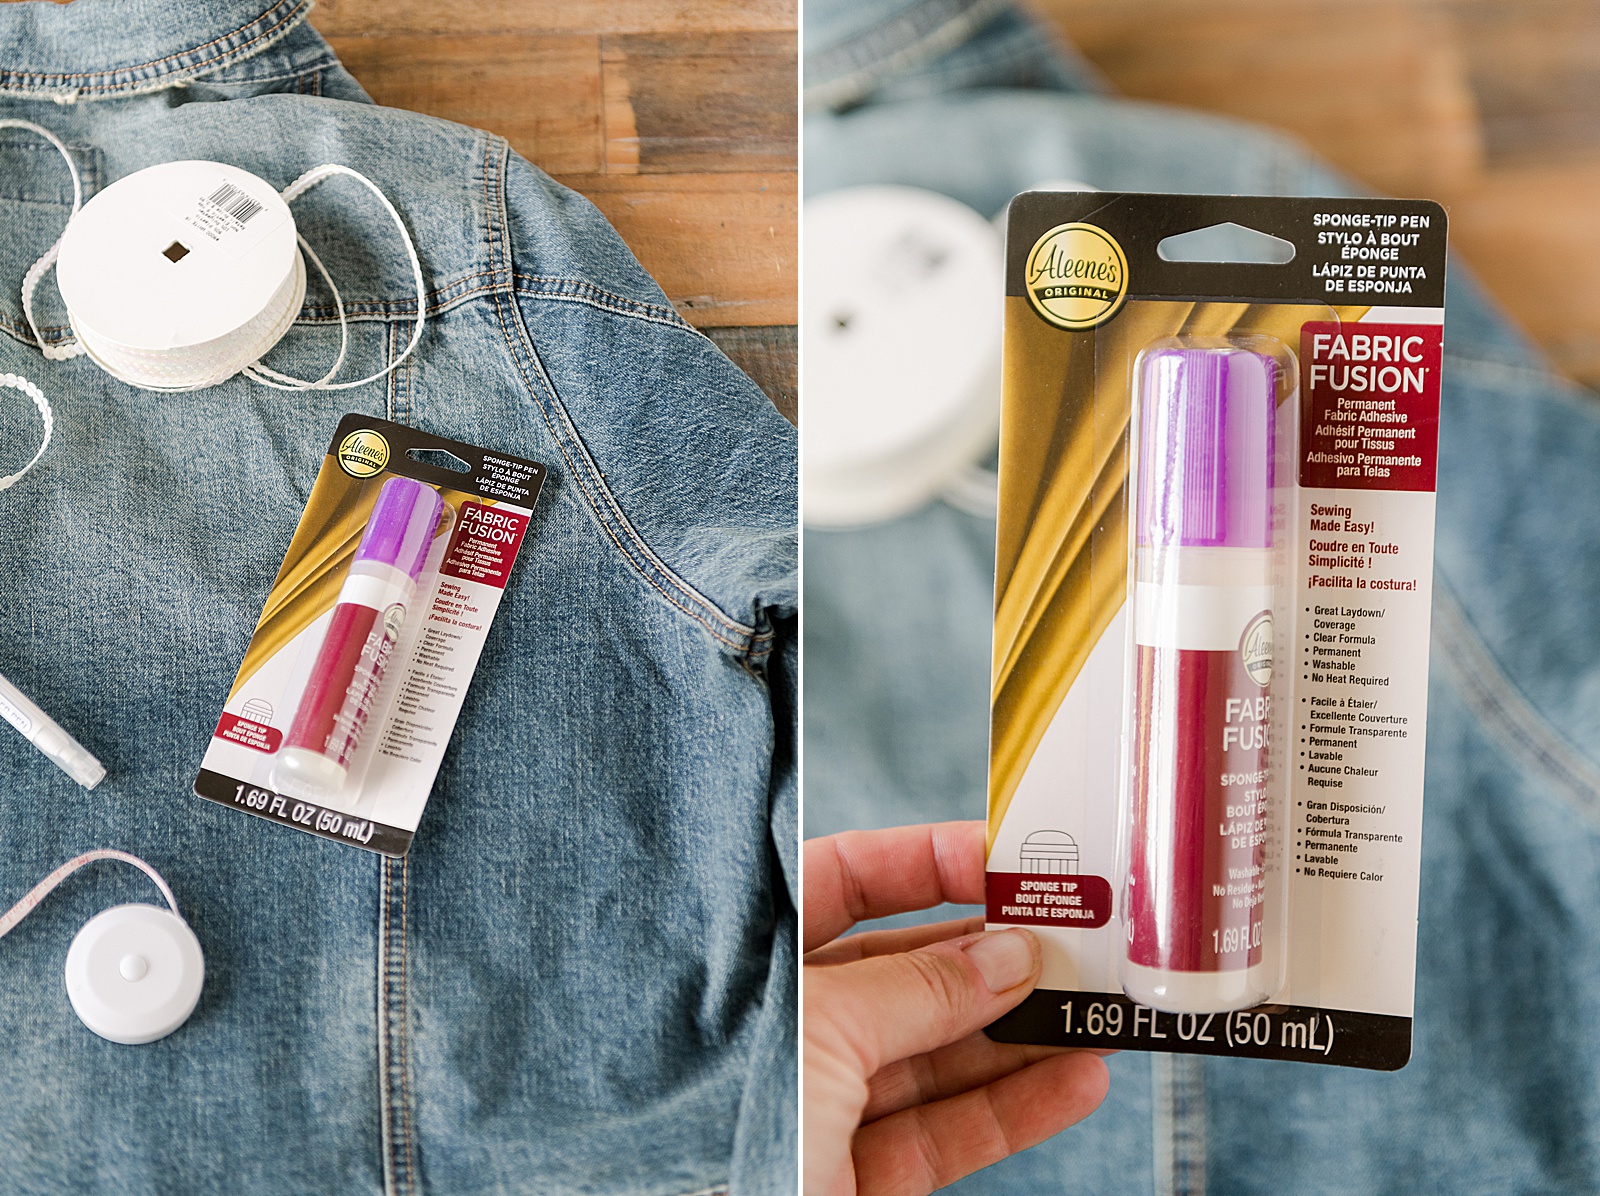
- A bottle of Aleene’s Fabric Fusion Permanent Adhesive
- A roll of sequins in any color – I used an iridescent white
- Some scissors
- A pencil or fabric marker (that washes off)
- optional: tape measure
- optional: Tulip 3-Dimenional fabric paint
INSTRUCTIONS:
1. Lay your jacket onto a solid surface making sure to tuck the underside making it as flat as possible 🙂
Then you have the option to measure the portion of the back of your jacket that you want to add your sequin trim, and you can even go as far as to measure out how large each letter should be. Remember that you don’t want the lettering too close to the edge of the back of the jacket because that is where your armpits will be 🙂
With a pencil or fabric marker, you can sketch out your lettering so that you have some sort of guide! Remember you can make your lettering as loopy or as tall or short or chunky as you want/need! 🙂
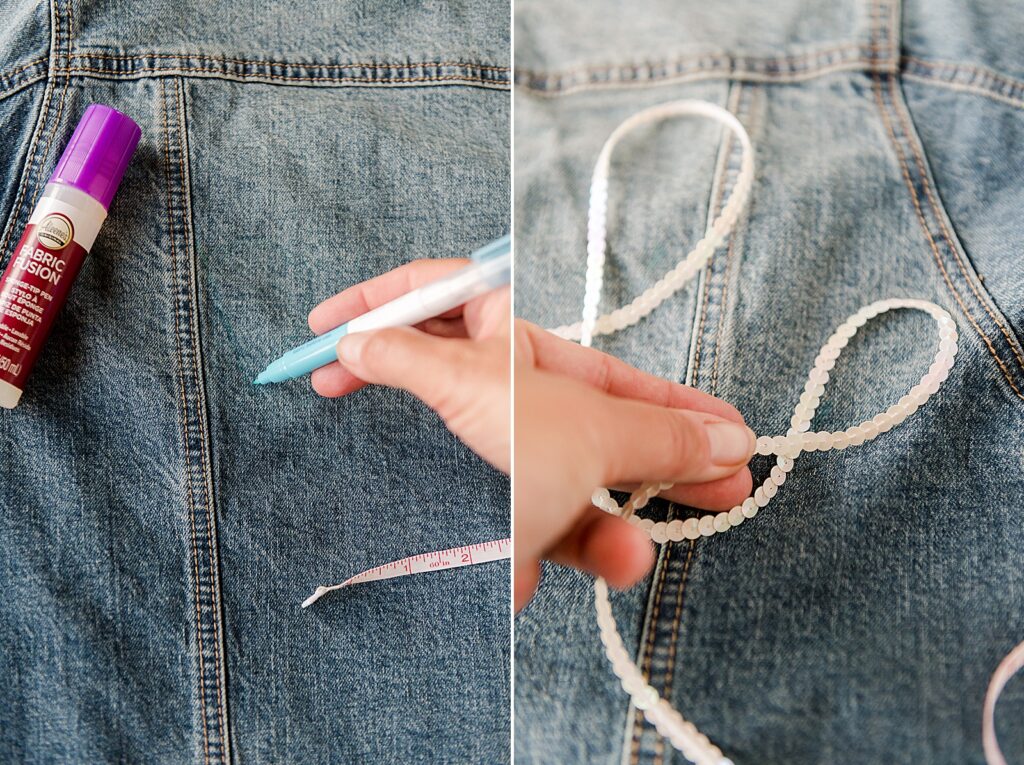
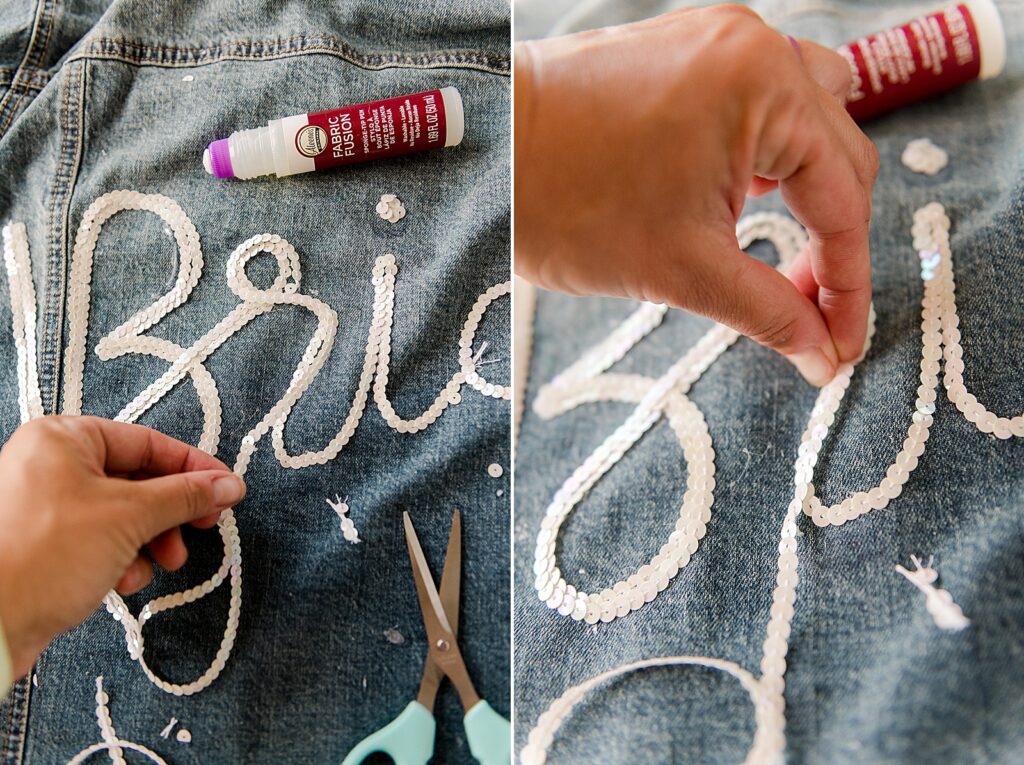
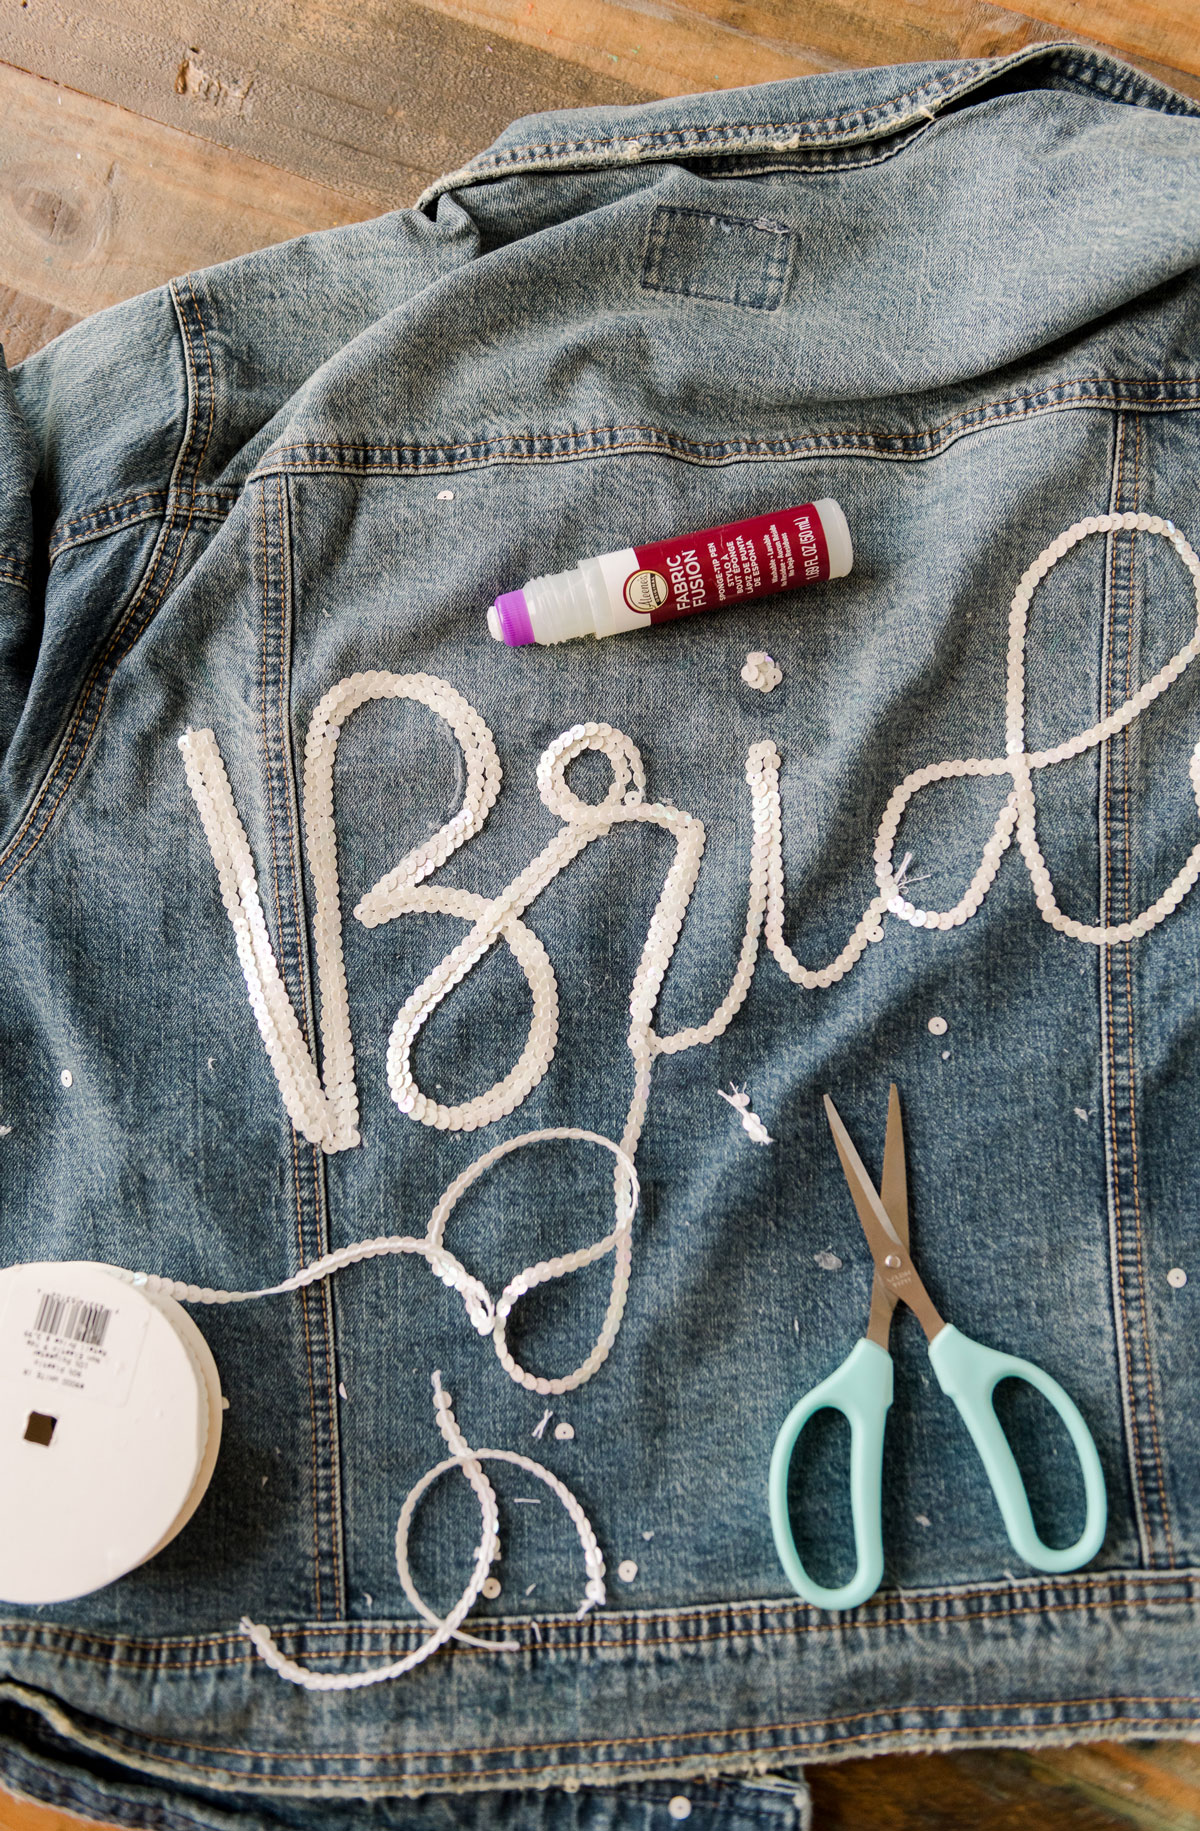
2. With your roll of sequins, begin to lay our your letting with one long strand (If possible)! Remember to keep the sequins flat to the jacket in order for the glue to stick the best, so bend and twist as needed so that the strand remains flat! Adjust and get just to your liking 🙂
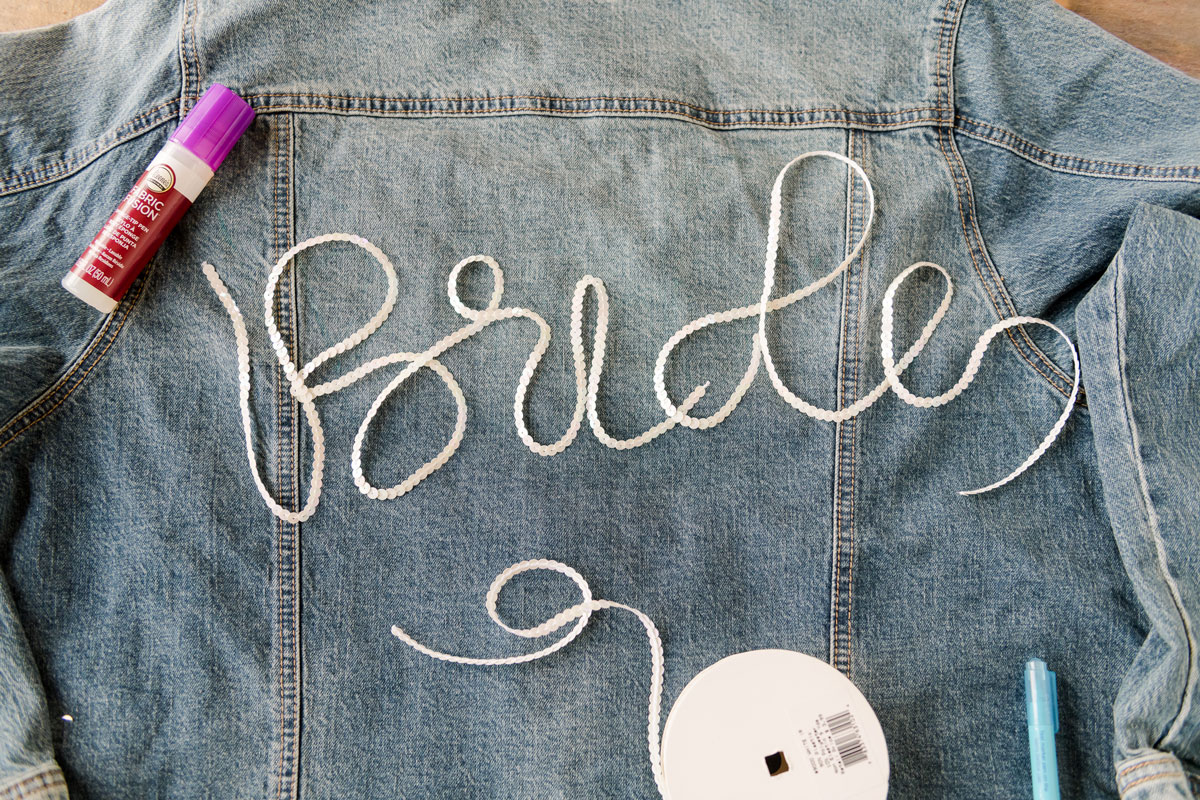
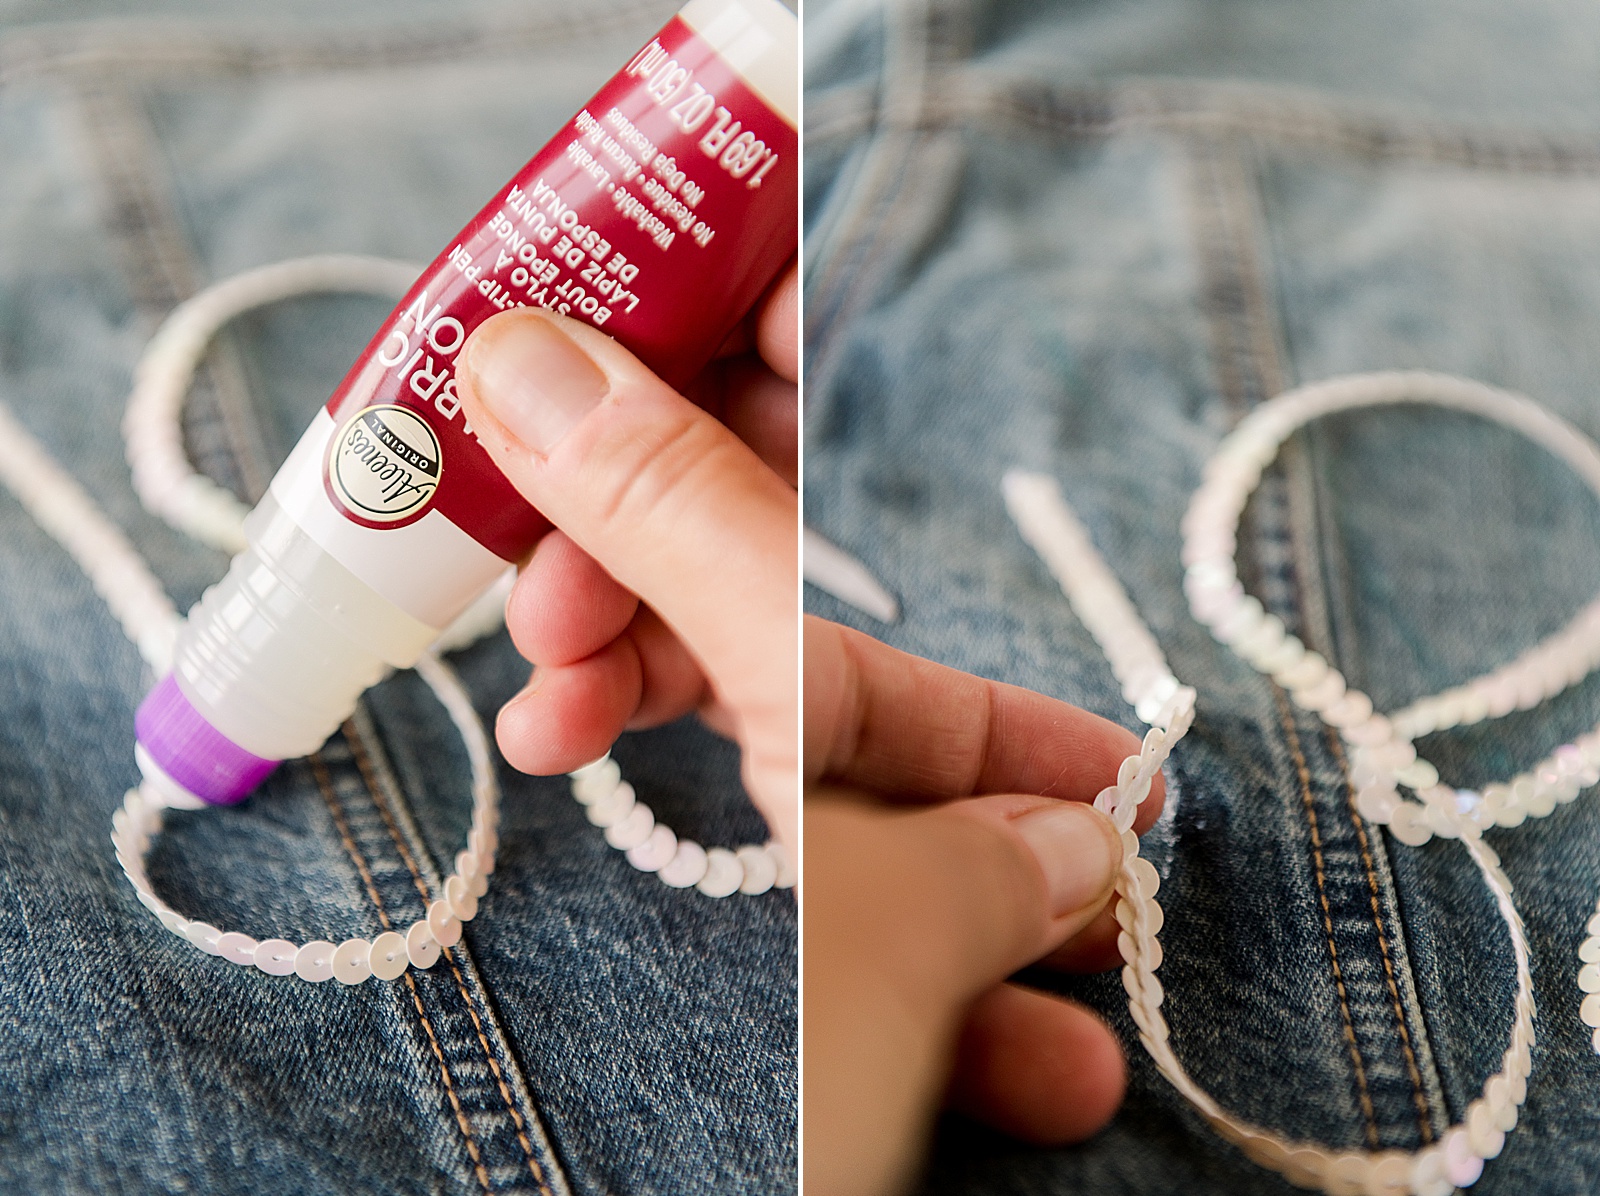
3. Beginning at one end of the lettering slowly lift the strand and begin tacking it down with the Fabric Fusion glue. Here are a few tips and things I found helpful:
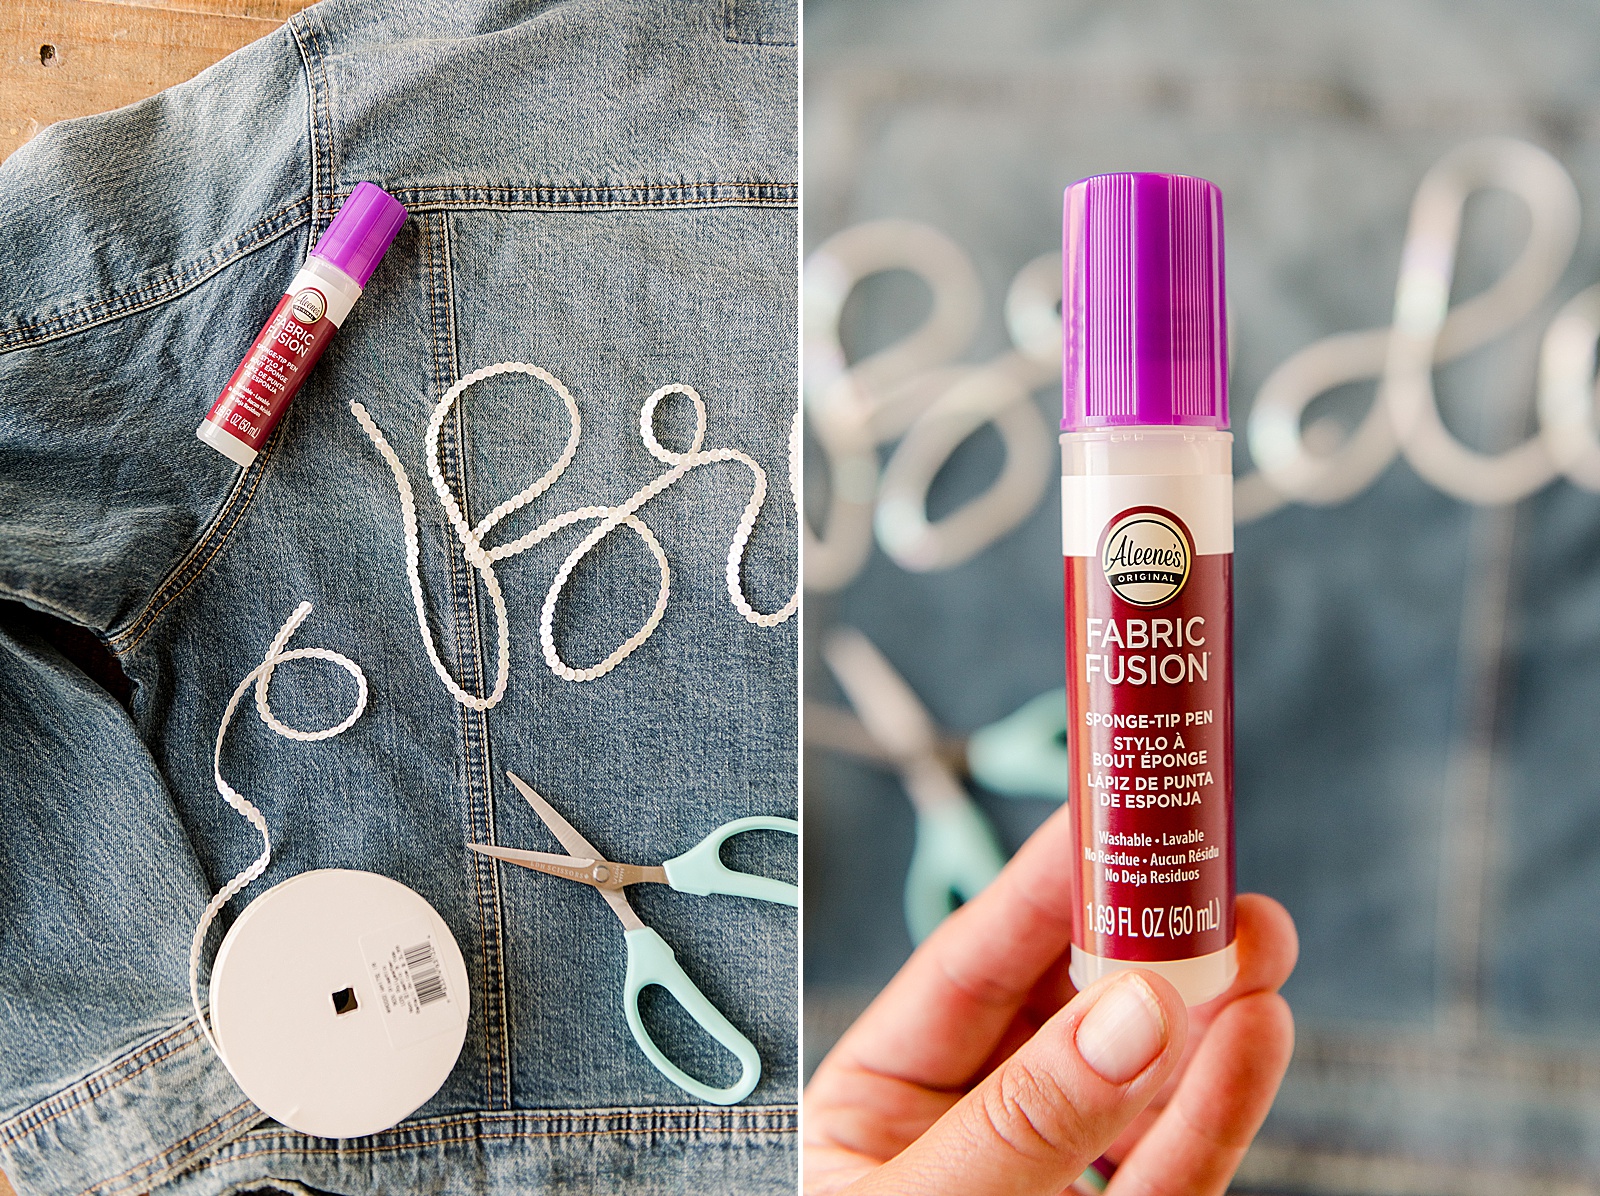
- It is best to apply the glue directly to the back of the sequin strand. Do this by squeezing out a bit of glue onto the sponge applicator and applying it to the strand of sequins.
- Use the sponge tip applicator works so easily to spread and I LOOOVE this feature 🙂
- The glue dries clear so don’t be afraid to make sure that the glue is applied heavily in order for it to stick the best
- The best part of this glue is that it’s malleable and flexible, so feel free to move your sequin strand around as you’re gluing it down
- If needed, you can tape or pin down the sequins so that they dry super well to the jacket (I didn’t feel the need to do this, but just in case)
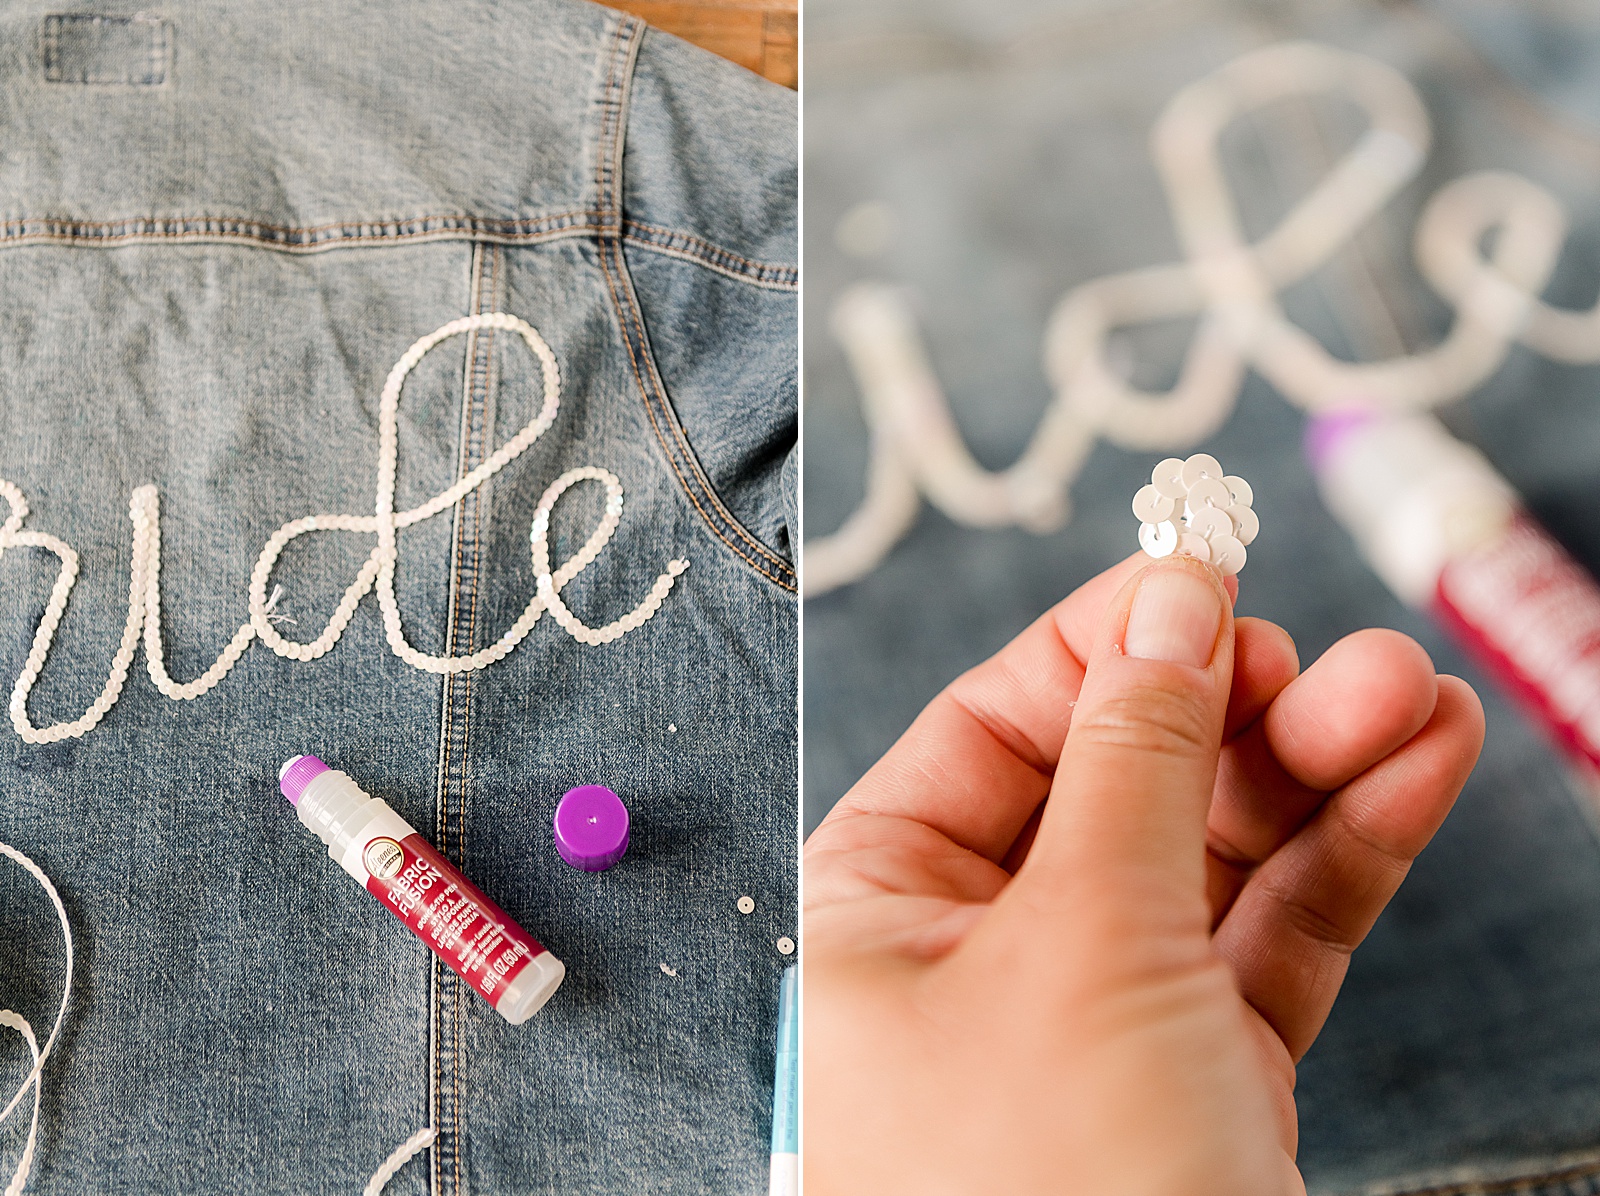
4. After I did the first lettering outline, I decided to add a 2nd layer to make the lettering thicker, so I just repeated step 3 but with a 2nd “layer” of thickness to the sequins! 🙂 This step can be skipped if you like the lettering to be more “dainty” and thin (yay for making things custom)!
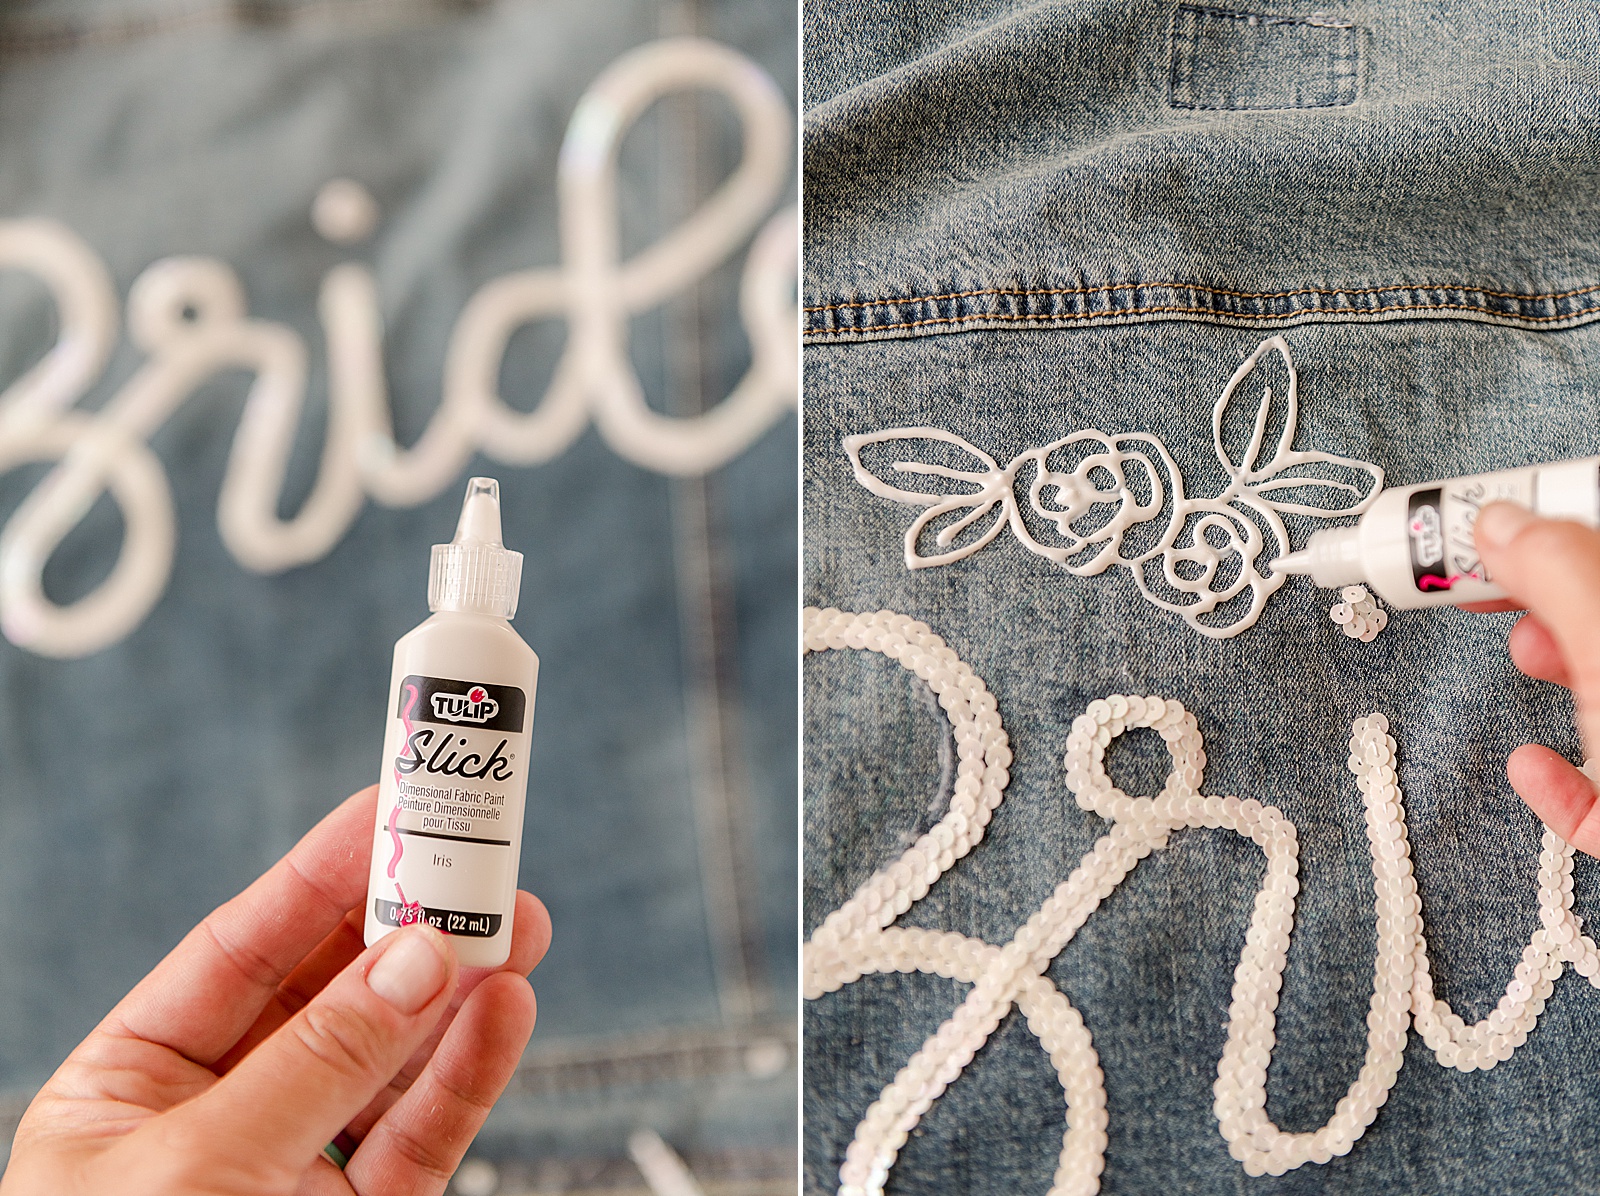
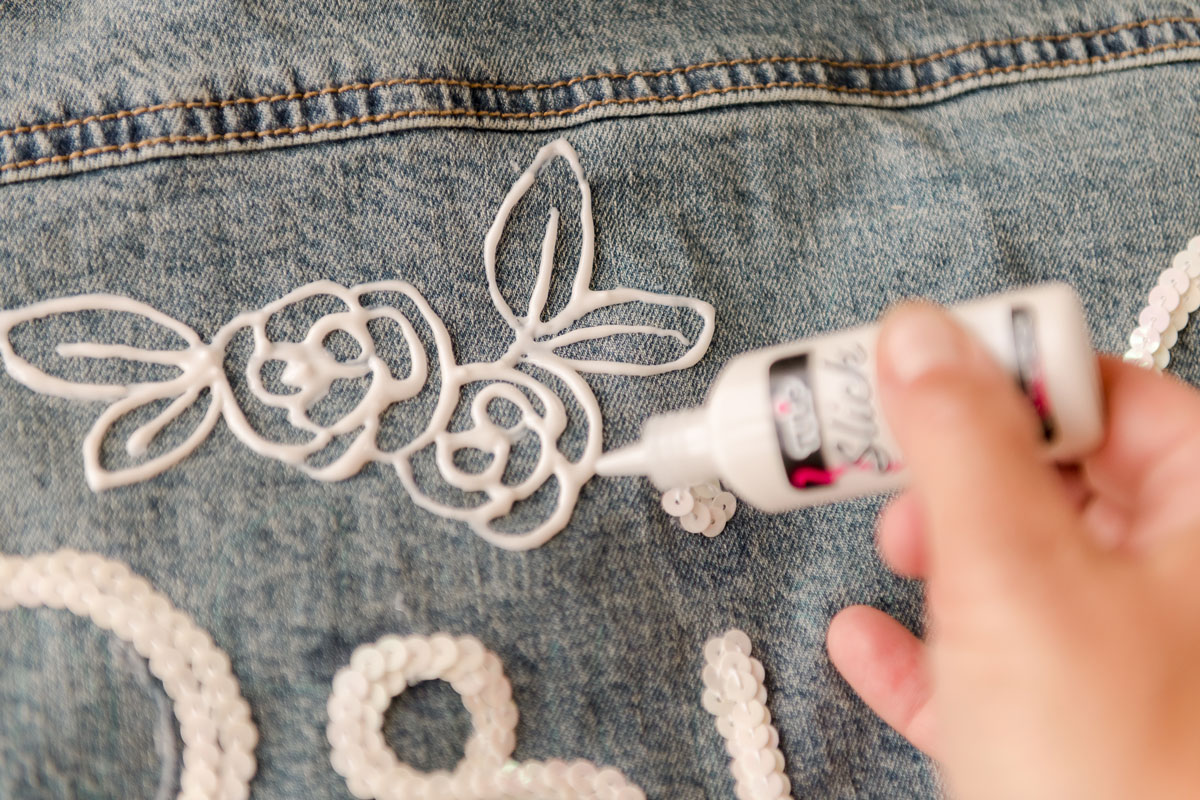
5. ANDDDD after I added the 2nd outline of sequins with the Fabric Fusion glue I decided that the jacket needed onnnne more thing – some doodled florals! So I grabbed some white Tulip 3-Dimensional paint and doodled a few florals and leaves around the outside of the sequin lettering! 🙂
Let the Fabric Fusion glue dry for a good 2-4 hours (and the paint if you decided to go that route) before wearing the jacket and 48 hours before washing!
