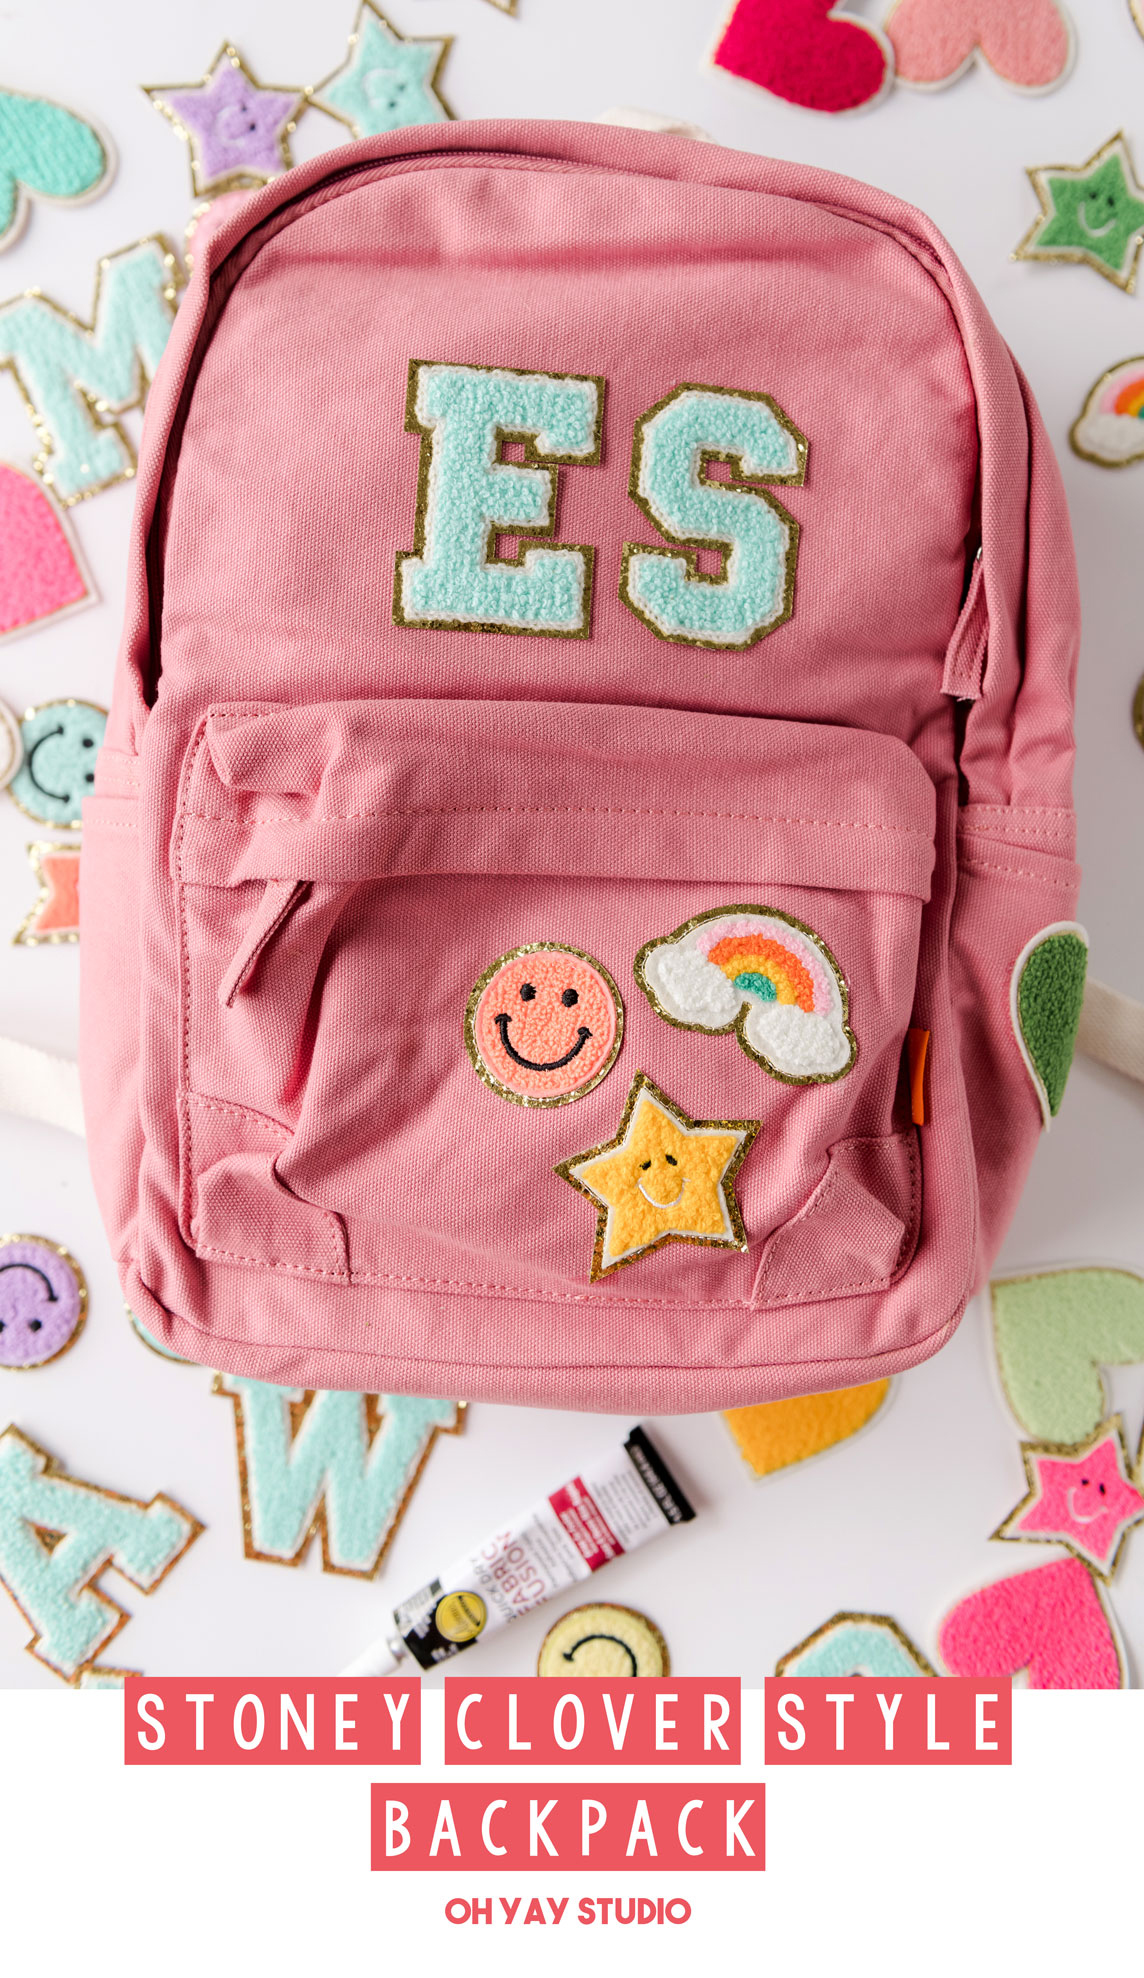
Stoney Clover inspired backpack DIY
*this project is in partnership with Aleene’s
What’s better than a brand new box of juicy markers for the new school year?! UPCYCLING YOUR BACKPACK TO MAKE BRAND NEW, of course! 🙂
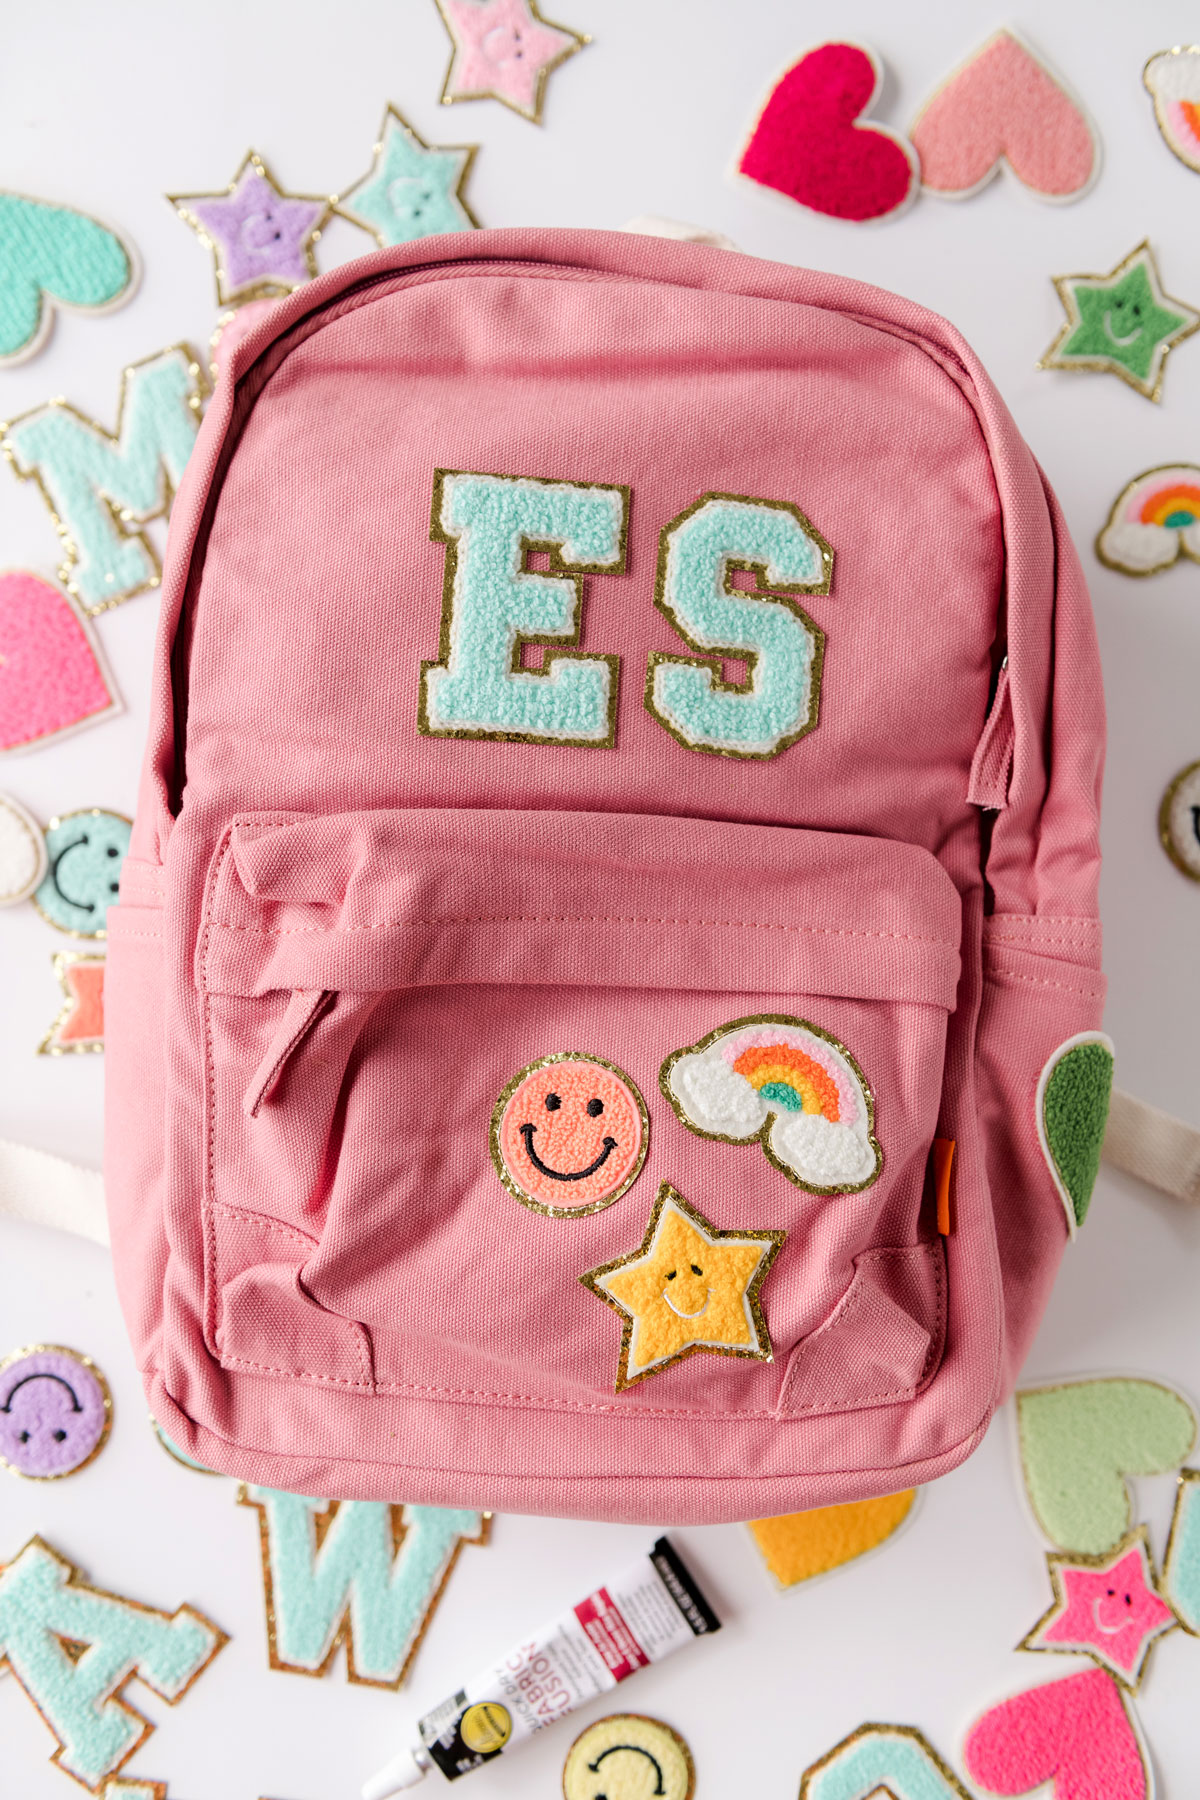
If you have a bag or backpack that is in great shape, but just needs some visual love (ya know, to give it new life and some new-school-year pizzaz) then grab some chenille patches and we are going to make a Stony Clover inspired backpack that is perfect to kick off this school year 🙂
I love how LEGIT easy this project is (yes, simple….quick…..all of the awesome adjectives that make you want to try this!) Even on the night before the first day of school….yes with this Aleene’s quick dry fabric fusion glue you still have time to turn your old backpack new again!
And I am 100% ALL FOR any DIY that is customizable and that gives people that “I completely LOVE THIS” feeling, and this backpack is one of them….hands down! 🙂
MATERIALS:
- An old (or new) backpack that needs some love
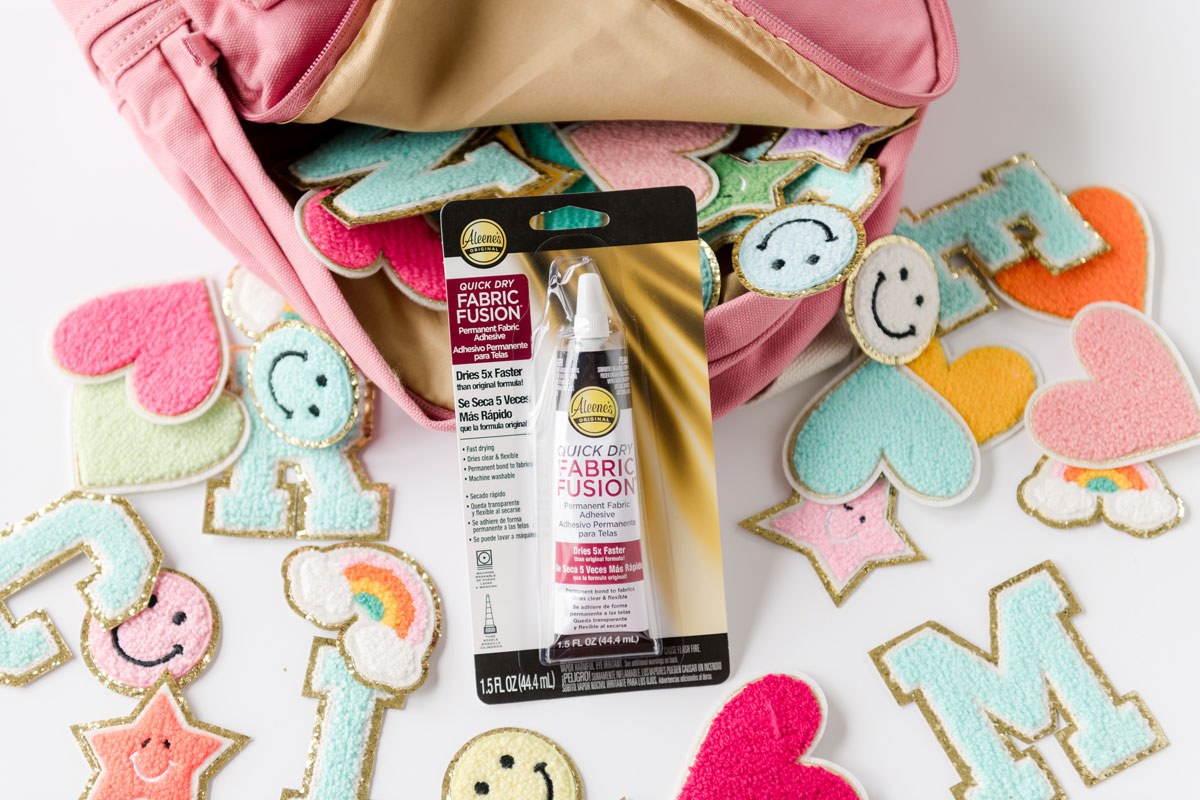
- An assortment of chenille patches to add to your backpack
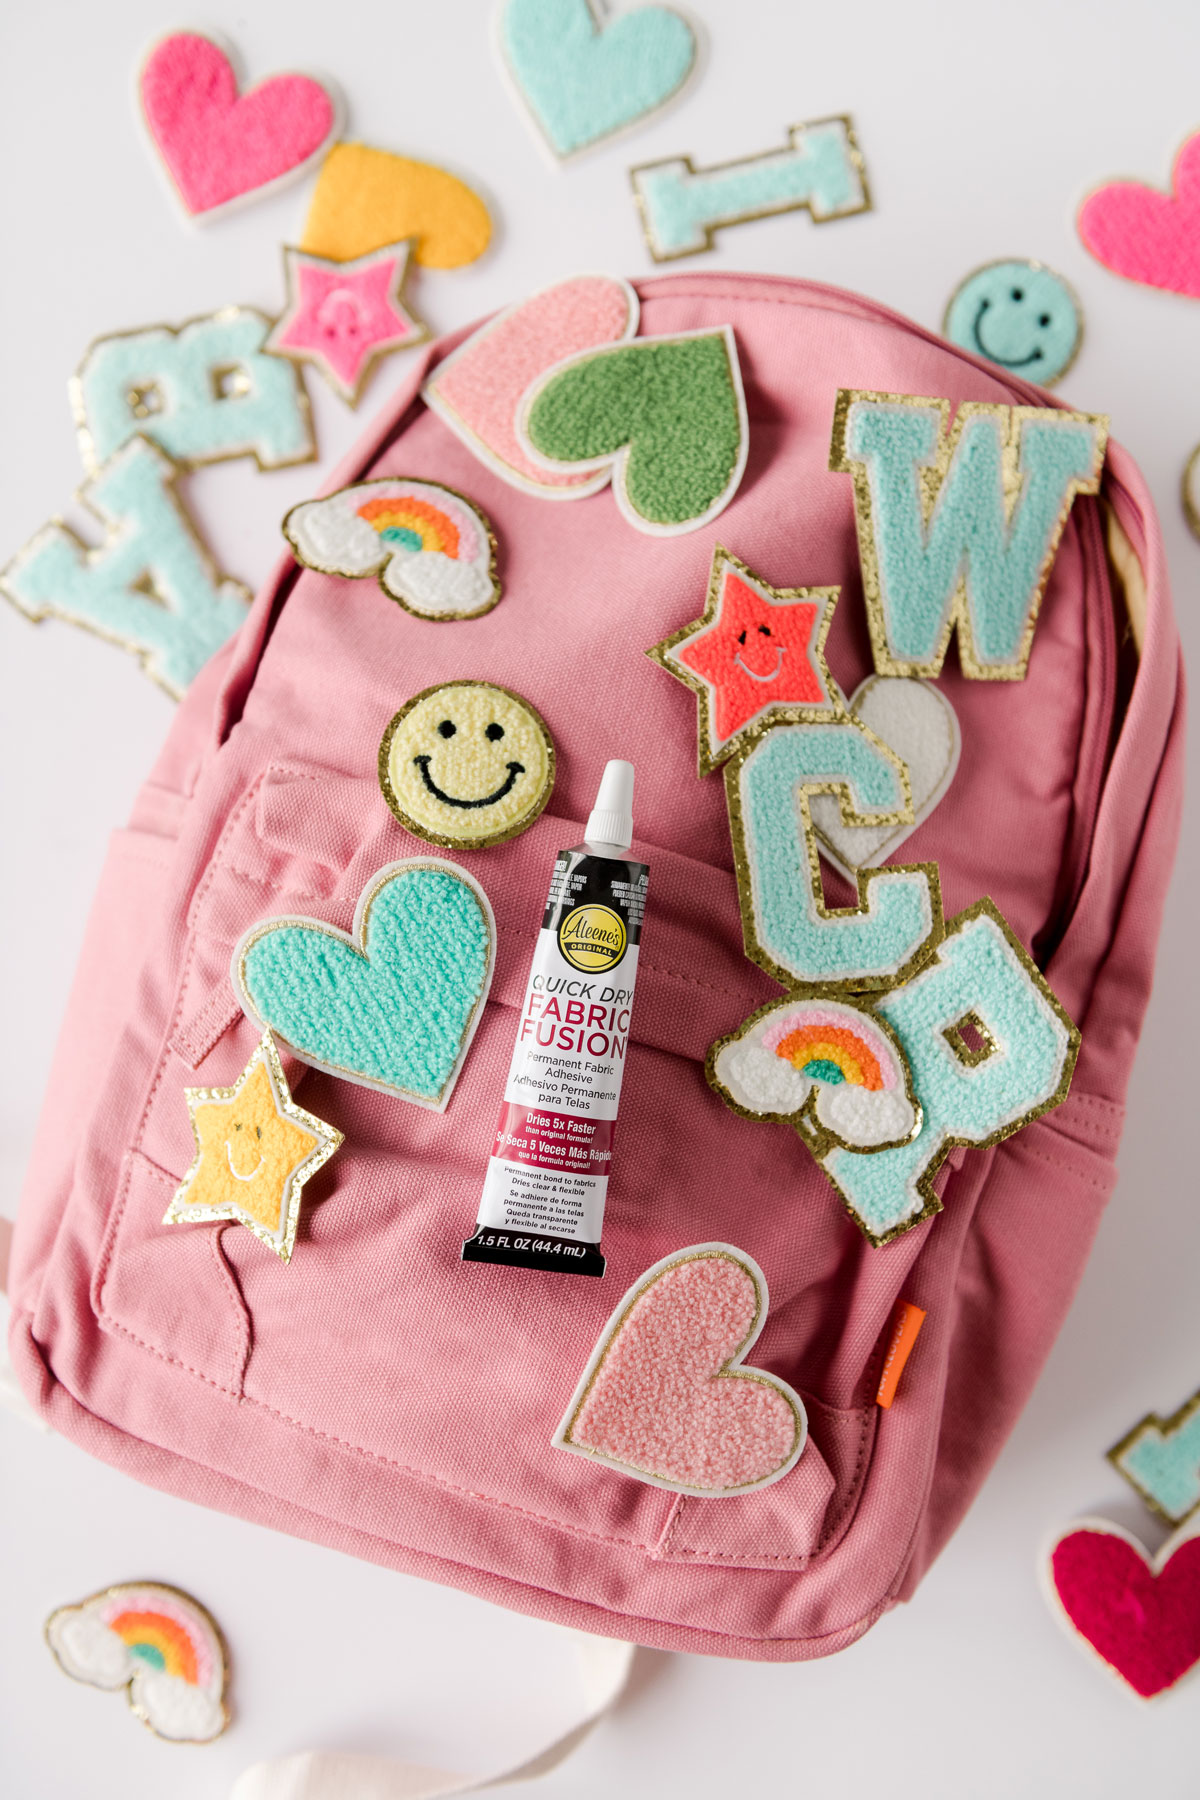
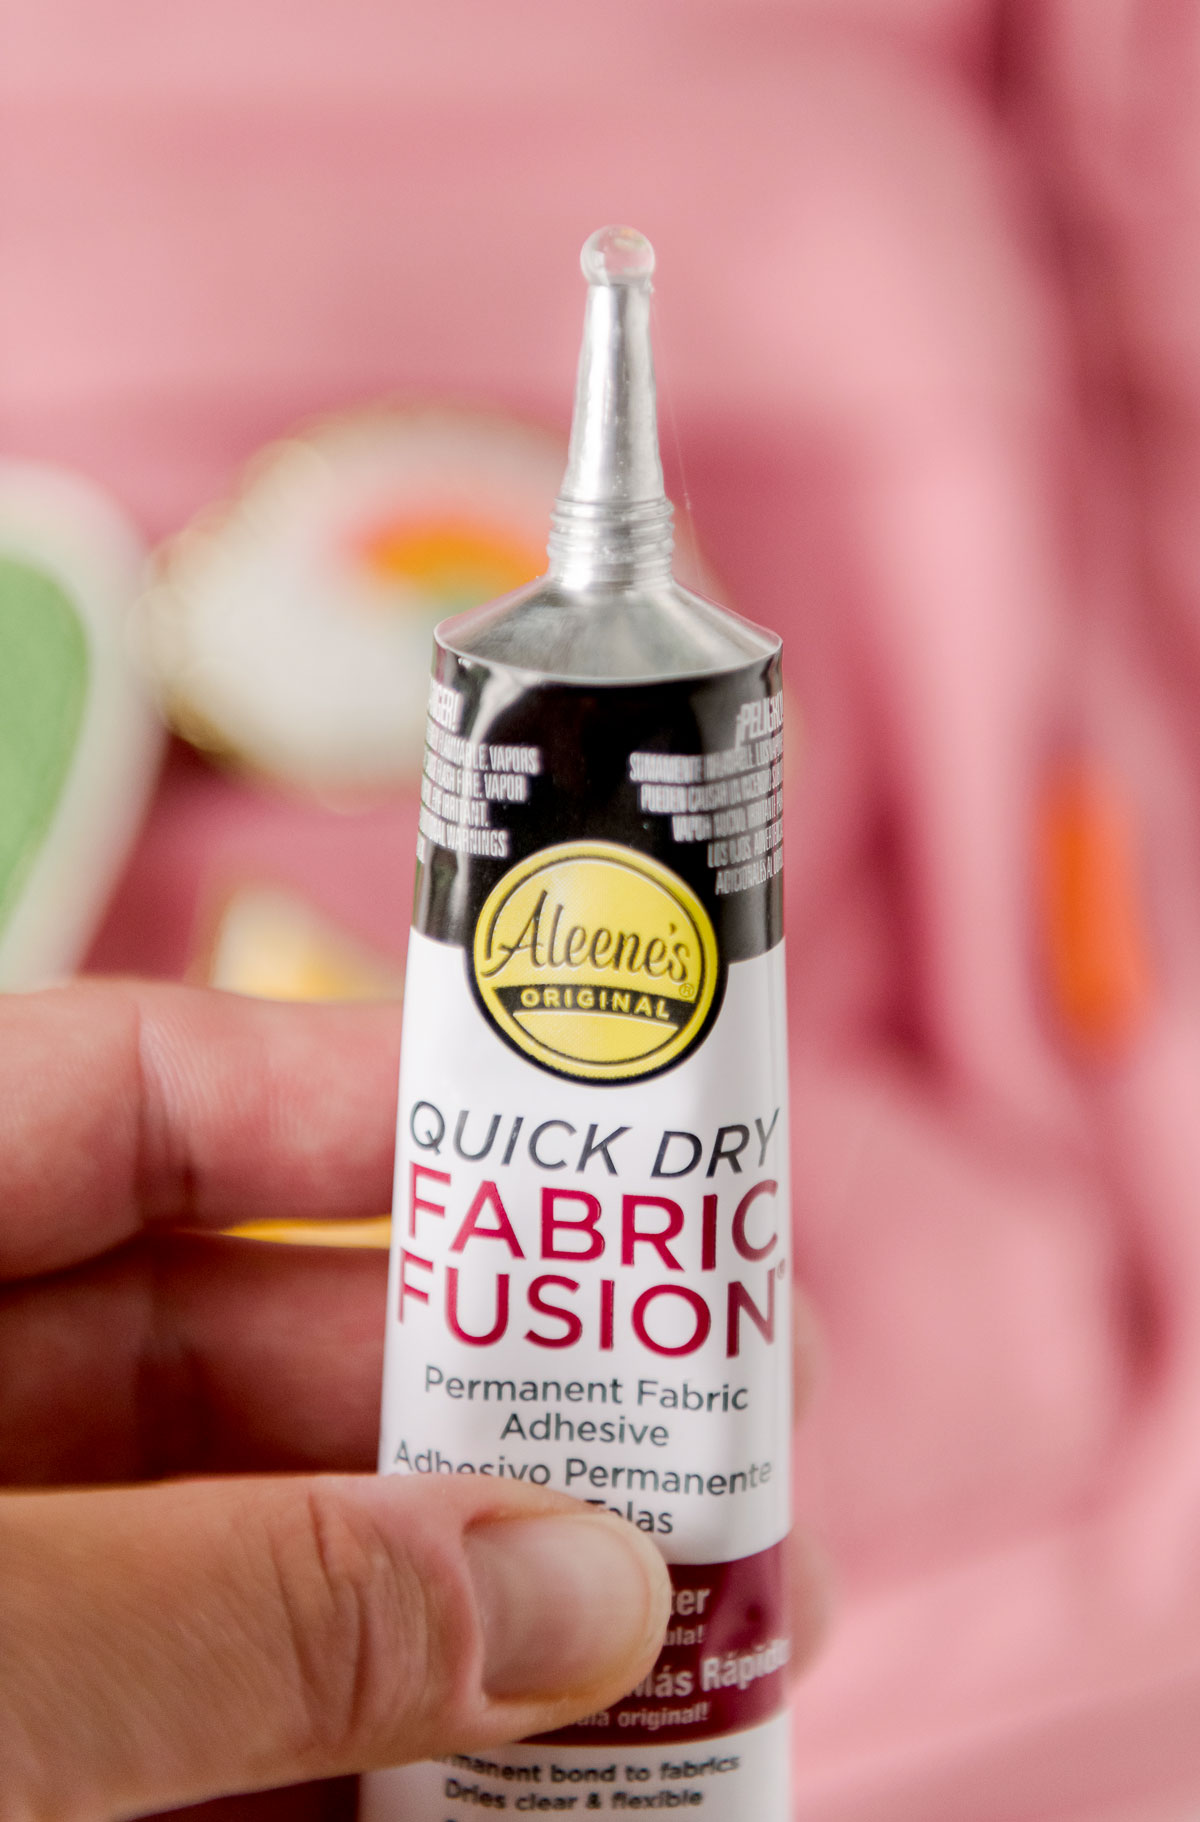
- Some Aleene’s Quick Dry Fabric Fusion Permanent Fabric Adhesive (this stuff is INCREDIBLLLLLEEEE, please believe me on this one)! 🙂
INSTRUCTIONS:
1. Wash your backpack if necessary to get all of the dirt and goo off from last year’s school year 🙂
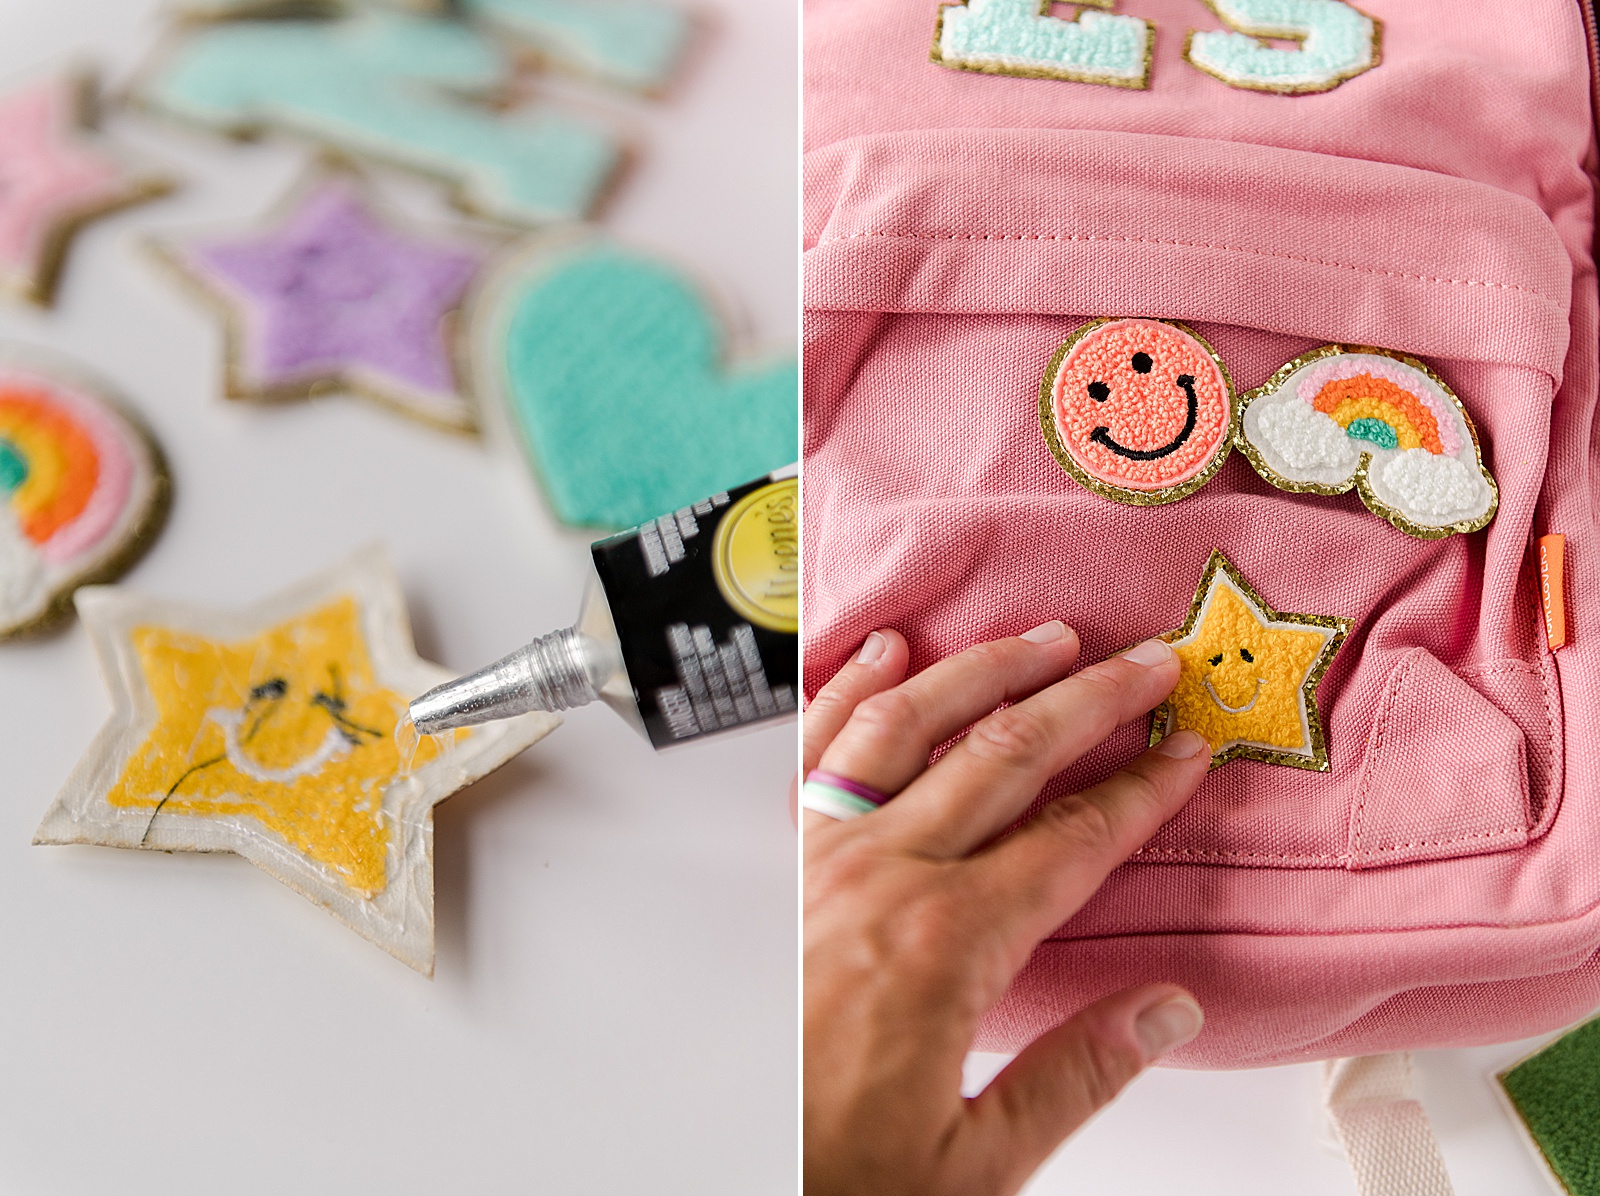
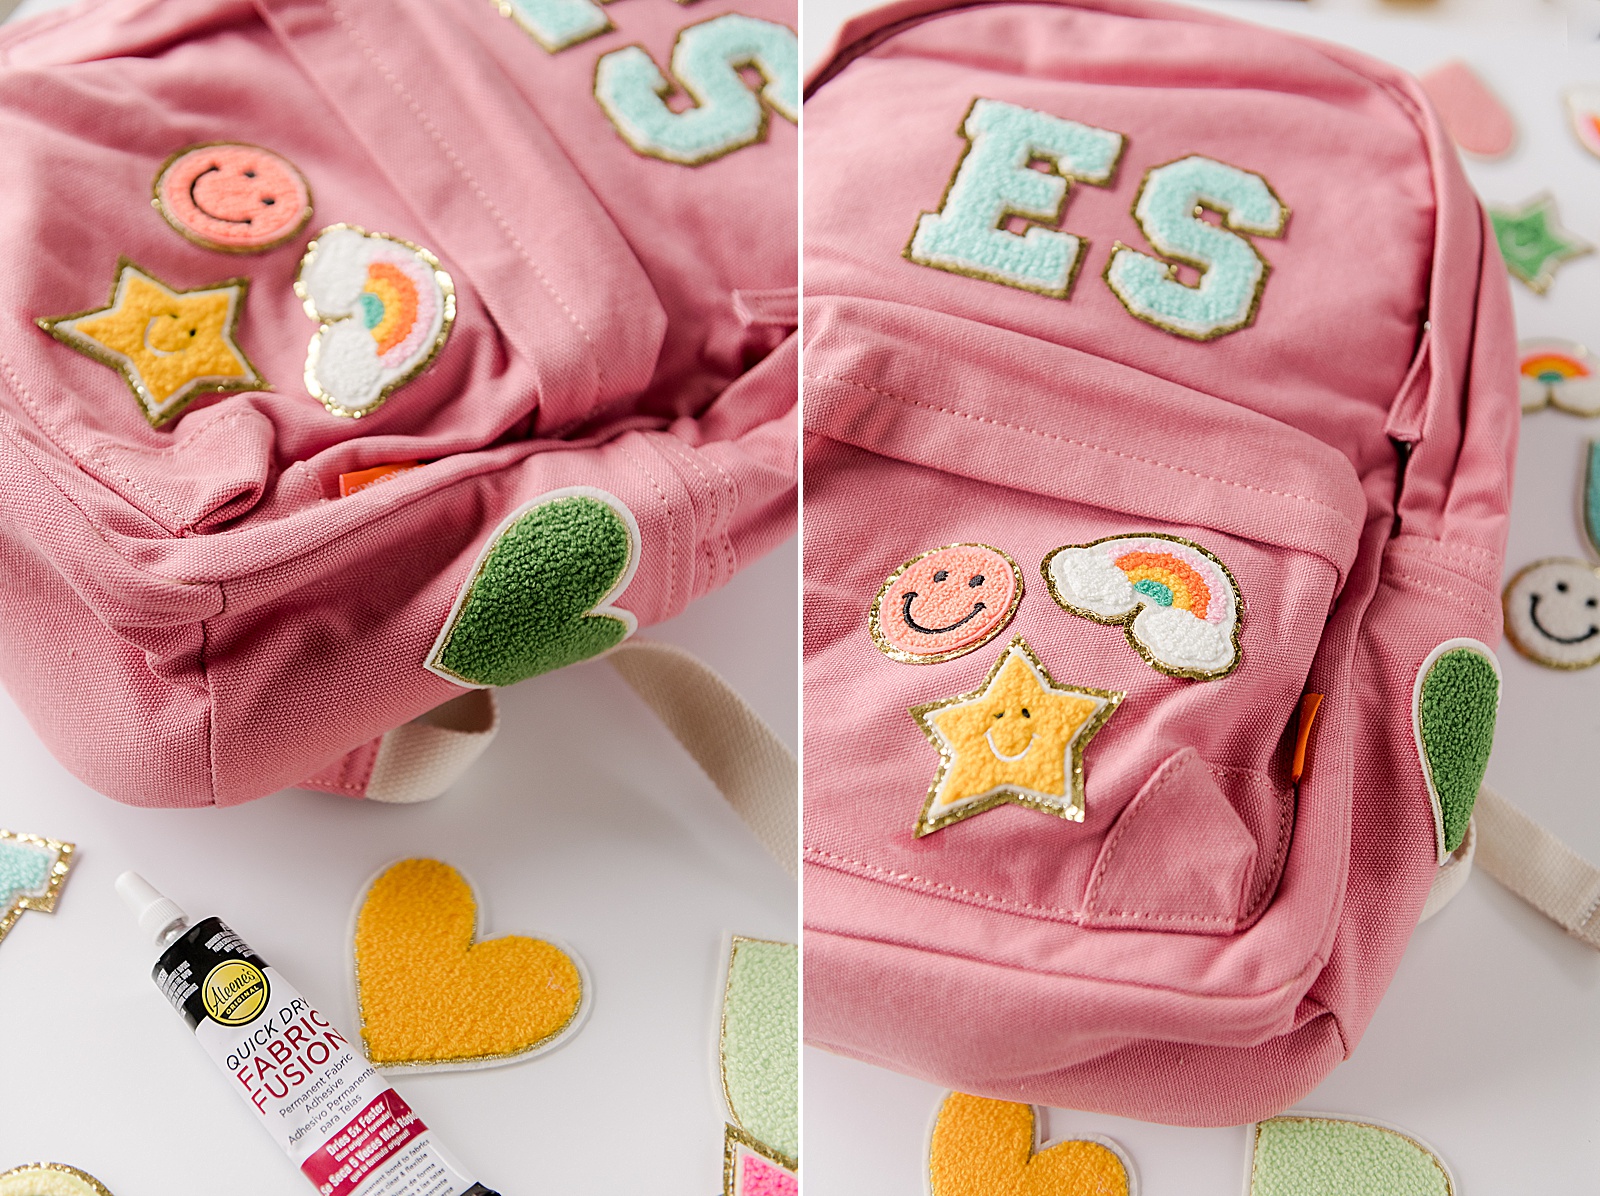
2. Choose the patches that you want to add to the backpack and begin to lay them out – the more the merrier! 🙂 You can lay them out however you’d like – as an appliqué all over, in clusters, with a monogram (Esther wanted her initials) or even just a few on the front! This is where the customizing gets FUN! 🙂

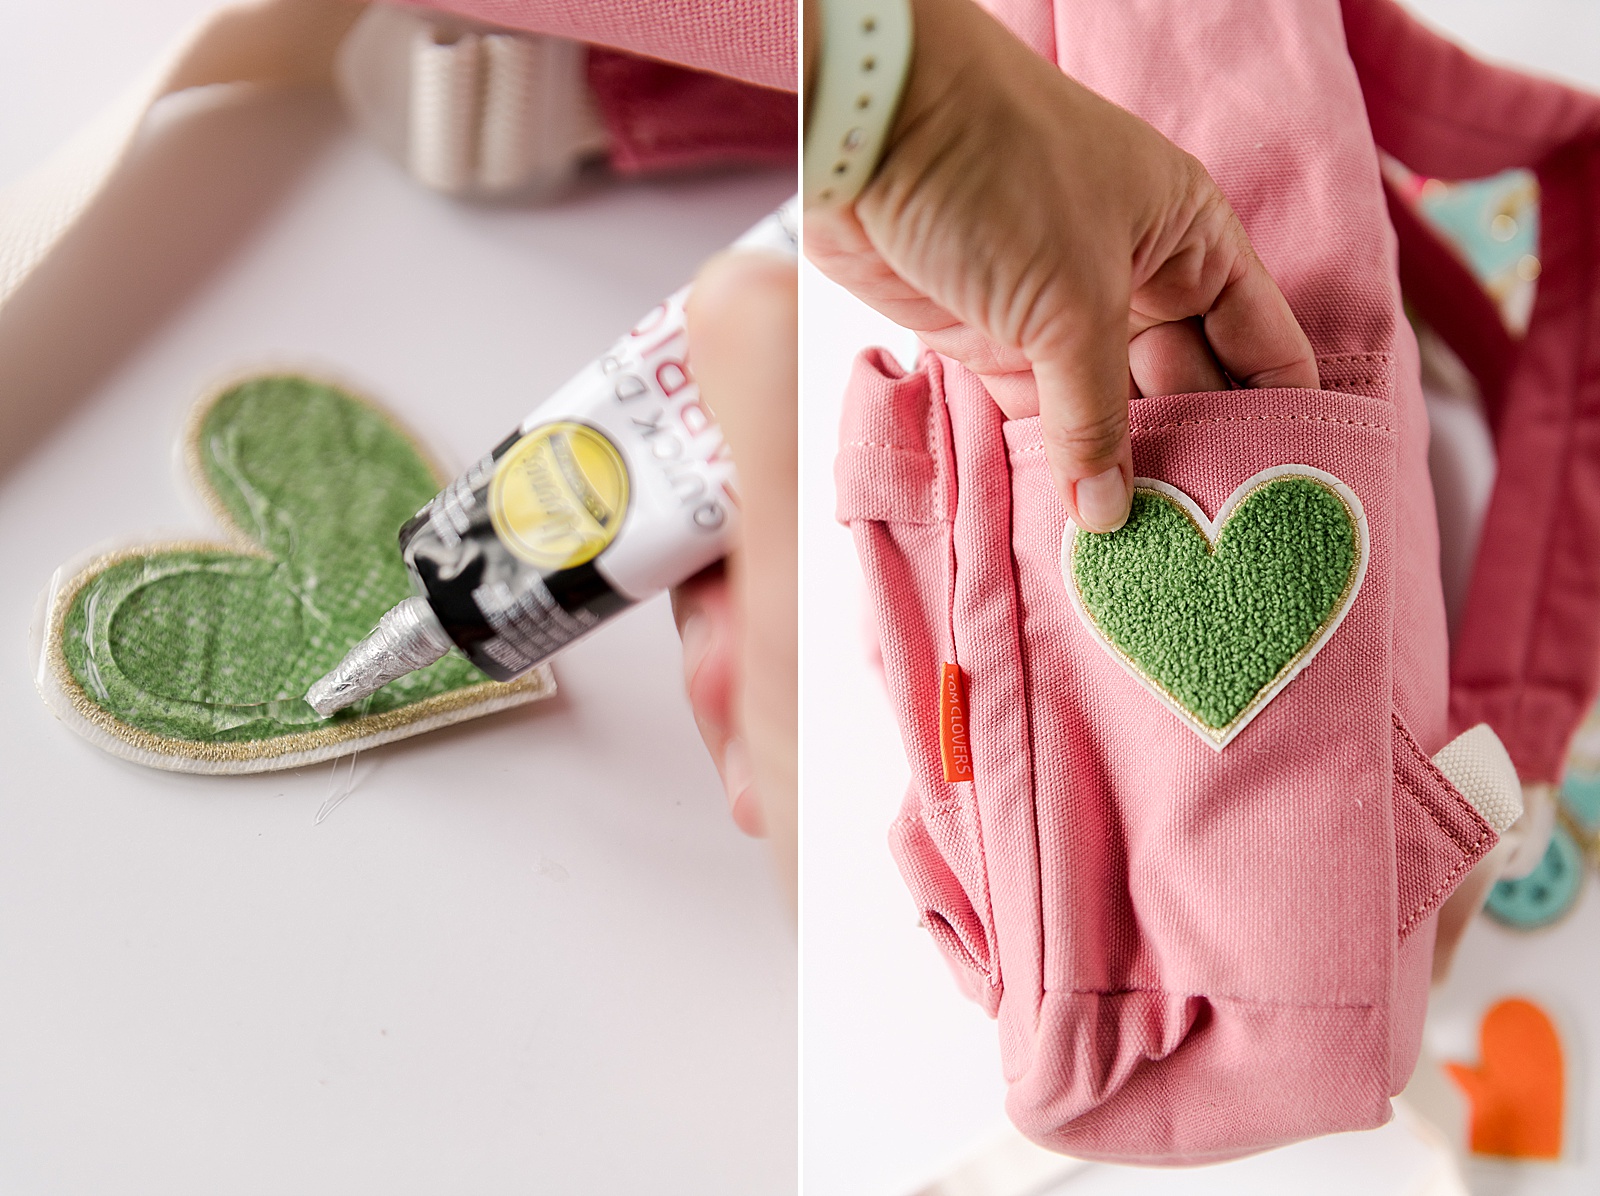
3. Once you have laid out the patches where you want them to be, open your Aleene’s Quick Dry Fabric Fusion glue and unscrew the cap! Begin adding an even bead of glue around the outer edge of all of the patches before pressing them down to where you want them to be on the backpack (make sure your bead of glue is close to the edge, but not dripping over)! 🙂 If you find that you didn’t add enough glue to the patches after you press them onto the backpack, you can lift the edge of the patch and stick the tip of the glue bottle under the edge and gently add a bit more. If you use too much, don’t worry because the glue dries completely clear when it’s done! 🙂
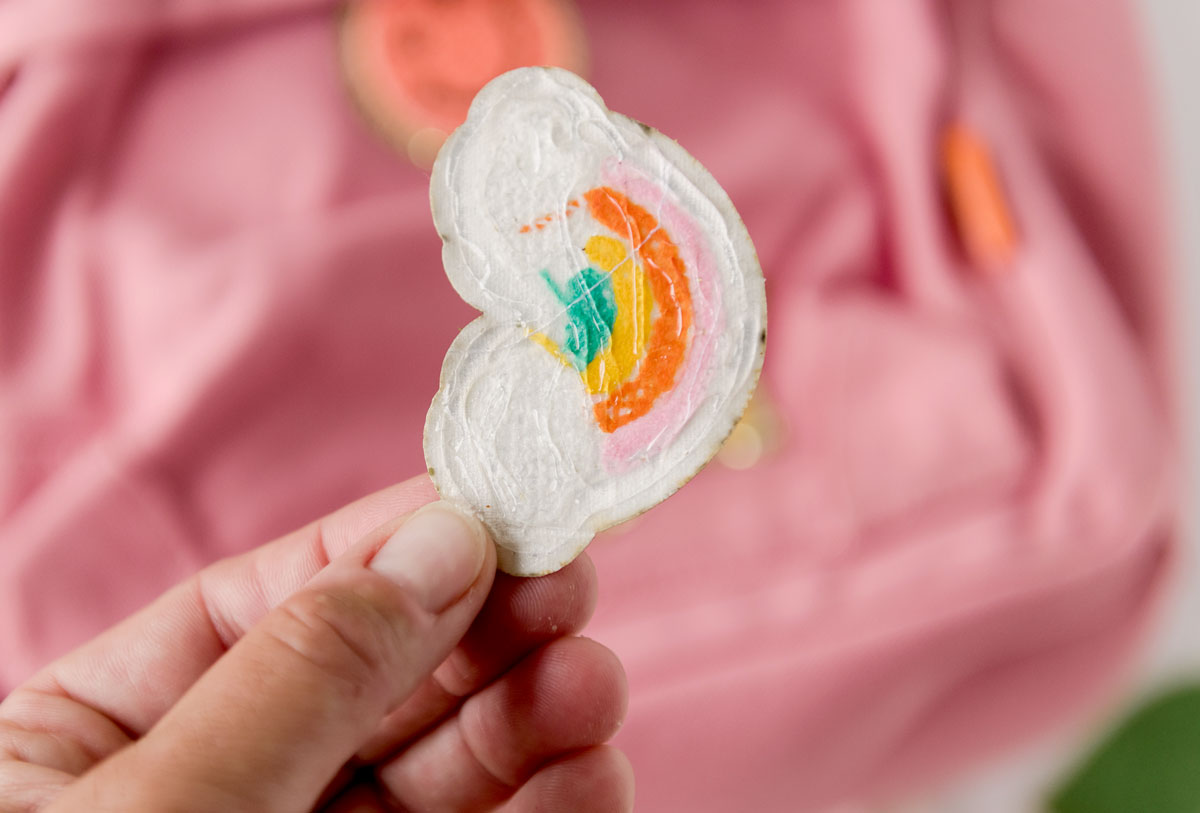
If needed, open your backpack and place your hand inside the bag, behind where the patch is being applied to give counter pressure. This helped make sure that they were super duper stuck to the fabric! 🙂
This glue is AMAZINGGGG! It’s permanent (YAY) but also flexible and stretchy when it dries (you can probably tell that from when you apply the glue…it has some stringy-stretch when you pull the tip away from the patch…..that’s how you know it’s nice and thick and tacky)! So we had no trouble adding a few patches to the side of the backpack knowing that it will have more flex and stretch from water bottles or other things stuffed into those smaller pouches 🙂
Set the backpack aside to dry for a few hours and VOILA you are doneski! (and word to the wise, Esther waited a whole 15 minutes to let her bag dry before snatching it up and playing pretend school with it……so yes, this glue s QUICK DRY FOR SURE! 🙂