How to make a rainbow stencil using a Cricut!
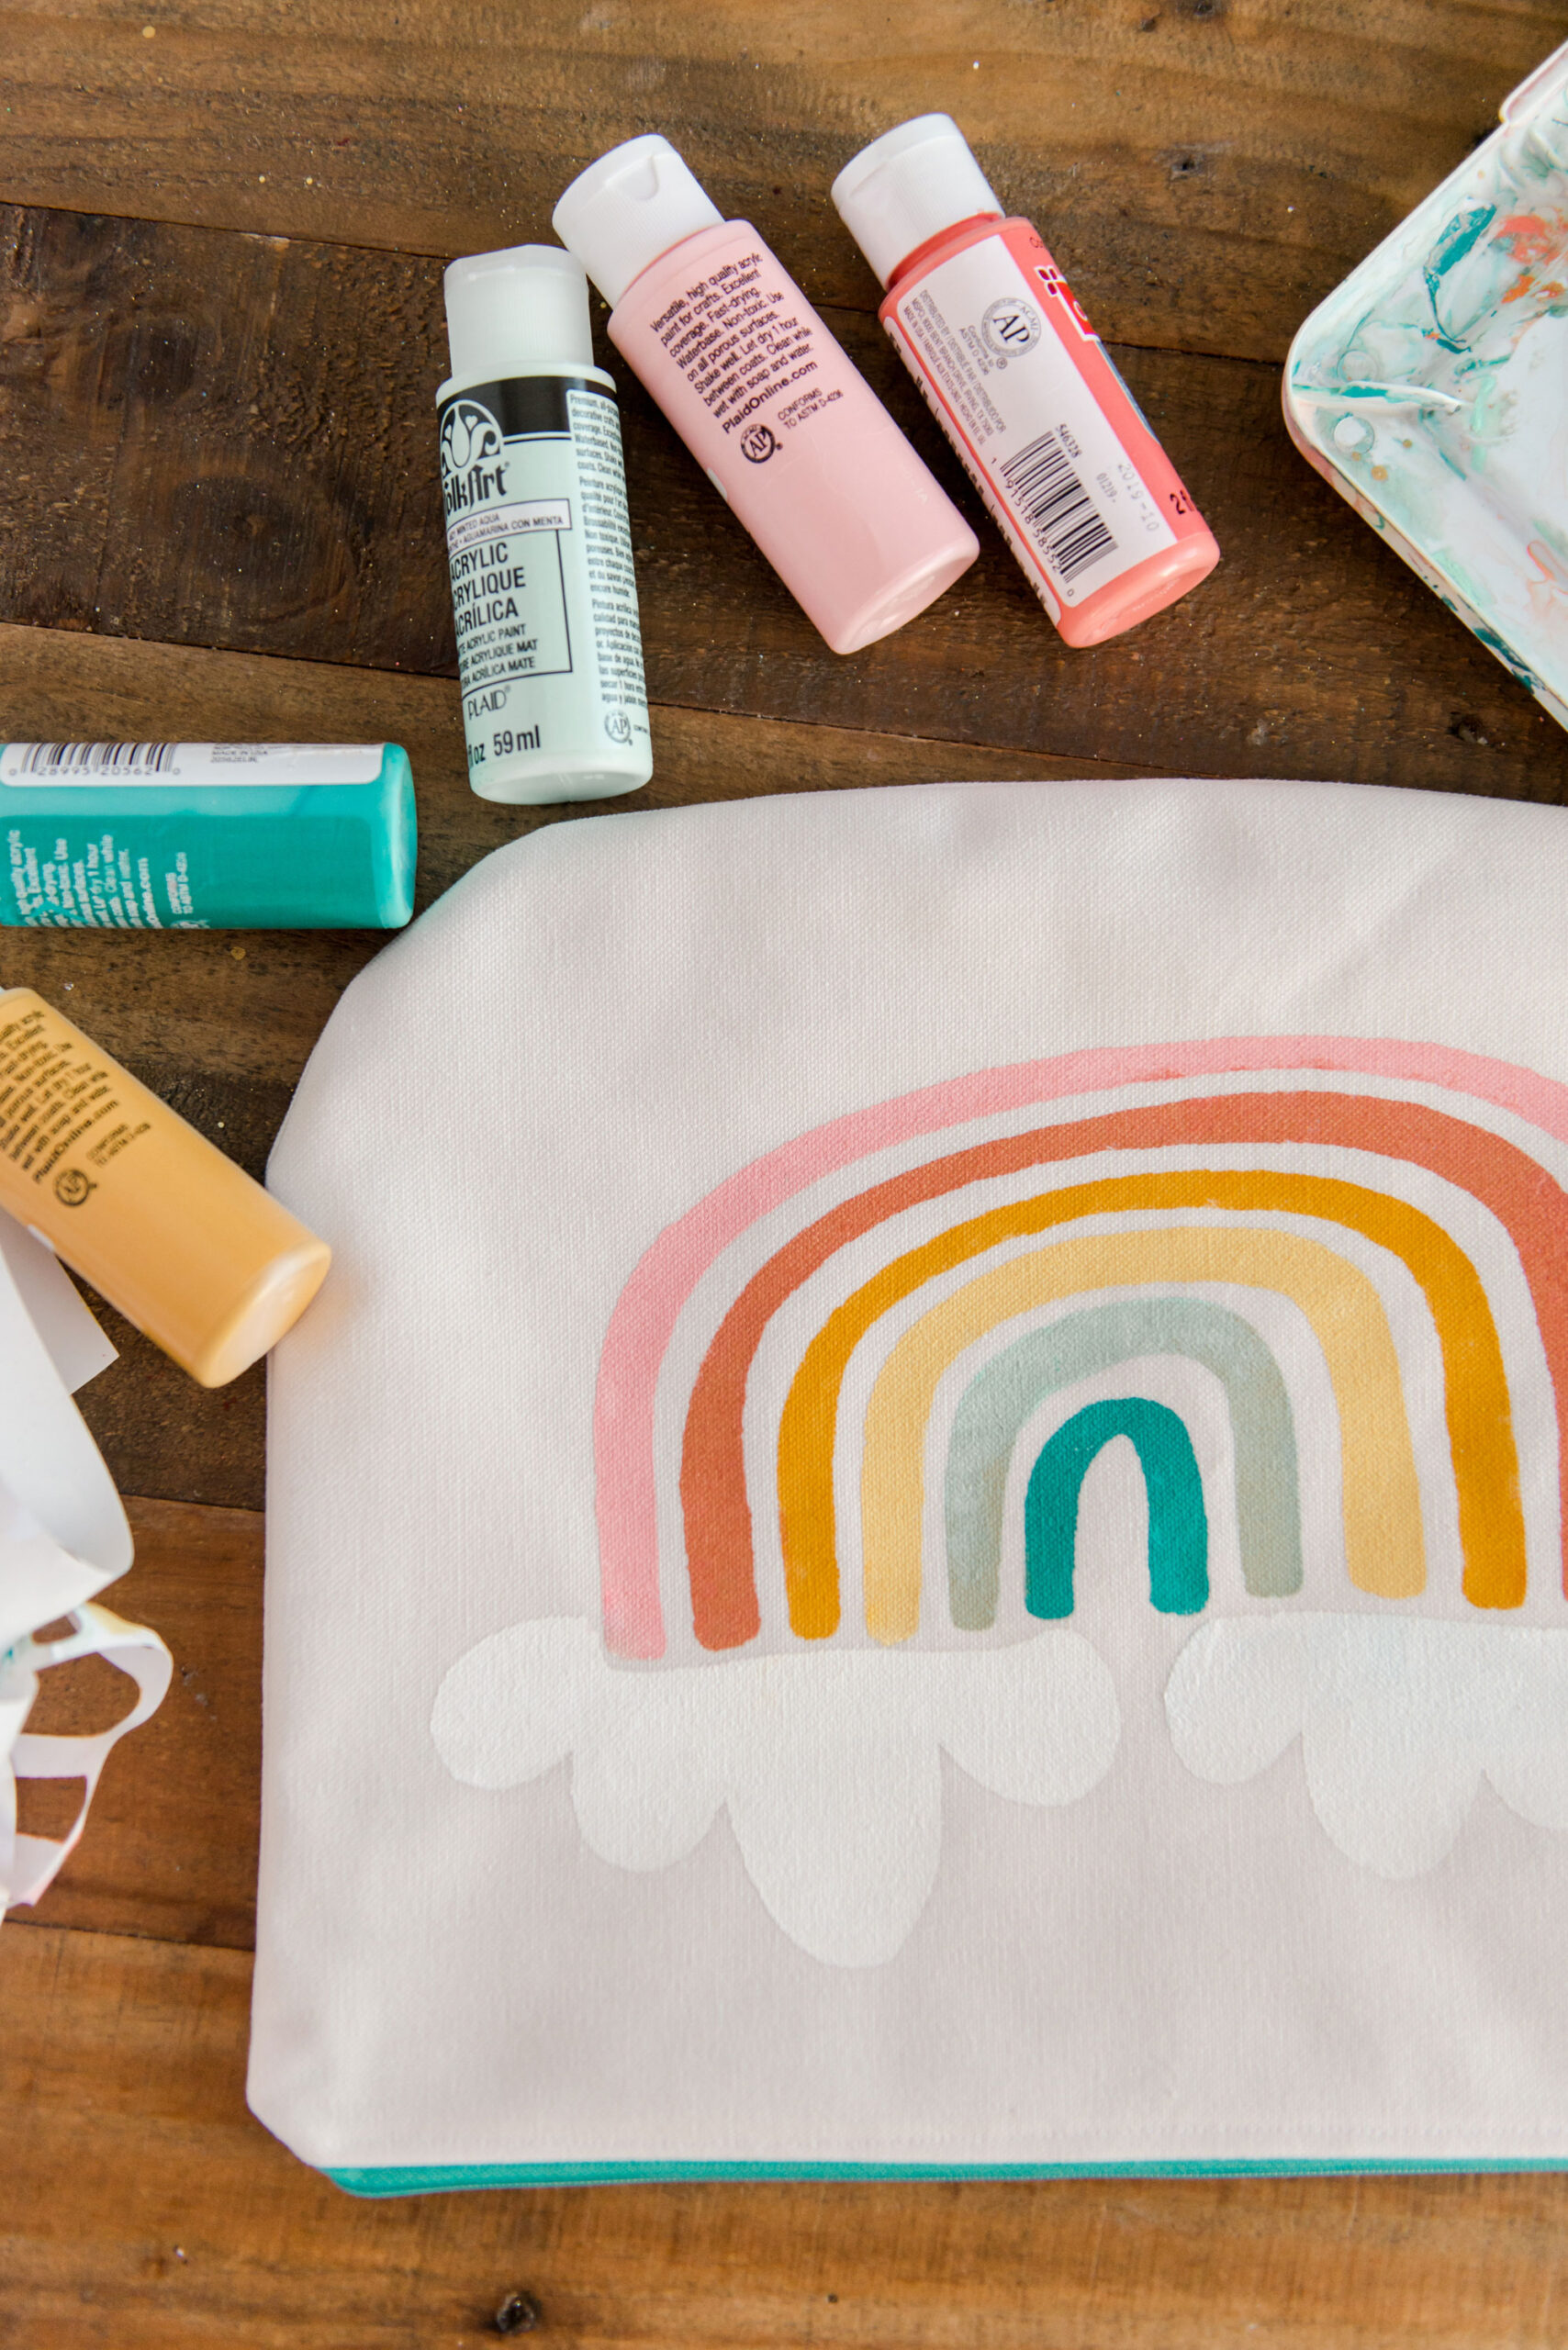
If you want anything to look crisp and clean with any custom painted idea, your answer is; STENCILS!!!!! And I can *promise* you that stencils are SO SO easy to make yourself out of any drawing, wording, phrase or grouping of images! 🙂 I am going to show you how to make an adorable rainbow pouch out of a custom stencil that I made using my Cricut cutting machine (and this can be translated to tees, jackets, backpacks, patches or LEGIT anything that you can stencil on! 🙂
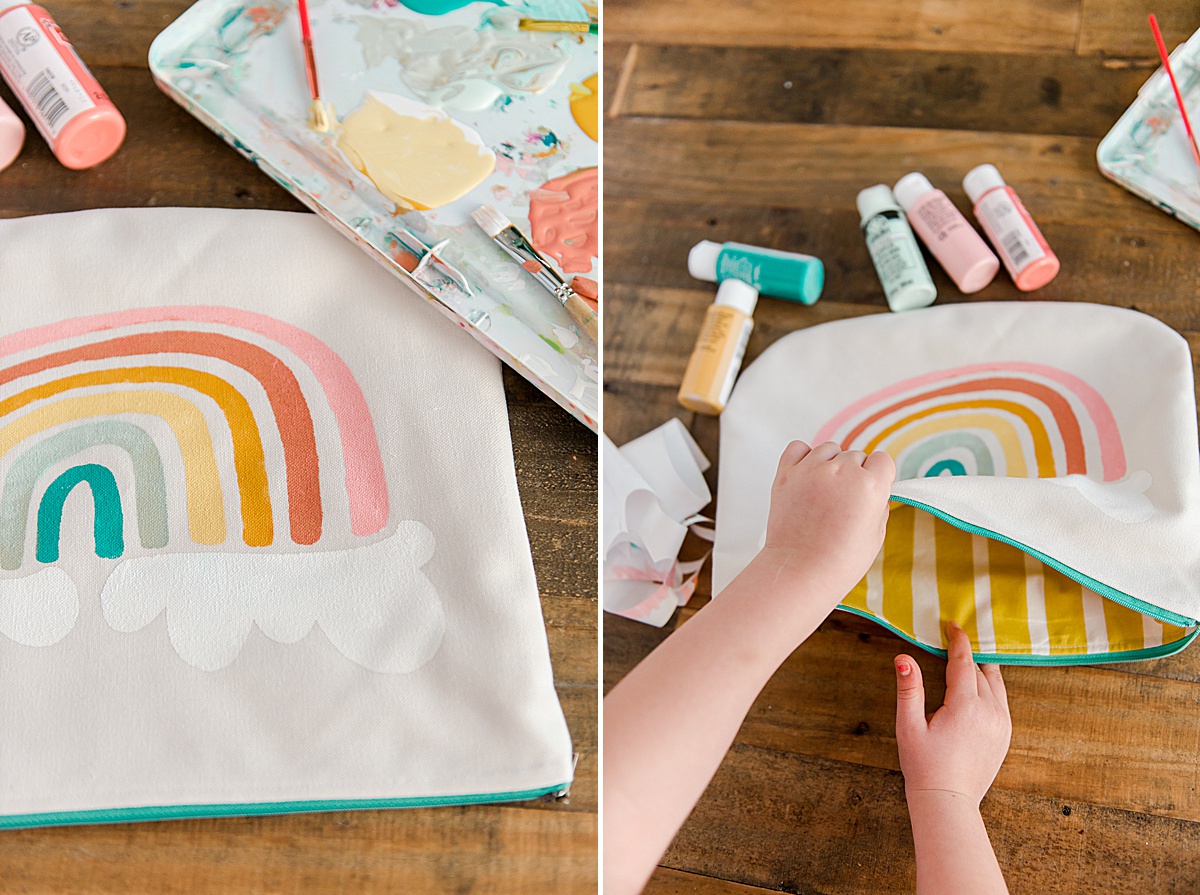
SUPPLIES:
- Cricut or other cut machine
- Peel and stick Vinyl in any color (not heat transfer)….great to use up those odd pieces left over from other projects
- Transfer tape
- Fabric paint (or acrylic will work too)
- Paint brush
- Piece of cardboard or an old cereal box (optional depending on garment or fabric to be painted)
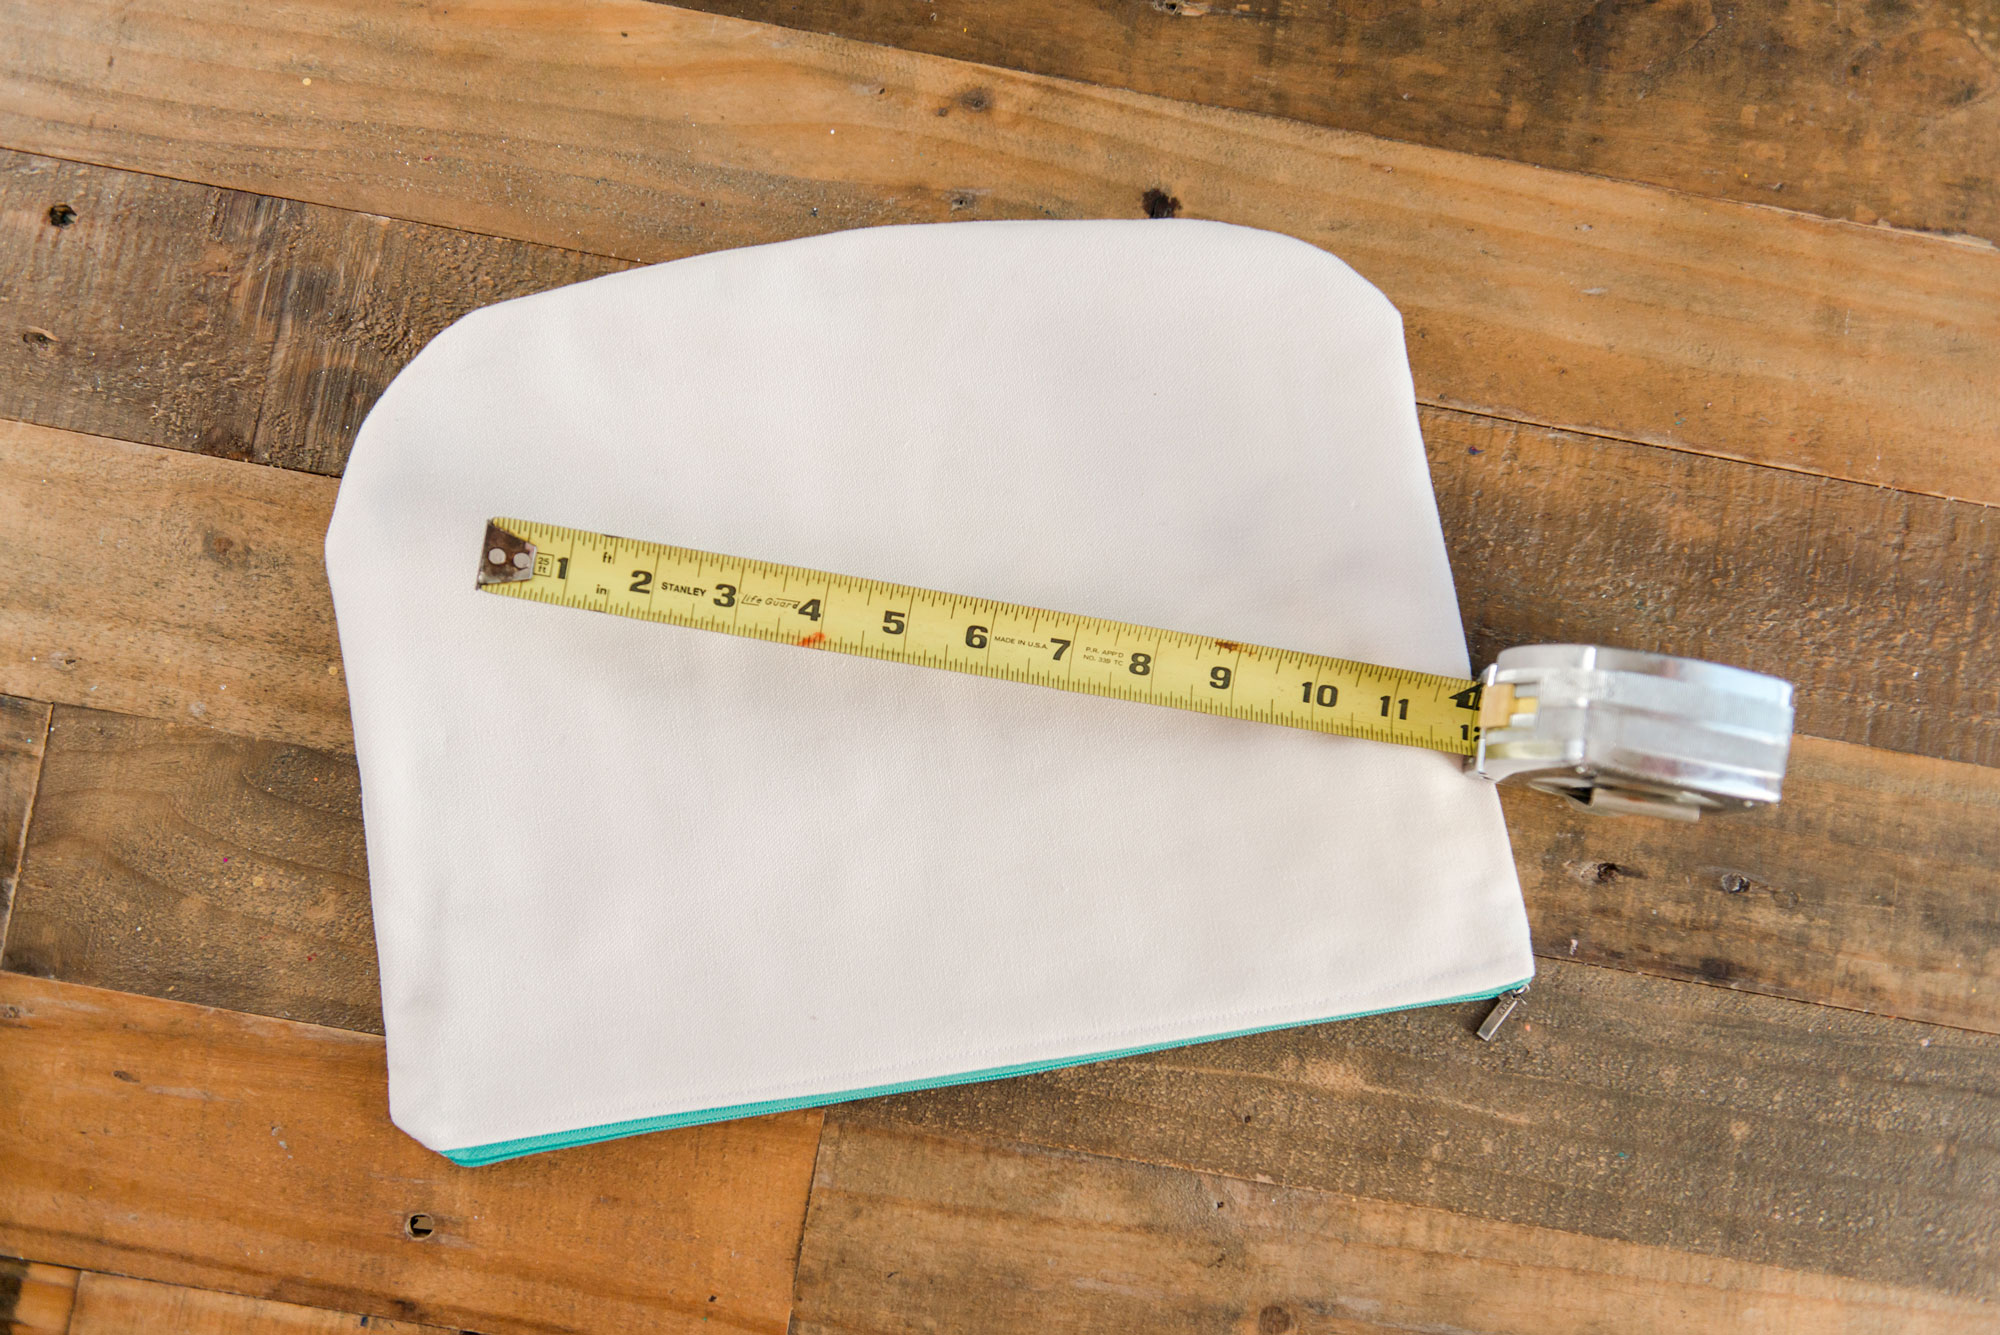
- Measure + prep
Measure your fabric to see how wide you want to cut the rainbow or how big the sizing should be (approx). Download the SVG file HERE and prep by adjusting any sizing in your design software if needed.
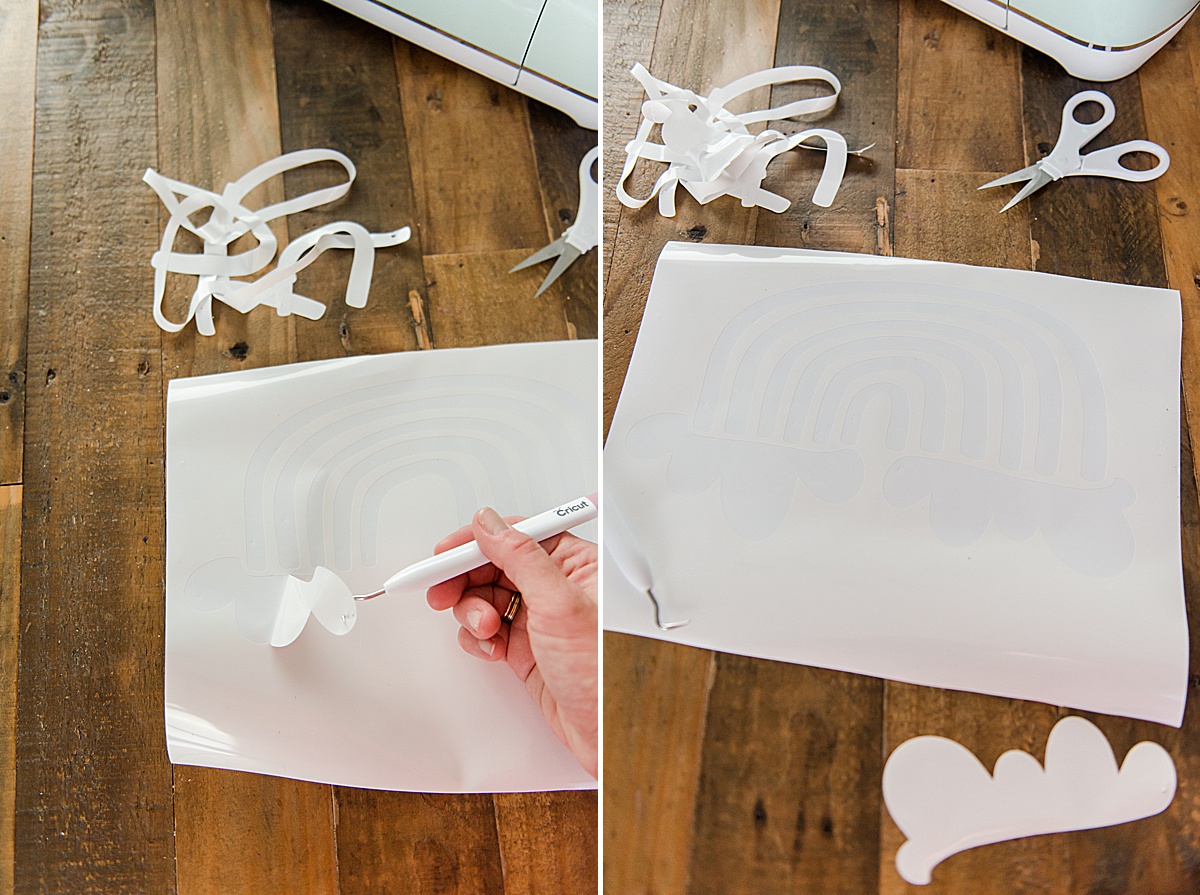
2. Cut + weed
Cut the rainbow SVG using your Cricut (or other cutter) and weed the POSITIVE SPACE (the actual rainbow arches and clouds) from the cut portion (you are likely used to weeding out the negative space to reveal the positive space but in this instance, the positive space will become the painted rainbow).
3. Transfer + stick
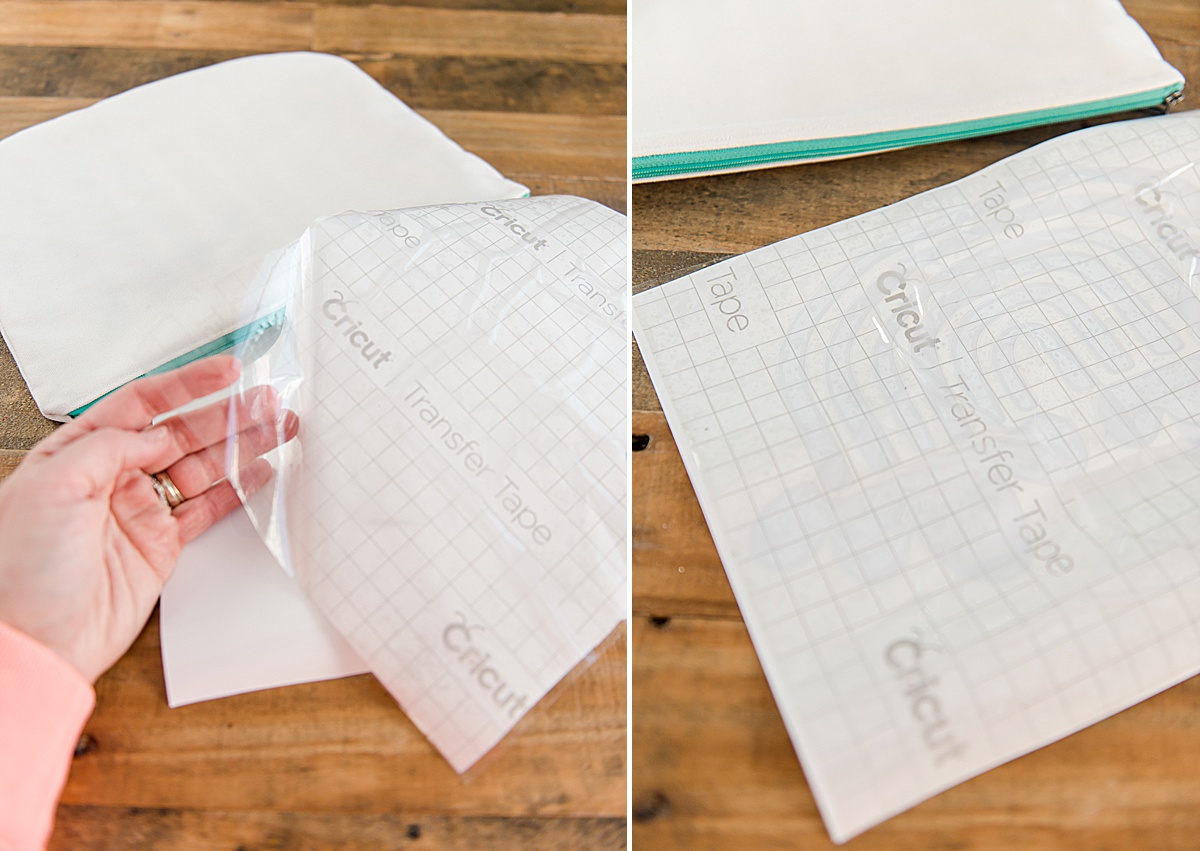
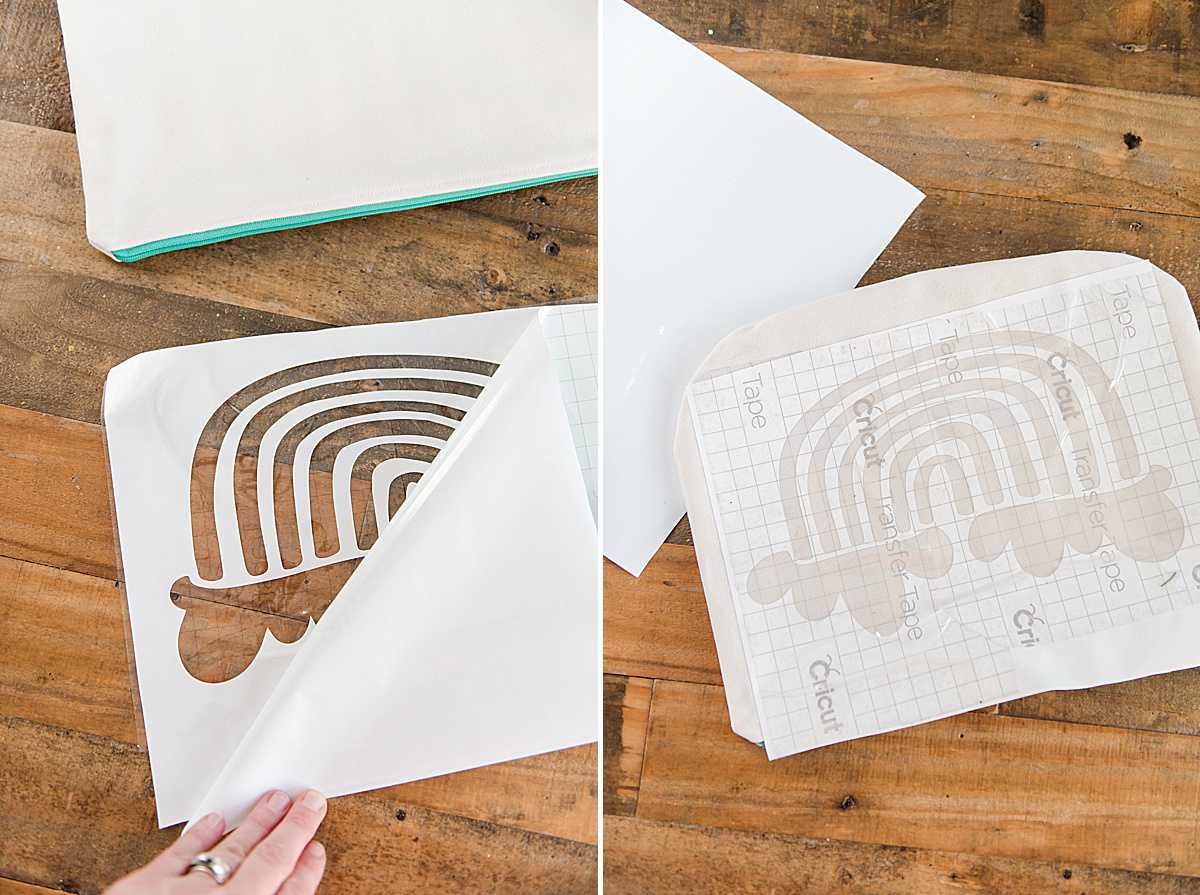
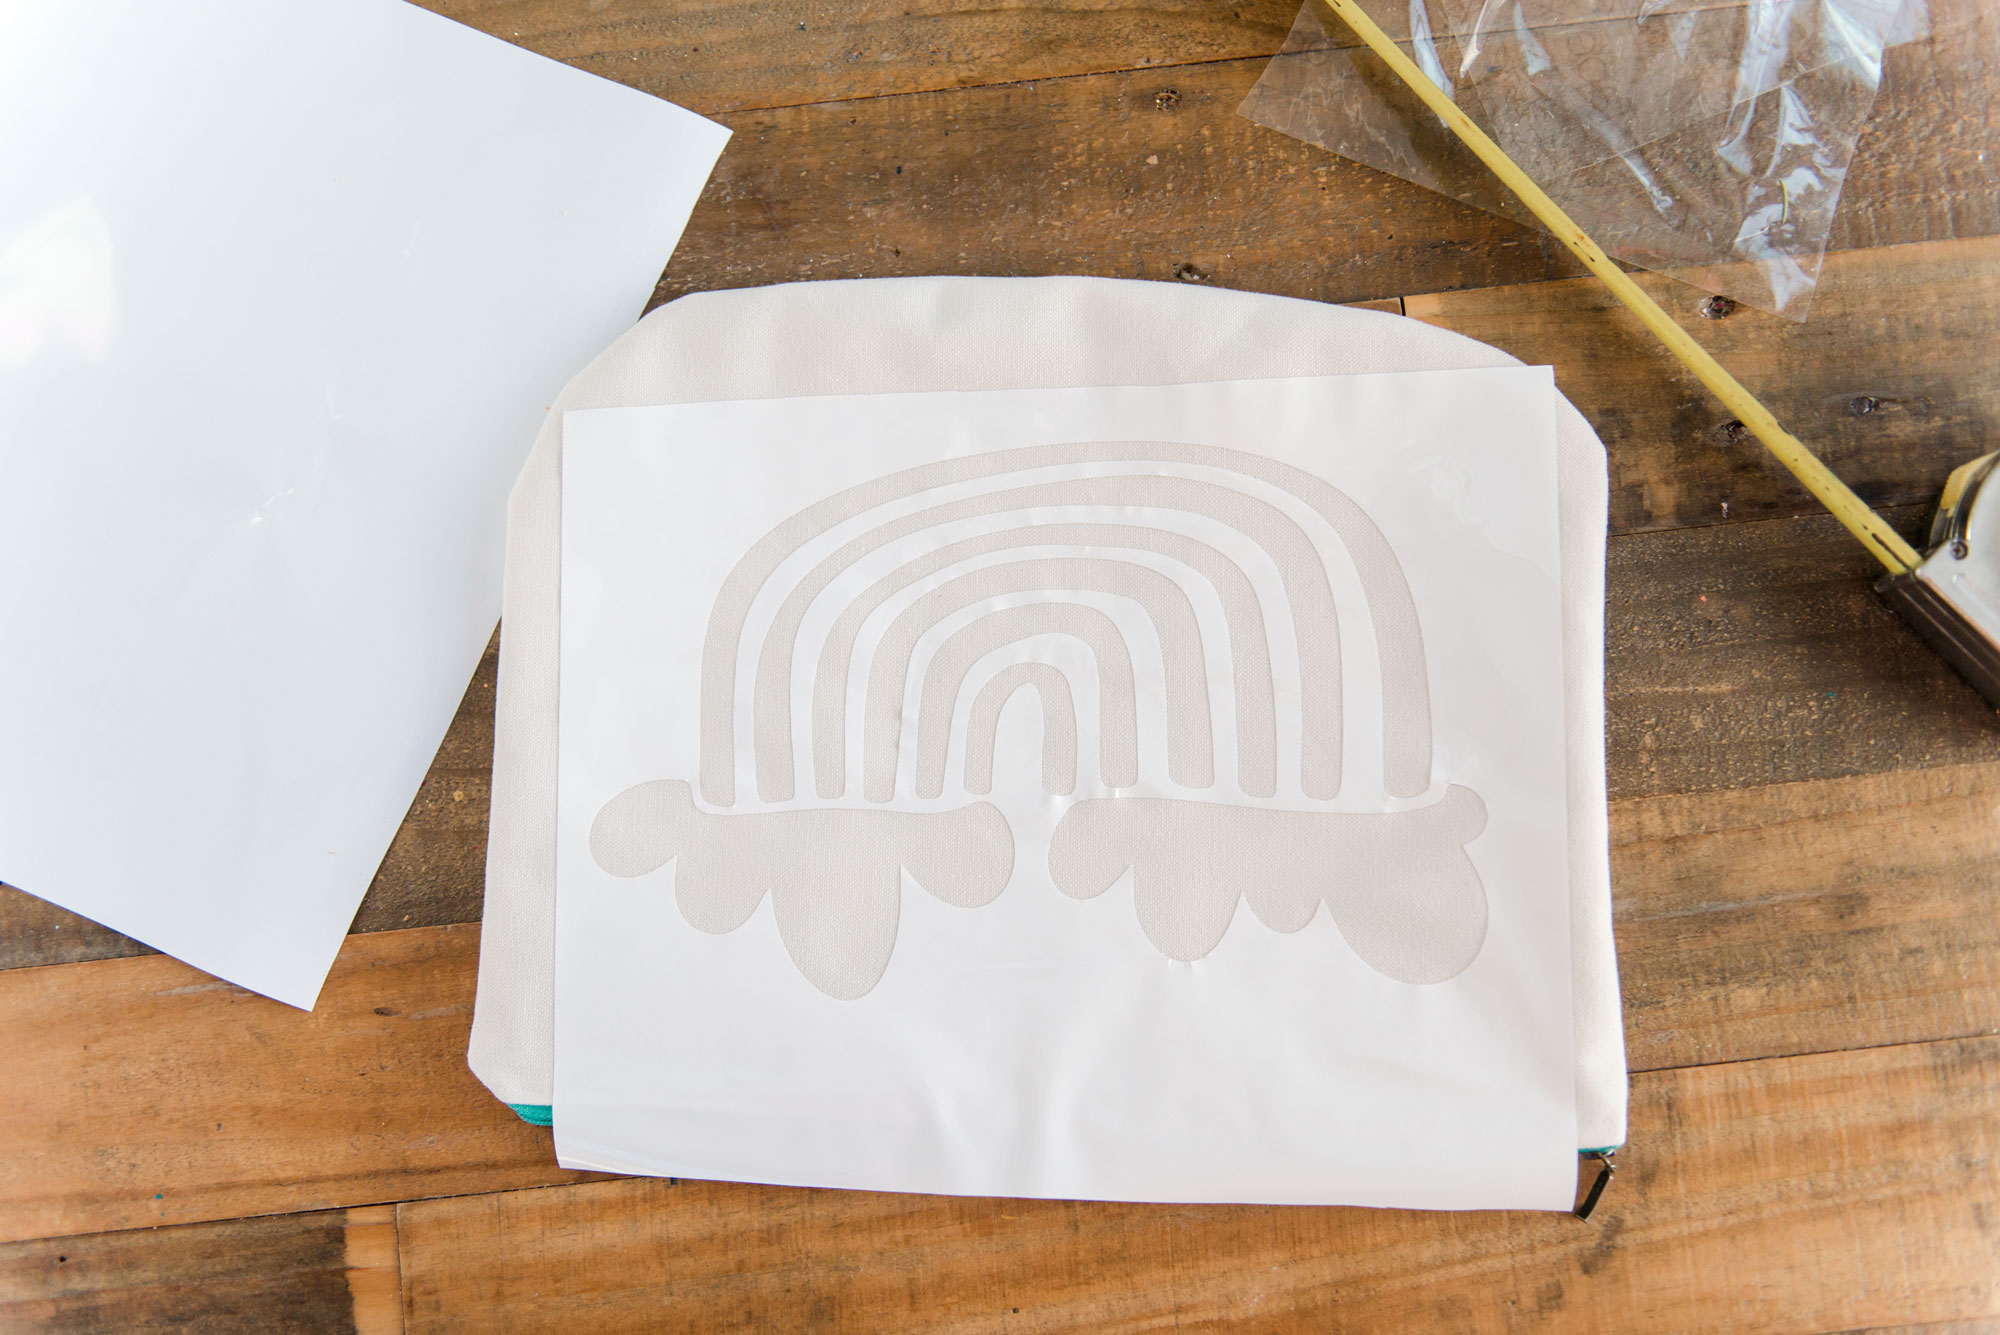
Once your rainbow is weeded, use transfer paper to transfer the whole piece of vinyl. Then carefully place the vinyl to the garment desired. Pulling at a 45* angle, begin carefully pulling off the transfer tape from the vinyl, being sure not pull too fast or hard to remove the details of rainbow + clouds.
4. Paint + peel vinyl
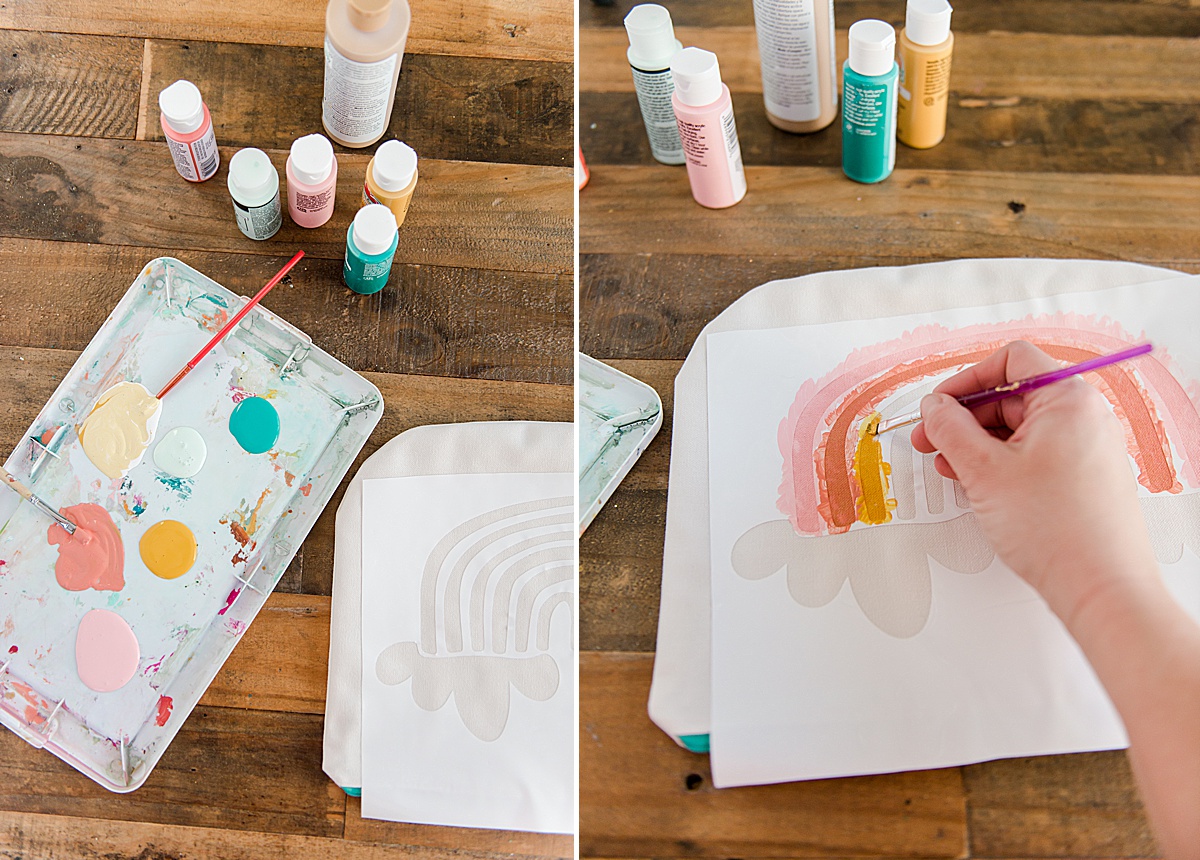
Place a piece of cardboard underneath the area that you will be painting (if necessary). This helps make sure the paint does’t bleed through to the back depending on the fabric. Mix your paint colors and carefully begin painting your rainbow arches being sure not to “glob” on the paint too thick. Add any blending, shading or detail in the painting process that you want 🙂
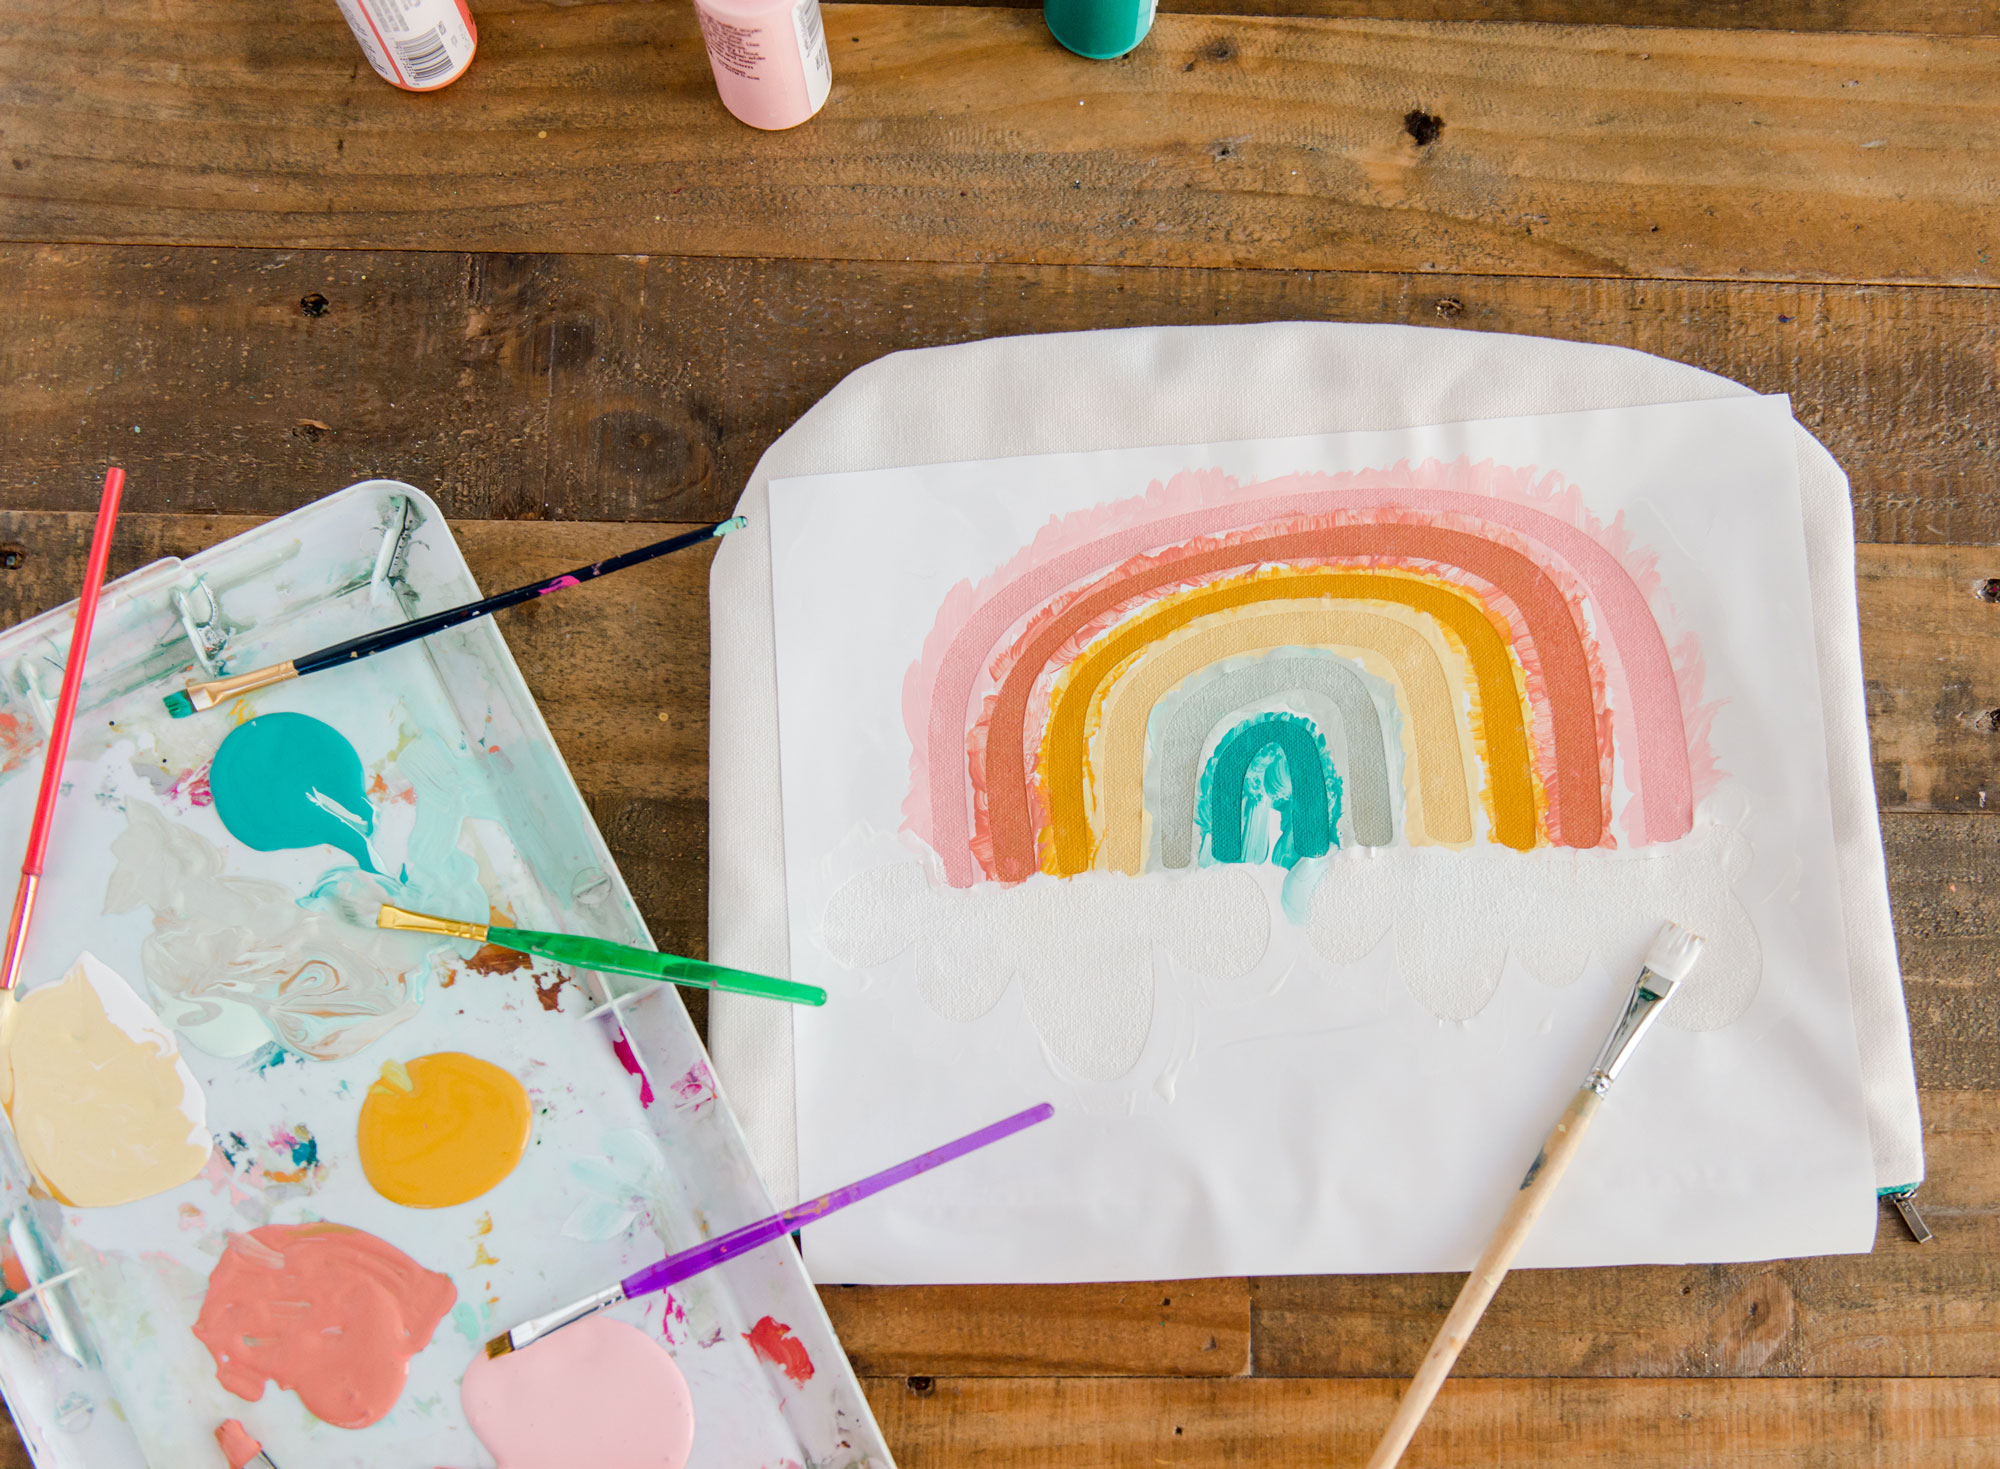
5. Peel while wet + dry
While the paint is still semi-wet (before it sets too much) peel away the vinyl being careful not to smudge your newly painted rainbow. I found that it’s the most helpful to just do it in one slow, swipe and lift up all at one time!
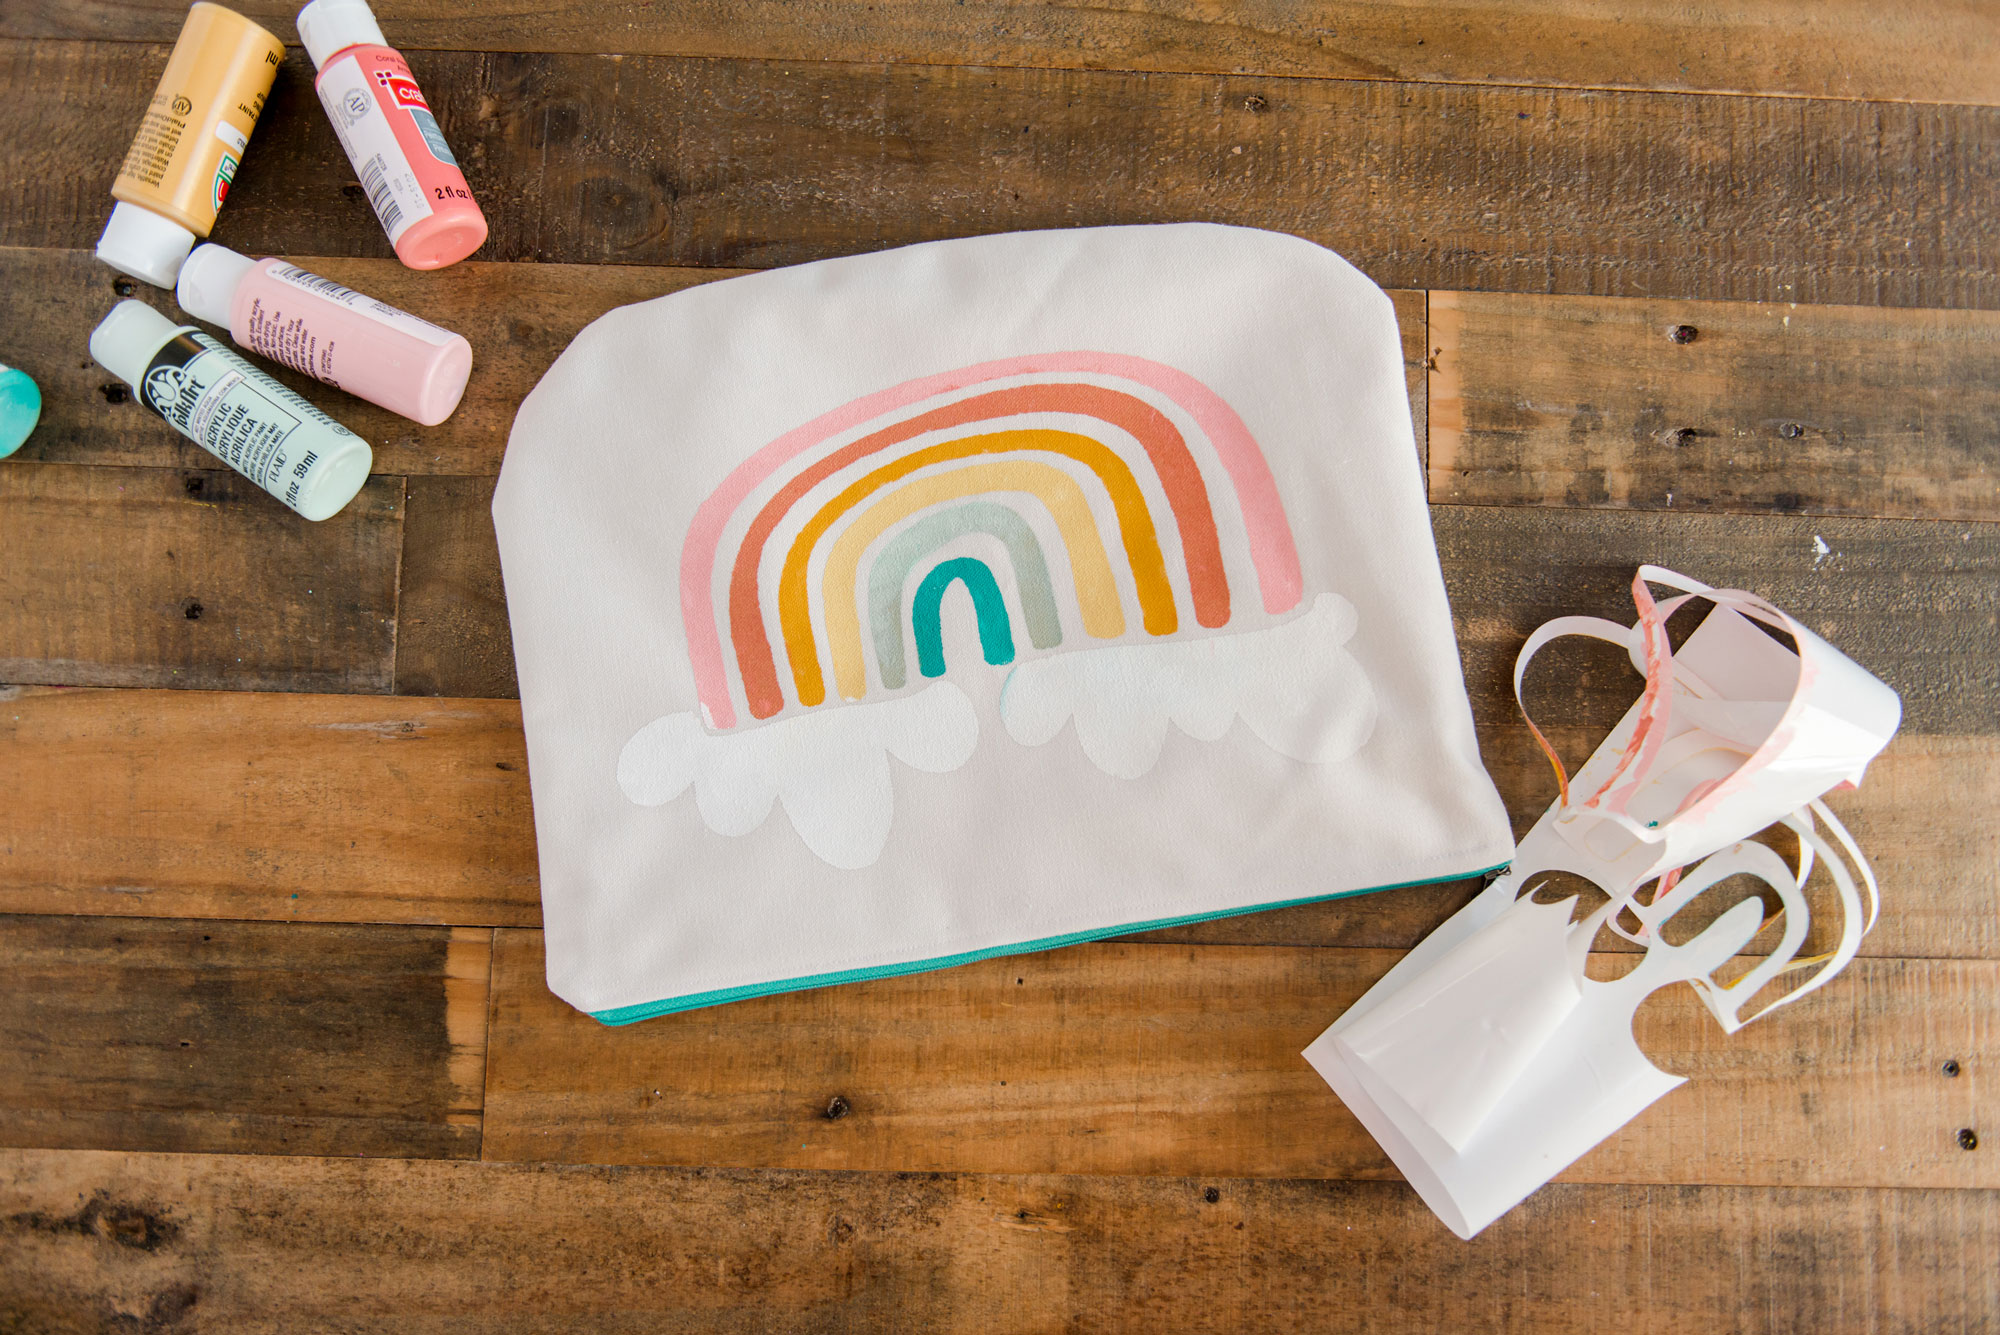
VOILA! 🙂 How easy, right? Now, I promise that you will be dreaming up what else you want to paint stencil by making your own with your Cricut! 🙂
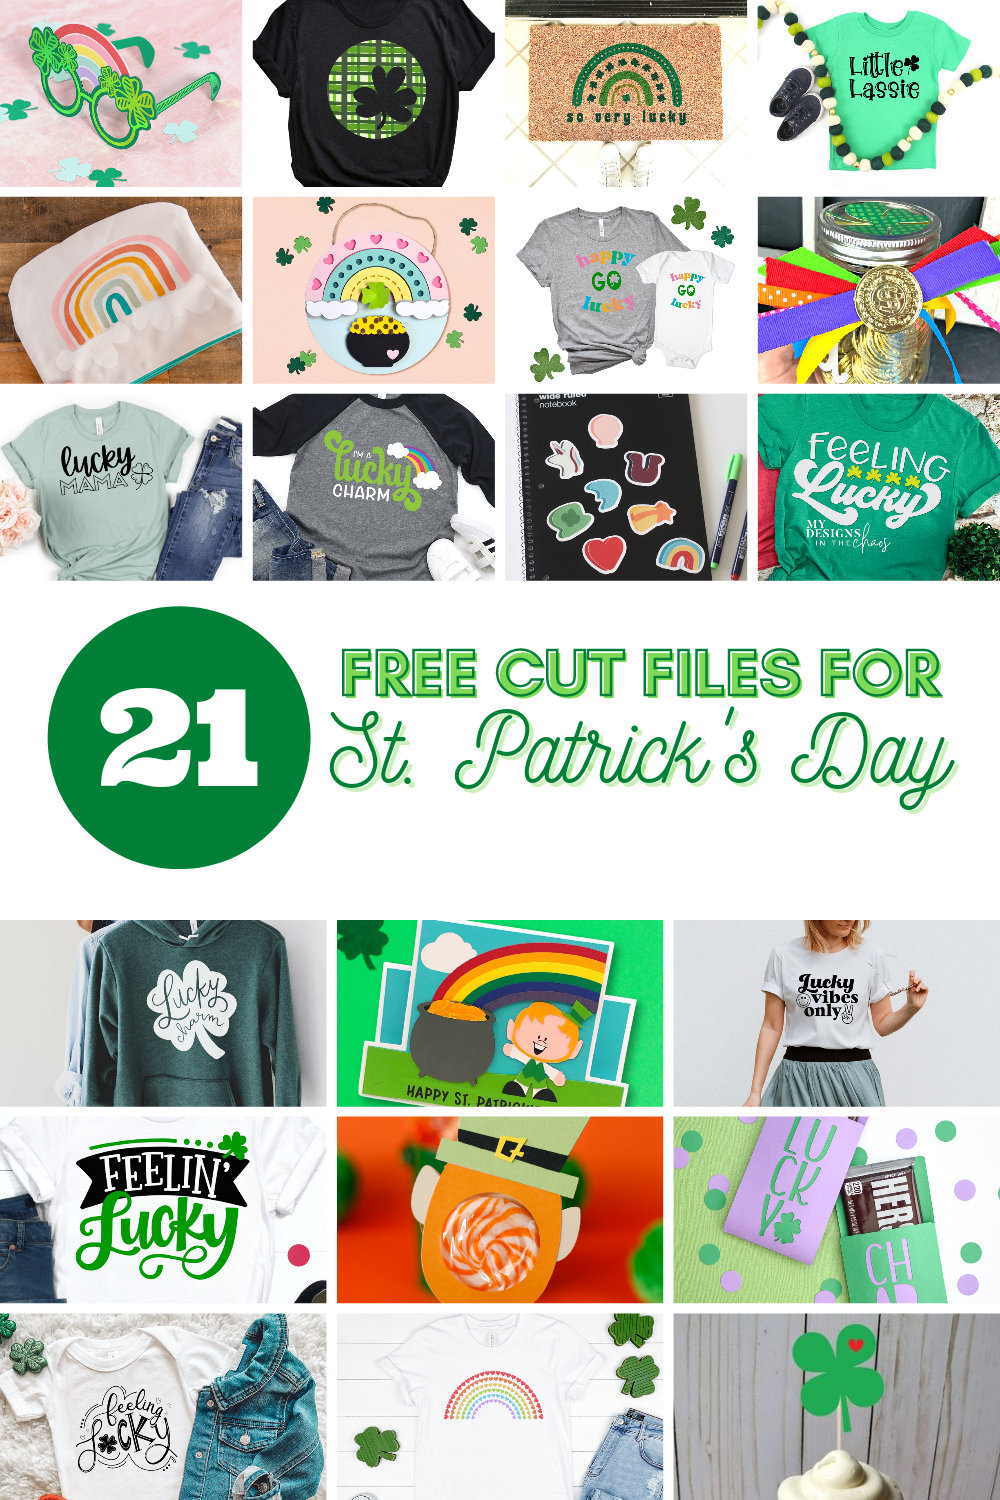
AND AND ANNNDDDD! Check out these other amazing St. Patrick’s day inspired FREE SVG files (like, how cute and talented are these other designers)?



Great idea to use non iron on vinyl as a stencil!
How do you download? I haven’t been able to find a link for any of these and I do not see the password in my email
Hi Brianna! If you go near the top of the blog (in step 1) there is a SVG download (in bold) that you can just click on and it should bring you to the file. Let me know if that doesn’t work for you!