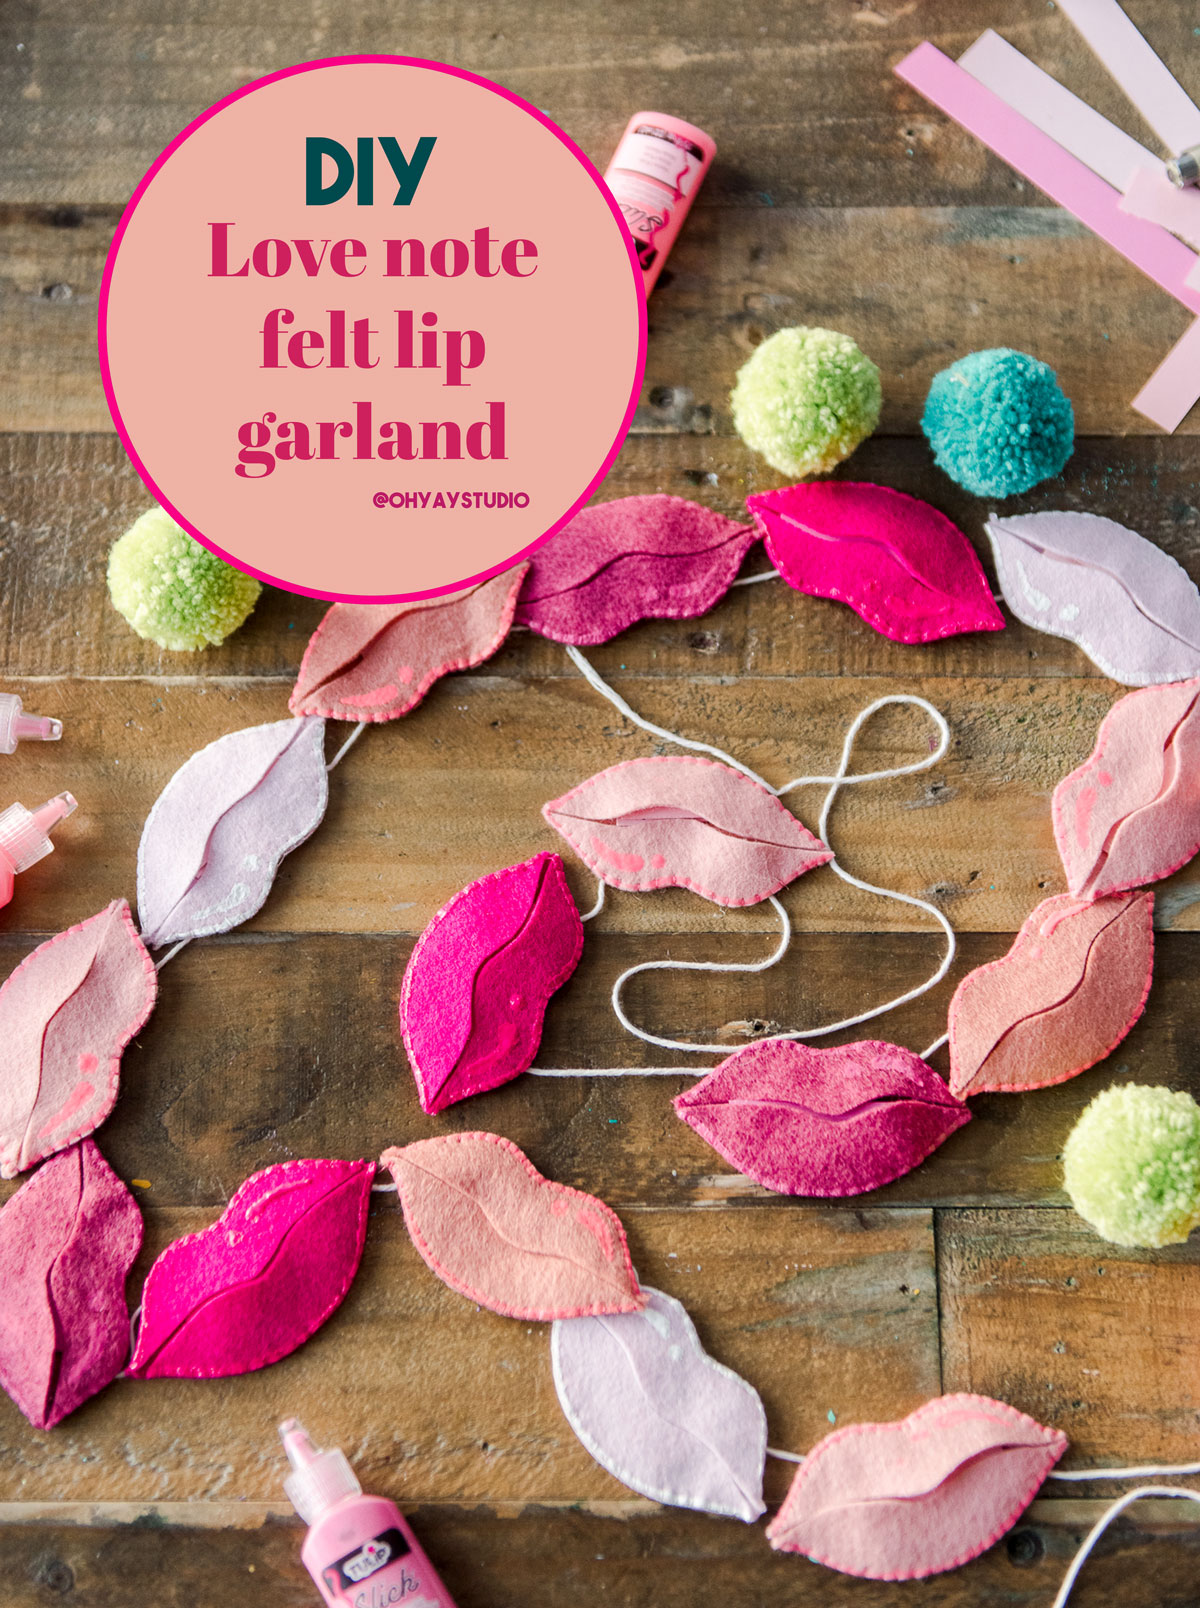
Love note felt lip garland DIY
I believe 9274% that the world needs more encouragement and love. I have tried my darndest, that when I see something I admire in someone, something they do that makes me smile or helps me out, to tell them. I am not always on top of it with texts or in person comments, but man it sure it something that I believe we need more of. Right? 🙂 I know that I bloom when I am encouraged and loved! 🙂
This is where the idea for this love note lip garland came. For the holiday that’s filled with LOVE, why not make it more of a “speak what I love about you” kind of holiday! I 100% encourage you, that even if you don’t make this garland, that you take this felt lip garland idea and run with it 🙂
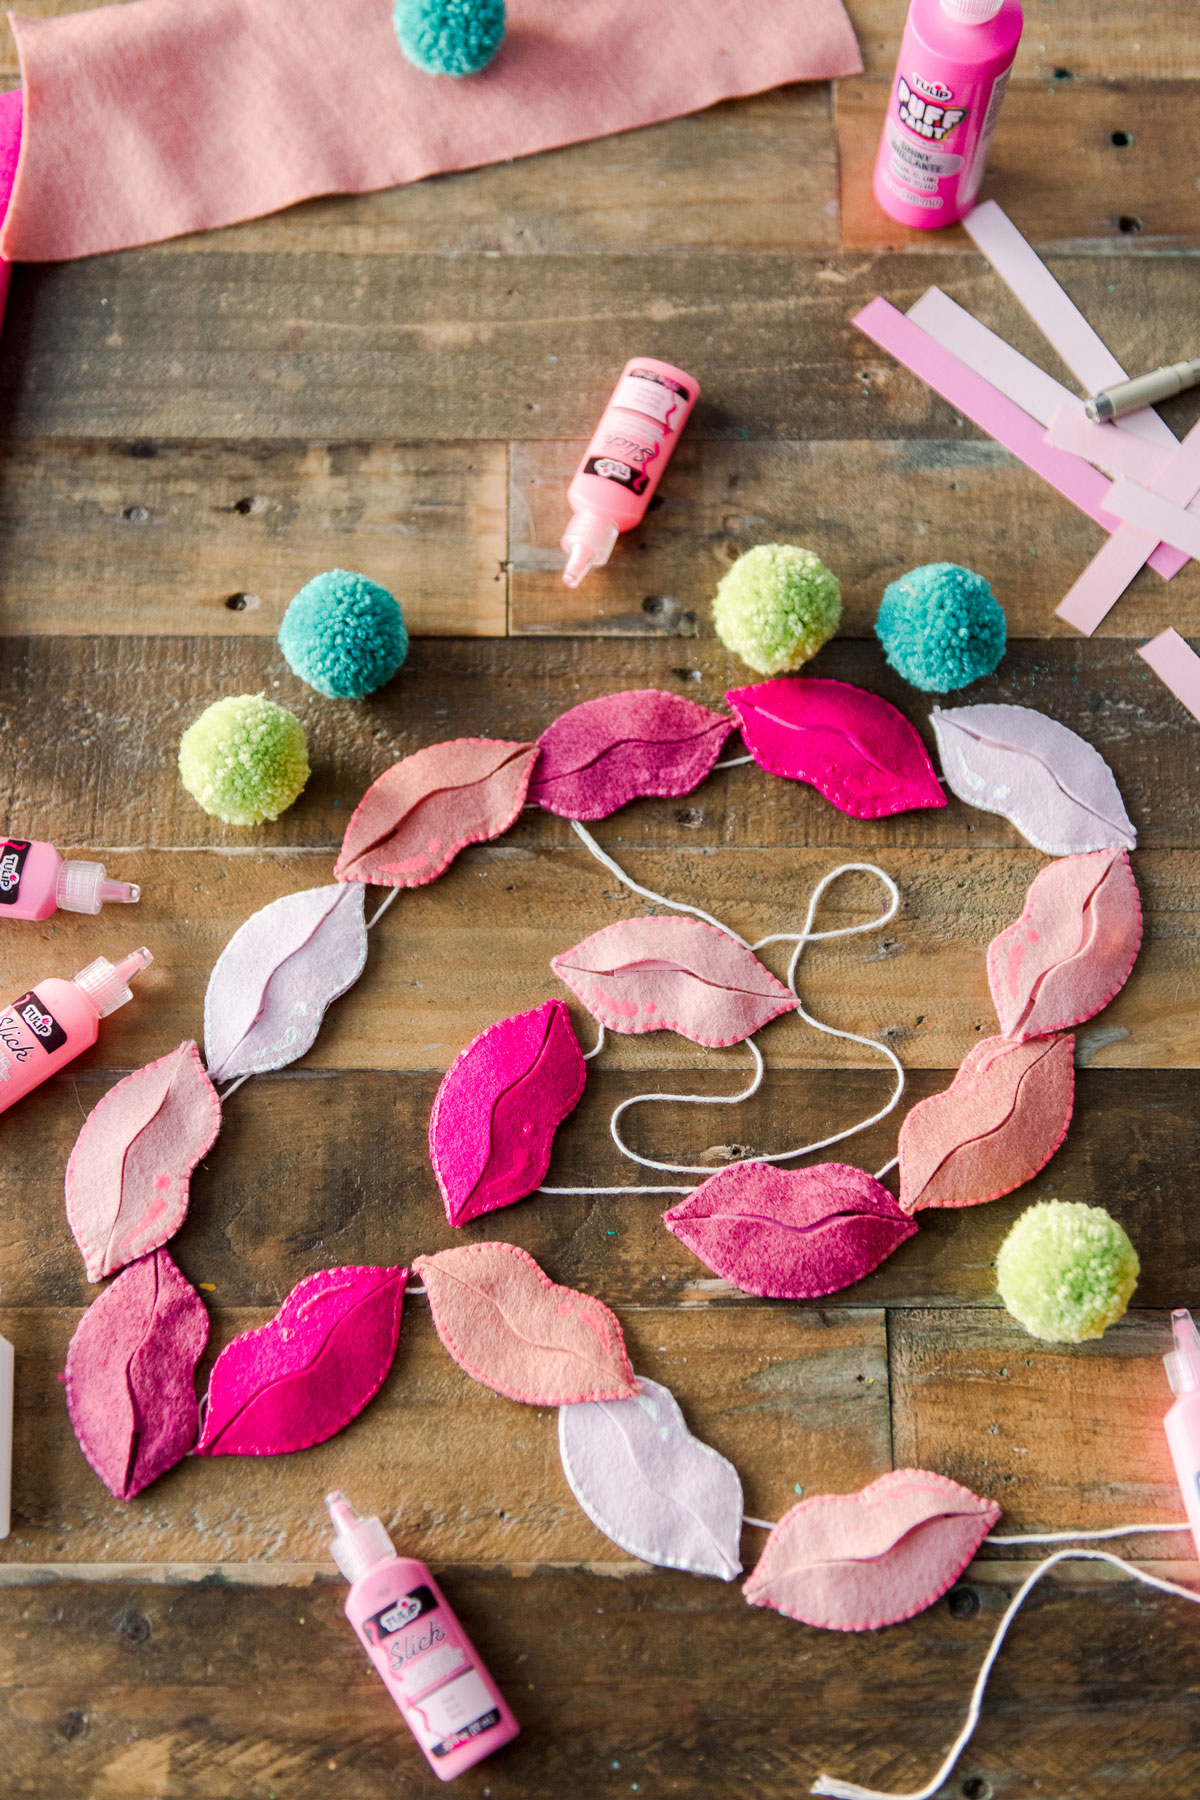
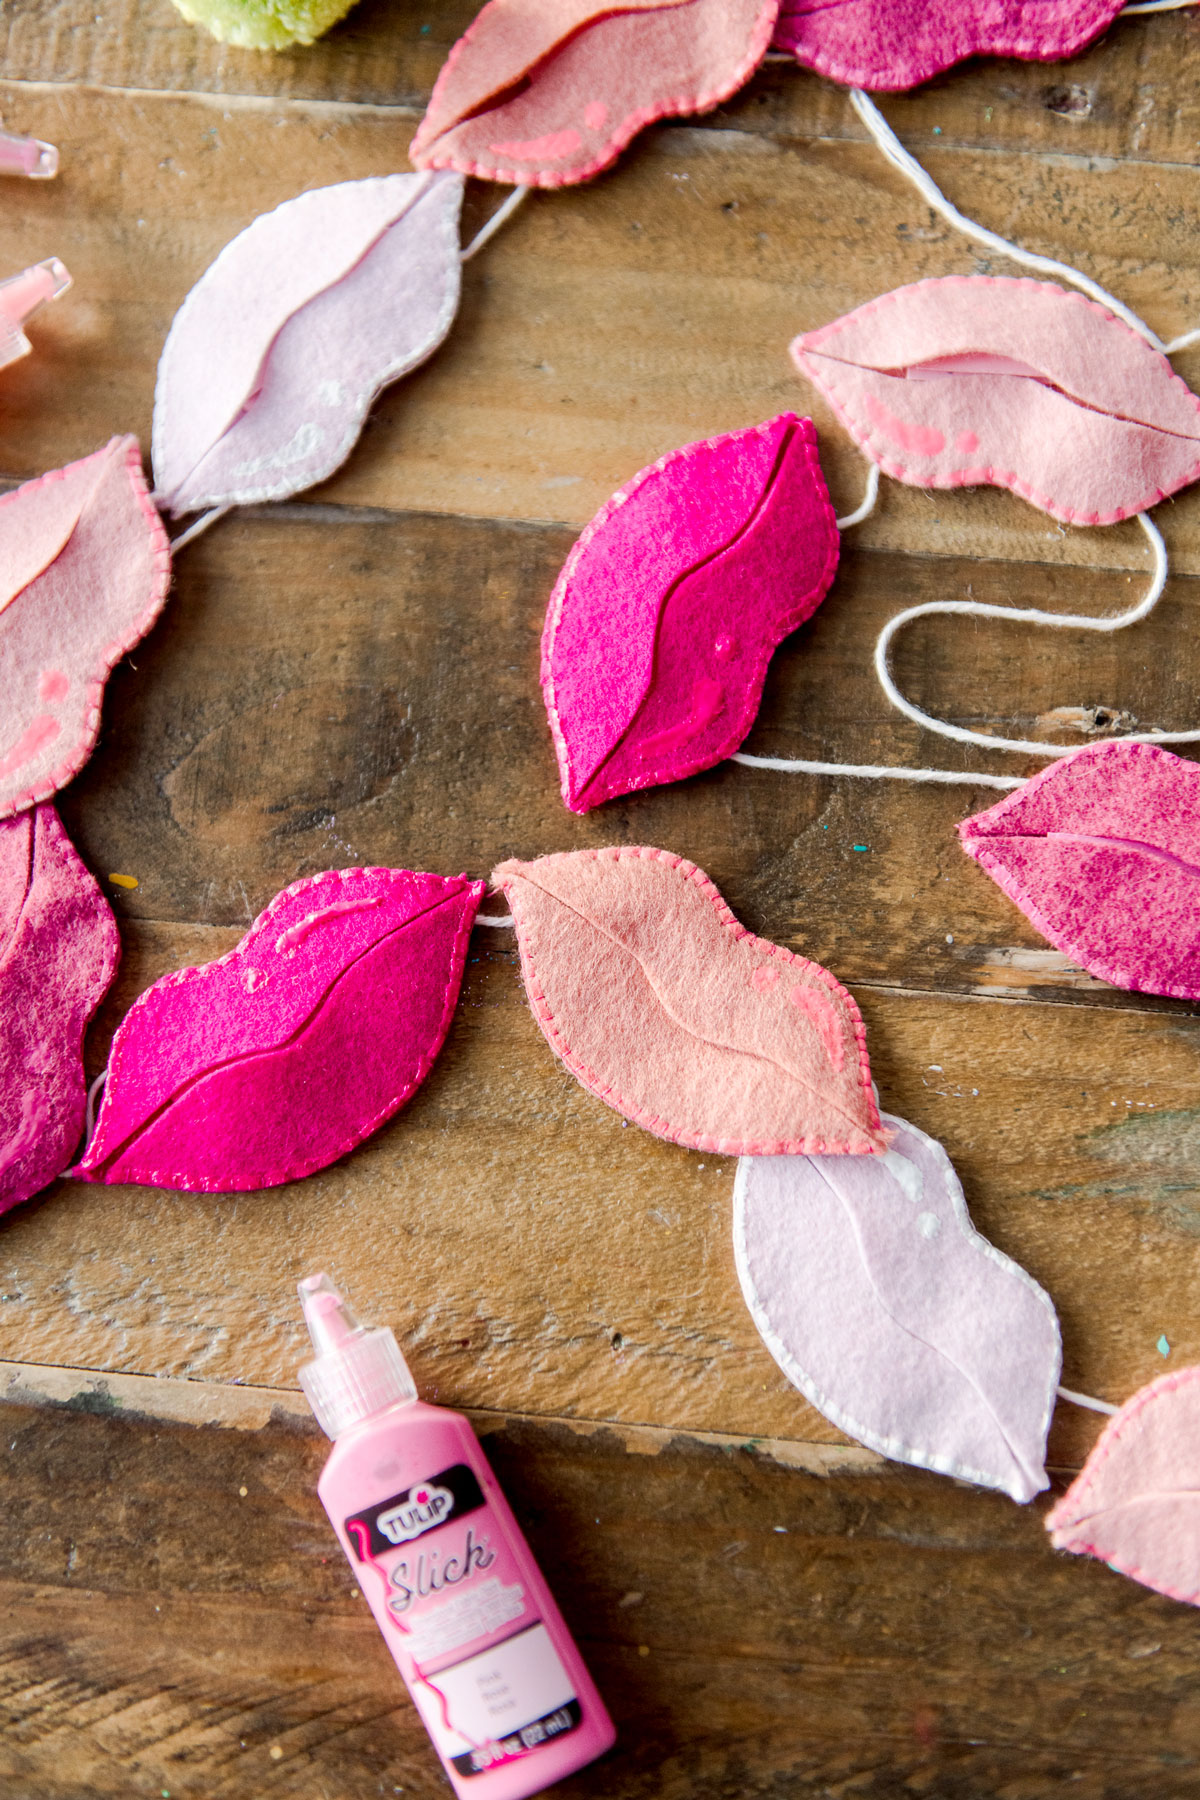
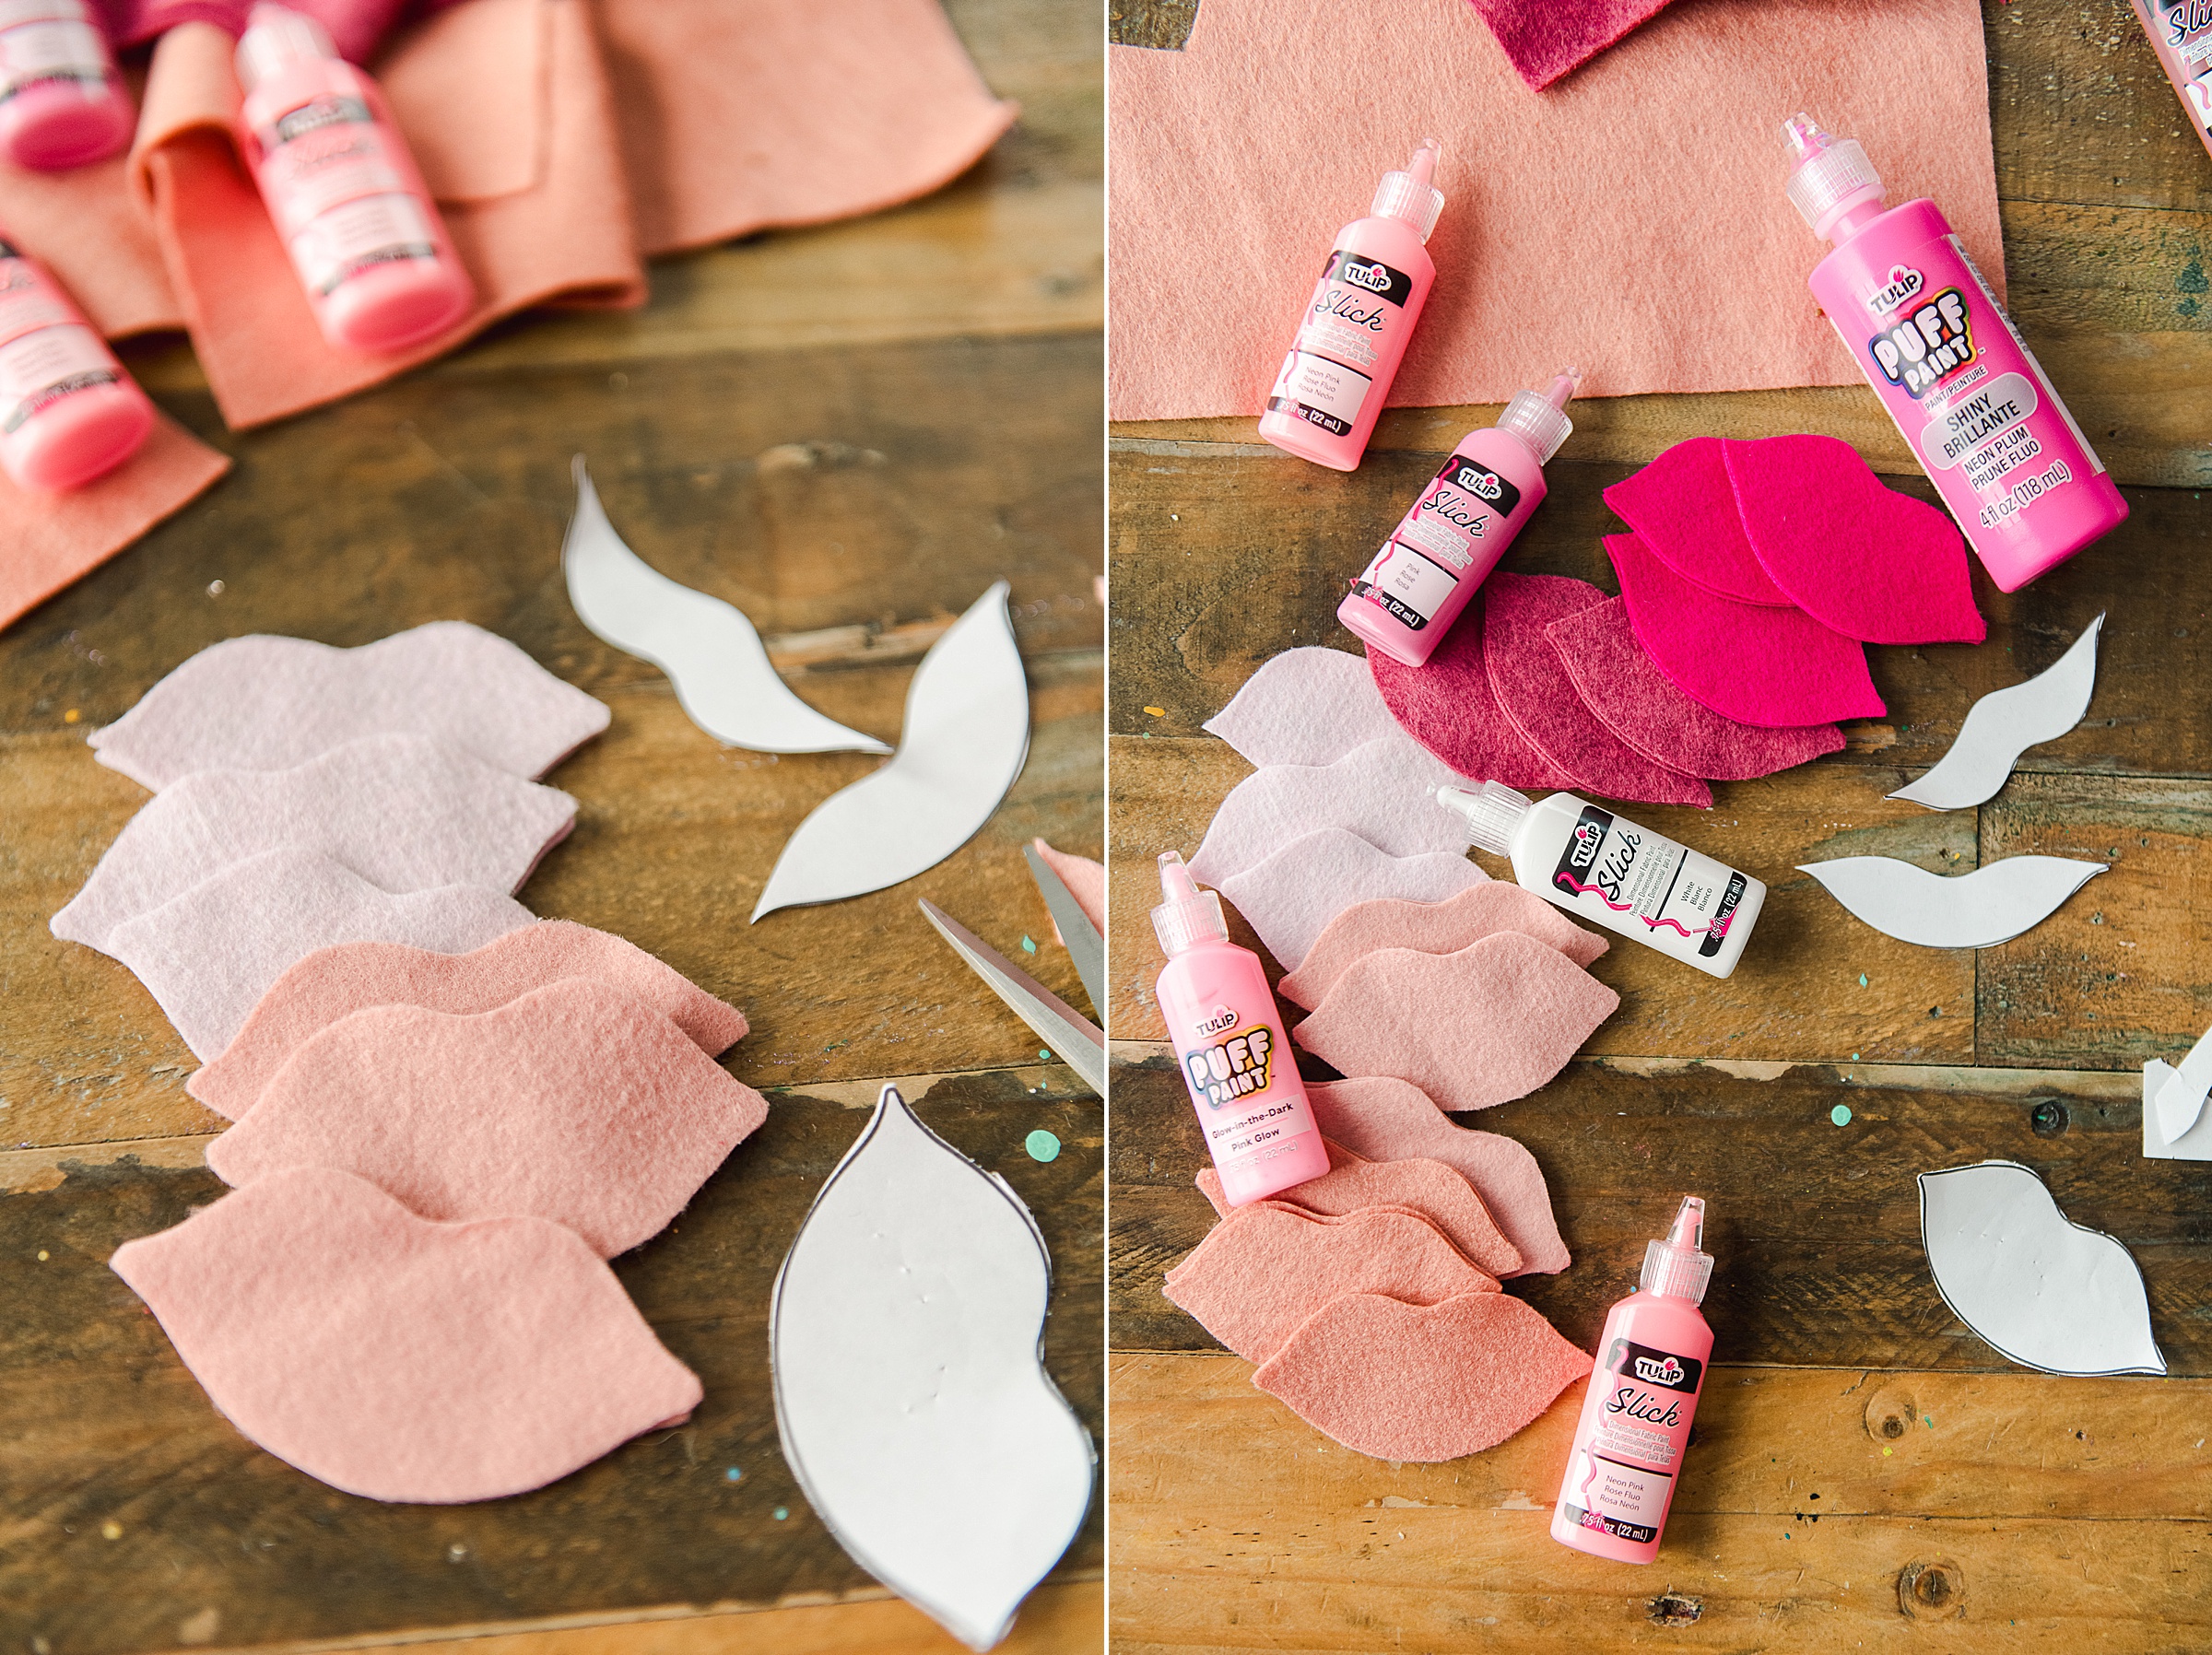
This Valentine lip garland is made of a few simple supplies and lots of love! 🙂 This is a great pattern to use up the felt scraps that you have, some leftover paint and use up those cardstock scraps for your written words! 🙂
MATERIALS:
- Felt (use up those scraps)
- A pair of sharp scissors
- The PDF pattern (download HERE)
- A fabric marker or sharp pencil
- A needle and matching thread
- Some Tulip puffy paint (optional, but does add some pizzaz) 🙂
- Scraps of cardstock and a pen or marker
- Cotton string for stringing the garland
INSTRUCTIONS:
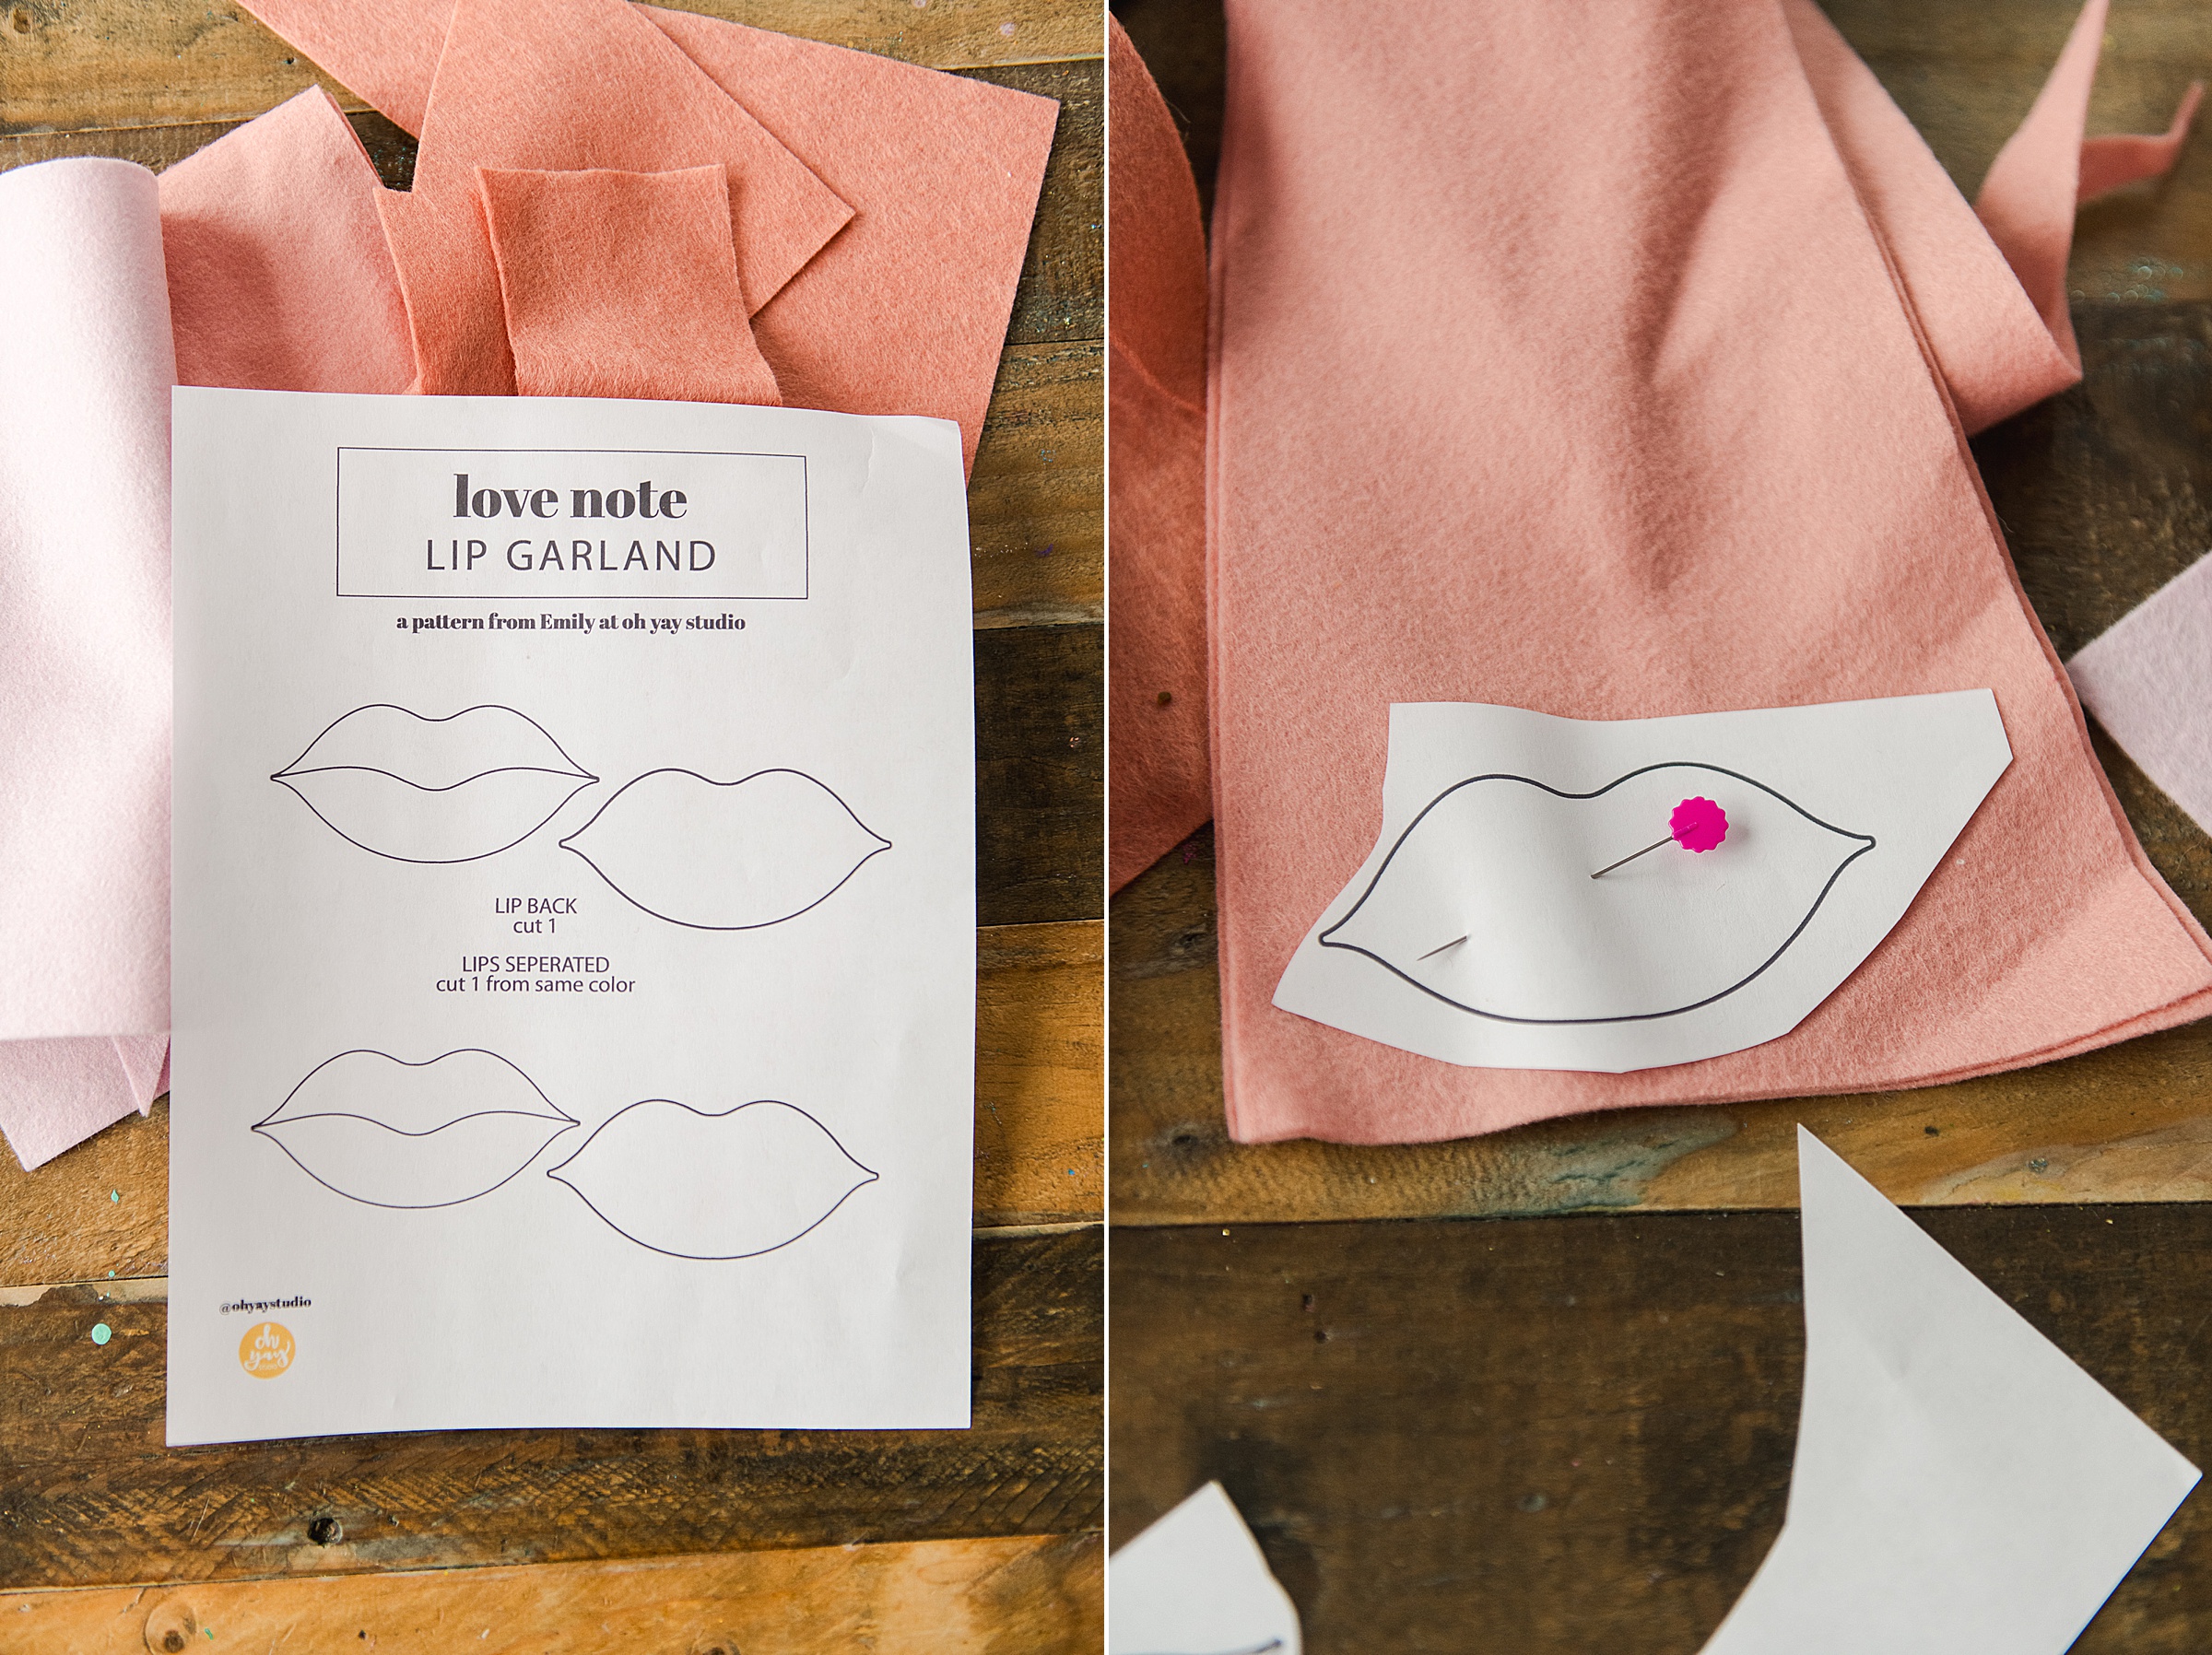
Start by downloading the lip PDF pattern HERE.
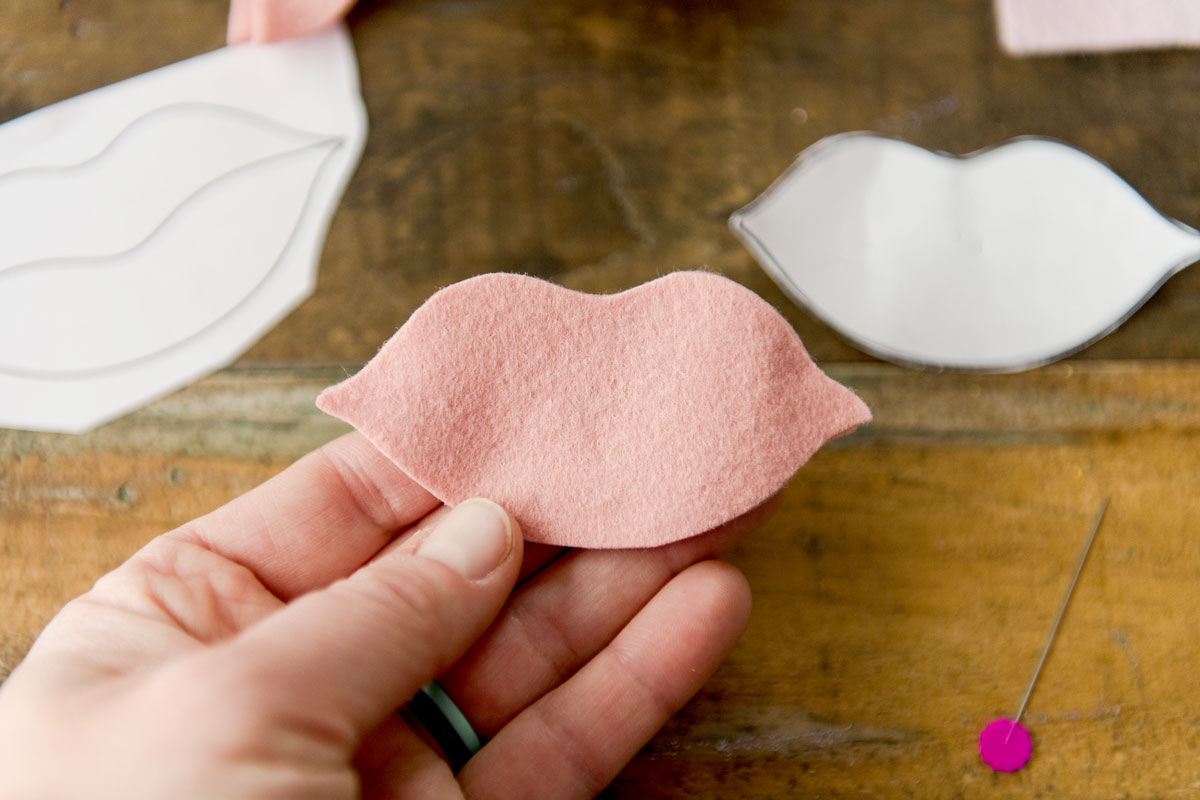
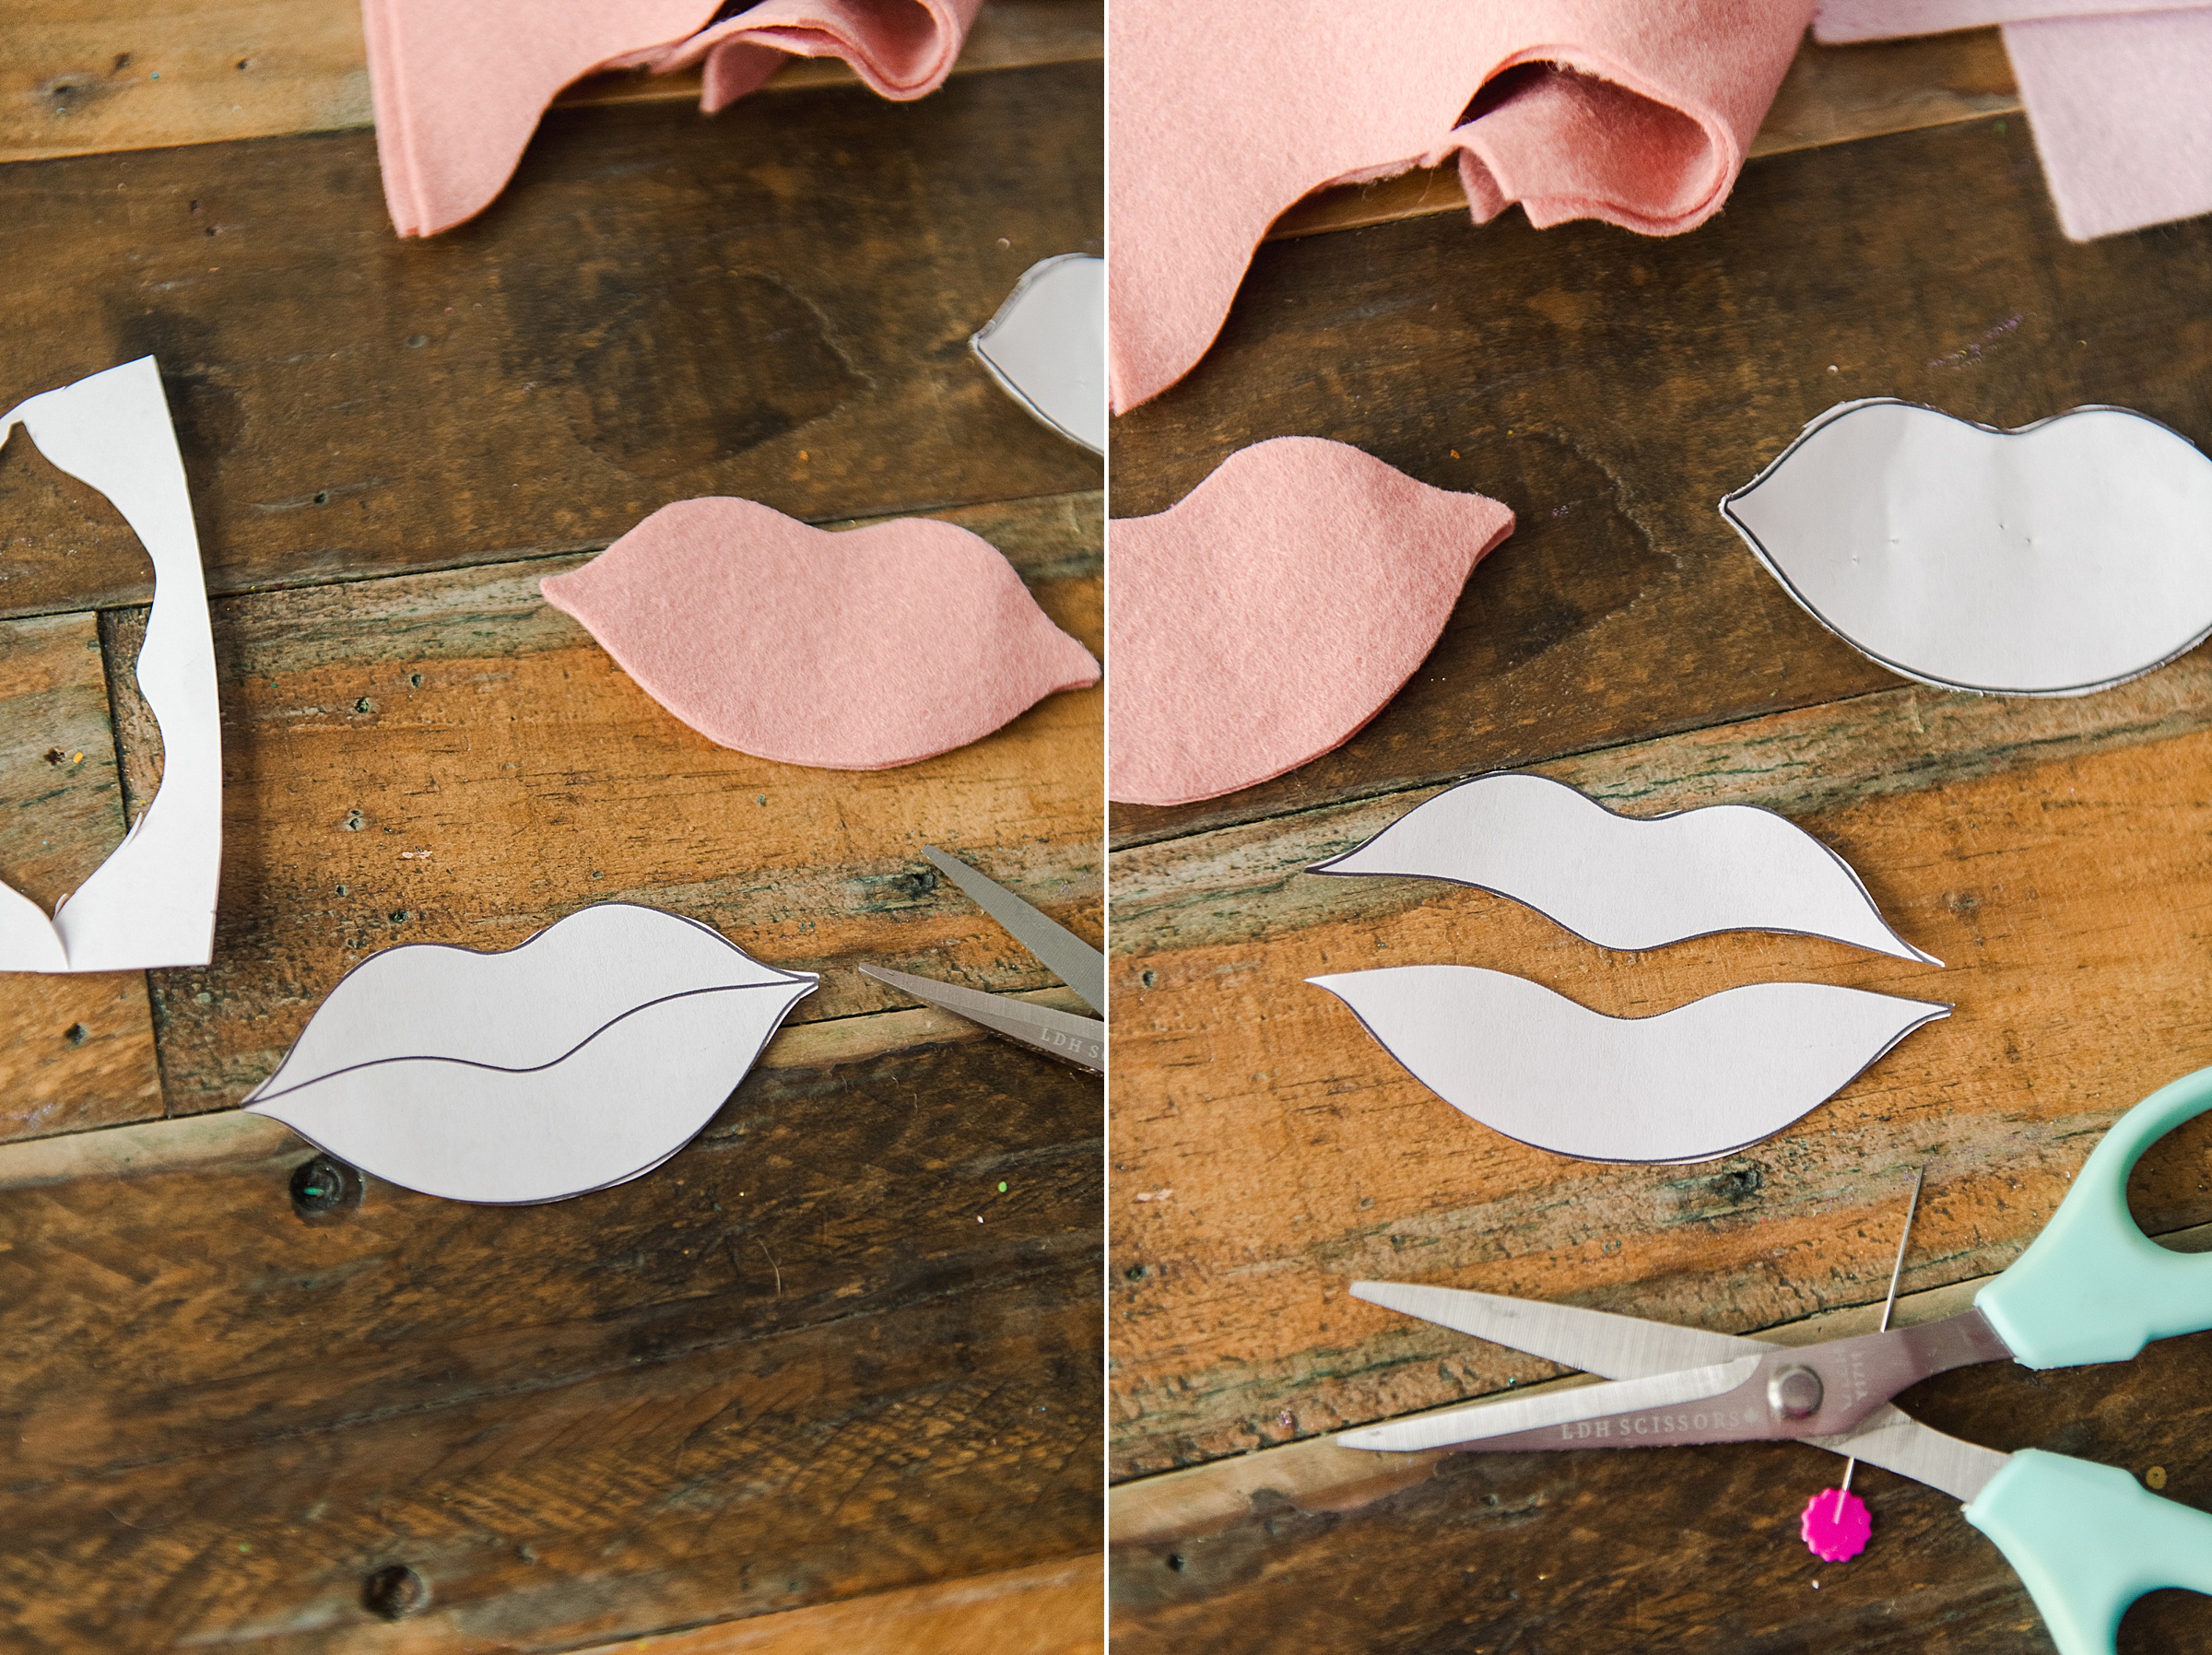
Then start to cut out your lips – cut them out 2 at a time so that the lips match. You will separate your 2 lips and choose to cut the “opening lip” from just one layer (the top lip of the pair). I did this by cutting the actual paper pattern and then using one of the lips (either top or bottom) as a pattern to draw the lip line. Then cut the along that line – you will be left with one whole lip and then another lip that is split in 2 for the opening.
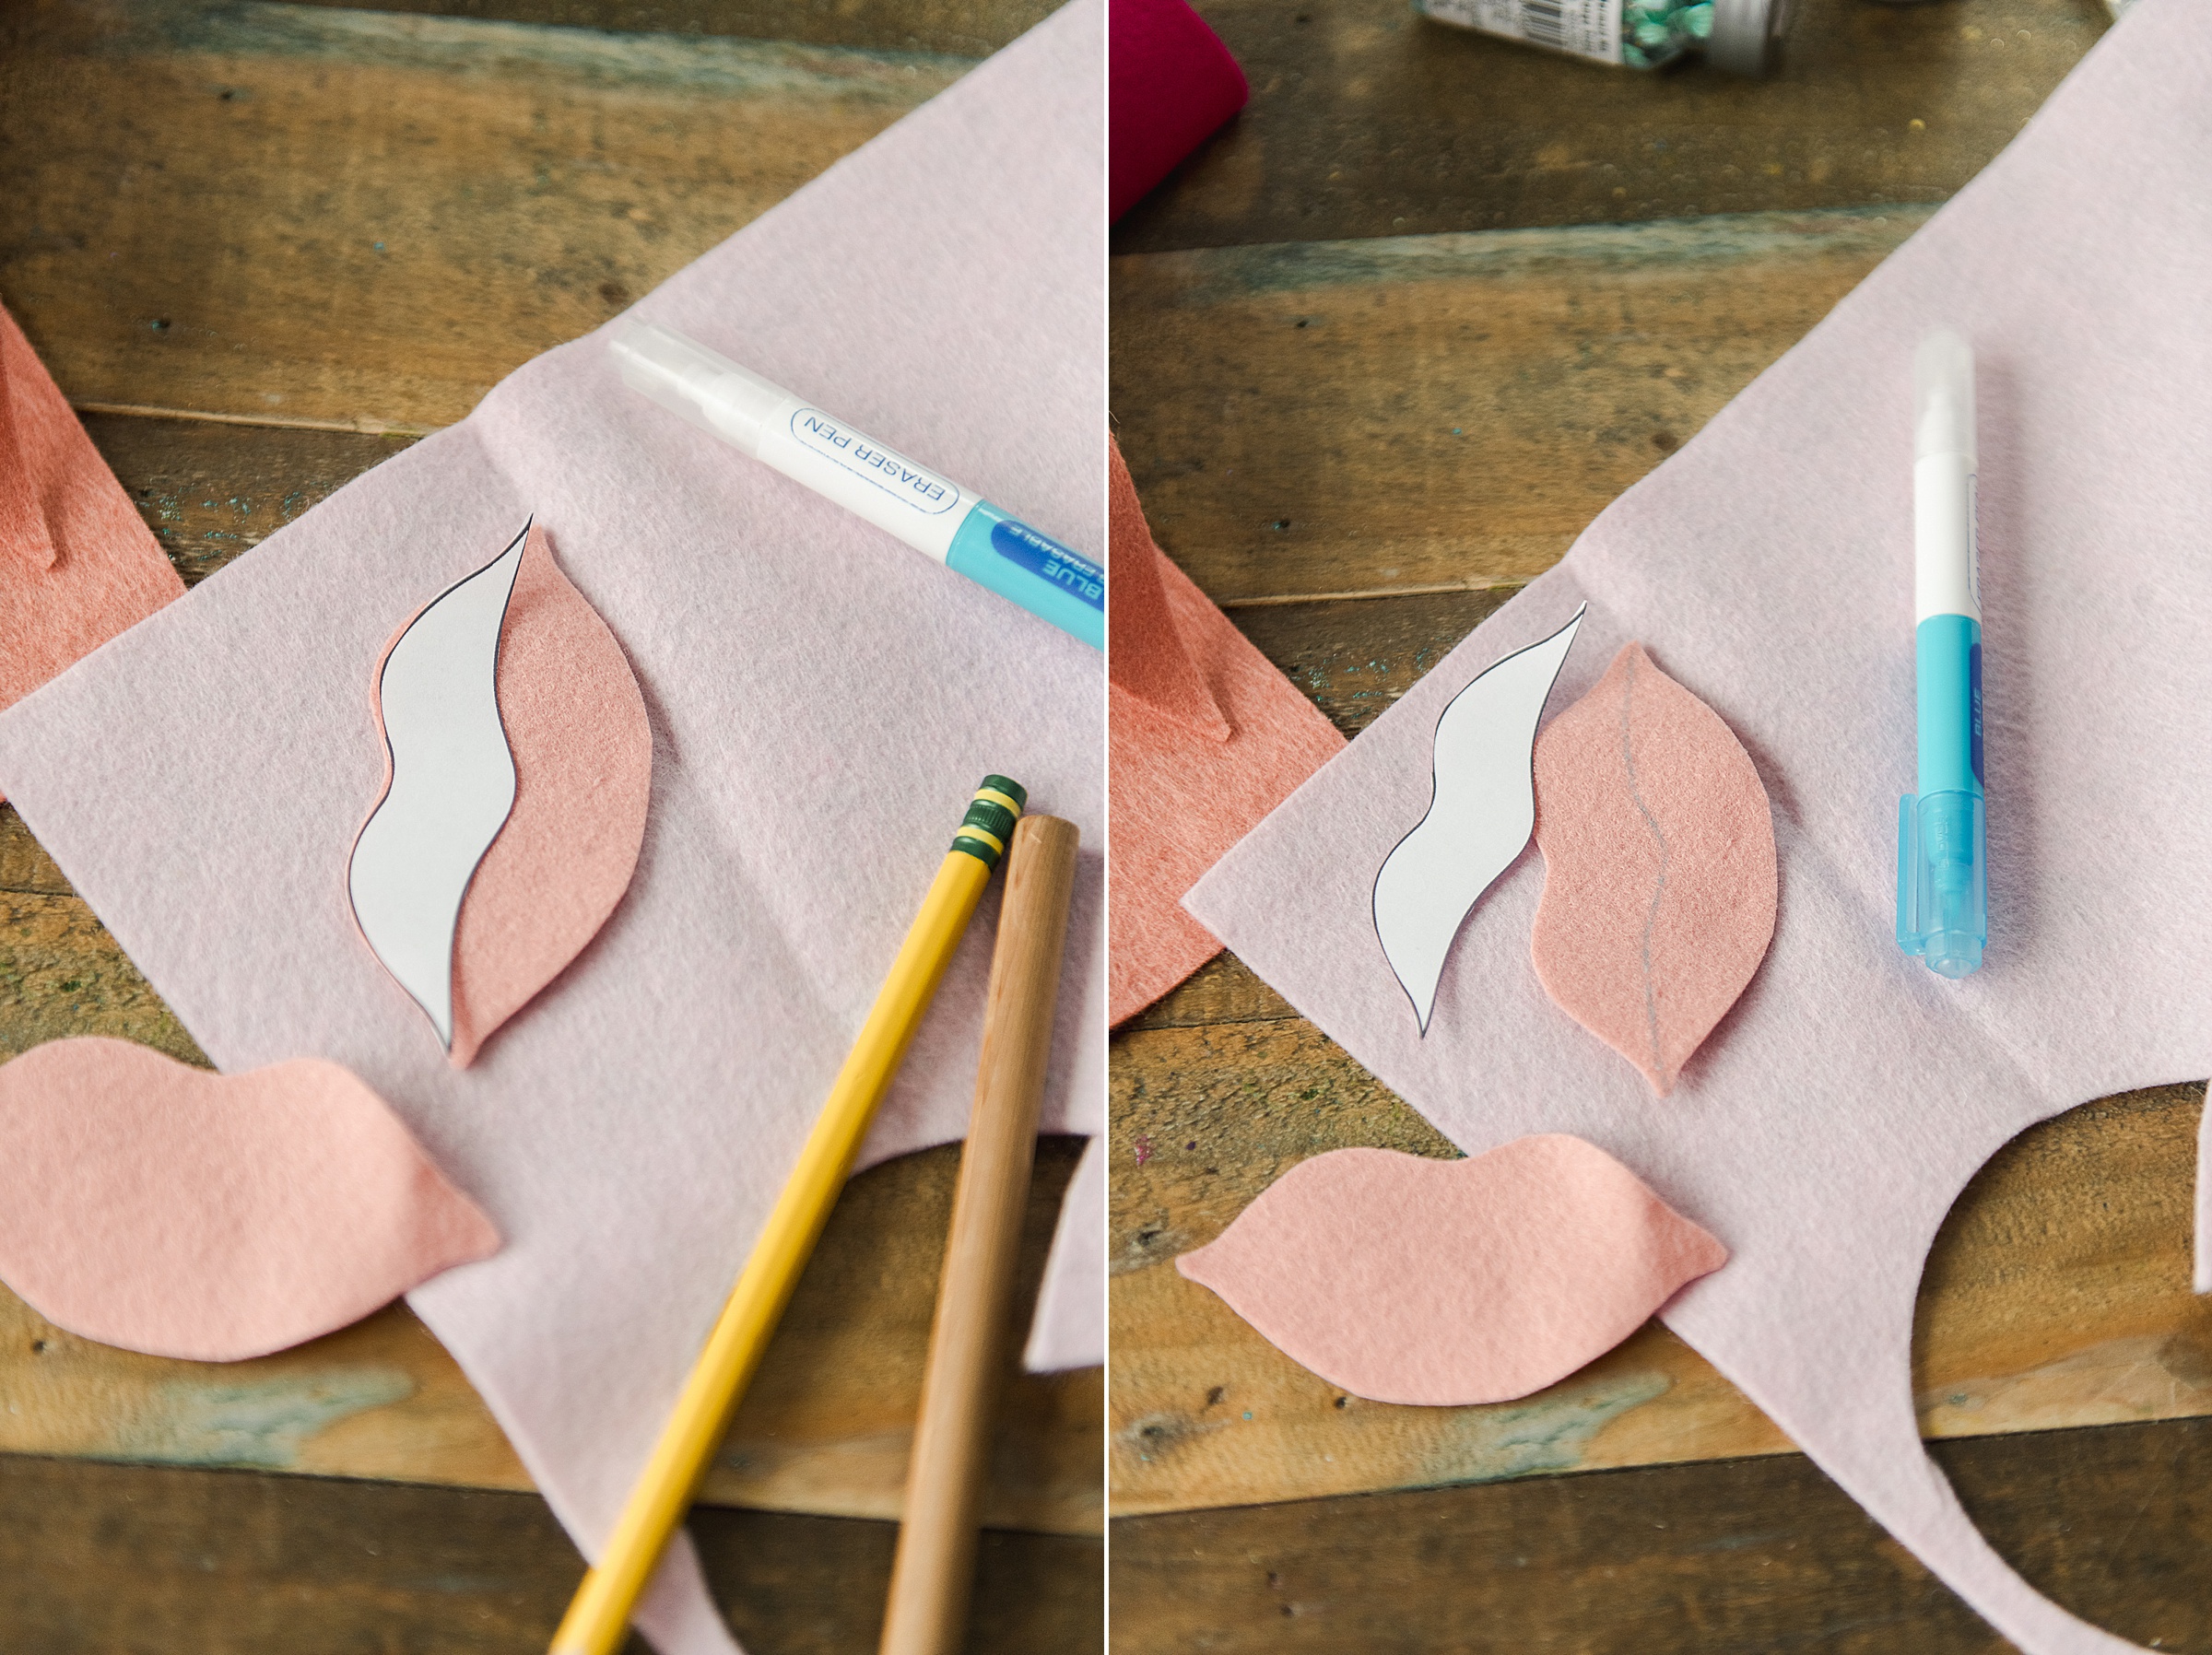

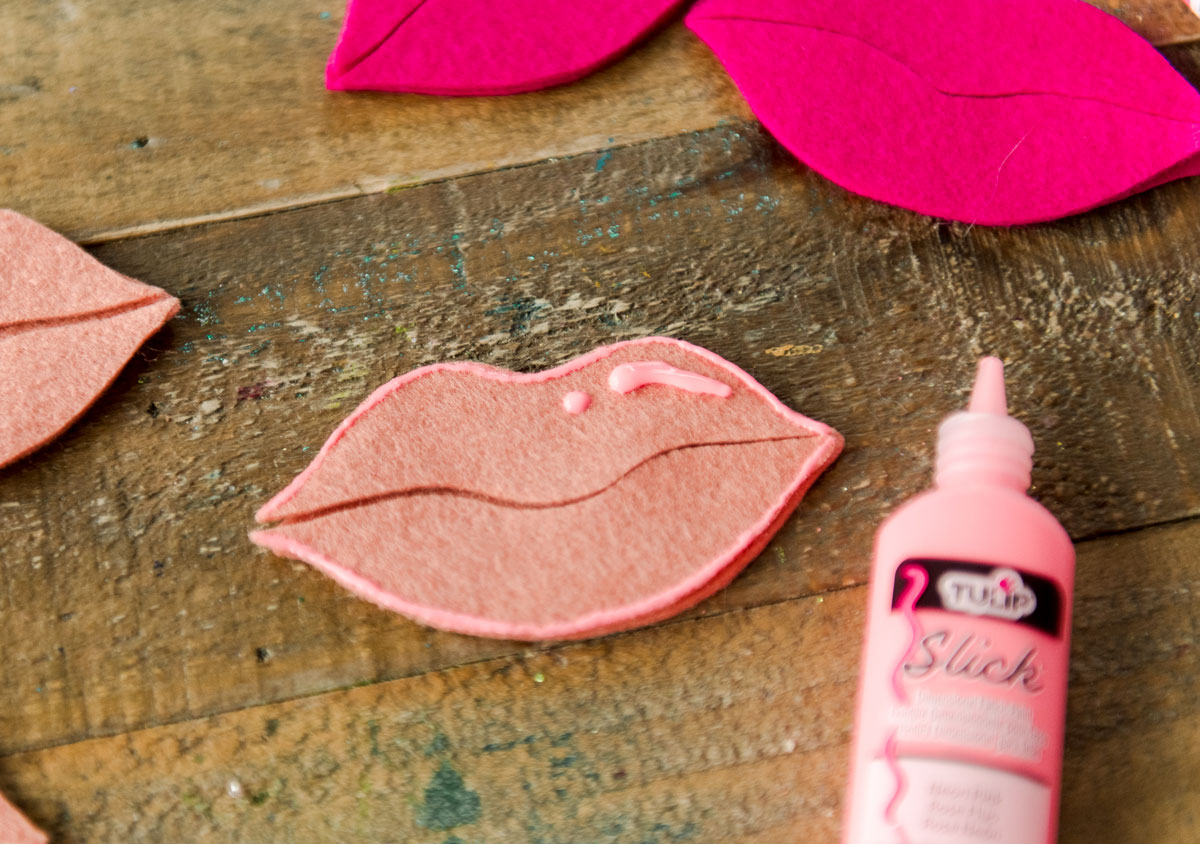
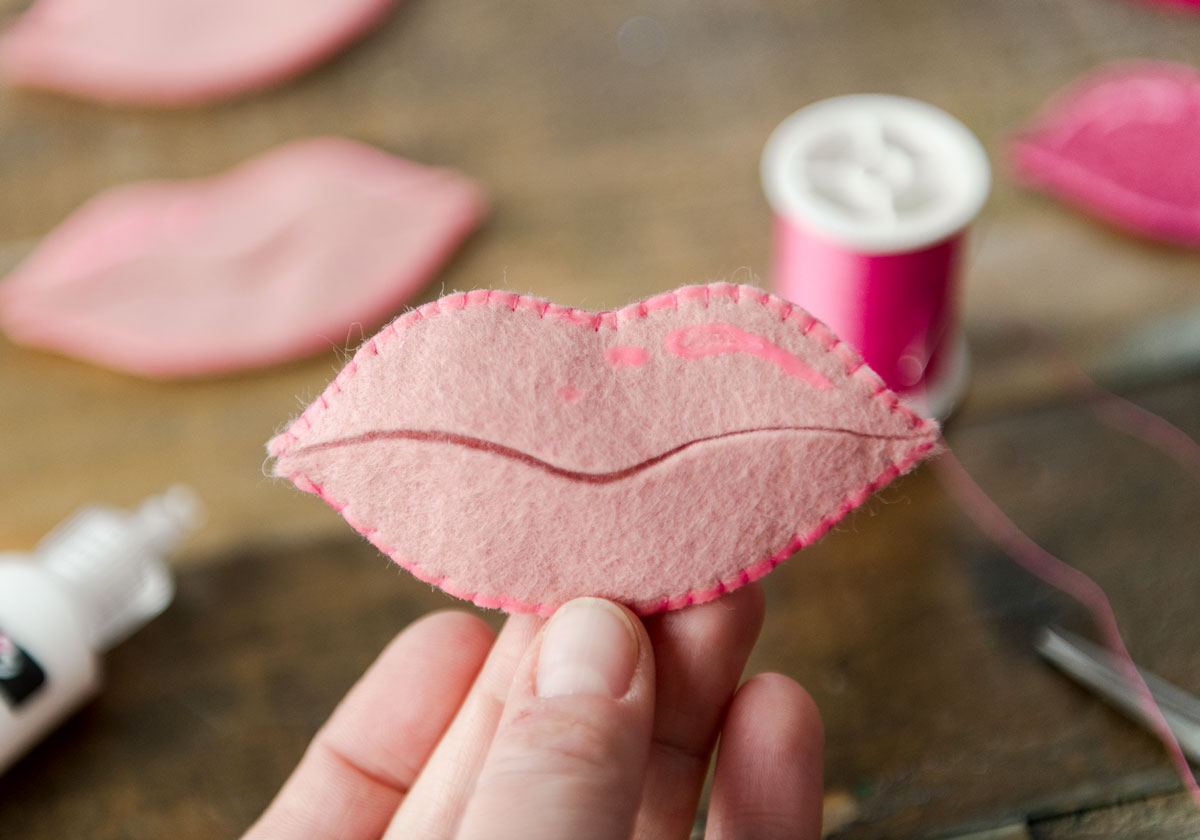
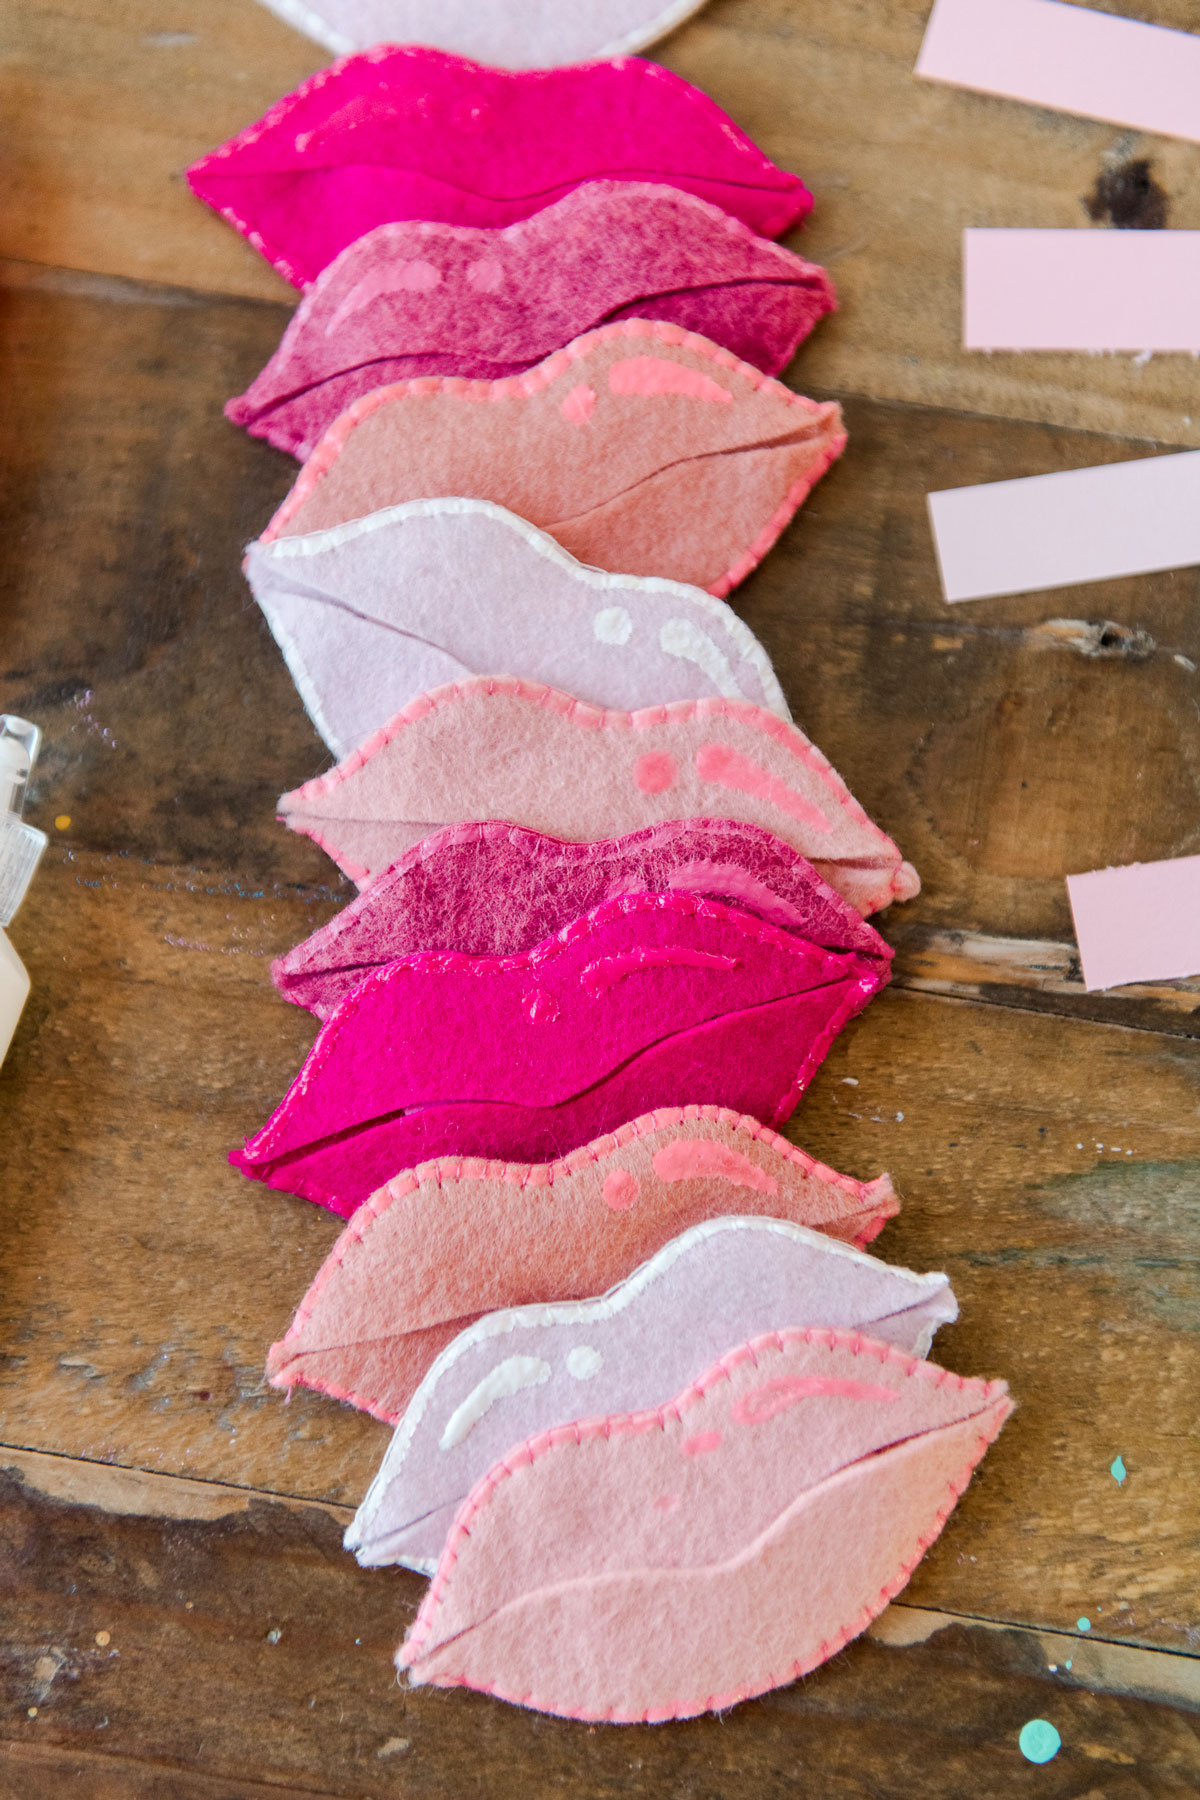
Use your Tulip puffy paint to add some details – I chose to outline the outer edge of the lips and add a glossy shine line and dot on the top lip 🙂 Set aside to dry.
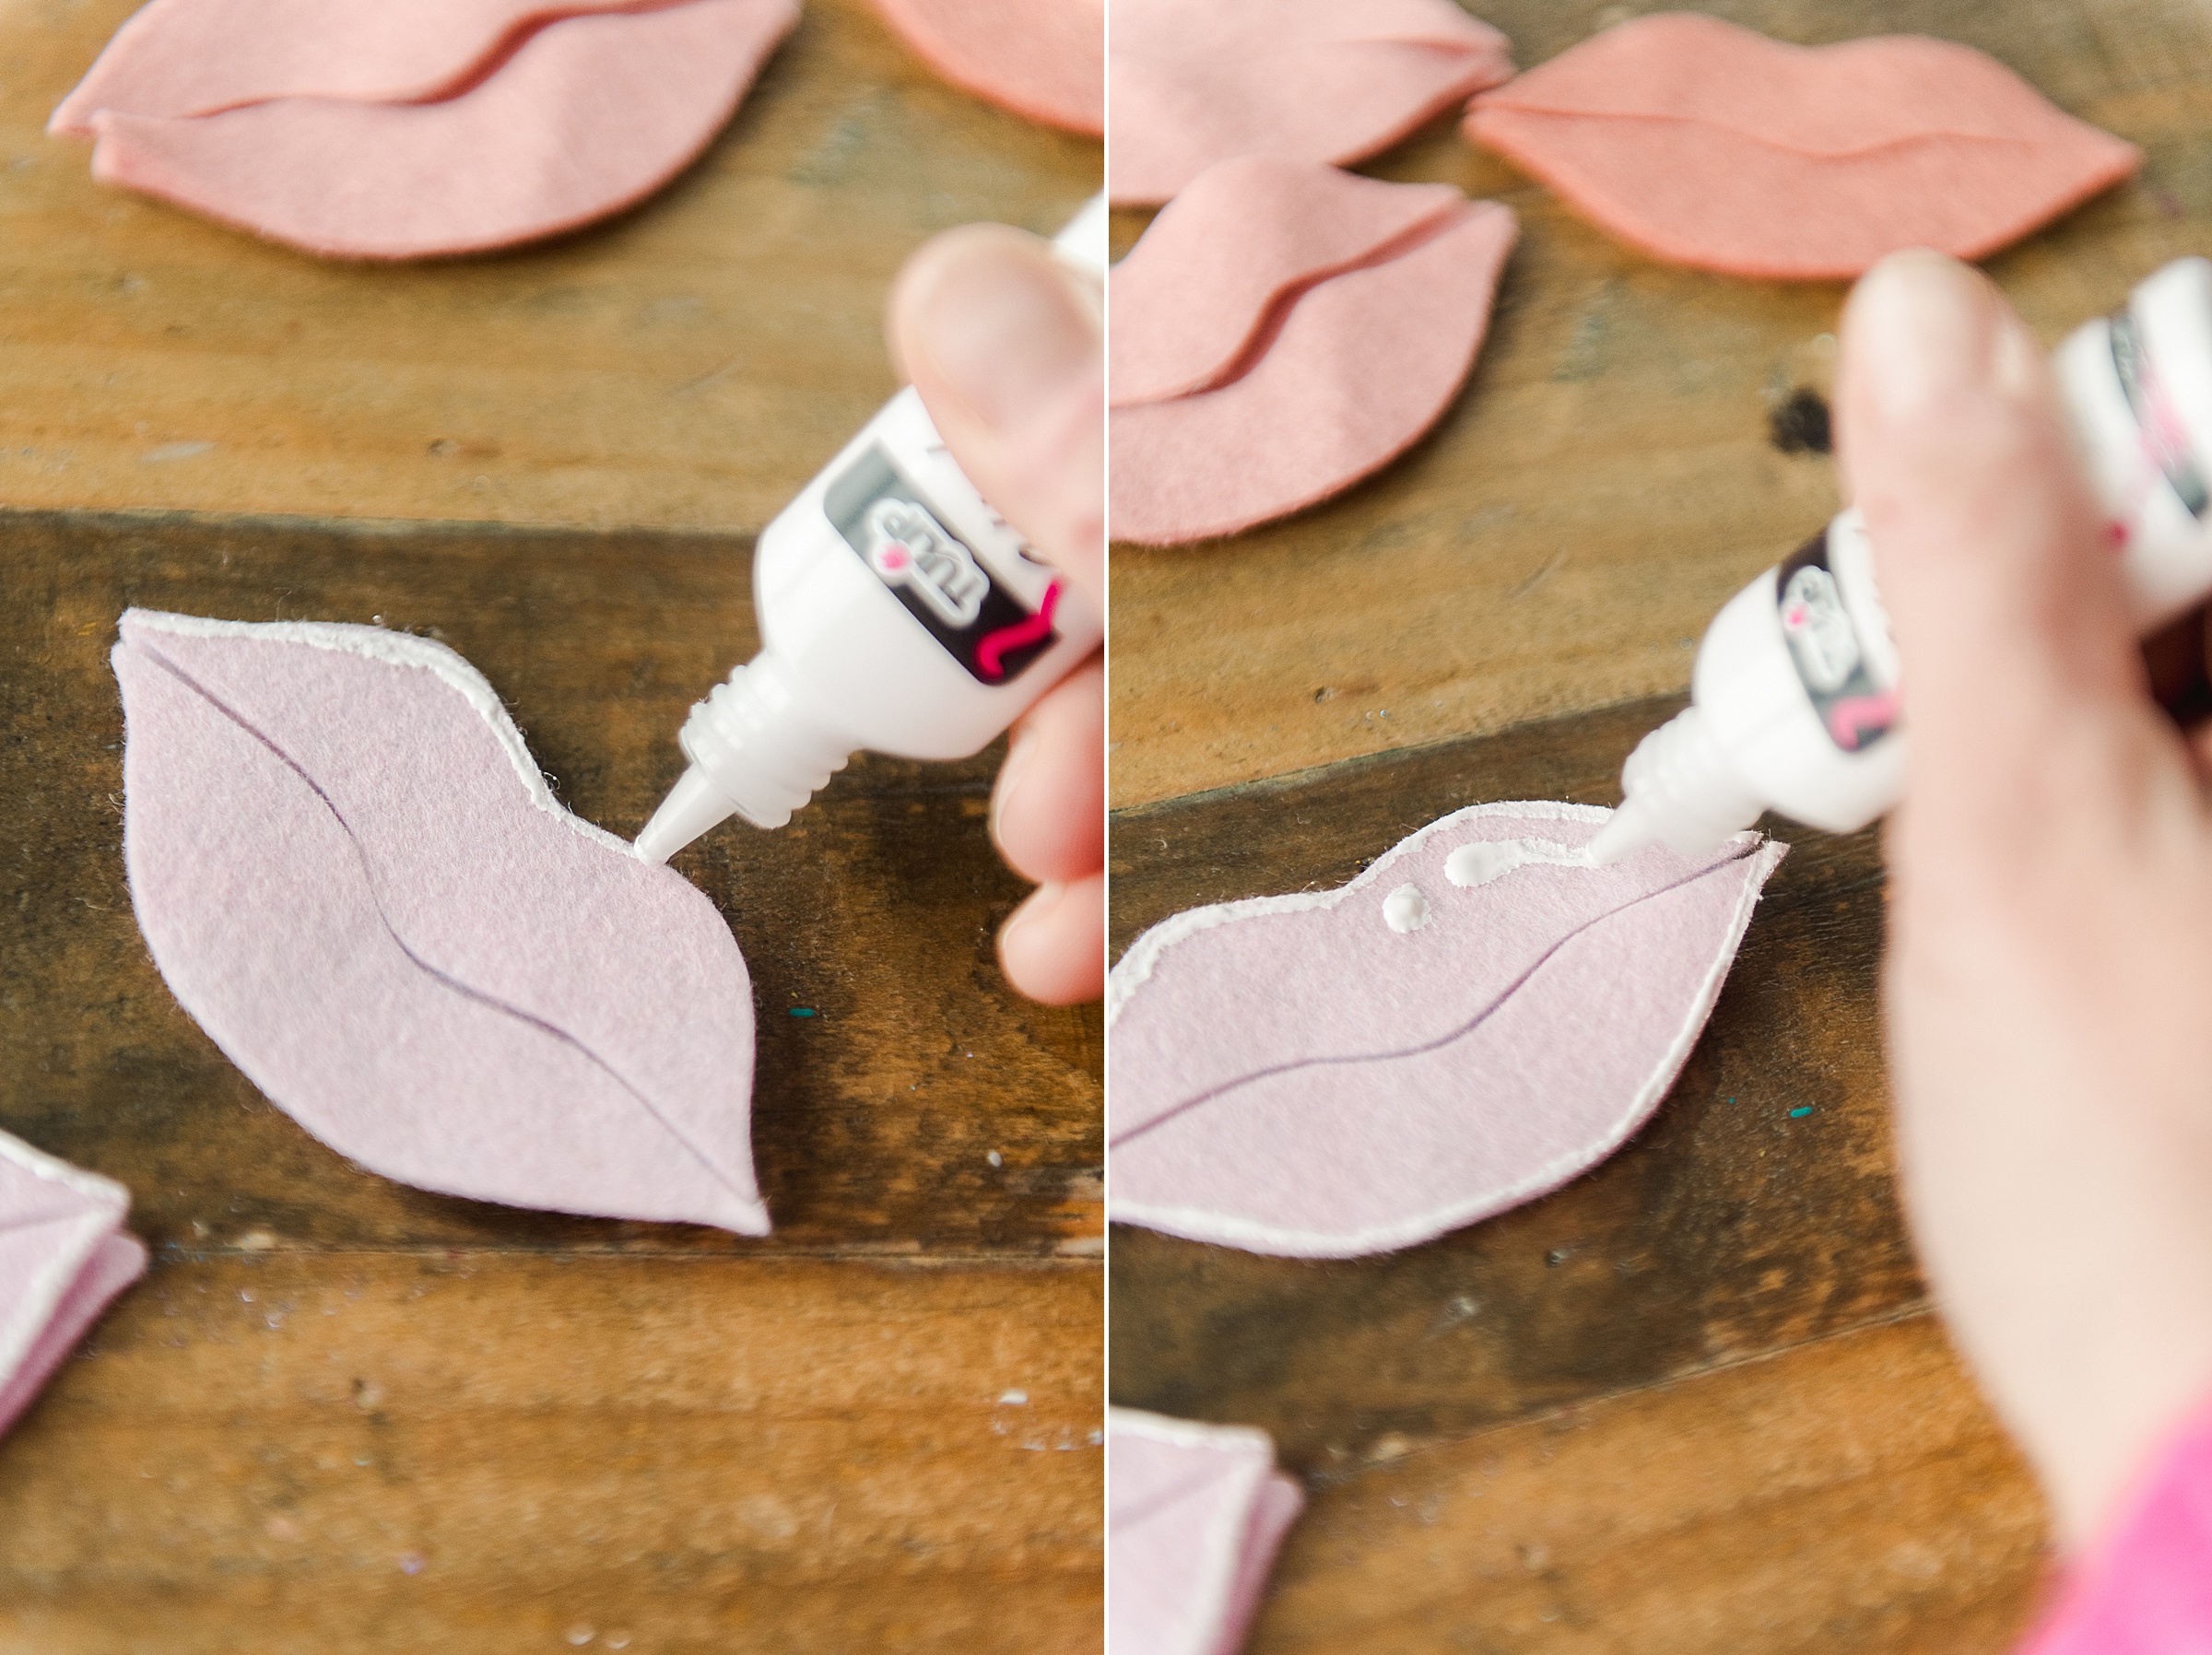
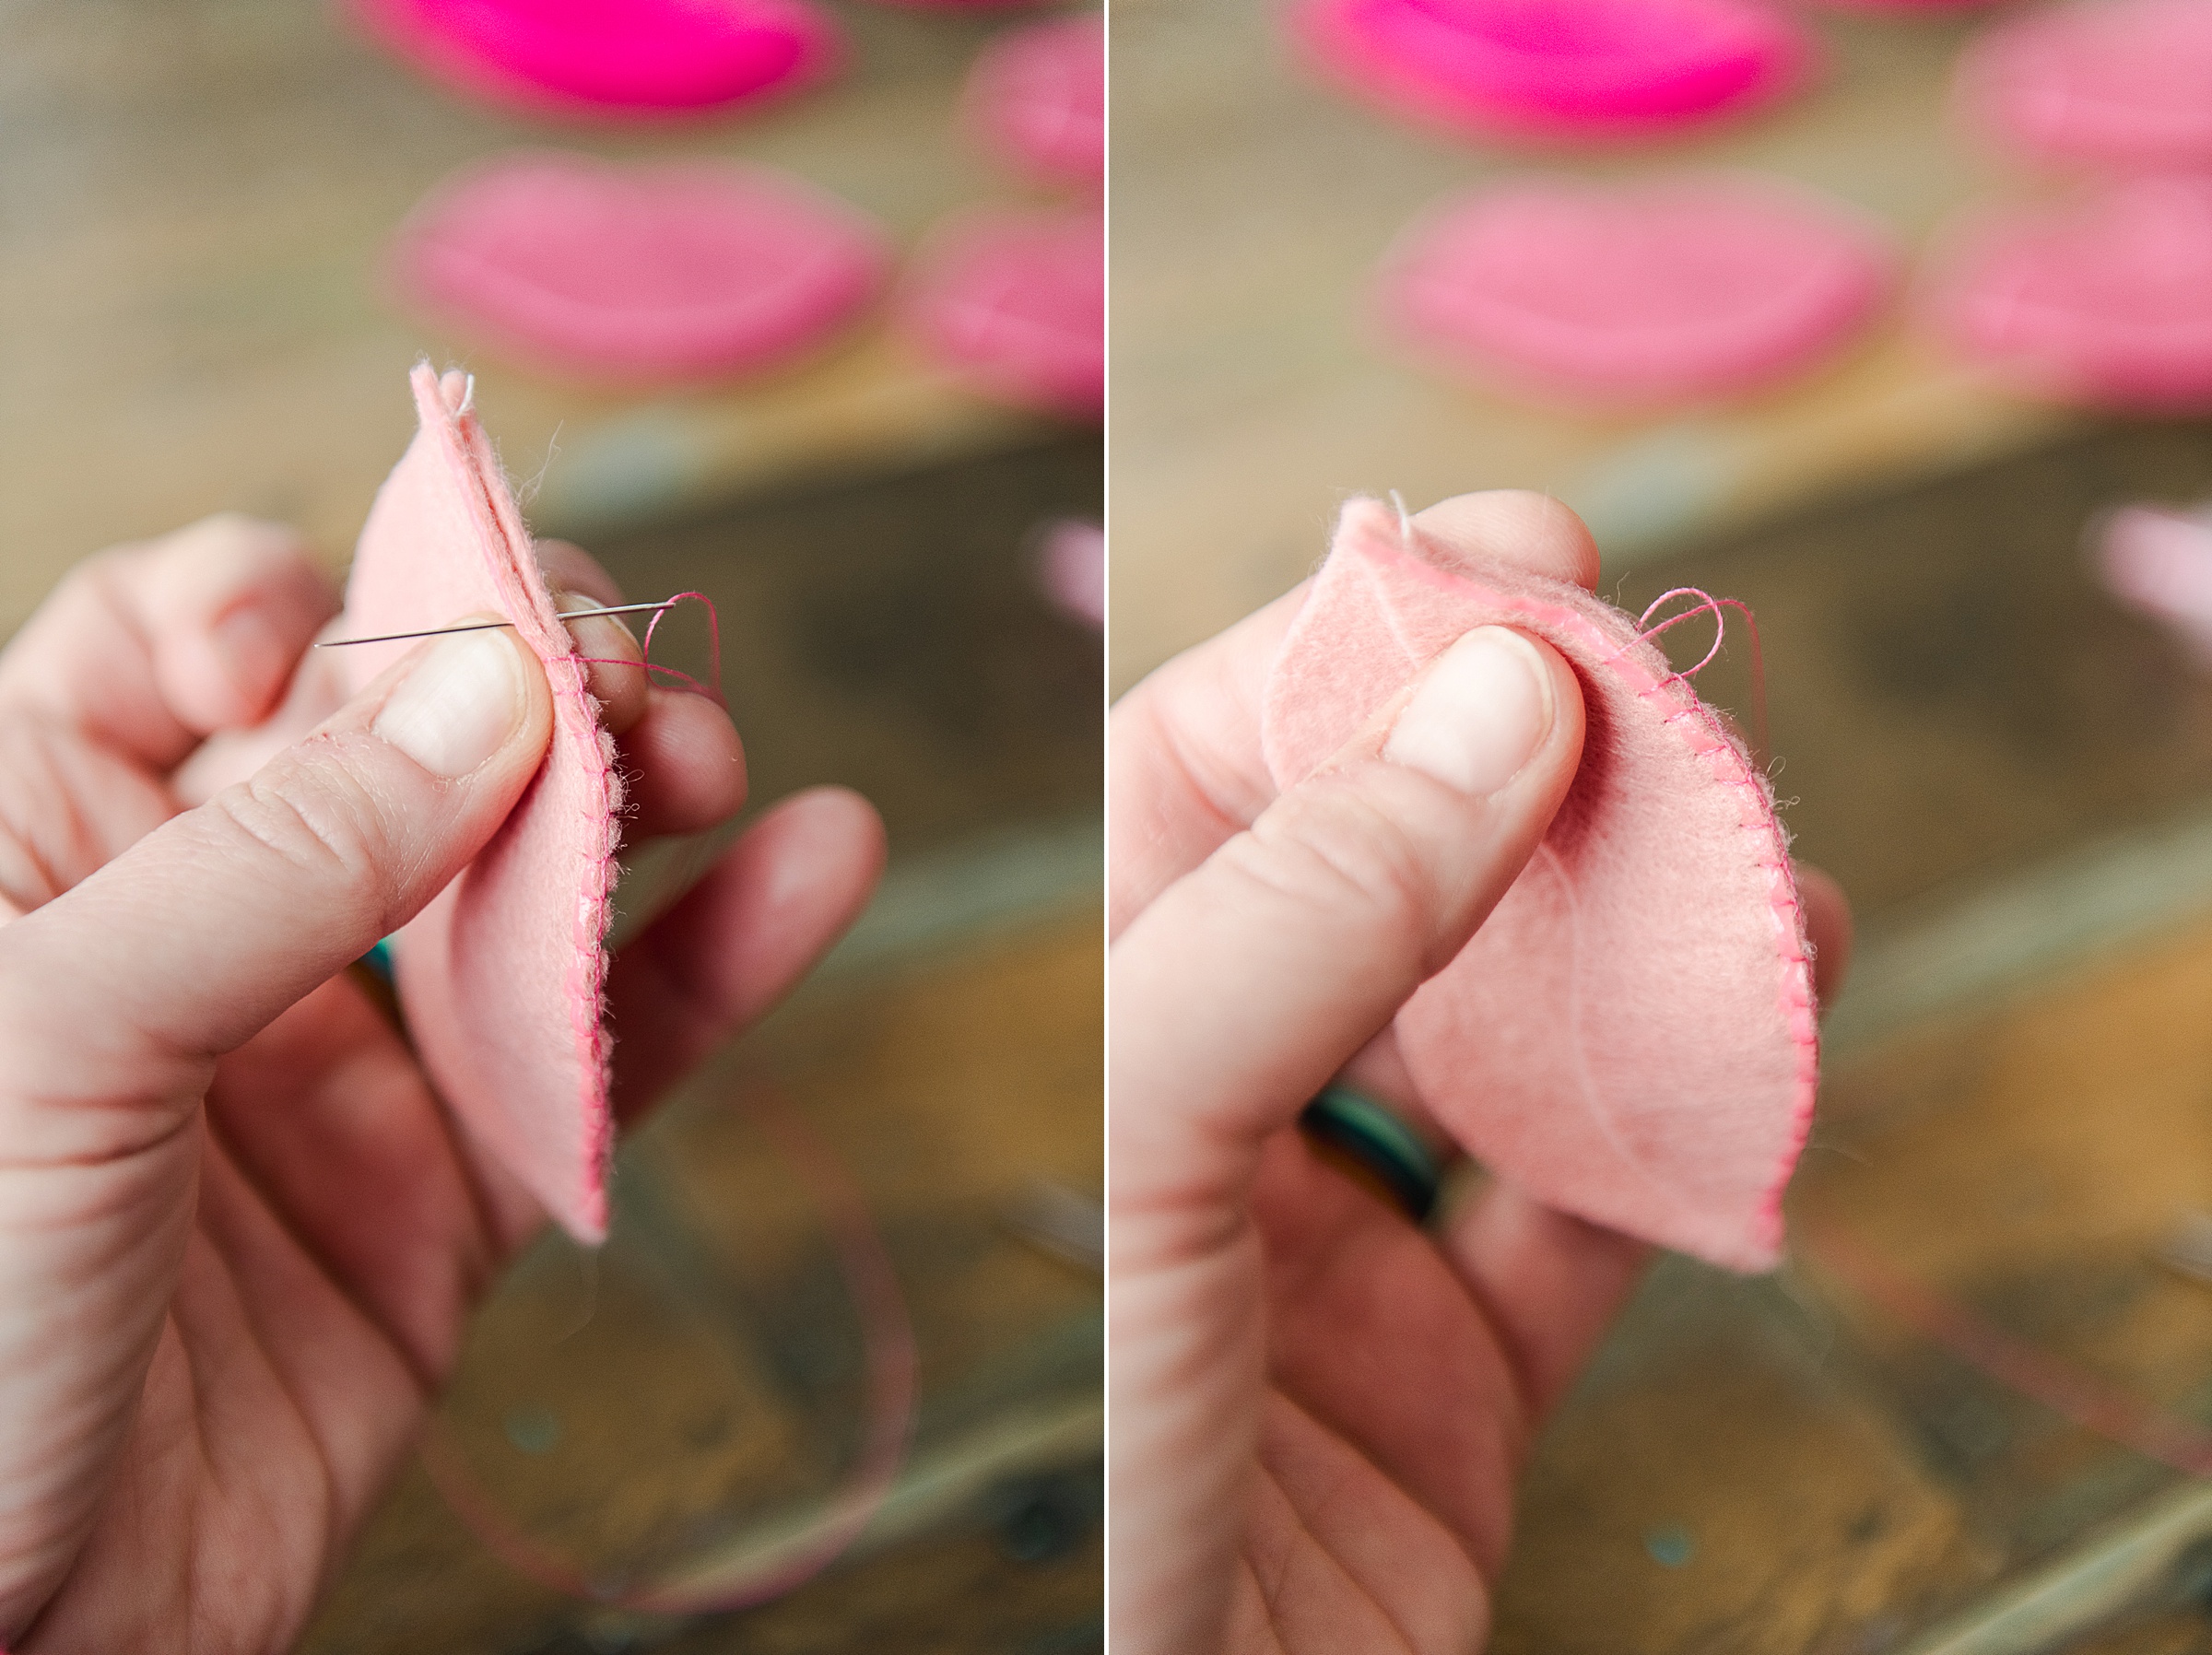
You will then use a blanket stitch with your needle and thread to stitch around the edge of the lips to attach the top layer or lip to the bottom! 🙂 I chose to start on one edge (the corner of the lips) and then go along one edge and stitch all the way back to the start. Be sure that you are matching up the lips well so that the opening of the lips are nice and snug fitting next to one another.
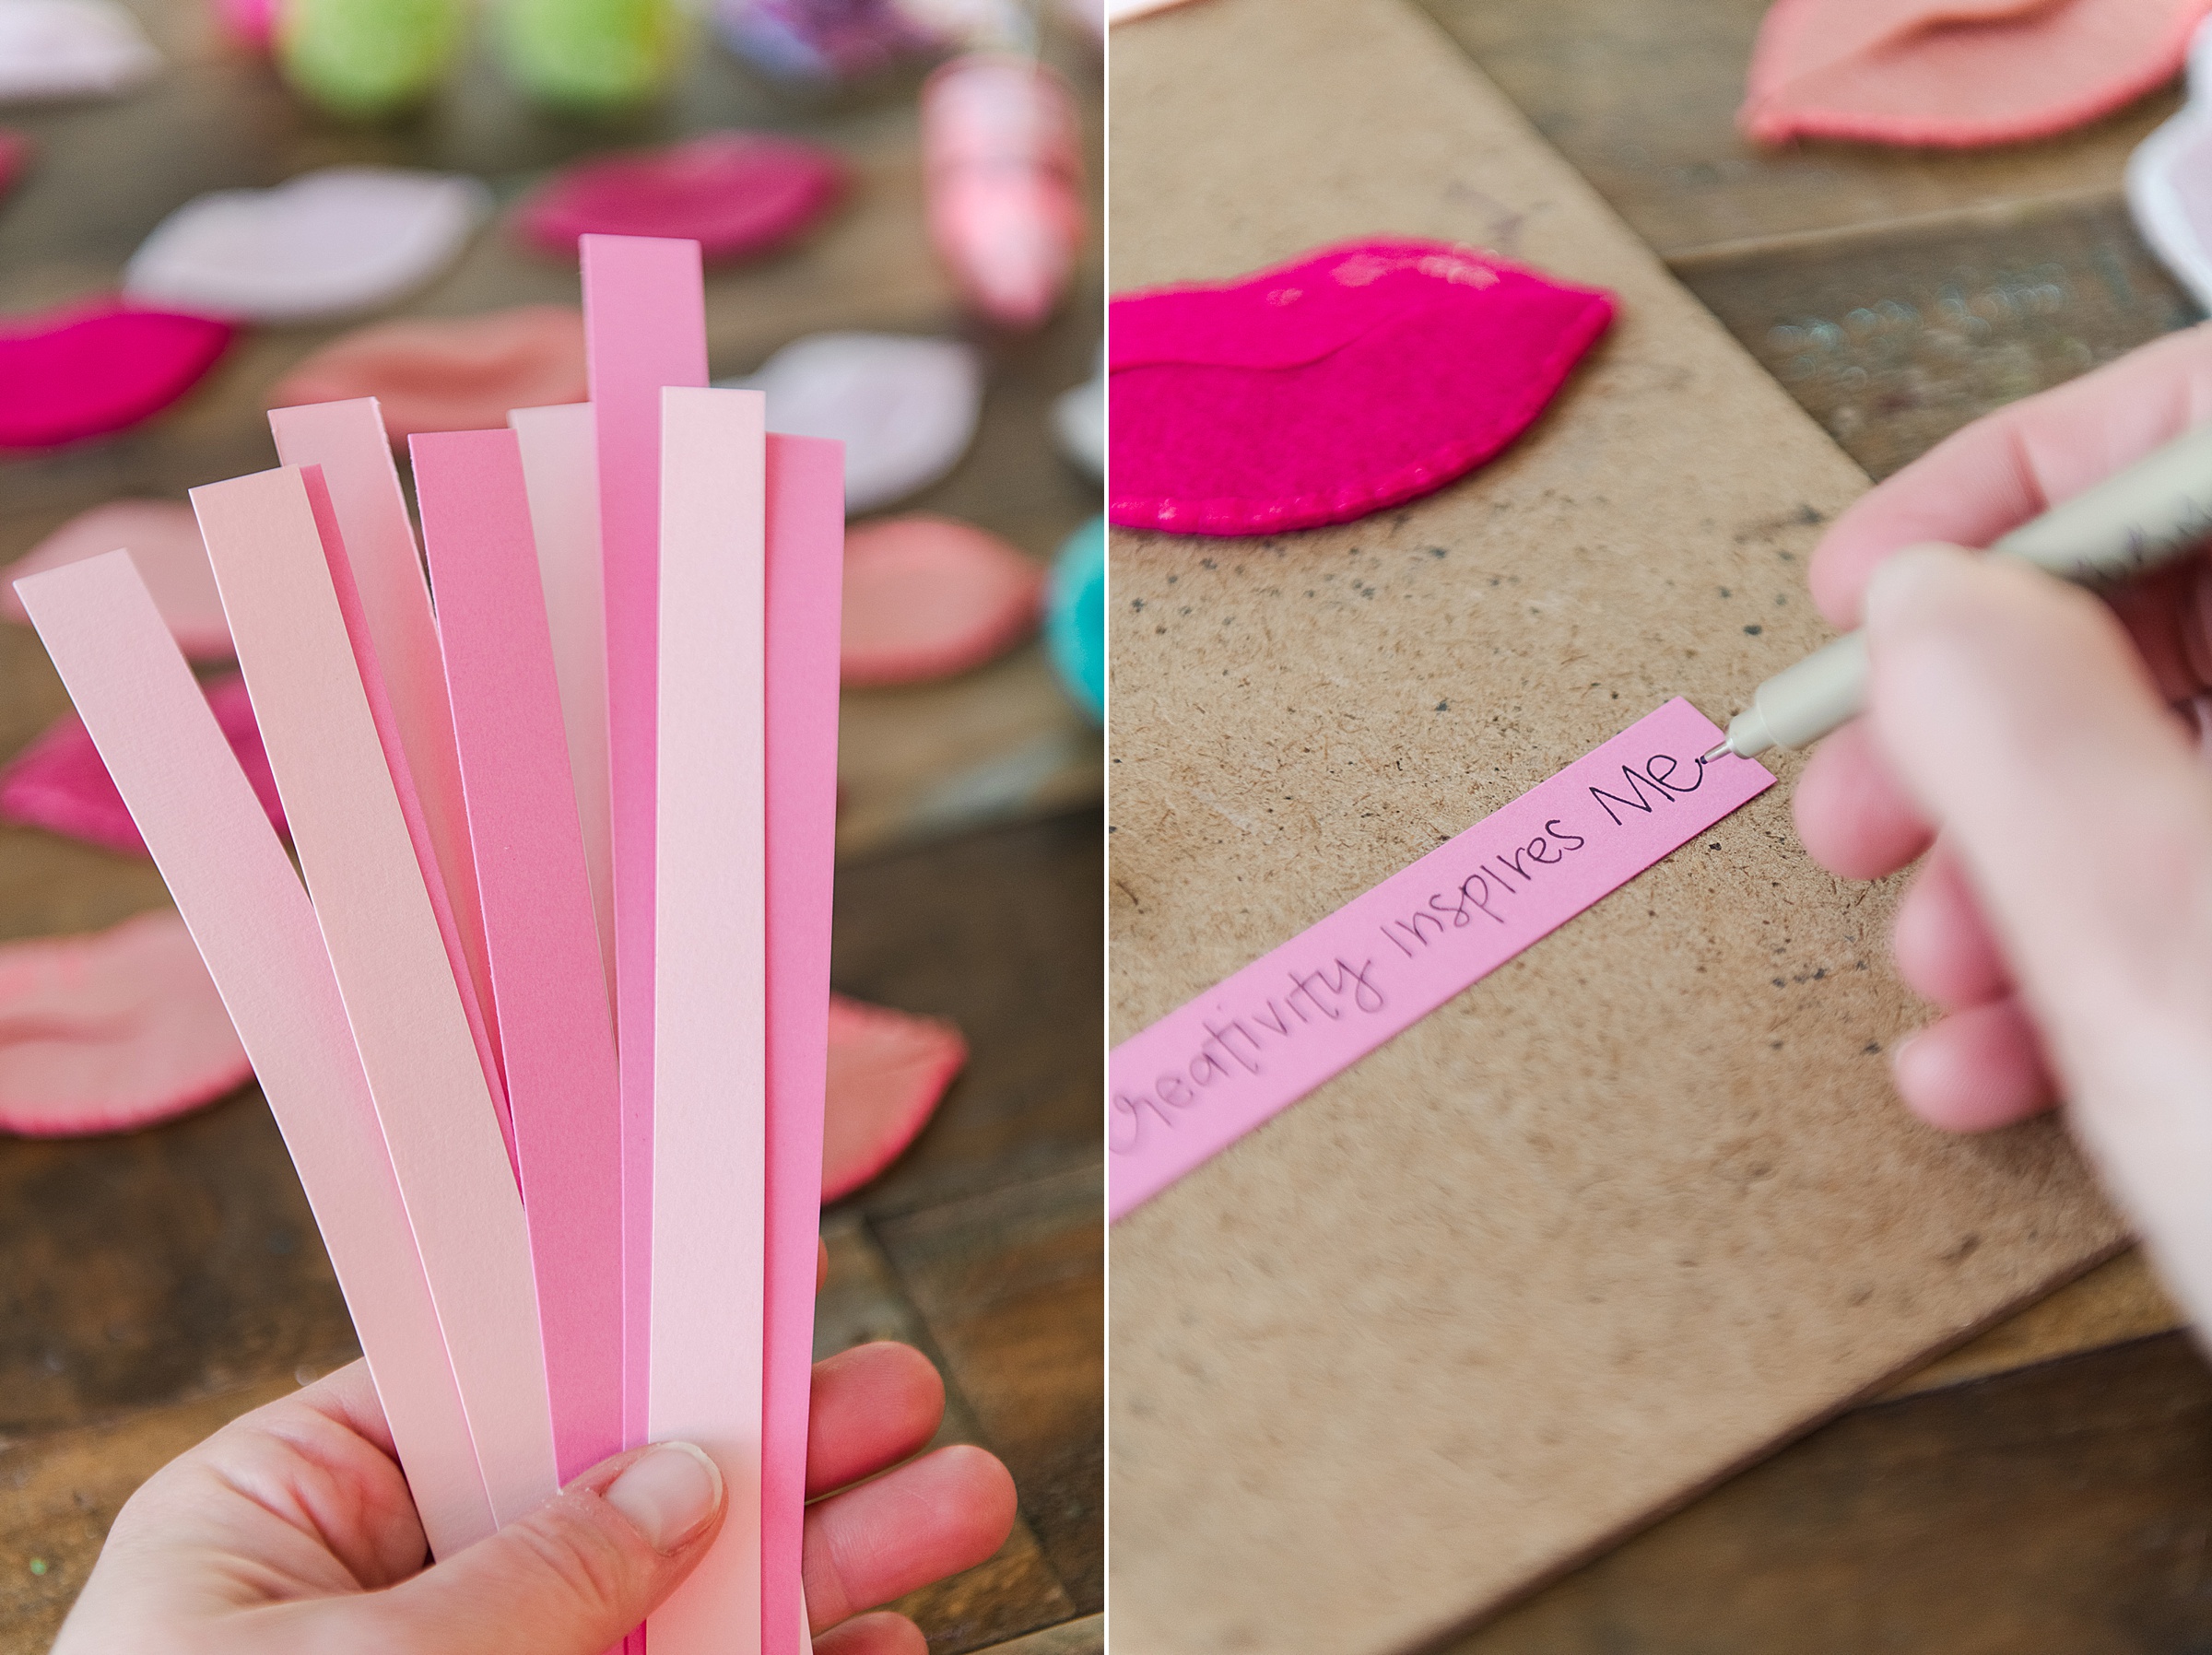
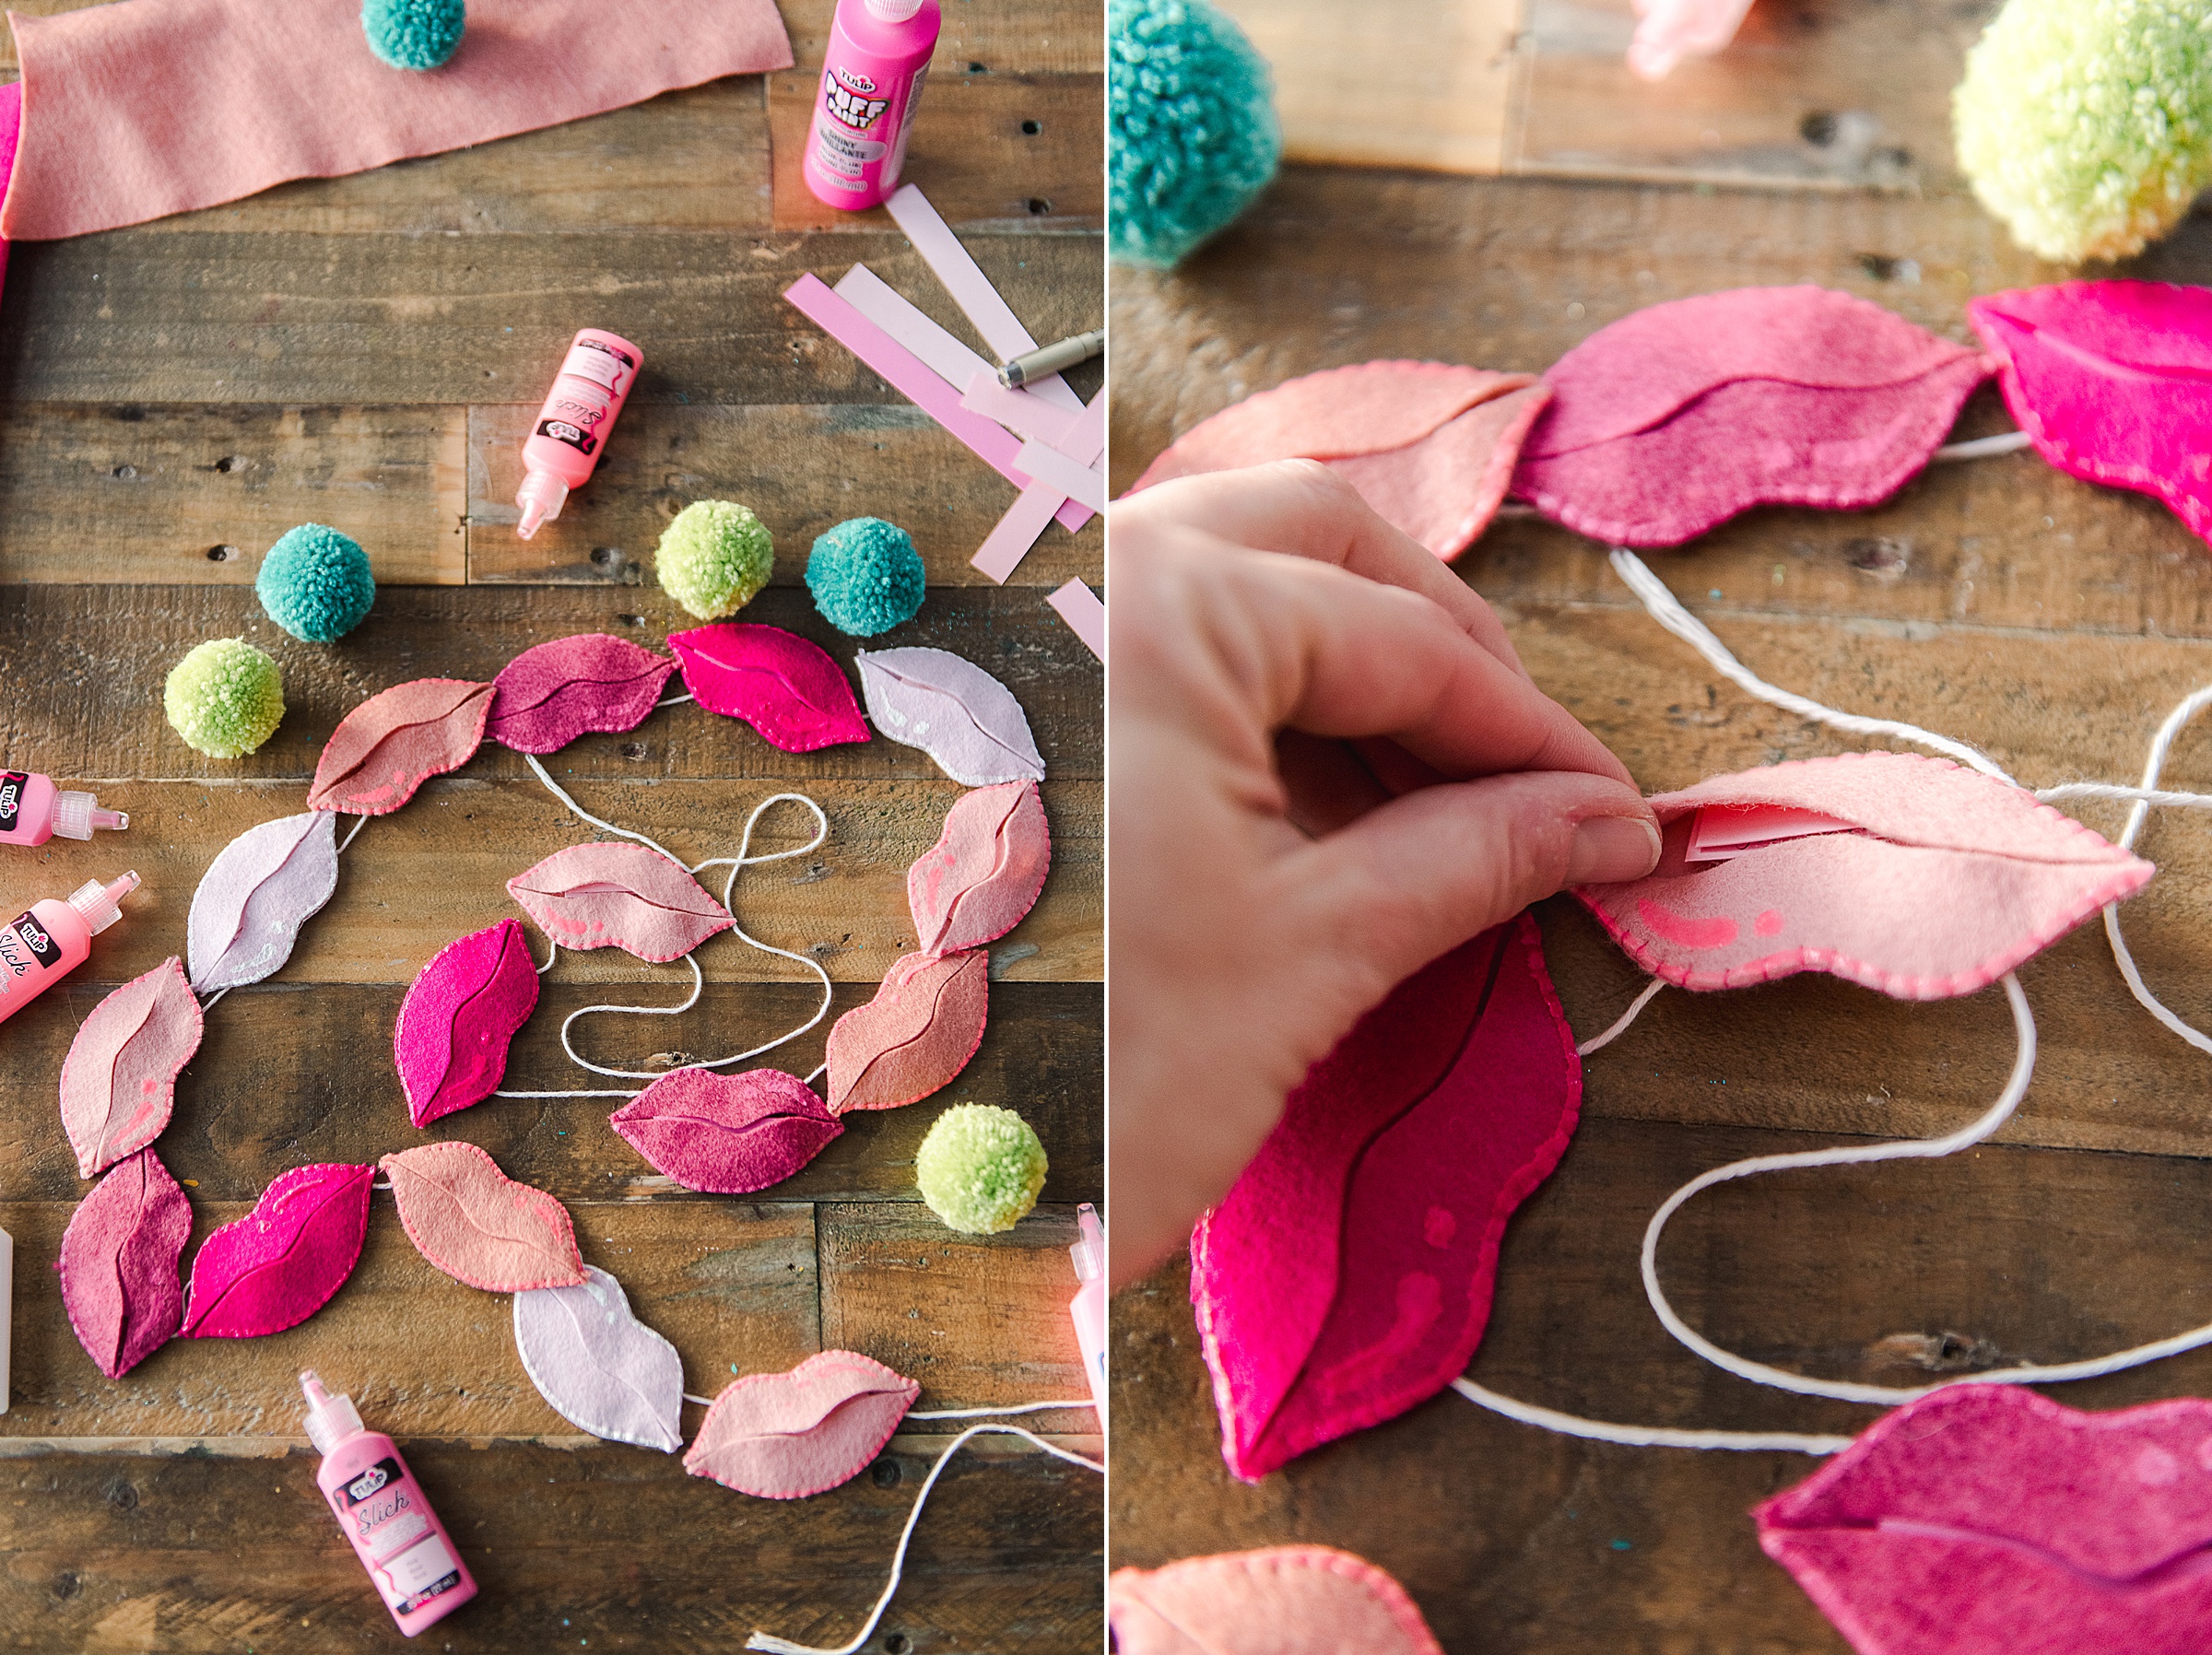
Nooooow is the fun part to cut some strips of paper and begin to write your love notes – this particular garland is for my daughter so I wrote little sentences of things that I notice in her or love to see her do around the house (I love how she helps with our pets, I love how creative she is, I love watching her try new things, It makes me smile when she smiles, I love to hear her practice her piano and make music……) 🙂 Write these words on a paper and fold the paper in half to put into the lips 🙂
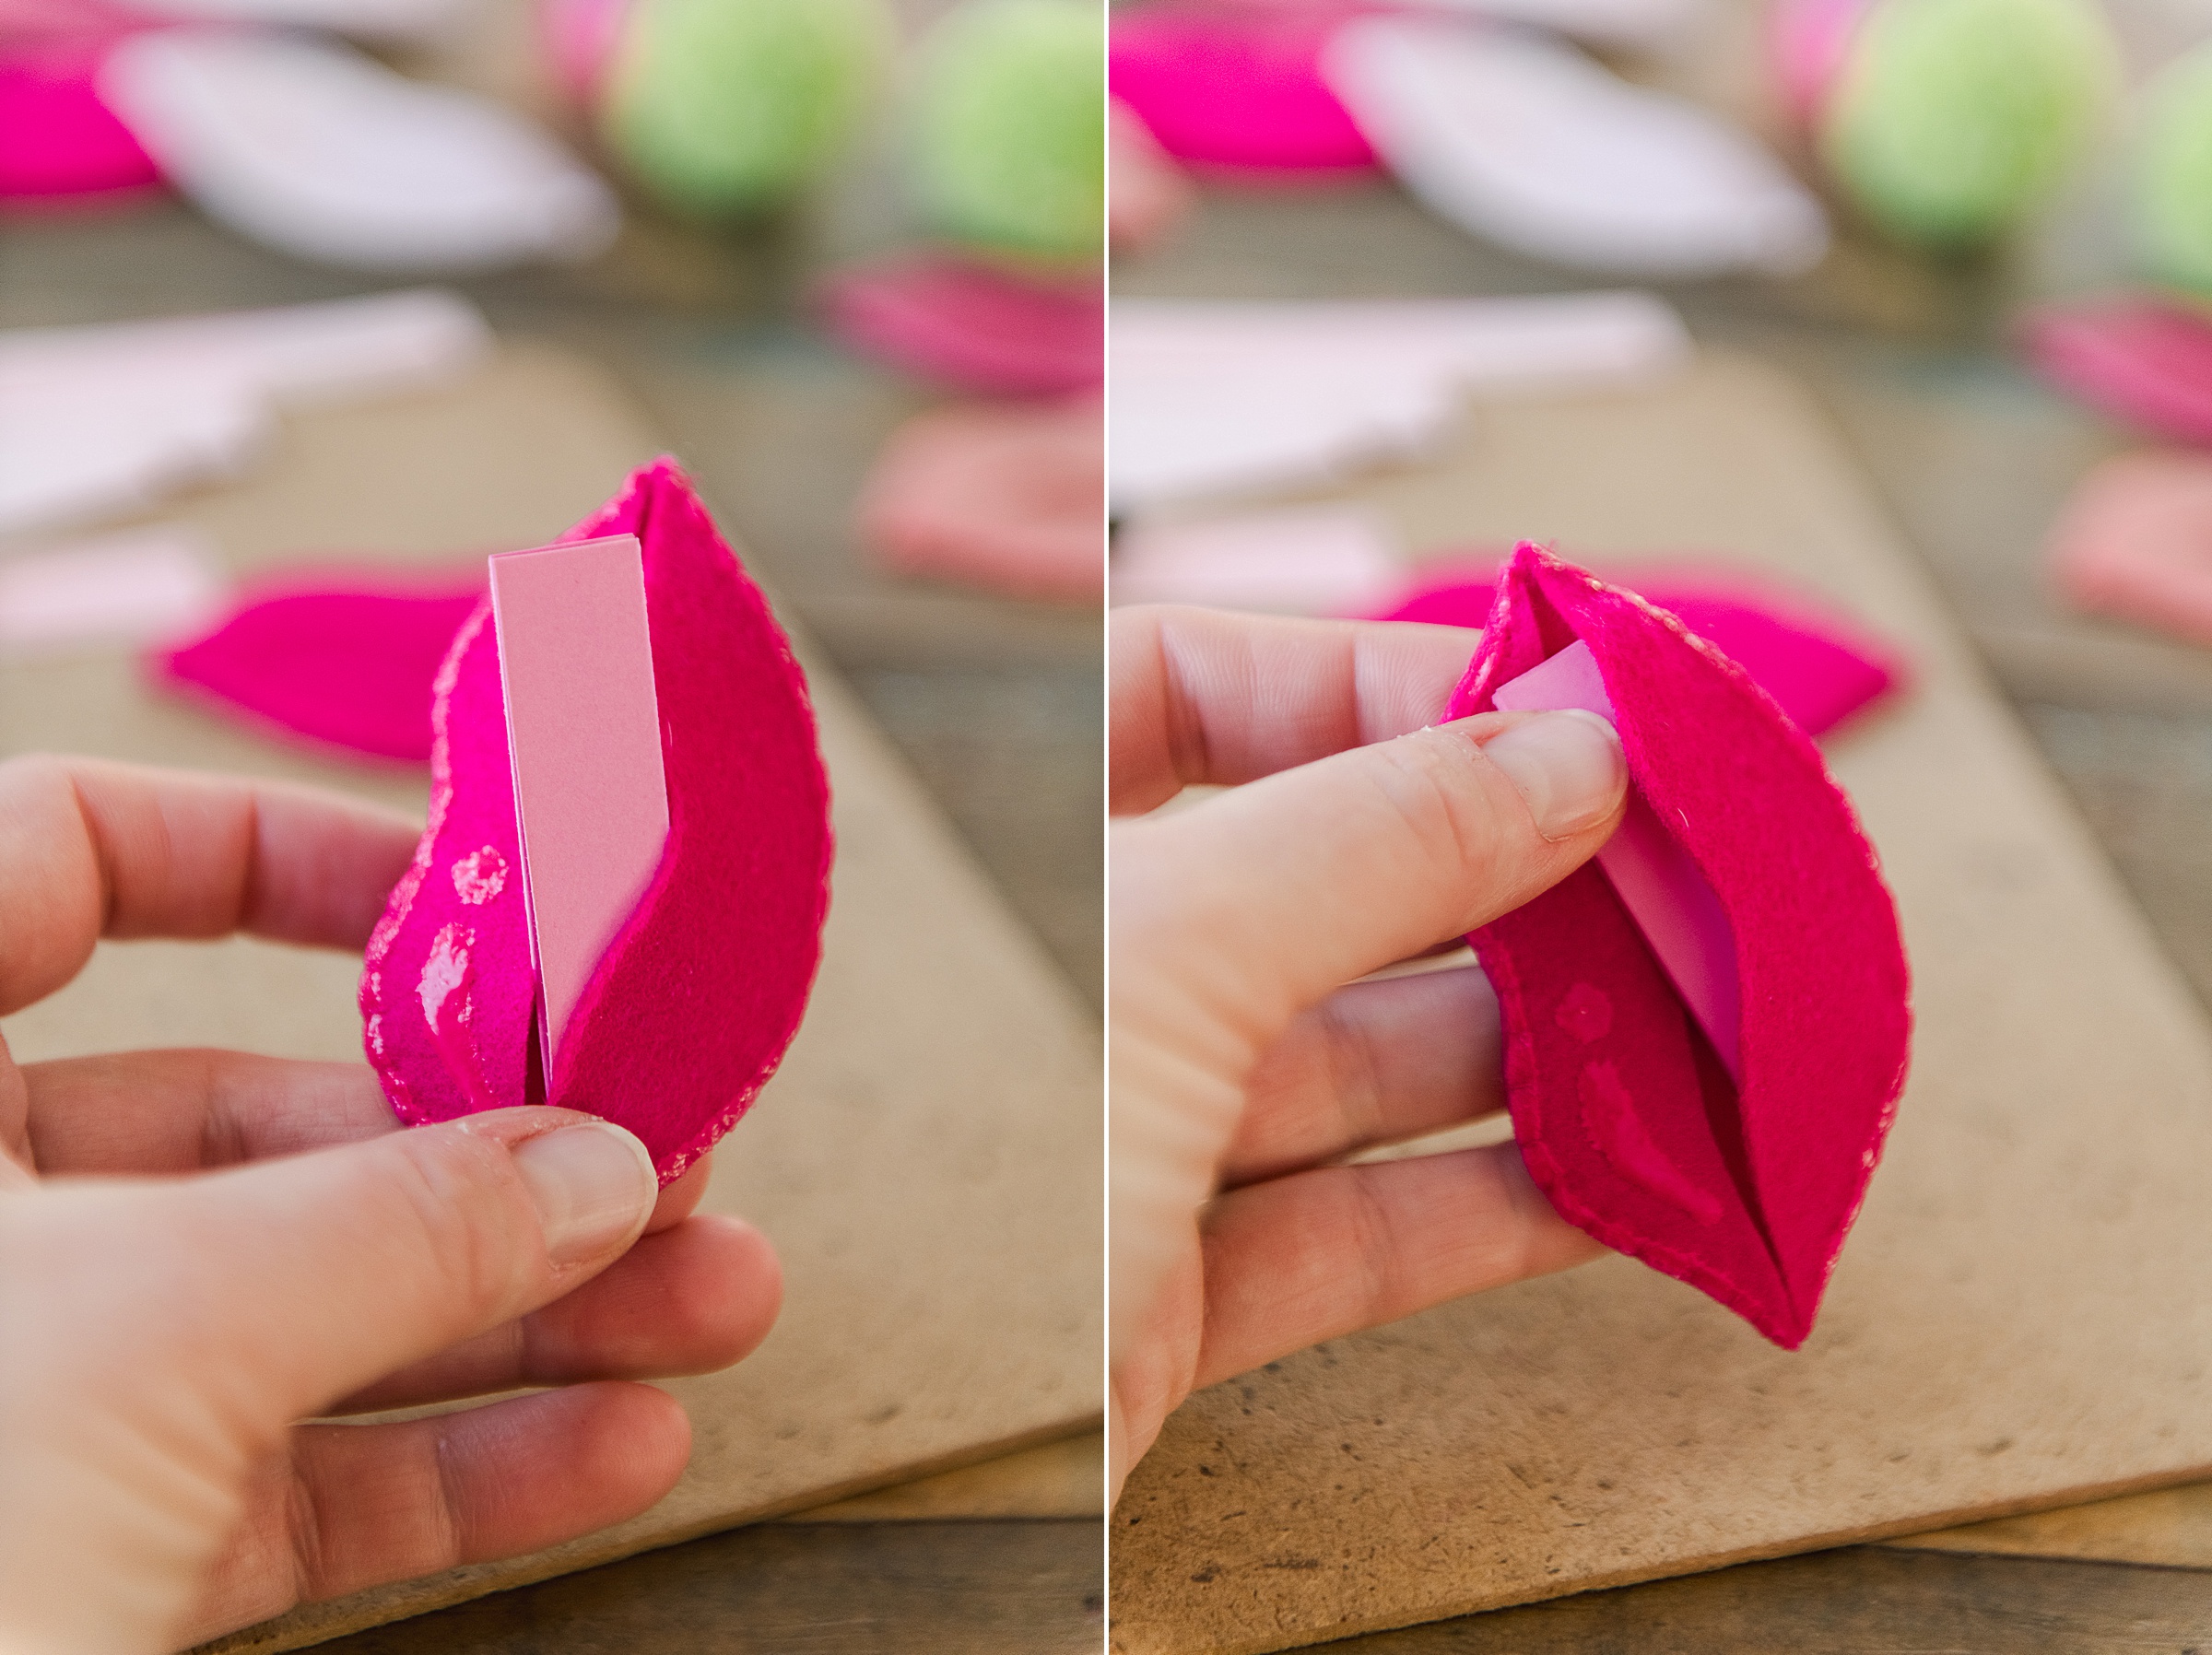
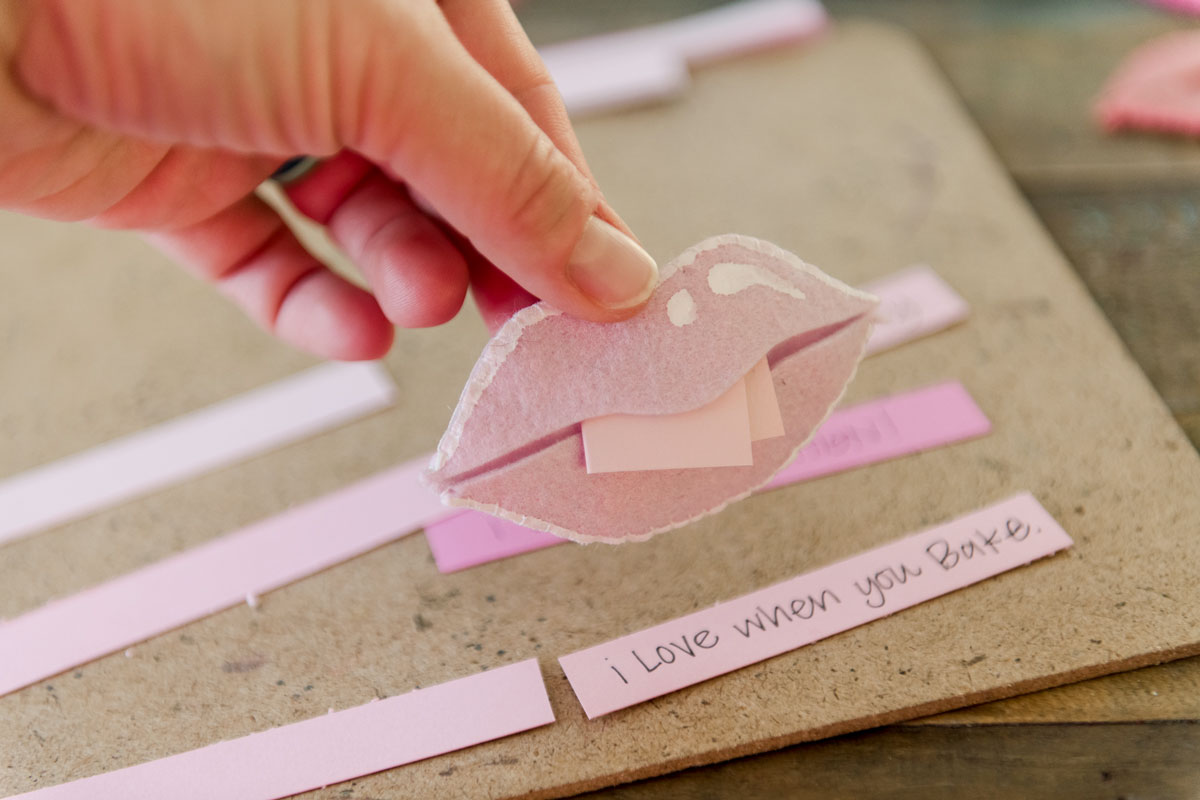
Thread your cotton, thicker string for garland and begin to string the lips one at a time – I did this by picking up a part of the felt in the bottom layer of the lips (2 times across the back) about 1/4″ down from the top edge (I found that this placement of stringing, helped the lips to “hang” well).
Now hang your garland and help spread the love and encouragement this Valentine season! 🙂
