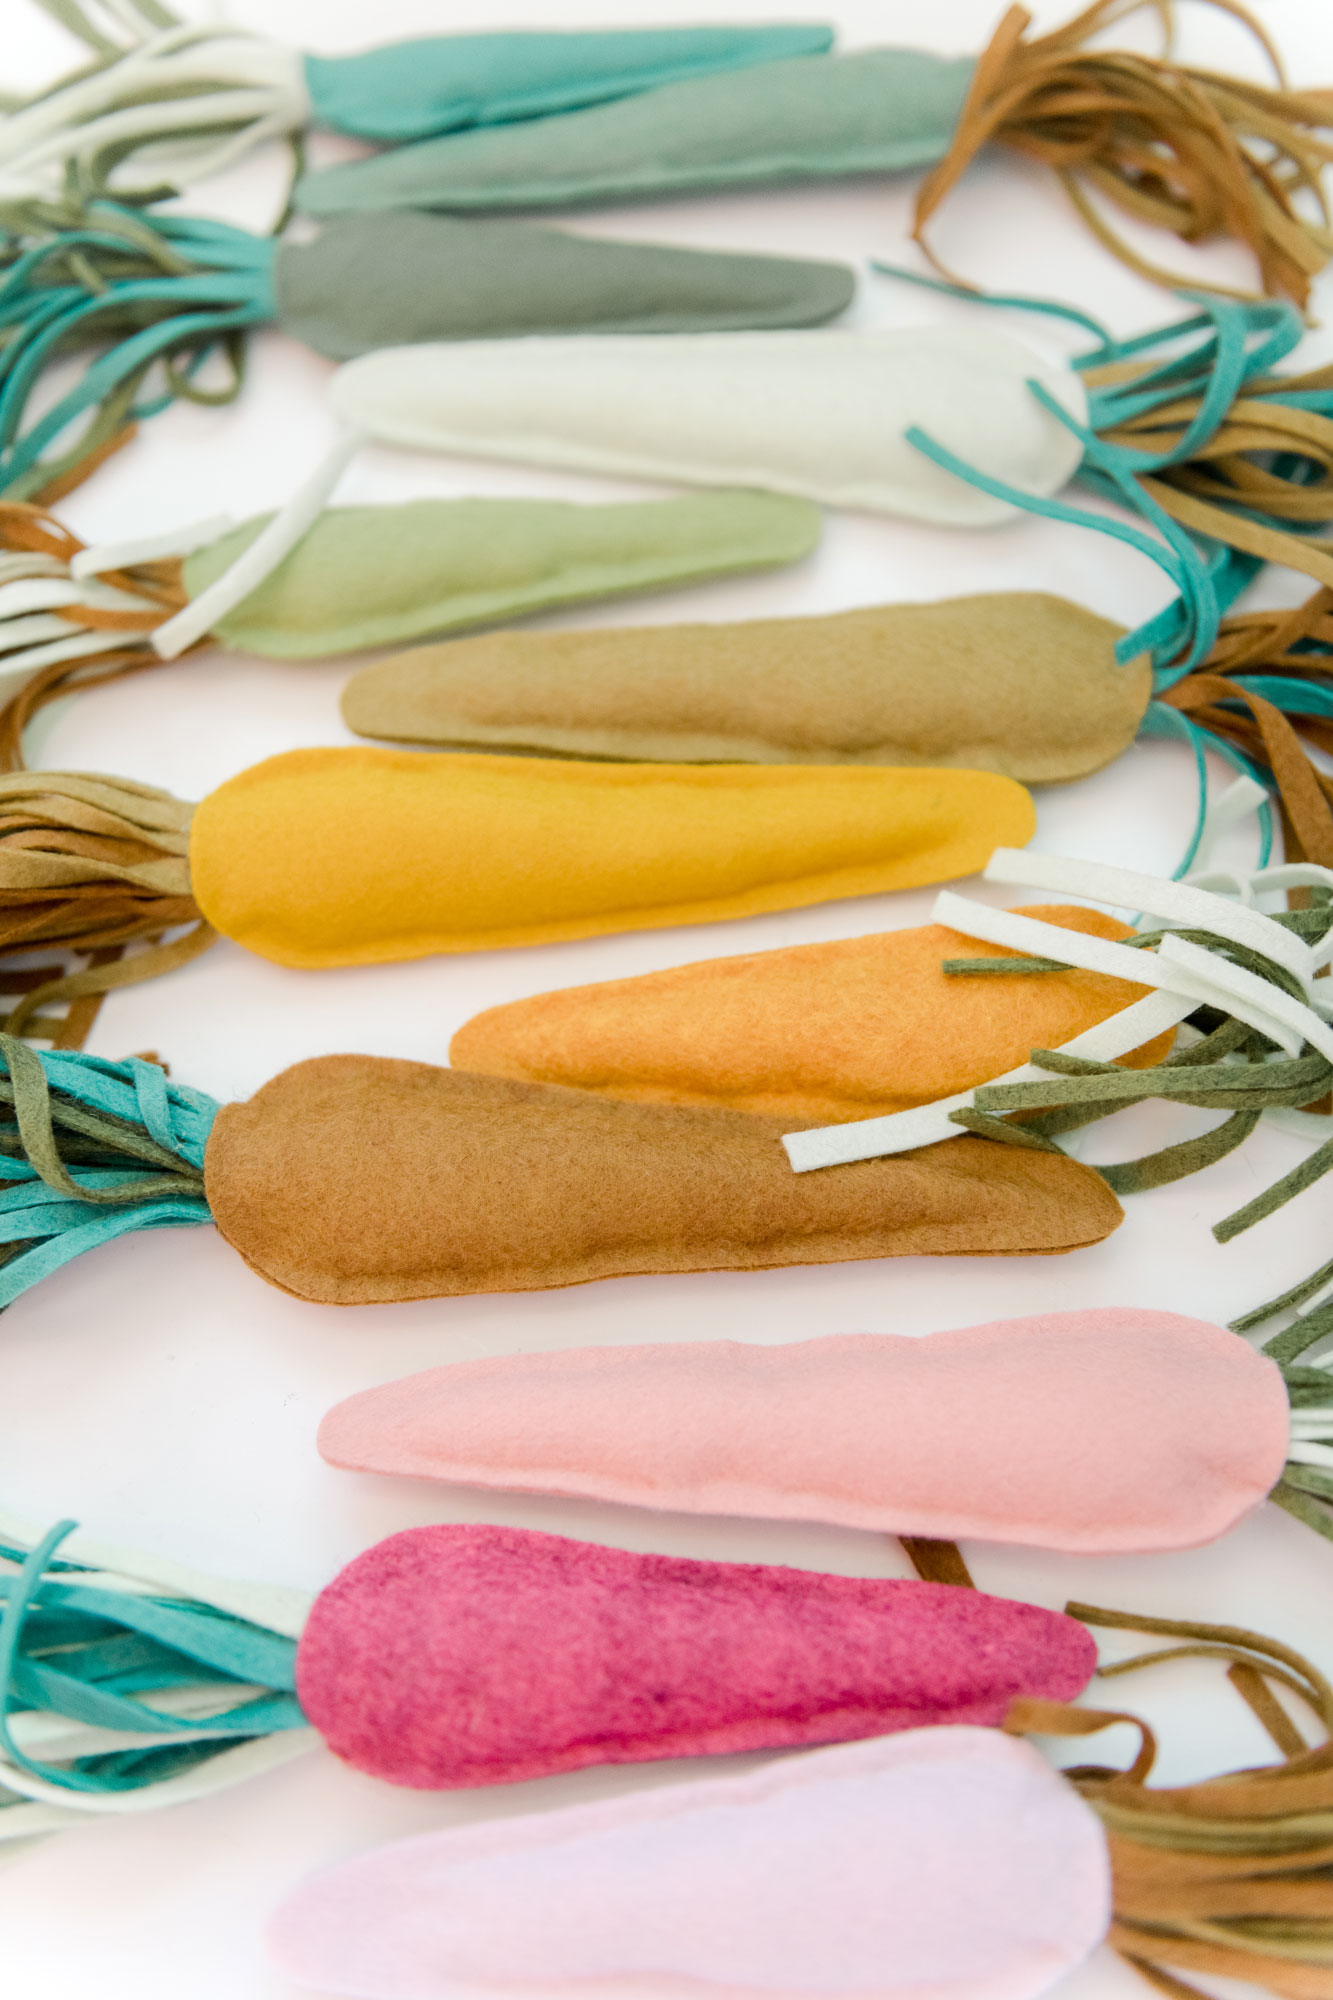
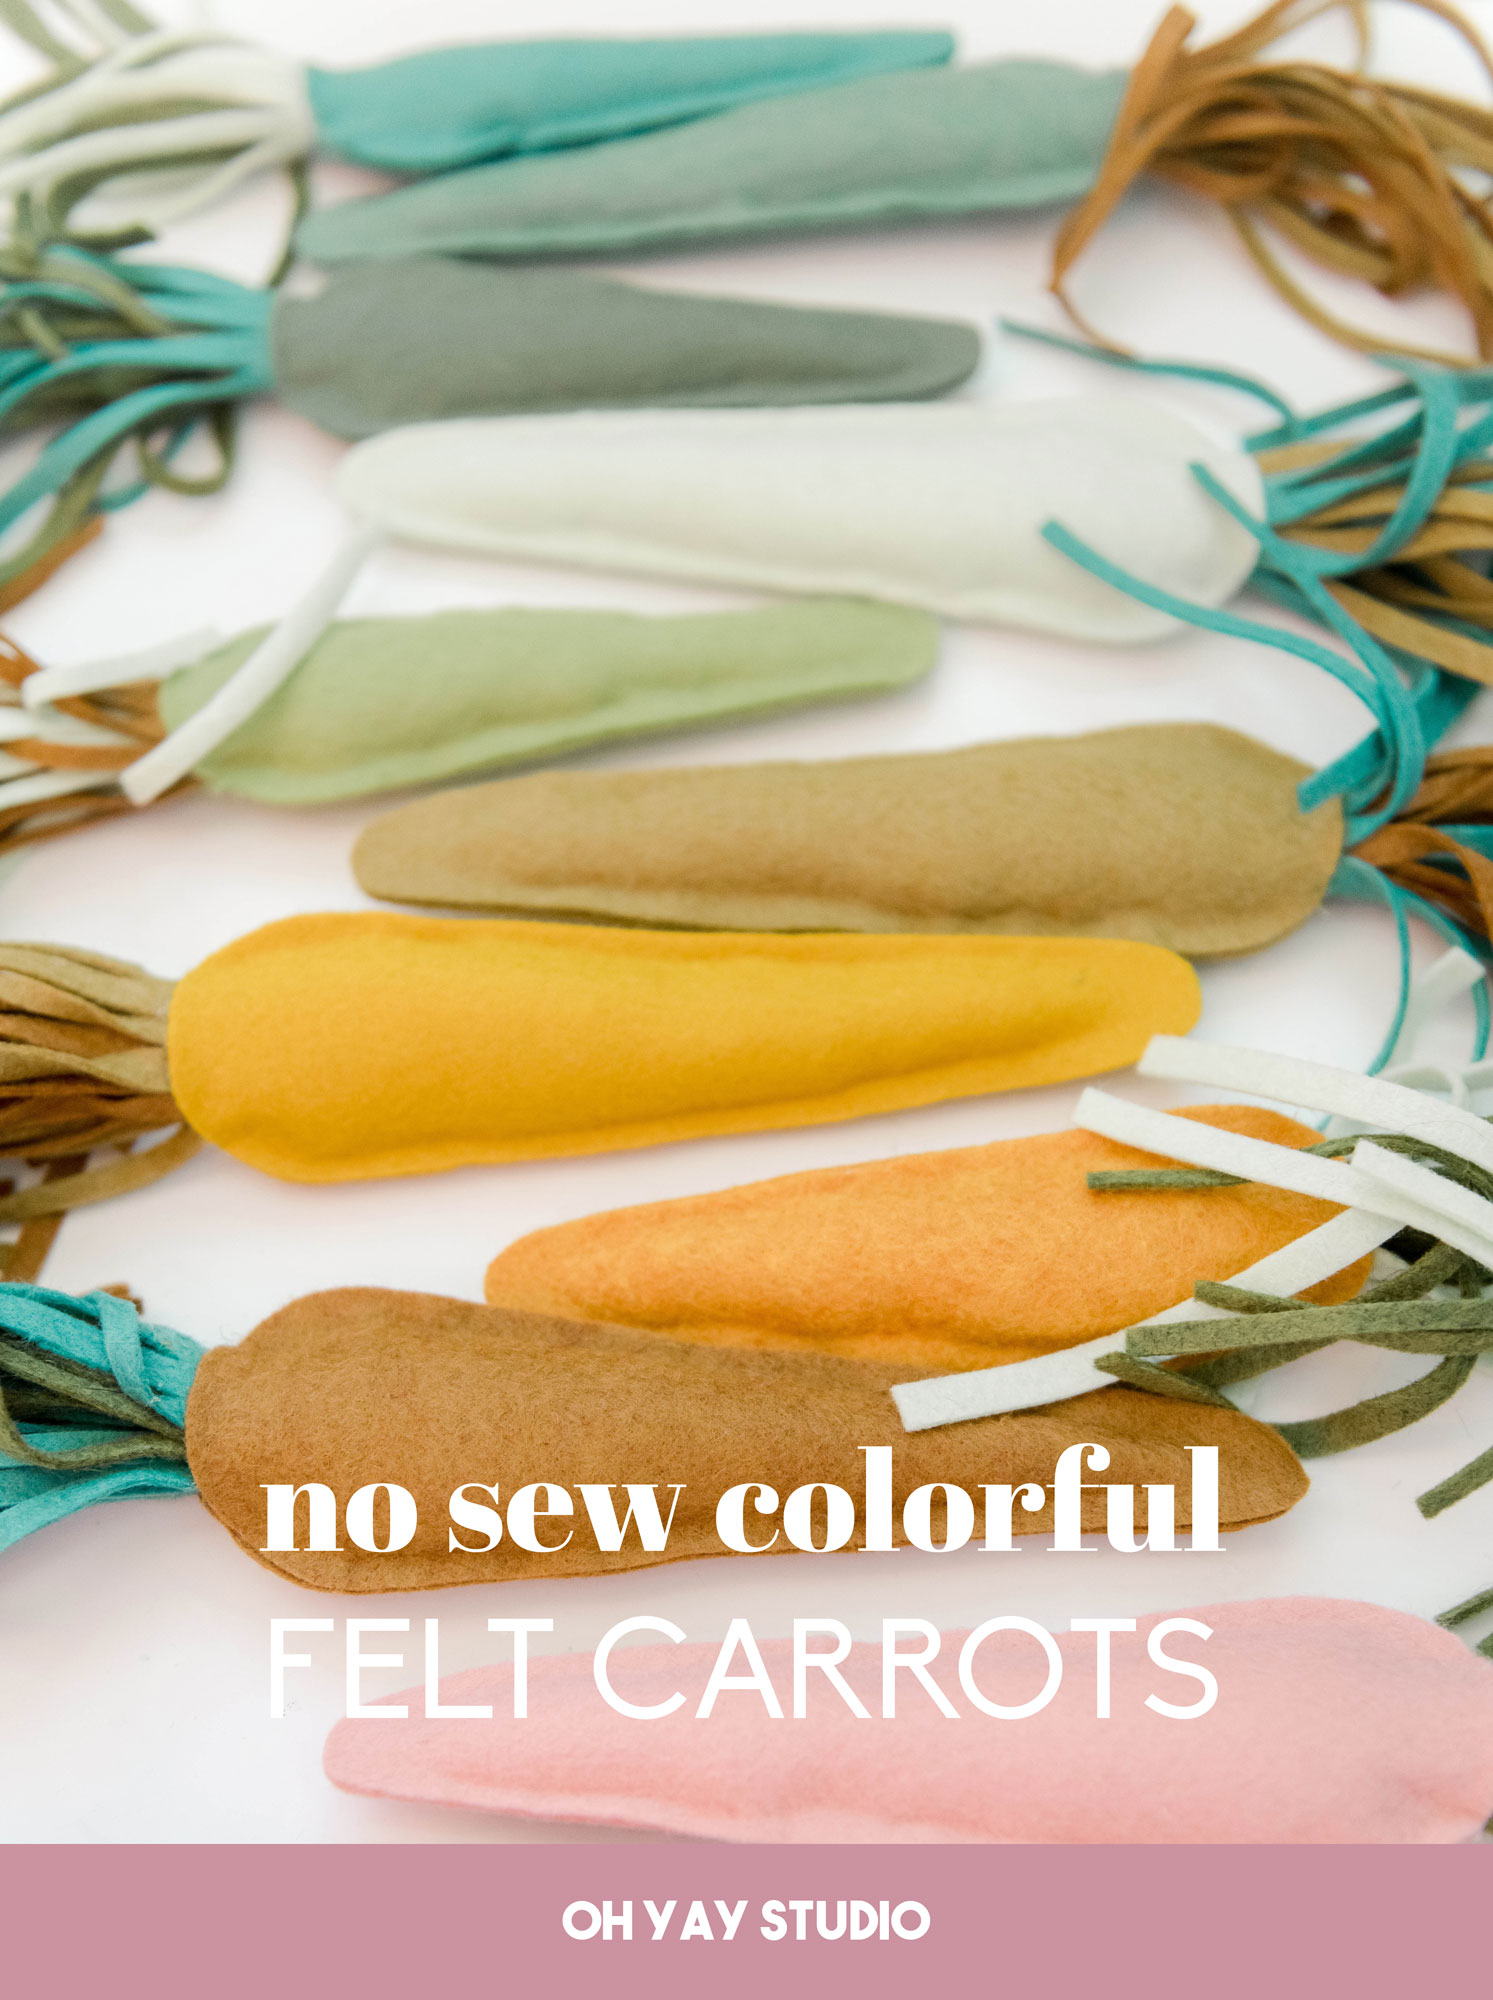
Colorful felt no-sew Carrots
OKKKAYYYY when spring is upon us, I have the habit of just needing and wanting and deeeeeppply desiring more color! Who is with me? SOOOO let’s make some super cute and colorful carrots out of some leftover felt scraps that I had laying around (after all of these felt trees I made this winter, I had LOADS of scraps to use up)! OH—and the best part of this project is that it LEGIT only takes about 10 (or less) minutes per carrot AND it’s a NO SEW project! So for all of you quick crafters, this project is for you!

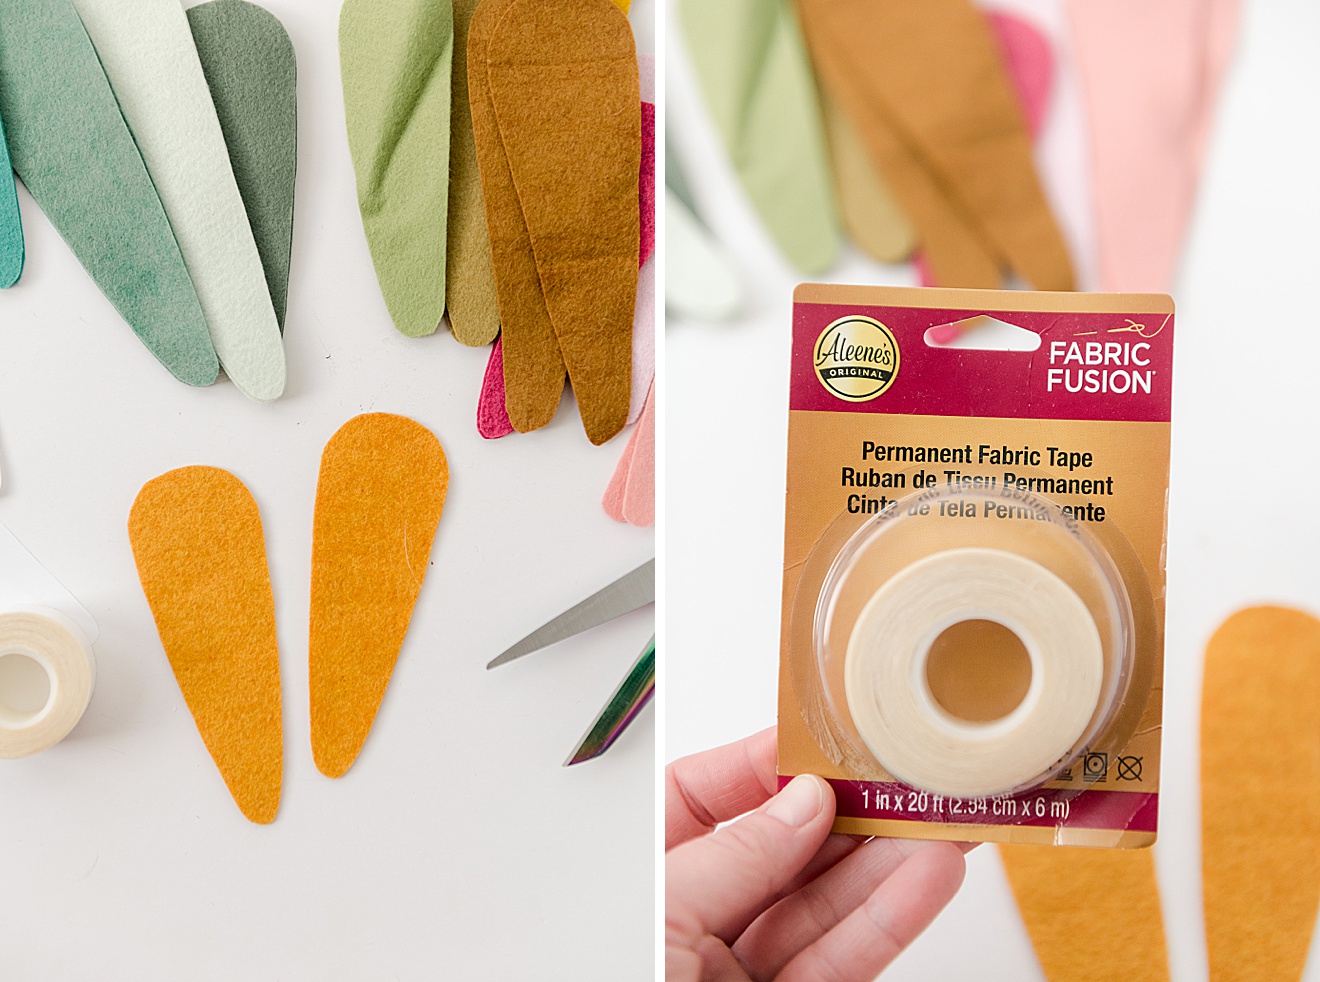
I got introduced to this Aleene’s Fabric Fusion tape when I made the shade structure for Norman pug on our deck last summer….and this colorful carrot project is just the ticket for another use of this wonderful permanent tape! ANNNND it pairs SOOO well with felt (like you can pull on your carrot ends and this won’t come apart!)
Of course you CANNNNN sew these carrots using this pattern but it would require clipping edges and turning corners and just more work, so I am all in favor this method because its way faster and involves WAY less work (IMO anyway) 🙂
MATERIALS:
- A roll (or 2 if you plan to make LOTS) of Aleene’s Fabric Fusion permanent fabric tape
- Felt in various colors (the more color the merrier in my opinion) 🙂
- A sharp pair of scissors
- Poly-fill or cotton balls or fluff of any kind
- The carrot template (DOWNLOAD HERE)
- optional dried lavender or other scent to make this a beautifully smelling carrot sachet 🙂
INSTRUCTIONS:
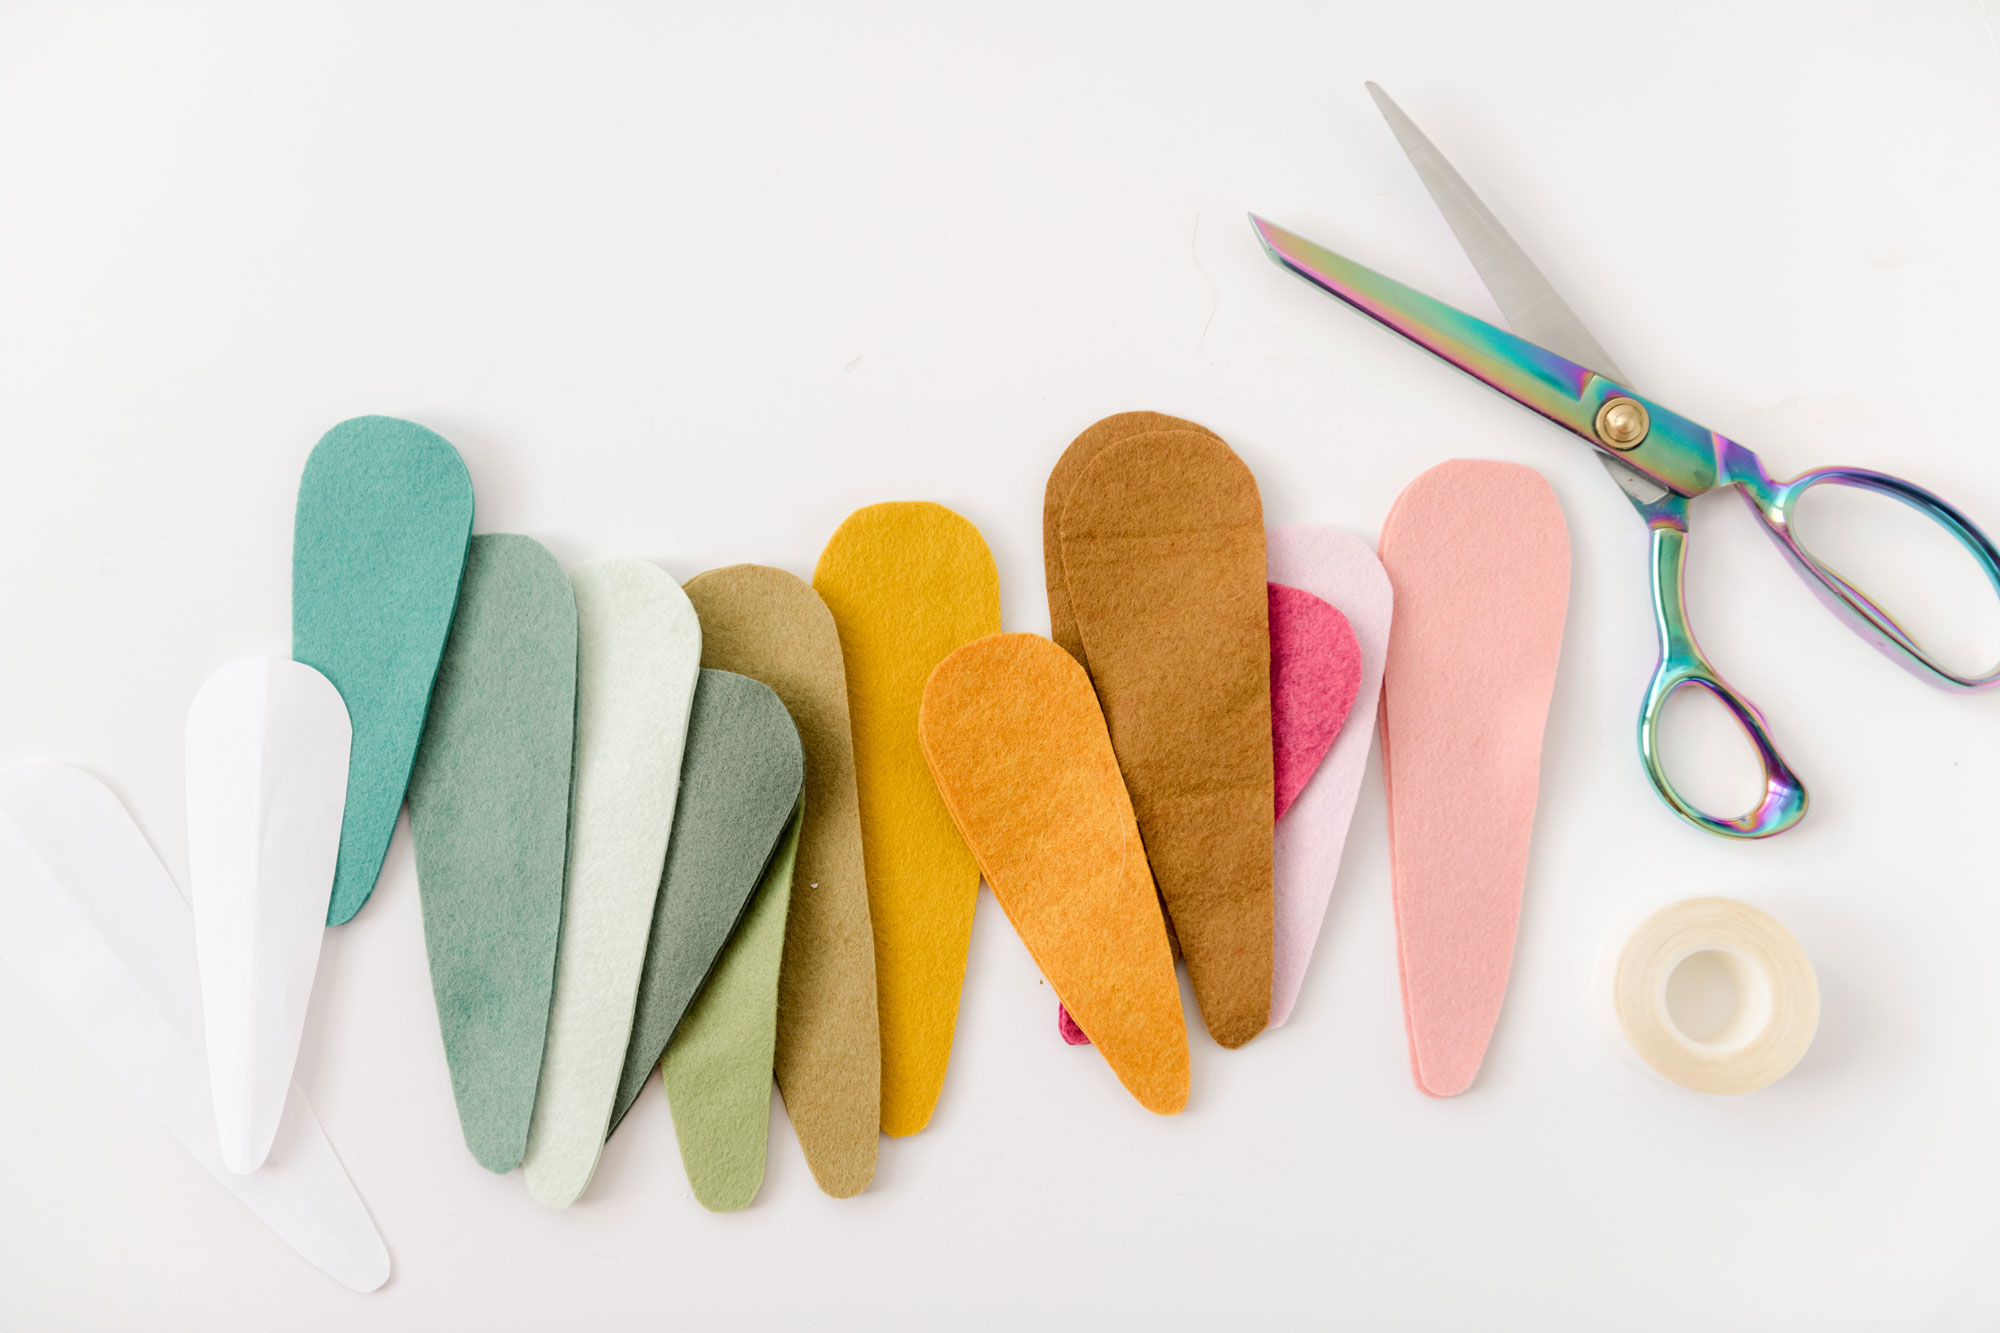
1. Pick your felt colors and lay them out to begin pairing the main carrot color with the top greenery (just to start getting your creative juices flowing and the excitement building) 🙂
2. Cut out your carrots from the carrot template PDF – you will want 2 of each color to make one carrot (a front and back essentially). You will then cut out your top greenery – do this by cutting out 2 pieces of felt that are 3” x 5”.You will then want to cut small long slits along the 5” side in the greenery tops to make the flowing strands. Be sure to leave about I inch at the bottom of each greenery piece uncut so that we can add tape and adhere to the carrot.

note: my slits were as small as I could make them – about 1/8” (or even a tiny bit smaller)
3. Begin taping the carrot together!
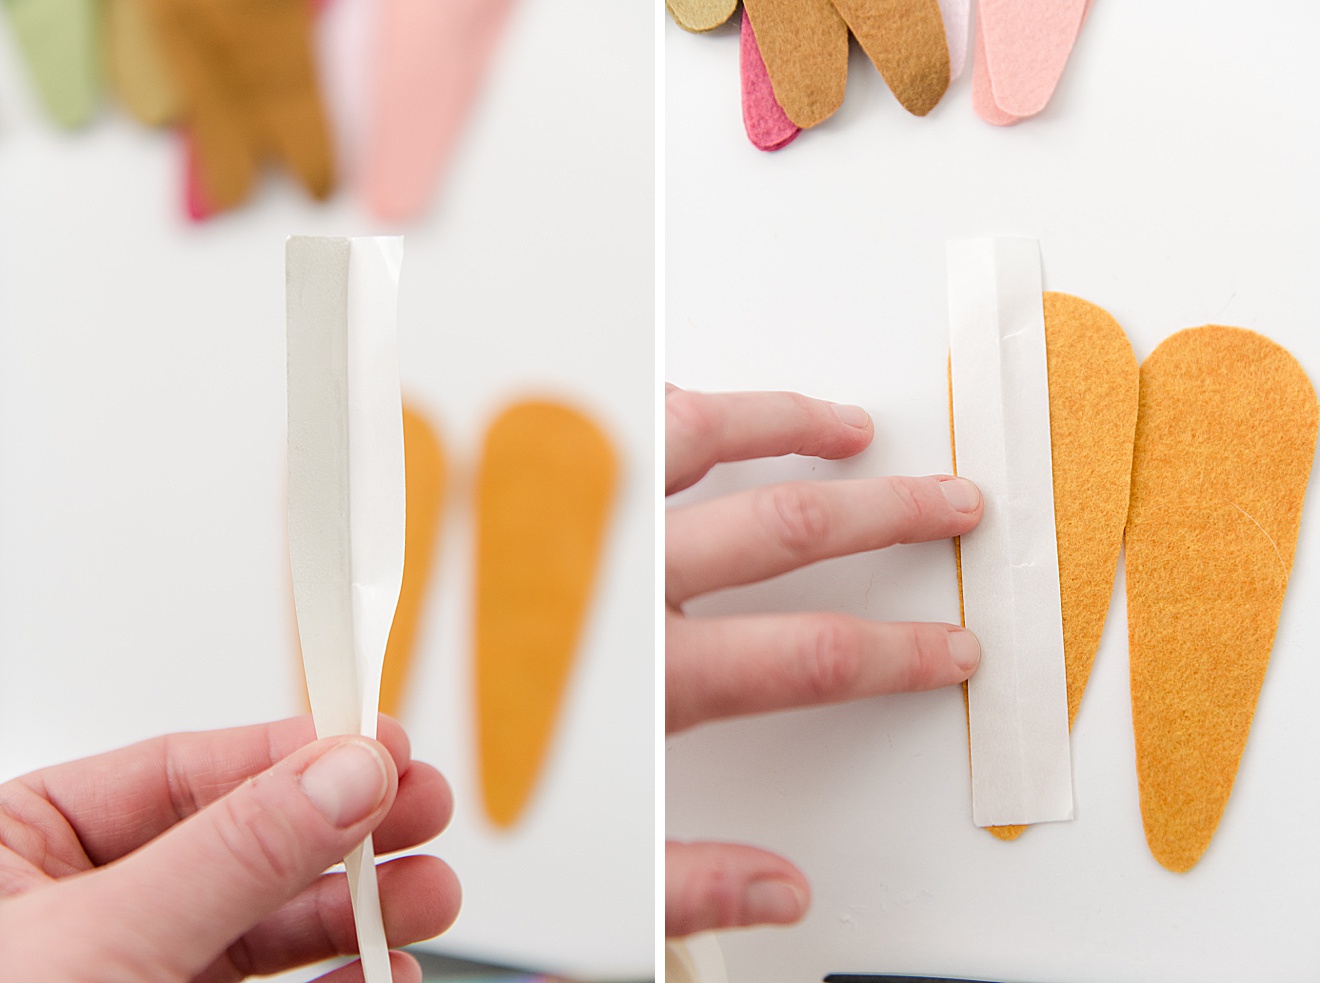
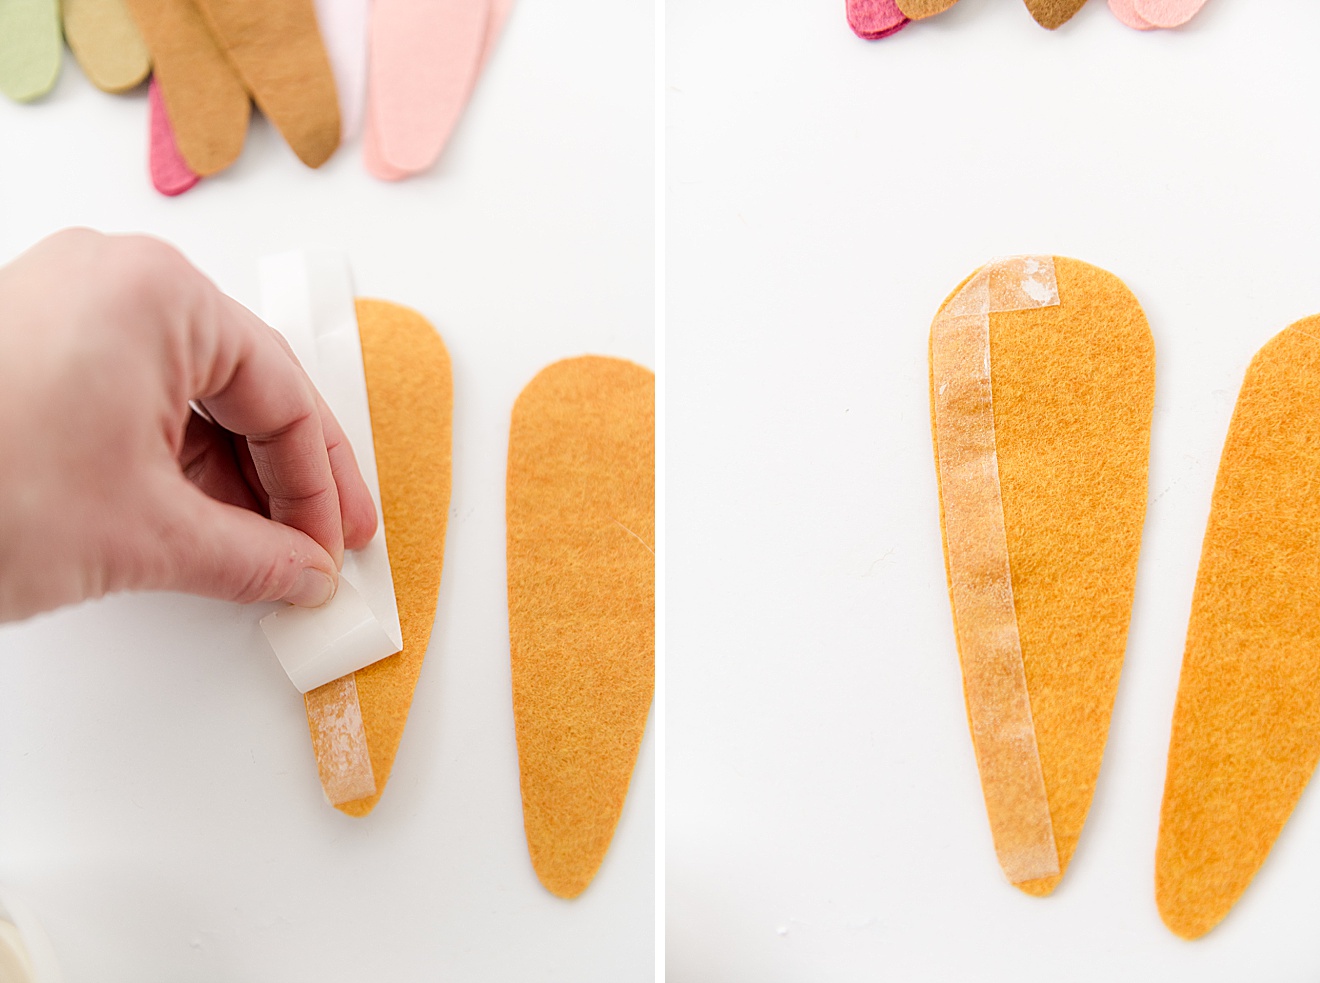
Do this by measuring a piece of your Fabric Fusion tape the lengthwise of the carrot (be sure to go from tip to the top of the carrot including the curve, not just the long straight side) . Cut. Then fold the tape together lengthwise, sticky side together. Your tape will now be long and skinny.
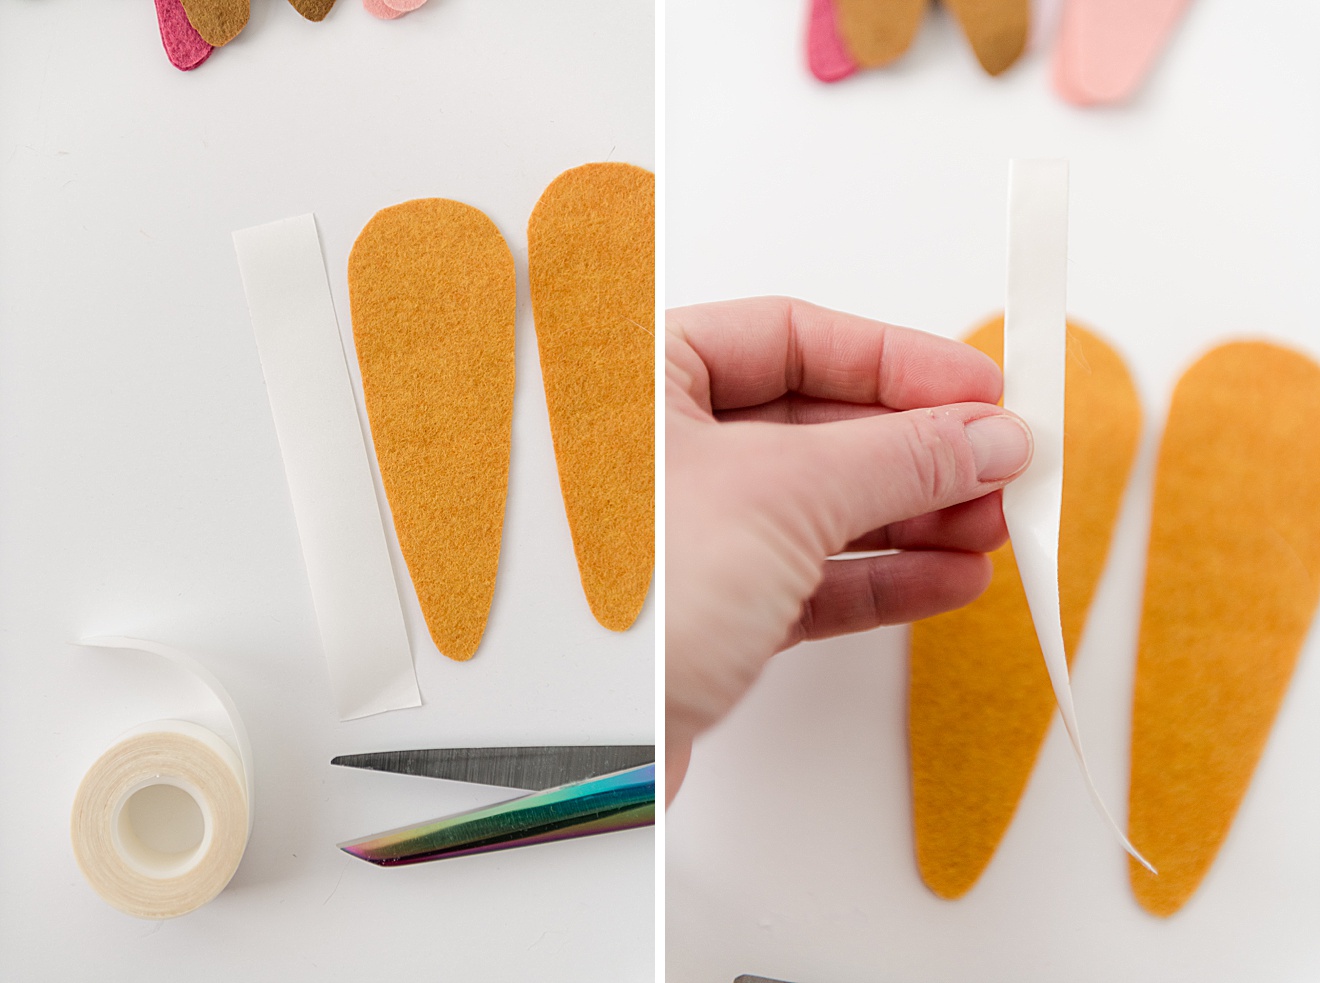
Begin peeling off ONLY ONE SIDE of the paper very carefully. Stick this along the long straight side, inside of the carrot along the edge as flush as you can. (your curved part of the carrot won’t have tape on it quite yet). Then carefully peel away the remainder of the other side of the paper off the fabric fusion tape and fold (about 45 degrees-ish) to follow the curved part of the carrot and end the sticky tape near the top, leaving an opening for the greenery 🙂

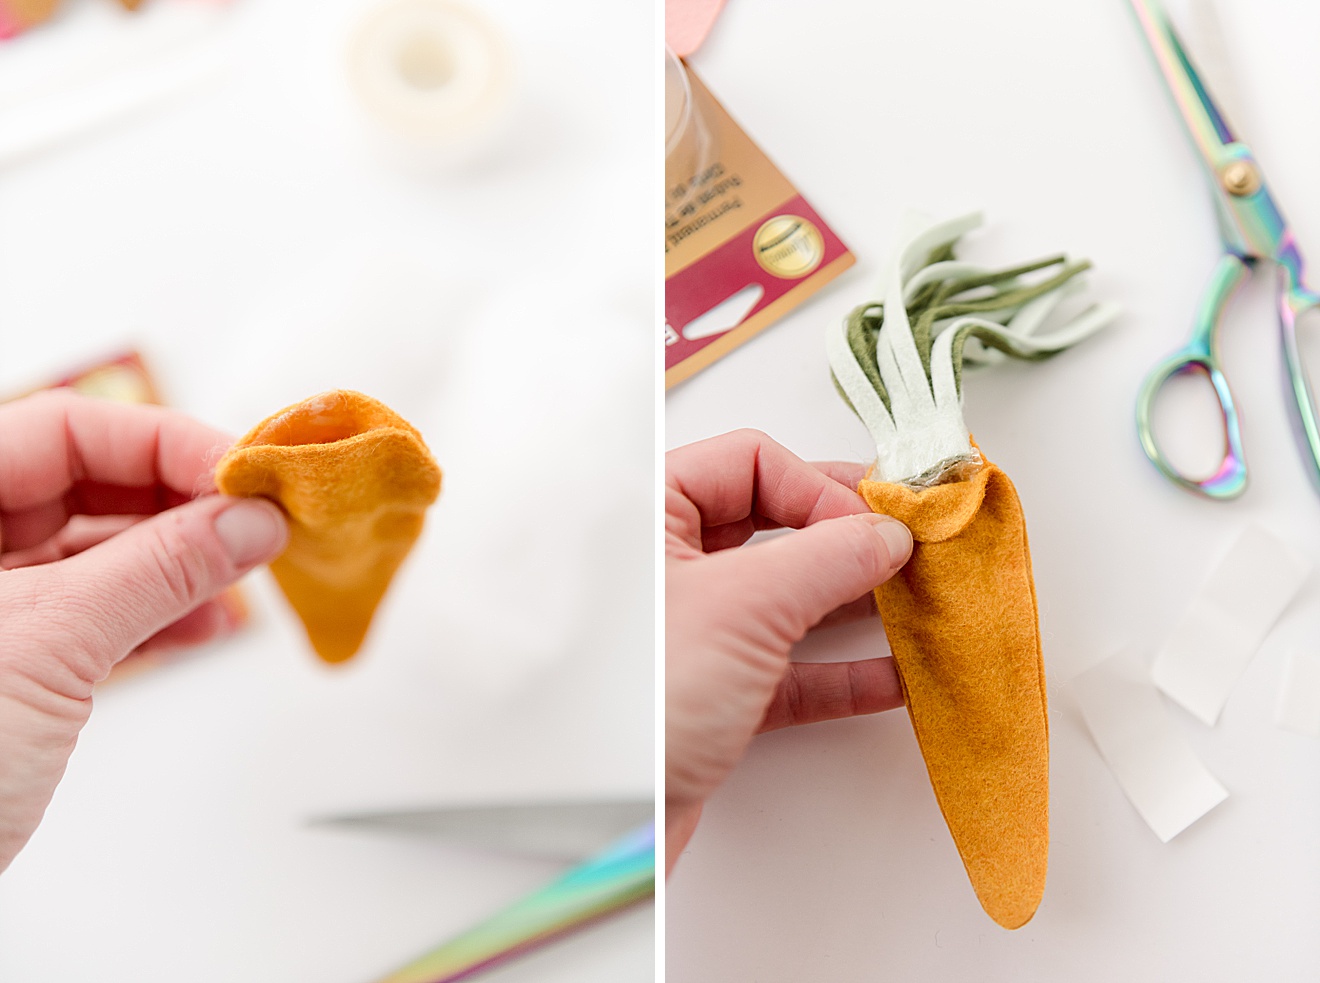
4. Place your 2 carrots wrong sides together (with the sticky exposed fusion tape on the inside) and stick one length of the carrot down to one another. Carefully fill with some polyfil when the carrot is about 3/4 of the way closed, but before you close it completely on both sides. Then press the edges together on the long sides to tack completely shut 🙂
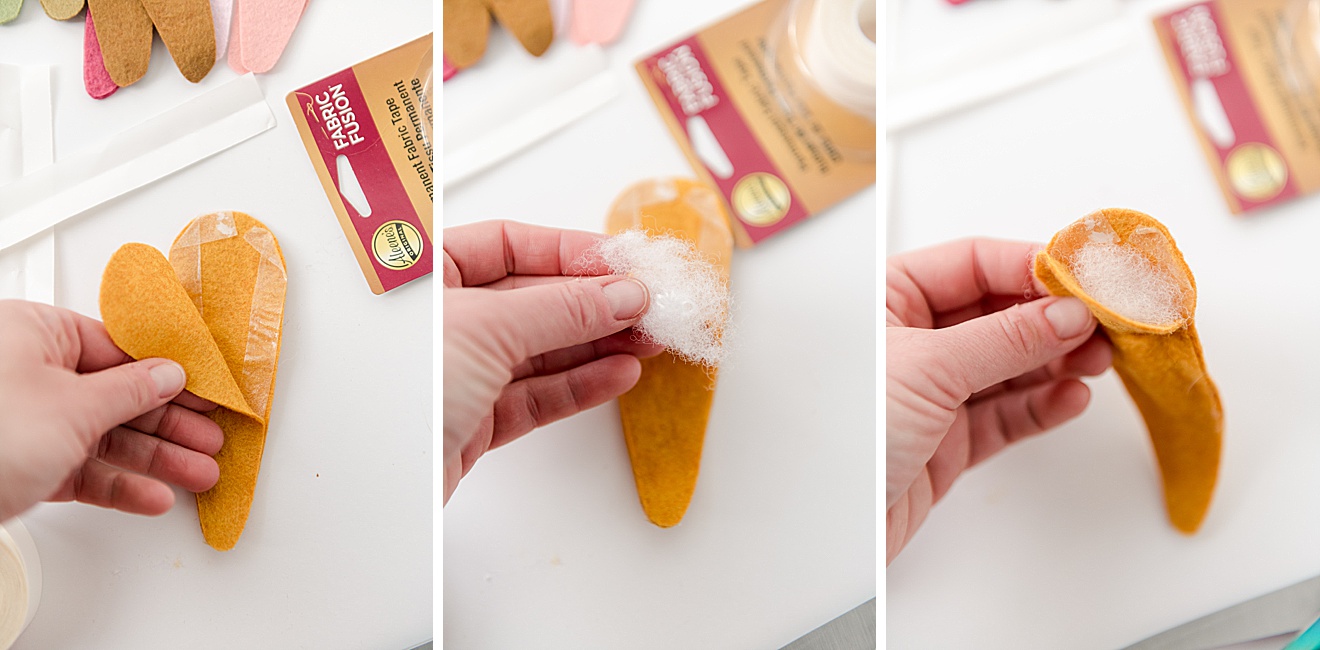
note: be so so SO sure not to get your polyfil or fluff stuck to the fusion tape – it’s not the end of the world if you do, BUUUT the fusion tape is so sticky that the fluff is so hard to get off of the tape! HAAA 🙂
5. Tape + prep your greenery! Layer your 2 carrot top colors on top of one another and add a piece of fusion tape between the layers at the bottom uncut portion. Then cut another piece of fusion tape 1/2 the length of the bottom, uncut part. Stick it to the left side and then fold the greenery in 1/2 at the bottom. Repeat this one more time so that the bottom of the greenery is folded 2 times over – this will create a “ball” of greenery top that is all fluffy and cute on top 🙂
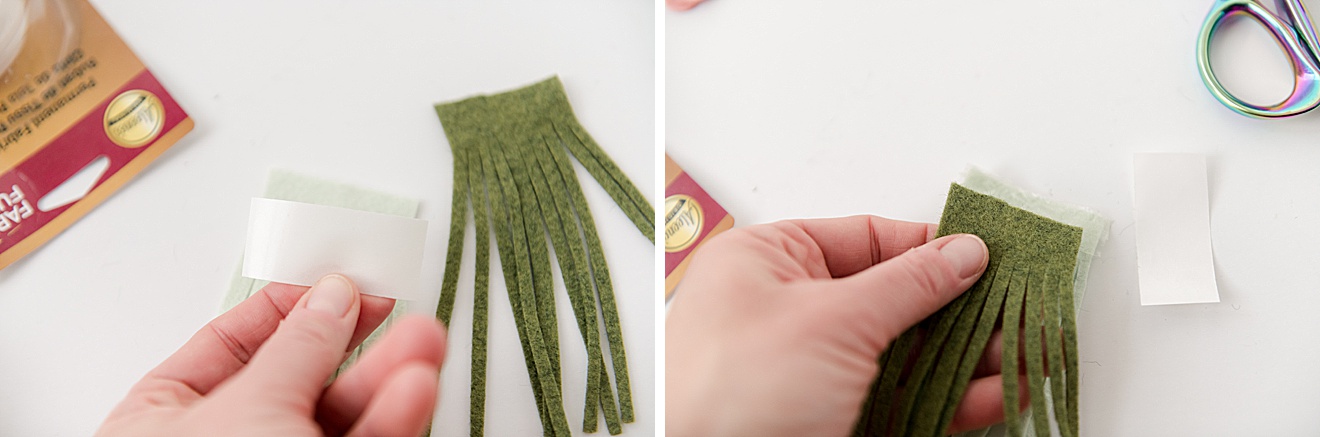
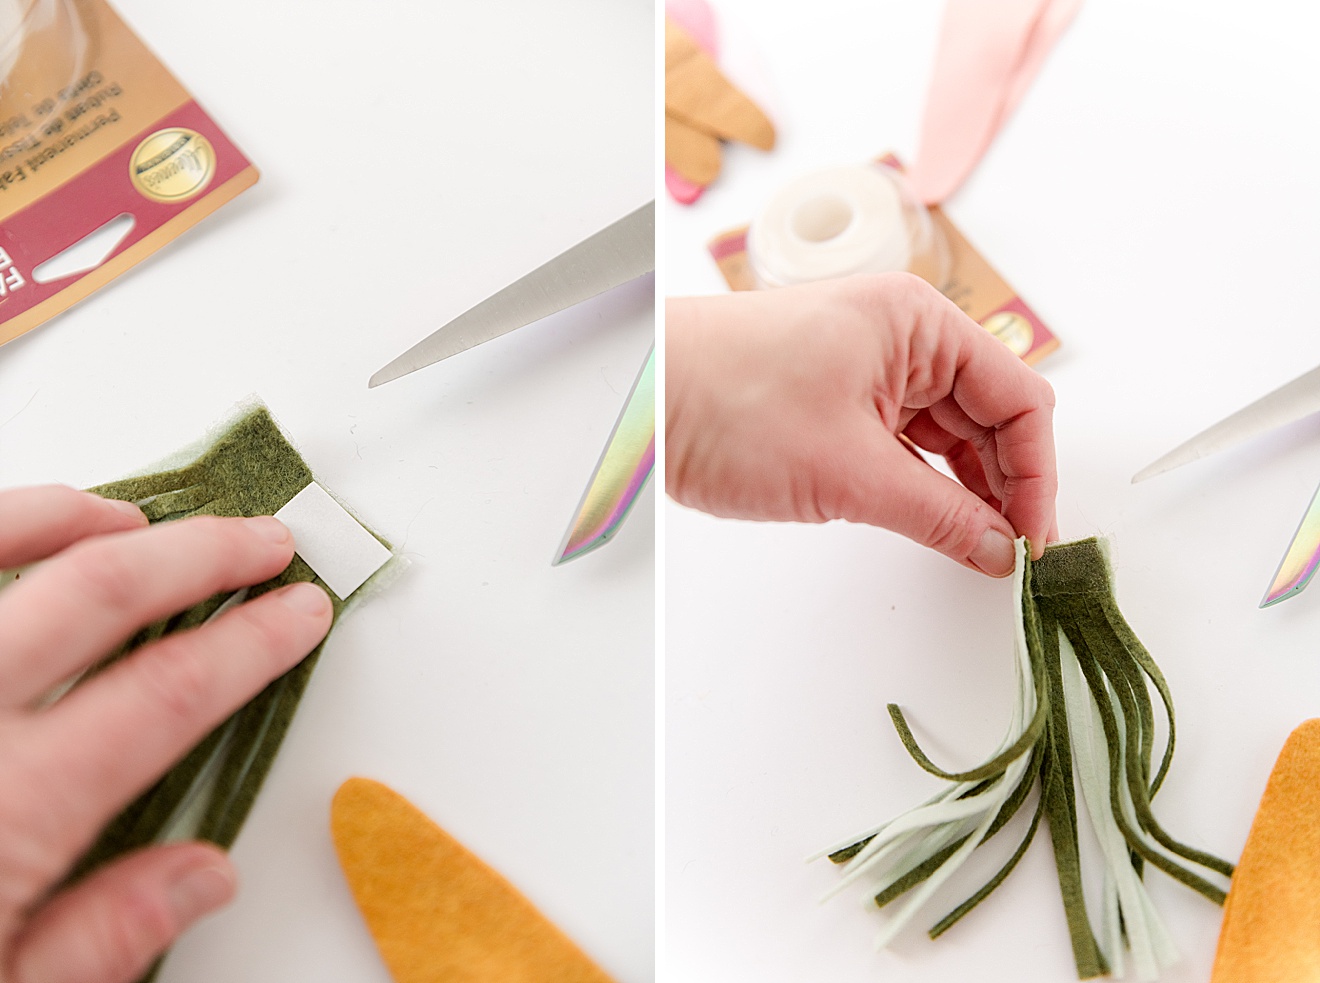
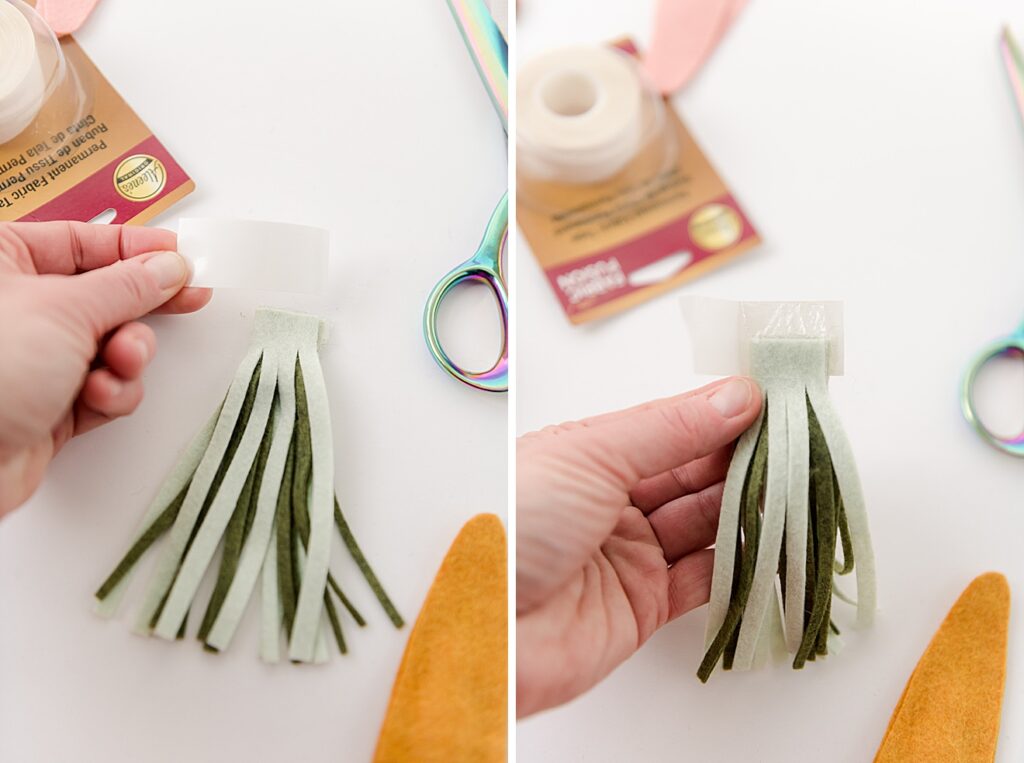
The cut one last piece of fusion tape that will wrap around the front and back of the bottom uncut part (follow the side of the for you just made) in prep to insert into the top of the carrot 🙂
6. Add the carrot greenery by peeling of the last of the paper backing of the greenery from stop 5 and inserting this piece into the top of the carrot. Use your fingers and finger press the greenery together and give one last press to the sides of the carrot. Fluff up the carrot as needed to finish it off and then display proudly!!!! 🙂
note: if you want to add some dried lavender or other scent, this is the time before you put the greenery on the top of the carrot 🙂
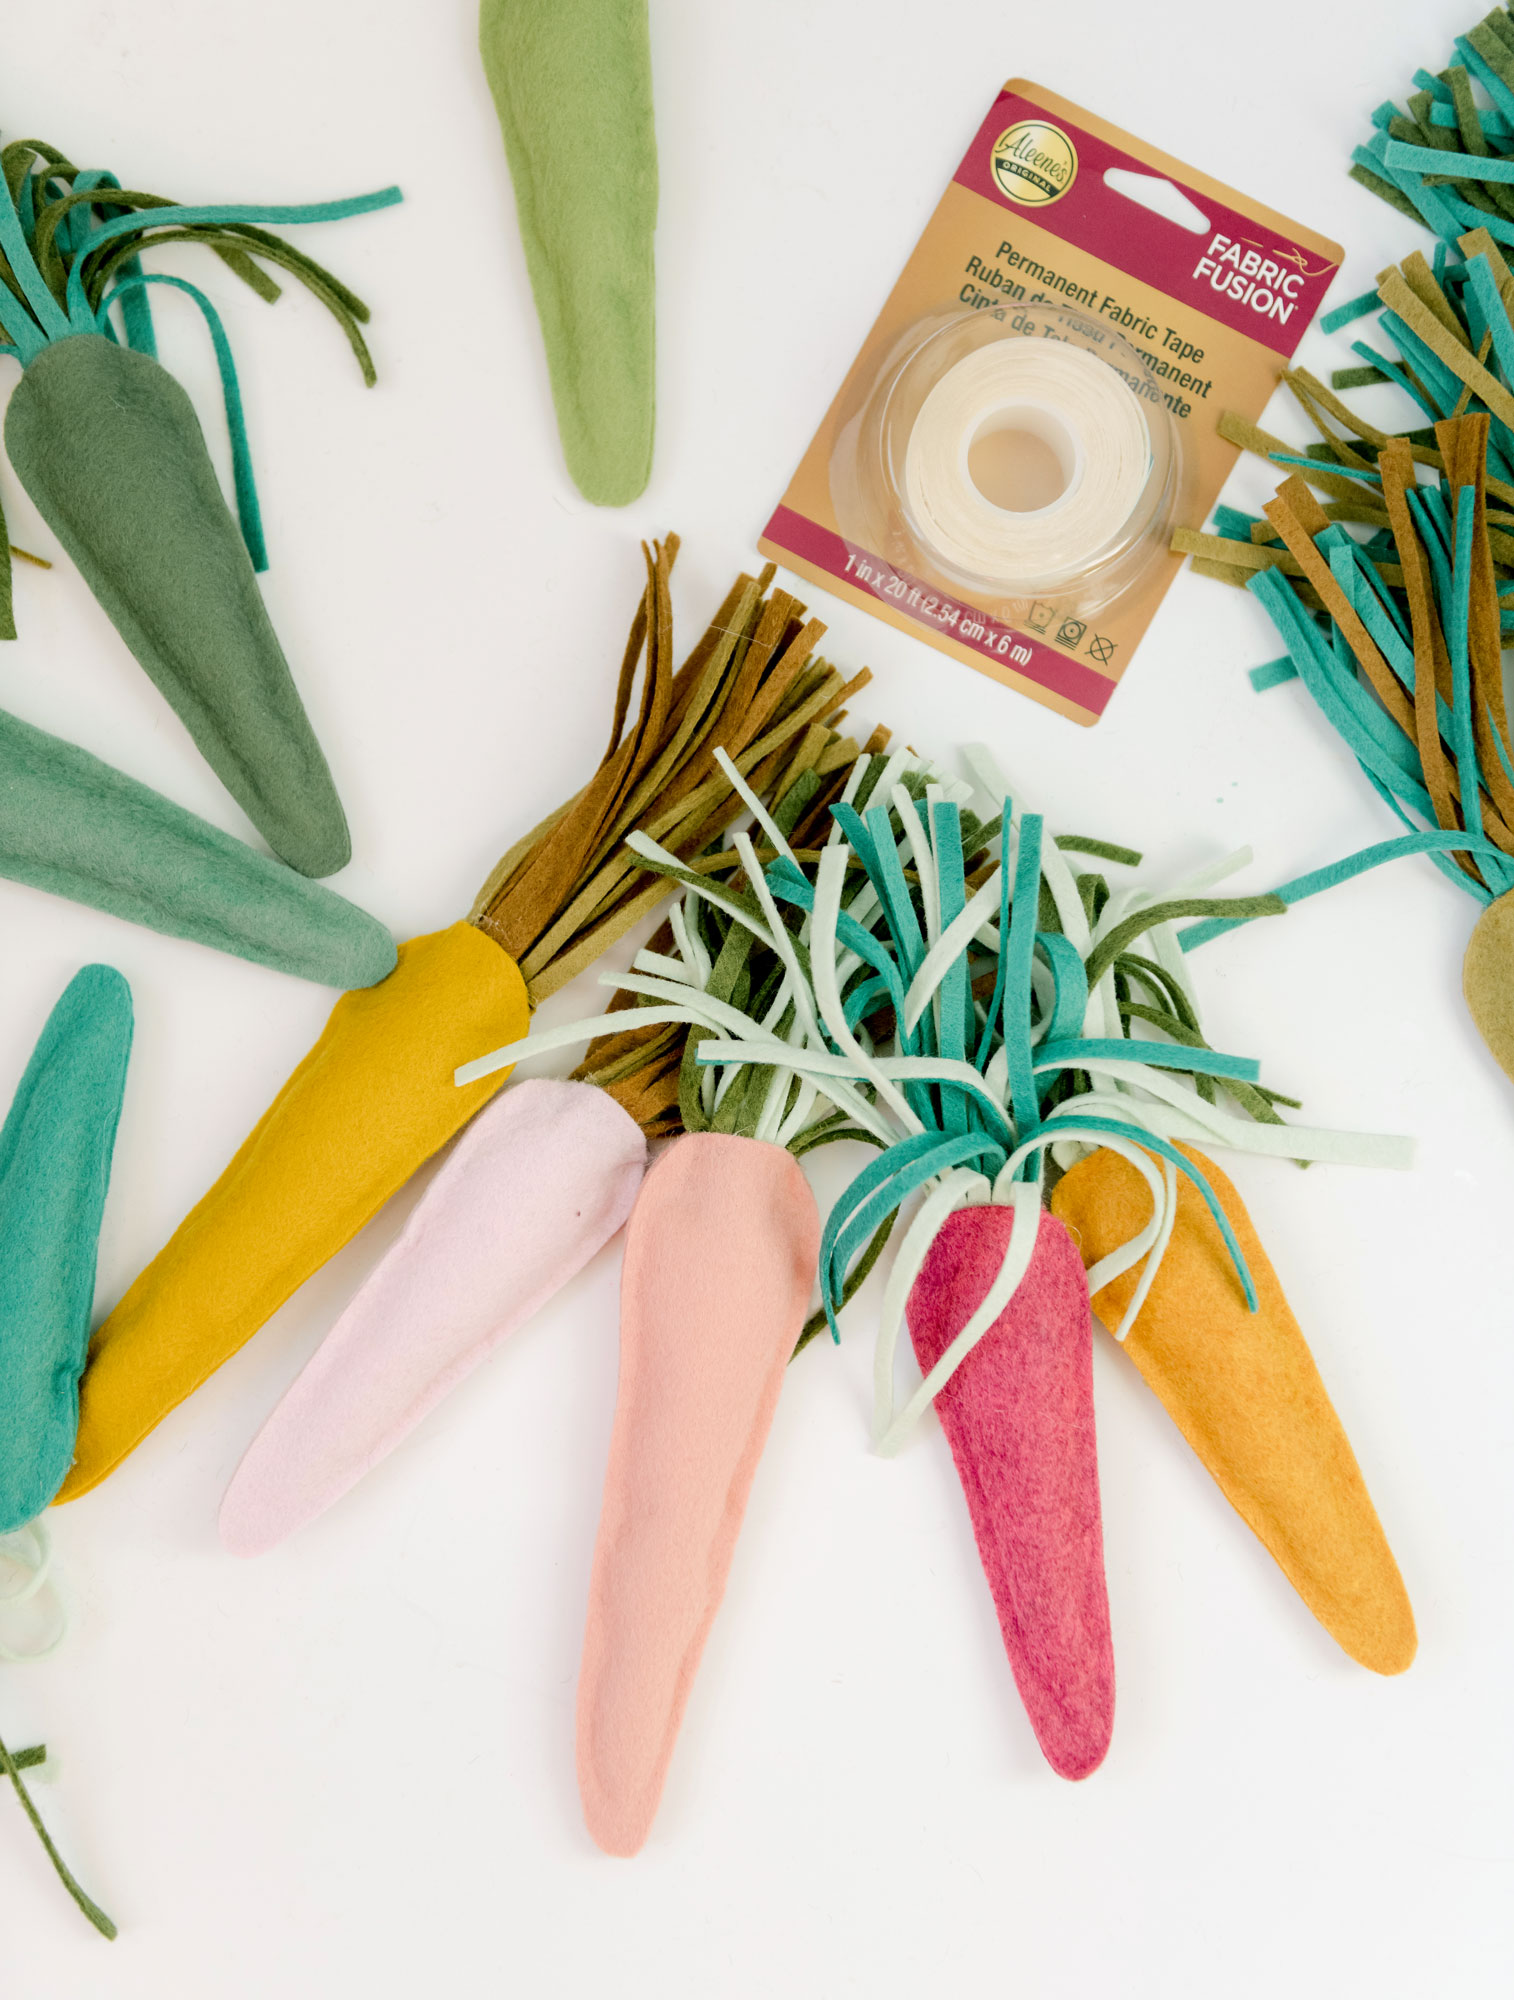
I meannnn, how cute are these colorful carrots! Something tells me that 1/2 of them will end up in my daughters play kitchen as part of her cooking and baking masterpieces! 🙂 But I will hang onto them and display them for as long as I can before they get kyped!!! 🙂


These are cute, but there’s no link for the pattern. 🙁
Thanks for letting me know Linda! All is fixed and the link is working again! 🙂 Have fun making!
You’re welcome! Thanks for fixing it.