How to make Princess Plushies
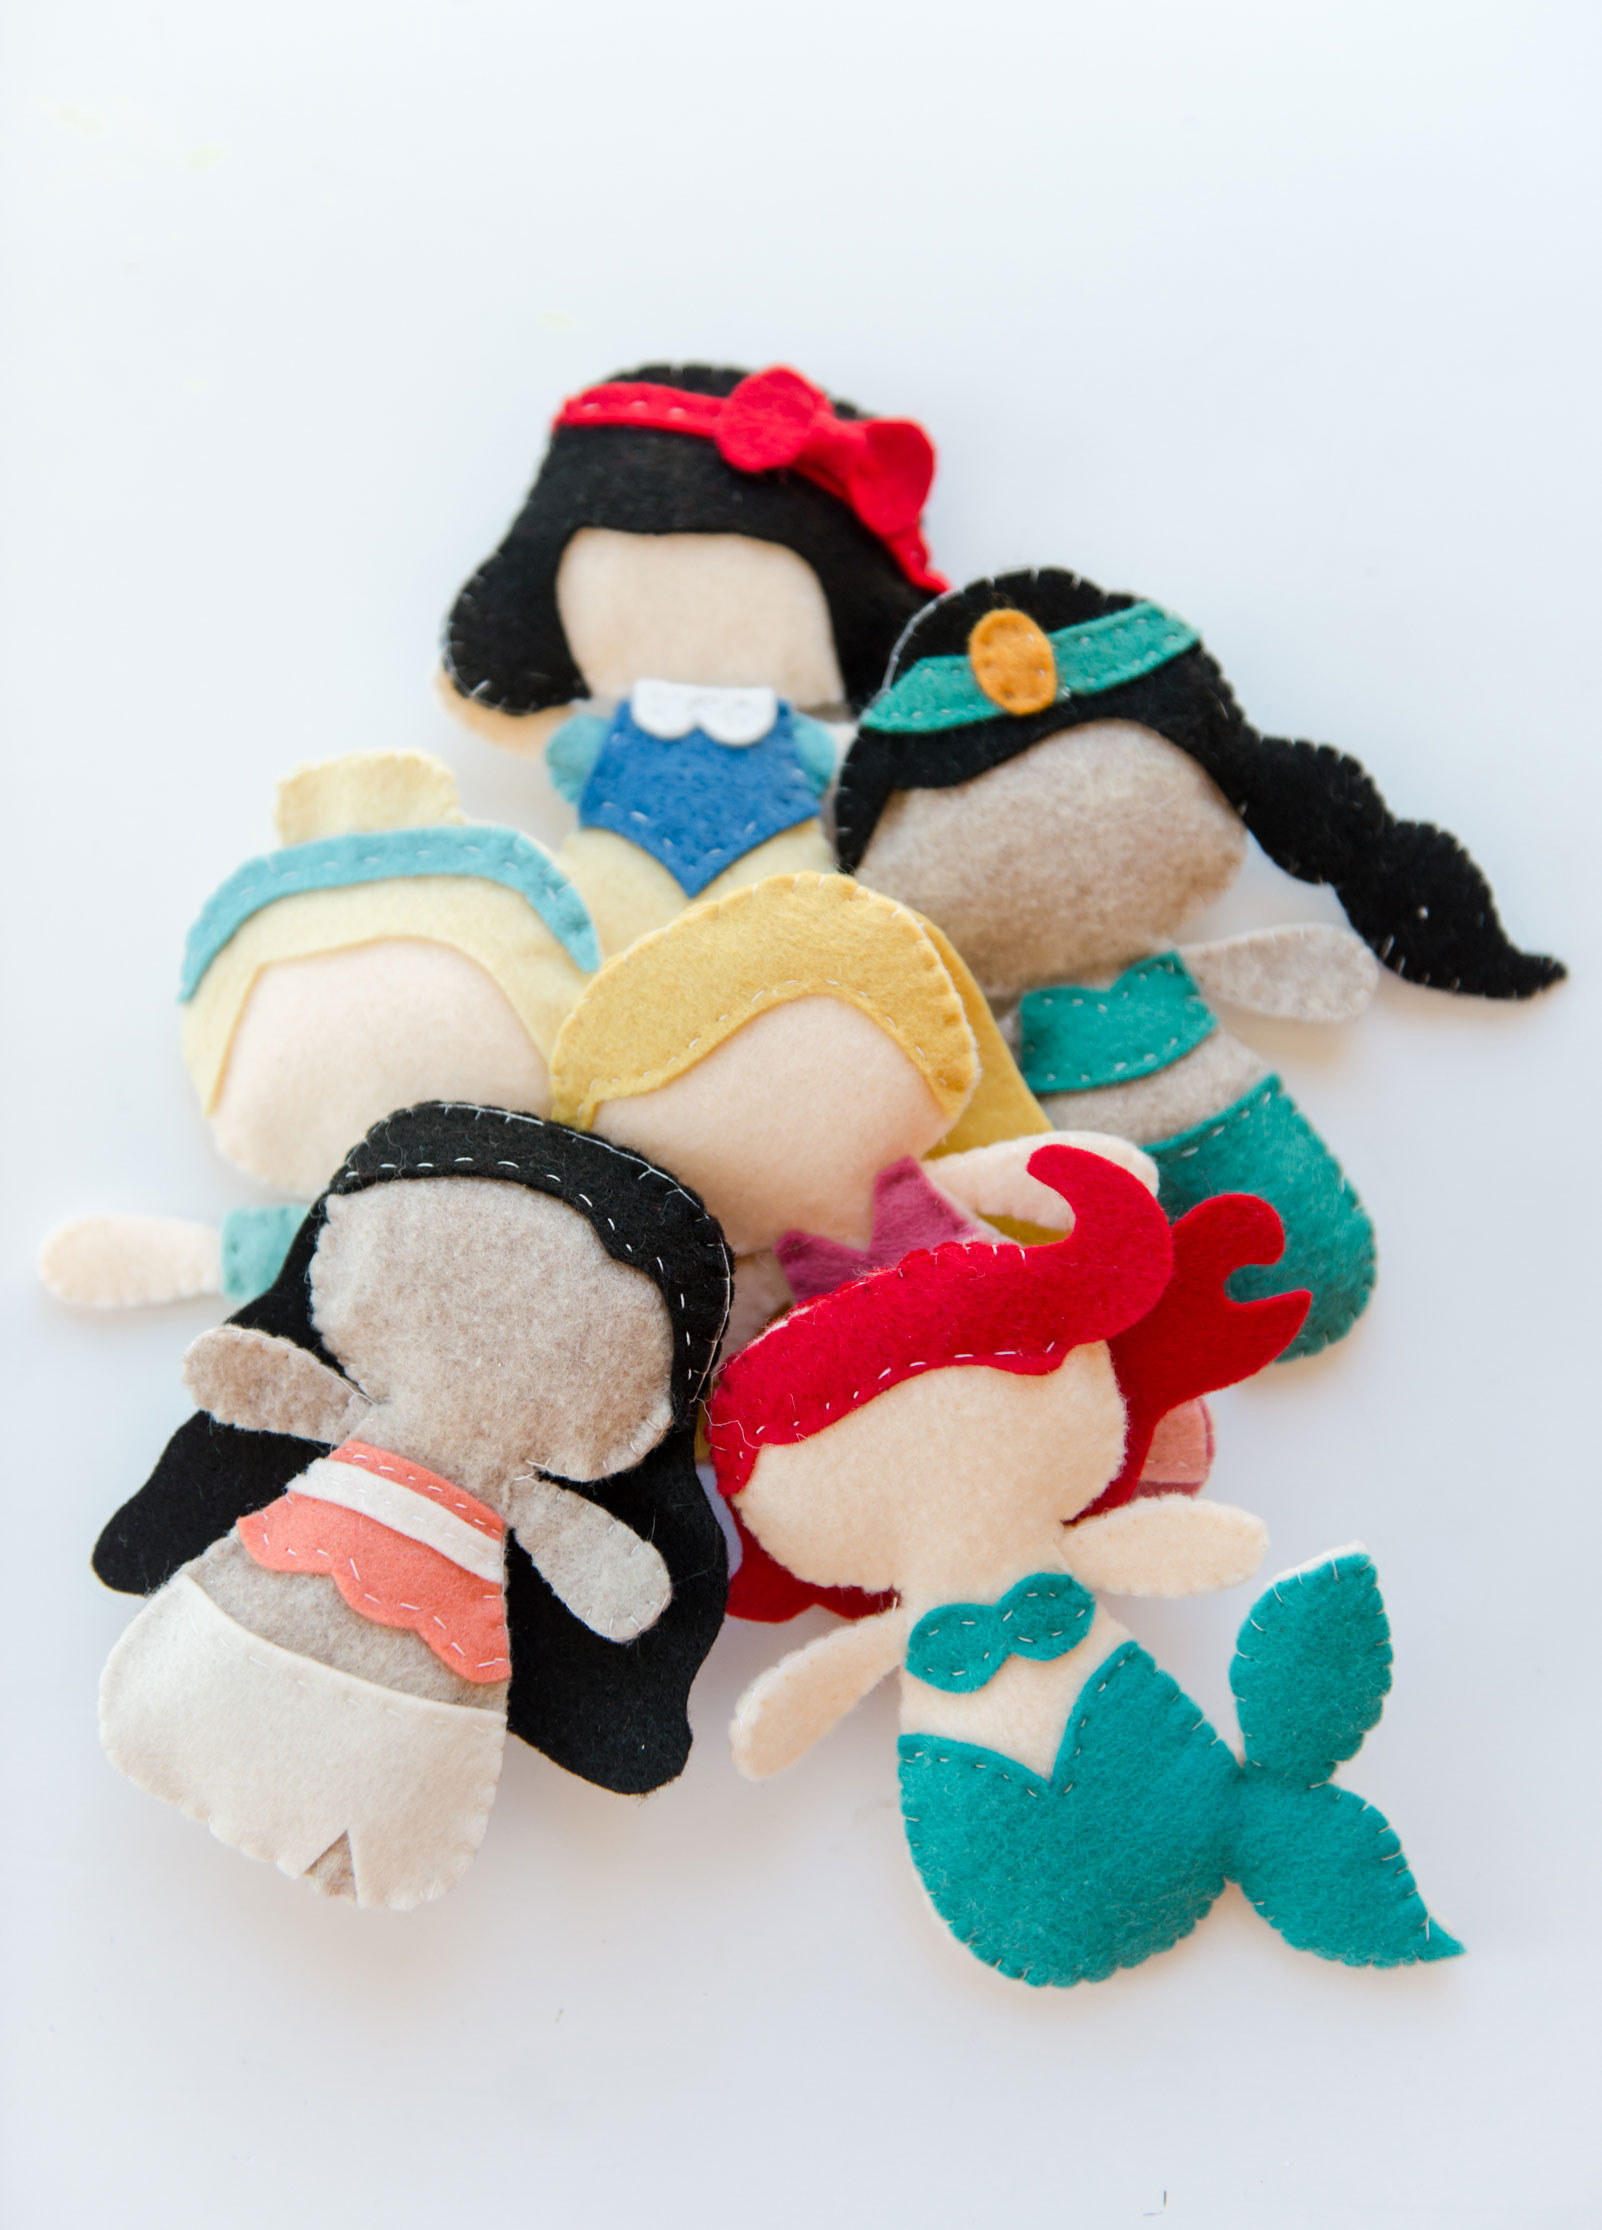
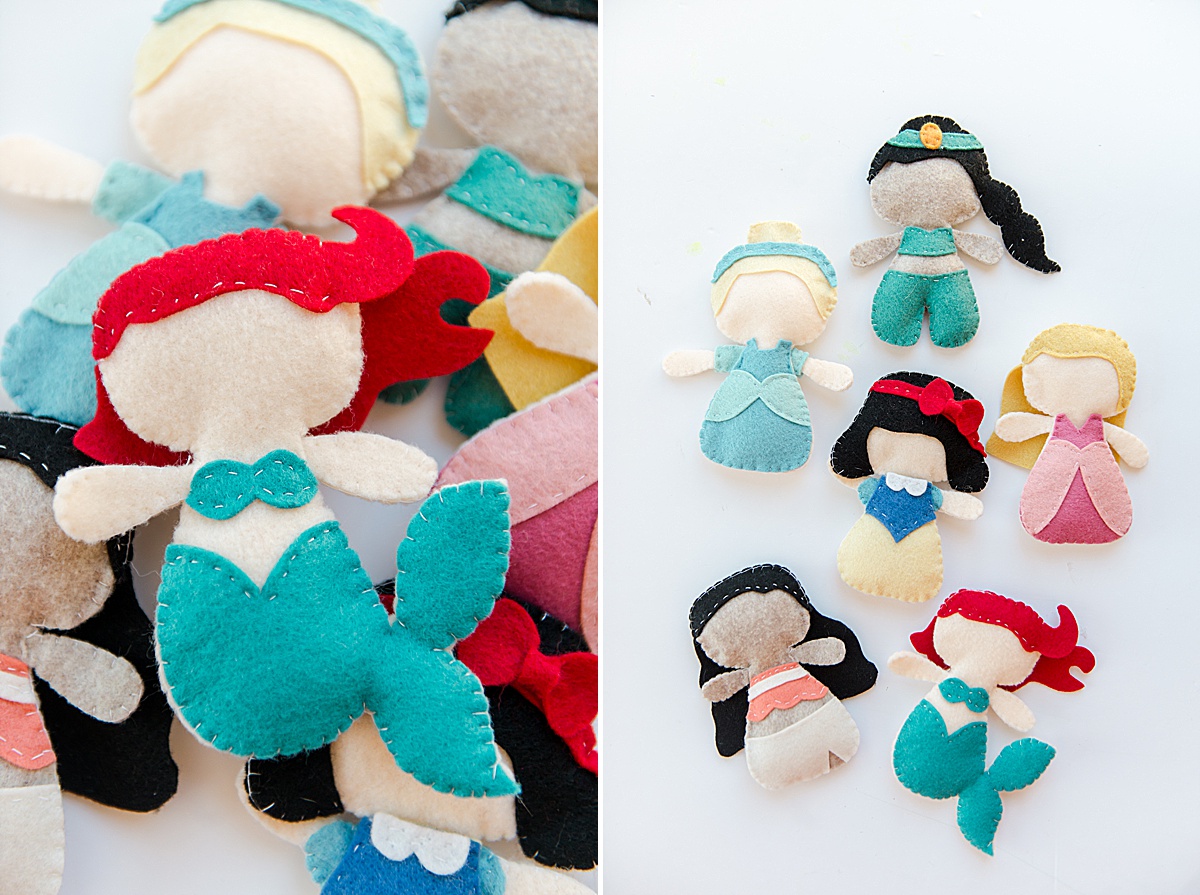
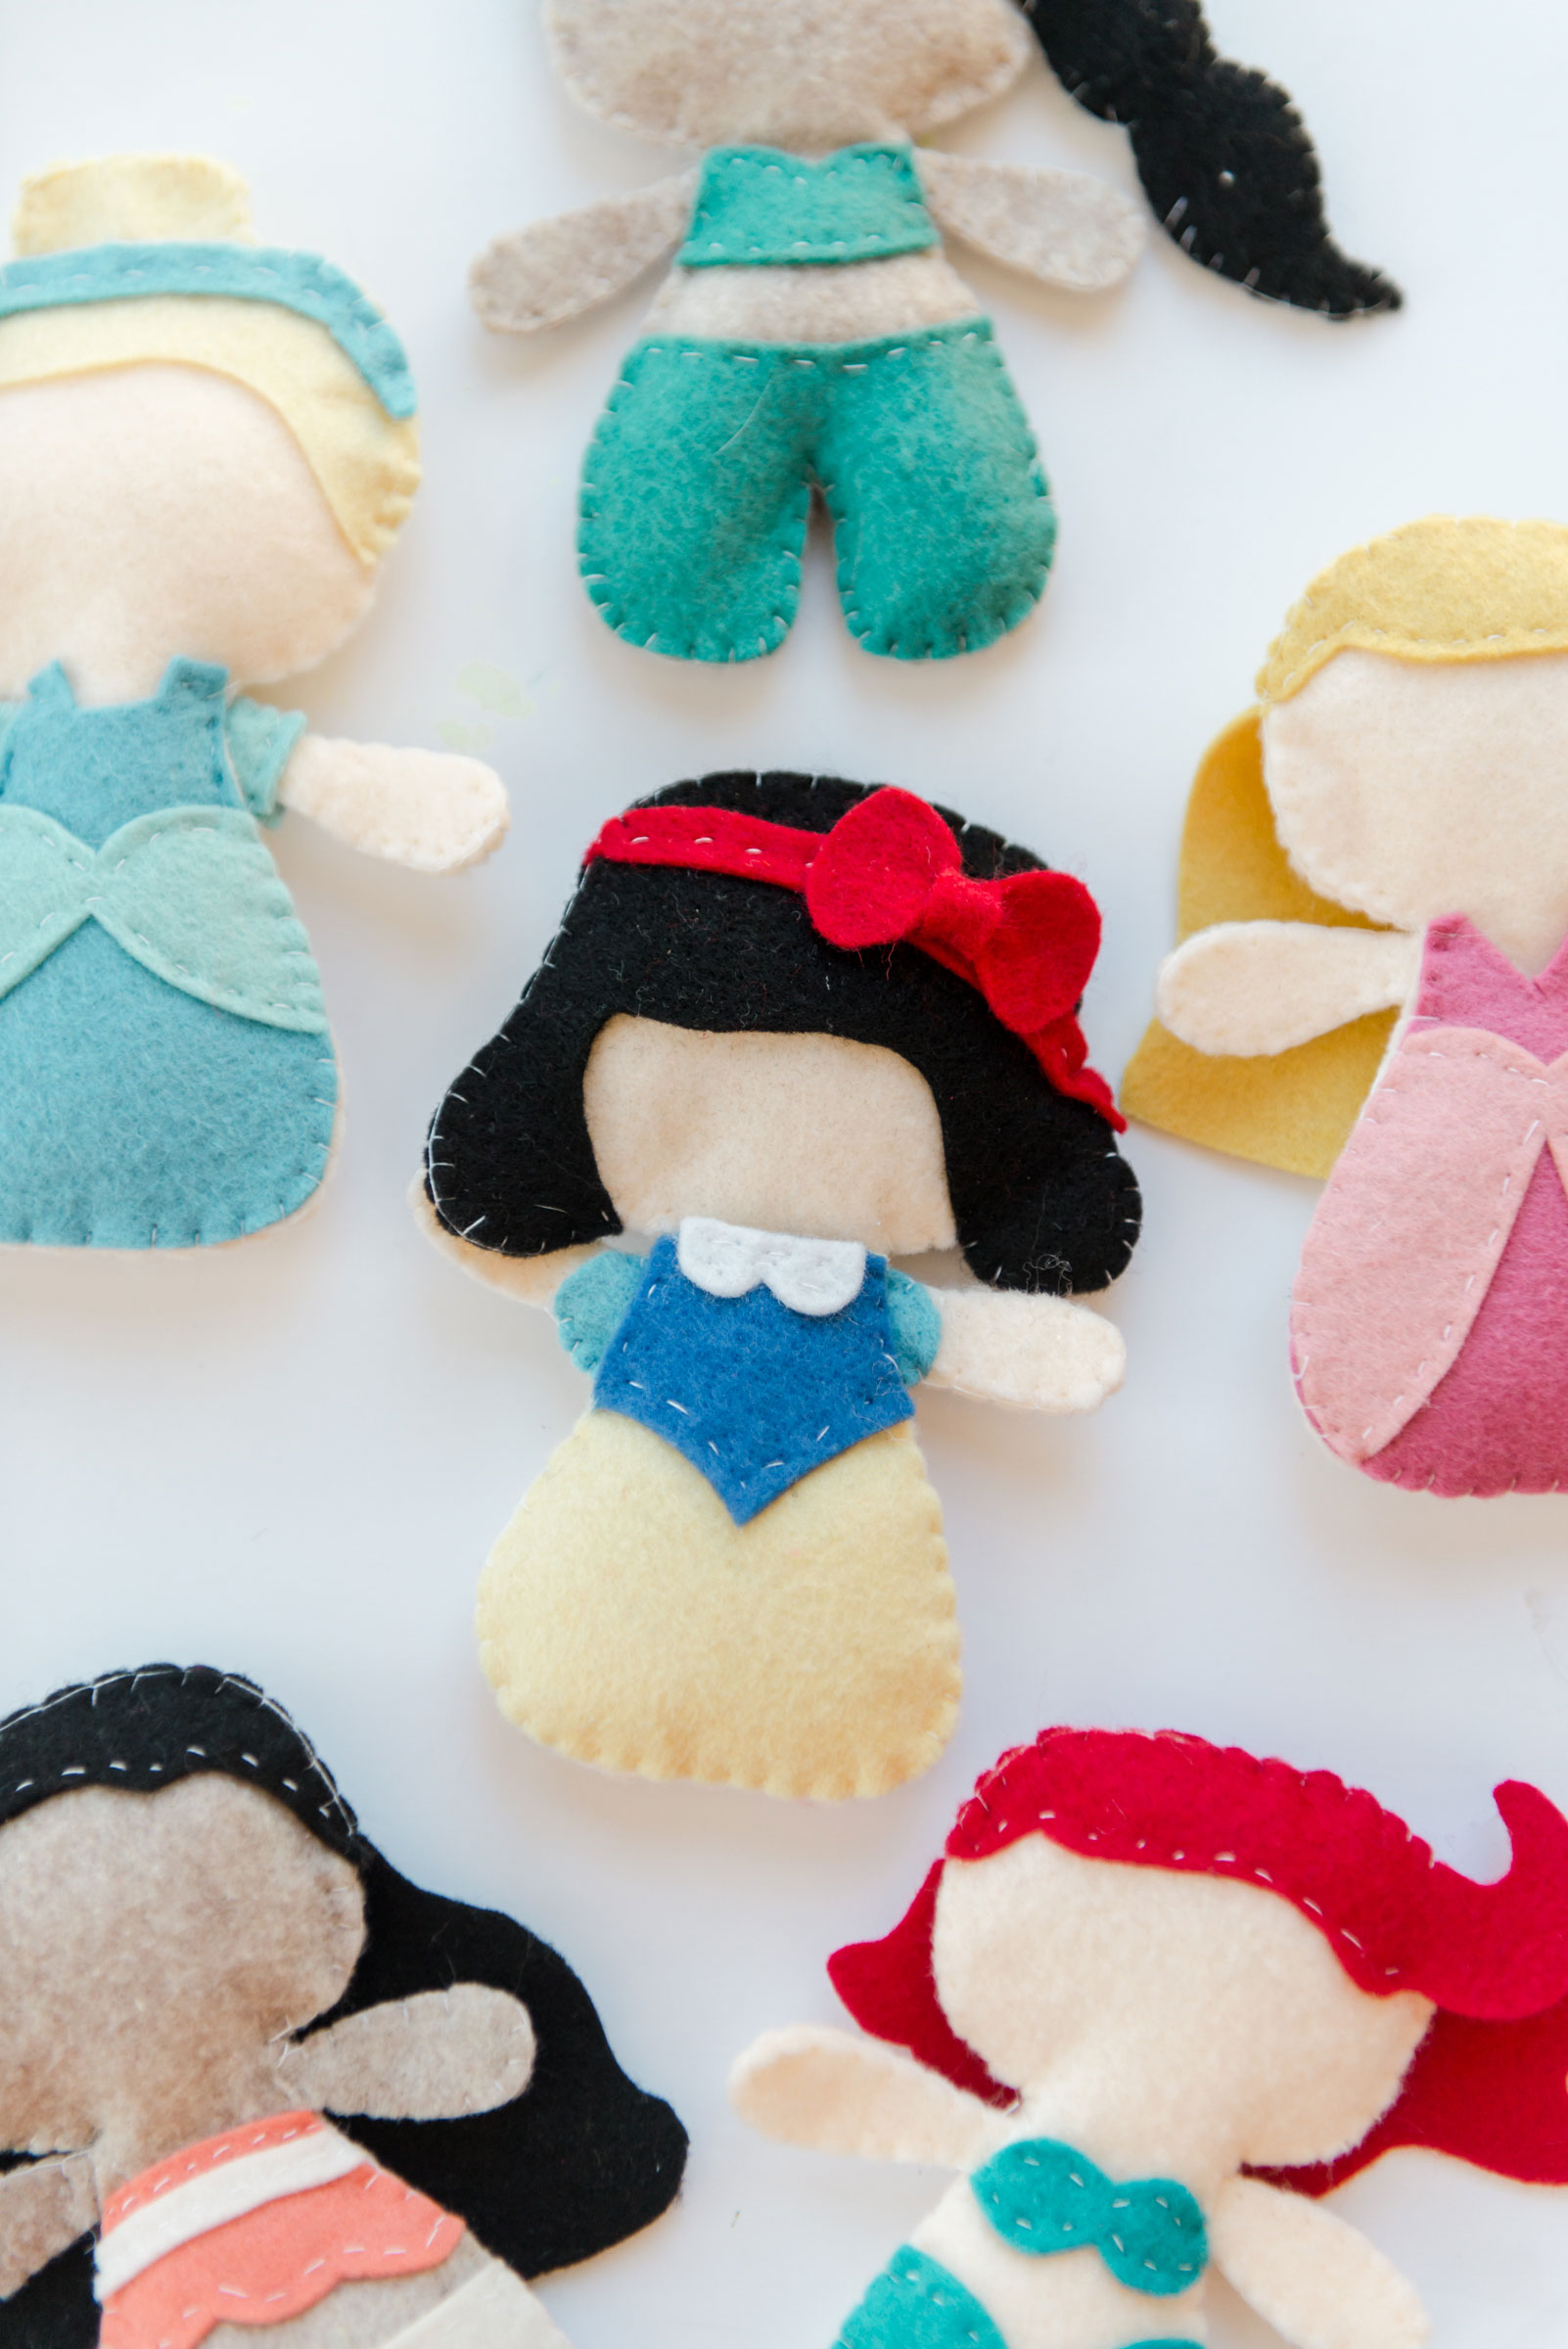
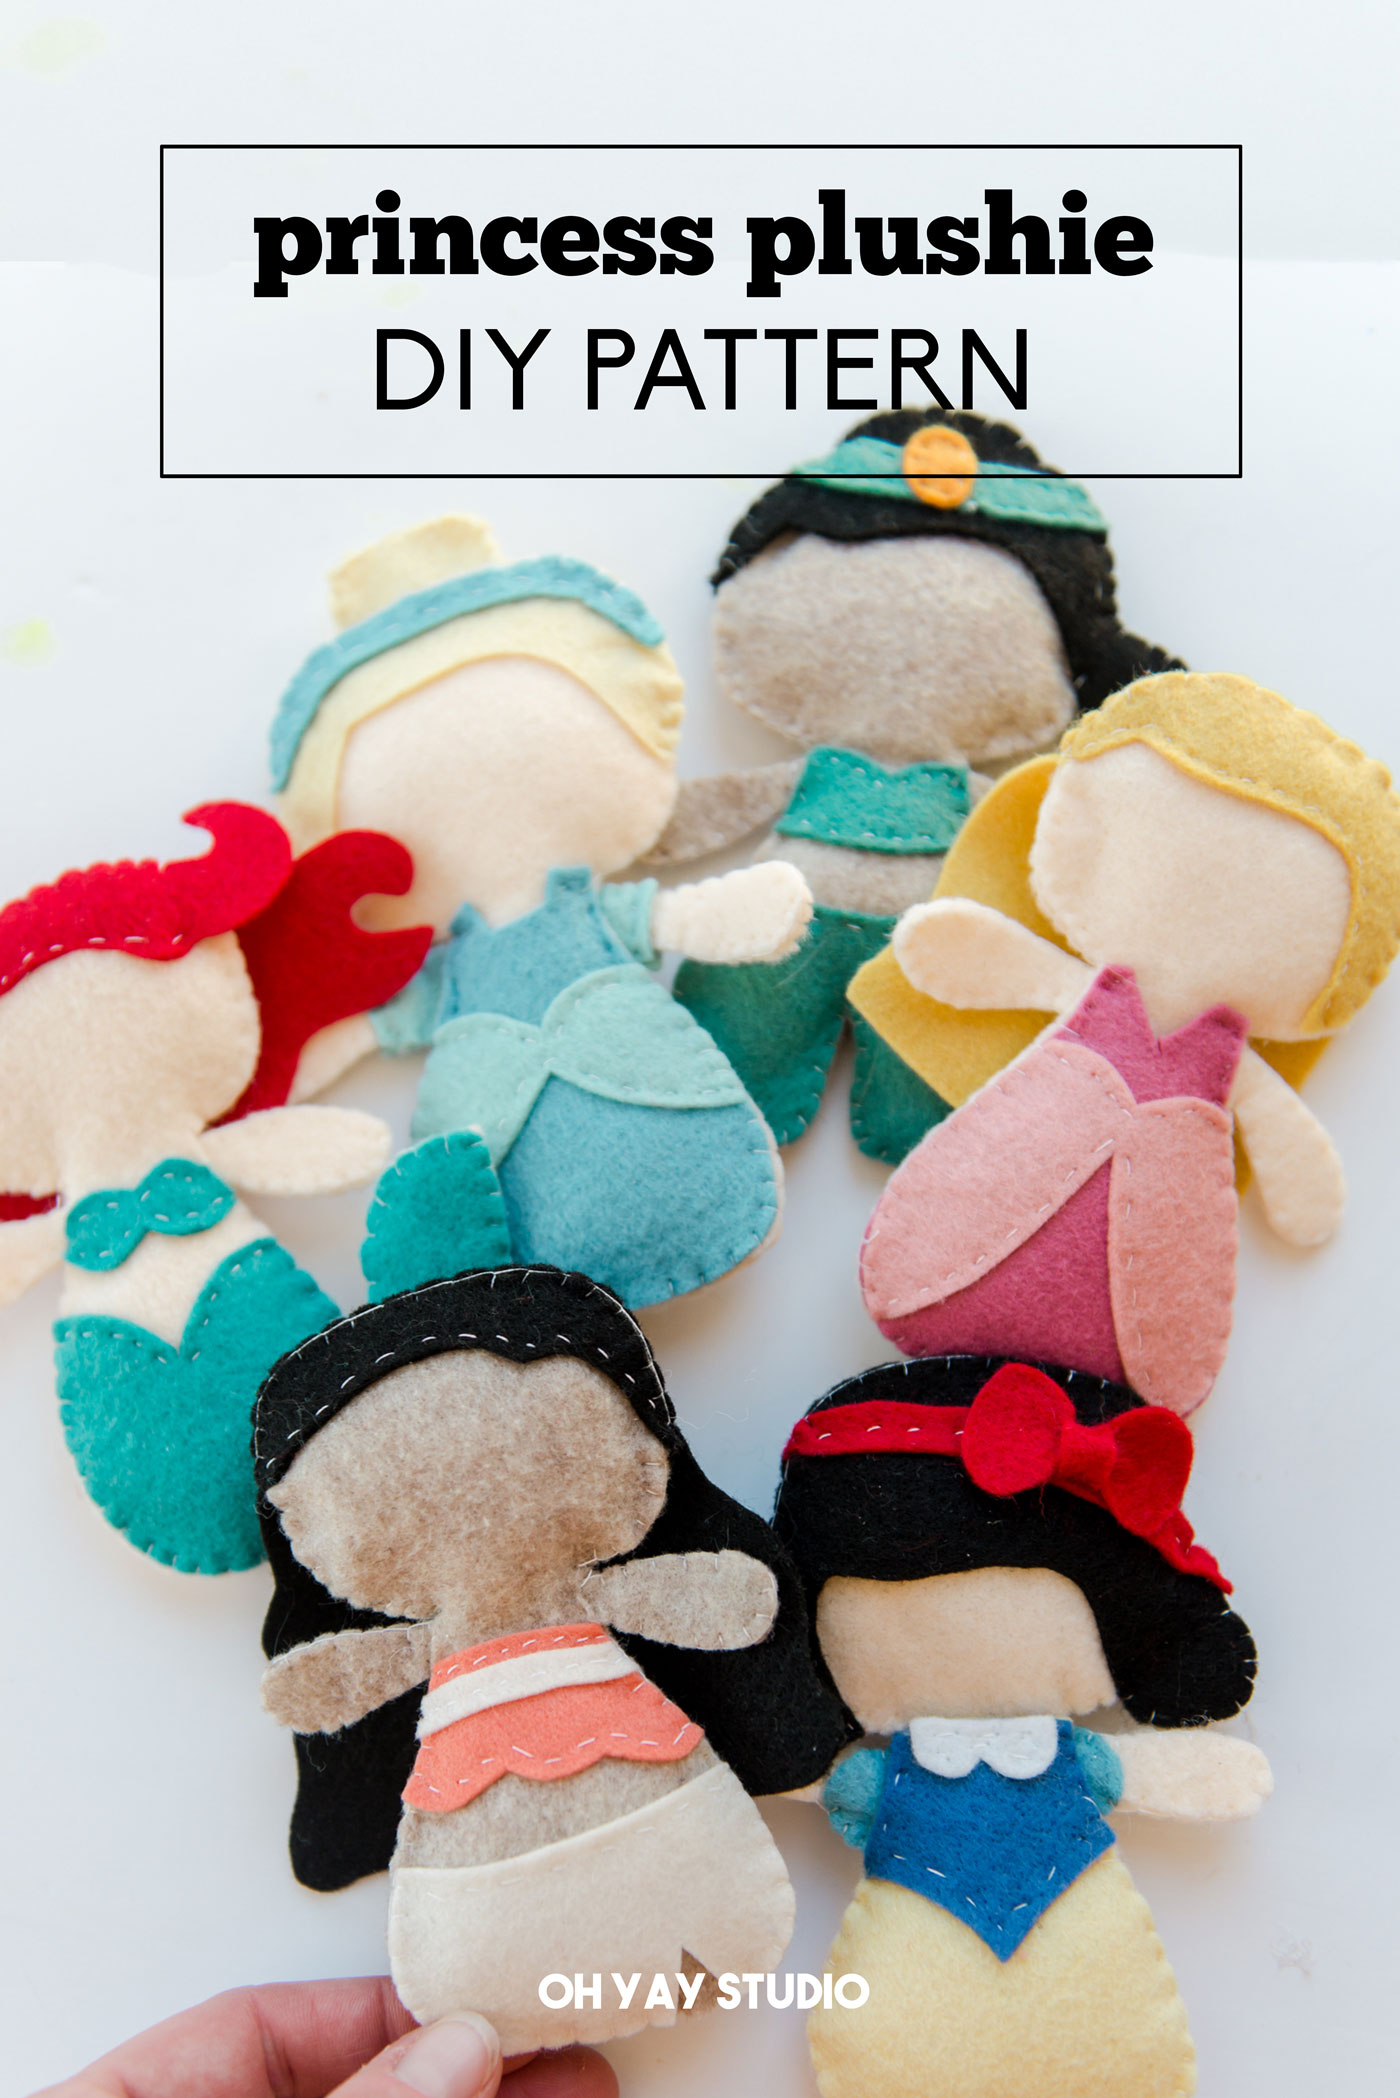
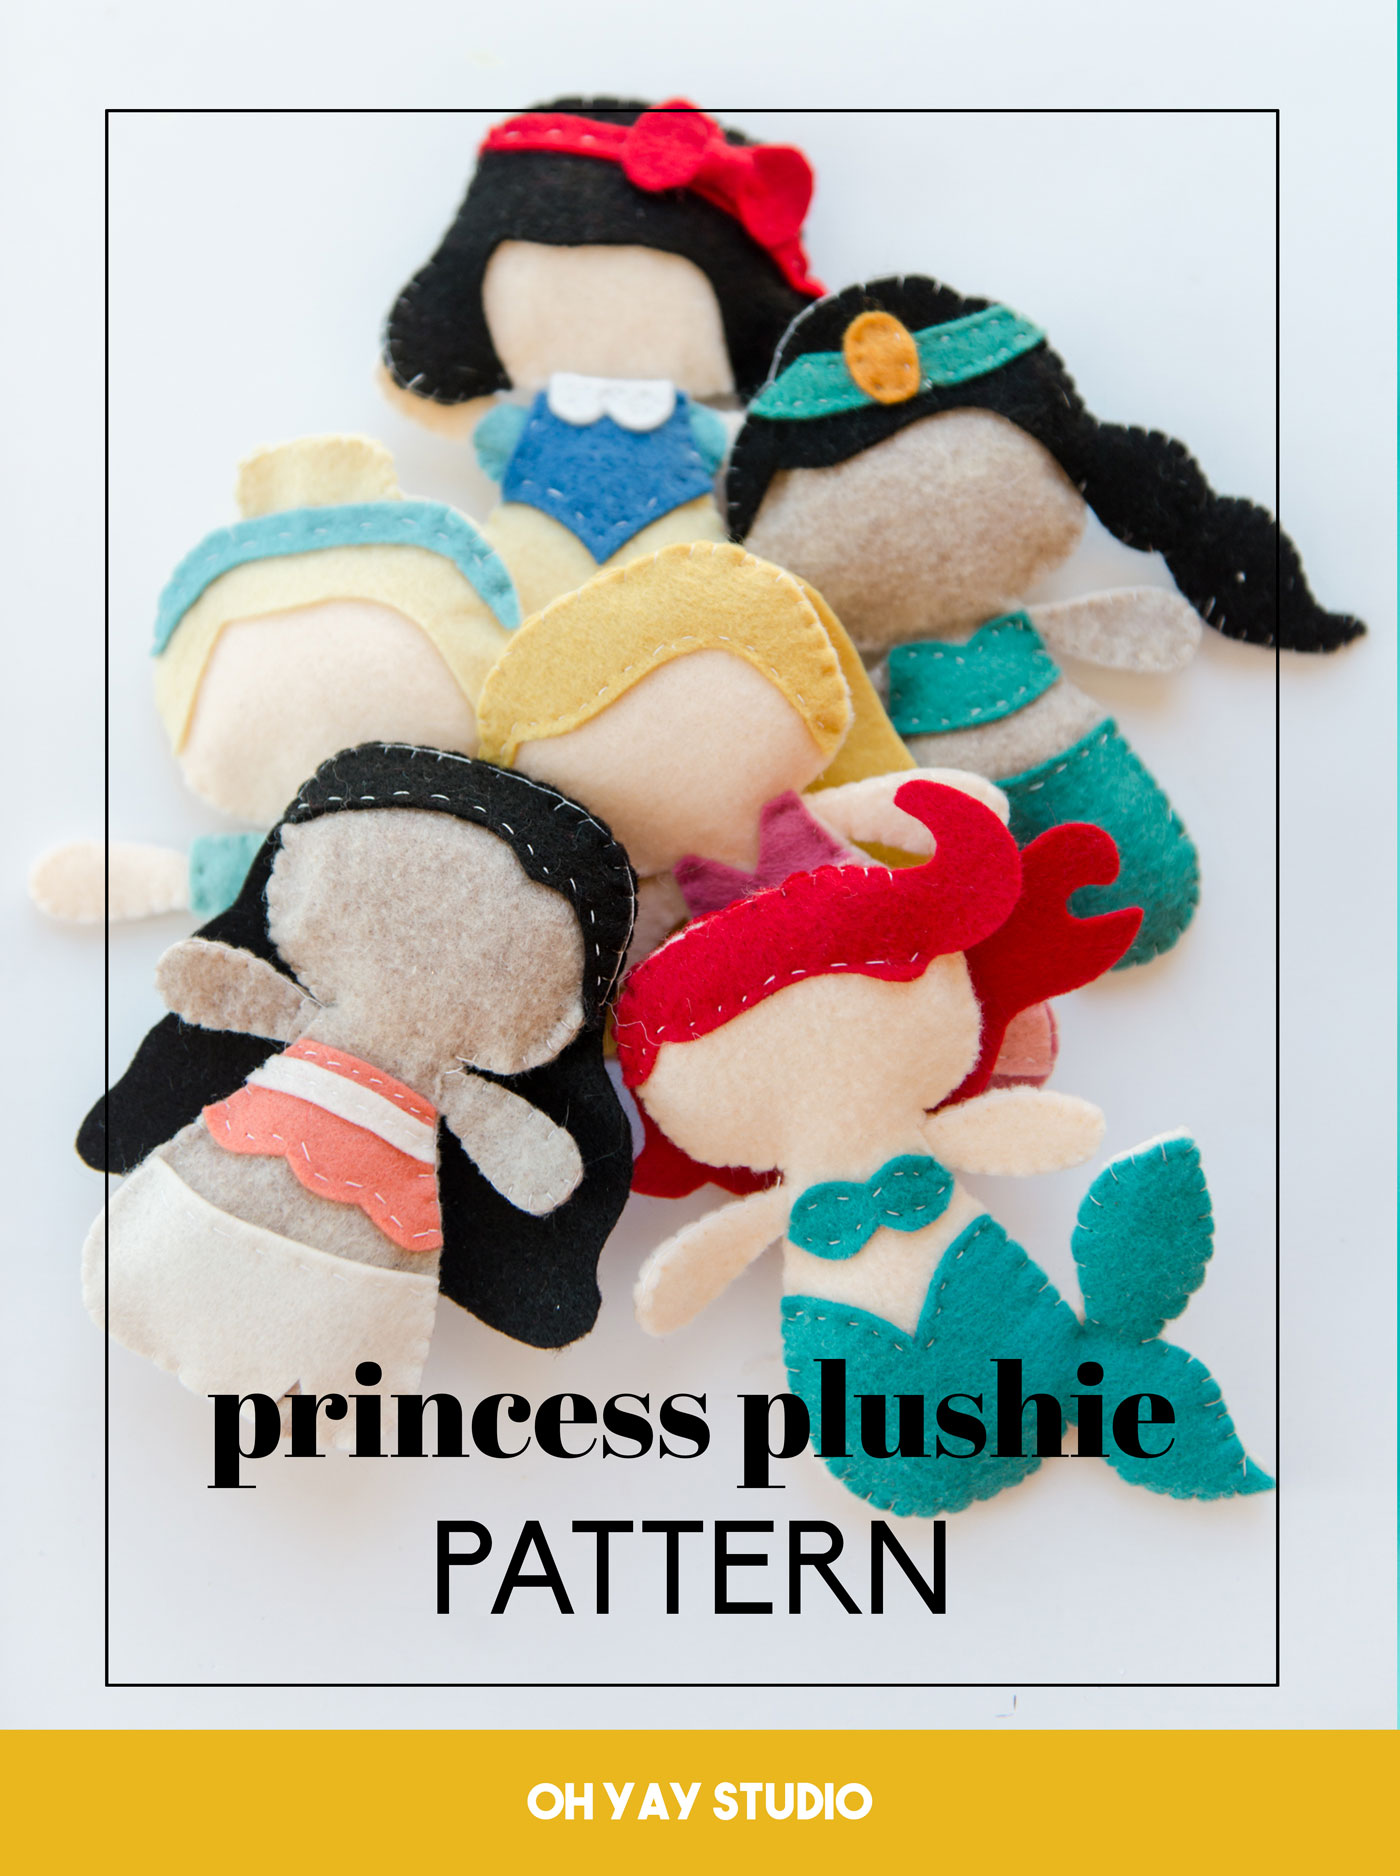
Perhaps you saw the TROLLS plushies that I made for my daughter for Christmas?! WELLLLLL, apparently this is the unofficial holiday of the plushies because I decided that my princess-loving niece NEEDED to have a set as well. But Trolls aren’t her “thing” so I sketched out some princesses (some of her faves) and hand-stitched my way through watching Hallmark Movies while falling in love with these cute little handmade ladies.
Grab the PDF patterns along with the stitching tutorial for Ariel, Cinderella, Jasmine, Aurora, Snow White and Moana below 🙂
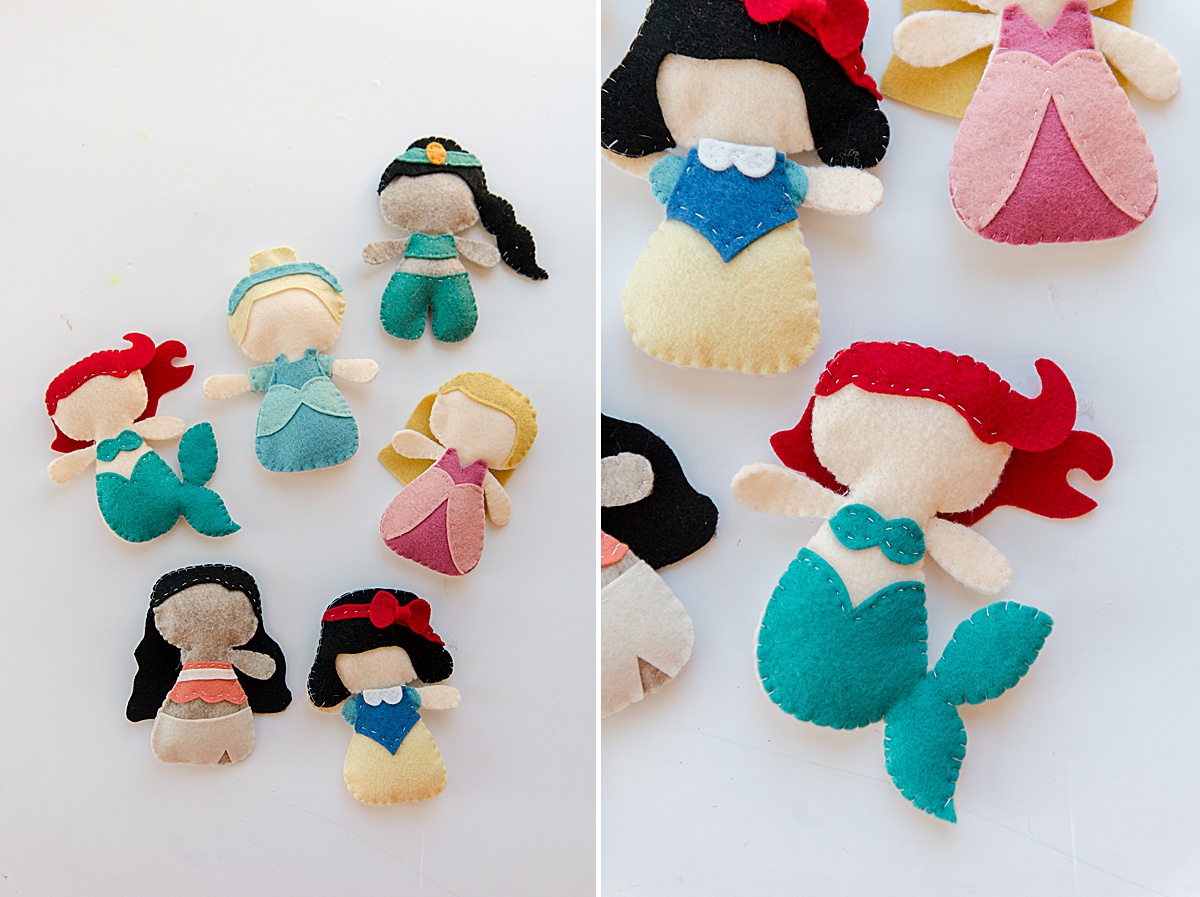
The only drawback is that now I want to make the rest of ALLLLL the princesses (and perhaps their fave animal side-kicks or princes to go along with them). Obvi! 🙂
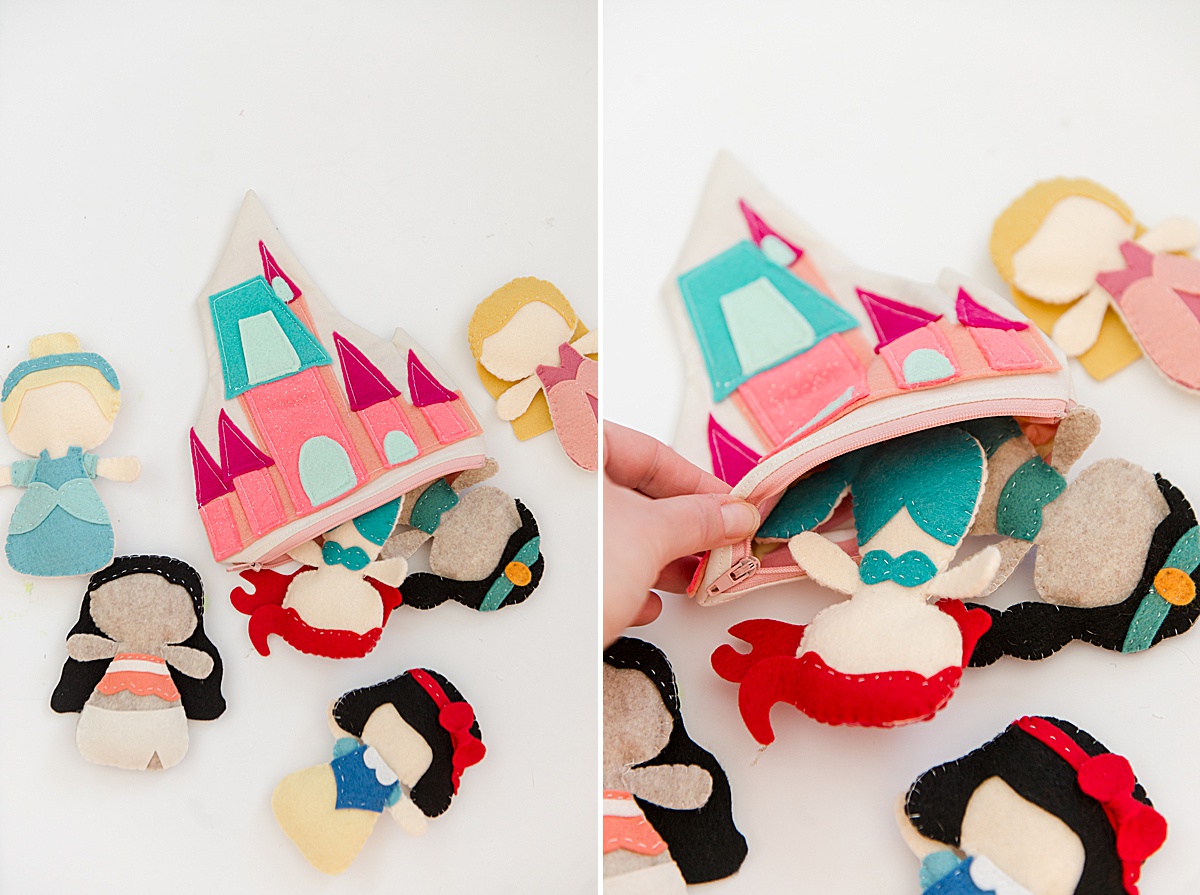
ANNNND I also made a smaller castle zipper pouch to go along with it; ya know, in case you need the princesses to go along with you on an adventure. You can find that sewing pattern + instructions HERE 🙂
MATERIALS:
- Various colors of felt
- Sharp scissors
- Needle + thread
- Stuffing or polyfil
- PDF patterns linked below
INSTRUCTIONS:
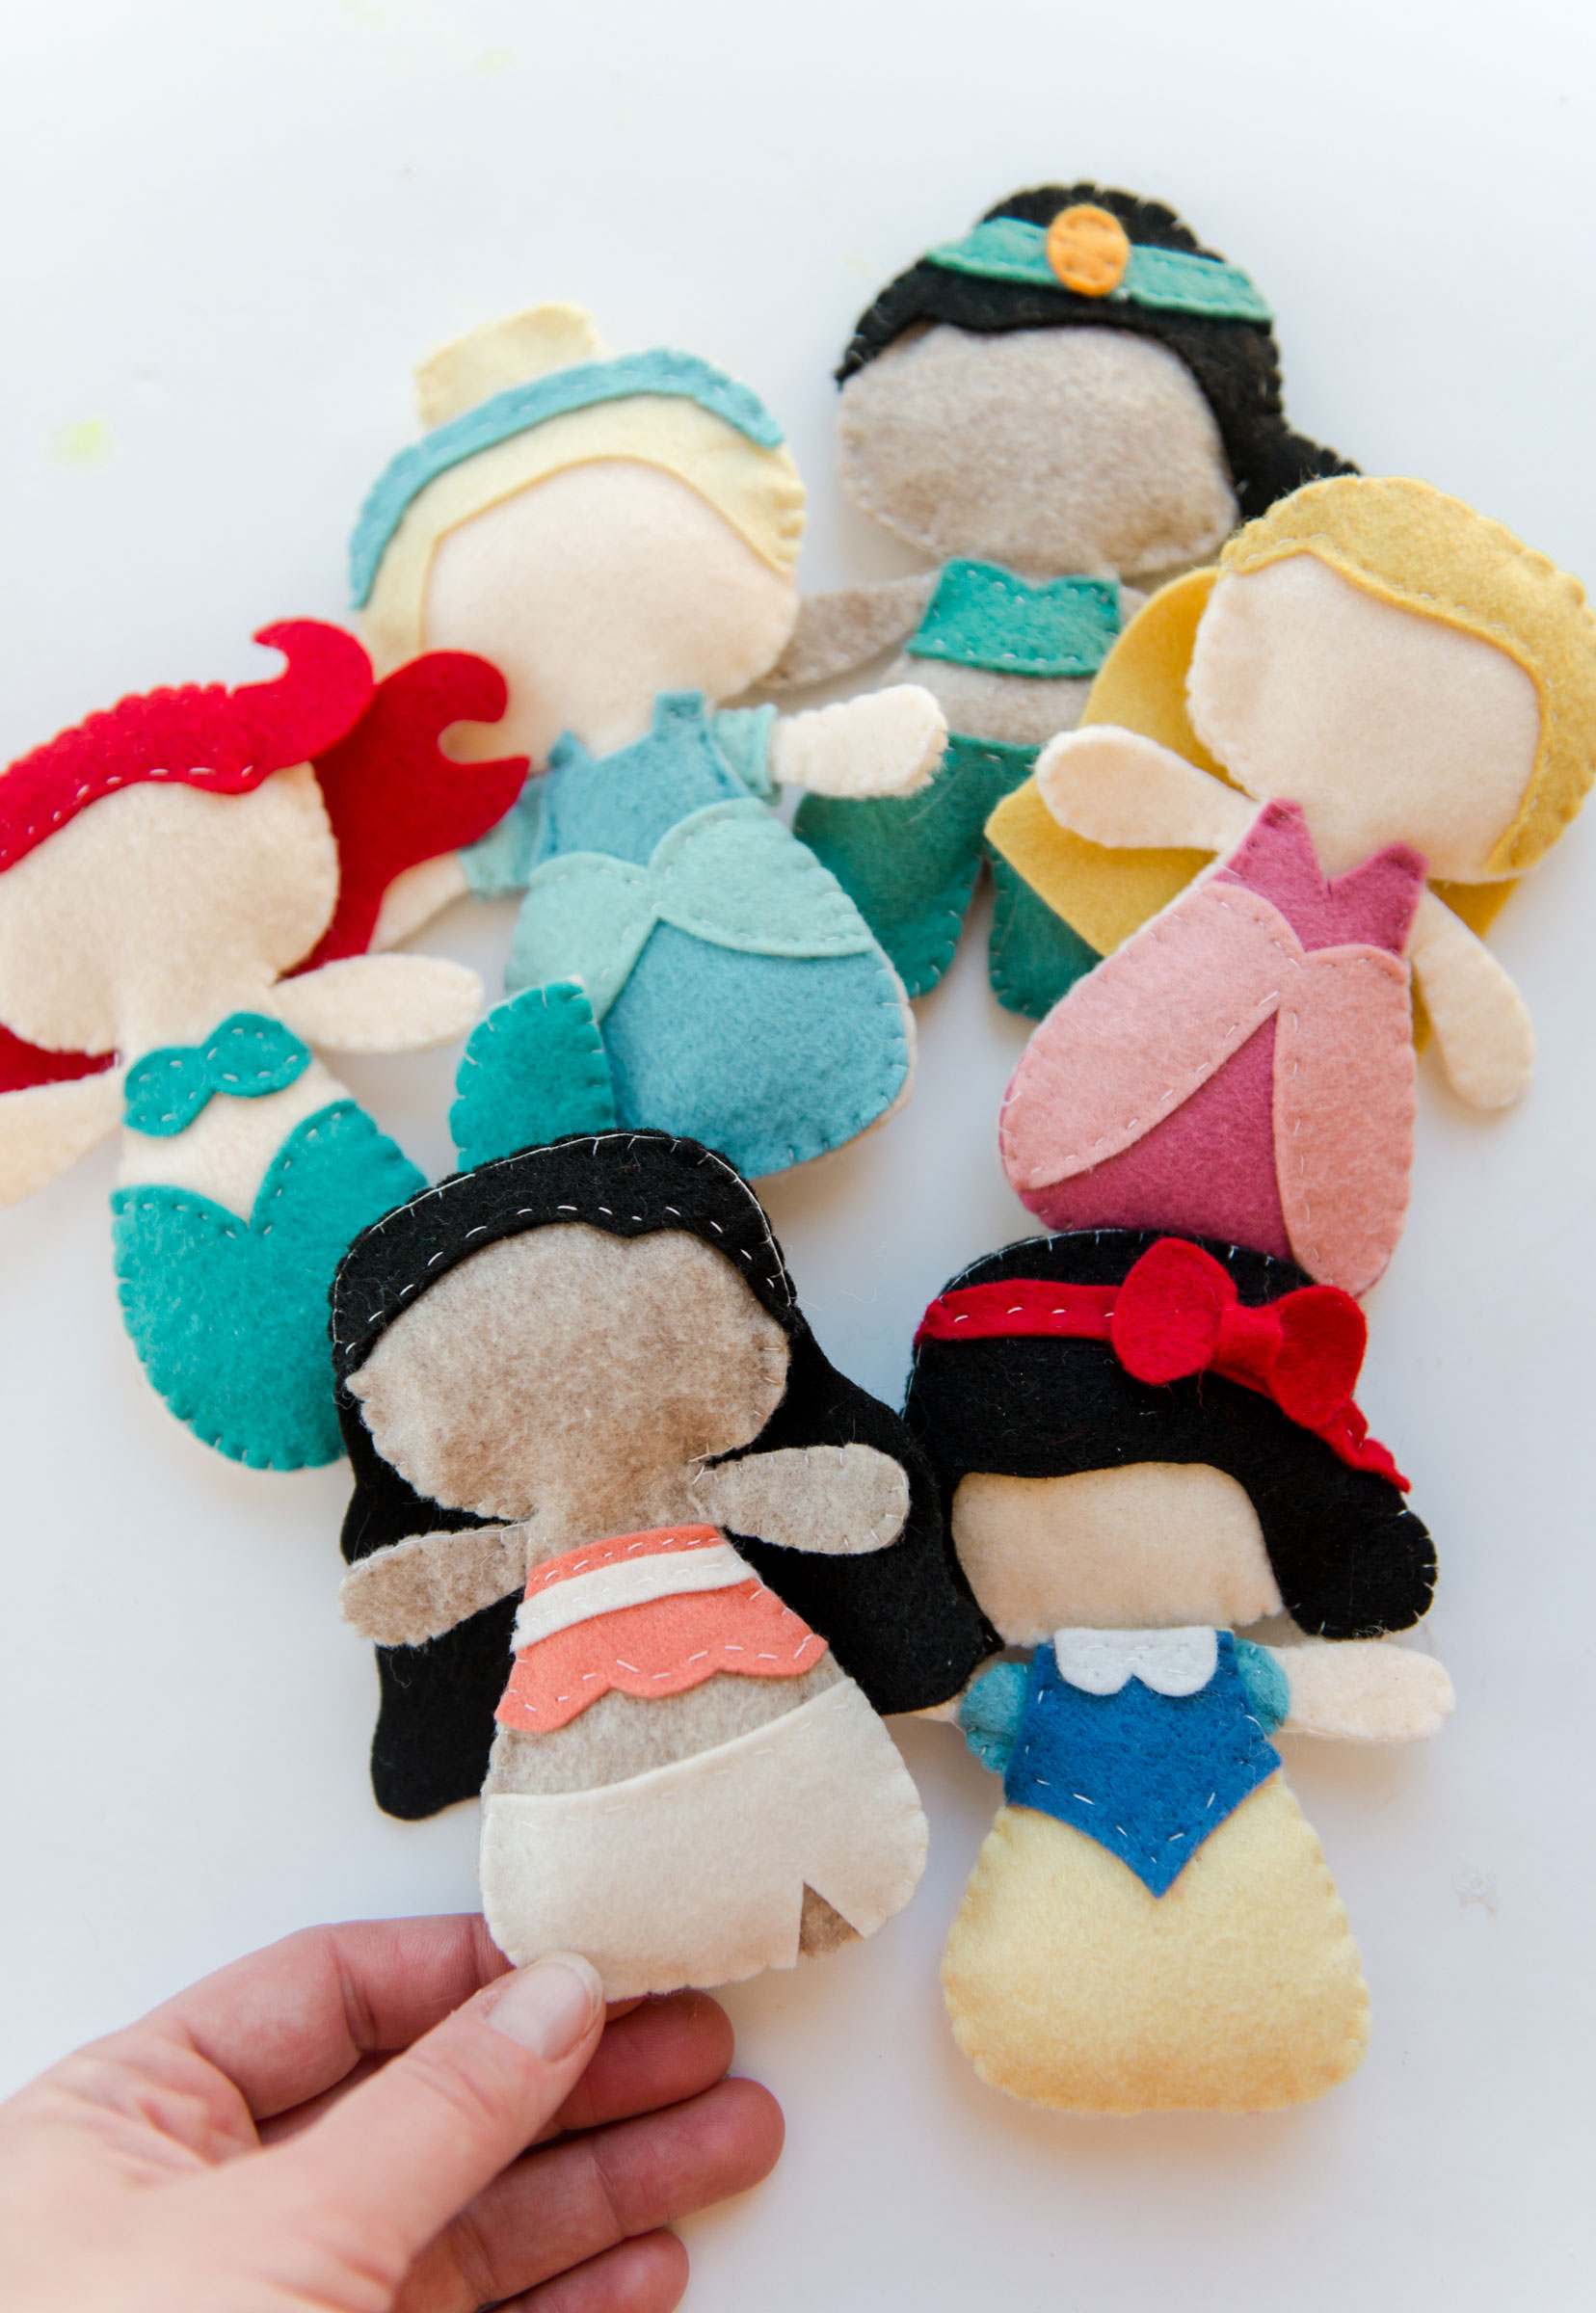
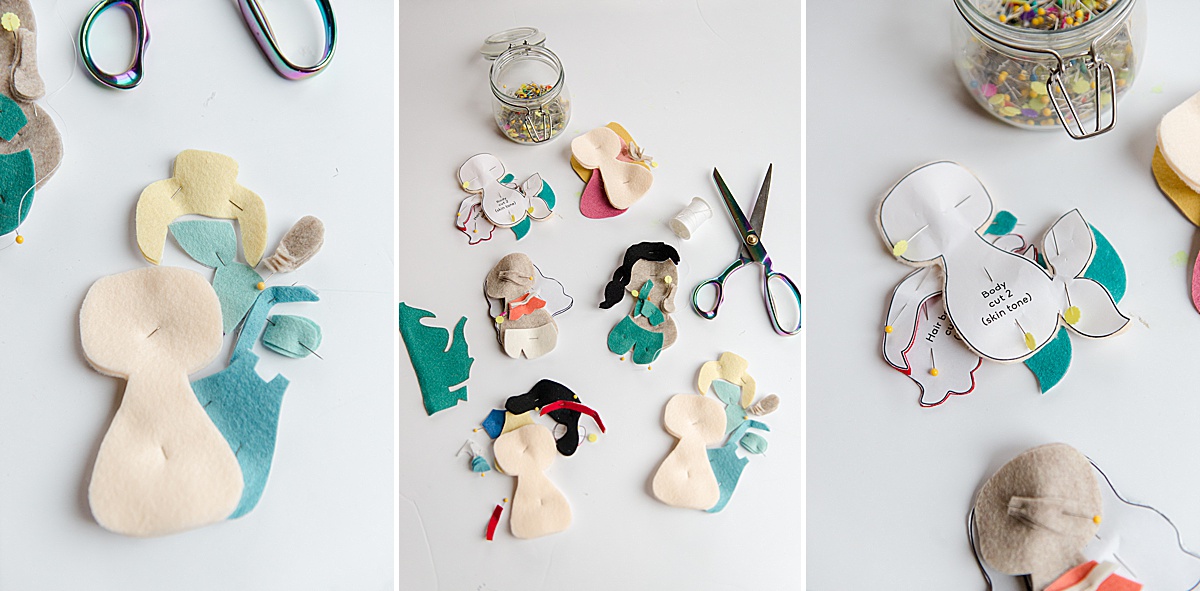
1.Download the character PDFs and cut out all the pieces in the appropriate felt colors to correlate with their characters.
- Ariel (Little Mermaid) plush PDF HERE
- Cinderella plush PDF HERE
- Jasmine plush PDF HERE
- Aurora (Sleeping Beauty) plush PDF HERE
- Snow White plush PDF HERE
- Moana plush PDF HERE
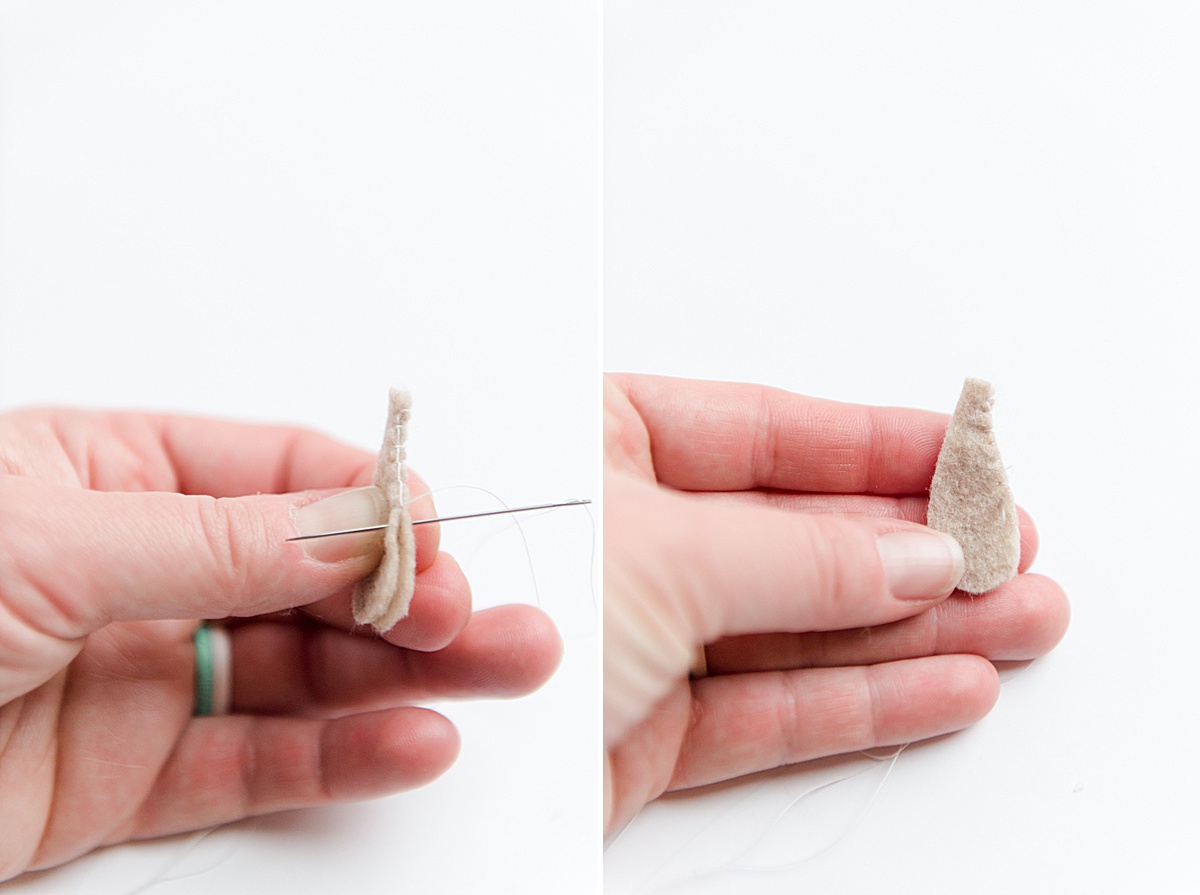
2. Begin by sewing the 2 arms. Using a blanket stitch, stitch 2 layers of each arm completely around; do the same with the 2nd arm. Set aside.
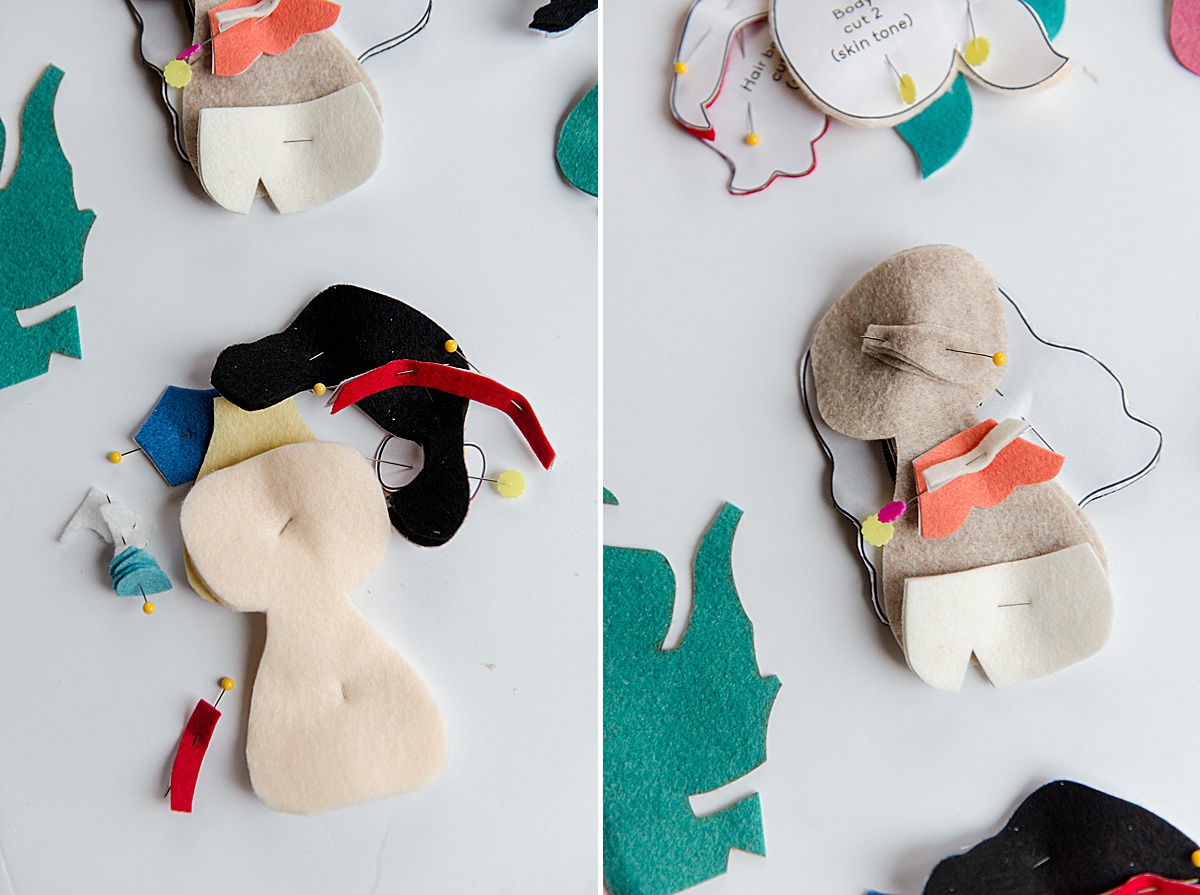
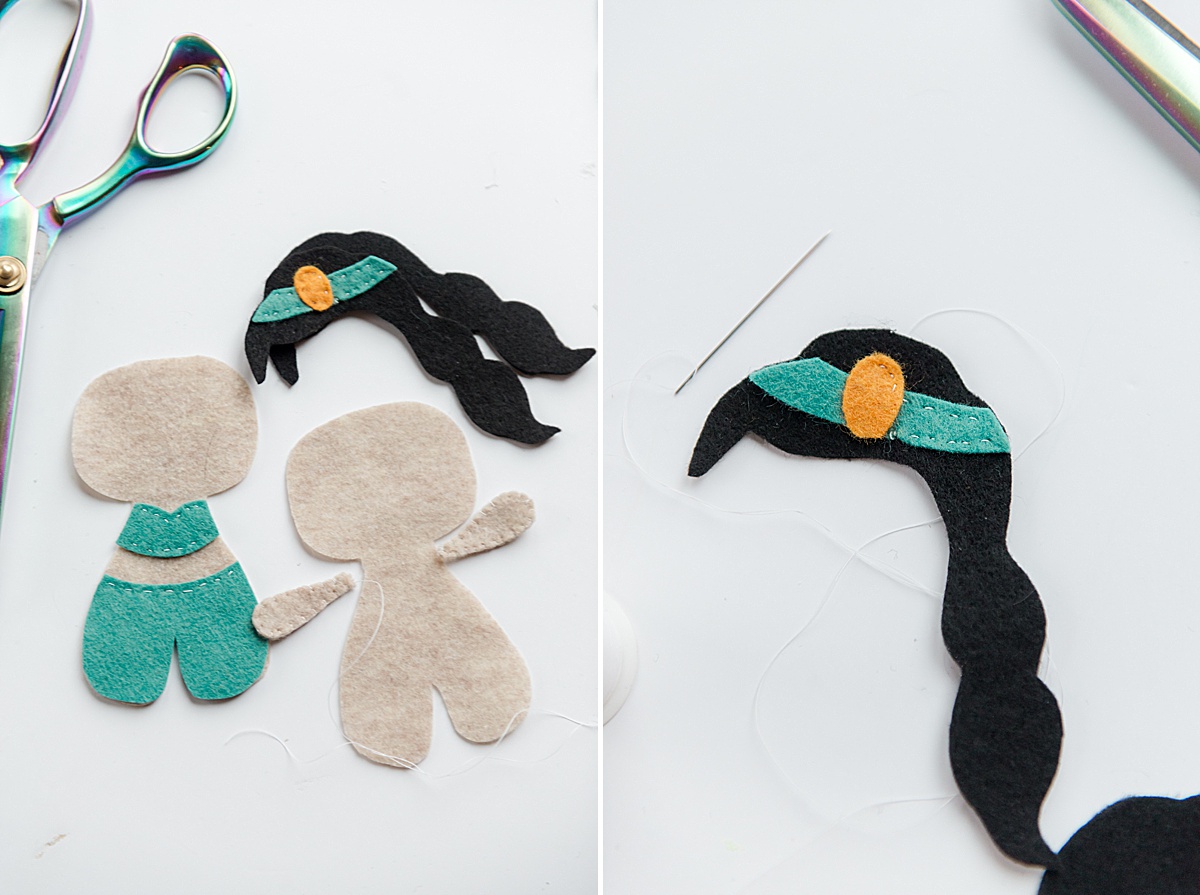
3. Add any hair, clothes or details using a running stitch onto the top of one of the body pieces. I didn’t bother stitching around the outer edge of anything, instead I only ran a stitch across the areas that wouldn’t be “picked up” using the blanket stitch around the outer edge to close the character in step 4.
**a note about the hair – some hair has a “front and back” and others have 2 of the same shape for the hair. If the character has a hair that has a “front”, stitch that to the top of the character top in this step. If the hair has 2 of the same shape, this will be added on in step 5.
4. Layer the pieces together with the backing, the top (fully embellished) and then arms sandwiched in between. Using a blanket stitch, begin at one arm (placed in between the layers near the “neck”) and work around the outer edge of the character. Be sure to “pick up” or add the 2nd arm in it’s appropriate spot.
note: Before stitching the head closed, I paused to add poly/stuffing to the body just to make it easier. Then stitched the head up and added more poly/stuffing before closing it up.
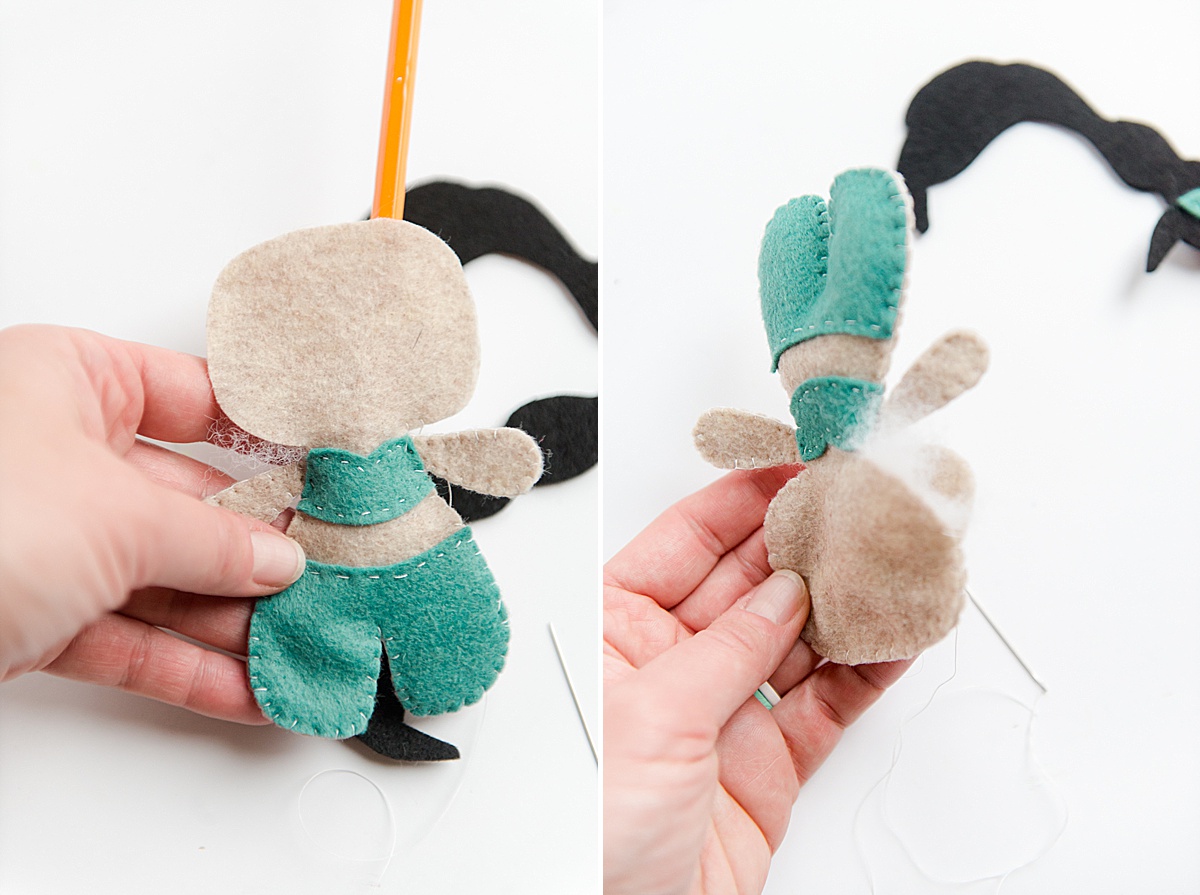
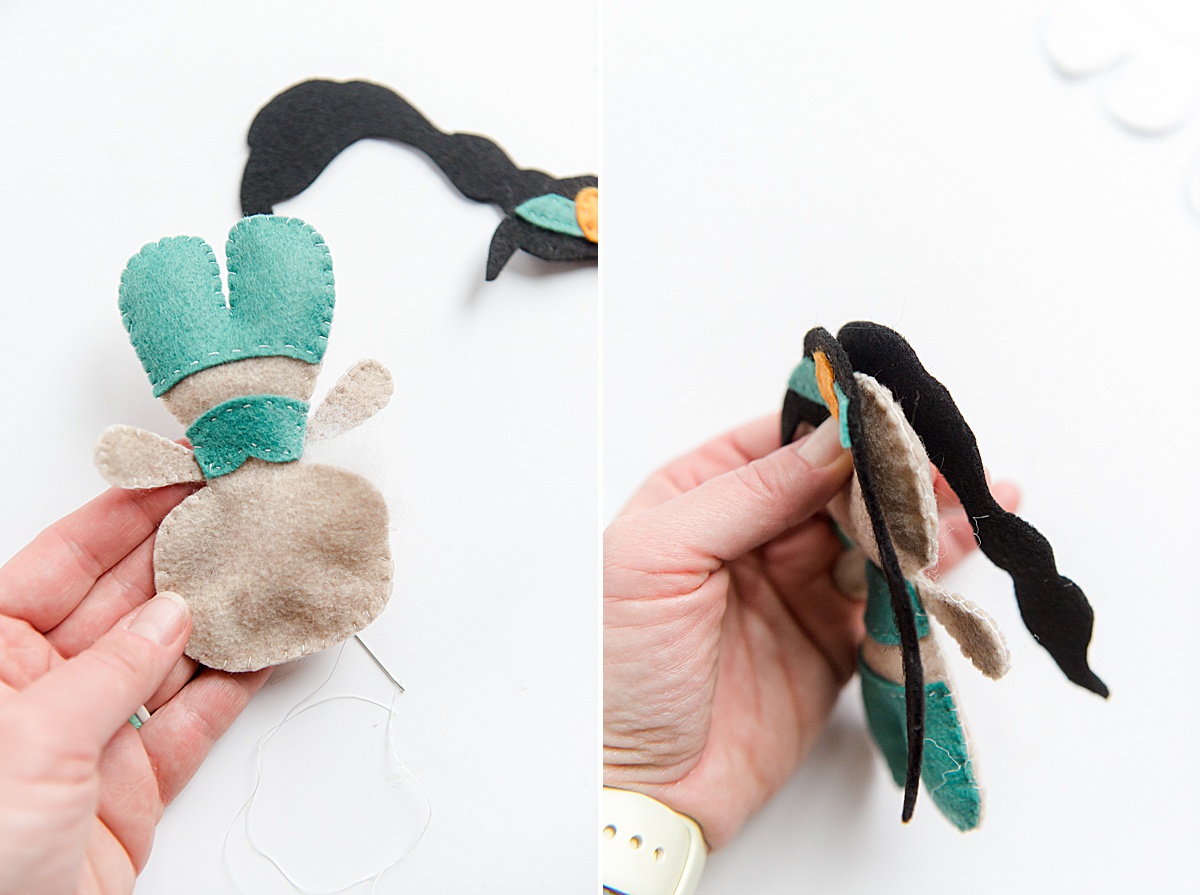
5. Adding hair if needed! If your character has hair that is 2 of the same shape, it will essentially go “over” the head. Basically you will sandwich the already-stitched-up head in between the hair pieces. You will begin stitching it on with a blanket stitch and making sure it is secure to the head with a few extra stitches! 🙂
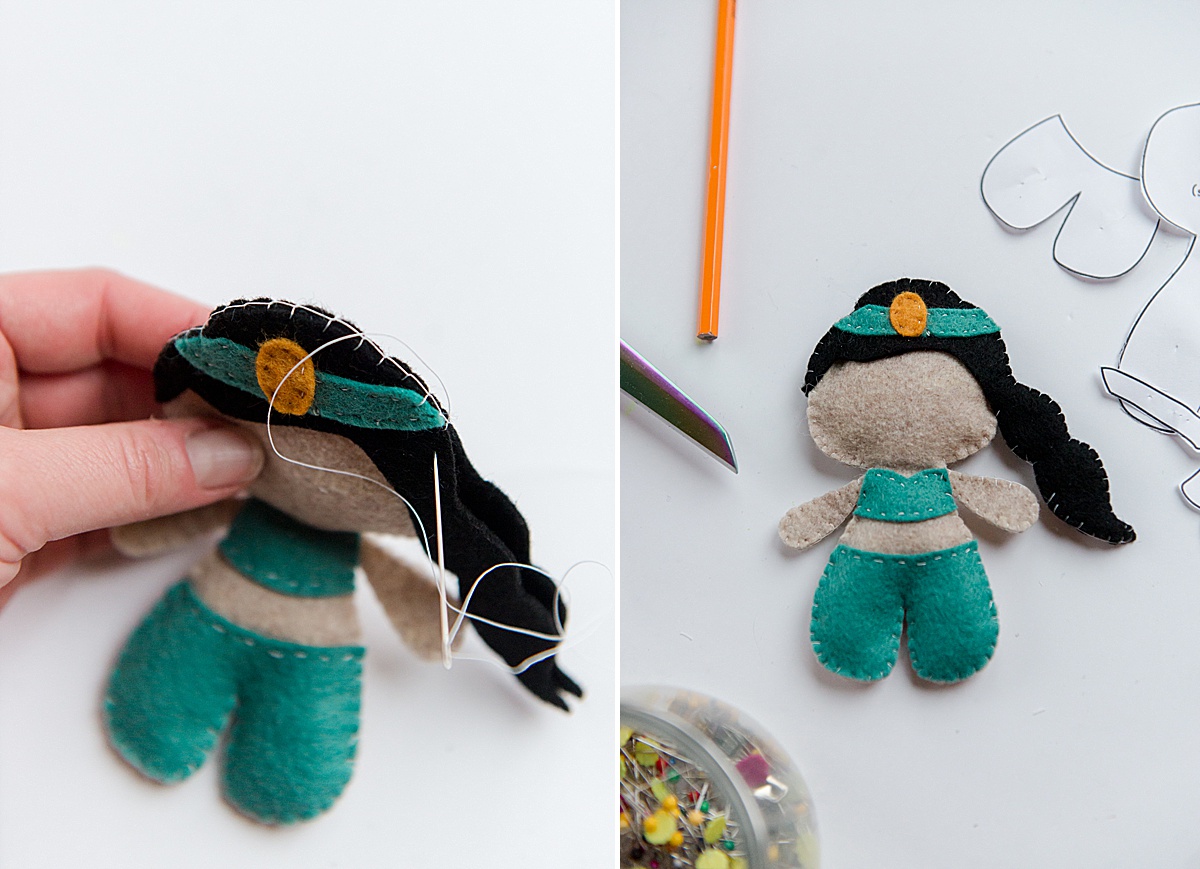

I absolutely LOVE them – almost enough to learn how to sew.
Do you have these patterns in a Cricut file?
NO! But this is a great idea! I will work on that!!!! 🙂
So awesome! What felt do you buy when you make your stuffed characters? Do you prefer 100% wool or do you just use stuff you find at the craft store?
I love these making them for my daughter 🙂 and ha k you so much for sharing!!!
These are amazing!!! I absolutely LOVE THEM!
I will be making them this week 😁
Please please please continue working on the patterns for the other Princesses and sidekick friends 🙏💗
Yes please make the rest of them!
What kind of cricut can cut out felt?
These are great! Would love to see the other princesses and Winnie the Pooh.
These are prefect! Im totally going to make them! We’re in the process of adopting a brother and sister, so these will give me something to do during all those waiting periods! Any chance you’ll be making patterns for superhero plushies? I’d love to have a cute set for both kids!
I love these and are starting on them in the morning after I get the pattern printed. Have you by any chance done any of the others like Rapunzel? What a great car and church activity for little hands!
These are so cute! Could you possibly come up with ones for princes’?
Do you have a Mulan pattern?
Hi Emily! This project is amazing, I absolutely love the dolls. I can’t wait to make them for my friend’s daughter. I was wondering if it’s ok with you if I make a YouTube video documenting the process of me making them? Of course I will give you full credit for the patterns and link to your website!!