SMEG Fridge costume!!
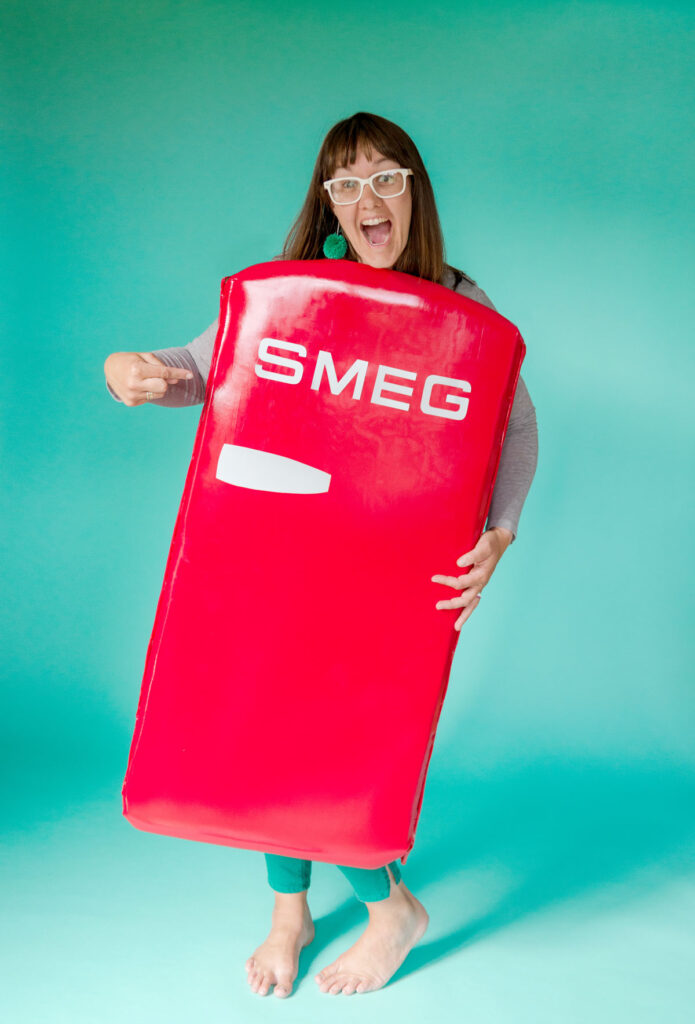
It’s HALLOWEEN, so this means more costumes!!!! This one might be one of my most fave that I have ever created because (a) it’s SUPPPPPPER easy to make and uses up some of those old shipping boxes and (b) is just so happy and hilarious! I mean, a FRIDGE…..especially one of the most happy, colorful, vintage-inspired refrigerators on the face of the planet: A SMEG FRIDGE 🙂
You can find the whole DIY along with some tips and tricks below so that you can make your own….. because, heck, why not??
And if you found your way here because you saw this costume in the latest issue of Country living (!!!!) WELCOME! Please send me a note if you make this costume, because I would LOOOOVE LOVE LOVE to see others’ re-creations! 🙂


The DIY is simple……this costume is basically a giant cardboard box that is “upholstered” with some glue along with some added embellishments 🙂
MATERIALS:
- A box that is in proportion to a refrigerator that is large enough for you or the person the costume is for (ie, more tall-rectangular than square)
- 1- 1 1/2 yard of 1/2” foam
- 2-3 yards of Red Vinyl fabric (depending on how large you make your fridge)
- Hot glue + hot glue gun
- Scissors
- X-acto knife
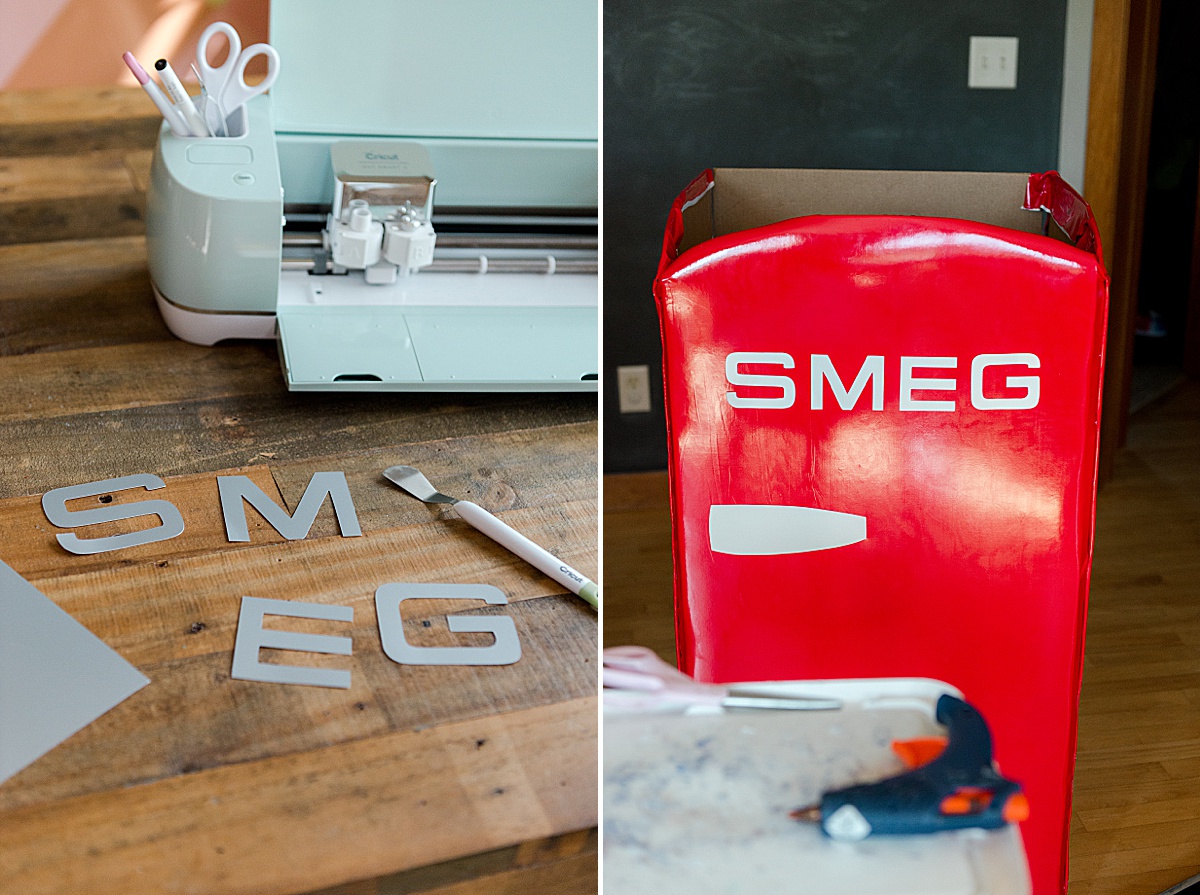
- Optional Cricut cutter
- Grey “metallic” paper – 2 sheets of 8.5×11
INSTRUCTIONS:
1. Construct shape
Tape pieces of your cardboard box together or manipulate your box in a way that will fit around your body. Make sure you leave enough space to walk. Then with the side of a bowl or freehand, draw out and cut the 4 corners of the front of the fridge into a curved edge. Then curve the top to mimic the top of a SMEG refrigerator. Measure and cut arm holes at desired height. Use a bowl to cut a perfect circle.
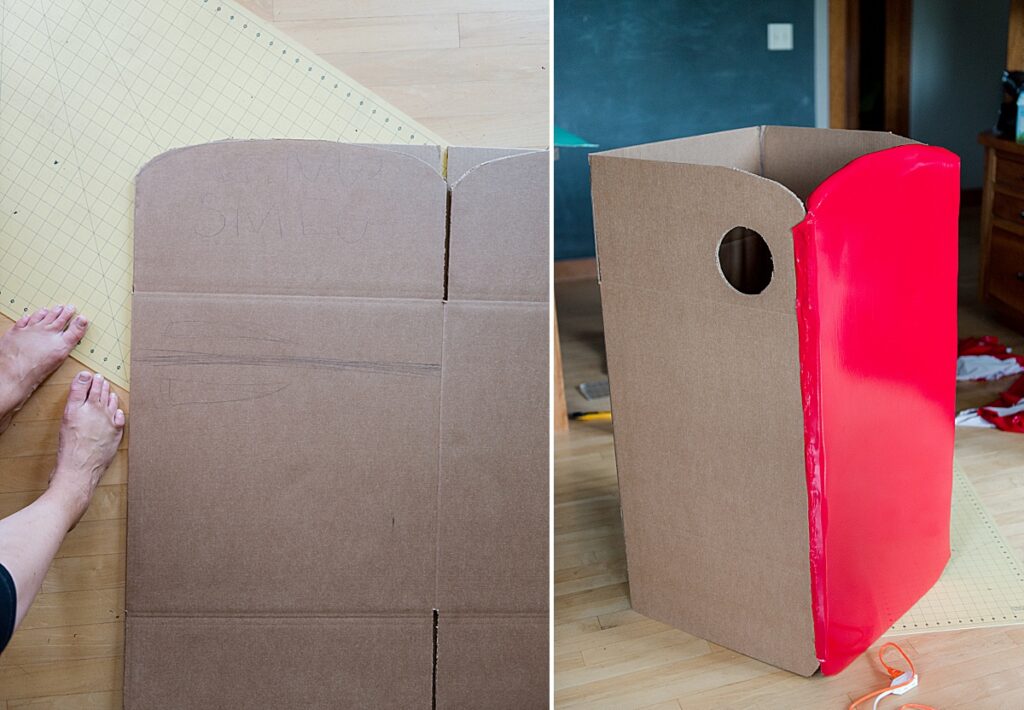
2. Upholster front
Trim the length and width of your foam to the sizing of the front of the fridge. Lay foam on front of fridge. With your fabric, begin upholstering the front by stretching the fabric top to bottom and tacking on the inside with hot glue. Then stretch the sides of the fabric to the sides of the fridge and tack down with hot glue (these raw edges will be covered when we upholster the sides of the fridge).
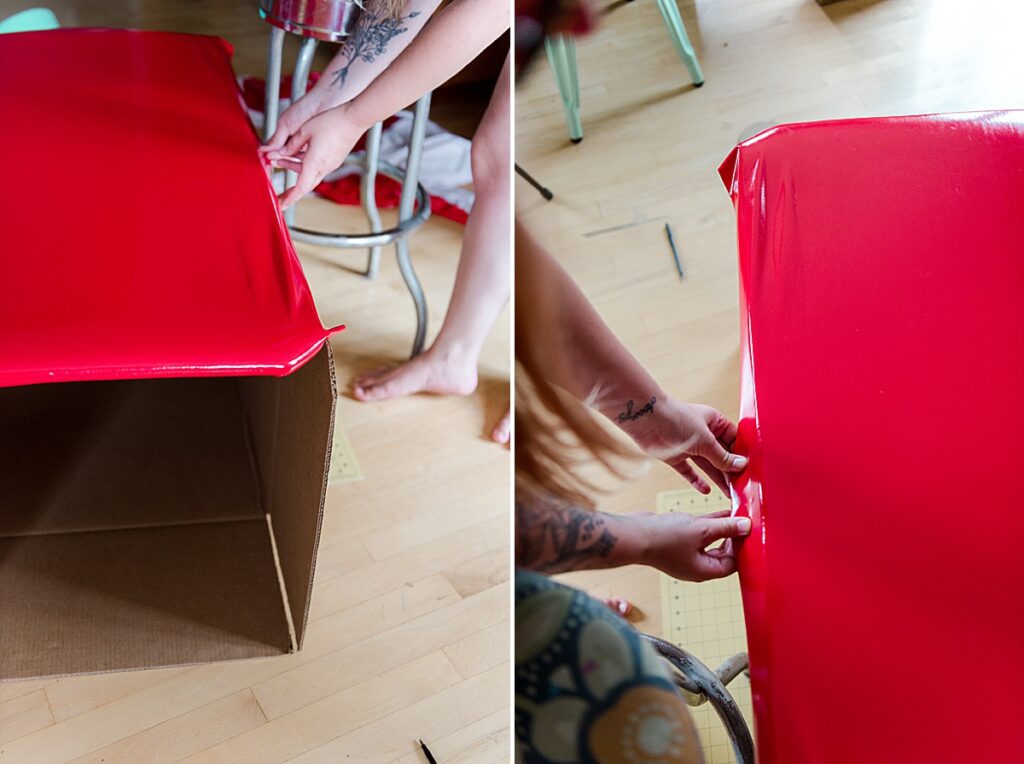
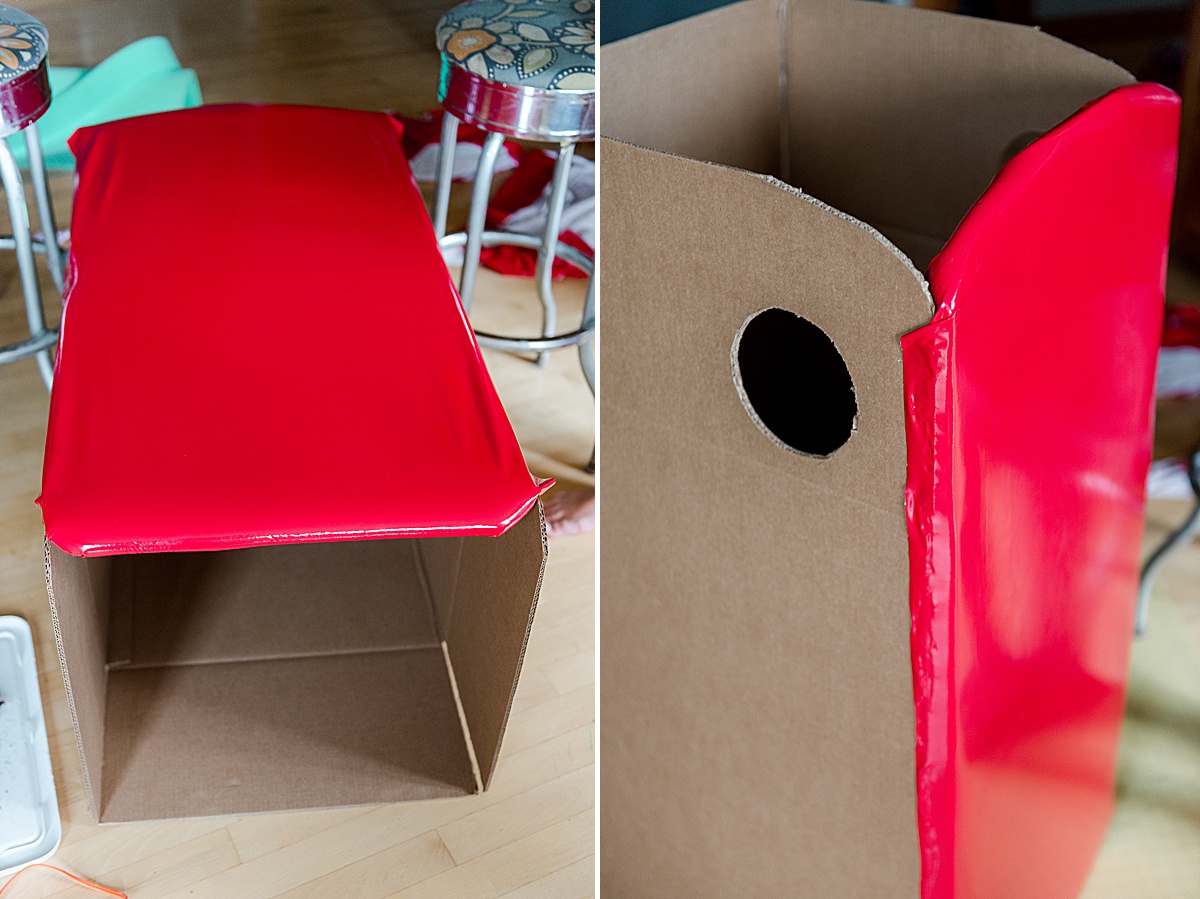
3. Upholster sides and back
Fold over the long edge of your fabric 1/2 inch and then tack down covering the raw edge near the front upholstered seam. Allow to fully dry and then stretch your fabric towards the back of the fridge covering the sides completely. Repeat this step with the other side of the fridge. Cut a slit in the fabric at each armhole and then stretch carefully towards the inside leaving a nice upholstered edge around the armhole (repeat for each armhole).
*Repeat these steps with fabric to cover the back of the fridge.
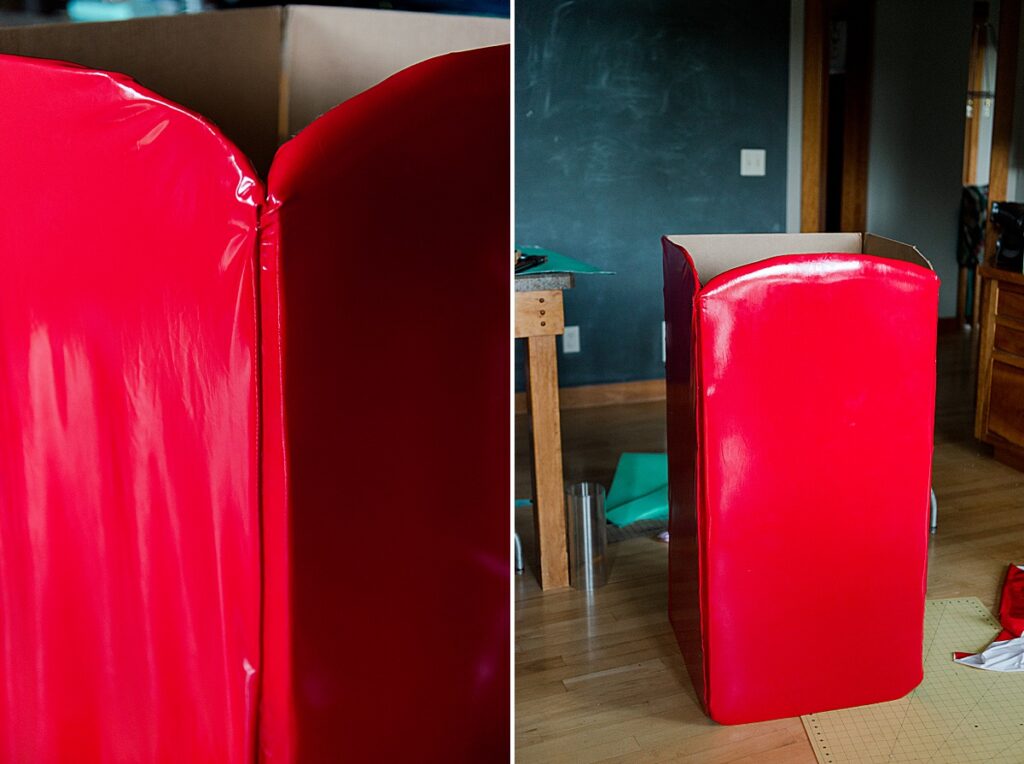
4. Add details
Using your Cricut cutter or scissors, cut out the SMEG letters, handles and optional “crease” for the freezer/fridge separation if desired. Attach with hot glue or tacky glue.
