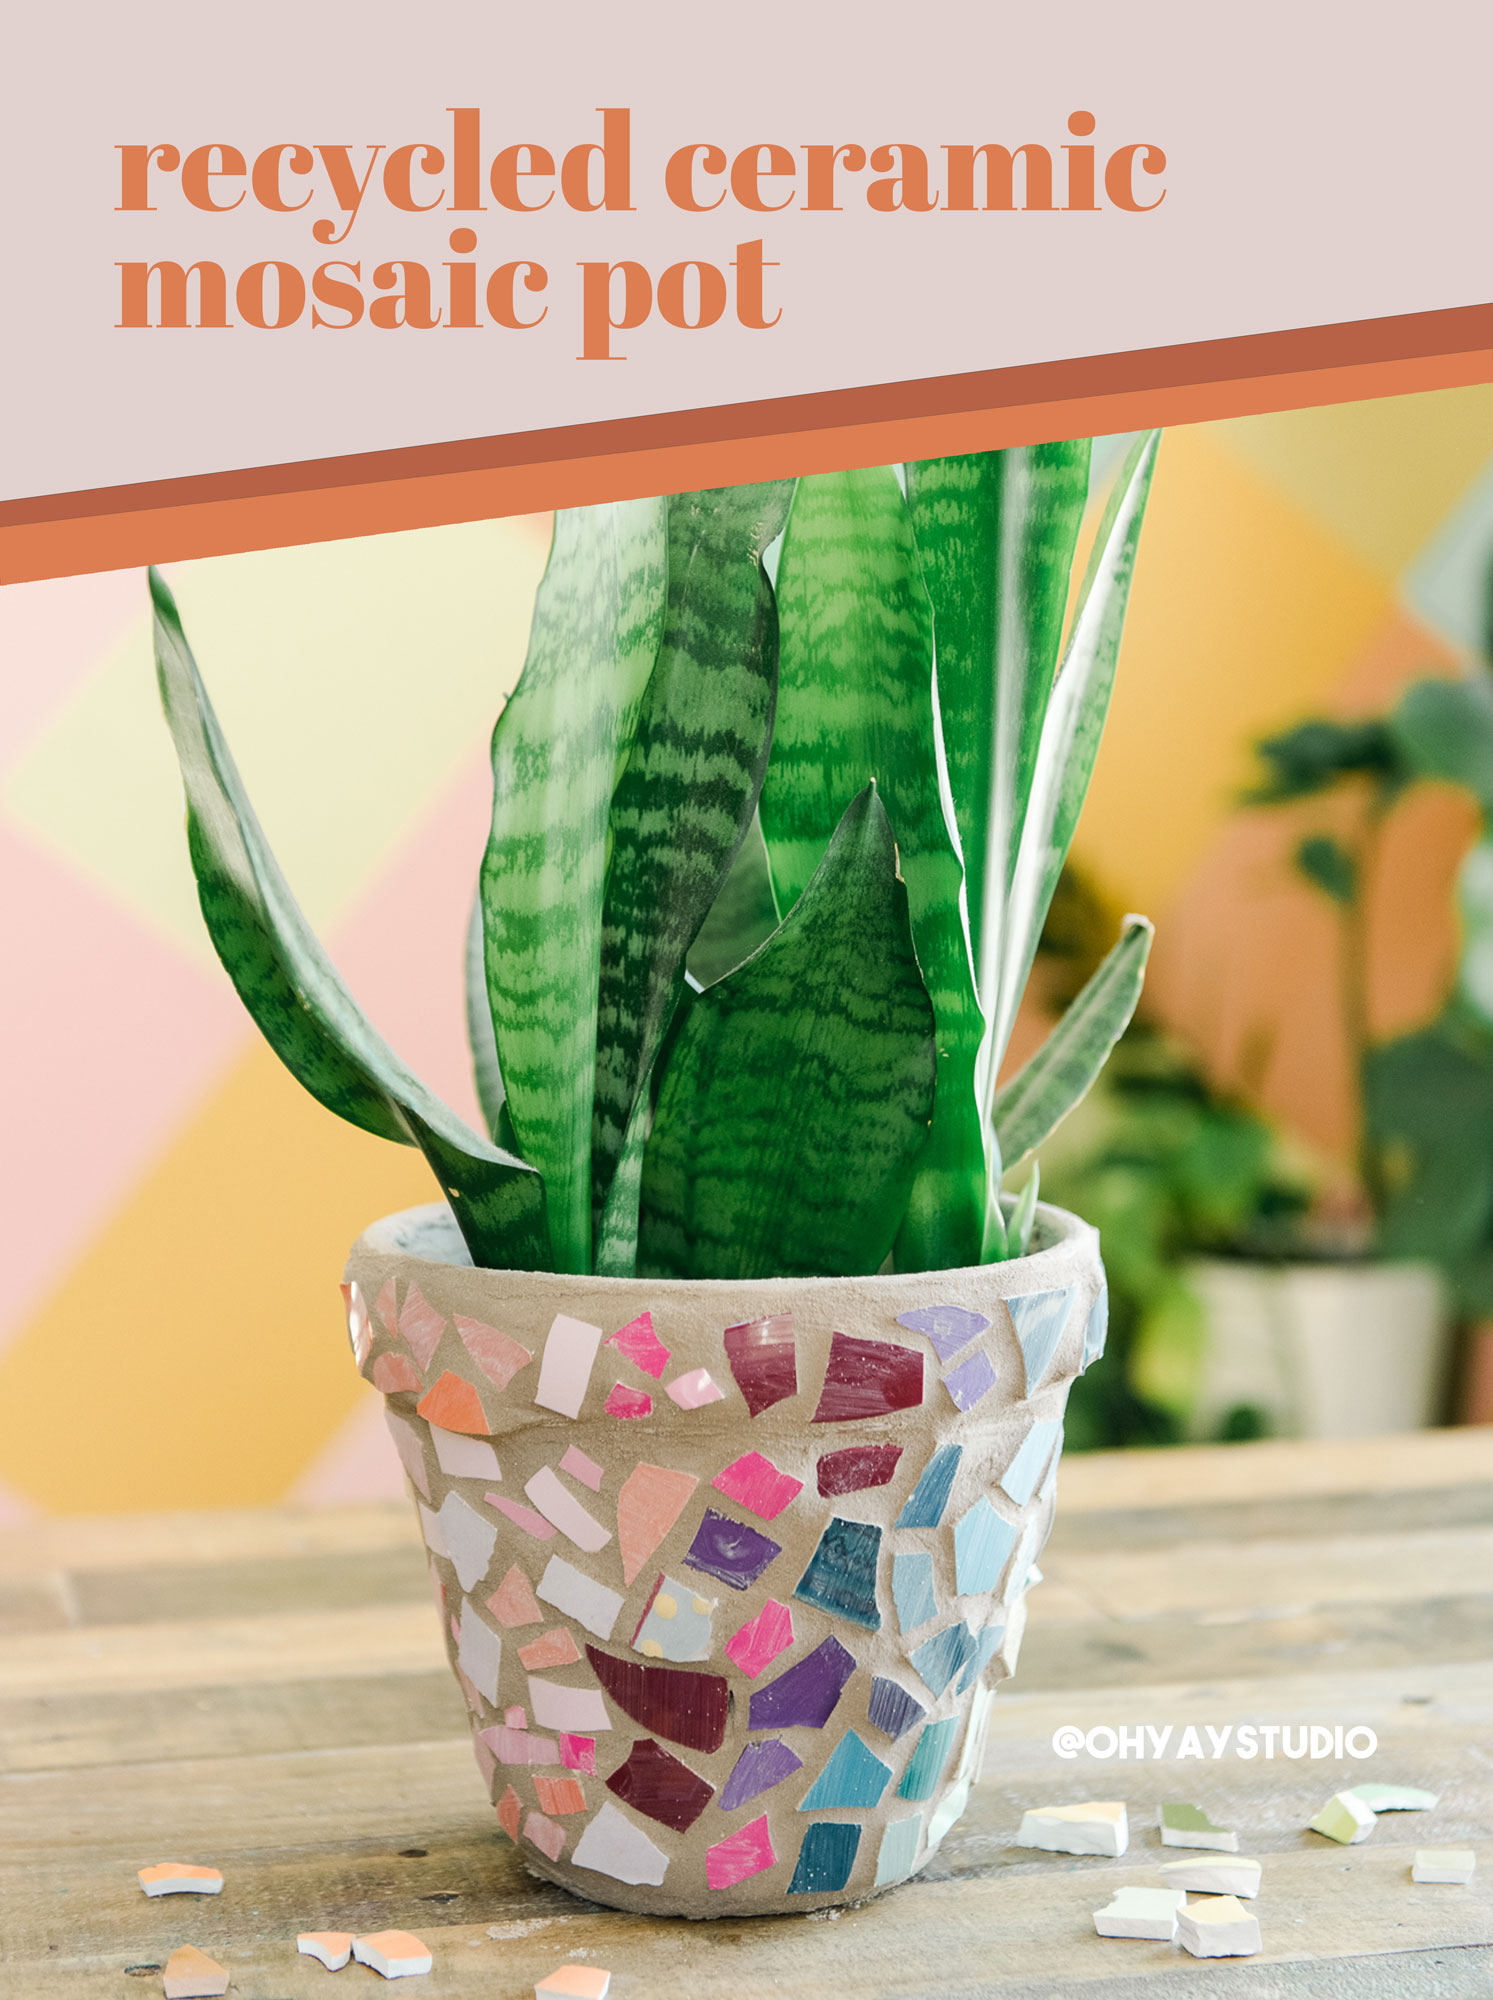
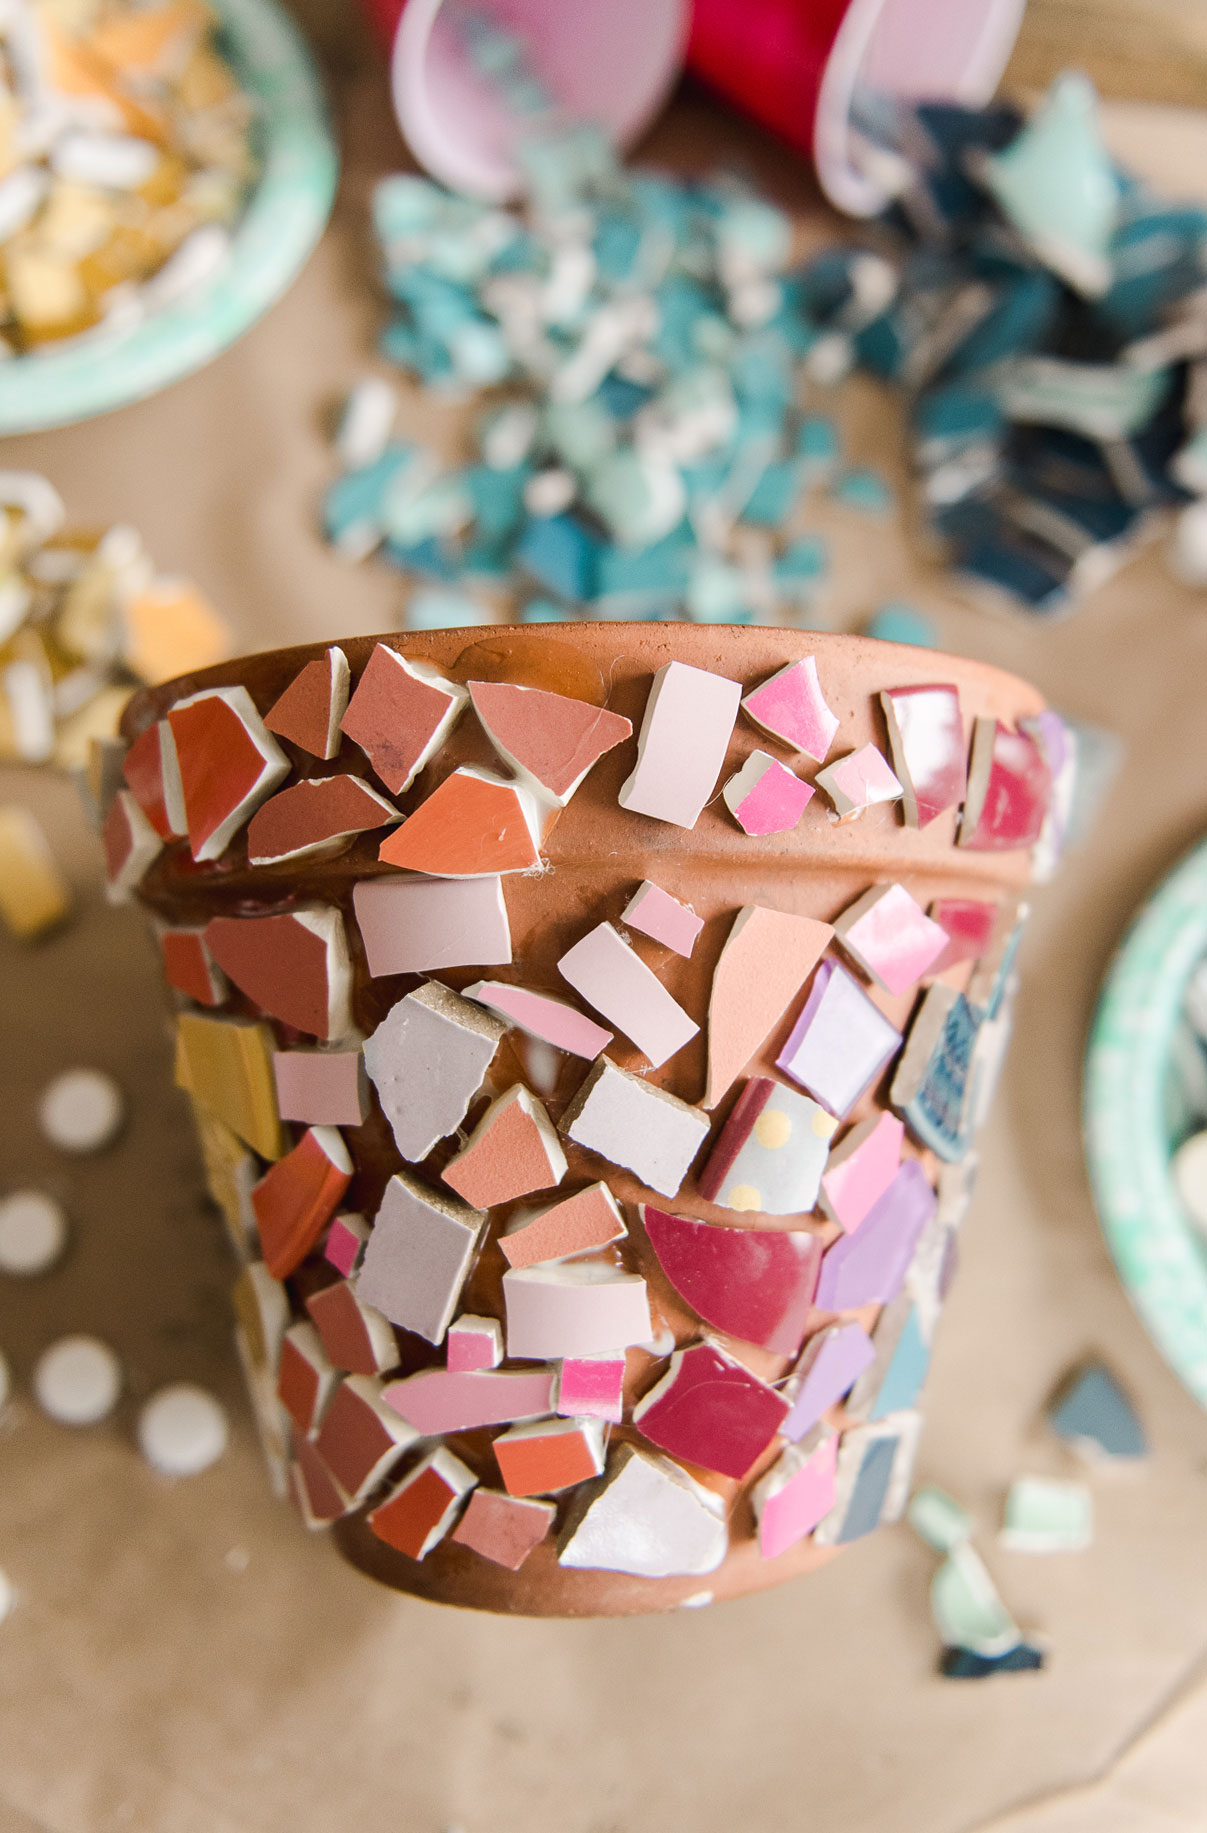
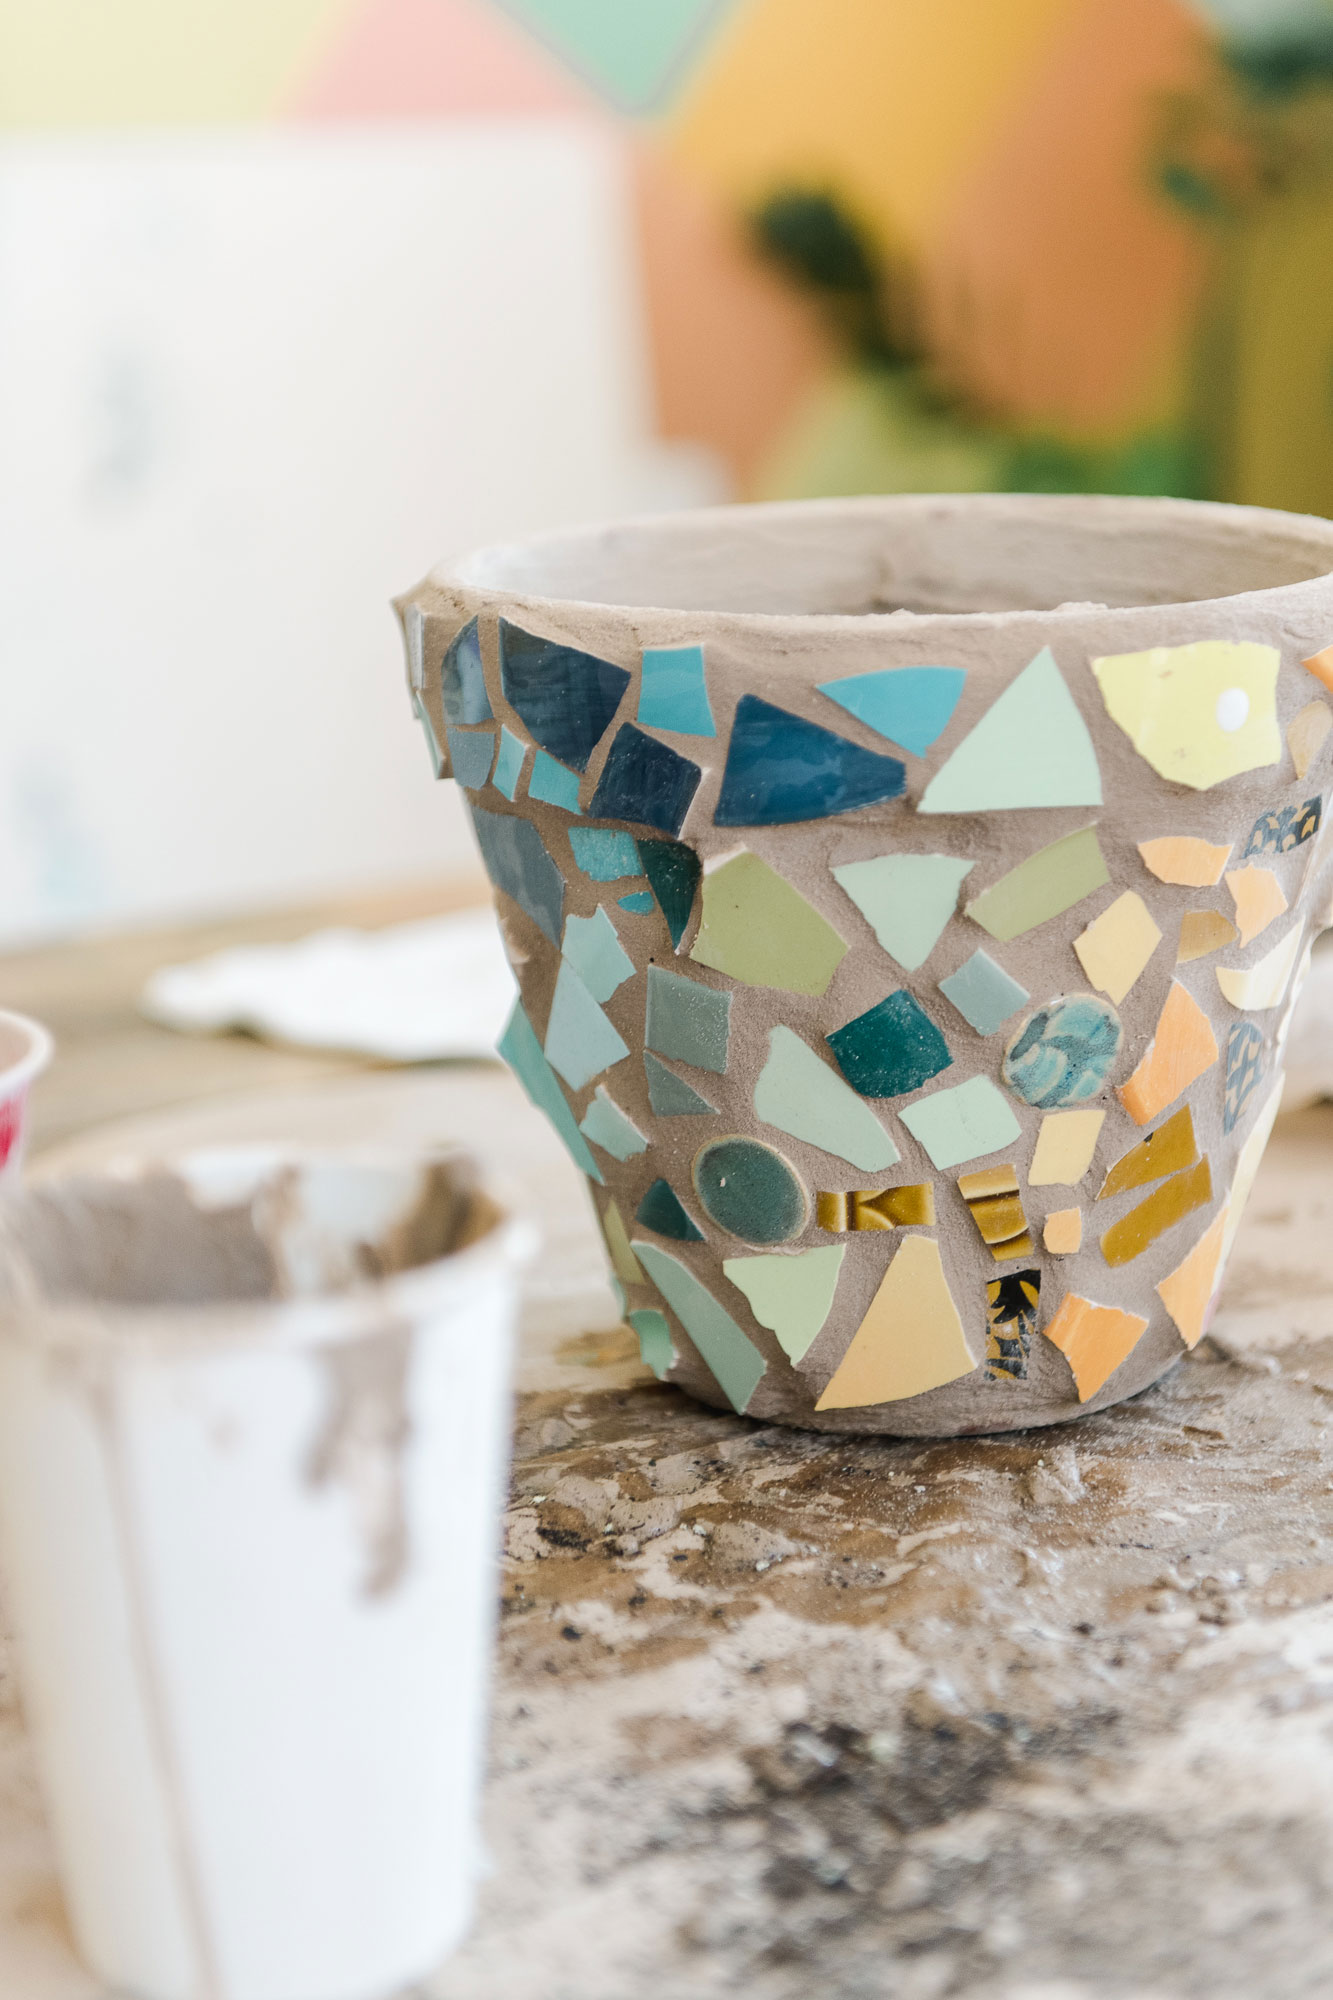
Recycled ceramic mosaic pot!
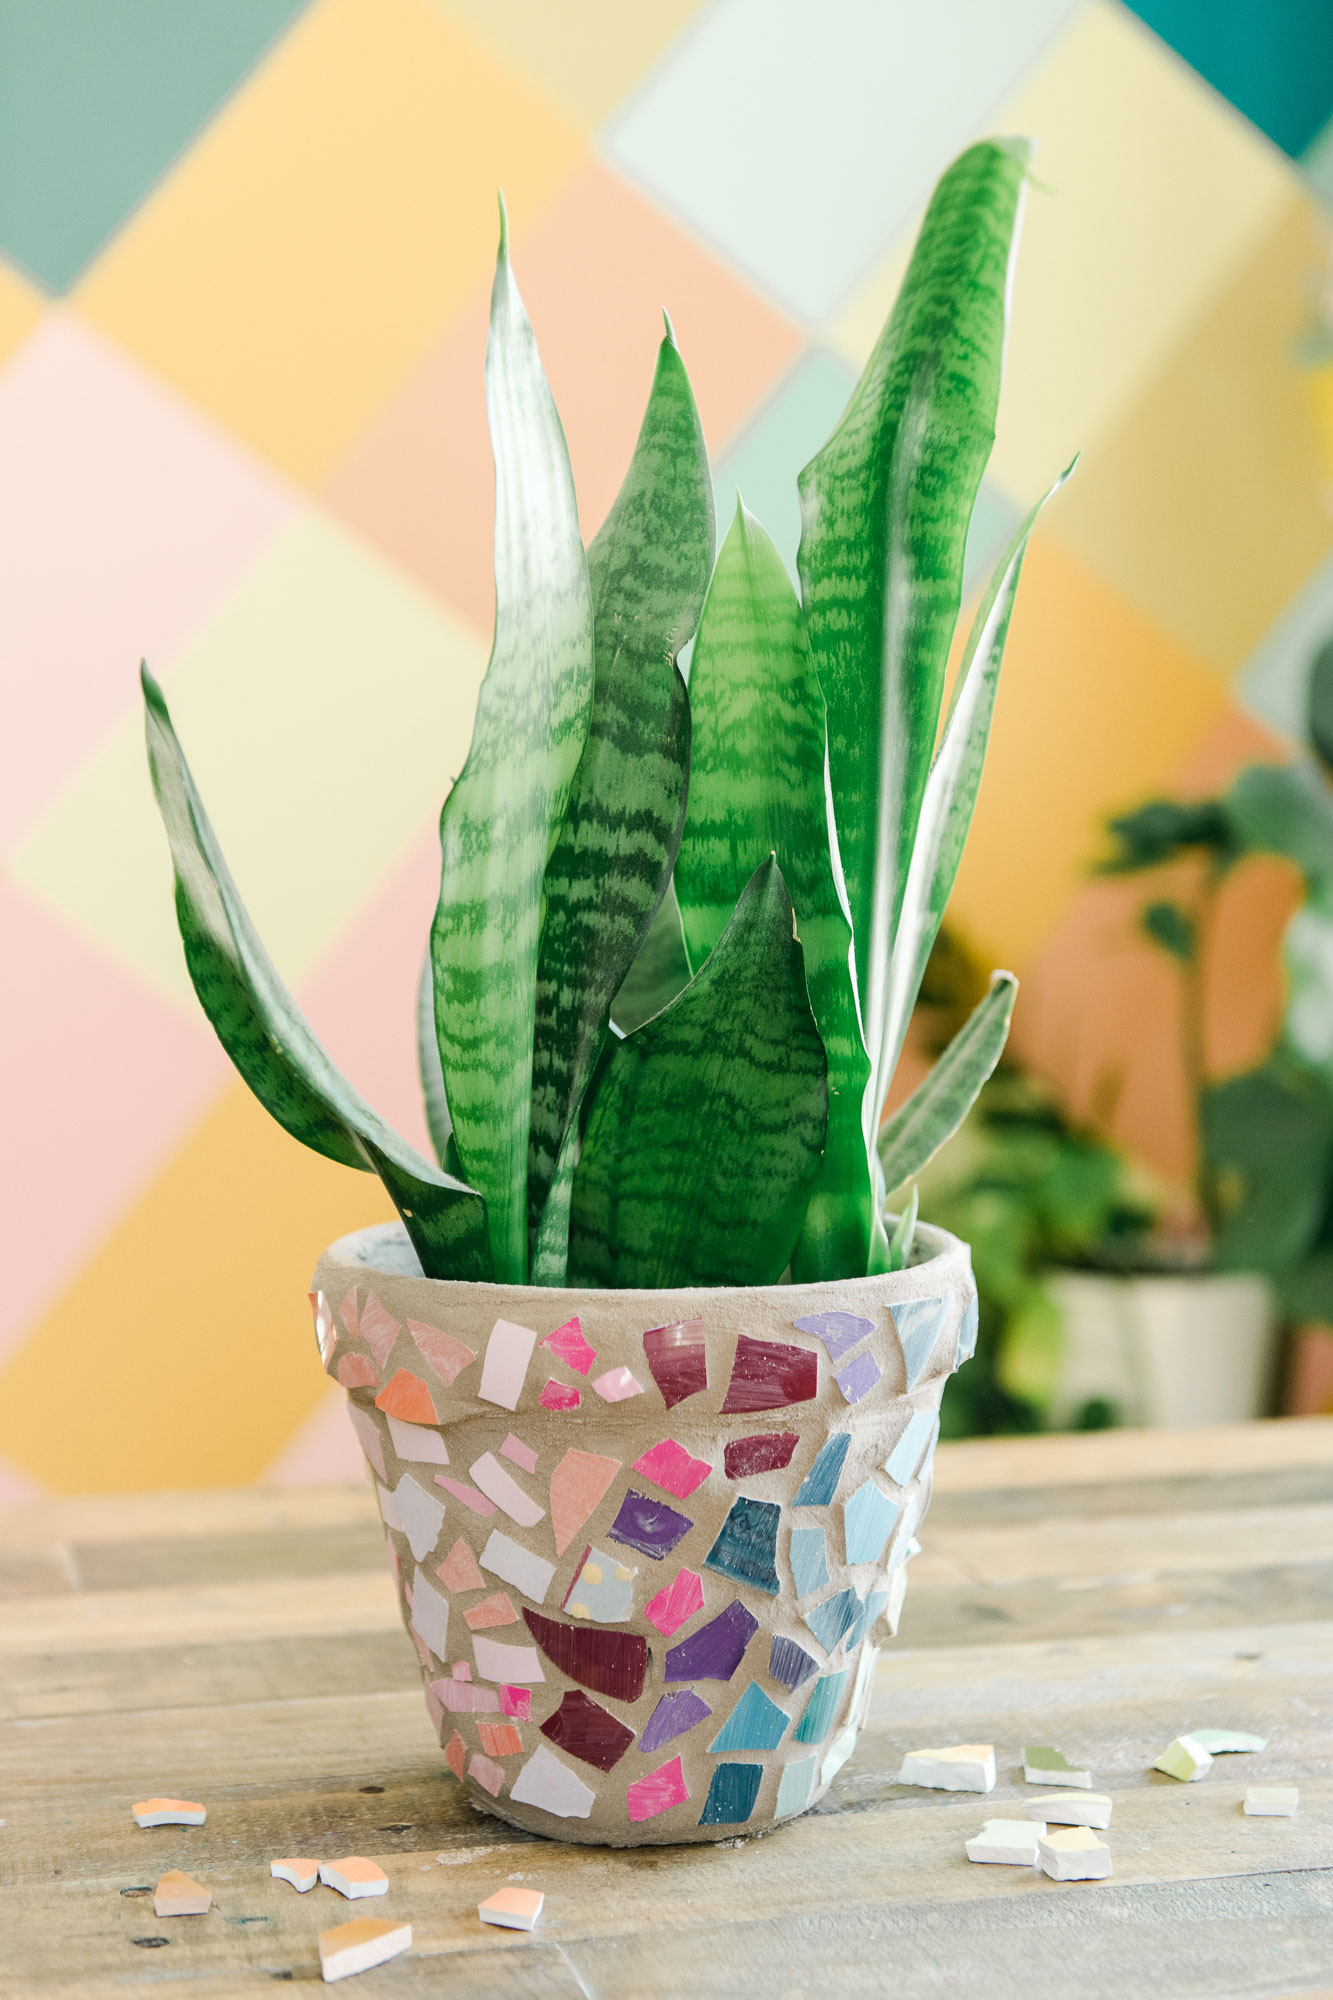
Next time you are at a yard sale, thrift store or simply cleaning out your cupboards, let me suggest that you keep those ceramic pieces that you are tempted to throw away! BECAAAAUUSEEEE let me just say that this recycled ceramic mosaic pot is SOOO fun and inspired AND heck, we are saving some of this trash from the landfill by repurposing! 🙂 #WIN
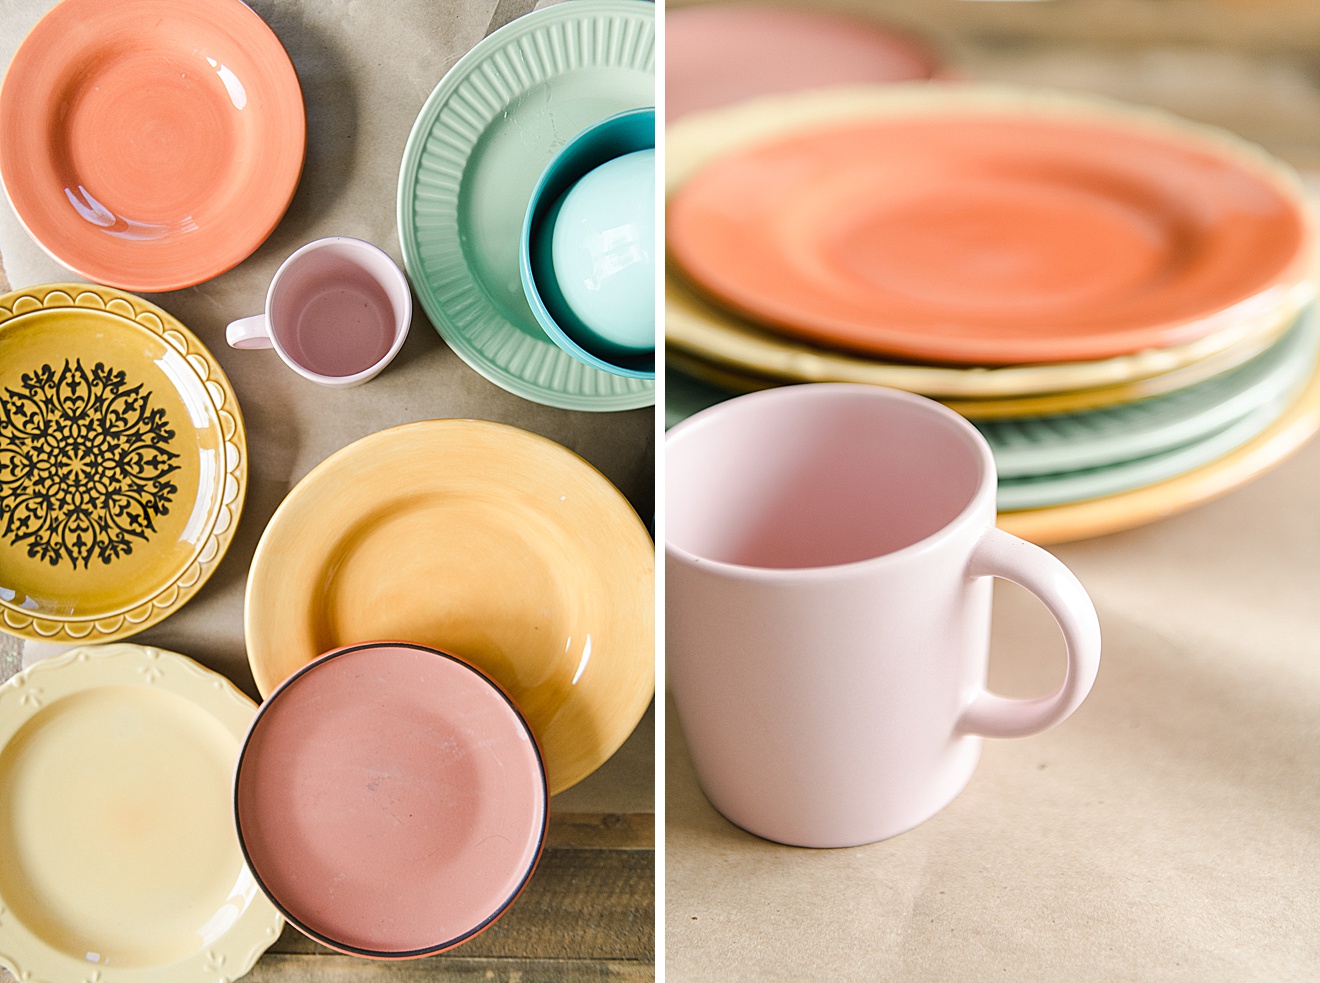
Cleaning out the garage, I found an old chipped terracotta pot that needed some love (it was still in great structural shape, but just had chips and dents on the outside)…..so off to the thrift store to pick up a few happy, colorful pieces for inexpensive. The idea of a mosaic is quite simple really…..break up the pieces, glue the pieces back together in a new, inspired way, then grout and VOILA! 🙂 Honestly, so simple, eh?! 🙂
SUPPLIES
- Safety glasses or eye protection
- Super thick gloves
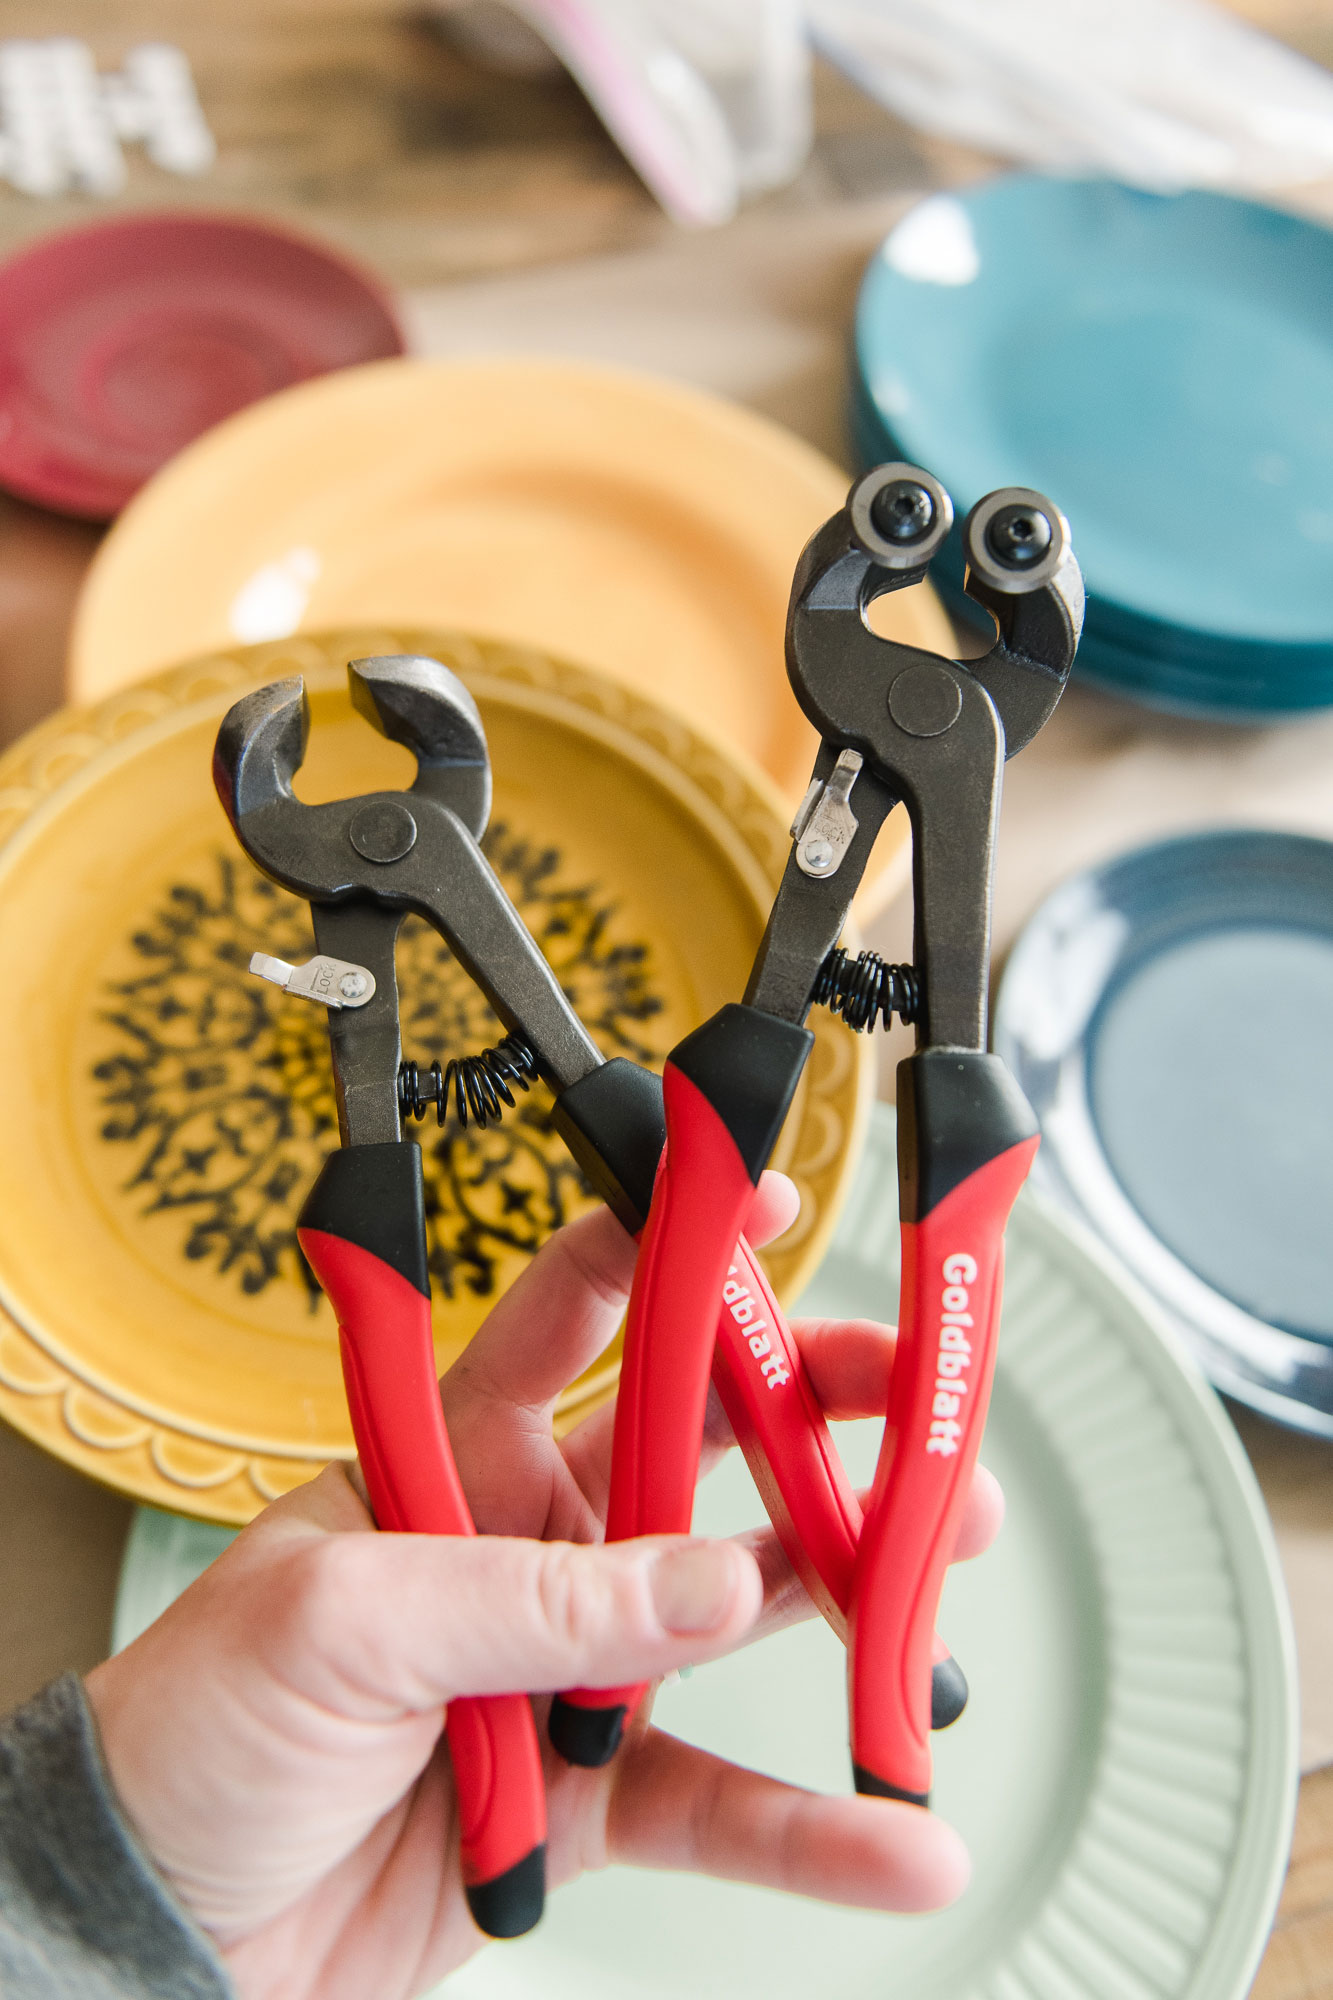
- Tile Nippers or wheel cutters (Handheld things made for cutting up the ceramic pieces)
- LOOOTS of colors of ceramics – plates, cups, anything that someone wants to throw away that you can recycle 🙂
- A terracotta pot or piece of wood that needs some new life
- Paper plates or bags to sort colors of cut ceramics
- A tray for catching parts as you cut
- Thinset OR some craft glue OR hot glue
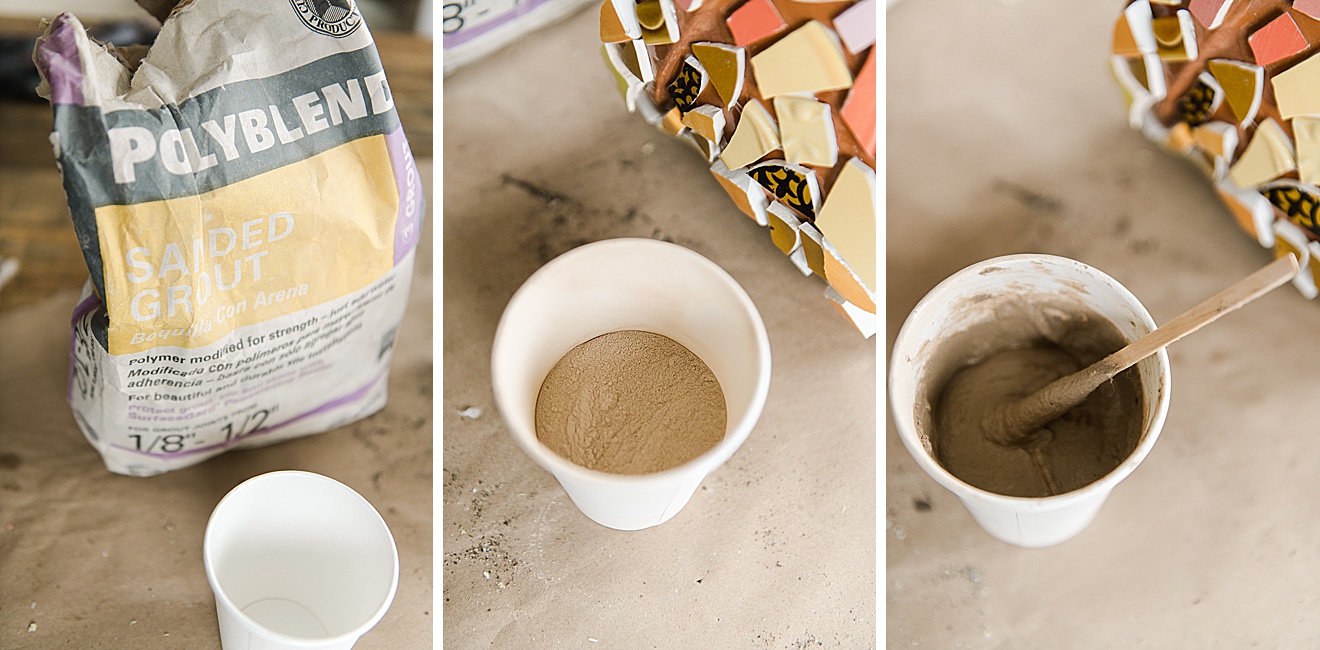
- Grout (preferably sanded for more “tooth” to stick)
- Paper cup or something to mix grout in – along with a stir stick
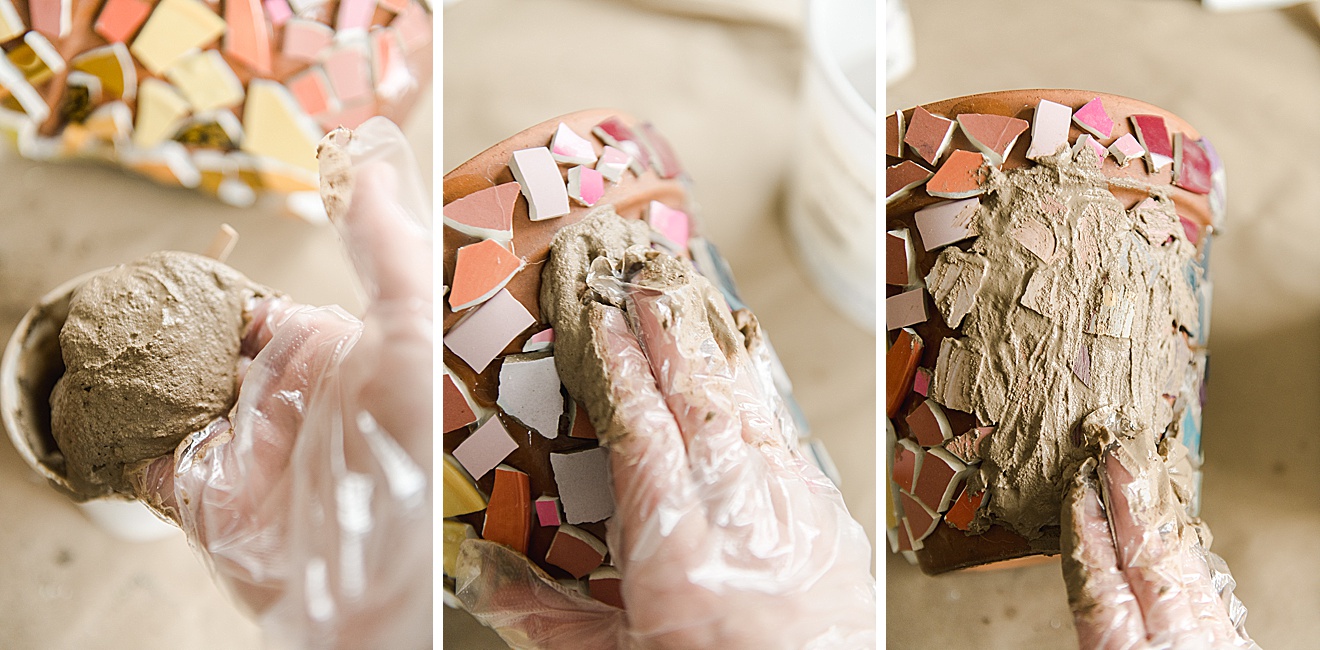
- Optional plastic gloves for smearing grout
- A bucket of water + soft sponge
INSTRUCTIONS:
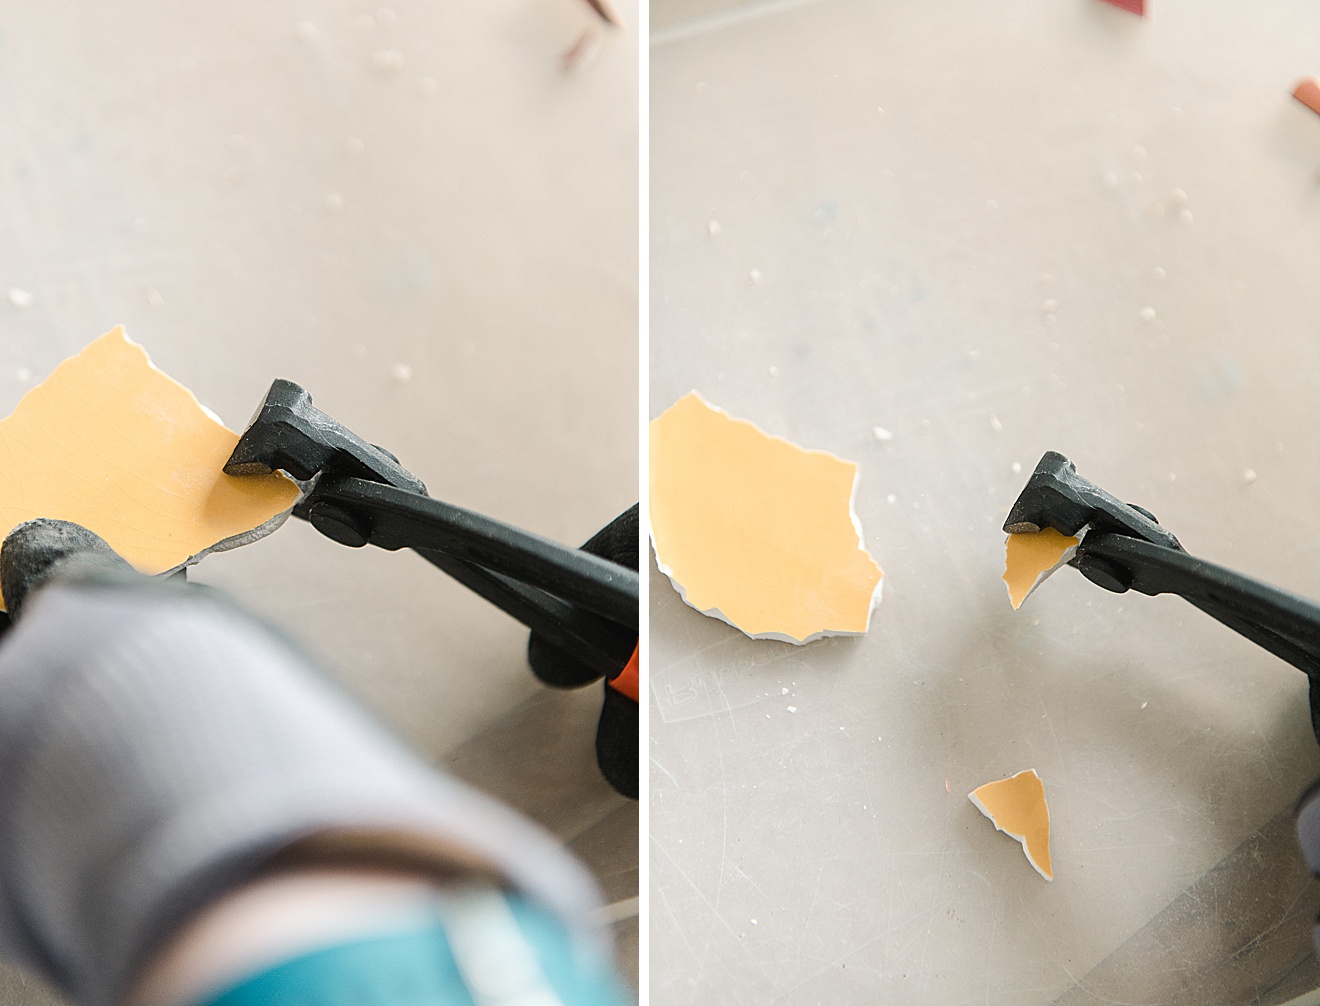
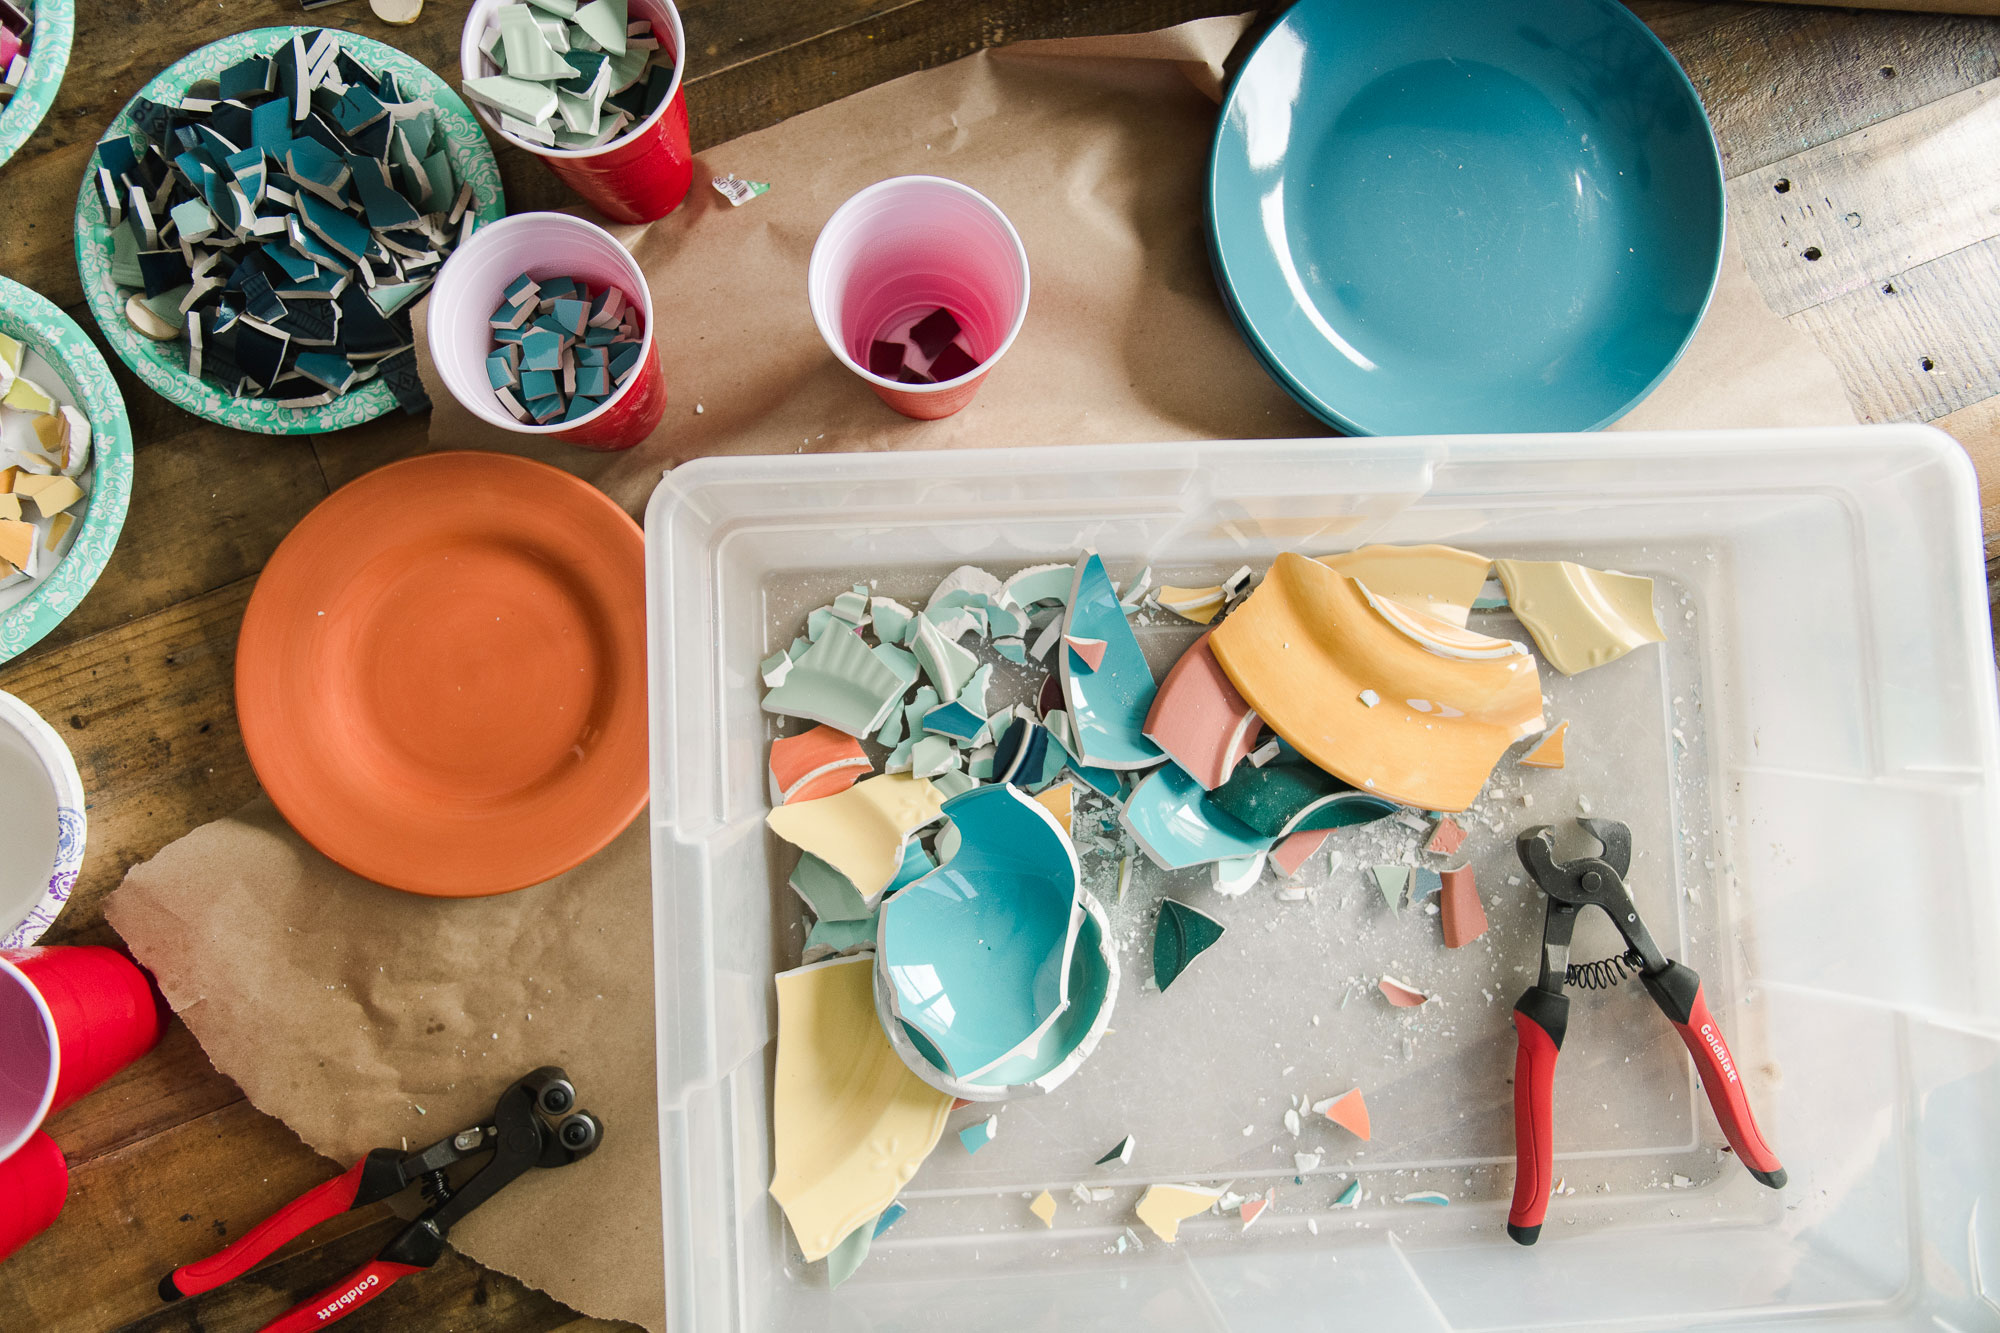
1. Cut up your ceramic pieces with your nippers 🙂
Some tips on cutting:
- Protect your eyes and fingers from shards 🙂
- Pick a work space that has a covering – I chose to use a box so that all of the pieces would fall in there. You could also choose to do this on the floor with a big towel or tarp 🙂 Just something to “catch” the extra shards or random pieces that don’t break off well
- Cut your pieces by placing the nippers on the very edge of your ceramic plate – squeeze nippers together and see where the cut breaks. Repeat this over and over until you’ve got little ties and squares to puzzle together.
- When you’re cutting, hold your ceramics + nippers close to the floor or box…..less chance to fling or fly away because you’re closer to the table surface
- Try and use/snip off only the even parts of the ceramics – you won’t want to use any uneven or super thick pieces – like the bottom rim of the underside of the plate or the handle of a mug or the base of a vase. It just won’t lay quite right
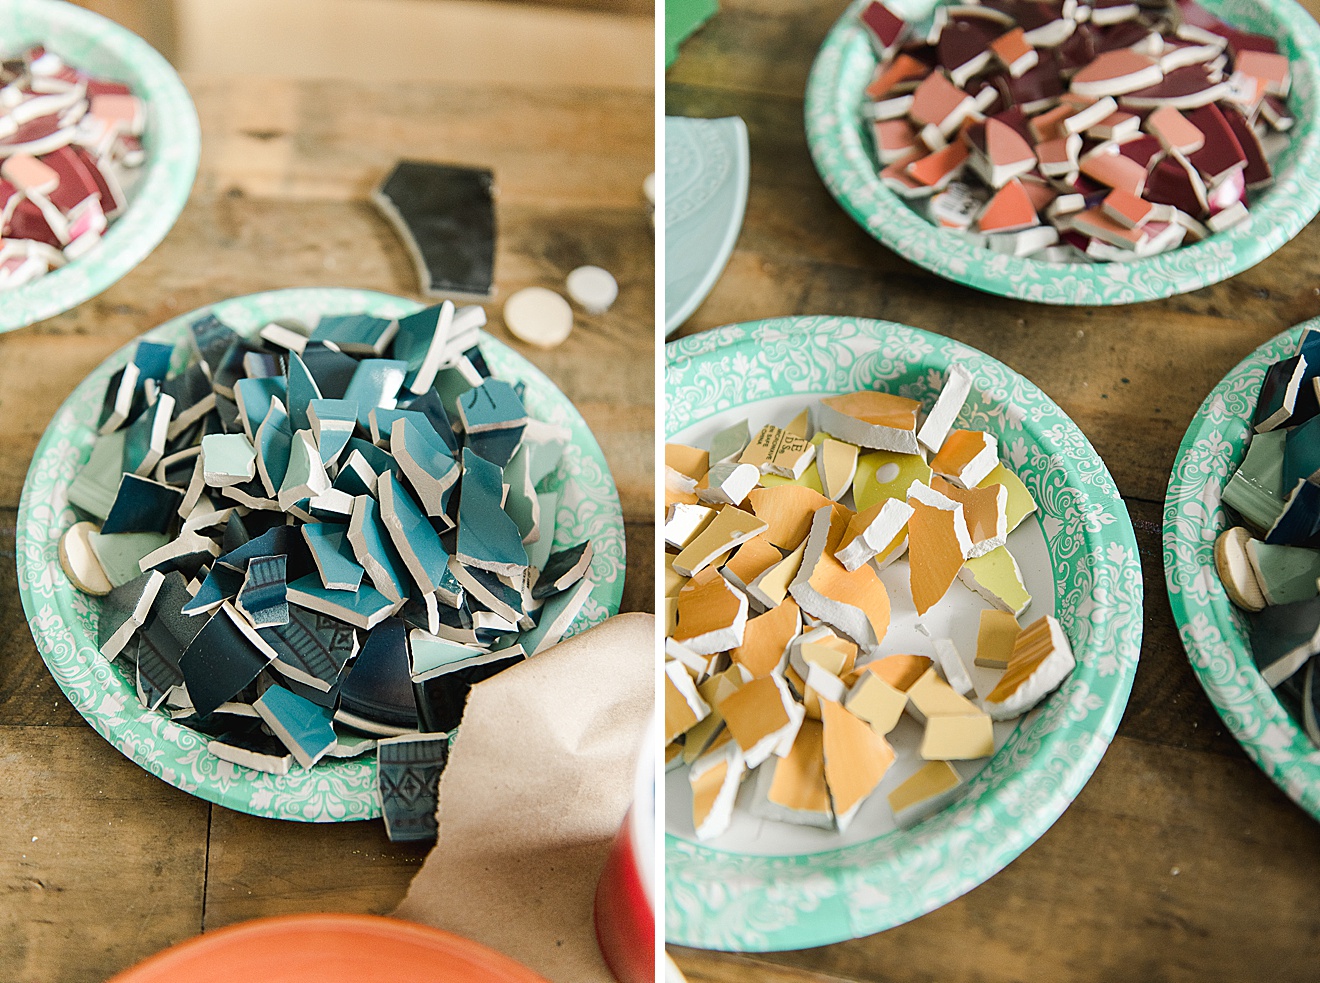
- As you nip your tiles, sort your colors into bags or bowls to make it easier to grab later
2. Begin laying out your mosaic. Decide the colors and style or layout you want to do. If you are using a flat surface, then you can lay out your entire mosaic (to be able to move things around and change as needed) BUUUT if you are doing a pot, then you won’t be able to lay it all out before attaching (duh, rounded surface) SOOOOO I just begin to glue down the pieces as I went. You can use craft glue or hot glue to glue down as you go.
When laying out your pieces/tiles, do your best to leave equal space between each shape, this will make it look professional and awesome when done! 🙂 And feel free to nip your tile pieces smaller as you are laying out the design to fill in any empty or small spaces.


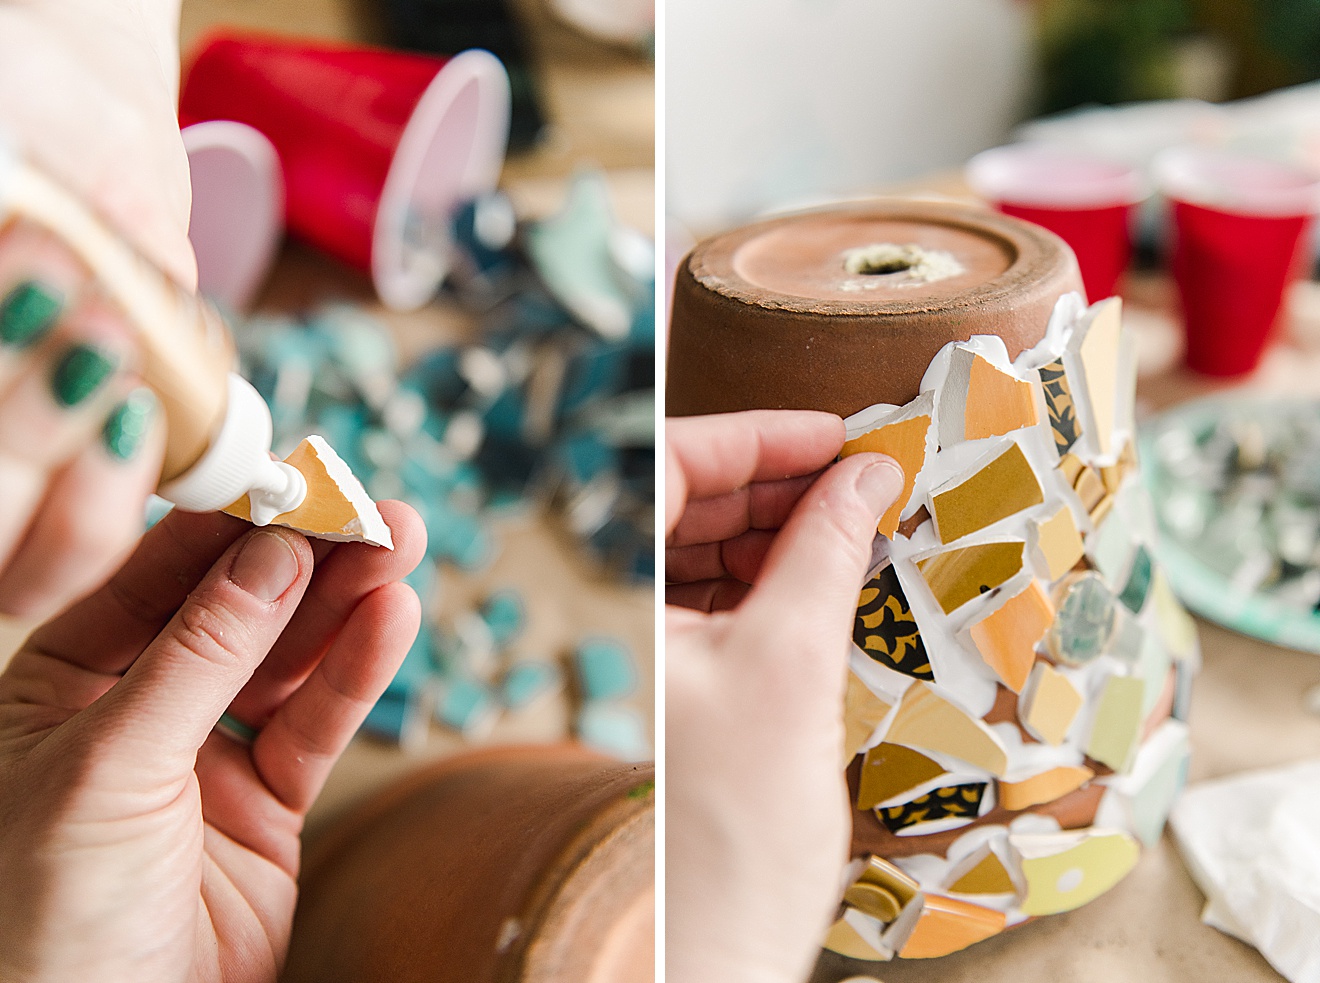
When your whole area is covered, set aside to dry completely!
3. Now it’s grout time! Mix your grout by starting with a cupful of dry grout and add a small amount of water at a time. You want the consistency to be like super thick pancake batter…thick enough to stick together and not slide off the sides of the pot BUT thin enough to be “spread” around and fill in the cracks.
With your hand, spread the grout across the mosaic making sure to spread in every direction to fill in all the cracks, holes and crevices between the ceramic pieces. If you are making a pot, be sure to go “over” the top lip so that the grout color is on the entirety of the pot for a finished look.
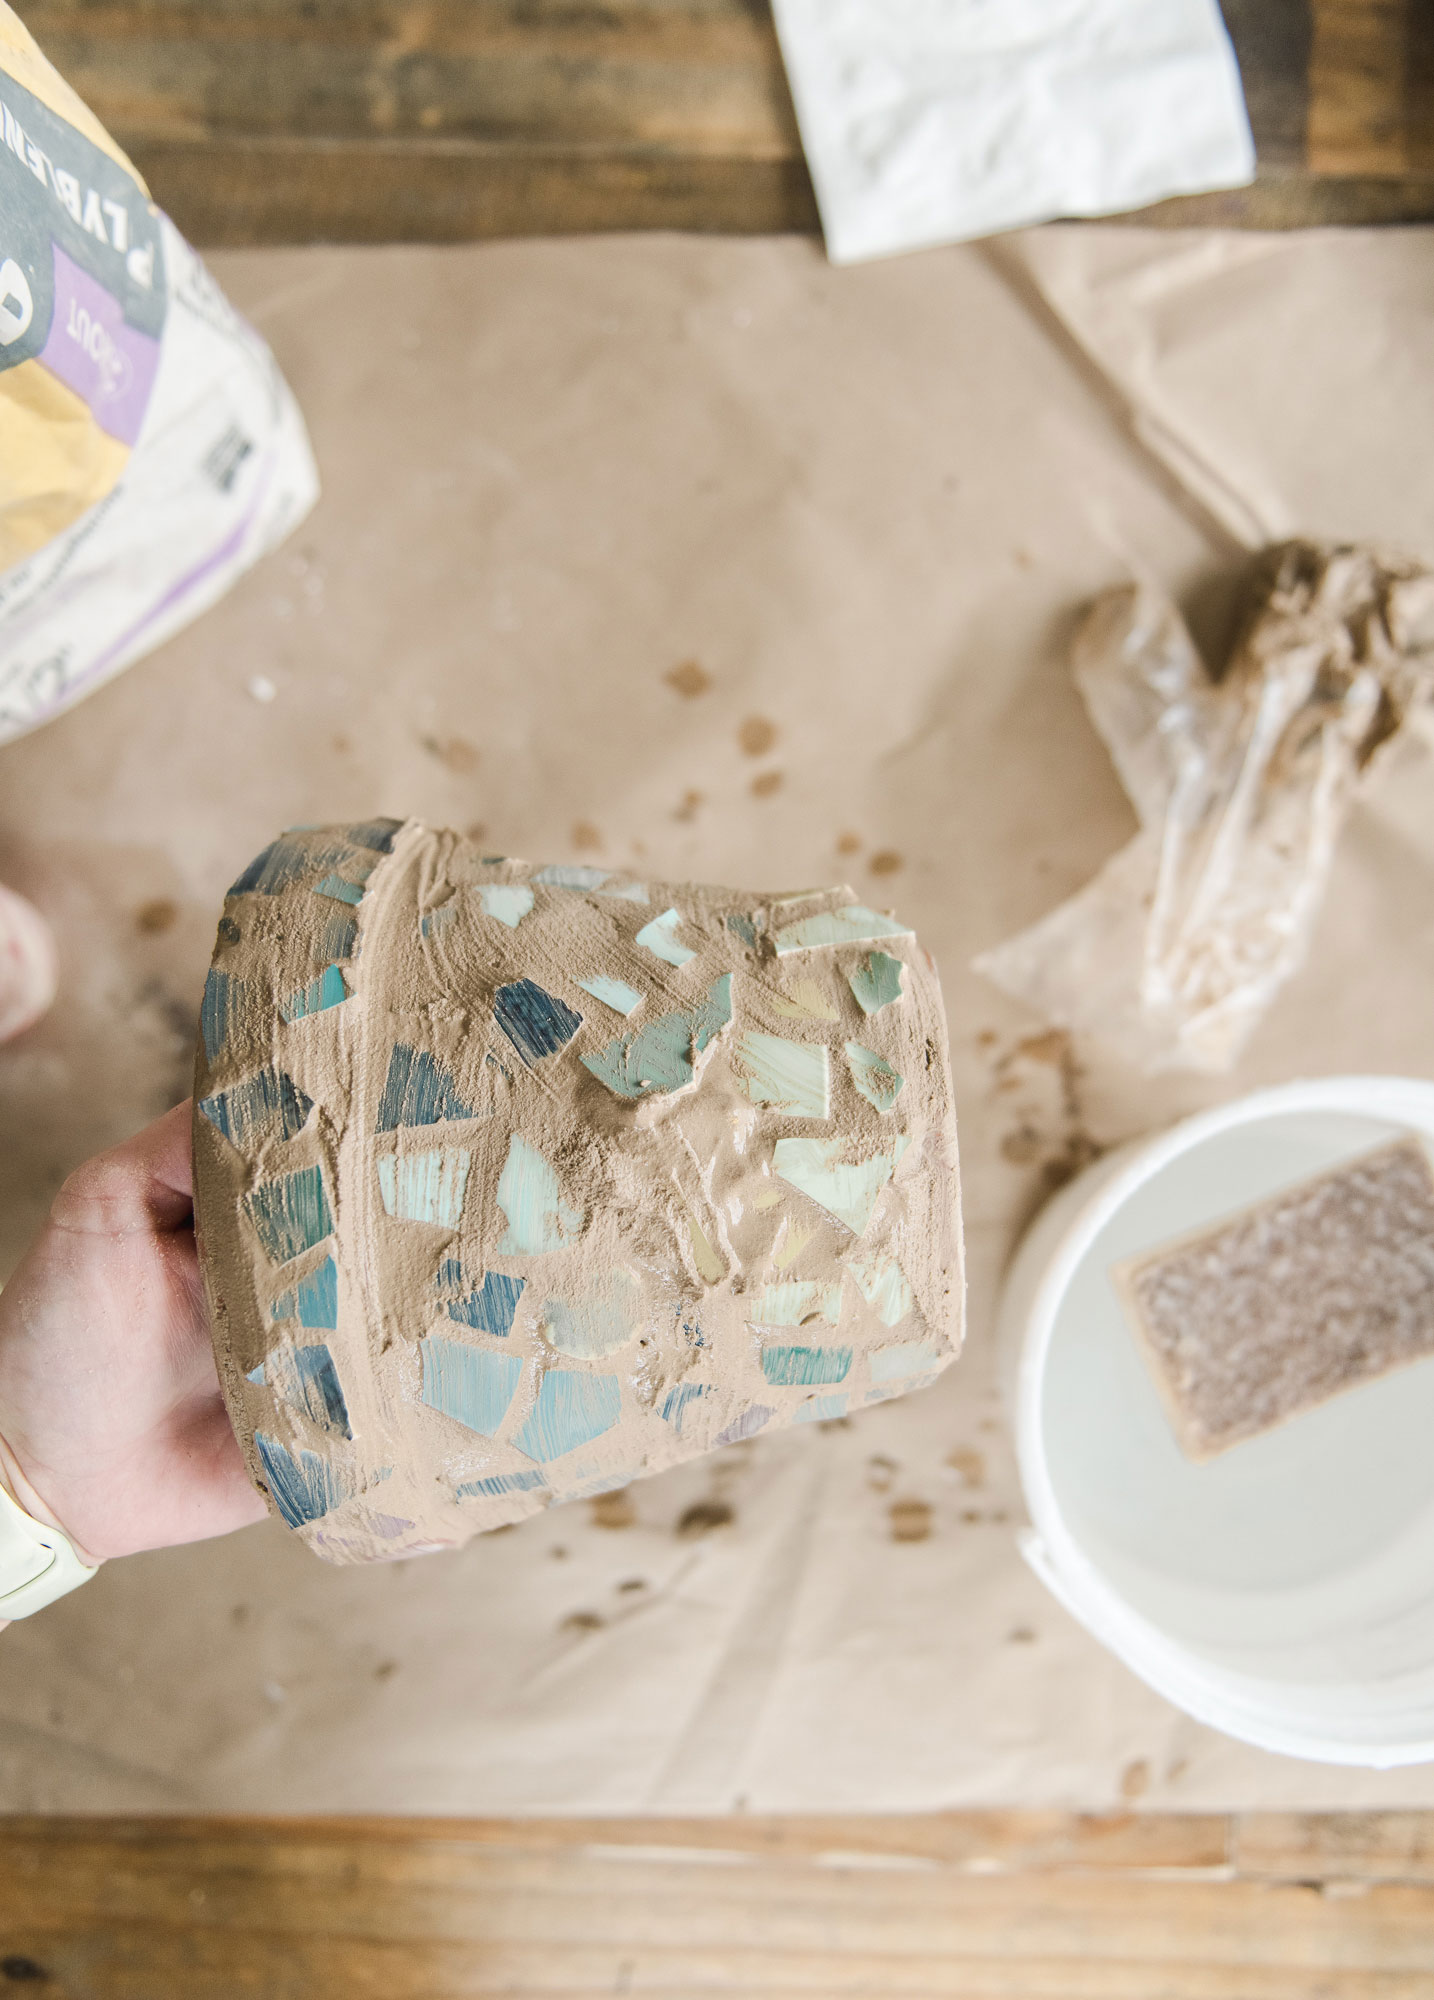
4. With a wet sponge, begin wiping off your excess grout – you will do this by lightly pressing and moving the sponge across the mosaic/tile pieces. You will want to keep the sponge “flush” with the mosaic so that it doesn’t go in between the pieces and gouge out the grout. Keep wiping until all of the grout is off of the ceramic pieces – take your time, go slow, and squeeze out the water/rinse the sponge often!
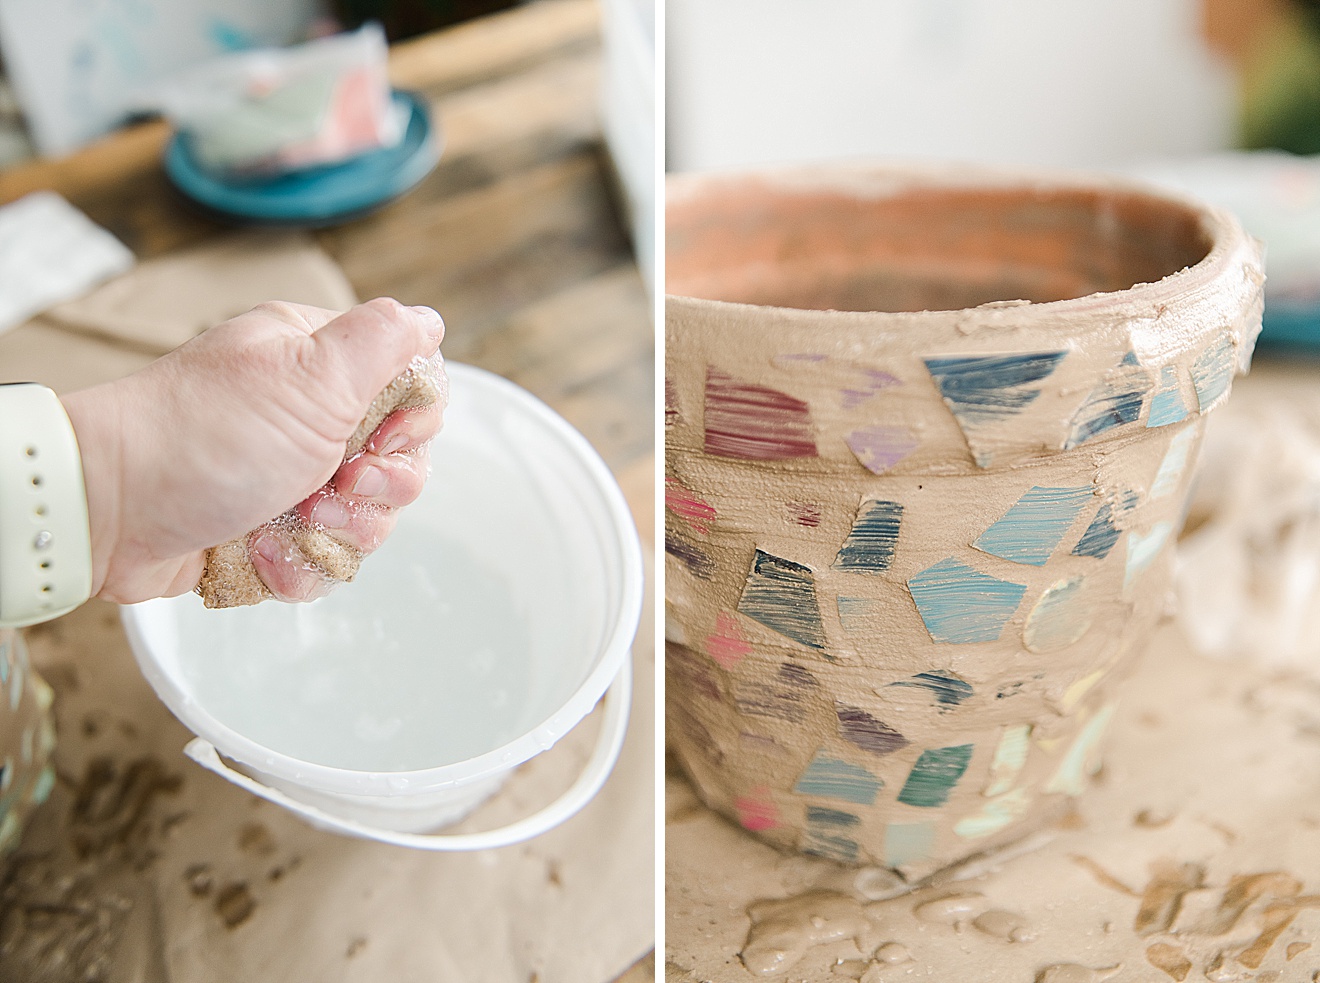
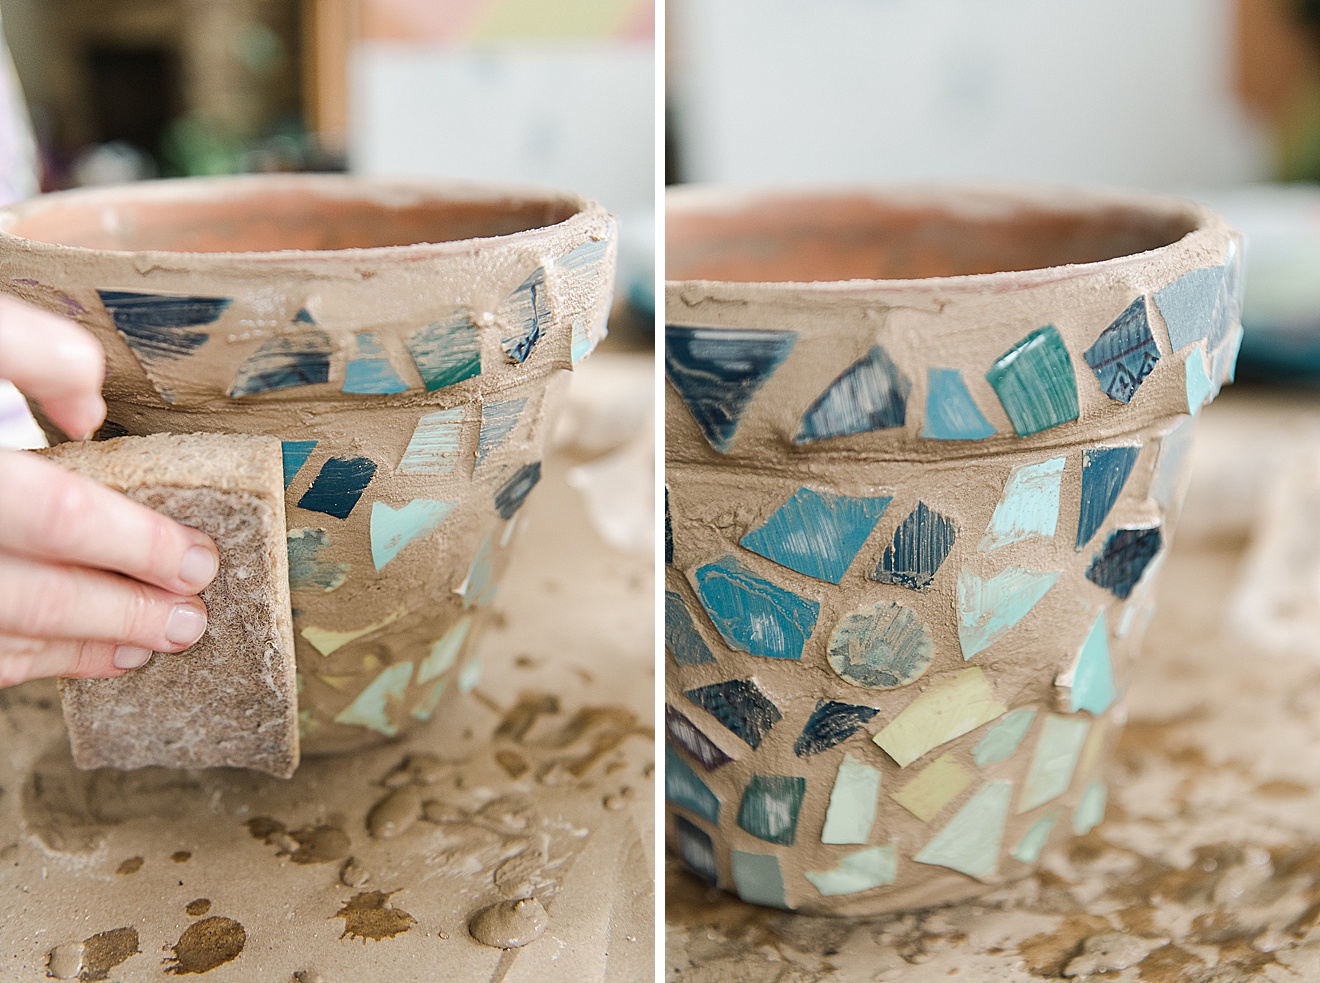
Set aside to dry for 30-ish minutes and then take a damp papertowel or sponge again and gently buff or wipe off the last bit of residual dust to polish up perfectly! 🙂
Set your pot or mosaic aside and wait until the grout is cured (check instructions on the back of your package – but ours was about 6 hours until fully cured)! 🙂
Now it’s time to display your beautiful new planter with some fresh herbs or a new green plant! 🙂