How to make Giant Markers
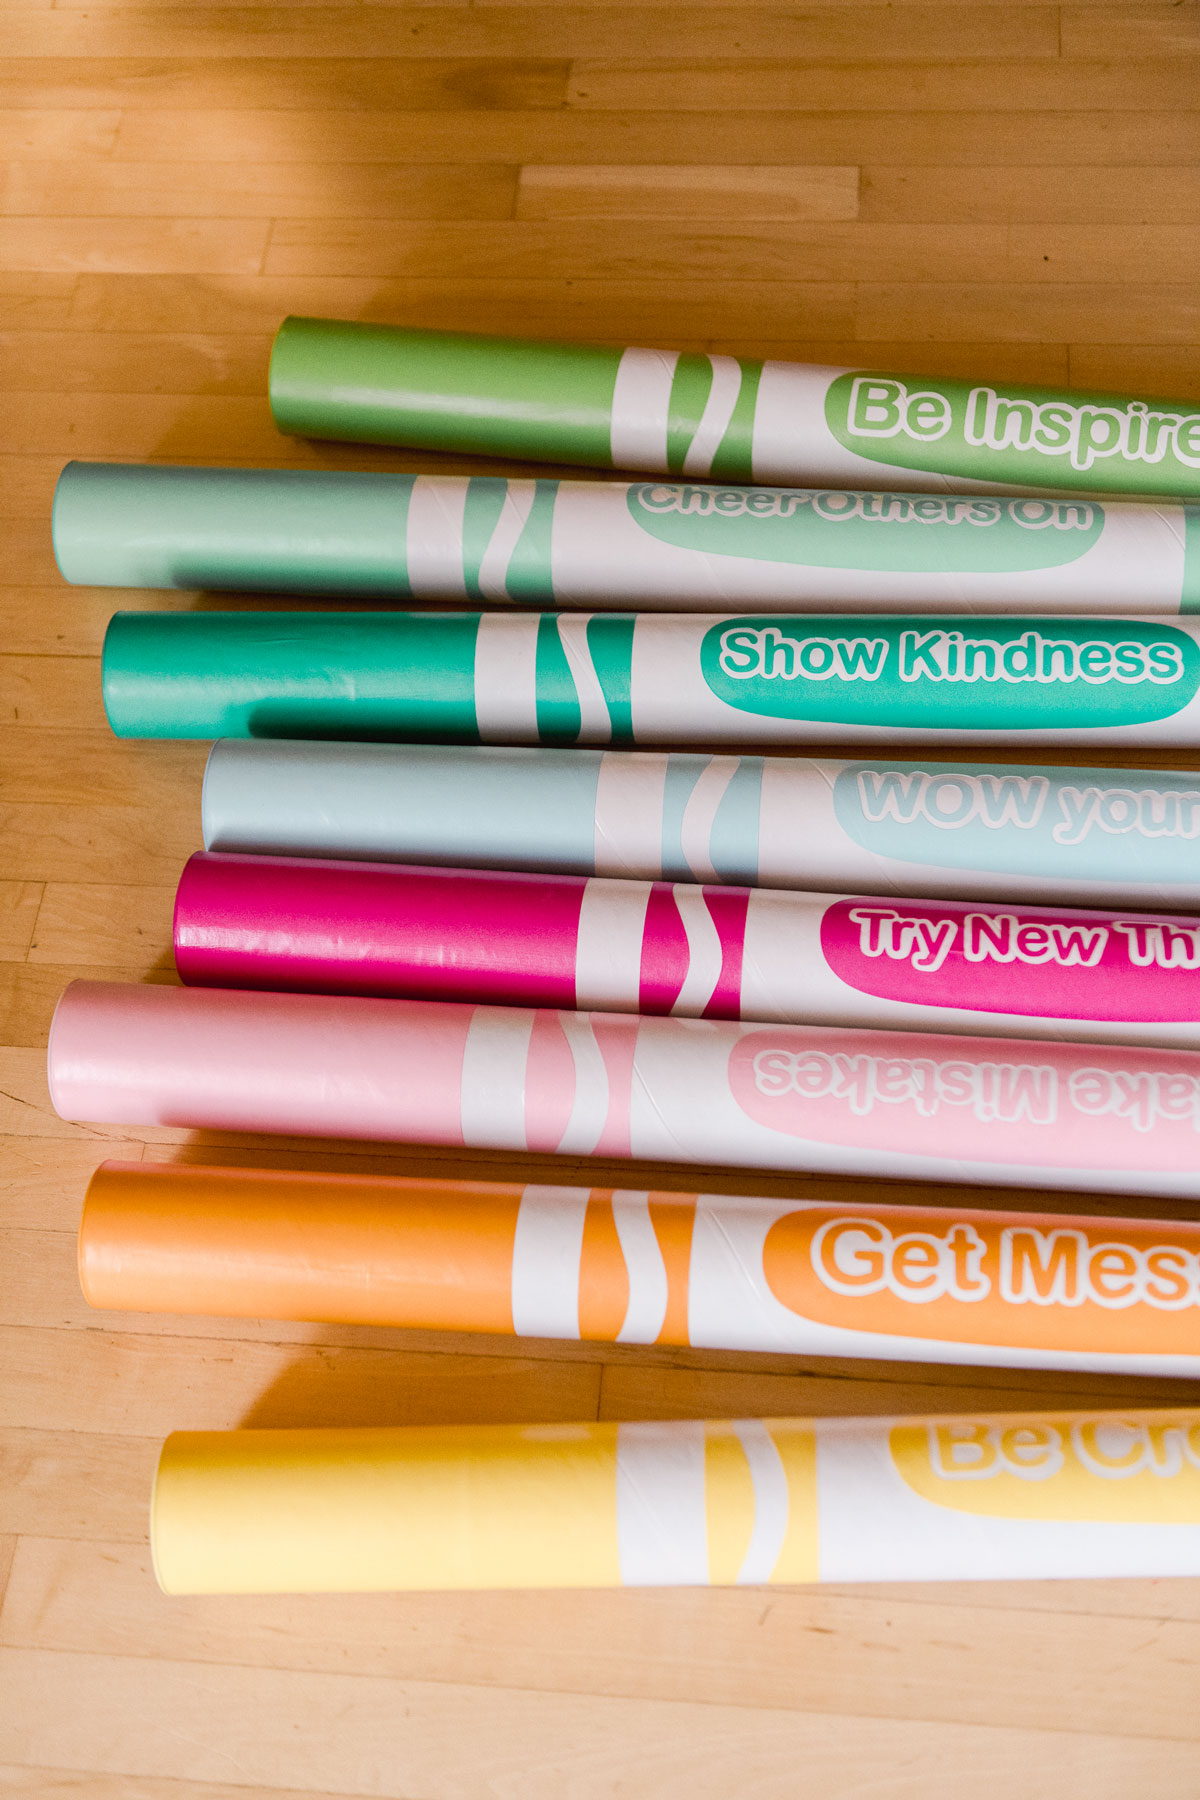
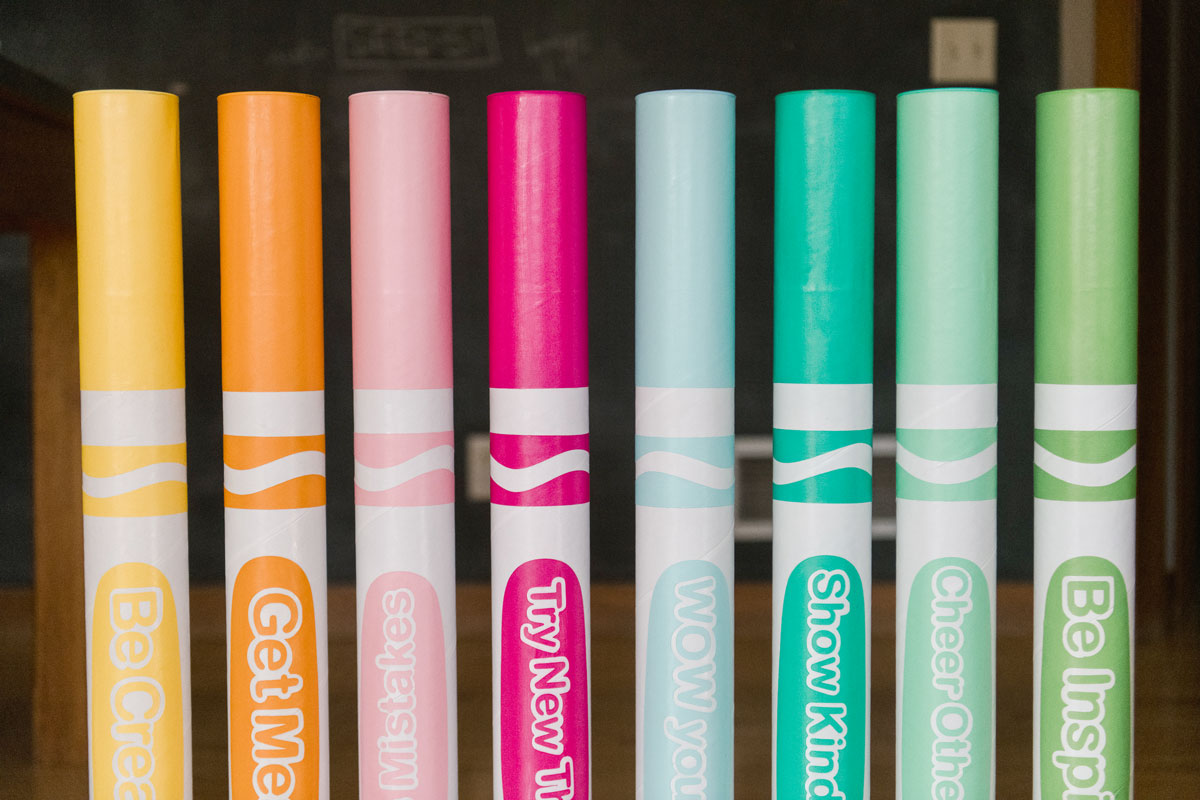
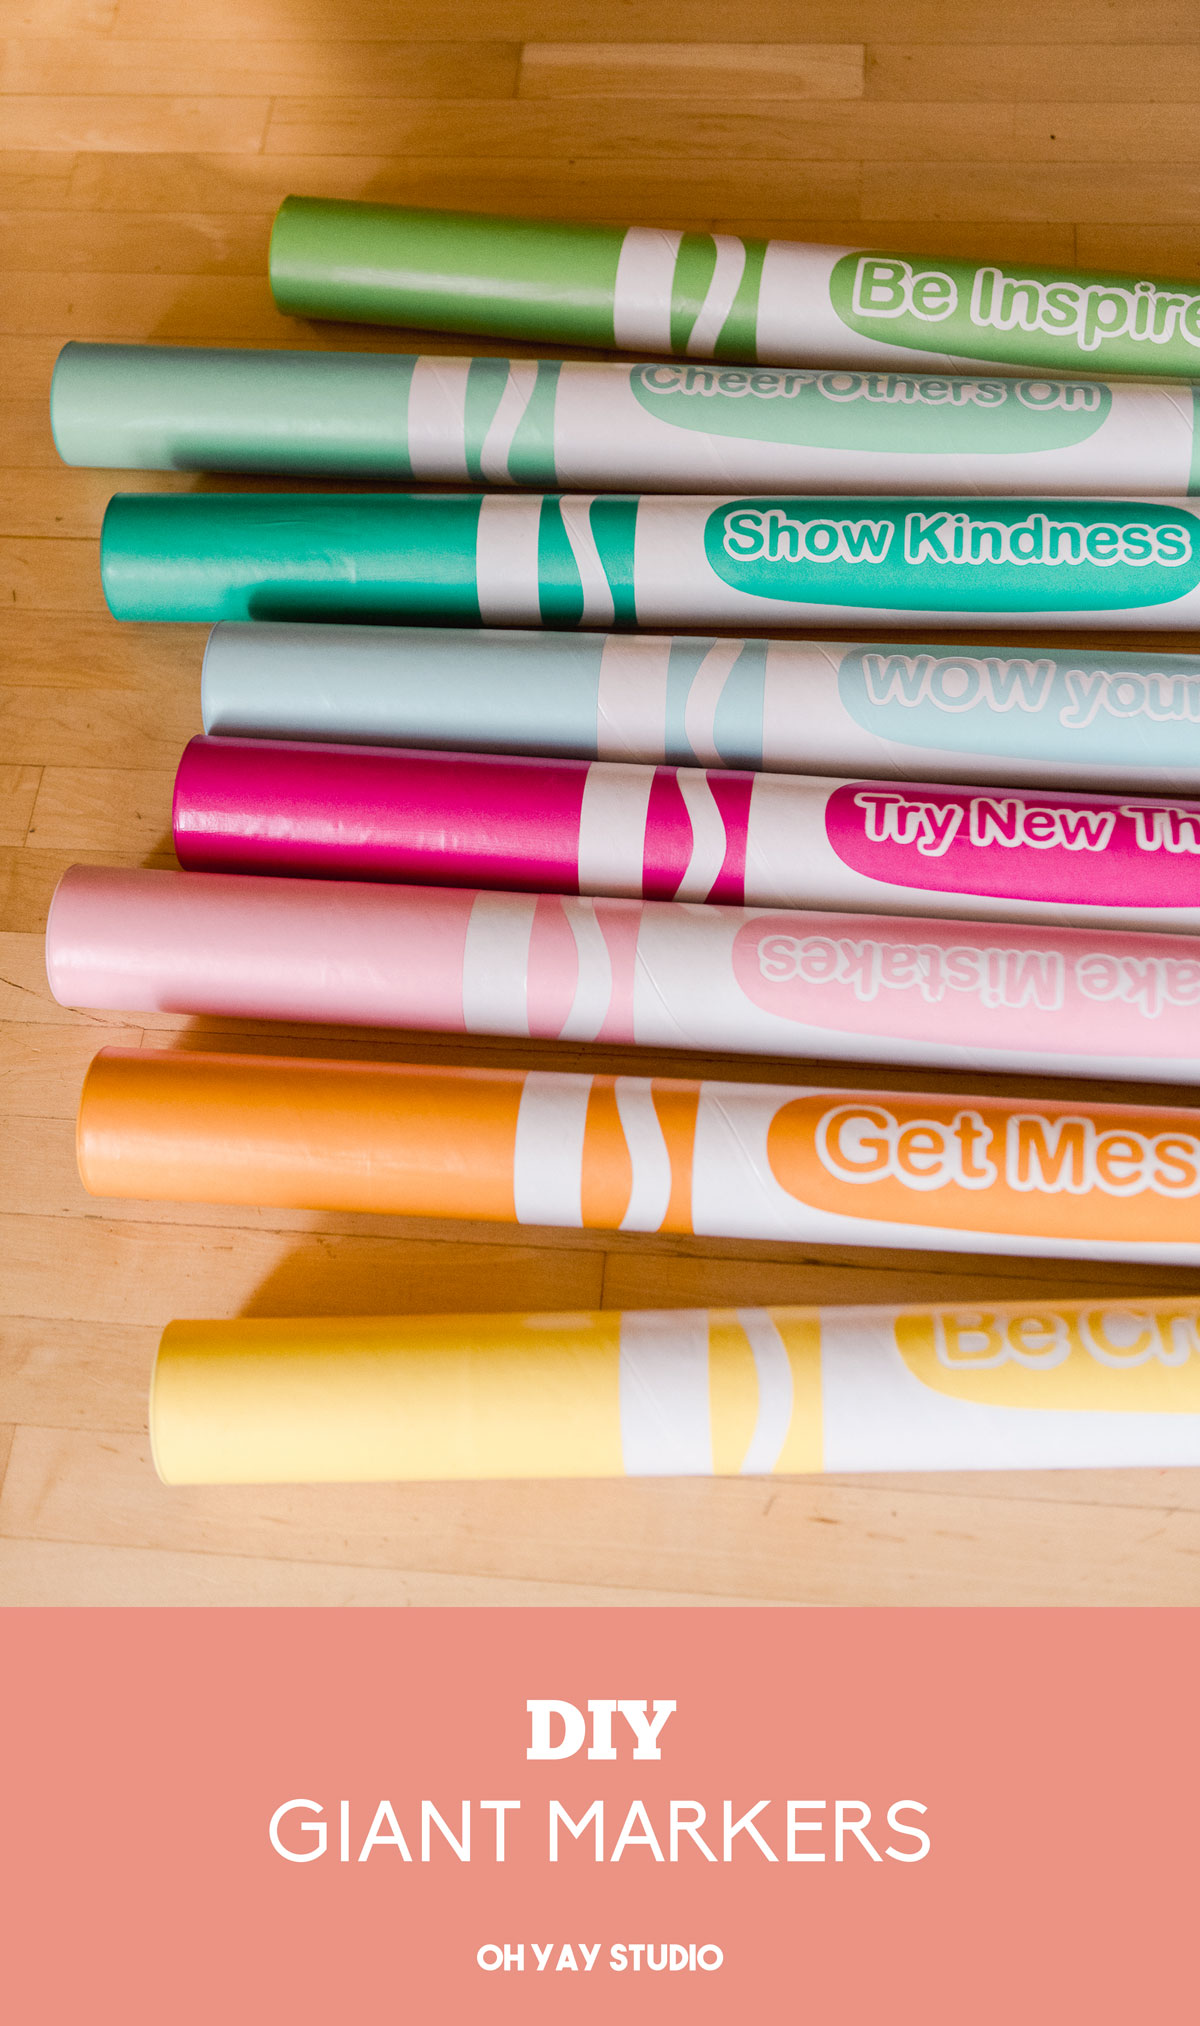
I LOOOOVE teaching kids are – I believe that every kid (and every human for that matter) is creative and I LOVE LOVE LOVE encouraging them in their creativity and helping them find some fun and joy in what they are making. I also have other things that I aim for in the art room so this year, I decided that I wanted to make these “traits” or goals or “classroom aims” (I know there’s a better “teacher” word for this but you get the idea)! 🙂 SOOOOOOO, using some shipping tubes from the amazing Michaels Store, I decided to make some giant markers so that we could display these in our art space allllll year long! 🙂
Of course you could add color names or the actual “crayola” label……so this is totally up to however you want to customize your giant Makers! 🙂
MATERIALS:
- Big shipping tubes (similar to my giant crayons HERE) sized 3″ in diameter by about 37″ in length
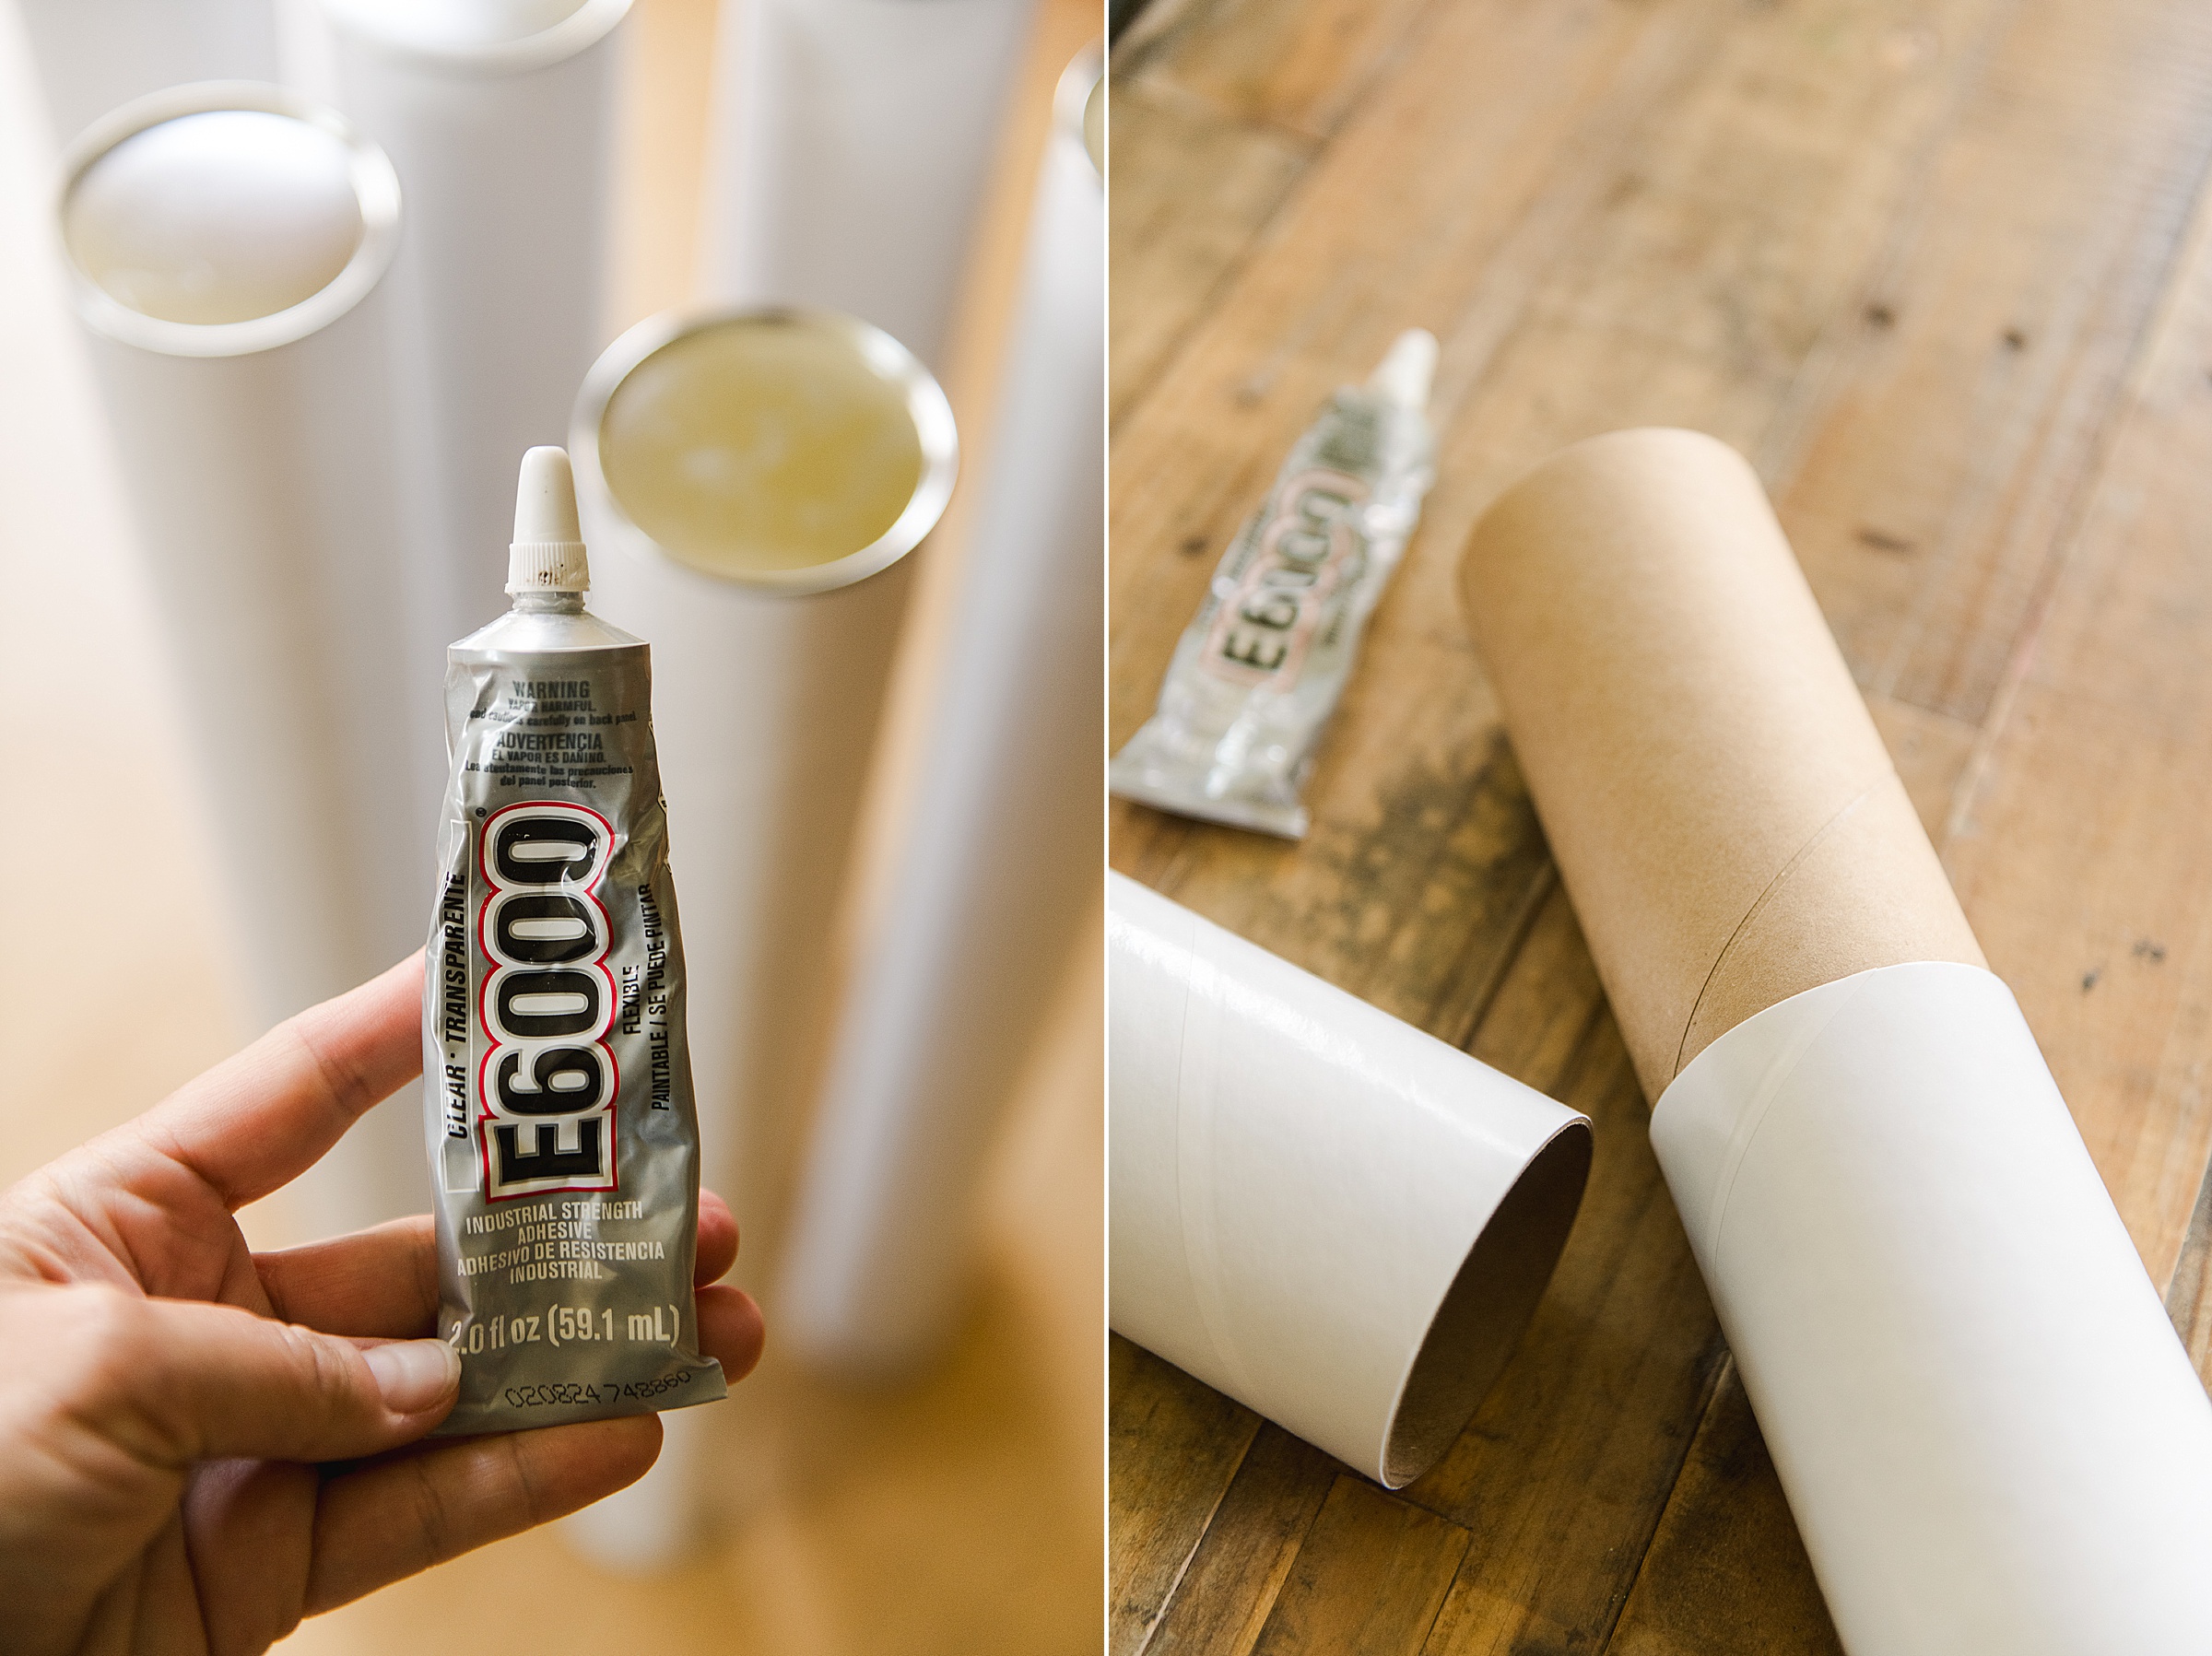
- E6000 glue (or something super strong)
- White primer (I used Colorshot brand, my fave) – this is optional, but I found it helpful 🙂
- Your fave colors of Recollections brand (65lb) cardstock paper from Michaels
- Paint colors to match your selected cardstock paper
- A paint brush
- Sharp scissors or an x-acto knife
- Ruler
- Pencil
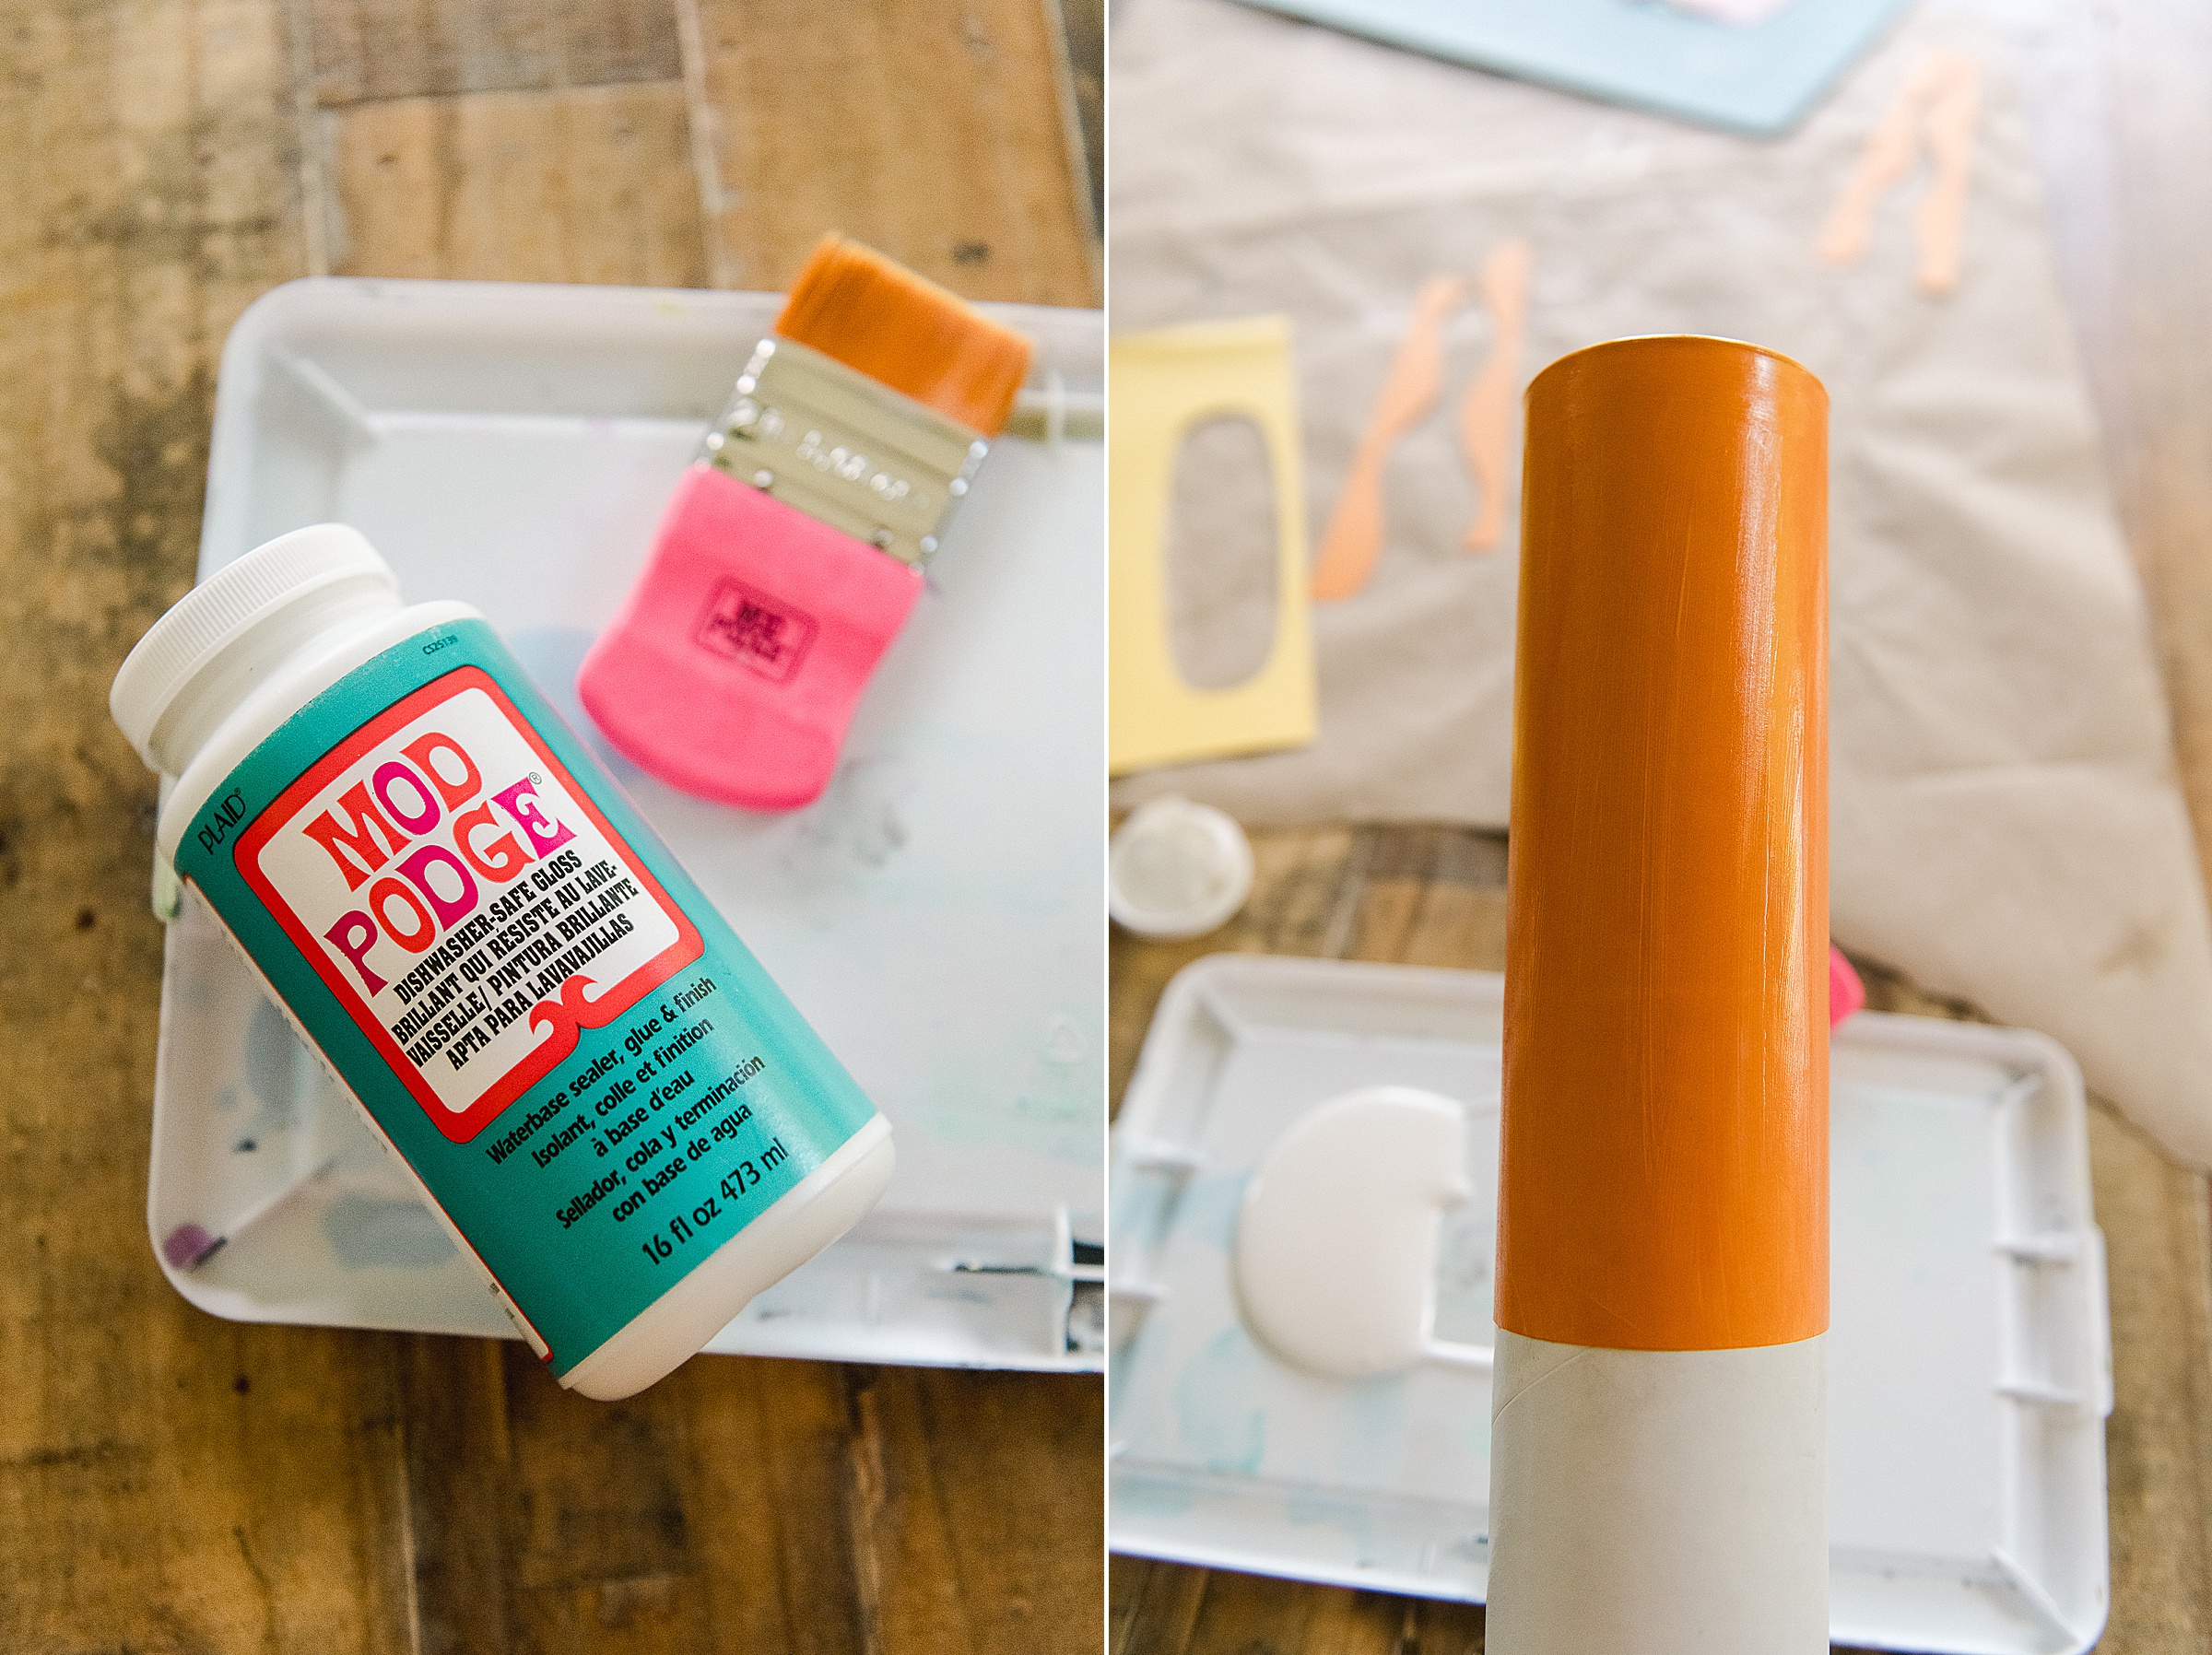
- Some Mod-Podge and a paint brush (I chose the glossy Mod-Podge so that the shine mimicked the texture of a marker) 🙂
- An optional cutting machine like a Cricut or Silhouette 🙂
INSTRUCTIONS:
1. Glue your shipping tubes together – most tubes have a “cap” or top that you need to adhere down so that the marker doesn’t come apart. I used E6000 glue because it’s AMAZING! 🙂
Be sure to do this in a well ventilated area if needed and then set aside to let fully dry! 🙂
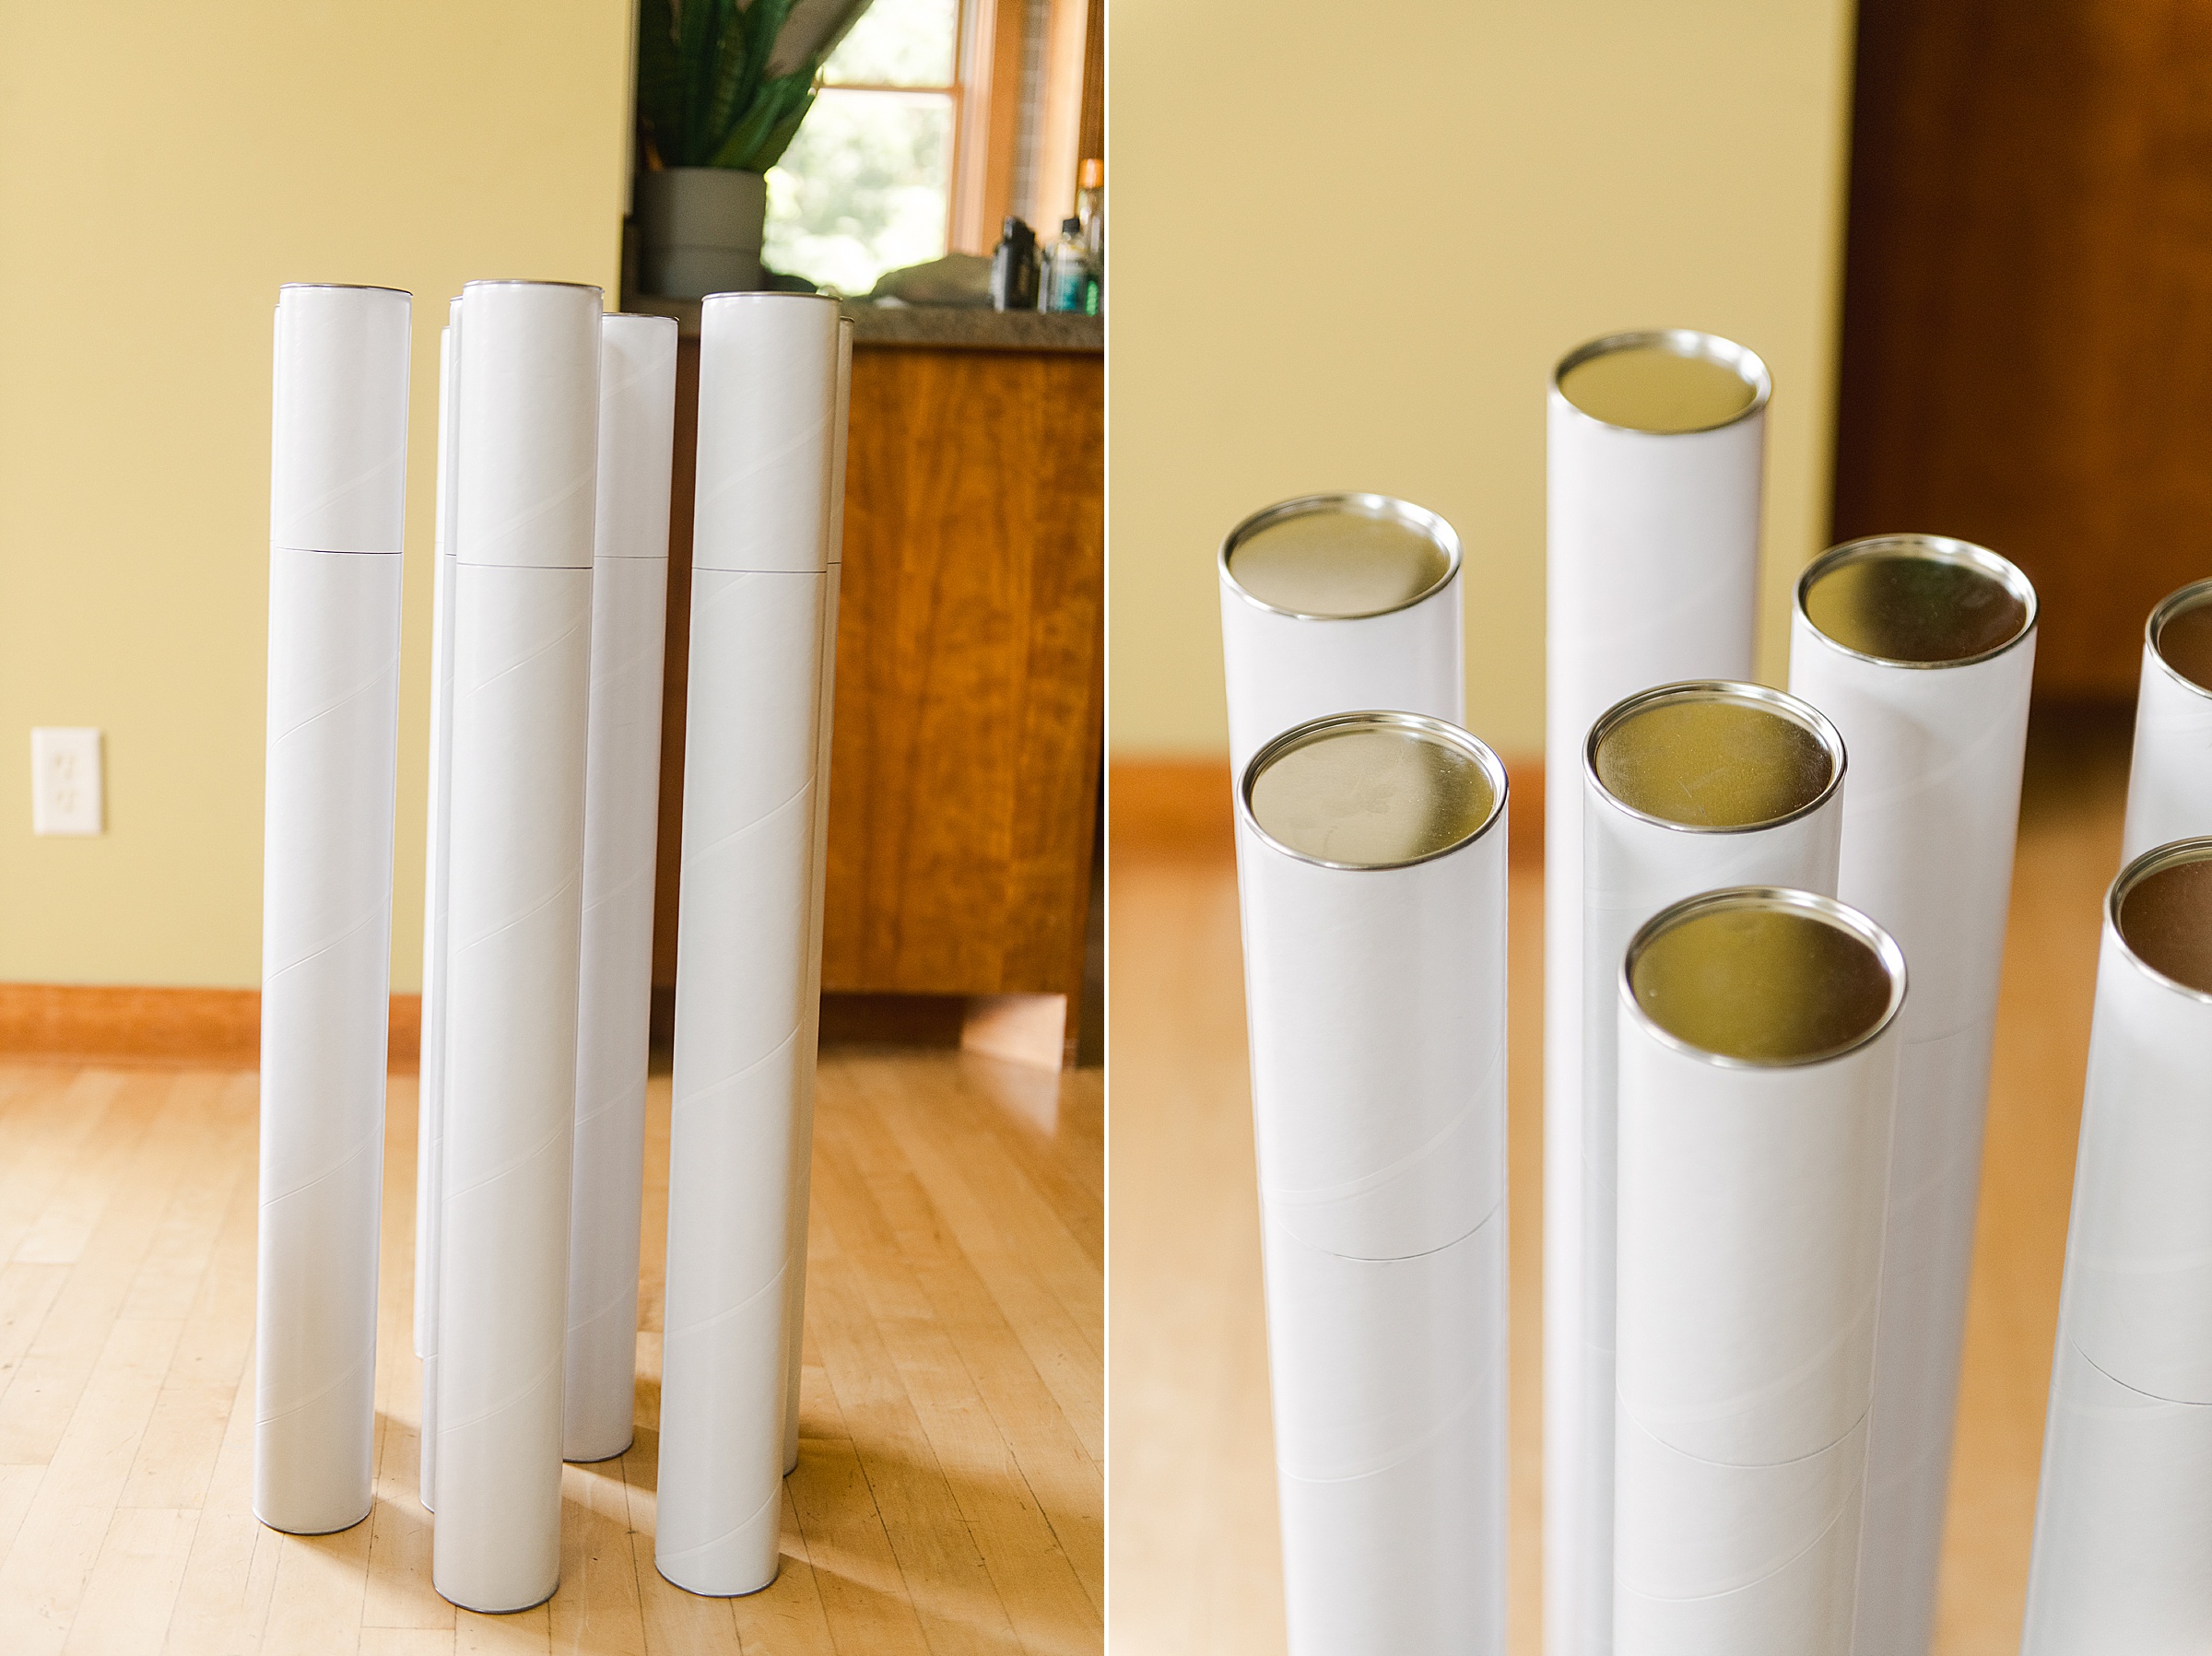
2. Prime or paint your markers. The tubes I purchased had a bit of a “shine” surface to them (which I know markers tend to, but I wanted to get rid of that for the painting portion of the process) and the tops and bottoms of my tubes were silver (which I also didn’t want). So I primed the tubes with, my fave, Colorshot white primer to give a good working surface to the tube markers 🙂 I did a few coats and turned them as needed until they were fully covered.
Do you have to do this? NOPE! But I chose to! 🙂
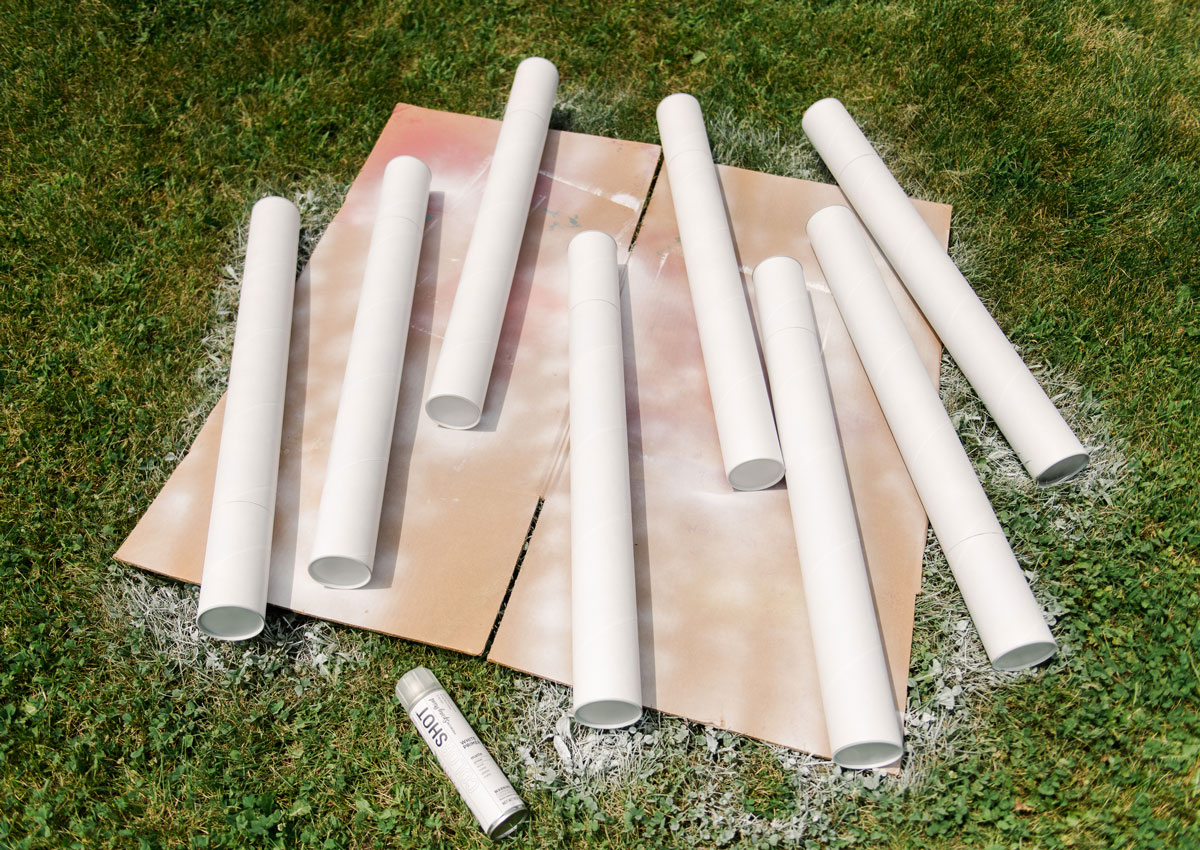
Also note…..I 100% could NOT get the tubes to stand up on my cardboard for painting. So I had to go the “annoyingly long” route and paint them laying flat – turning them every 30 min for the next coat!
3. Now it’s time to choose your colors! YAY! The fun part!
Once you choose your colors from your cardstock pack (Make sure you have 2-3 12×12 sheets of each color) you will want to mix a bit of paint that matches (as close as you can, but DOES NOT need to be perfect) to paint the very top part of your tube. Markers have a cap that is all one color and I found it WAY easier to paint the very top of the tube rather than tru and cut a perfect circle of paper to fit on top! 🙂 HA!
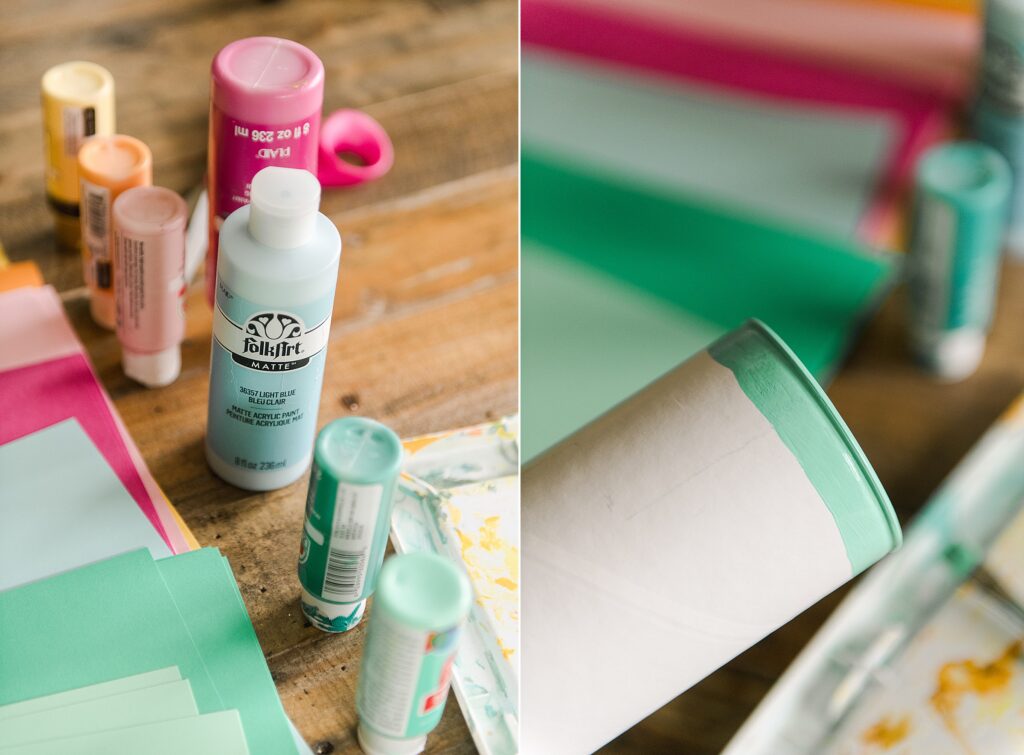
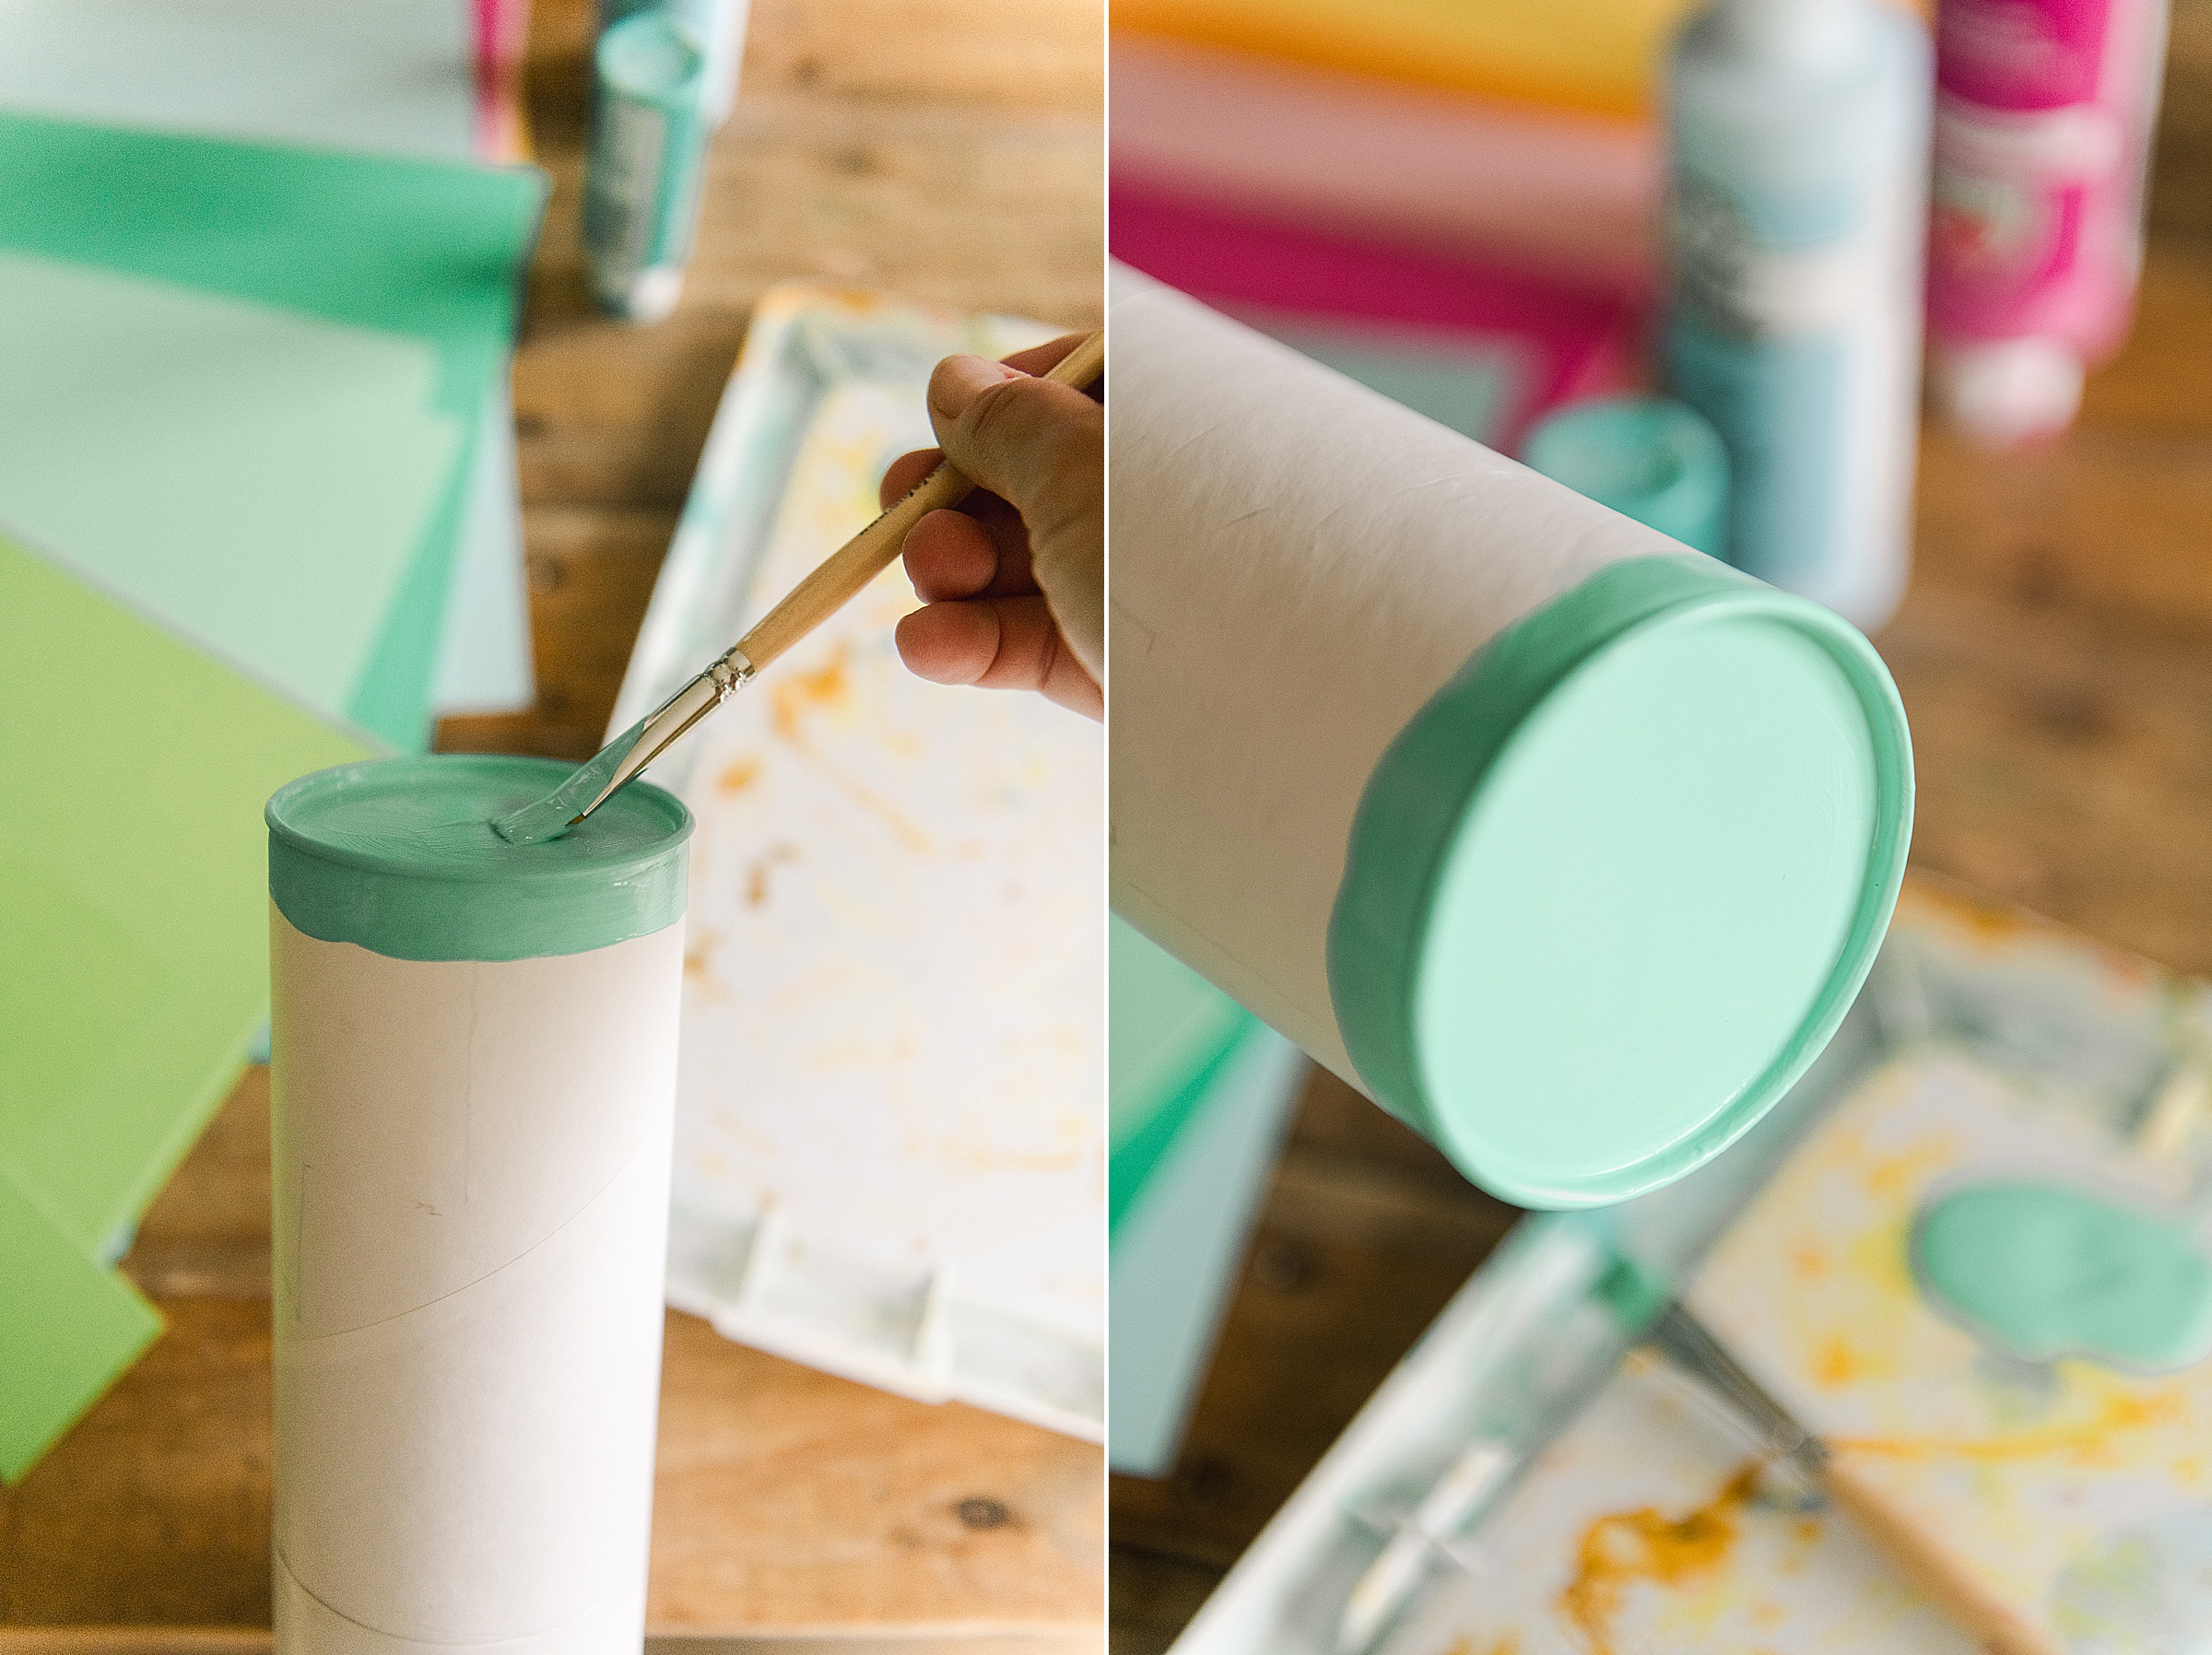
Set these aside to fully dry (if you don’t allow them to fully dry, the Mod-Podge will drag your paint through your paper and become an icky mess when adhering your paper in the next steps! 🙂
4. You will now cut your paper to make your makers come to life! 🙂
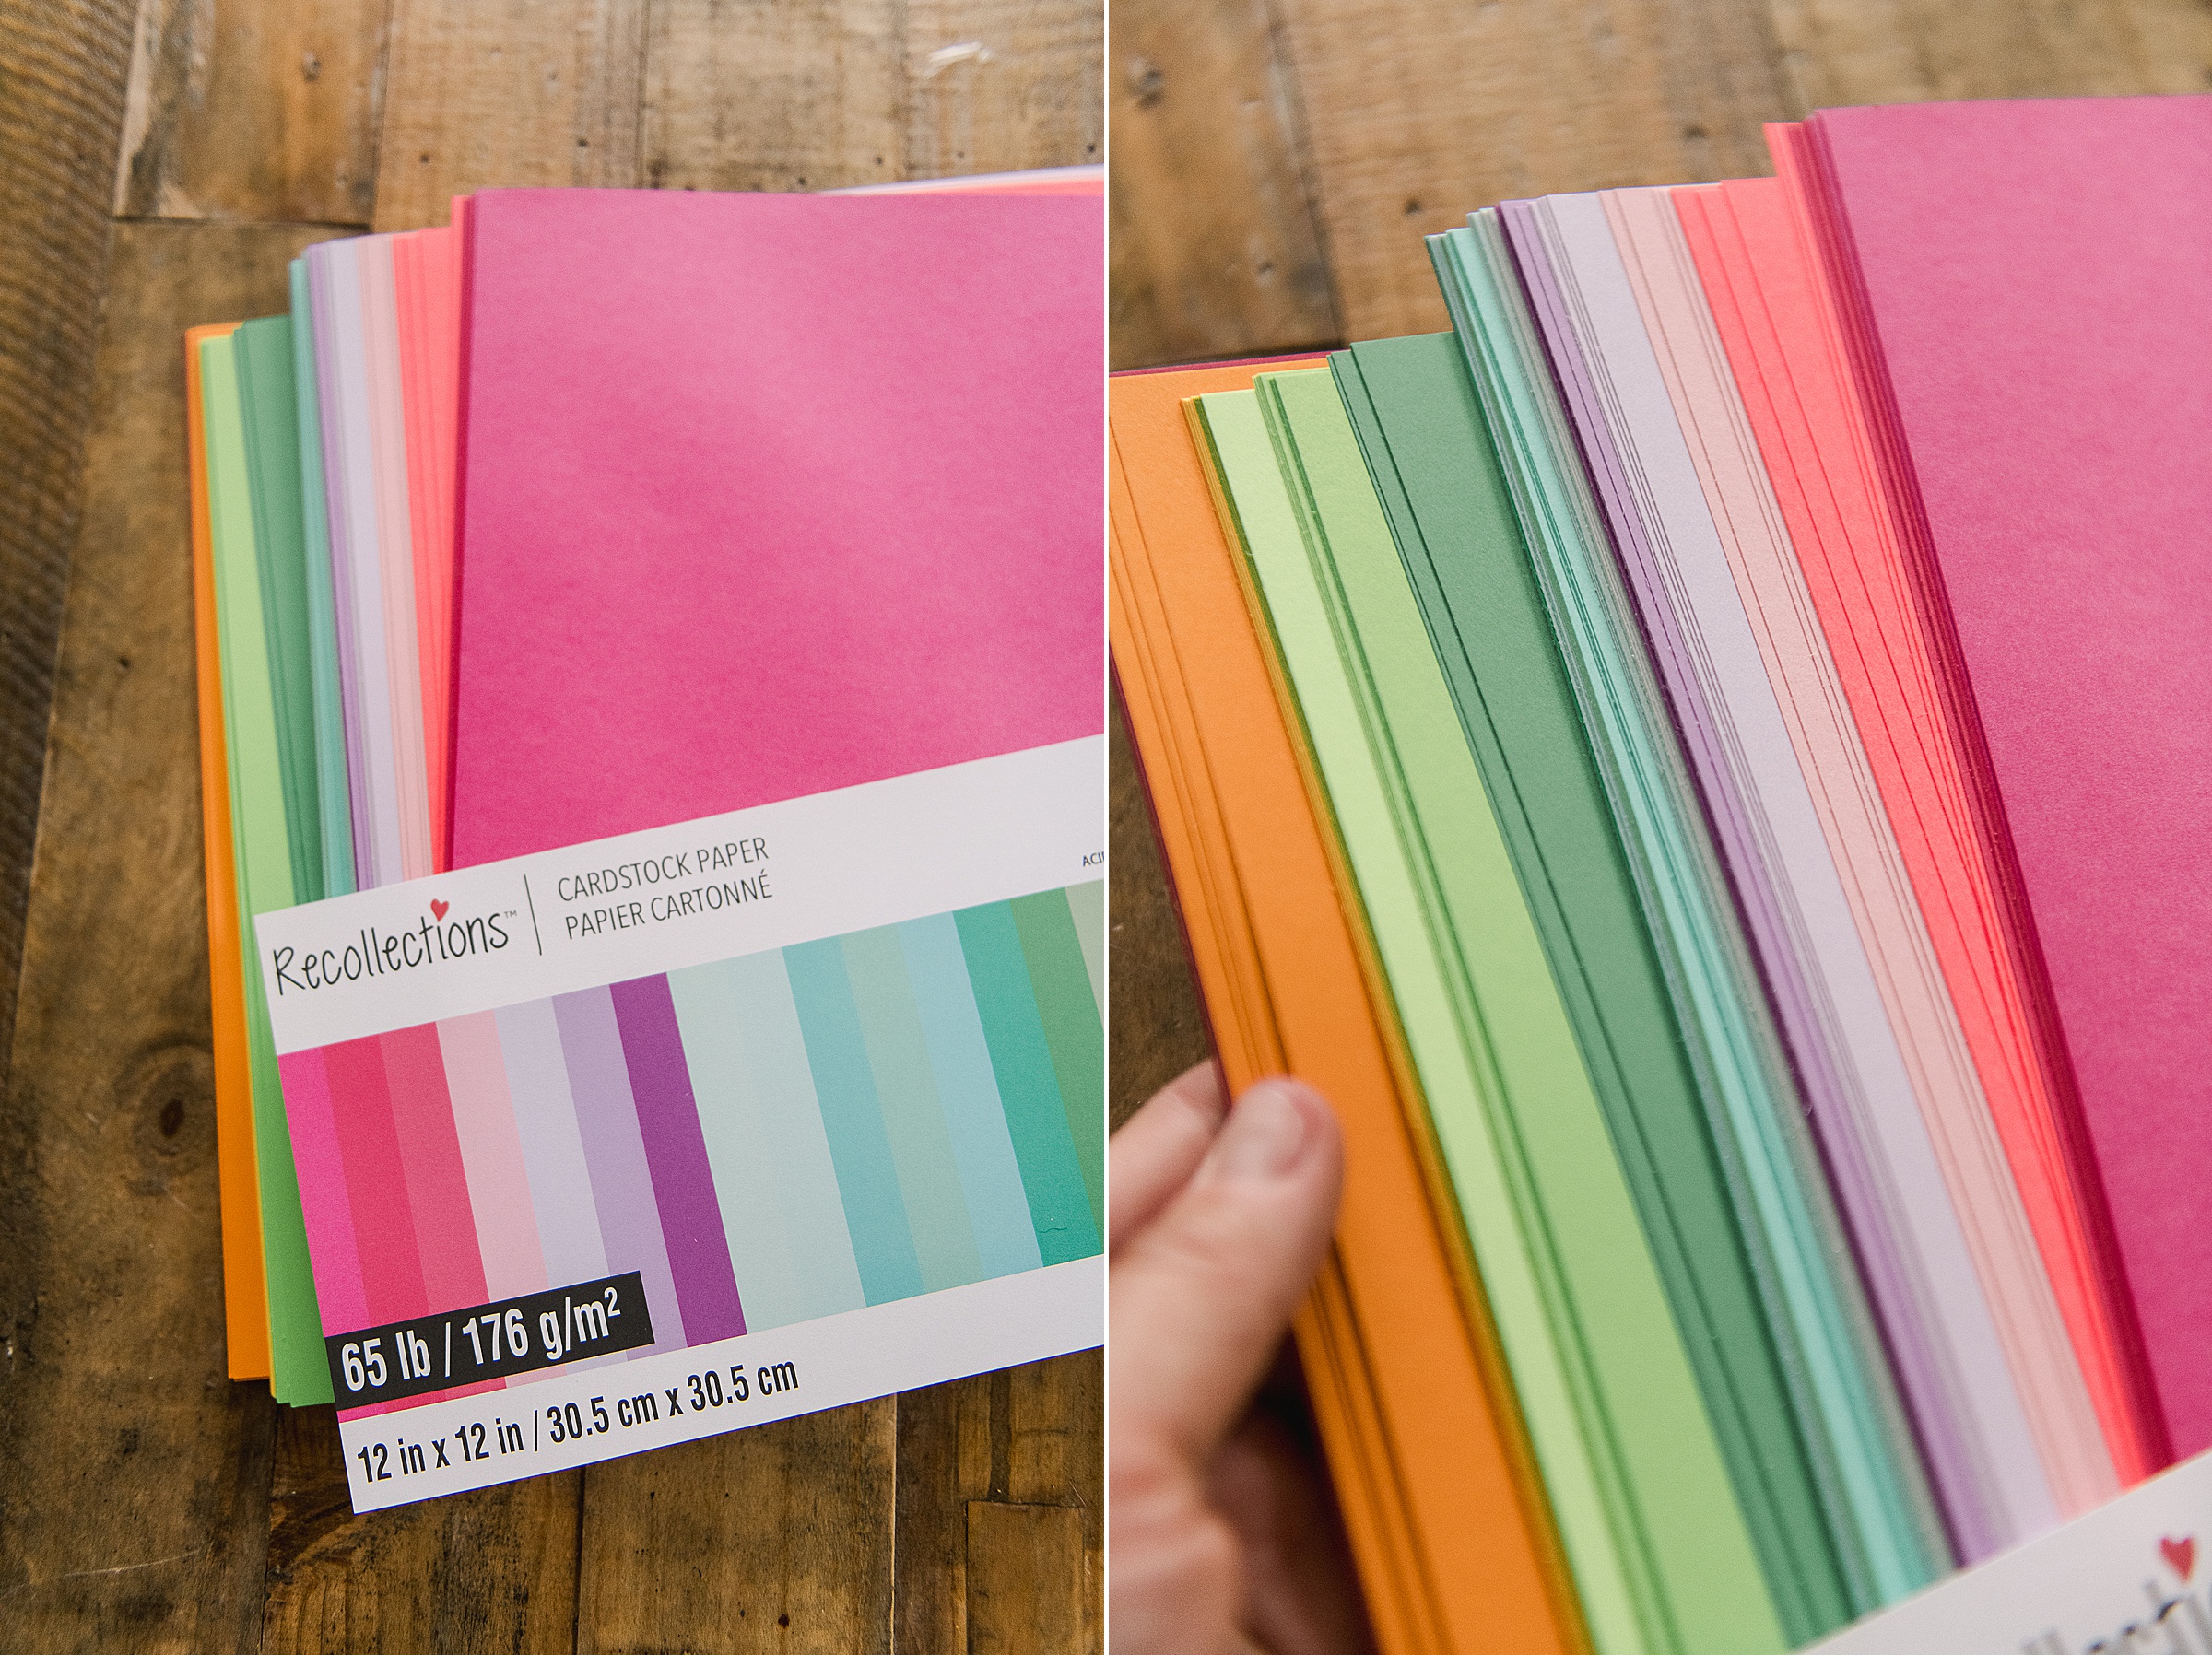
tip: I suggest referencing a real marker or googling one so that your proportions are right for your exact size of the tube purchased
My tube is just over 36” tall and about 10” around in circumference (3″ diameter)
So I will cut the piece of paper for the top “cap” about 9 x10” (from the looks of the markers online and measuring some at home, the caps are roughly 1/3 of the total marker size).
Then I also cut 2 pieces that are 1.5” x 10” for the squiggles – Then cut these in a “squiggly half” length-wise to make the squiggles.
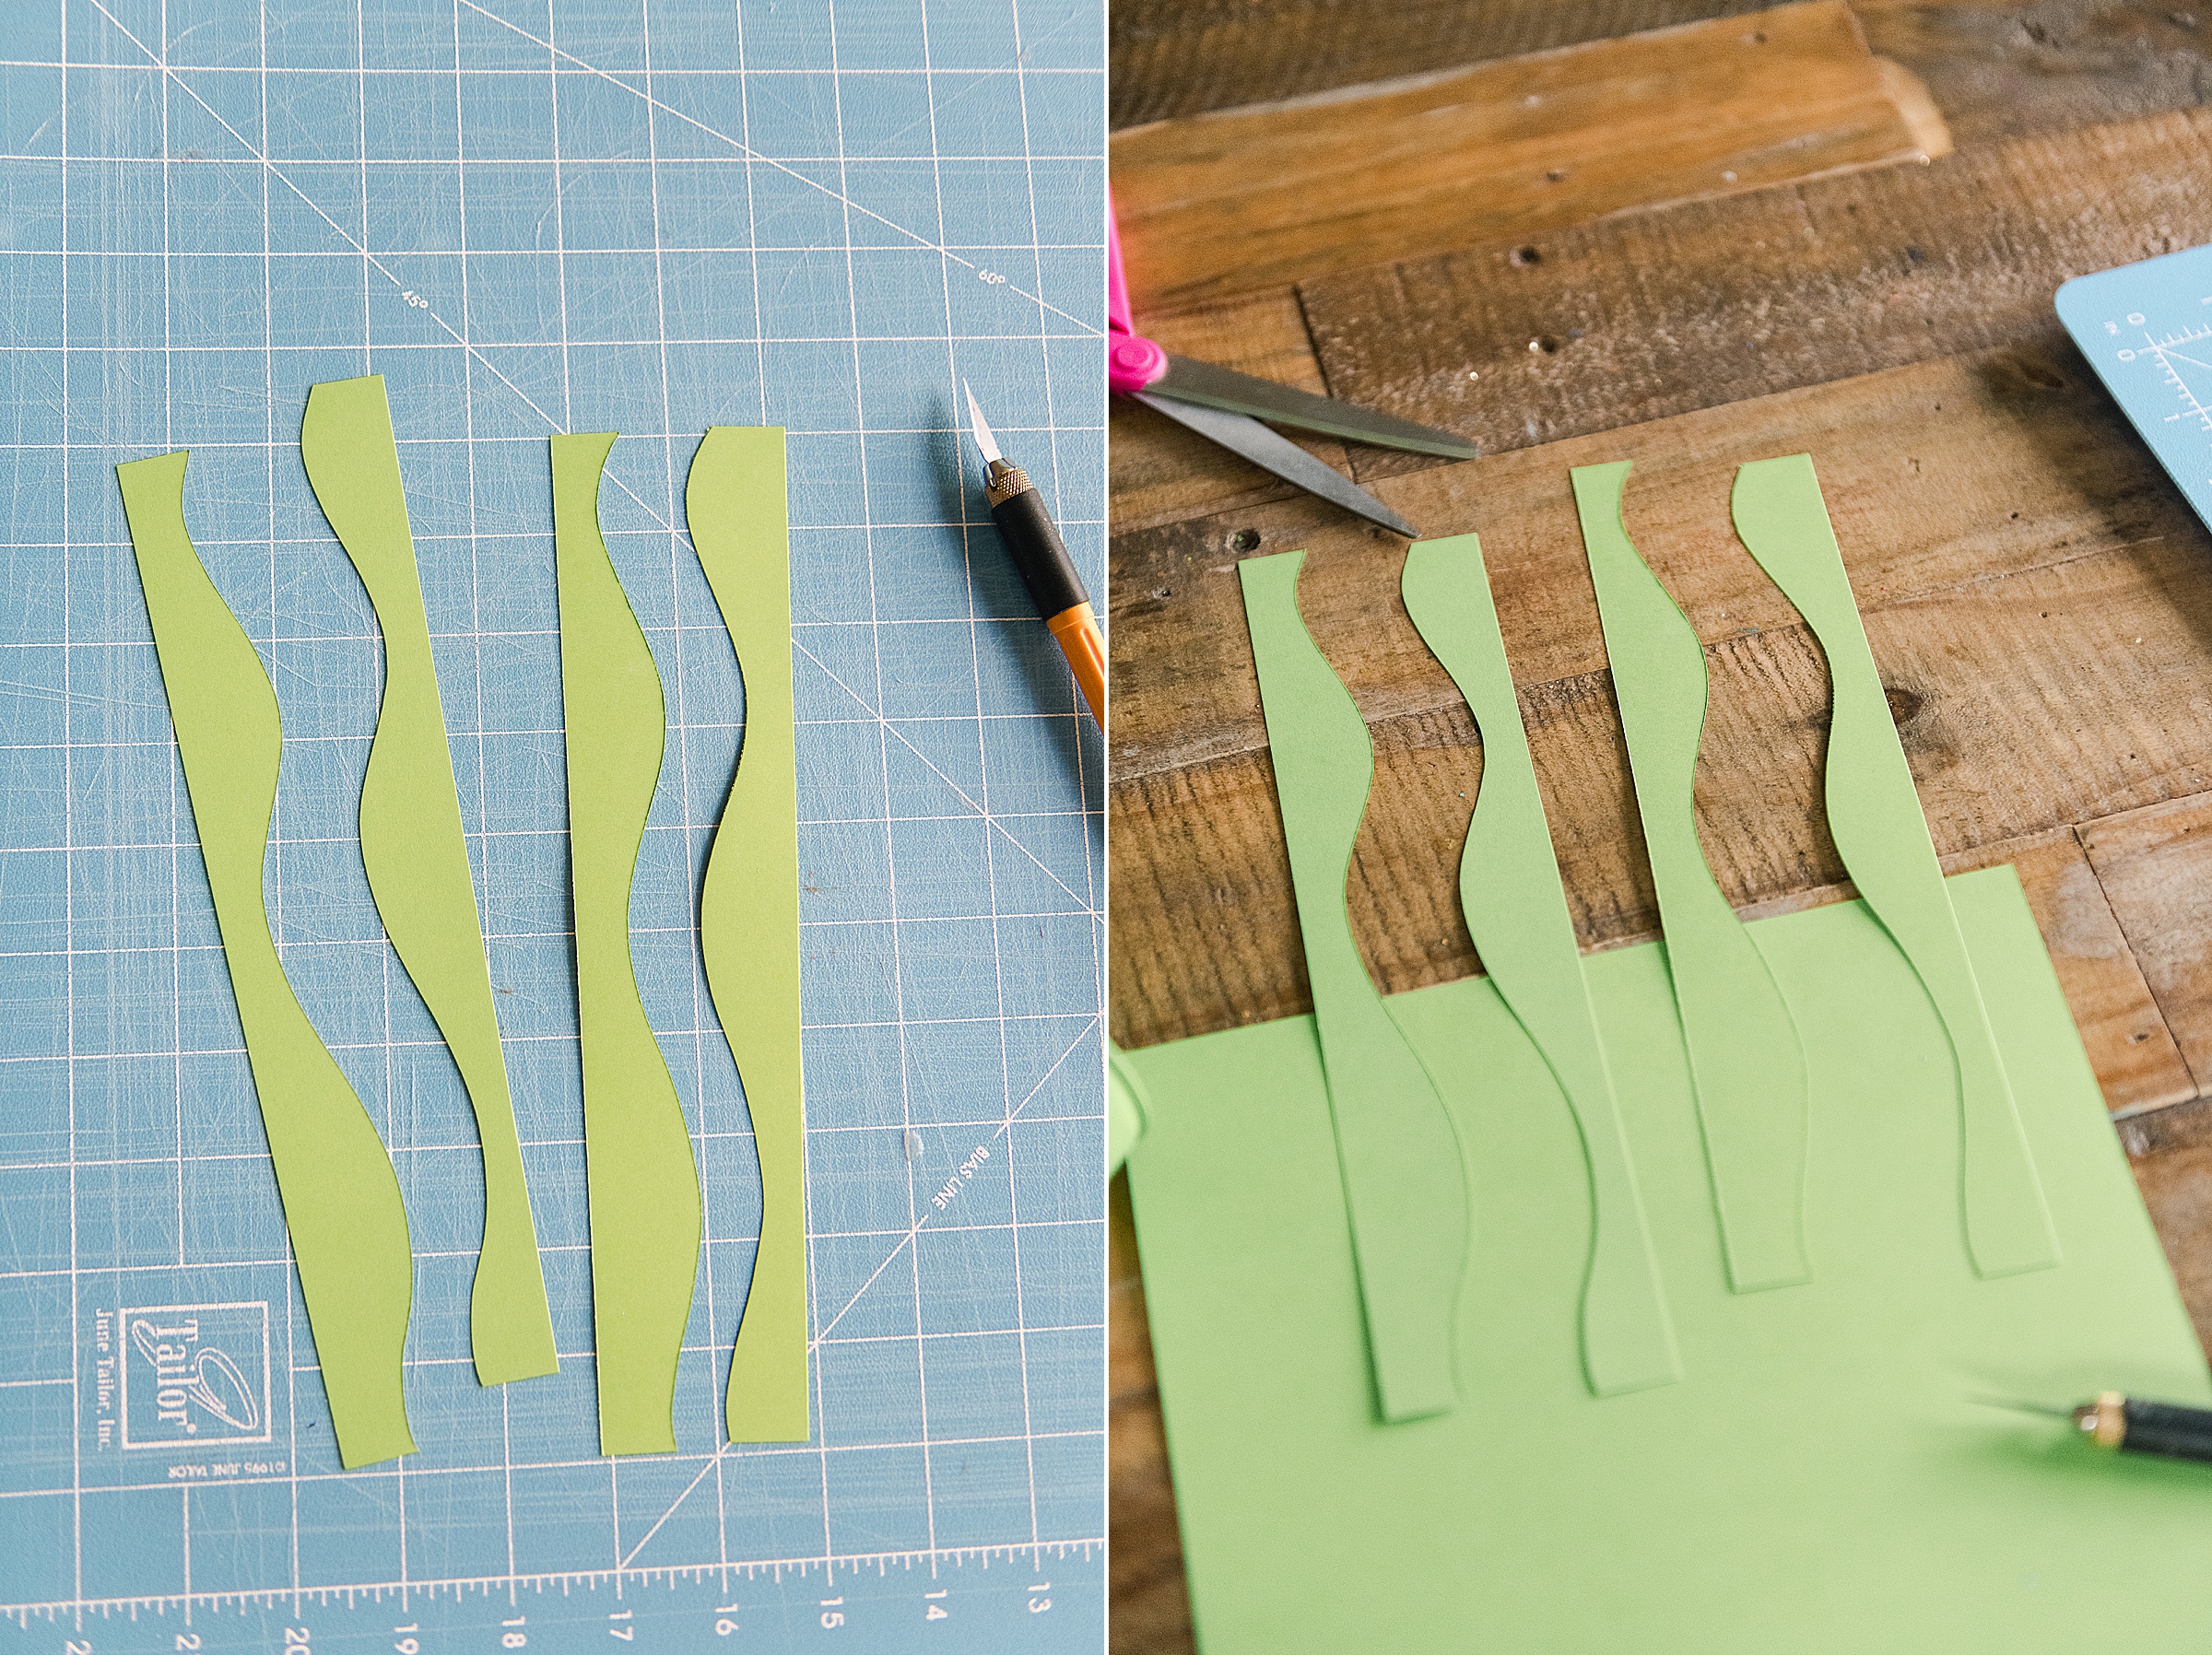
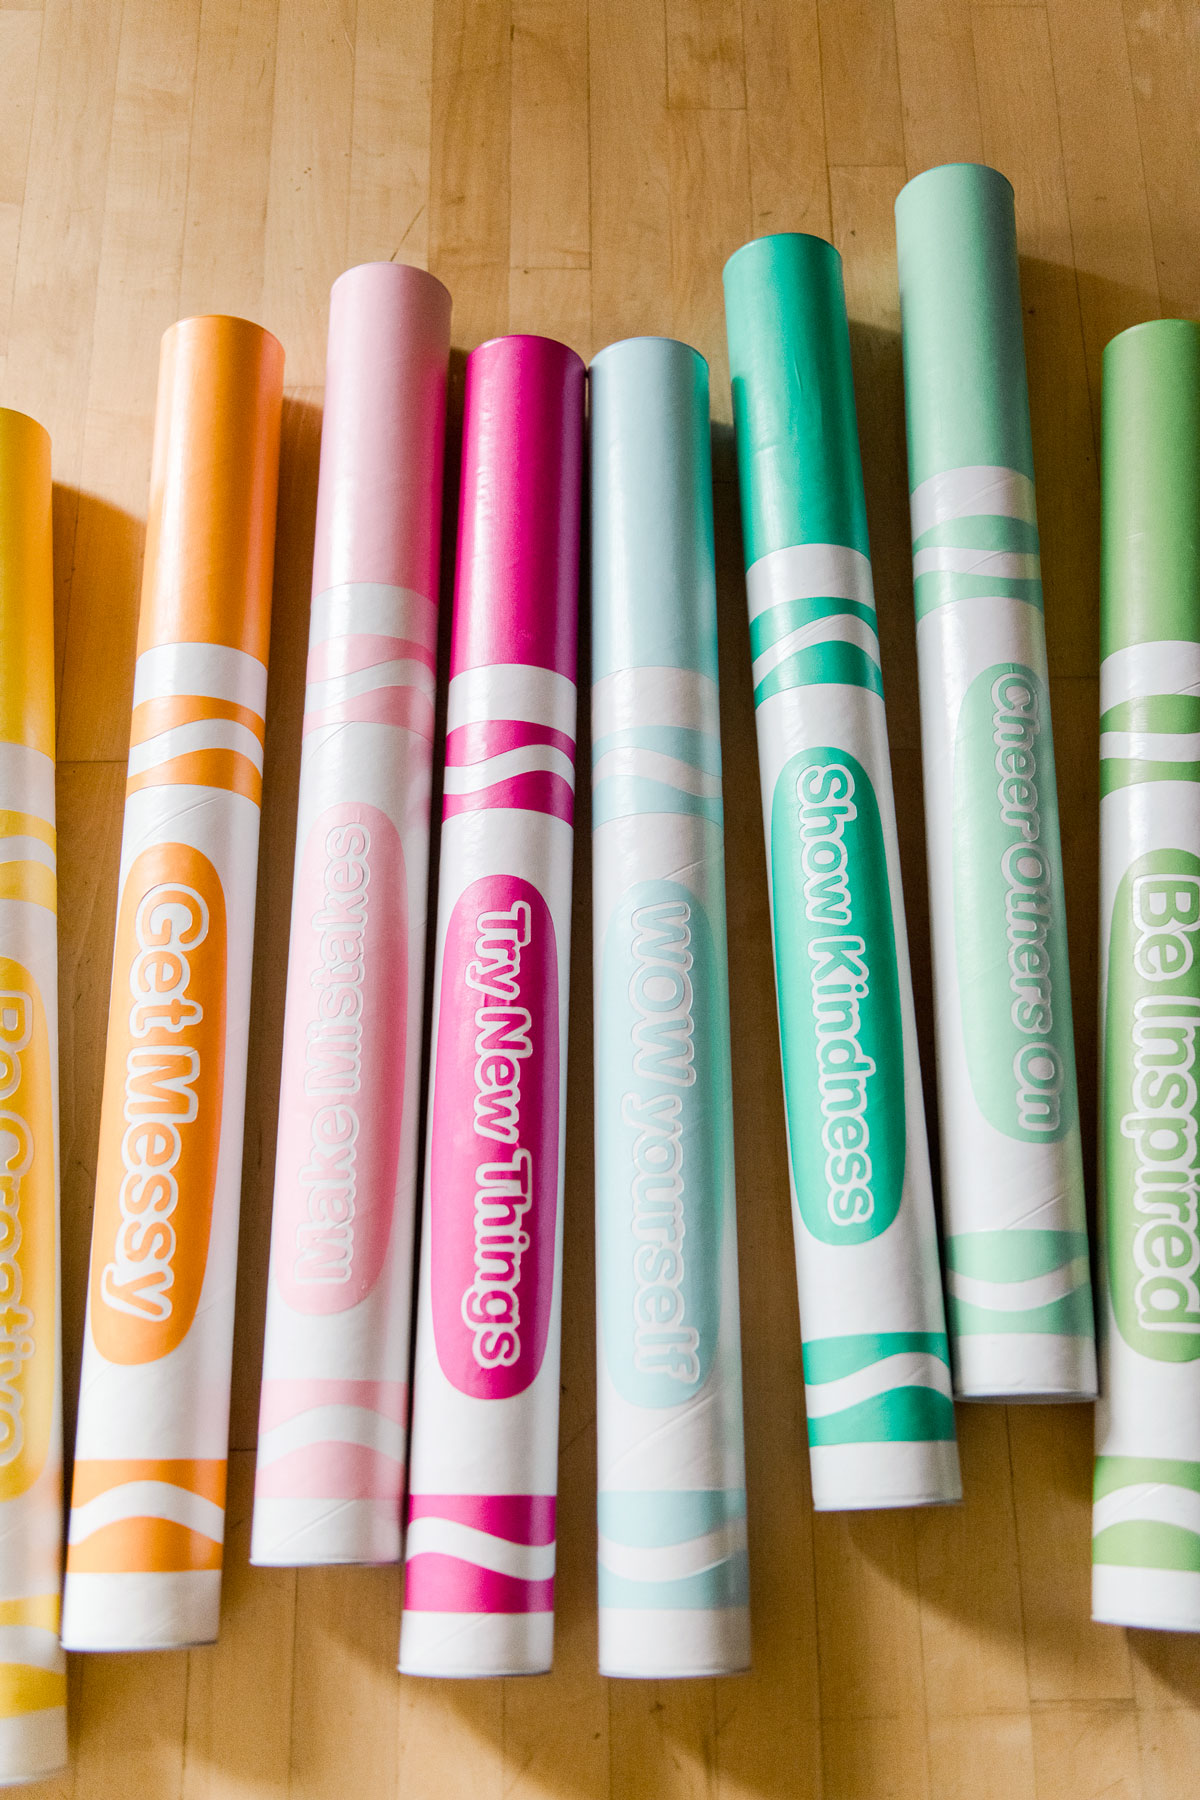
THENNN use your extra piece of paper of the same color to cut out the center oval and name (whatever you choose to name your crayons)! I made the oval about the same size as the cap – 9” in length and about 2.75” in width with the name in the middle. And I chose to make these our “goals” or “culture” of our classroom so that I can keep encouraging what we are building in the art room as the year progresses! 🙂
You can use the SVG file below if you have a cutting machine 🙂
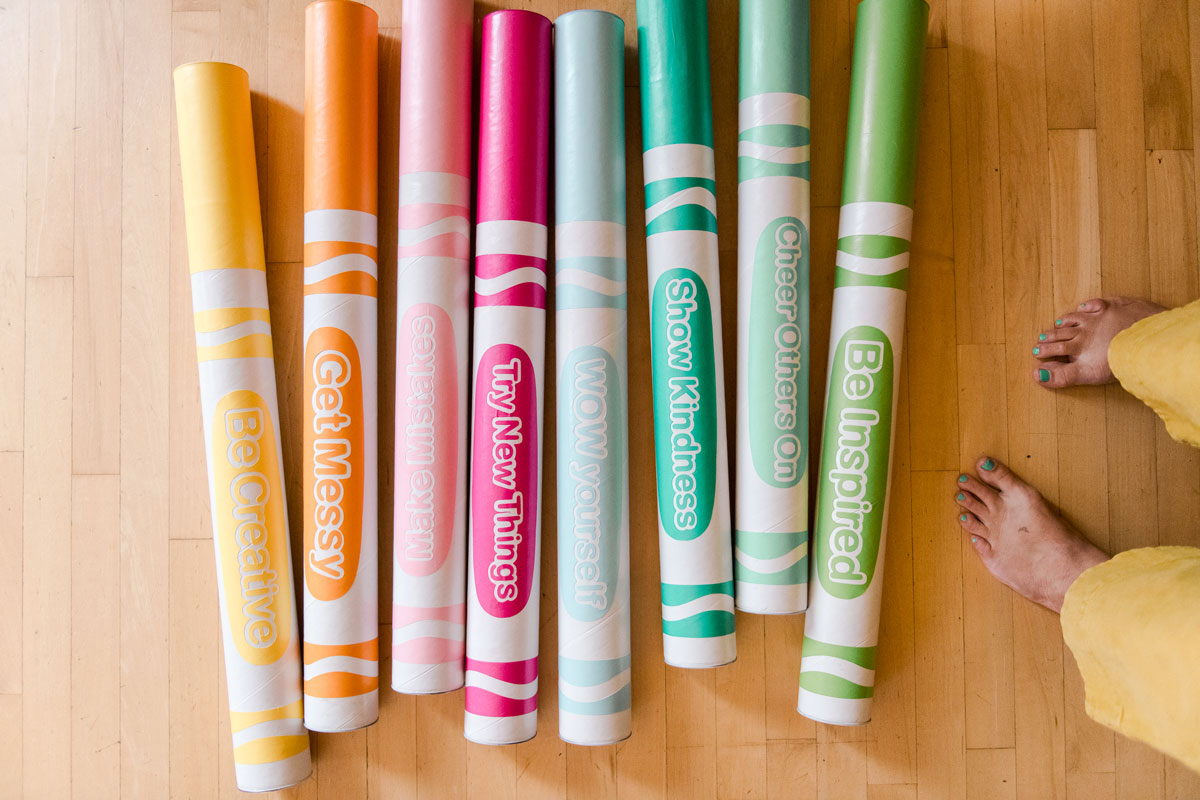
- Be Creative
- Get Messy
- Make Mistakes
- Try New Things
- WOW Yourself
- Show Kindness
- Cheer Others On
- Be Inspired
5. Now it’s time to use your Mod-Podge to adhere all of your paper pieces to the tubes to make your makers really come to life.
When using the Mod-Podge be sure to put a layer onto the back of the paper itself and also onto the tube before putting the paper on the tube (this feels like overkill, but trust me, you won’t want any dry spots under your paper…and it stinks when it happens)! 🙂
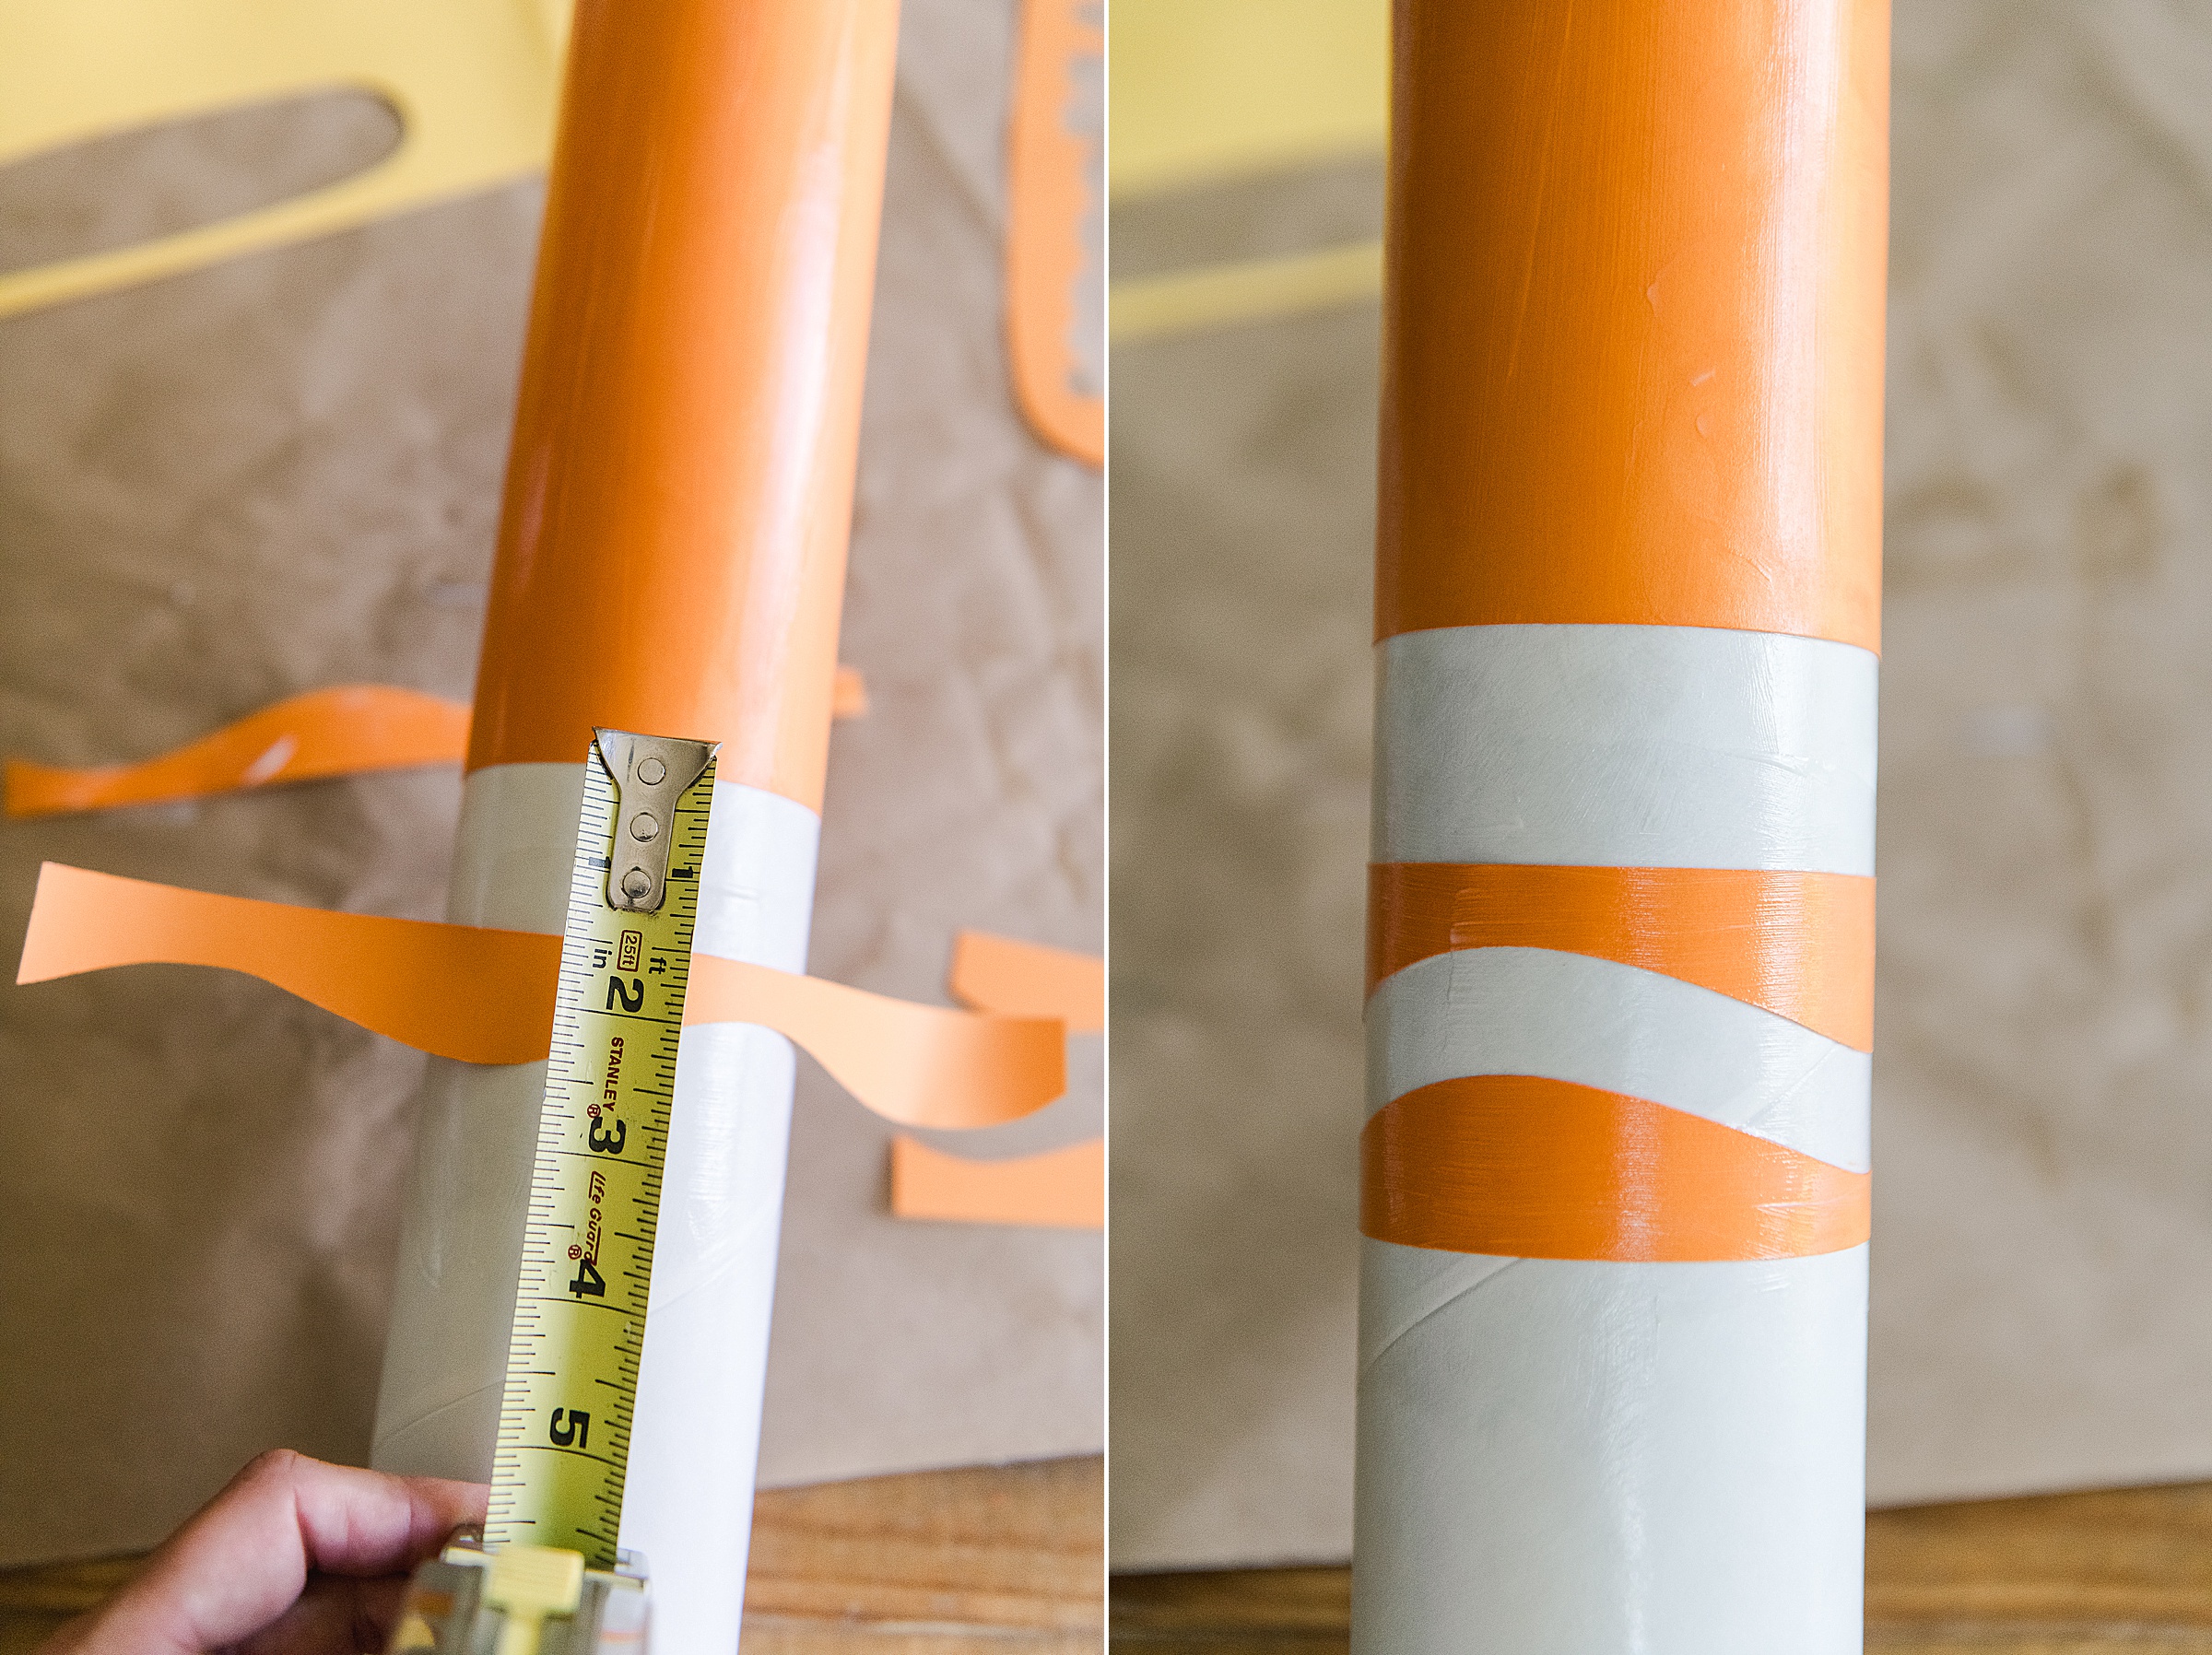
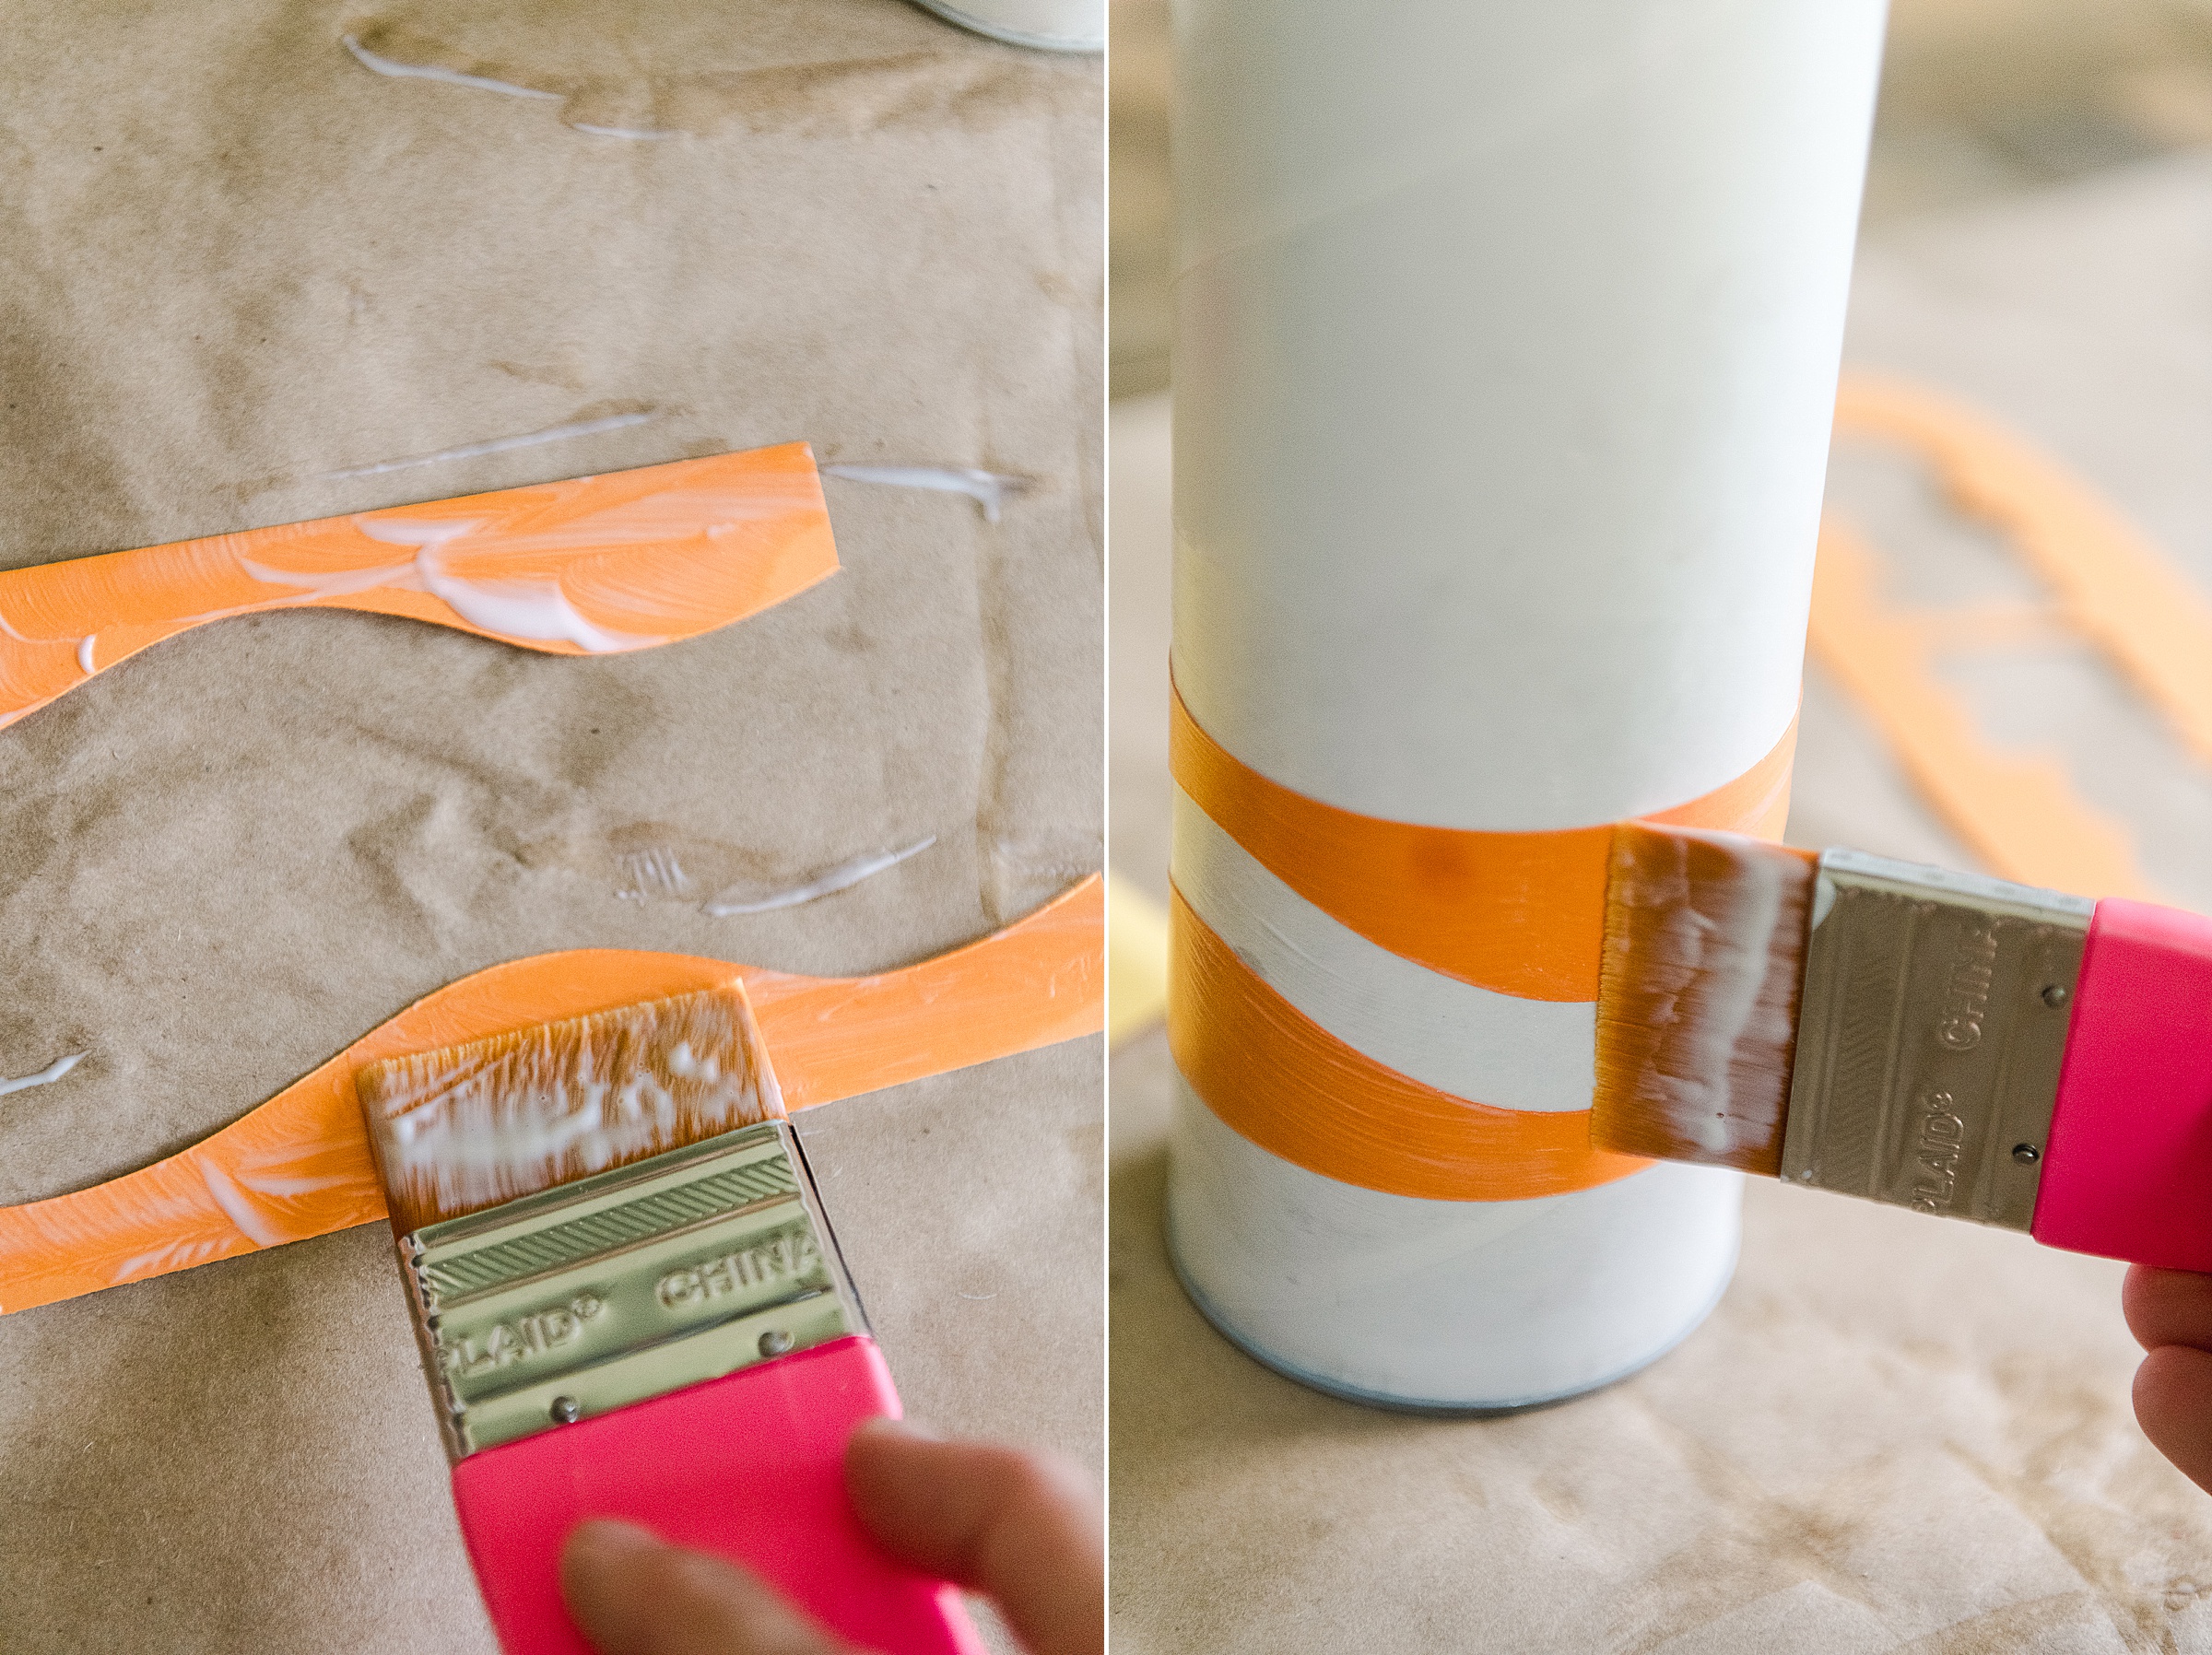
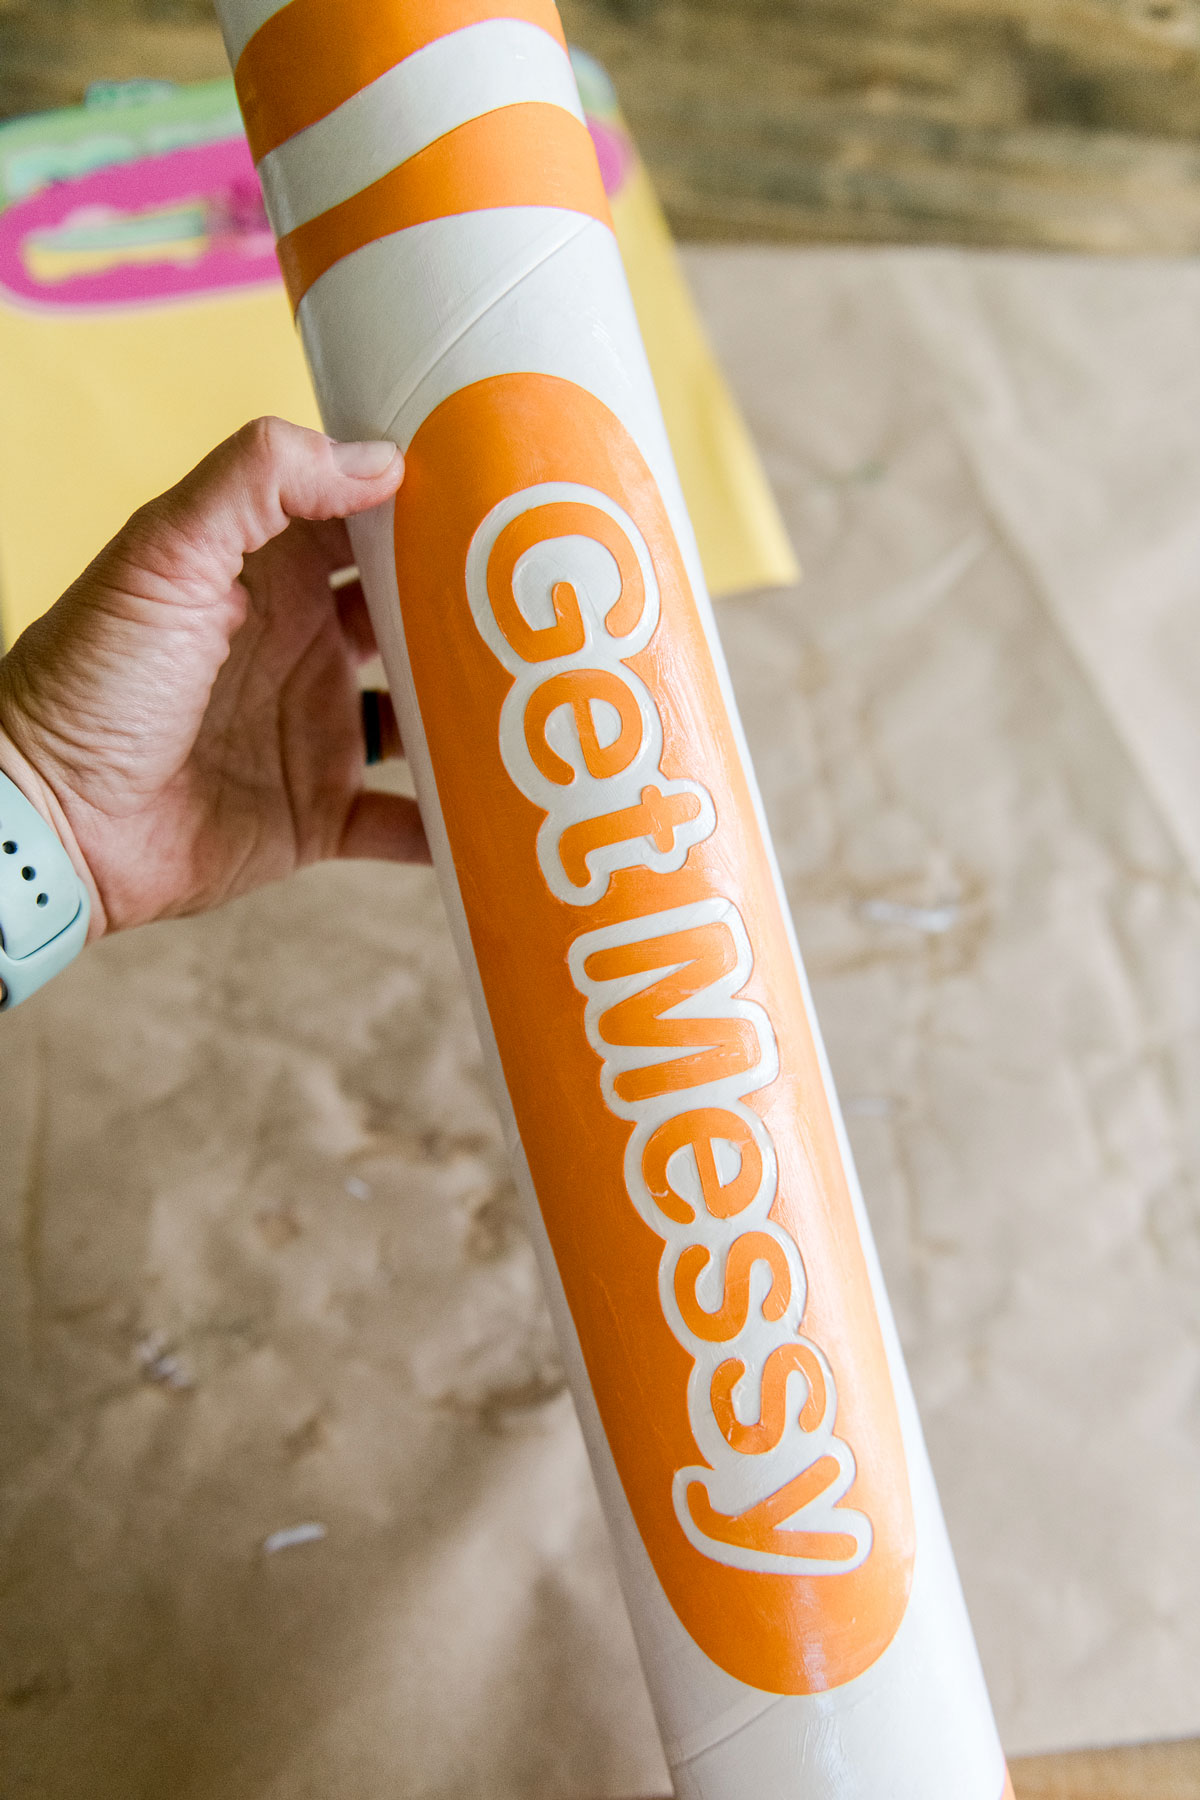
Just keep smoothing out any bubbles or bumps as you add your cap, squiggles and letters to the marker. I found that it was easier to put the cap on first, followed by the sqiggles and the names/oval last. I was able to “keep an eye on” the other parts as they were drying when finishing up the more tedious letters just to be sure everything was covered and smoothed out.
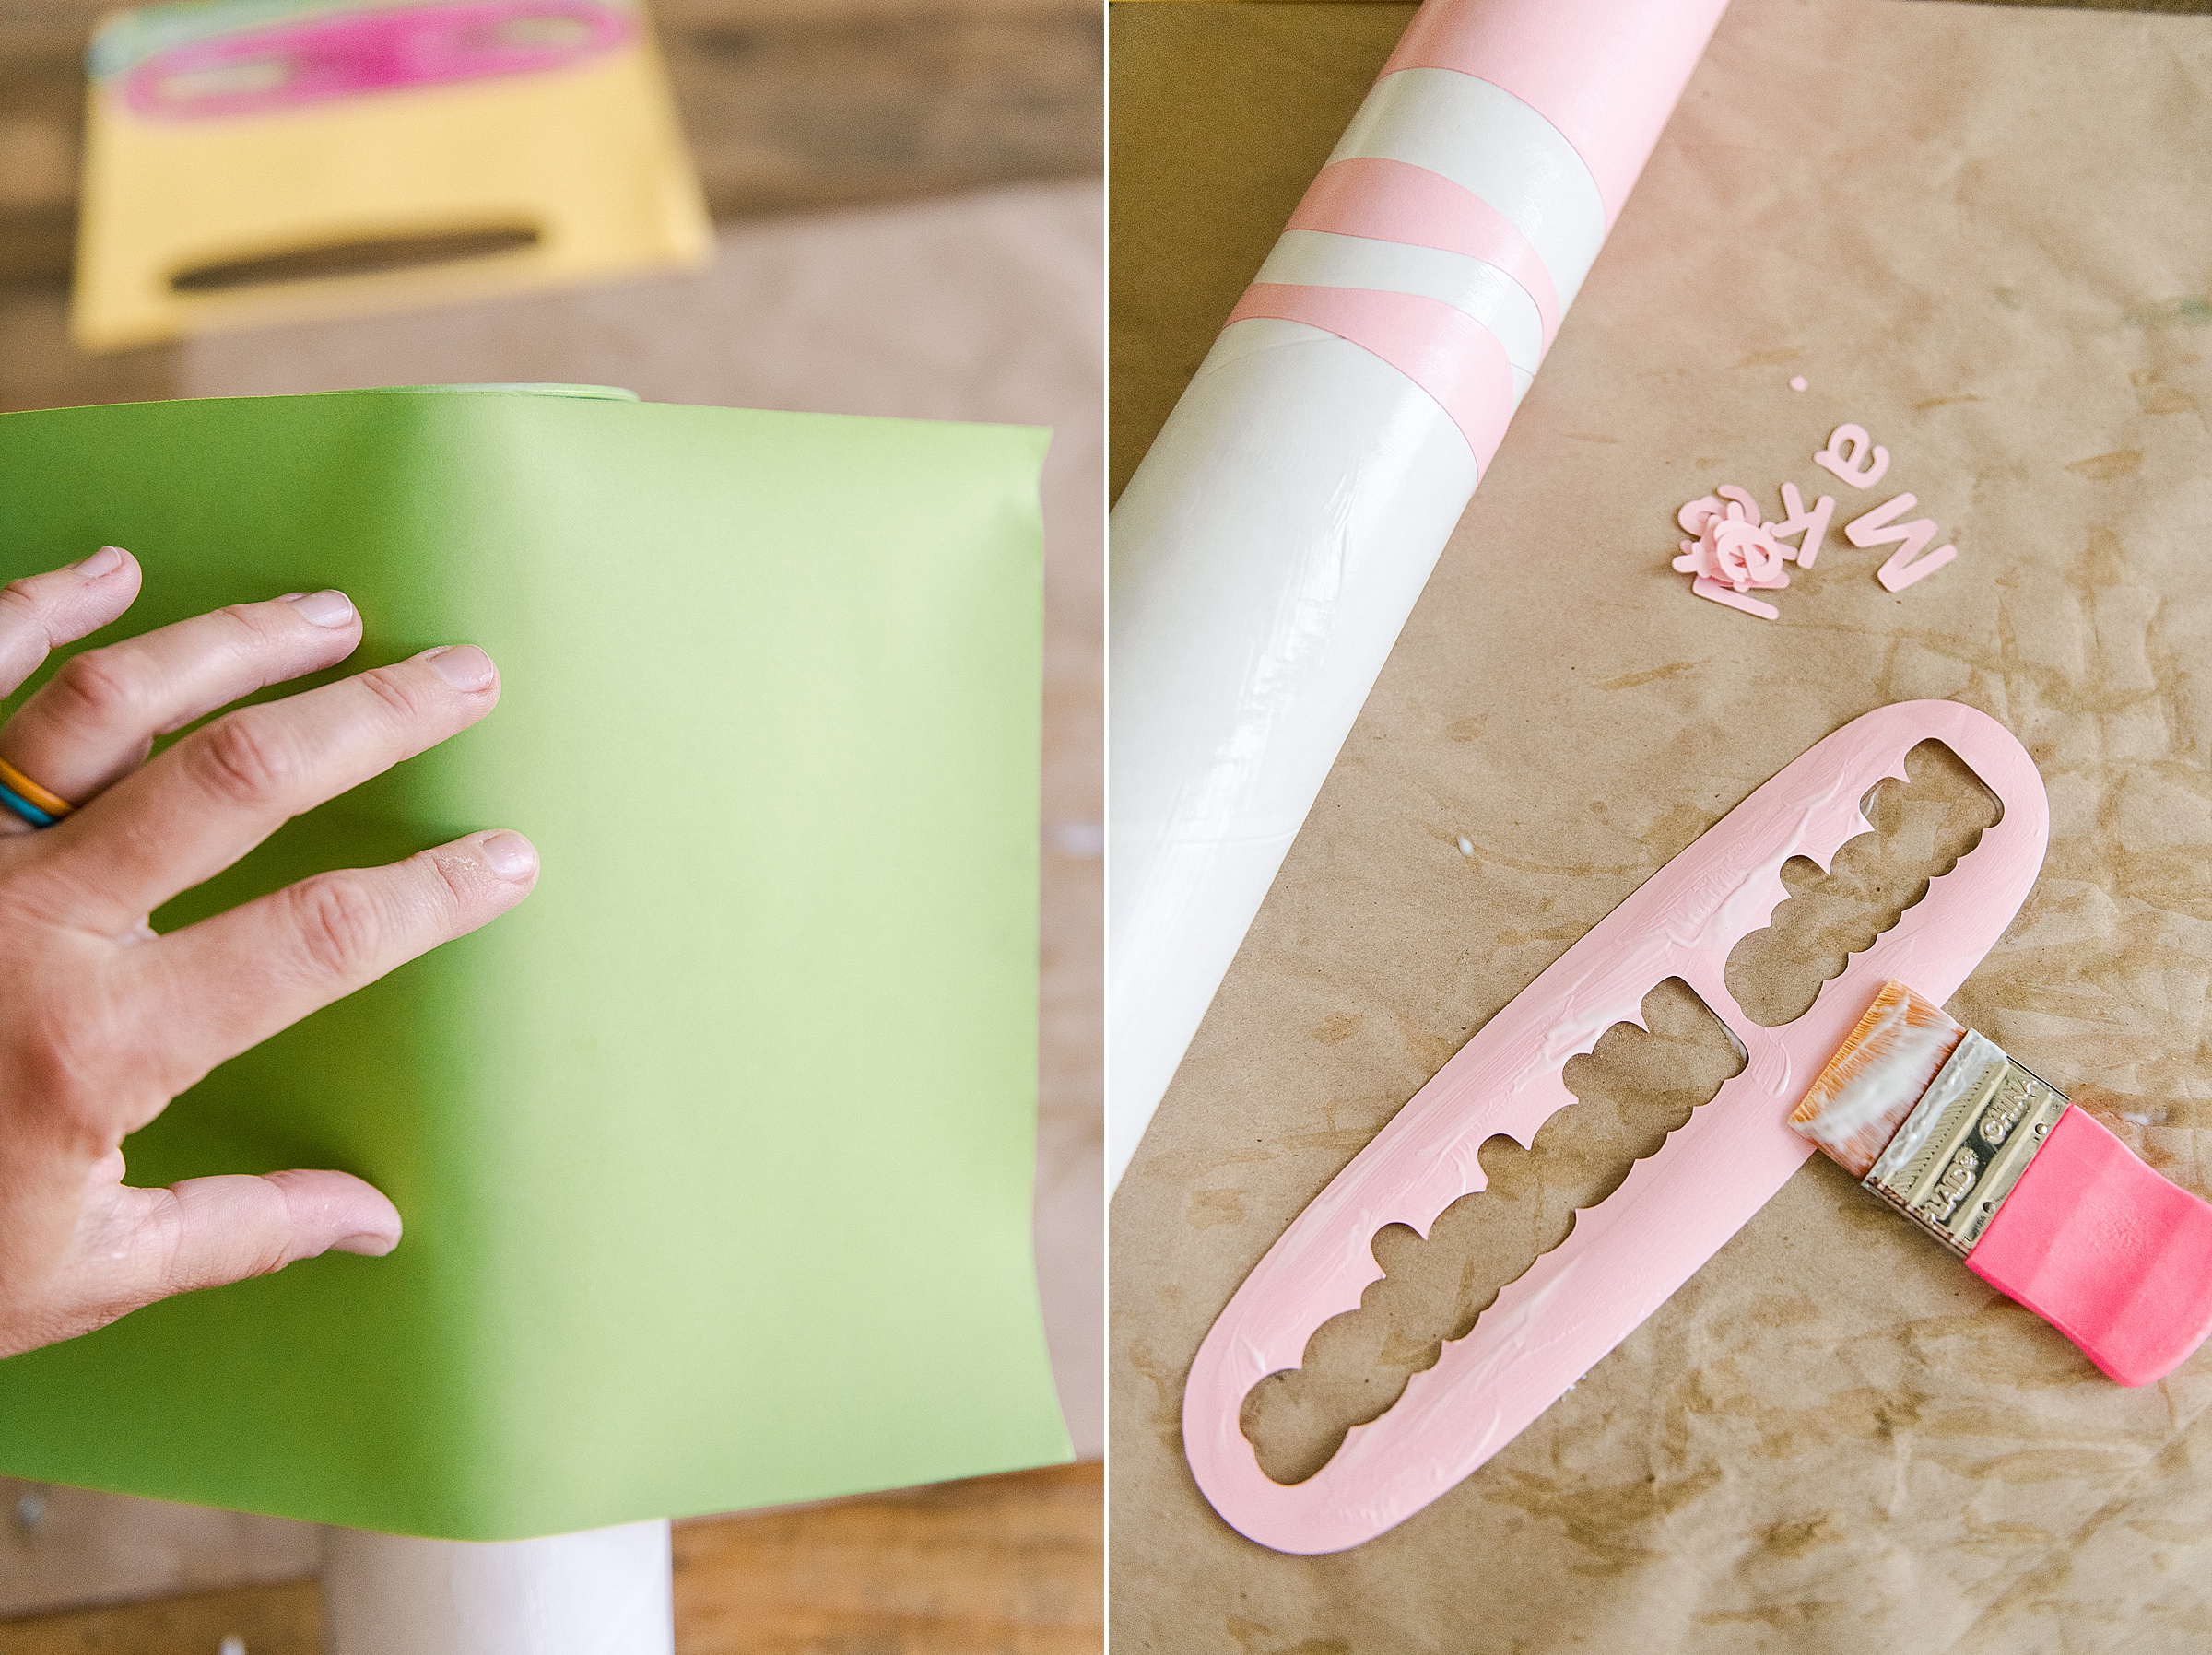
I added one last layer of Mod-Podge to the whole marker (even the ares that had no added paper) to give the marker its notorious shine! 🙂



I am in love with these! I would love the SVG files so I can make a set for my classroom. I didn’t see it in the post. (Maybe it’s my browser) Your creations are fantastic! 😊
ACK! Thanks for saying something Lauren! I Just updated the links so that they are up – somehow I *always* miss these little details in the excitement of a project 🙂
Thank you so much! 😊
I love these so much. I’m not a teacher but I’m considering just showing up to back-to-school night with these and hope the school loves them as much as I do. 😂
Hi! These are great! Can you please clarify what size tubes you used for the markers?
YES! I have tubes that are 3″ in diameter by about 24″ long! 🙂 I found these at Michaels (in the app) but I know that shipping stores or even amazon would have them as well. I think technically they are “telescope tubes”! 🙂
These are AMAZING and I cannot wait to make them! When I click the link it opens as another tab and I cannot get it to my silhouette machine??
When I click the link it opens as another tab and I cannot get it to my silhouette machine??
The file itself (SVG) will open in a new tab so al you have to do is right click or control click (depending on if you’re on a PC or Mac) and save the SVG file to your downloads or desktop and then import into your Silhouette machine software! LMK if you stil have troubles, I’m happy to help! 🙂