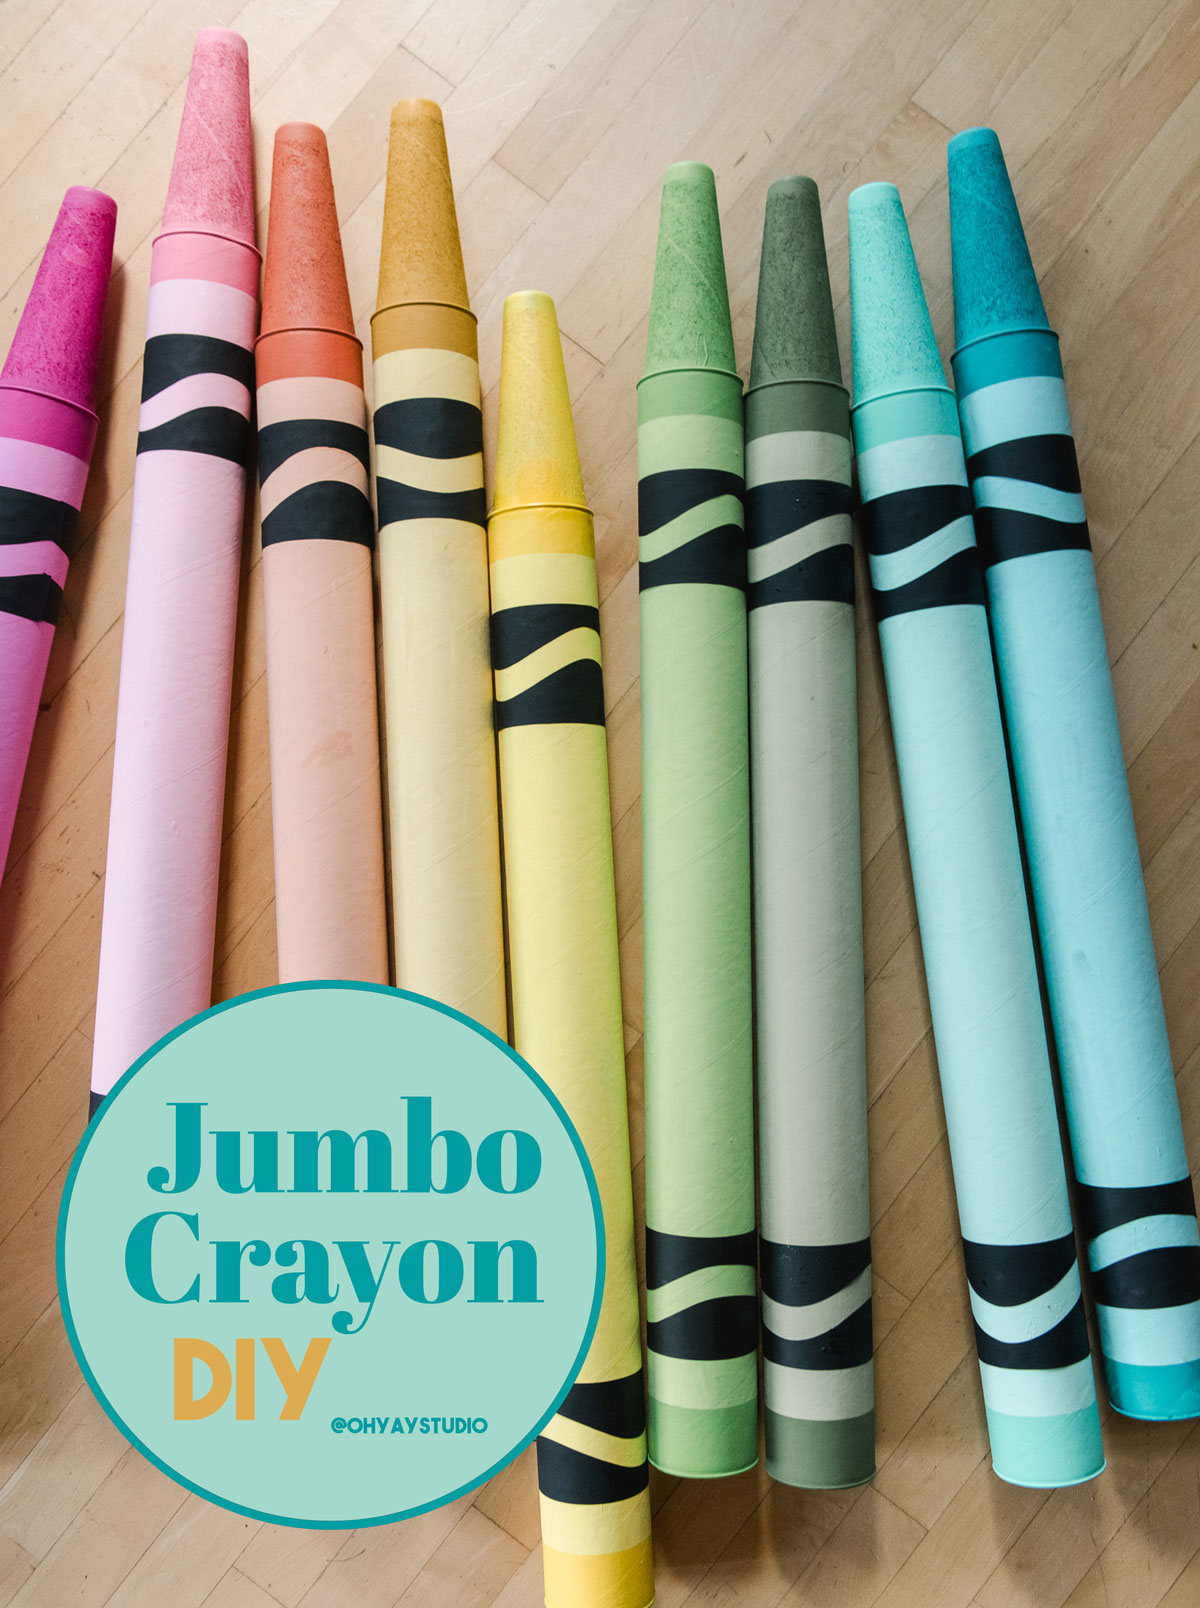
How to make giant crayons!
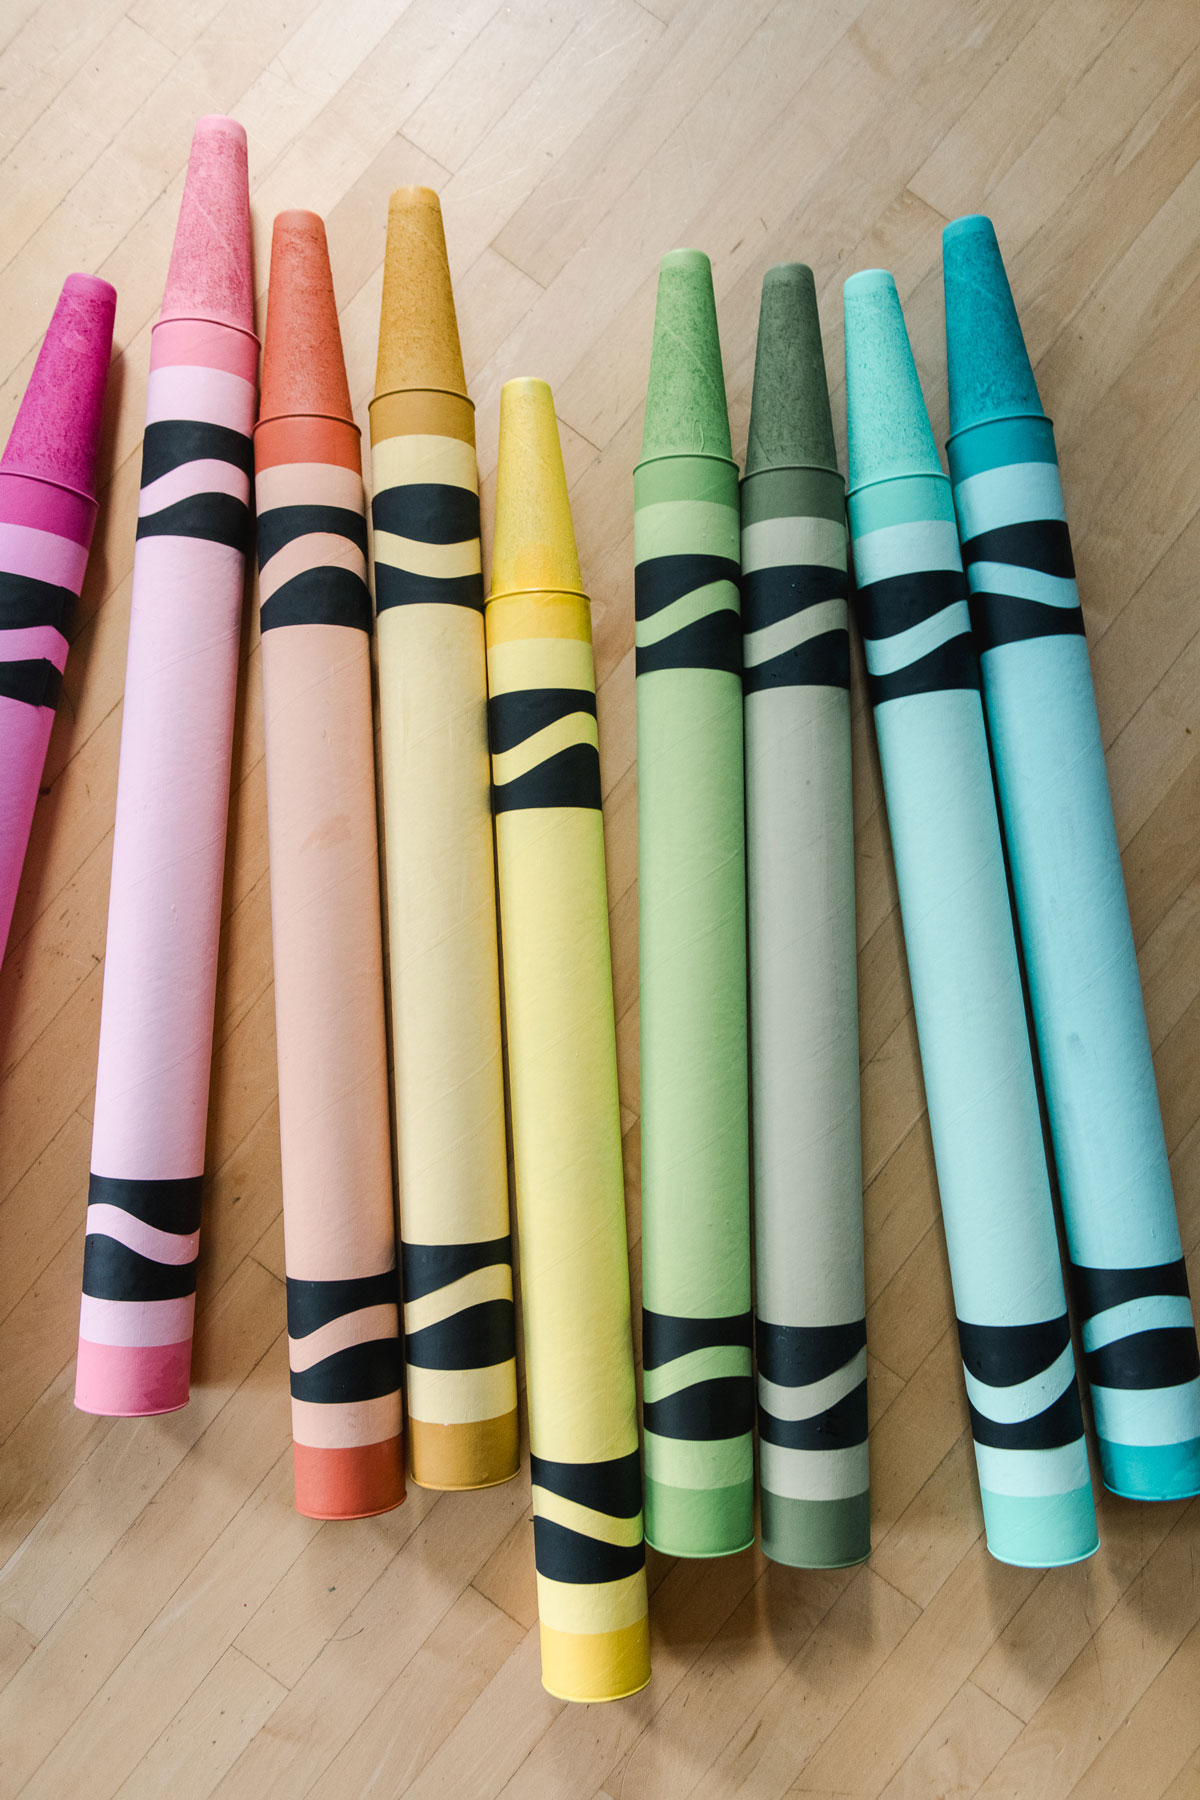
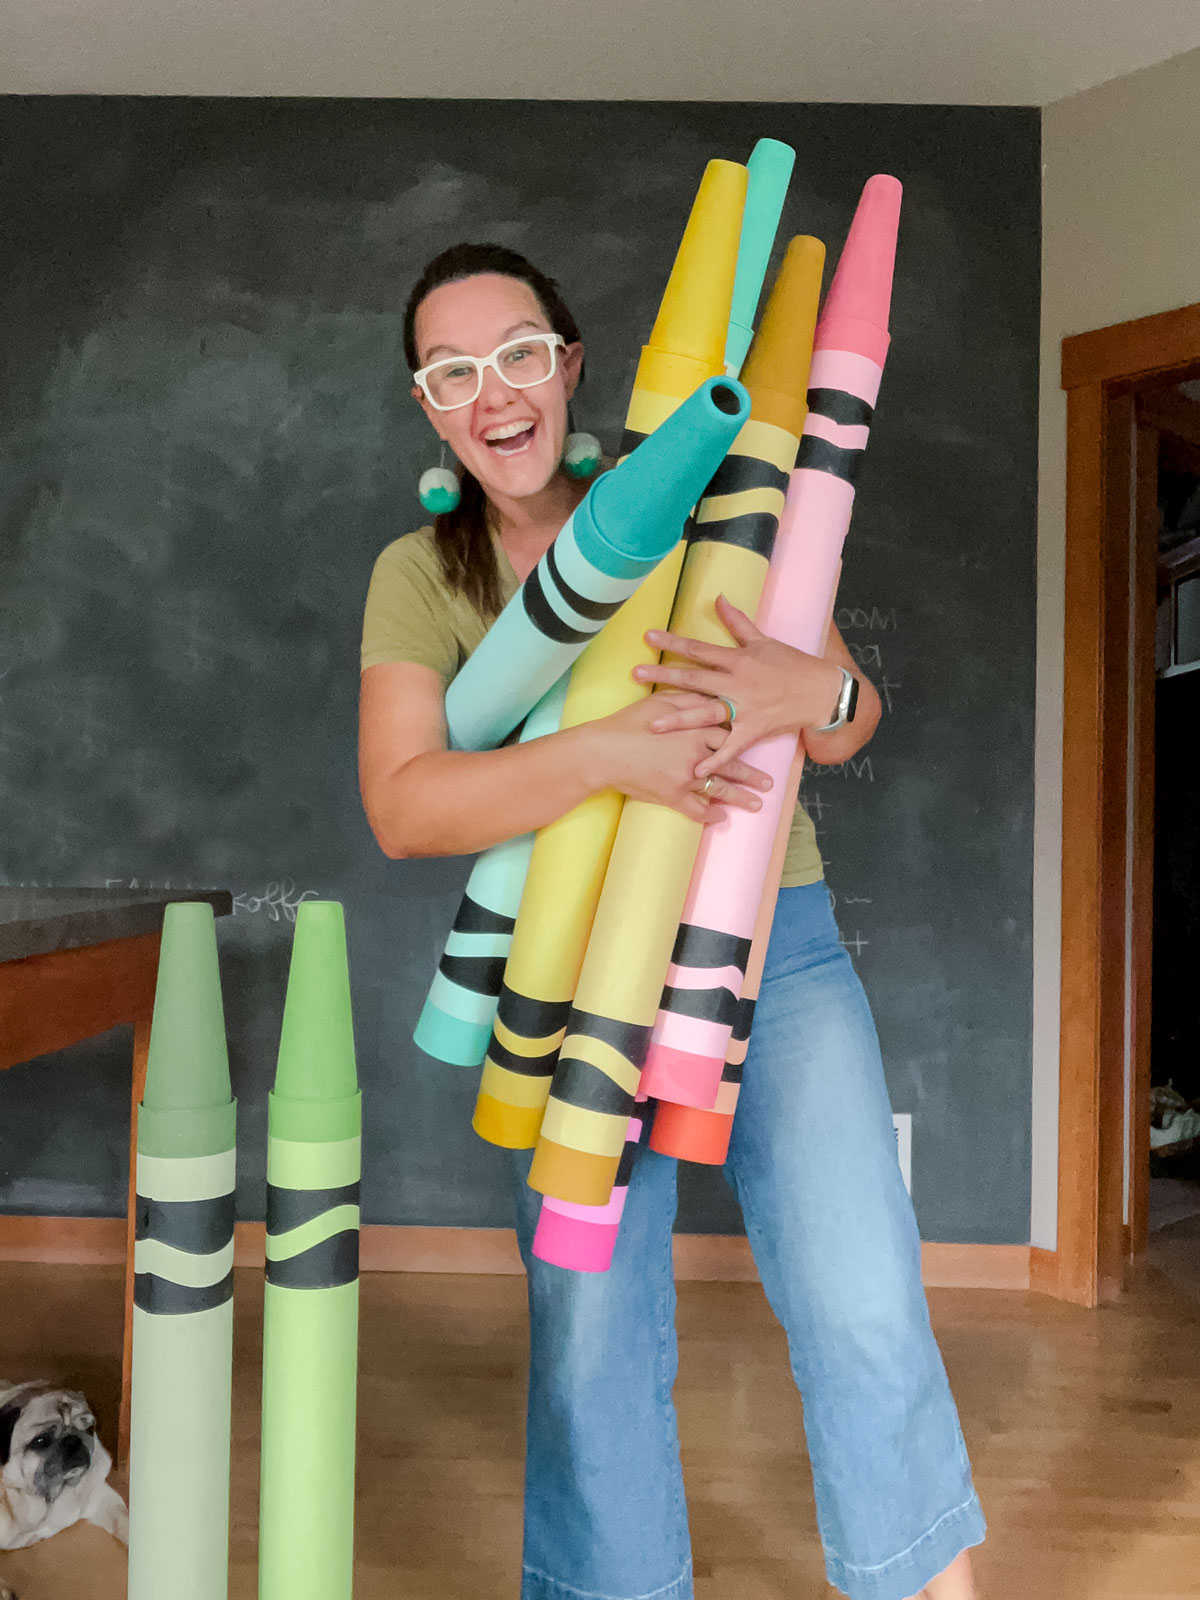
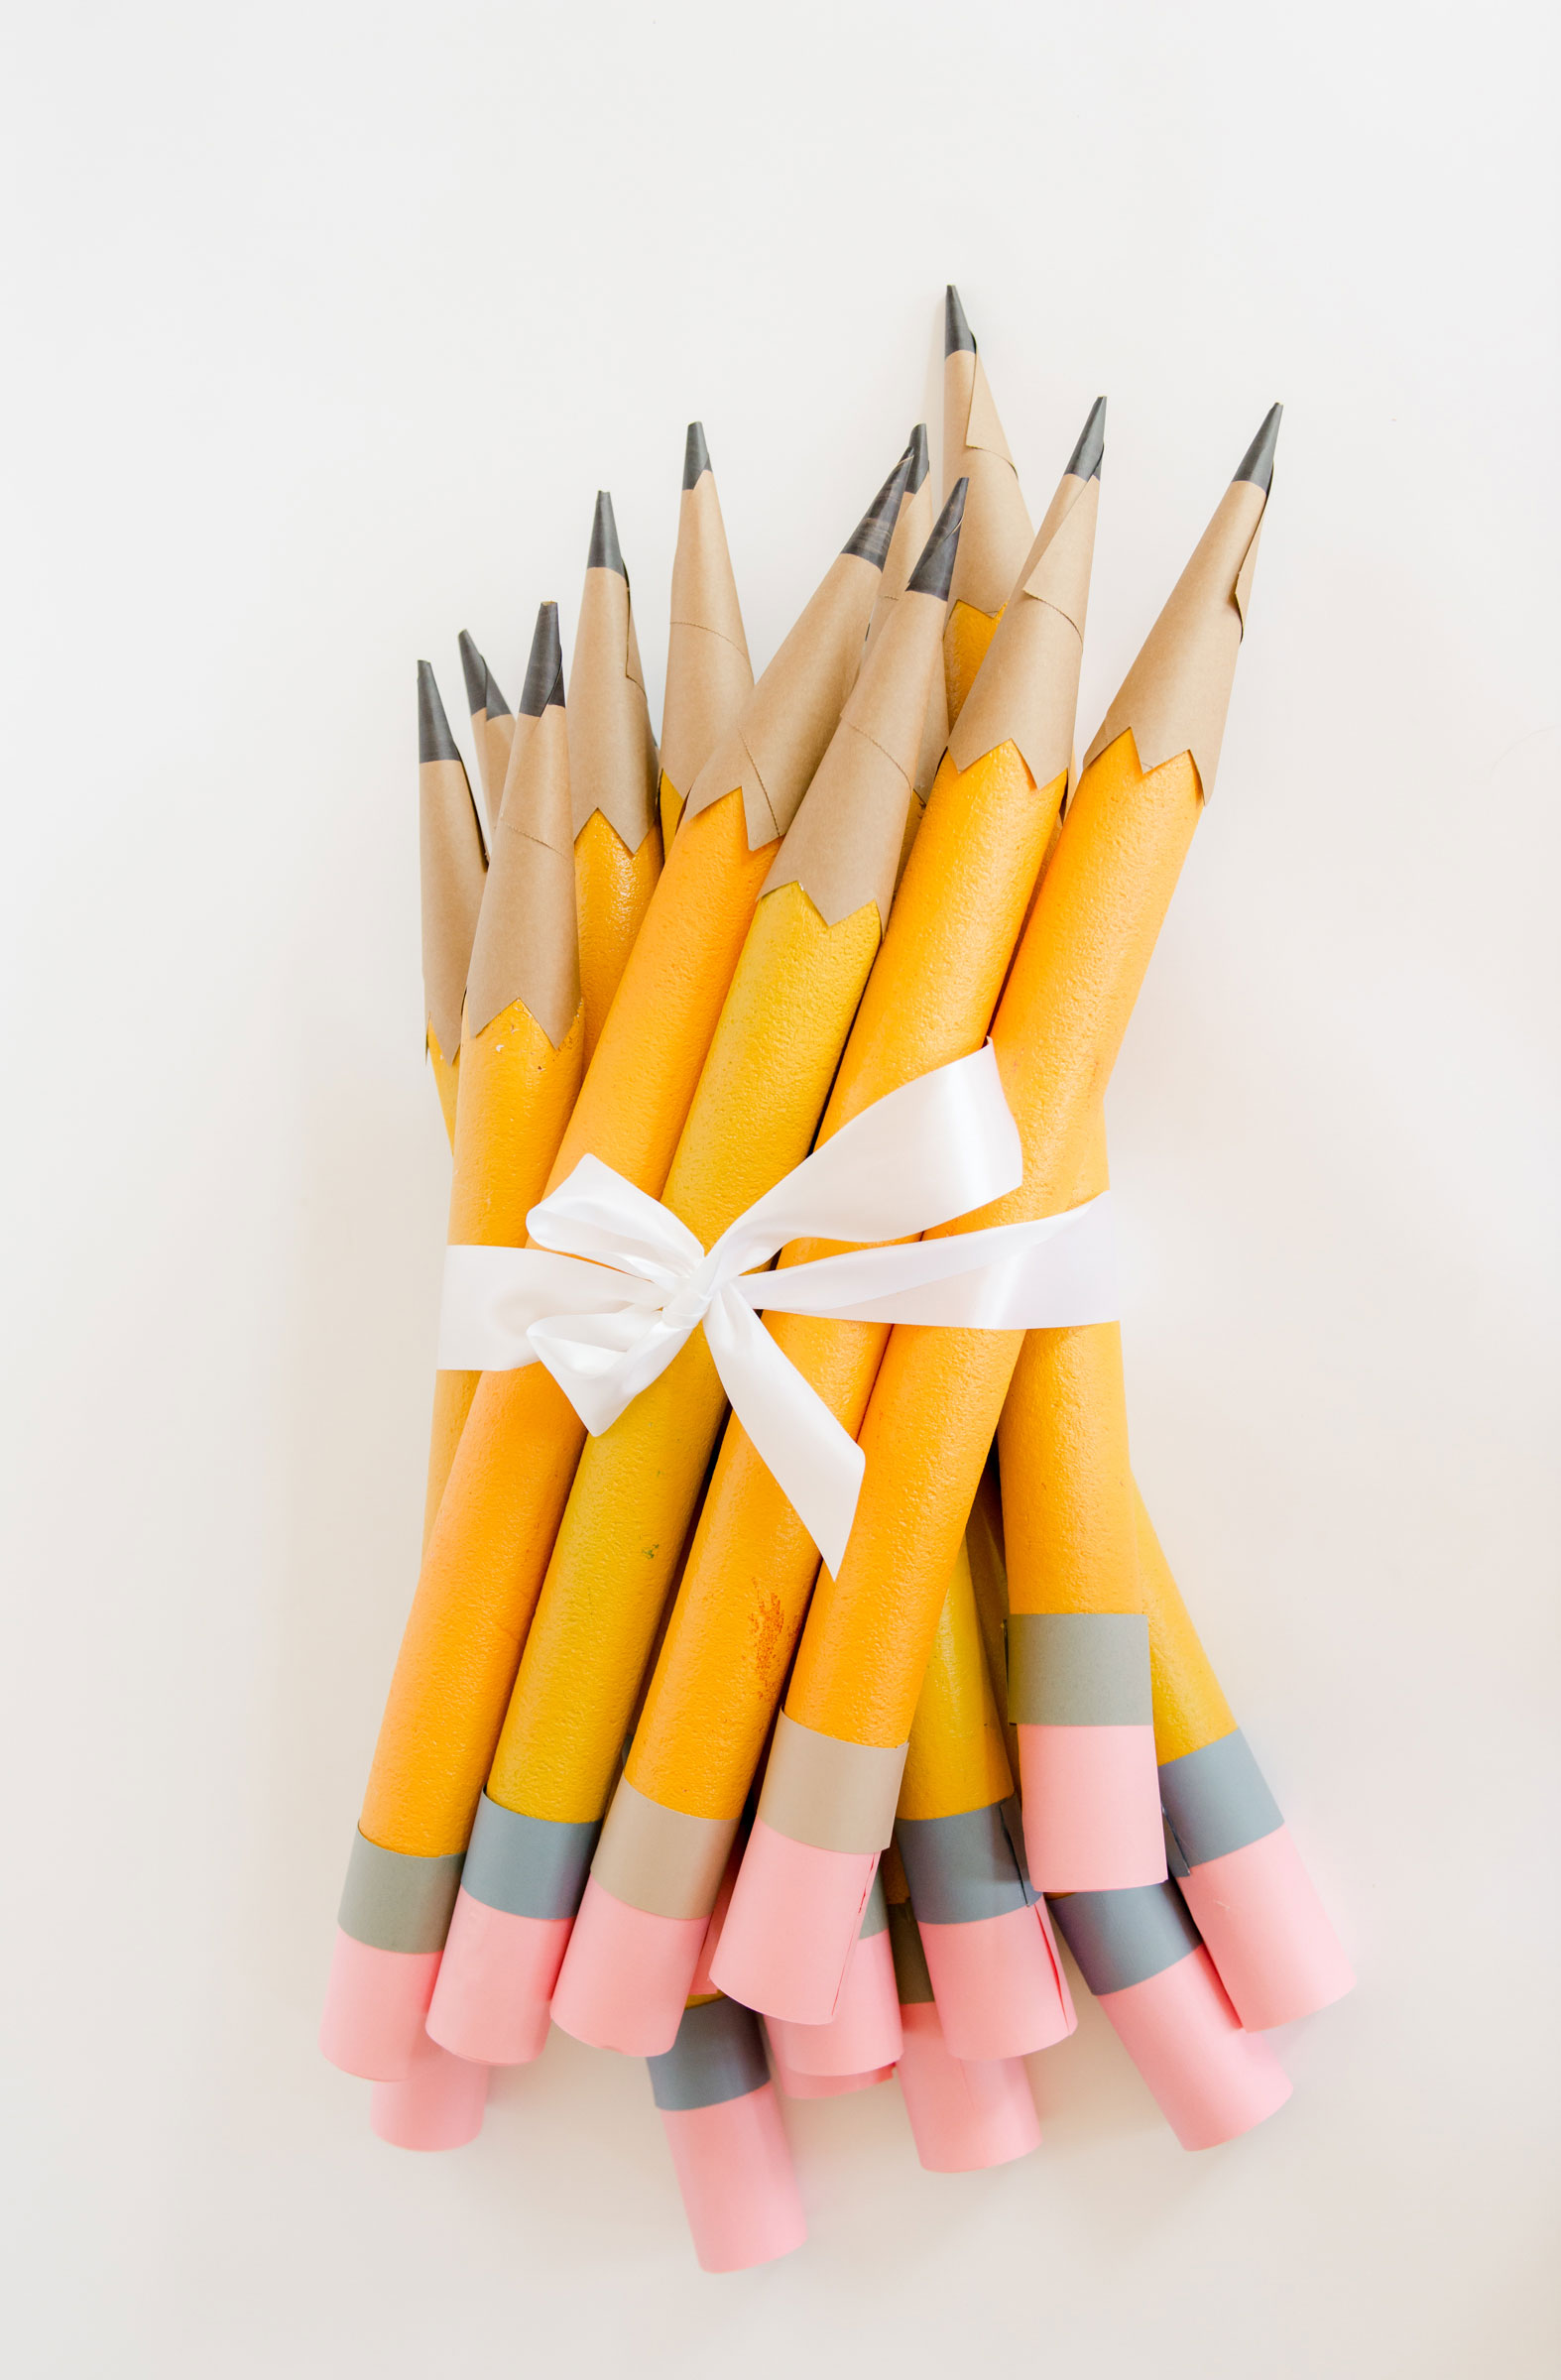
This giant crayon DIY is giving me alllll the life right now because….well….they are GIANT CRAYONS! 🙂 I saw some shipping tubes at Michaels and just HAD to turn them into my latest oversized art supply…..ANNNND after falling in love with these oversized colored pencils that I made from summer-time dollar store pool noodles….(you can find the DIY HERE)!
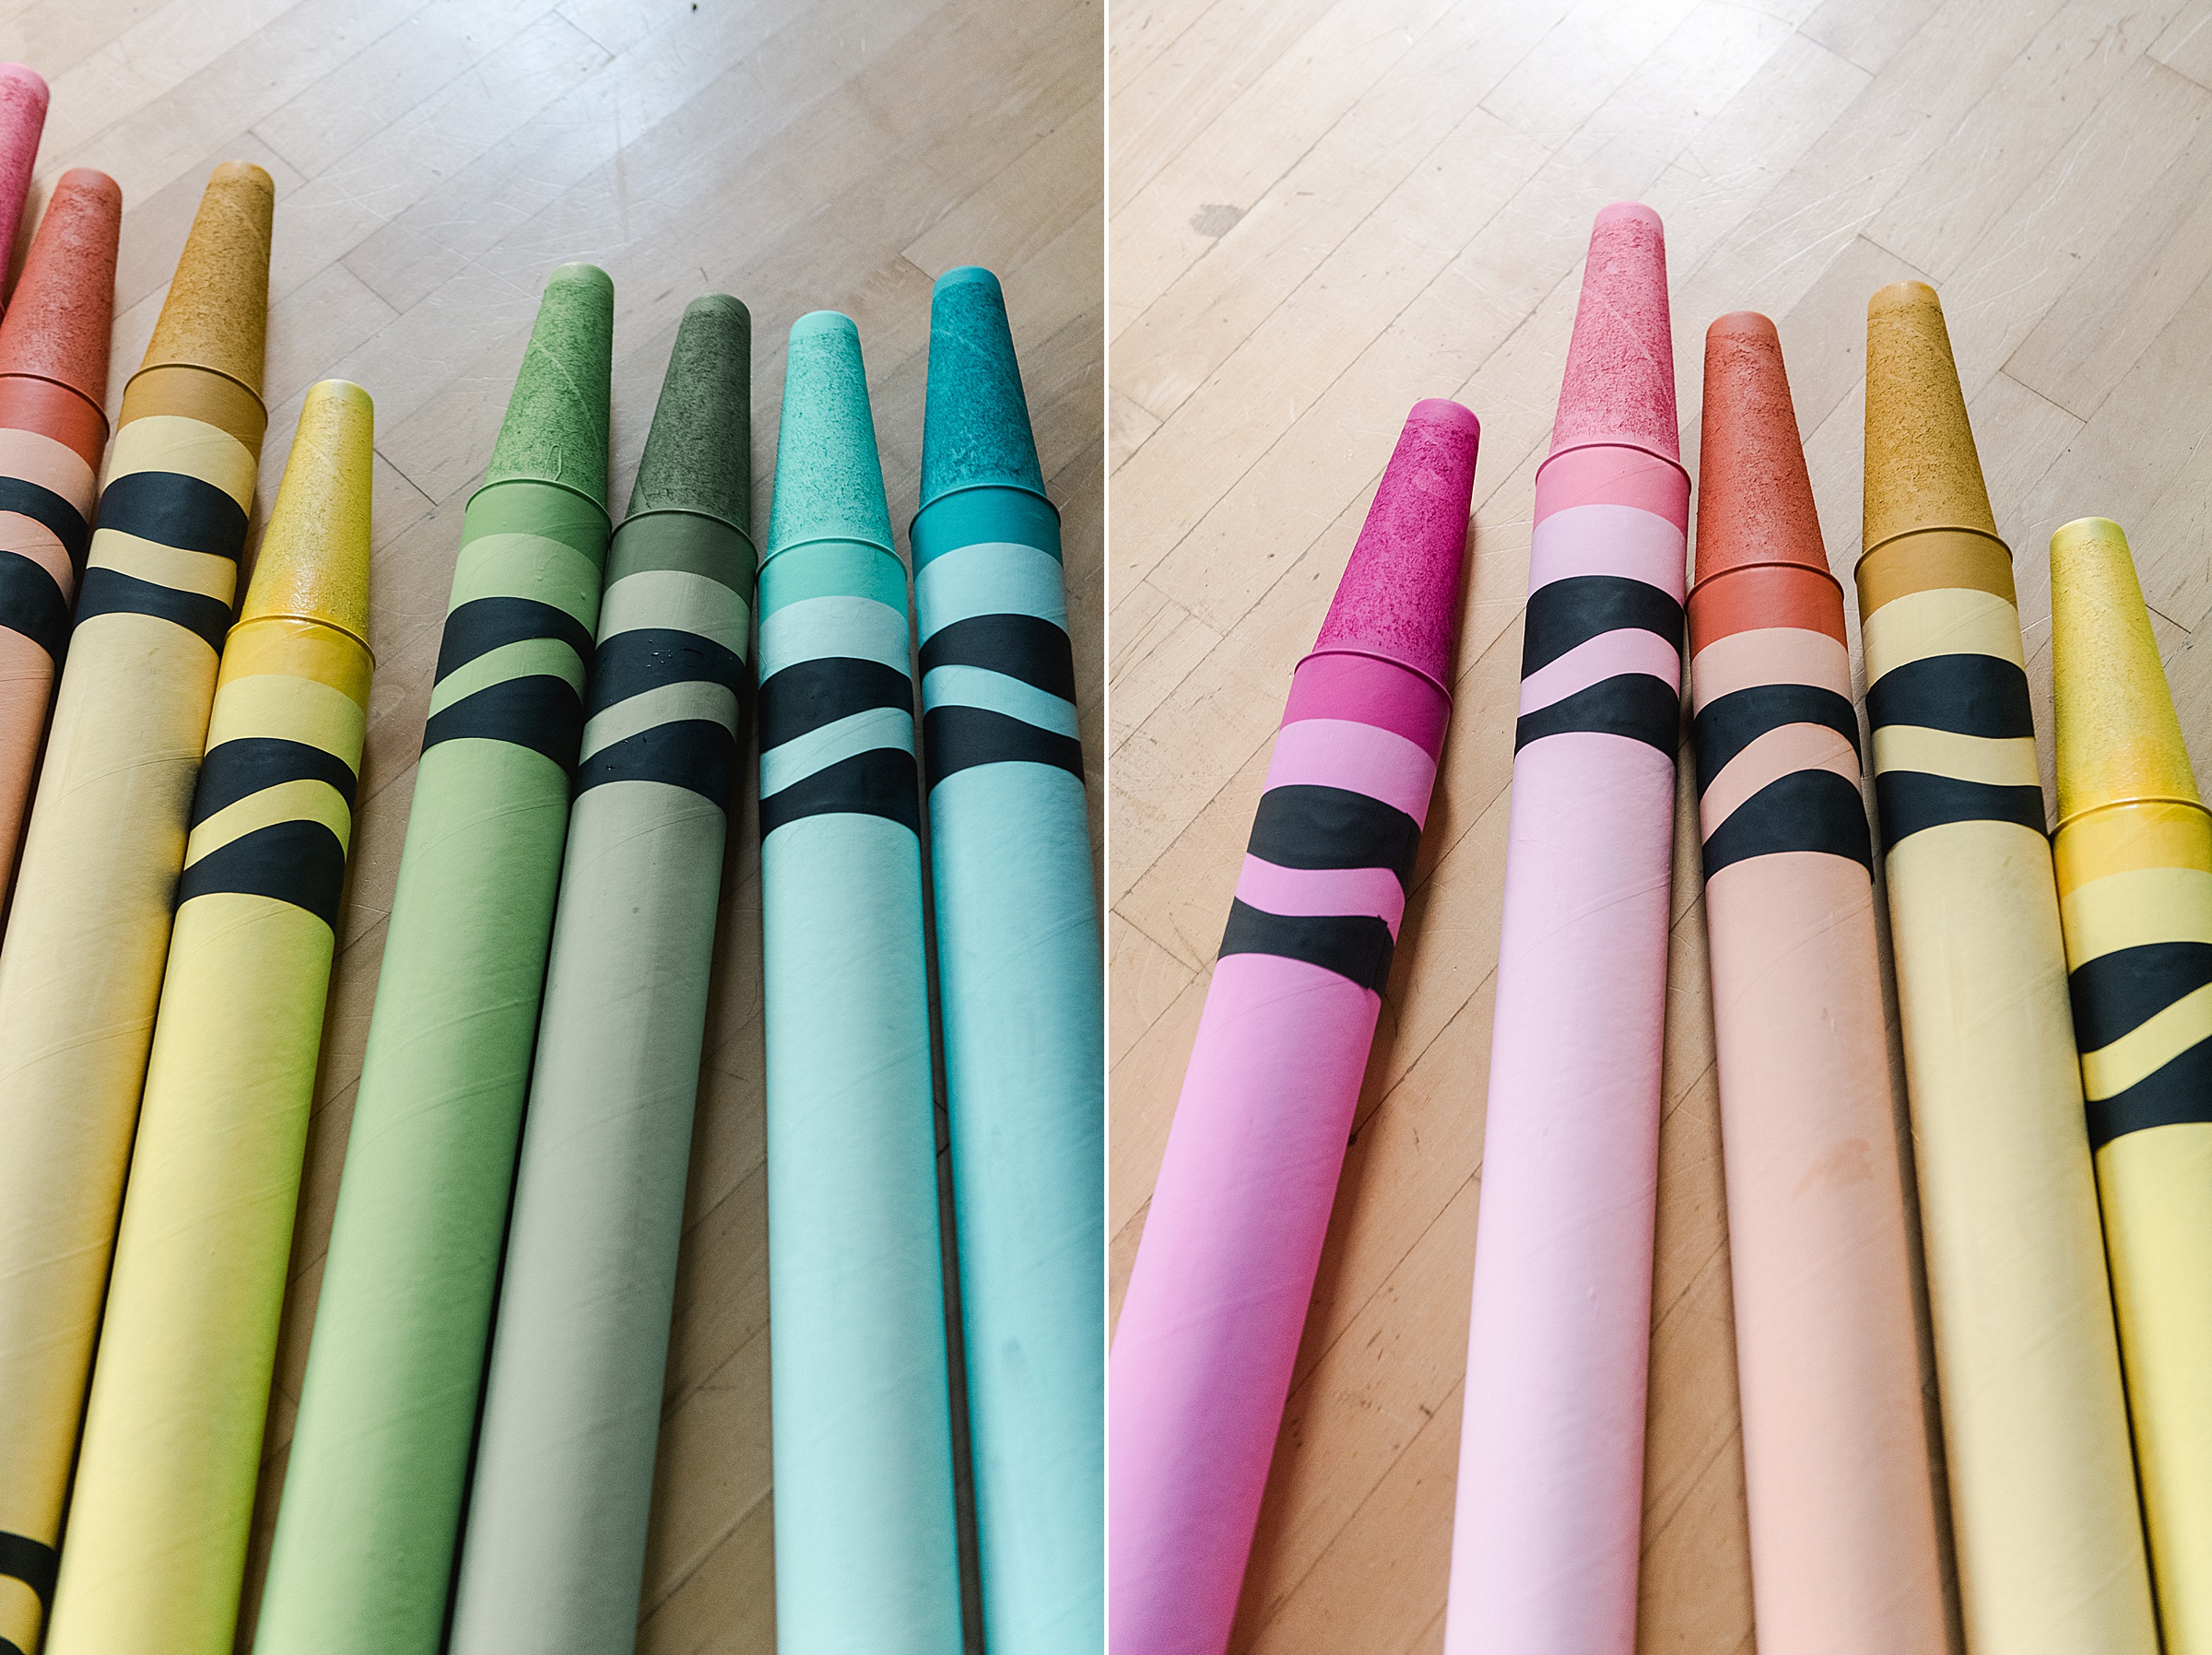
SUPPLIES:
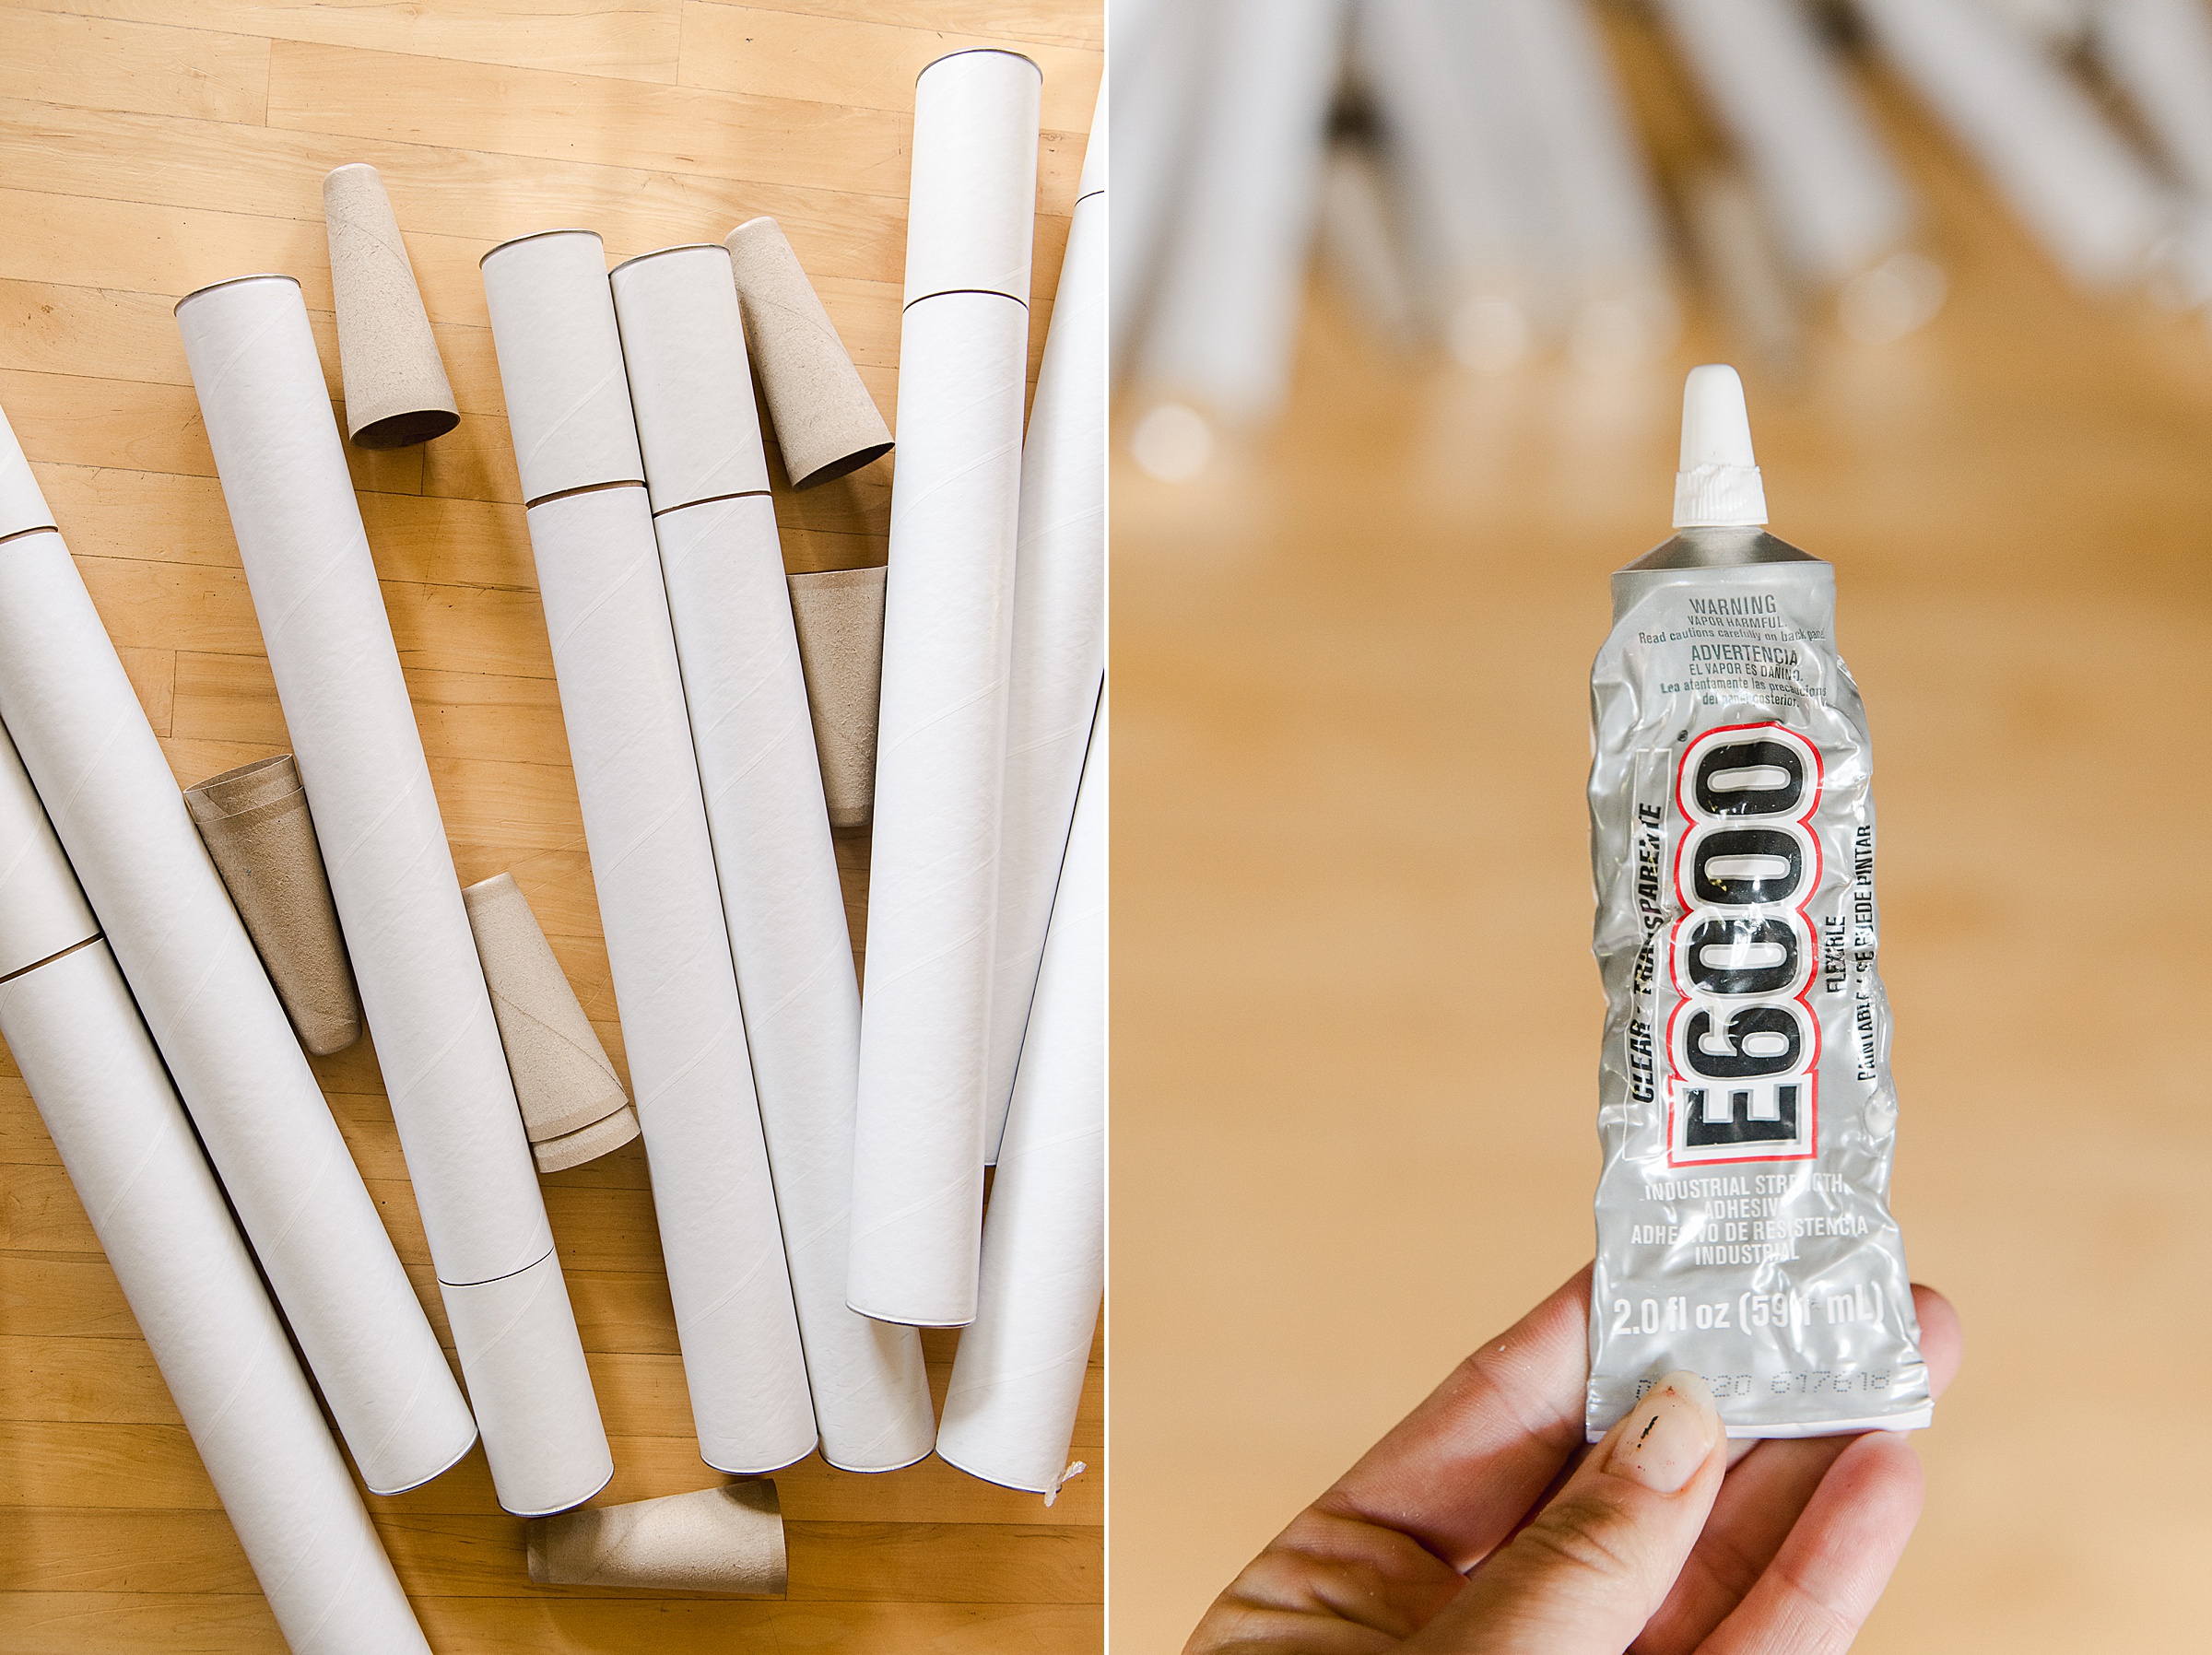
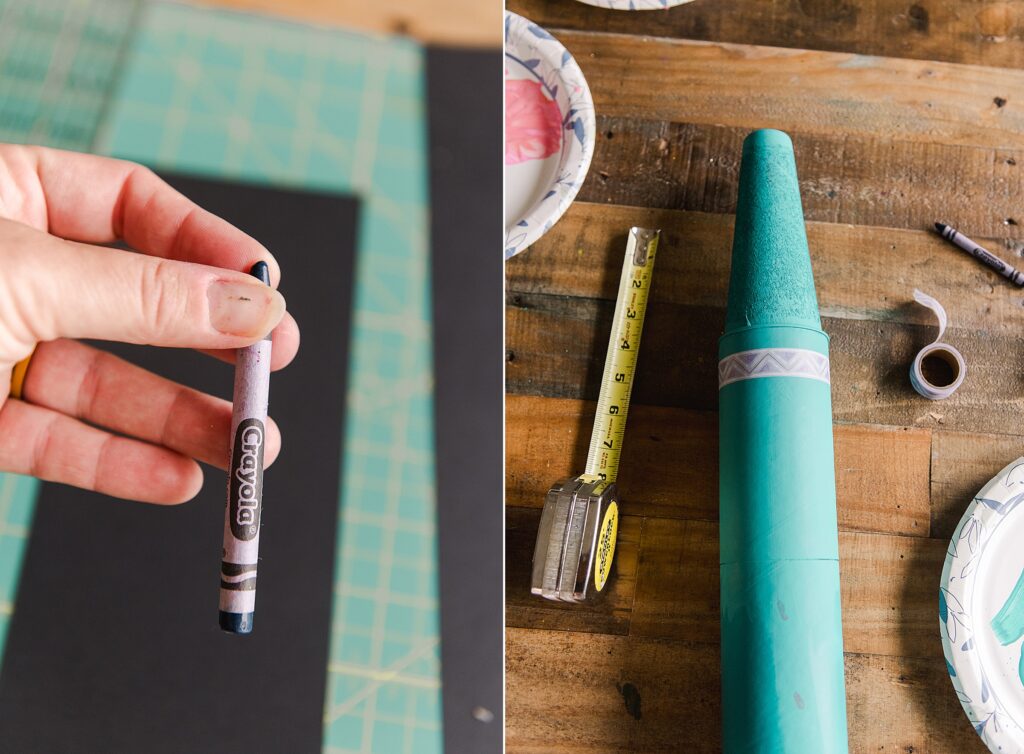
- A giant round shipping tube – I got these from Michaels, sized 3″ x 35″
- A 2 3/4″ cardboard yarn cone – I got these from Michaels
- Some black paper for the details
- Your fave color of paint and some paint brushes
- Some washi tape or painters tape
- Some E6000 glue (or any other glue that will hold onto metal)
- An x-acto knife or scissors
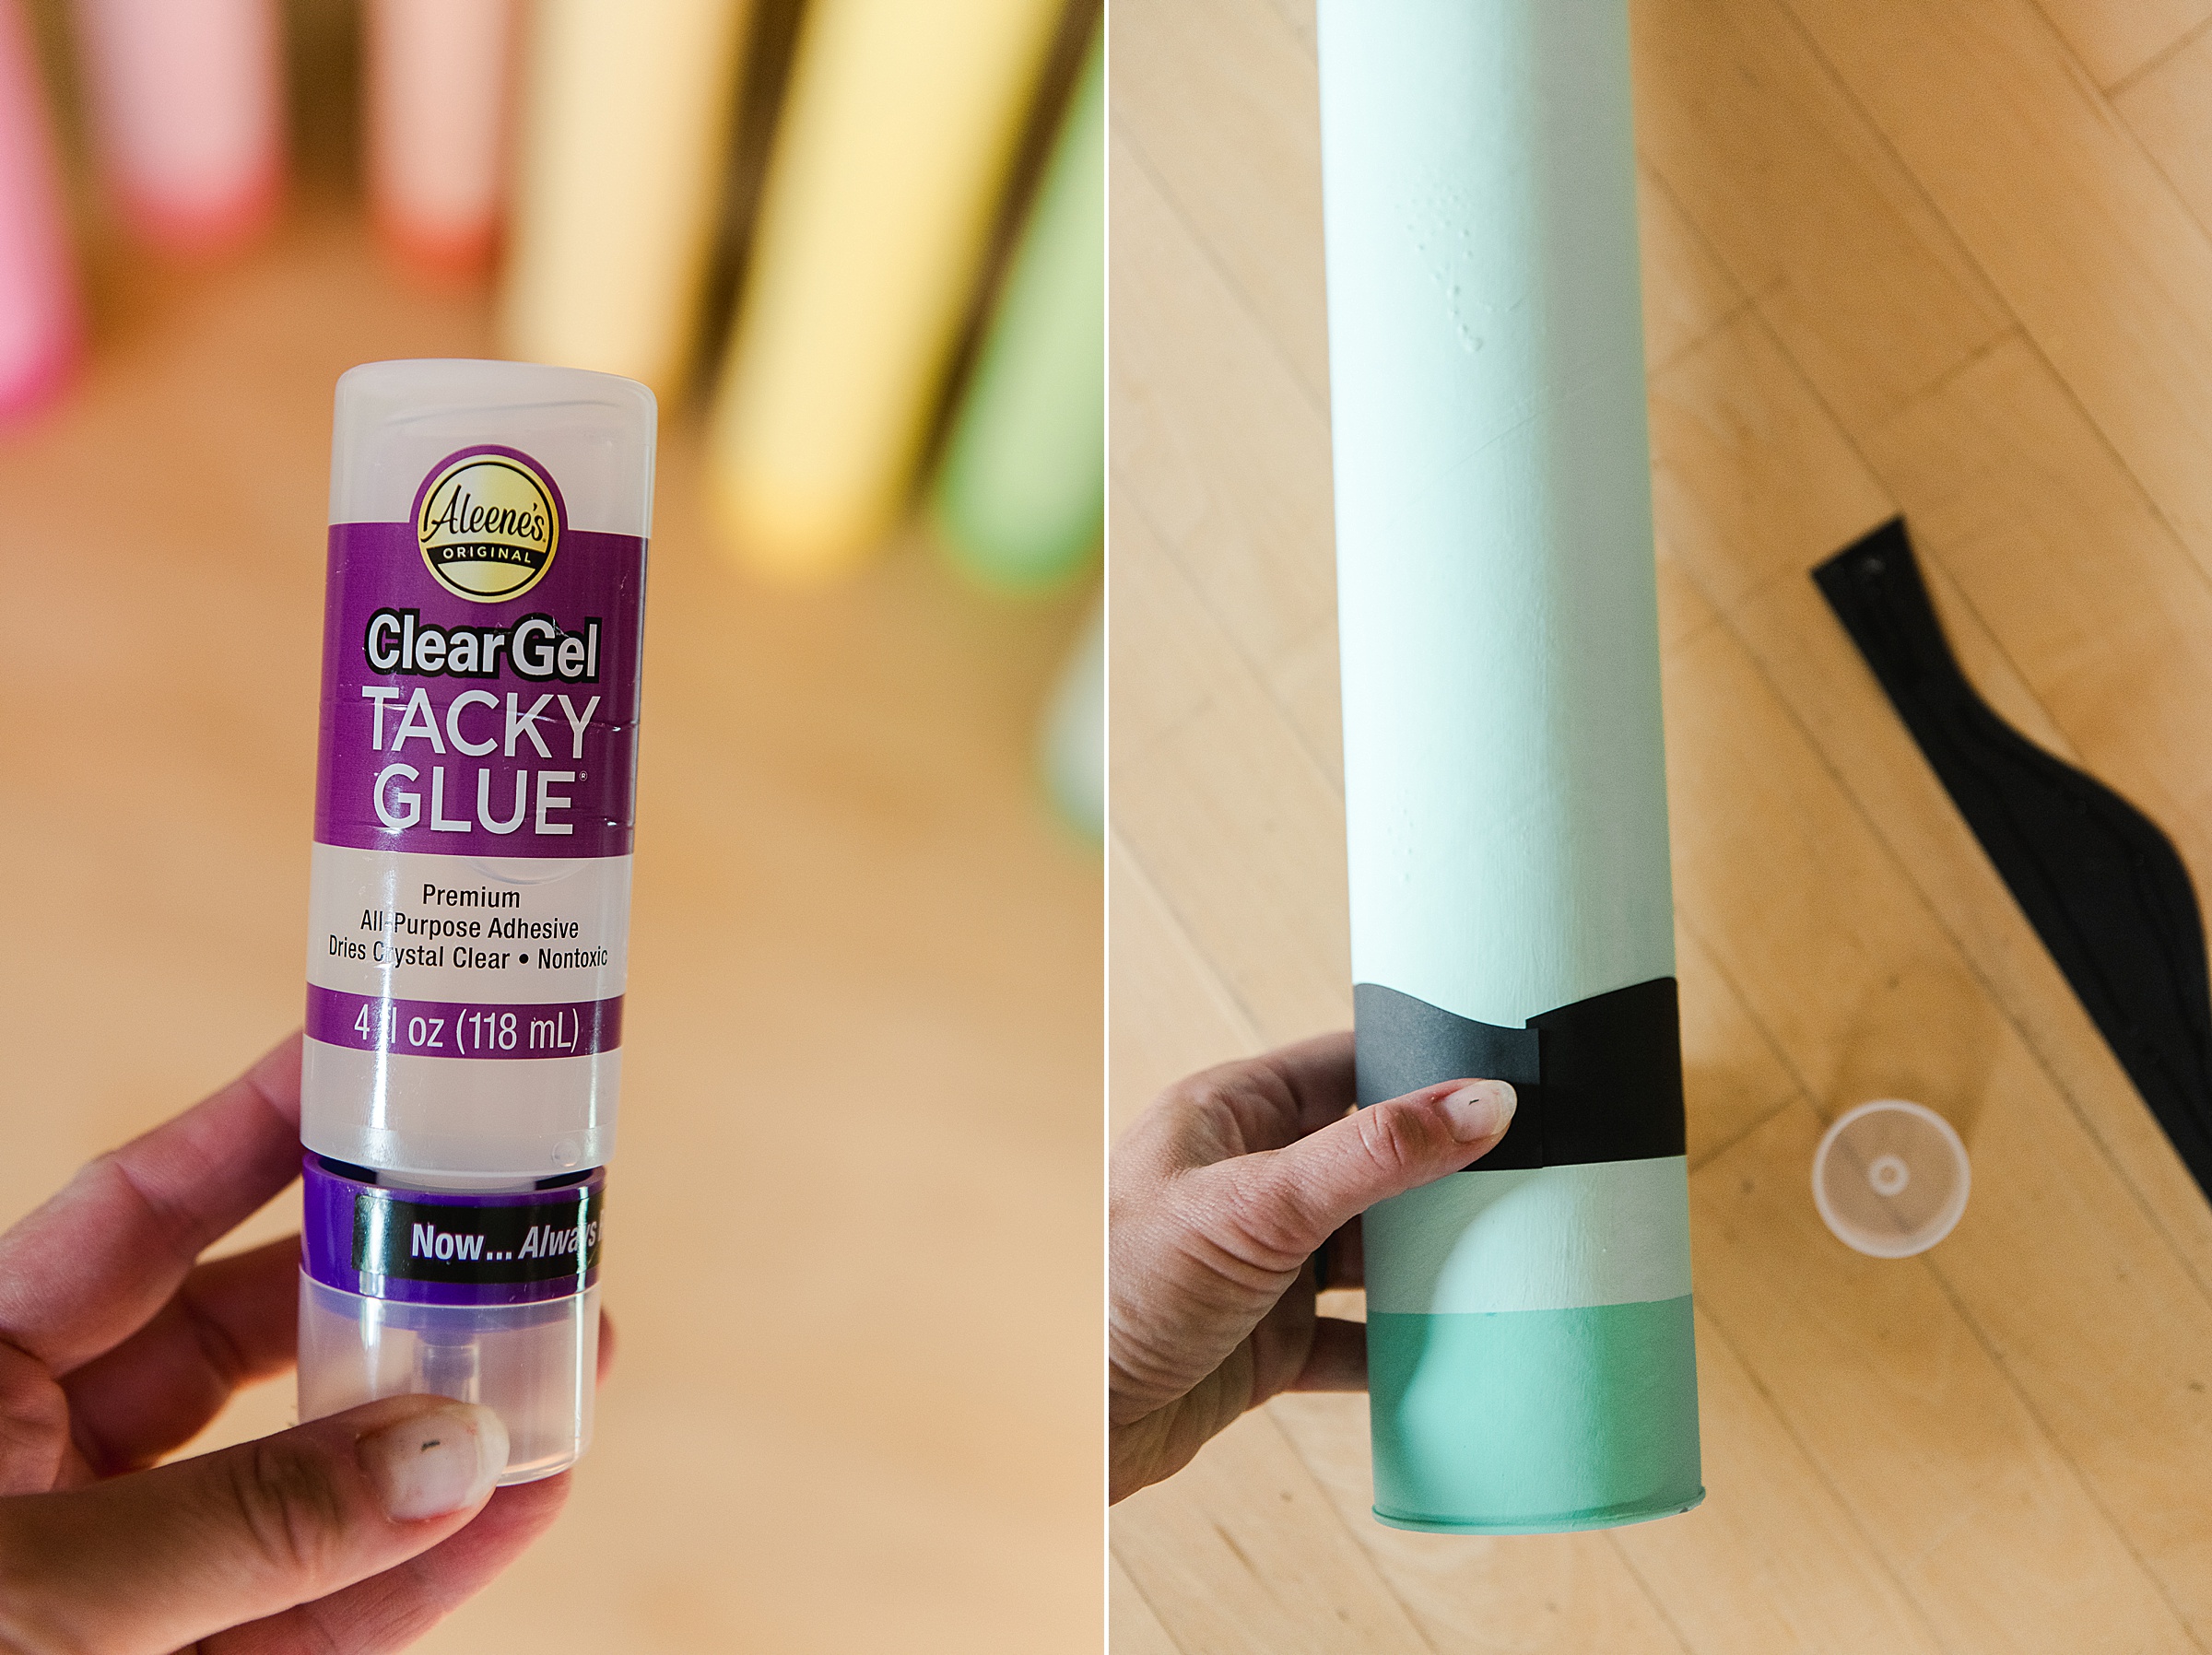
- A bottle of Aleene’s clear Tacky Glue
- optional: Mod Podge to seal everything in 🙂
INSTRUCTIONS:
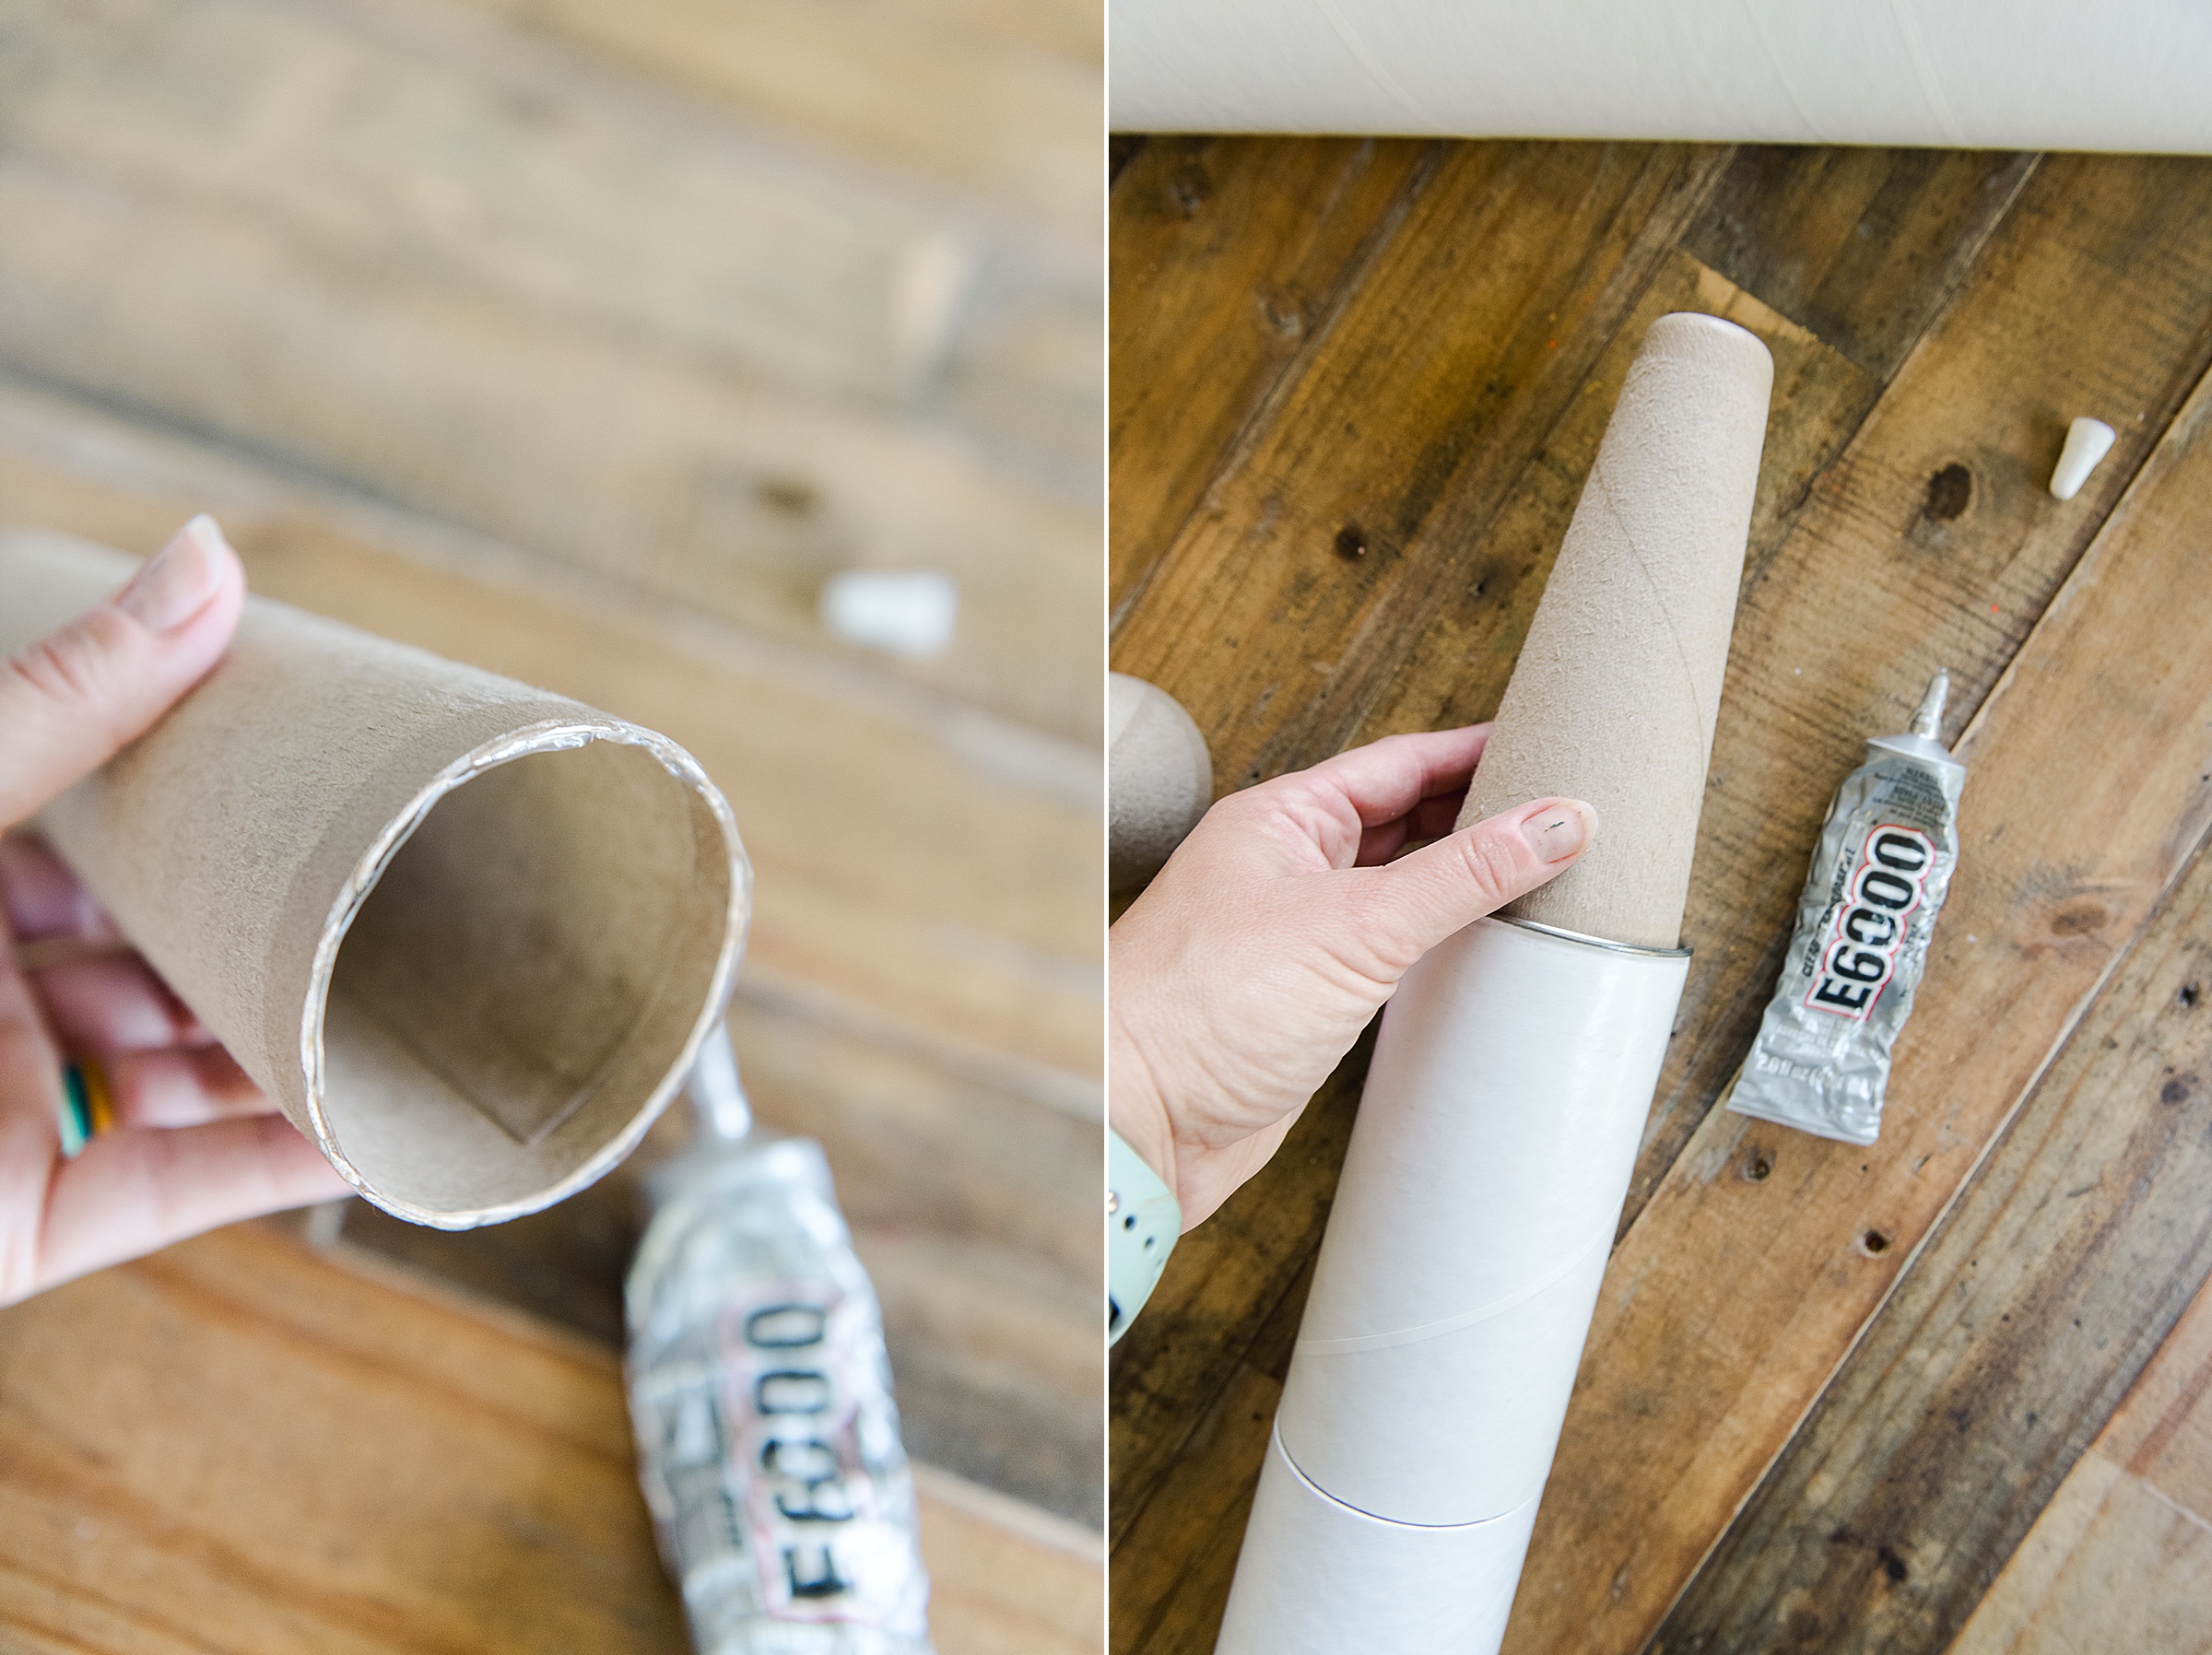
- With your E6000 glue, you will want to glue your cardboard cone to the top of your mailing tube and also glue your tube together (or shut) so that the top doesn’t come open if you don’t want it to (although it could be a super cool secret crayon storage container! 🙂
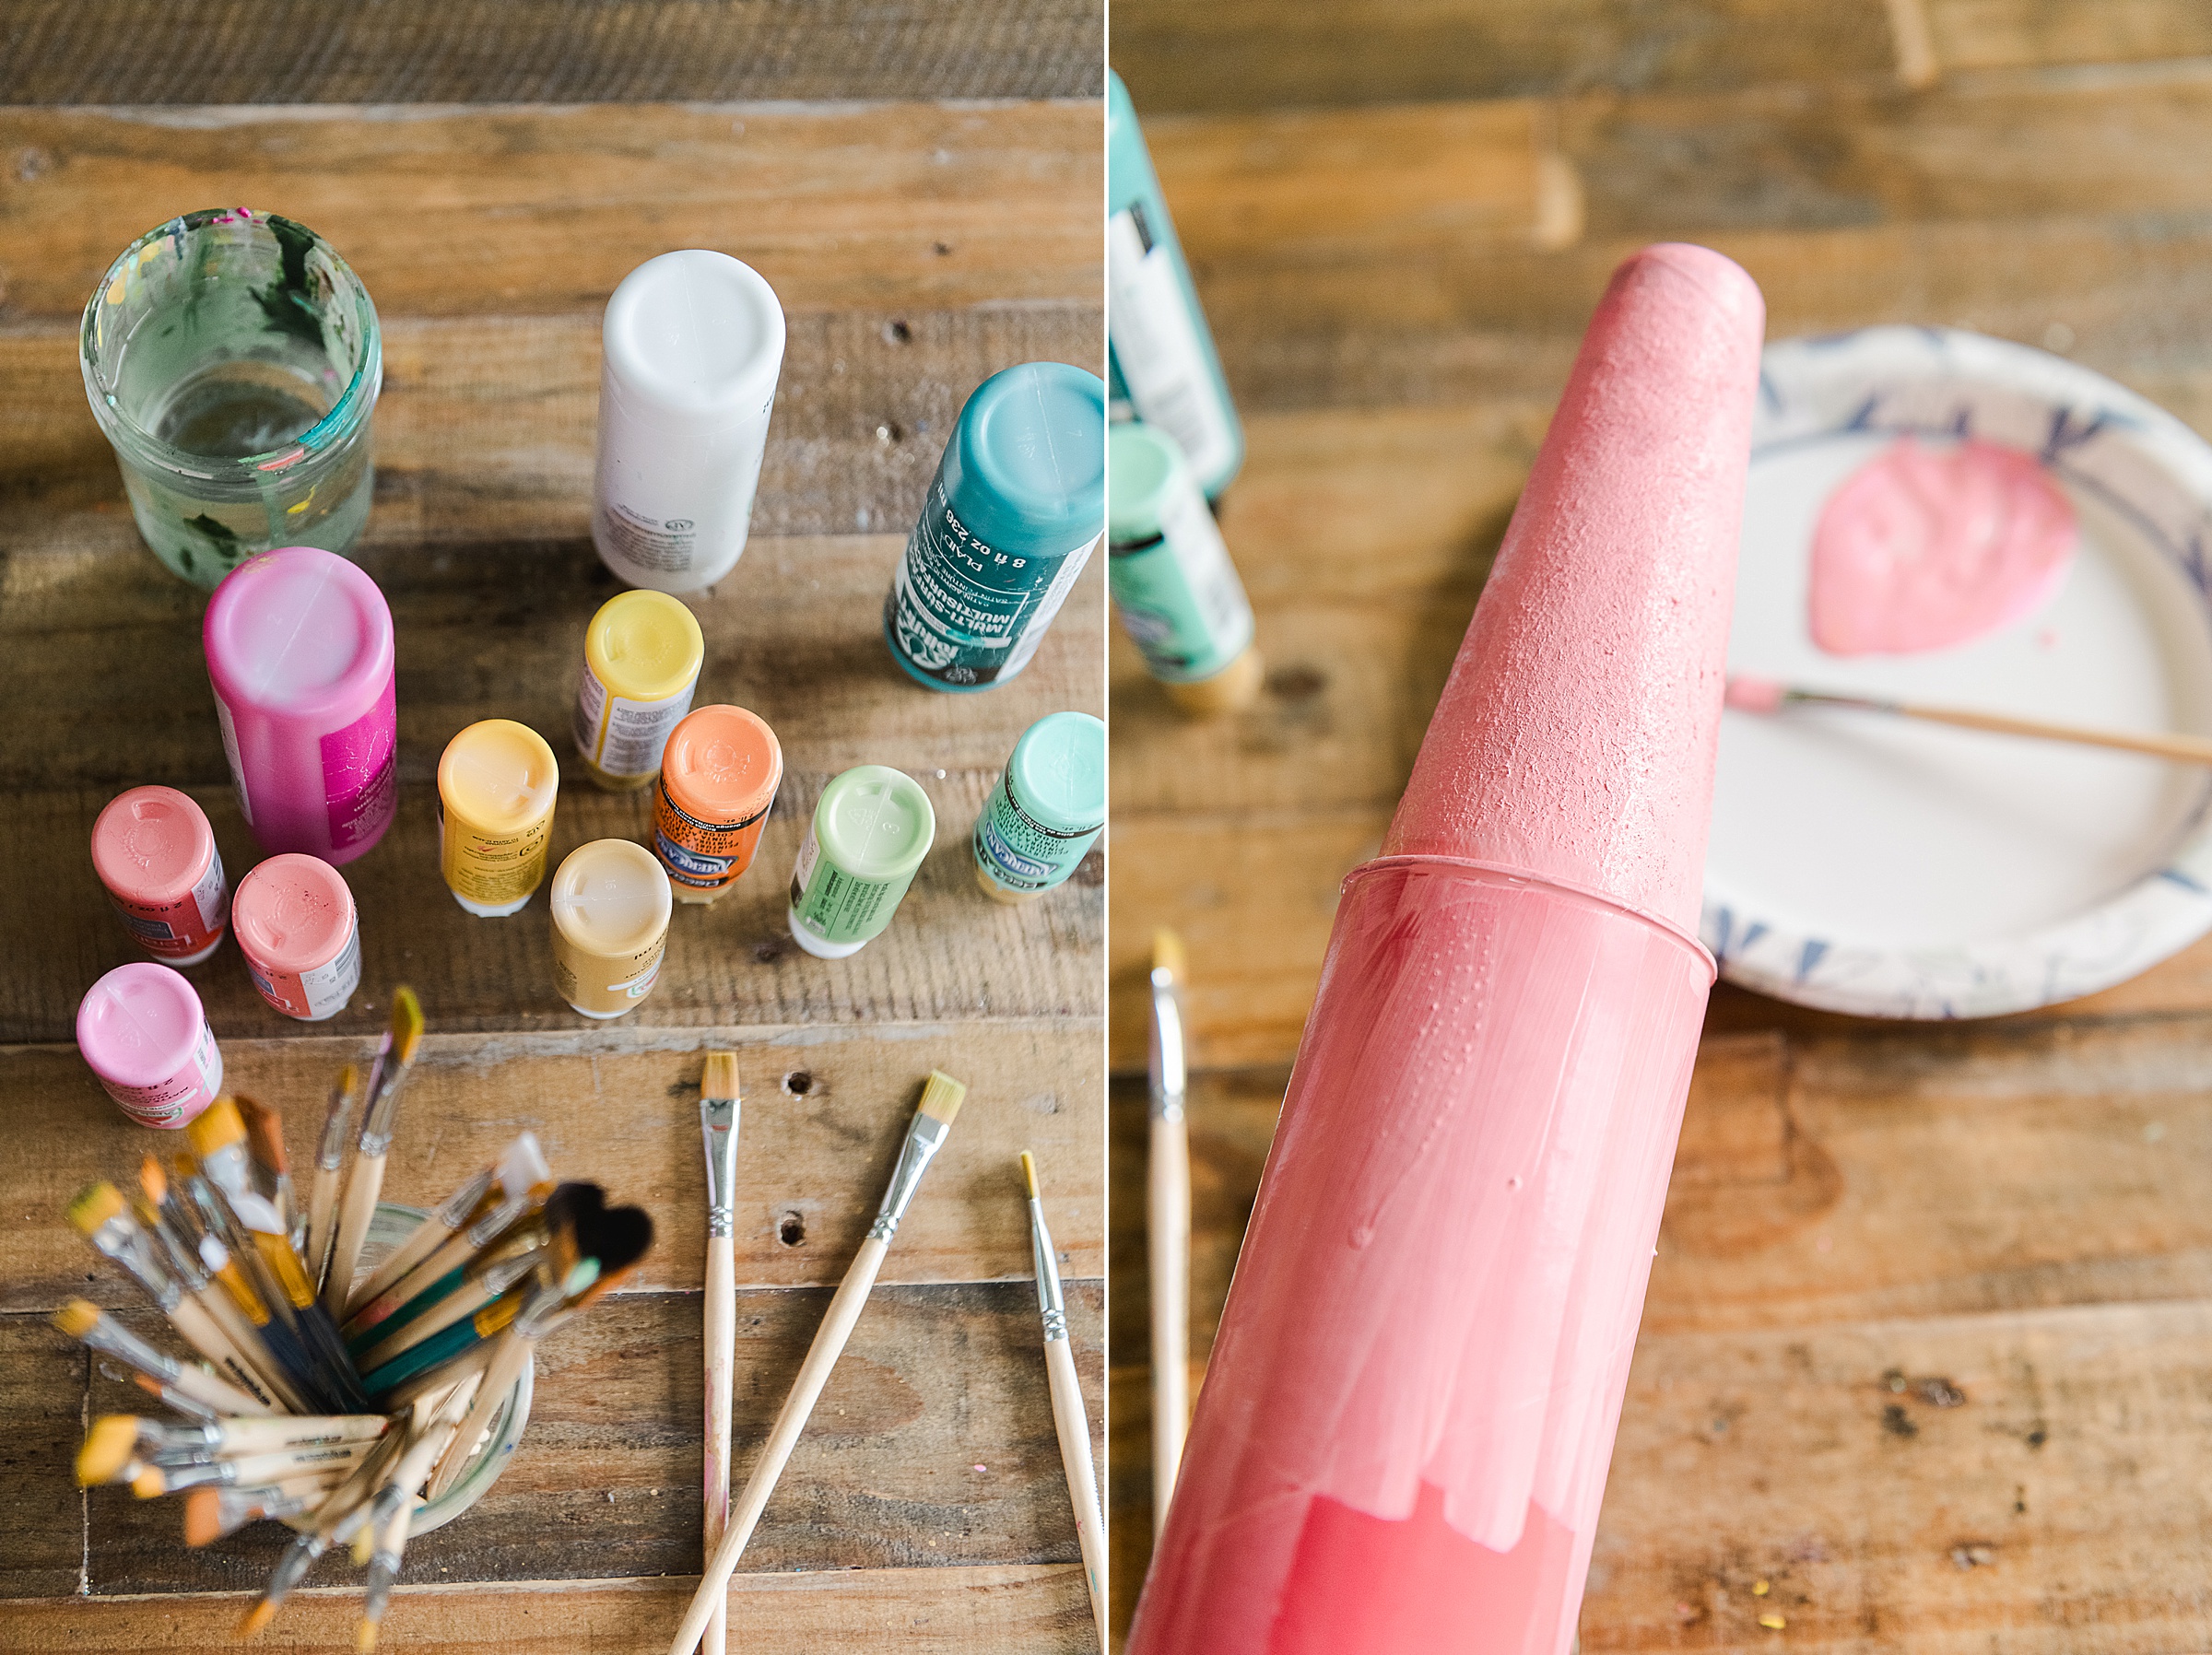
2. Time to paint!
I tried to spray paint first and I didn’t love the way it looked (too shiny and not evenly coated, etc) so I switched to acrylic paint and LOVED way more!
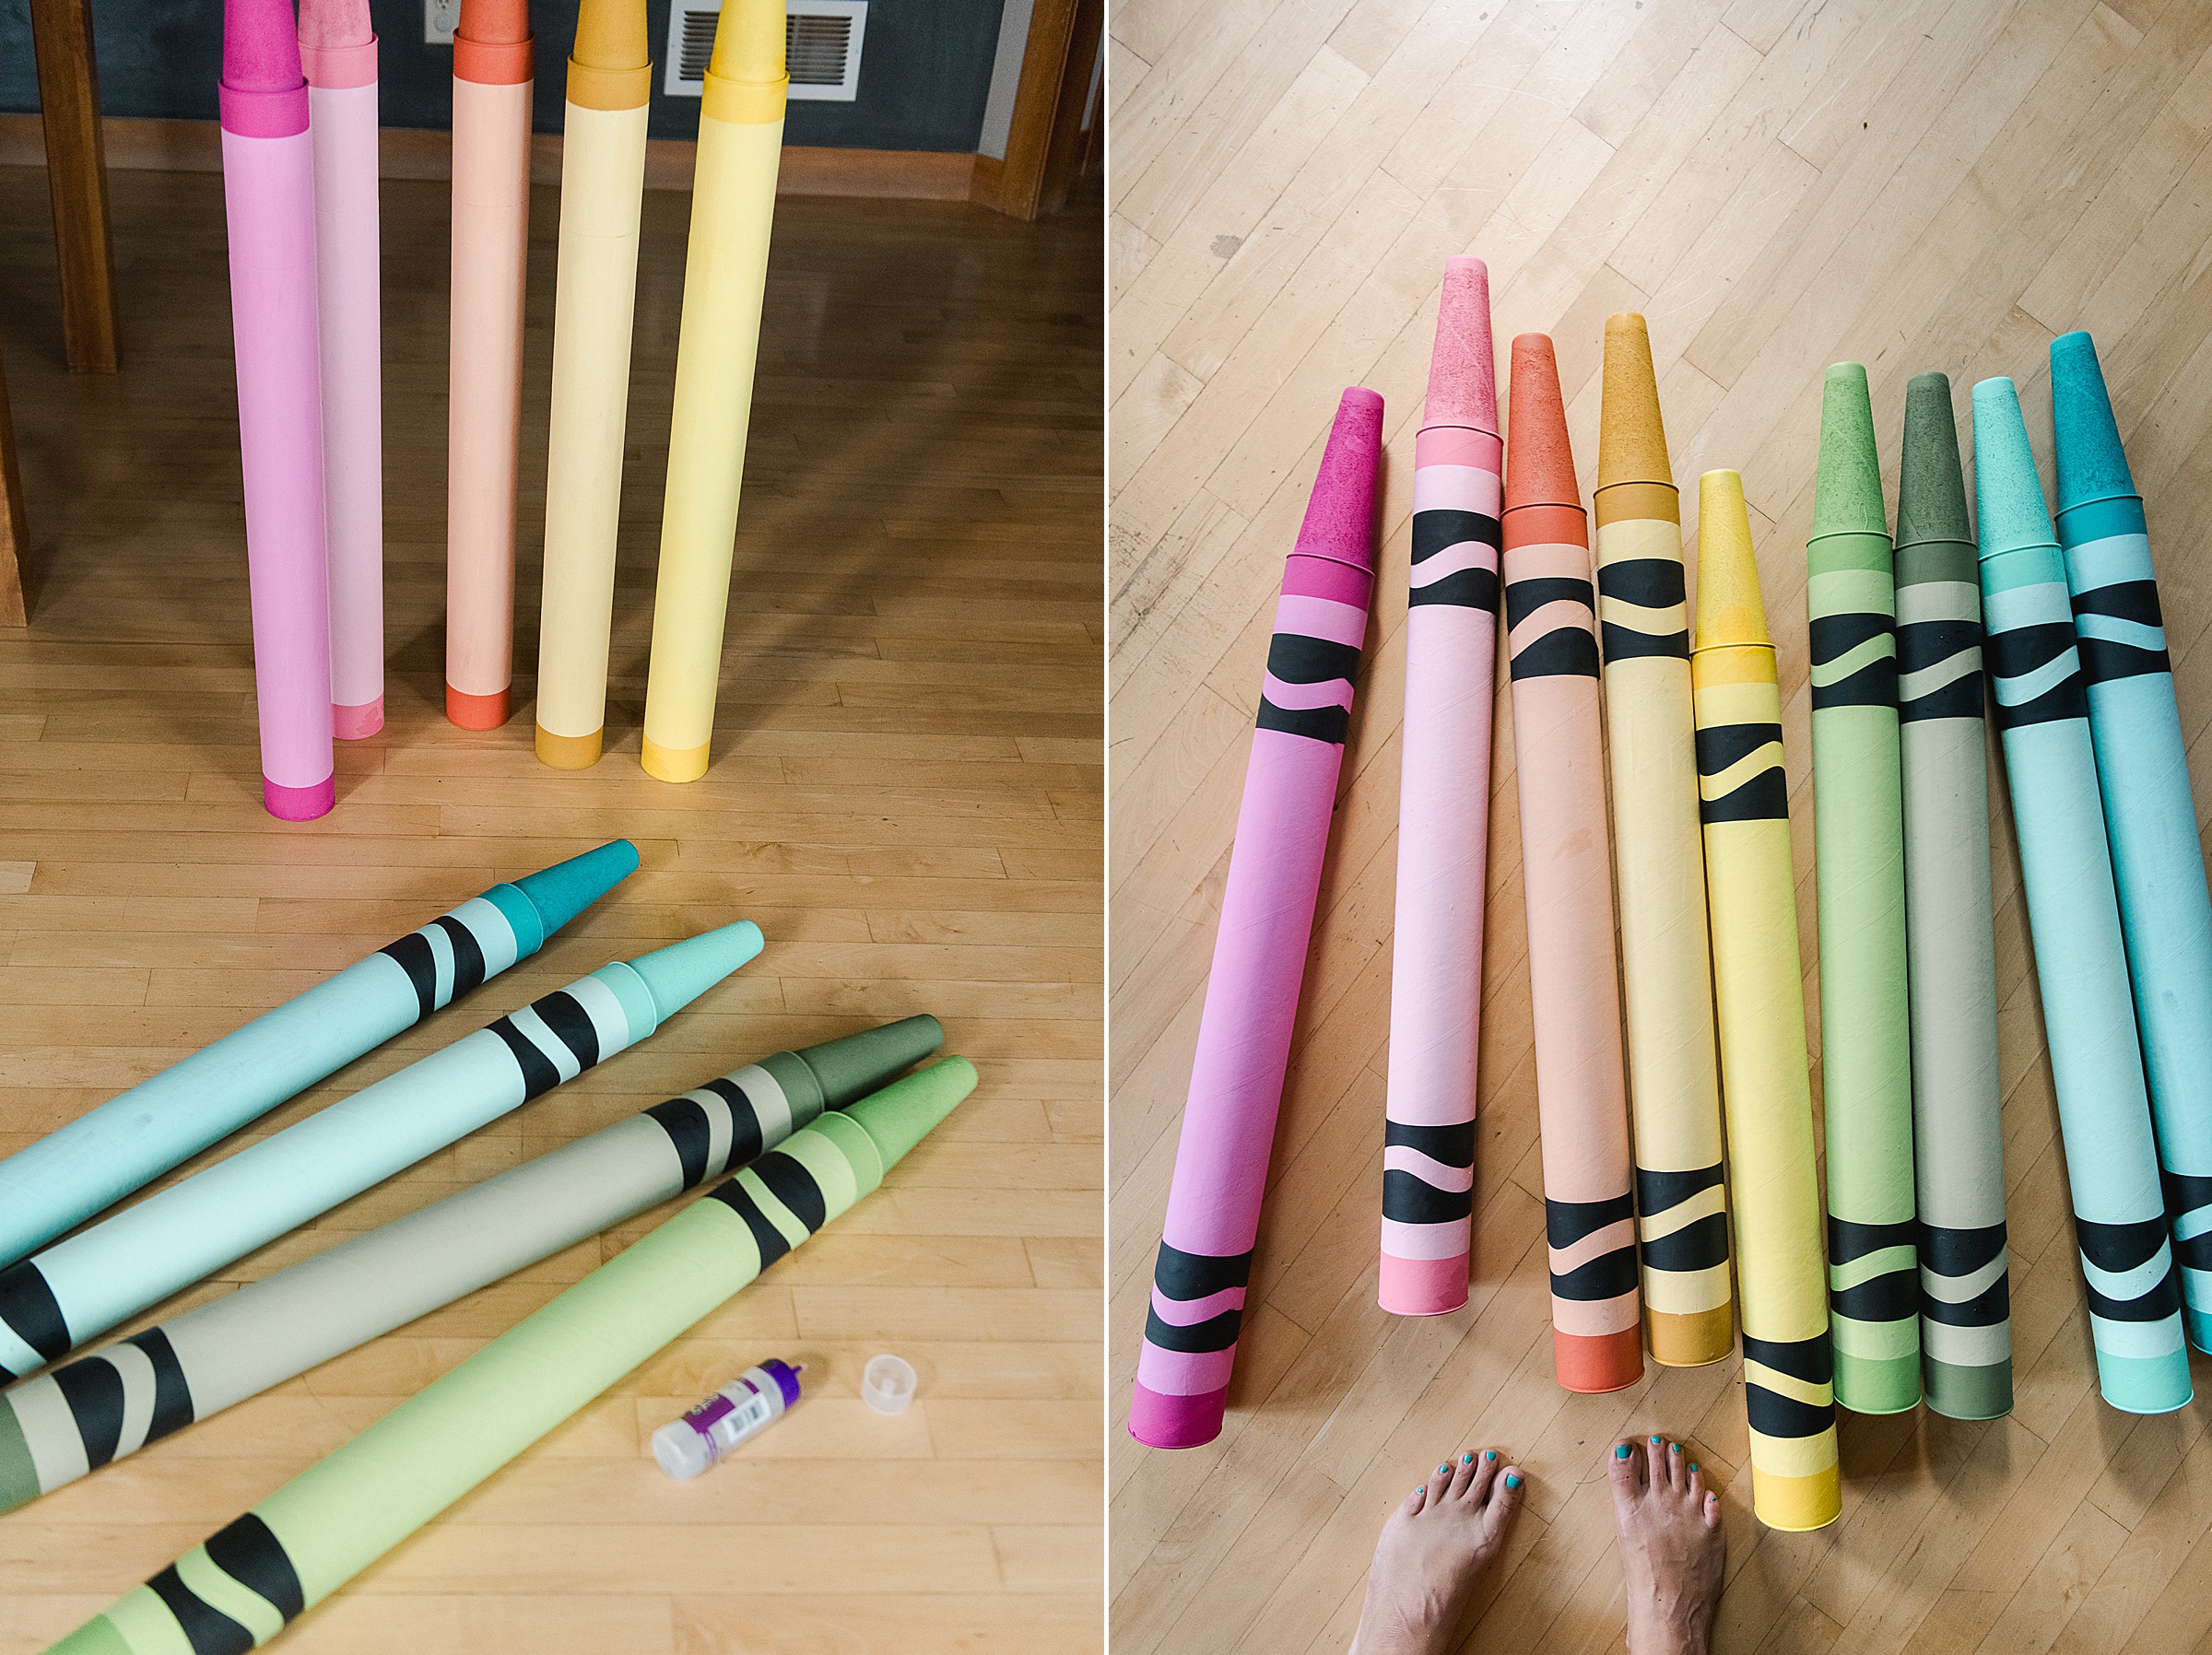
You will first paint the actual crayon wax portion (the portion that is the very top and very bottom). I just chose to paint the top triangle and the top 1/4 portion as well as the bottom 4-5 inches of the crayon! 🙂 I painted 2 thin layers just to be sure that it was all covered smooth and even! 🙂
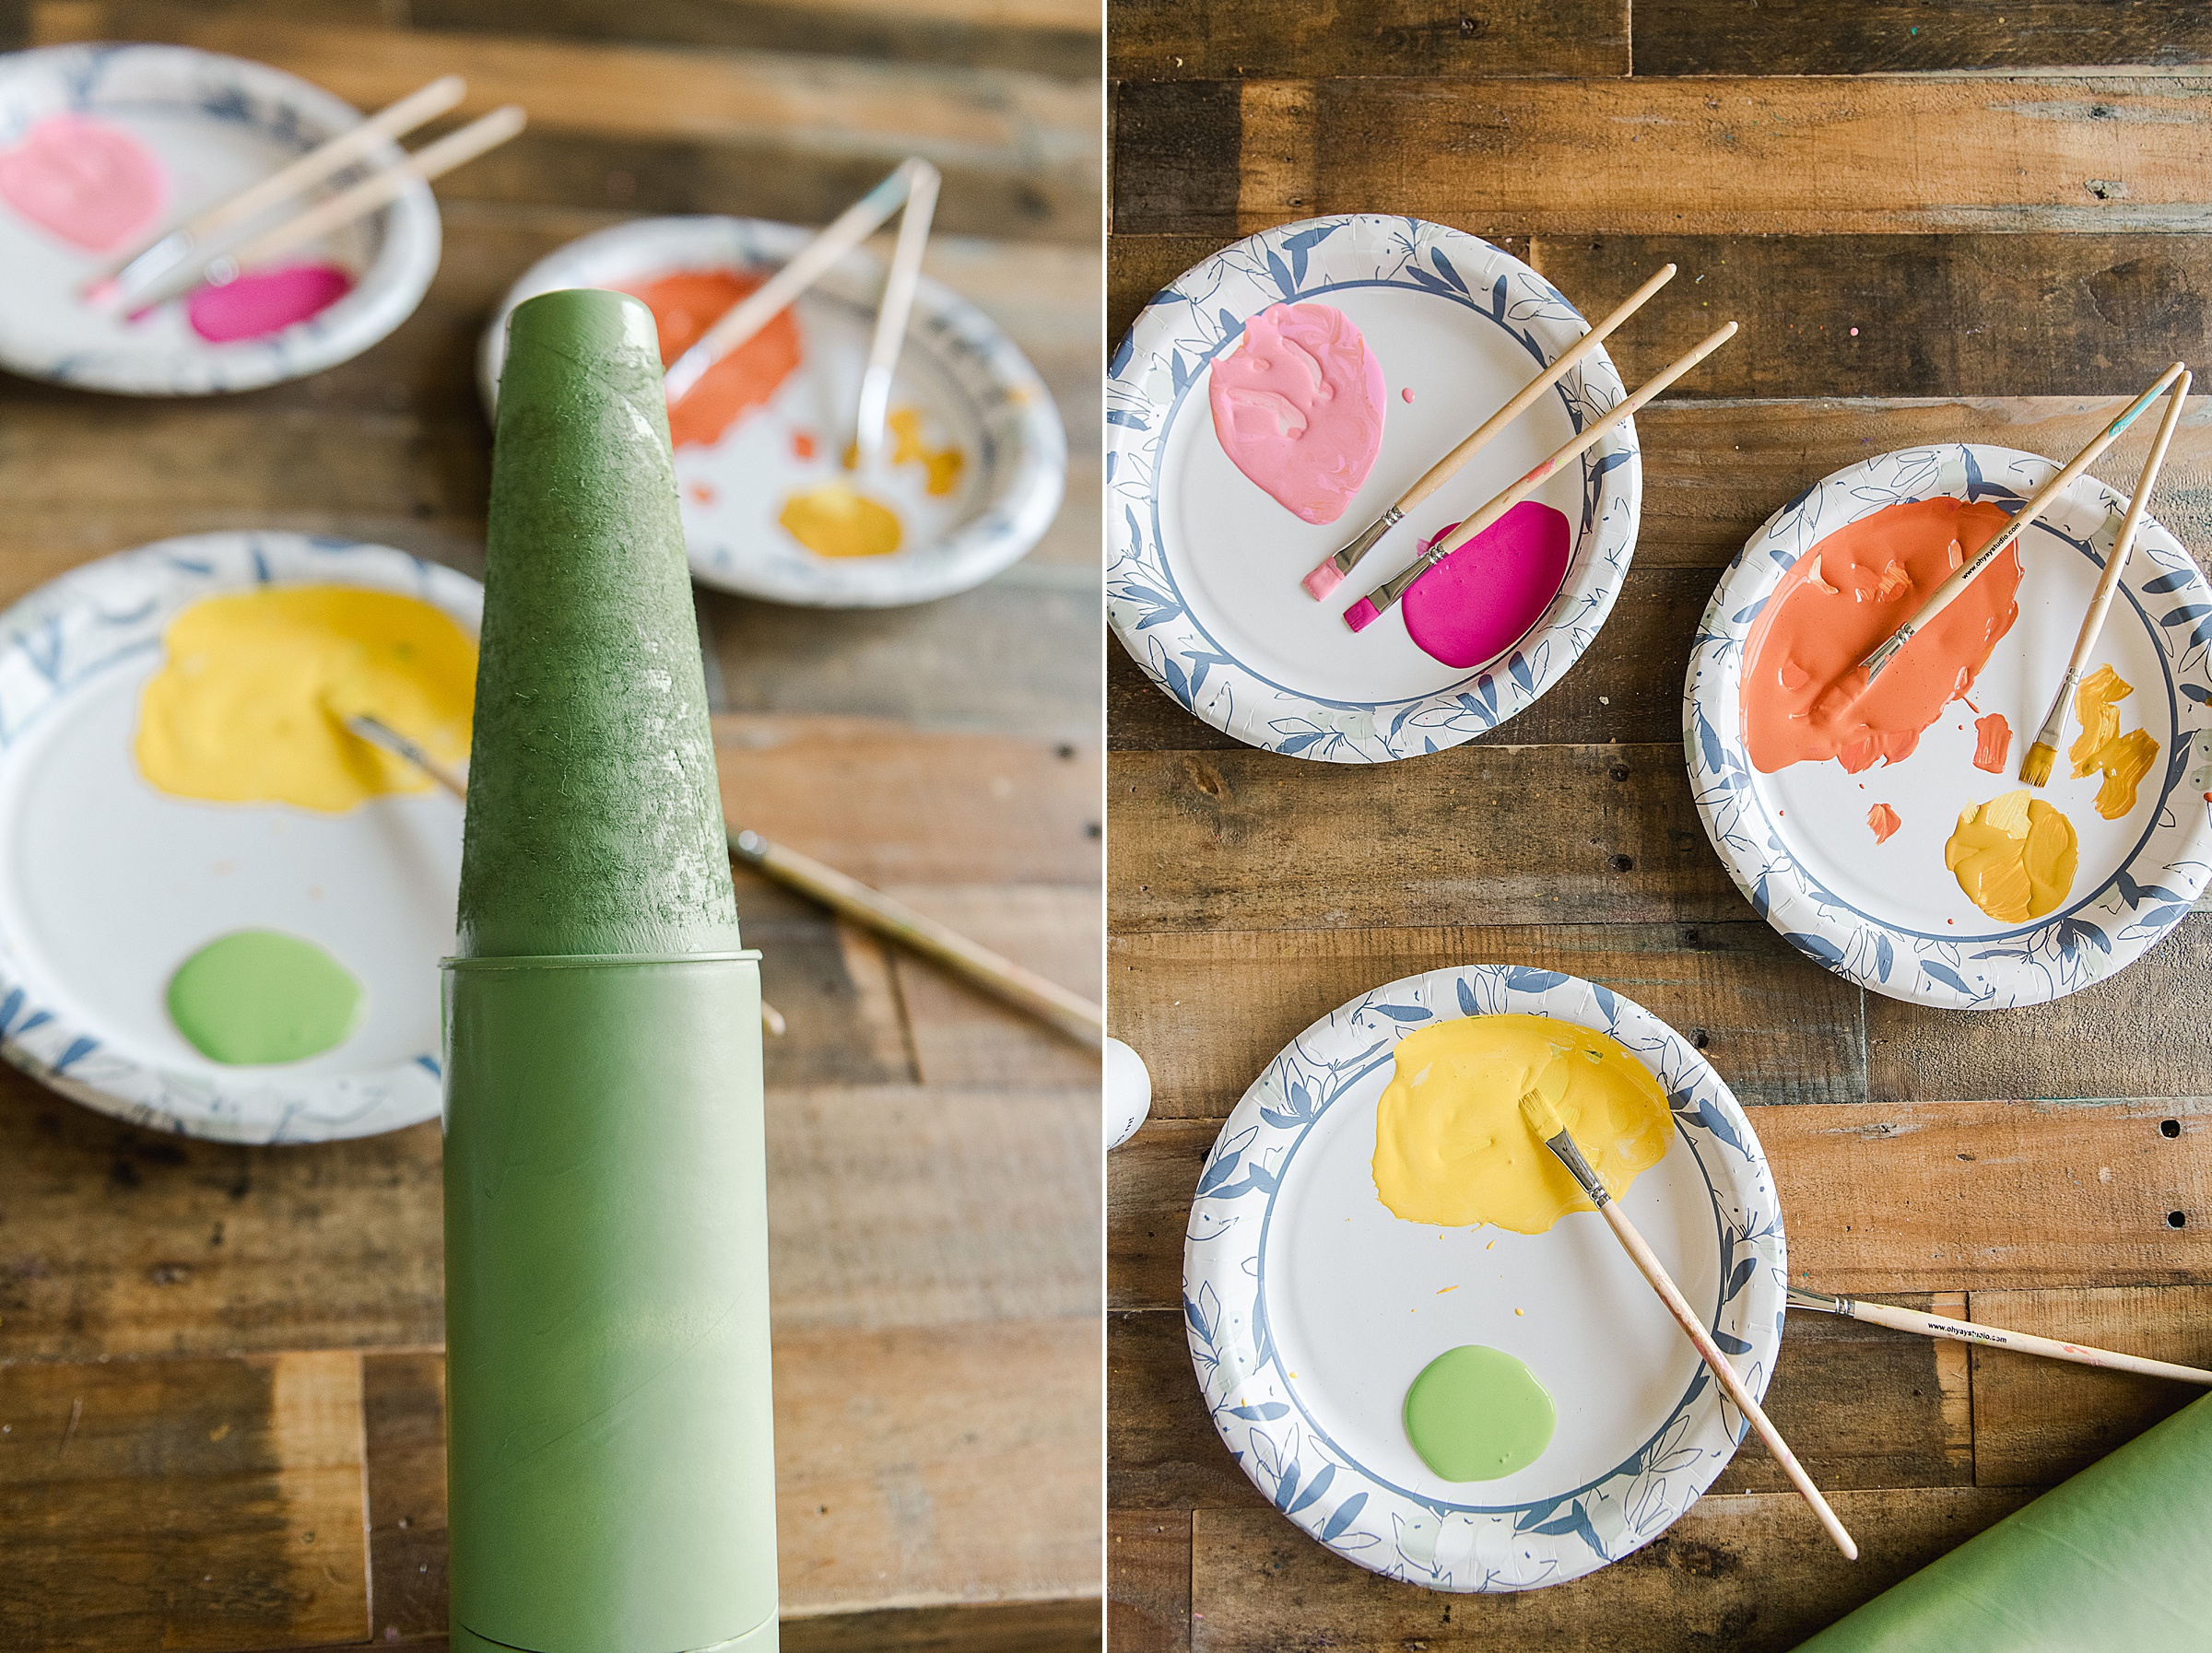
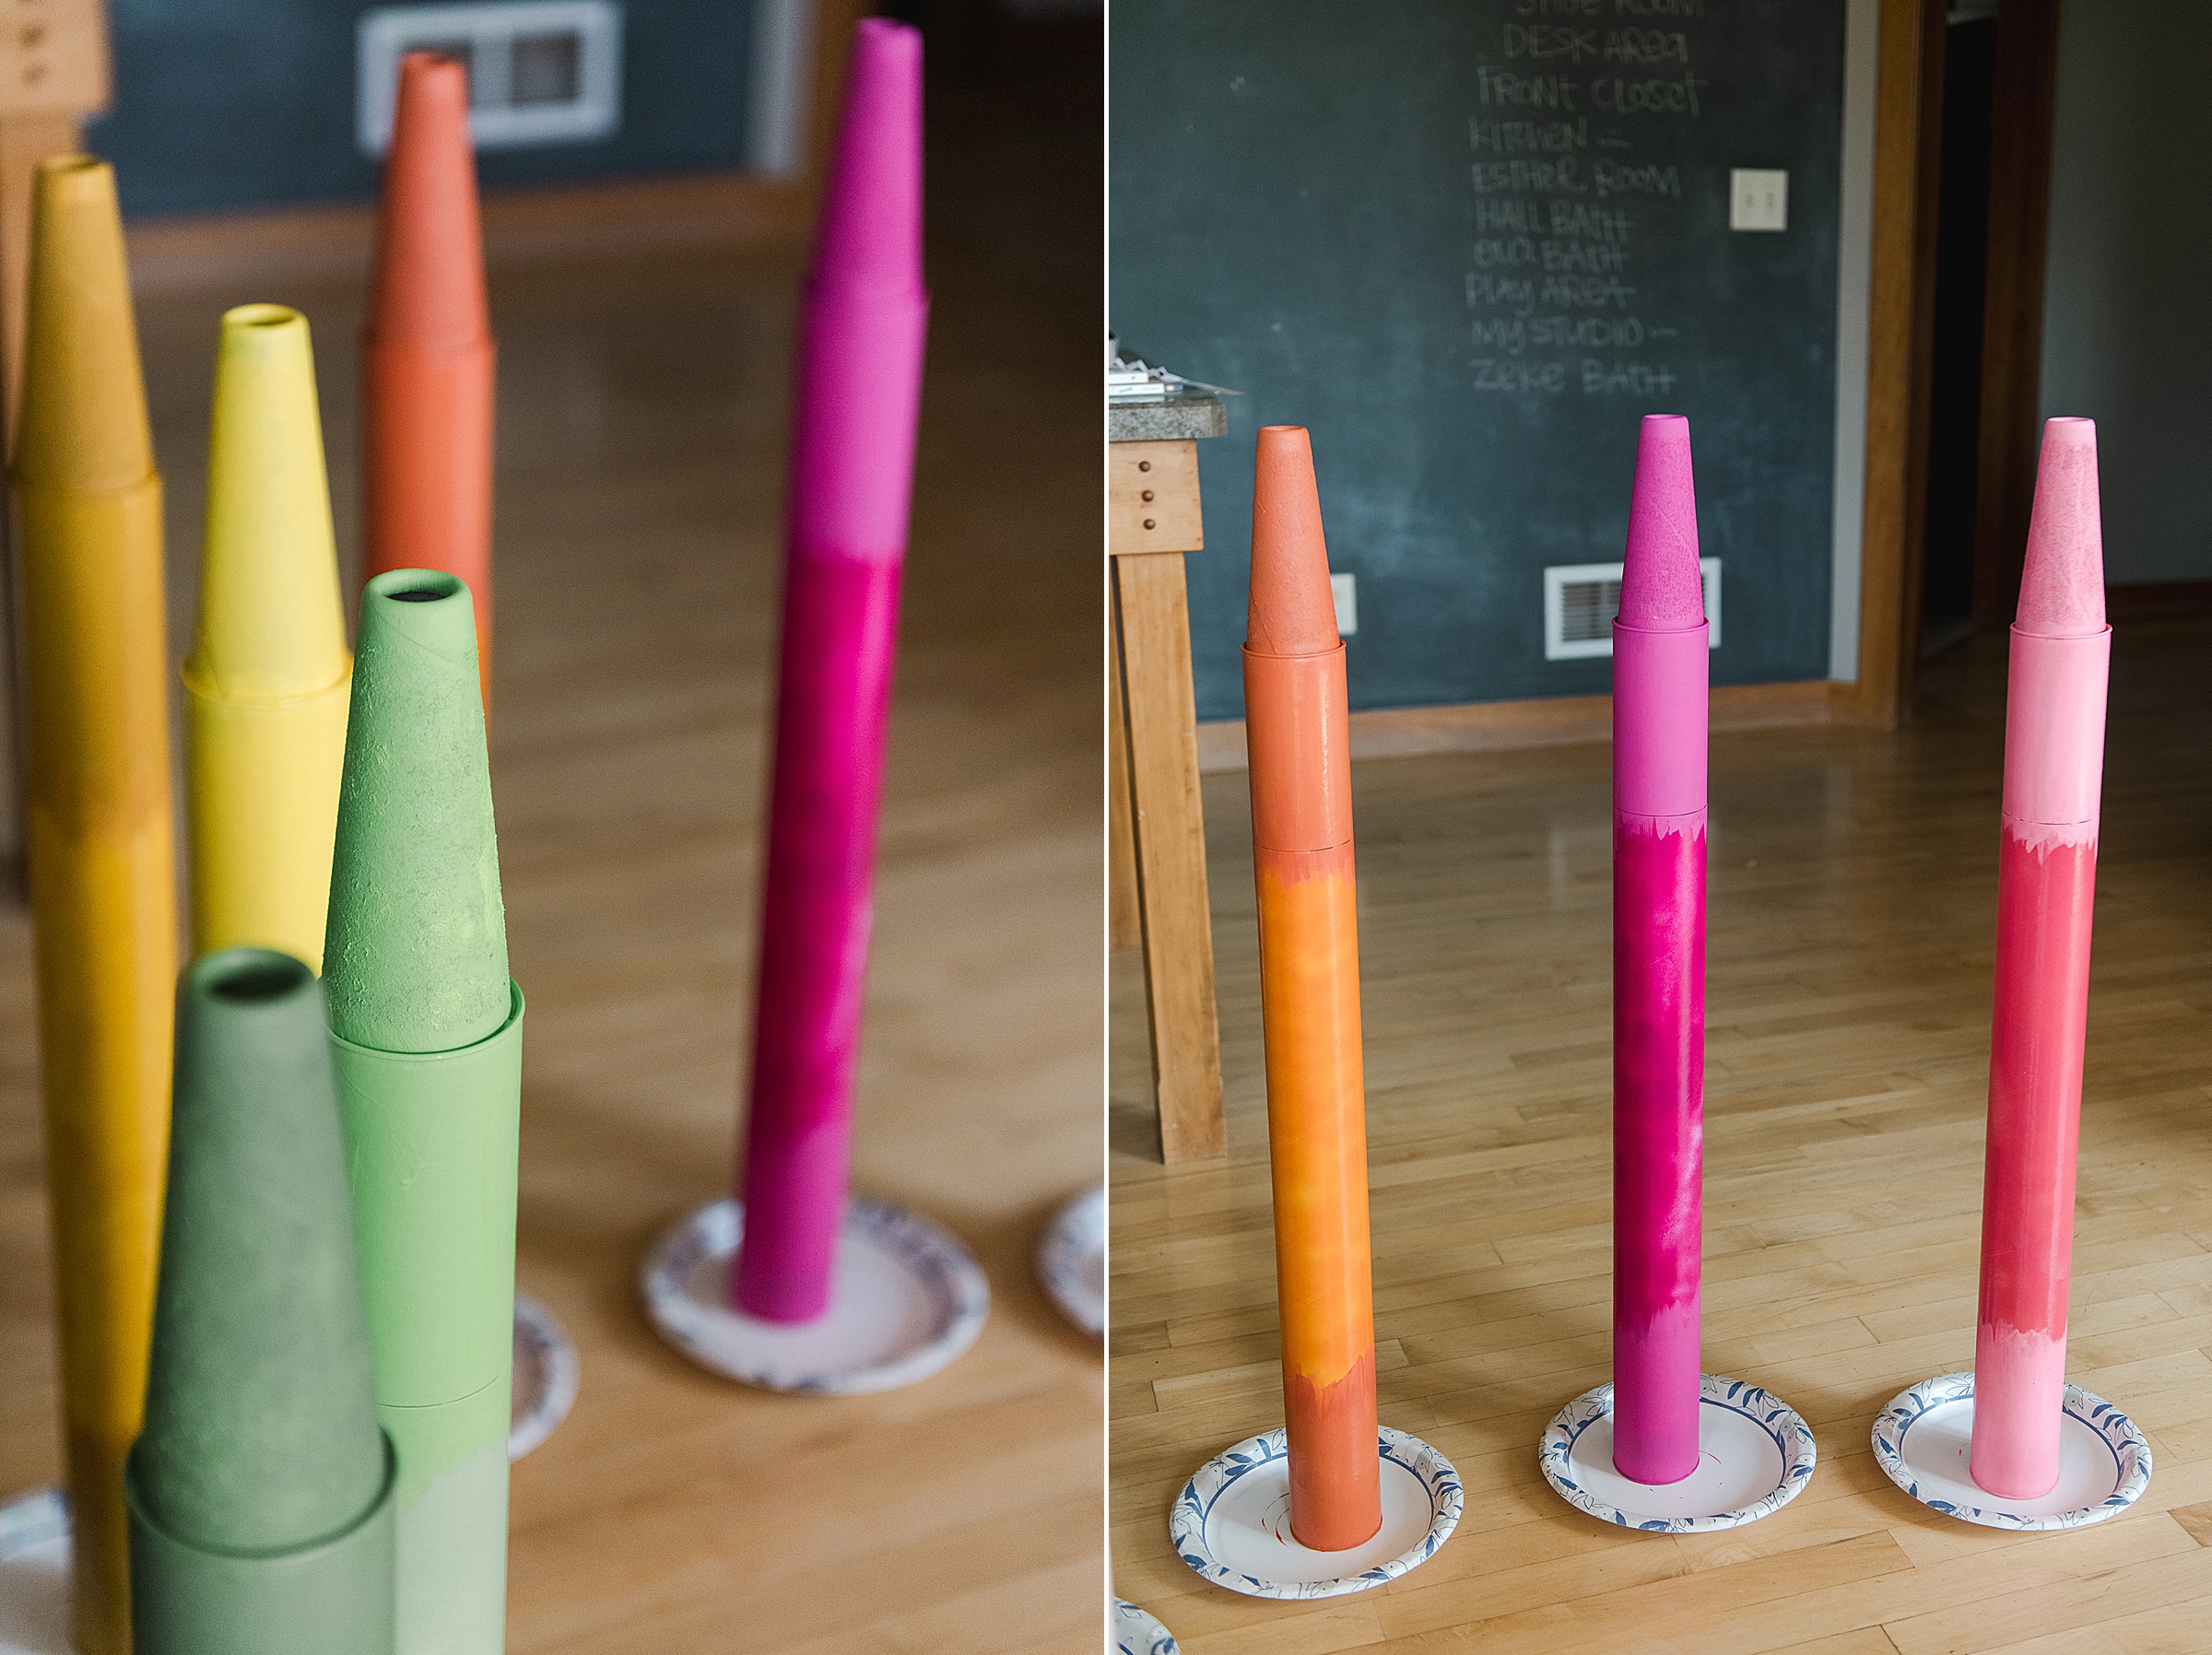
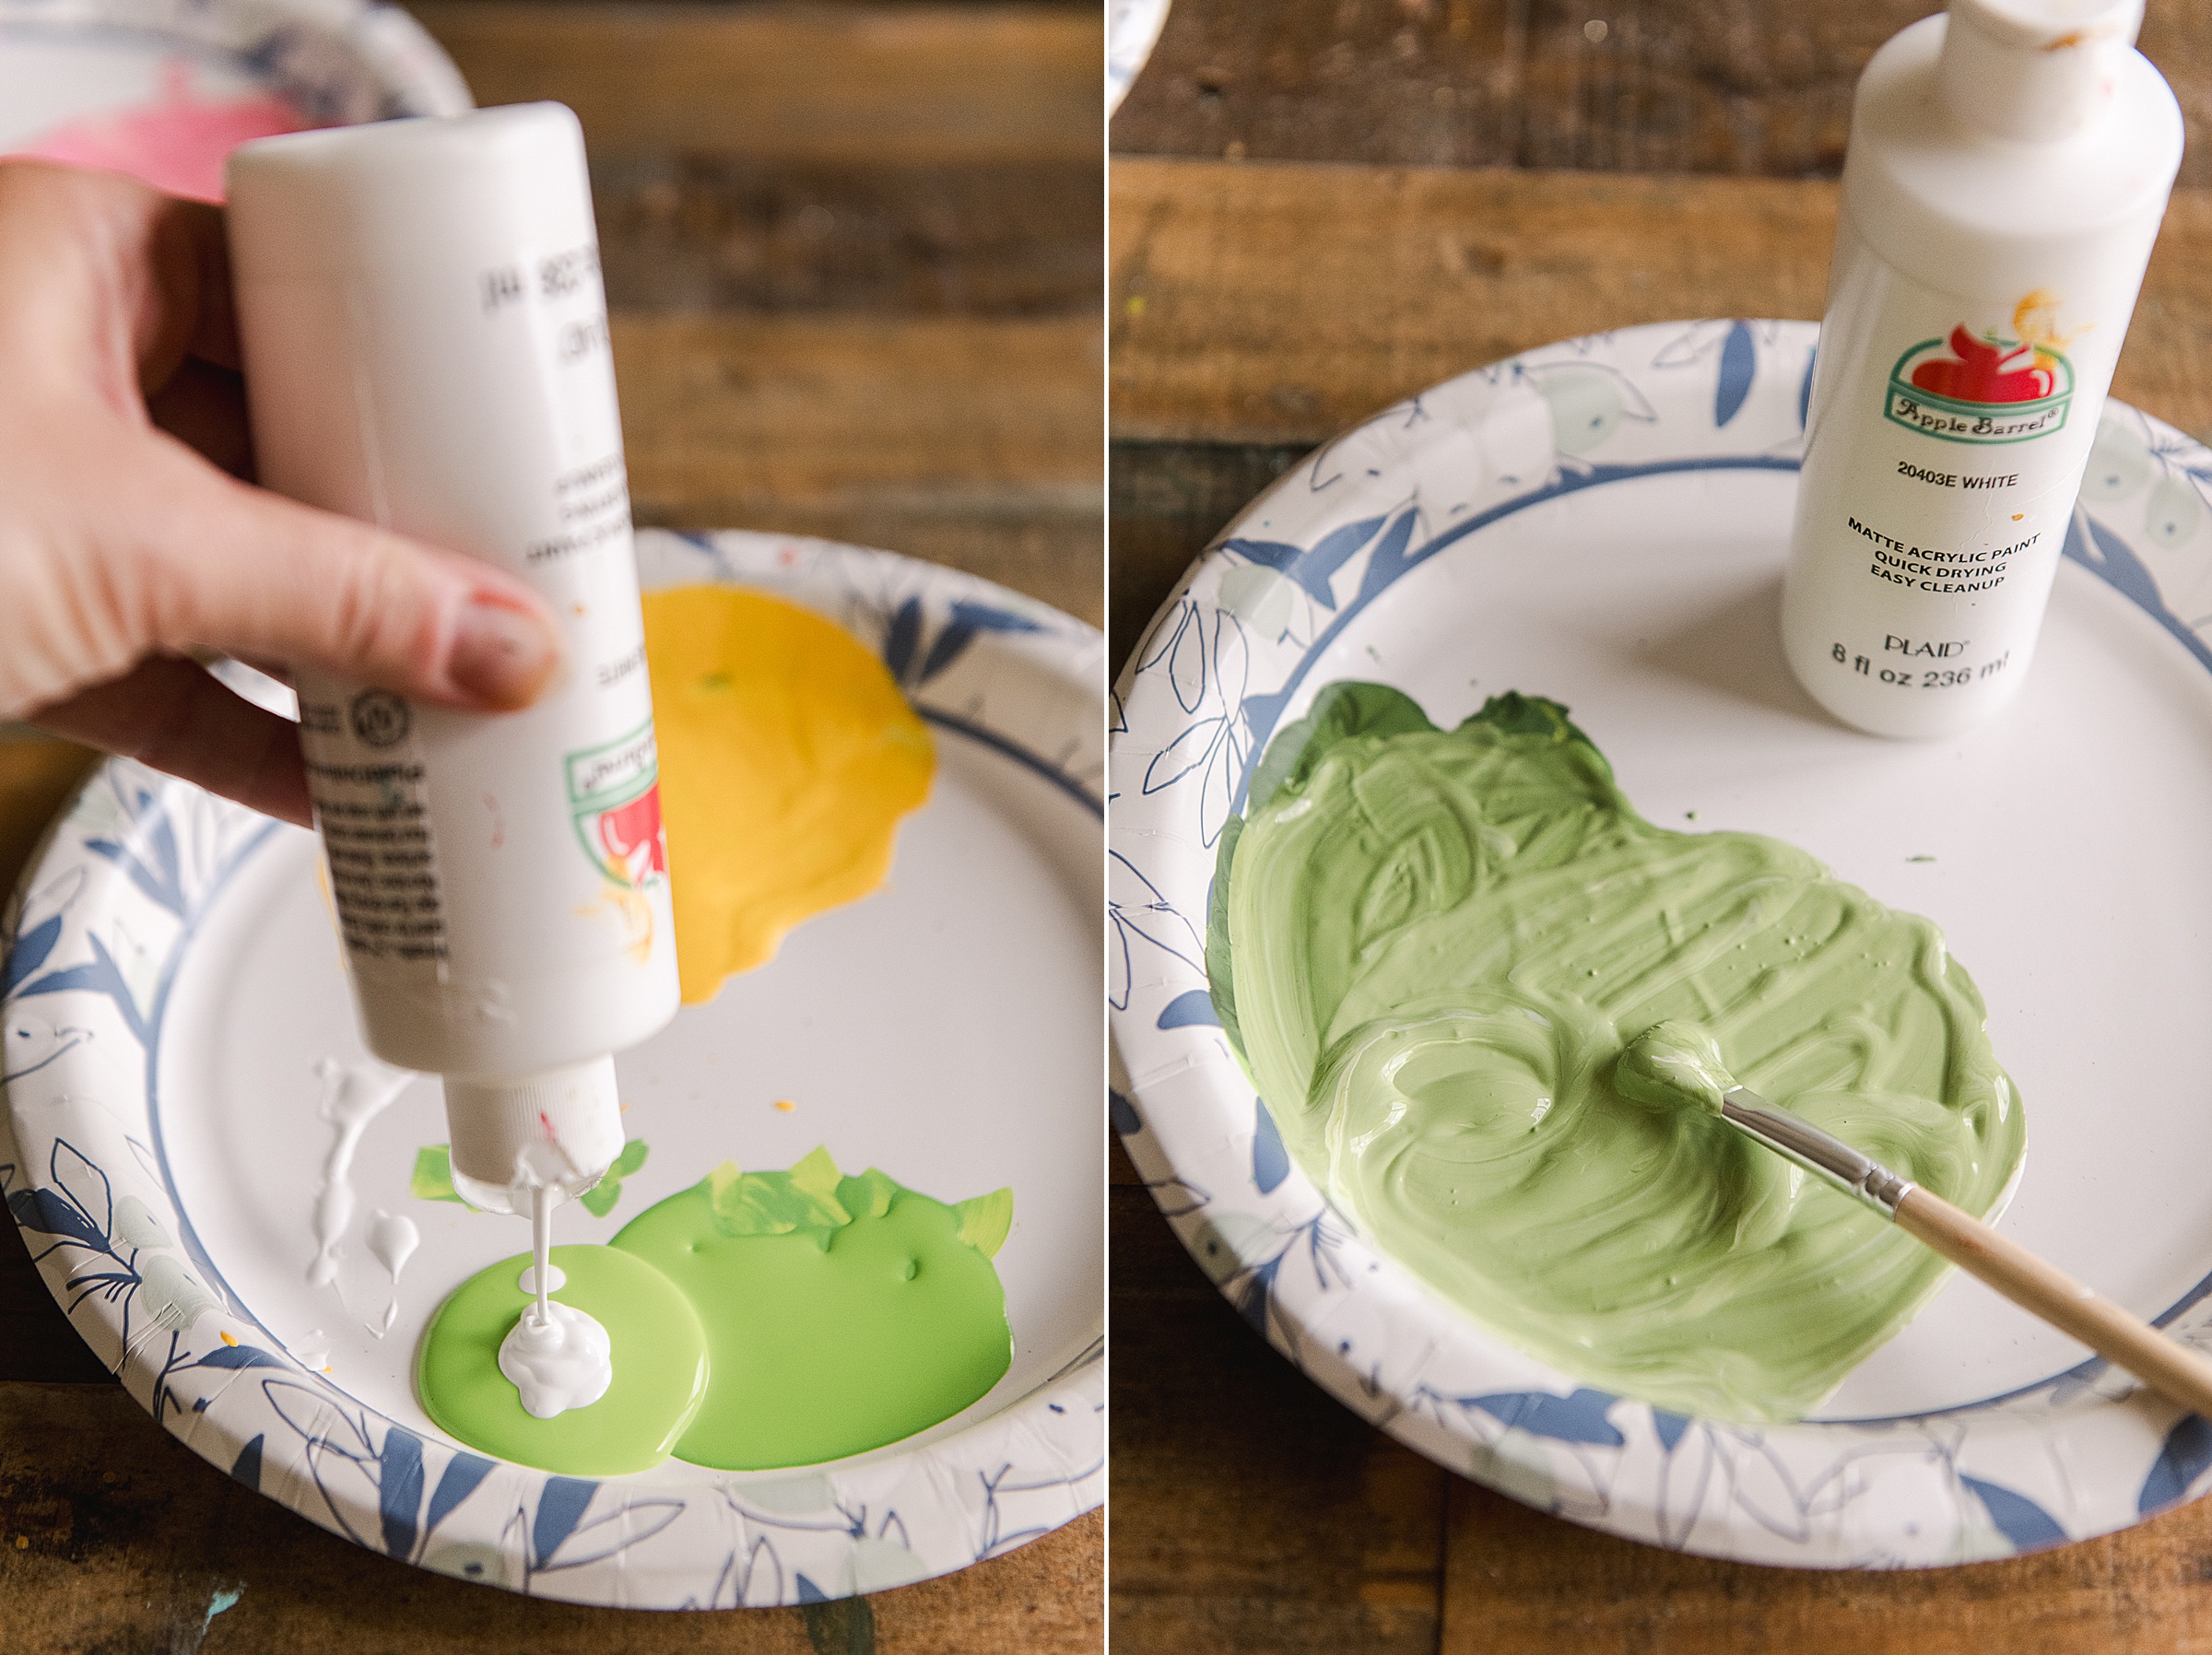
I then let the paint dry and mixed up the paint for the “paper part” of the crayon. To get this color “right” I simply took the crayon wax color and added some white paint to make the same color just a lot lighter! 🙂 Be sure that you have enough contrast between the crayon wax color and the paper so that it looks right!
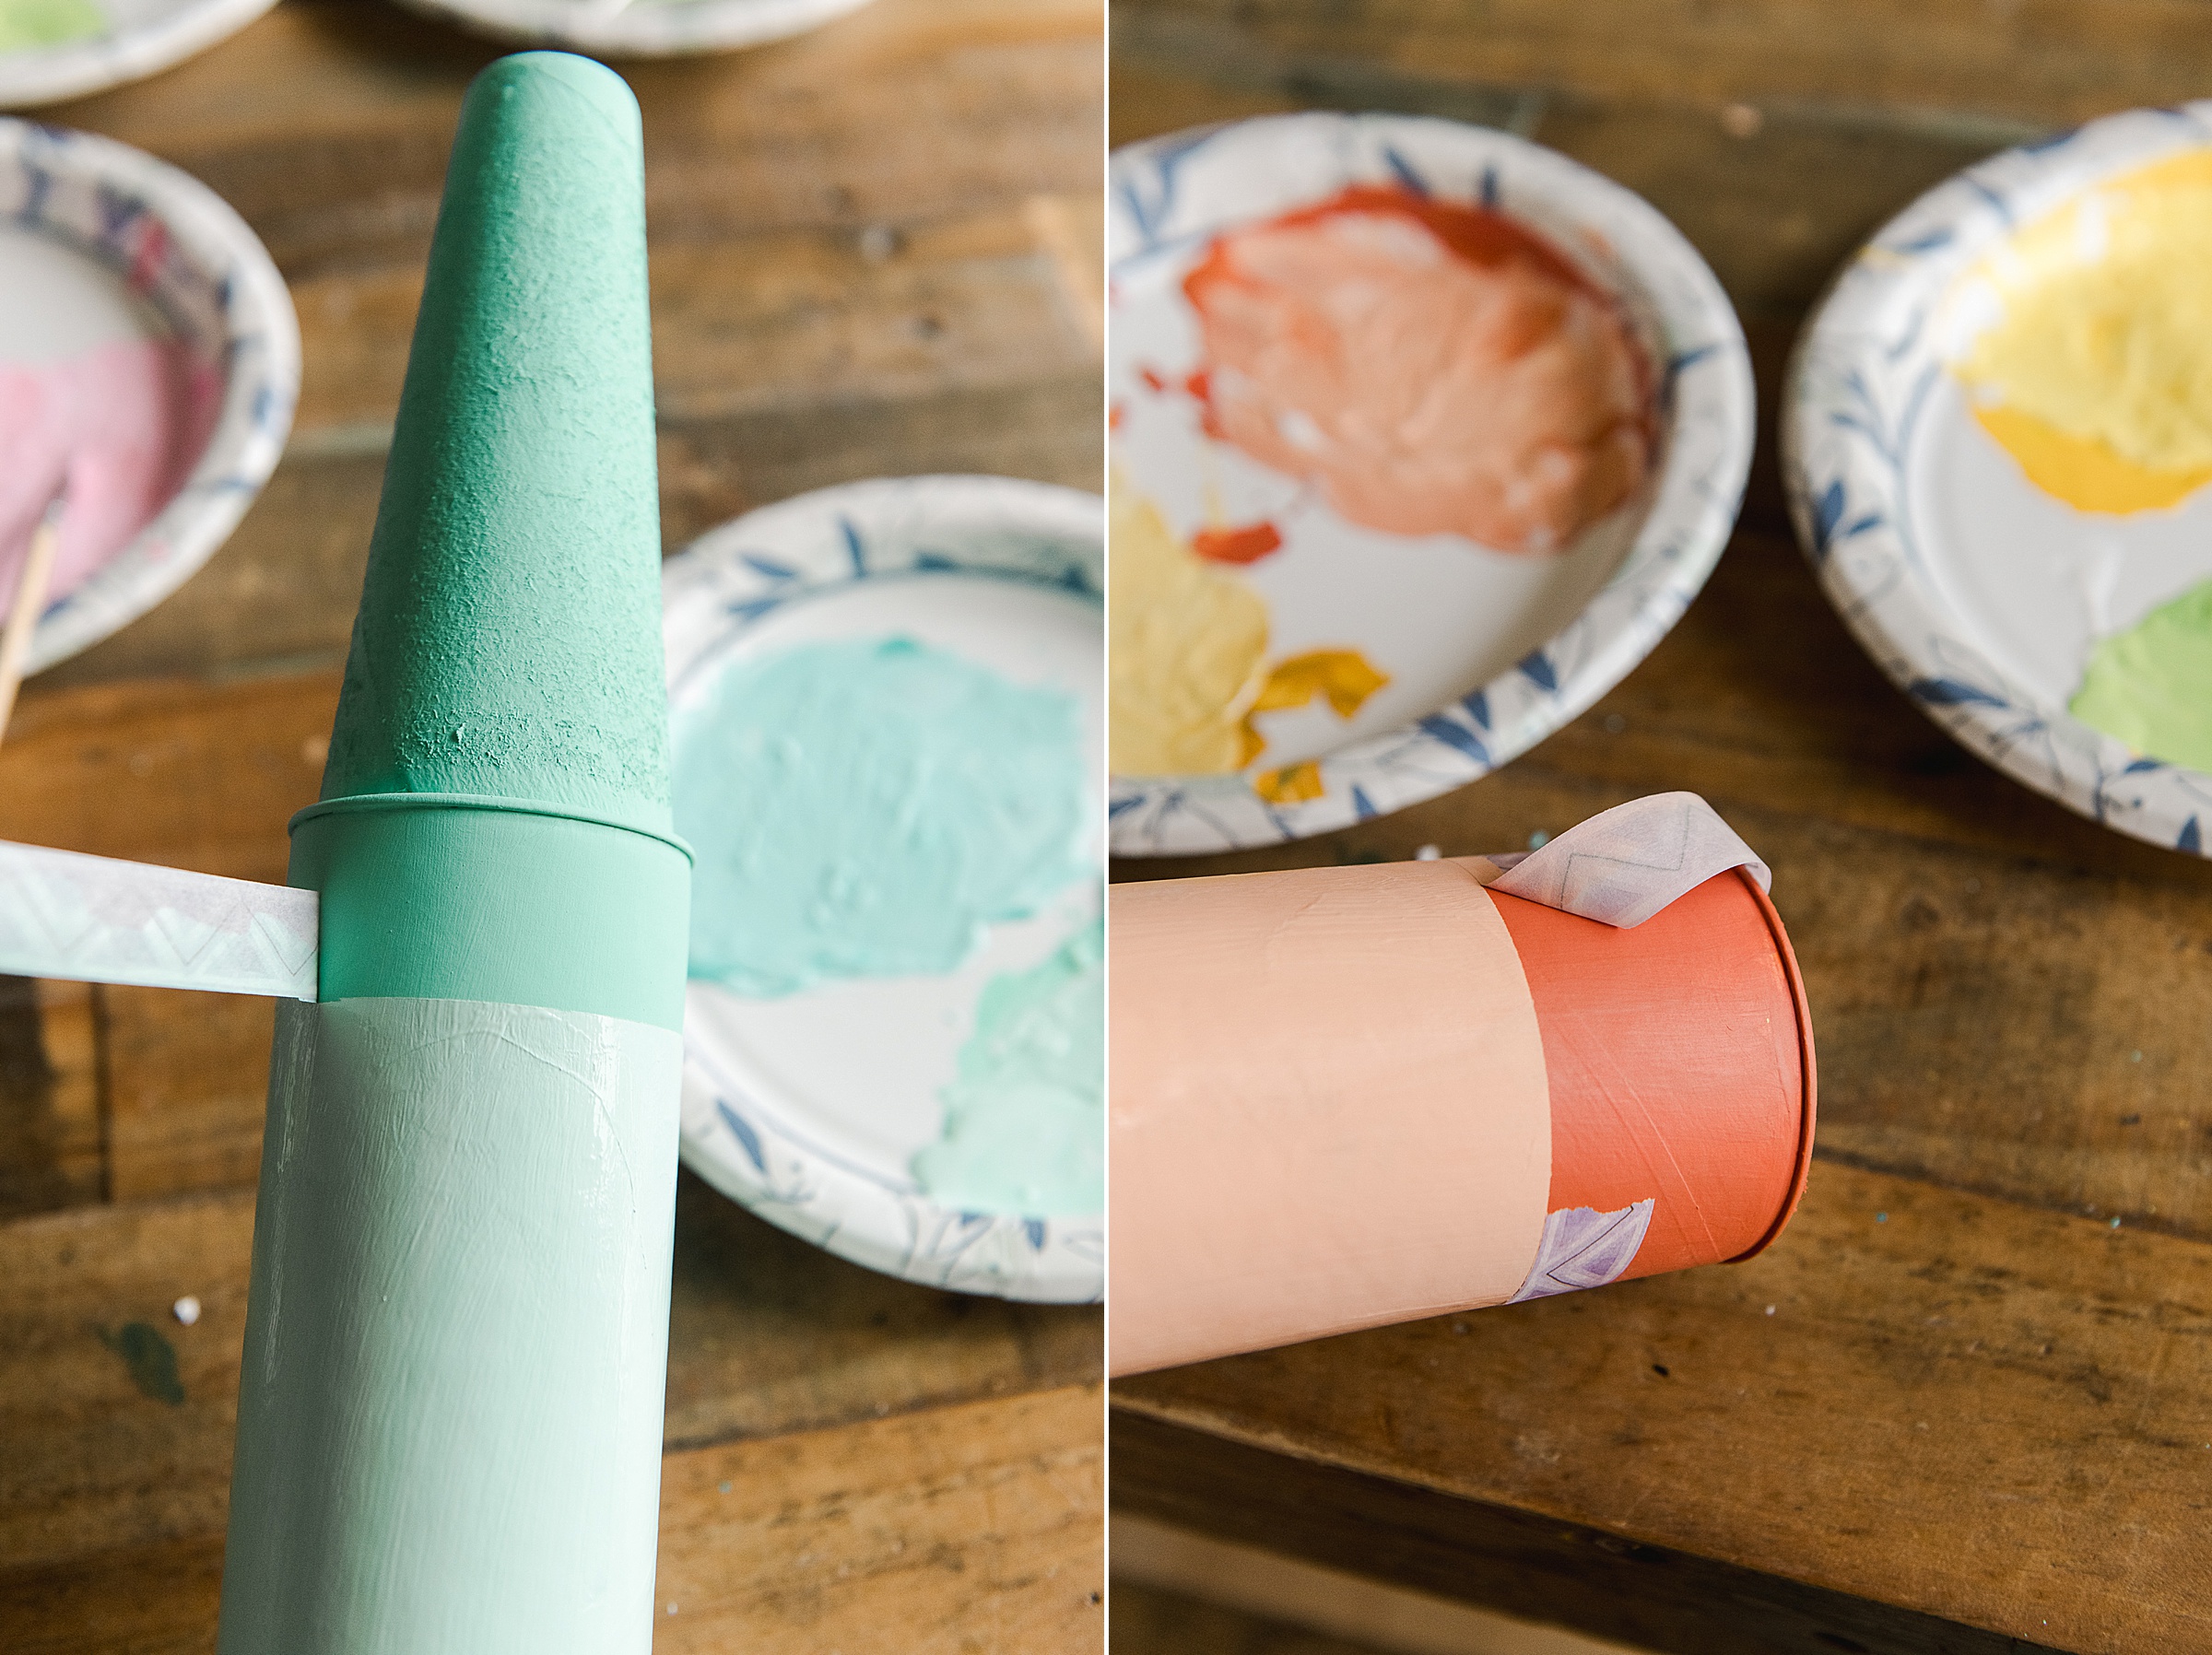
Before painting the paper, I used washi tape to tape off the top and bottom portion – I taped off about 2″ from the top rim (under the cardboard triangle top) and about 1.5″ from the bottom of the crayon. This gave me the length of the paper to paint! 🙂
I then taped the paper portion with 2 thin layers but before the final layer dried, I took off the washi tape so that I had a nice clean edge!
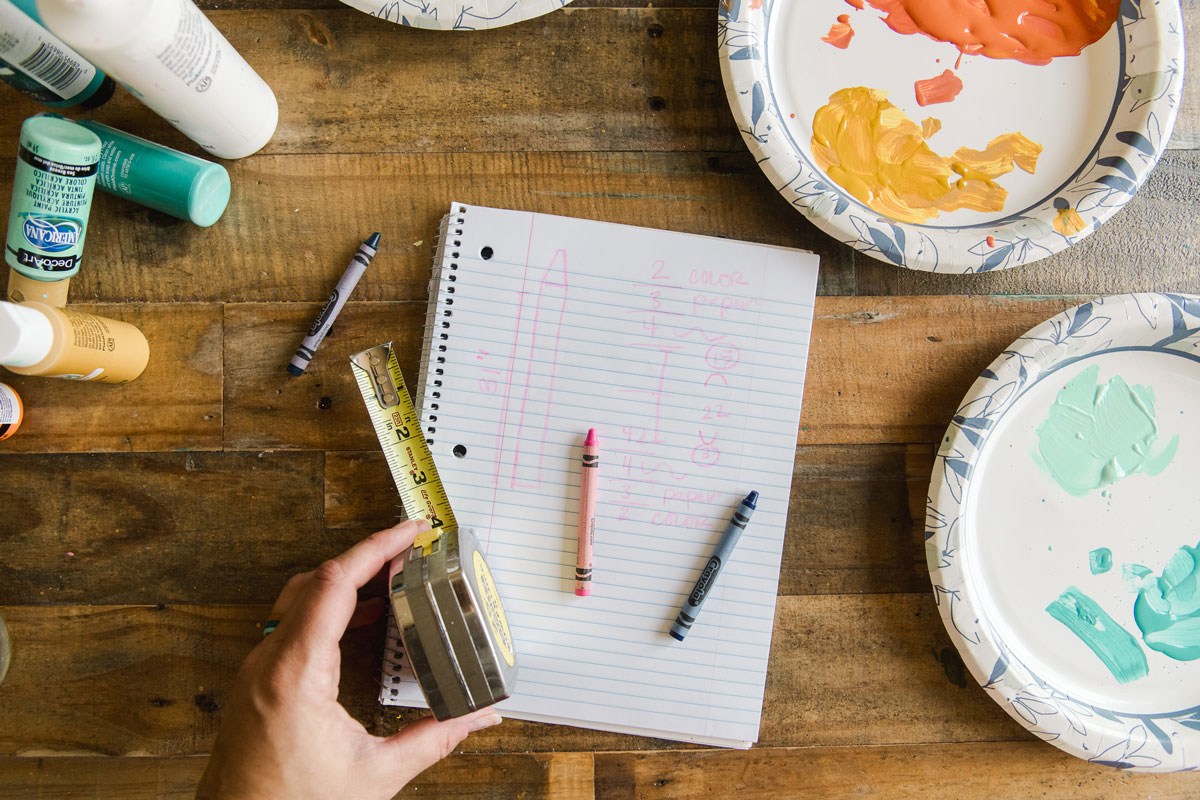
3. While your crayon paint is drying, you will cut out a 2.5″ x (about) 10″ strip of black paper. I then made a wavy cut as much in the “center” of the 2.5″ side of the paper – make this wavy cut the entire length of the ten inches.
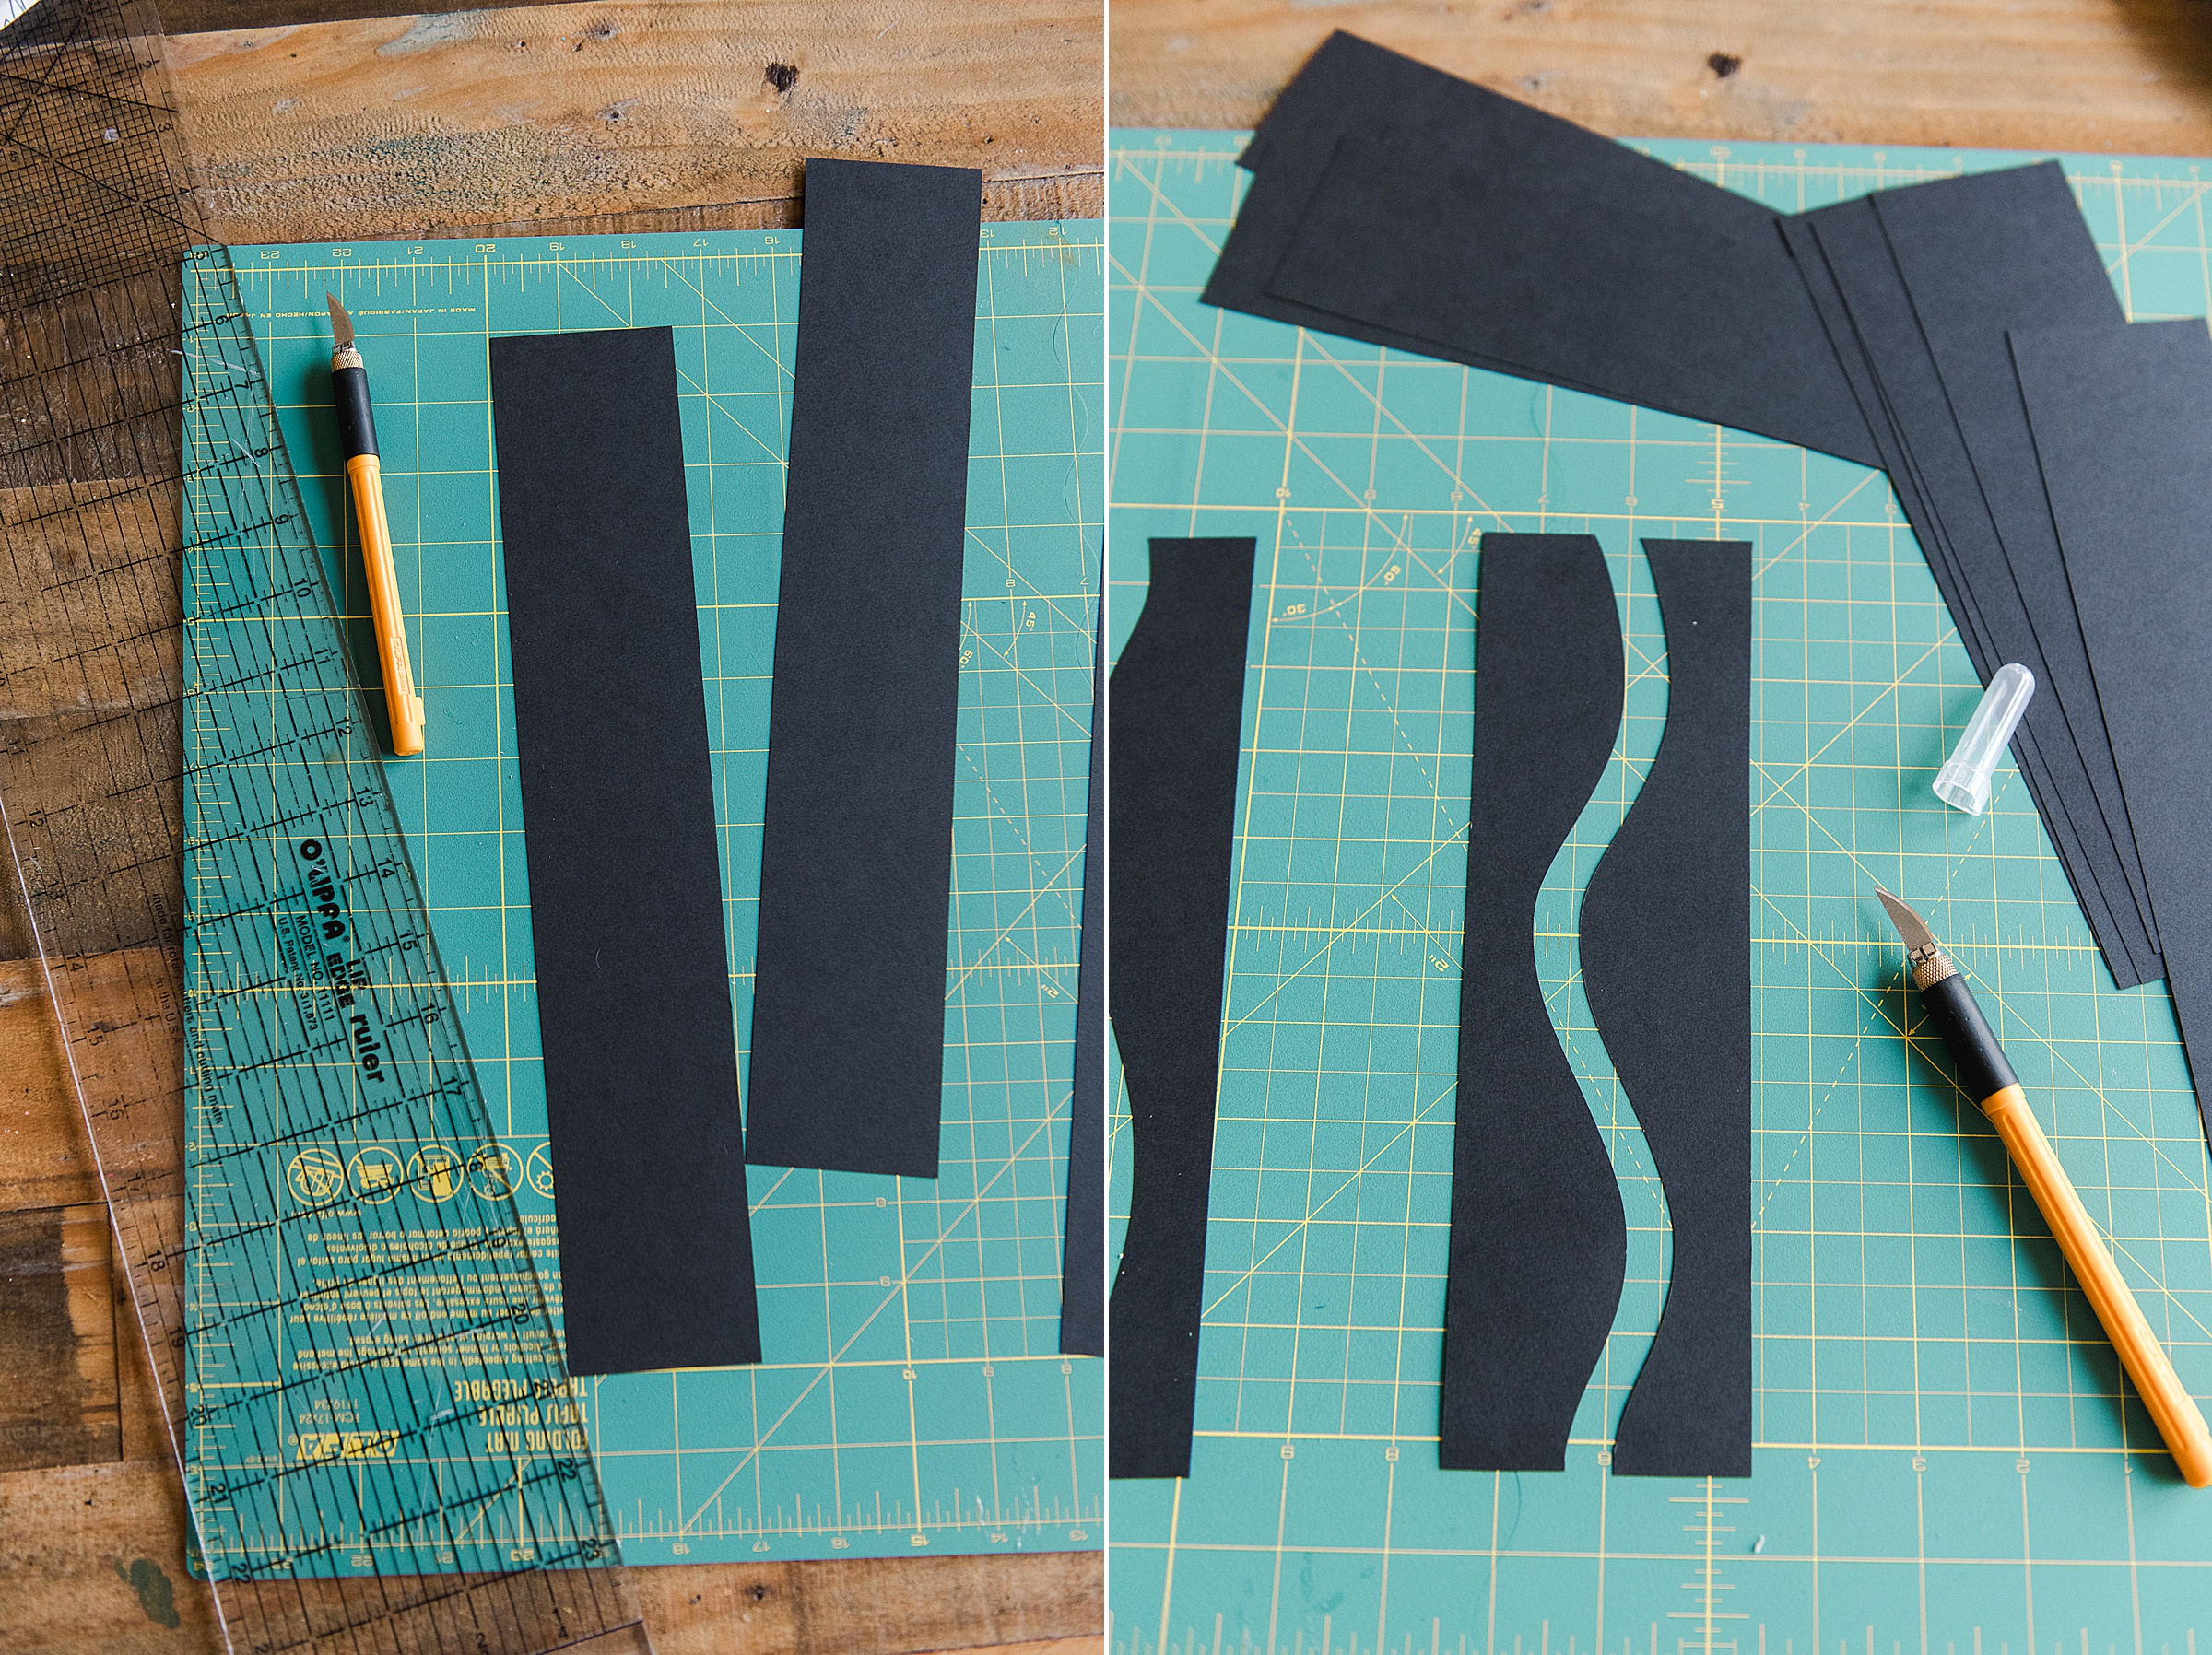
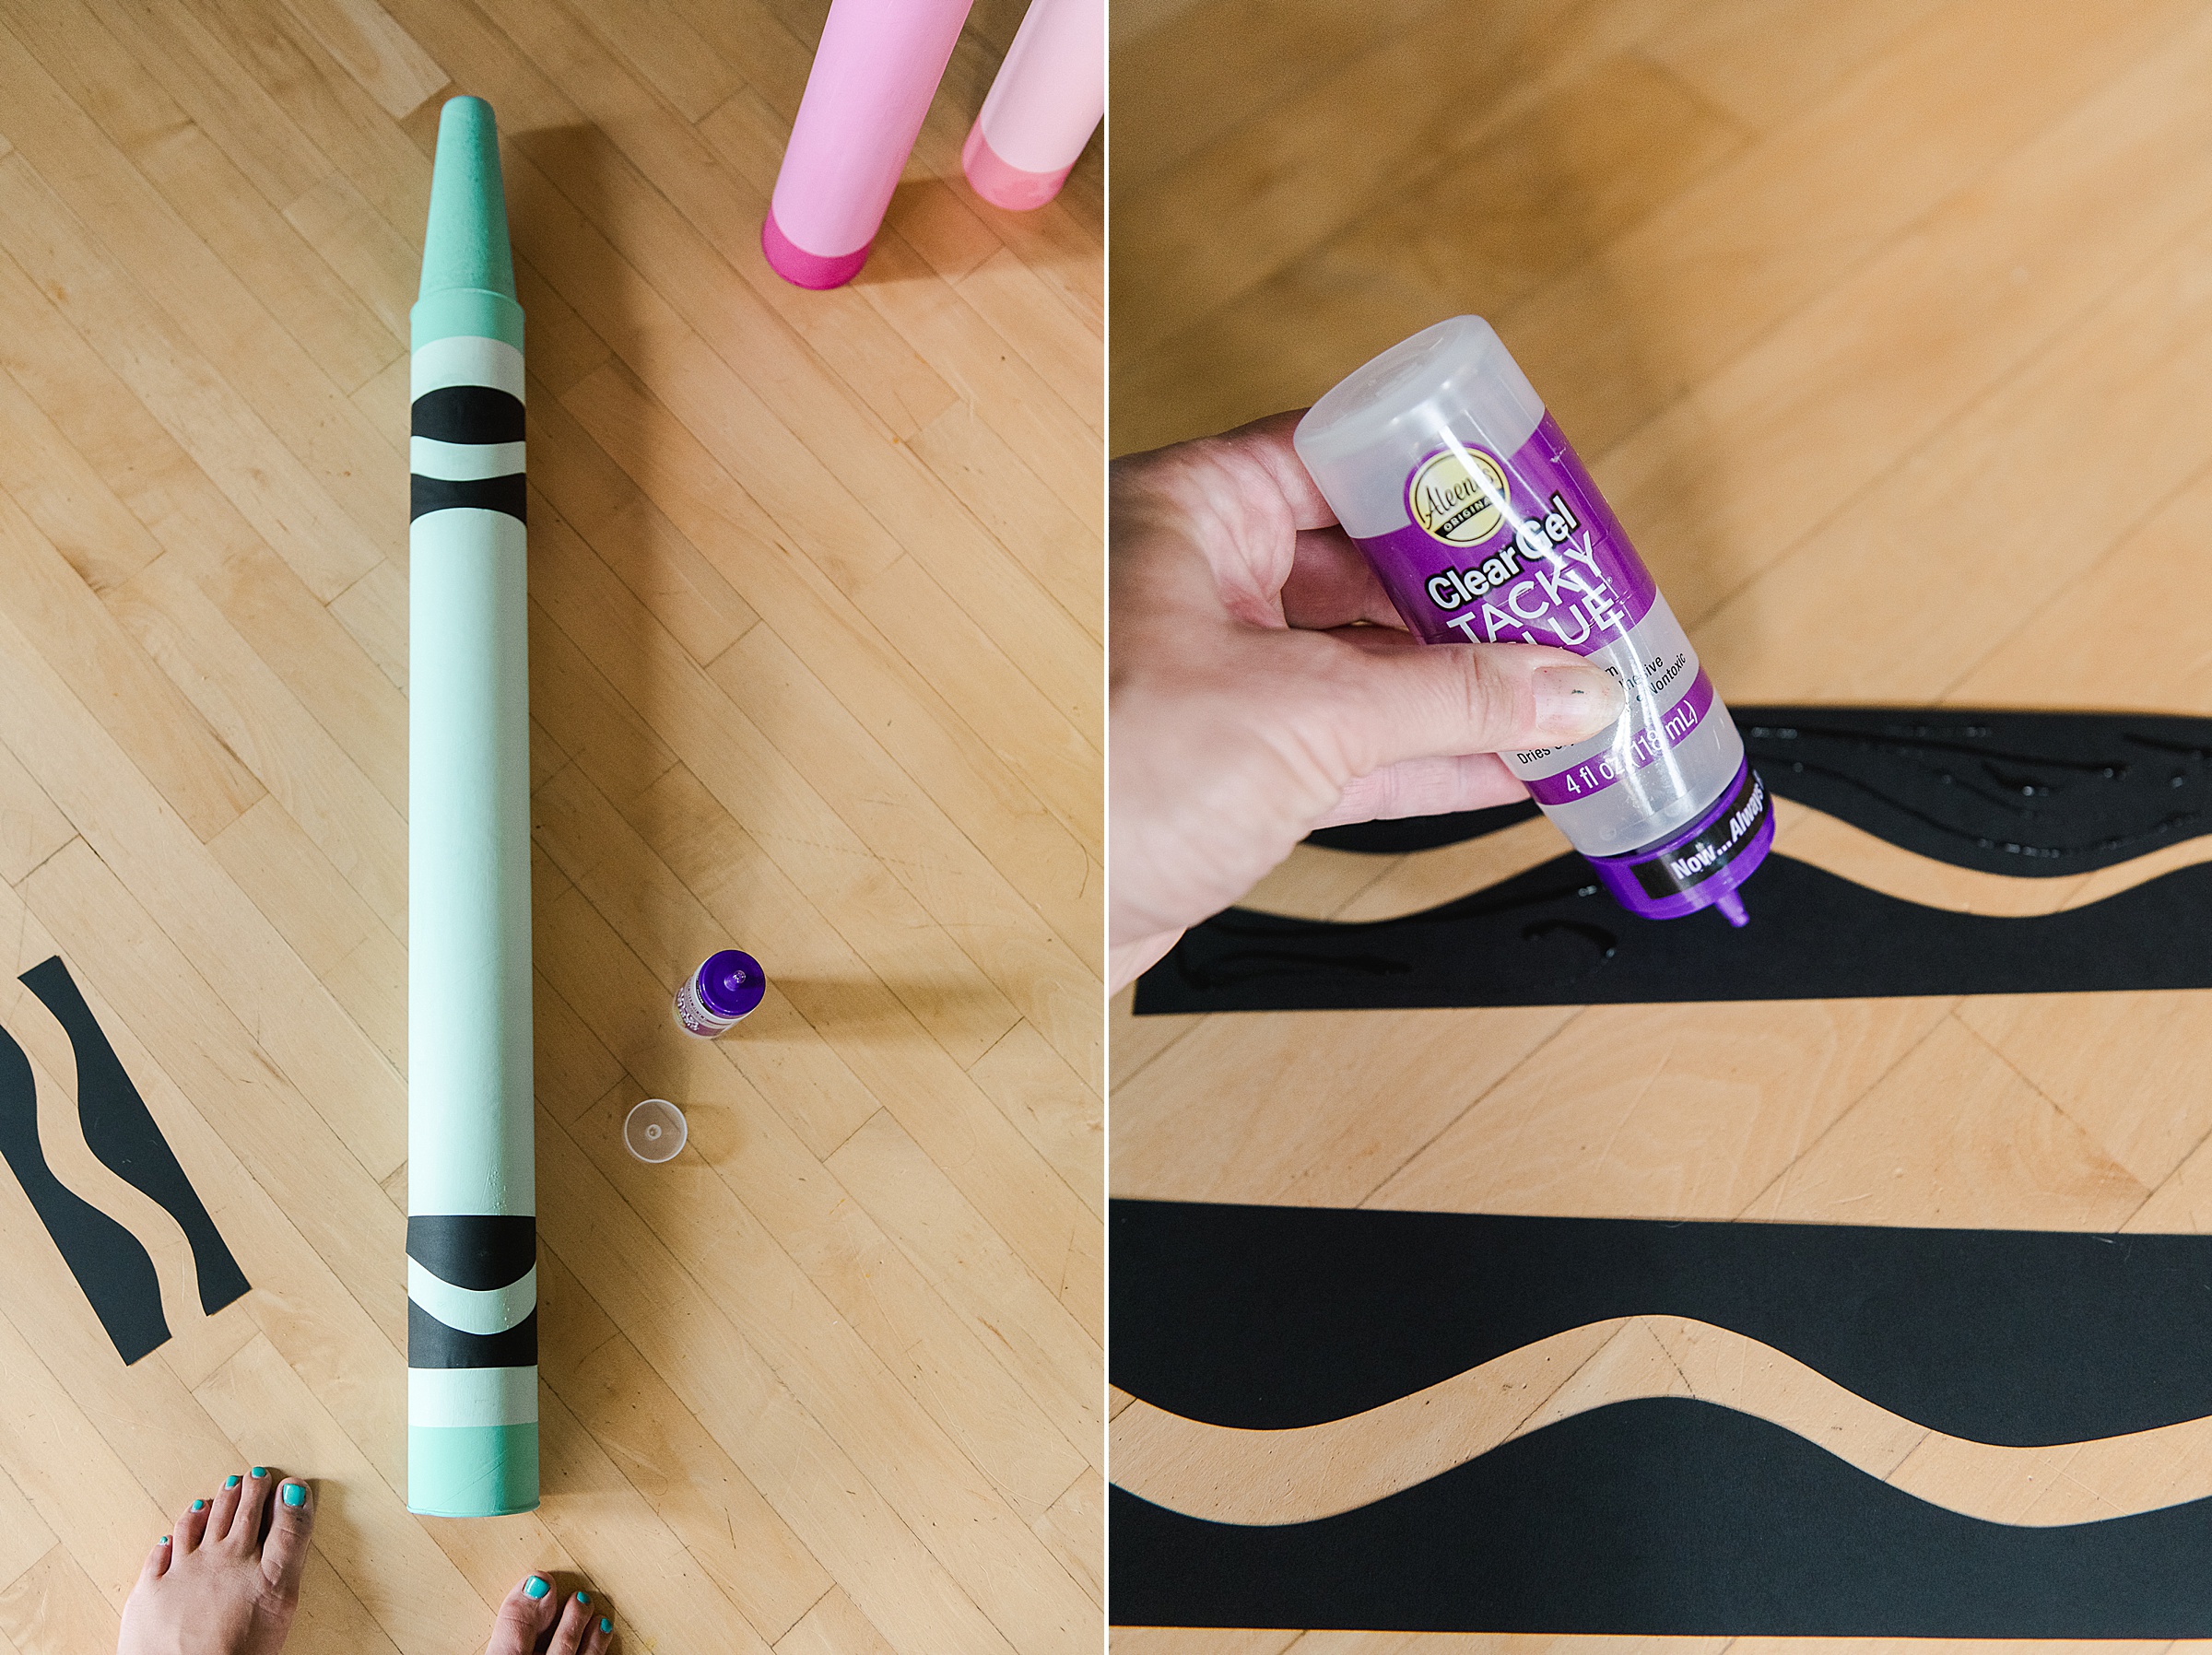
4. You will then glue 2 of the wavy pairs of black paper to the top and bottom of your crayon – I eyeballed where this goes according to a real crayon that I referenced.
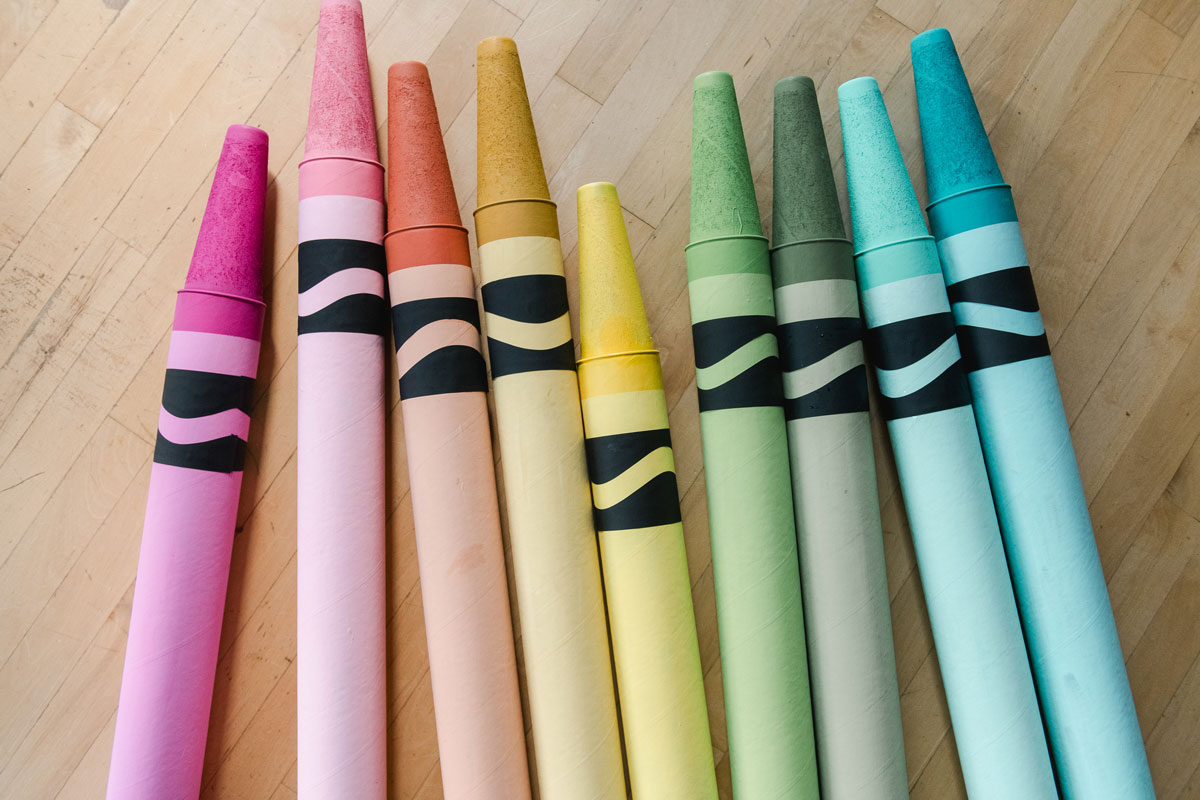
5. Now it’s time to add your crayon color or the crayola logo or whatever you want onto your crayon! Honestly, get creative…..one commentor on this video told me that I should add the class name or grade to each color for our art space (love this idea too)! 🙂
I chose to have my art students hold a mini-competition to name the crayons their new color names! 🙂
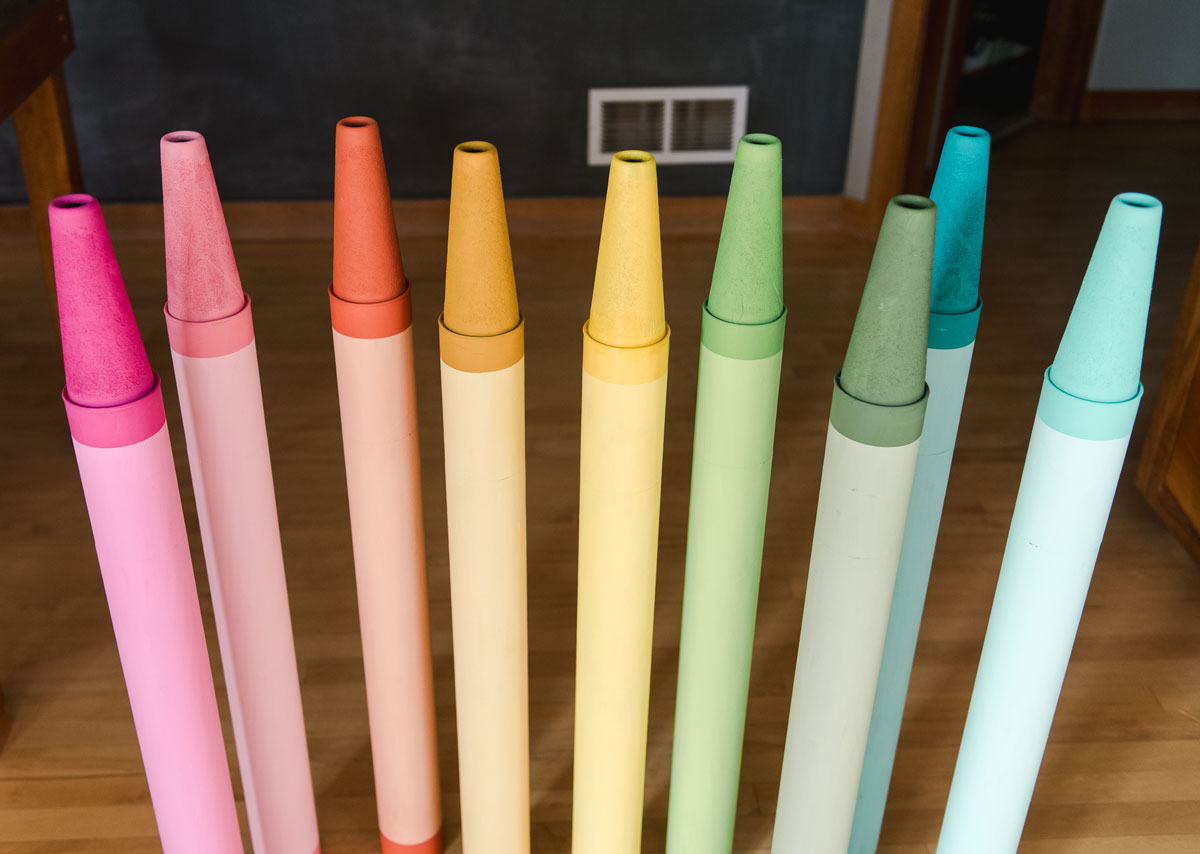
I think these giant crayons turned out SOOOOOO FUN! I can’t wait to get them displayed in our art space – and my mind is now on overdrive for what oversized art supply I will make next! 🙂
**hint hint – check out my DIY Giant Marker tutorial that I just posted (using the same shipping tubes)! 🙂
