How to make easy, reusable snack + sandwich bags for lunches!
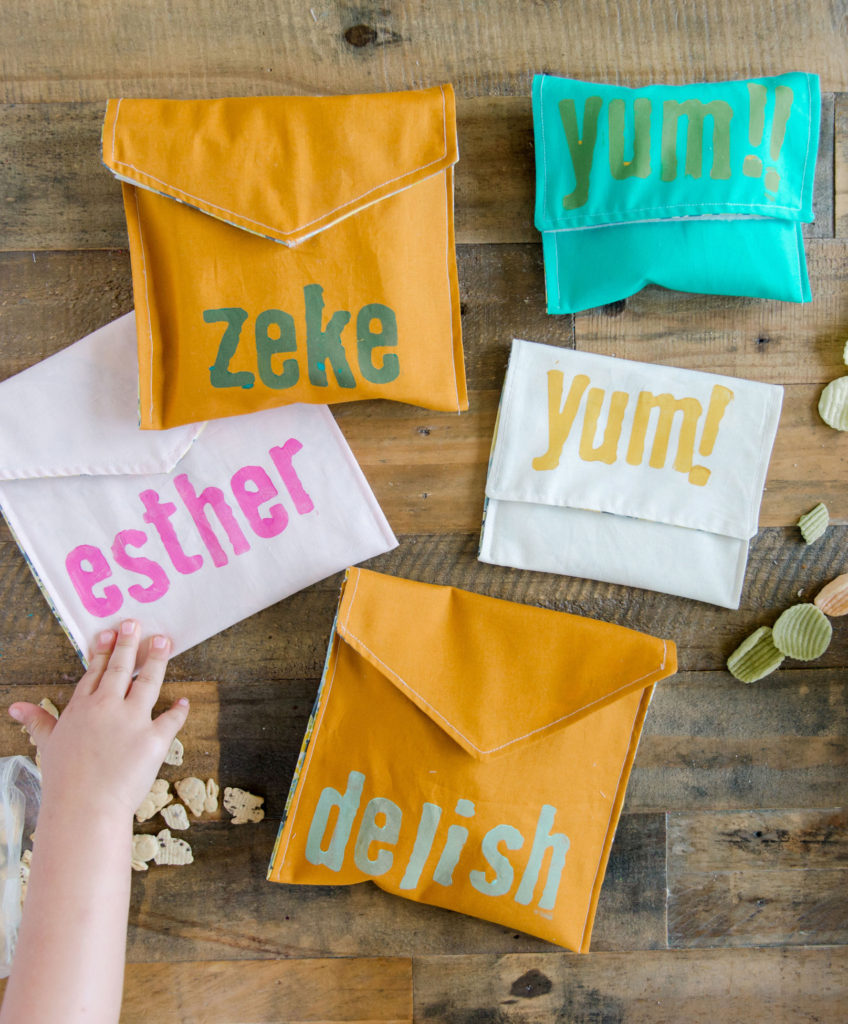
“HELLO! I am a Mom and feel like a human snack vending machine for a third of my life”!
Anyone else???? 🙂
This never-ending snack supply ALWAYS consists of papers and wrappers and packing and cutting and slicing and packing and sending and, and, and…….. SOOOOOOO why haven’t I made these reusable snack and sanchiwch bags before now, you ask?! Well……to be honest, I have no idea but holy bananas am I excited that we have them now. Especially as school is about to begin and I can keep them labeled with Zeke’s name and use them every day and send other, sometimes more healthy, options for him instead of pre-packaged items! 🙂
I call this a #momwin.
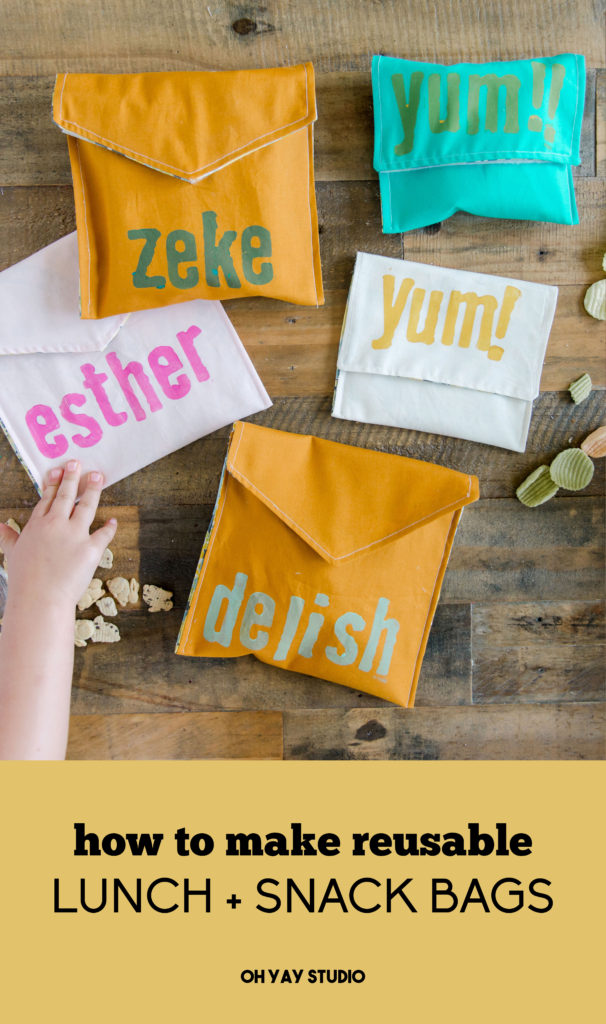
Snag this *SOOOOOOOOO ULTRA EASY* tutorial on how to make your own reusable snack bags and reusable sandwich bags for lunches and snacks and everything in between! 🙂 All the details are below! 🙂
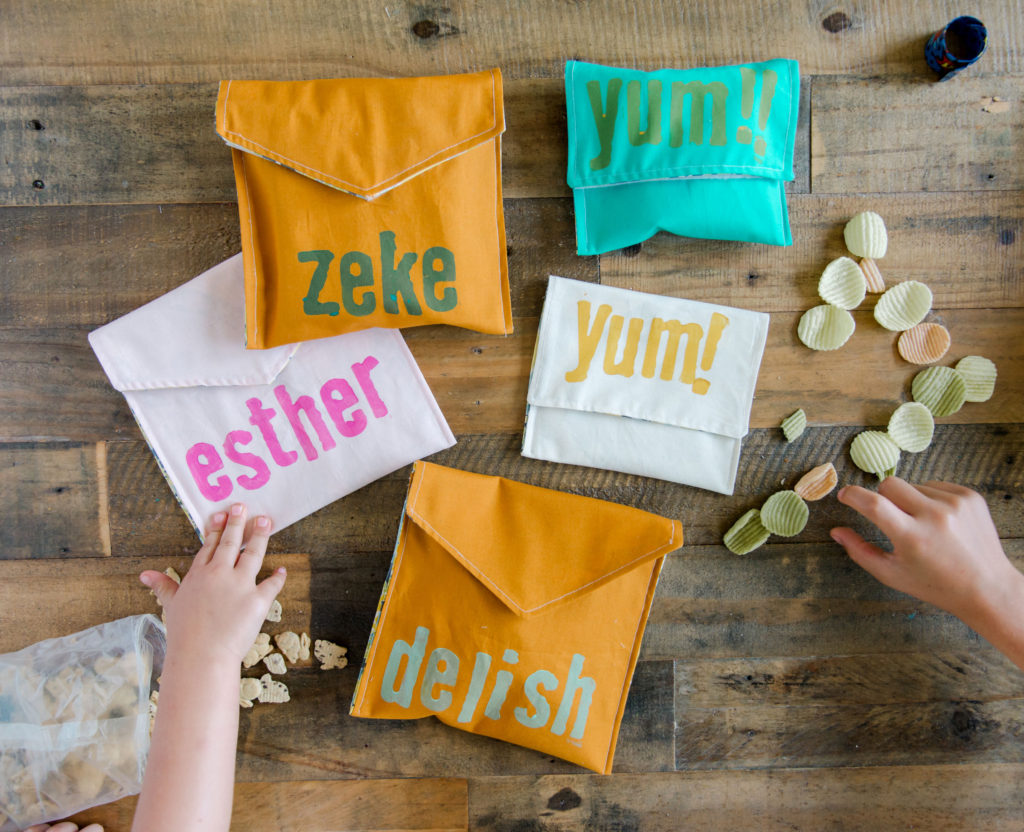
This little project is for the Janome summer camp series that they are running which means that you can 1000000% sew these up with your kids because it’s only a handful of seams, with lots of creativity and customization at your fingertips! 🙂
ANNND if your kiddo isn’t old enough to sew the seams yet, this project is a GREAT first step into project making. You can tackle the cutting and seams while they tackle the decoration and construction! 🙂
SUPPLIES:
- for the sandwich bag: piece of fabric and lining 8” x 19”
- for the snack bag: piece of fabric and lining 6.5” x 14”
- thread + sewing machine
- 1 roll of 1″ peel-and-stick or sew-on velcro
- optional fabric/acrylic paint + stamps for names/graphics
SANDWICH BAG INSTRUCTIONS:
- Cut pieces
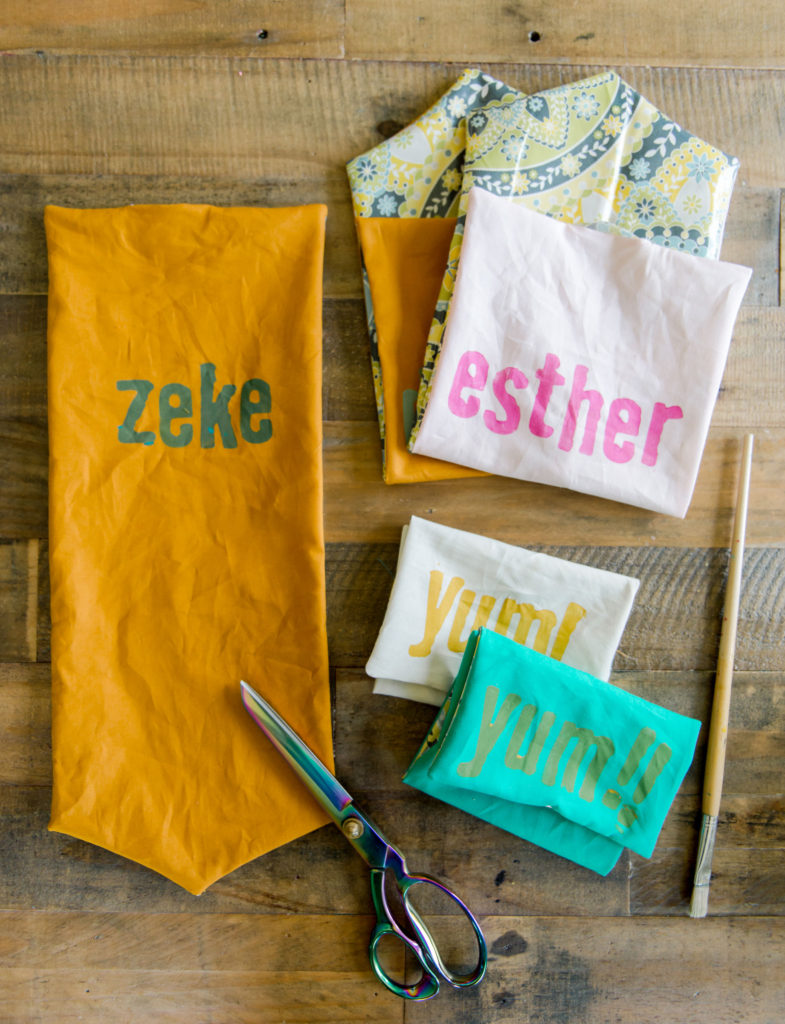
Cut 1 piece of outer fabric and one piece of lining fabric 8” x 19”
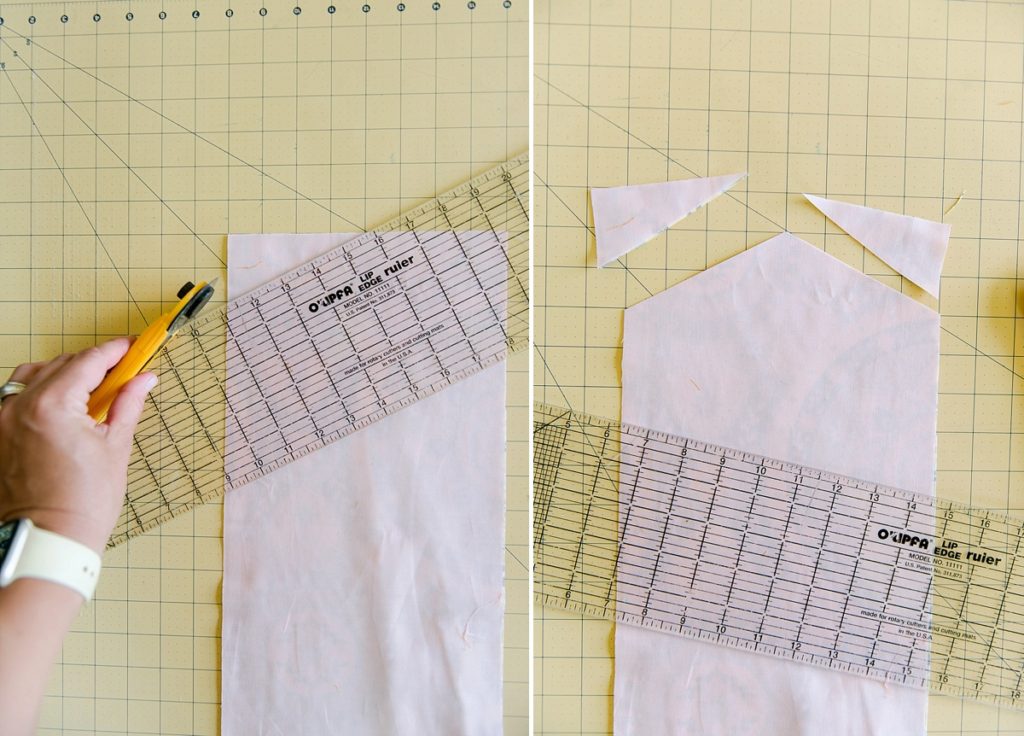
To make the triangle top of the bag, mark at the 4 inch middle across the top (8 inch side), then make 2 more marks, 2 inches down on either long side. Line up the dots with a ruler and cut a straight edge on each side from the center mark to make a triangle. Repeat with the lining fabric.
2. (optional) graphic painting
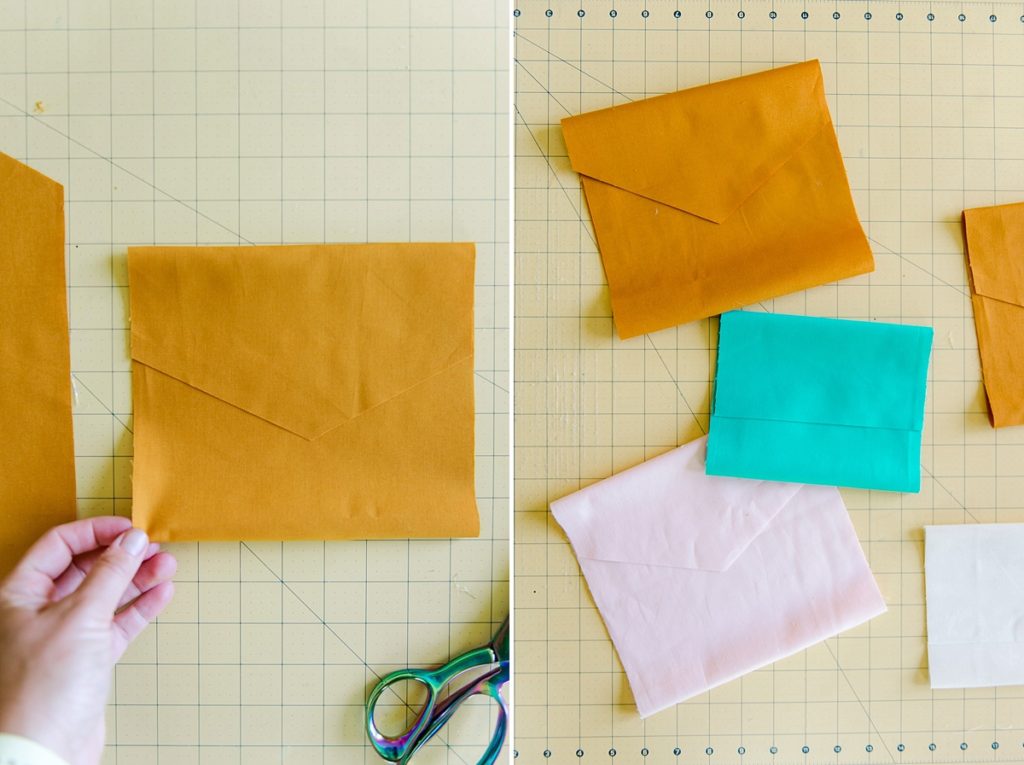
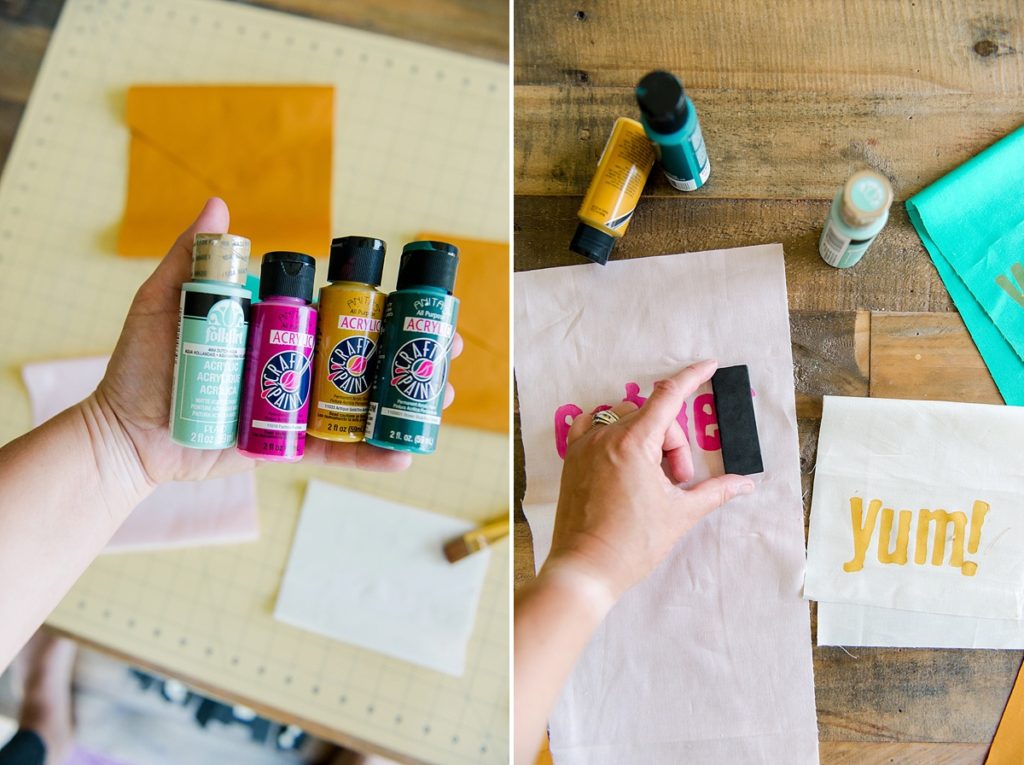
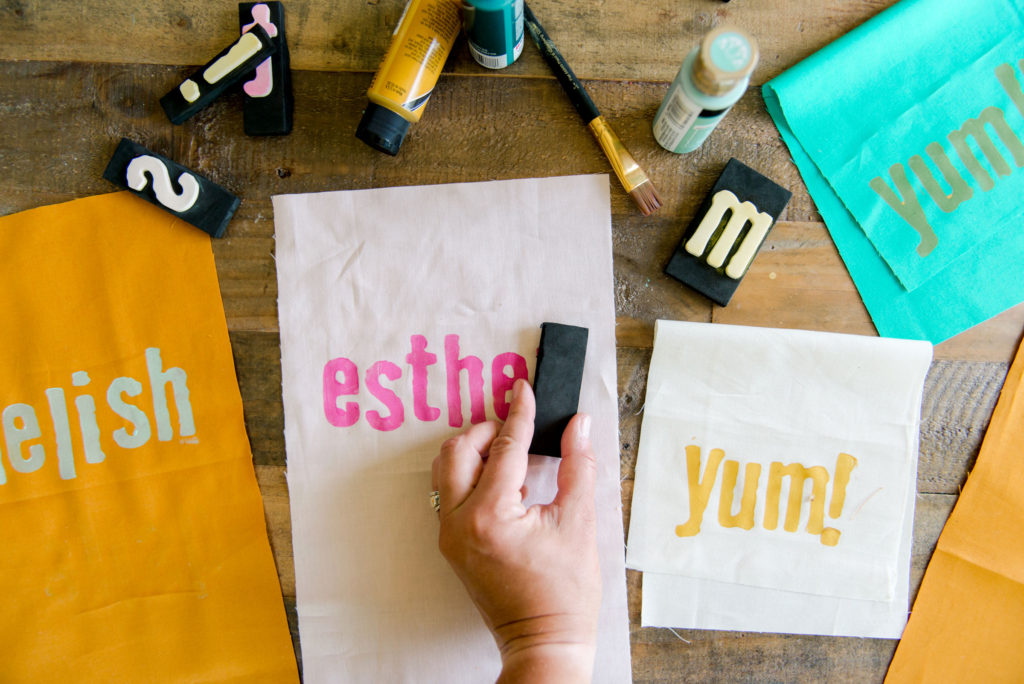
The sandwich bag will be folded up from the bottom approx 7” and the top will fold down approx 3” at the top. Fold your outer fabric to get an idea of where you’d want to stamp your words or letters and you can use pins to mark where you want your design to begin. Use fabric paint and stamps to decorate your bag however you’d like to by following your fabric paint instructions for dry time, etc.
3. Sew outside and inside together
TIP: Use paper clips or binder clips instead of pins so that you don’t puncture the lining fabric
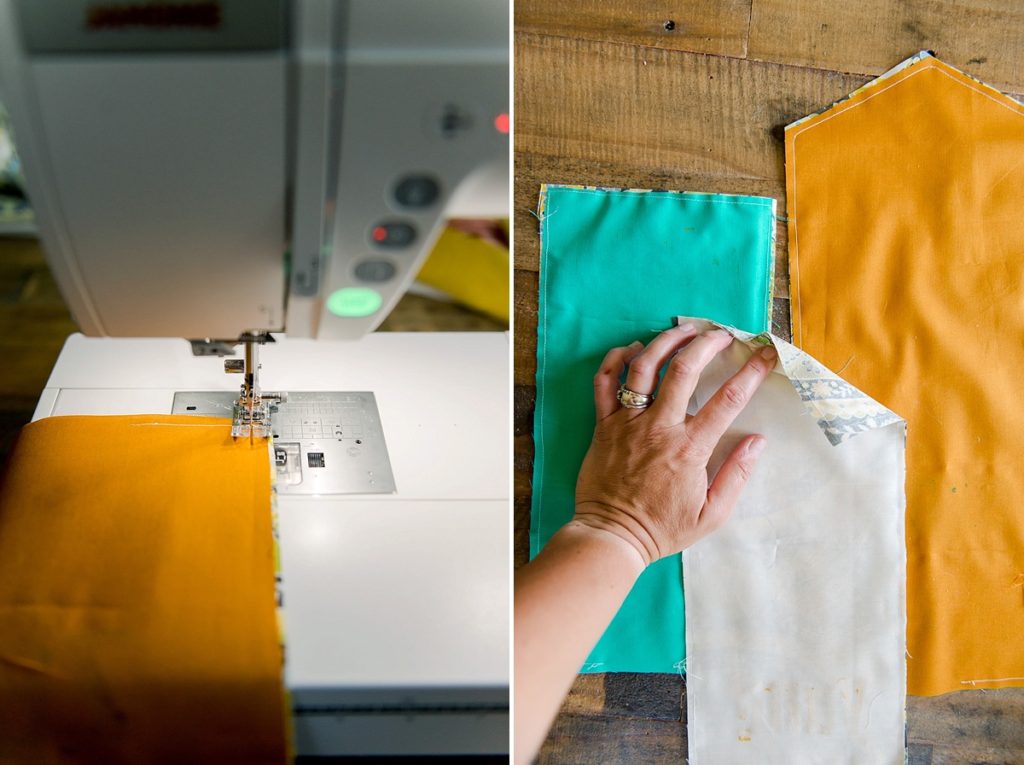
With right sides together, sew the outer fabric to the inside lining, turning at each corner carefully, and leaving a 2-3 inch opening at the bottom of the bag for turning.
Turn the bag right side out, polk your edges so that they are square and and carefully press with an iron.
NOTE: please test your iron with your lining fabric before ironing the whole bag. Test so that the setting is low enough to not melt the lining. And also note that some fabrics (like laminated cotton) aren’t recommended to iron (see your manufacturers instructions along the salvage of the fabric)
4. Top Stitch + add velcro
Top stitch across the top inside pocket area.
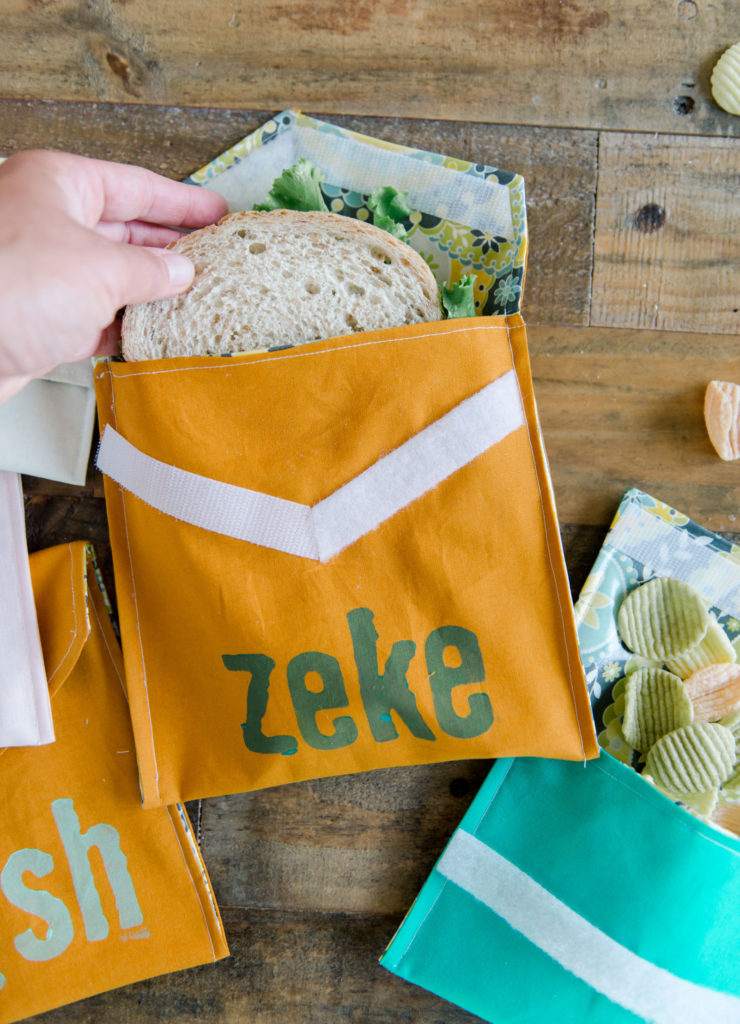
Fold your bag about 7” from the bottom for the sandwich bag or about 5” from the bottom for the snack bag, making sure that any graphic or decor you have painted is where you want it. Cut your velcro the desired length and stitch into place following the manufacturers instructions (or press into place if using peel-and-stick).
5. Sew together + fill with snacks 🙂
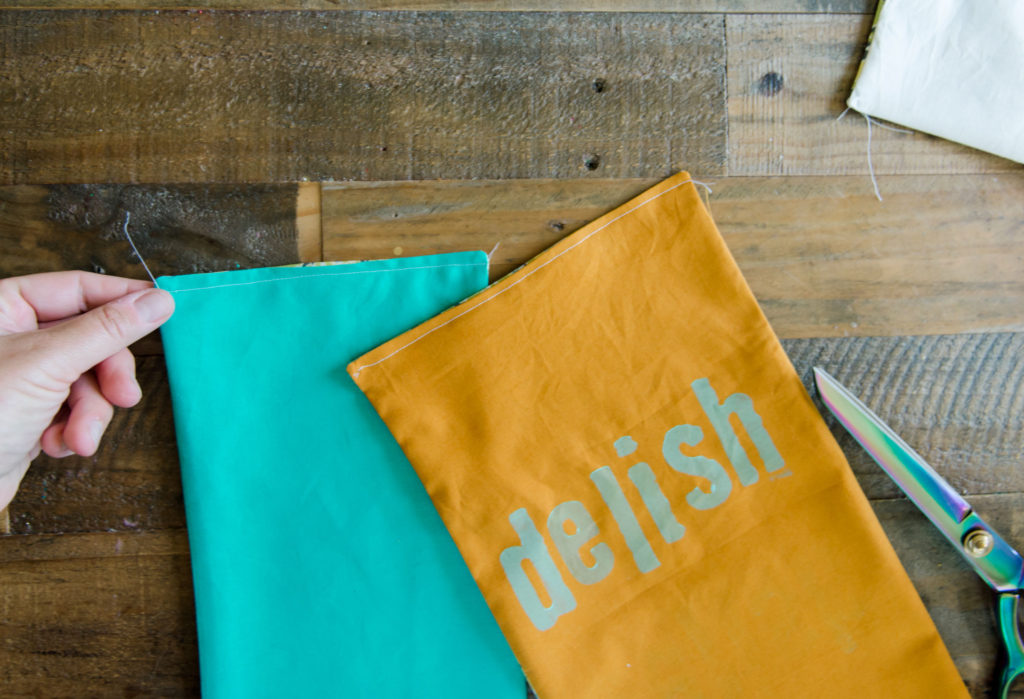
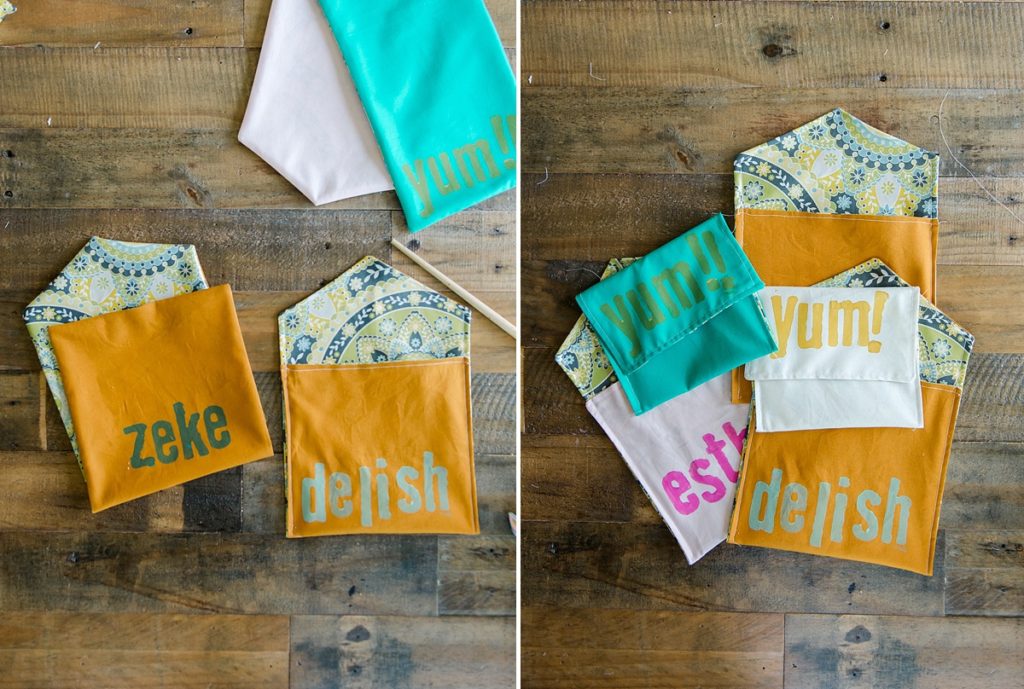
With the bottom of the bags still folded up, sew up the sides of the bag to form the pocket, sewing the overlapped portion together and then continuing to “topstitch” the upper flap as you sew around the whole bag. Make sure to backstitch a bit where the beginning of the pocket is to reinforce the stitch.
*NOTE: It is optional to sew along the bottom of the, I left this un-sewn so that it could pillow out more and we could make larger snacks and sandwiches! 🙂
SNACK BAG INSTRUCTIONS:
- Cut pieces
Cut 1 piece of outer fabric and one piece of lining fabric 6.5” x 14”
2. (optional) graphic printing
The snack bag will be folded up from the bottom approx. 5” and the top will fold down approx 3.5” at the top. Fold your outer fabric to get an idea of where you’d want to stamp your words or letters and you can use pins to mark where you want your design to begin. Use fabric paint and stamps to decorate your bag however you’d like to by following your fabric paint instructions for dry time, etc.2.
3. Follow steps 3-5 above, same as the sandwich bag

I’m just wondering what specific fabric you use for the lining since you mentioned to be careful not to melt it? Love the idea! I don’t have small kids at home, but the hubby and grown kid both take lunches to work and I’m thinking these would be a nice alternative to ALL THOSE plastic bags!