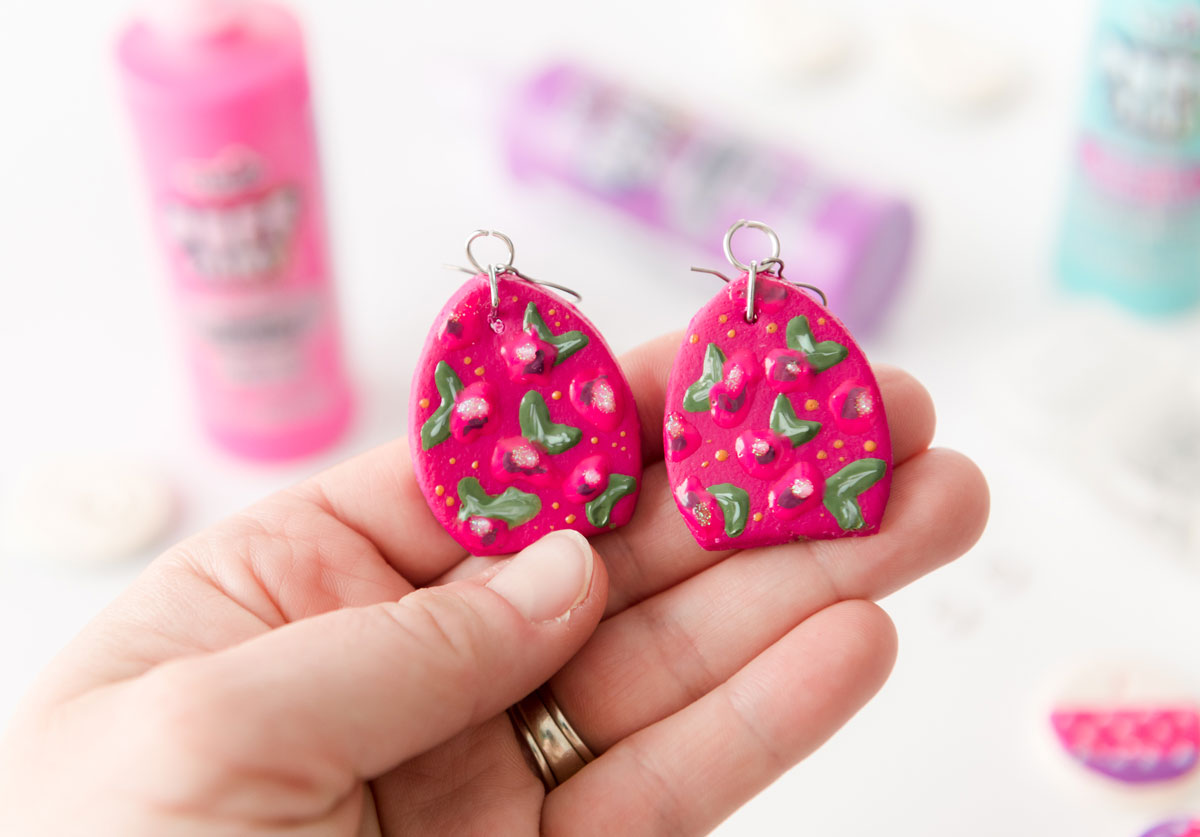
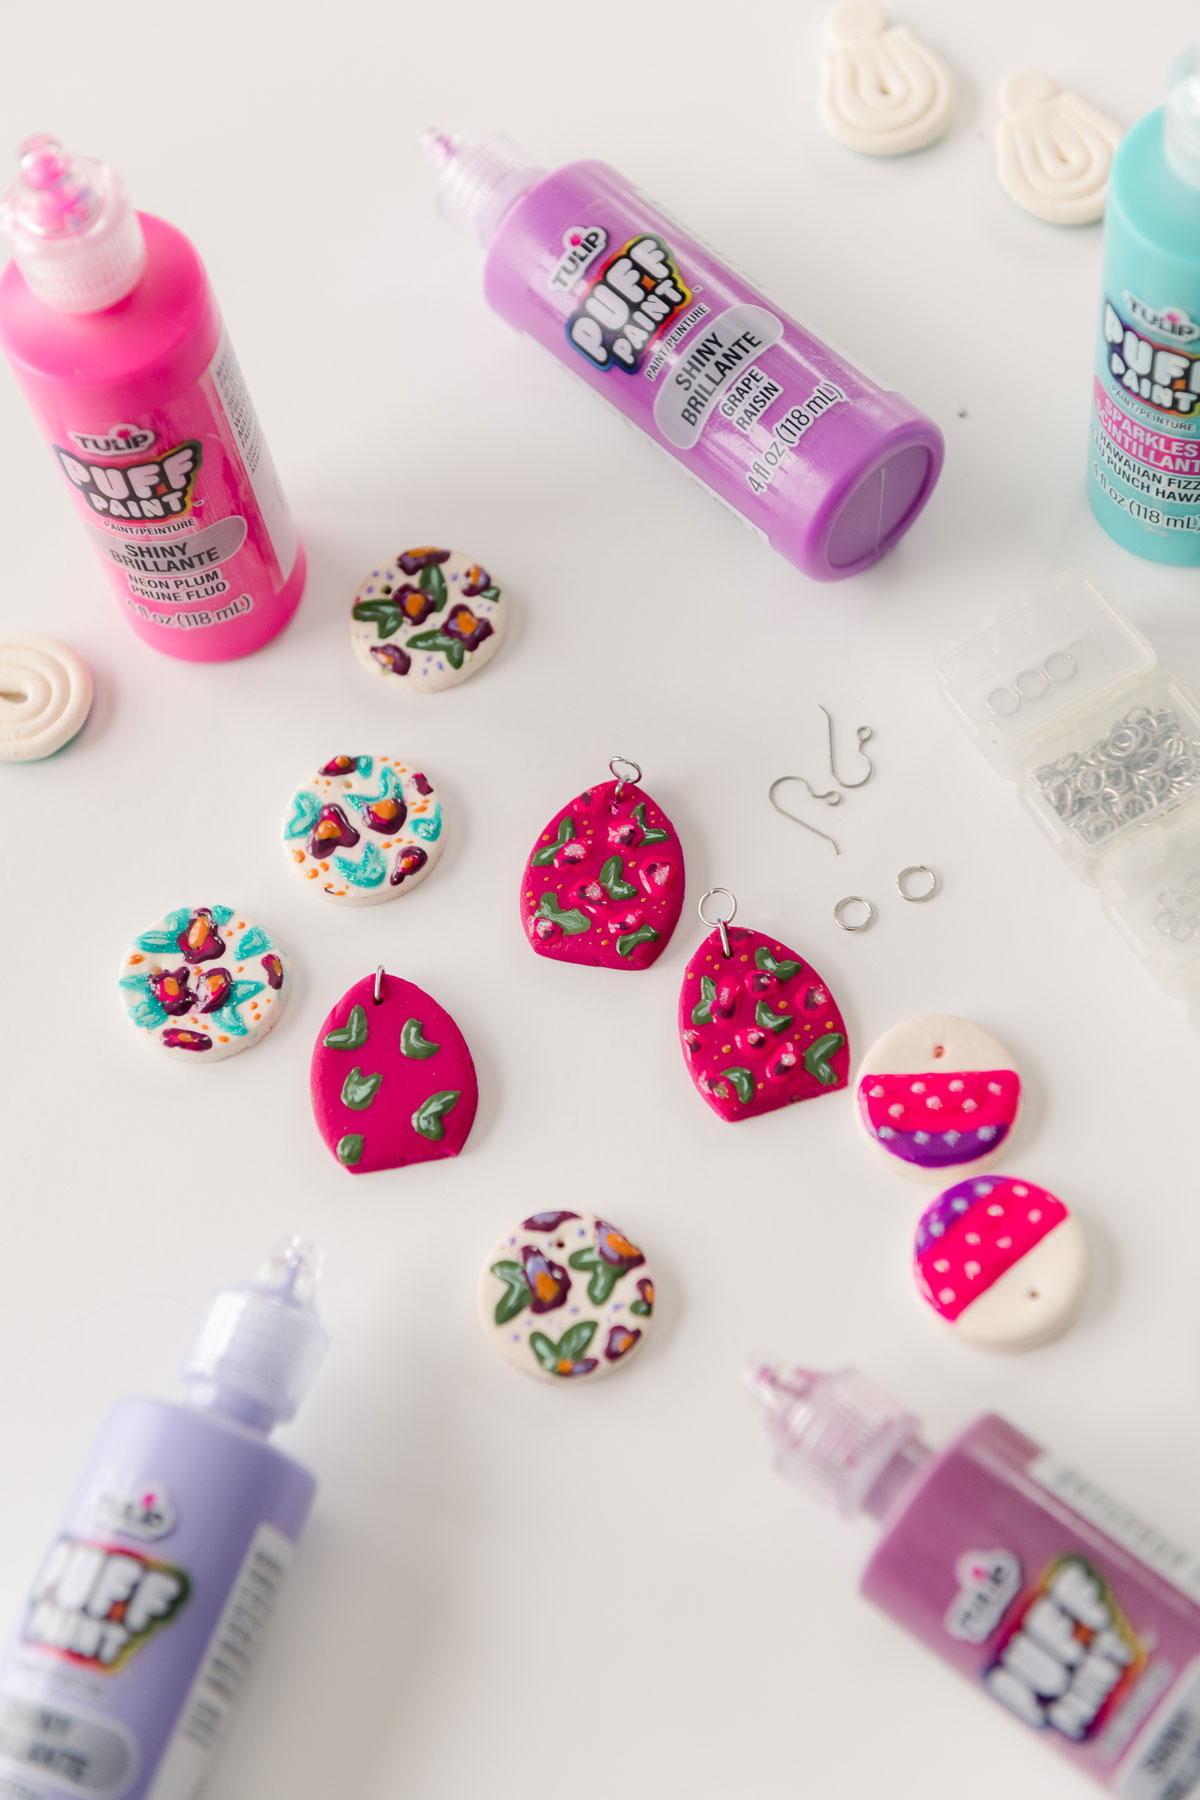
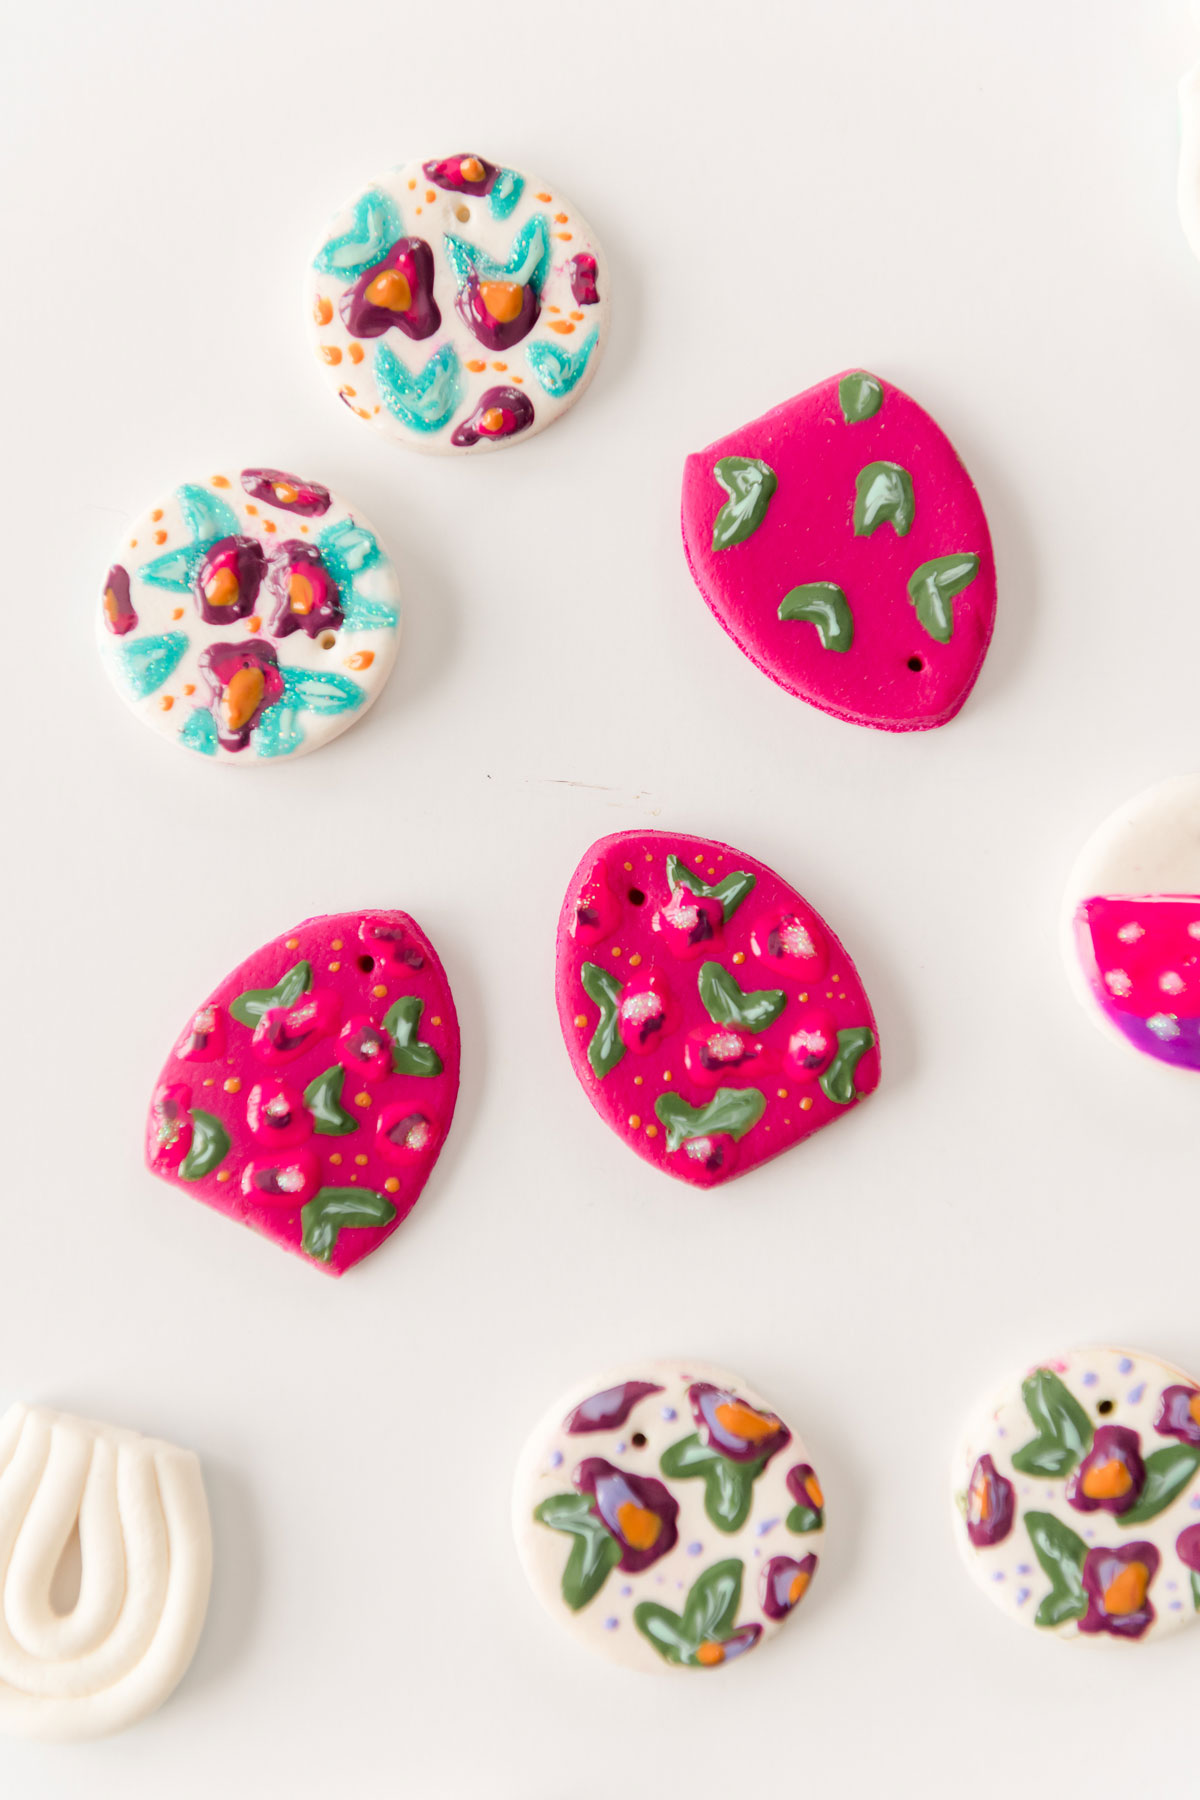
Floral statement earrings using Tulip dimensional paint
**This project is sponsored by Tulip and their colorful puffy paints that I LOVE 🙂
Raise your hand if you are an earring girl????!!! (ME ME ME…can you just imagine my hand raised right now?)
And if you want to jazz up some earrings you already have OR if you want to make some brand new colorful earrings, then THIS IS THE DIY FOR YOUUUUU! 🙂 So grab some drab earrings OR some polymer clay along with scads of colorful tubes of Tulip dimensional paint and keep on reading! 🙂
This is a SUPER simple DIY! Honestly, an hour or so (plus some dry time) along with some colorful creativity and you will be hooked on how to get yourself some new statement earrings!!! 🙂
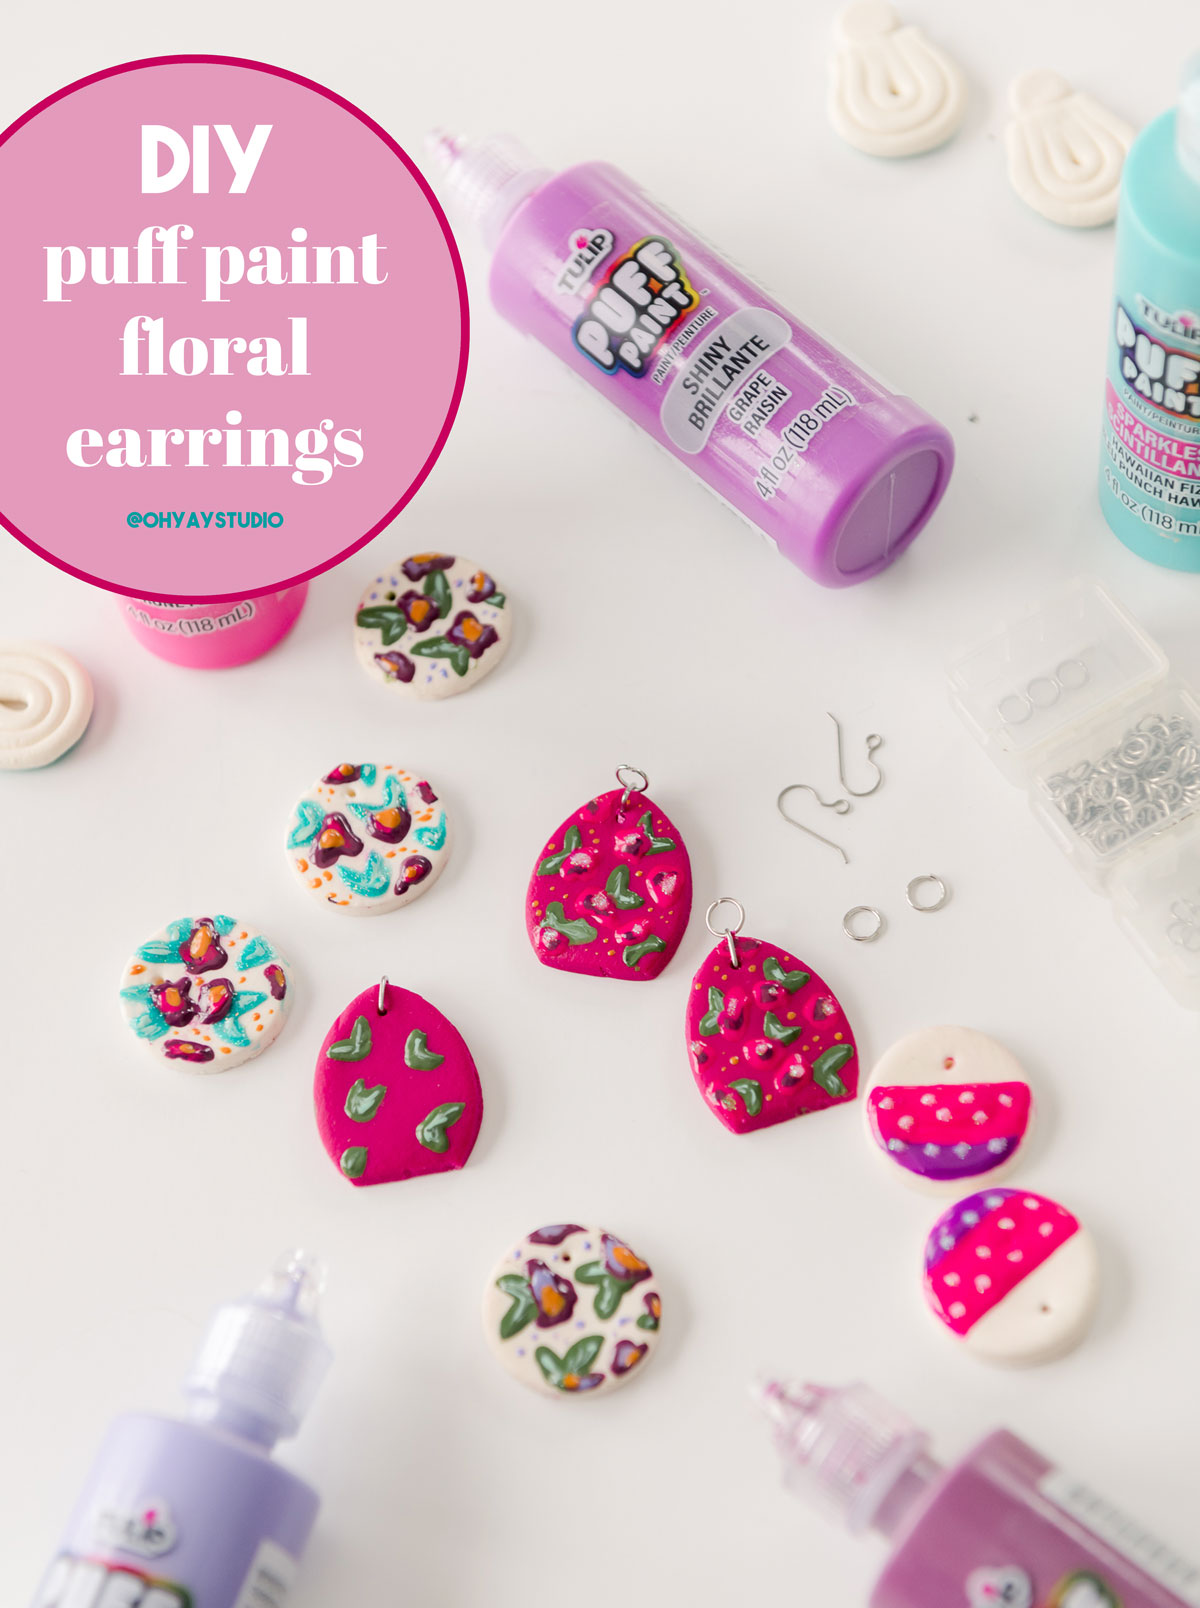
MATERIALS:
- Some polymer clay ORRRR a pair of earrings you want to add some pizzaz to
- If you are making your own earrings, get some earring backs or hooks, pliers and some jump rings
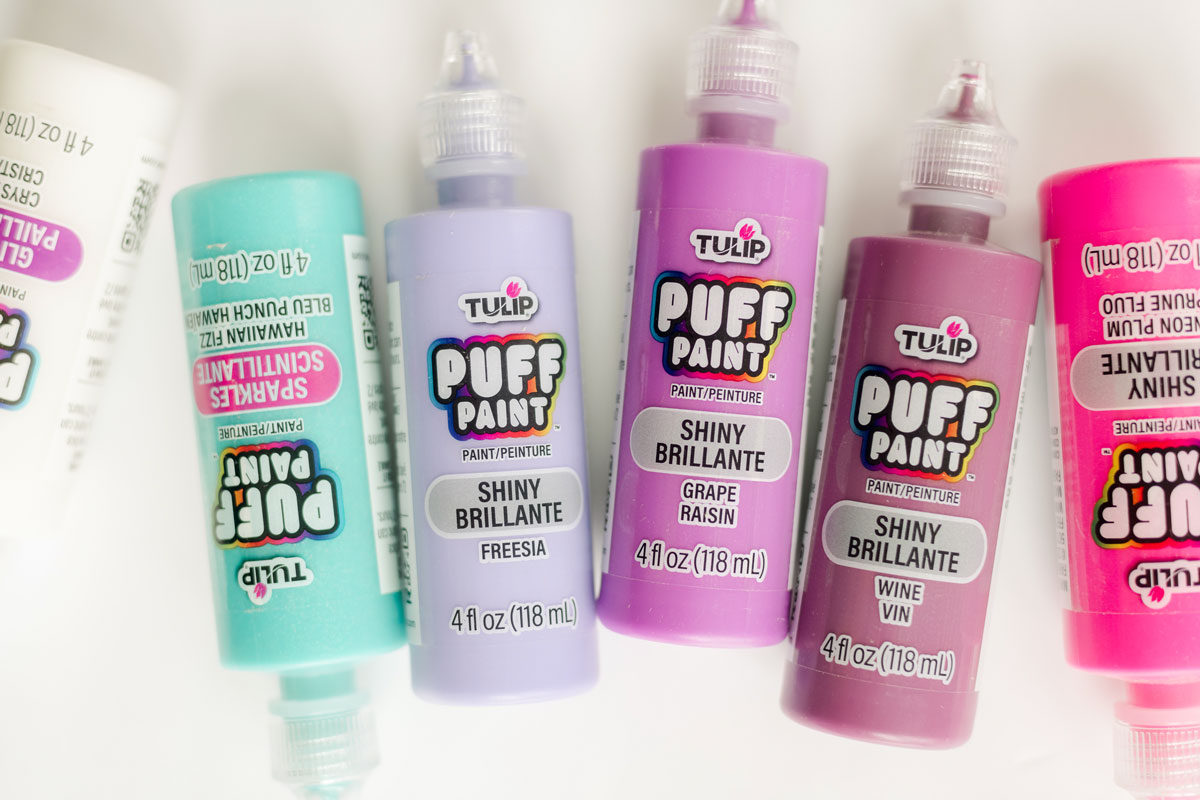
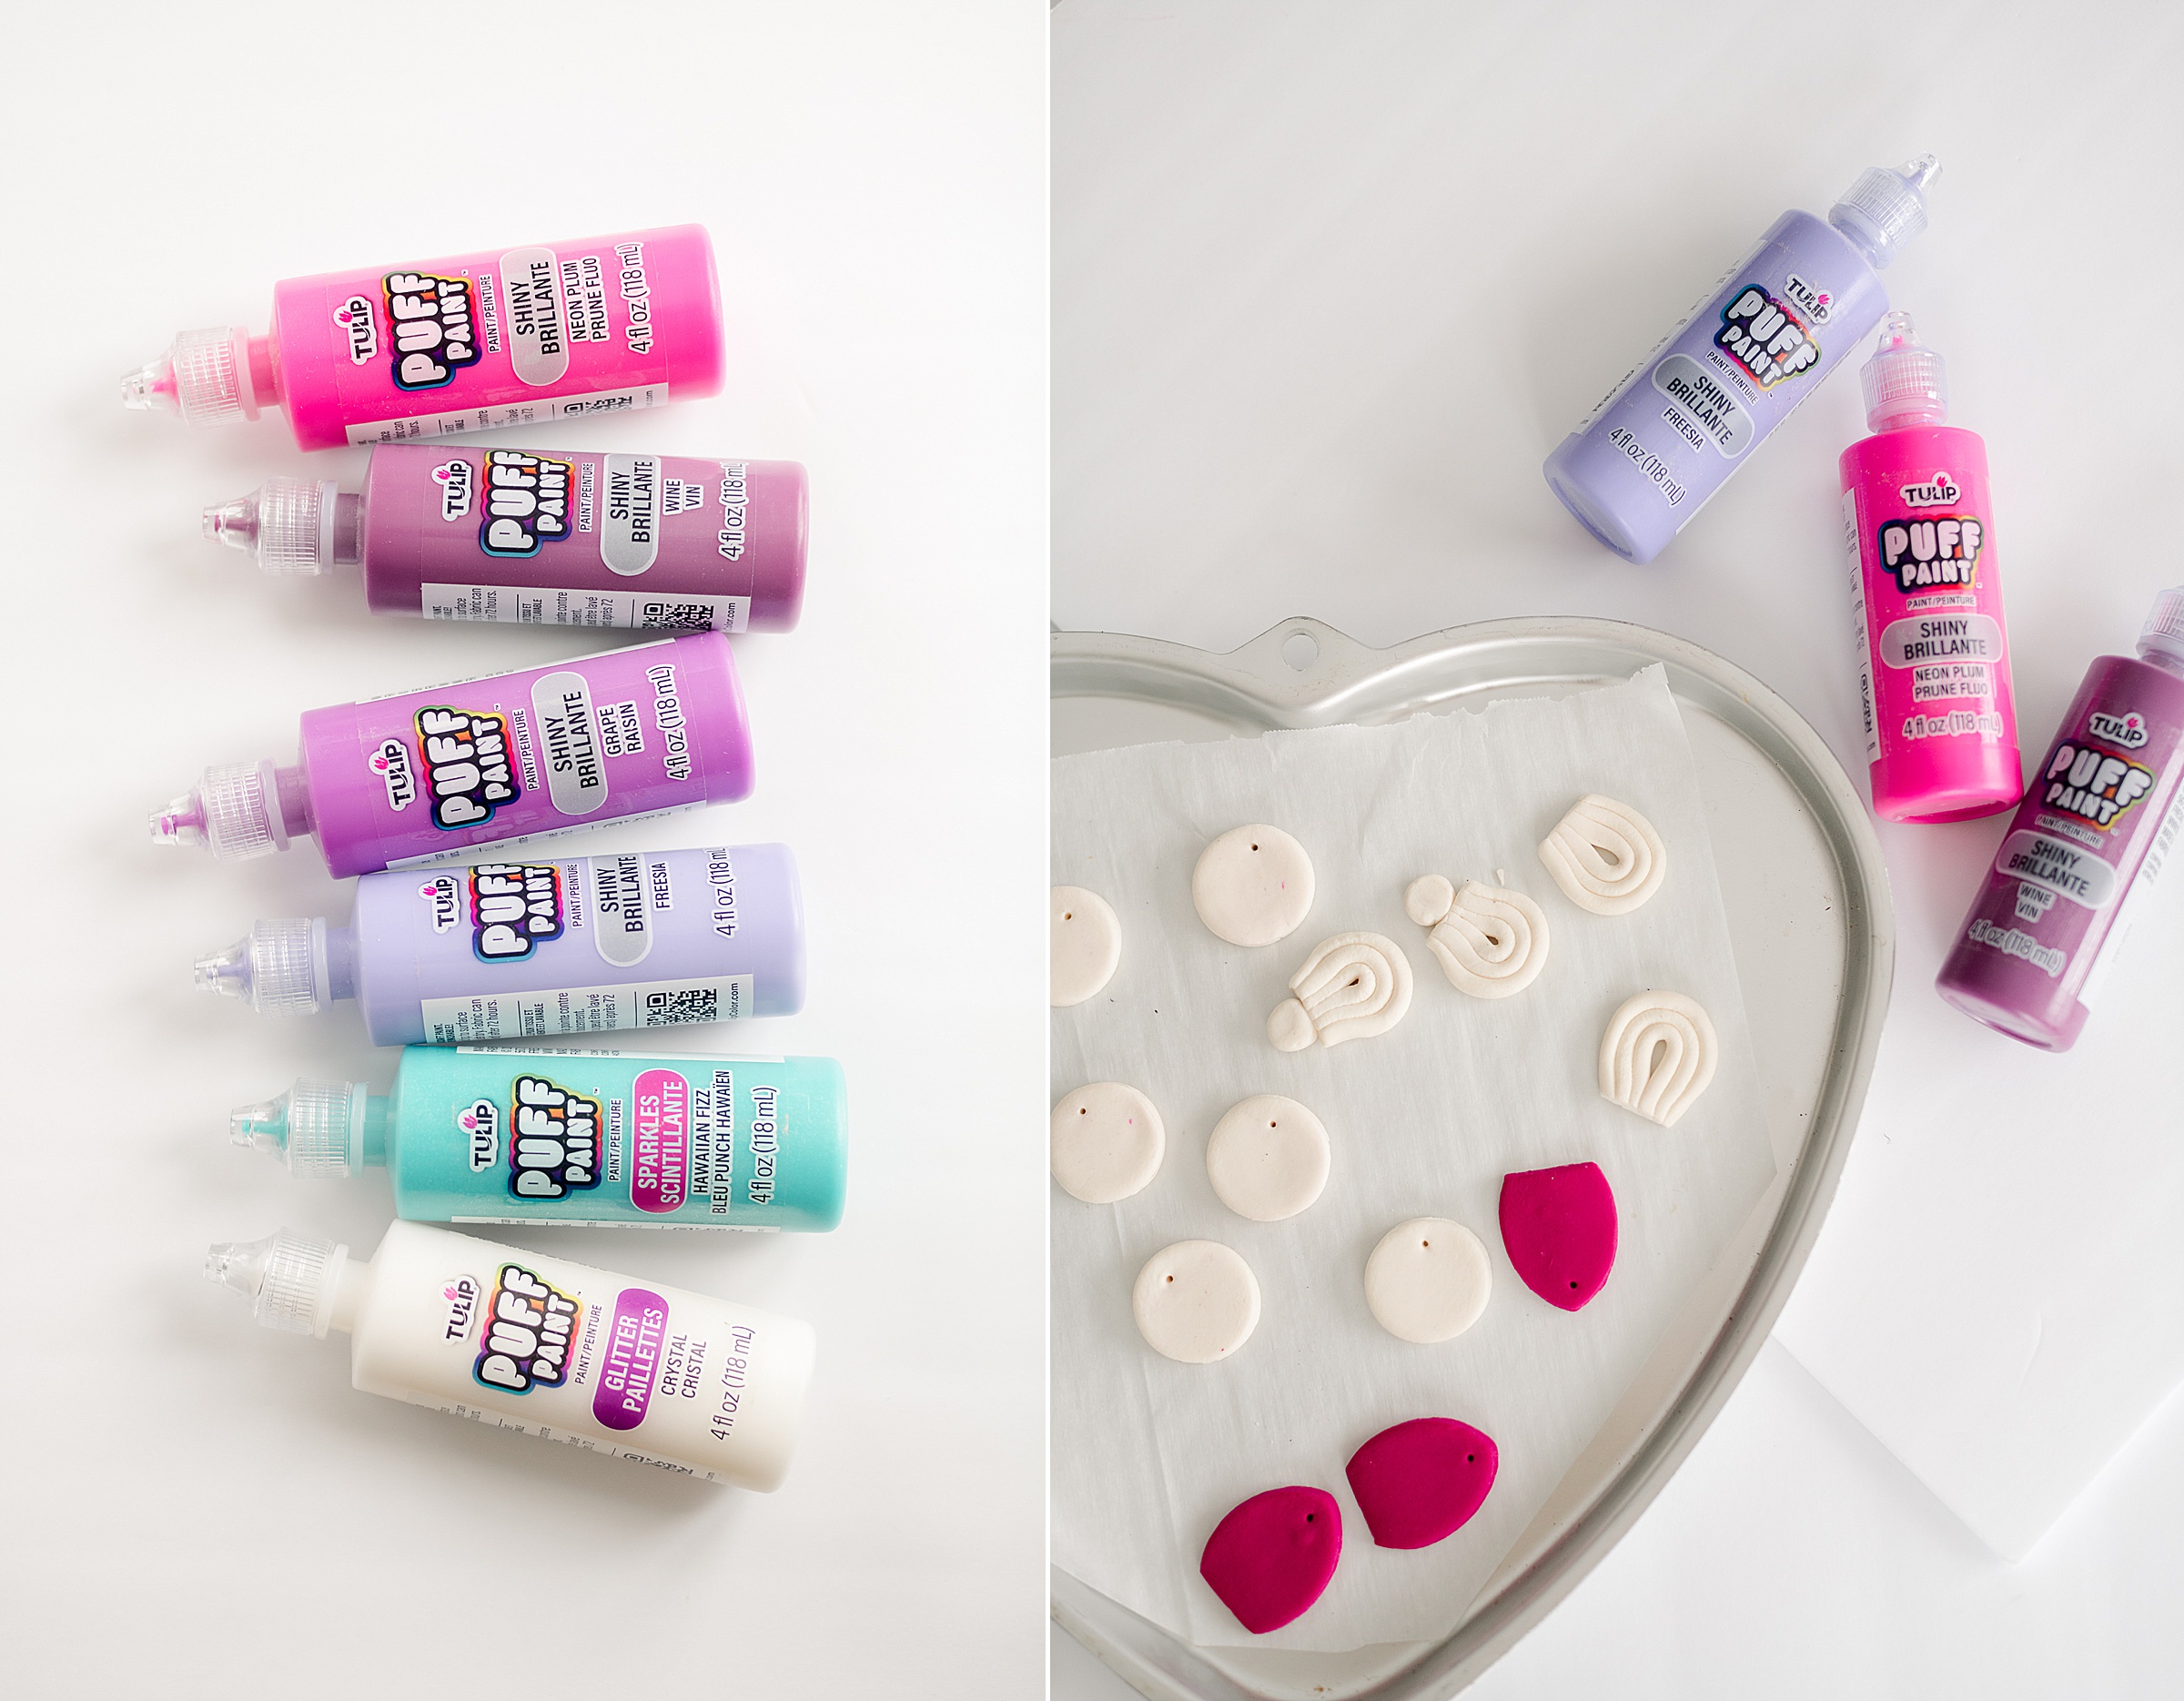
- Your fave colors of Tulip dimensional paints (the more color the better)
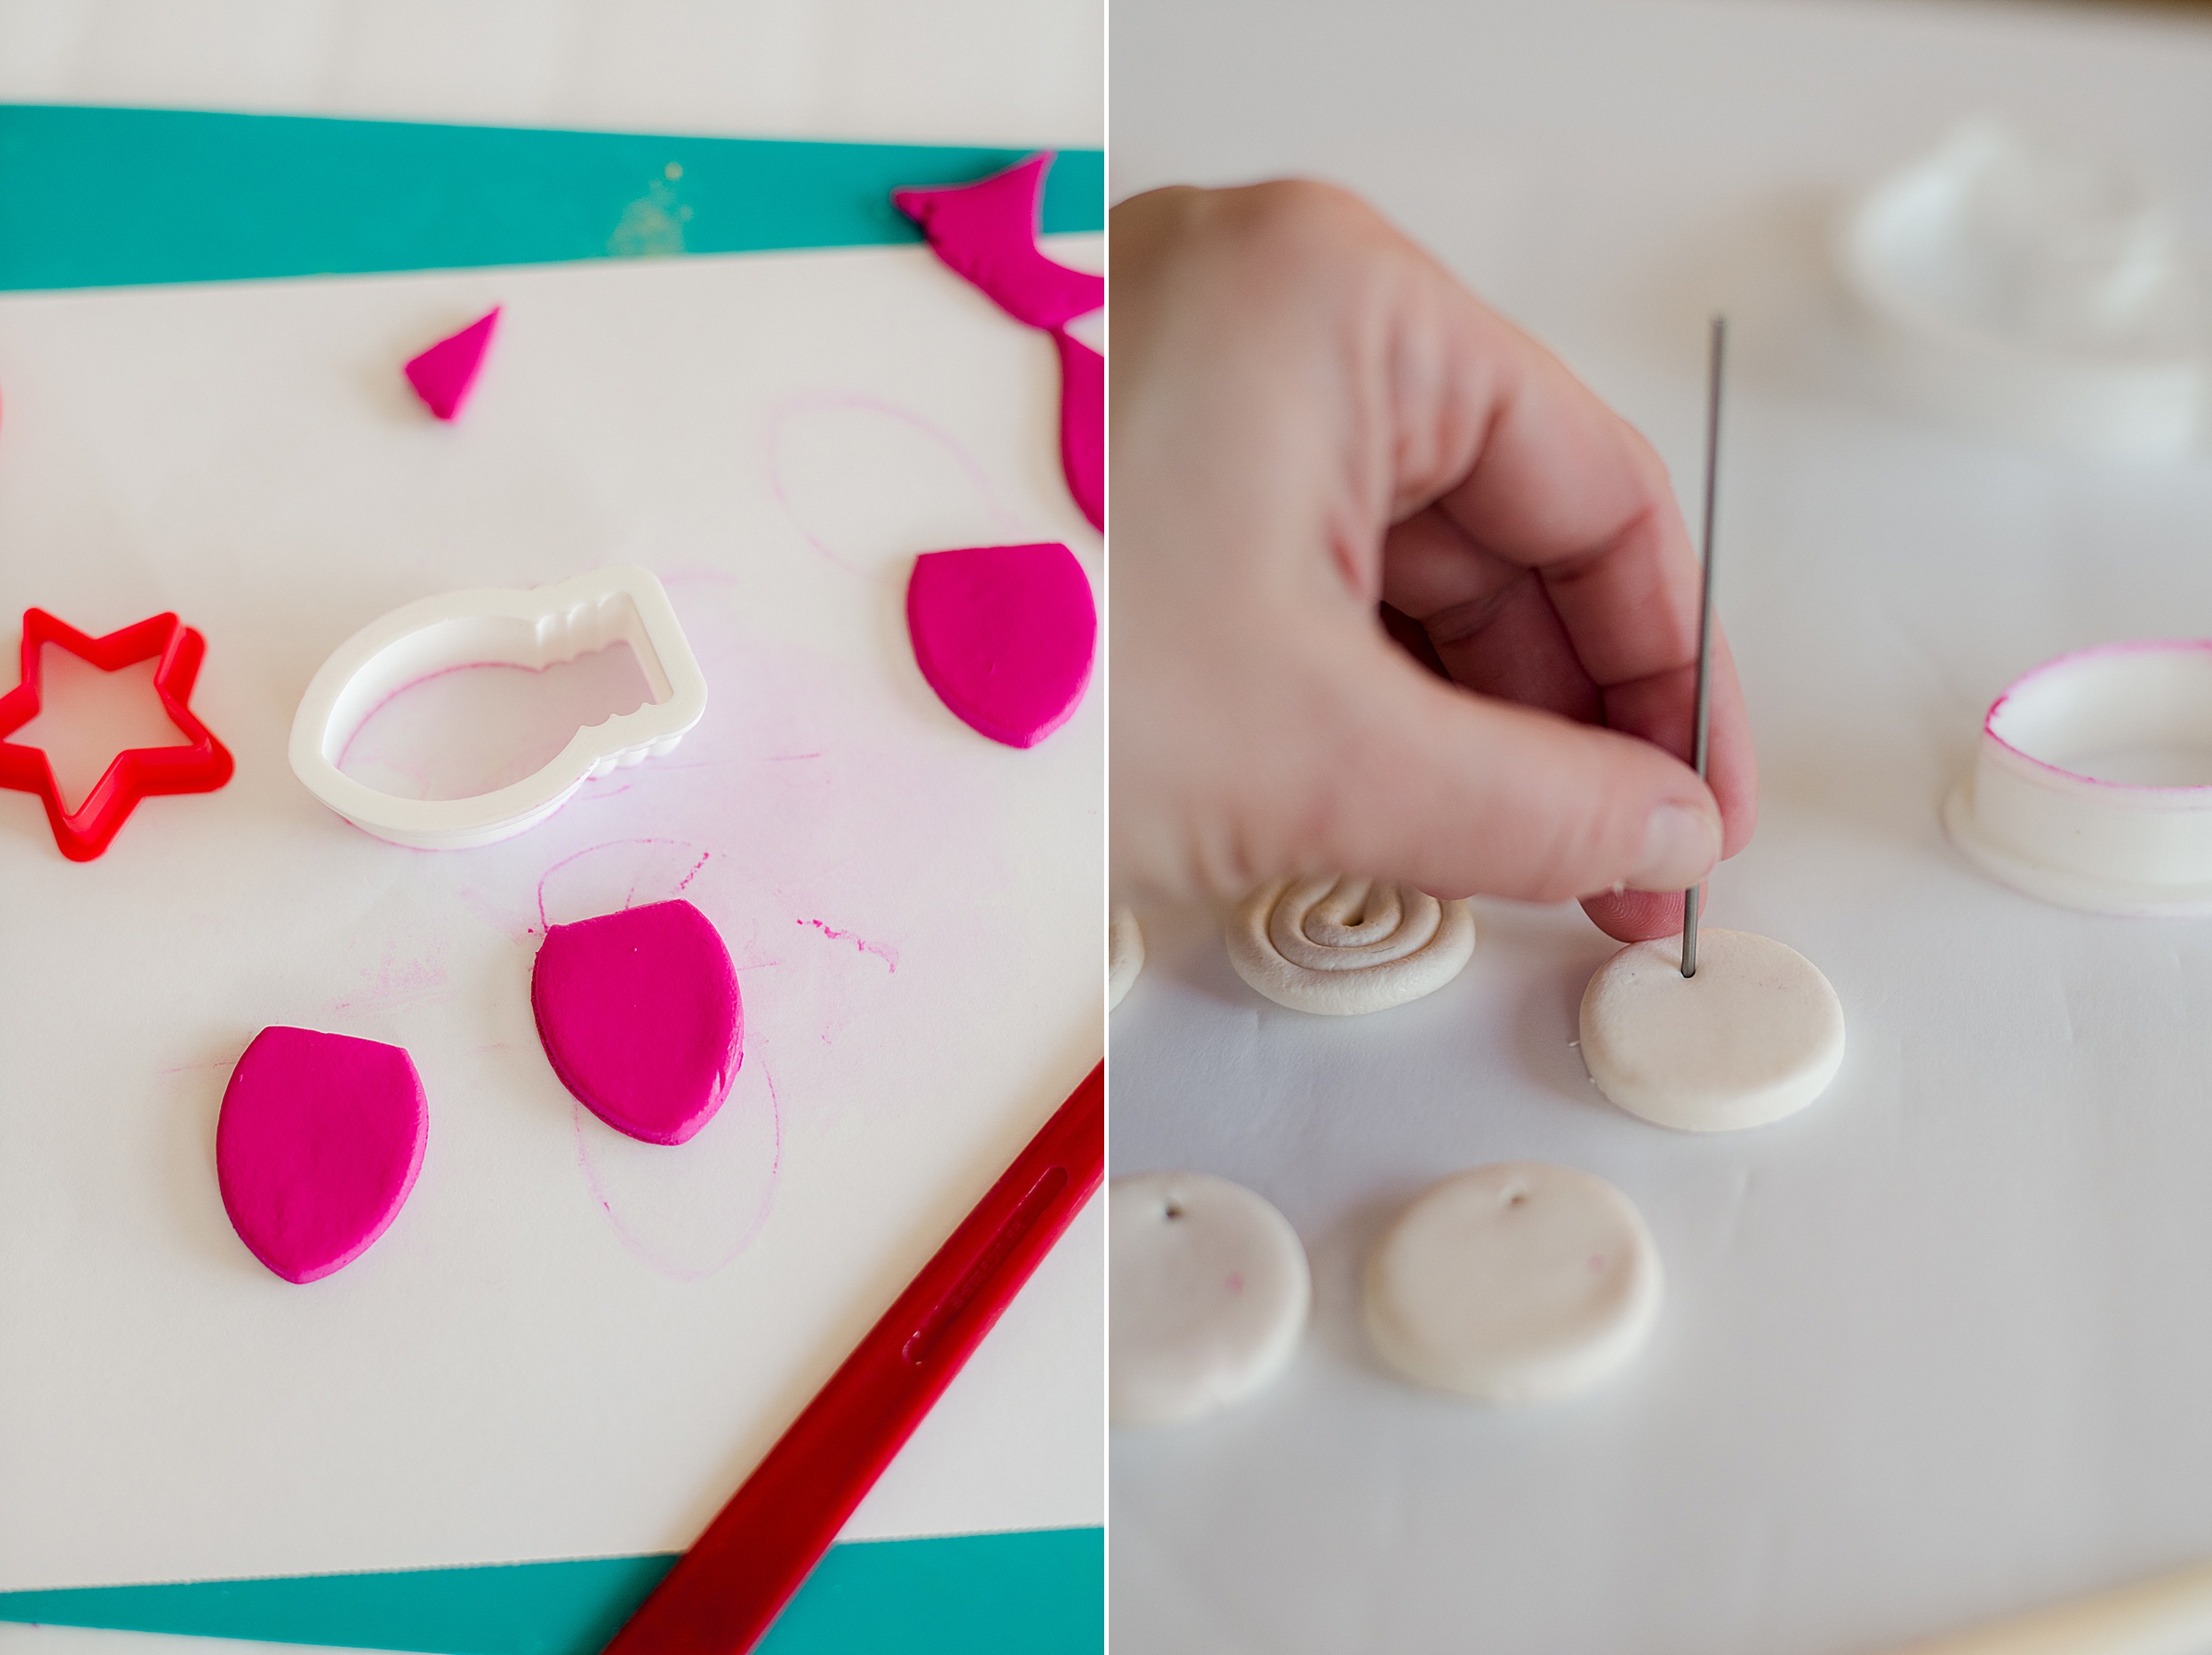
- Straight pins
- Pencil
- Some paper towels and wax paper
INSTRUCTIONS:
1. If you are making your own earrings, follow the instructions on your packaging for rolling and baking! I chose to roll out my earrings about 1/4” thick and used some cookie cutters and small play-dough cutters for shapes.
**Tip to be sure that your earrings bake as flat as possible: be sure to flip half way through when baking
2. Now it’s time to get creative! Grab your dimensional Tulip paints and begin to map our your designs – you can use a pencil if needed.
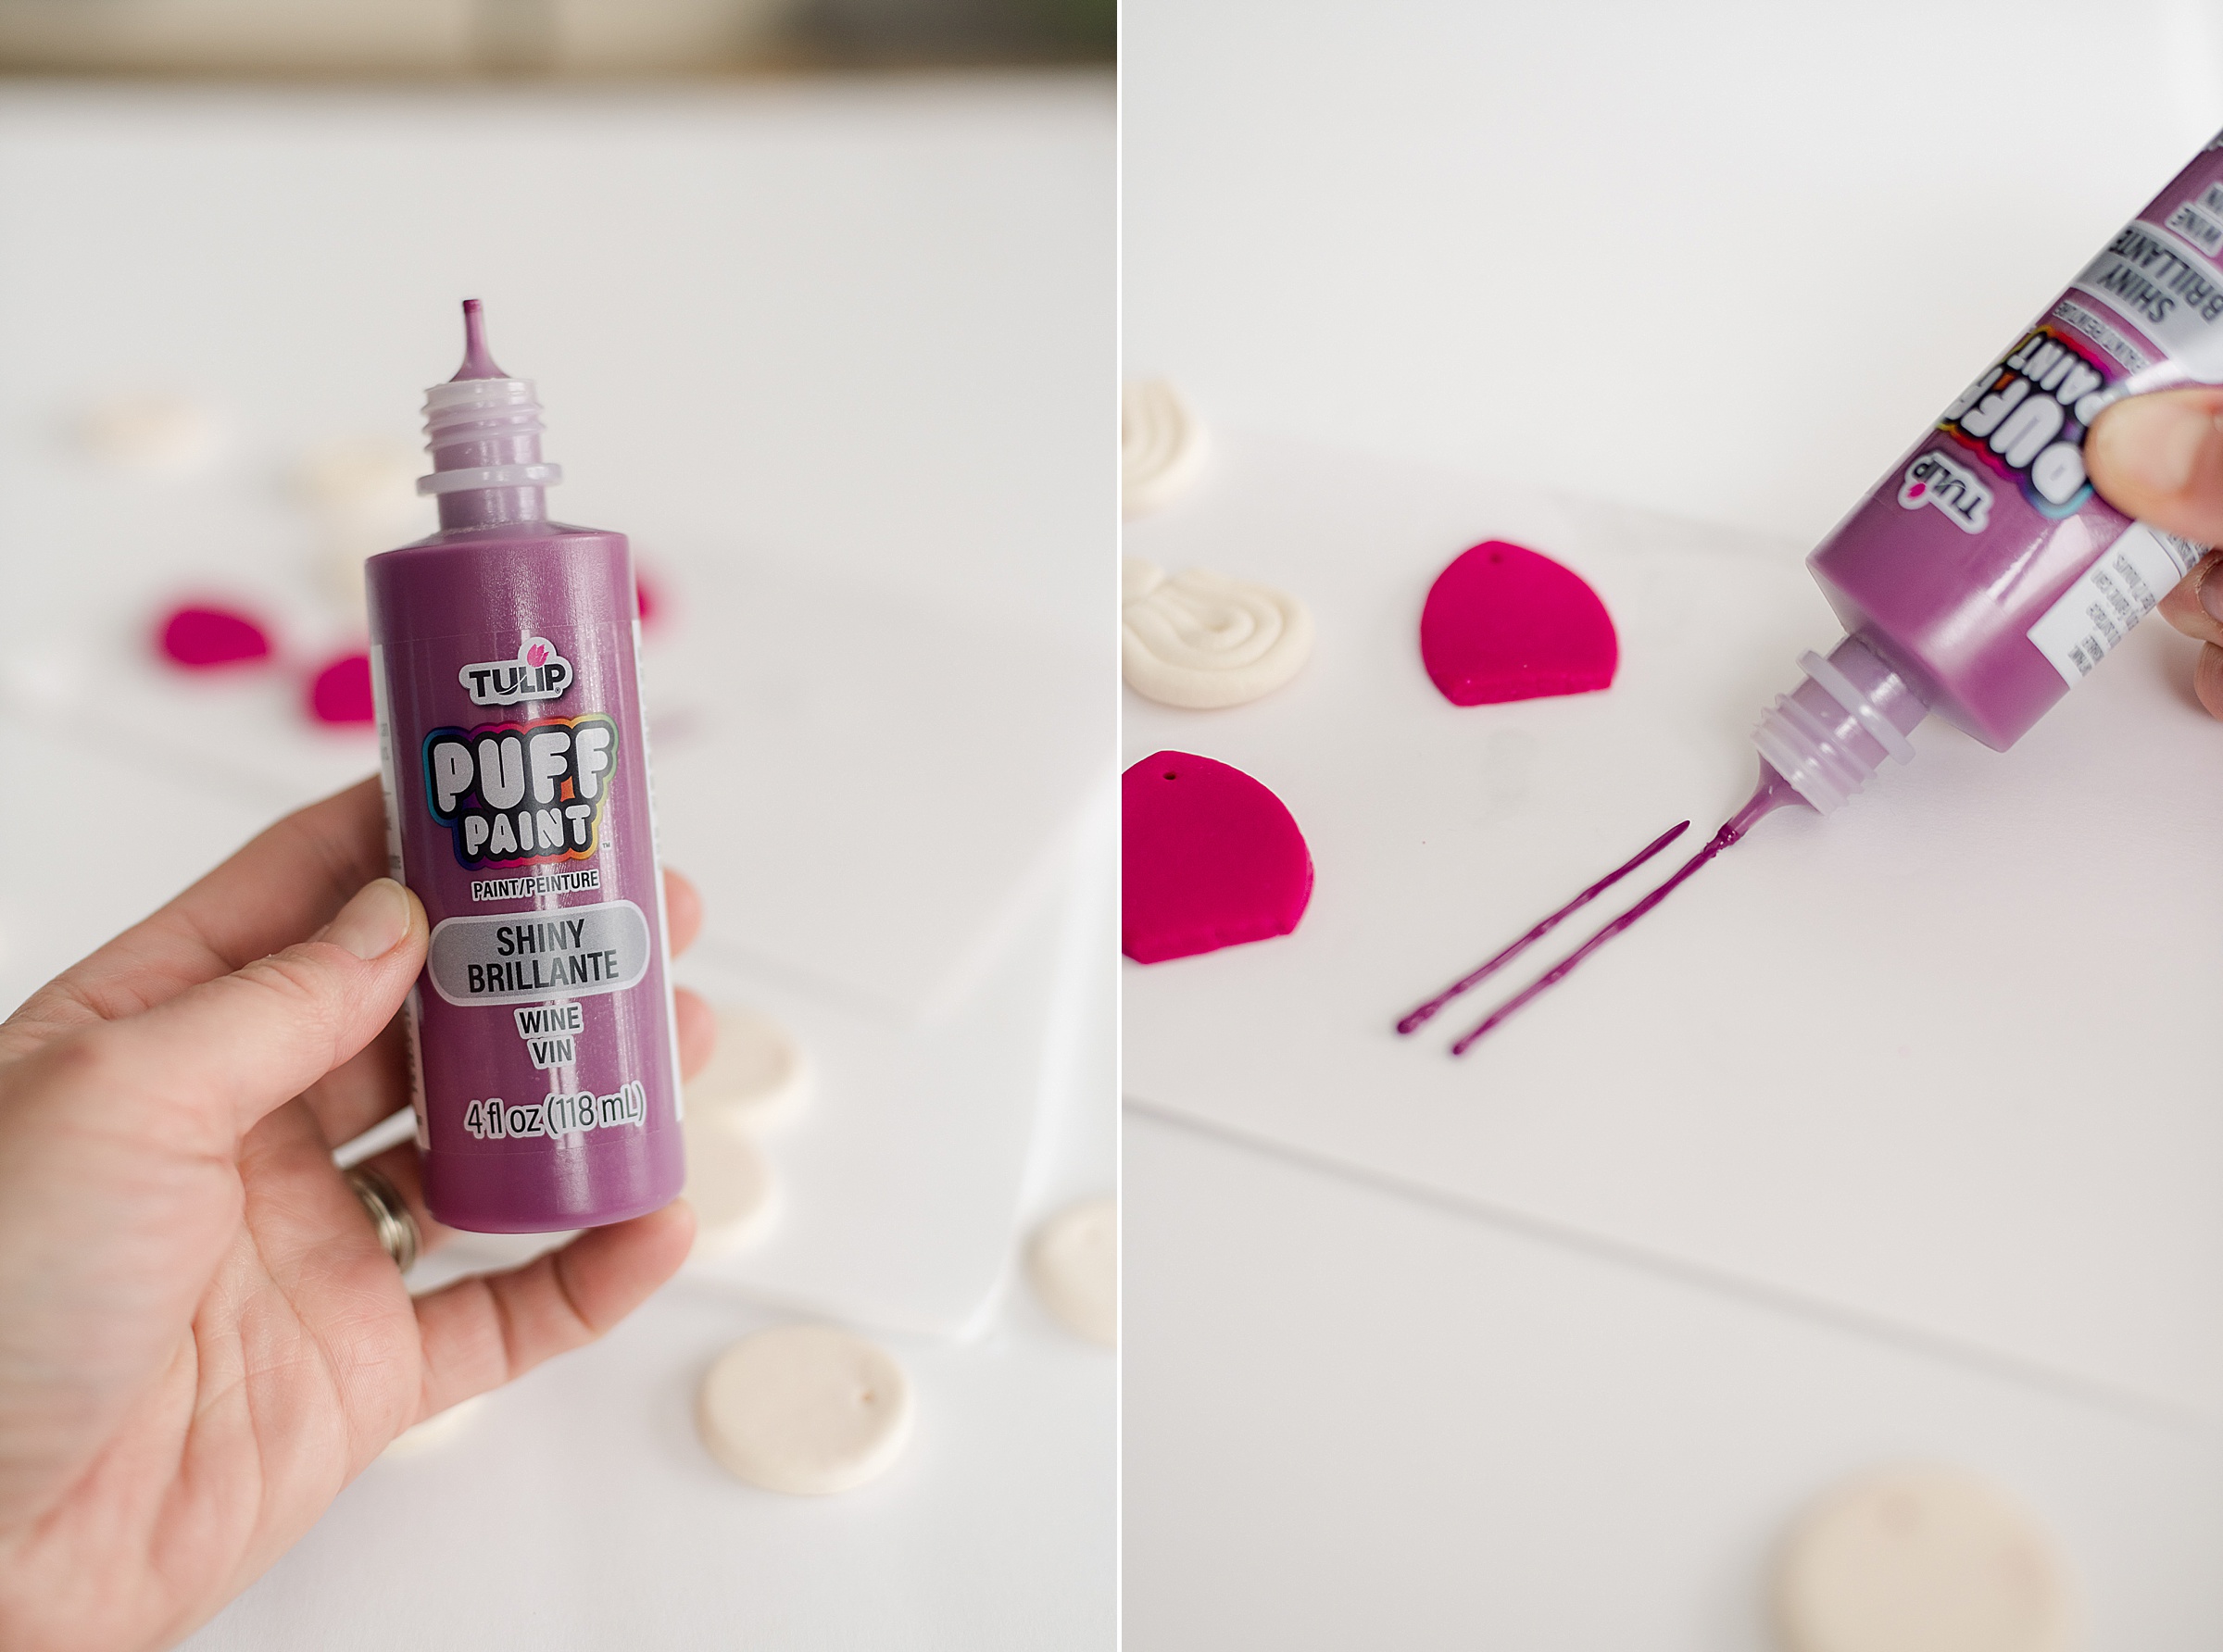
Practice your “lines” of painting on a piece of scratch paper and then begin to paint your earrings! 🙂 Here are some painting tips using Tulip dimensional paint:
- Be as consistent as possible with your “squeeze” so that the paint comes out even
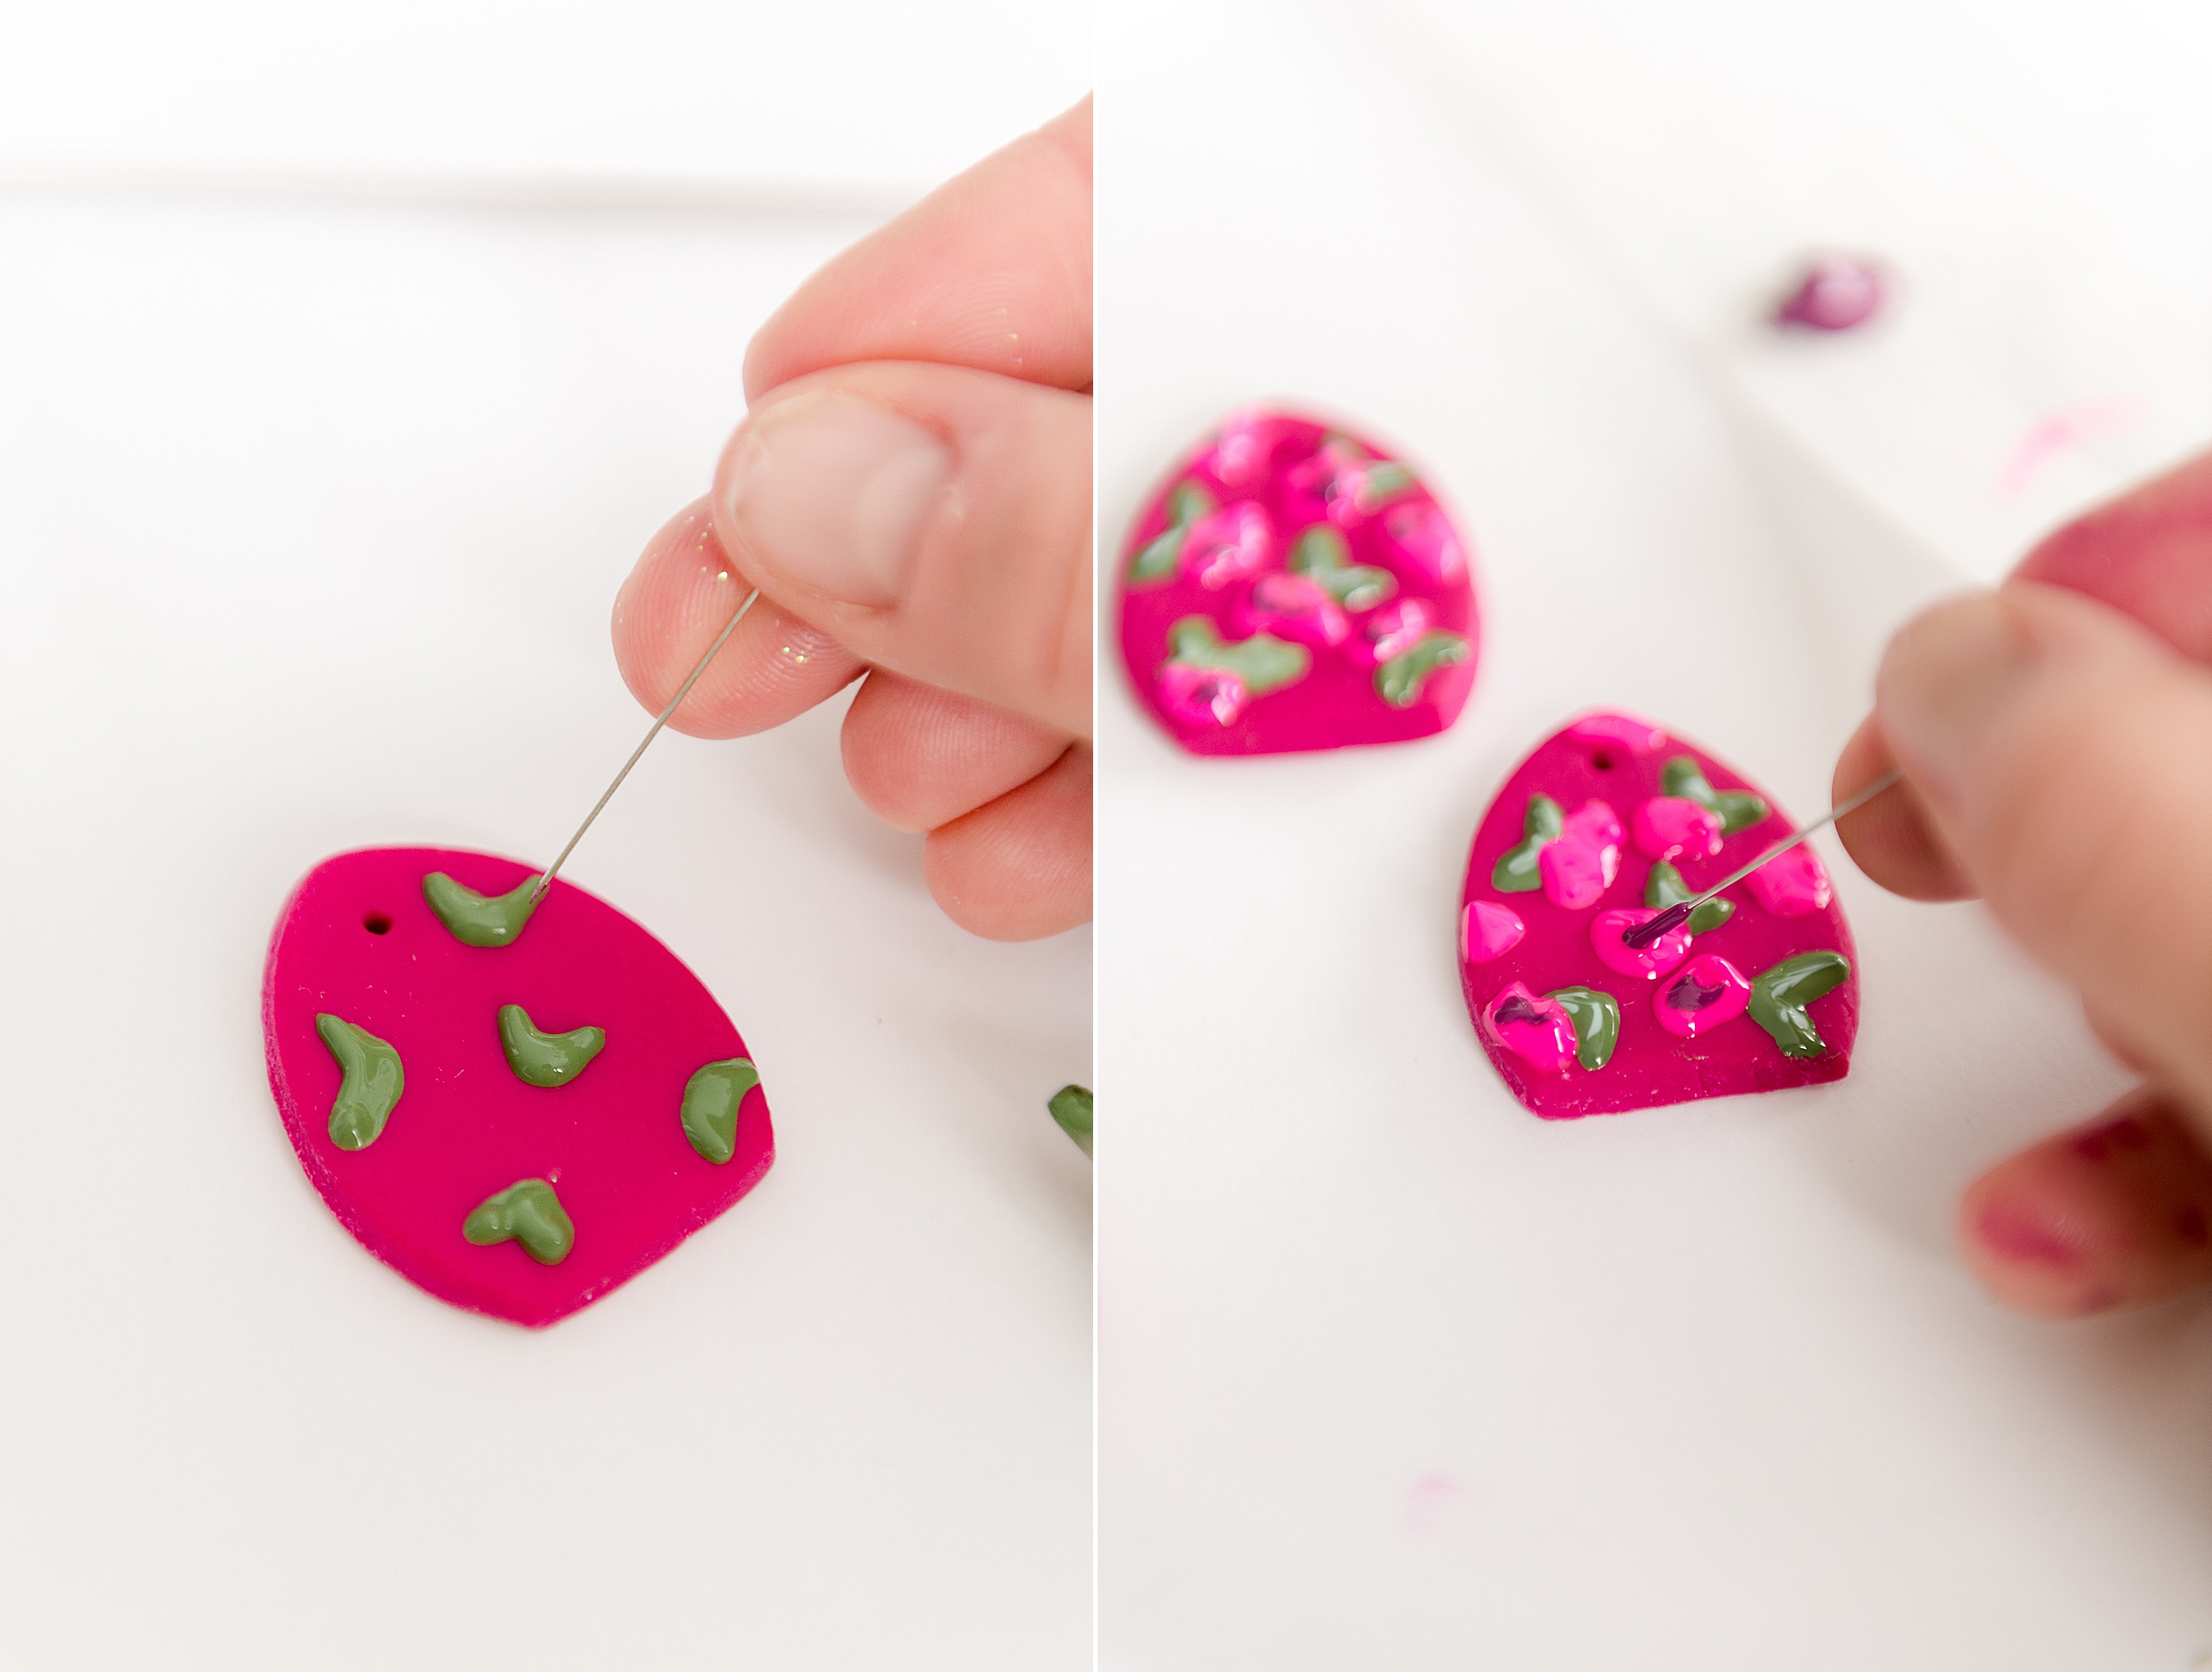
- Use the tip of your straight pin to “drag” your paint and make sharper lines – I did this with the leaves specifically
- Use this same pin to add a 2nd color to areas…do this by squeezing a blob of paint onto some wax paper to use as a palette for “painting” with your straight pin
- This paint is thick and it’s all about layering and “building” the surface up
- Use a slightly wet paper towel to wipe the sides of the earrings or any area that needs “cleaning up”
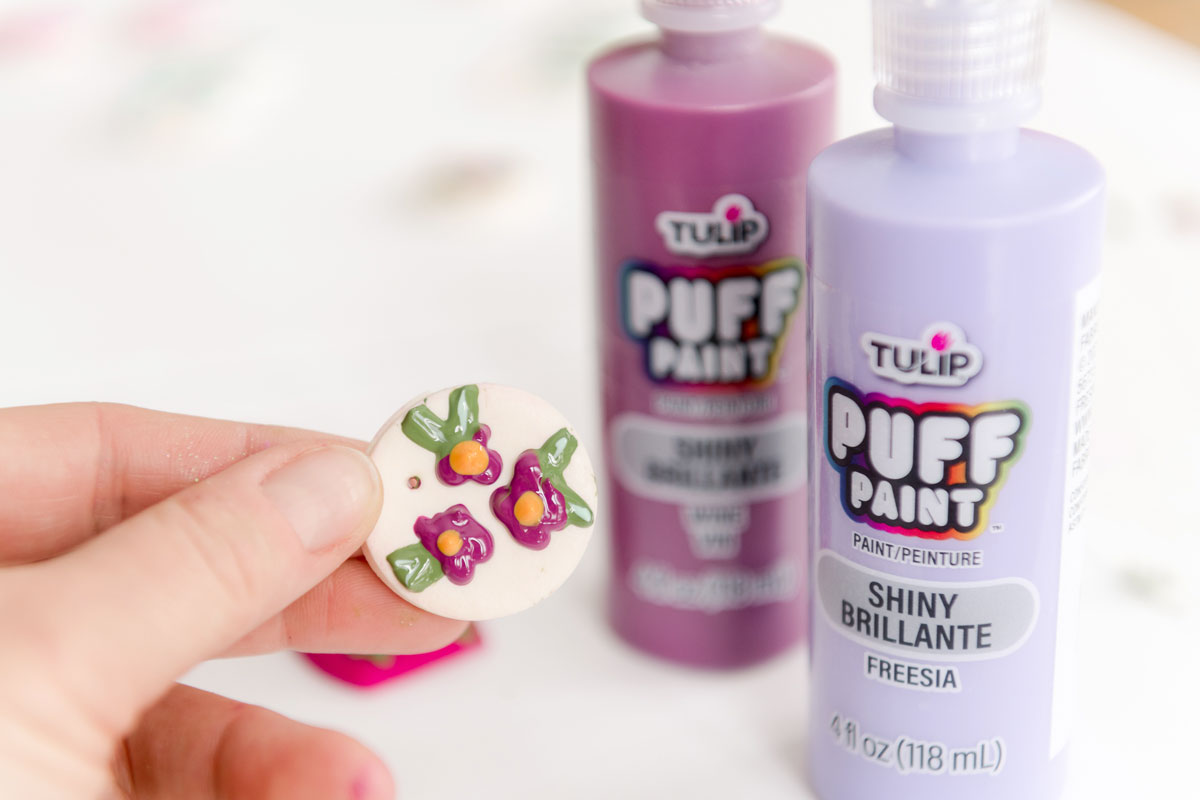
Once you are done painting and happy with your designs, set the earrings aside to dry for 24 hours! 🙂
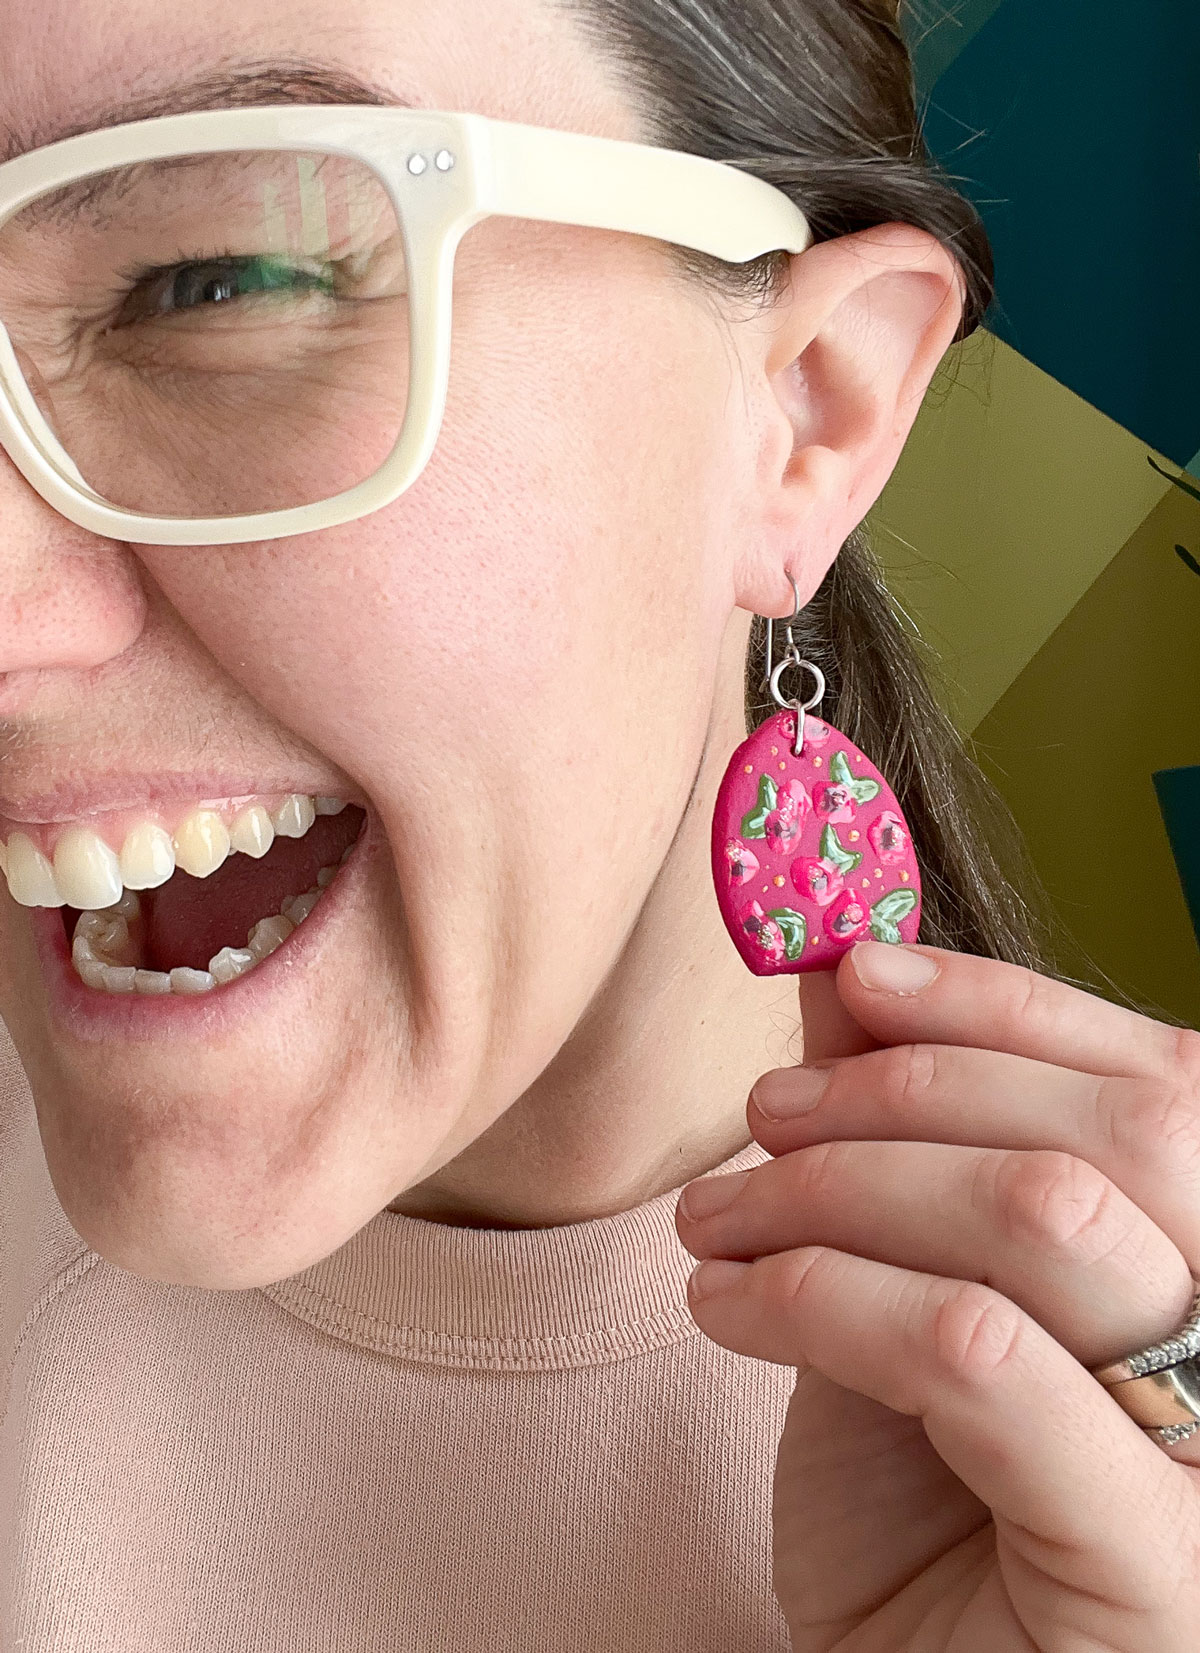
3. Now it’s time to “finish” your earrings by adding hooks and making them allllll perfect! 🙂 Or if you just jazzed up some older, already purchased earrings, then put them on and wear your new colorful earrings PROUDLY!!!! 🙂