Haunted Ginger bread house Costume
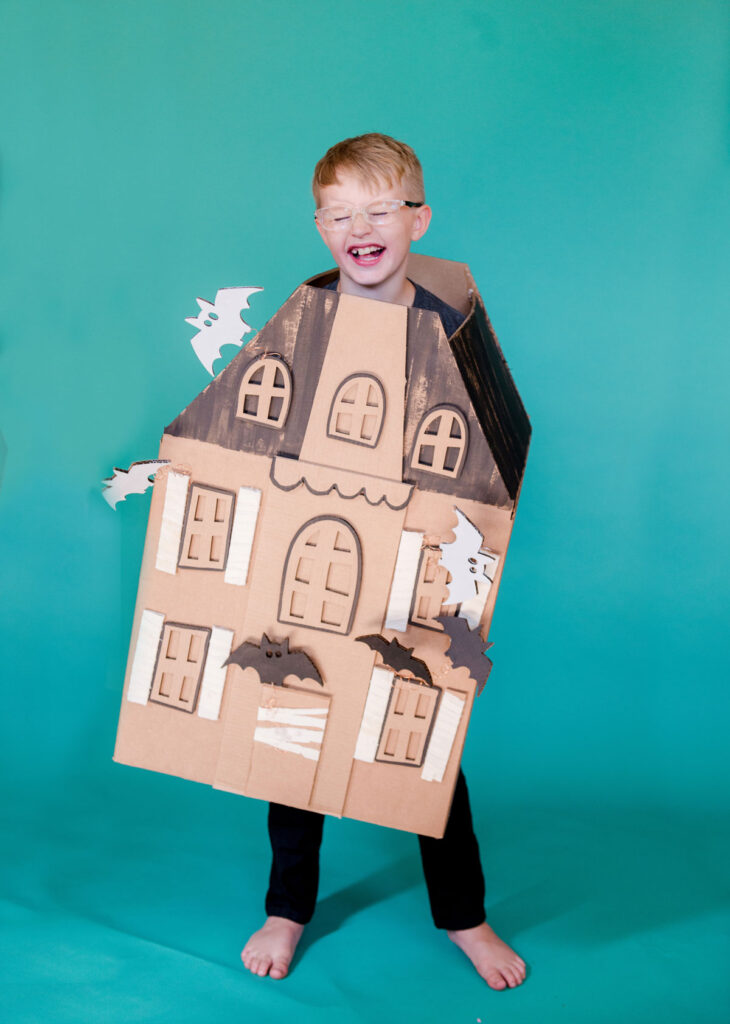
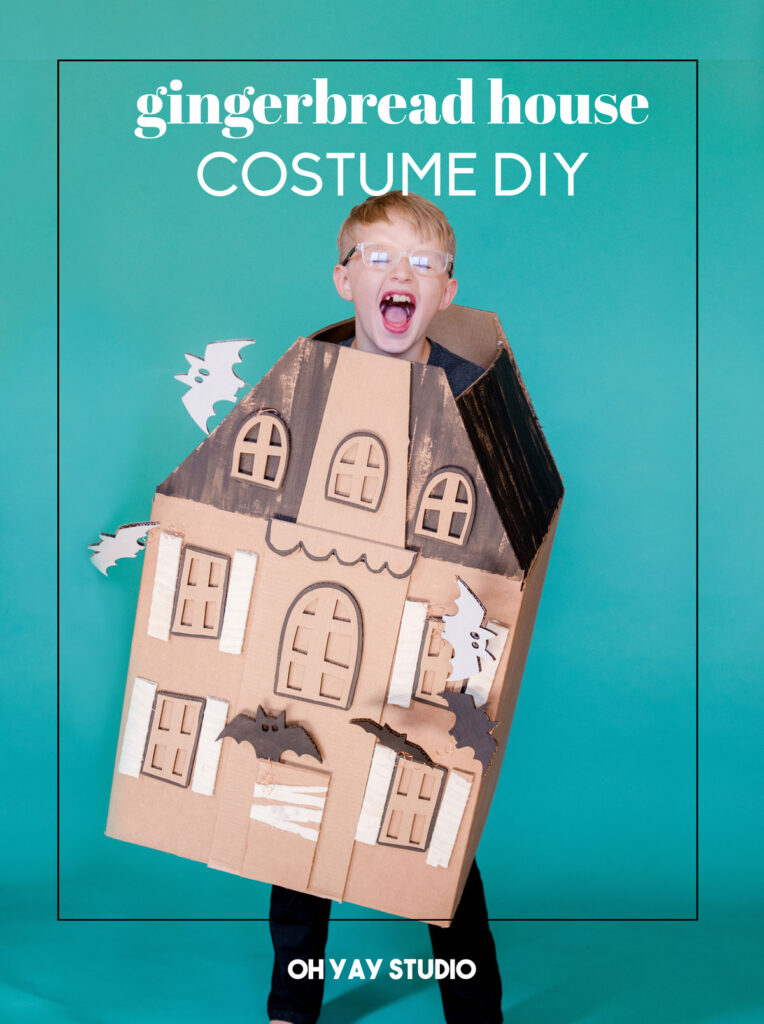
If you’ve been around for a bit, you may remember my Ginger Bread house costume as my last installment for the year of costume challenge that I gave myself! 🙂 So, when Country Living asked if I could do a Halloween variation of this costume, I jumped on the opportunity. After all, we all have scads of cardboard boxes lying around ALL THE TIMMMMEEE that it’s quite fun to find projects for them 🙂
So, I give to you a Haunted Ginger Bread house costume DIY!
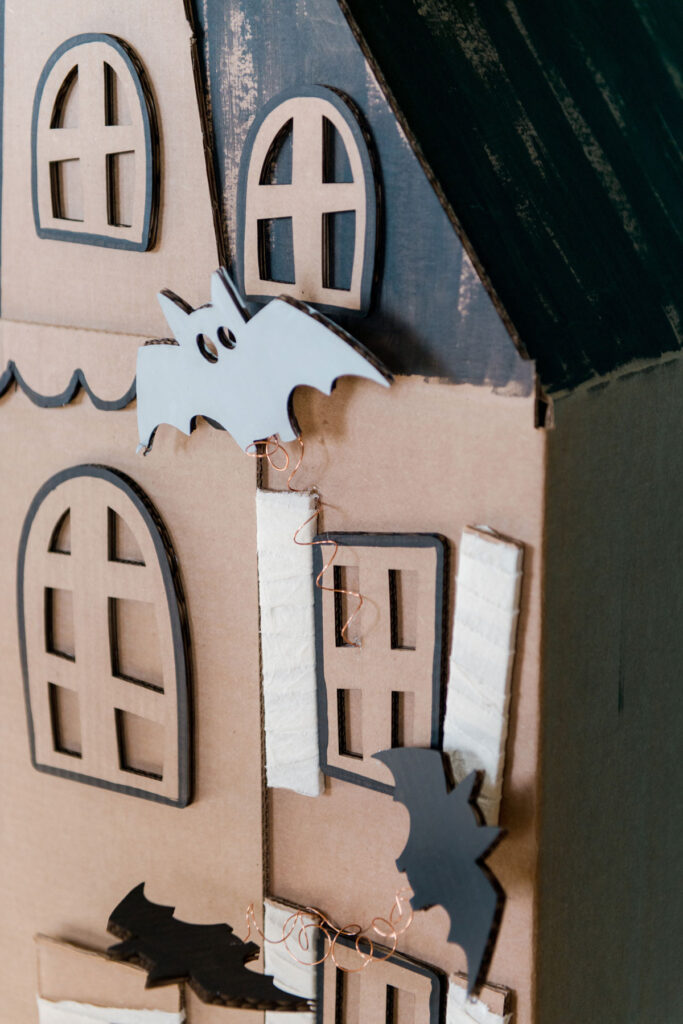
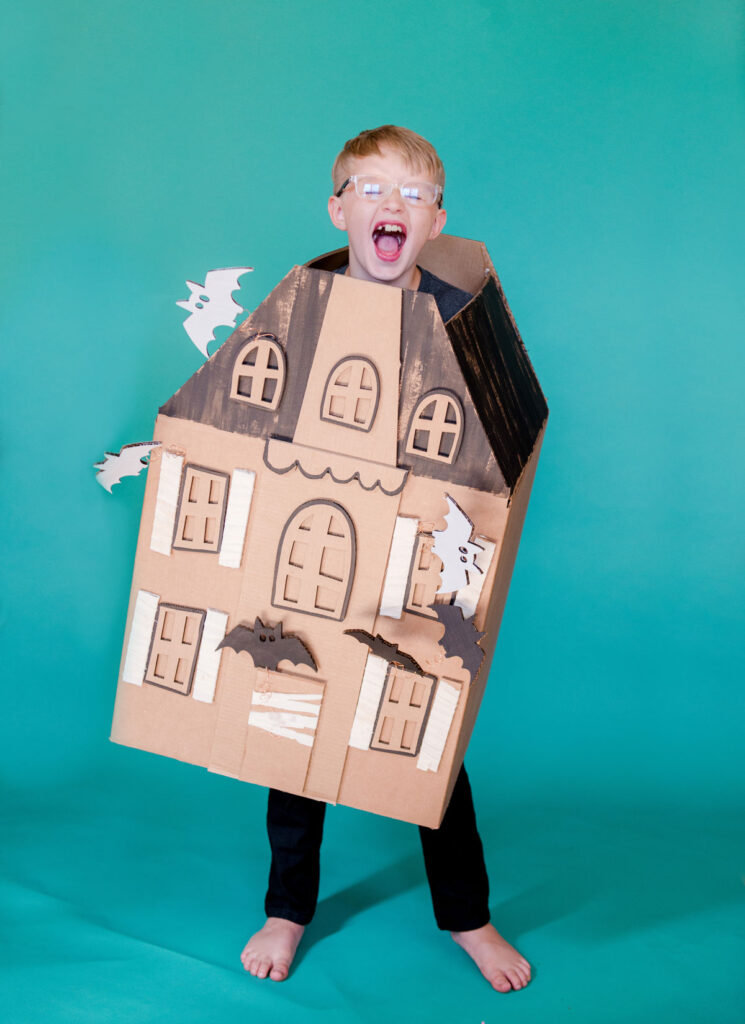
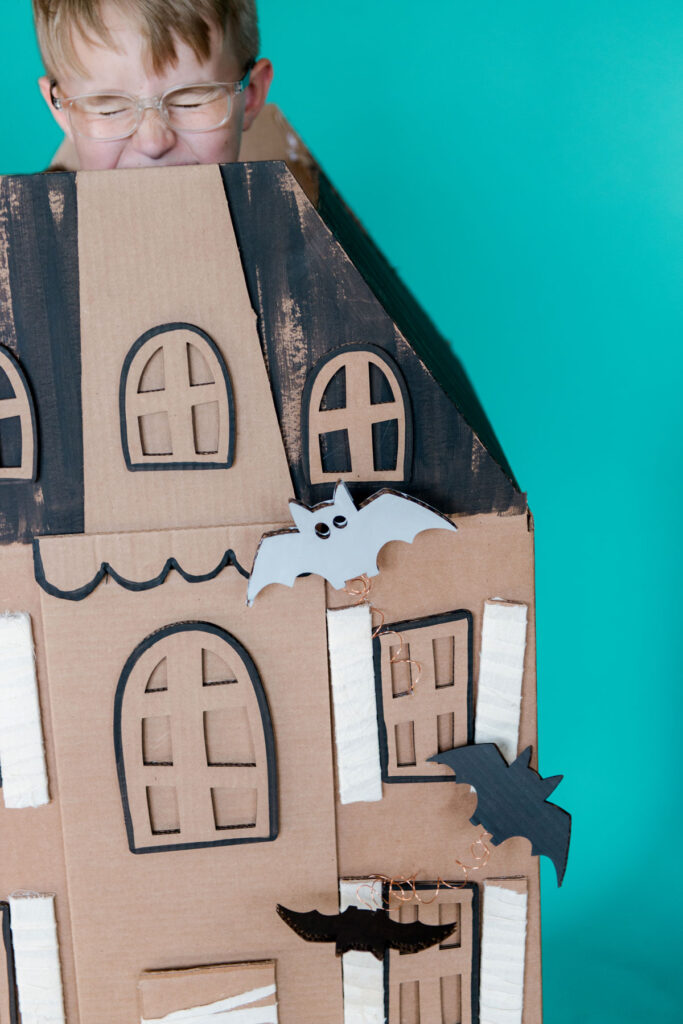
This project can really be customized to any additional pumpkins, ghosts, more bats, spiders or any other endless Halloween icon for that haunted house 🙂 I chose to wrap the shutters like mummies, add flying boinging black bats and some “unsettled” shutters and details 🙂 The fun part of this project for kids is being able to add anything and everything they want as they dream up the spooky, scary gingerbread house 🙂
MATERIALS:
- Cardboard box that is big enough to fit around you or your kiddo
- Extra cardboard scraps or pieces for windows + embellishments
- Hot glue gun + hot glue
- Xacto knife or sharp scissors
- White + black acrylic paint
- Paintbrushes
- Muslin fabric torn in 1 inch strips
- Wire, I used copper colored
- Optional packing tape or brown paper tape for additional support
- A bit of rope/twine for handles/shoulder straps
INSTRUCTIONS:
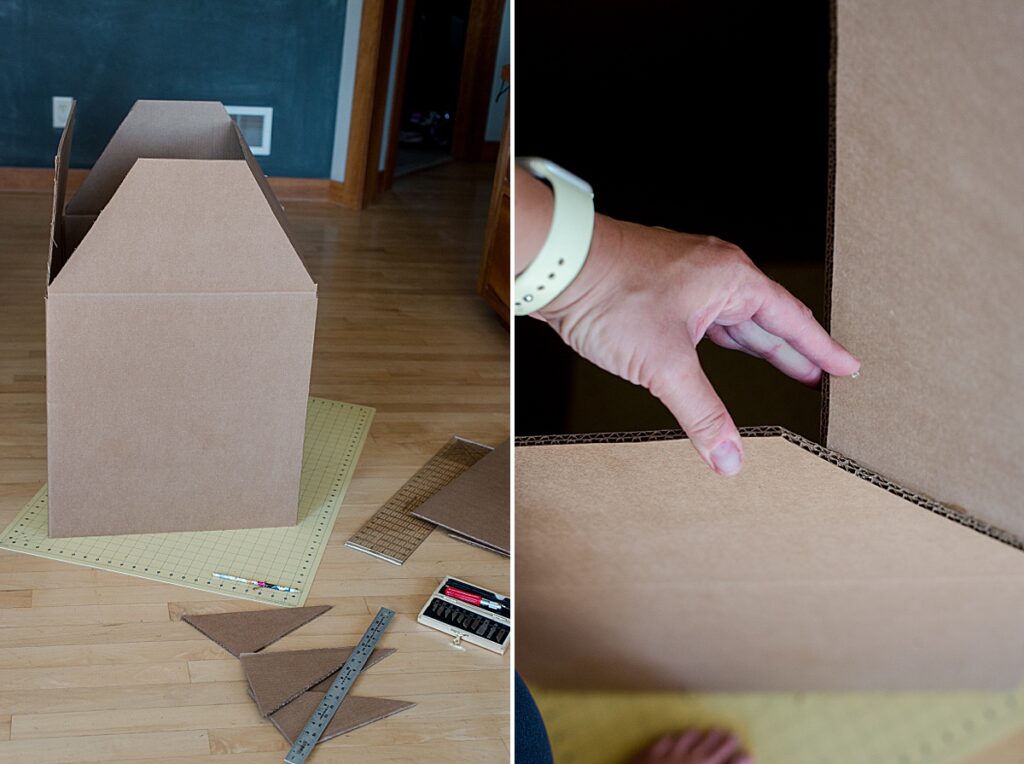
1. Construct house shape + roof
Using your large box construct the house shape. Make sure to approx. measure to fit around your body (or kiddos body) where you want it to “land” on your knees/legs to make sure you can walk. Leave an opening in the roof for your head to pop out. Construct the roof by making a triangle shape and glueing into place
**hot glue tip: When making something that needs to be SUPER sturdy, don’t rush the glueing. It can be tempting to run your bead of glue and then let it sit for only a bit while holding in place. Resist the urge to do that and allow the glue to fully harden before removing your hands or fingers to keep in in place. This is especially important when making something like a costume that will be used/run around in all night trick-or-treating.
2. Add details with cardboard + Paint
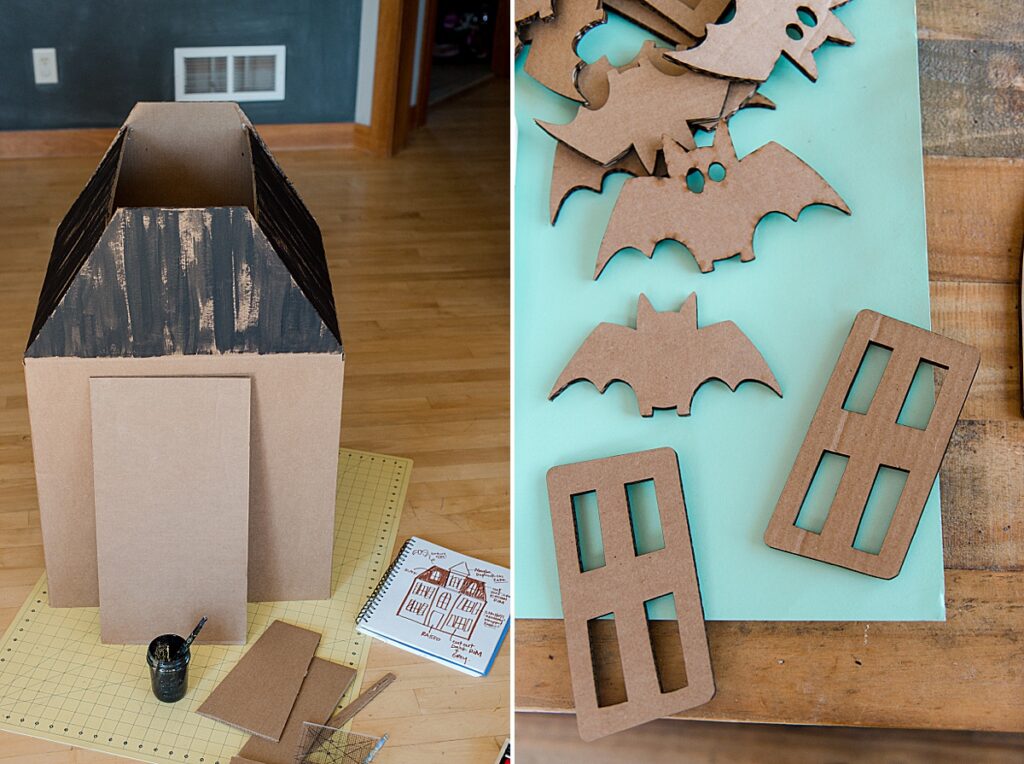
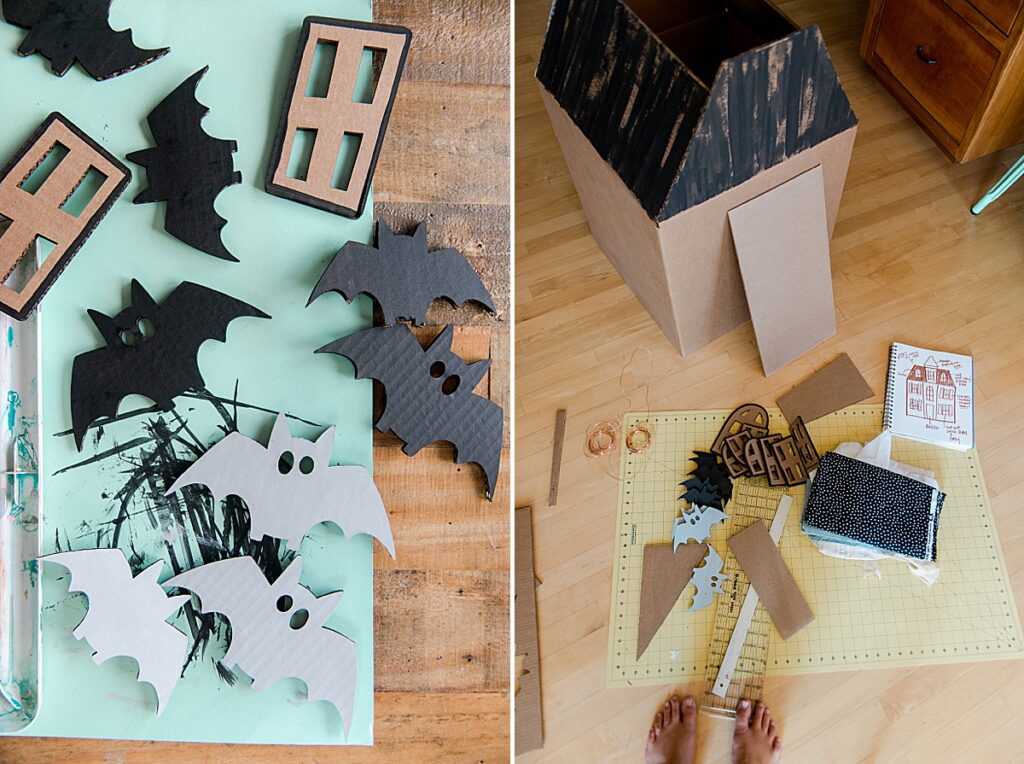
Cut out doors, windows or any other details that you want out of cardboard using an x-acto knife or scissors. Then begin to paint the outside of each of the windows and doors with a bit of black or white paint, adding details as desired.
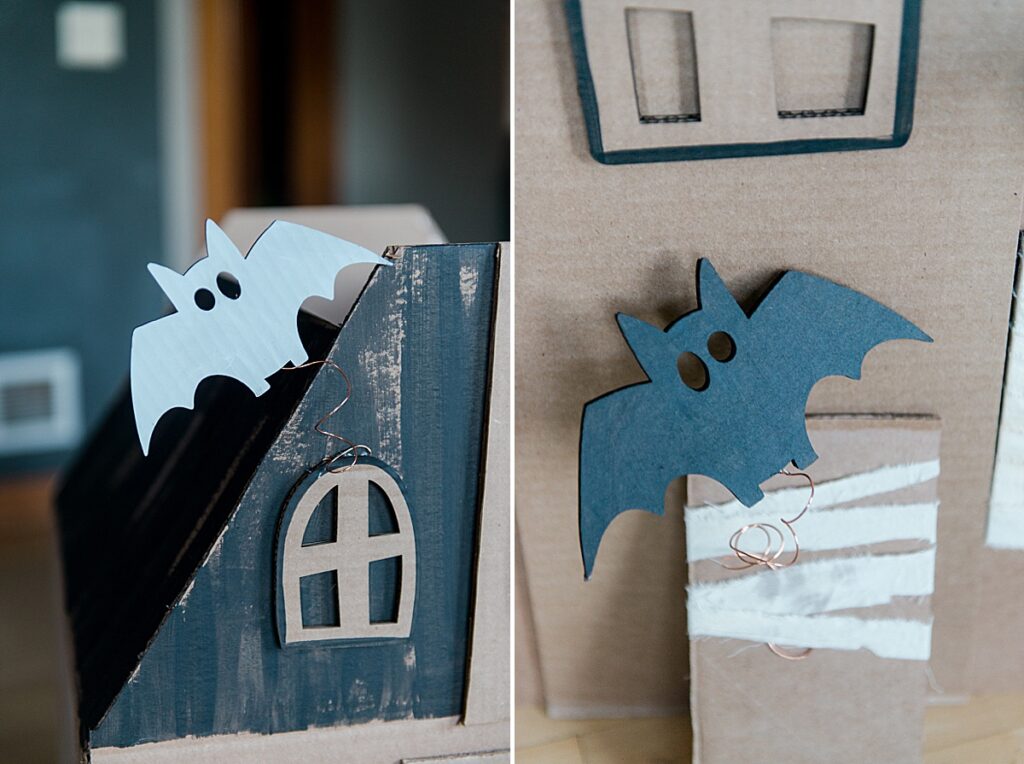
Cut out some shutters for each side of the windows. Tear 1 inch strips of fabric to wrap the shutters in to give it a “mummy” look.
Twirl the twin around a pencil or marker, then clip various lengths and attach them with hot glue to the bats. Position them and attach them all over the house (you can “unwind” the spirals a bit so that they aren’t so “perfect” looking when they are attached).
3. Glue together + attach straps
Glue all of the elements onto the house with hot glue. I then added handles into the house out of twine so that Zeke could hold onto them or put them on his shoulders (gotta hold the trick or treat bag ya know)! 🙂



Thank you soo much yetişkin