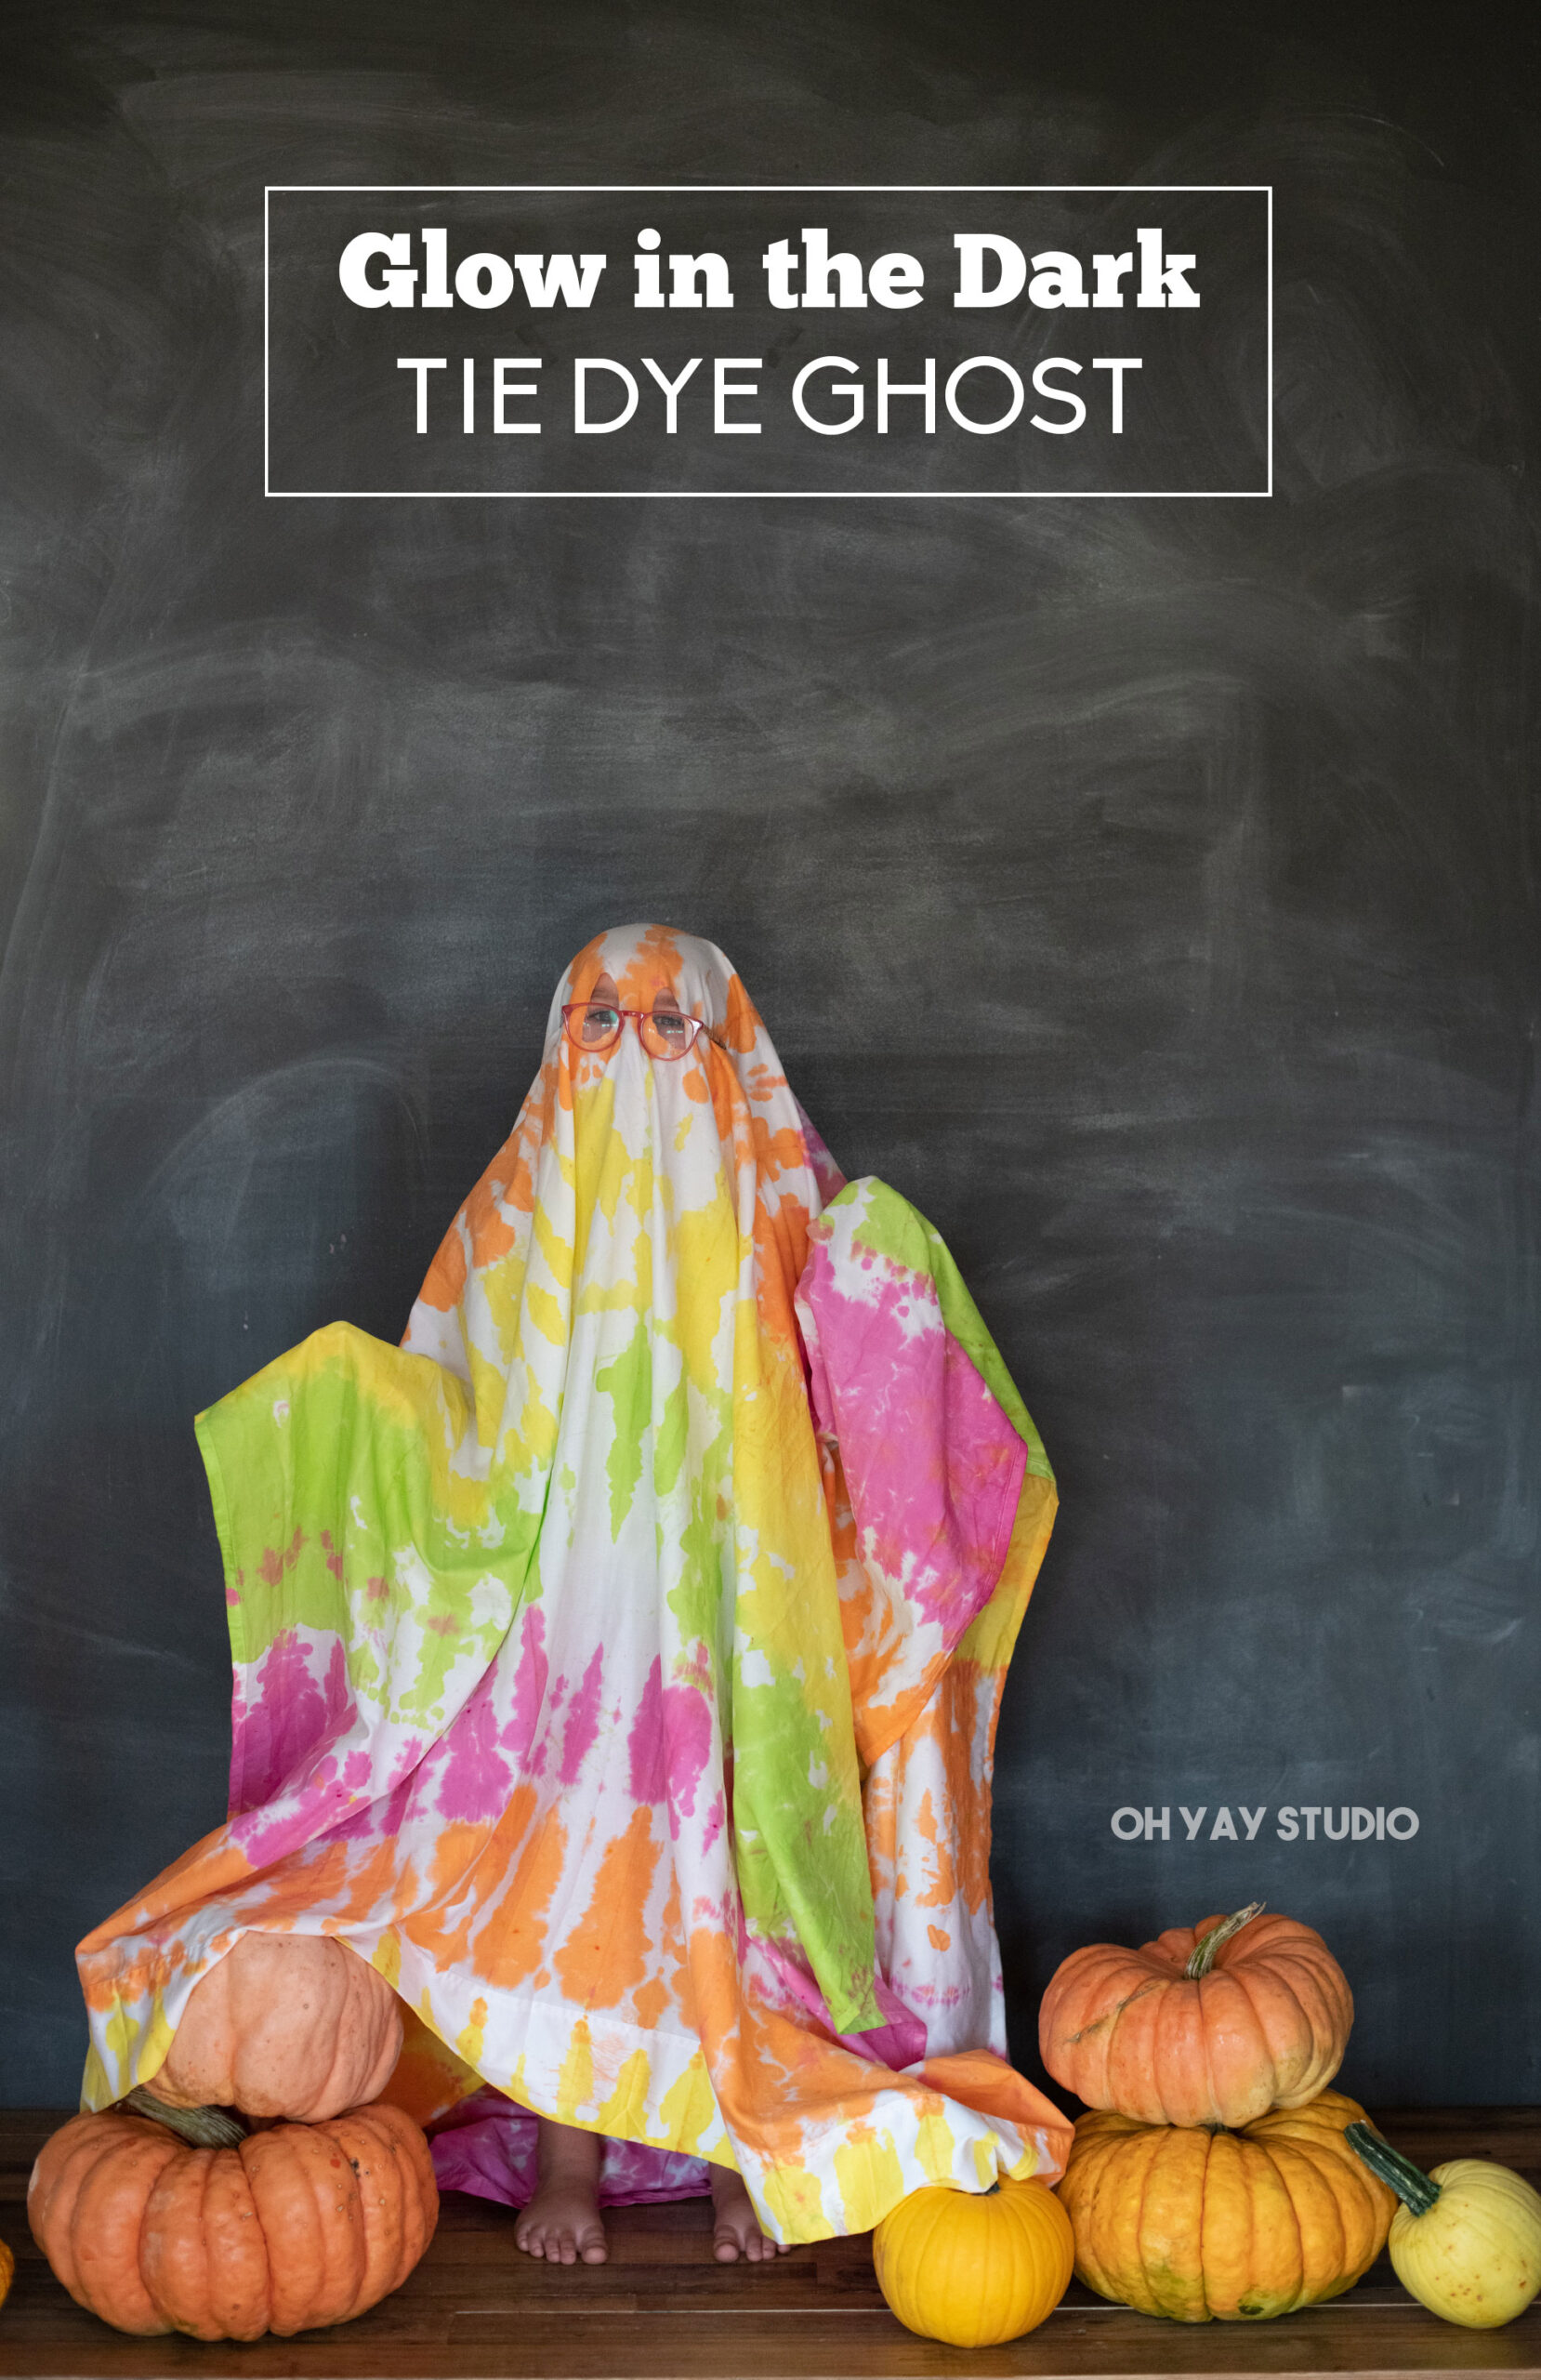
Glow in the Dark Tie Dye Ghost costume! :)
**Created in partnership with Tulip tie dye
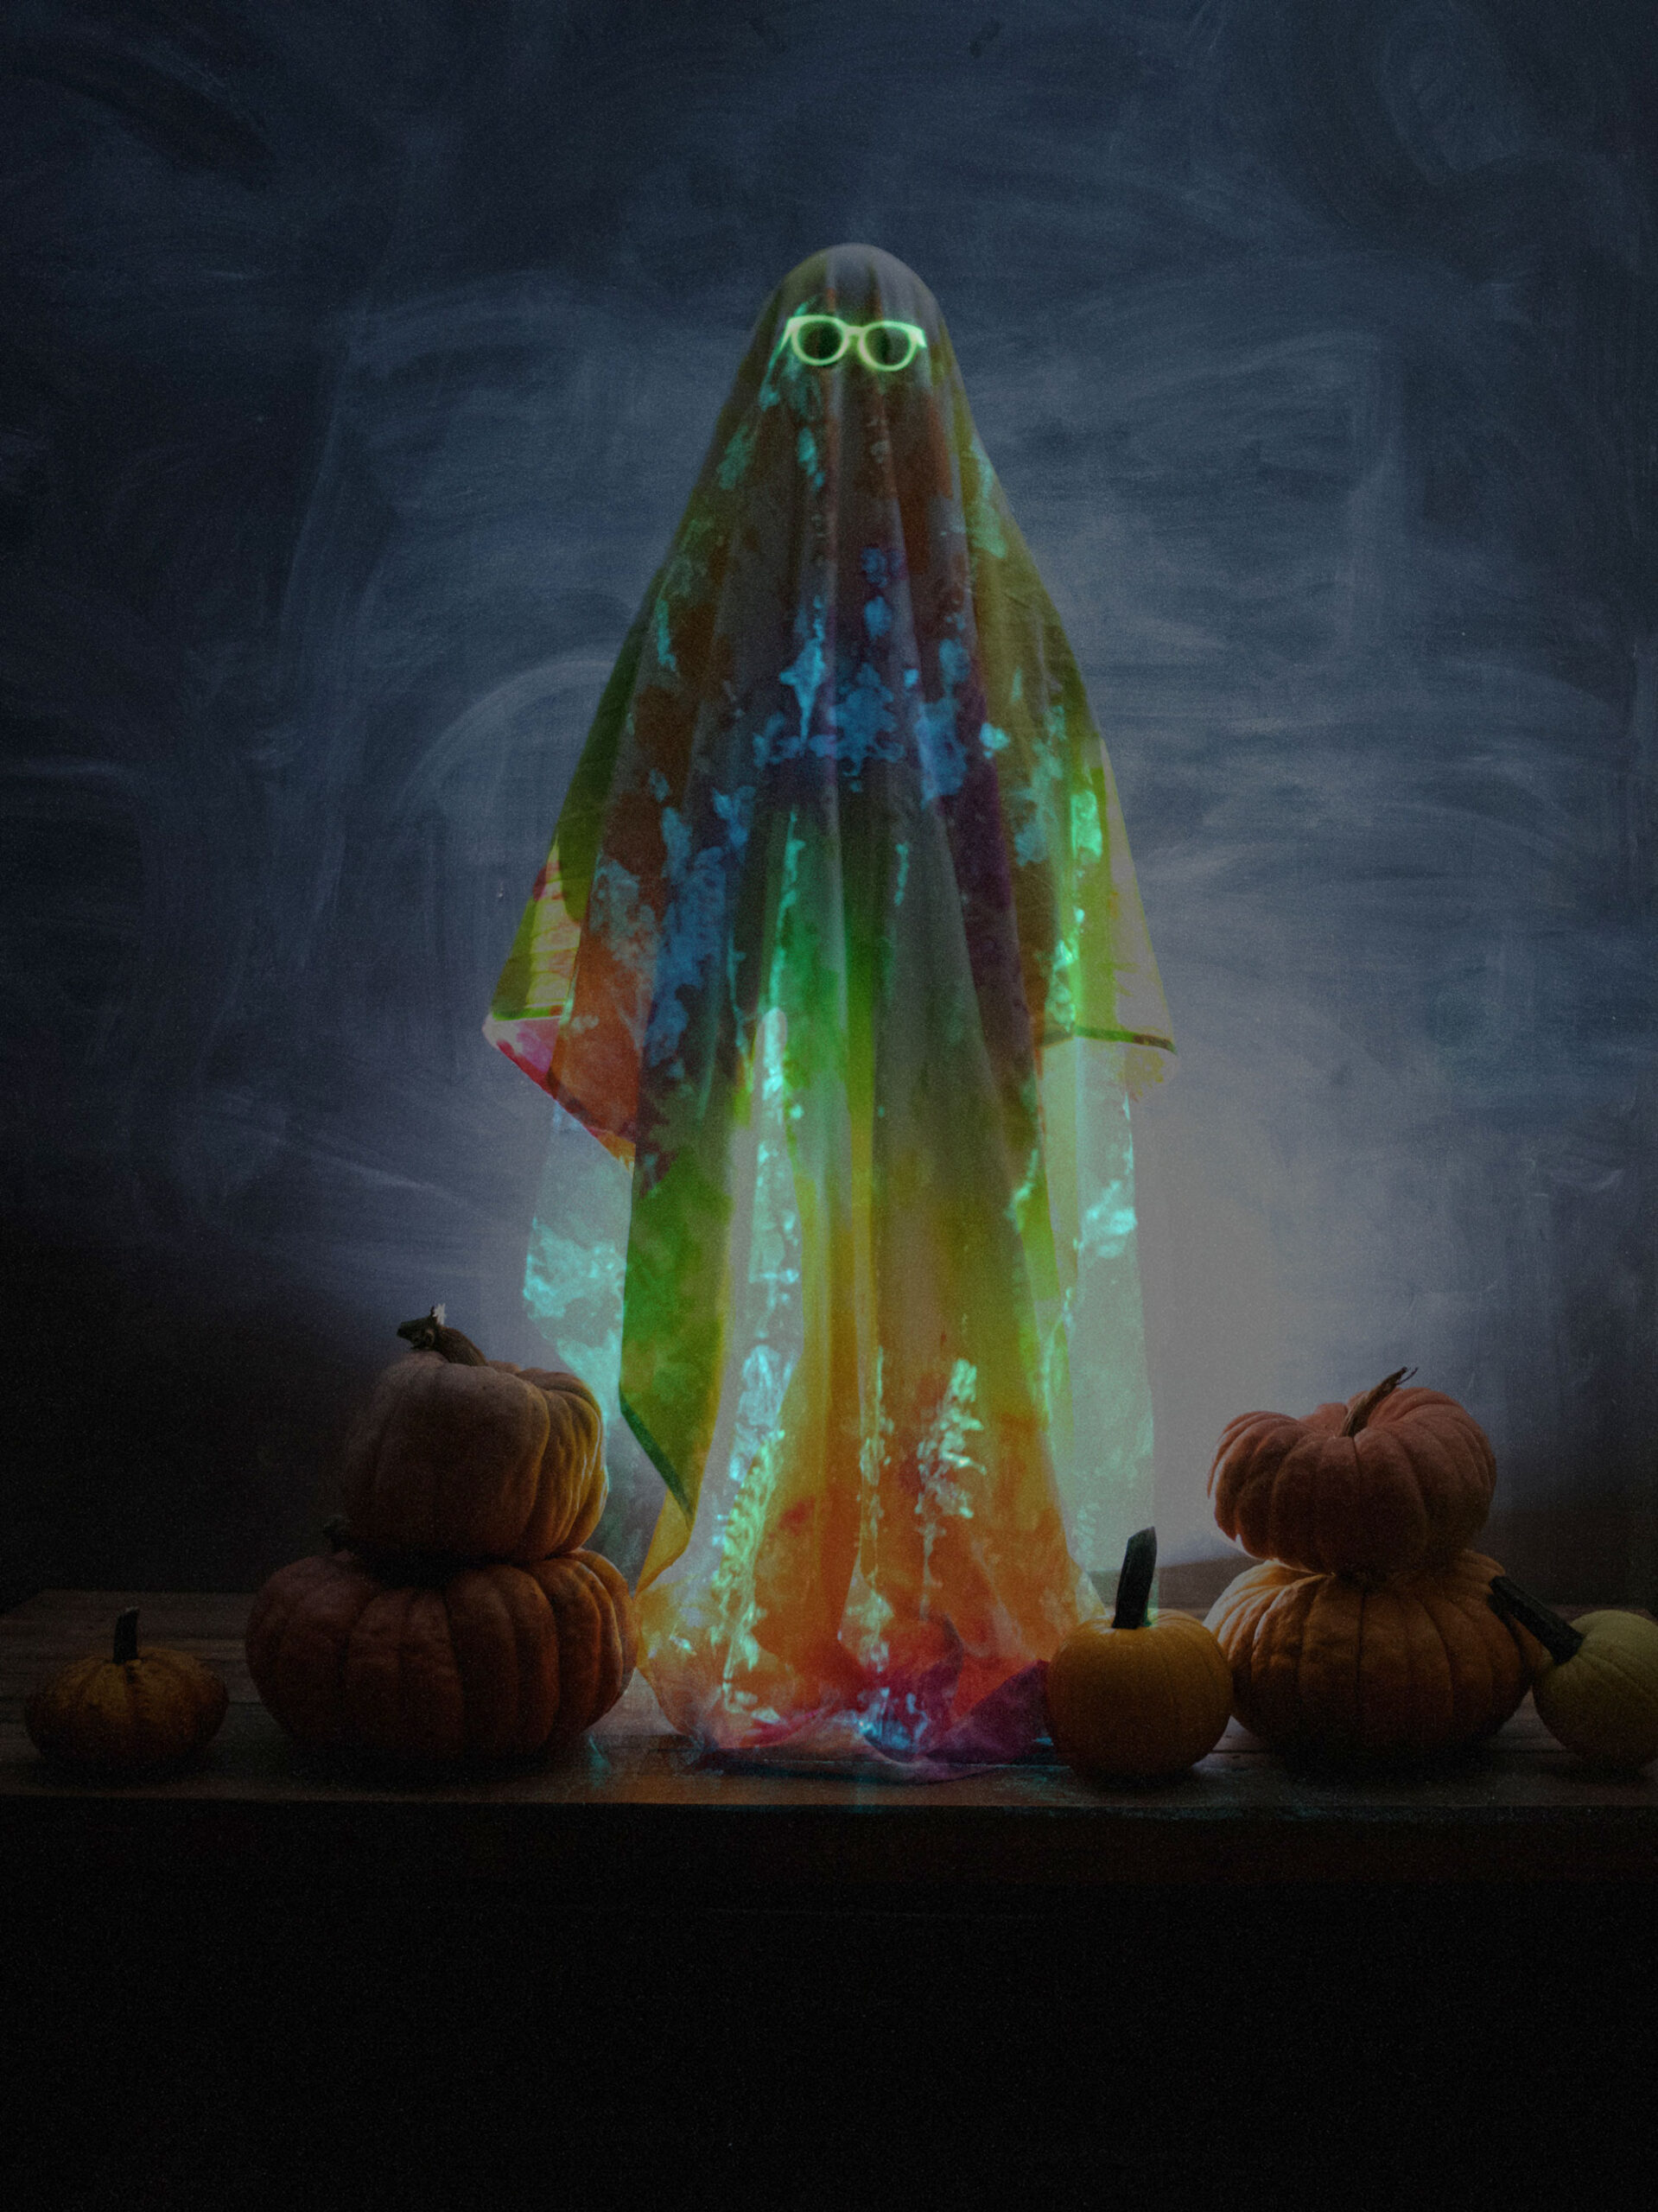
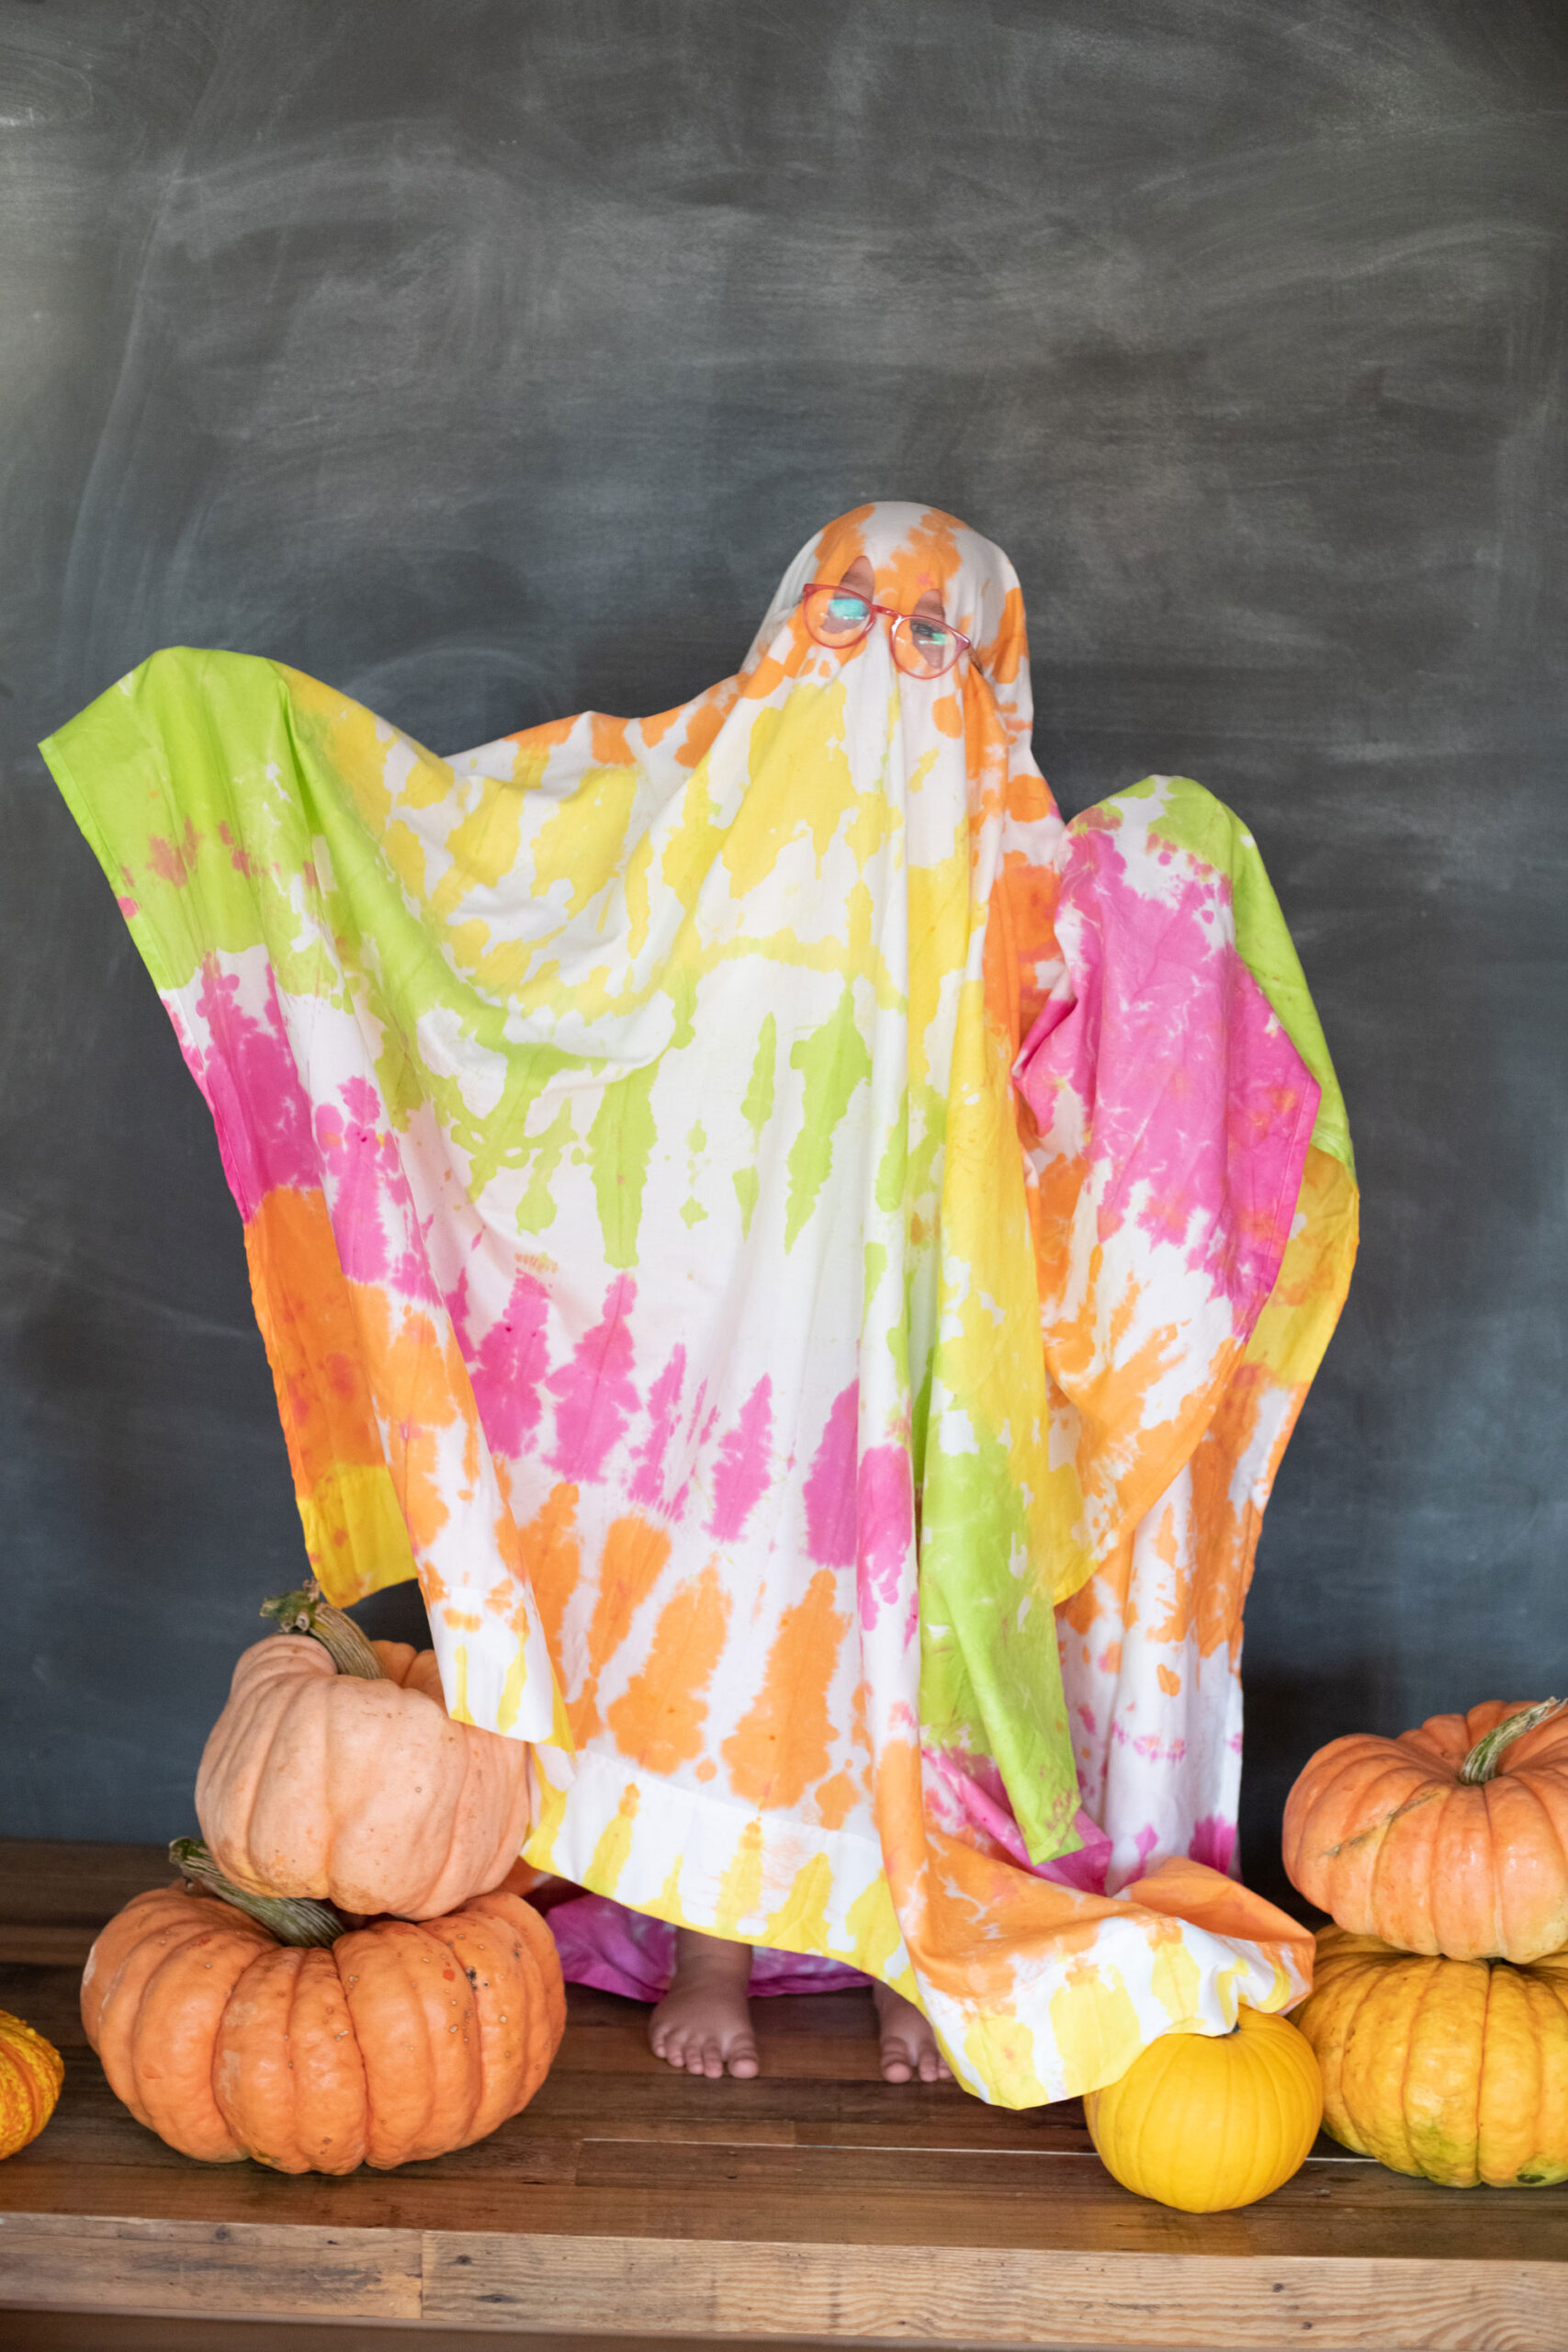
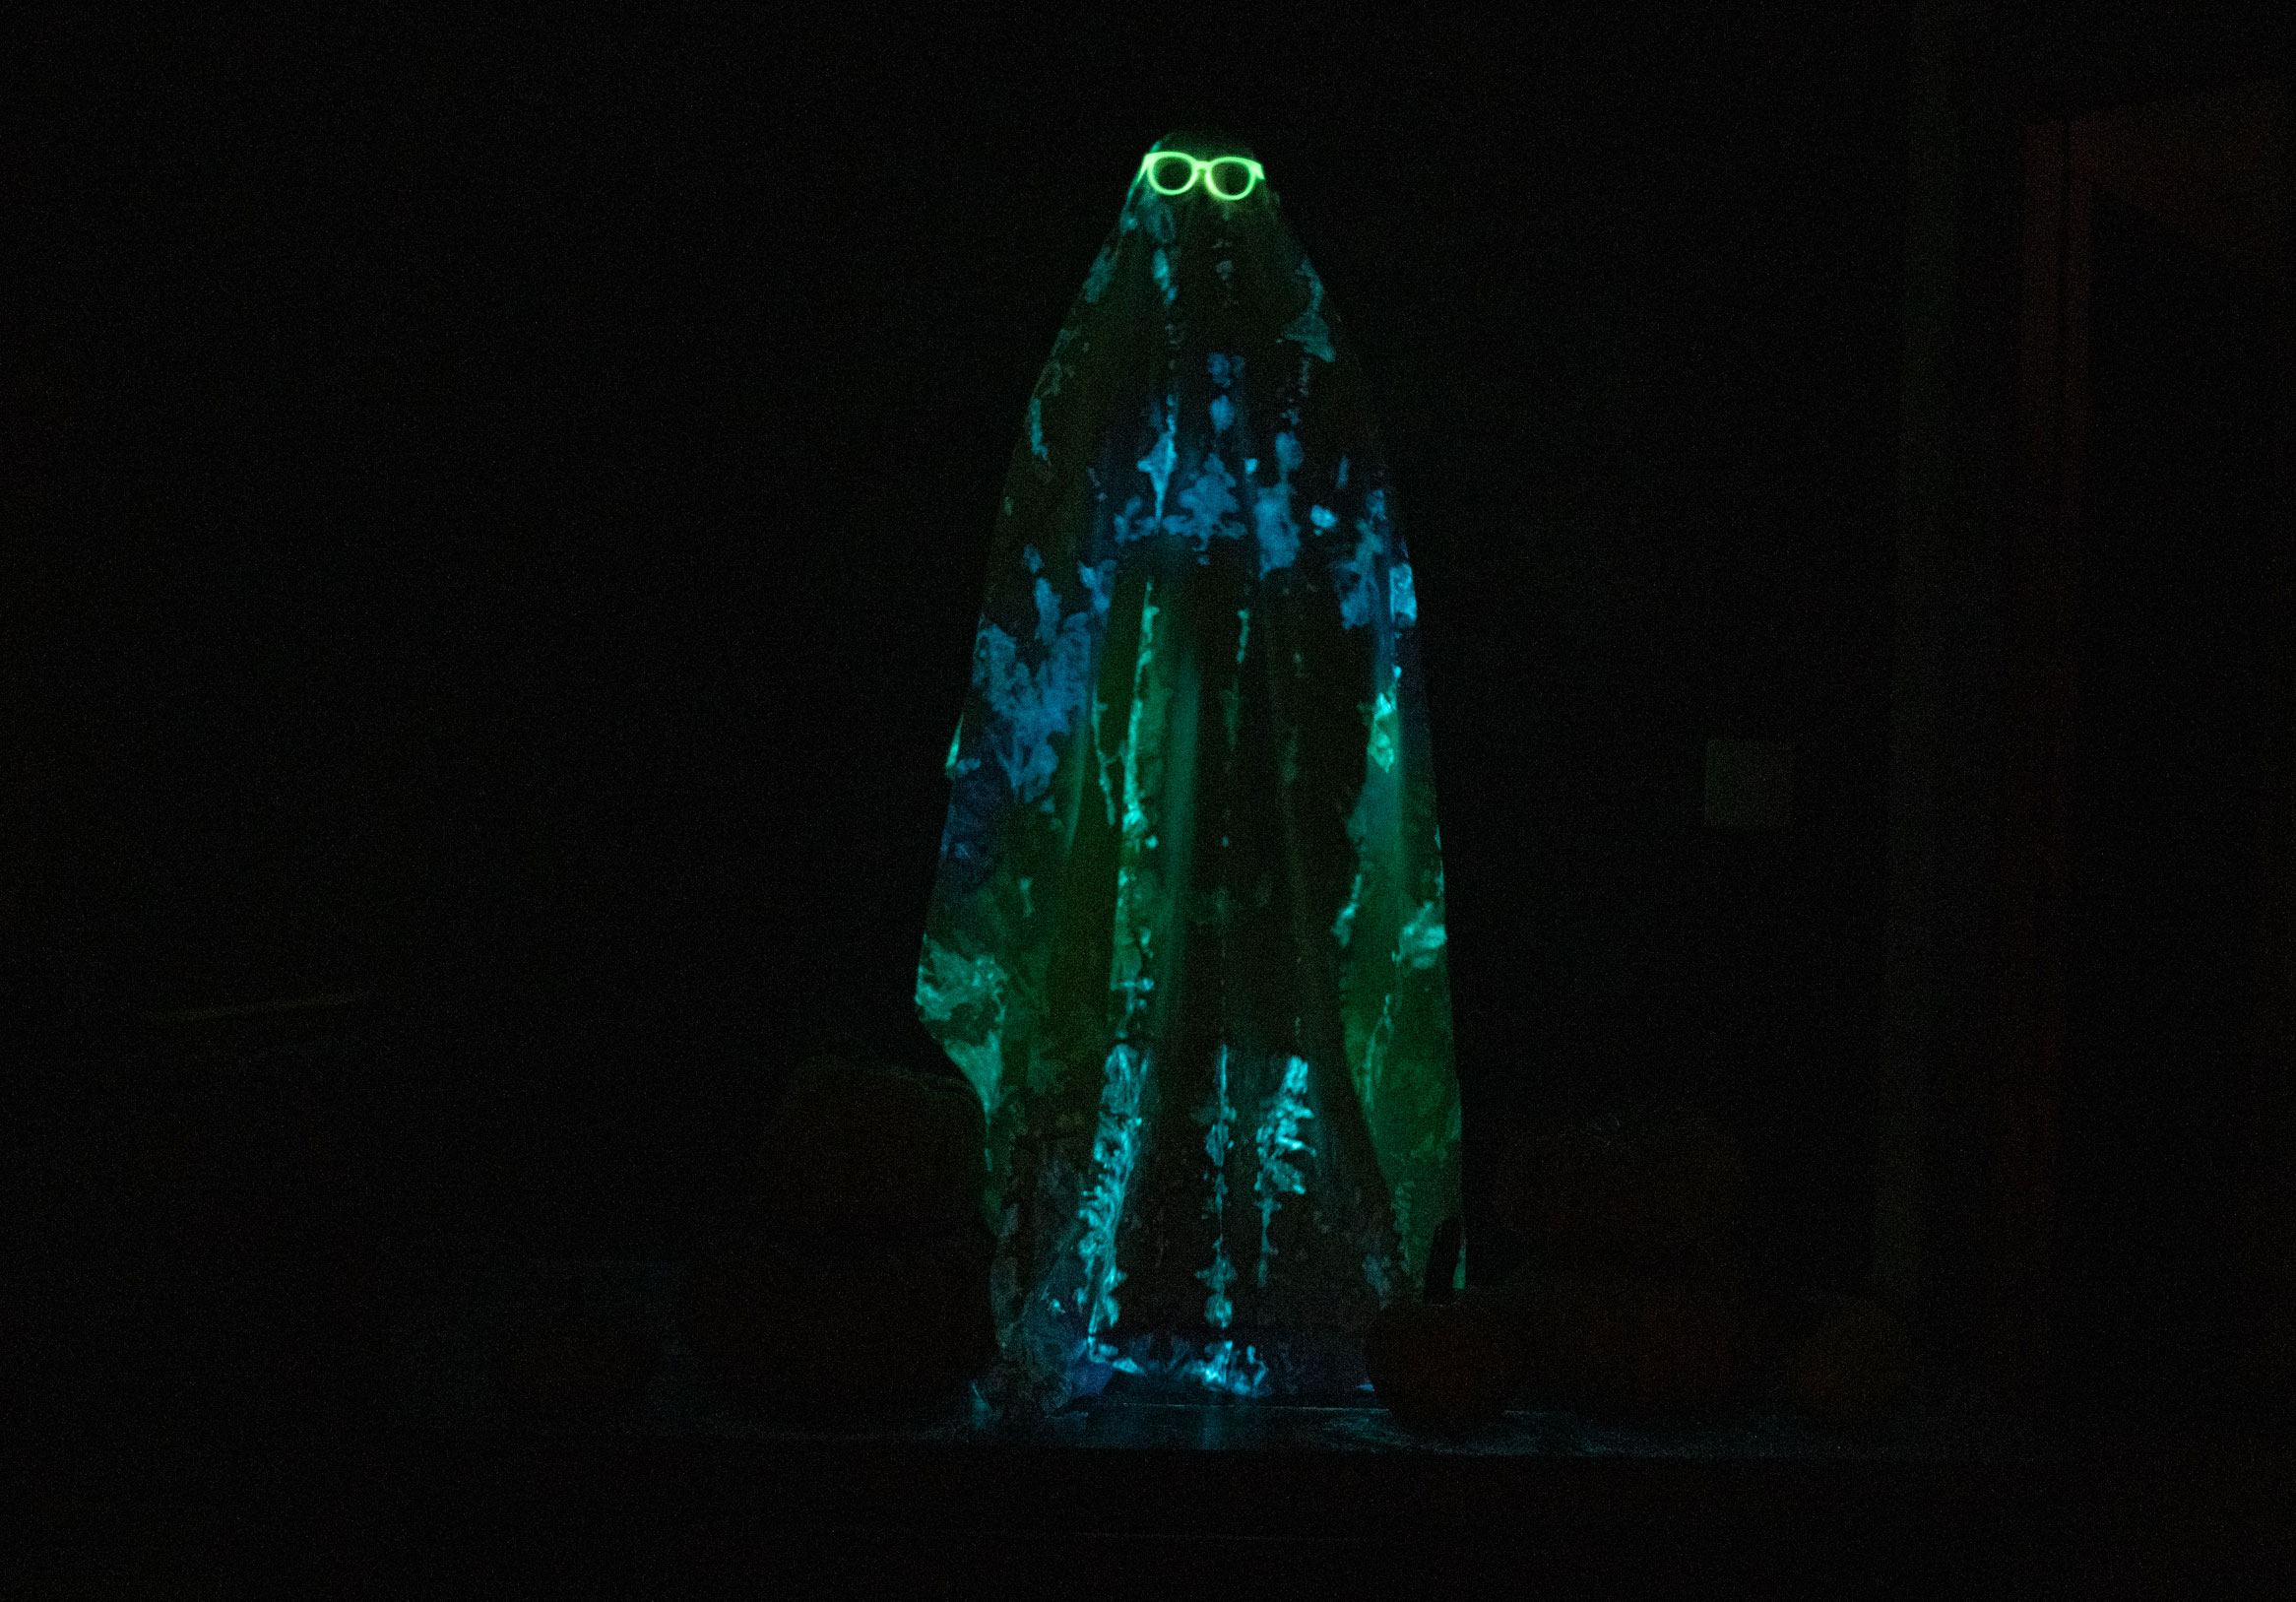
If you’re needing a last minute Halloween costume idea, well then…this is ITTT! Not only is this easy and fast, but you will WOW like every single person you see on Halloween with your amazing glow-in-the-dark tie dying skills! I mean, right??!! GLOW IN THE DARK TIE DYE! And this stuff really works….so grab a bed sheet (one that we all have stuffed into the back of the linen closet) and make an awesome, simple Halloween costume!
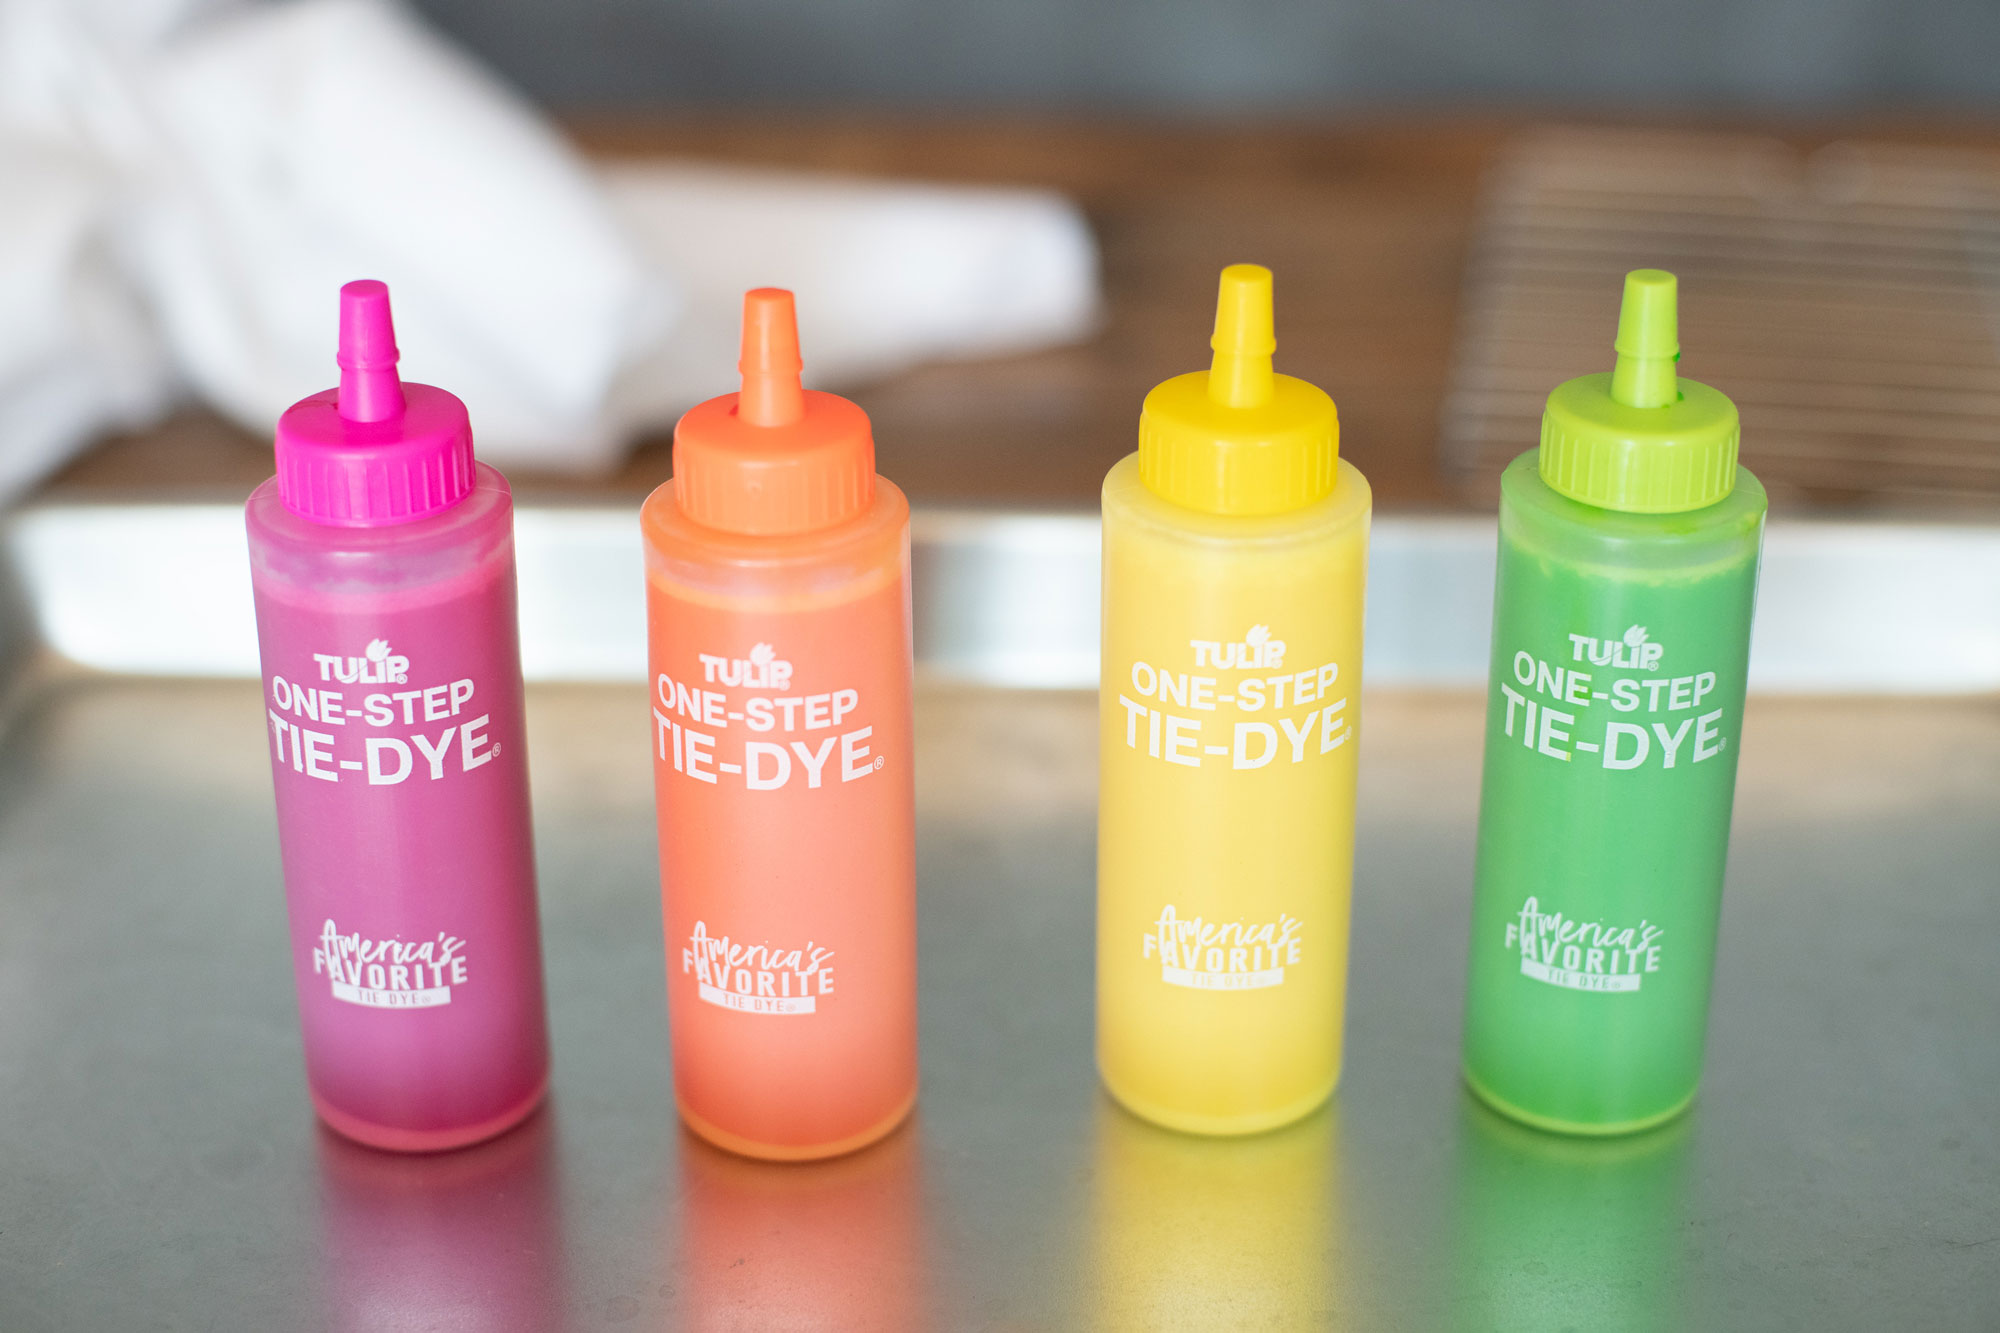
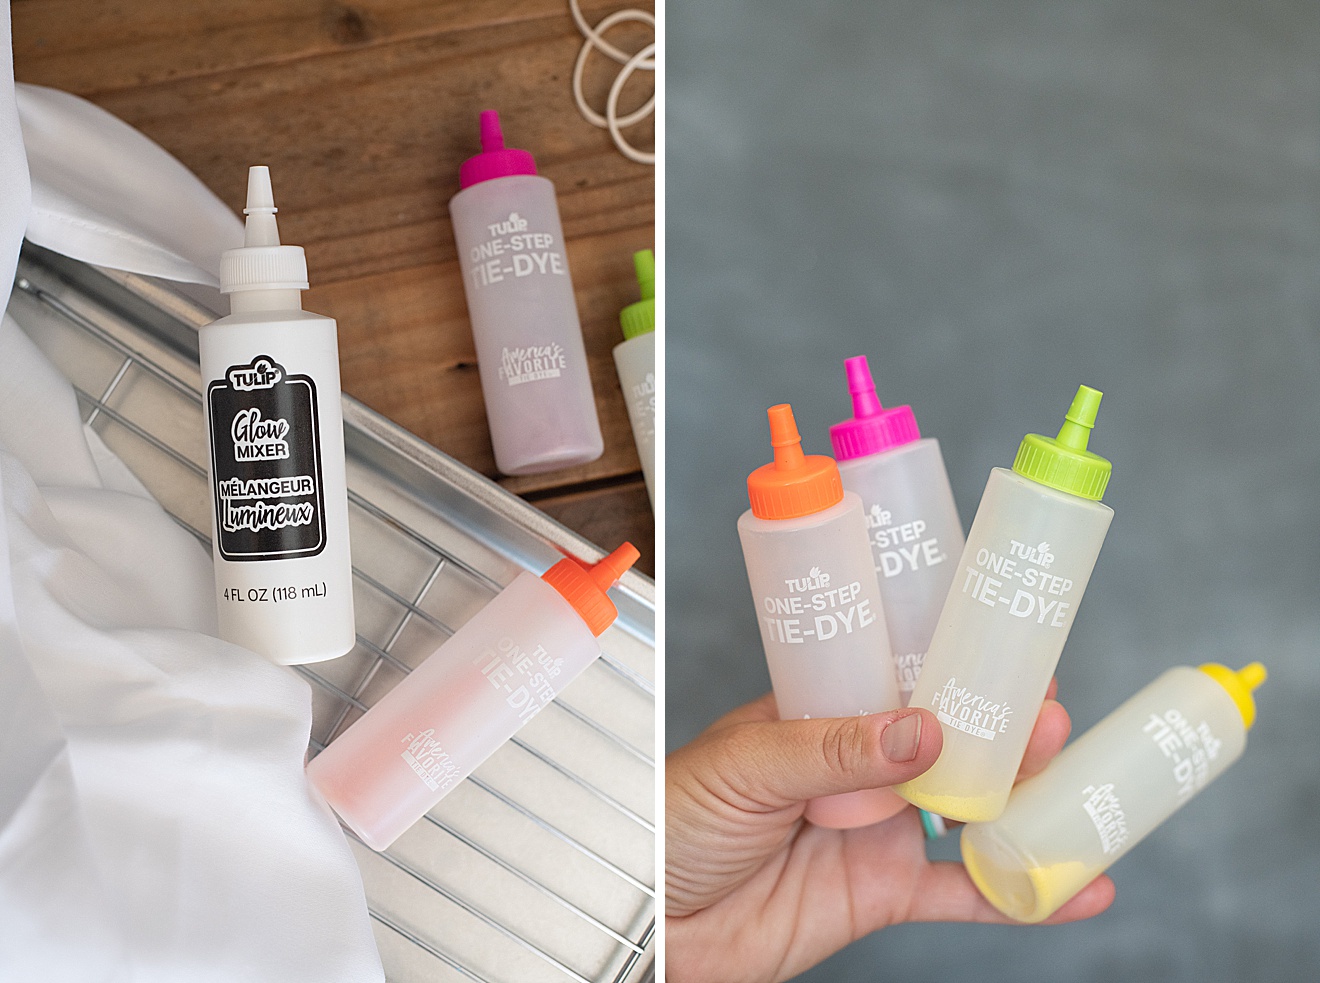
Pick up one of these Tie Dye kits and it has EVERYTHING (except the sheet) in it for your Halloween costume! Talk about EASY! Honestly, next up I want to make one of these sheet ghost costumes for our pugs (can you imagine)!?
MATERIALS:
- Tulip One Step “Glow in the Darkt” Tie Dye Kit 🙂
- 100% cotton flat kids sheet
- Scissors
INSTRUCTIONS:
1. Be sure to open and follow the instruction included in the kit (HINT HINT: the glow-in-the-dark aspect makes this Tie Dye slightly different than other kits)! 🙂
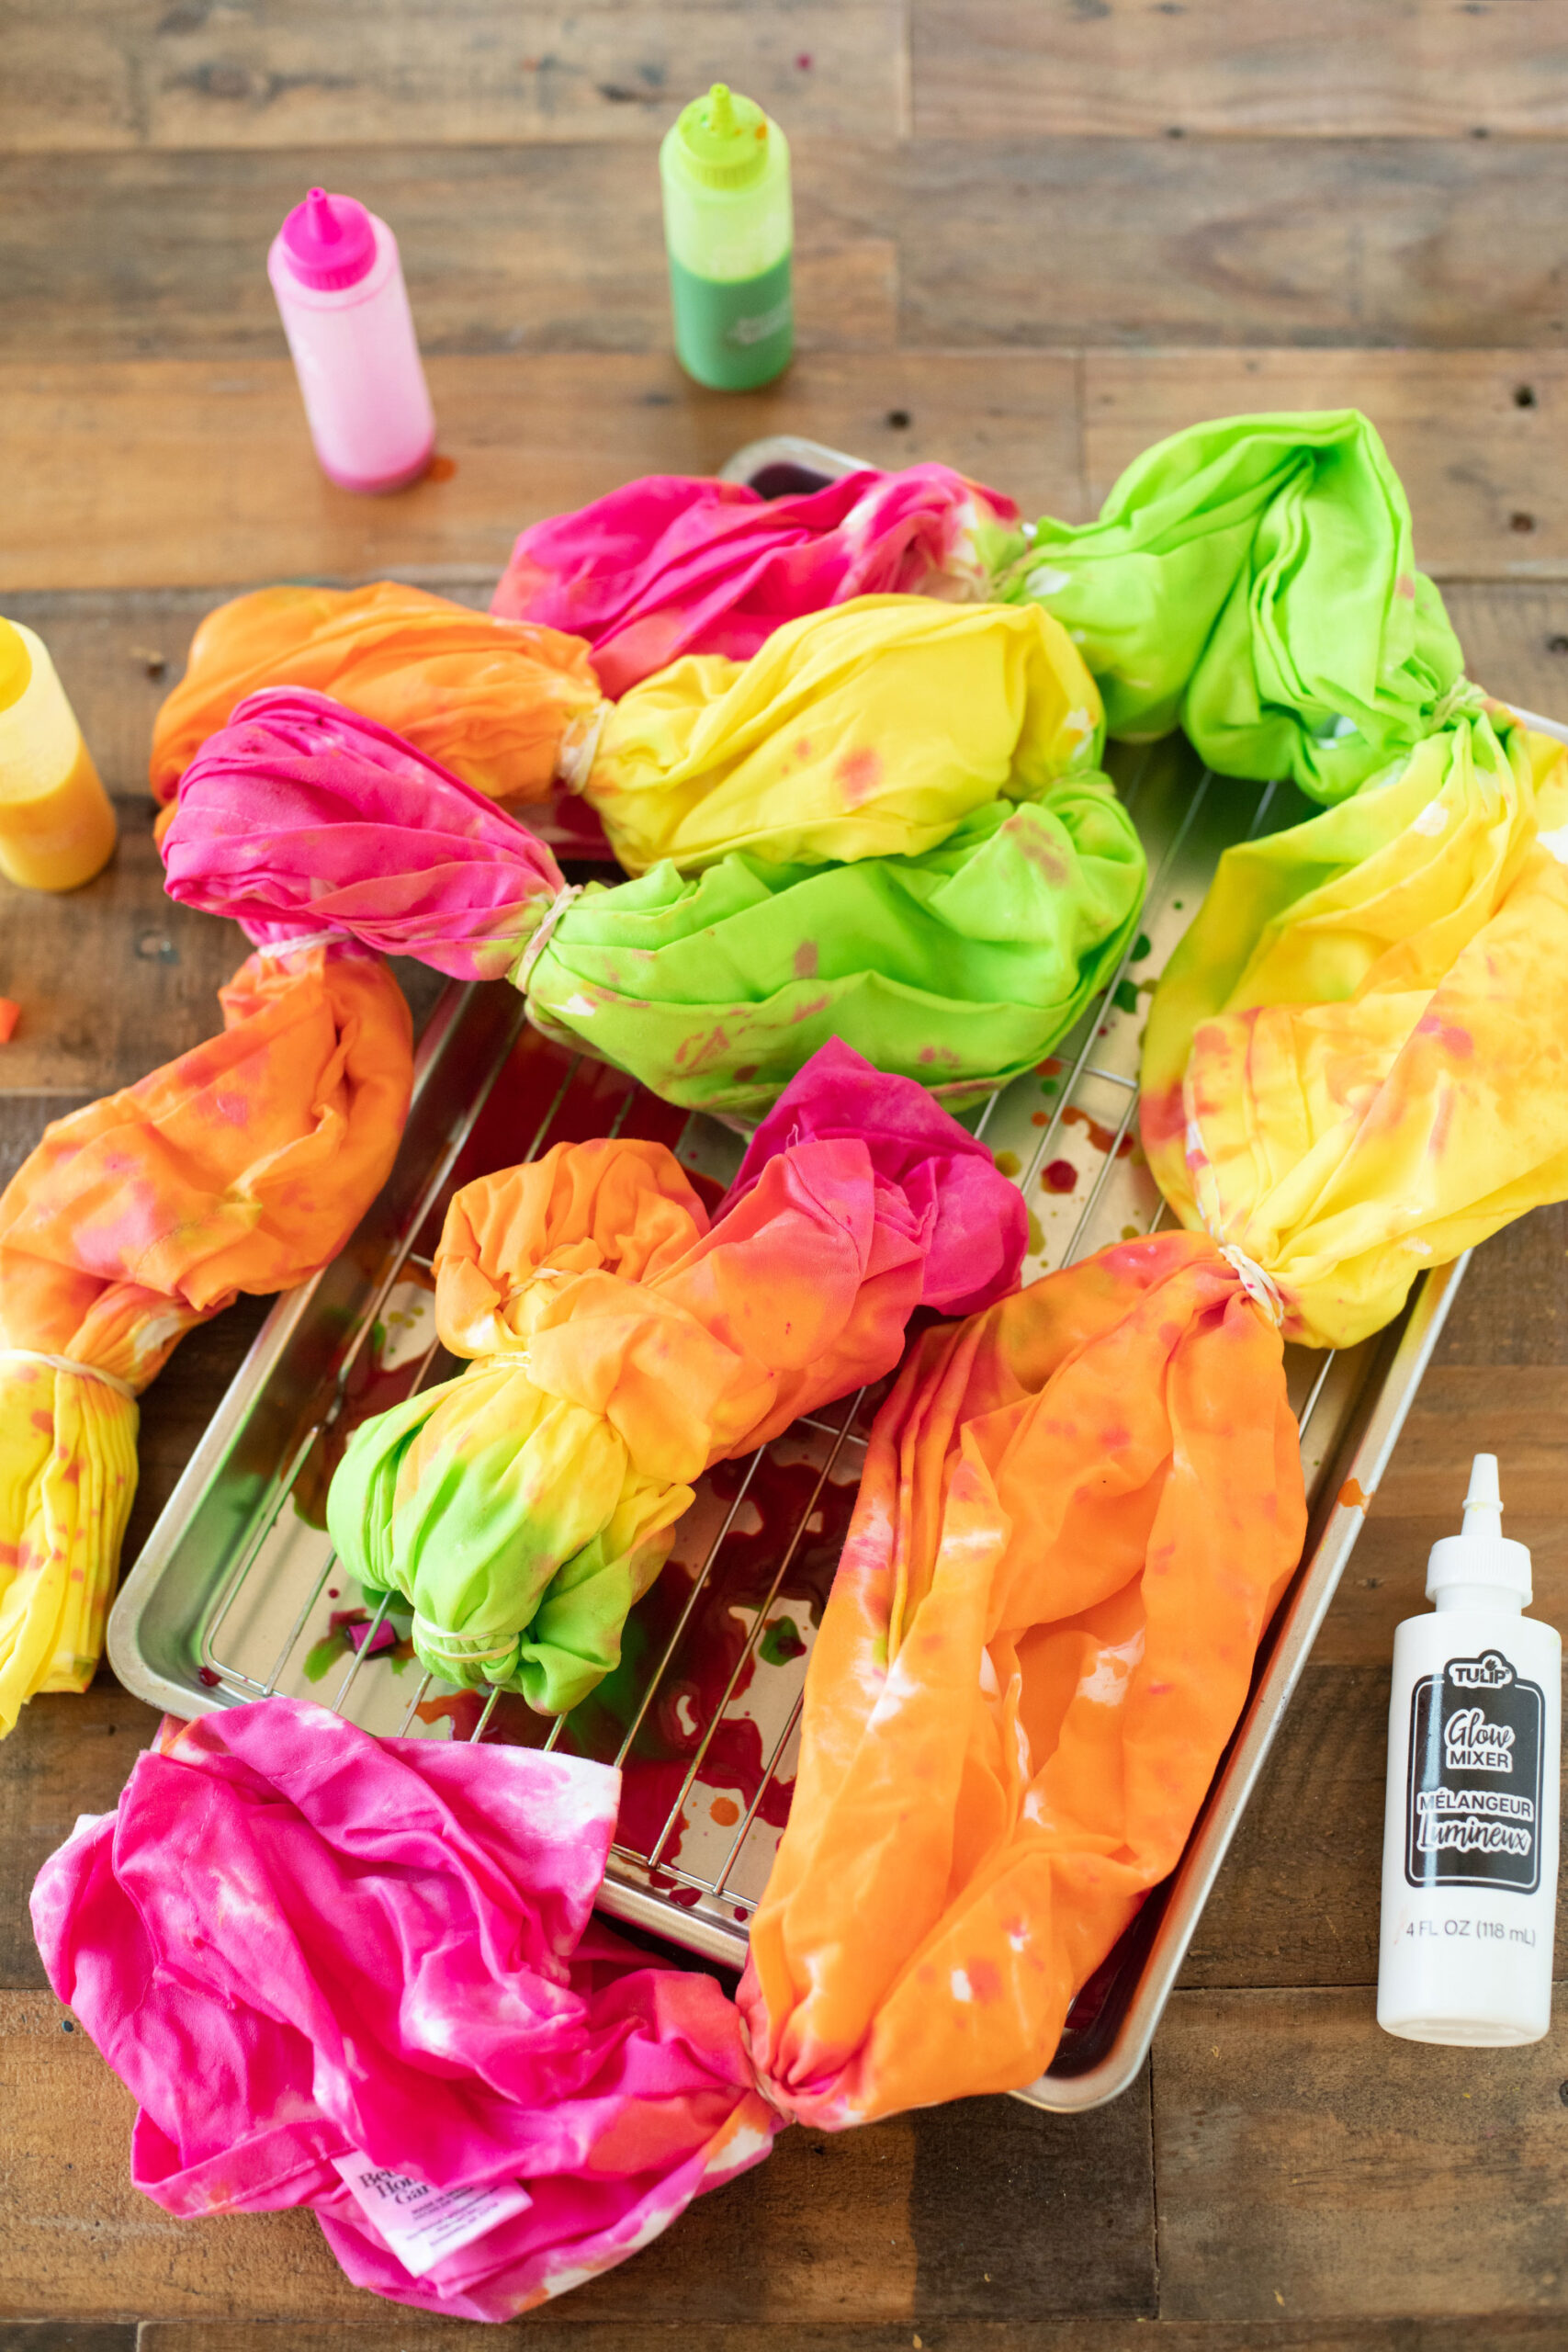
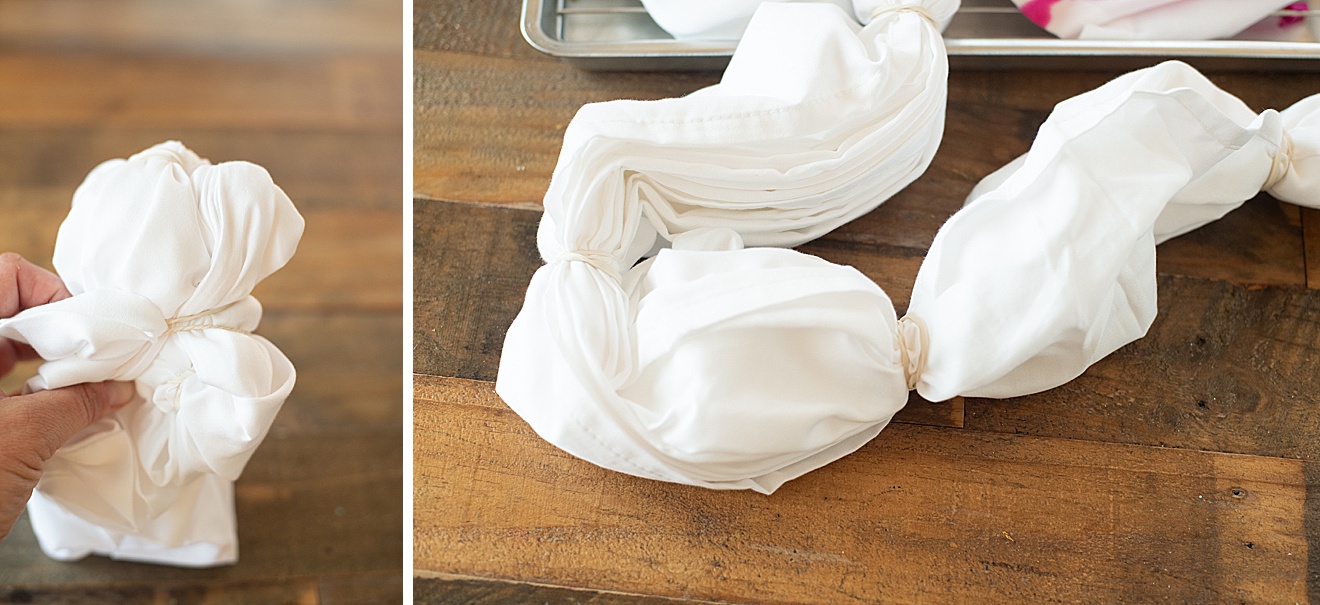
2. Choose your folding method. I chose to do the back-and-forth, fan-folding type method because I wanted ALL the colors on the same ghost AND I wanted the colors semi-striped! 🙂 So, lay your fabric flat and begin to fold back and forth (like you would a piece of paper) then wrap your rubber bands every 4-5 inches along the folded fabric, making sure the rubber bands are nice and tight to hold the folds in place.
Once you’ve rubber banded all of the folded sheet, you will end up with long, skinny rubber-banded, snake of fabric. Set aside and
*tip – Since the sheet I was folding was very big, I chose to fold chunks at a time, rubber band those chunks and then fold another chunk.
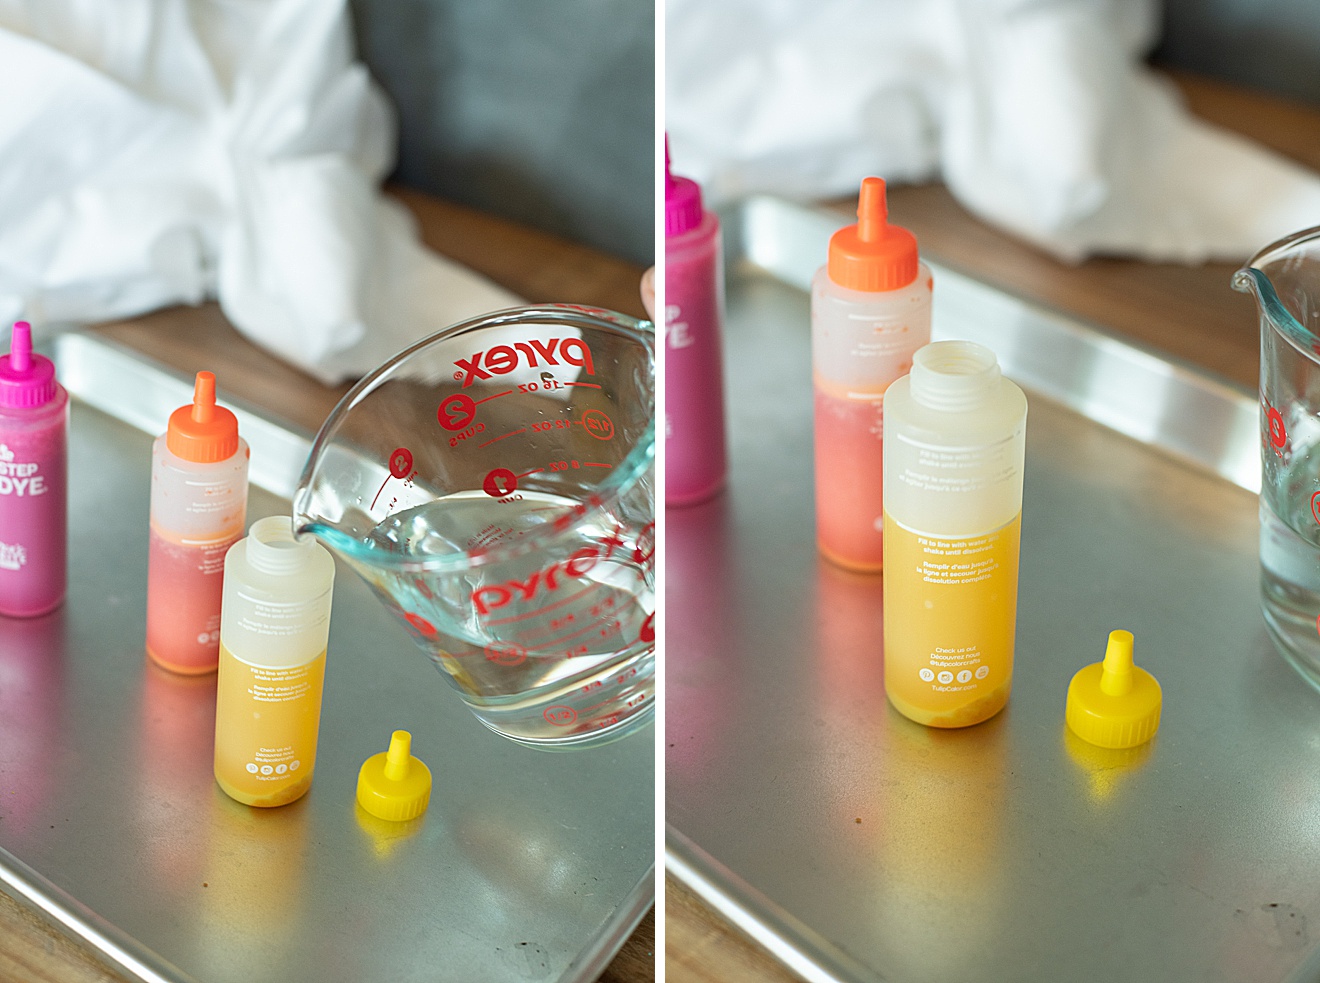
3. Mix your tie dye according to the instruction booklet + markings on the bottle. Fill the bottle to the first fill line with room temperature water, put the cap on and shake SUPER well. Then fill to the 2nd fill line with the glow-in-the dark solution. Put the cap back on and shake SUPER well again until everything is thoroughly mixed.
Repeat with every color you choose to use 🙂
**tip: cover the top of the bottle with a paper towel while you shake to be sure no dye squirts out while mixing.
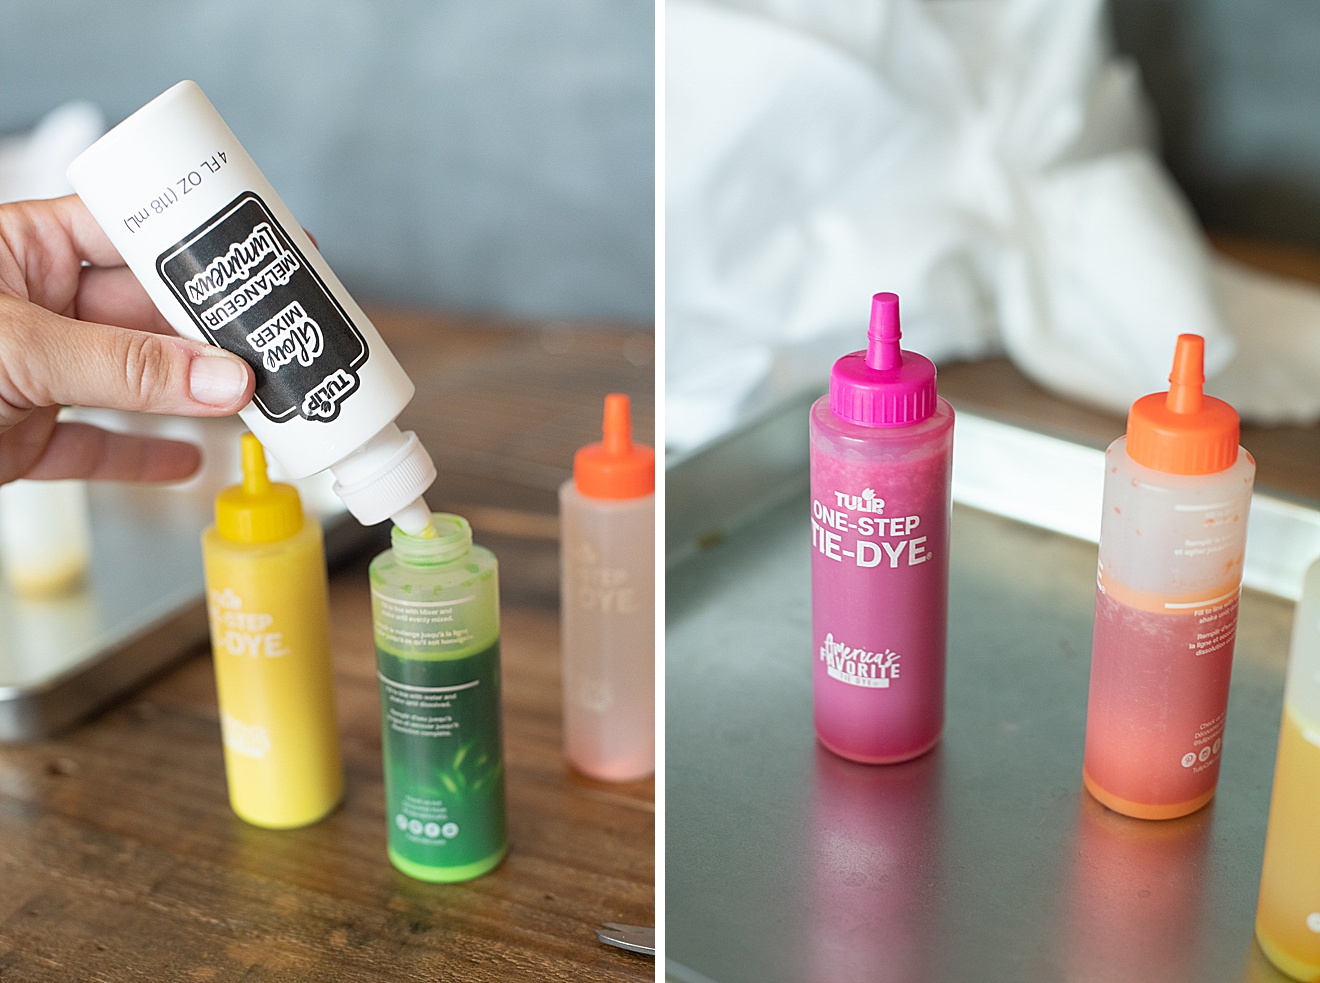
4. Our your gloves and then thoroughly soak your fabric with the prepared dye, making sure it is getting into the folds and crevices. According to the instructions, use your hands to “work” the dye into the fabric so that it’s evenly covered.
I say use as much dye as you can to soak the fabric…the more color, the more glow in the end 🙂 (within reason of course)
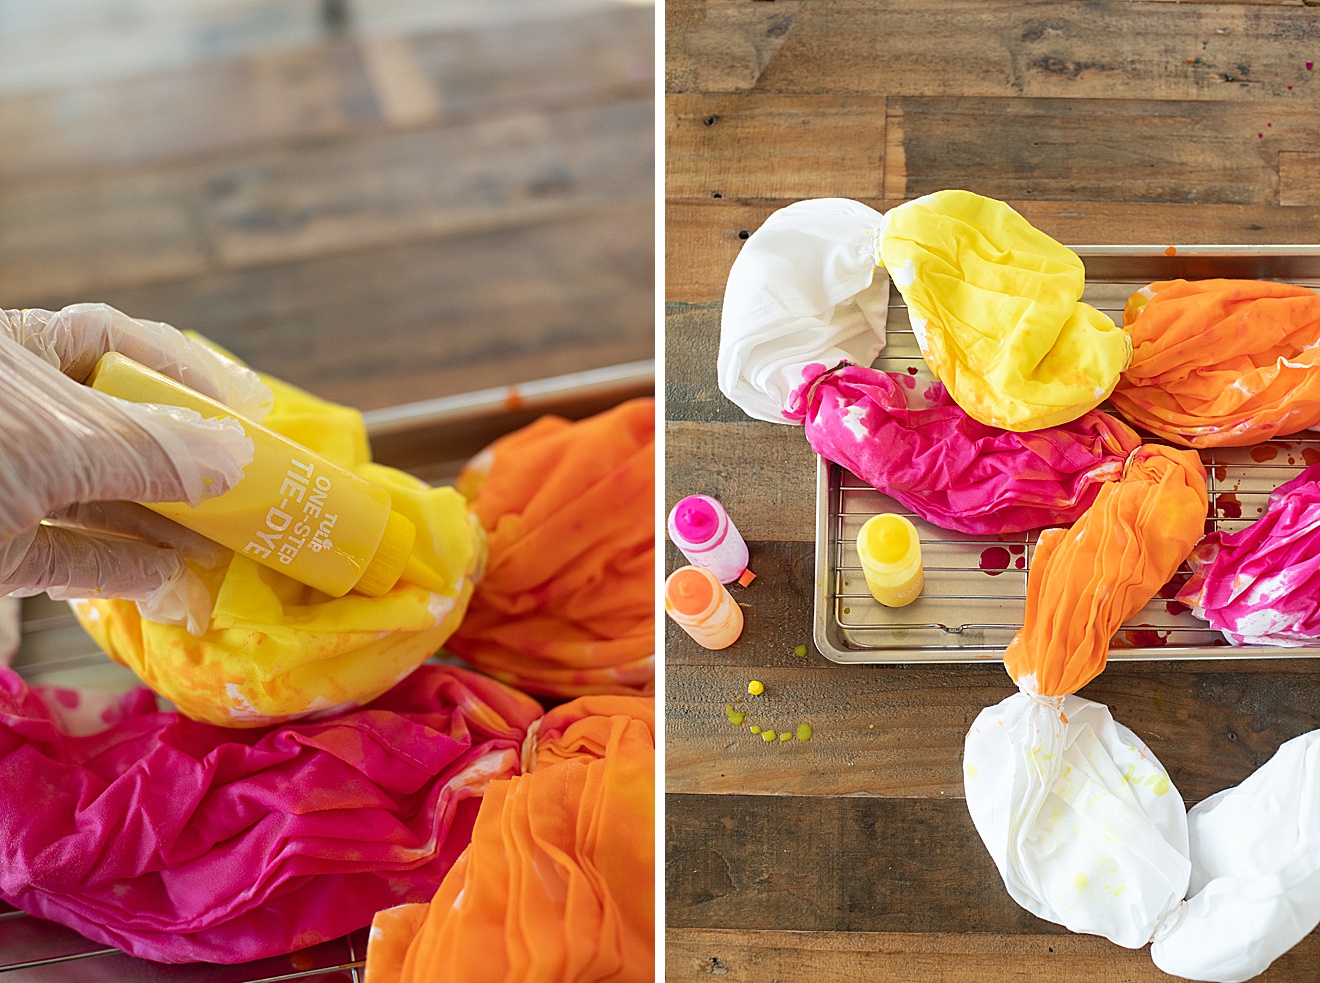

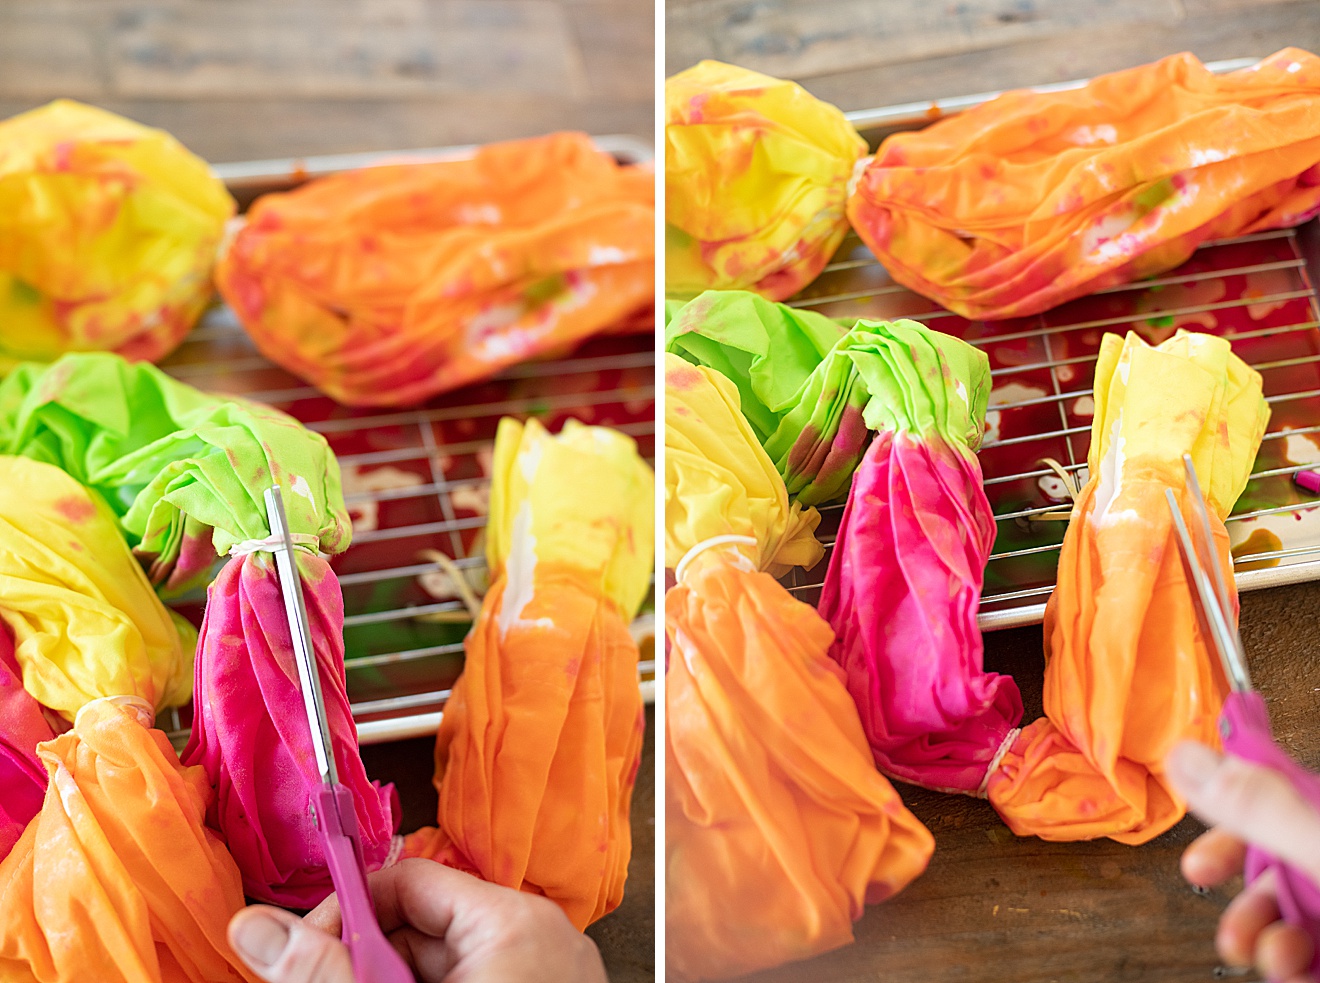
5. Once your fabric is covered in color, cut or remove your rubber bands and lay flat to dry for 24 hours. I actually chose to hang the sheet on our clothesline outside so that both sides could fully dry in the wind. Then wash and dry your sheet.
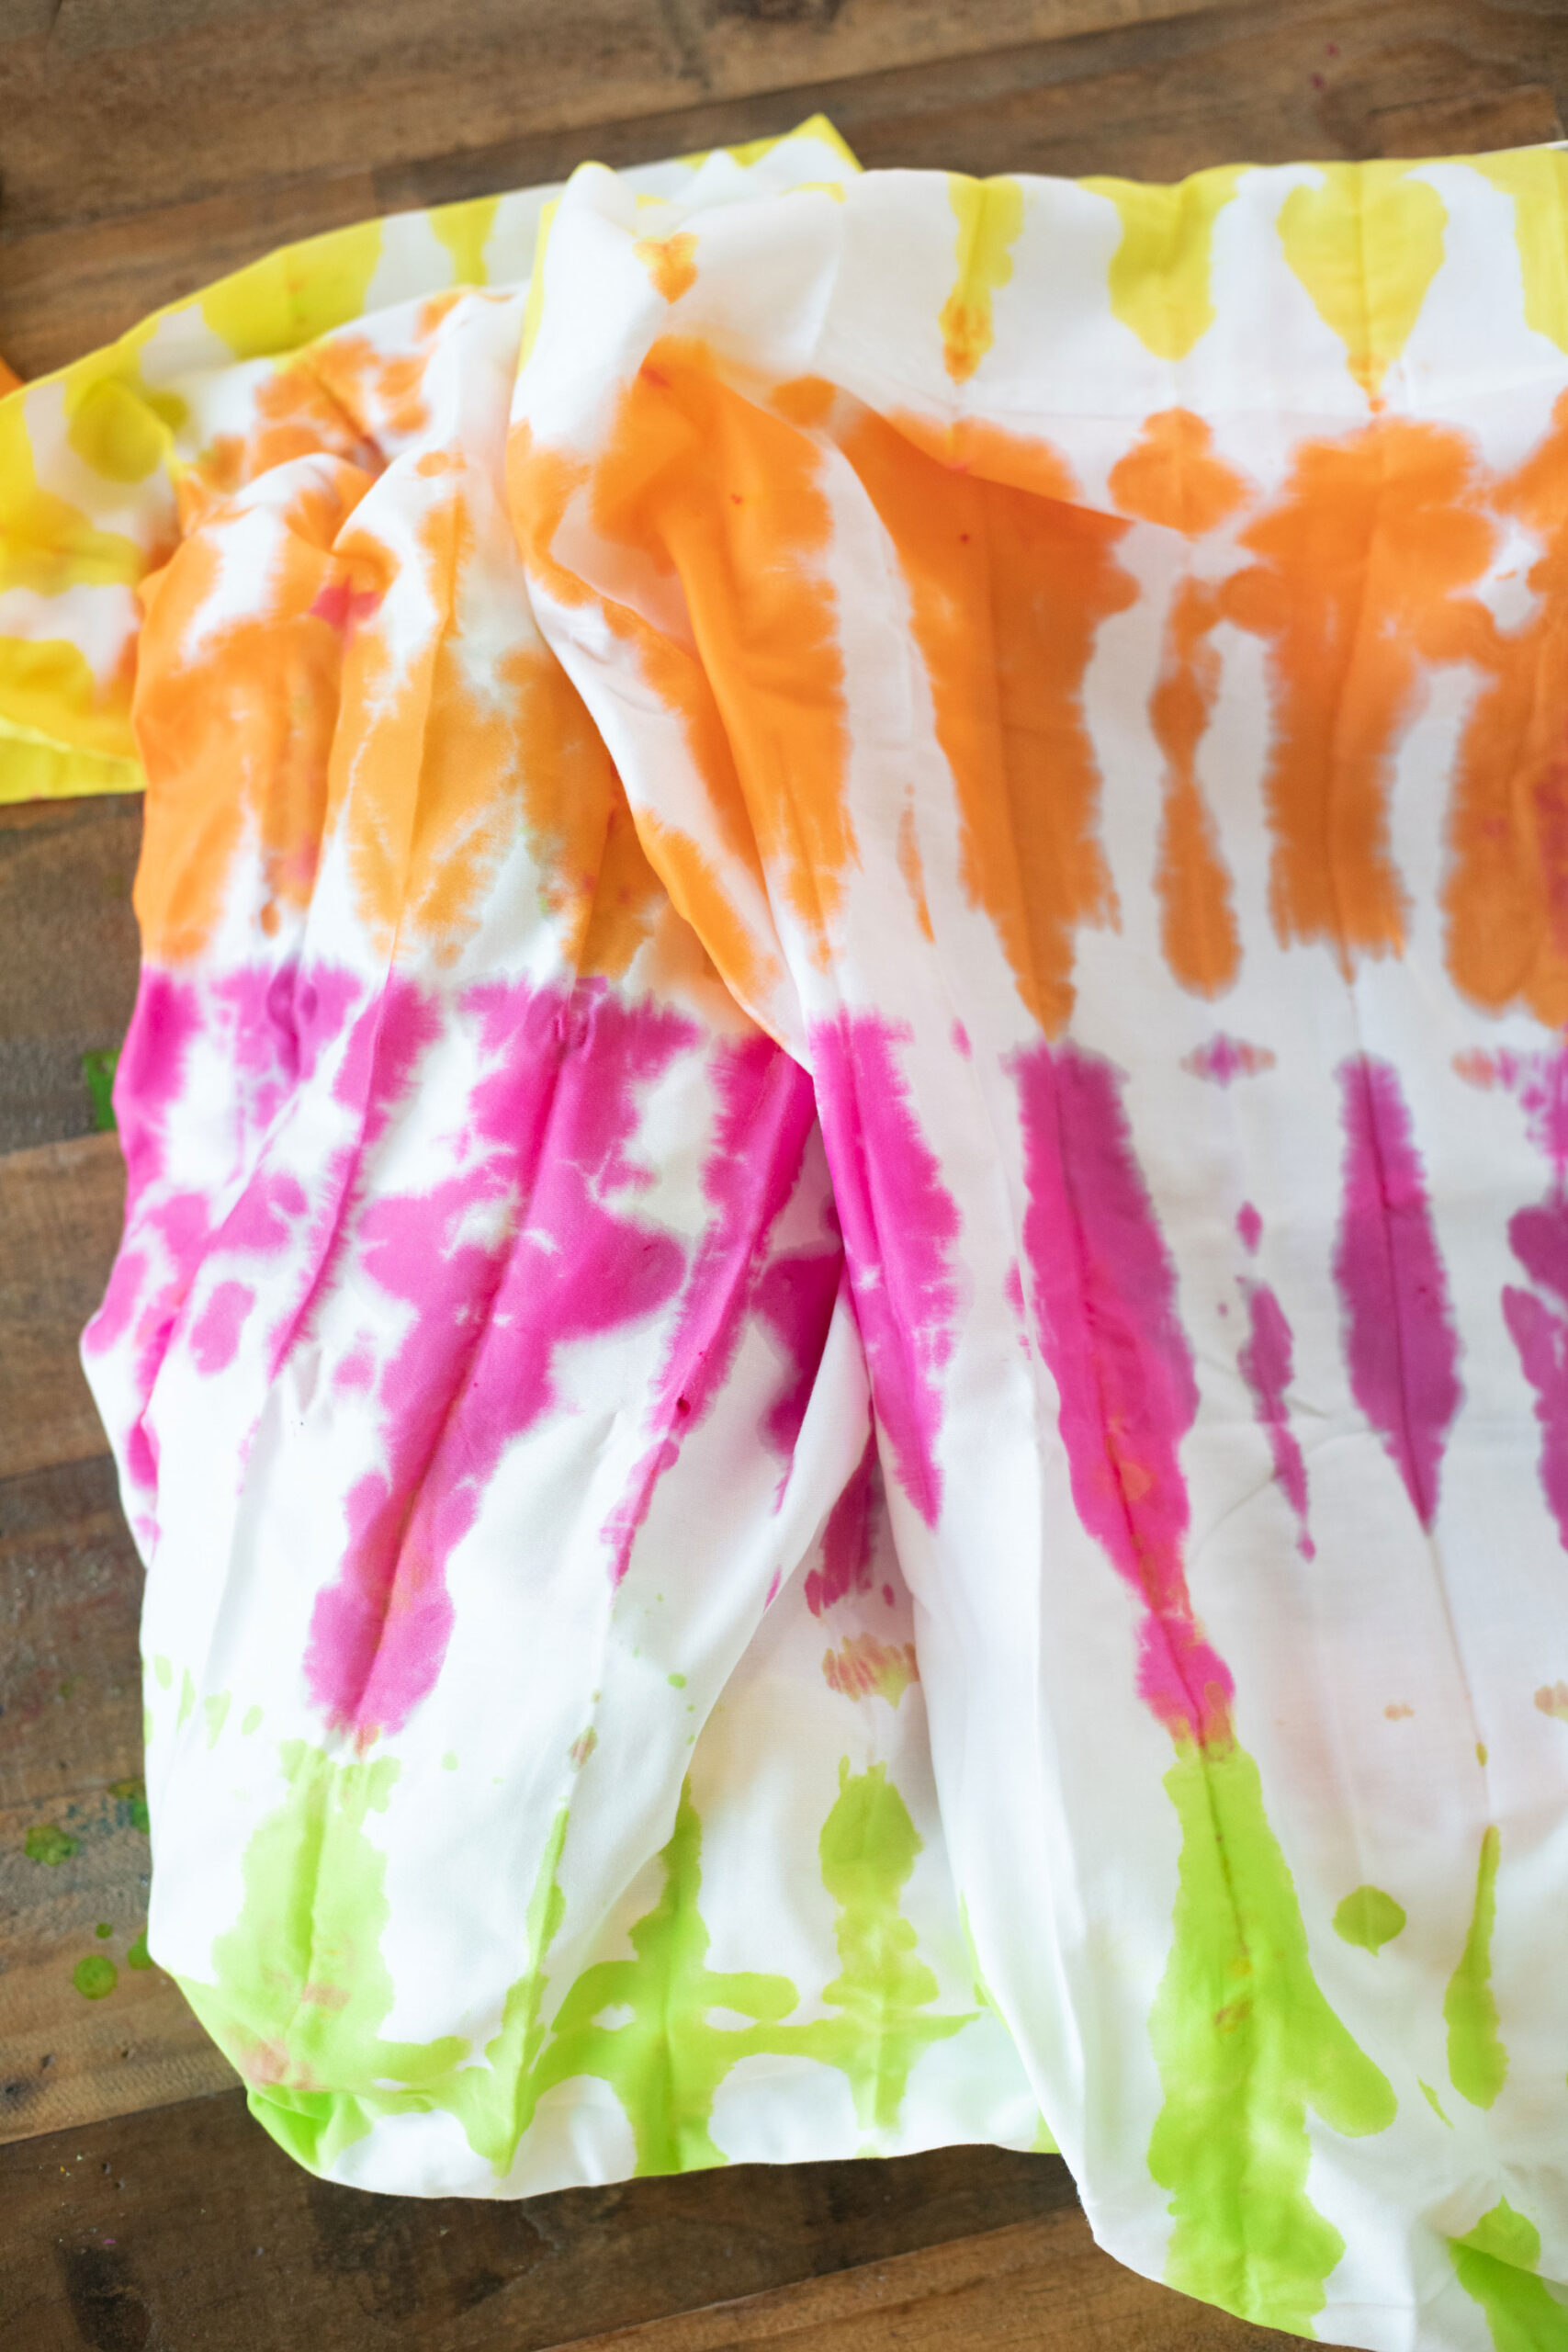
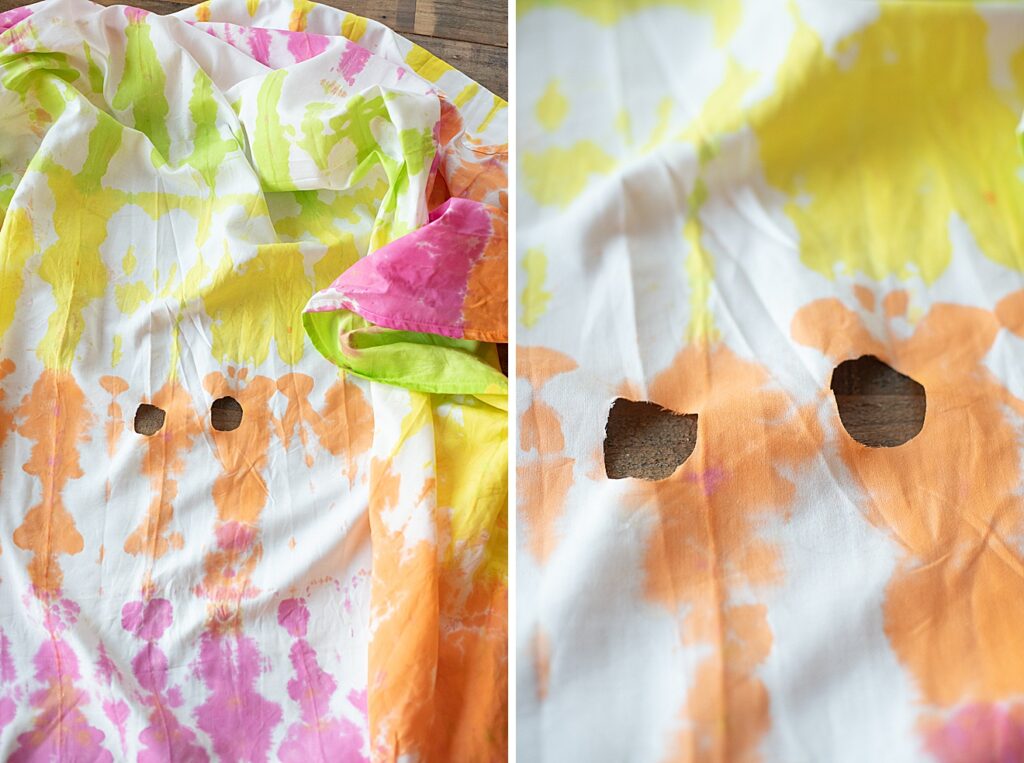
7. Now it’s time to try the sheet on and cut the holes for the Halloween Ghost. I chose to put the sheet over my daughters head and approximately measure where her eyes lined up on the fabric. I made some quick marks on the fabric and then cut out 2 eye holes. Feel free to start small and make the eye-holes bigger as you keep trying the costume on.
If you make the holes too big to start with, it’s hard to get them lined up properly 🙂
8. Then use either daylight, artificial lights or flashlights to “charge” the glow of the costume as you wear it at night 🙂


One Comment
Comments are closed.