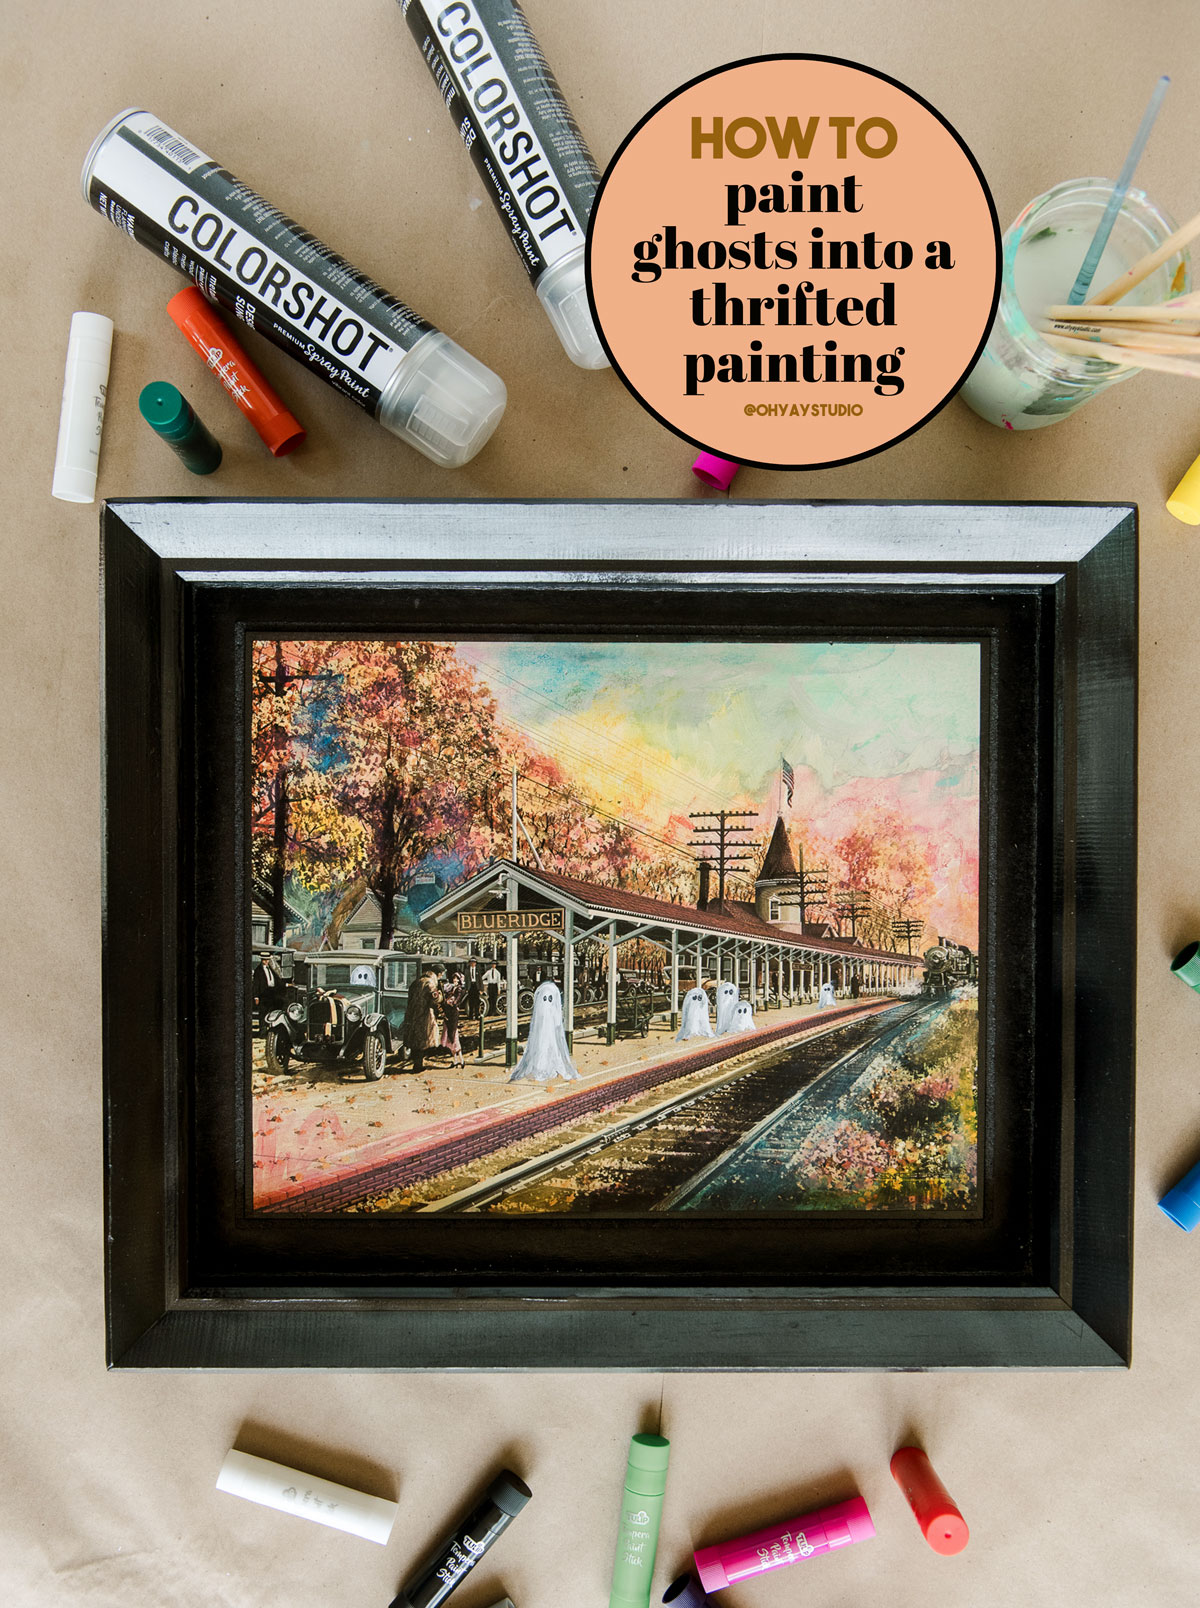
Giving an old painting new Halloween life with some new paint!
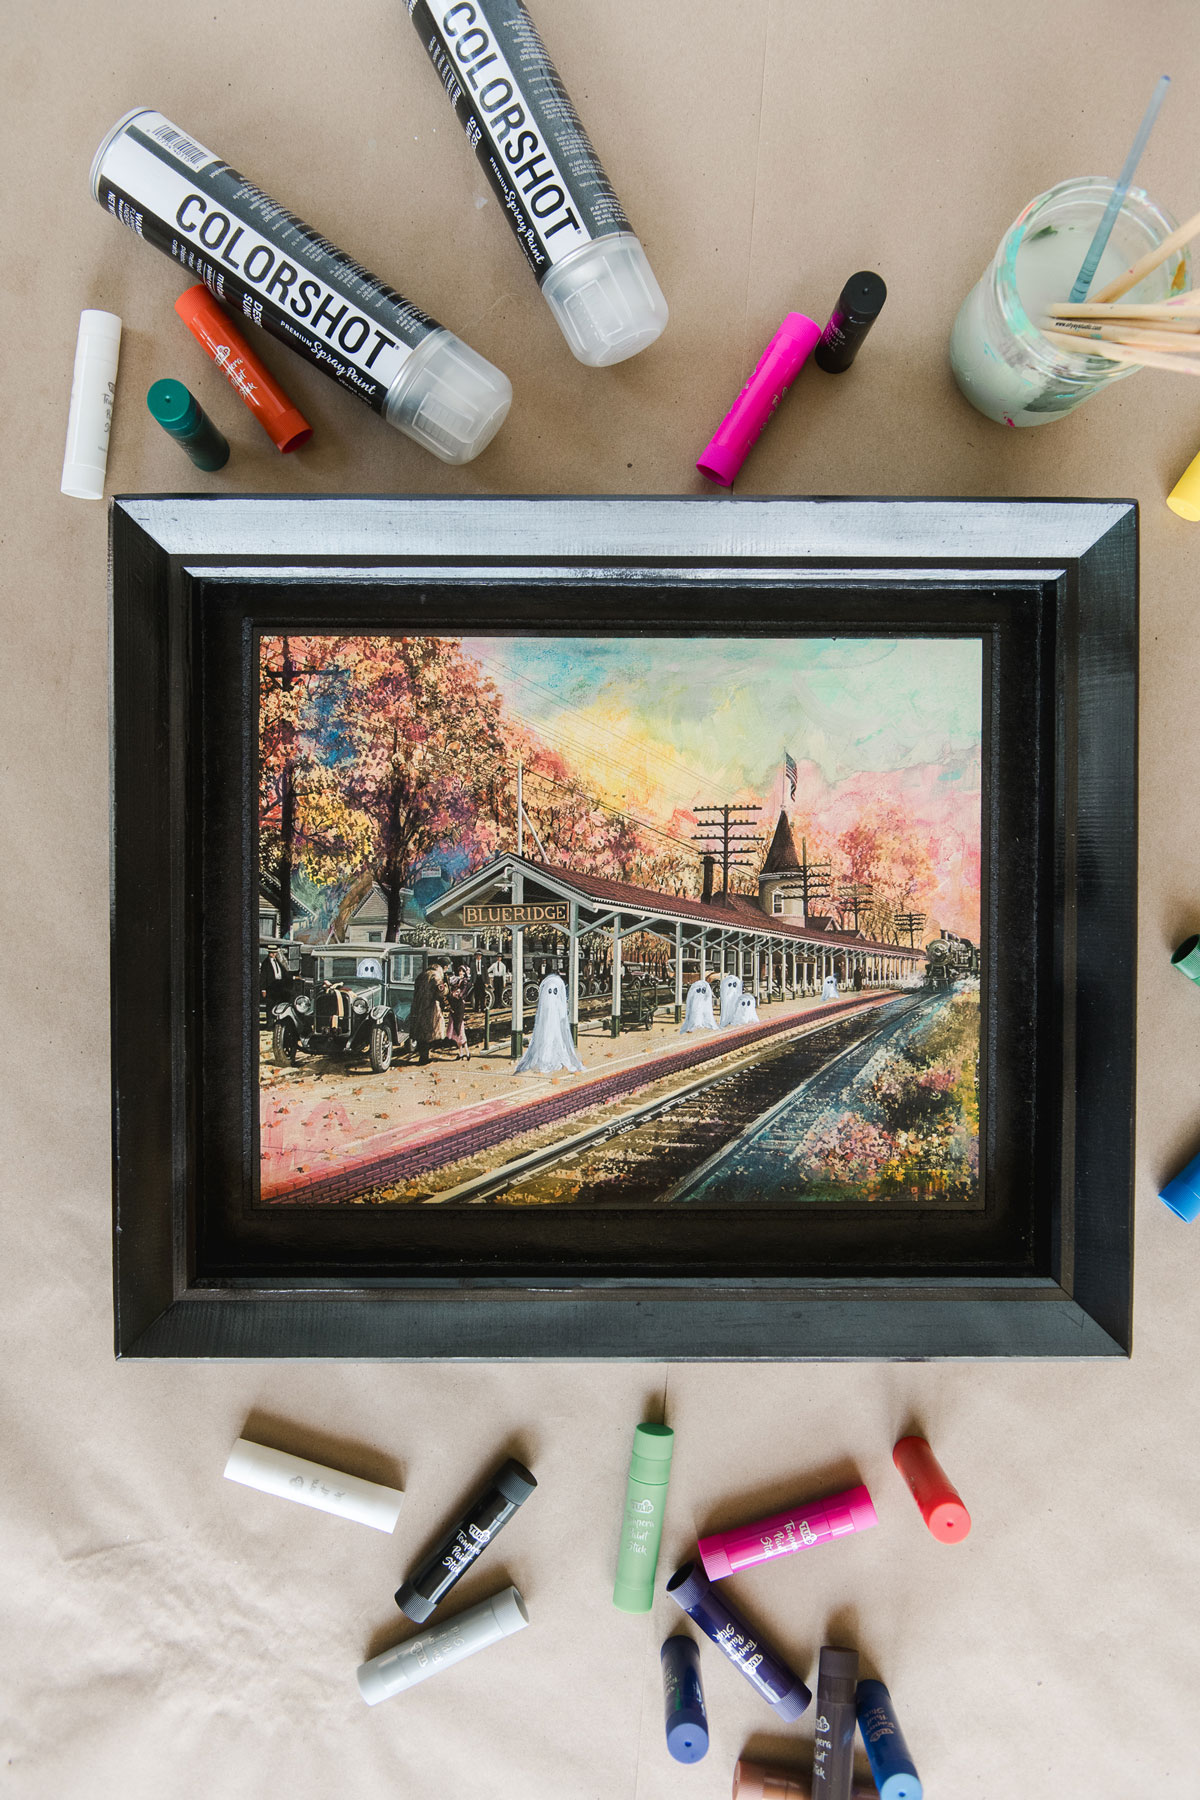
Perhaps you have seen the viral ghost painting trend all over social media – welllll I wanted to try my hand at it AND AND AND I used the *brand new* Tulip Tempera Paint Sticks which I absolutely LOVE LOVE LOOOOOVED (they were kinda transparent which I found simply perfect for painting ghosts)!
And let me just say that this technique can be used with any thrifted painting – if you don’t love the idea of ghosts for Halloween, then do pumpkins or add some Angels or Christmas Trees or even Easter Eggs, snowflakes or just basically transform the colors of any old painting to give it some new life! 🙂
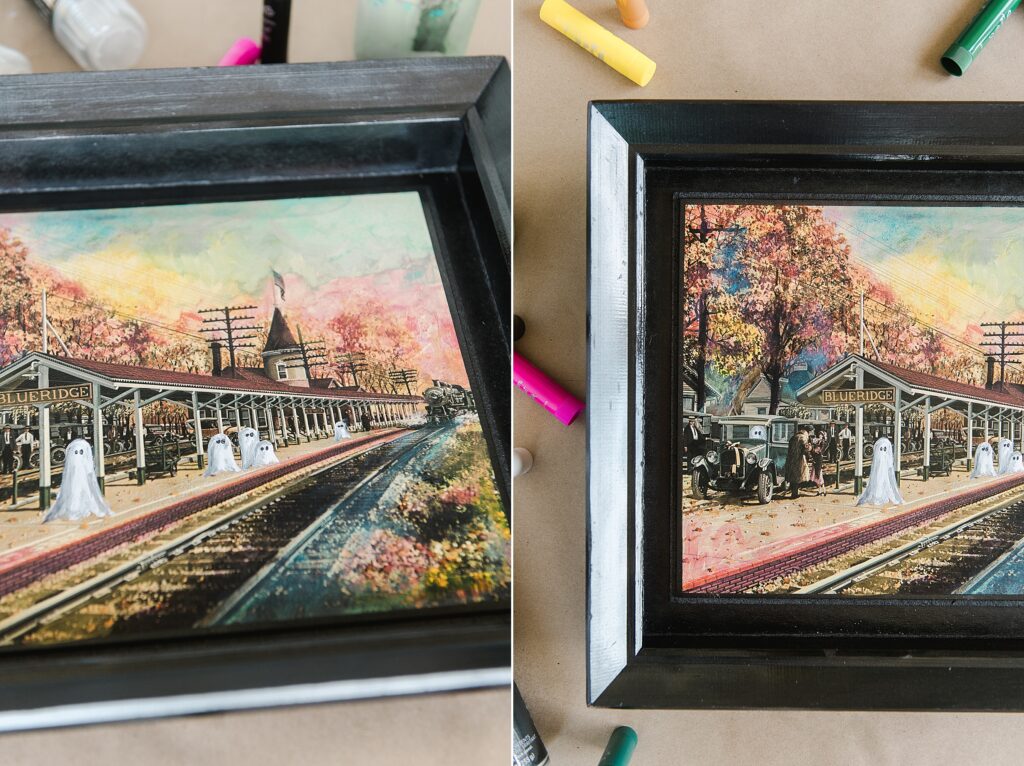
I love the idea of giving old things new life – especially old paintings. I feel like I pass by the isles of Good Will or any thrift store (or heck, garage sale) with old paintings or prints that someone honestly will never put up in their home – so, as my good ol’ saying goes “WHY NOT???”!
WHY NOT buy the painting and make it “put up-able” on your wall again (even if it is just for holiday decor)!
This whole project is the essence of just trying something and I am HERE FOR IT! 🙂
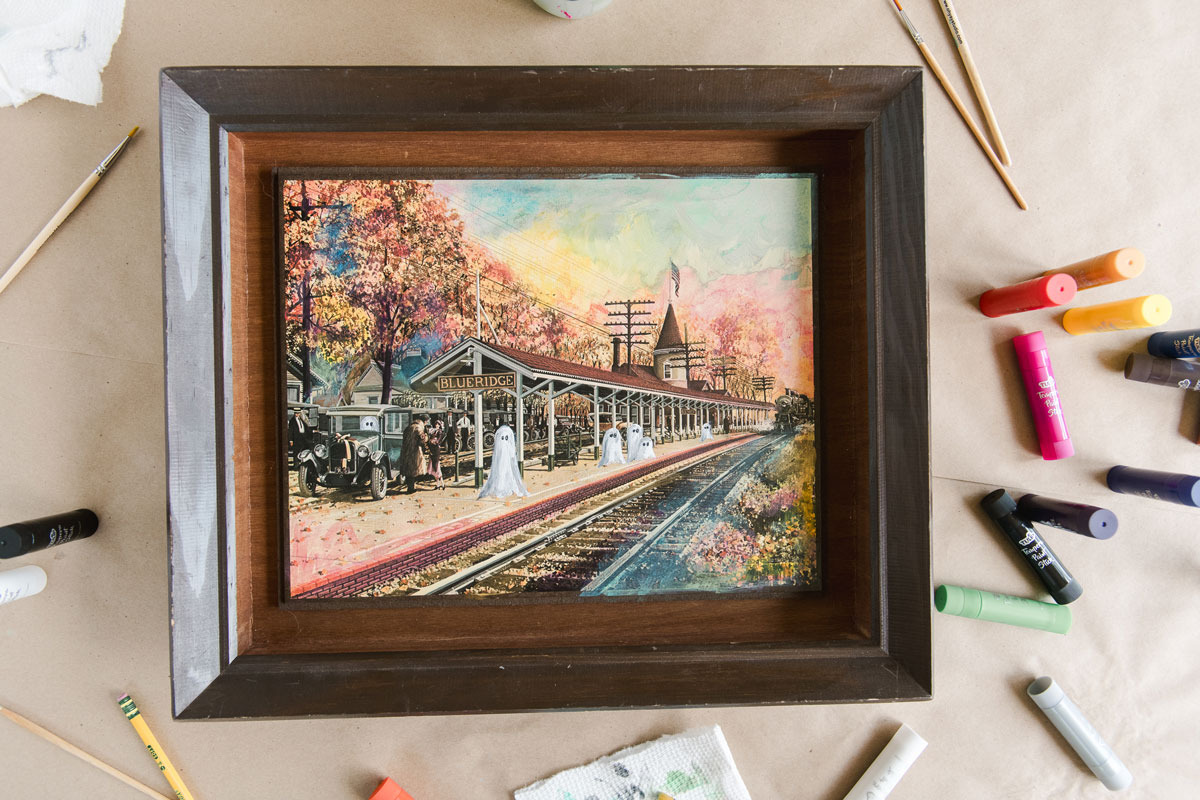
My one and ONLY regret of this project is WHY THE HECK DIDN’T I RE-NAME THE TRAIN STATION “BOORIDGE” instead of Blueridge! ACK! I realized it after I had put all of my supplies away, but perhaps my retreat will be deep enough to have me paint over that sign in the coming weeks before Halloween arrives! HAAA!!! Whadda think? 🙂
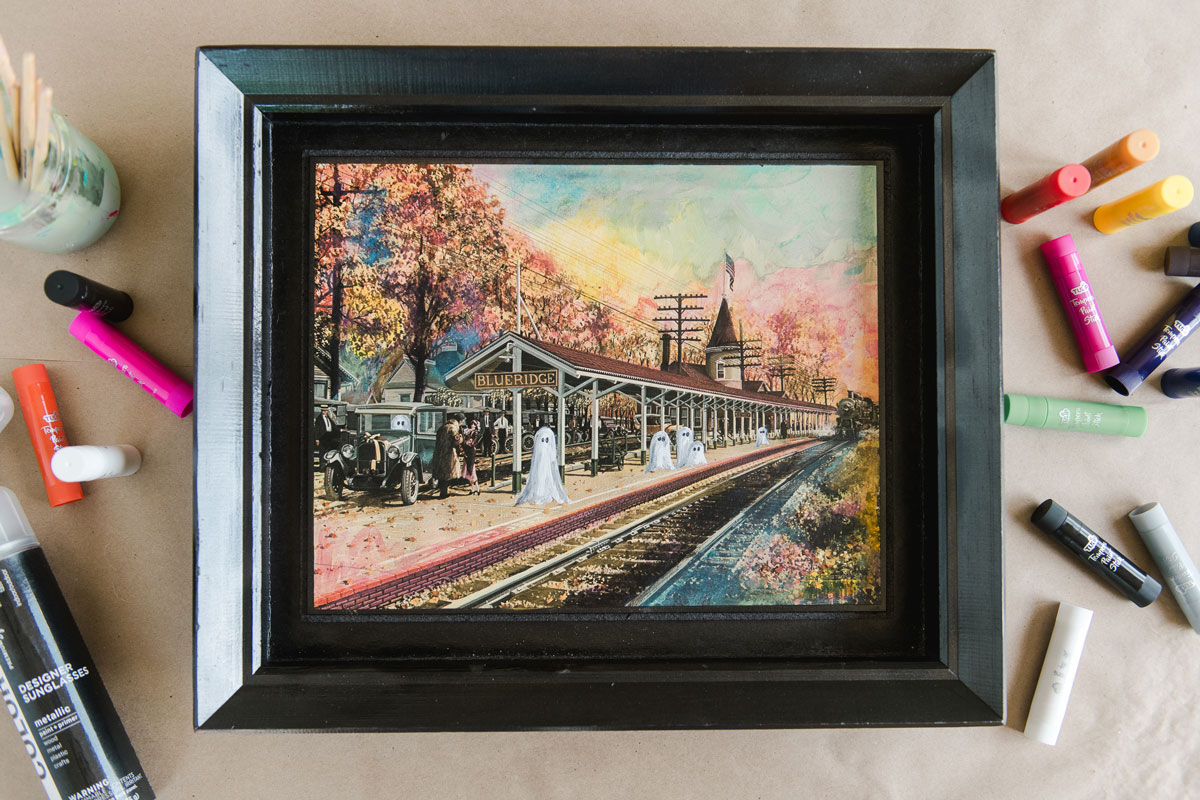
The SUPPLIES of the project are simple:
- A thrifted or found painting or print that you love
- A pack of the brand new Tulip Tempera Paint Sticks
- Some brushes (A variety of sizes)
- Some water in a jar
- A few paper towels
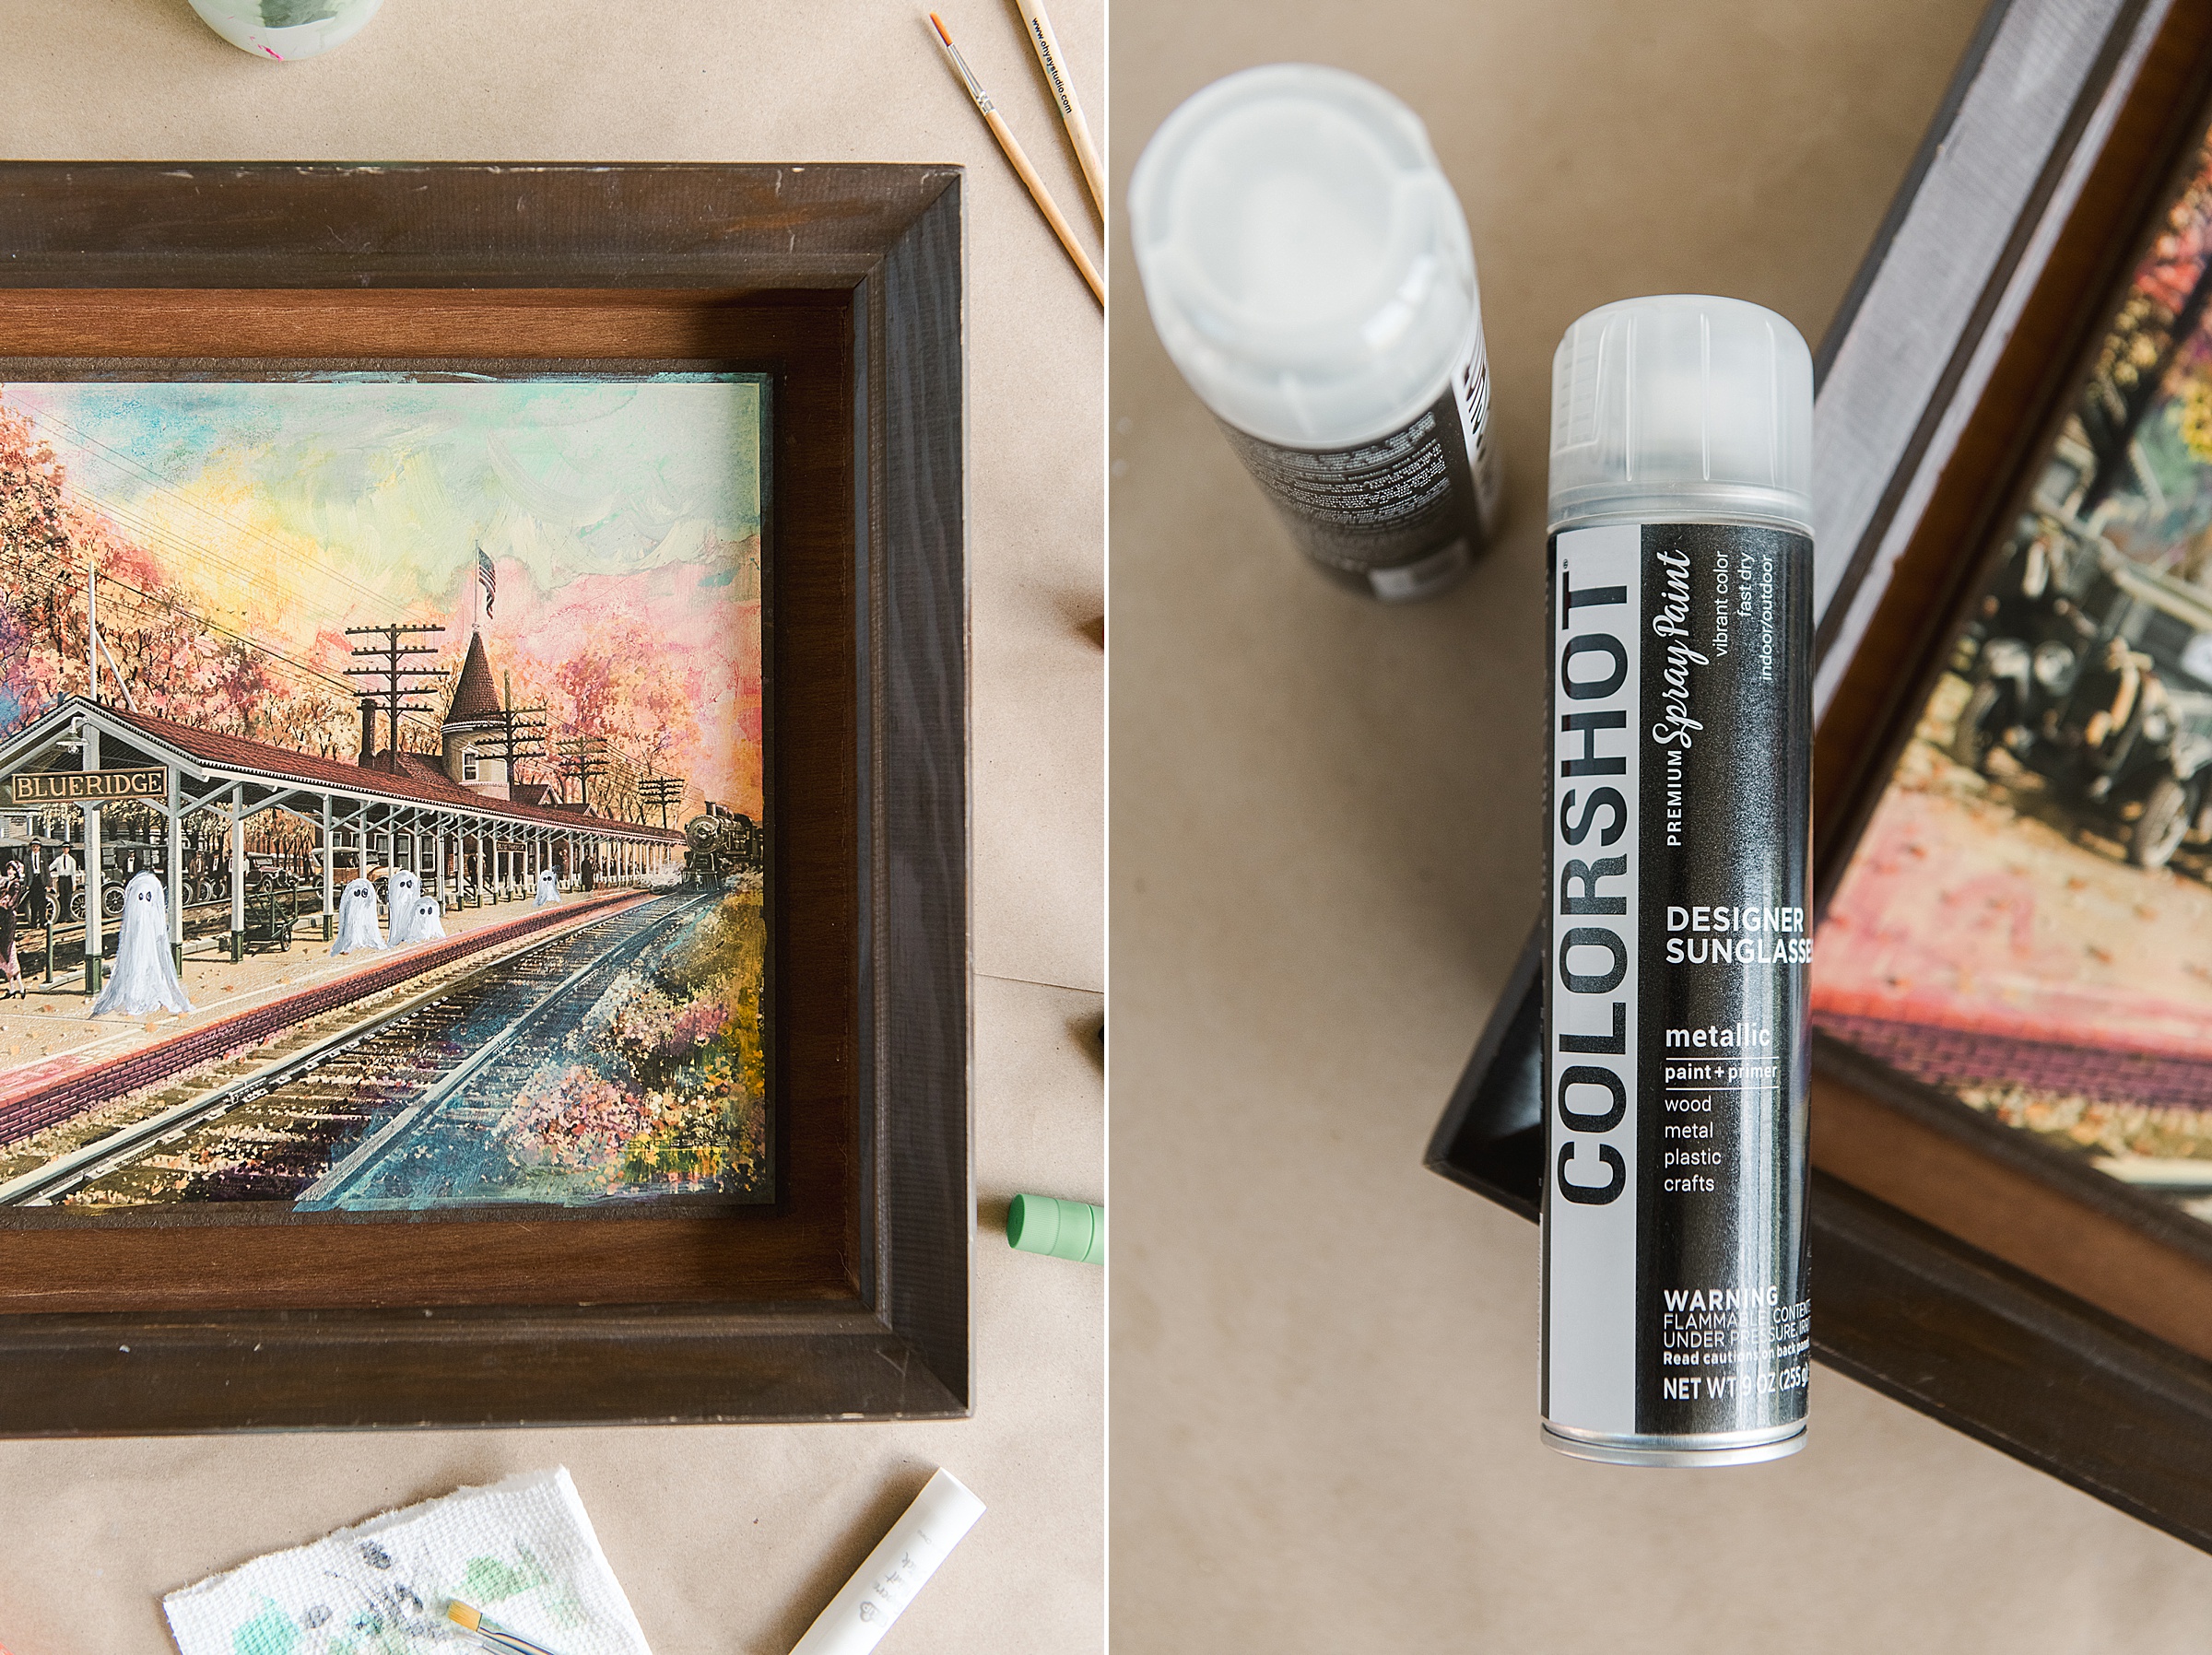
- Optional Colorshot spray paint for giving your frame new life (I used the color “Designer Sunglasses” which is this gorgeous metallic and glittery black)
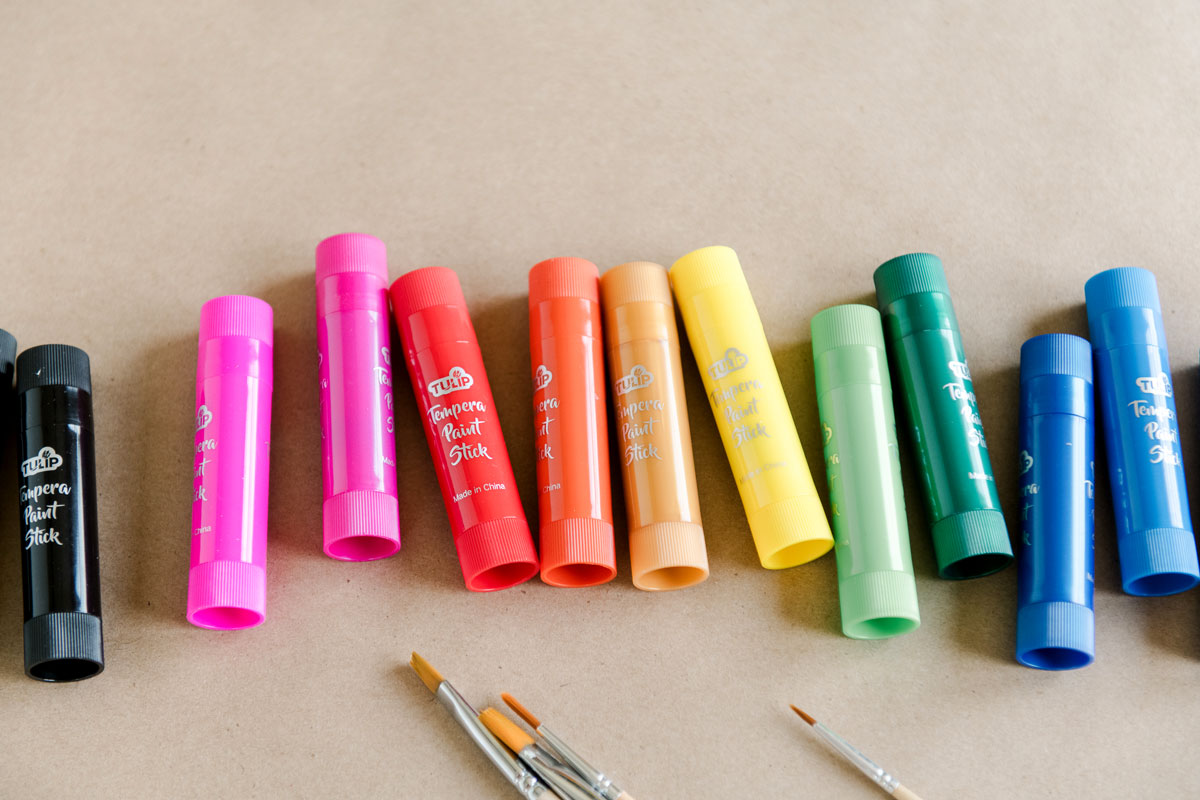
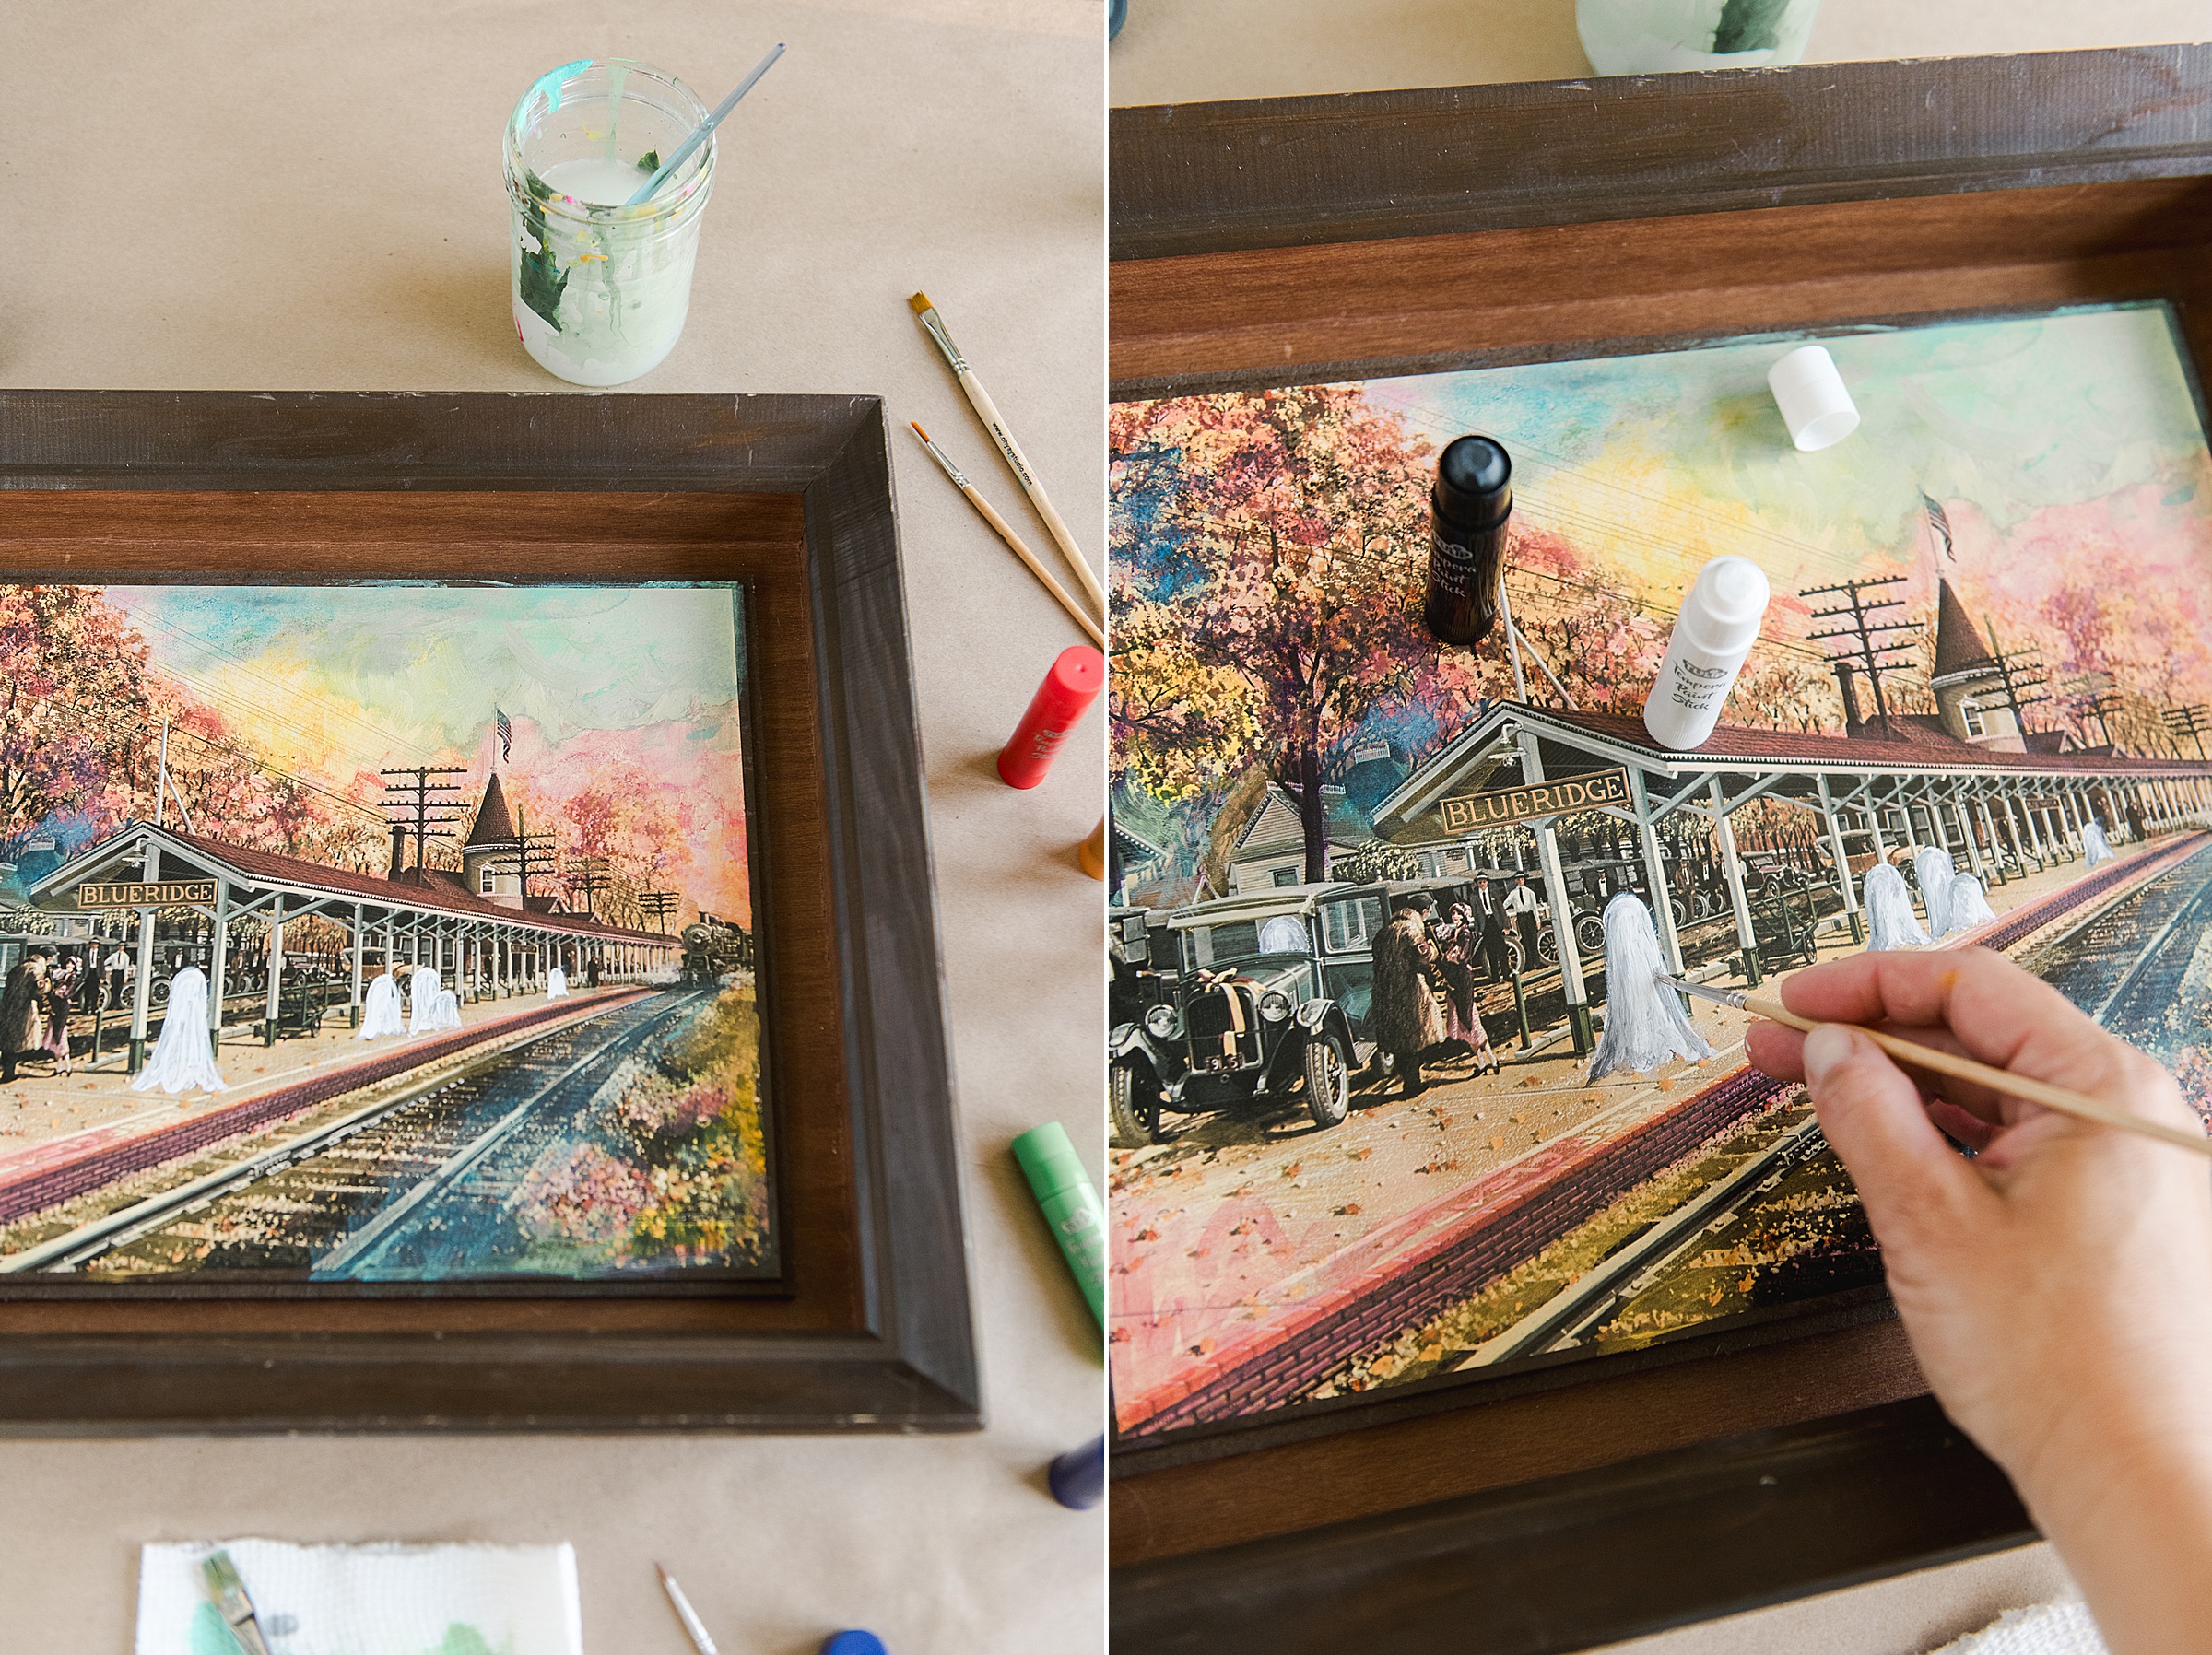
INSTRUCTIONS:
1. Doodle out your ghosts! You can do this by either practicing on some paper with a pencil or even just very lightly doodle over your print or painting. I would encourage you to play with sizing and clusters of ghosts to add some interest 🙂
2. Begin painting! WEEEE!
I started with the ghosts and then moved to the background and then back to the ghosts, etc. I wanted more layers of the ghosts to get them more “opaque” so I needed the coats to dry between adding layers!
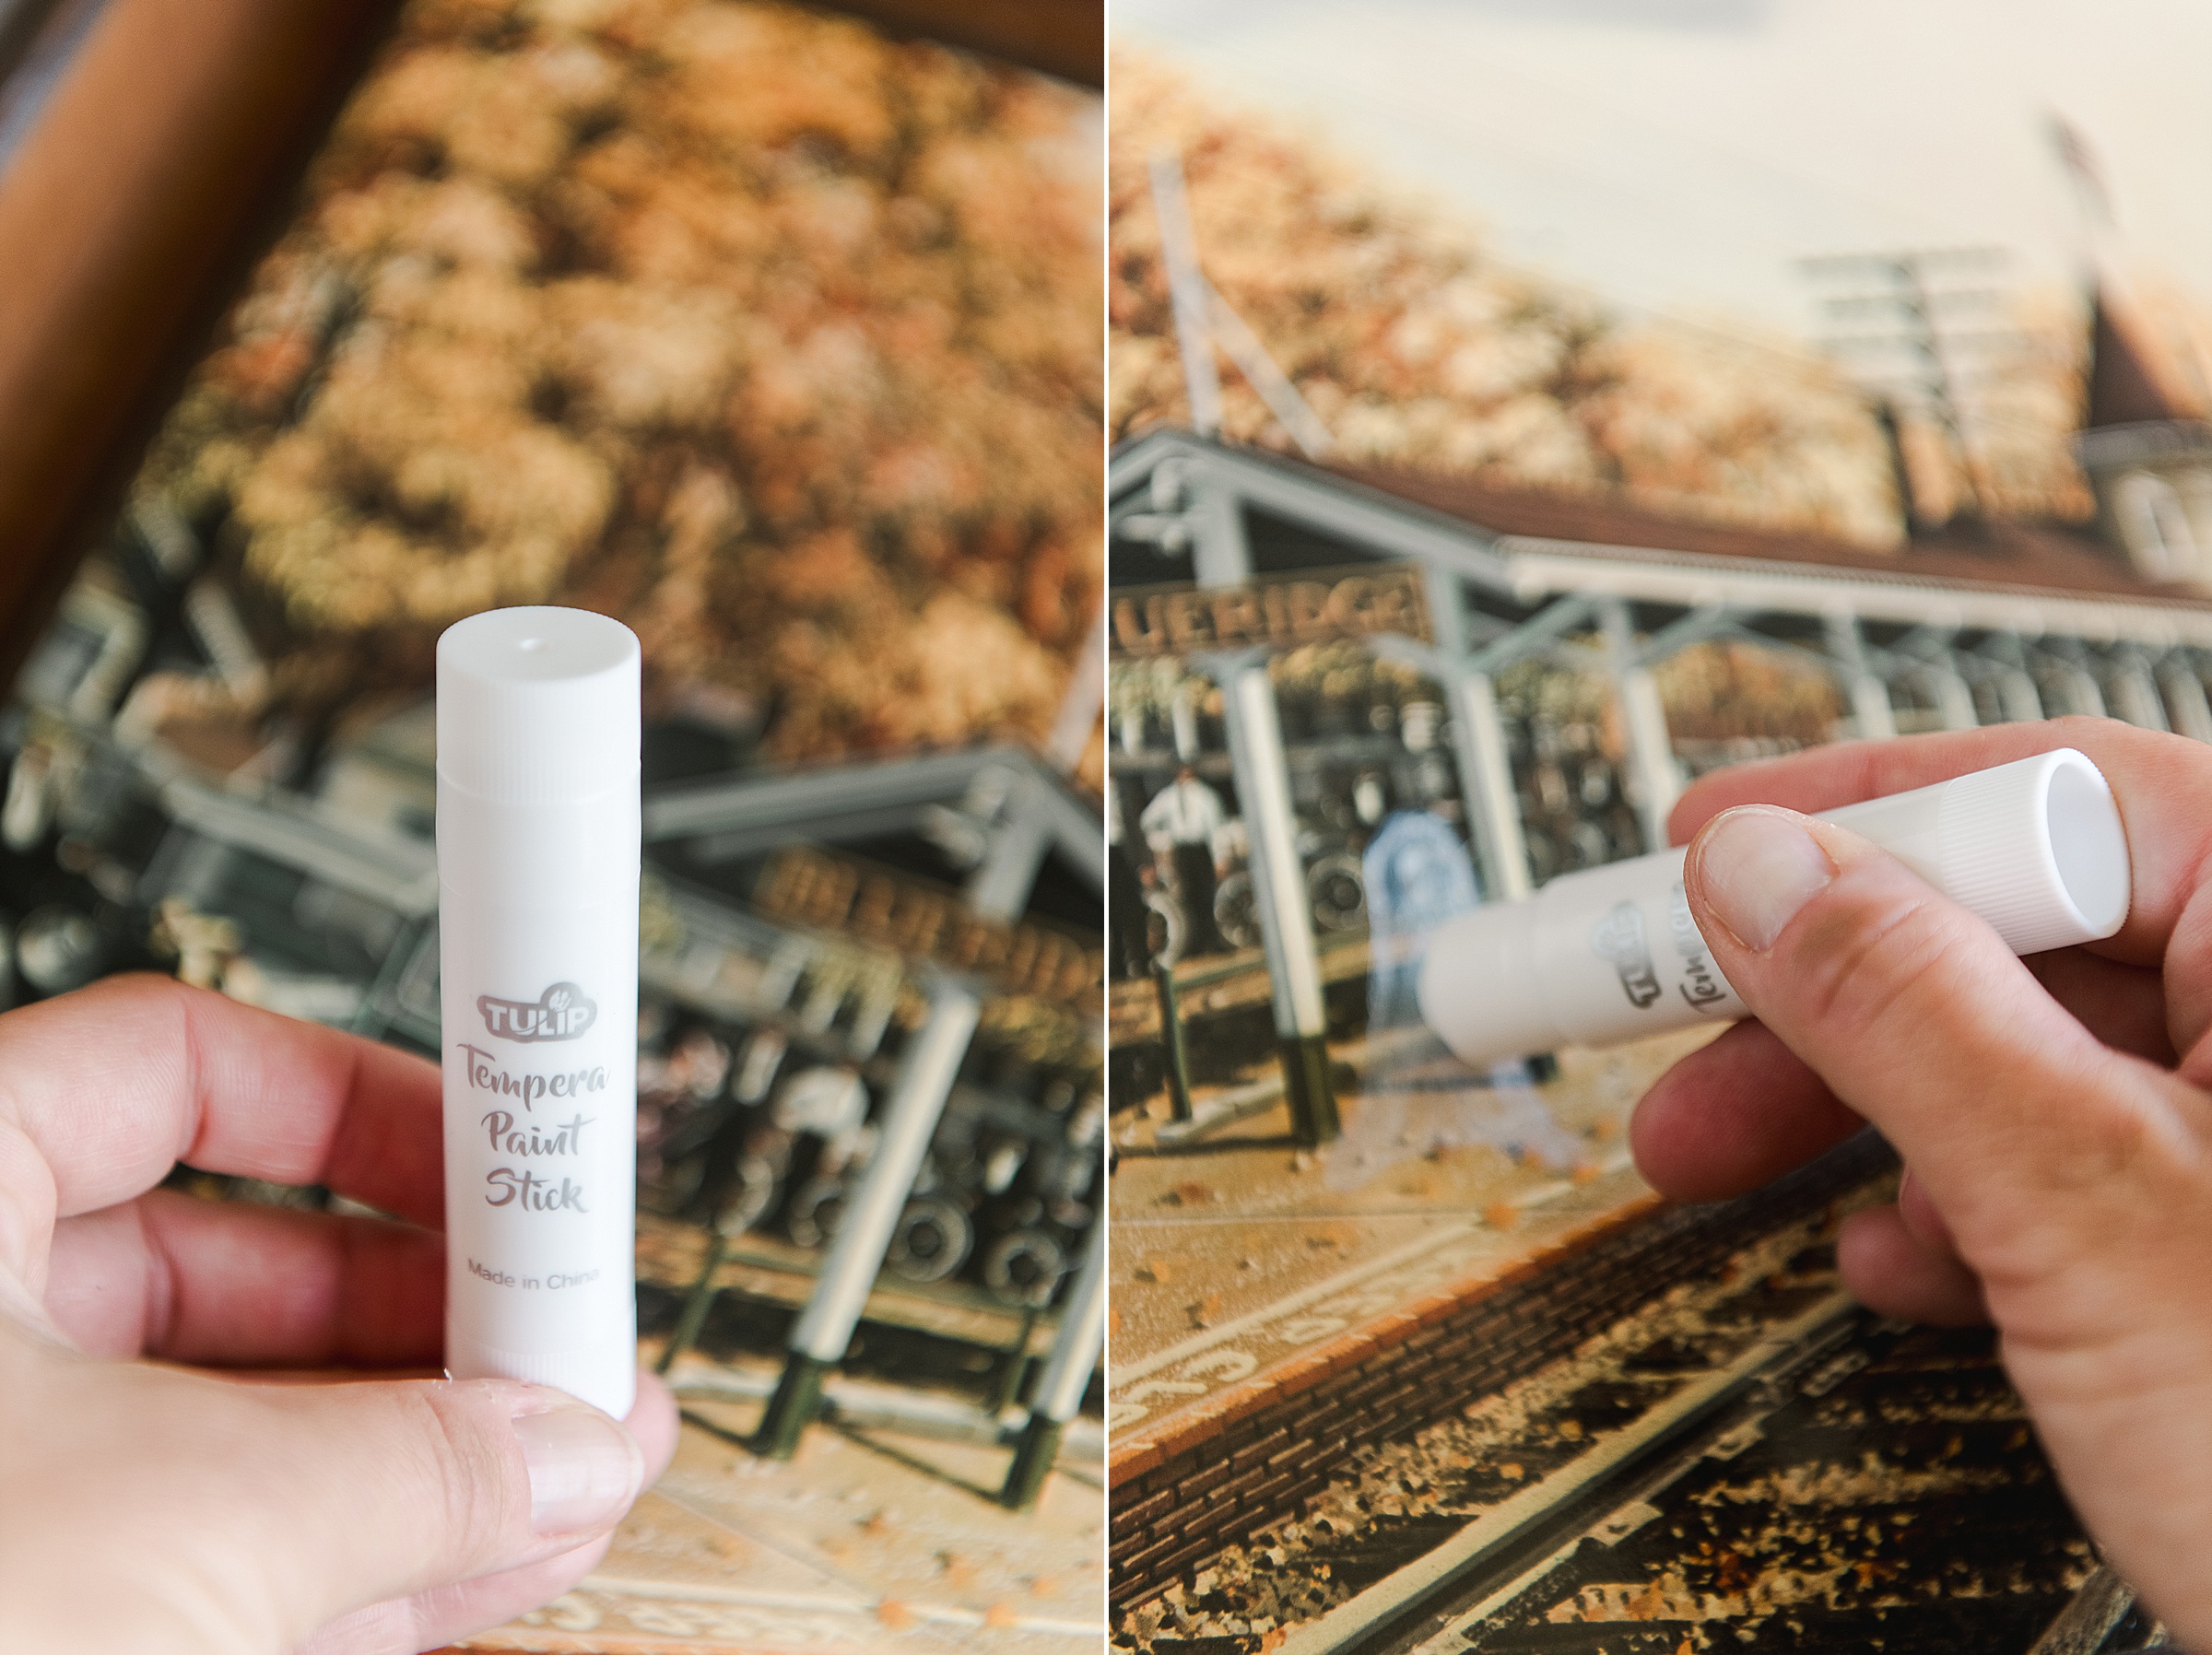
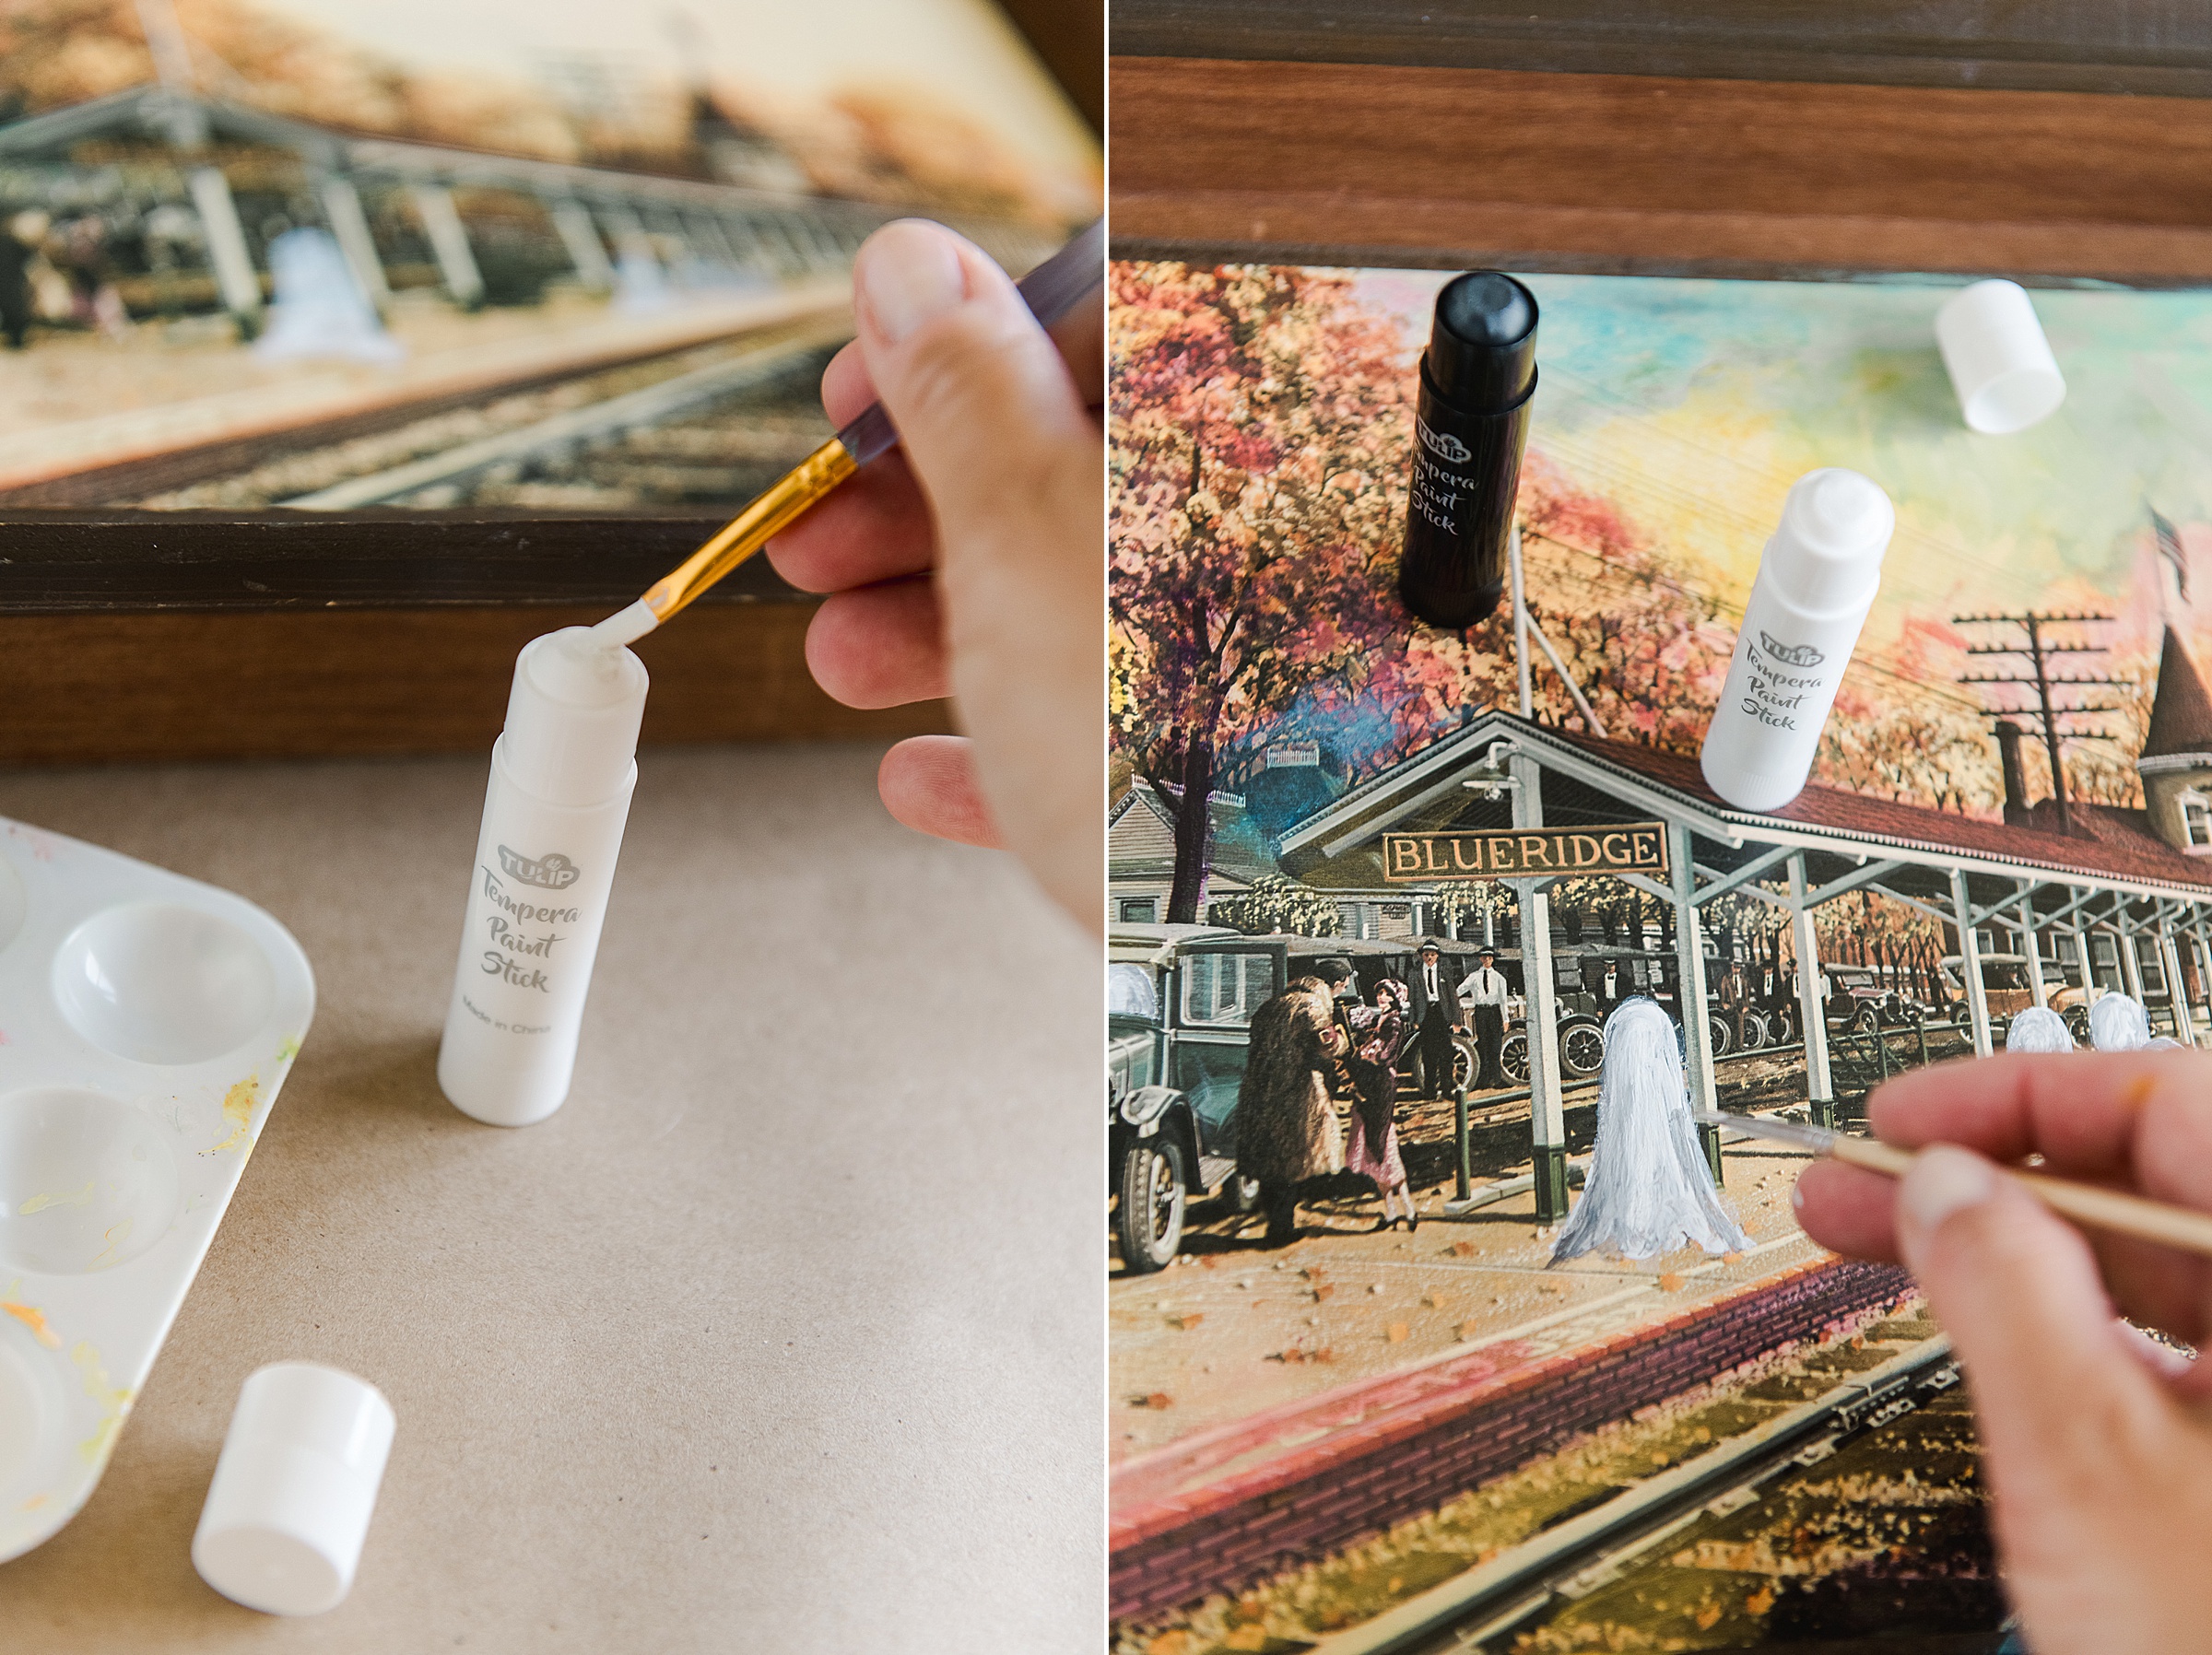
Below is the process I used along with some tips and tricks for using the Tempera Paint Sticks:
- Start with the outline of the ghost and fill it in with white – use the “side” or edge of your paint stick as much as you can to get a crisp line. This first line is semi-important so that it’s a nice crisp edge
- If you don’t love your ghost, the best part about Tempera paint is that you can simply wipe it off quickly after you’ve applied it. Once the paint is dry it’s a bit trickier, but when it’s wet, it’s VERY workable
- The more layers of white you add to the ghosts, the more opaque (or less see-through) the paint is. The key to tempera is layers! 🙂
- I LOOOOVED that the tempera paint is semi-transparent even when you add a 2 layers of paint. This feels very on-point for ghosts so I didn’t “fill in” the bottom of the ghosts with as many layers as the top of the ghosts so that it gave more depth and dimension
- I also used water and a dry brush to play with blending the white ghosts with the ground AND to add black/grey dimension around the outer edge of the ghost
- For the small details, I used a small brush, a touch of water, and then just rubbed the brush onto the Tempera Stick to pick up the paint so that I could get finer details. This worked SO WELL so that I could add small details like wrinkles in the ghosts and eyes too!
- I also decided to layer and add more color to the sky and other areas of the painting – I did this by applying some paint with the Tempera Stick, then blending the colors directly onto the painting with a different color of Tempera Stick. Where needed I took a dry brush and just smeared the paint together right on the painting in a circular motion to get the colors to blend nicely – I loved adding these colors because it totally transformed the painting with color, but still allowed the original design to come through!
3. I let all of my painting dry before masking off the painting portion and spraying the frame! I used the color “Designer Sunglasses” from Colorshot for a beautiful, metallic black color! I think it adds just the right amount of “pop” to the finished product! YAYYYYYYYY!
