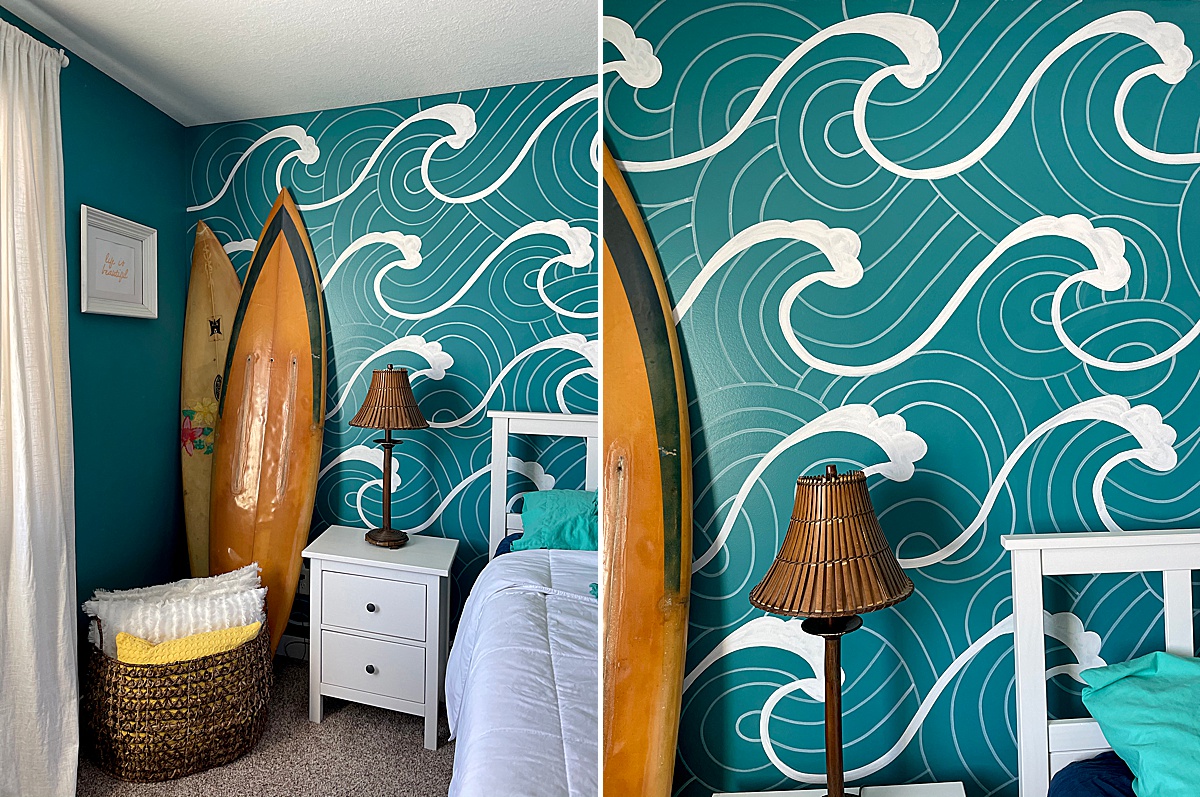
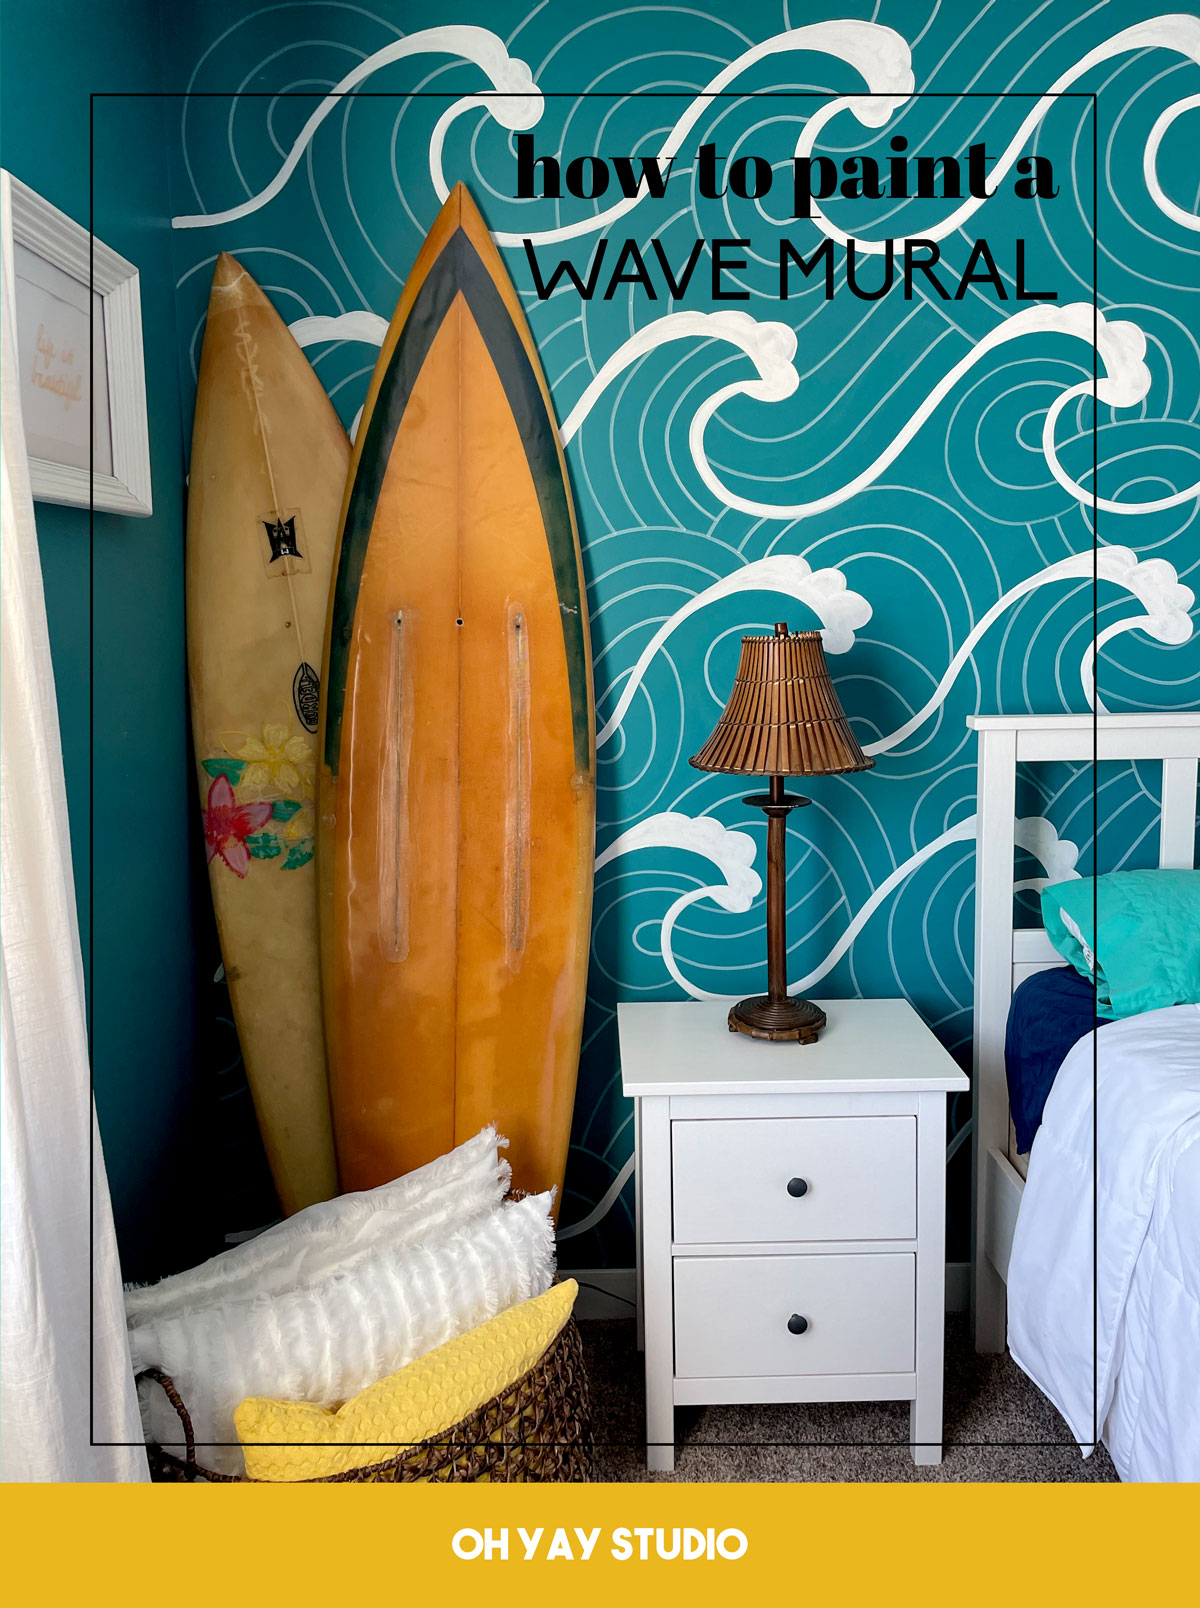
A beachy wave bedroom mural!

My sister + bro in law love the beach, like LOVE LOVE LAHHHOOOOOVEEEEE the beach; the sand, the waves, the vibes, ALL of it! So when they asked me to add some pizzaz to their beachy bedroom, I jumped to the opportunity! Lanae had found some wave-style wallpaper inspiration for me to reference, but (being the most amazing EVER) she gave me full reign to just “have fun” while they were on a little vacation for a few days! (and let me just tell you how fun it is to do a “mini-makeover” in a room from start to finish while someone is out of town)! 🙂
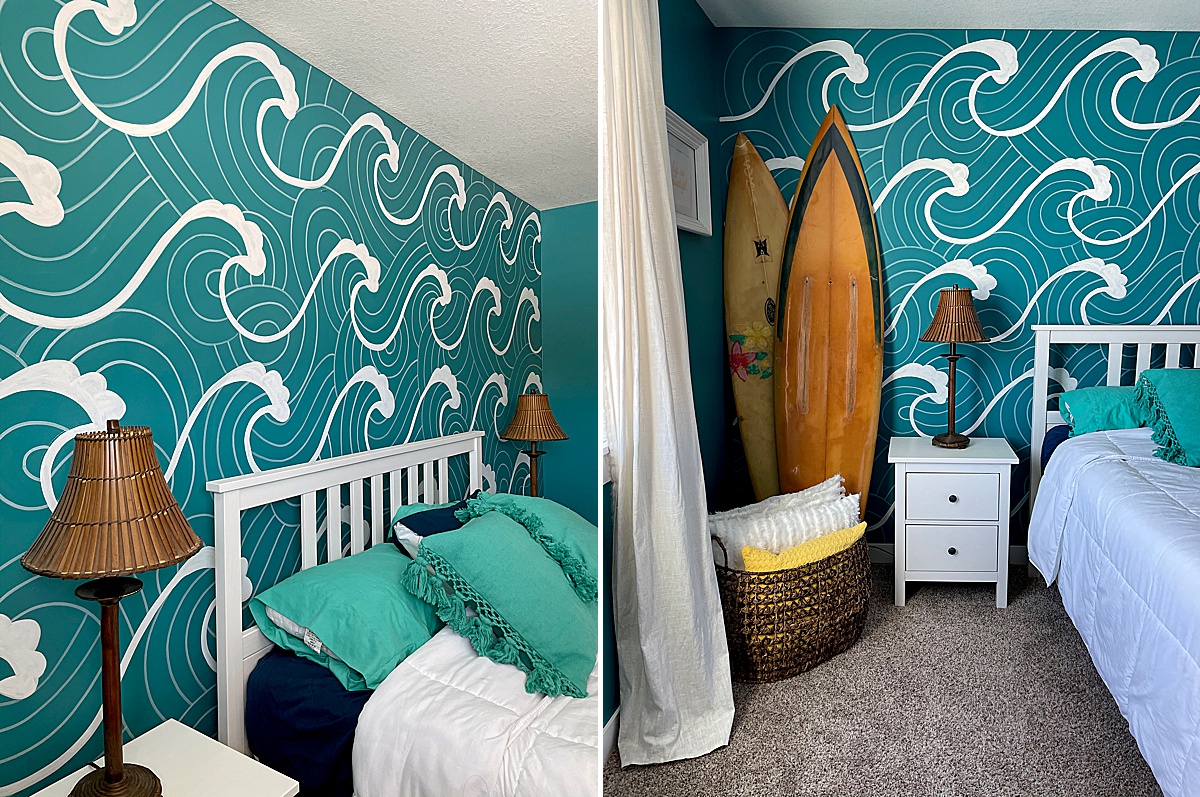
This mural is really one of the more “simple” murals I’ve ever done! I used only one color: WHITE! And it was more focused on the lines and shapes to make a cohesive look + feel for the main wall in their bedroom! 🙂 And it was quite fast to complete (it took me almost as much time to figure out the size of the wave by doing the math than it did to paint the whole wall) : it only took me about 5 hours from start to finish! 🙂
MATERIALS:
- Chalk
- White paint (I used a Behr Marquee paint sample for $4.98 from Home Depot)! 🙂
- A few different sized paint brushes to make the waves (depending on how “thick” you want the wave outline)
- Thick white paint maker – I used “Painters” brand chisel tip extra thick
- A laser level
- Big piece of paper + tape + scissors + pen to make a stencil
- Paper towel or rag to clean chalk from wall
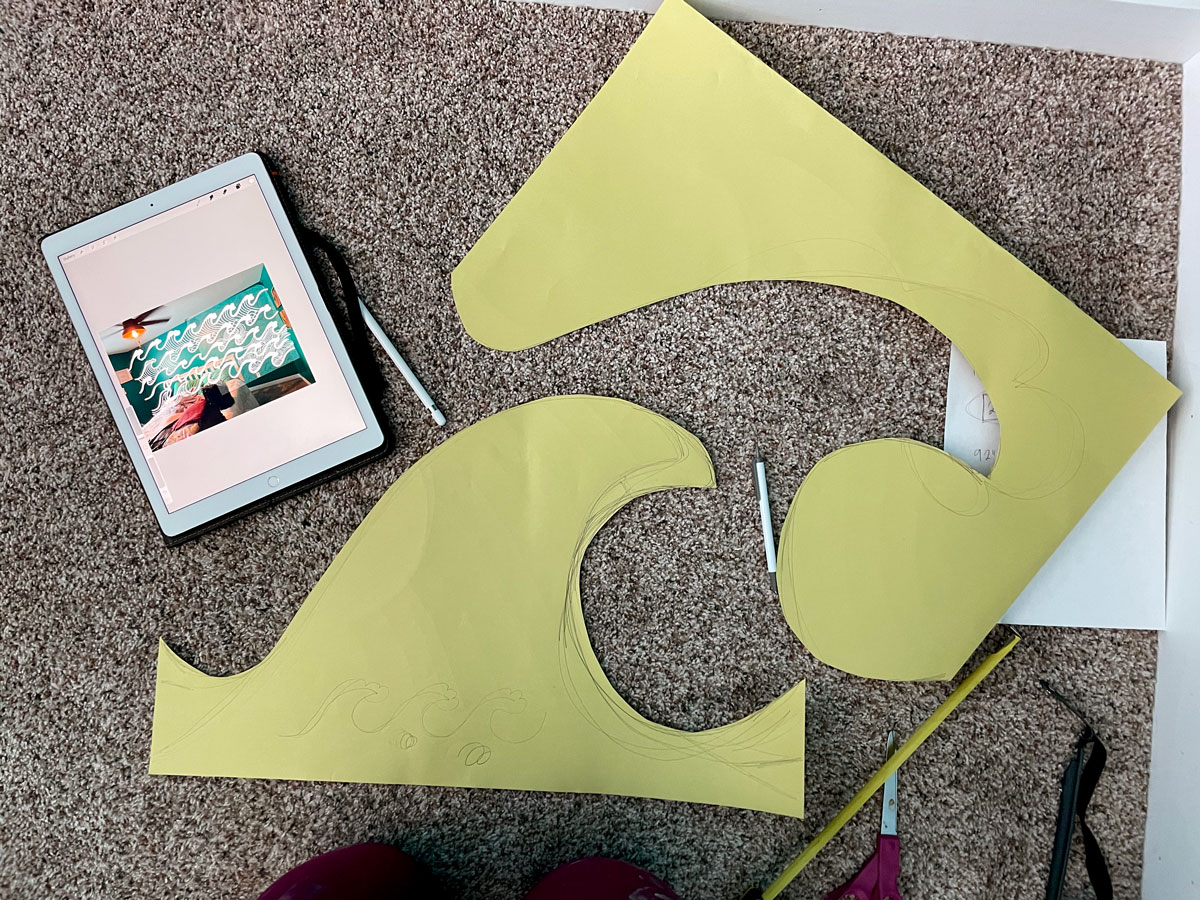
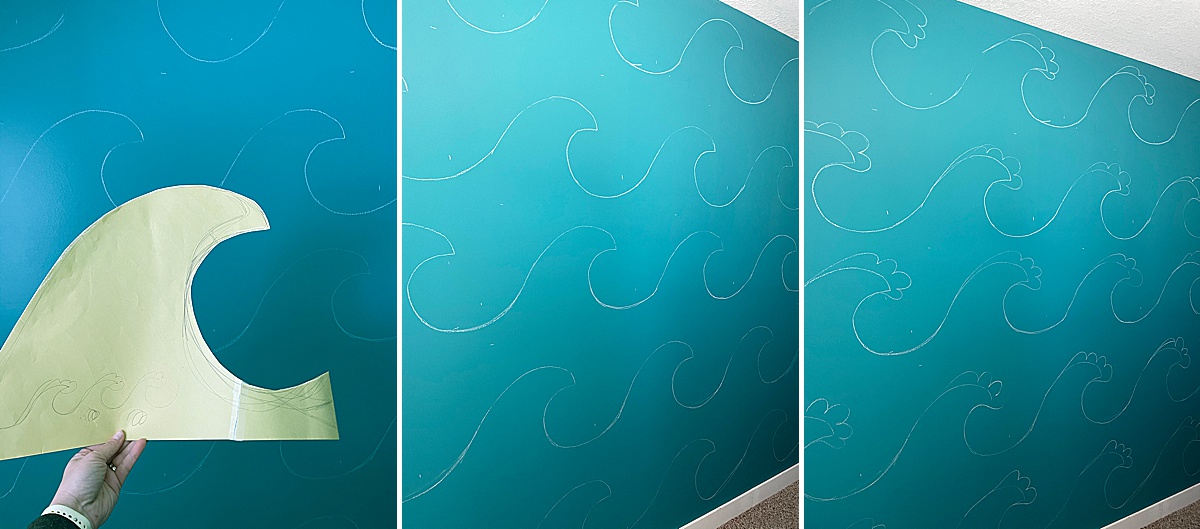
Since I knew that I wanted to add lots of line movement, it was important to be sure that the wave shape itself was as uniform as possible. So the first step was to measure the wall + make a wall stencil that “fit” in the dimensions of the walls’ width x height evenly. The wall measured 168″ x 92″, so I divided that out to make the wave wall stencil 24″. I drew the shape on a big piece of paper (you can use wrapping paper or even a cardboard box) and then cut out the wave from the paper. Using chalk, I then traced the wave onto the wall using a laser level to be sure that the waves continued in a straight line.
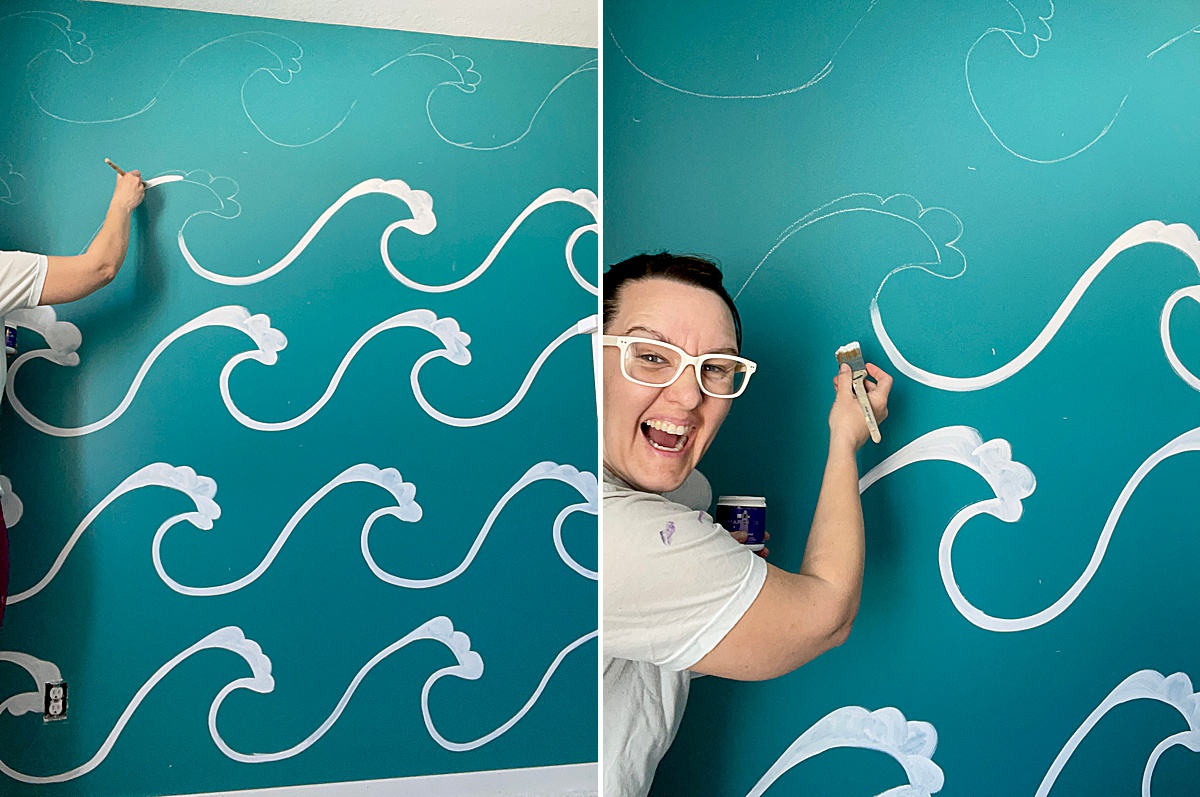
Use a paint brush (I used a 1 1/2″ thick brush) to “outline” the waves and added white caps to the wave (3 semi-circles near the crest of the wave).

After the painted waves were dry, I then began to chalk the lines, curved lines and movement amongst the waves. This is where things can get fun and you can add as little or as much detail as you’d like. The great thing about using chalk to do this is that it’s SUPER easy to wipe off if you don’t love the look.

When you have the chalk lines how you’d like them, grab a wet rag or paper towel and with one line at a time, wipe the line and then use your paint marker to trace over where the chalk line had just been.
note: you can *try* to use the paint marker to go right over the chalk without wiping it off first, but I didn’t have any luck getting constancy with the paint marker with the chalk still on the wall.
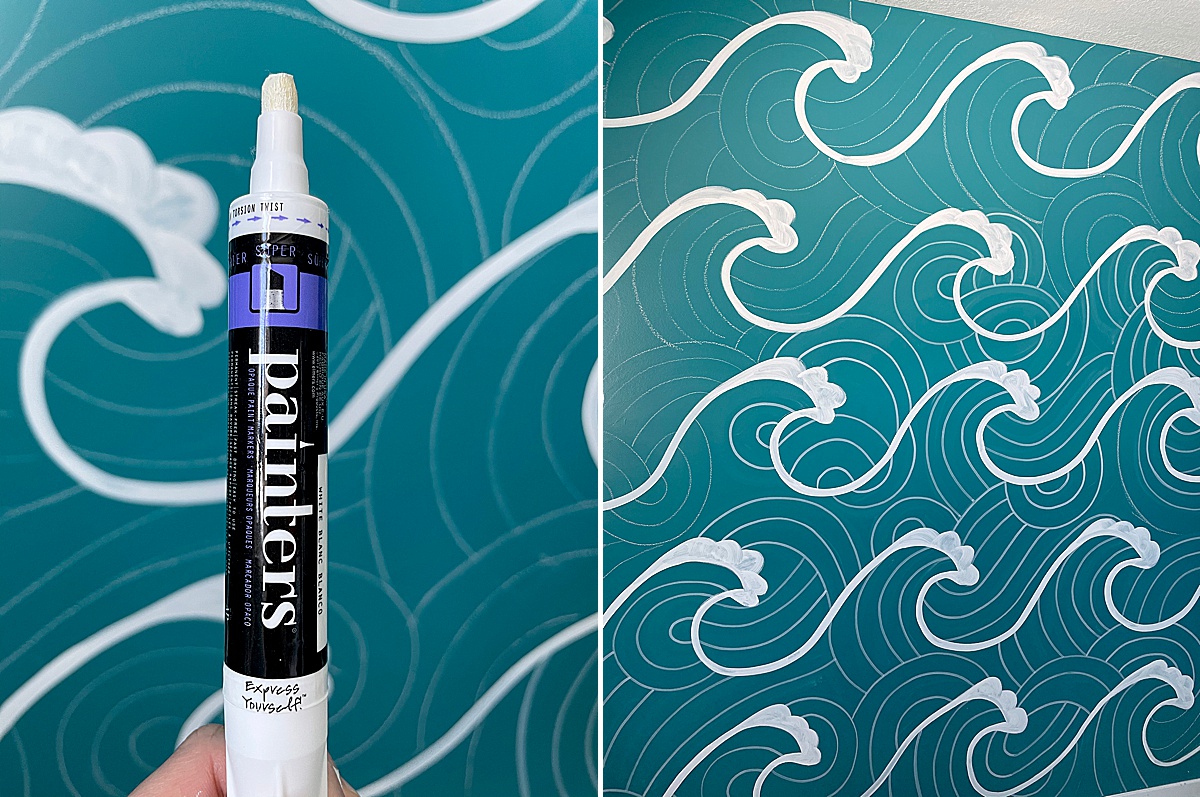
Keep repeating your paint lines until the entire wall is covered and looking AMAZING! I’d recommend wiping the entire wall one last time with a rag + water to be sure that all of the chalk is removed! 🙂

