How to make a pizza piñata + punny pizza buttons!
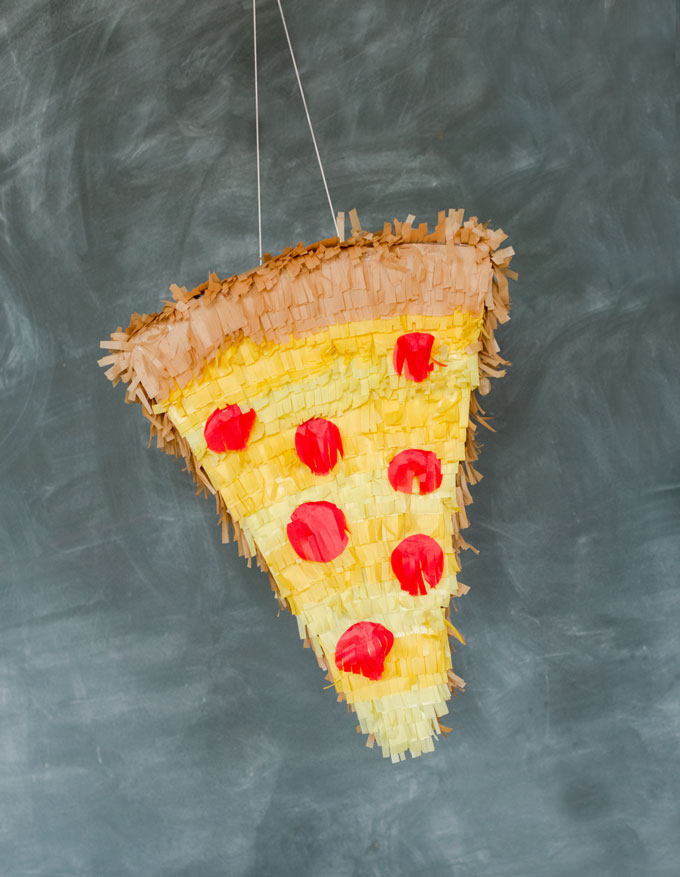
My niece turned three last weekend and my Sister-in-law threw one of the cutest, easiest toddler parties ever…..she ordered a bunch of pizzas, had everyone come in their cozies to hang out and enjoy one another. She made simple cupcakes and we ate pizza and opened presents….it was everything a party for a toddler should be. Full of color, good food, lots of laughing, LOADS of presents and a simple concept that won’t break the bank OR leave you exhausted afterwards! 🙂 So, HIGH FIVES Lanae, we love you and your pizza ideas! 🙂
But, she mentioned that she wanted a pizza piñata for the kiddos that were coming. I say AGAIN, why NOT give the toddlers and pre-schoolers a bat to whack a piñata open with everyone in the living room?! What could go wrong?? And thankfully nothing DID go wrong! 🙂 When the piñata opened, it was a mad scramble to pick up all of the fave candy pieces before running off to play together some more! 🙂
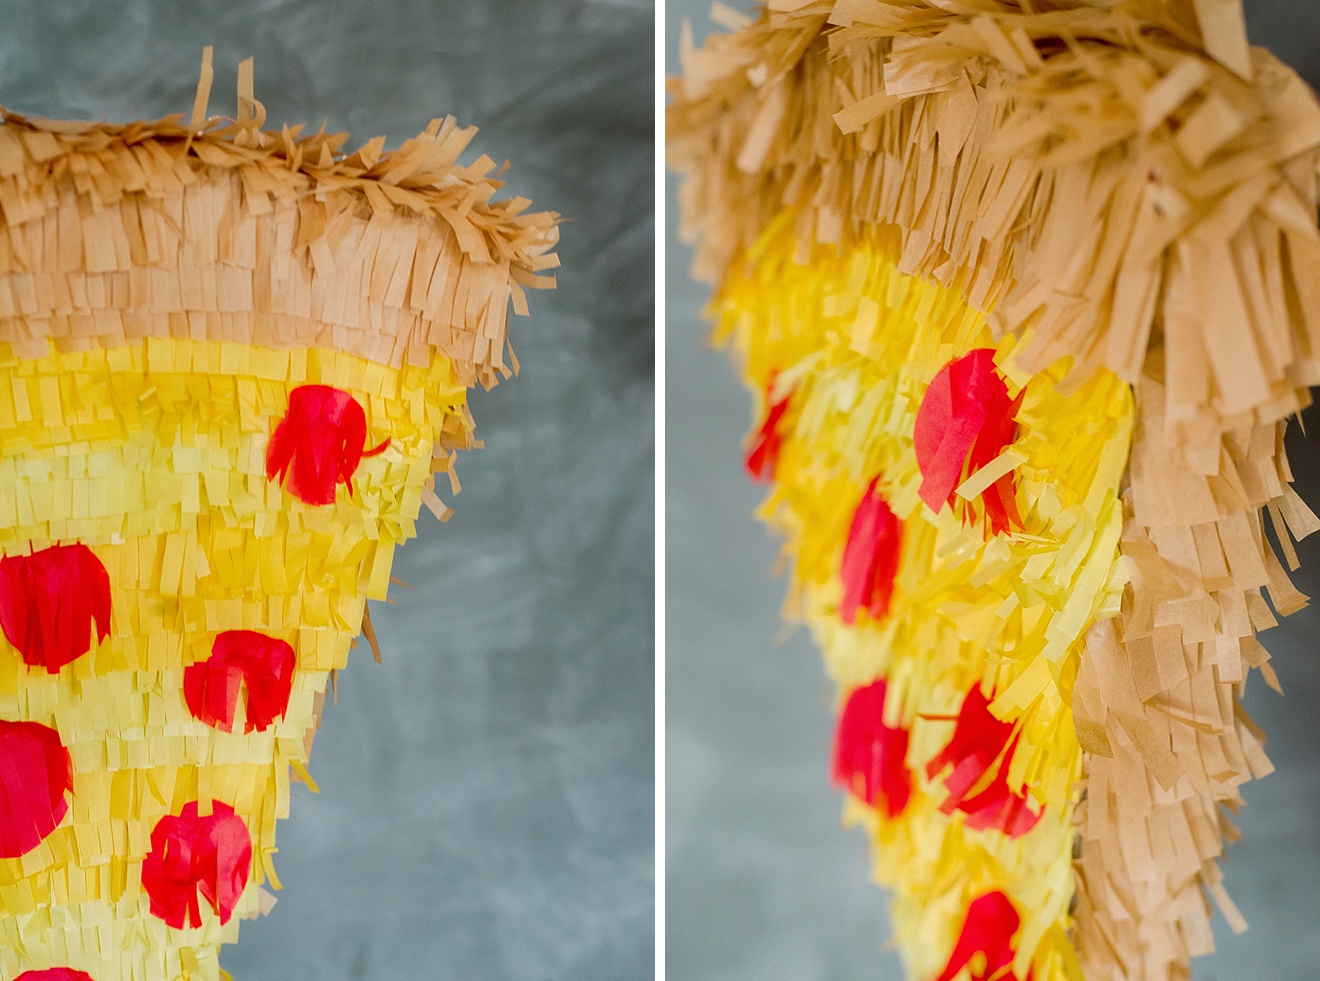
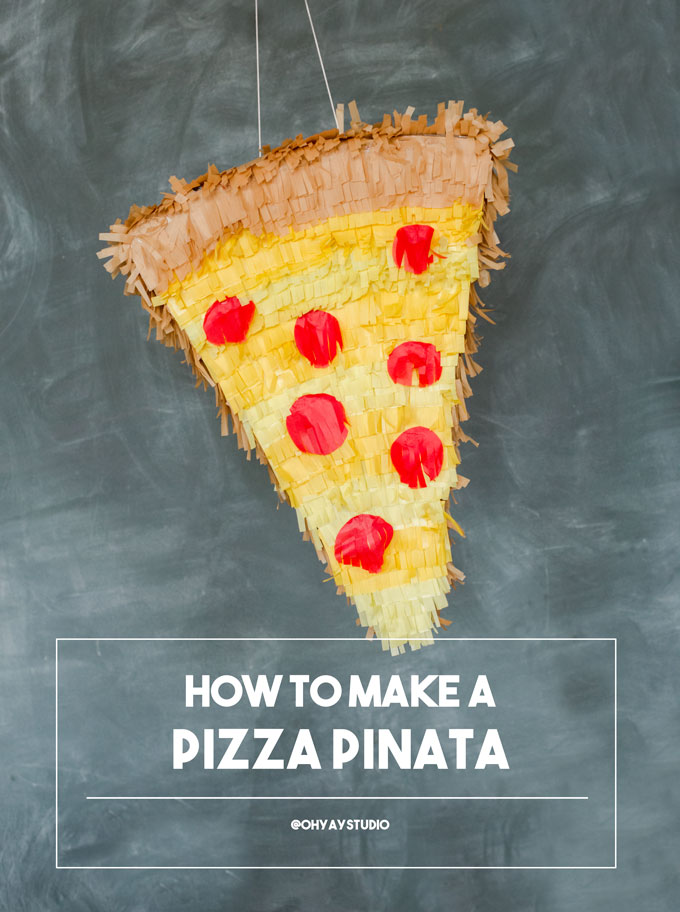
This was one of the EASIEST piñatas that I’ve ever made! So today I am sharing with you this tutorial on how to make your own pizza piñata with some tips and tricks! 🙂 It’s basically a triangle with a curved top, decorated to look like a pizza! 🙂 I chose to decorate the cheese in alternating stripes of yellow tissue so that it had some movement and resembled the “mix” of cheese that many pizza places use! 🙂
I used the basic piñata form and idea from the Number Piñata that I had made for Esther’s birthday and just adjusted it for the pizza shape and decor! 🙂
Supply list:
2-3 large pieces of cardboard
Tape (duct, packing, or masking would work great)
Glue
Scissors
tissue paper (kraft color for crust, yellow for cheese and any other “topping” colors)
LOTS of candy
String
optional box cutter or Xacto Knife
- STEP ONE : Draw and cut out your number
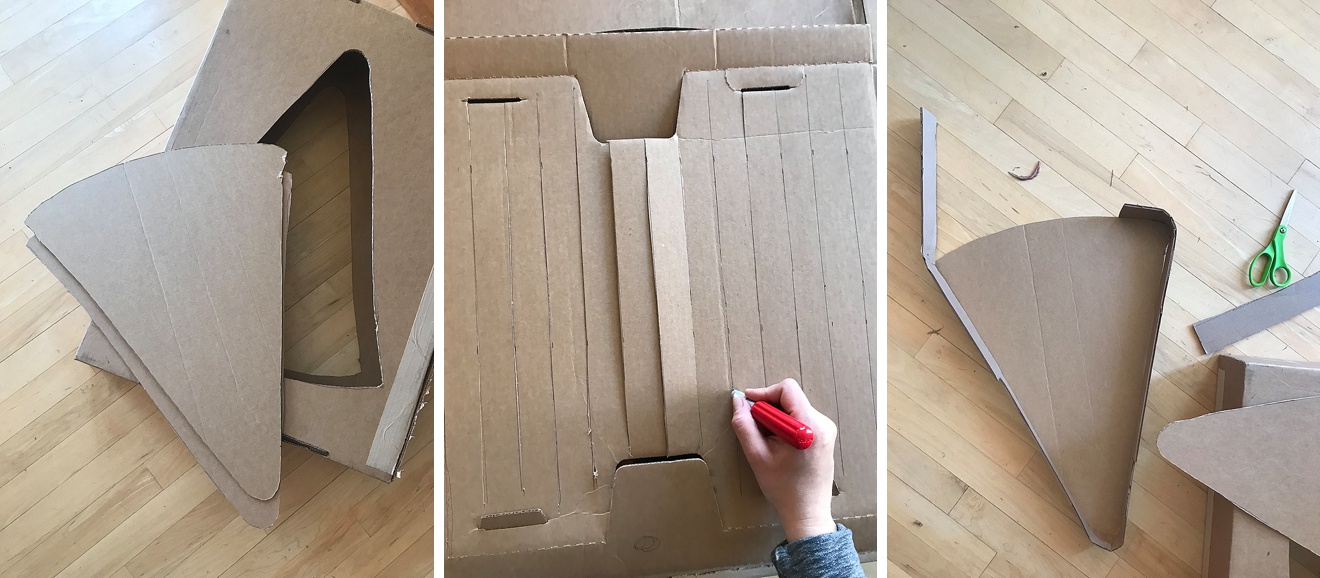
Draw a “pizza shape” as big or as little as you’d like it…I basically drew a triangle with a rounded top, EASY PEASY, right??!! And remember to make TWO, this will become the front and back. I drew the first one, cut it out and then traced it to the 2nd piece of cardboard. Also cut 2 inch “strips” of cardboard that will become the “sides” of the piñata. - STEP TWO : Tape Piñata together to make it 3-D
With your tape (we used a combo of duct and packing…both VERY STRONG that it proved many wacks before the kids could get it open), start taping the sides to the front and back number. Cap off the ends, and cover the entire sides of the piñata. Leave an opening at the top of the piñata to fill with candy - STEP THREE : Fill hole with candy!
YAY! And pro-tip, fill it early so that you don’t eat all the candy while putting it together. 🙂 - STEP FOUR : Cut out and fringe your tissue
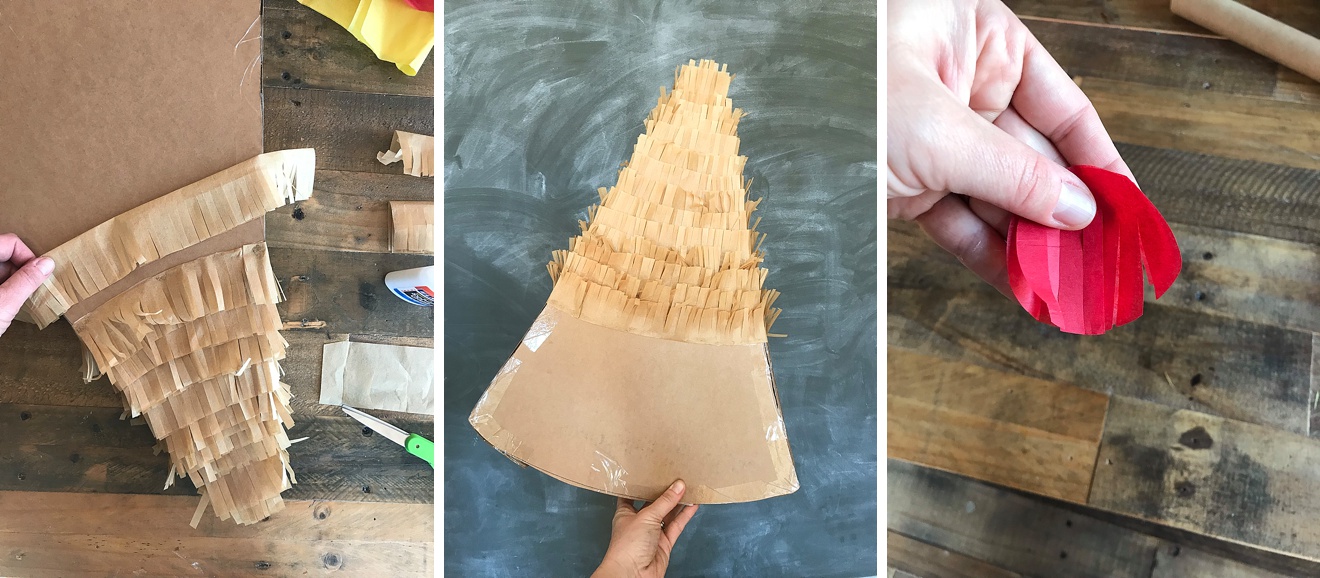
Fold your tissue in 1/2 or in 1/4 (I just pulled it out of the package and unfolded the width, but kept it creased in length). This just helps so that you aren’t cutting for days! And it also makes the fringe look thicker and more plush basically essentially I had 2 strips of tissue together that were fringed together so that you couldn’t see through to the cardboard! 🙂 - STEP FIVE : Glue and decorate
With your strips cut and prepped, start gluing! This is the fun part because you can decorate it in any way you want to. I began with the back so that I could start on the sides and wrap around the back to the other side (this was the “crust” color). And then moved to the front to cover in cheese and then “decorate” with toppings!
Start by beading a strip of glue along the top uncut portion of the tissue, and then place it on the piñata! It’s that simple. - STEP SIX : String, hang and bang open! 🙂
FUNNNNNN!
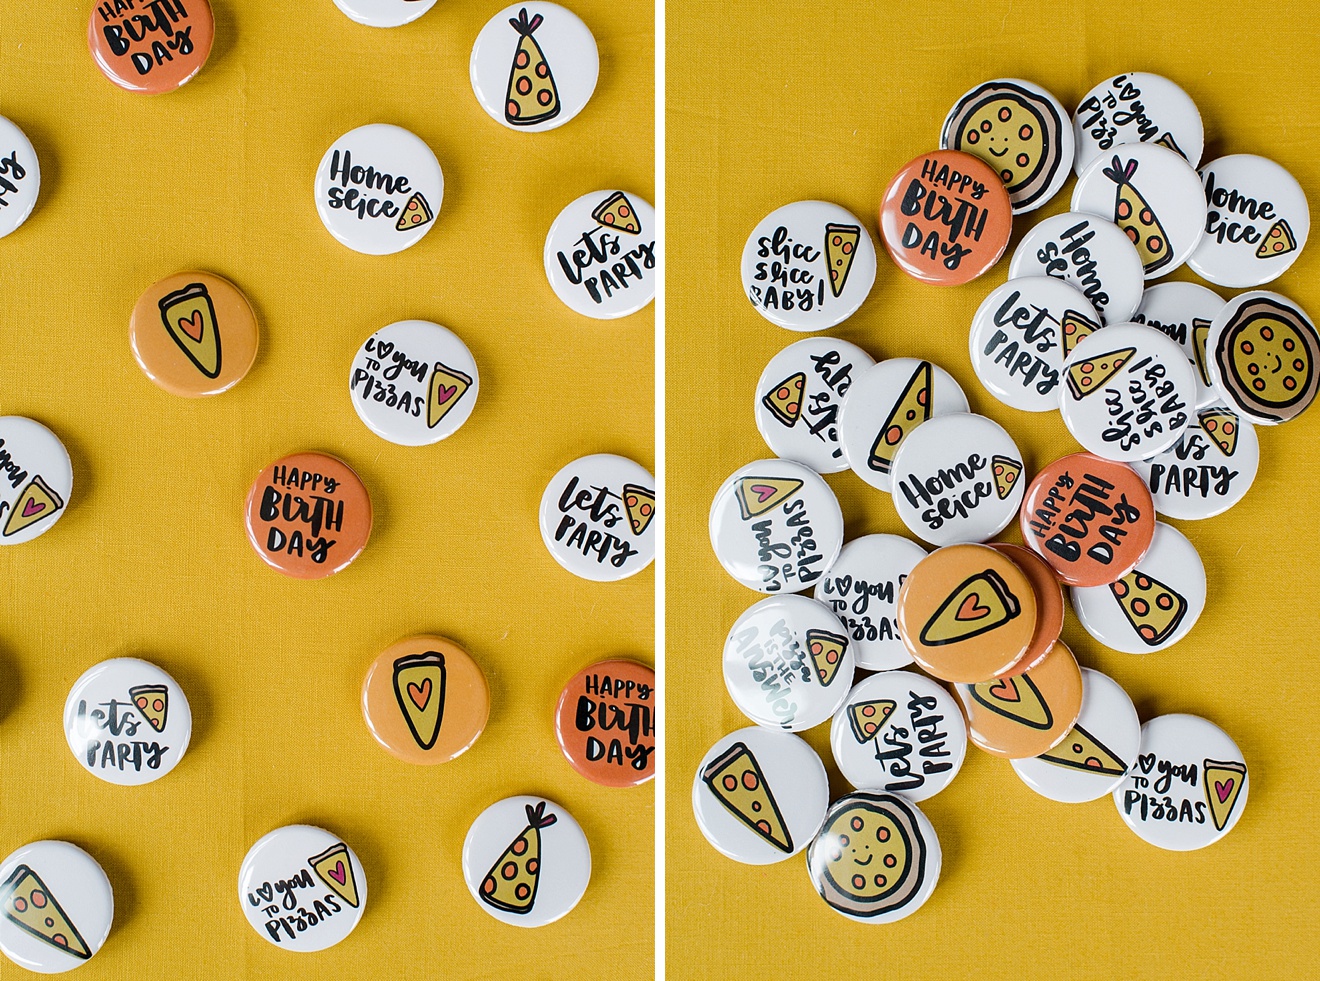
I also made super punny and great Pizza buttons for everyone to wear to get into the “pizza spirit”…..watch the shop, some of these may just pop up for sale soon! 🙂 *wink wink*

3 Comments
Comments are closed.