Crayon Shoe DIY
*sponsored by Tulip and their awesome new Tulip Stitch Paint
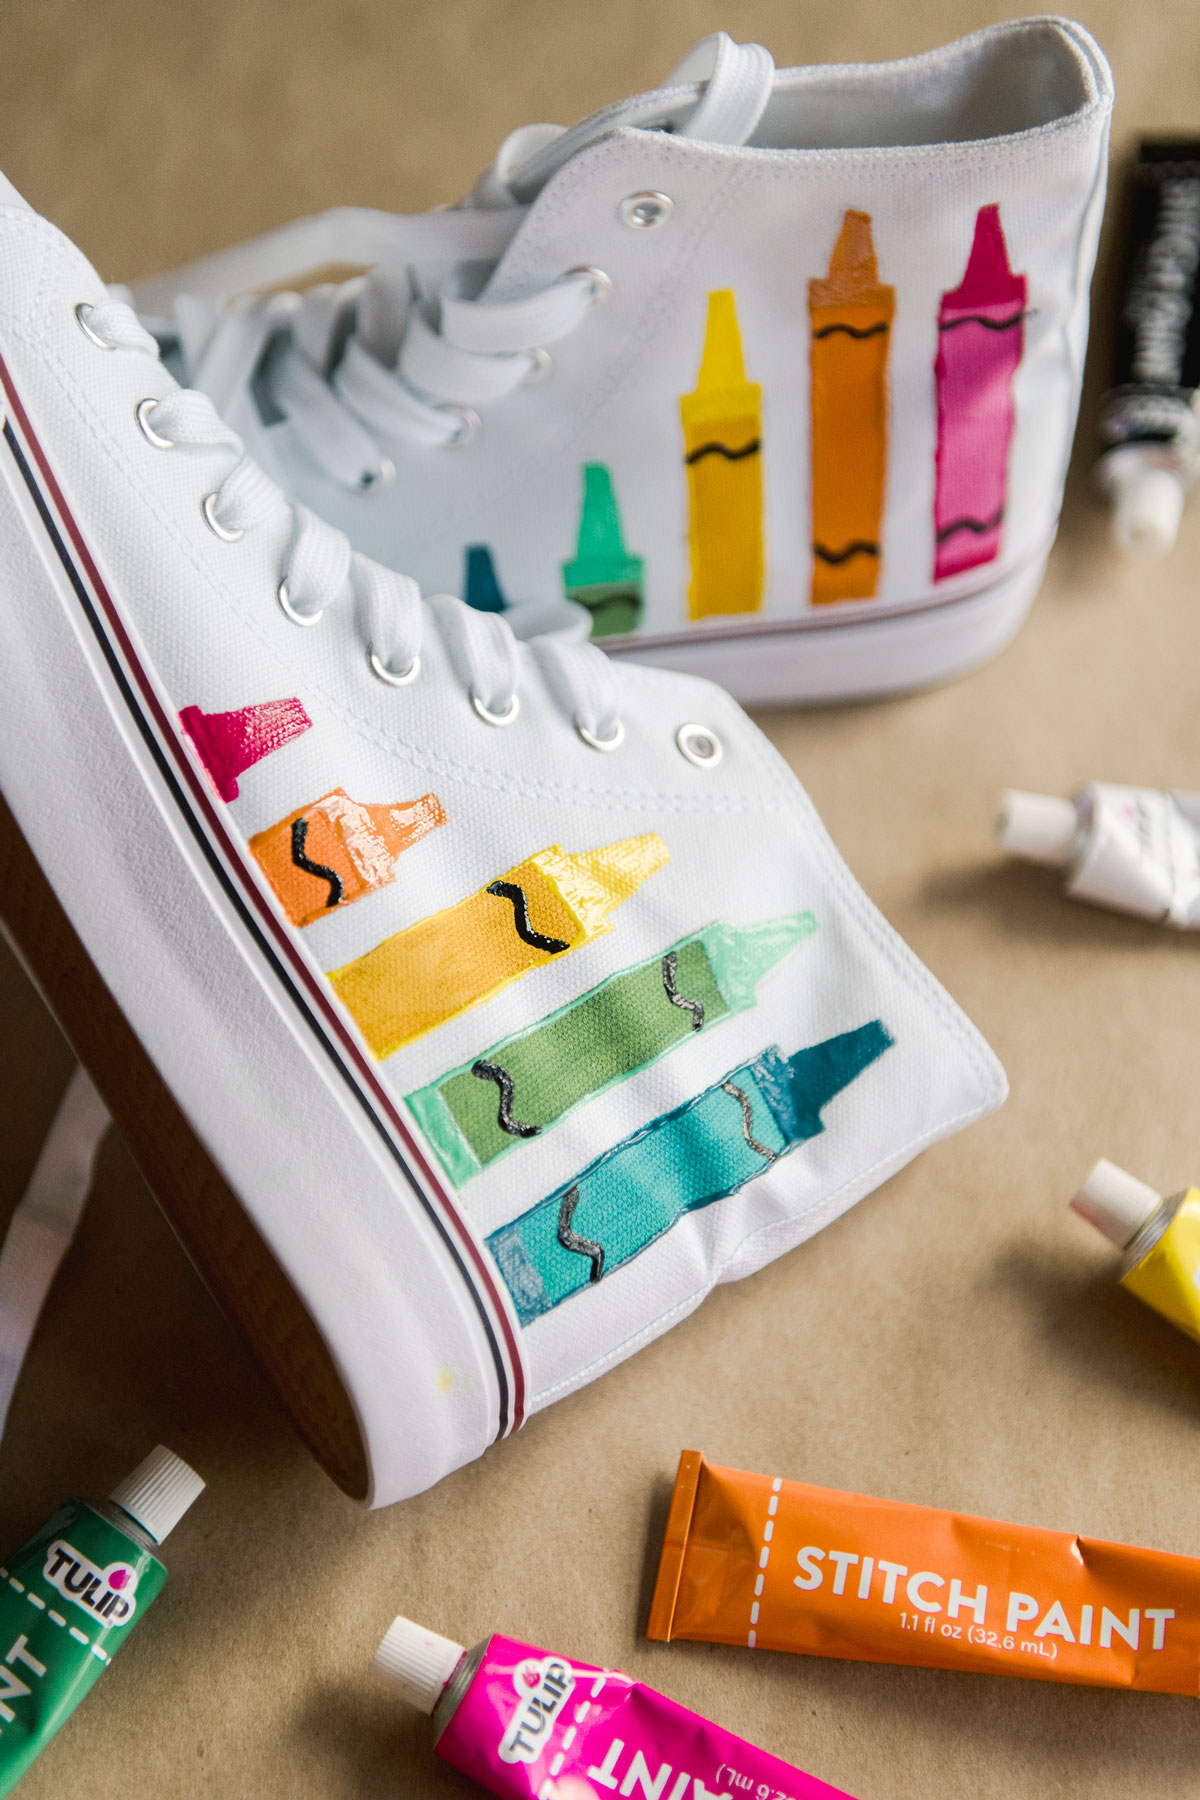
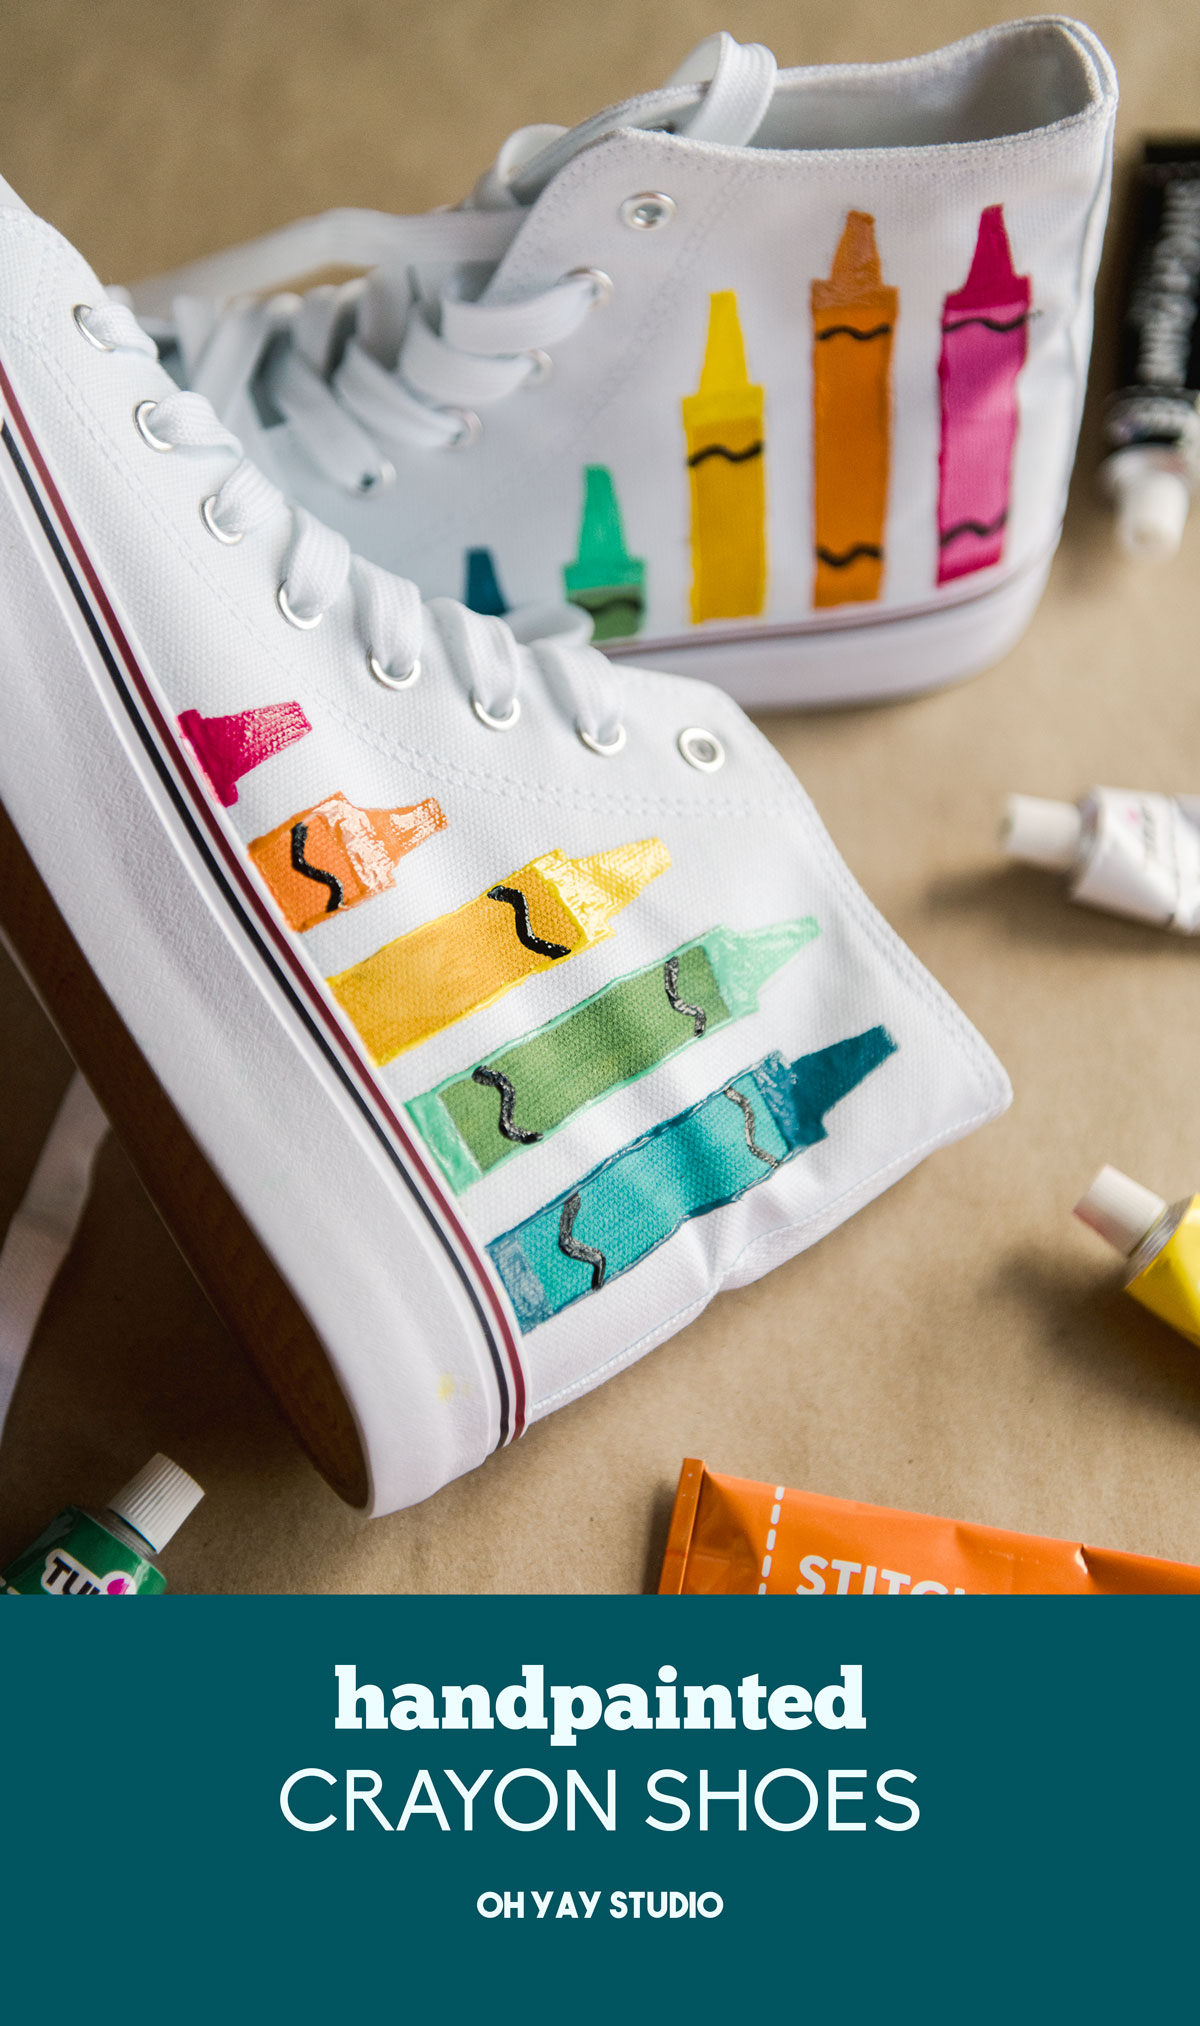
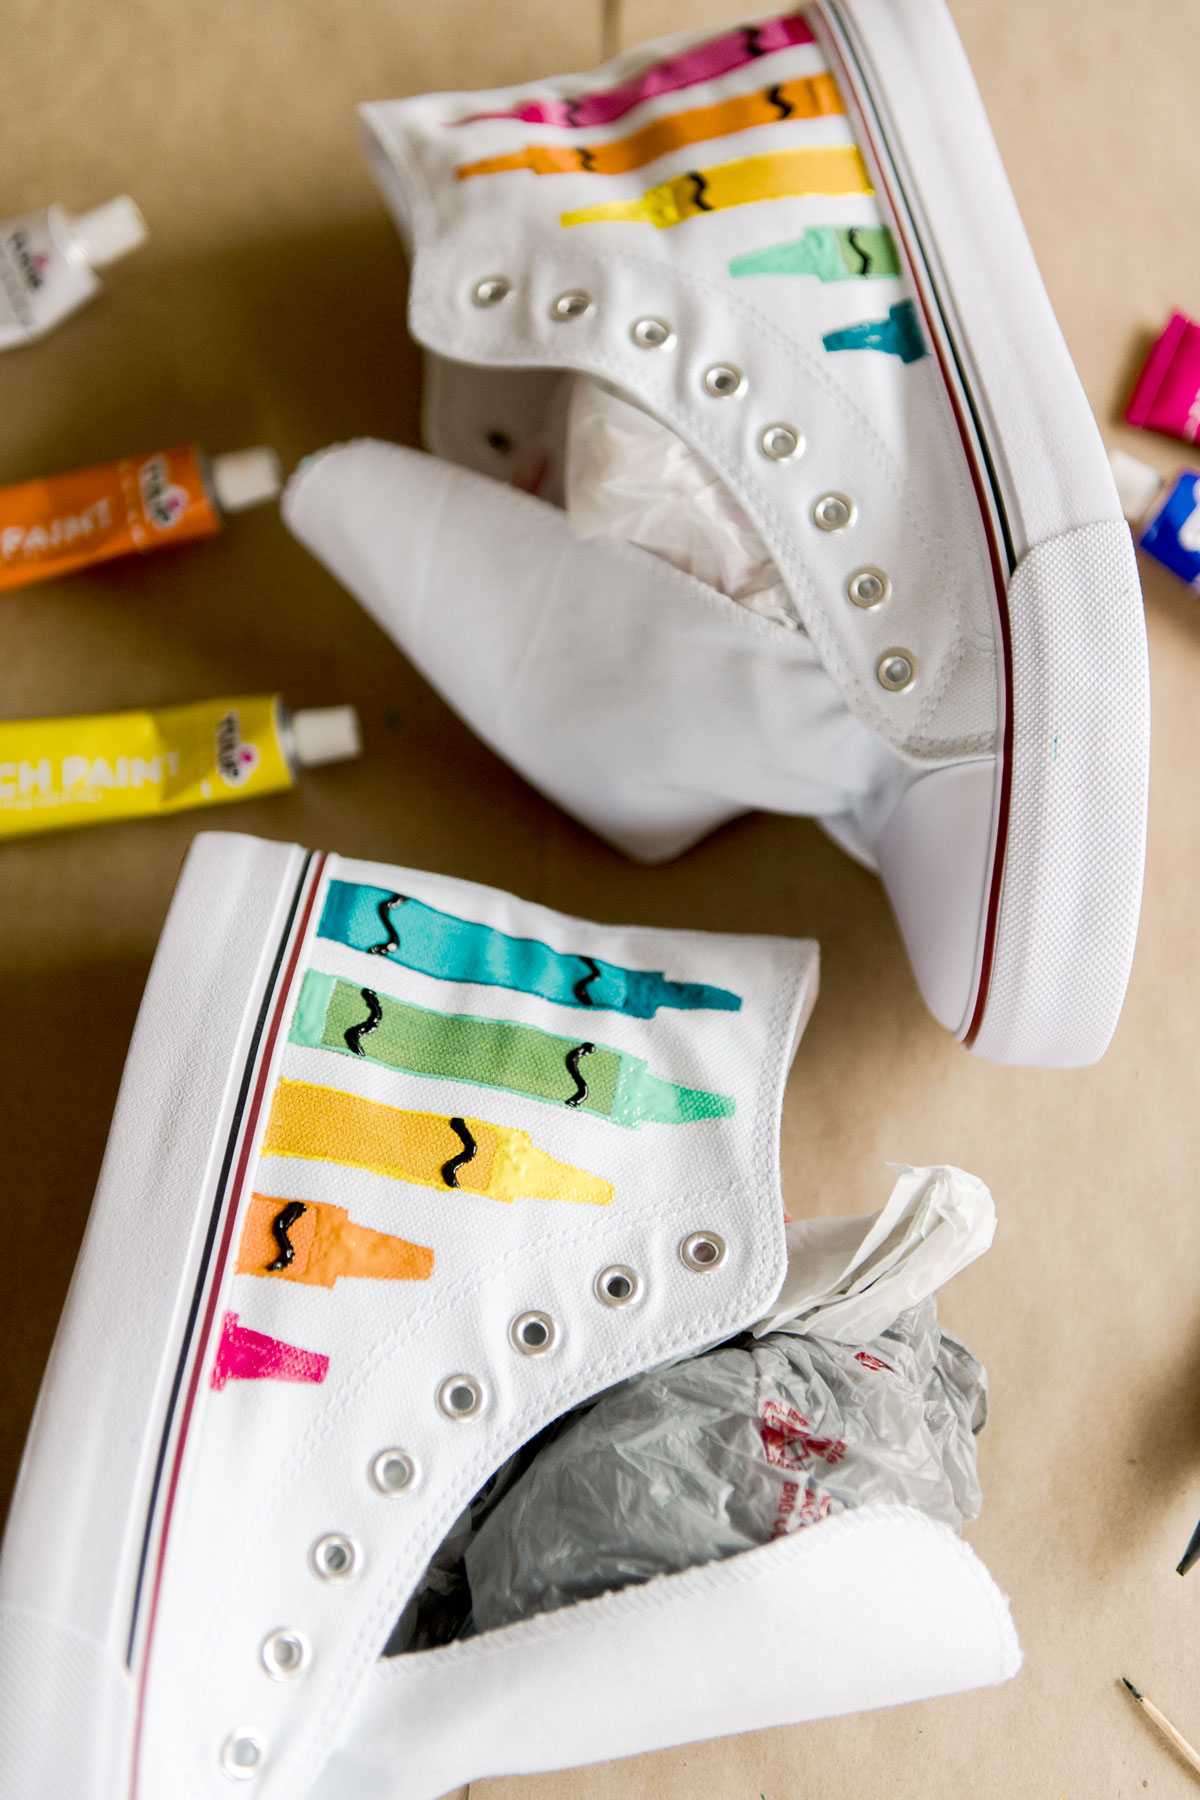
Because who doesn’t need a painted pair of shoes with crayons on them?!?! RIGHT? right!
If you’re a teacher, creative, crafter or just generally love colorful things then HONESTLY honestly you may need to make yourself a pair of these canvas beauties! I wear converse-style shoes ALL THE TIME so it was a no brainer for me to pick up an inexpensive pair of white canvas high tops and paint these crayons on them! They would be a perfect back-to-school idea or a gift idea but heck, you can wear them any day of the week all year round if ya ask me!
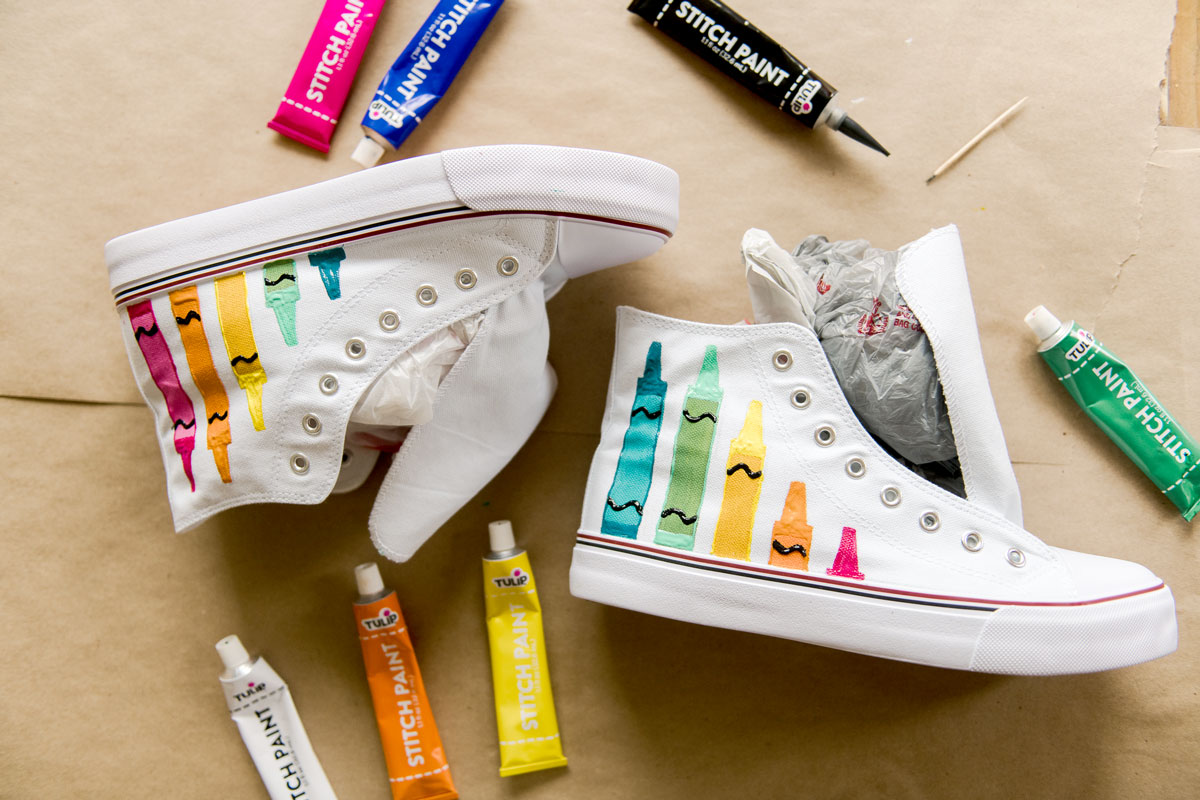
MATERIALS:
- A pair of shoes to paint (wash if needed before painting – I found that canvas shoes work best)
- A box of Tulip Stitch Paint
- A pencil
- A piece of paper (to make a stencil if you want)
- Some paint brushes and paint palette for mixing some custom colors (optional)
- Paper or newspaper or cardboard to cover your work surface
- Some toothpicks for smoothing out the small details 🙂
INSTRUCTIONS:
1. Prep your work surface by laying down some protective paper or cardboard and prep your shoes by washing them if needed
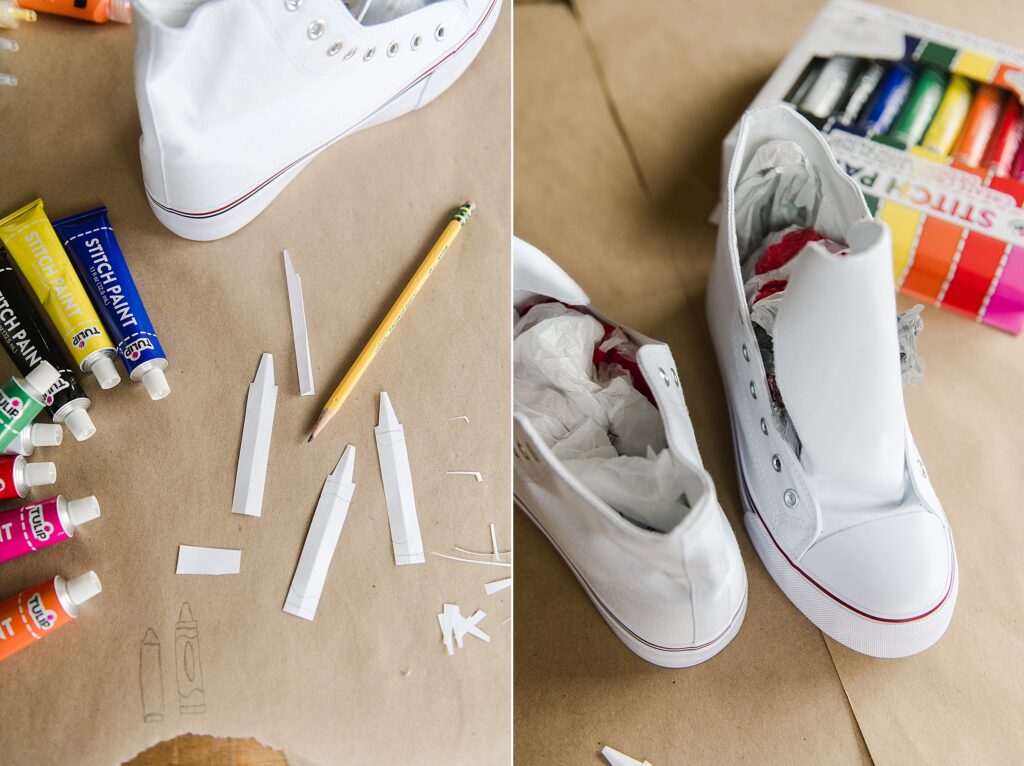
2. Cut out a crayon template from a piece of paper. I began by doodling a crayon shape and cut out a few pieces to see how they looked on my canvas shoes – I found that size of the crayon matters for the size of shoe you have (ie, you don’t have a HUGE crayon if you have smaller shoes). Cut out as many templates as needed to get your sizing right as you visualize how the crayons will lay out on the shoes.
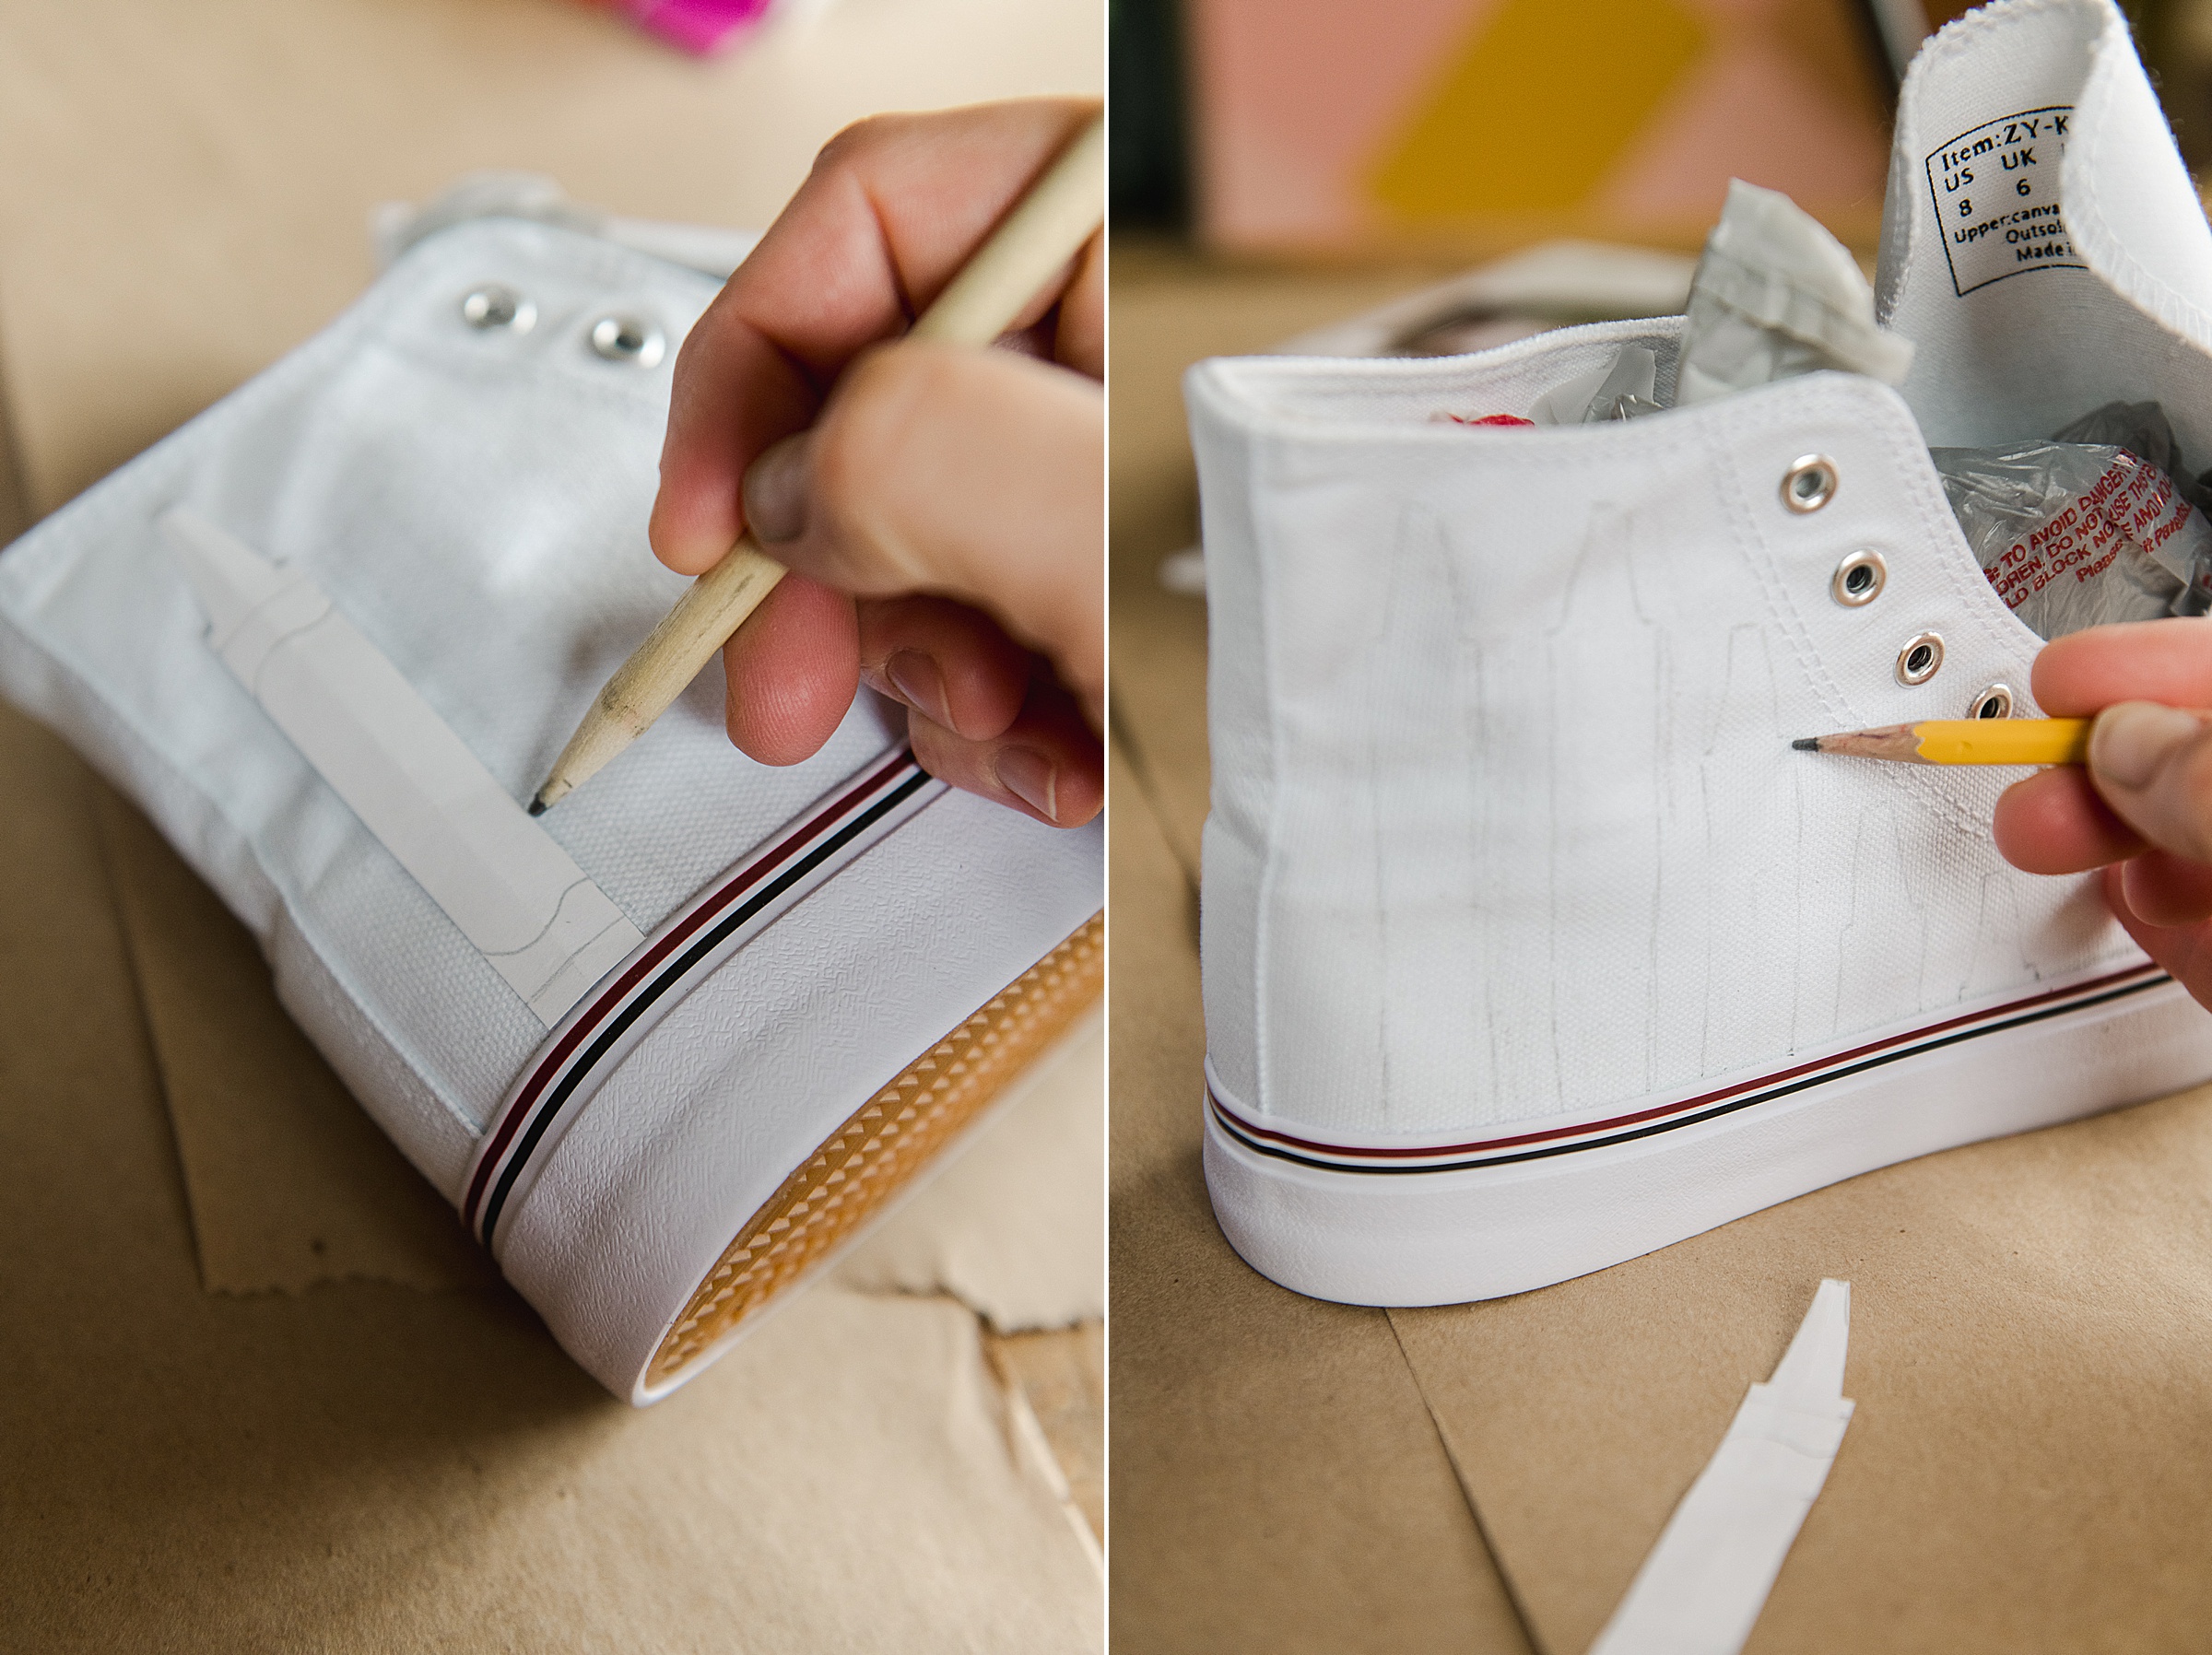
3. Trace your template LIGHTLY with your pencil – This is just to give general lines – don’t push too hard with your pencil because pencil led is hard to remove from canvas material if you mess up 🙂
Tip: Before tracing, stuff some extra paper (your kids homework works awesome for this) or some extra plastic bags that you have from stores inside the shoe to give it stability while you are tracing and painting 🙂
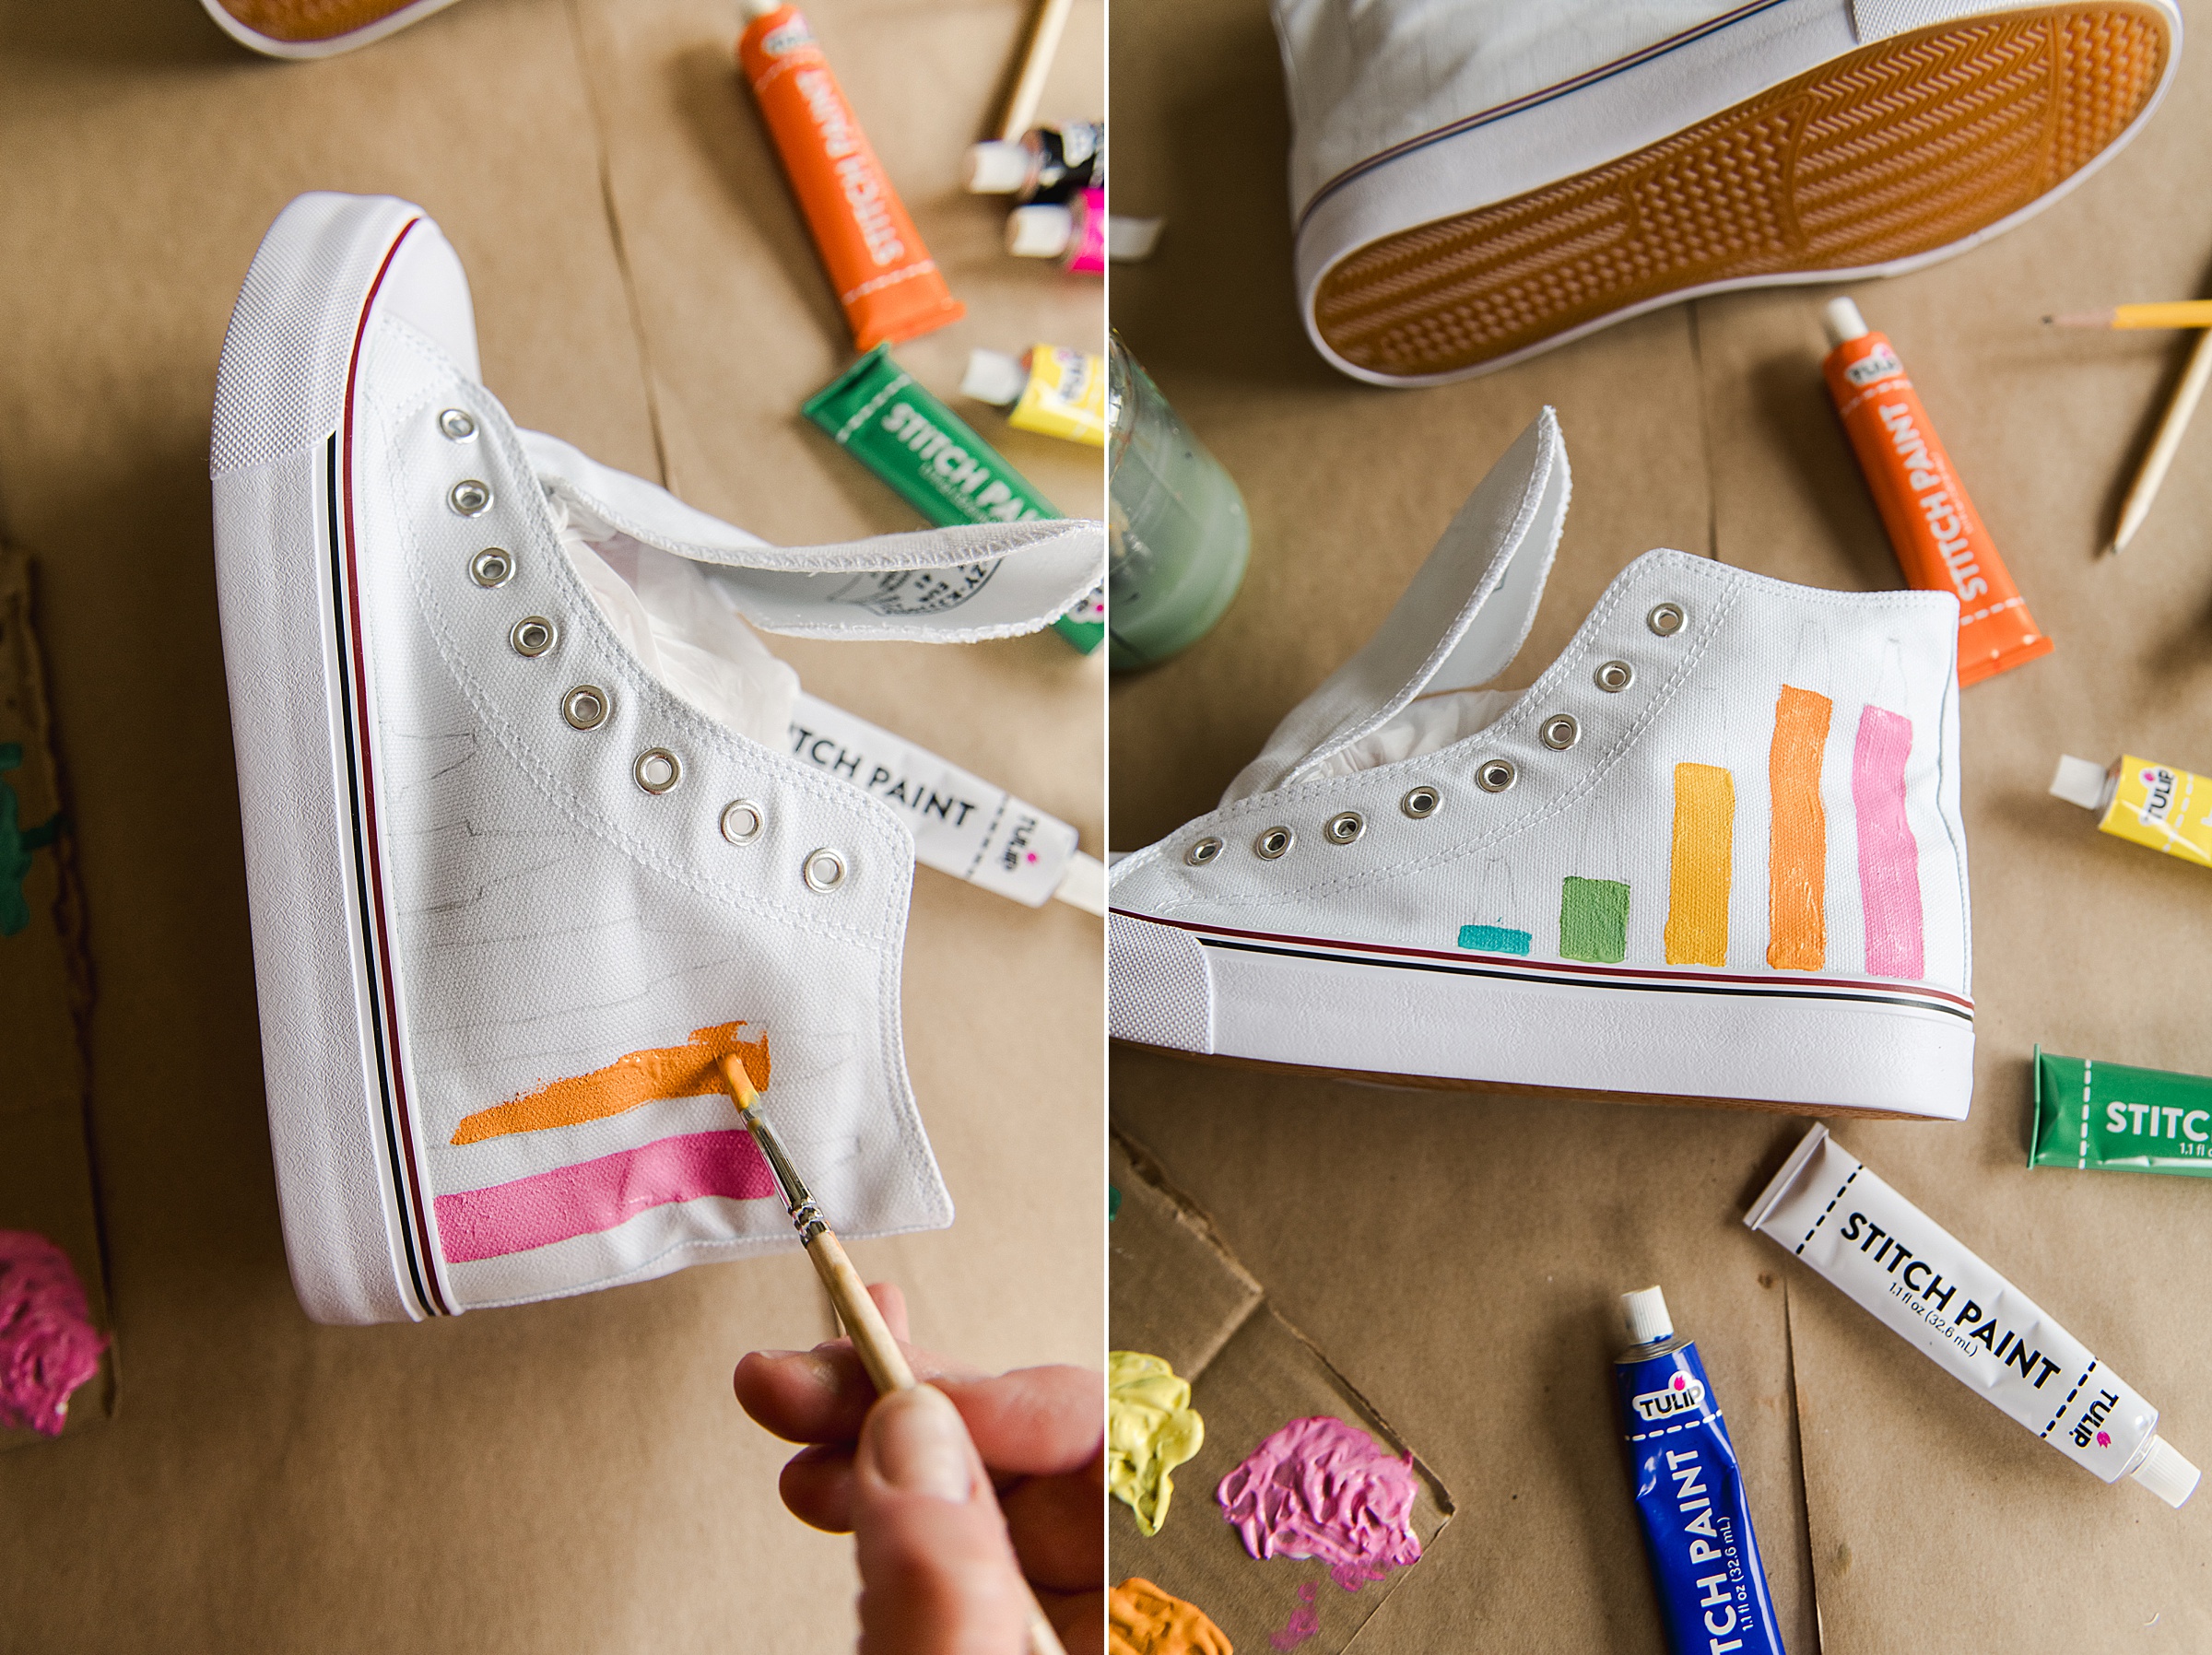
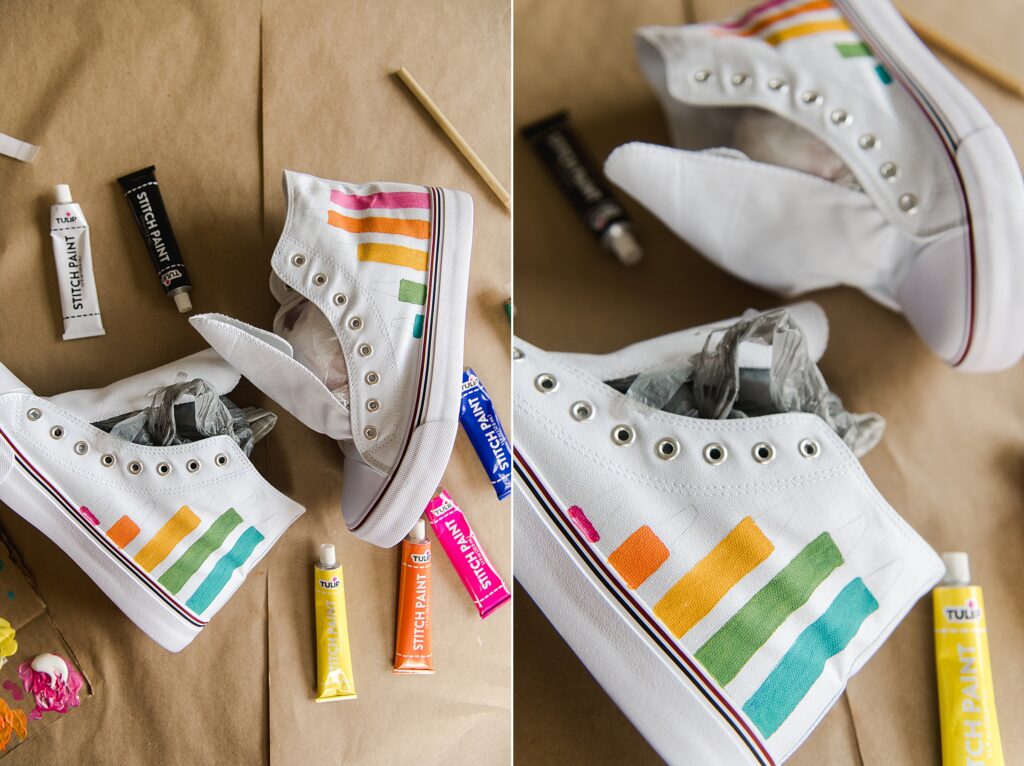
4. Working one side of each shoe at a time, you will begin to paint in your “background” of your crayon. For the background, I chose to mix some of the white paint with each of the colors I was going to use (pink, orange, yellow, green and blue) to get the lighter color of the crayon. I also only painted the main shaft part of the crayon in this step as well.
A few tips on painting this part:
- Use a square tip brush for this – it’s easier to get crisp lines
- Go slow and flow with the awesome texture of this paint – your lines will be SUPER easy to paint because this paint is thick but very very smooth to paint with
- I only needed to do one coat – but feel free to do 2 if you desire
Paint all of your crayons and set aside to dry! 🙂
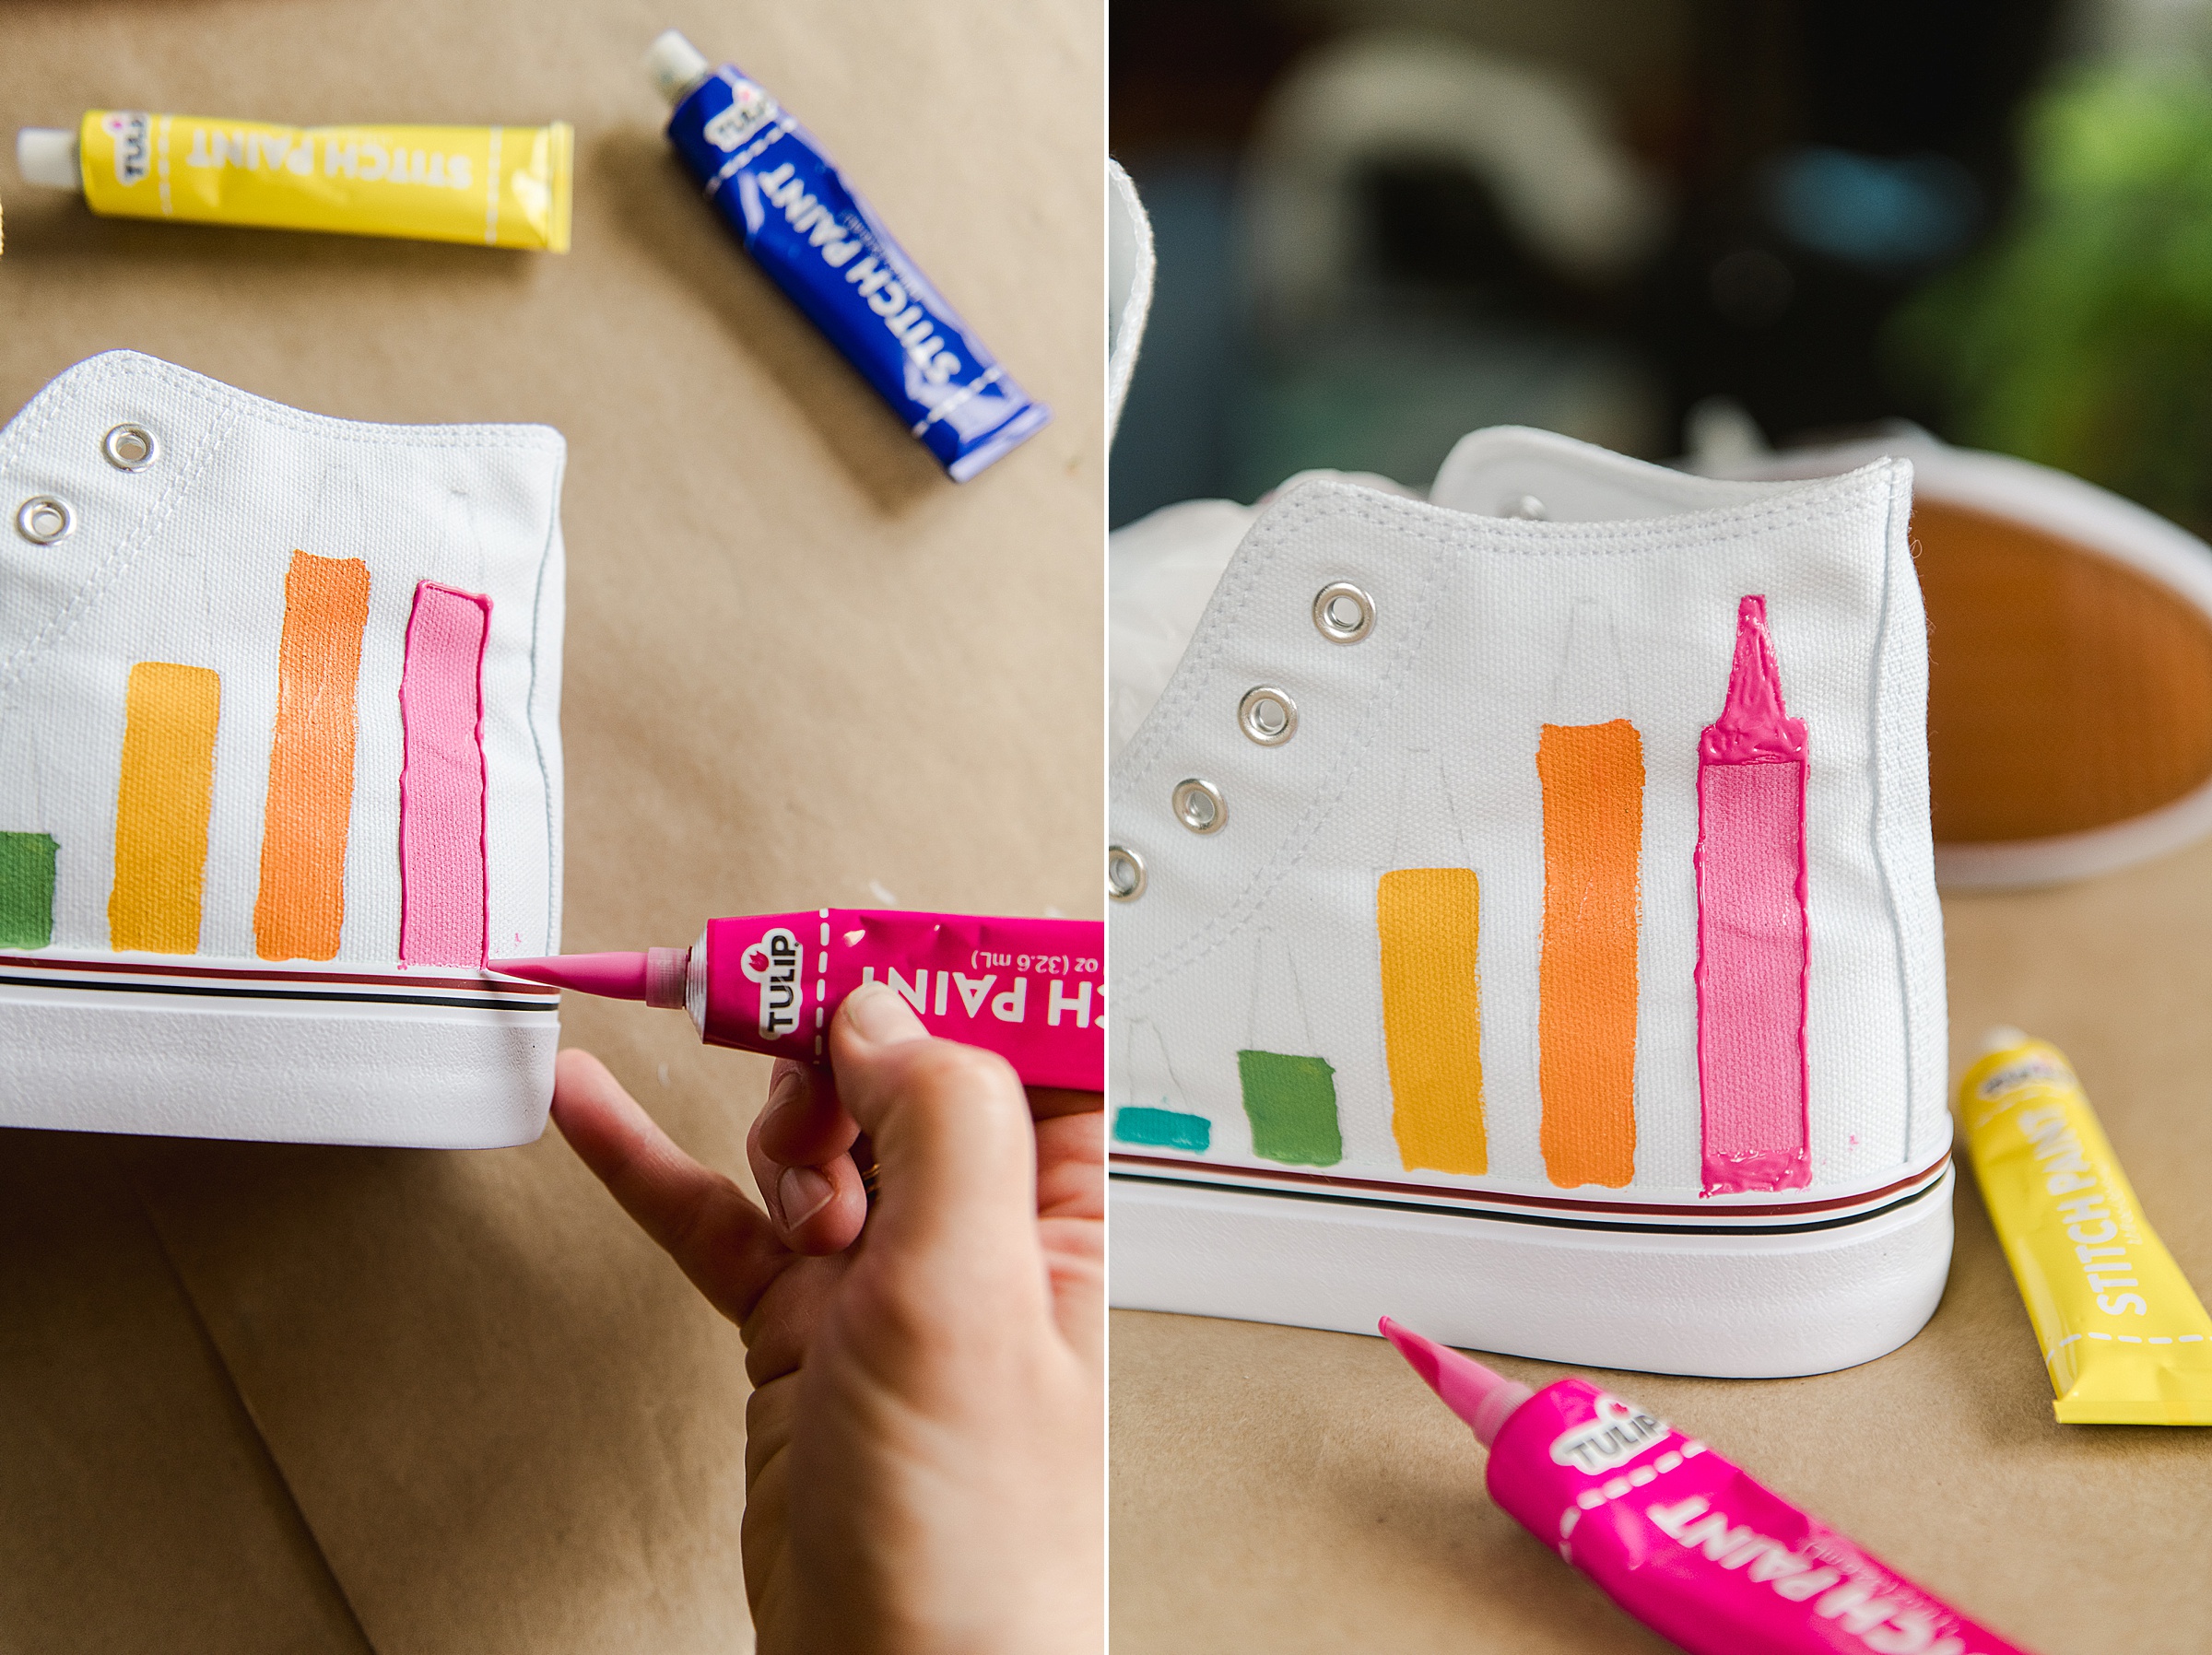
5. Now it’s time to Stitch Paint! Place the precision tips onto the Tulip Stitch Paint bottles and snip off the very slightest amount on the edge of the precision tip with a scissors. Test your Stitch Paint on a separate piece of paper or fabric to get the flow of the line of the stitching effect. When you’re confident in your line, you will begin to use your Stitch Paint to outline your crayons, paint in the tip of the crayon as well as the small amount on the top and bottom of each crayon (to leave the lighter color previously painted in step 4 as the “paper” of the crayon).
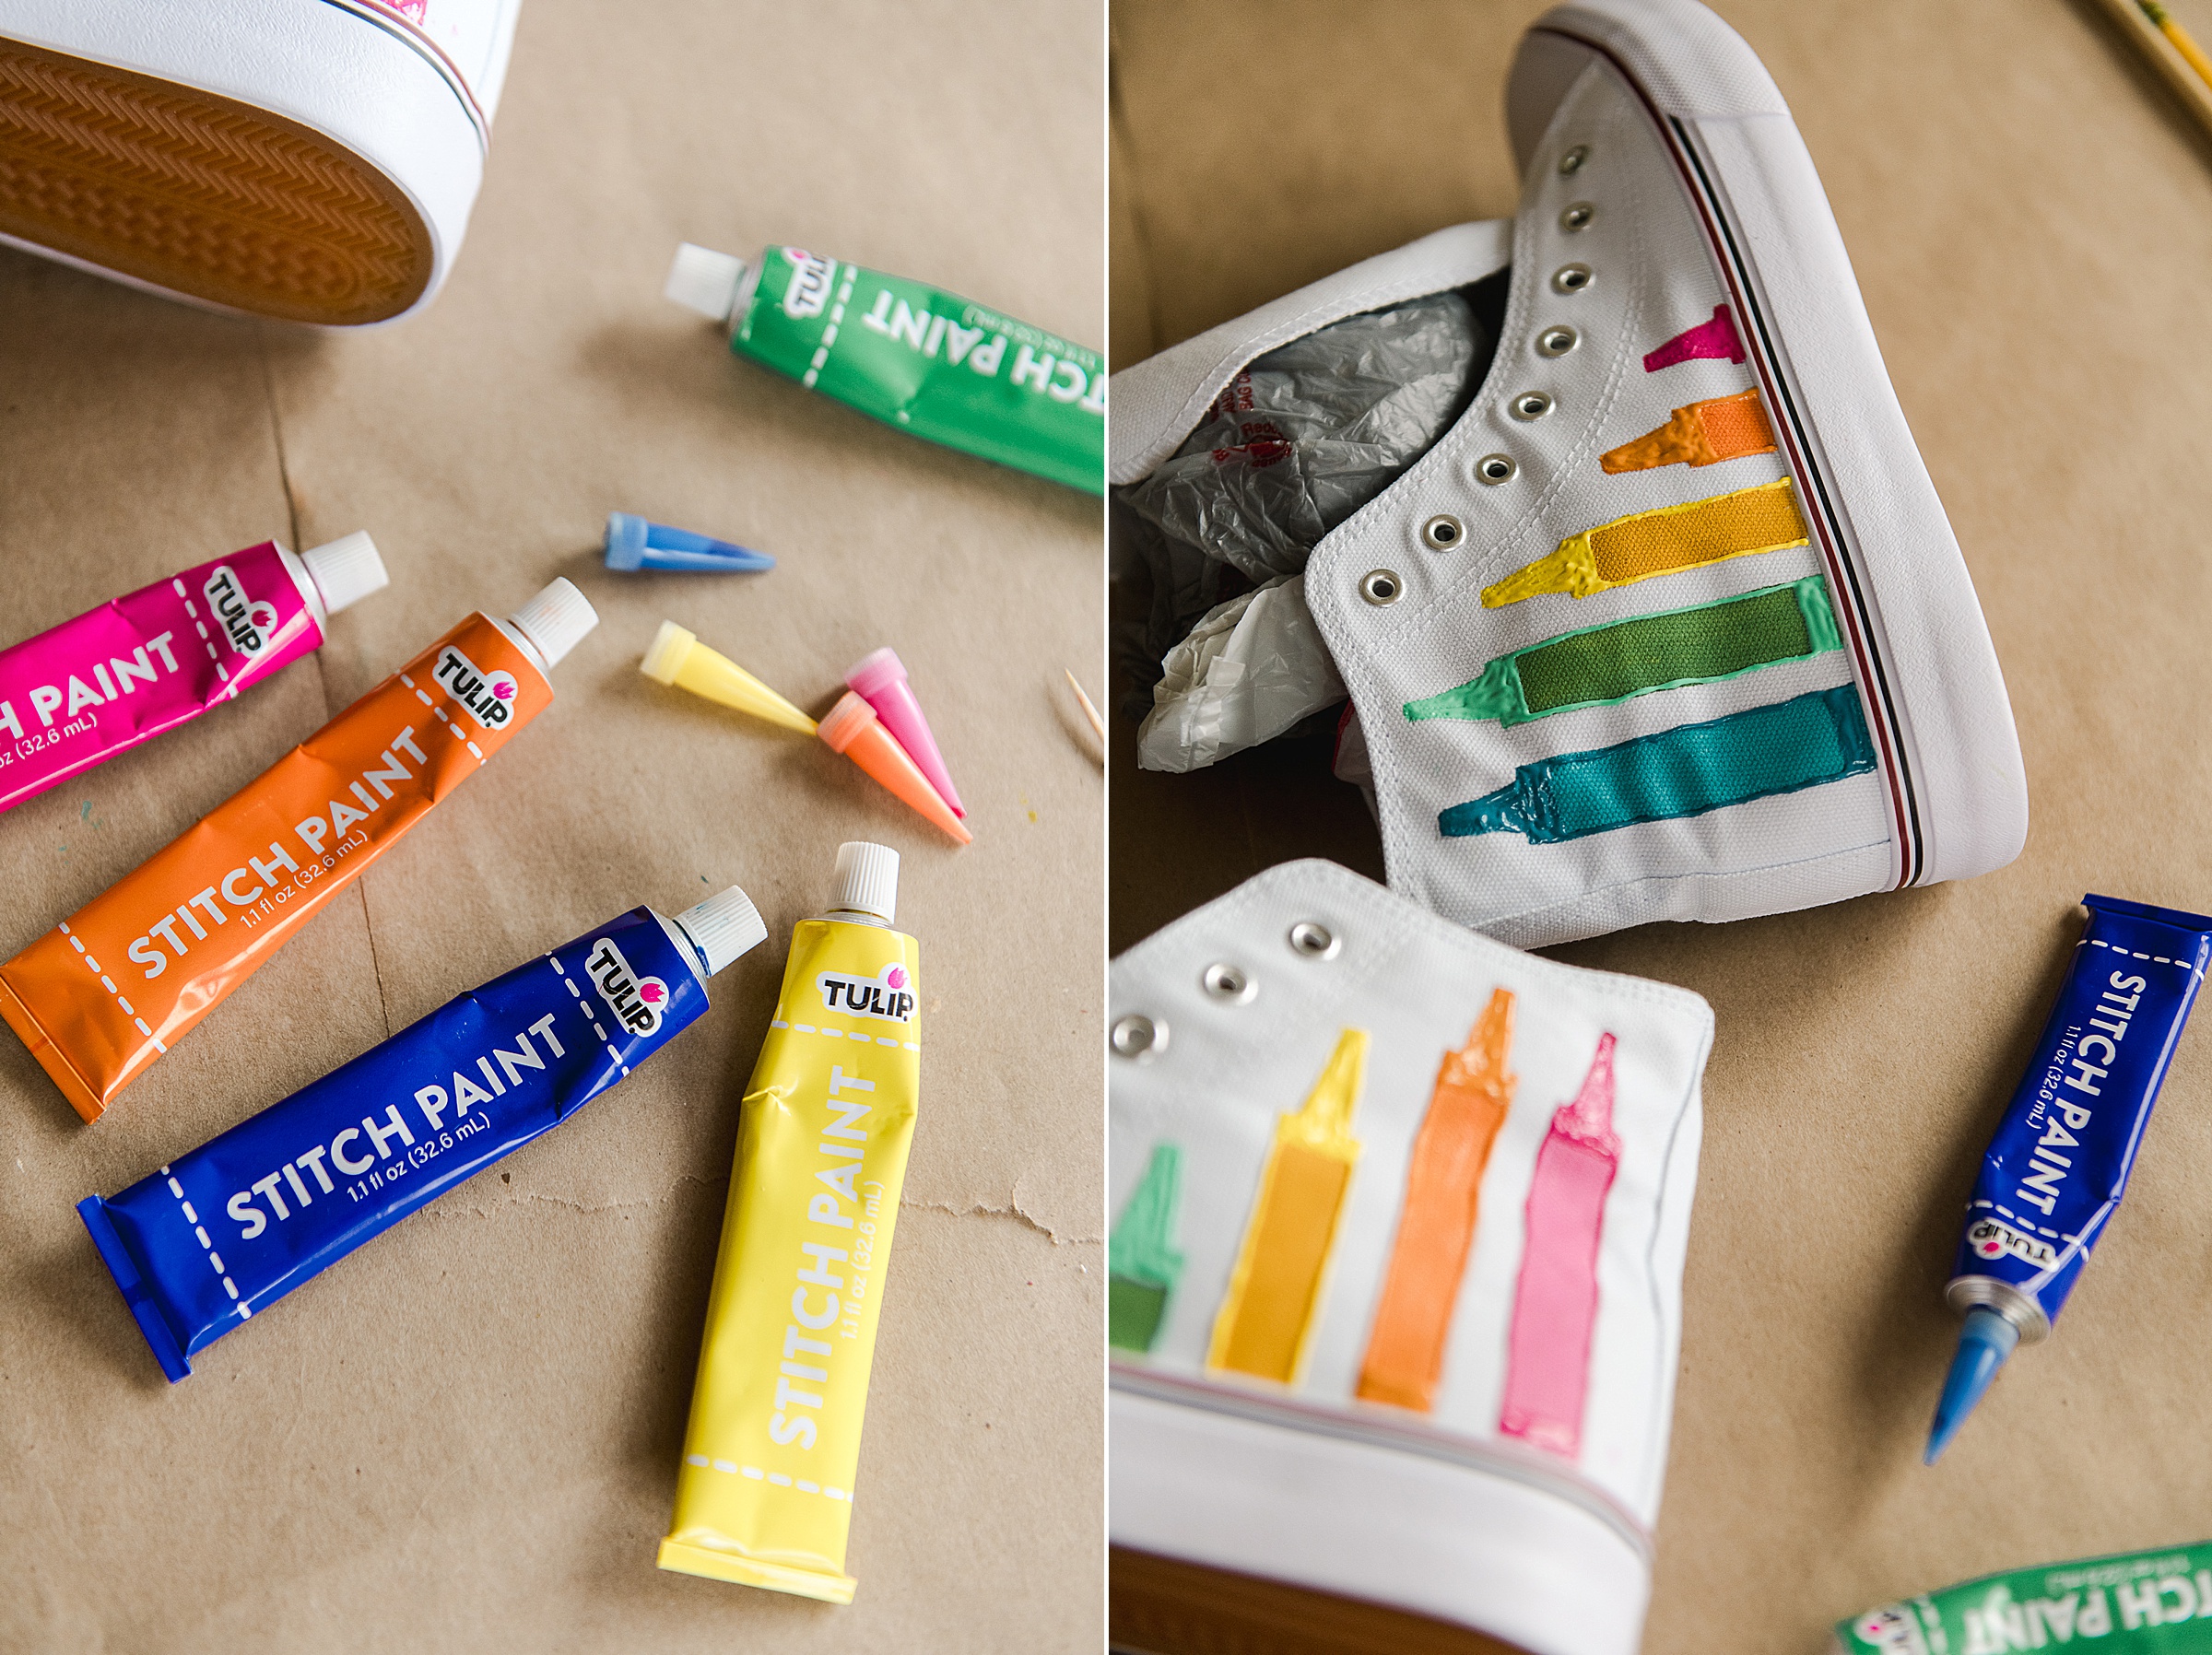
Here are some tips to using your Tulip Stitch Paint:
- GO SLOW 🙂 It’s easy to want to work fast, but the slower and more consistent, the better 🙂
- If you want, you can use this paint like a “Stitch” and do dashes or dots around the crayons as a border to make this look more embroidered than painted (I LOVE this look personally) 🙂
- Have a piece of paper or towel handy to keep testing your lines if needed – and to also wipe the precision tips if needed as well 🙂
- Work one side of the shoe at a time- set aside to fully dry before working the other side
- Have a toothpick handy to work the paint into the small corners and crevices (like the top tip, etc) if needed
- This paint has an AMAZING 3D look to it so try and make your squeezing consistant
- Between painting each side (when you’re letting your shoes dry) take the precision tips off of the tubes (put the screw caps back on) and place the tips in a cup of water so the paint doesn’t clog the tips for the 2nd side of the shoes.
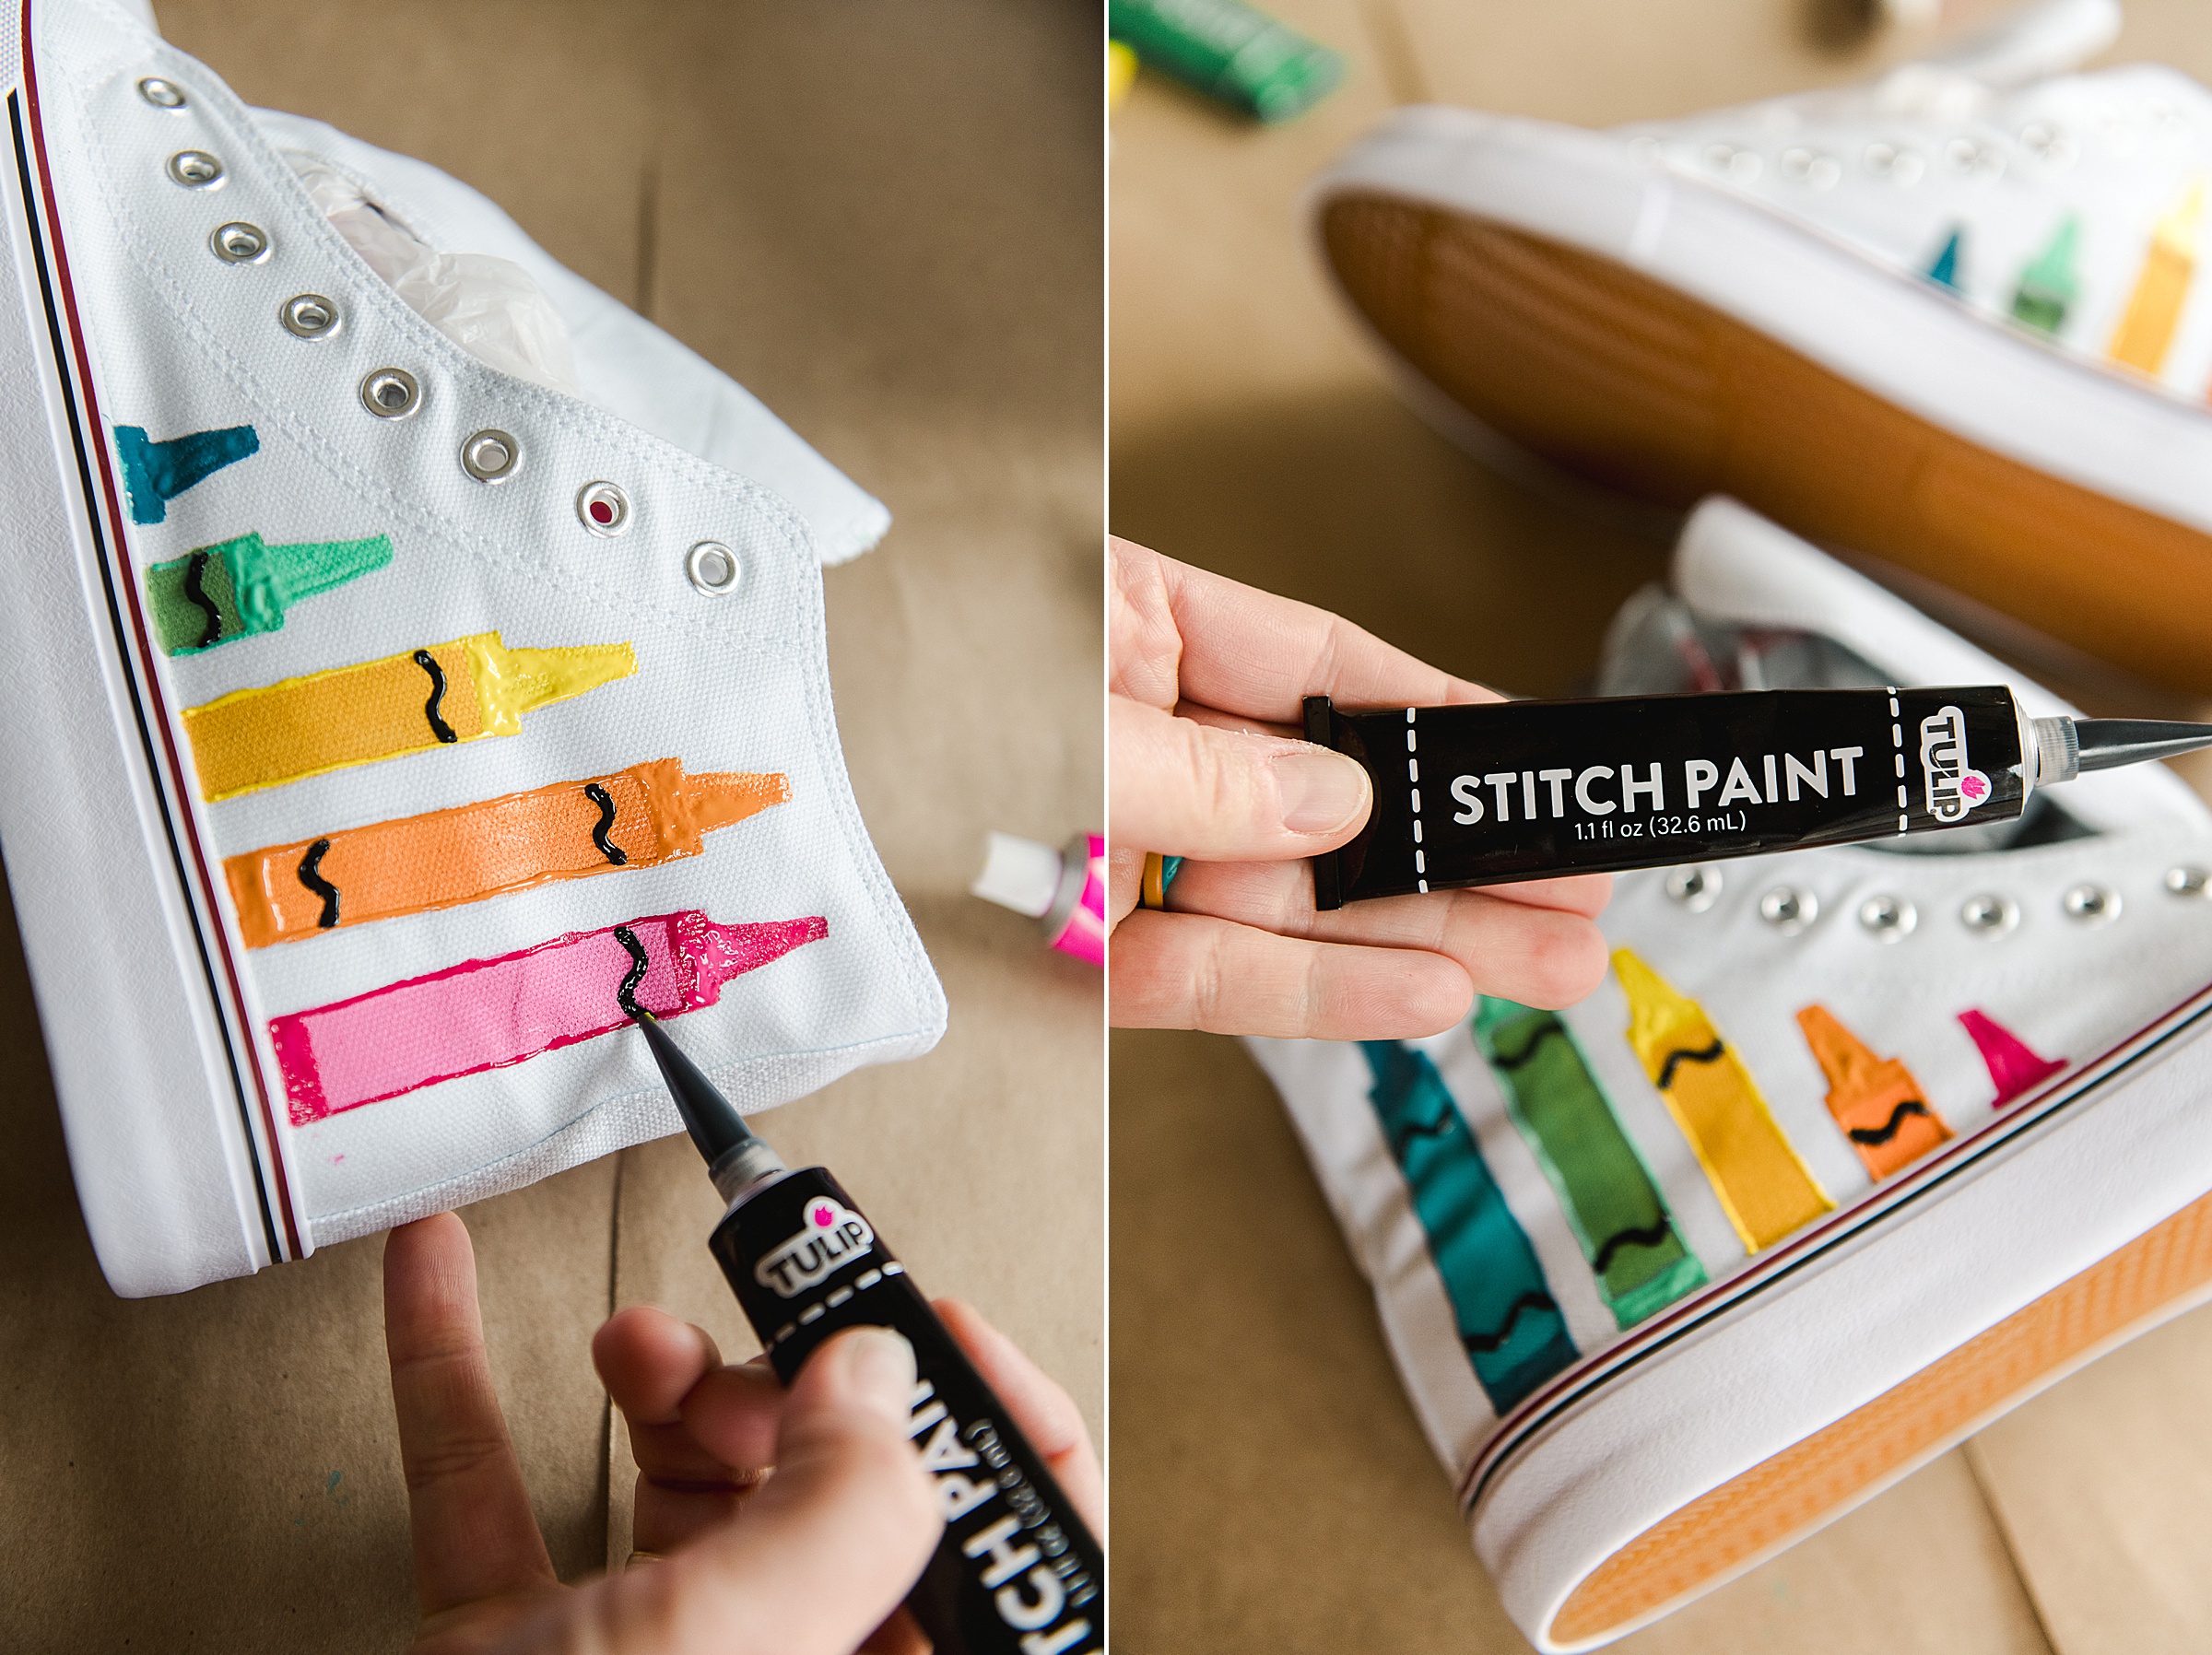
6. After your crayon outlines are dry, paint your black squiggles with your black Stitch paint – do this where the “paper” would be on each crayon for the top and bottom.
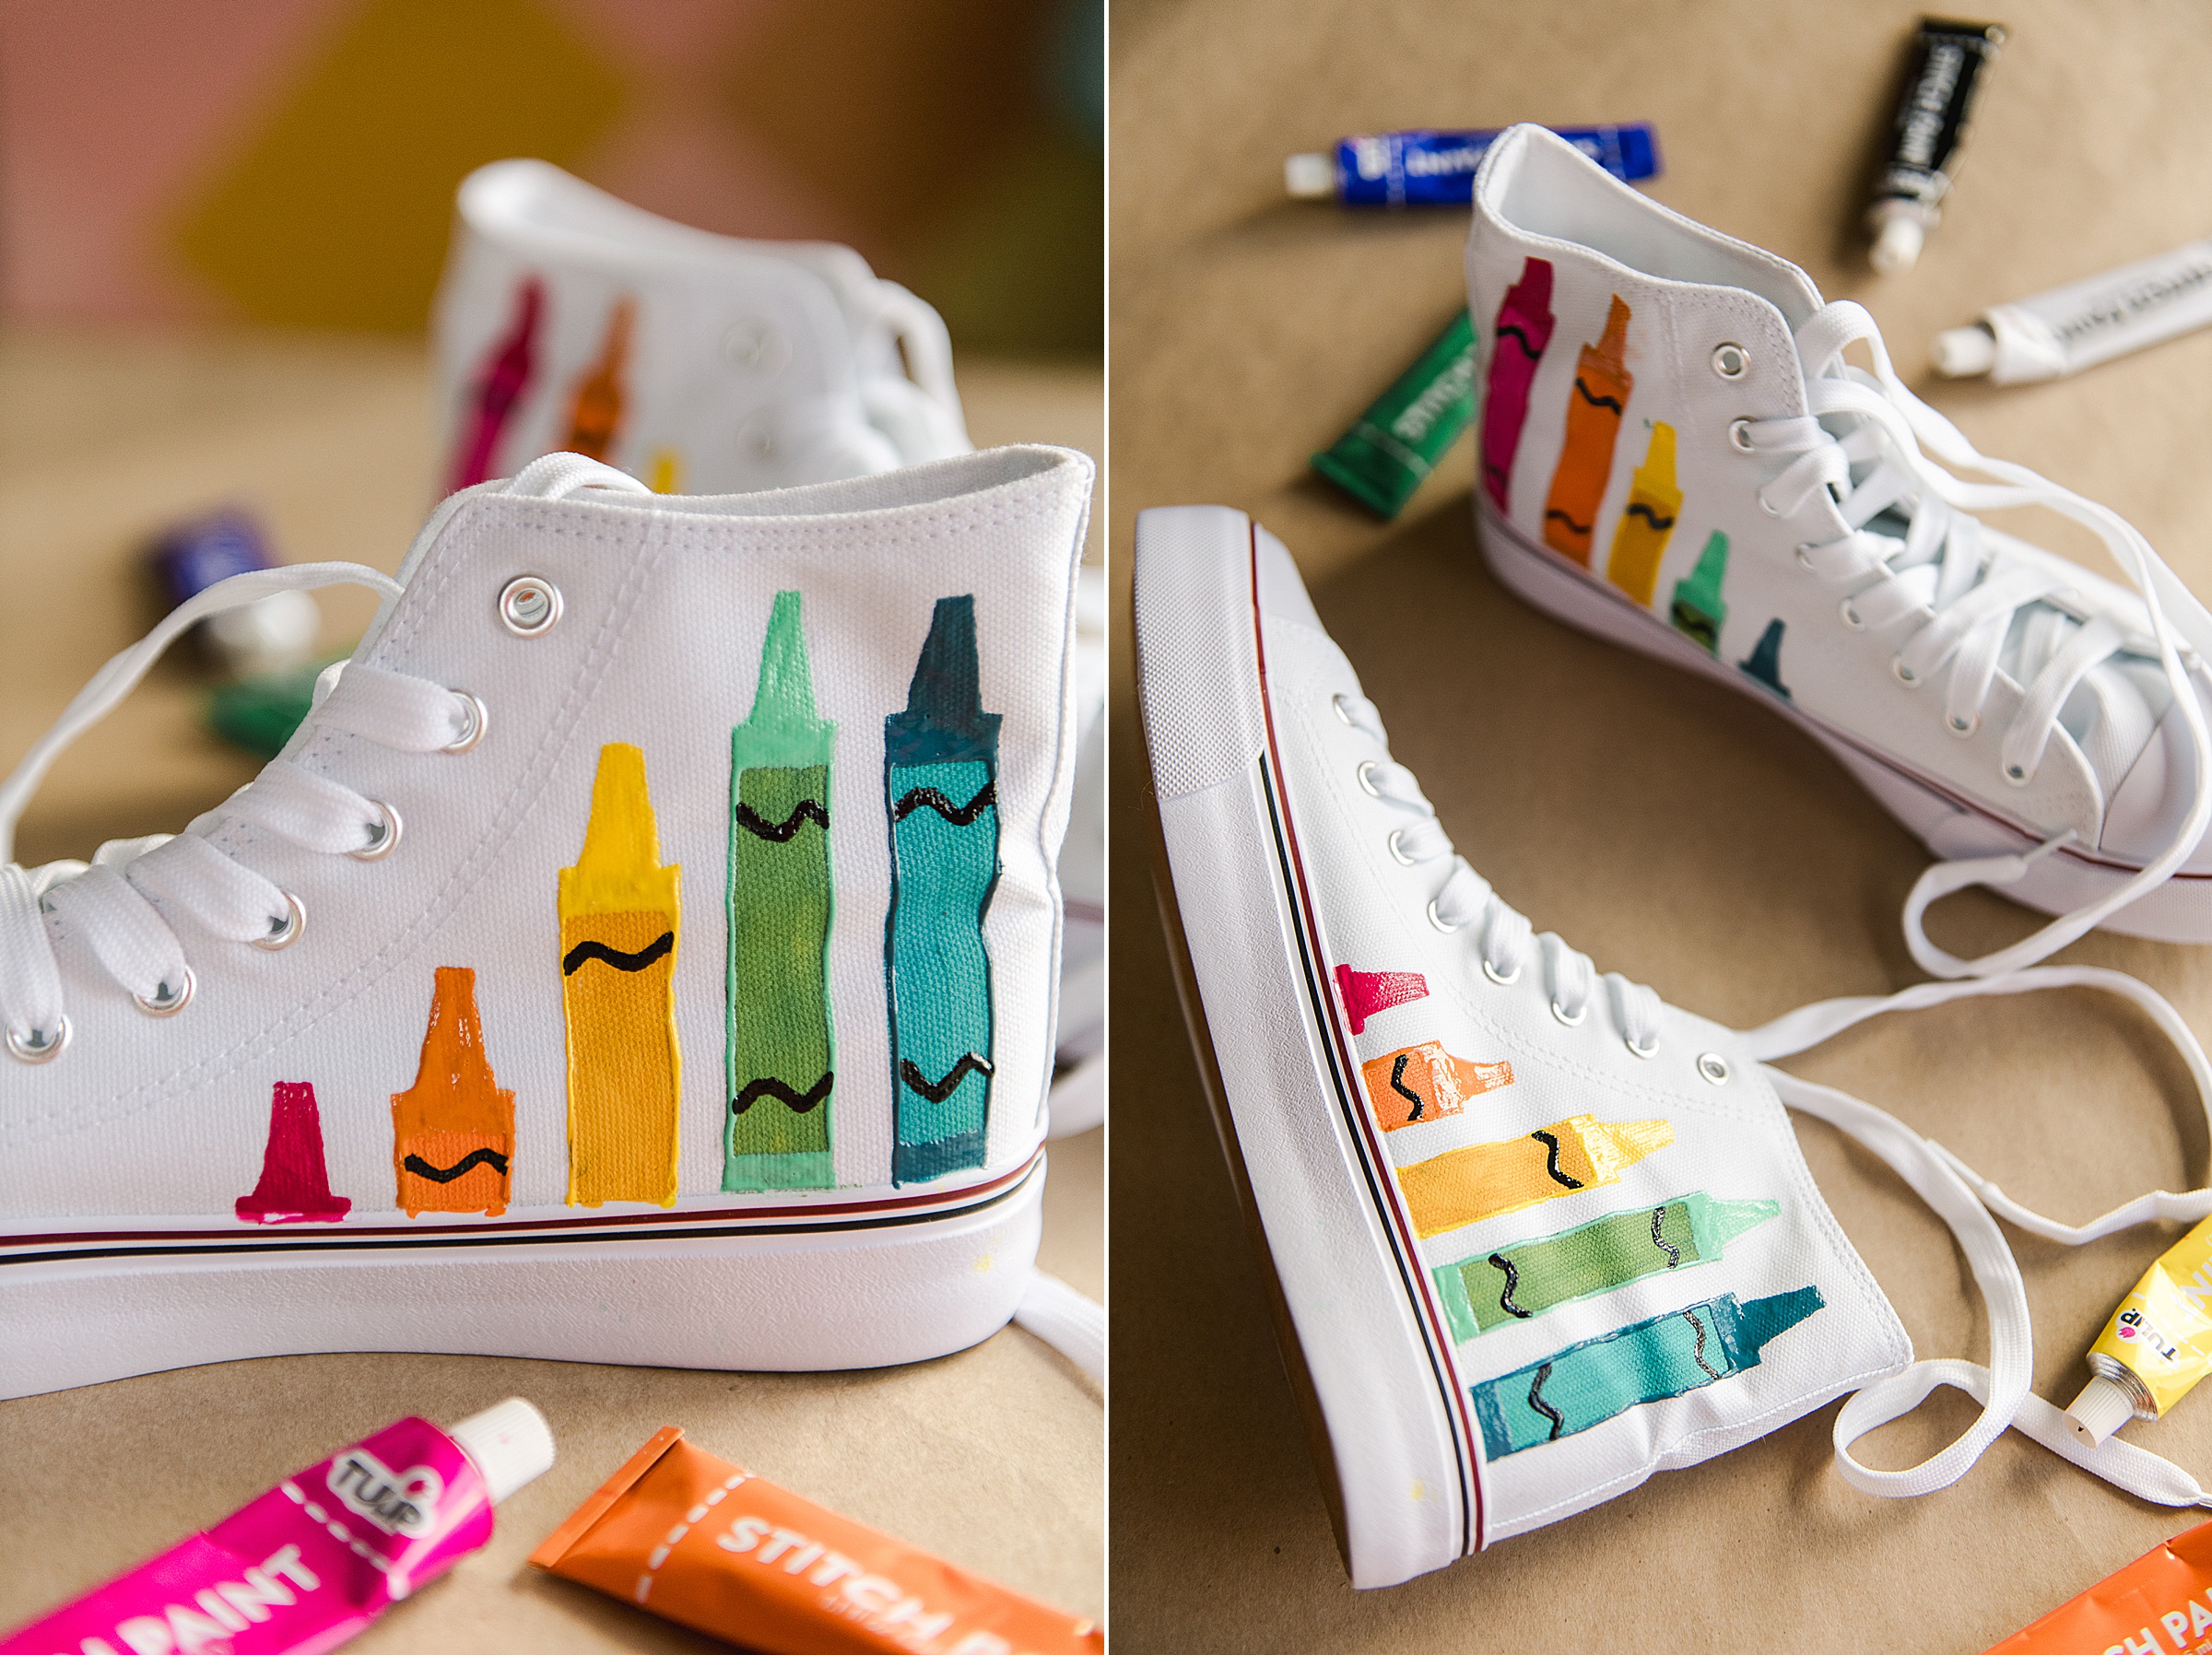
7. Once both sides of your shoes/crayons are painted, set aside to fully dry overnight before showing off to your fave artists friends 🙂
