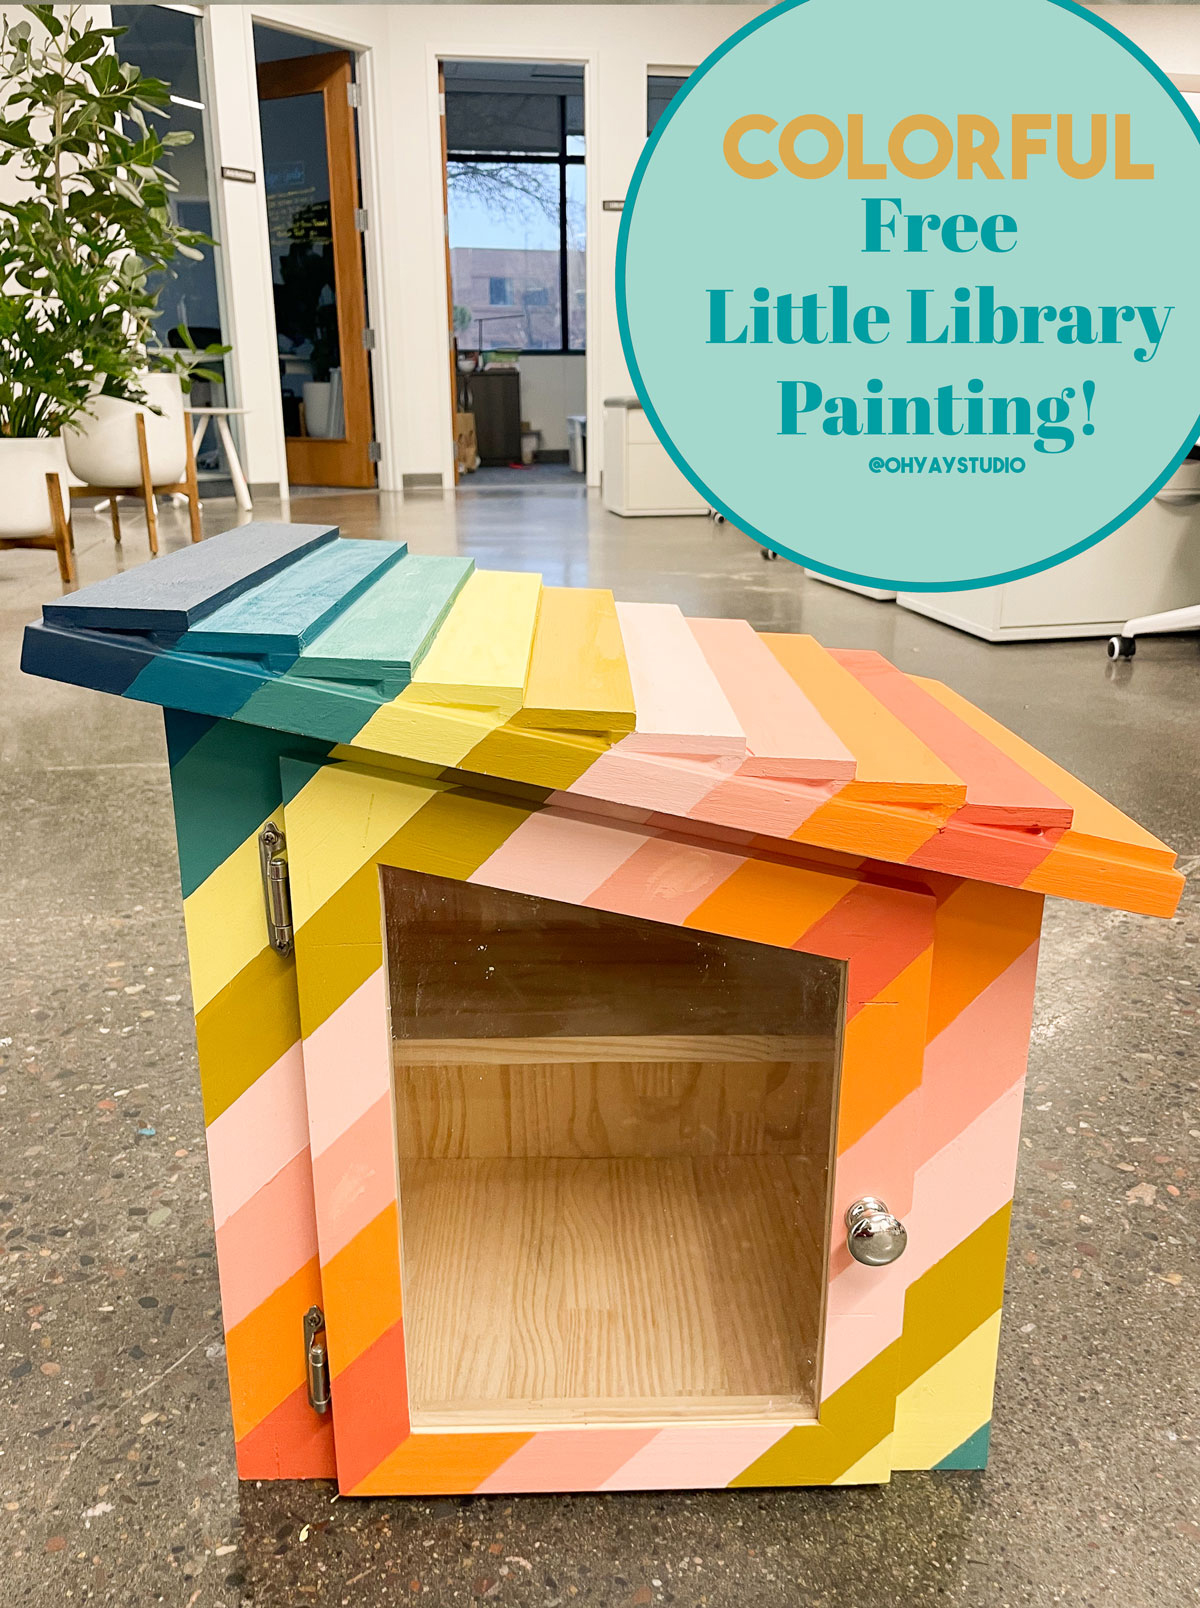
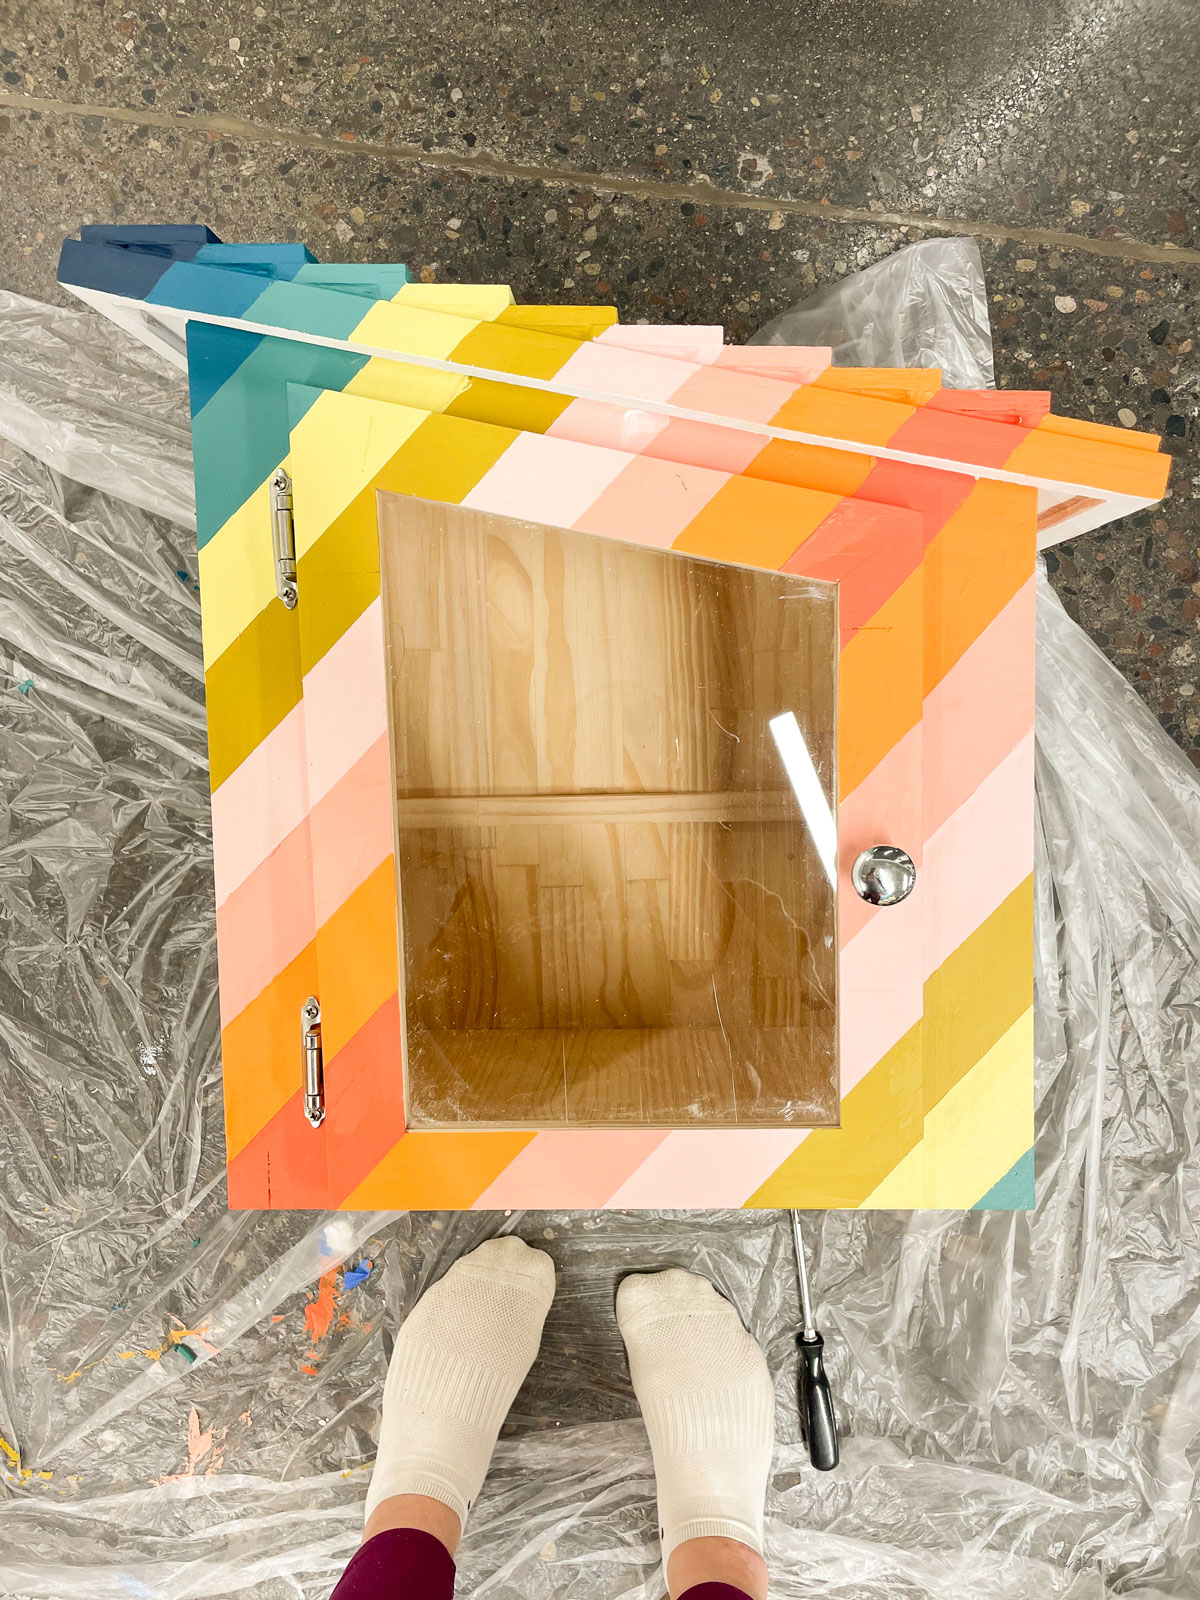
A stripy colorfully painted free little library!
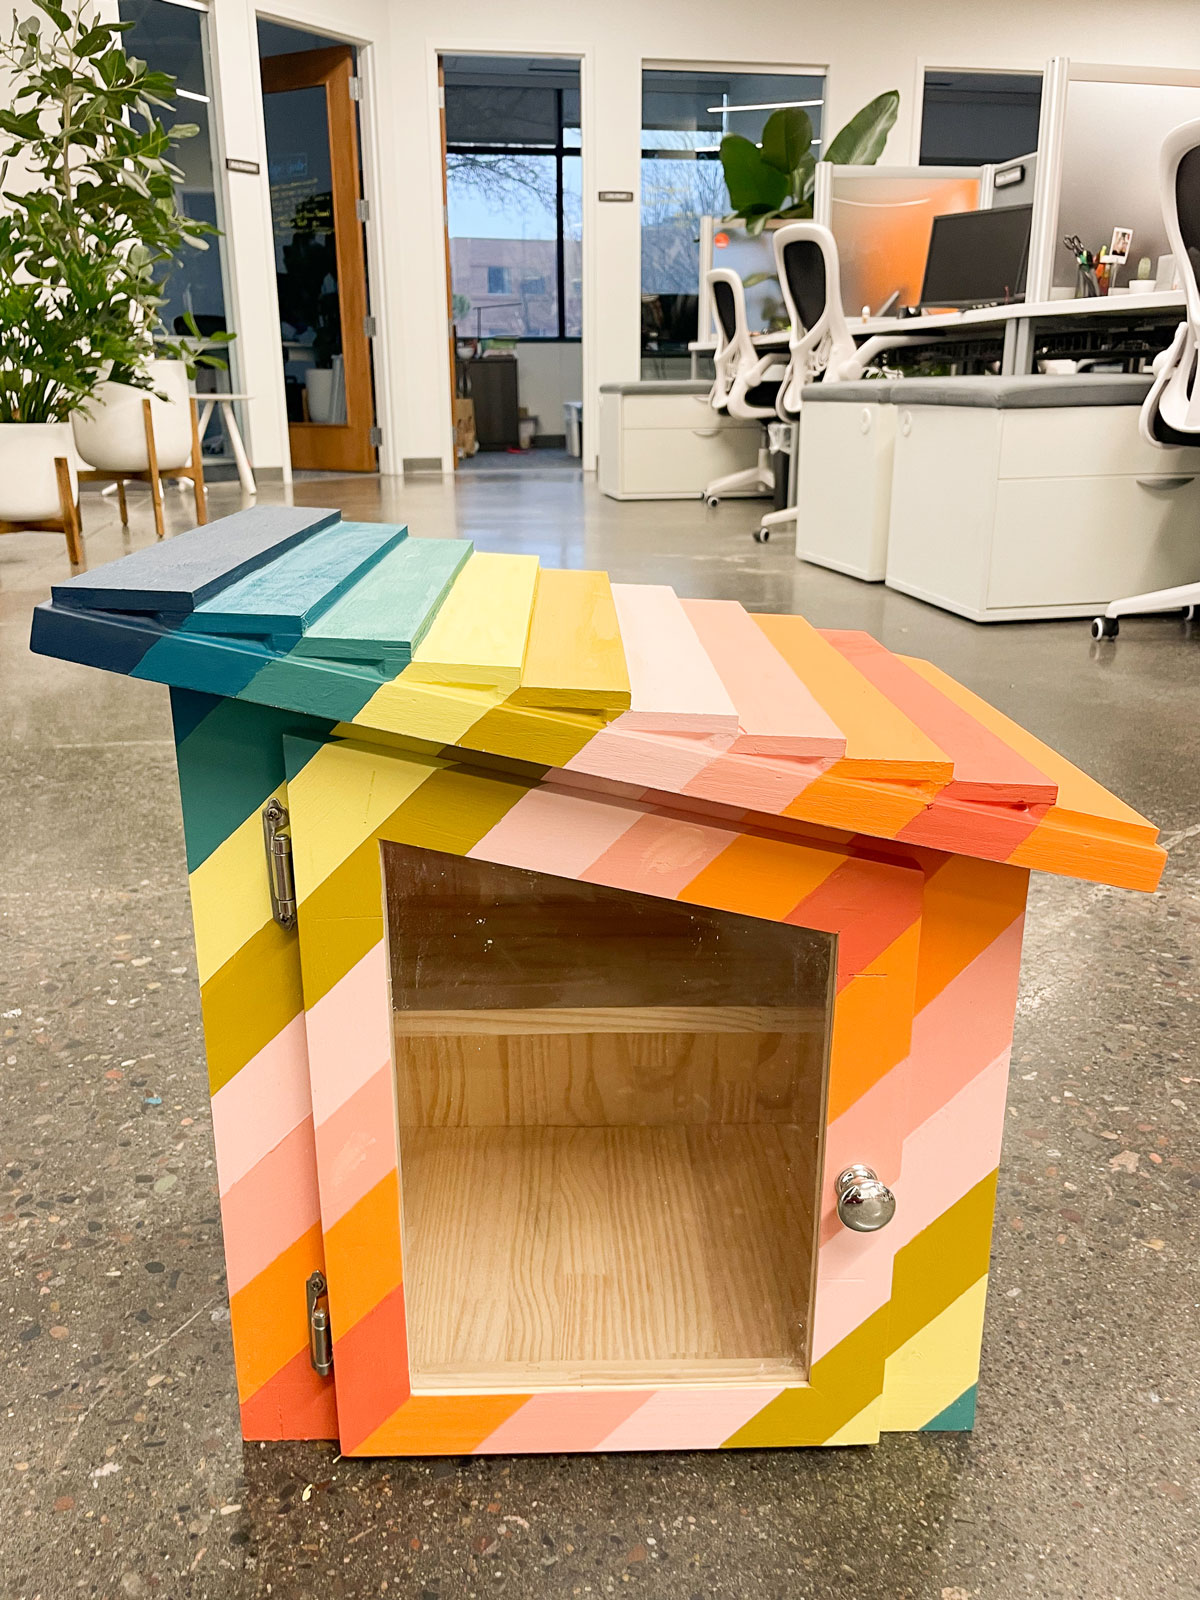
If your family is anything like ours, then you see these free little libraries all over town and RUN to them! Esther loves searching through the available option and picking something new to look at or read and Zeke seems to always be on the hunt for the next best book graphic novel to read! 🙂 These little libraries are like treasure chests around town and I just LOVE it! SOOOO when one of my FAVE marketing companies asked me to paint one for their company, DUH! I was *so* in! 🙂
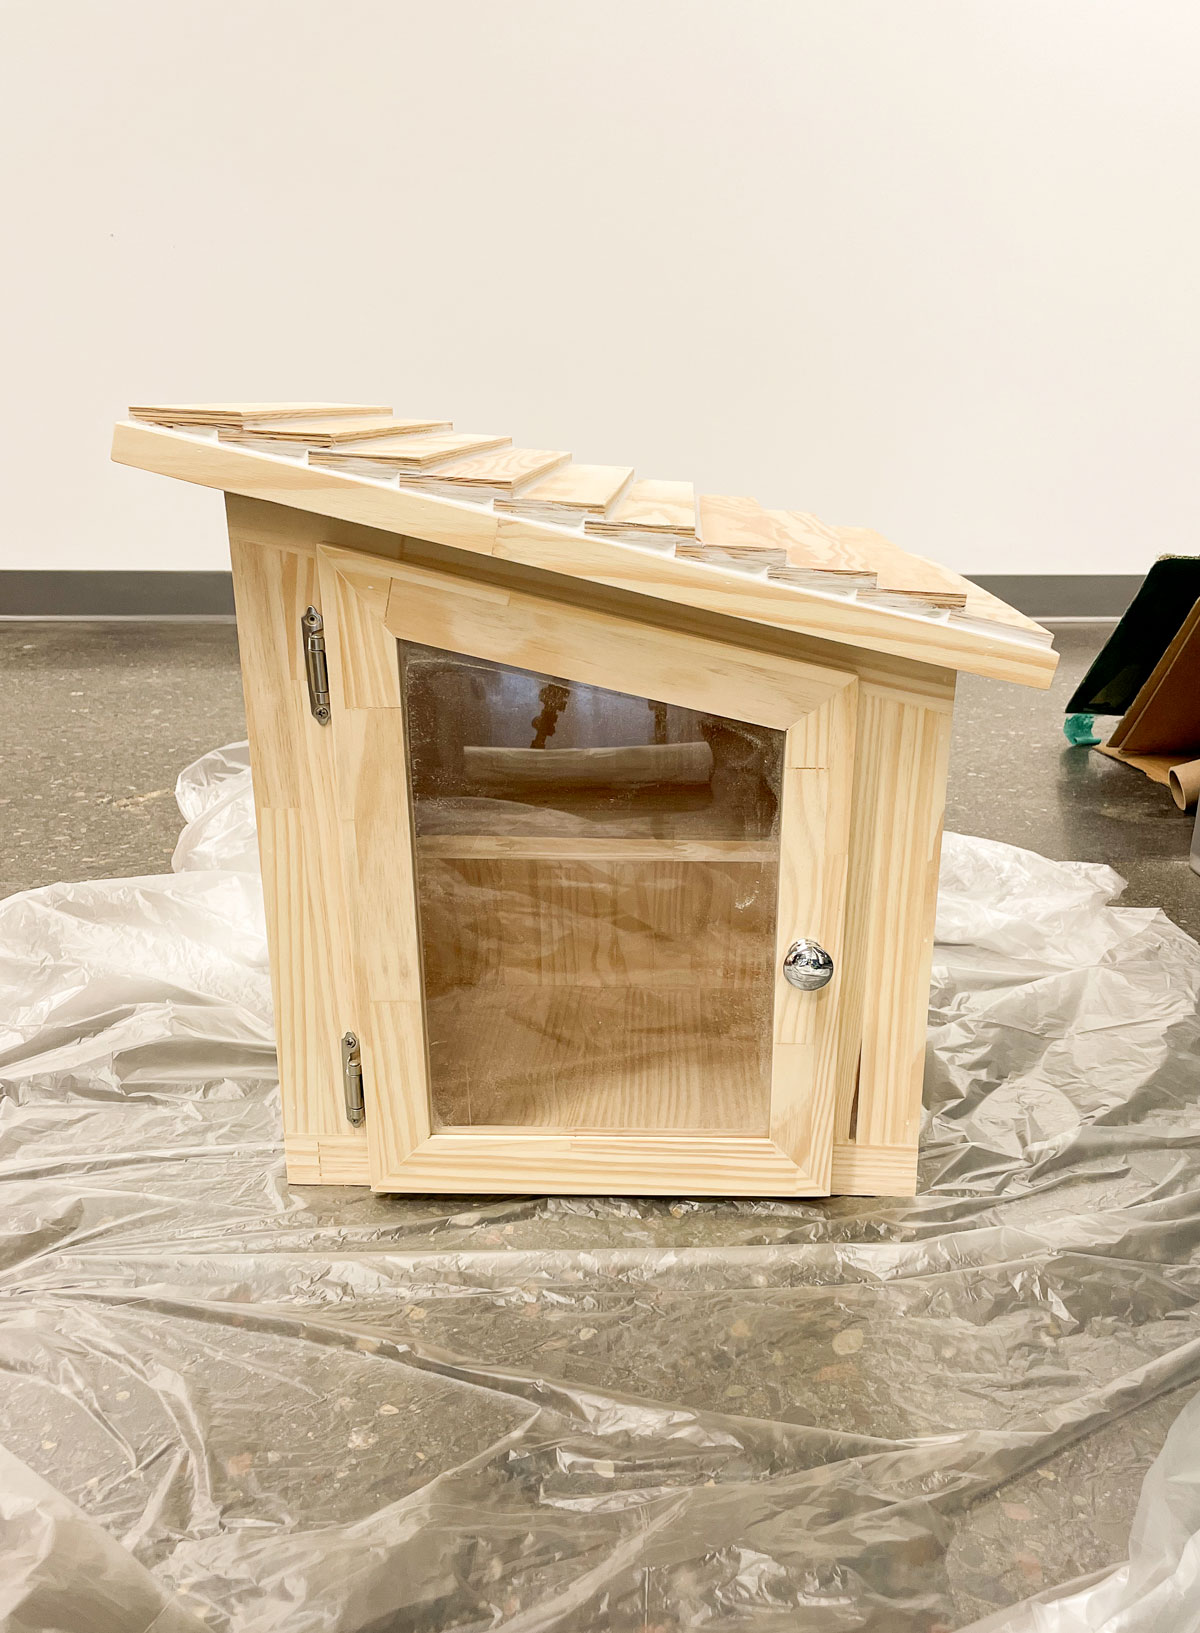
They supplied the wooden library (already made) so my job was to simply paint it in some super fun, colorful way! 🙂 I had already painted a humungous mural (ok, humungous for what I’ve painted in my days) on the main wall in this marketing space (where the library will be near) SOOOOOO I decided to use the same color palette. The wall mural was filled with more organic lines and shapes, so this more “rigid” hard line diagonal design is a simple juxtaposition and I LOOOOVED that it mimicked the same color transitions but in a very different way! 🙂
MATERIALS:
- A free library structure (can be a new kit or a used one that just needs repainting)!
- Your fave colors of paint
- Painters tape – my fave is the green Frog tape (THE BESSSTTTT)
- Tape Measure
- Paint brushes 🙂
- Screwdrivers to take off doors (if necessary)
INSTRUCTIONS:
1. Decide on the colors you want to paint and begin to gather up your supplies! 🙂 Lay out your drop cloth and get excited to begin! 🙂
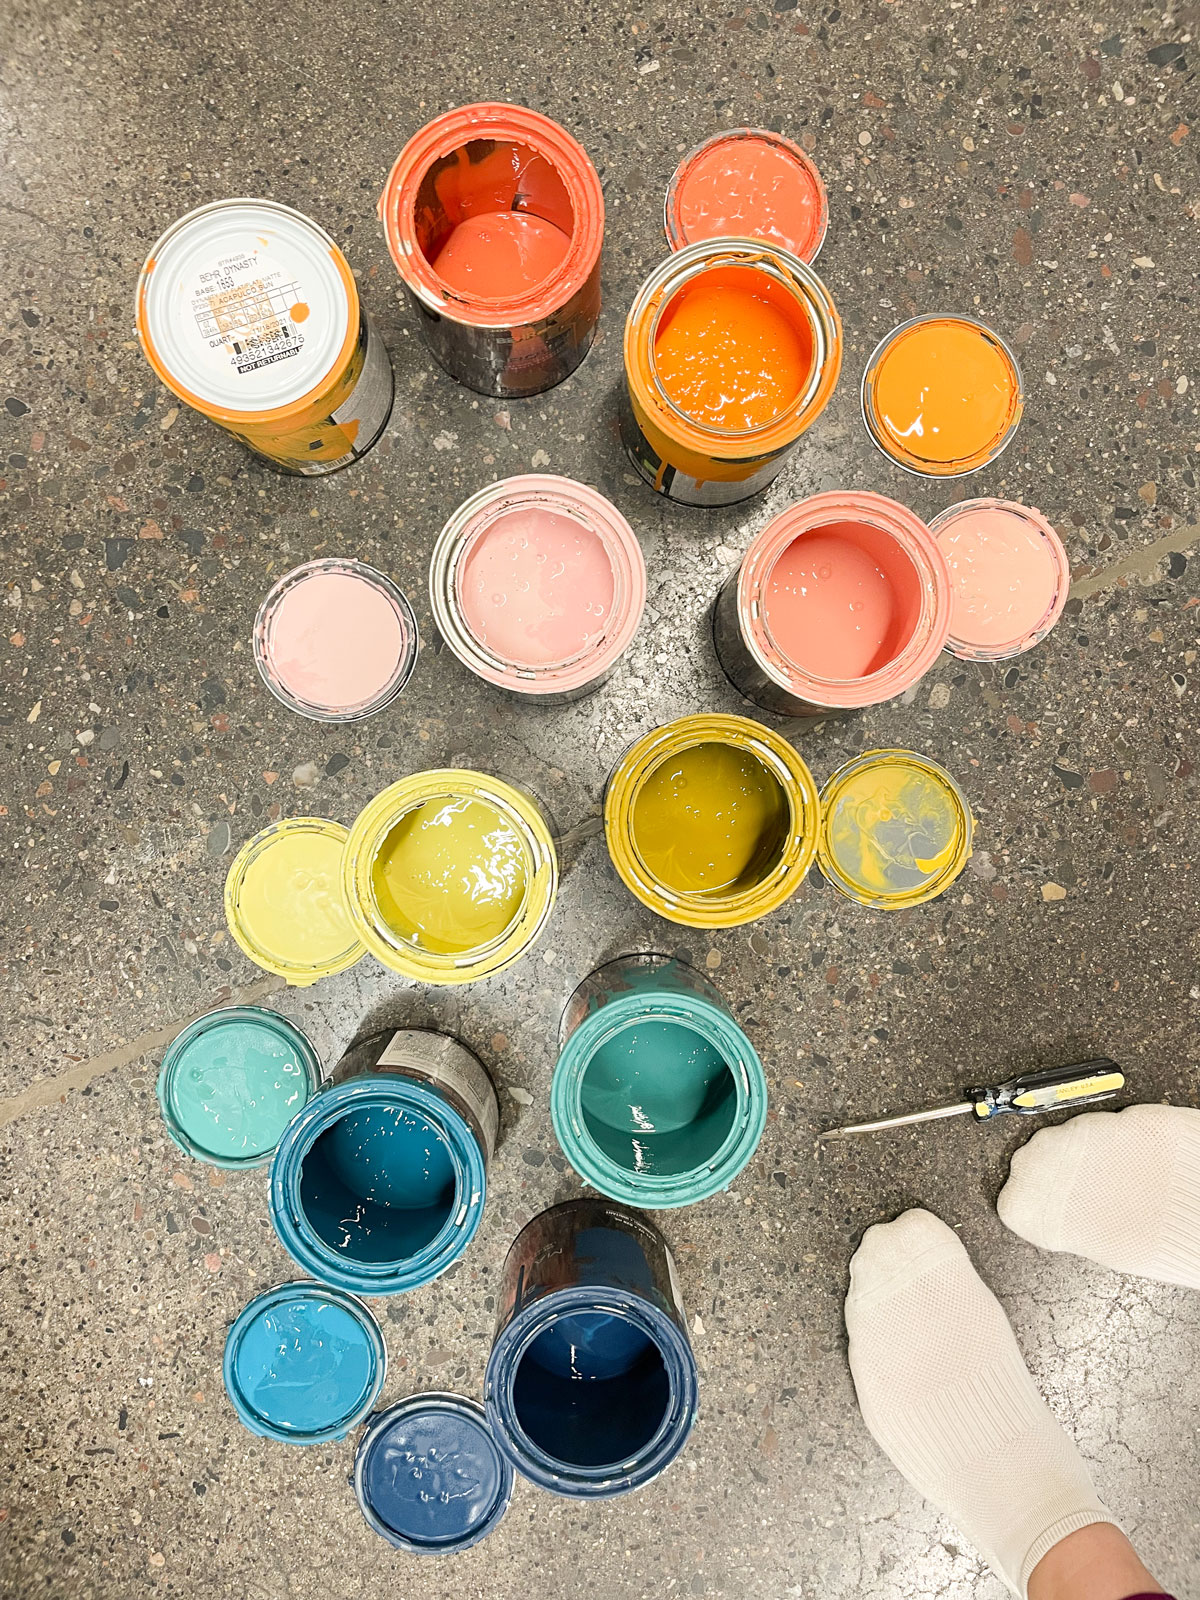
Here are the colors that I used (all BEHR paint from Home Depot):
- Nocturne Blue
- Caribbean Current
- Bubble Turquoise
- Green Papaya
- Indian Spice
- Flamingo Feather
- Priceless Coral
- Acapulco Sun
- Tiki Torch
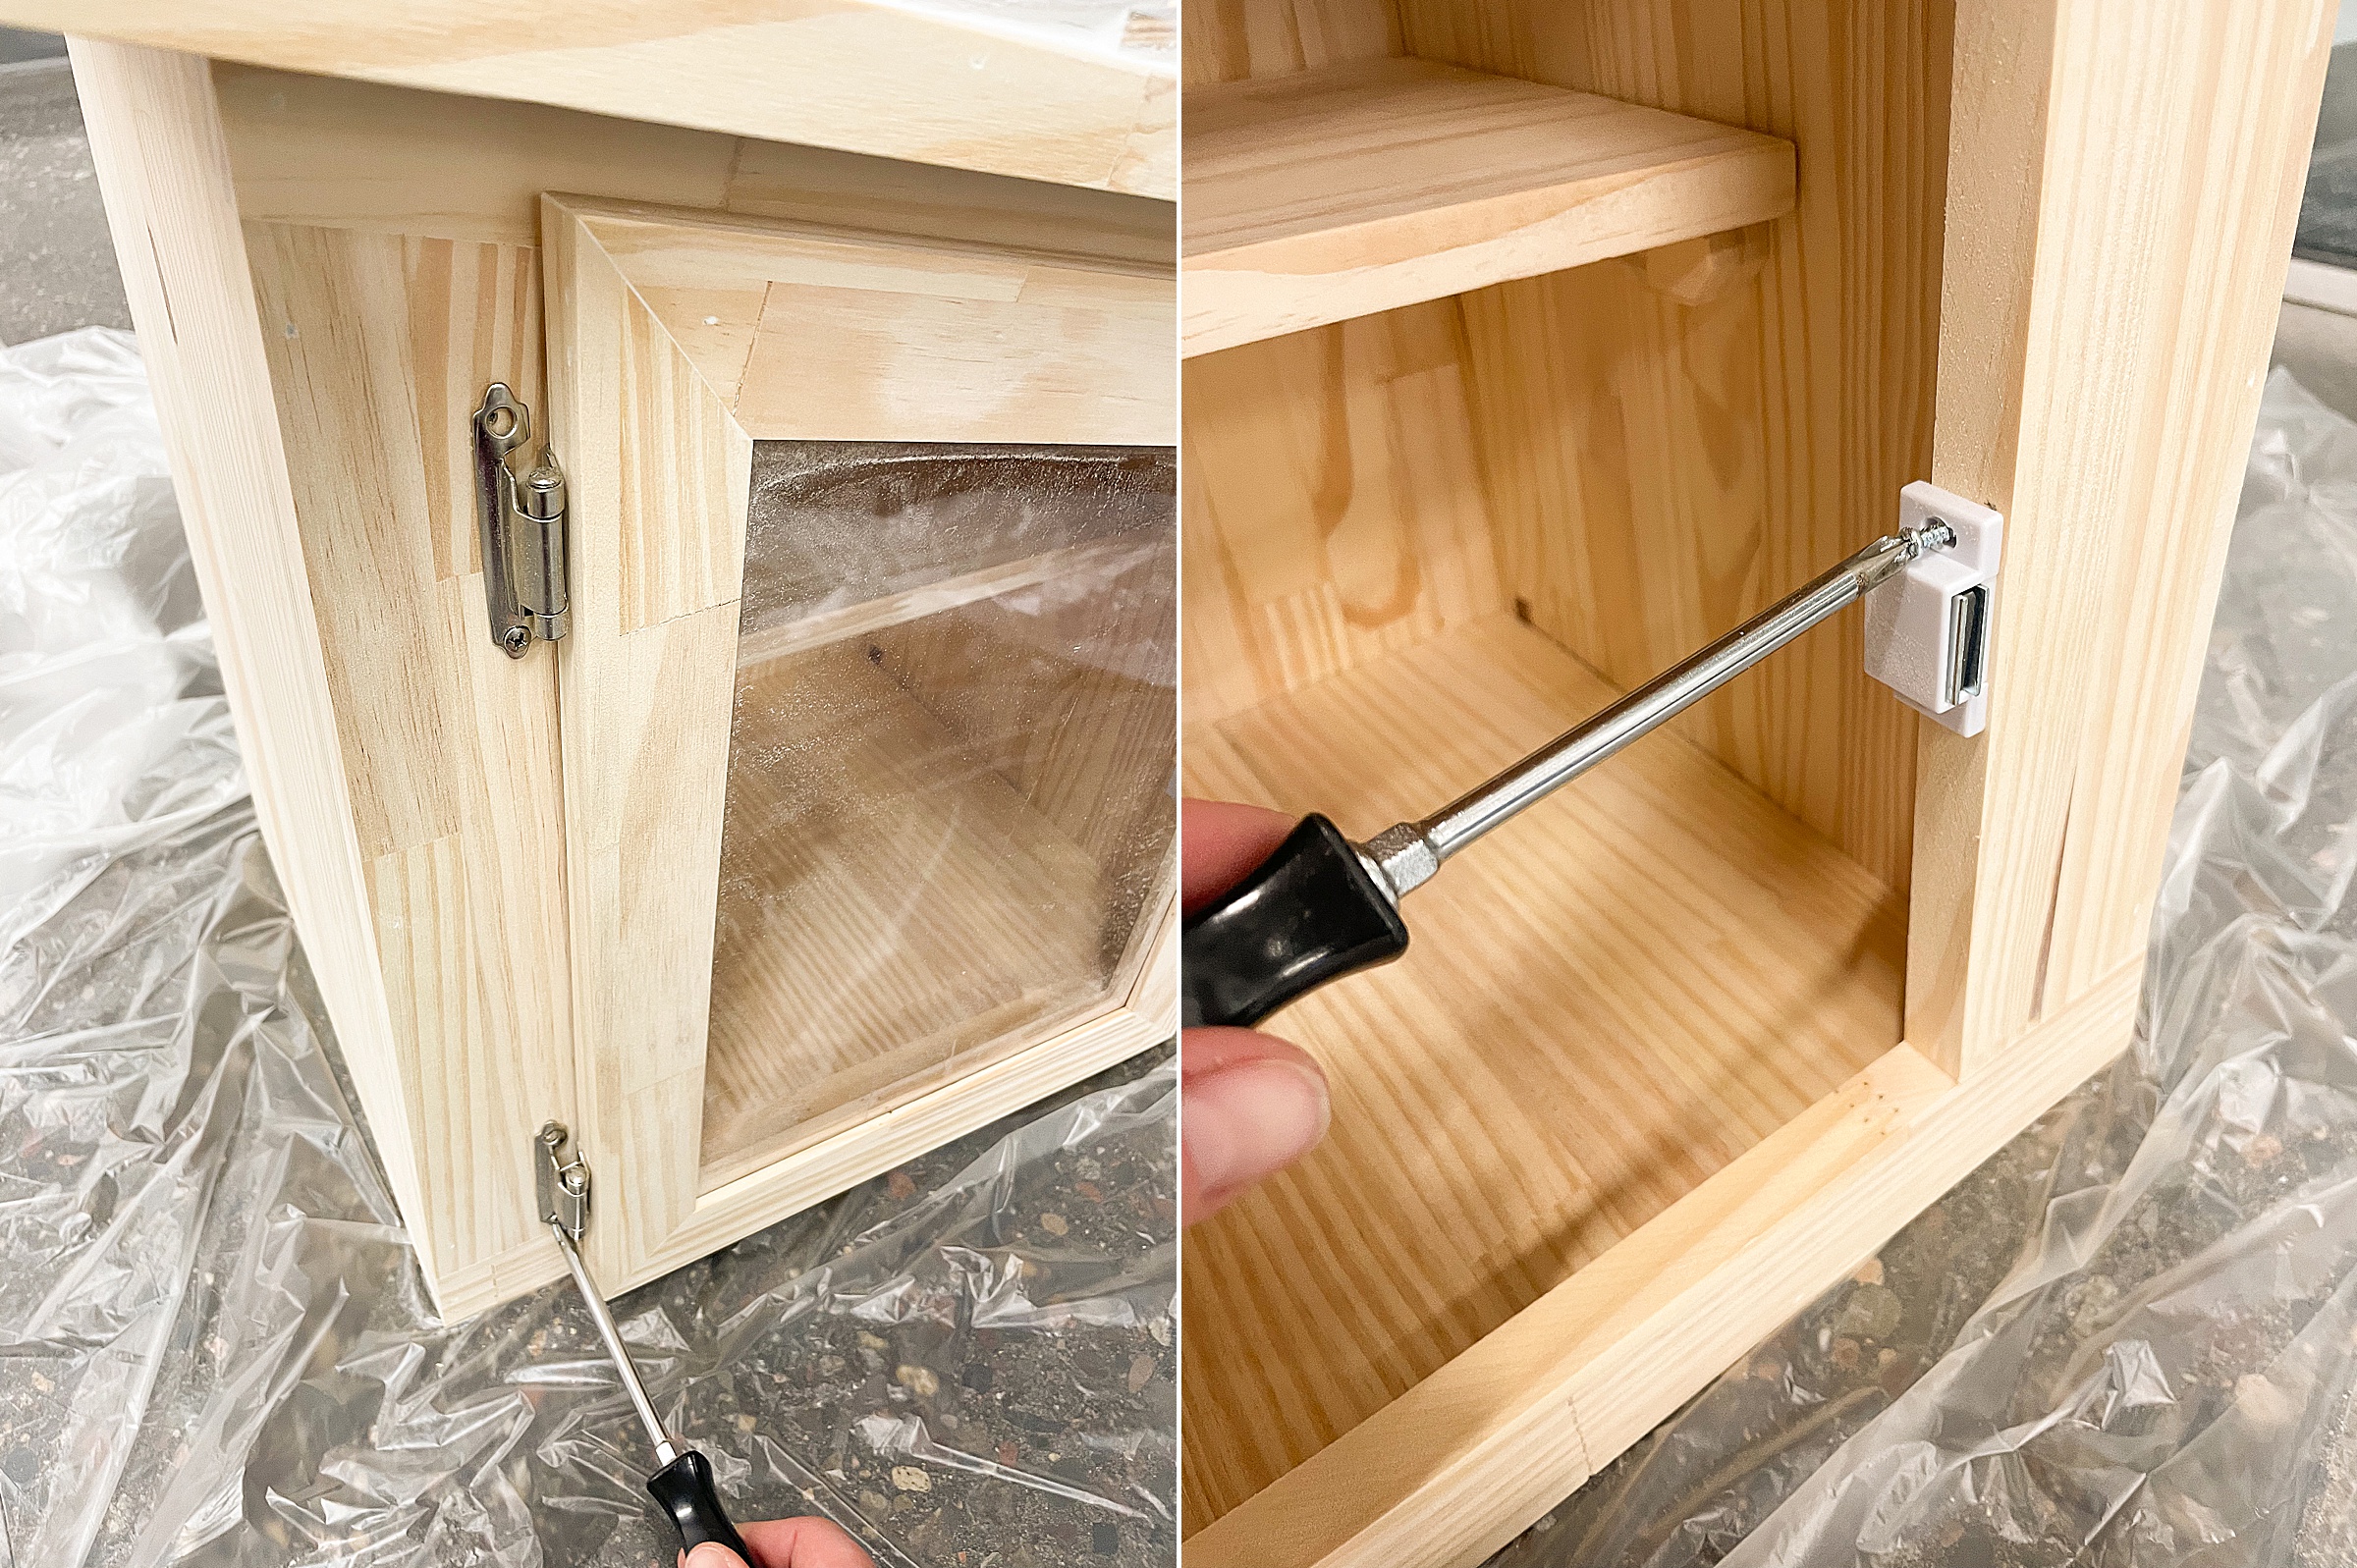
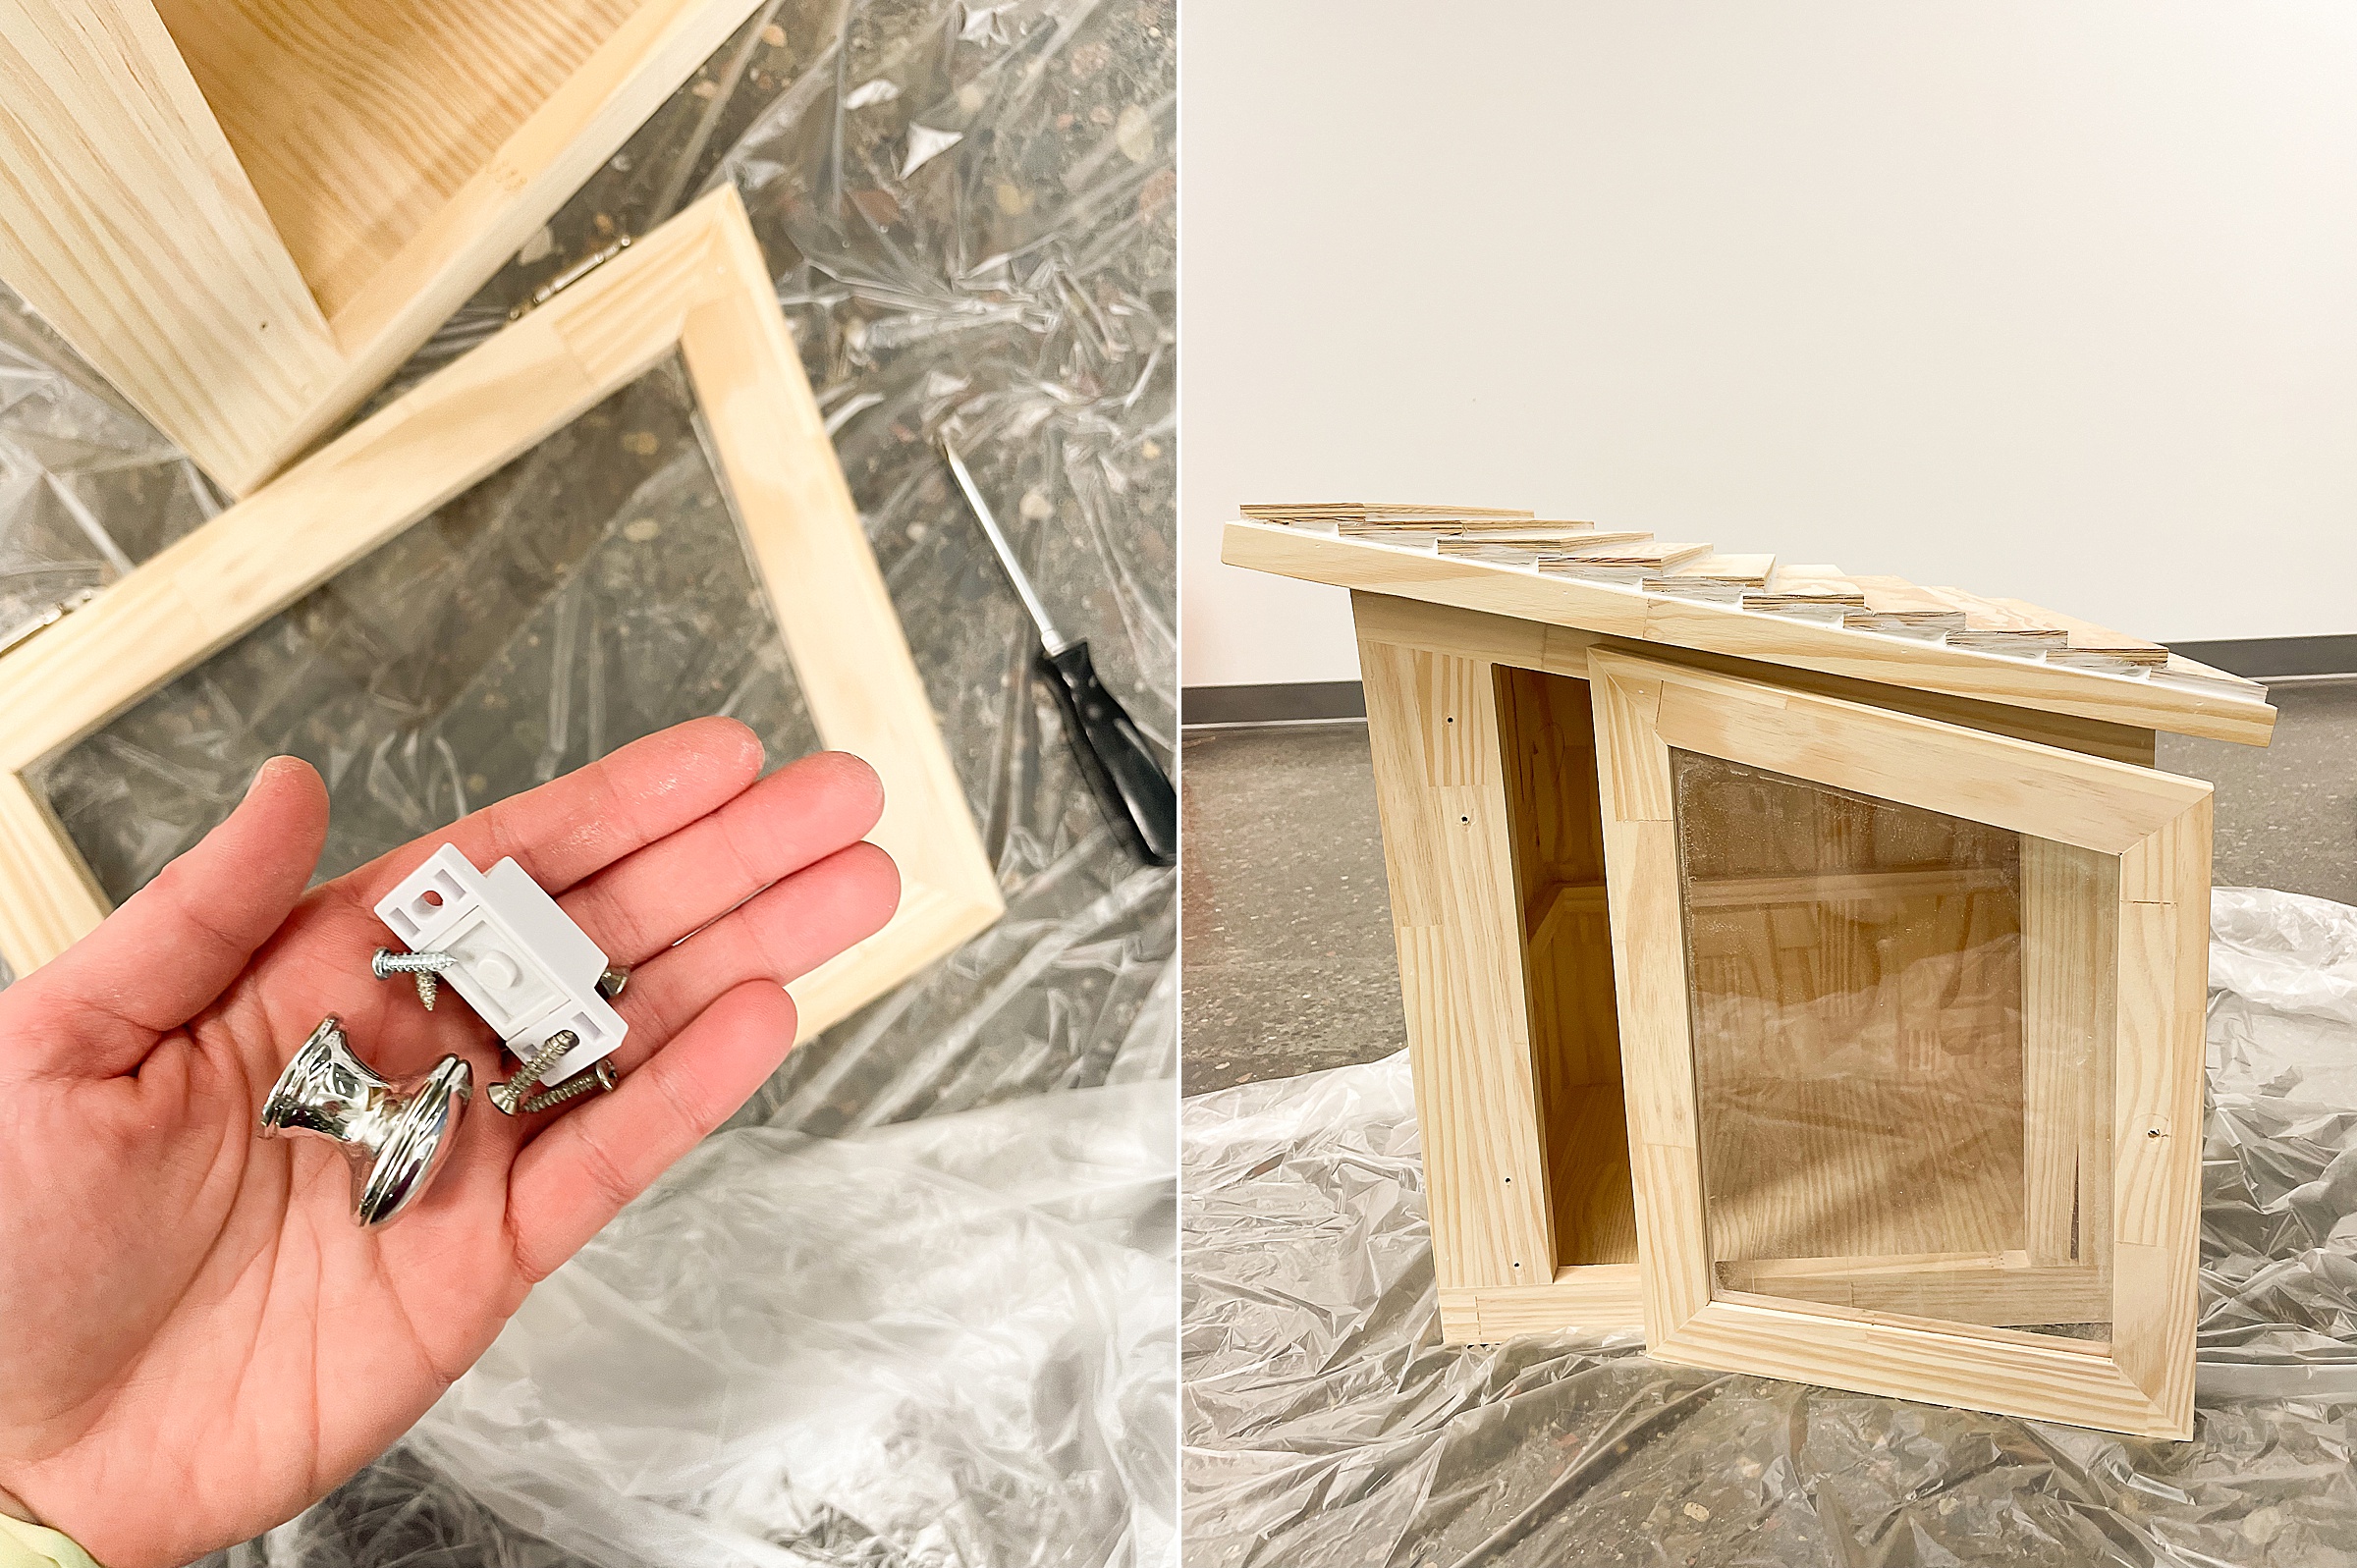
2. Disassemble the library in any way that is needed. I decided to take the hinges and handle off and take the door off the front just to make things as simple as possible to paint!
3. With your tape, begin to tape off diagonal sections that are 2 inches wide (I decided on the 2” size because it was the size of the top slats in the library)! 🙂 It was also convenient because I had 2” wide tape as well! 🙂
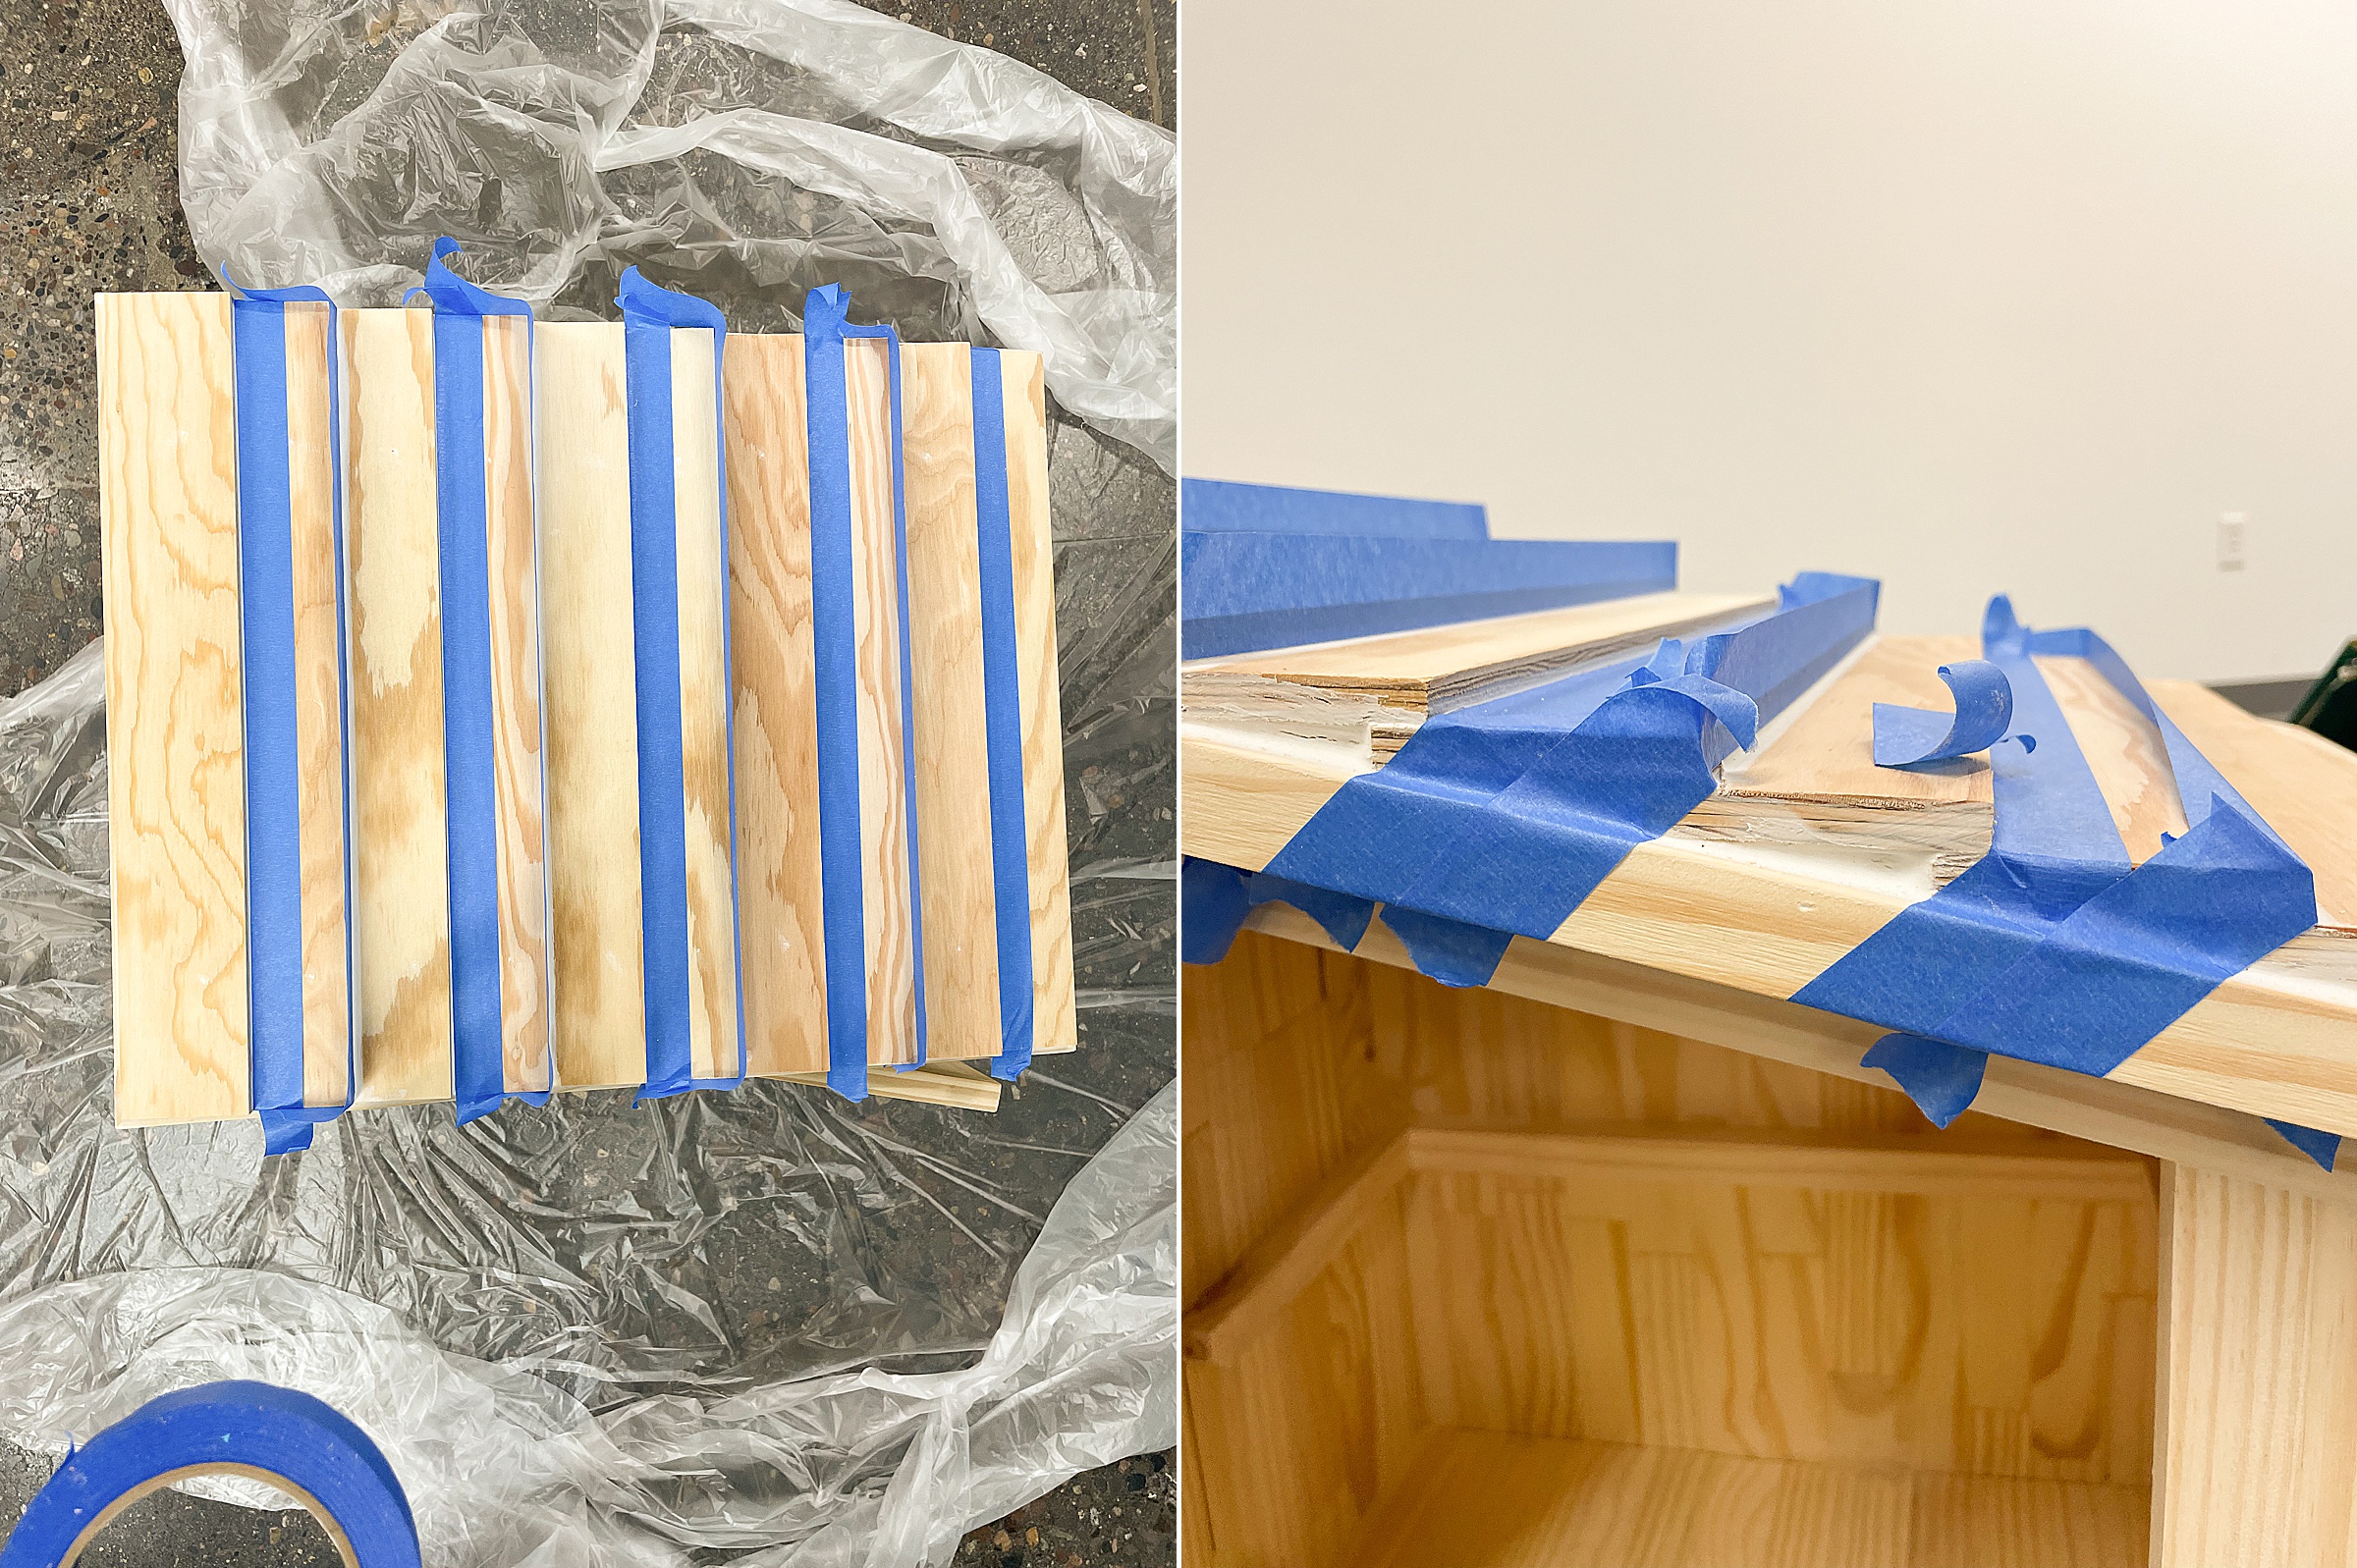
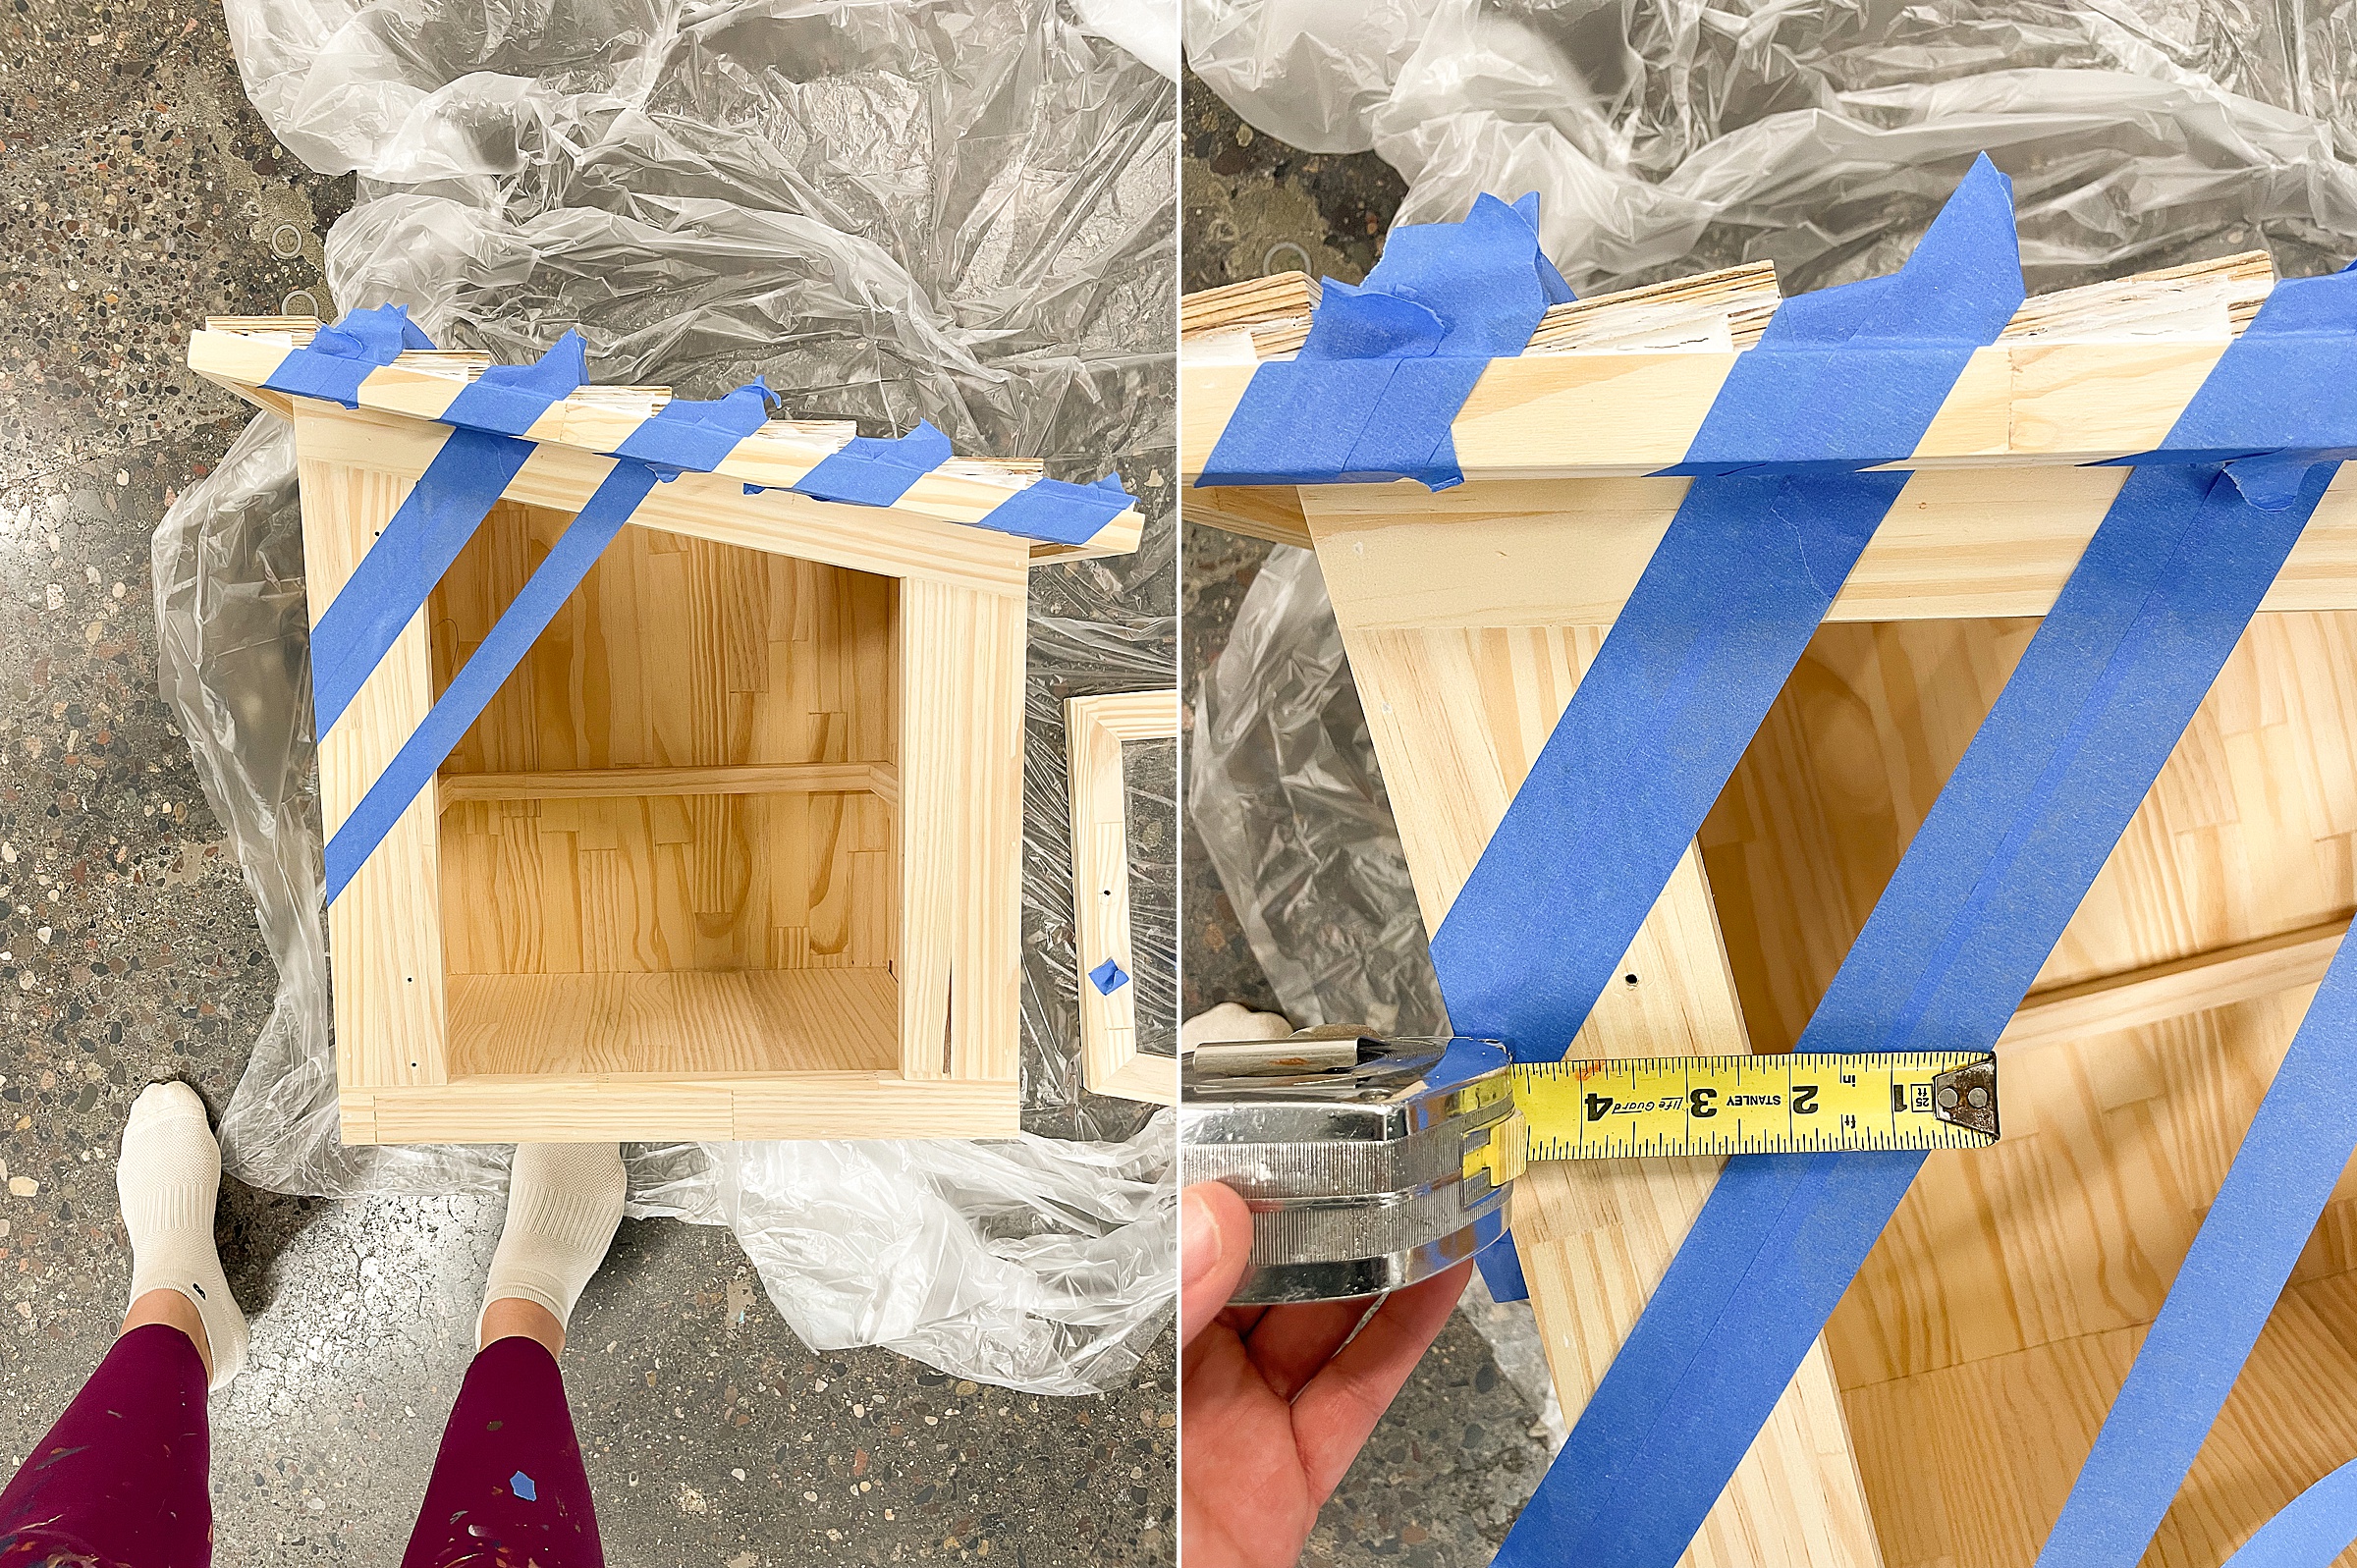
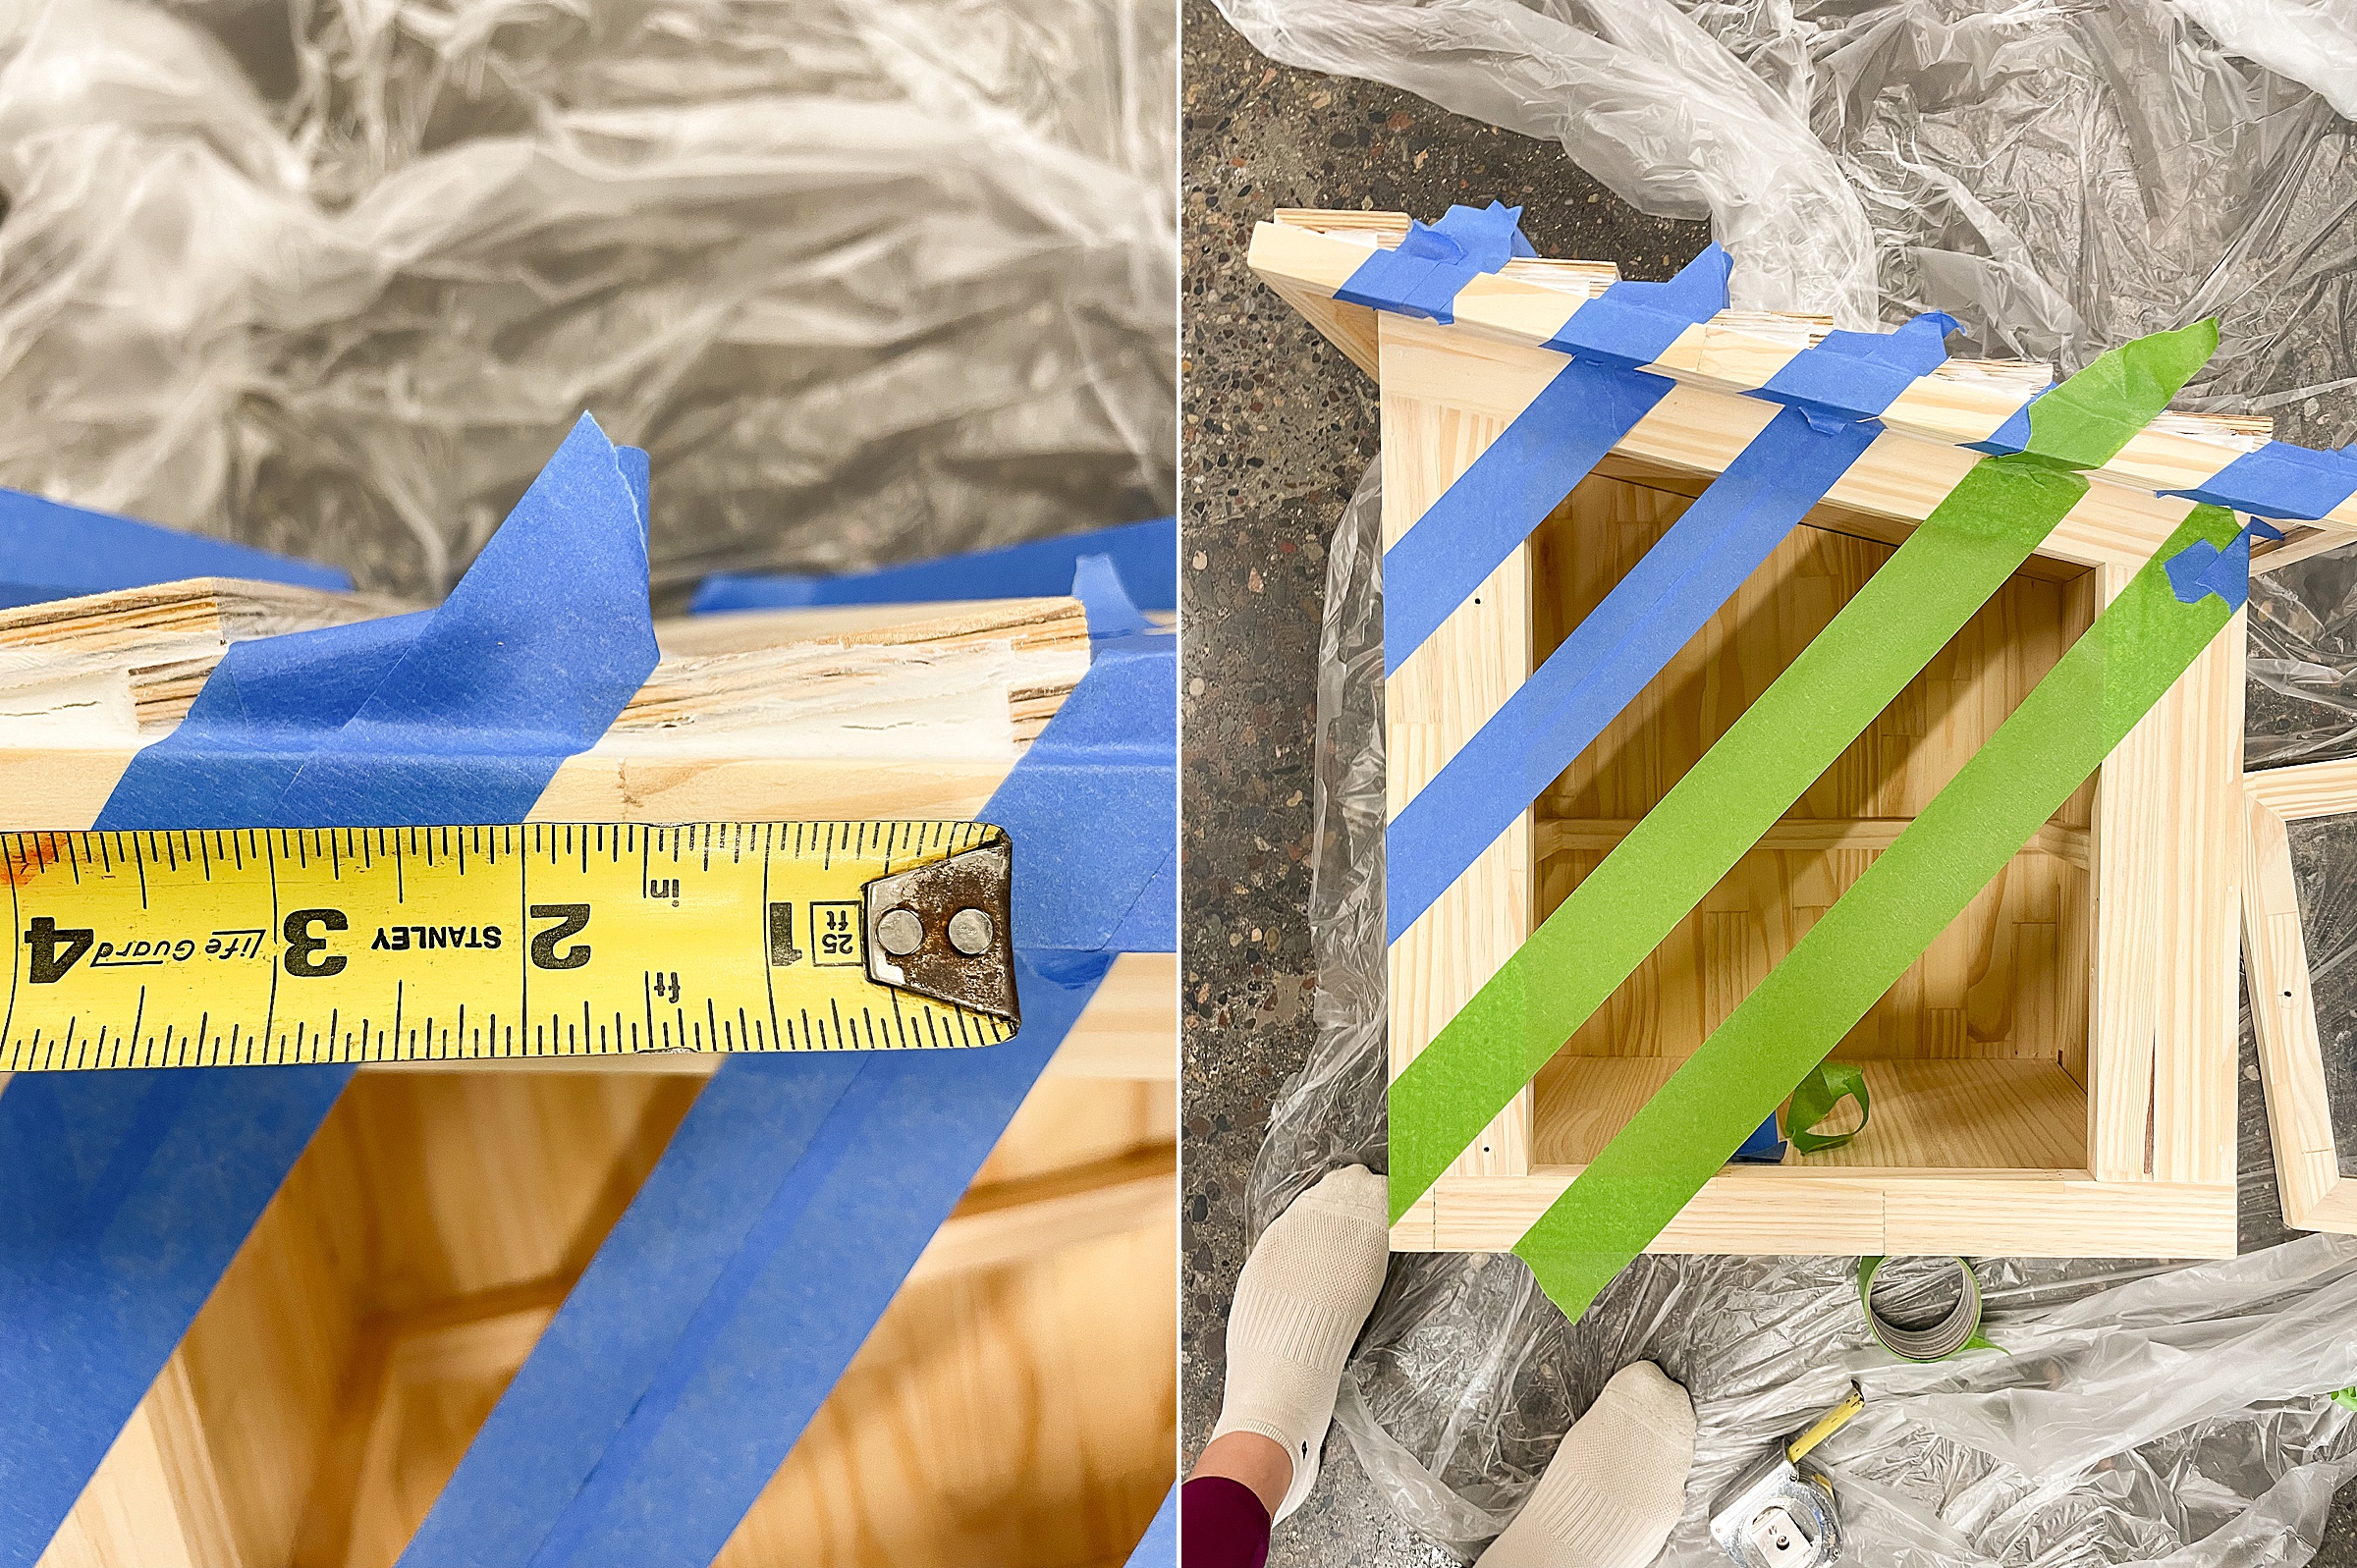
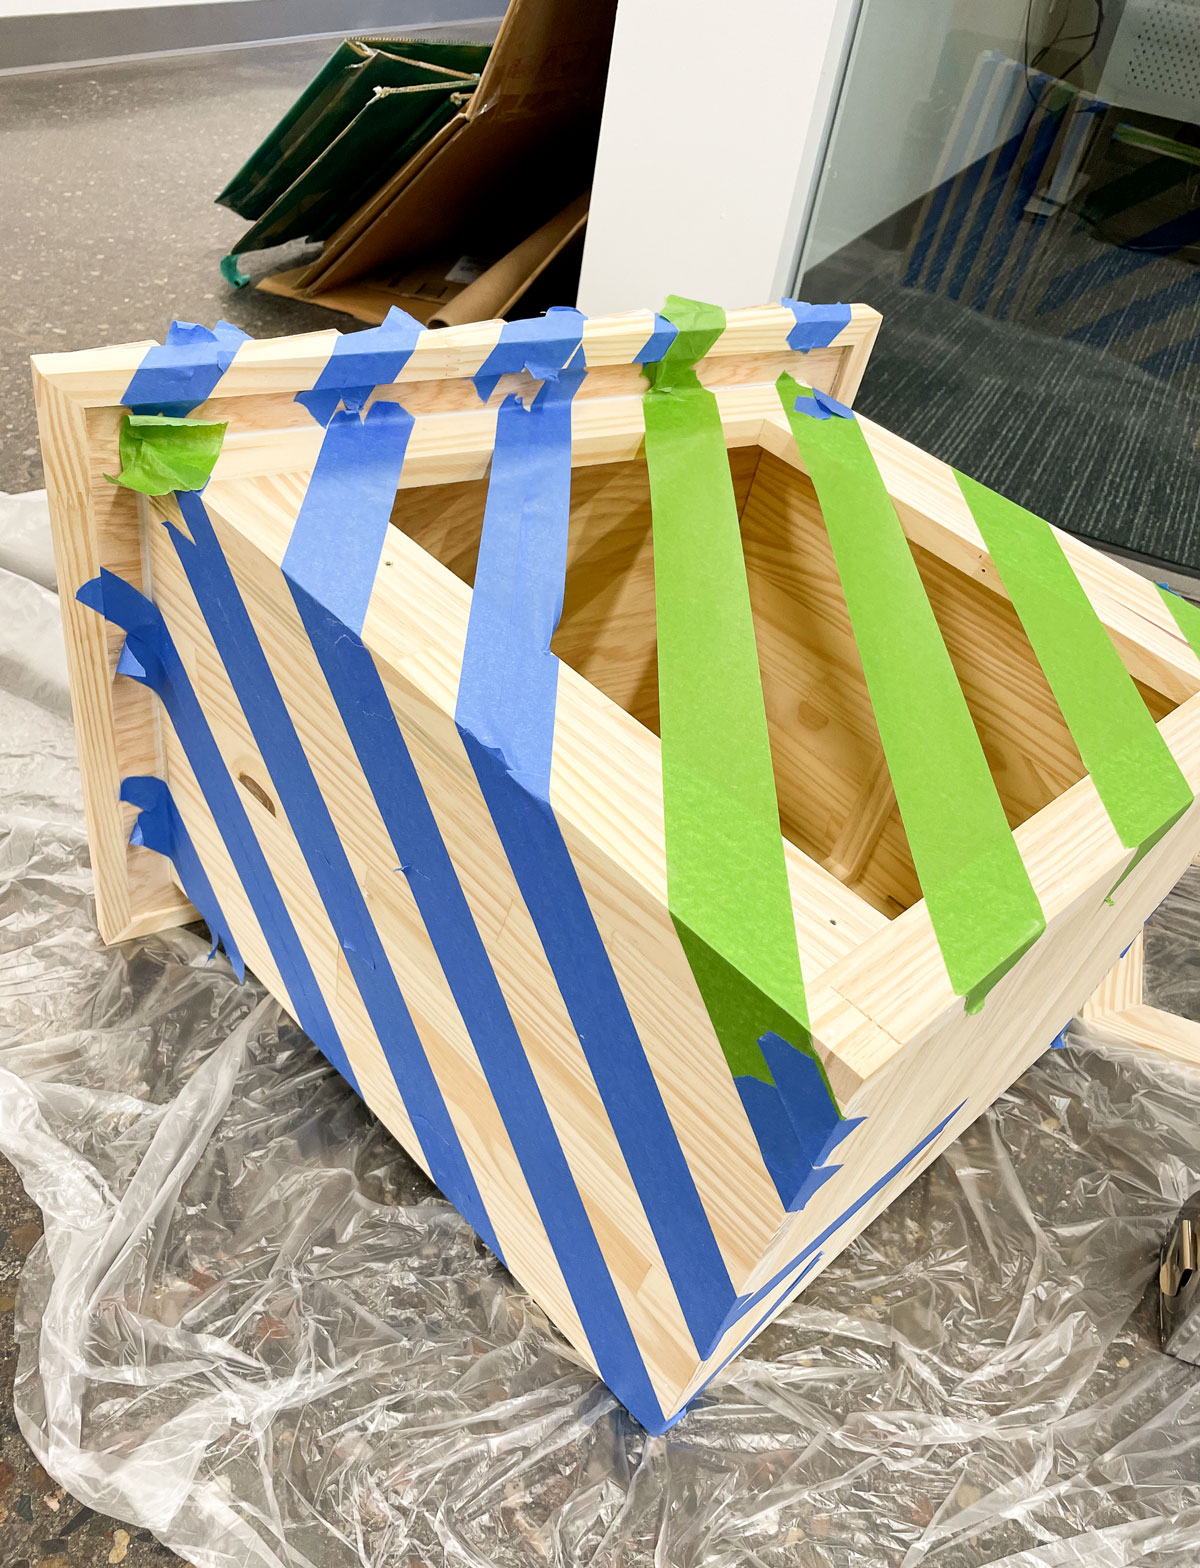
4. Once you have your sections painted off, begin painting! YAY! Paint each section in the color you want and leave the “alternate” sections alone (those will be taped off and painted later)!
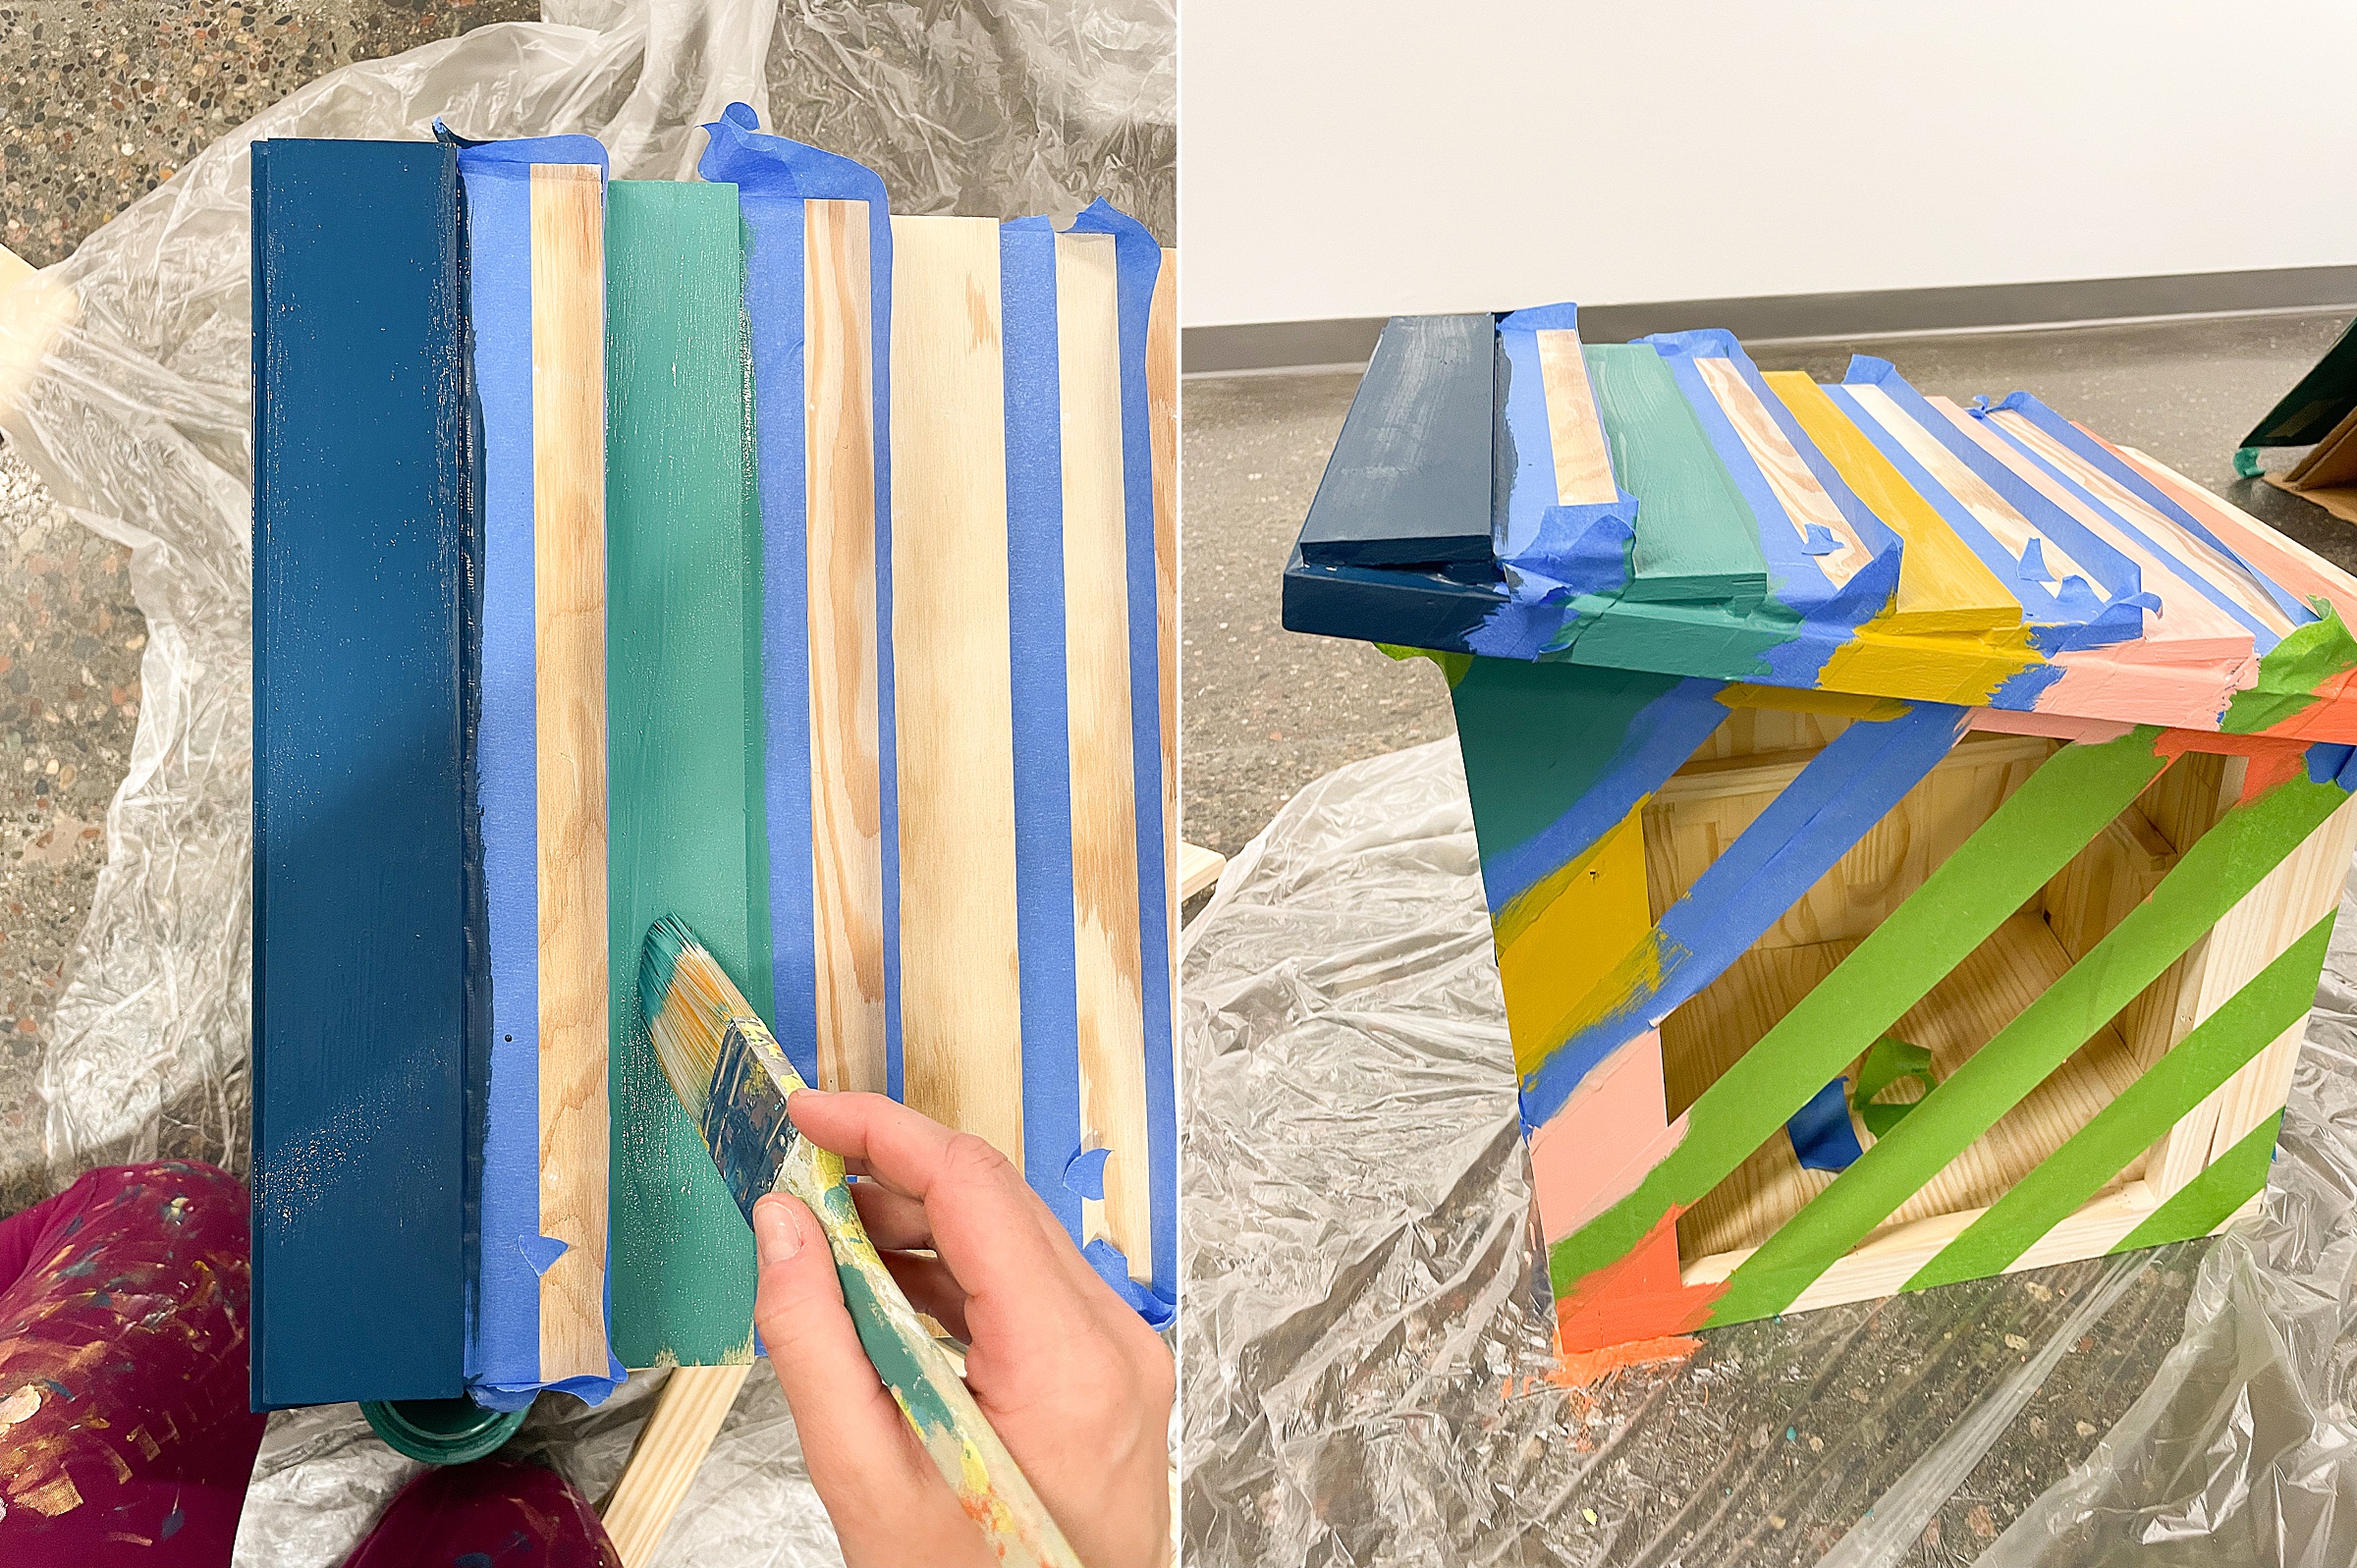
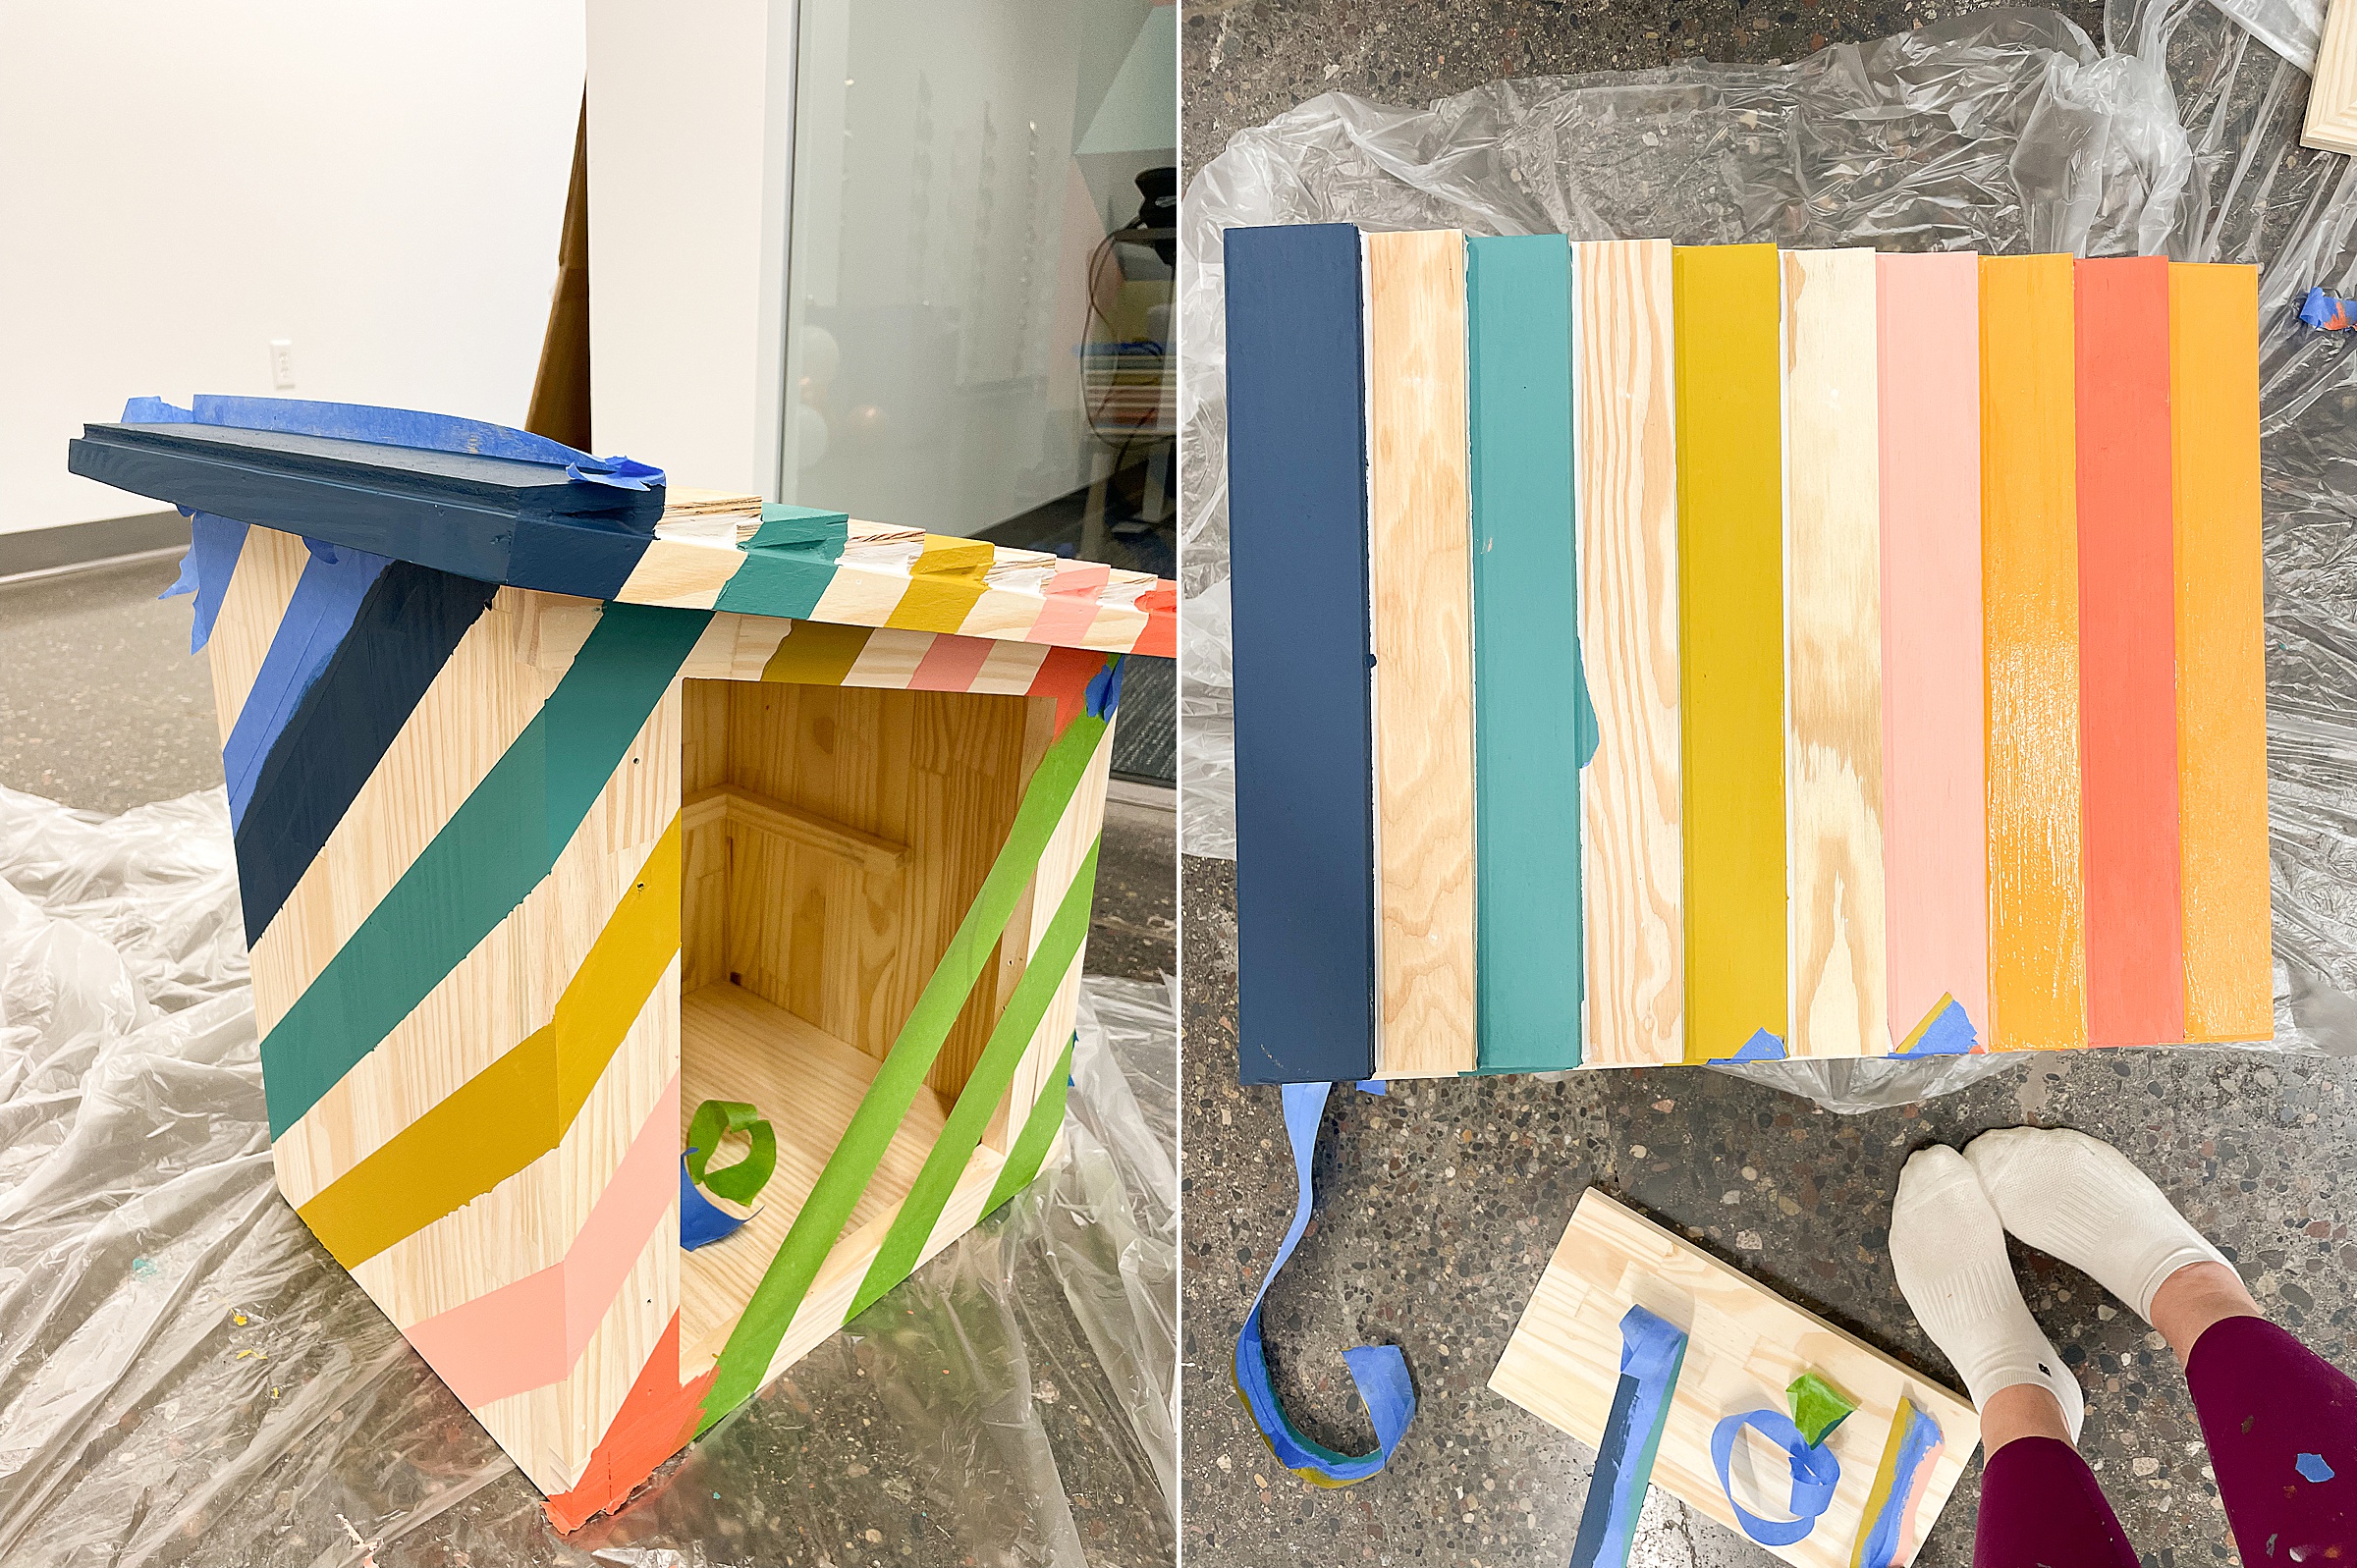
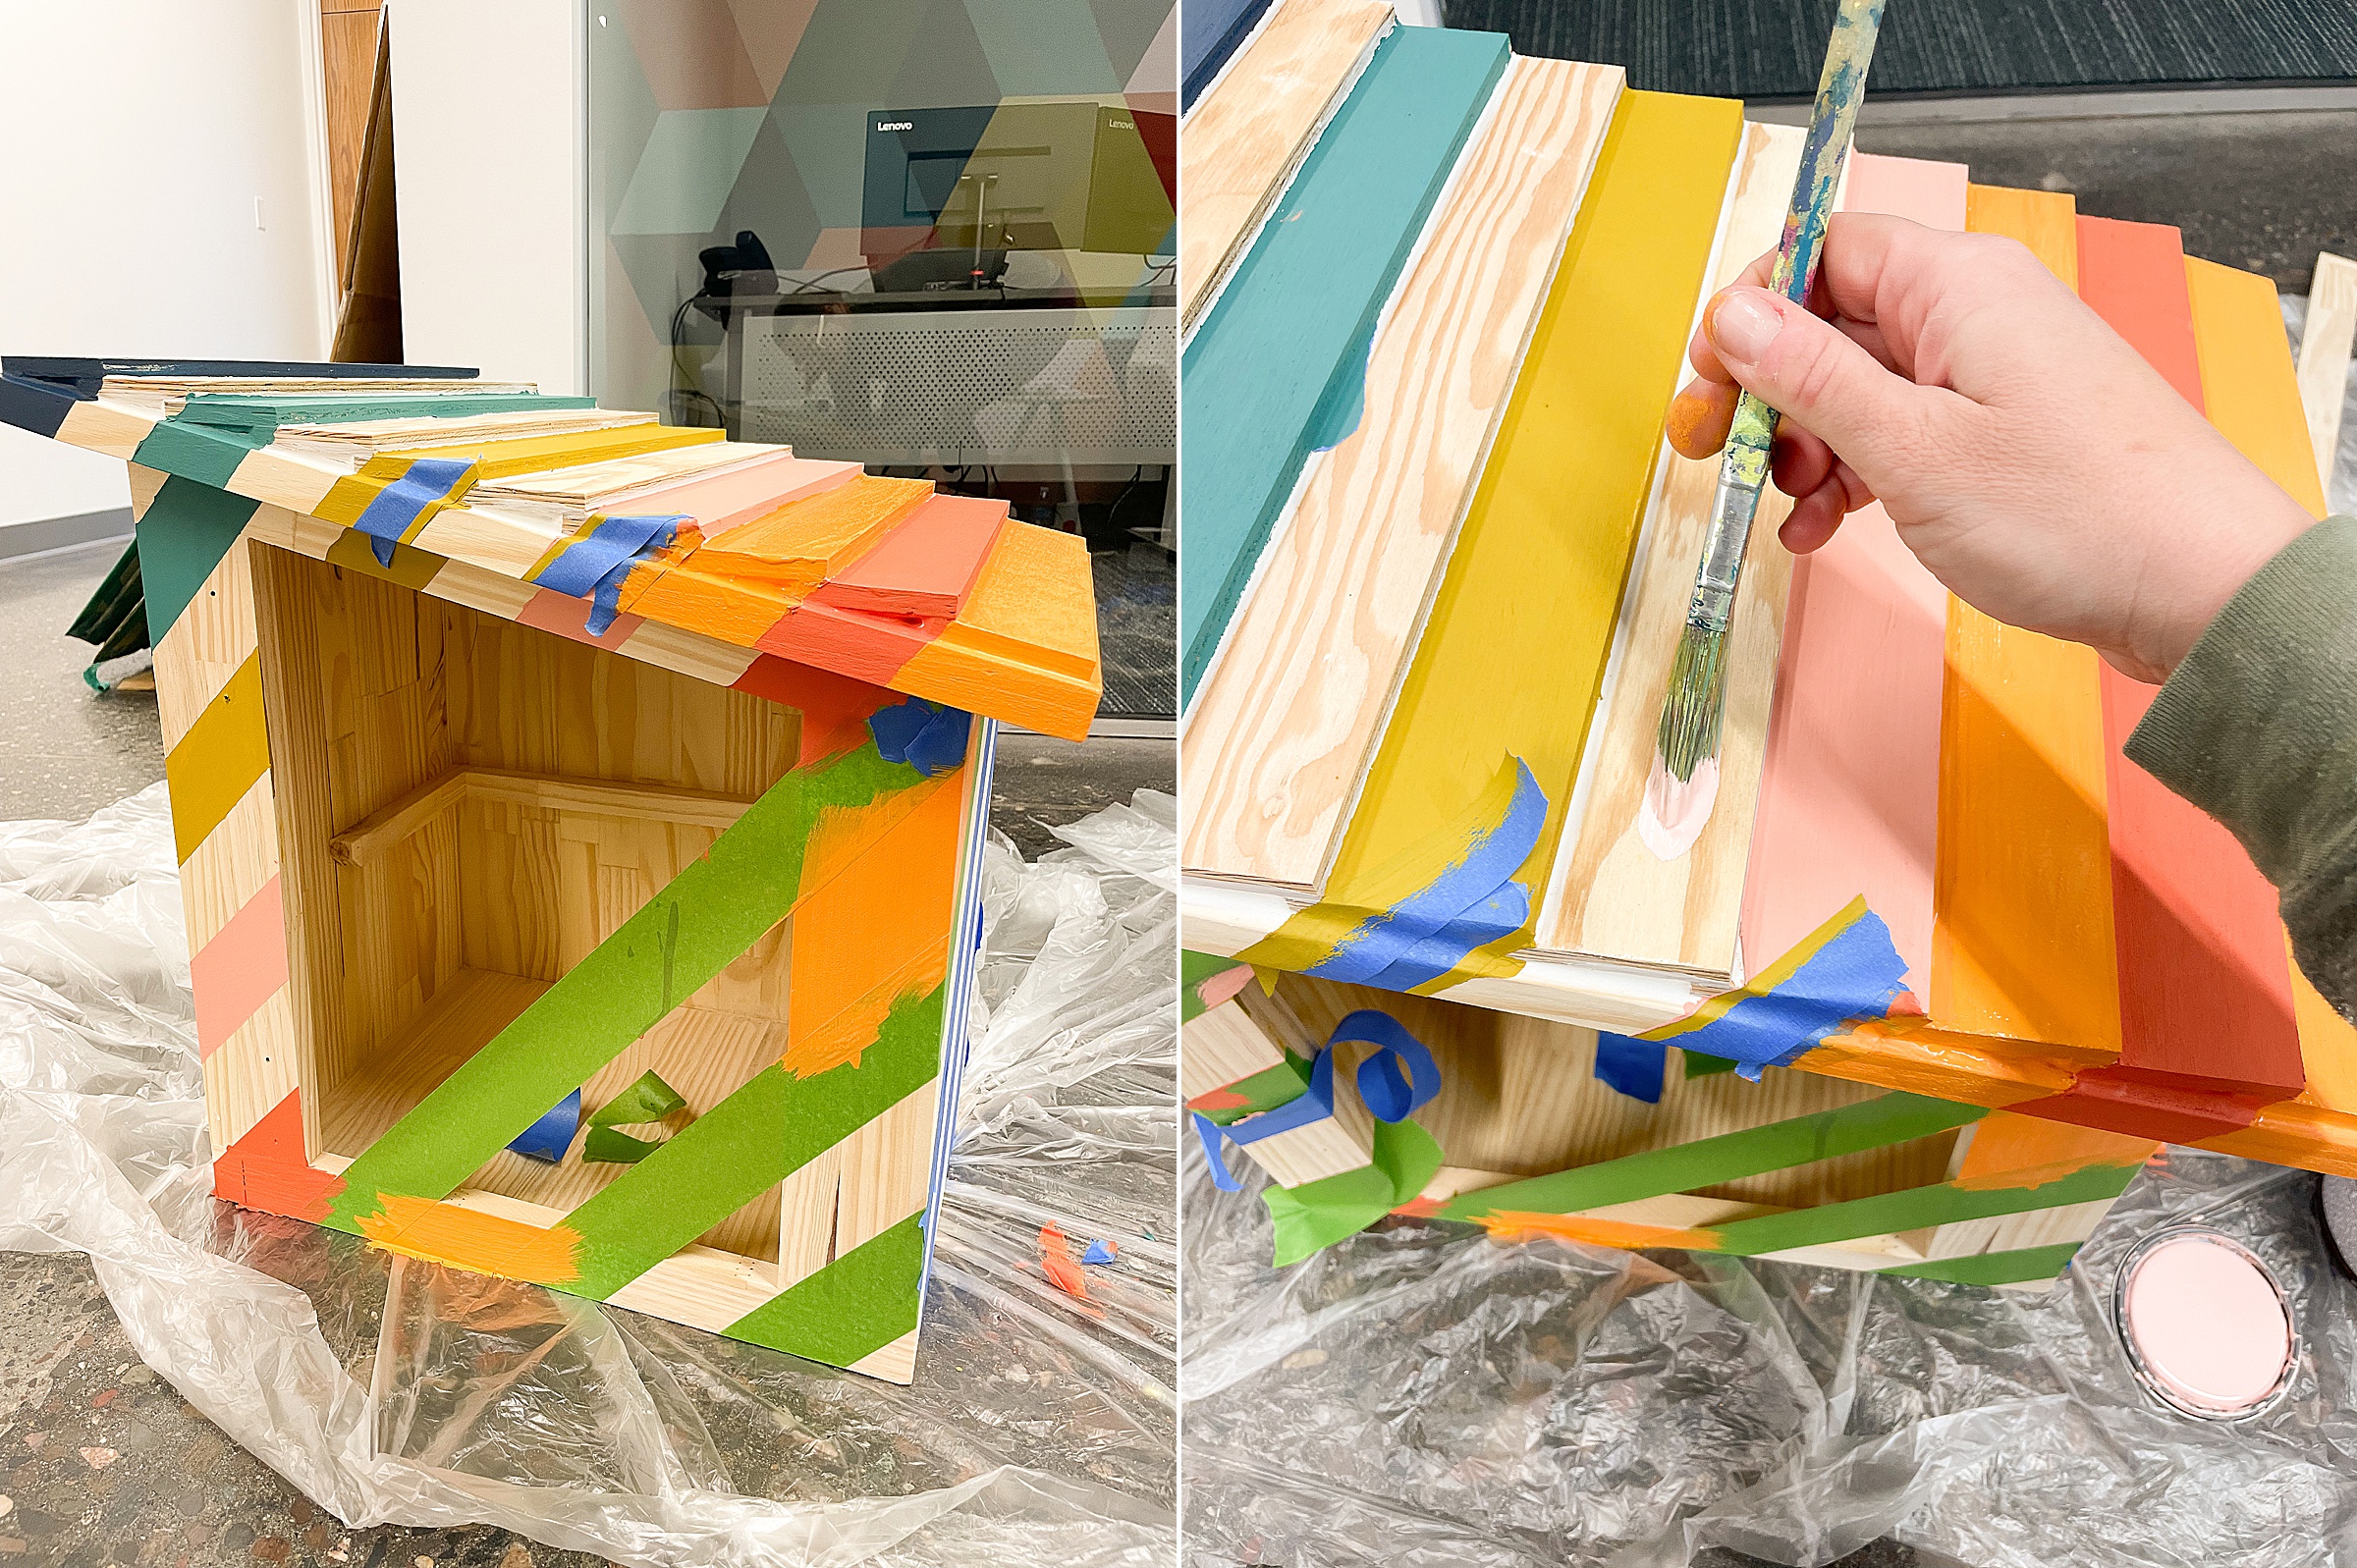
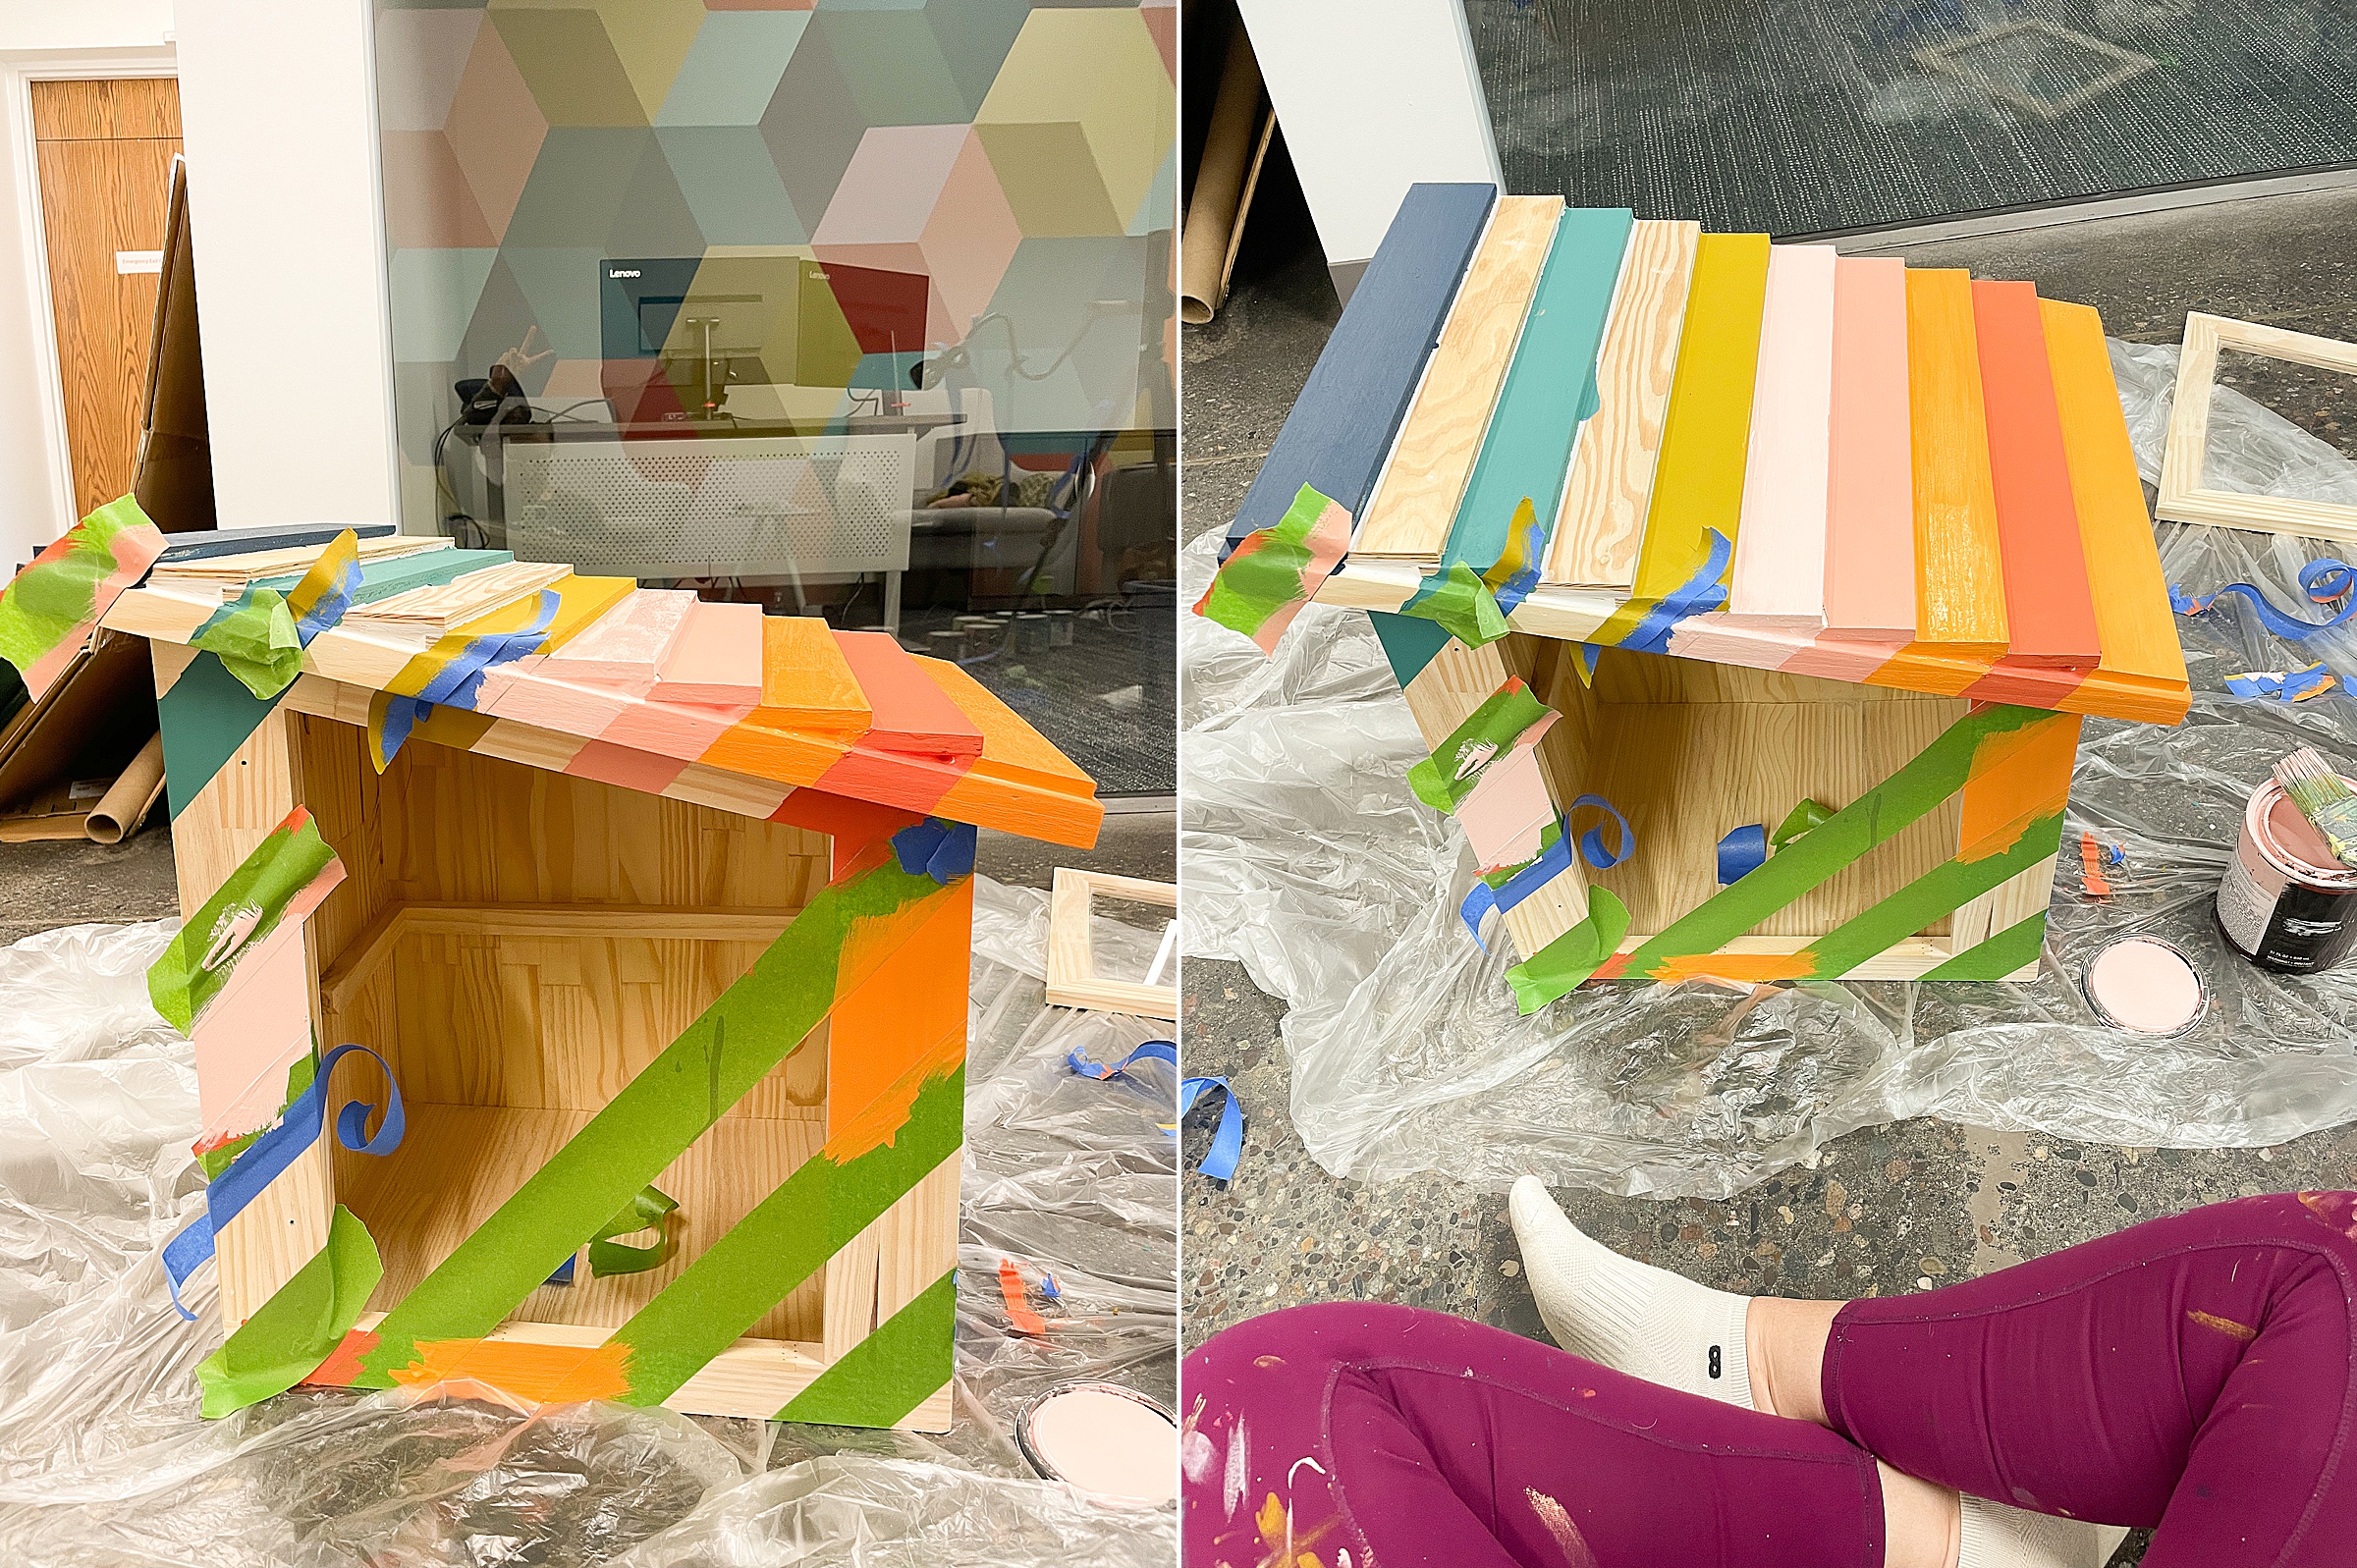
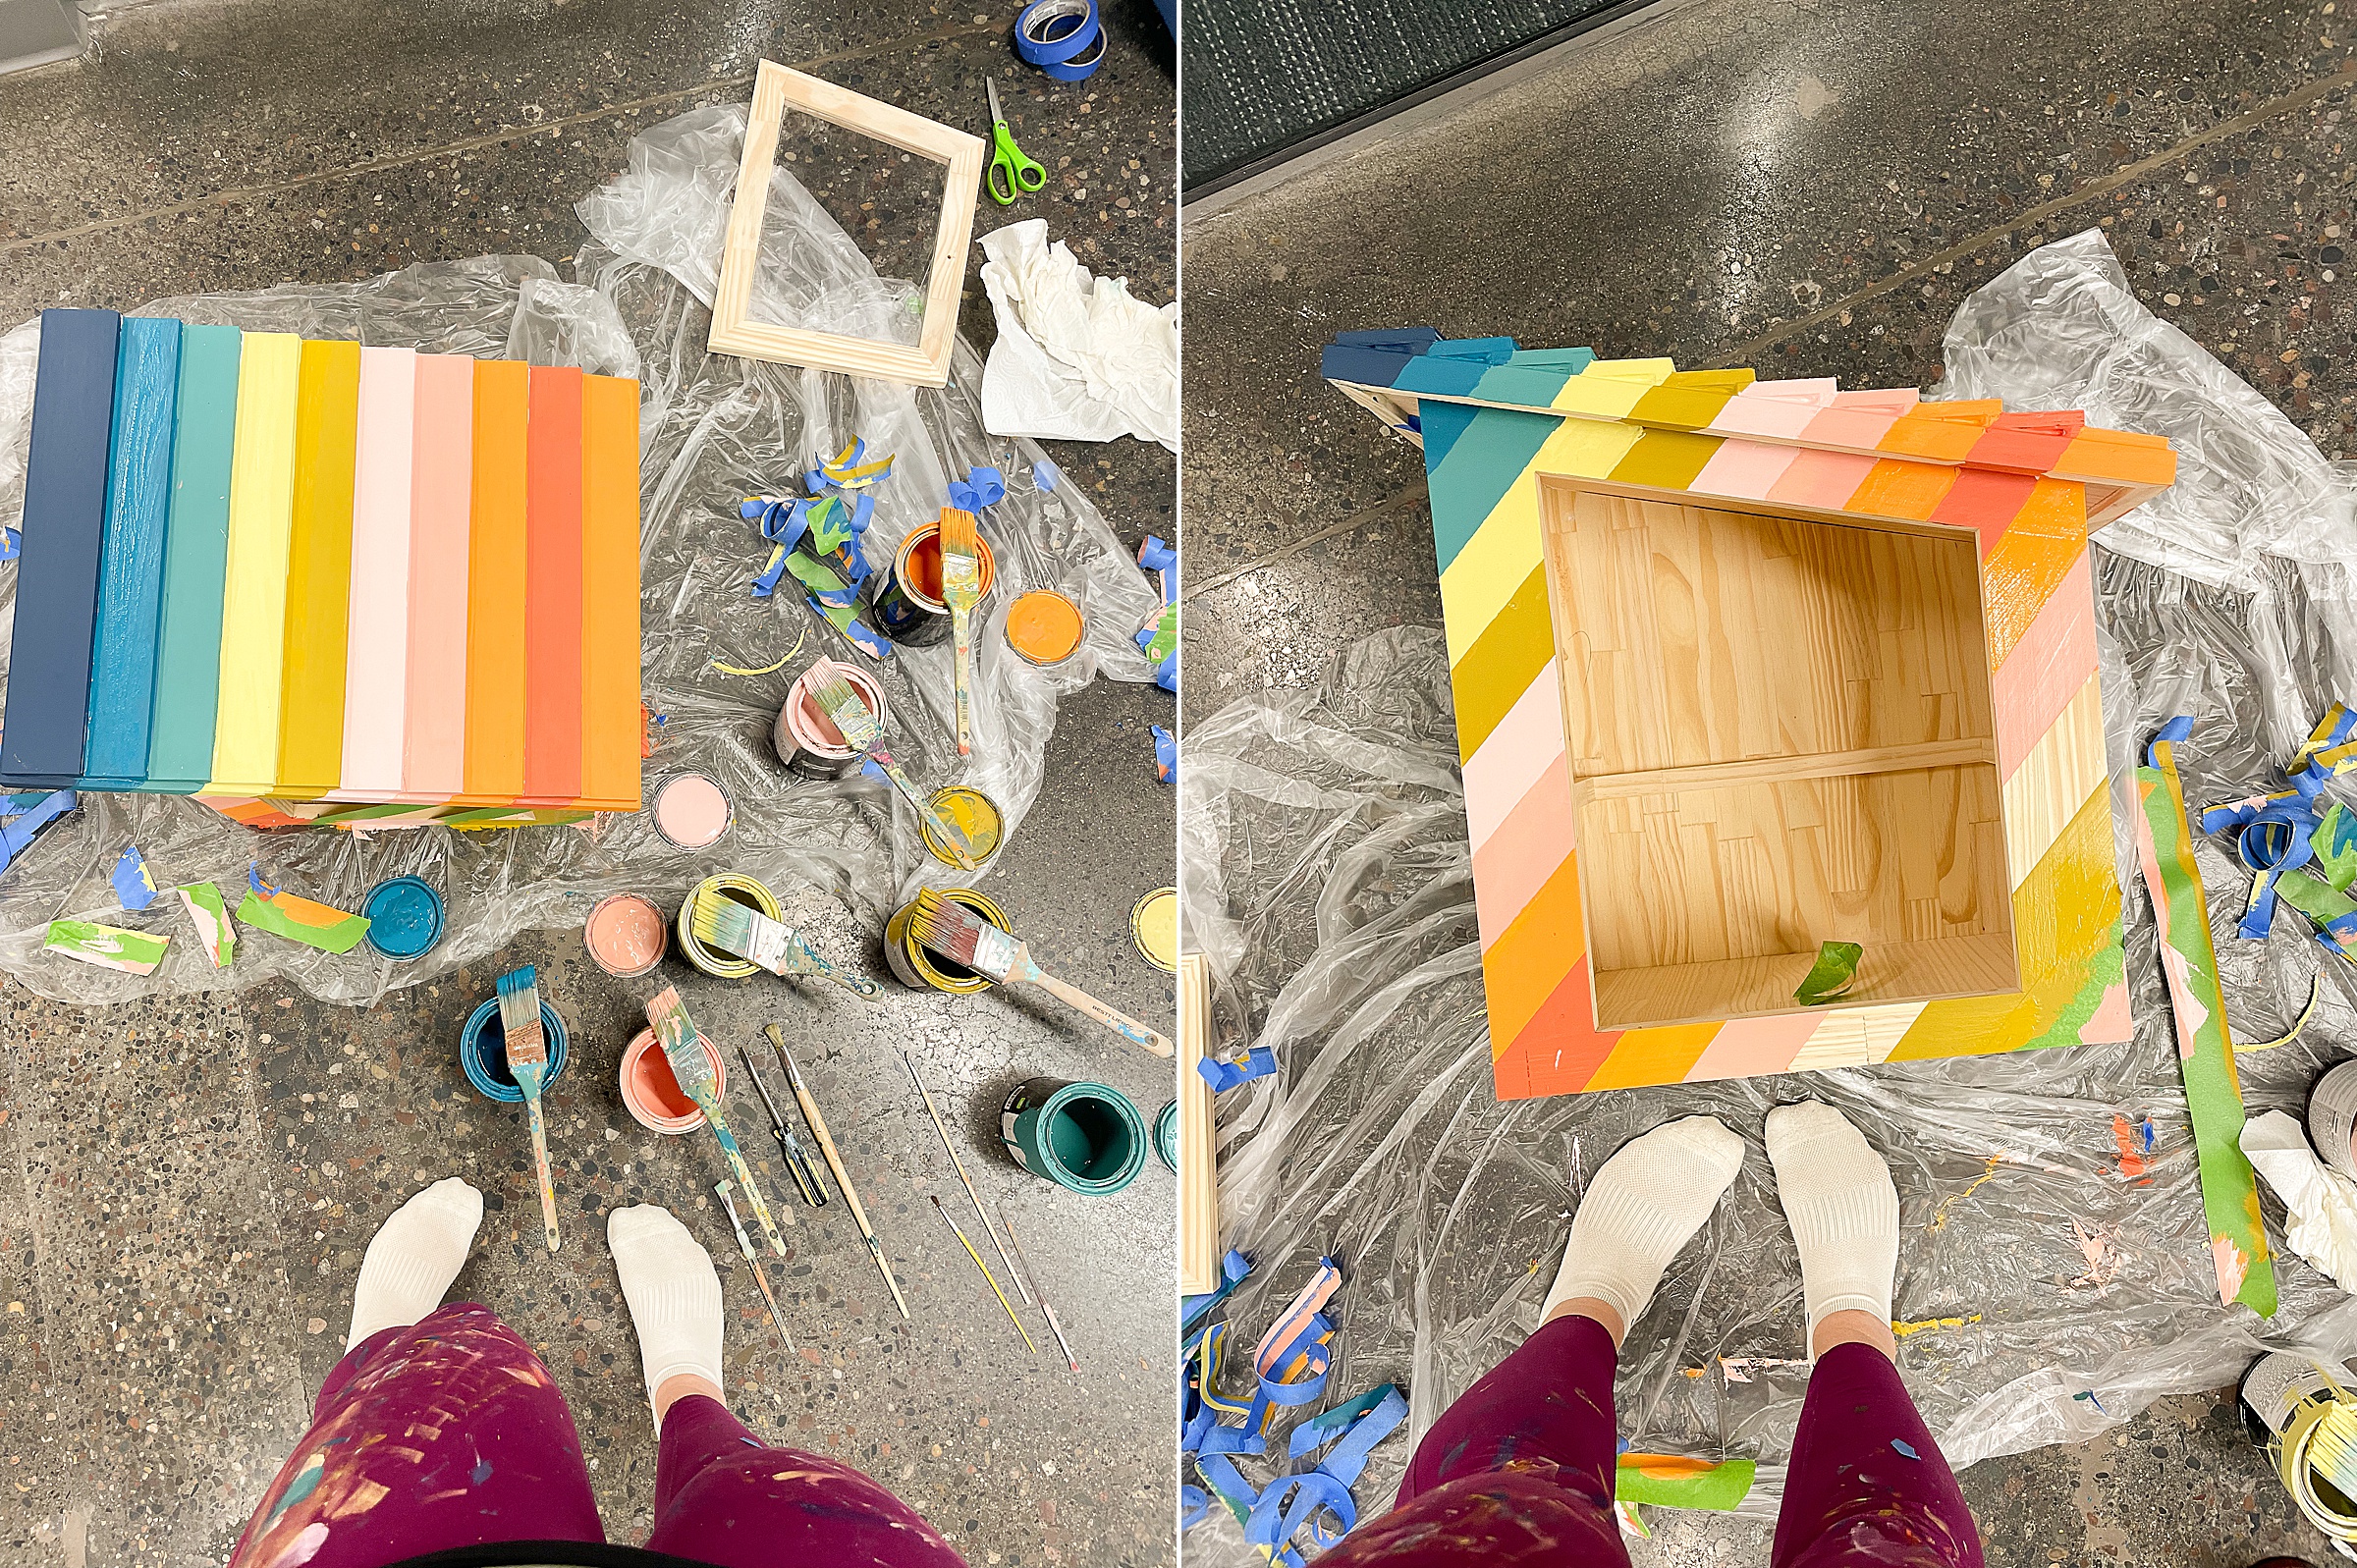
I like to peel tape when it’s wet to be sure that I get a nice straight line (totally my own personal opinion that it works better, I am unsure if there’s actually science behind this! HAAAA)! 🙂
Allow your first set of “stripes” to dry (like go get a nice big coffee and chill for a bit or leave overnight) and then begin to tape off the sections that you’ve already painted (cover with tape) and paint the “alternate” sections or stripes!
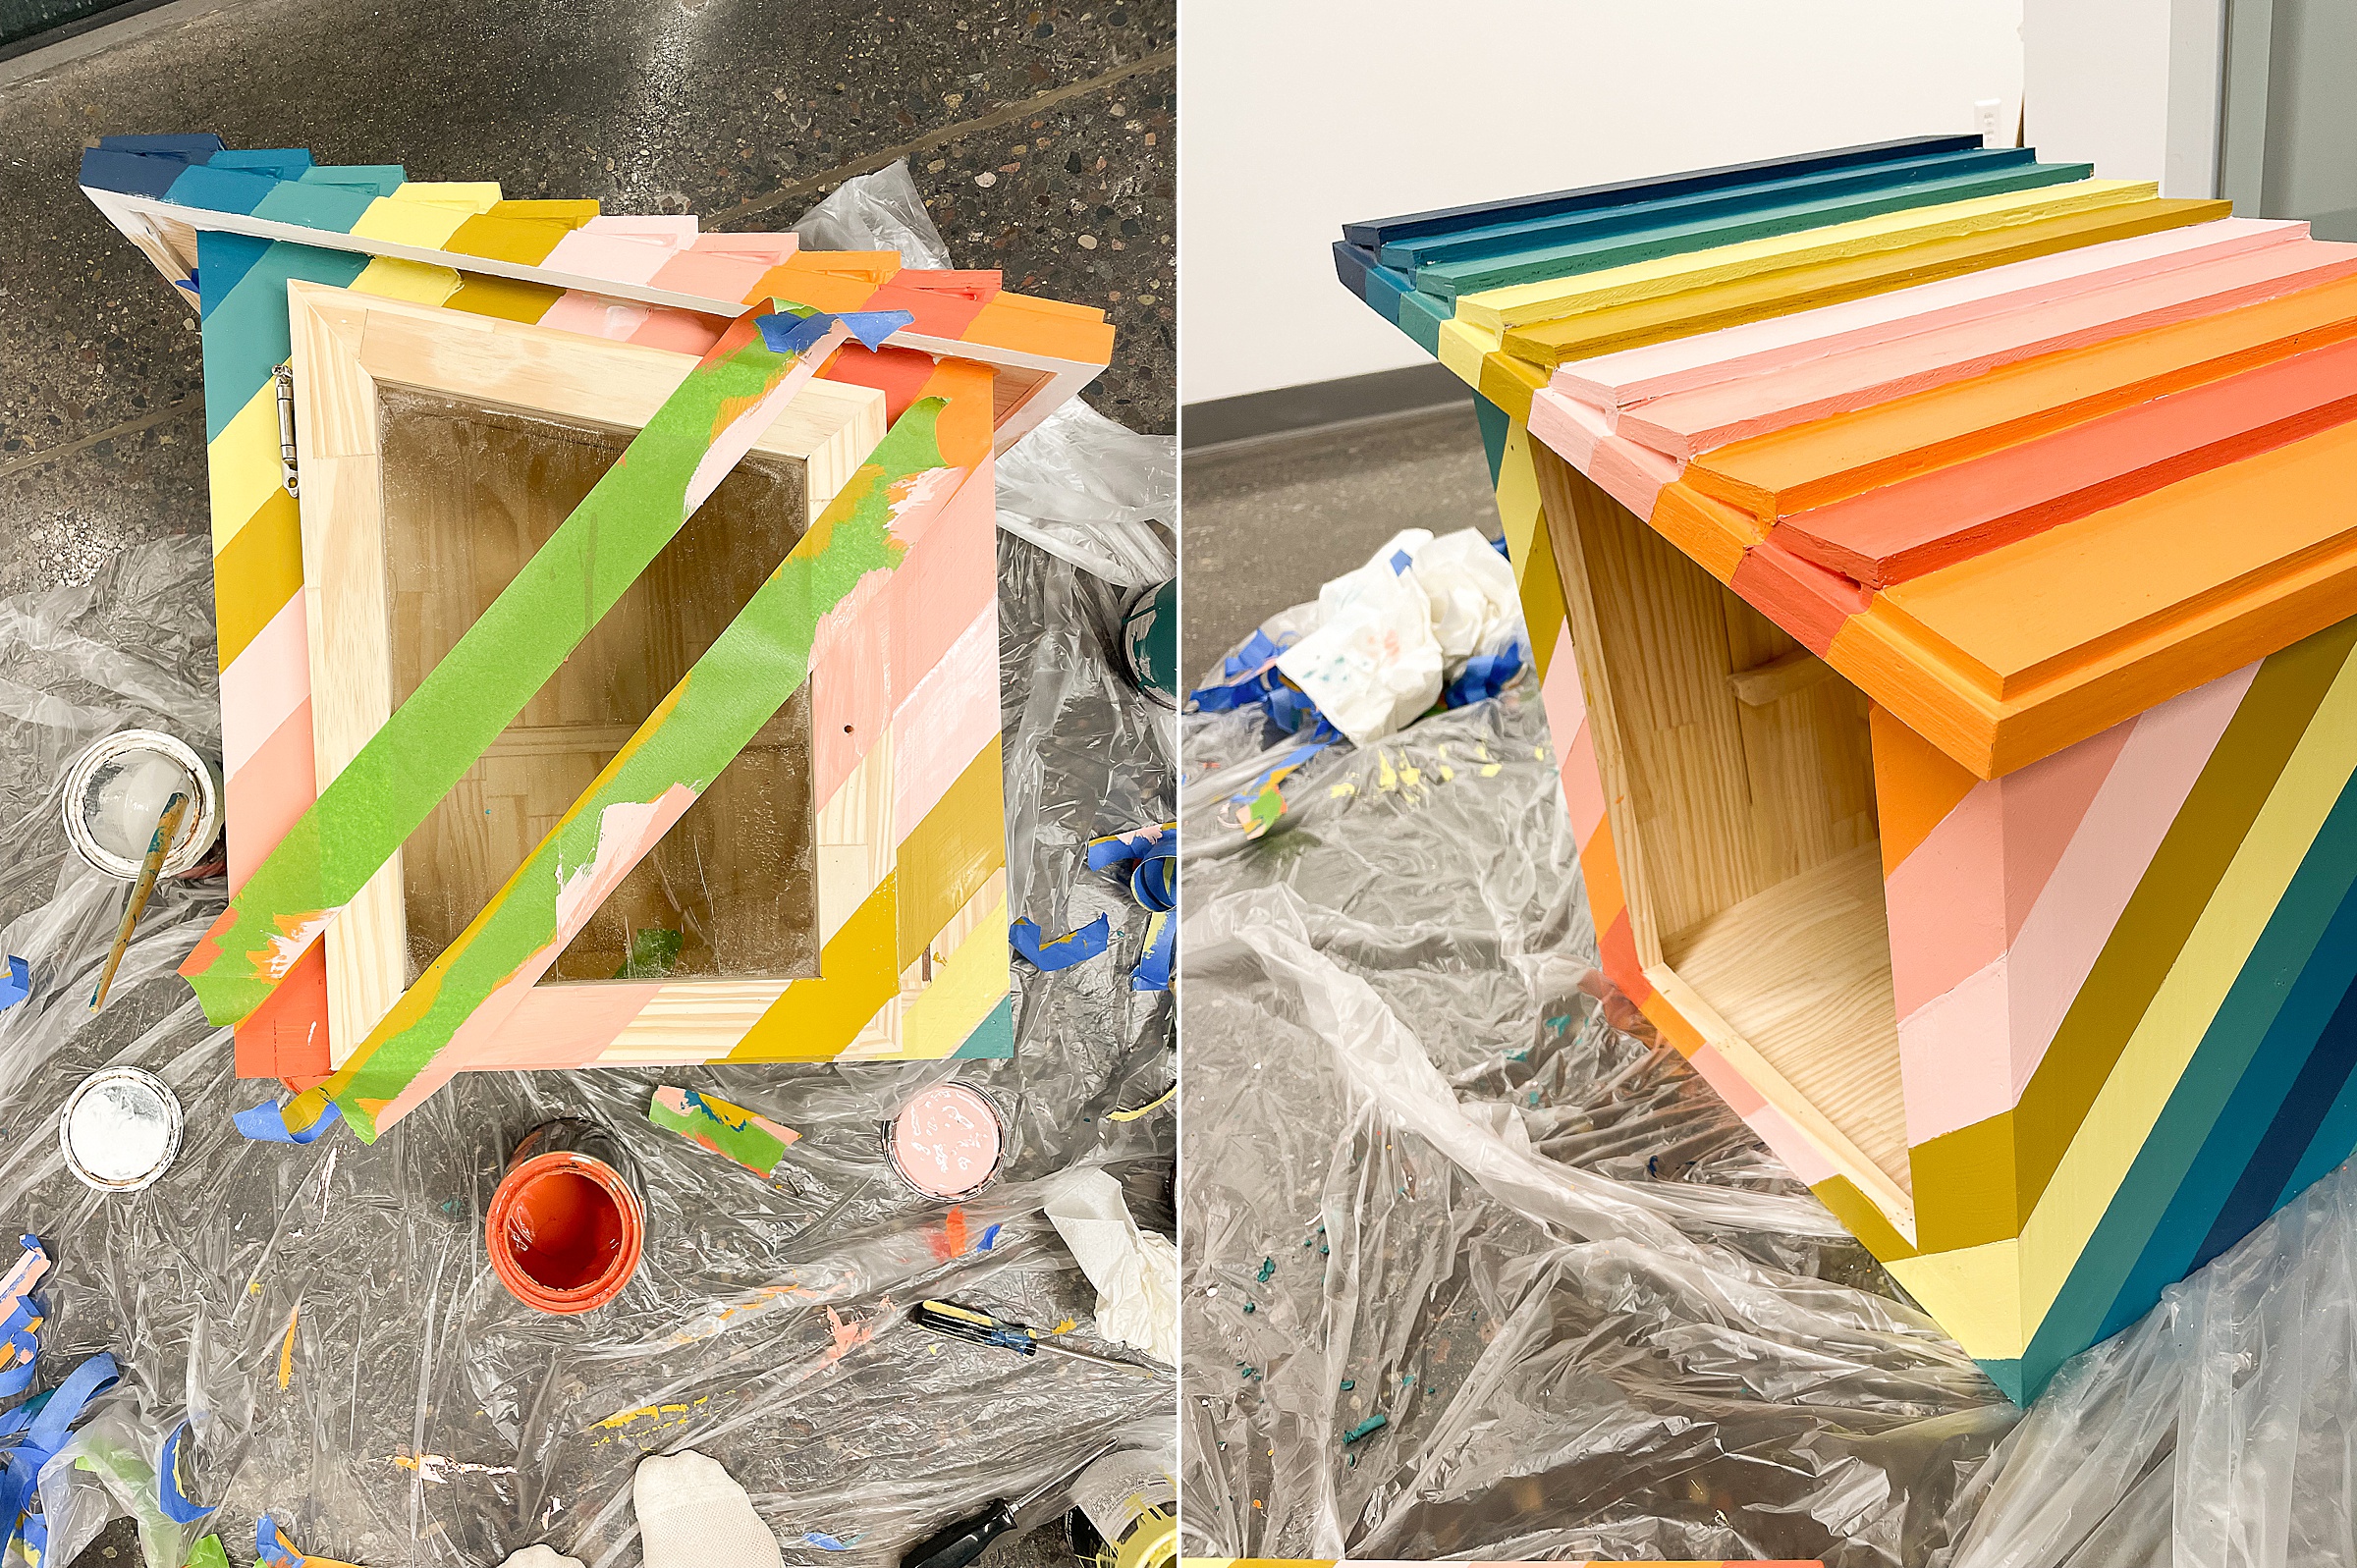
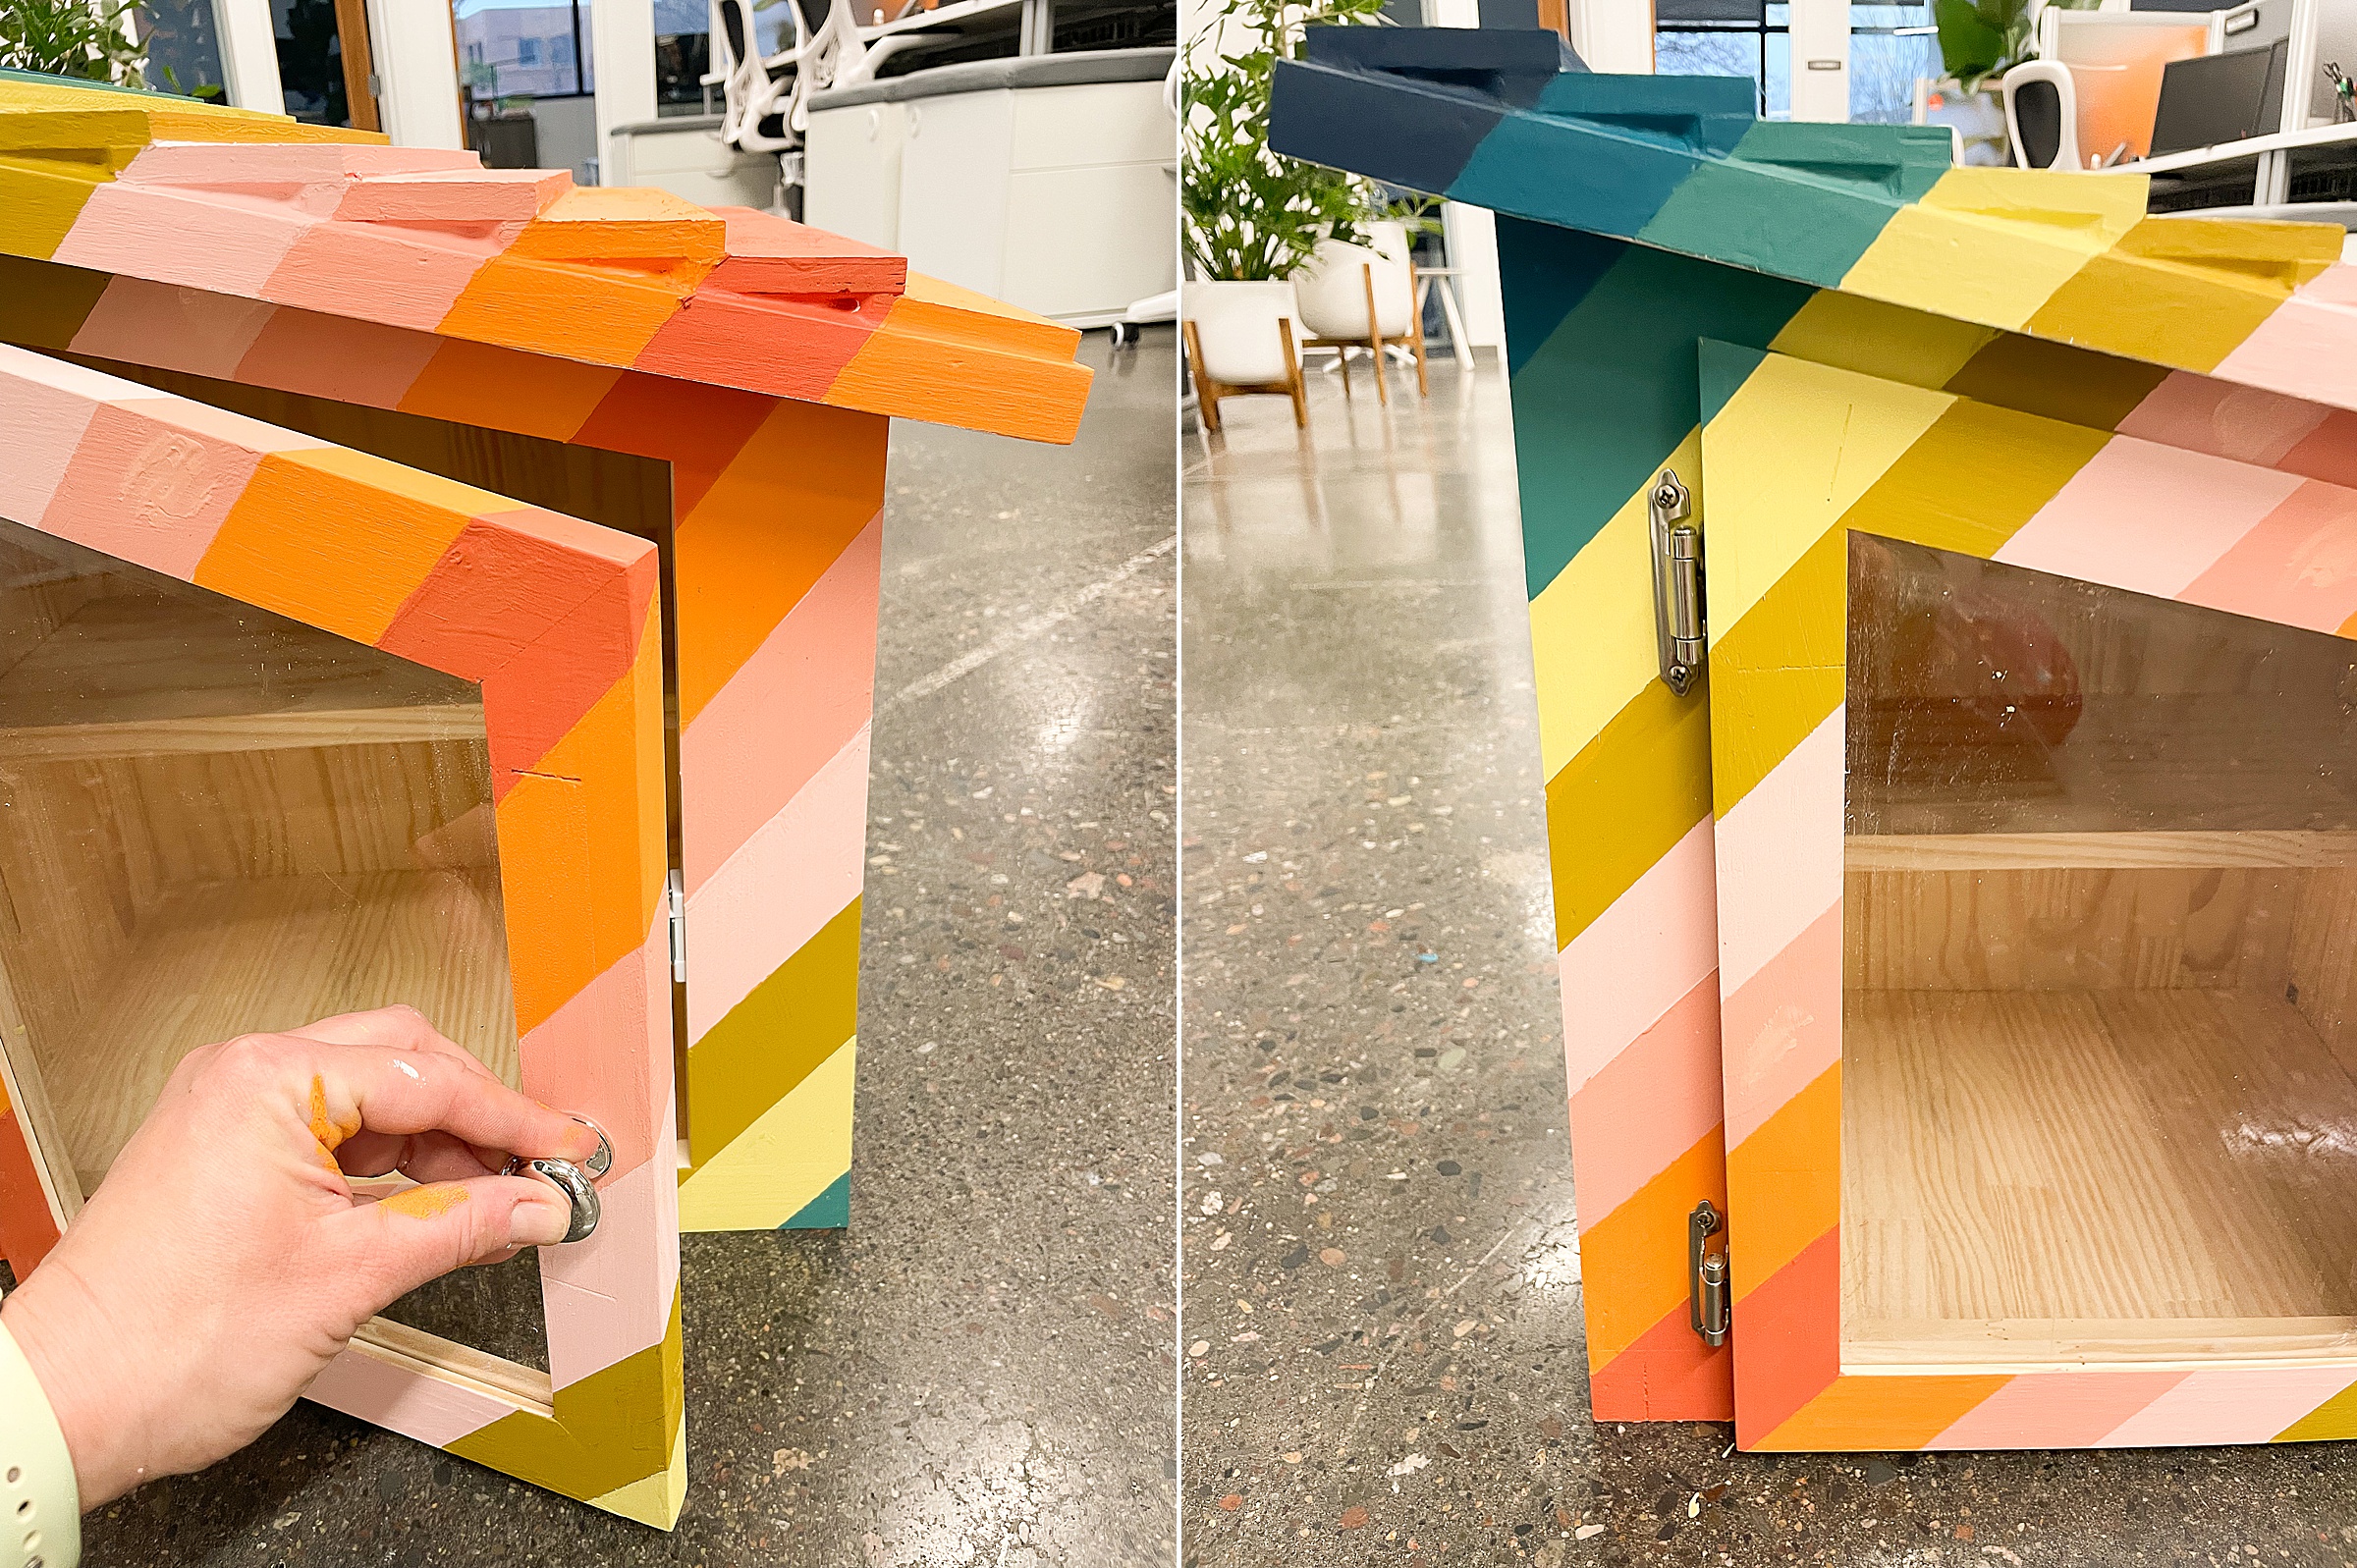
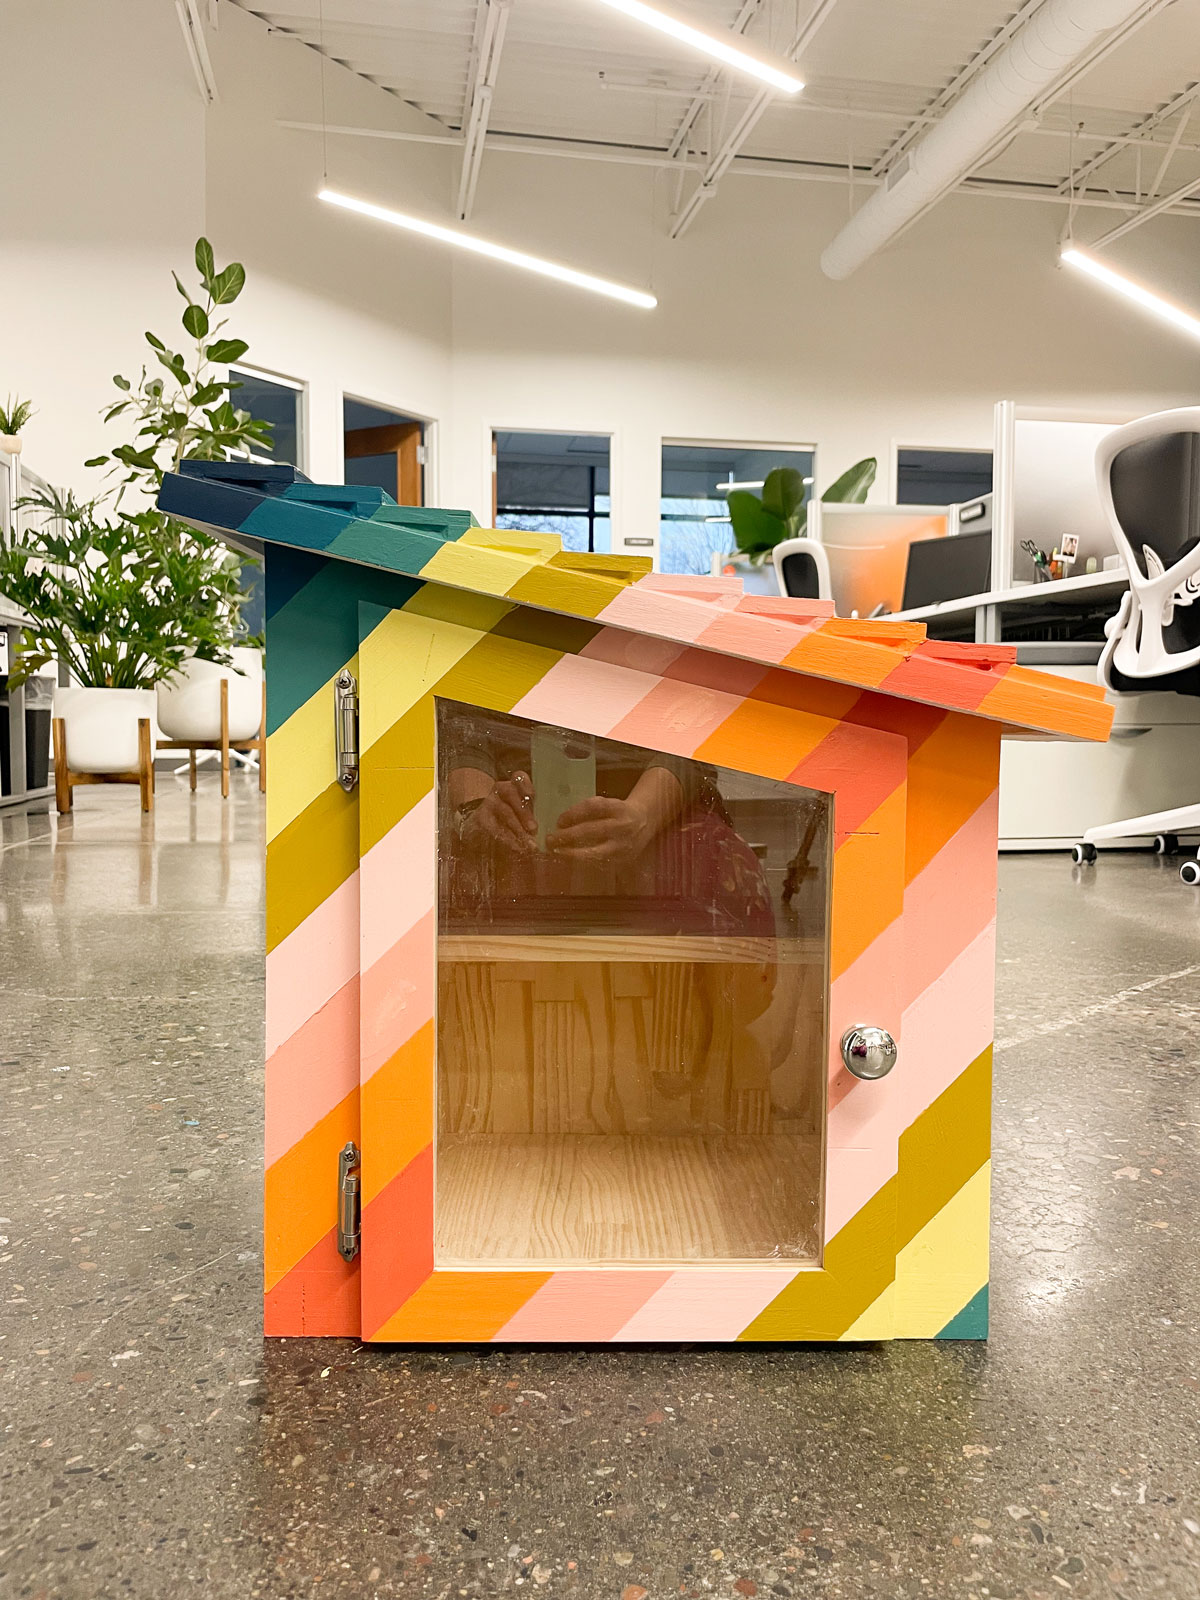
It’s THAT easy! And honestly you can change up the design or the colors in any way that you choose (DUH)! 🙂
The cool thing about this project is that it’s totally customizable and something to make personal for your front yard or school or anyplace that you are putting your free little library! 🙂
Oh—and don’t forget to re-assemble your pieces back together so that your door opens and shuts to keep out the rain or other outdoor elements!
YAY for reading and yay for colorful little libraries! 🙂
