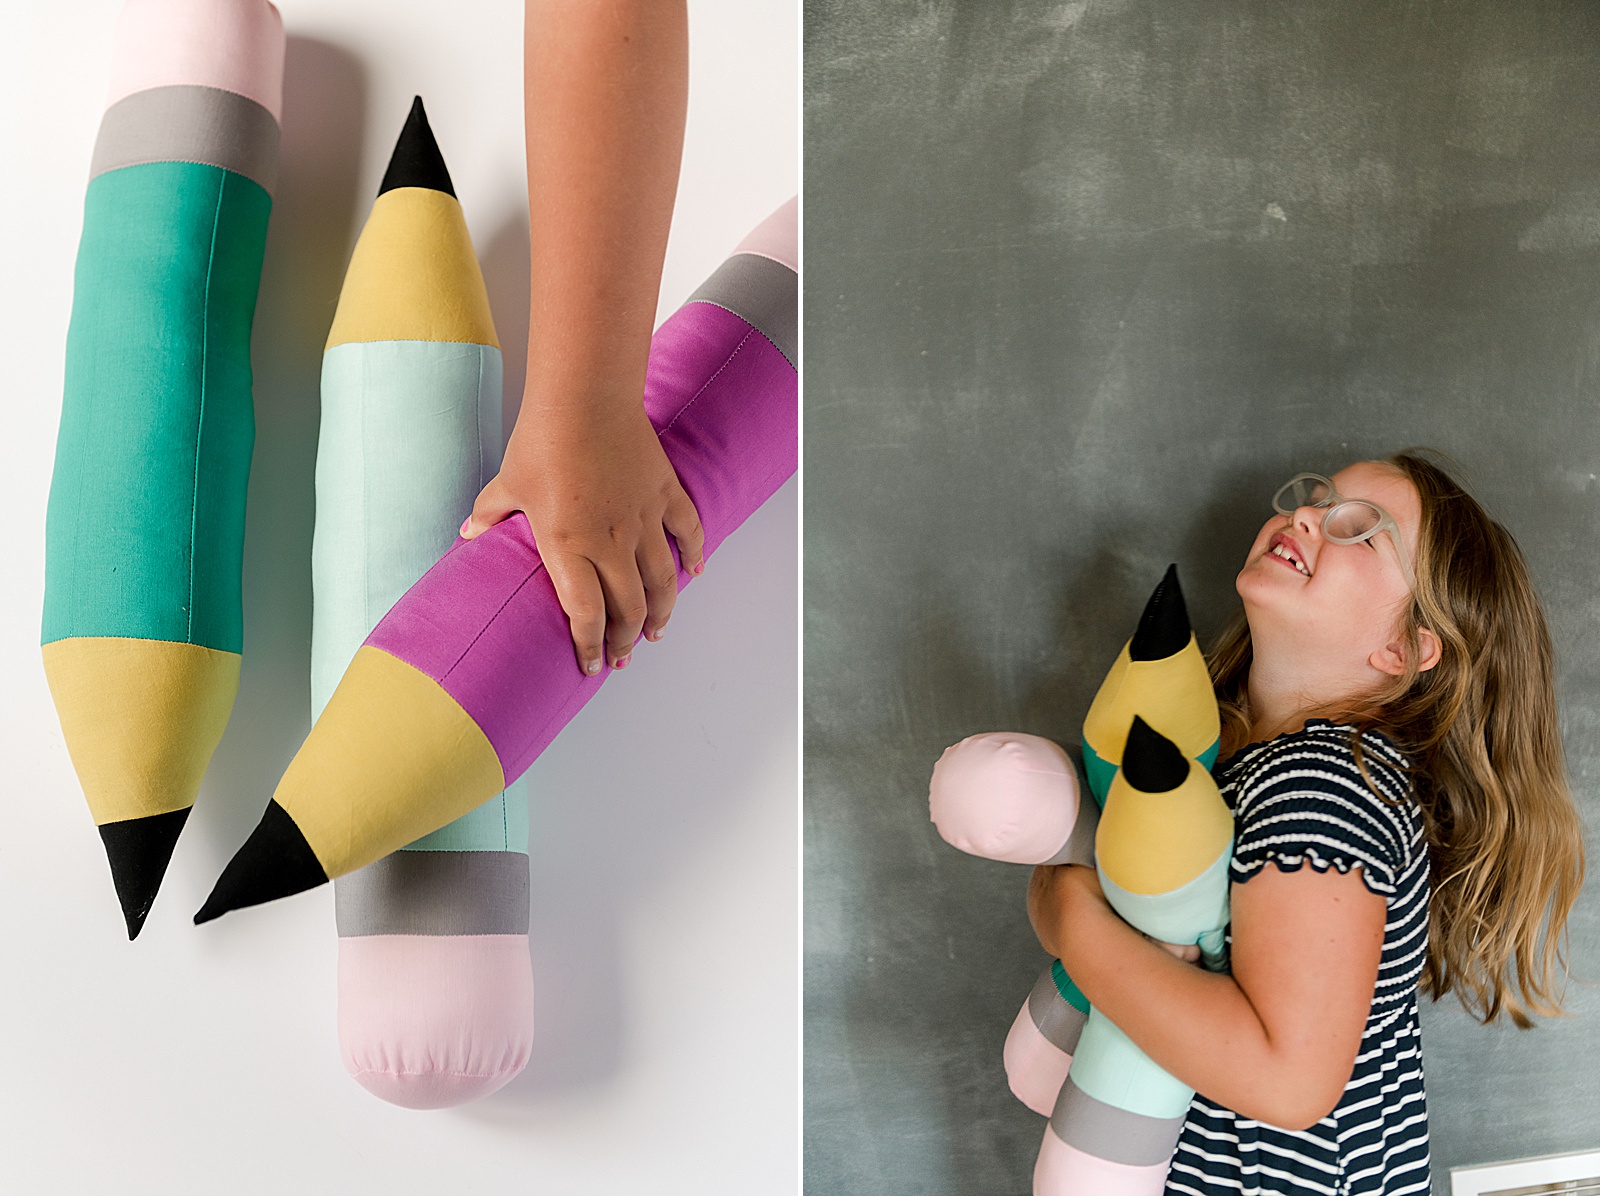
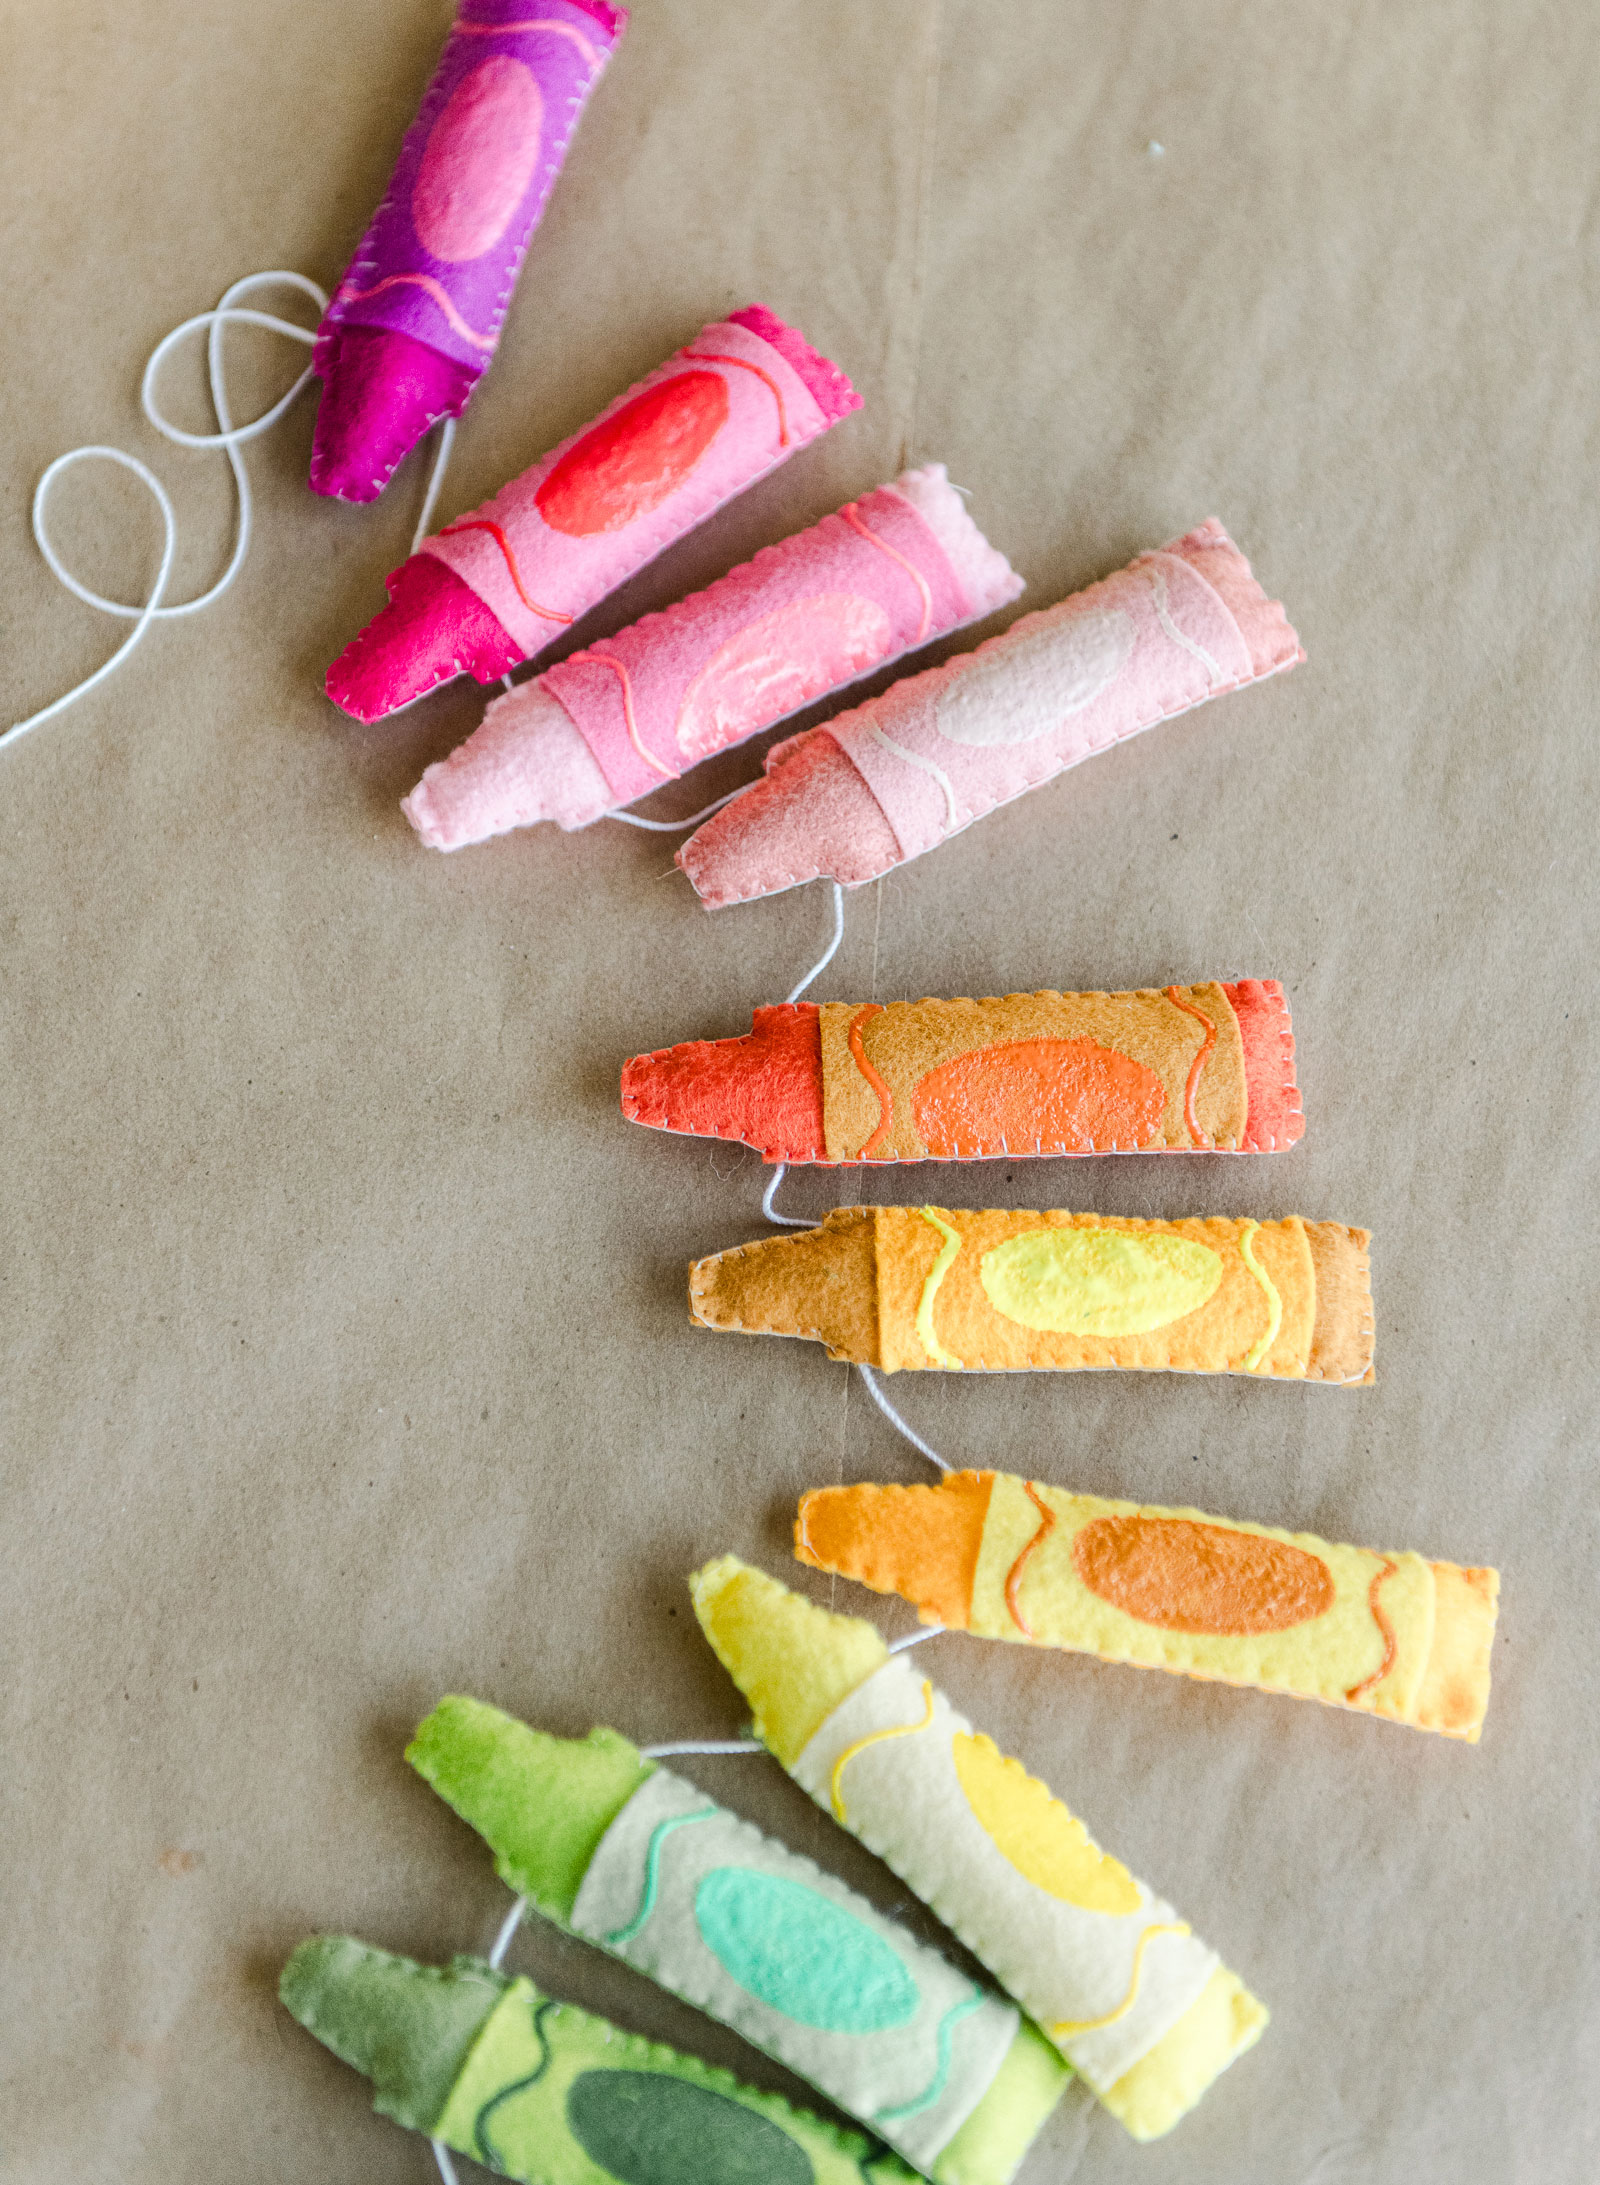
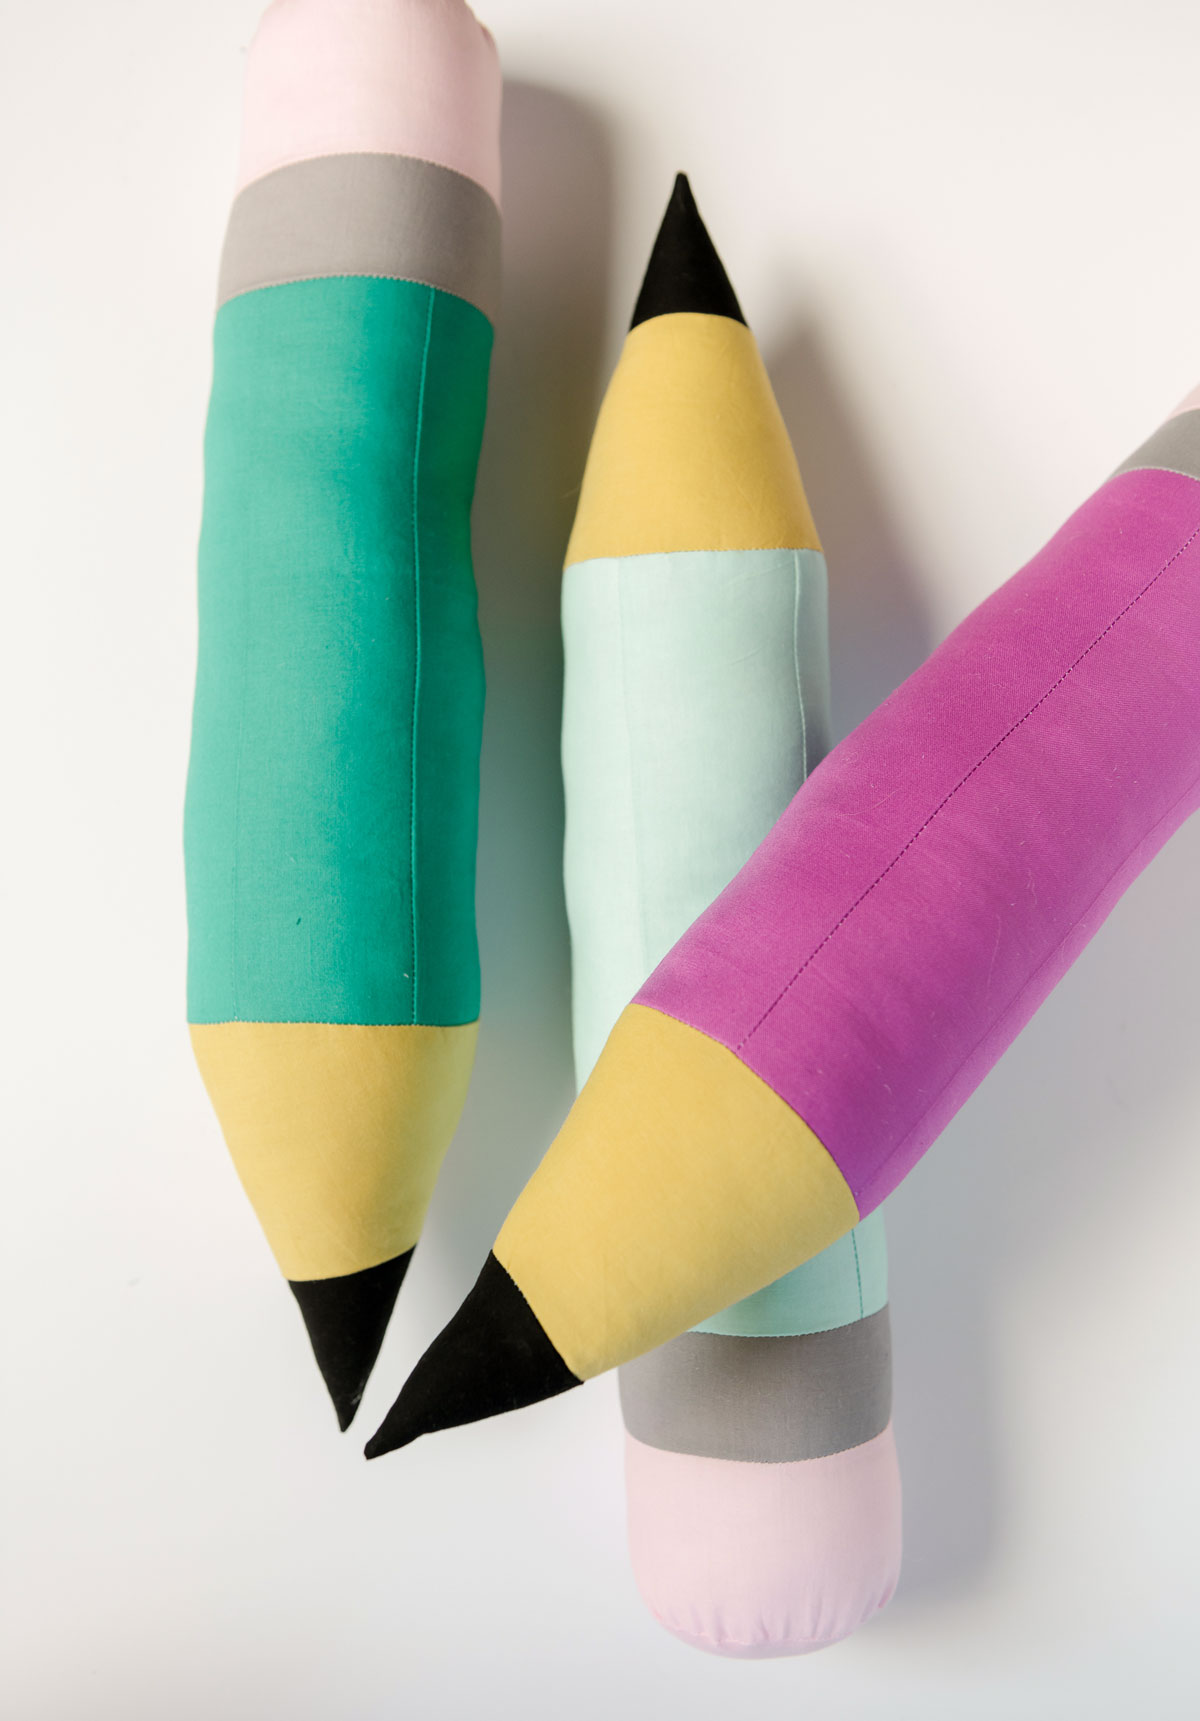
Get back to school with this adorable handmade pencil plushie! :)
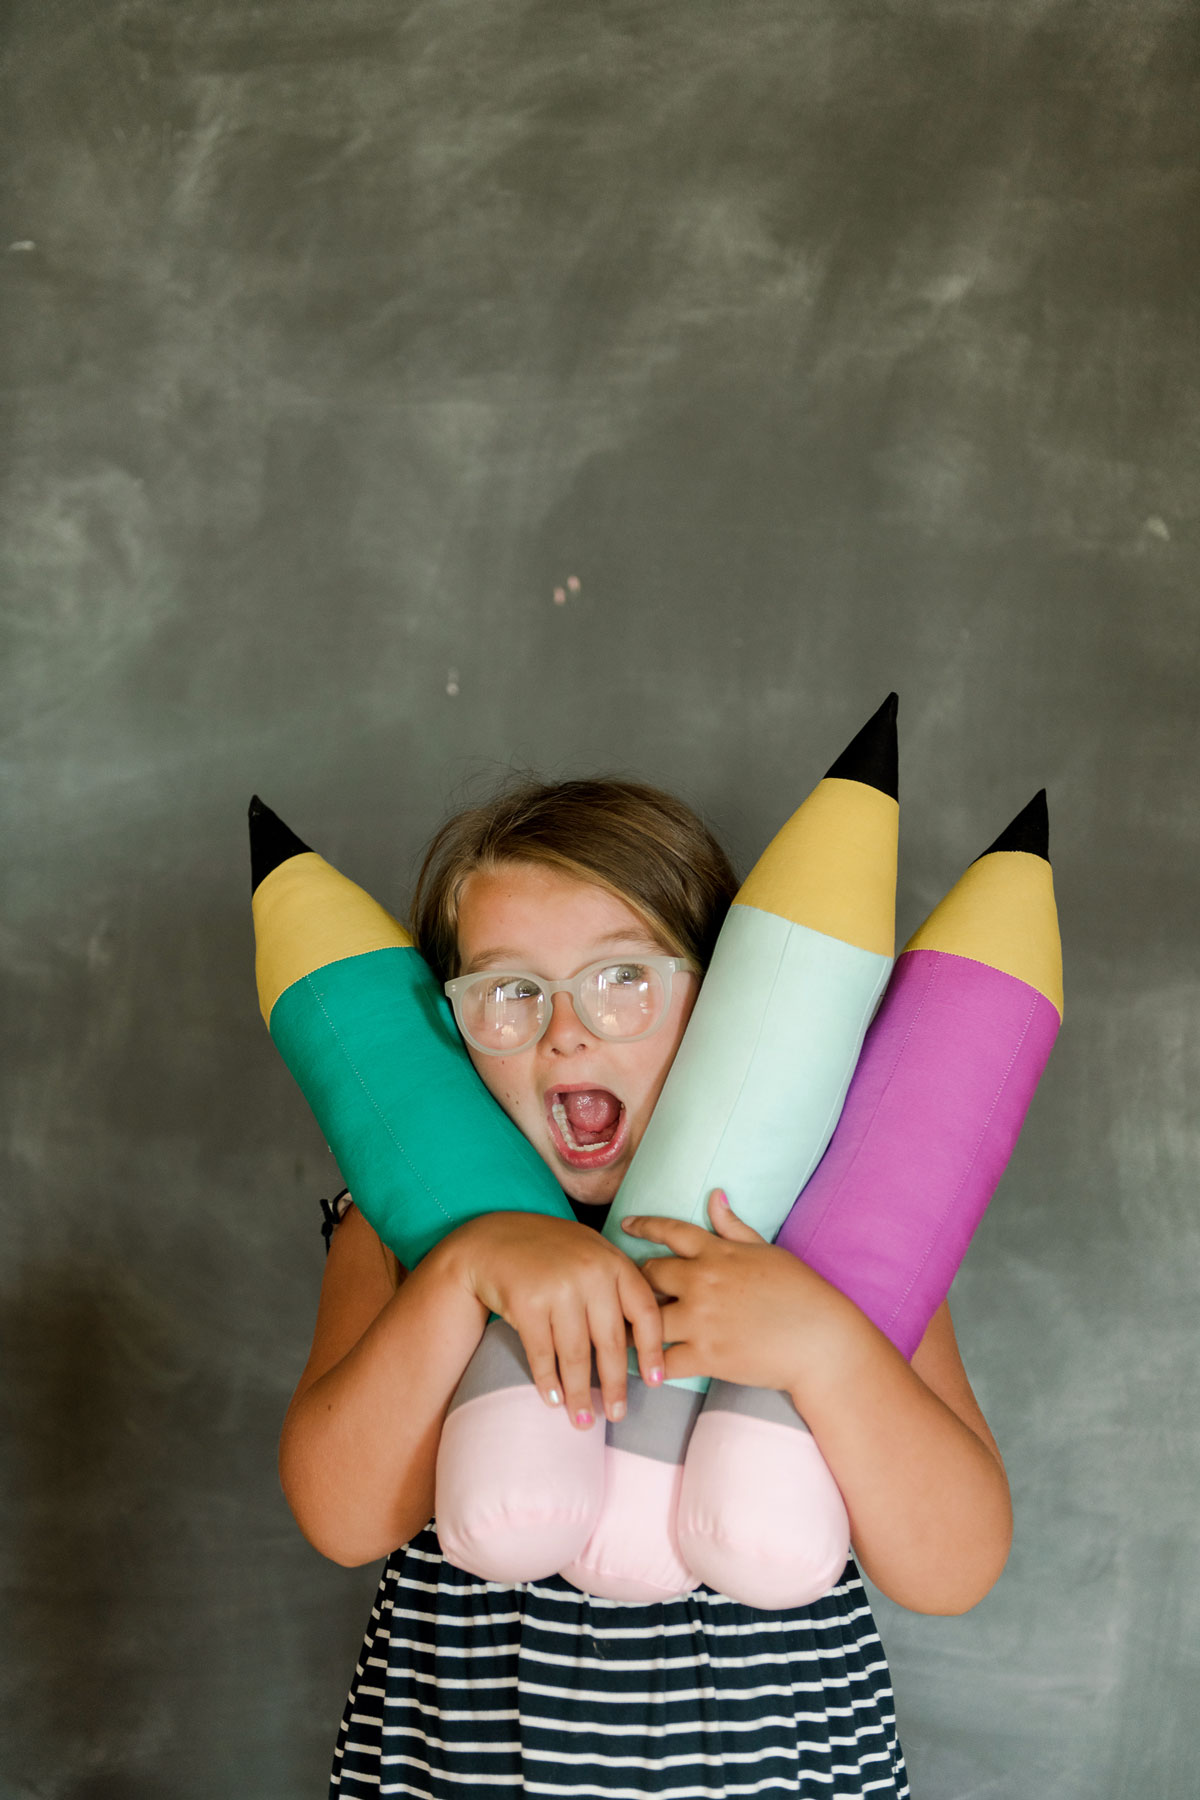
If you know anything about our family, you know that our little Esther is OBSESSEDDDDDDD with plushies and stuffies! Like this is nearly almost exclusively what she plays with – and I’m not one bit mad because her imagination is in FULL FORCE as she makes houses and plays pretend with them with birthday parties and doctor visits and walks around the yard, etc! 🙂 AND AND AND the best part is that plushies are 100% makable….it isn’t uncommon for her to ask me to make her a shape or character that she doesn’t have! And she just recently asked me to make her a few pencils so that she can play school with them (she thinks it’s hilarious that a pencil would actually GO to school to learn….ahhhh, the imagination of a 6 year old)! 🙂
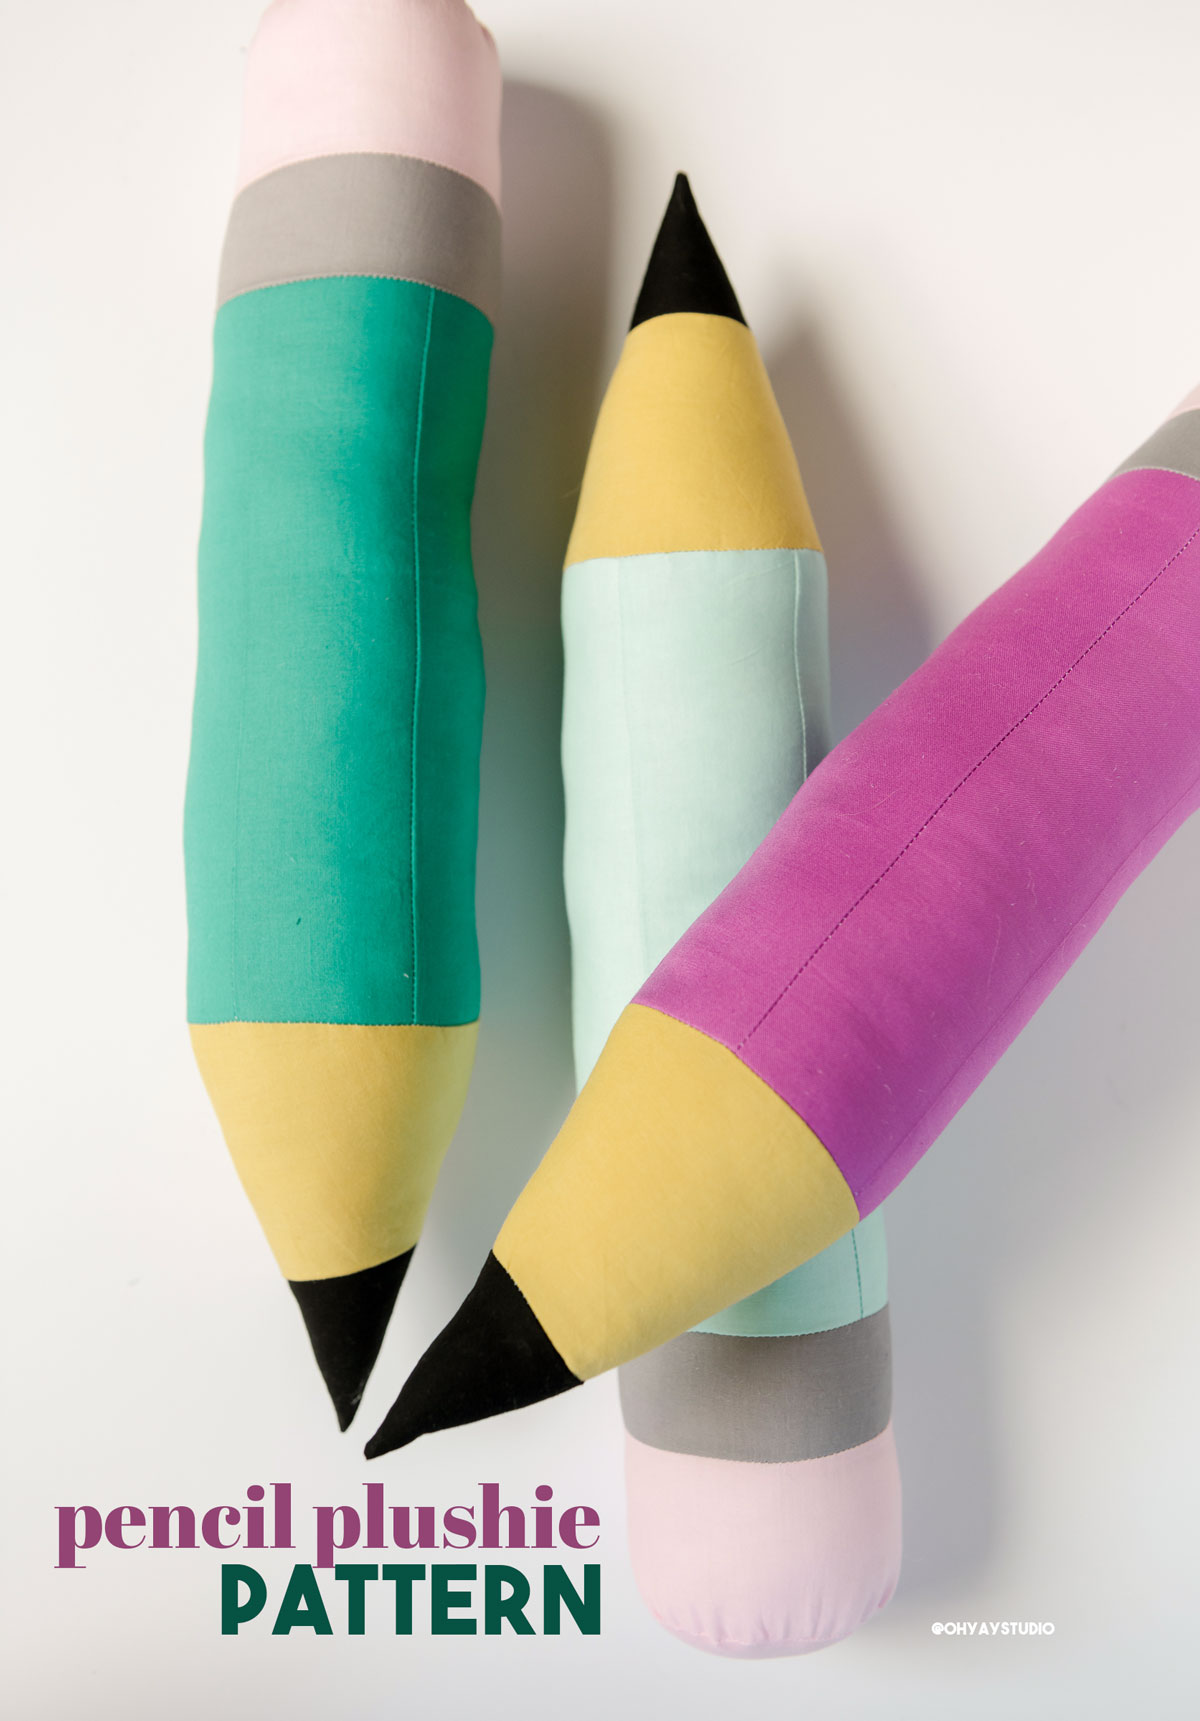
SOOOOOO! Today, let’s sew a colorful pencil plushie….the full pattern and instructions are below! 🙂
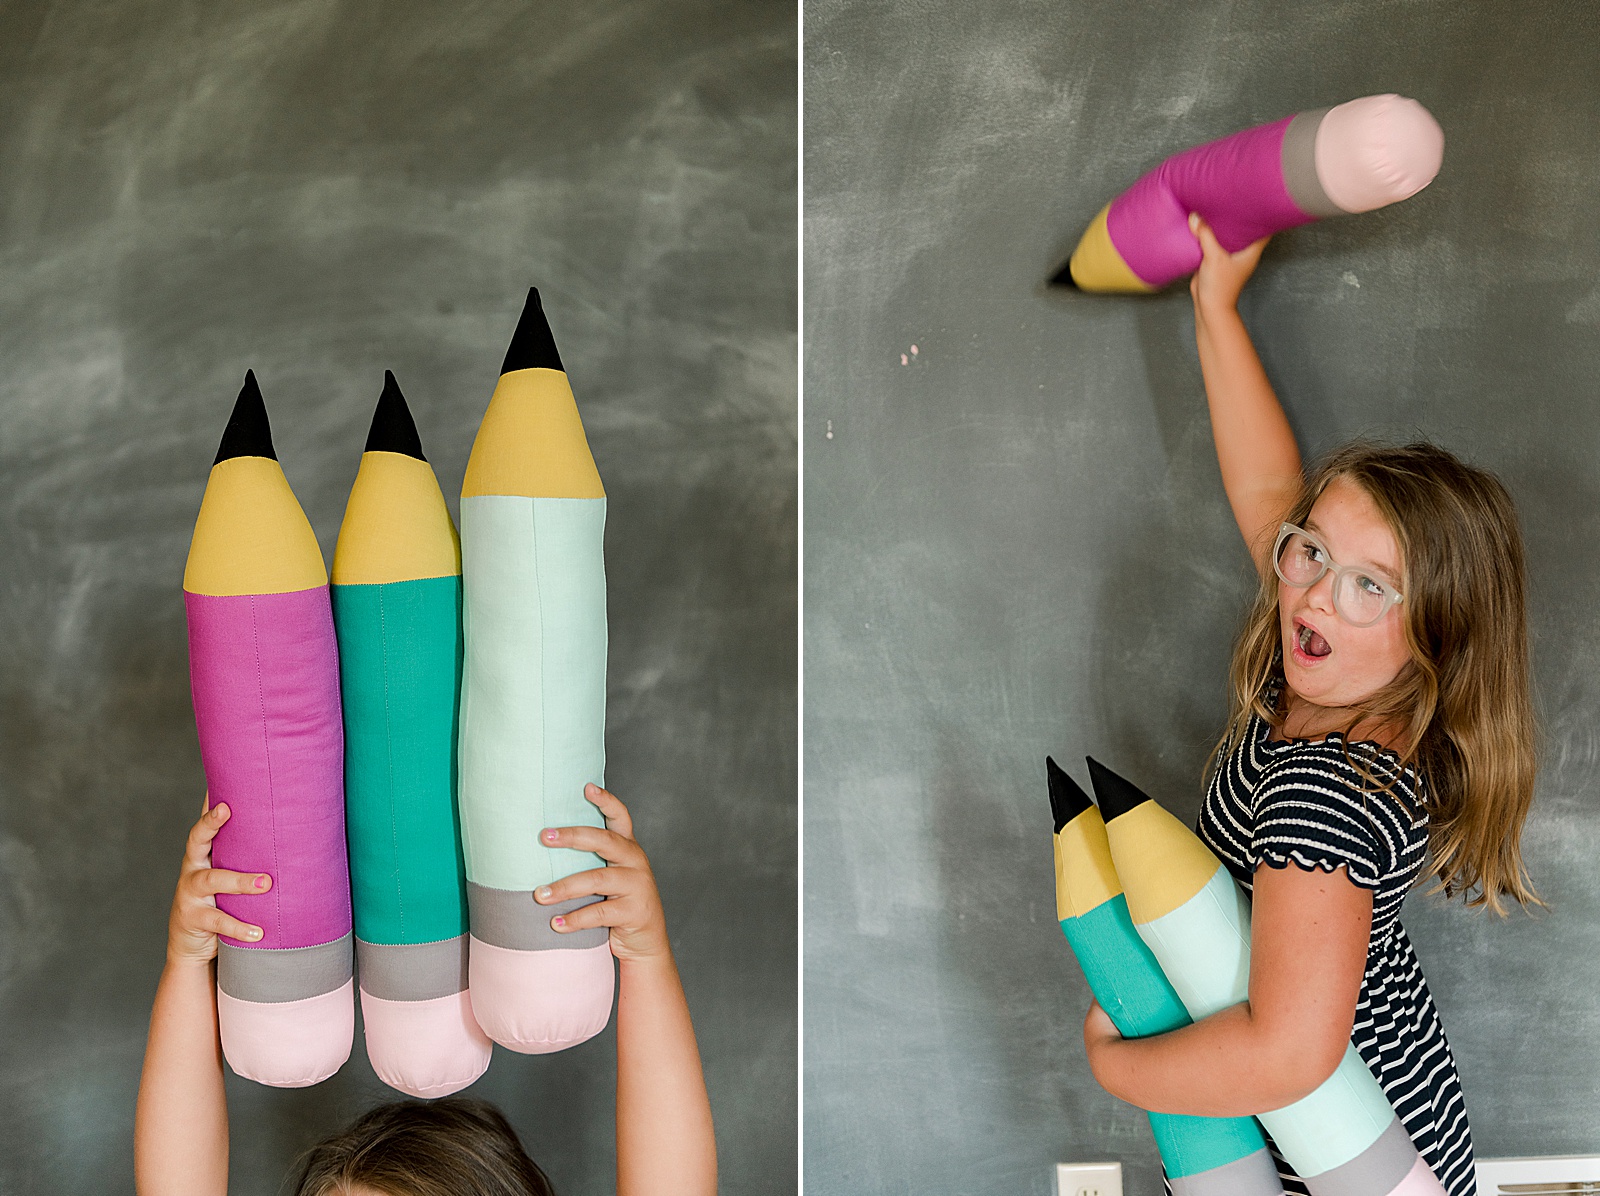
Ok, and here’s (I think) the fun part about this pattern. You can make it bigger or smaller depending on your desired sized. I mean imagine this HUGEEEEEE as a set in a classroom for teachers (Esther would officially go crazy) or even smaller as a little back pack pull or desk plushie. To do this, simply print off your pattern either bigger or smaller (the little enlarge or “size up” magnifying glass thing in your printer preview) – and then size up your dimensions for you fabric accordingly (for example…..if you make it 50% larger, just multiply the dimensions of fabric by 50% more when you go to cutting)….the math should totally work out and you can customize to your hearts content!
MATERIALS:
- Your fave sewing machine with coordination thread (HOLLLLLLAAA to my fave sewing machine brand, Janome! There is none better IMO)! 🙂
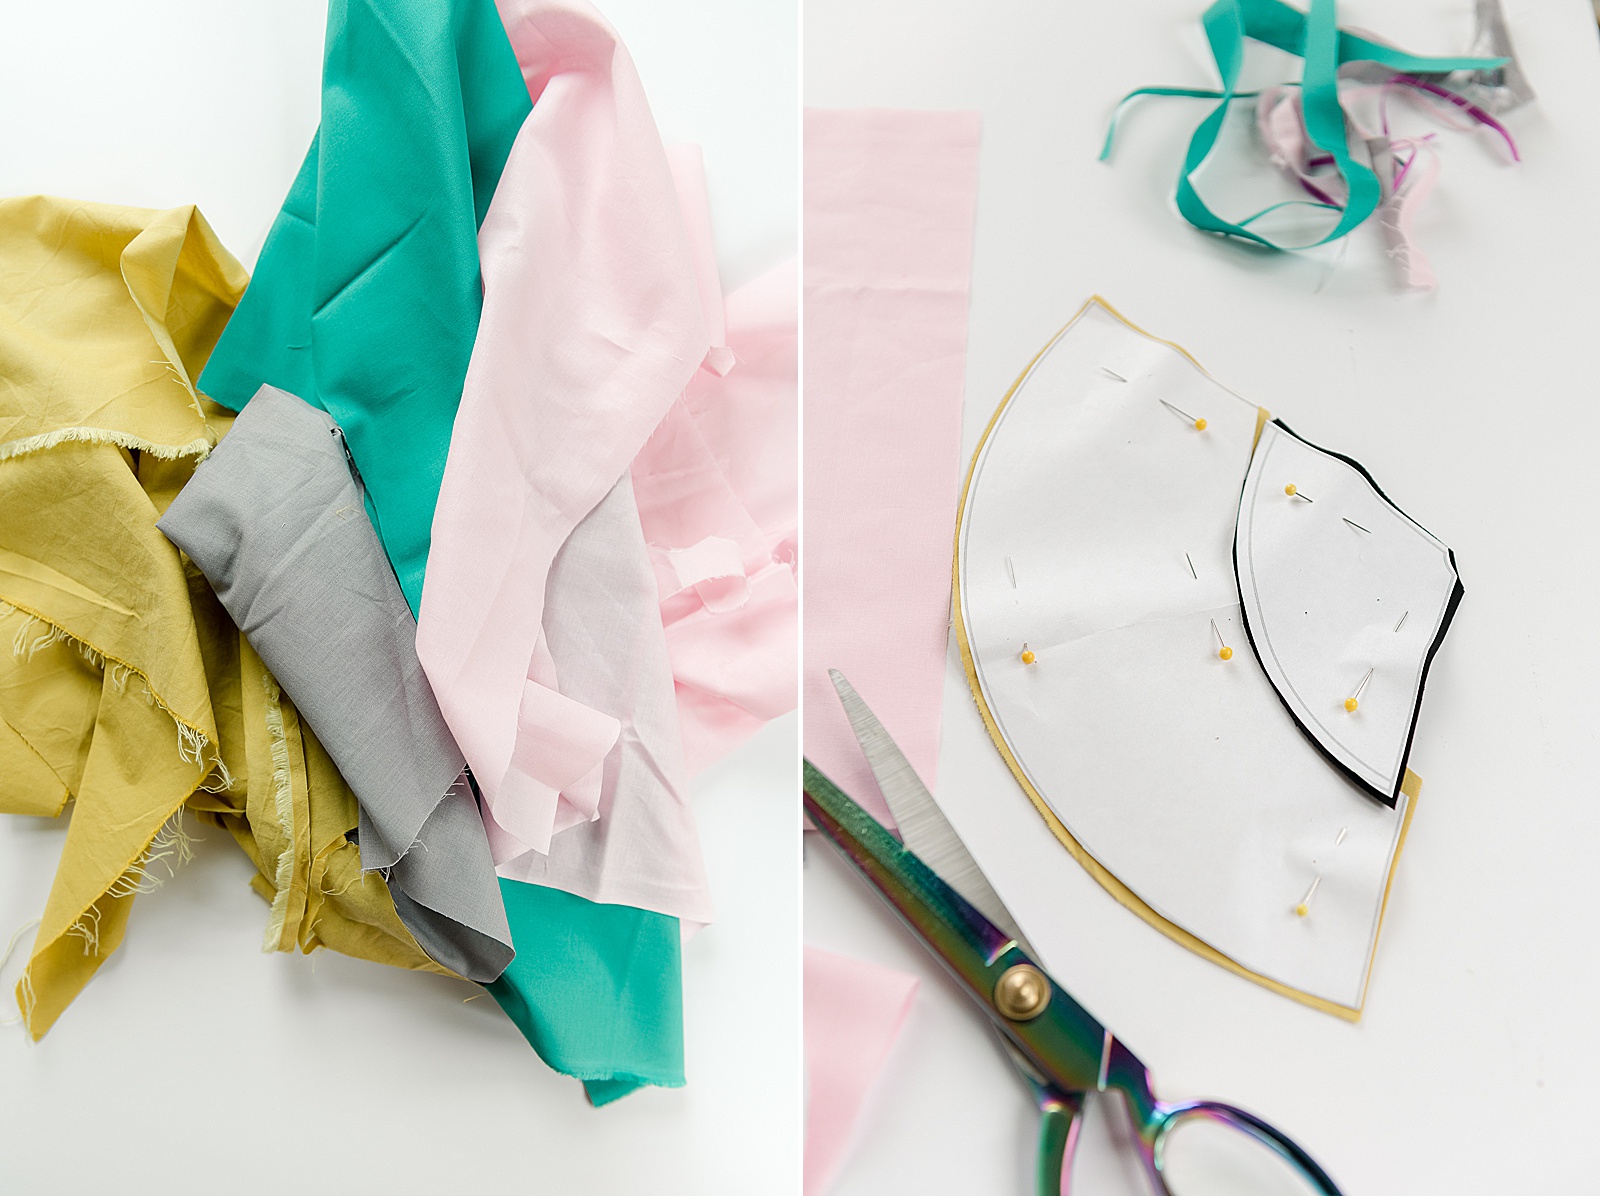
- Black, tan, pink and silver/grey fabric (honestly, you can use whatever you have in your stash….doesn’t have to be exact and you don’t need much)!
- A fat quarter (or less) of fabric in whatever color you want the main pencil body to be!
- Some poly-fill or batting or whatever you want to stuff your plushie with
- A needle and thread for hand stitching
INSTRUCTIONS:
1. Download the pattern HERE and cut out all of your pieces:
- Cut 1 of the pencil graphite tip (A) out of black fabric
- Cut 1 of the pencil tip (B) out of tan or yellow fabric
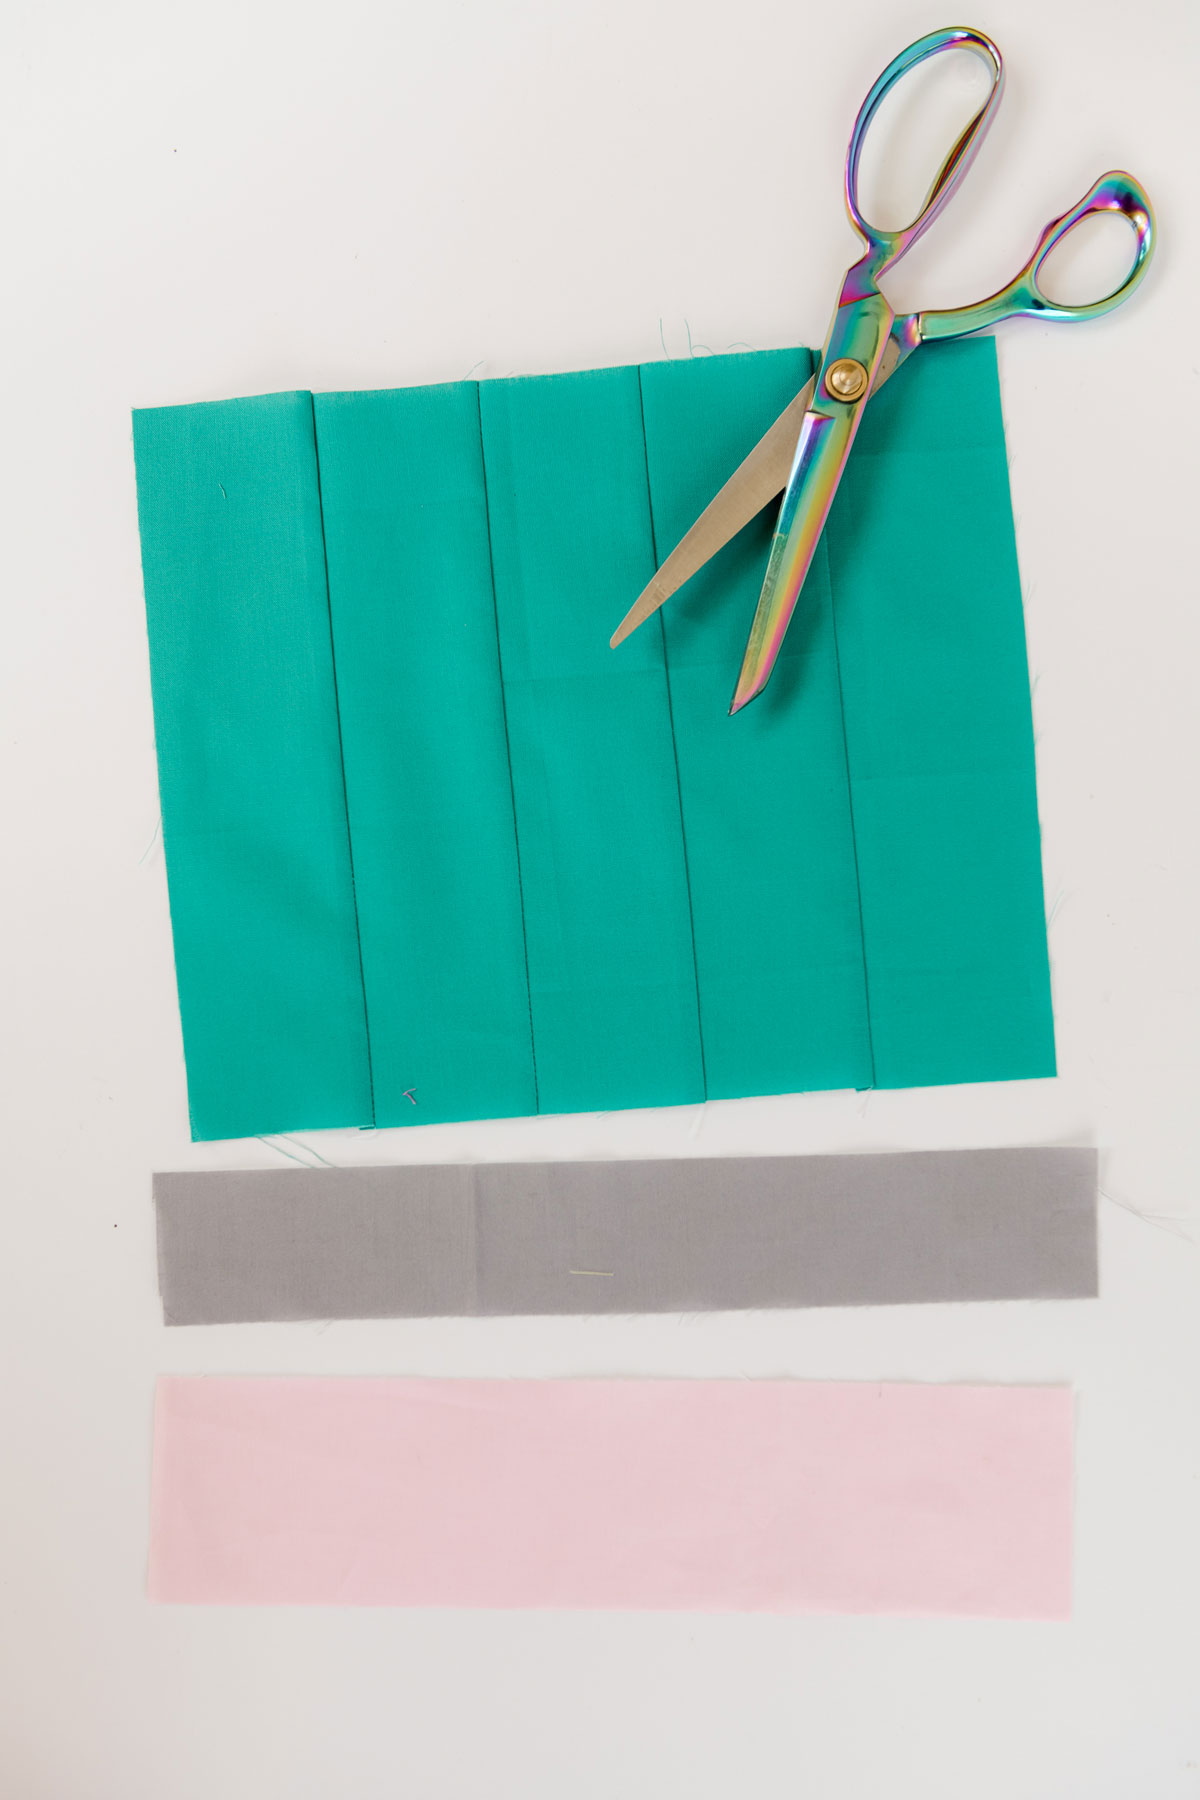
- Cut 5 pieces of your main pencil fabric sizes 2 3/4” x 10”
- Cut 1 of your metal piece before eraser out of gray or silver fabric sized 2” x 12”
- Cut 1 of your eraser out of pink fabric sized 3” x 12”
- Cut 1 of your eraser bottom (C) out of pink fabric
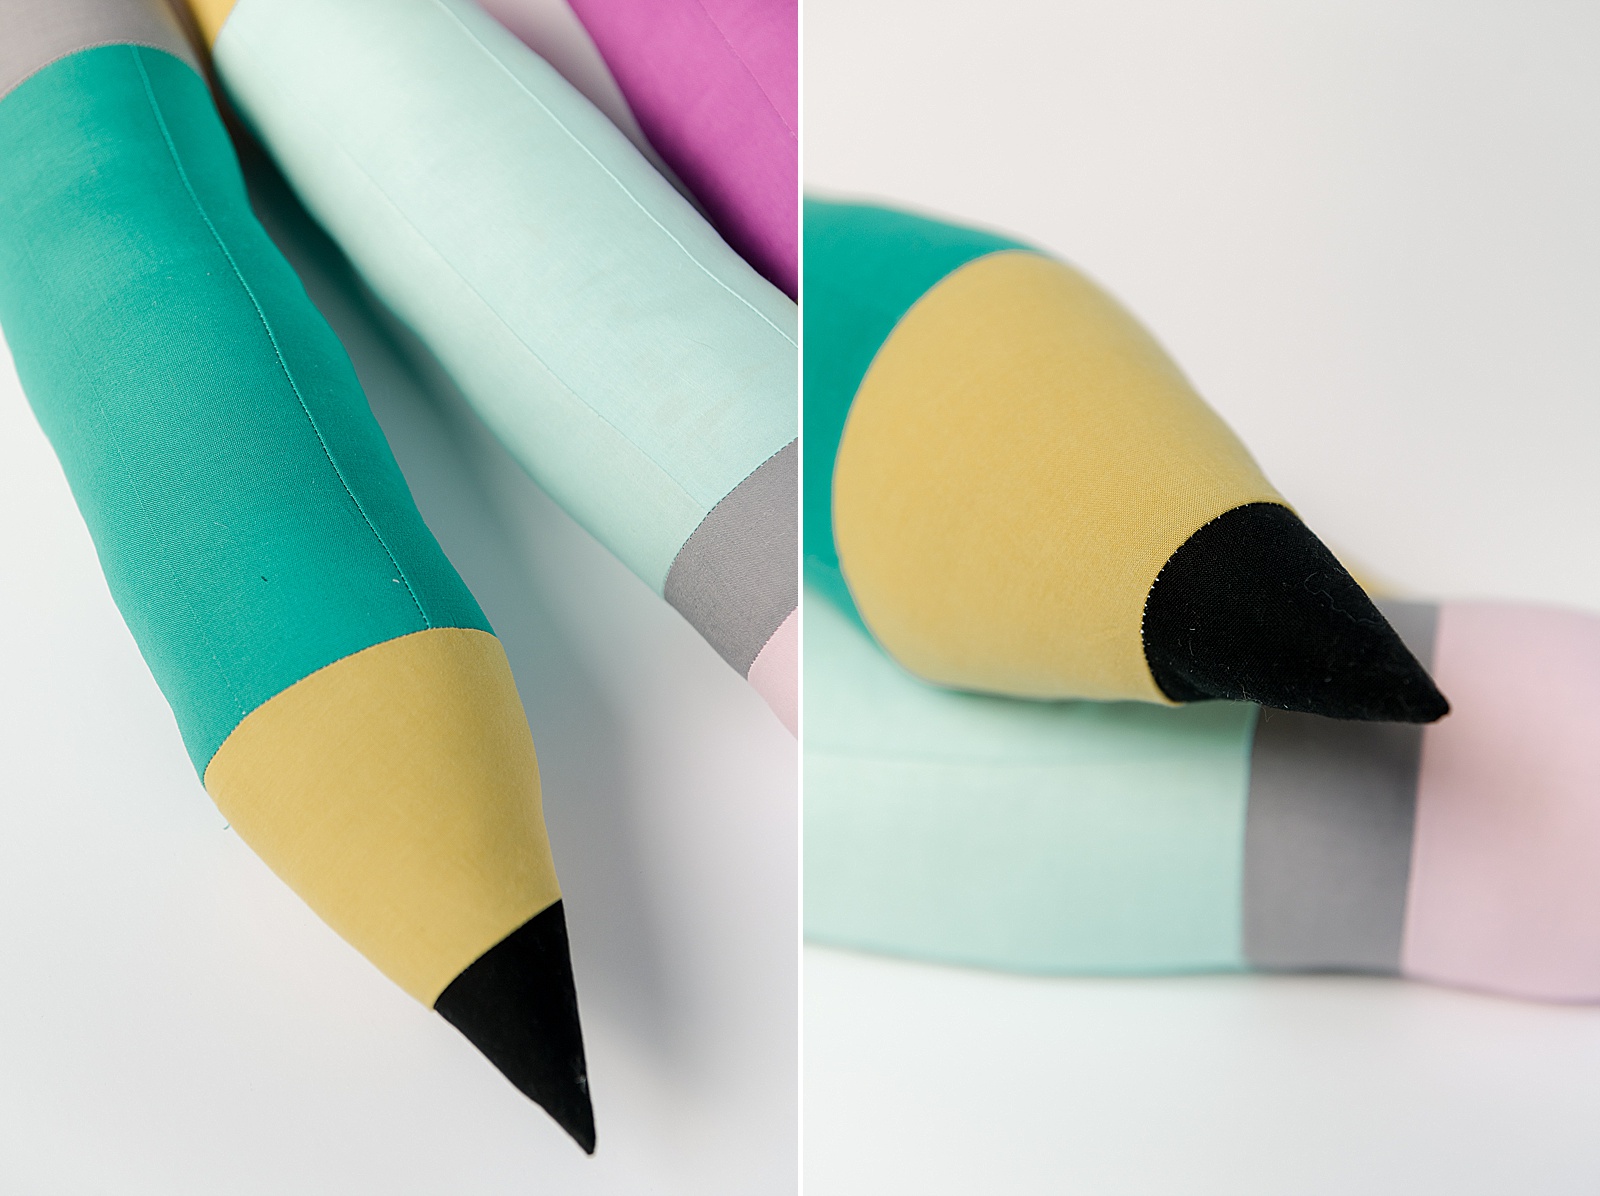
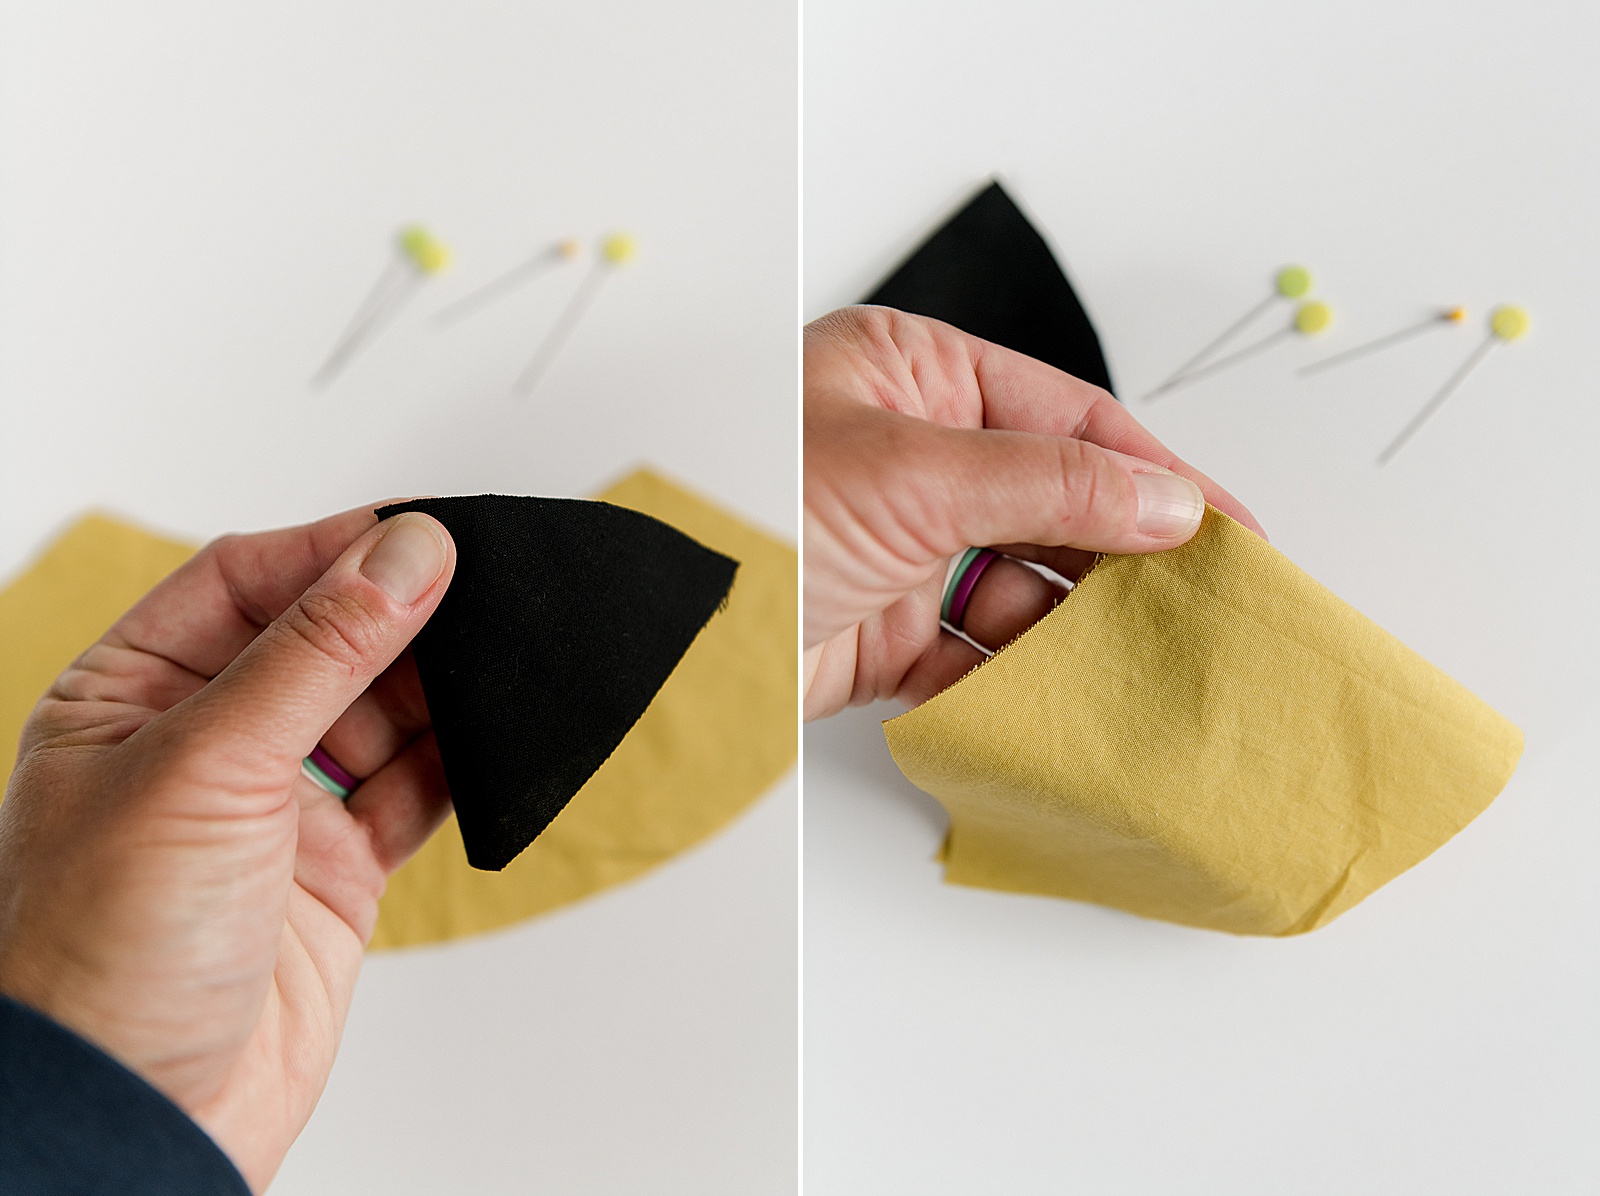
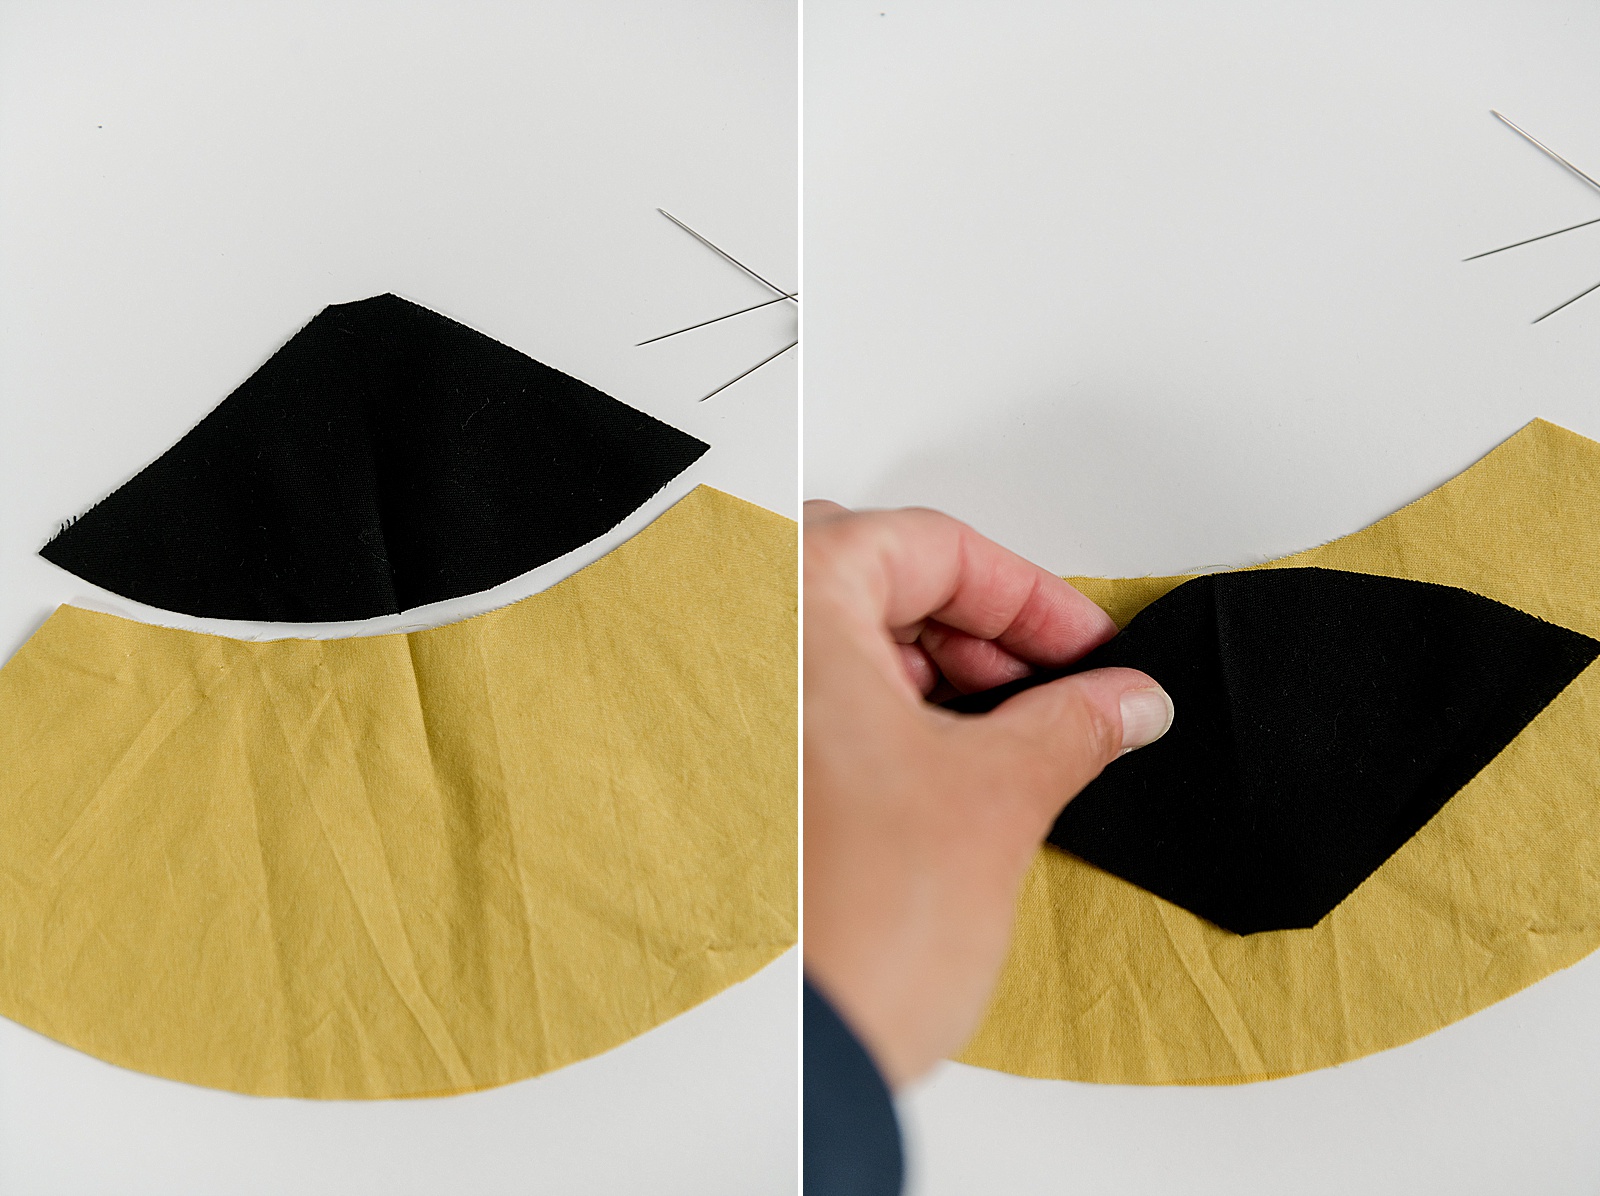
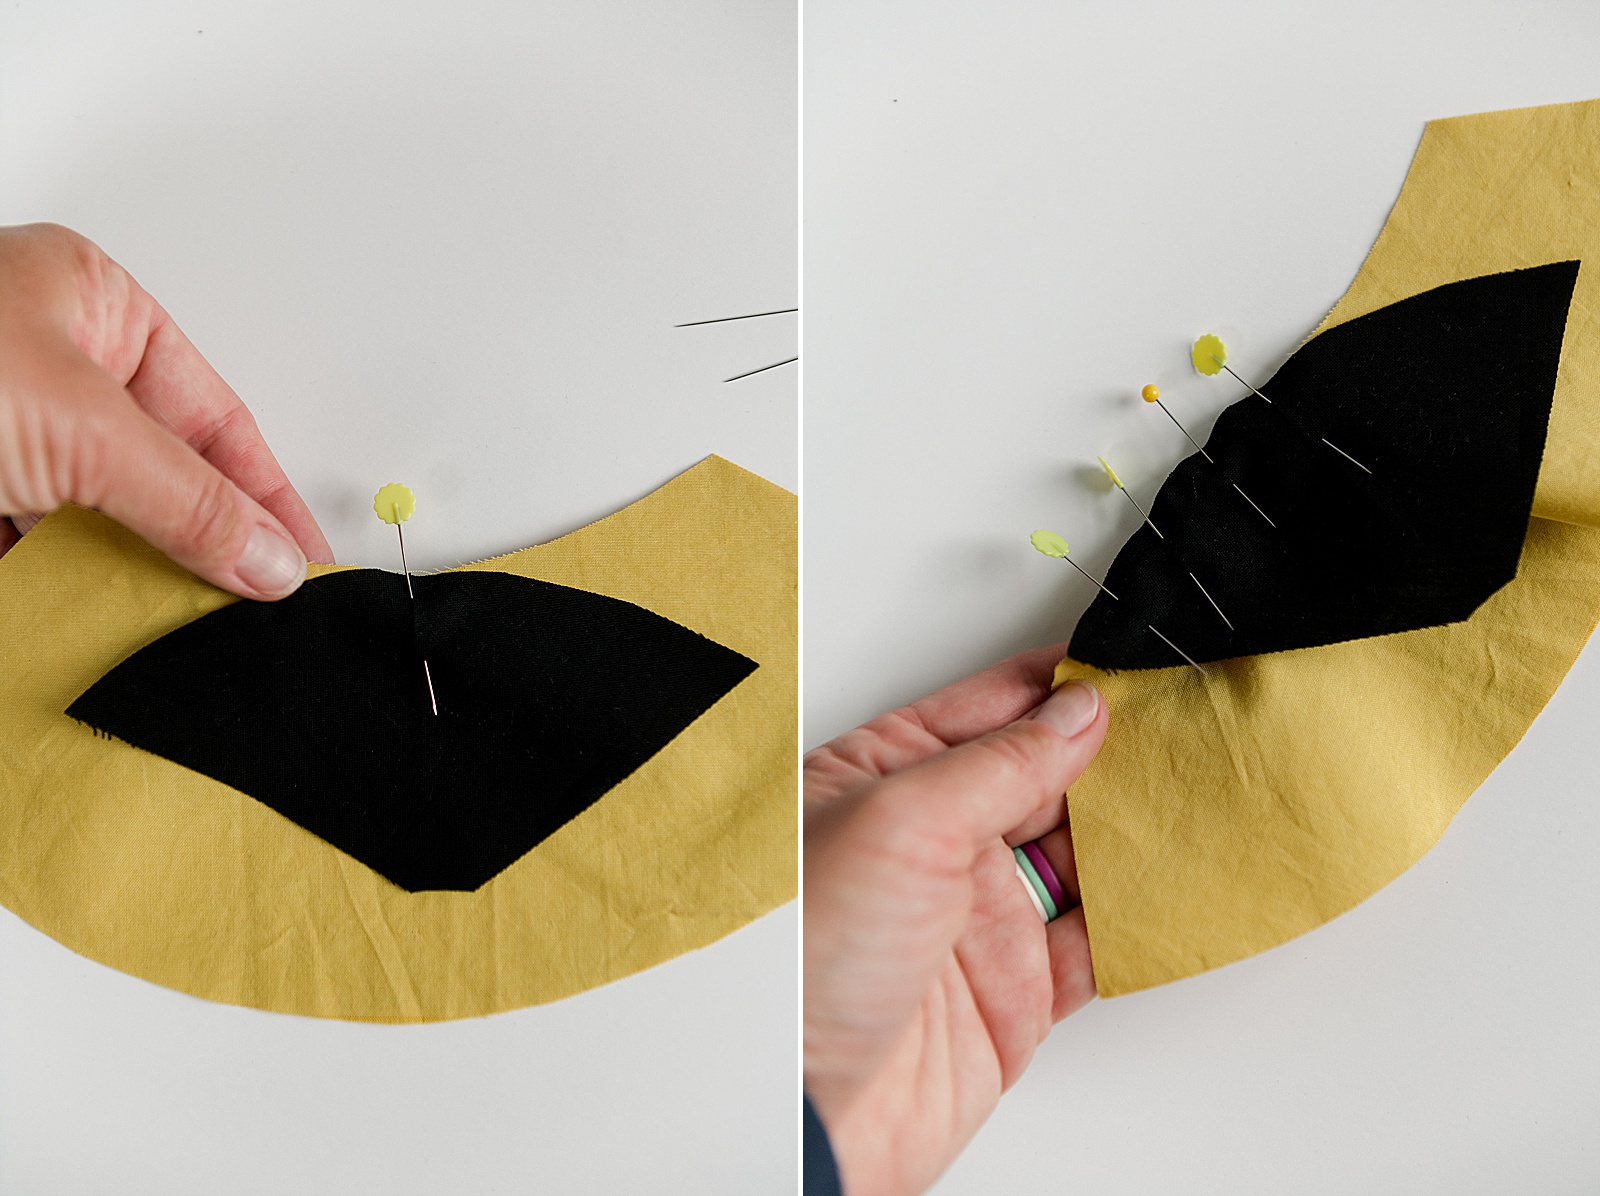
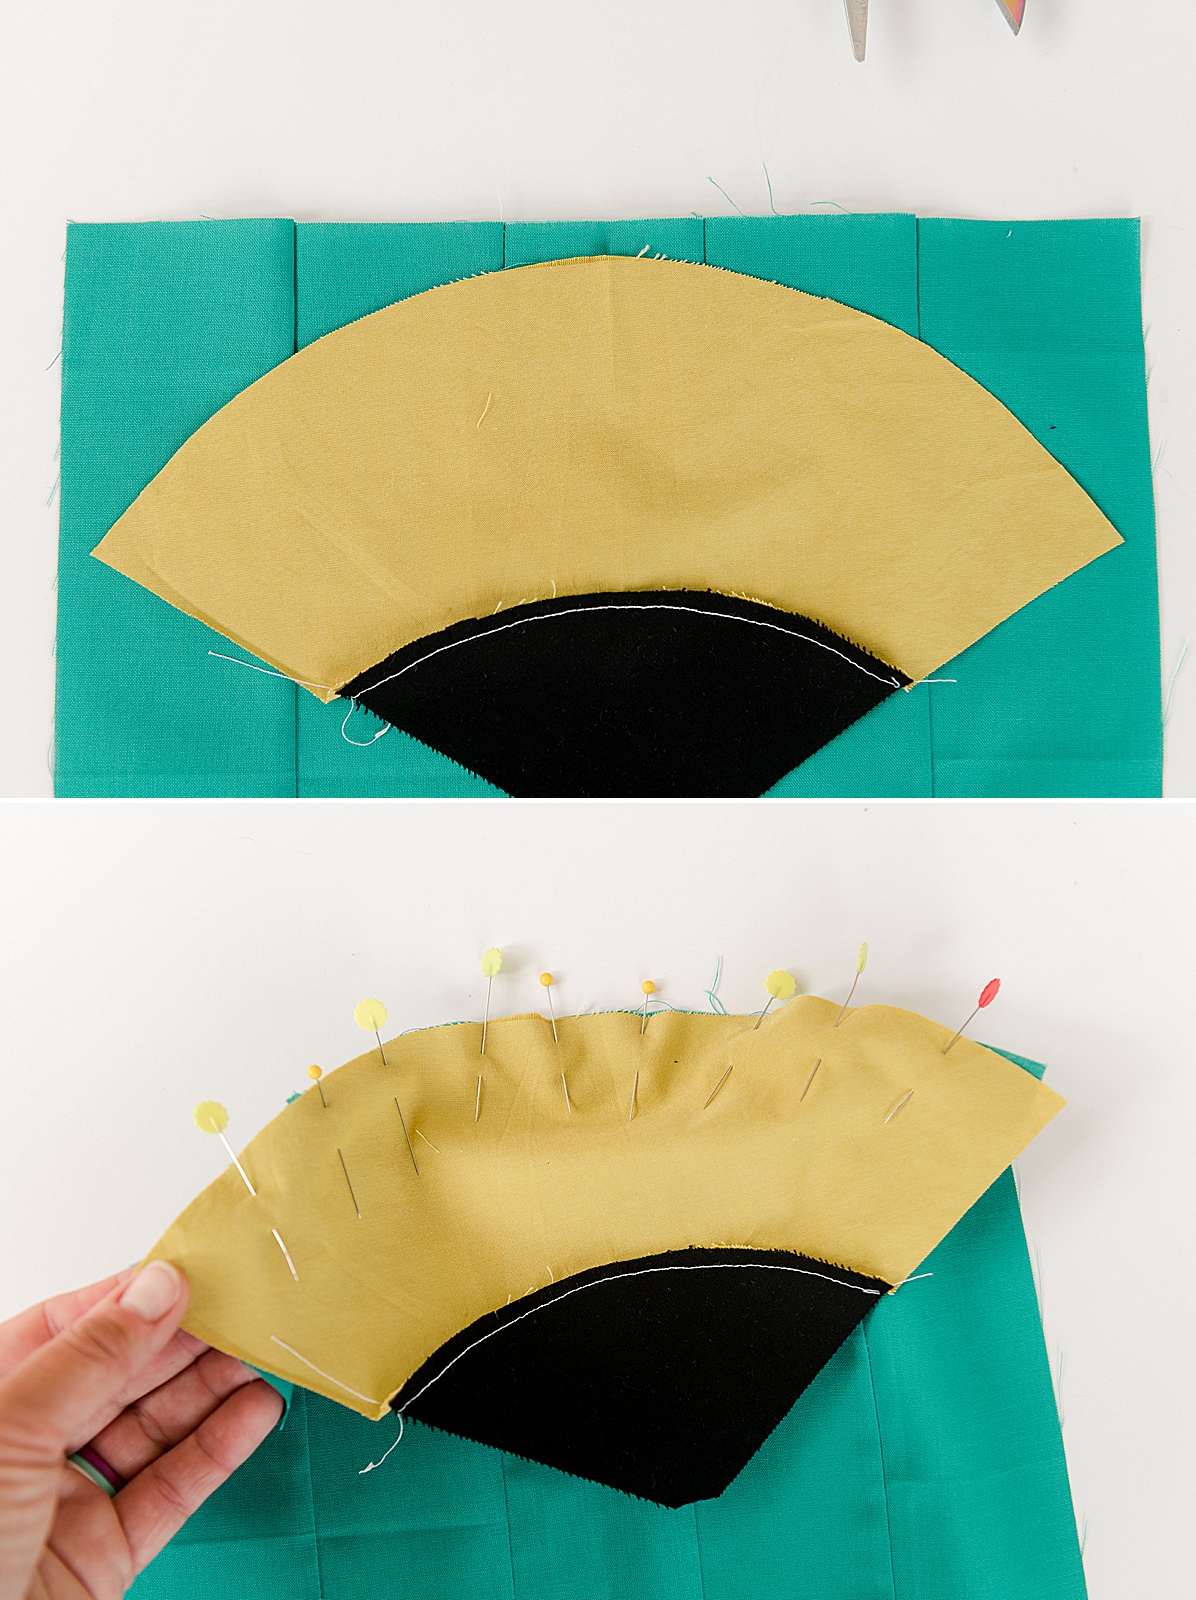
2. Begin construction by sewing your pencil top together. Do this by folding both the graphite tip and the pencil tip in half widthwise to find the middle. Mark the middle along the bottom curved side of the pattern of each the pencil tip and the graphite tip with a pin and then match those pins up, with the fabric wrong sides together. Pin both the graphite tip and the pencil tip together by slowly working around both arcs matching up the edges as you go. Once pinned, sew a 1/4” seam allowance along the pinned edge (being careful to remove the pins as you go so that you don’t sew over them with your sewing machine)!
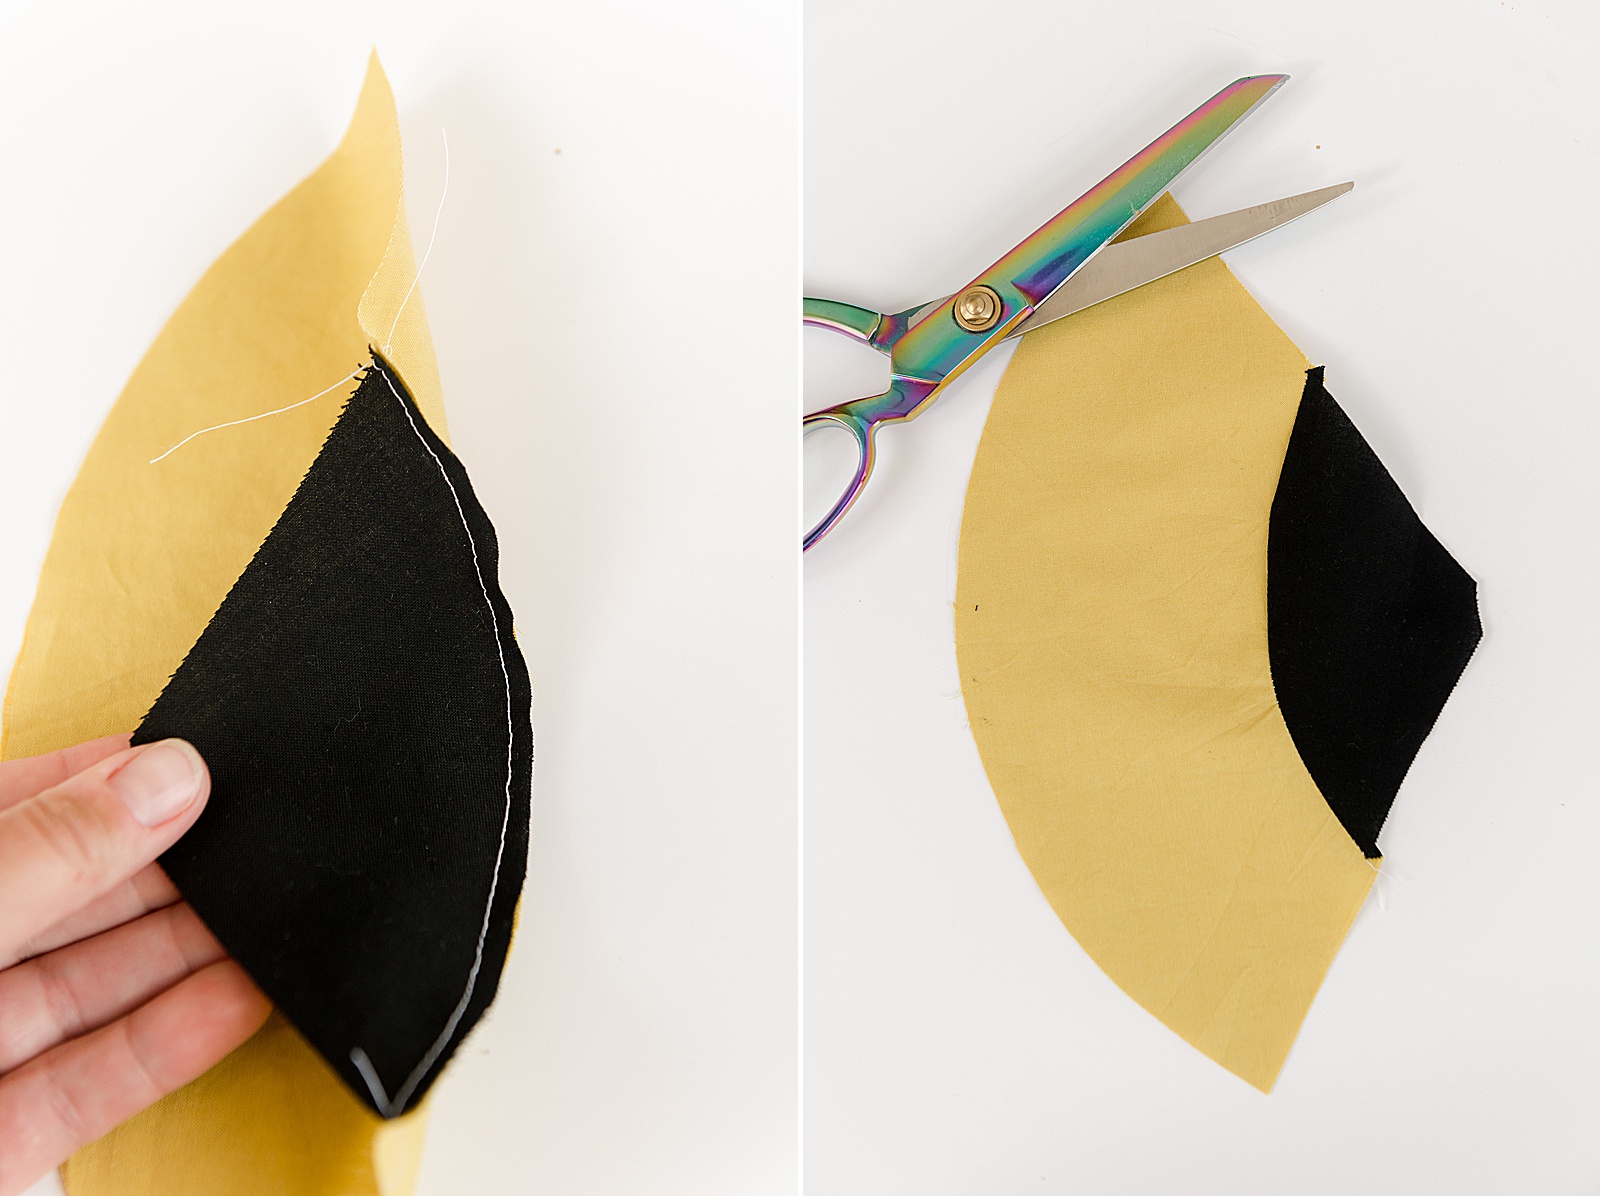
Next, carefully (as not to clip the seam you just stitched) clip little notches or slits along the seam allowance. This allows the fabric to be lay flatter removing the tension of the curved piece! Then press the seam with your iron. Set the pencil top aside
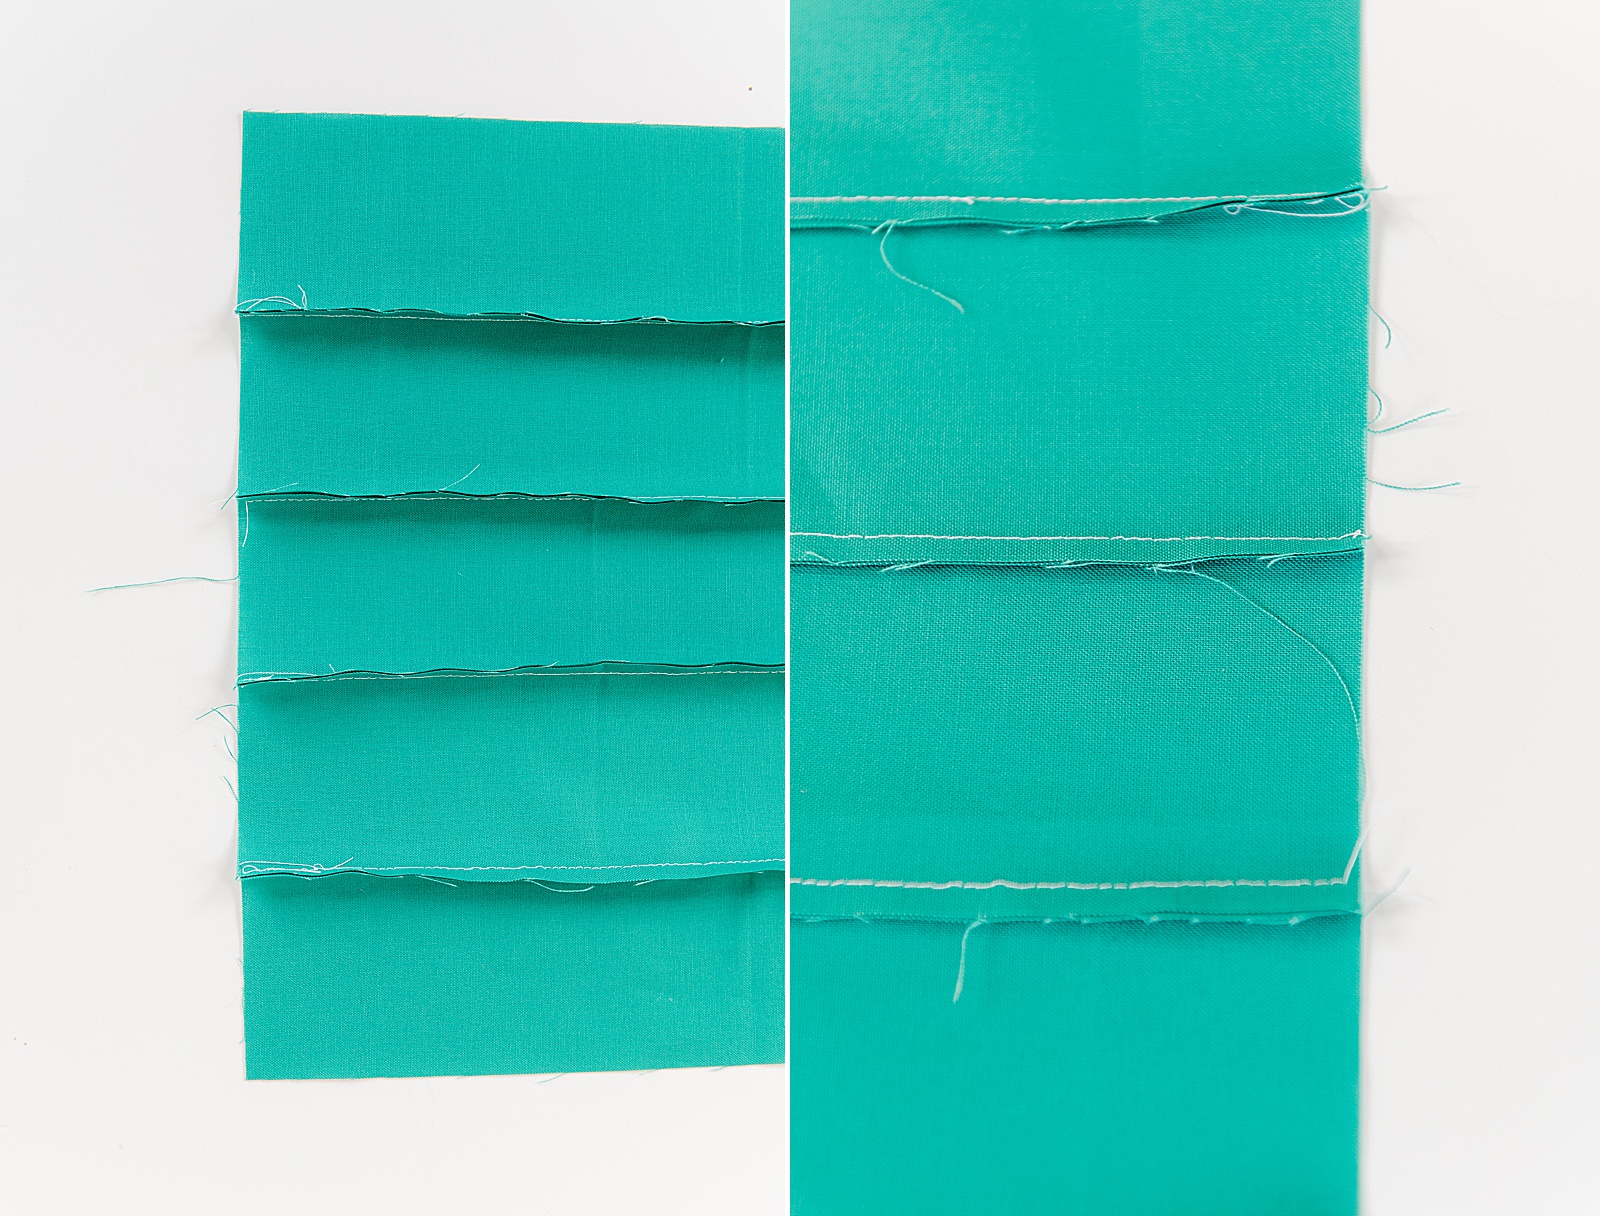
3. Next, construct your pencil shaft. Do this by sewing your main pencil pieces right sides together along the long edge with a 1/4” seam allowance – do this for all 5 pieces until you have sewn one “larger” piece of fabric.
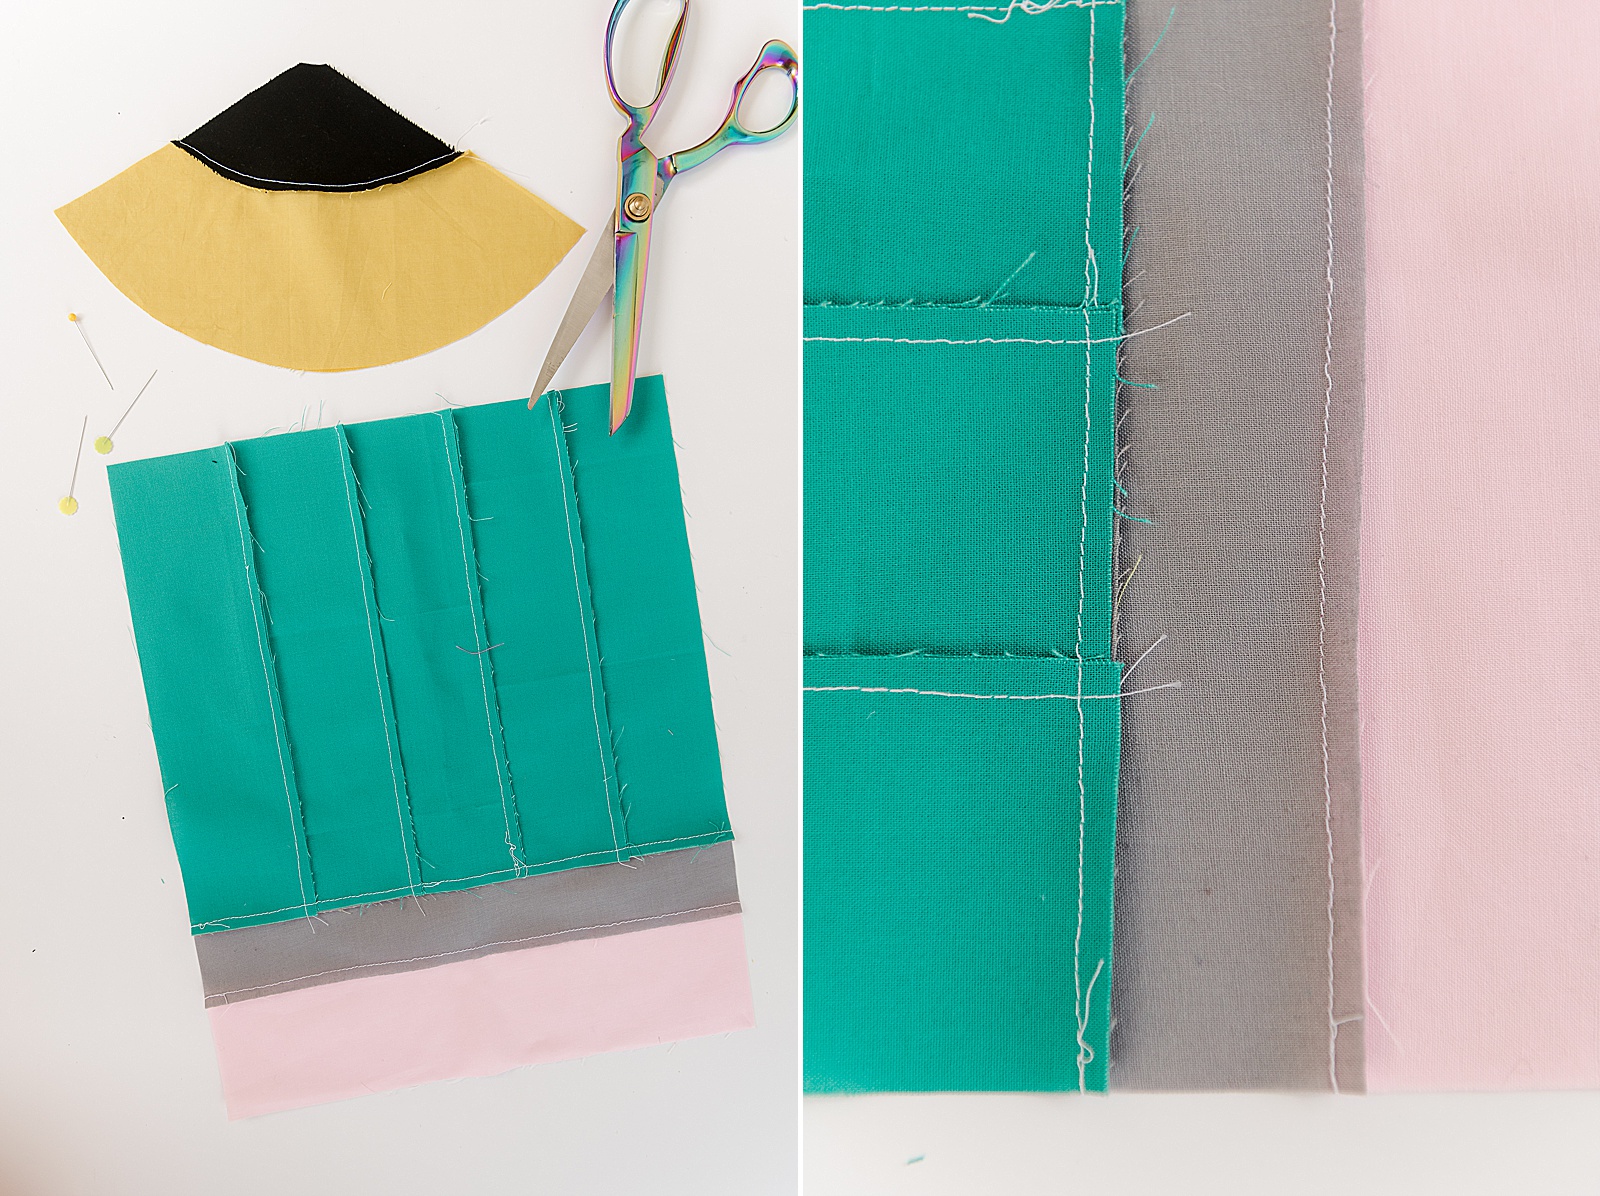
4. With right sides together, add on your silver metal eraser piece (matching up the edges along the short end of the pencil shaft) and stitch in place with a 1/4” seam allowance. Then do the same with your pink eraser piece. You will be left with a long rectangle that has your pencil shaft, then your silver/grey metal eraser piece and then the pink eraser piece.
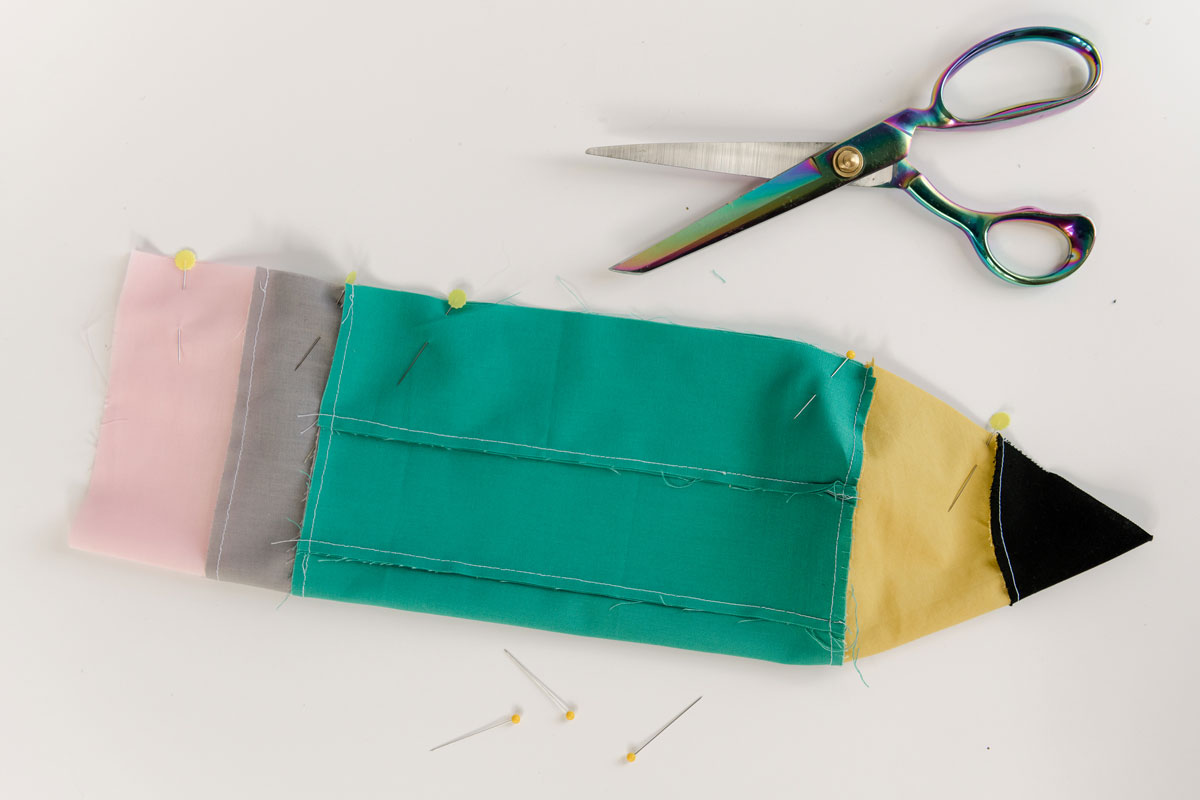
5. Add your pencil tip to your pencil shaft. Similar to step 2 above, find the center of your pencil shaft (along the top short edge….not the eraser edge) and mark with a pin. Fold your pencil tip (constructed in step 2) in half and mark with a pin along the curved edge. Then just the same as step 2, match your pined centers up and then begin to pin, right sides together, the pencil tip to the pencil shaft. Then stitch in place with a 1/4” seam allowance.
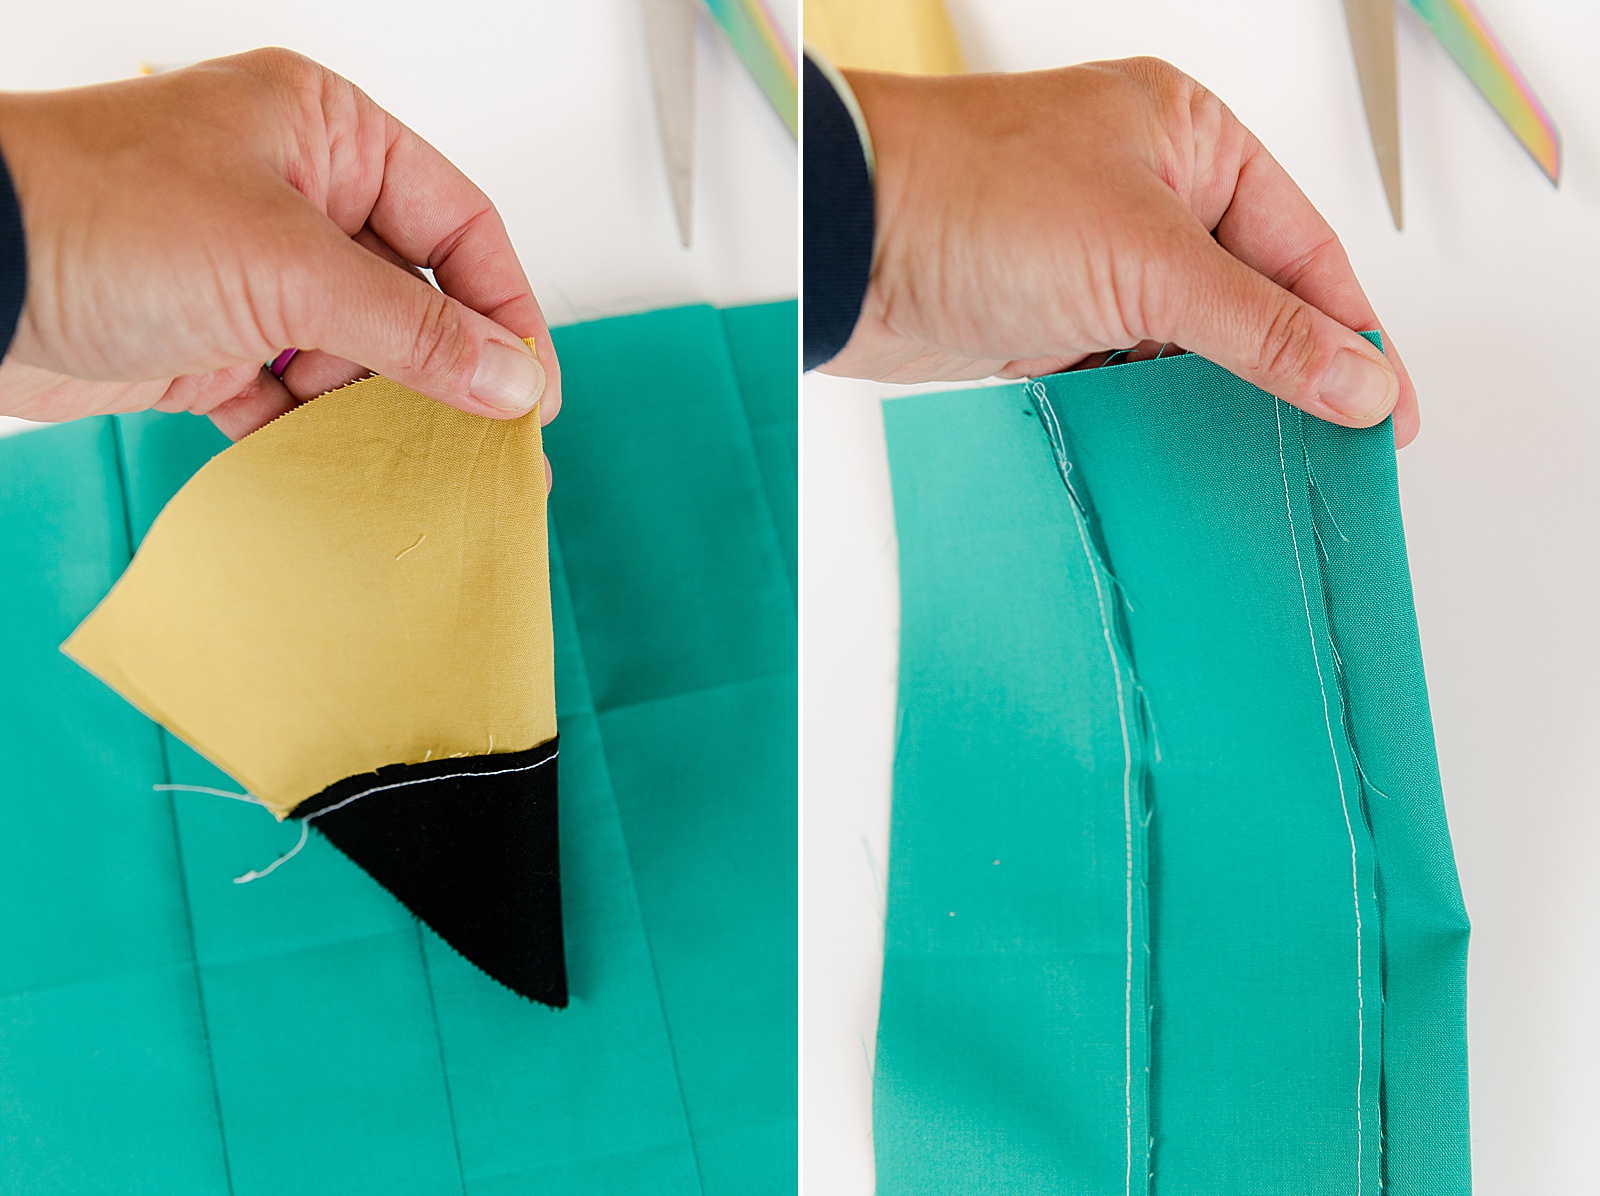
And clip your seam allowance just the same as in step 2 to give the fabric more space to lay flat and then press with your iron.
6. Right sides together, fold your big pencil in 1/2 to make a “tube”, matching up the long pencil shaft all the way up to the tip of the graphite! Be sure to match up the areas where all of the colors meet (pink, grey and the pencil tip) so that when your pencil is stuffed, there isn’t an obvious seam on the plushie! 🙂
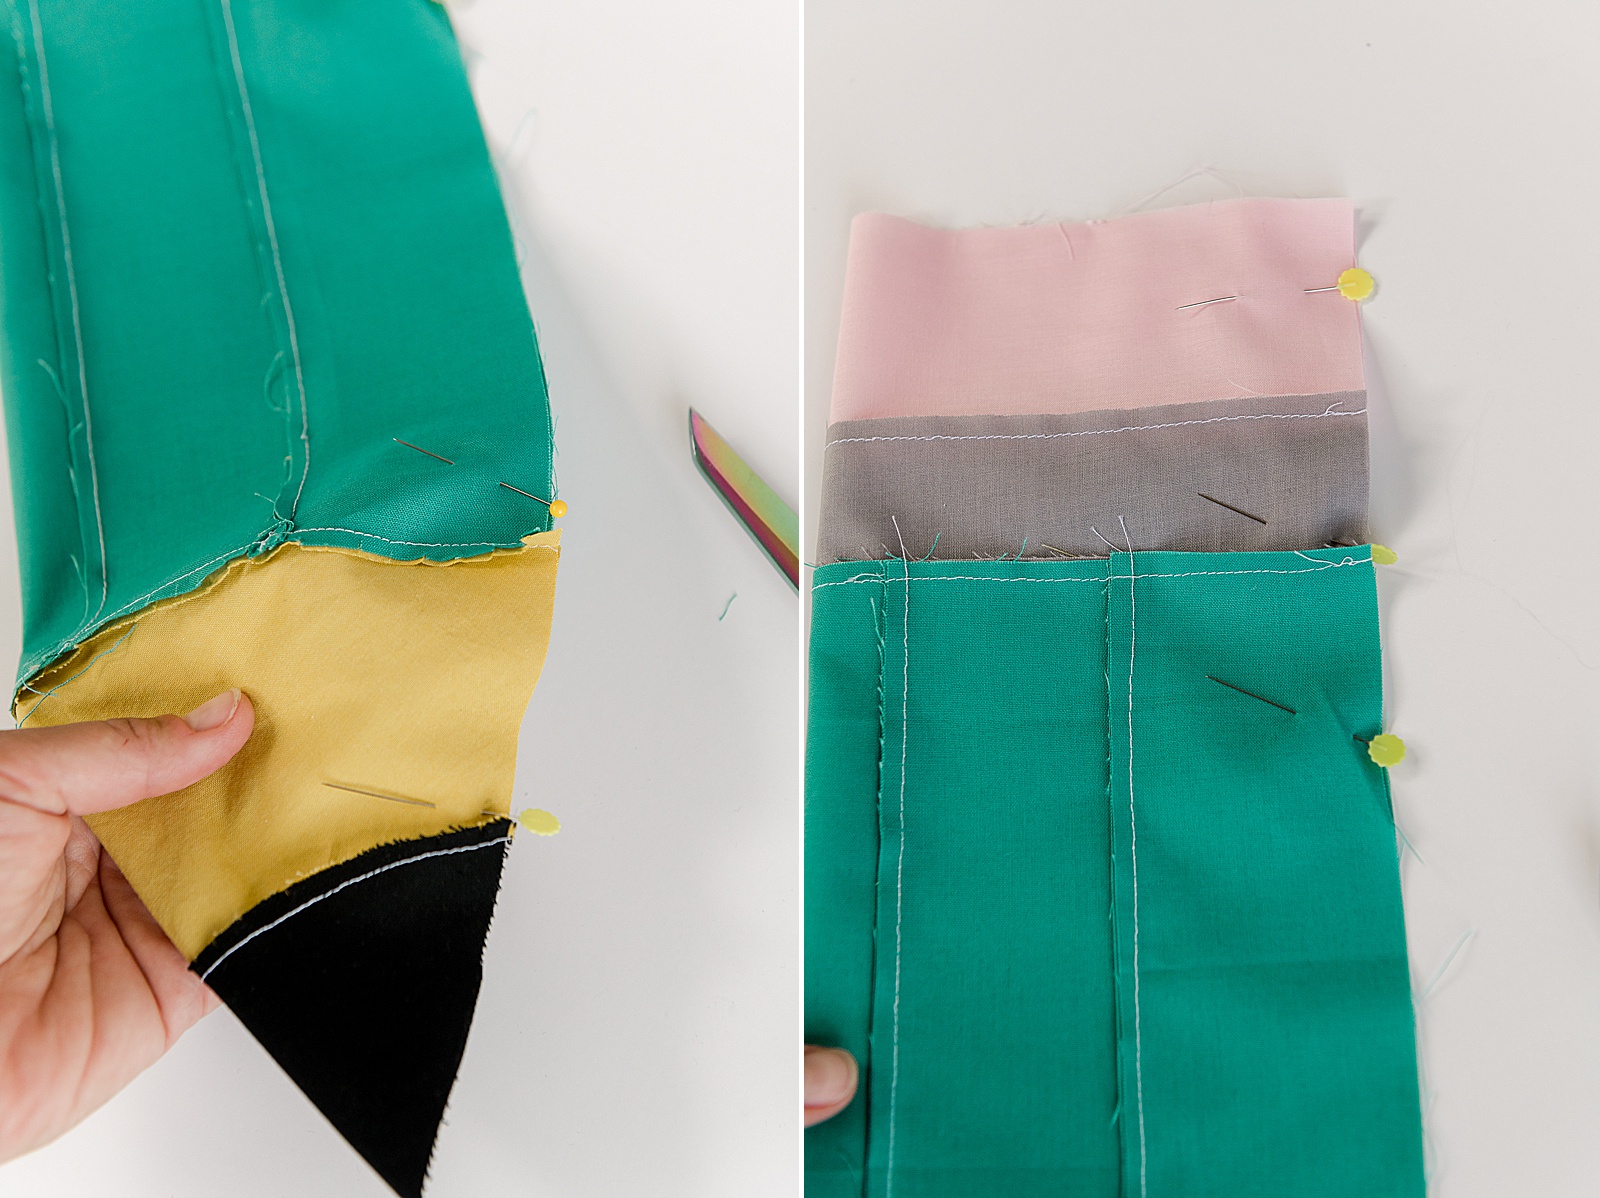
Stitch up the long side to make a tube, but DO NOT STITCH ALL THE WAY CLOSED…..stop about 1/2 way up the long shaft and leave a 3-4” opening to stuff to turn the plushie right side out in step 8!
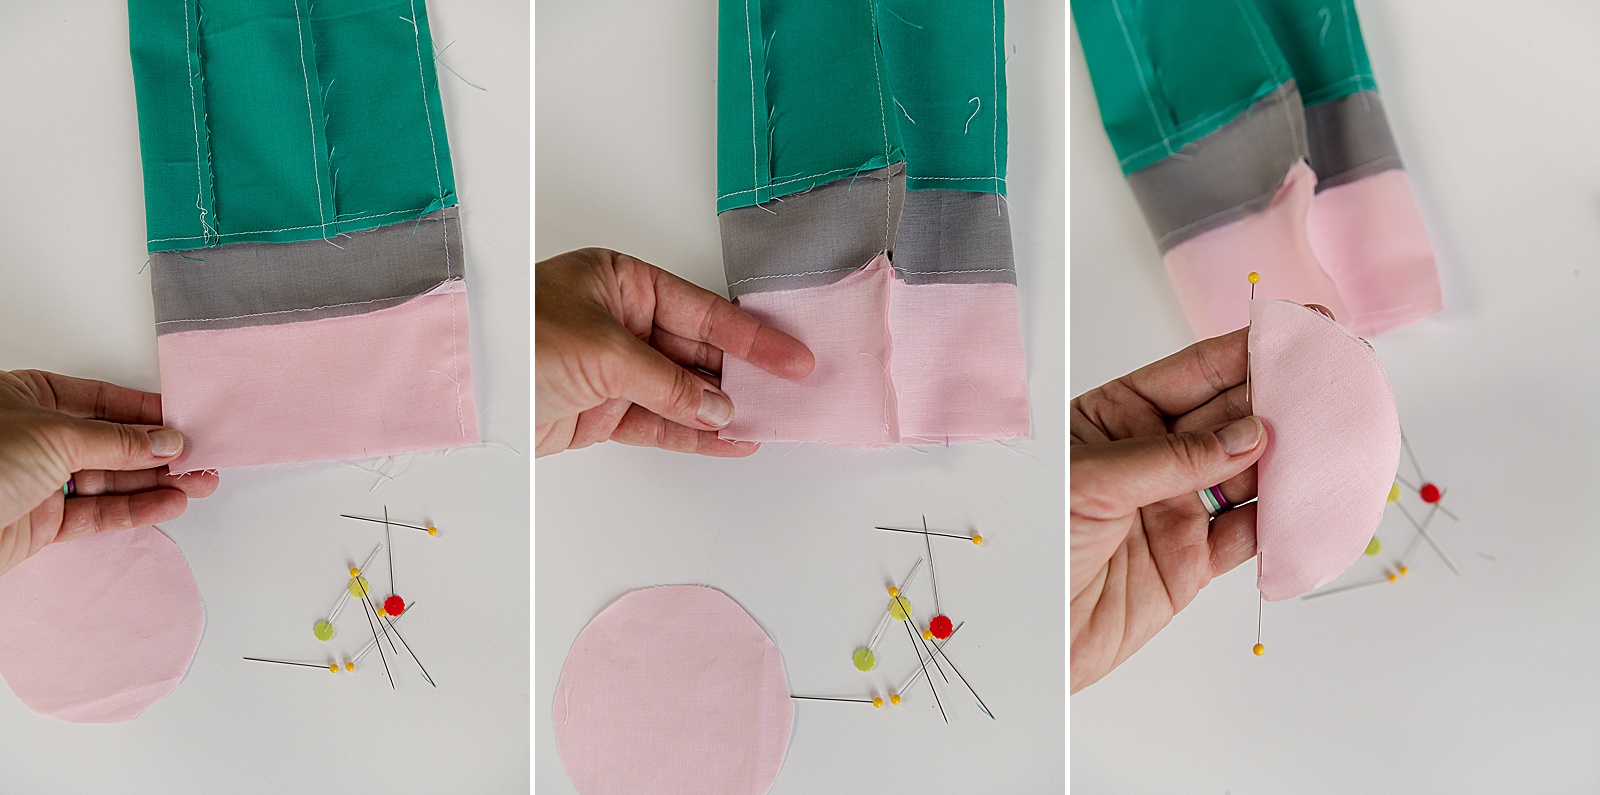
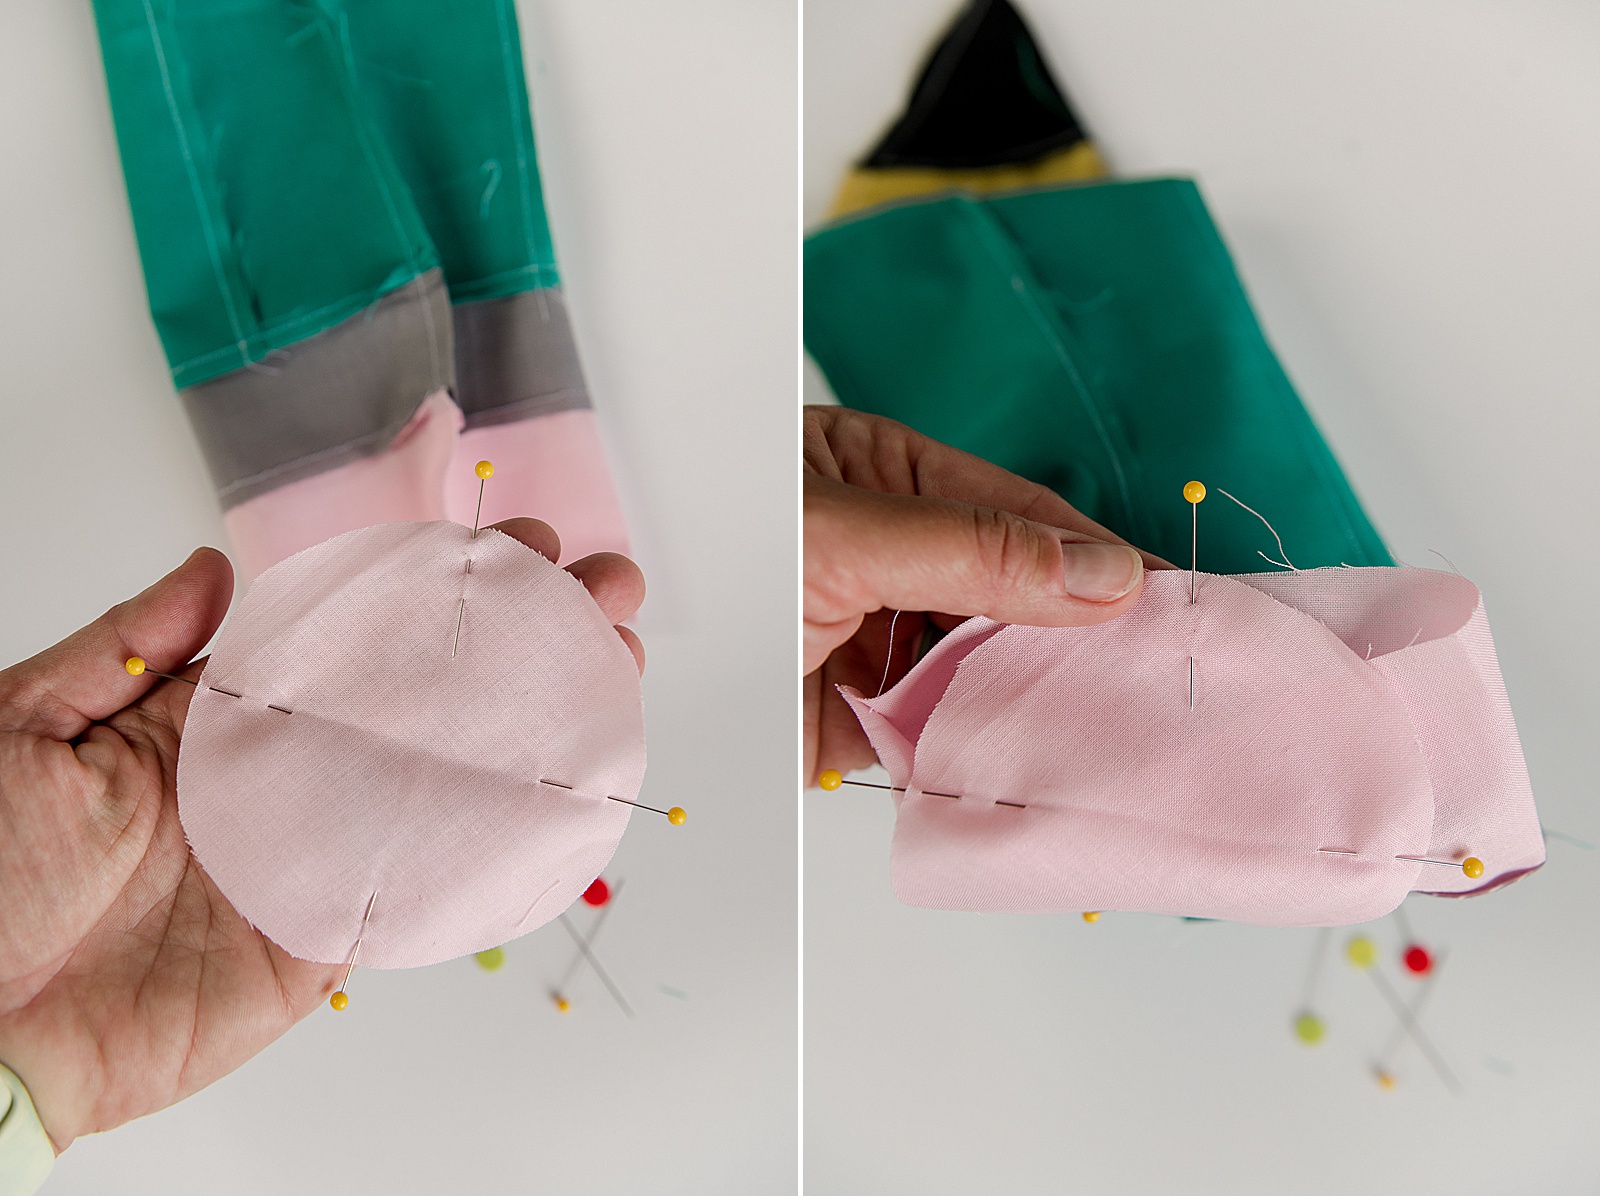
7. Now it’s time to add the bottom eraser! With pattern piece C, fold the circle in 1/2 2 times to mark the 4 “corners” of the circle. You can either finger press or mark them with pins. Do the same with the bottom opening of the eraser on your big pencil shaft. You will match up the 4 corners of piece C circle with the 4 “corners” of the bottom of the pencil. Be sure to pin in place right sides together (the pink circle essentially gets put “inside” the bottom of the pencil shaft)! Then carefully stitch in place using a 1/4” seam allowance and being sure not to stitch the shaft of the pencil into the seam allowance (trust me, that is easy to do if you’re not going slow on this step)! 🙂


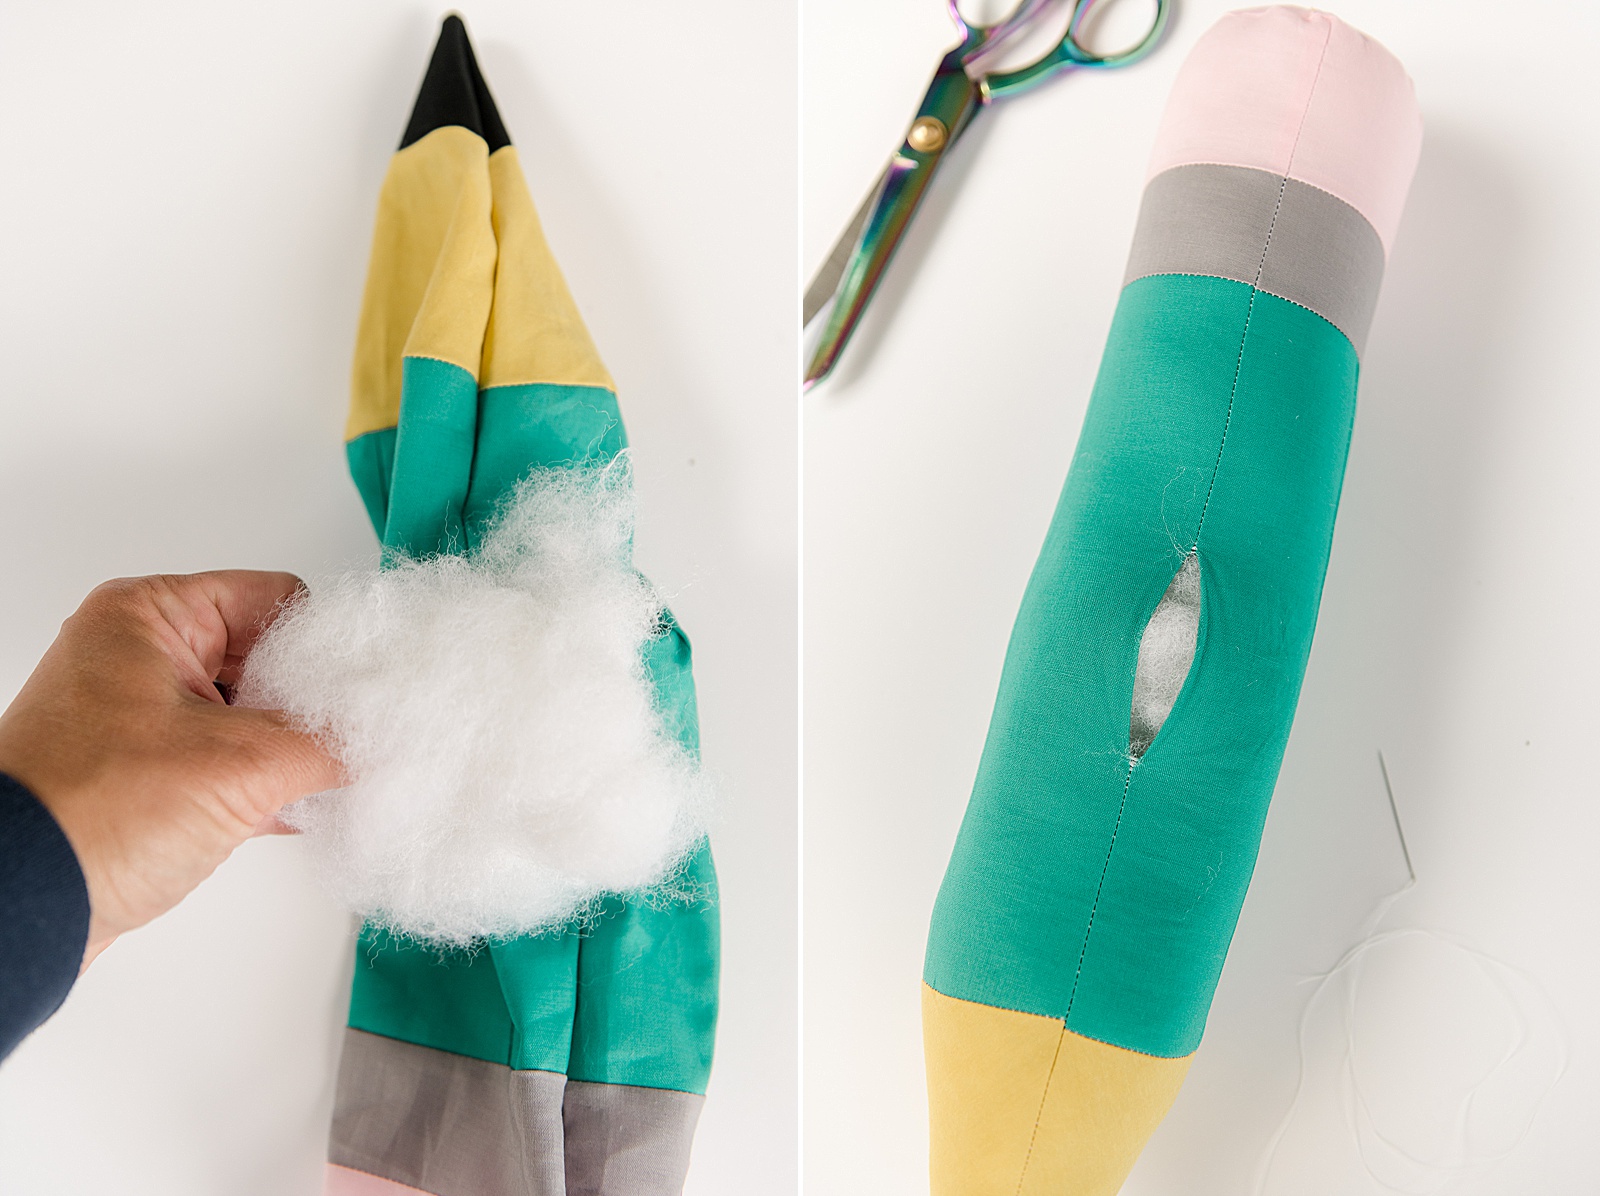
8. Now turn your pencil right sides out (make sure that all seams are stitched and perfect looking)! And begin to stuff your pencil plushie! YAY! This is the fun part where you see your plushie come to life and fill out. When it is stuffed to your desire, you can use a needle and thread to ladder stitch the last opening closed from step 6 where we turned the plushie!
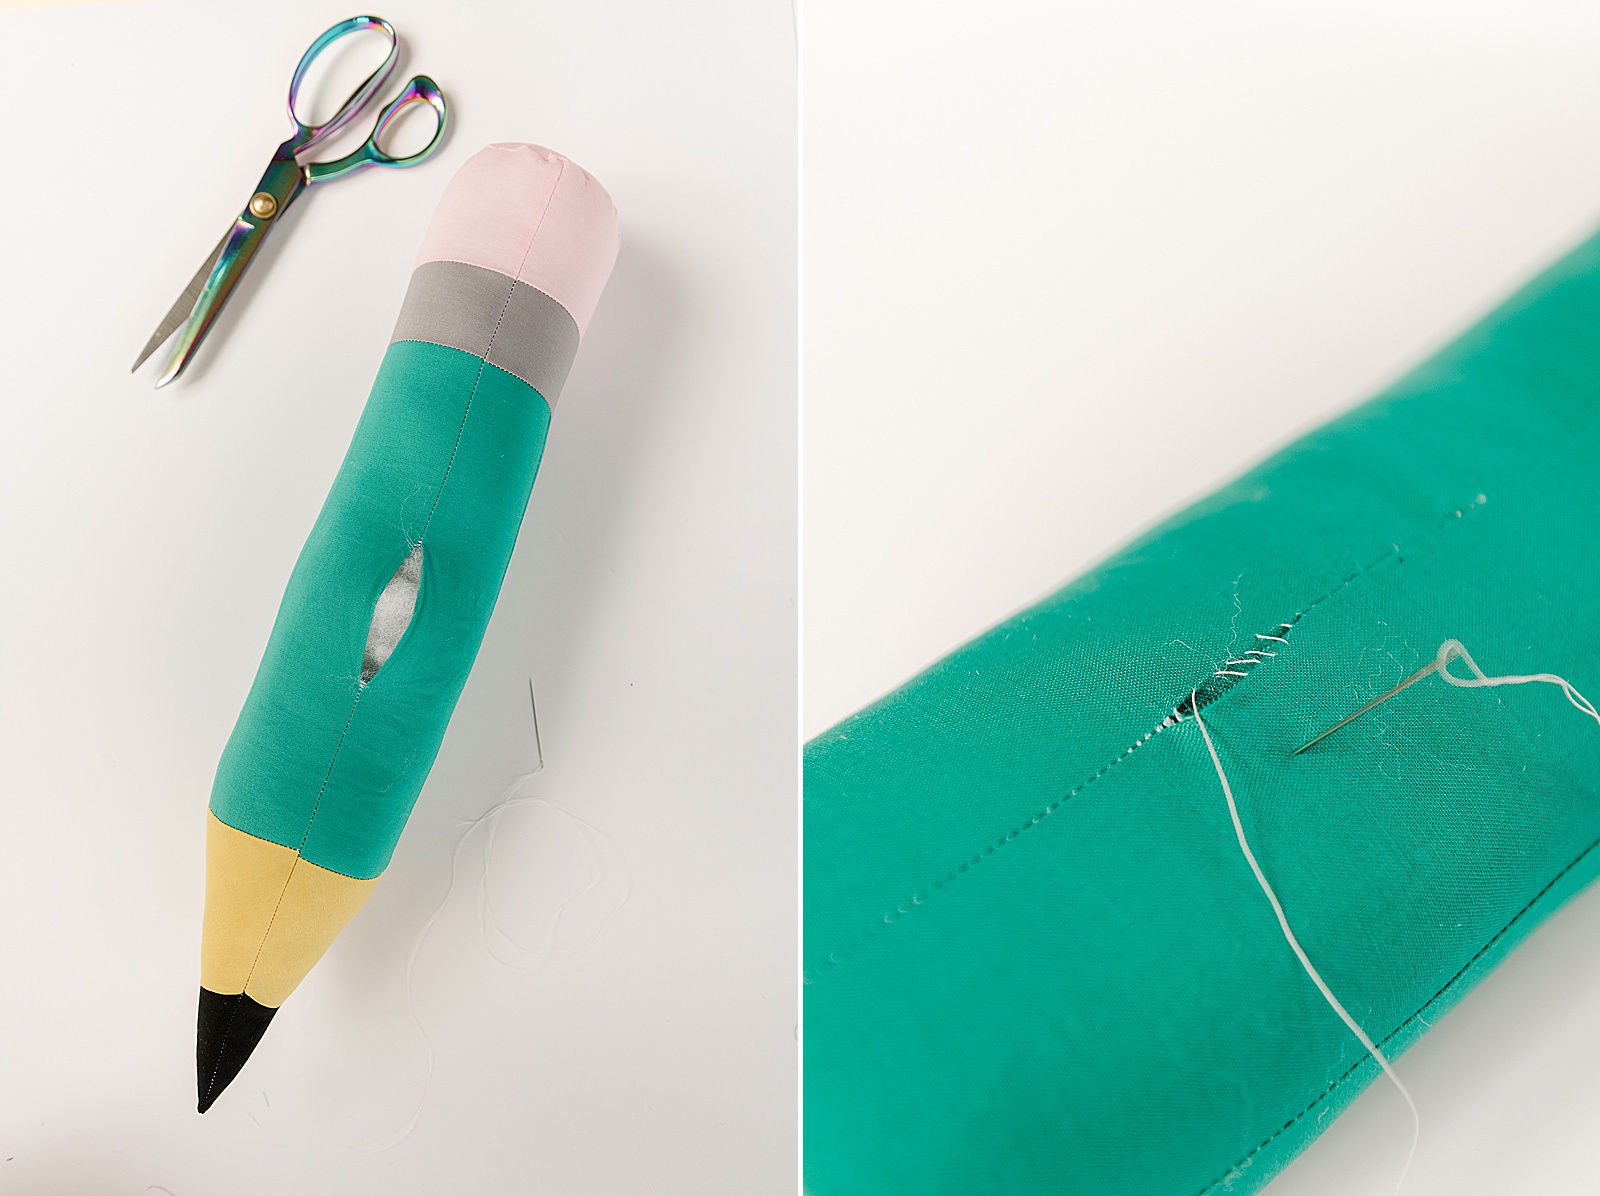
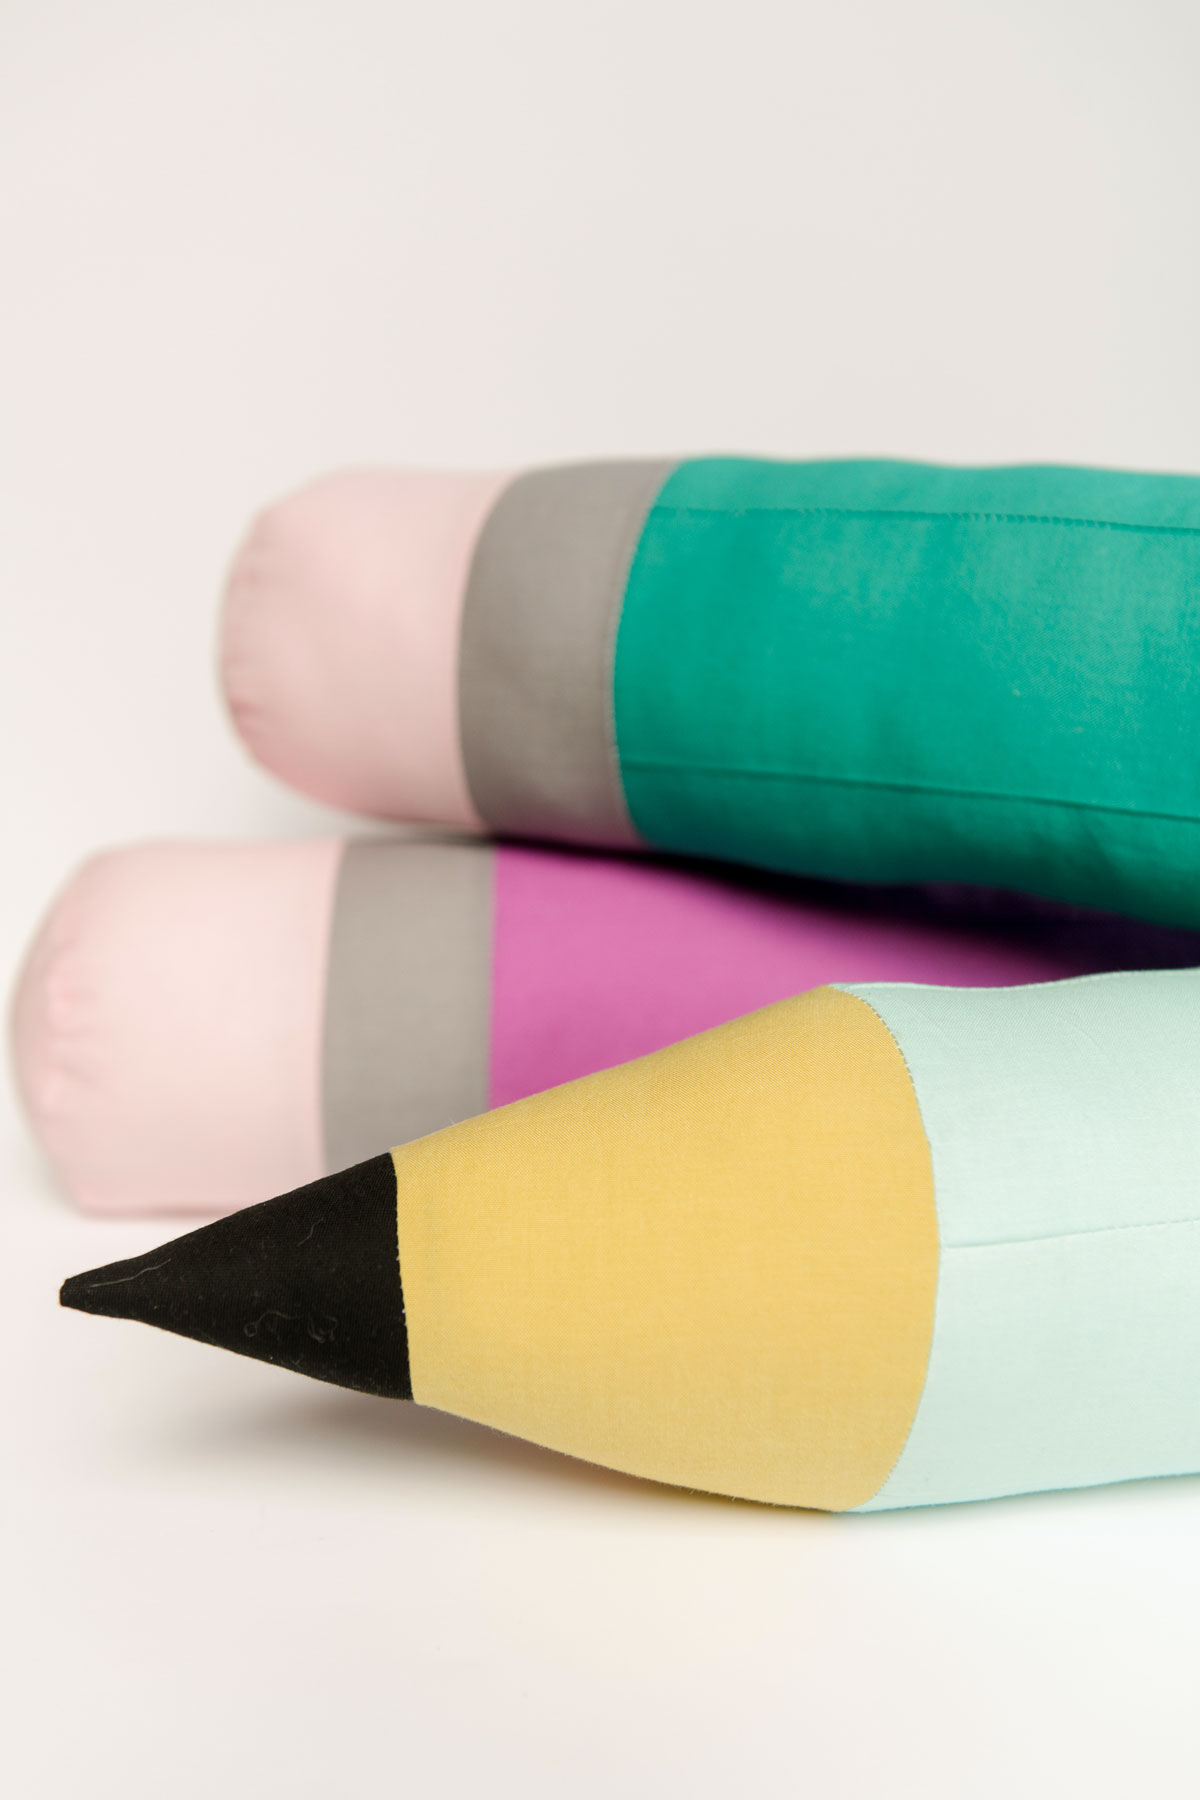
And VOILA! 🙂 a cute, pencil plushie to snuggle with, play with or just have as colorful classroom decor (if you happen to be a teacher)! 🙂