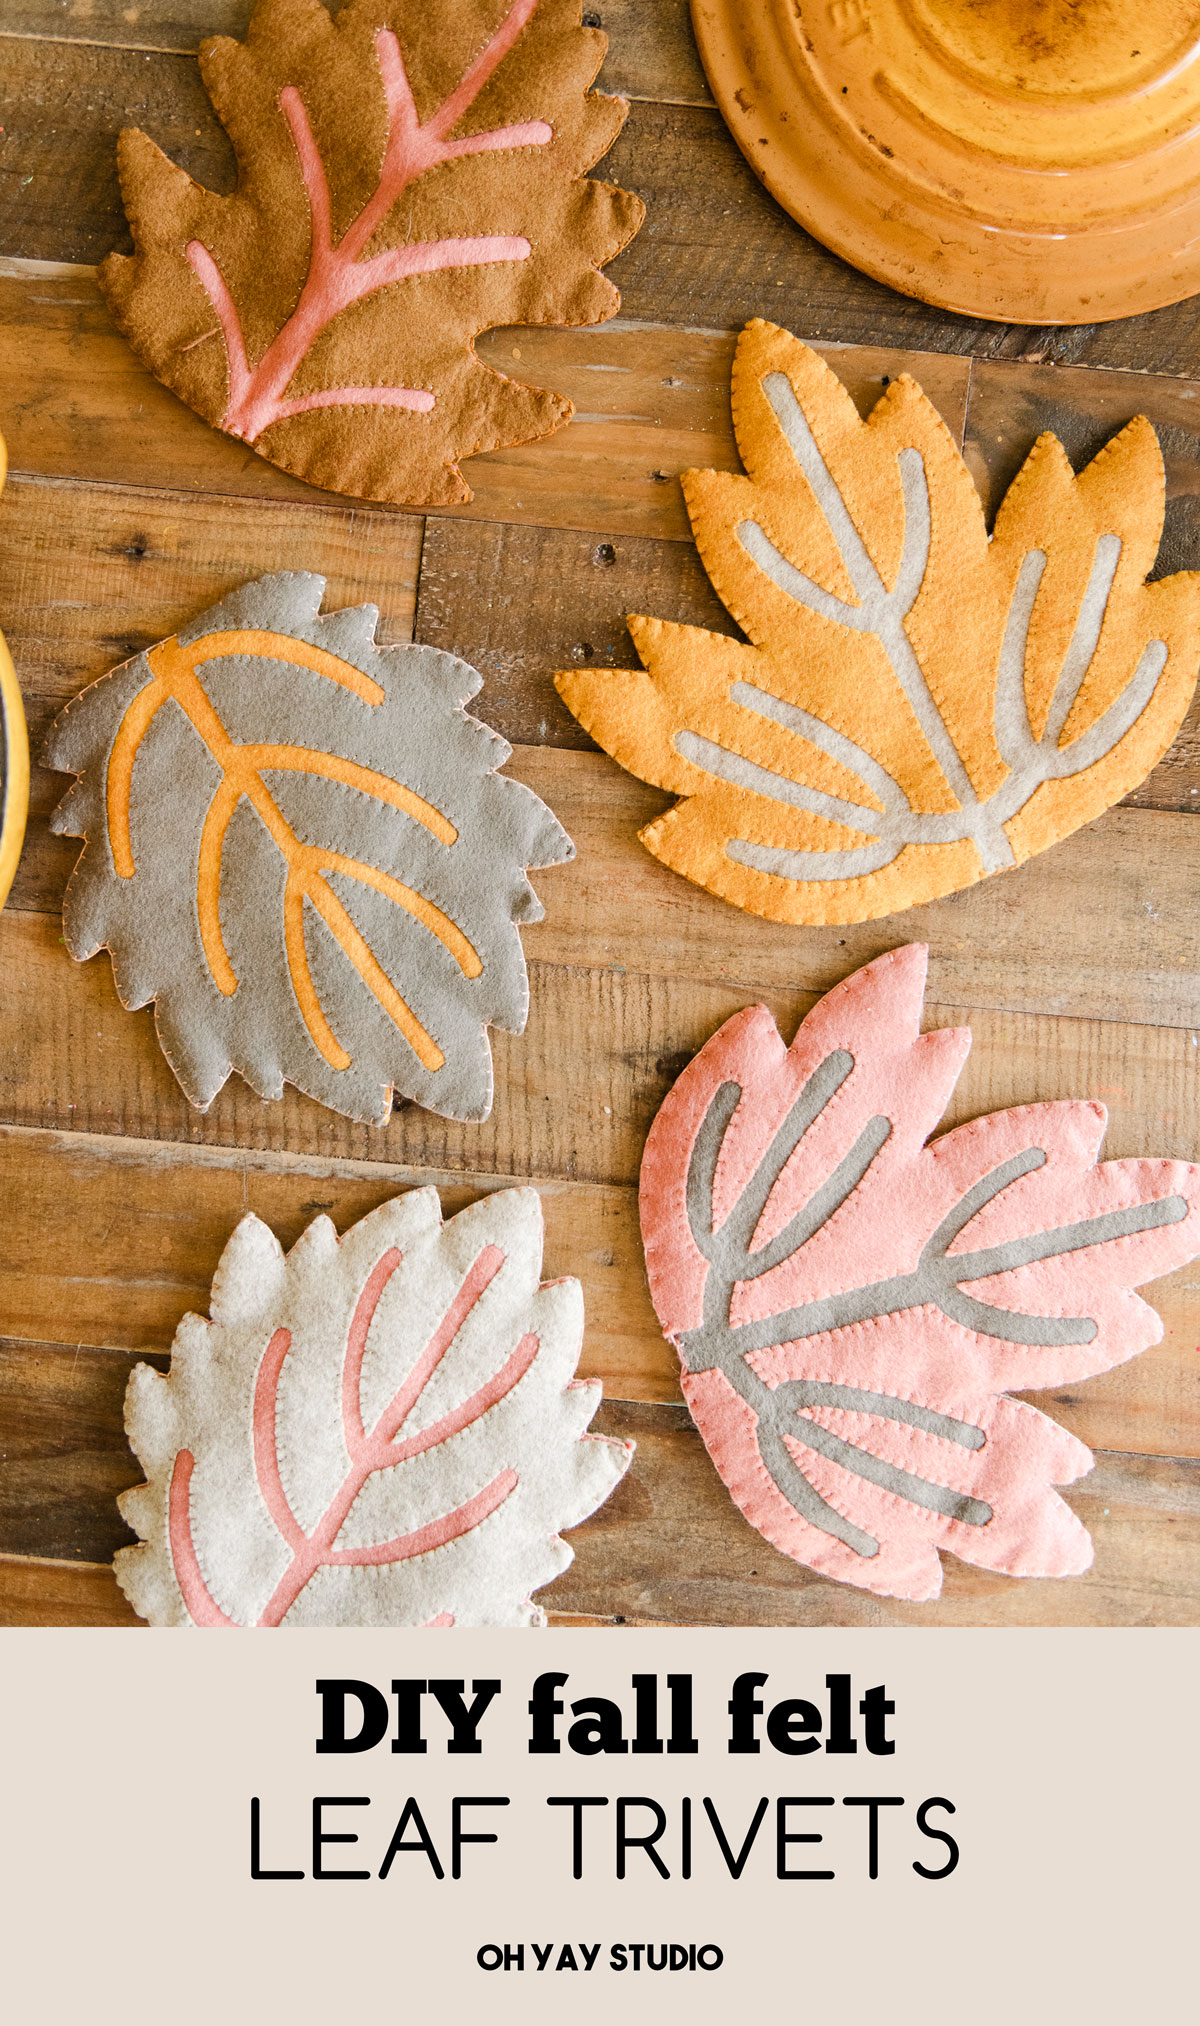
Fall felt leaf trivets!
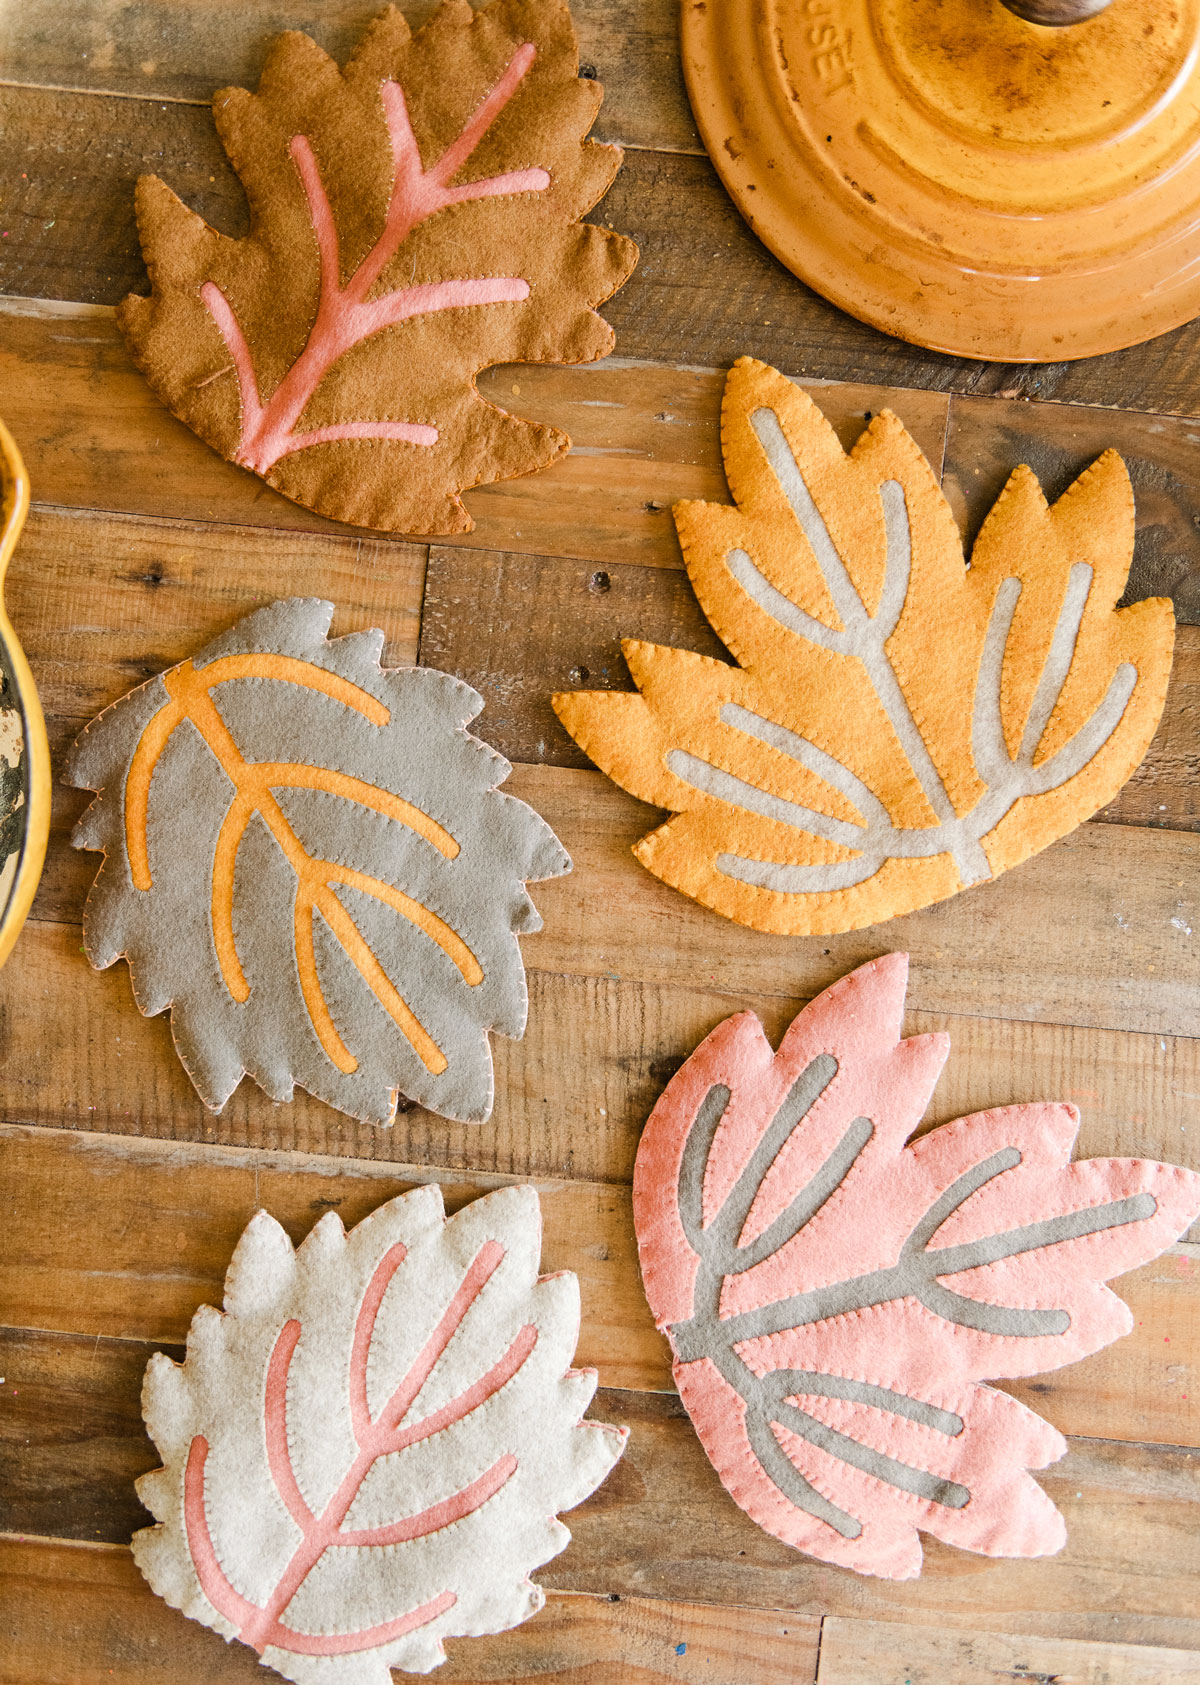
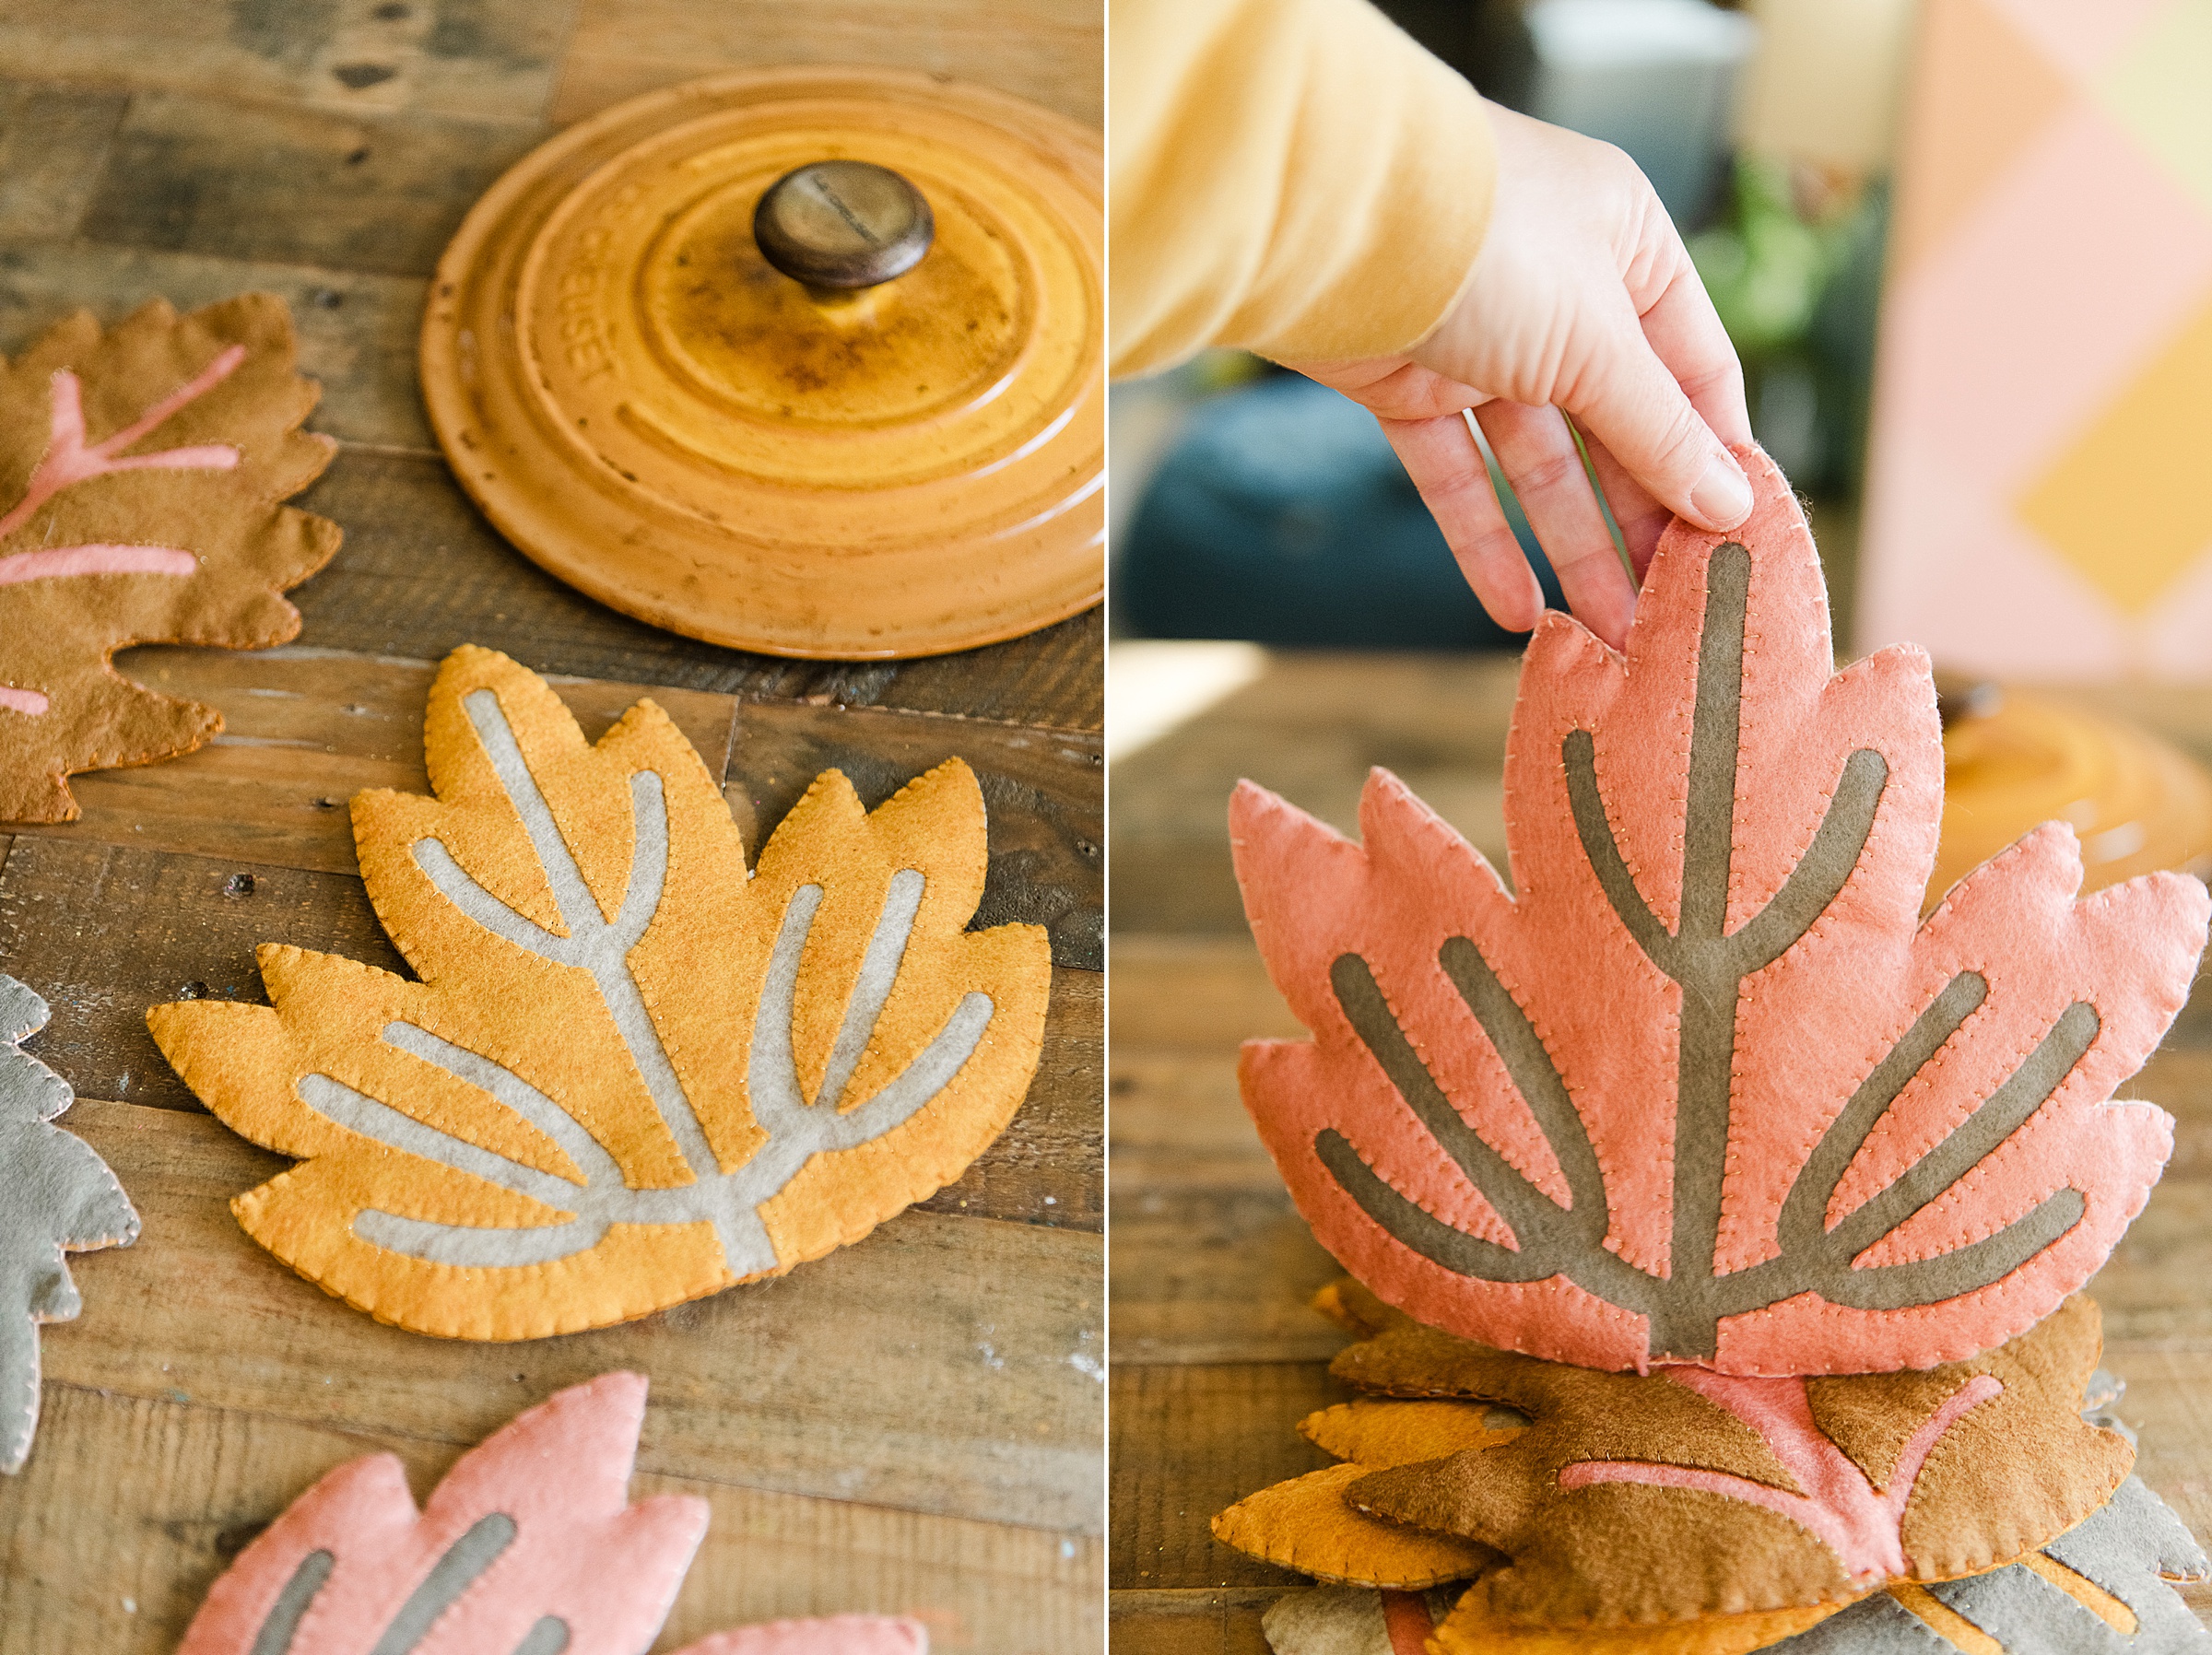
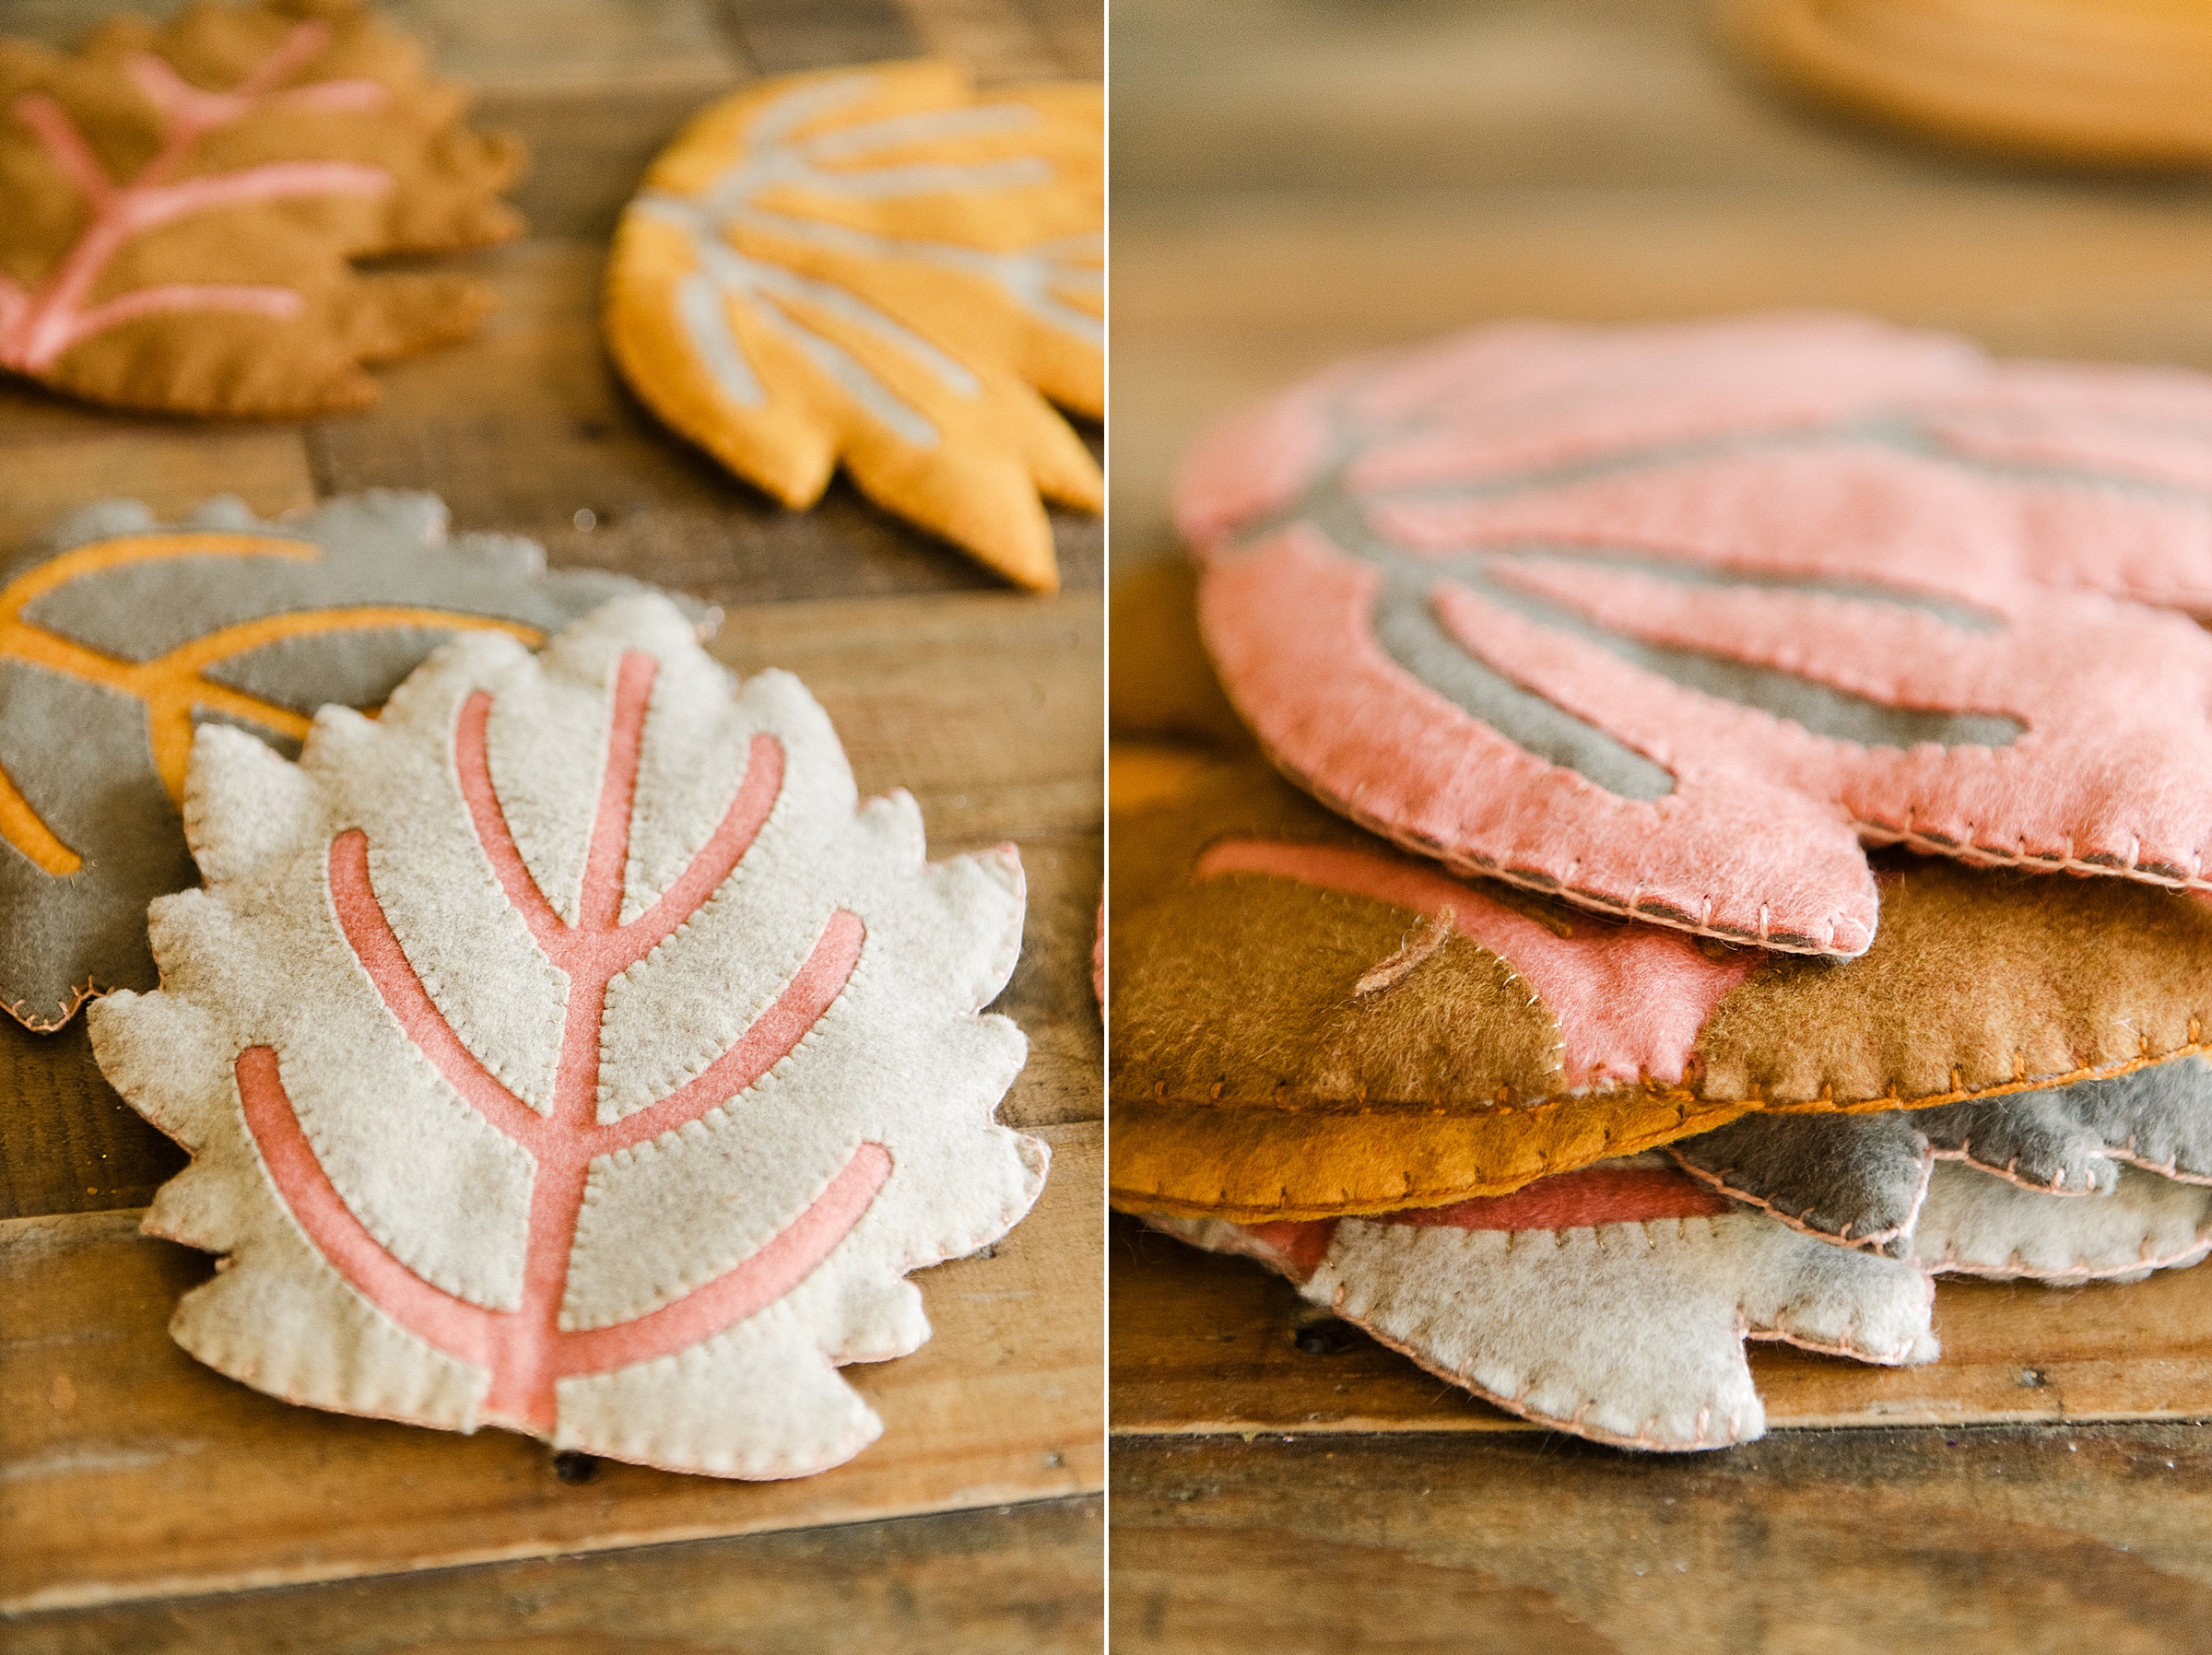
I am not much of a “tablescape” person (ie, I never plan ahead enough to gather all of the adorable and aesthetically cute things for our meaningful meals around the table. HA!) BUUUUUT this fall, knowing that we always host Thanksgiving, I wanted to make myself just a little something to help our table look extra cute and festive as we lay out the turkey on Thanksgiving or the hot soup while the leaves are falling and the pumpkins are being carved! SOOOOOOOO, leaf trivets I MADE! 🙂
Grab the full pattern and list of instructions below so that you can make some of your own (and customize them to your color aesthetic and your own fall-ish vibes)!
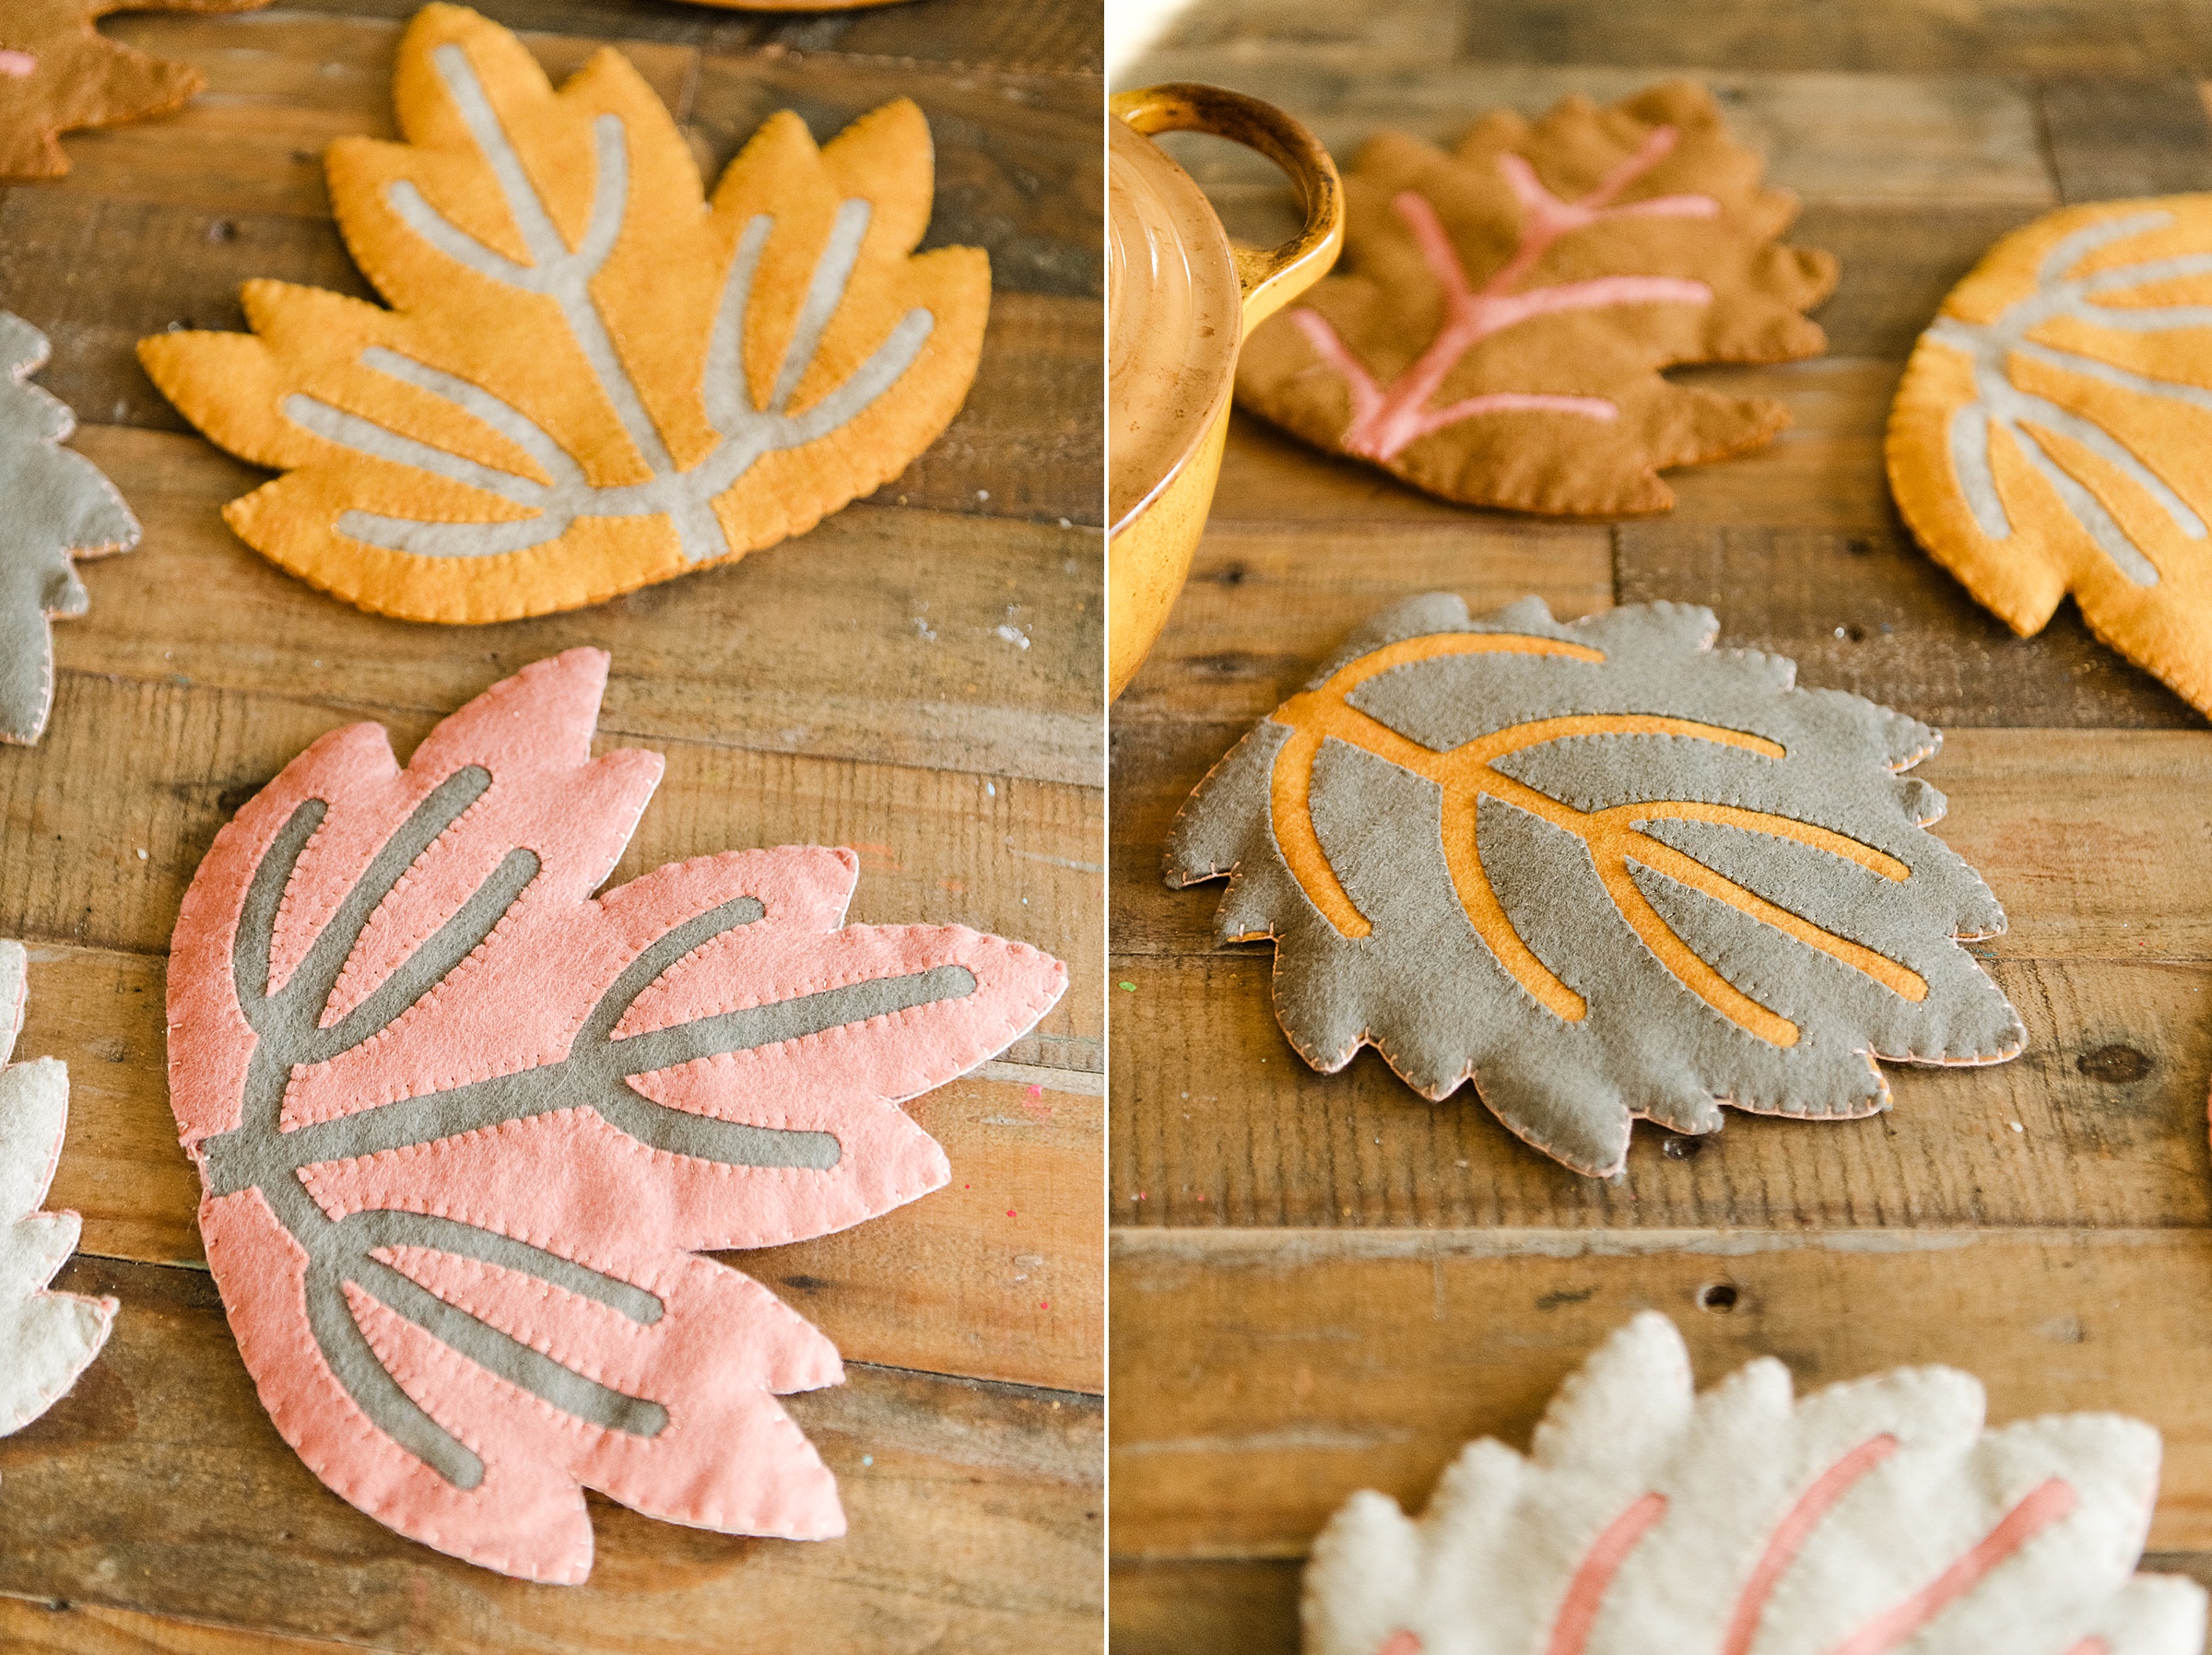
MATERIALS:
- Wool or wool blend felt in your fave fall colors
- coordinating thread and stitching needle
- Sharp pair of scissors
- Straight pins
- Claw clips
- Thicker cotton thread or embroidery floss for blanket stitching the edges
- Optional cutting machine (Silhouette, Cricut or Momento) 🙂
- Batting that can withstand some heat – I used Pellon brand and used 2 thinner layers to create my desired thickness
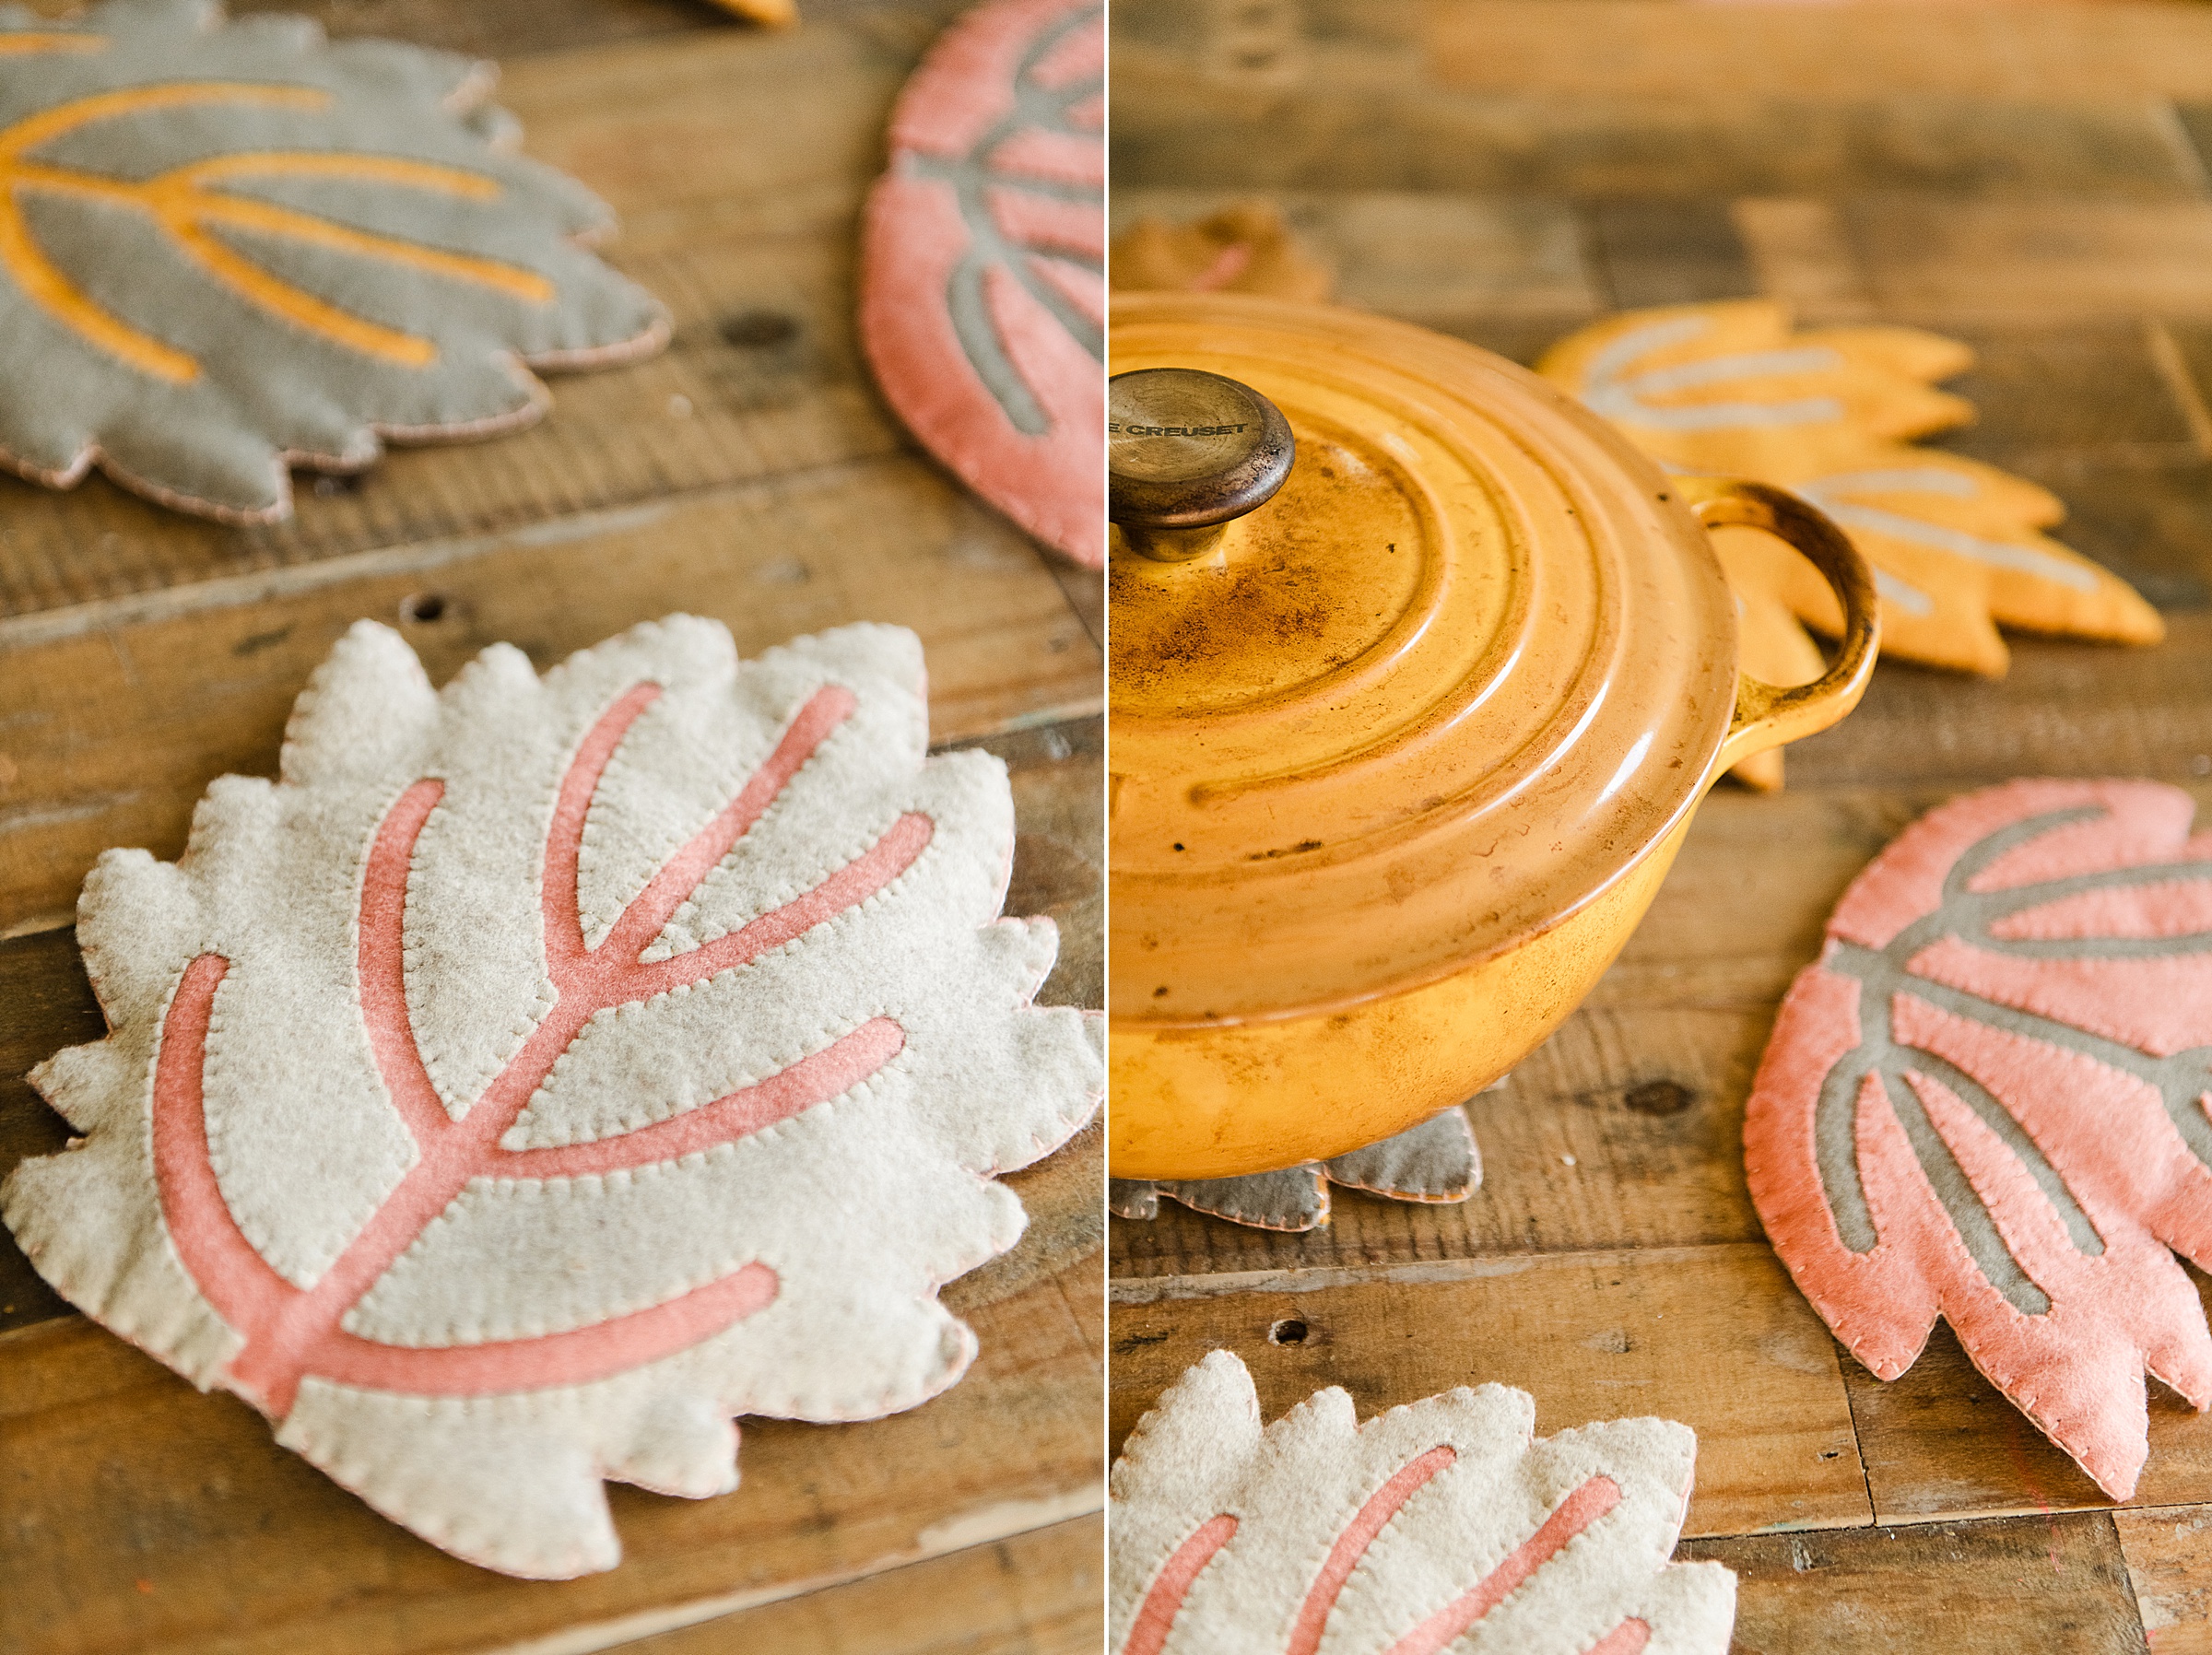
INSTRUCTIONS:
- Download the patterns below (there are 3 leaf shapes so pick whichever ones you like best 🙂
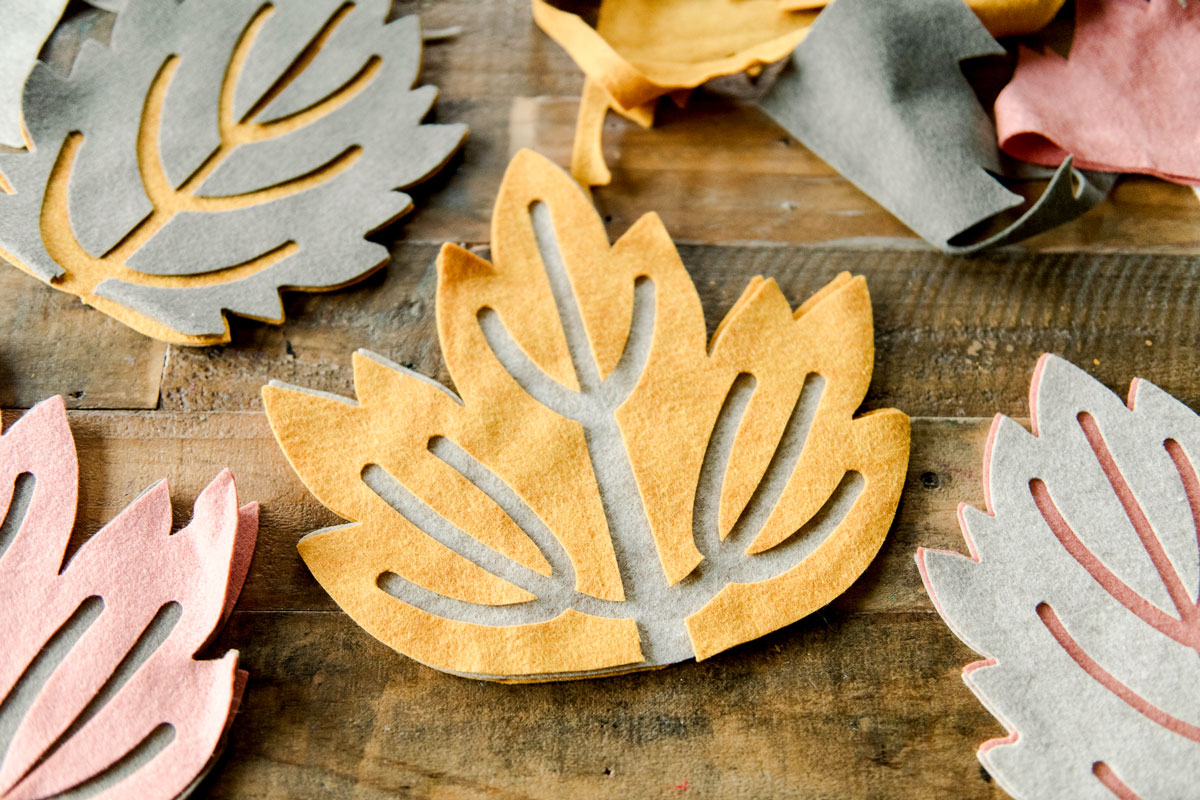
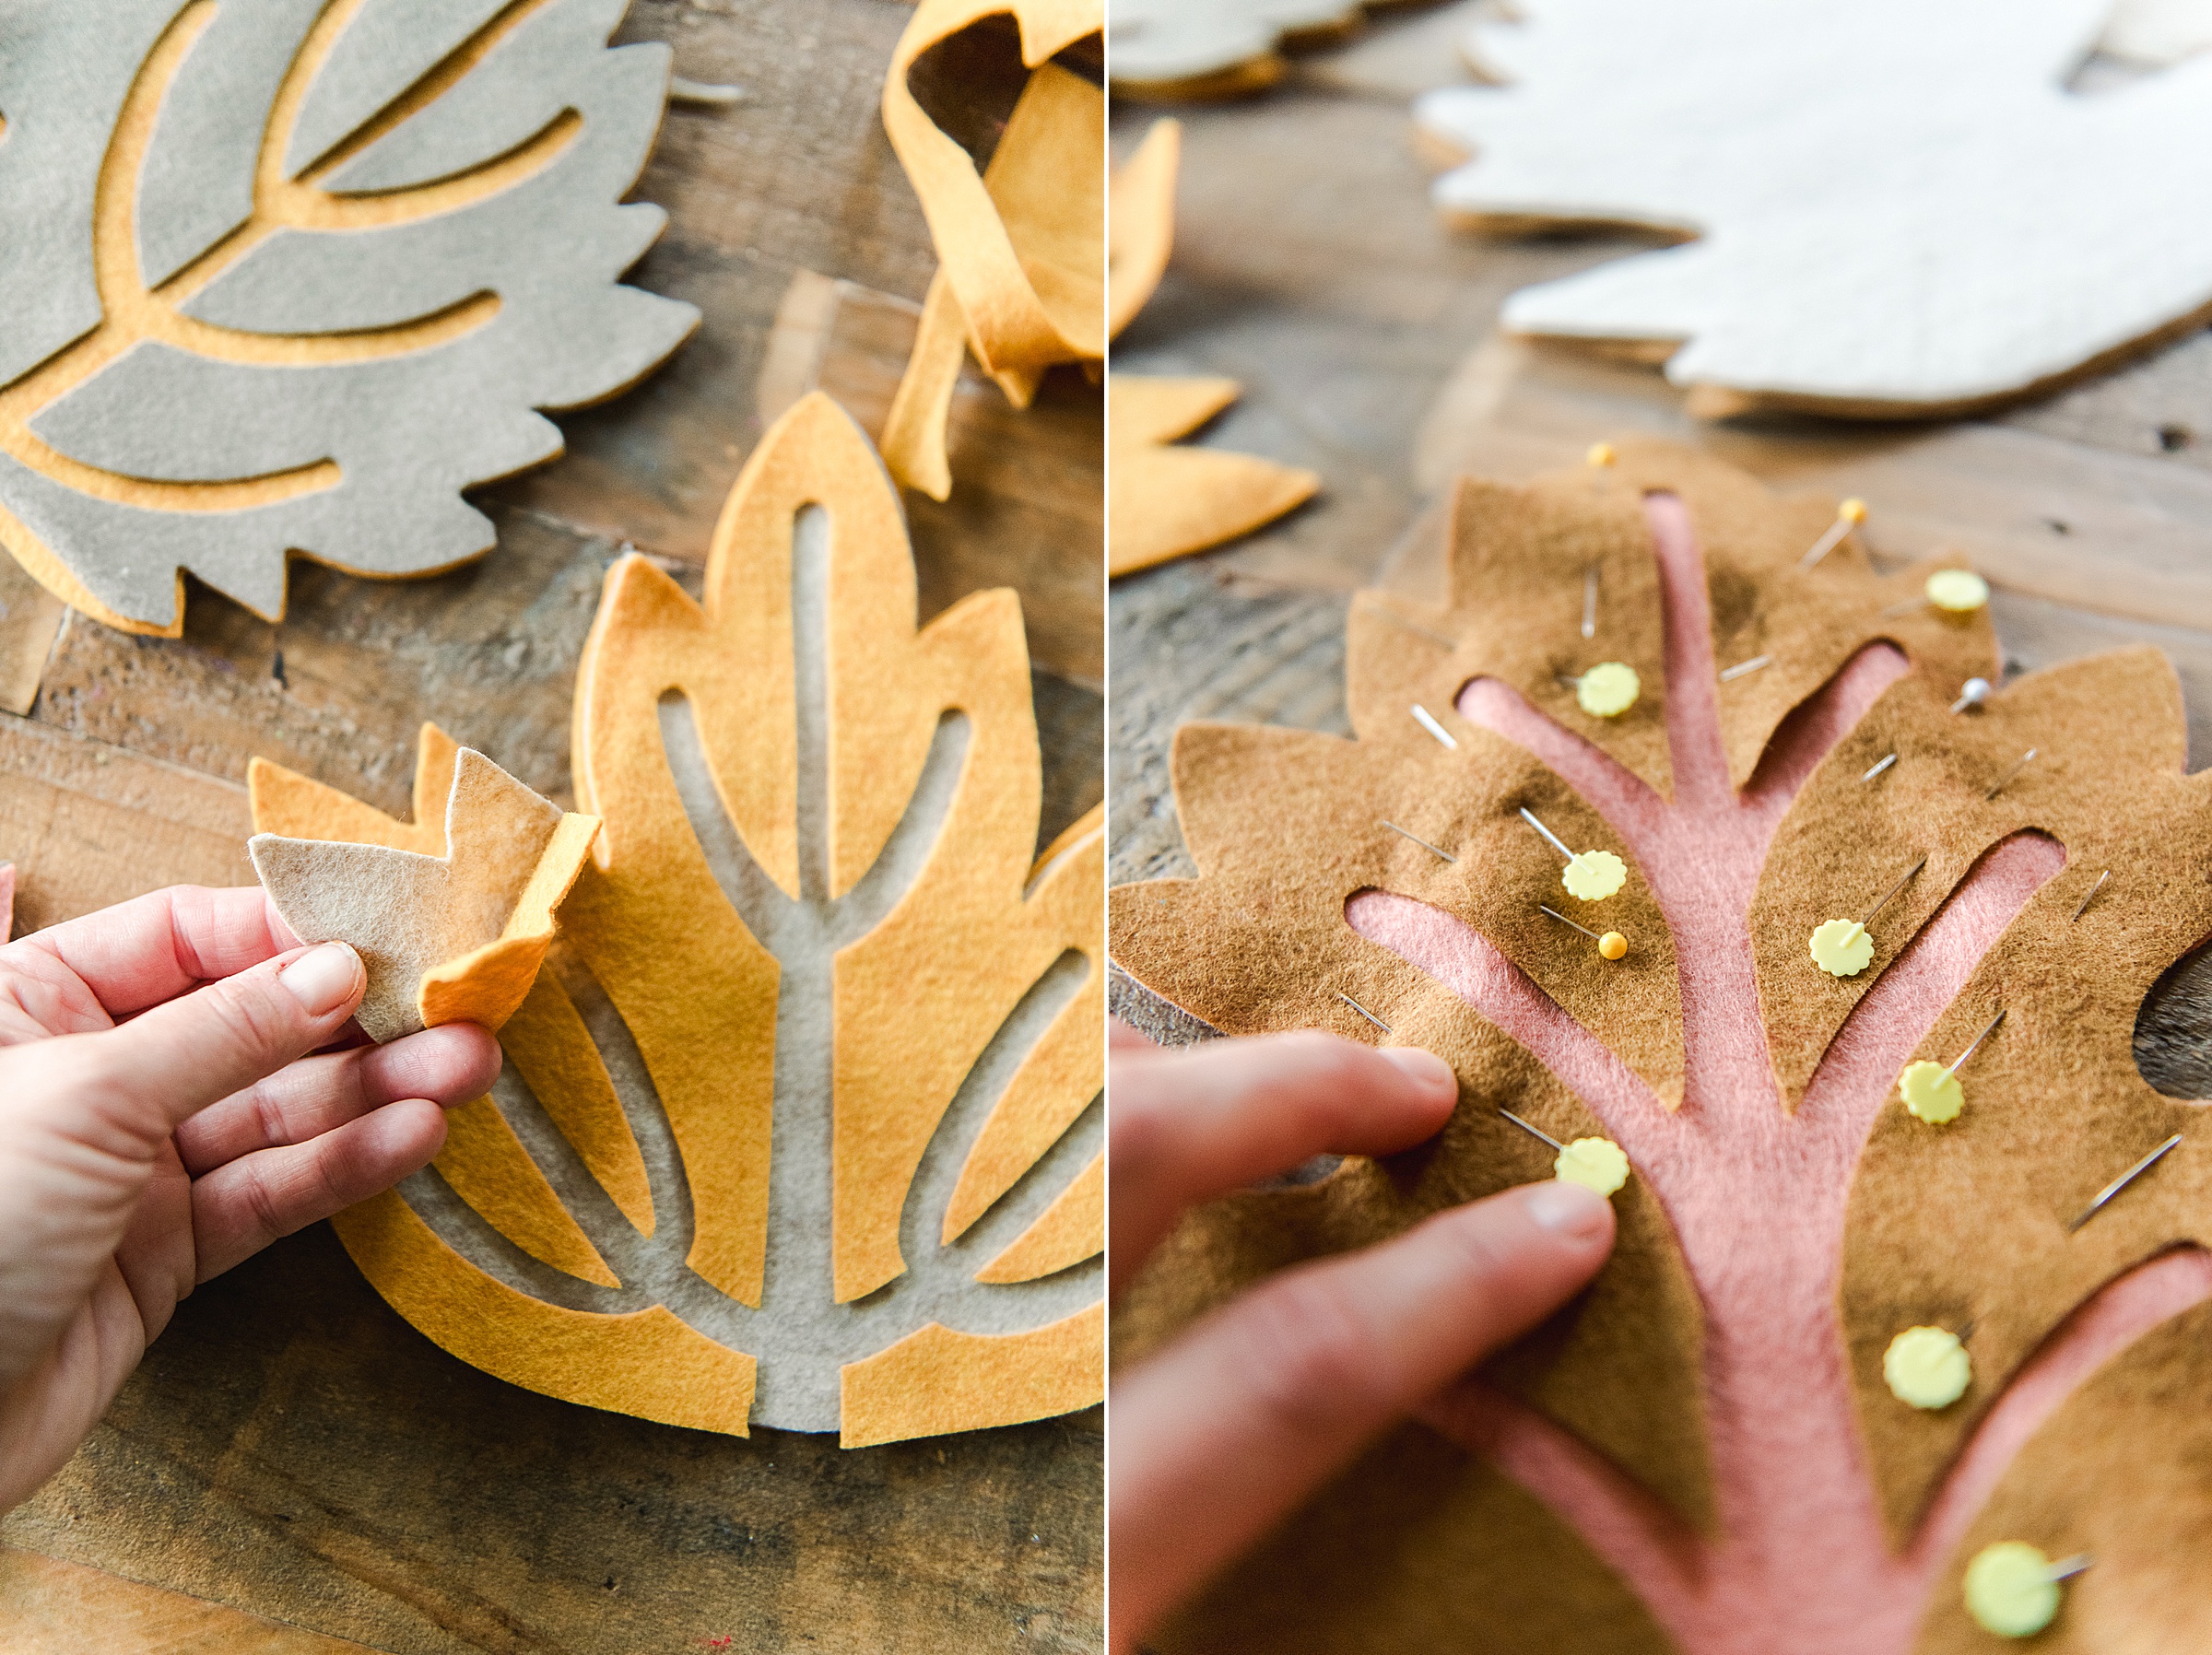
2. Begin cutting out each leaf shape – remember that you will need a “full leave” back and front, a top layer that has the “veins” cut out so that you can see the leave front through it AND a layer (or 2) of batting for each leaf.
For the batting layer, I cut it a little smaller than the leaf front and back. So I just traced the leaf back onto the batting itself with a pen and then when cutting it out, just trimmed it about 1/4″ smaller around all sides and it worked out great! 🙂
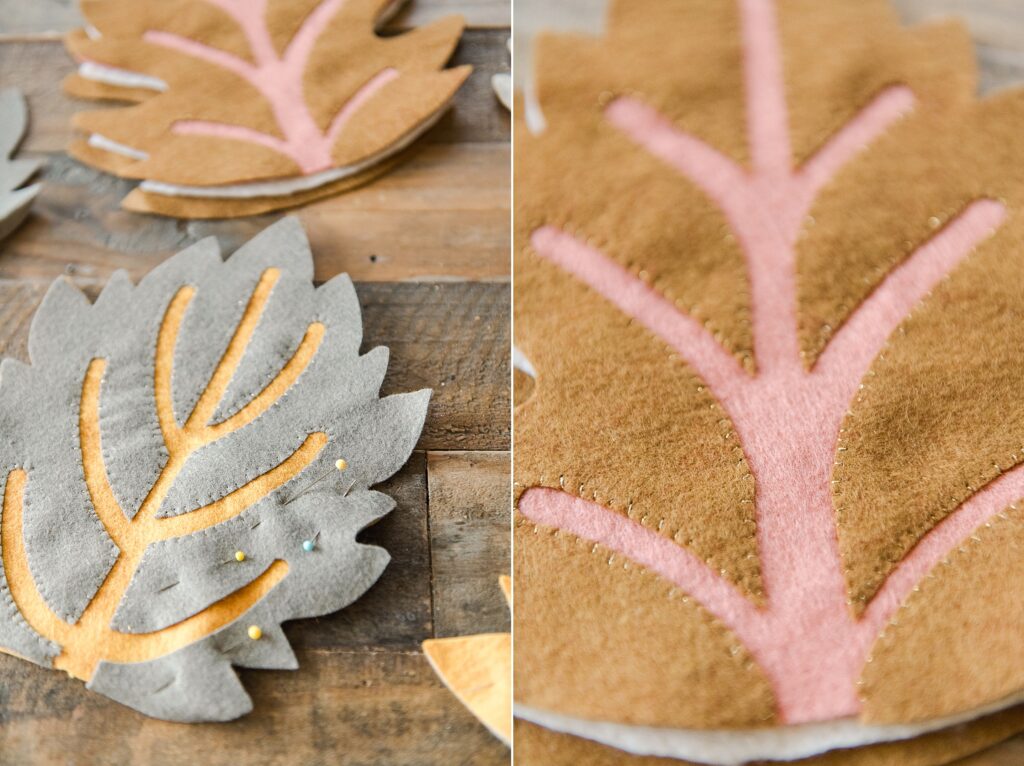
3. Begin stitching the top together.
Lay your “vein-y top” onto the top layer of your leaf and use pins to pin in place. You will do a simple whip stitch around the veins to keep the 2 layers together. I used a shimmery gold thread for this step because I thought it would add a touch of fall sparkle! 🙂
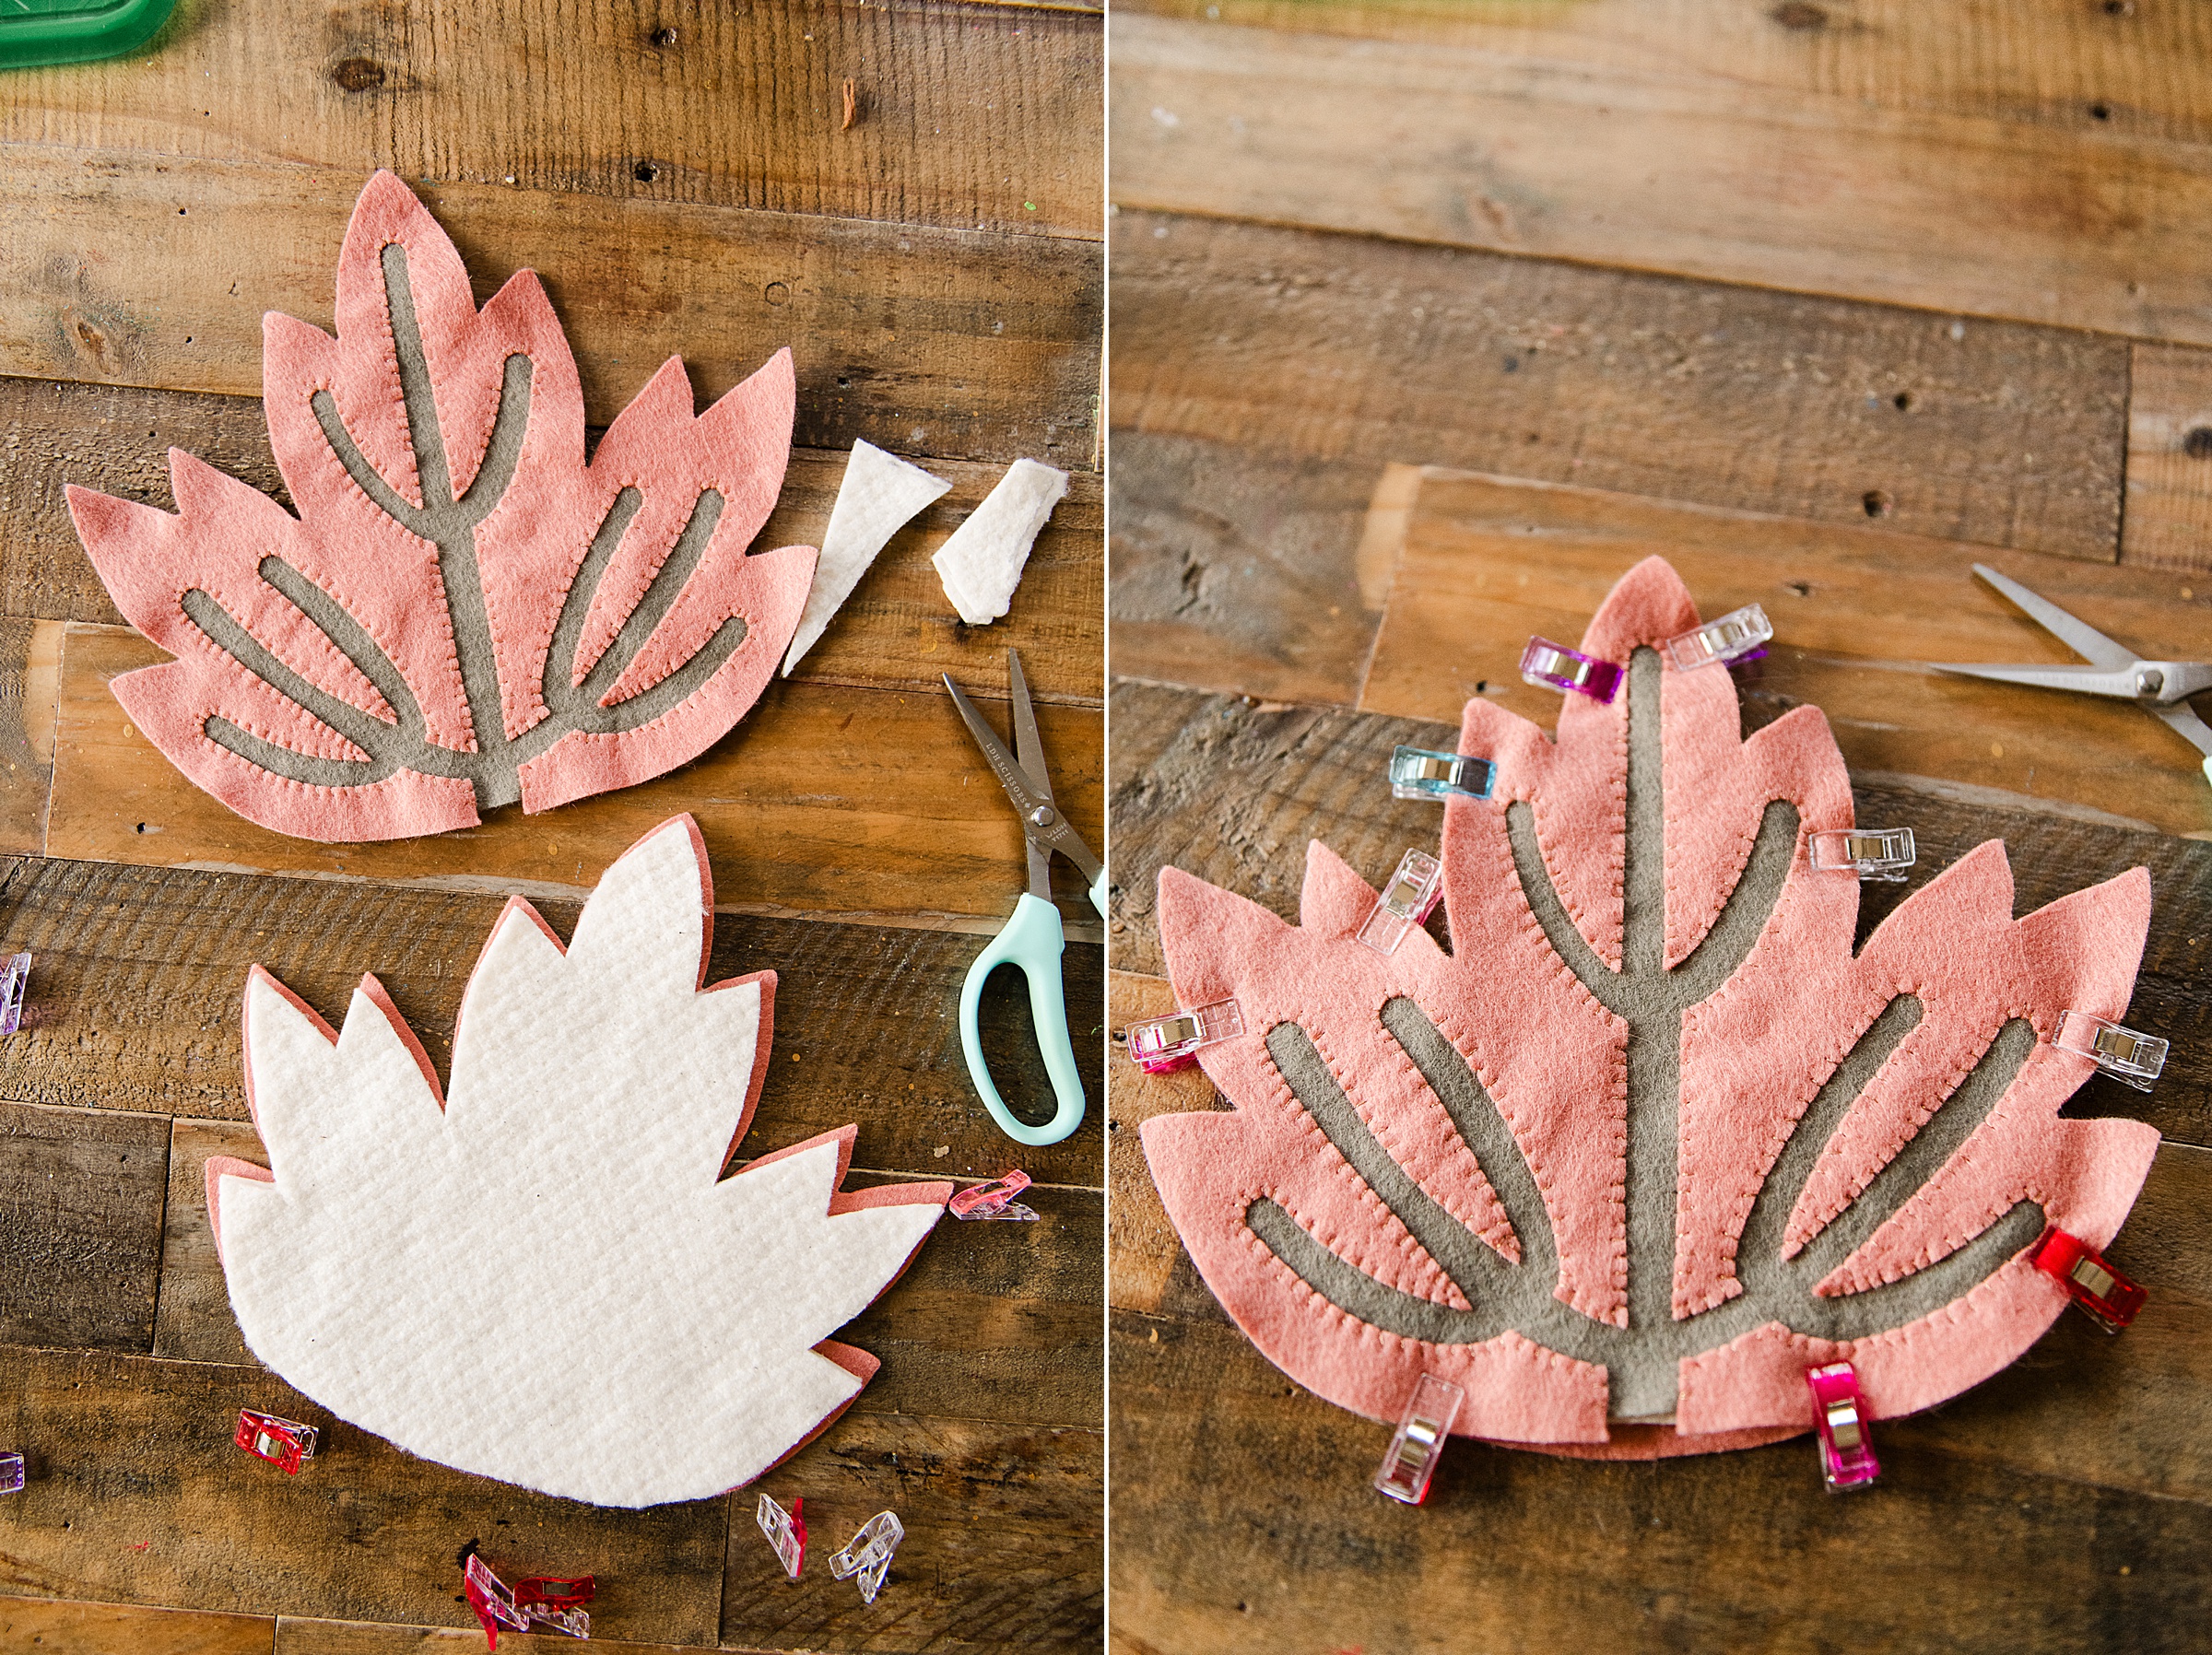
3. Stitch everything together
Sandwich your leaf together by layering it in the following order:
leaf back
batting of choice
stitched leaf top (that is really 2 layers stitched together with the vein details)
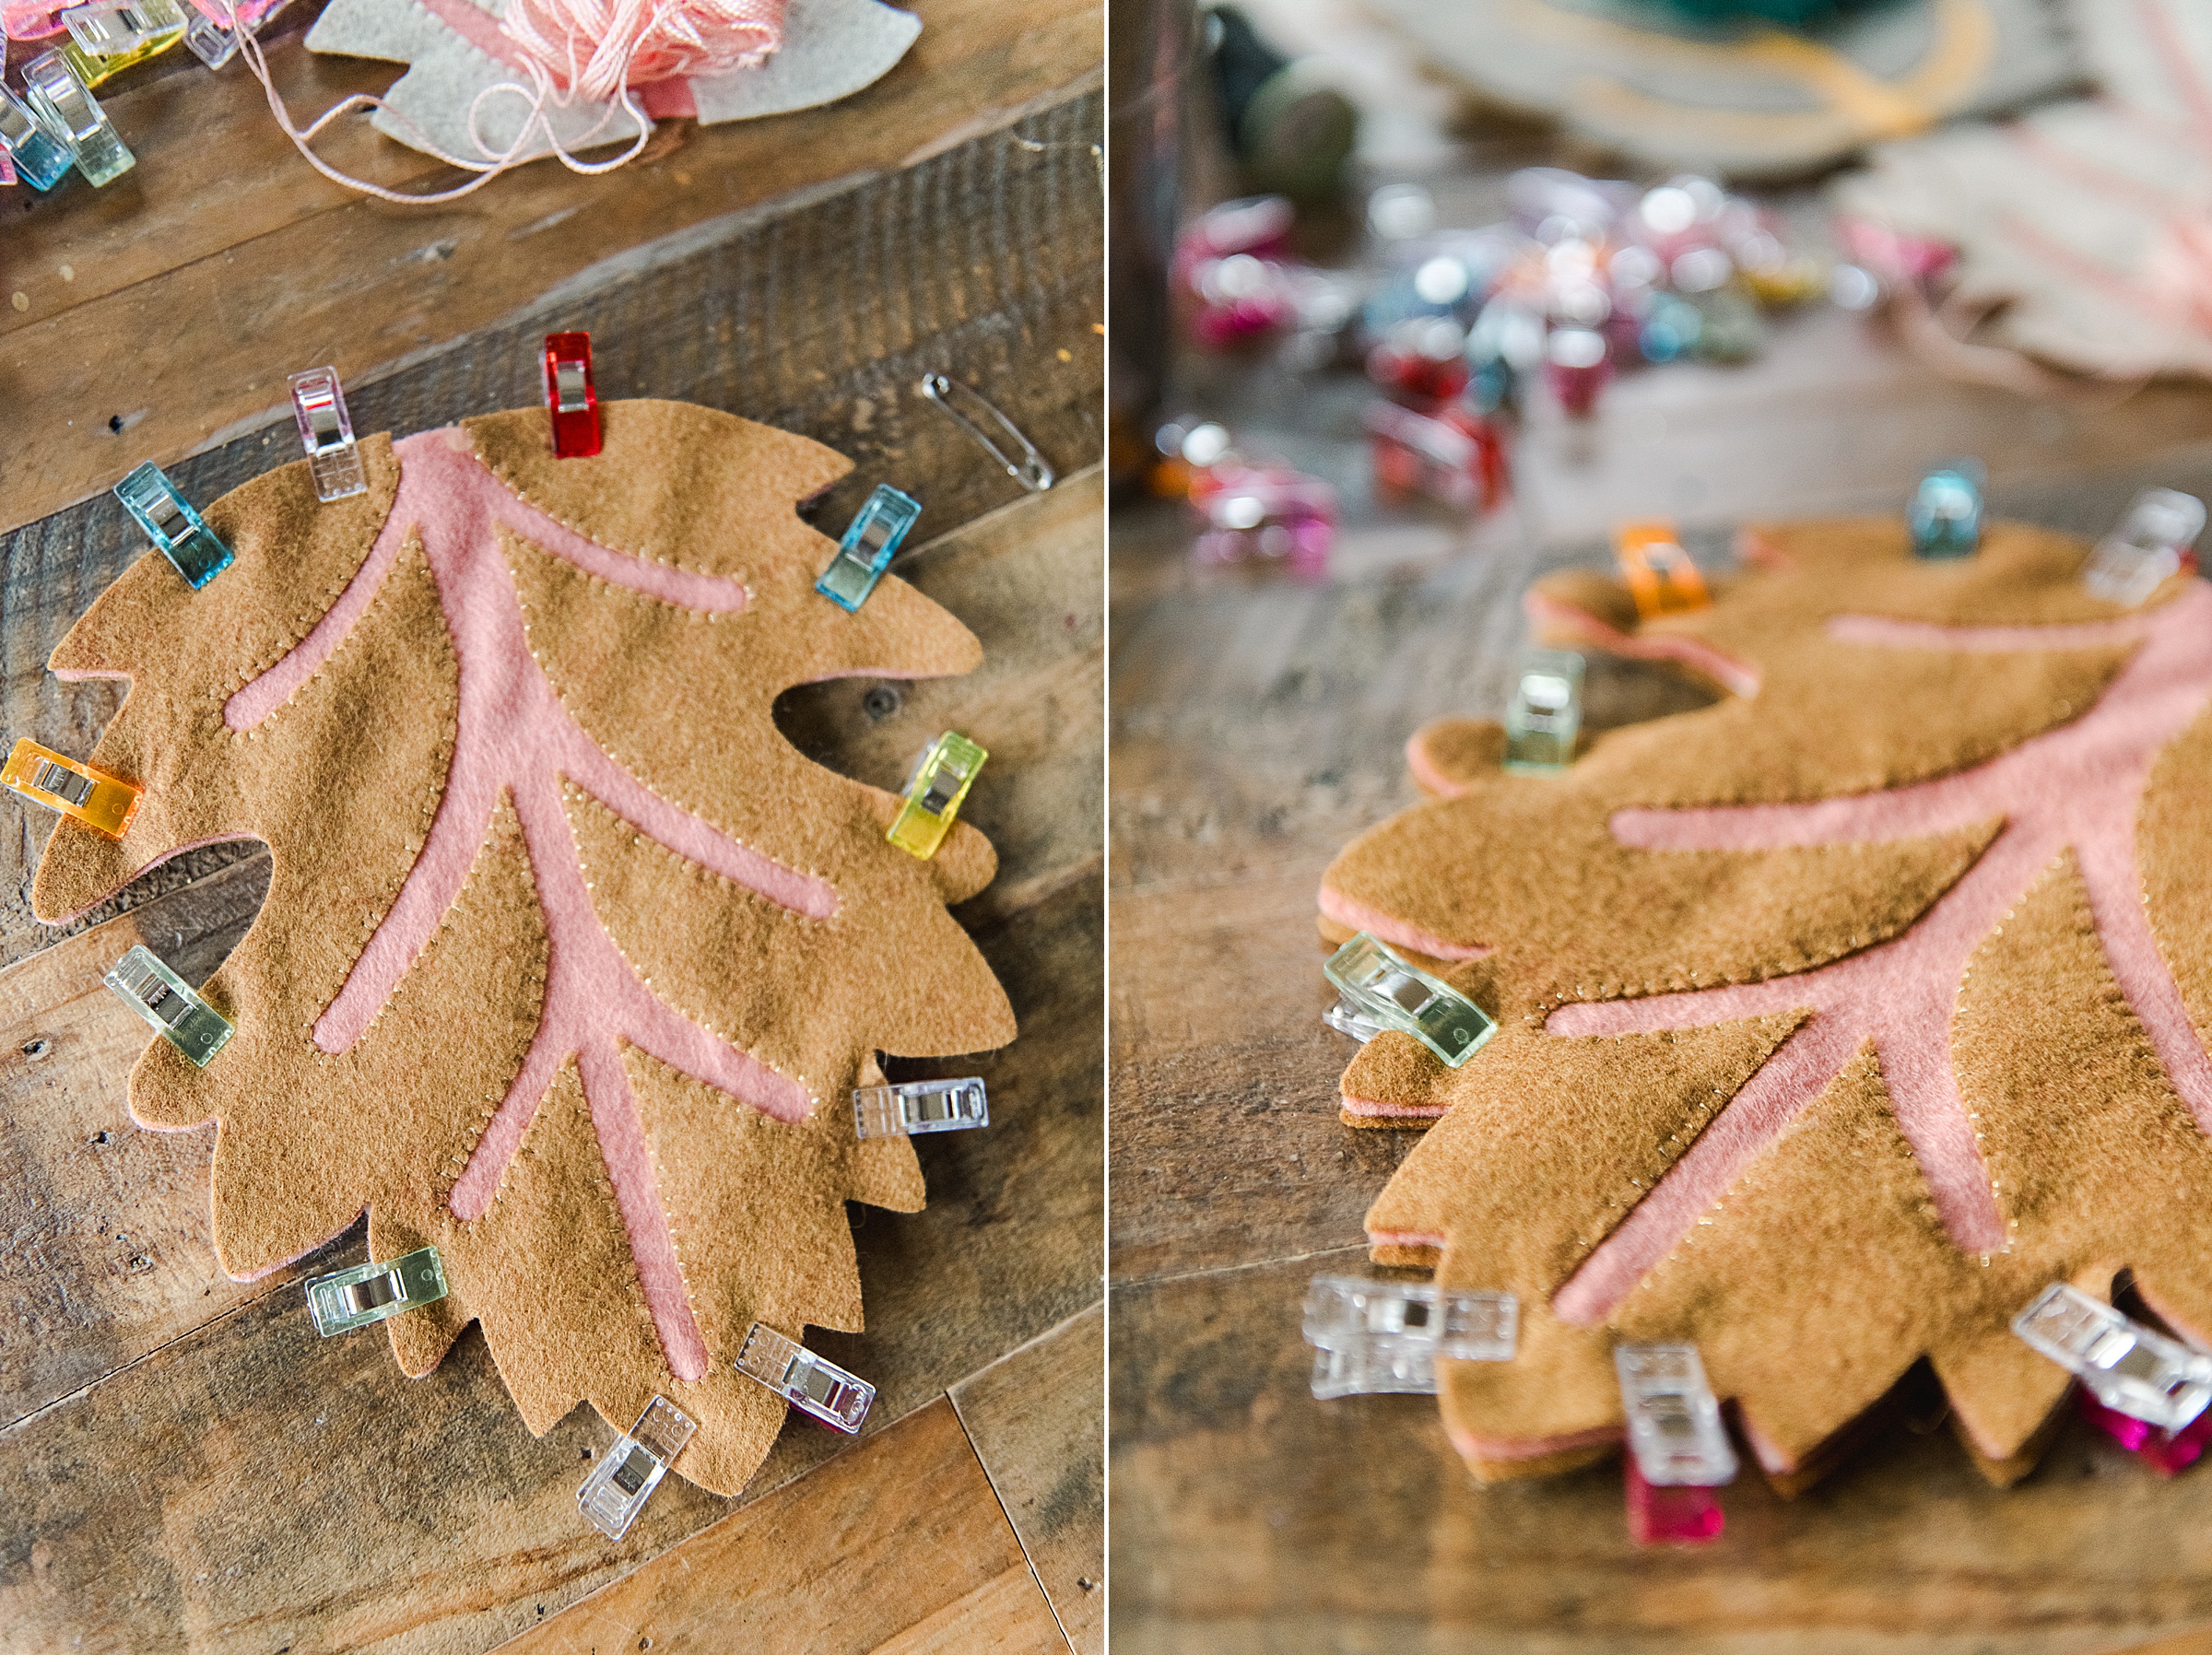
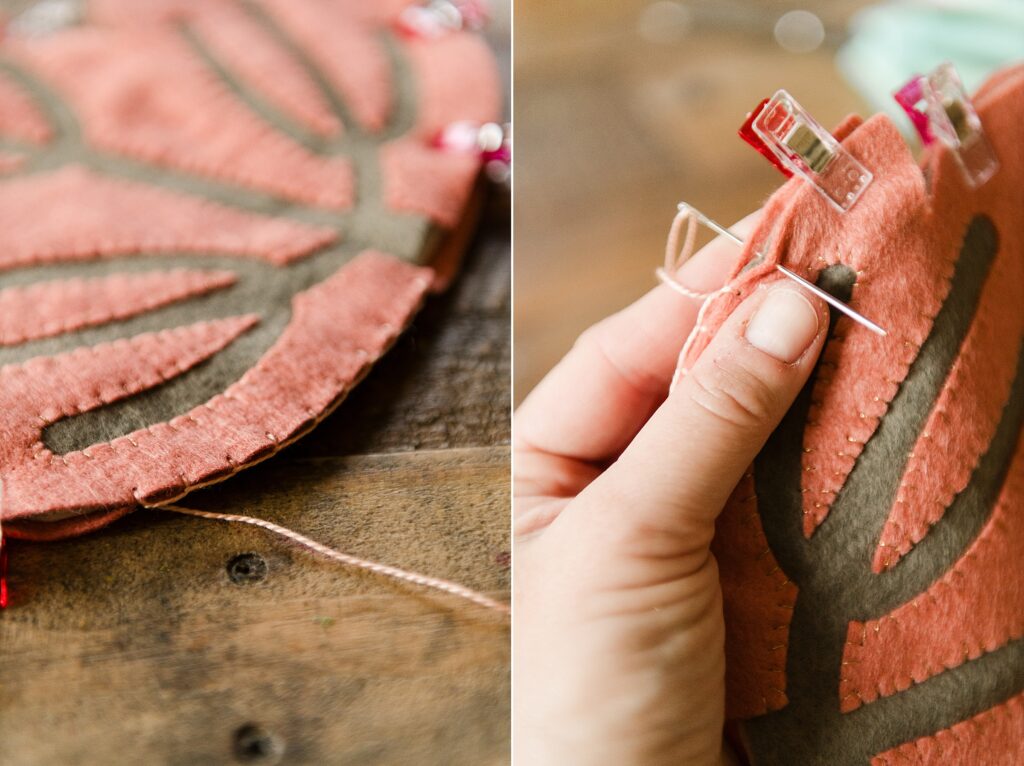
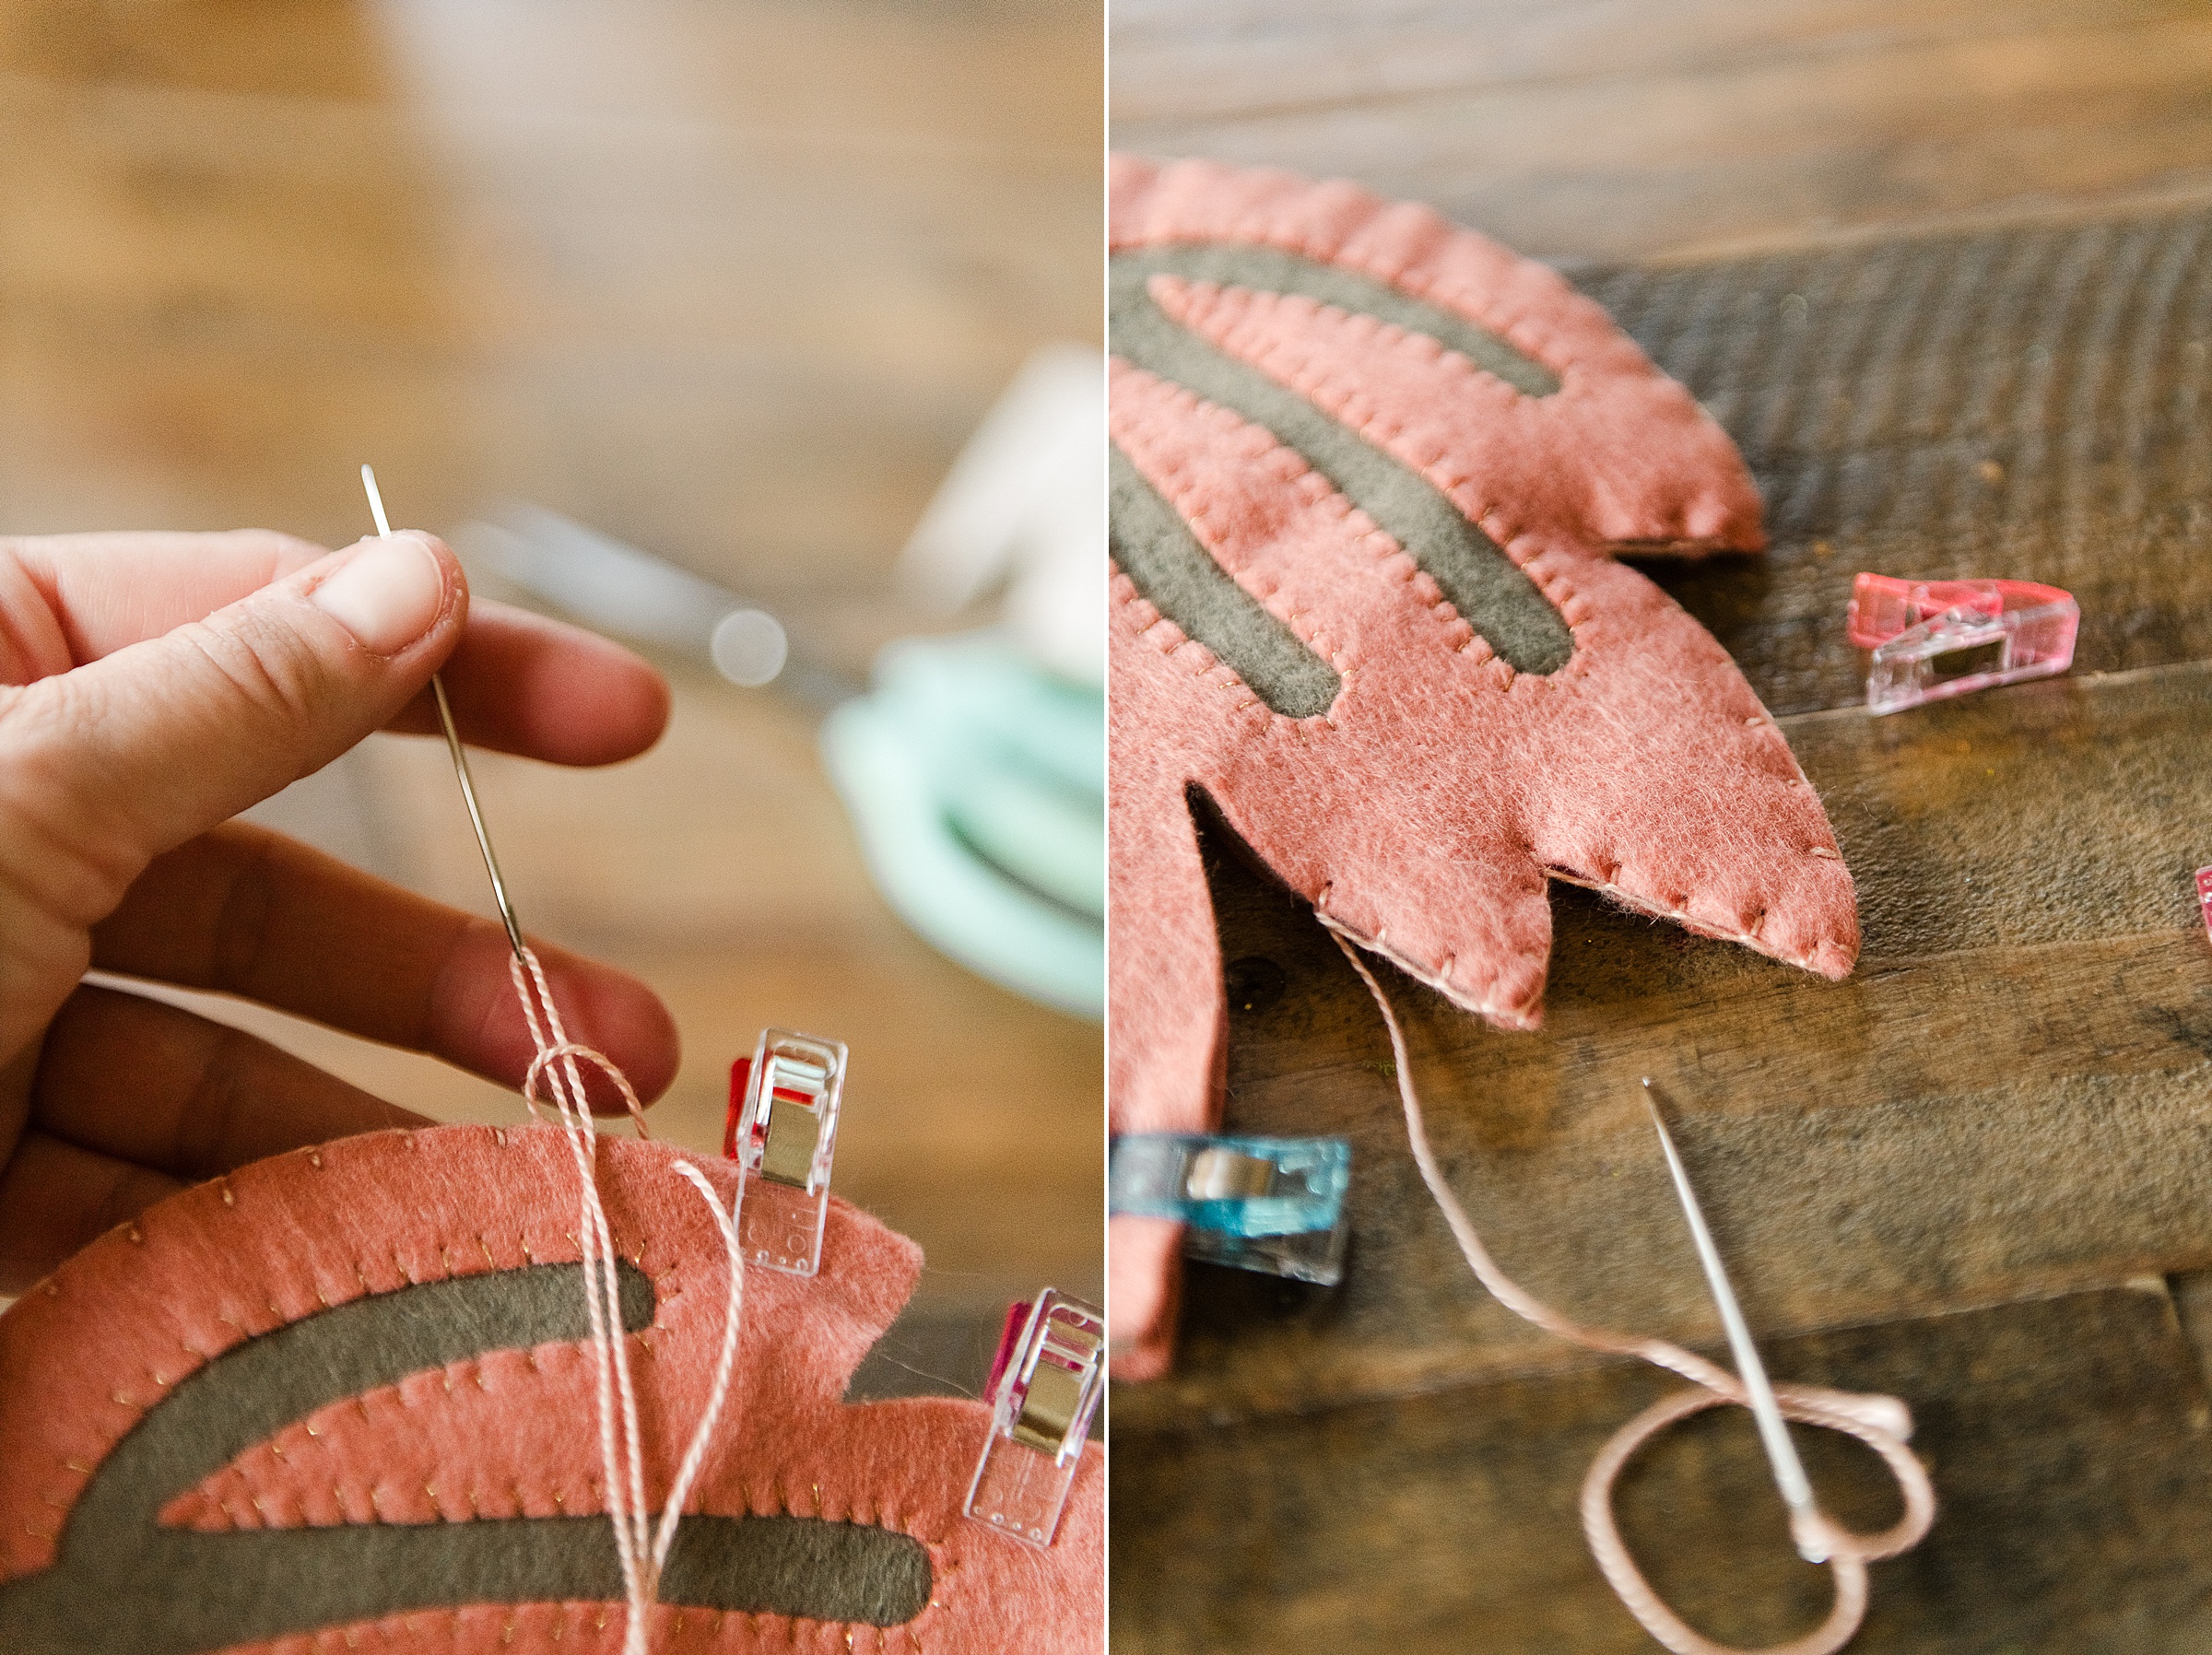
Claw clip everything together around the edges so that it stays in place – I found that it’s best to clip each protruding part of the leaf (HA!) so that it stays as you are stitching.
Then use a blanket stitch along the edges to finish everything off SOOO nicely. If you need a quick tutorial on a blanket stitch, check out THIS POST (the Halloween ghosts from last year with GREAT photos so that you can make this happen)! 🙂
Repeat each one of these steps for each leaf that you want and when finished, you will have a beautiful table of happy fall leaves to welcome your guests! 🙂 HAPPPPPPY FALL DIY-ing! 🙂

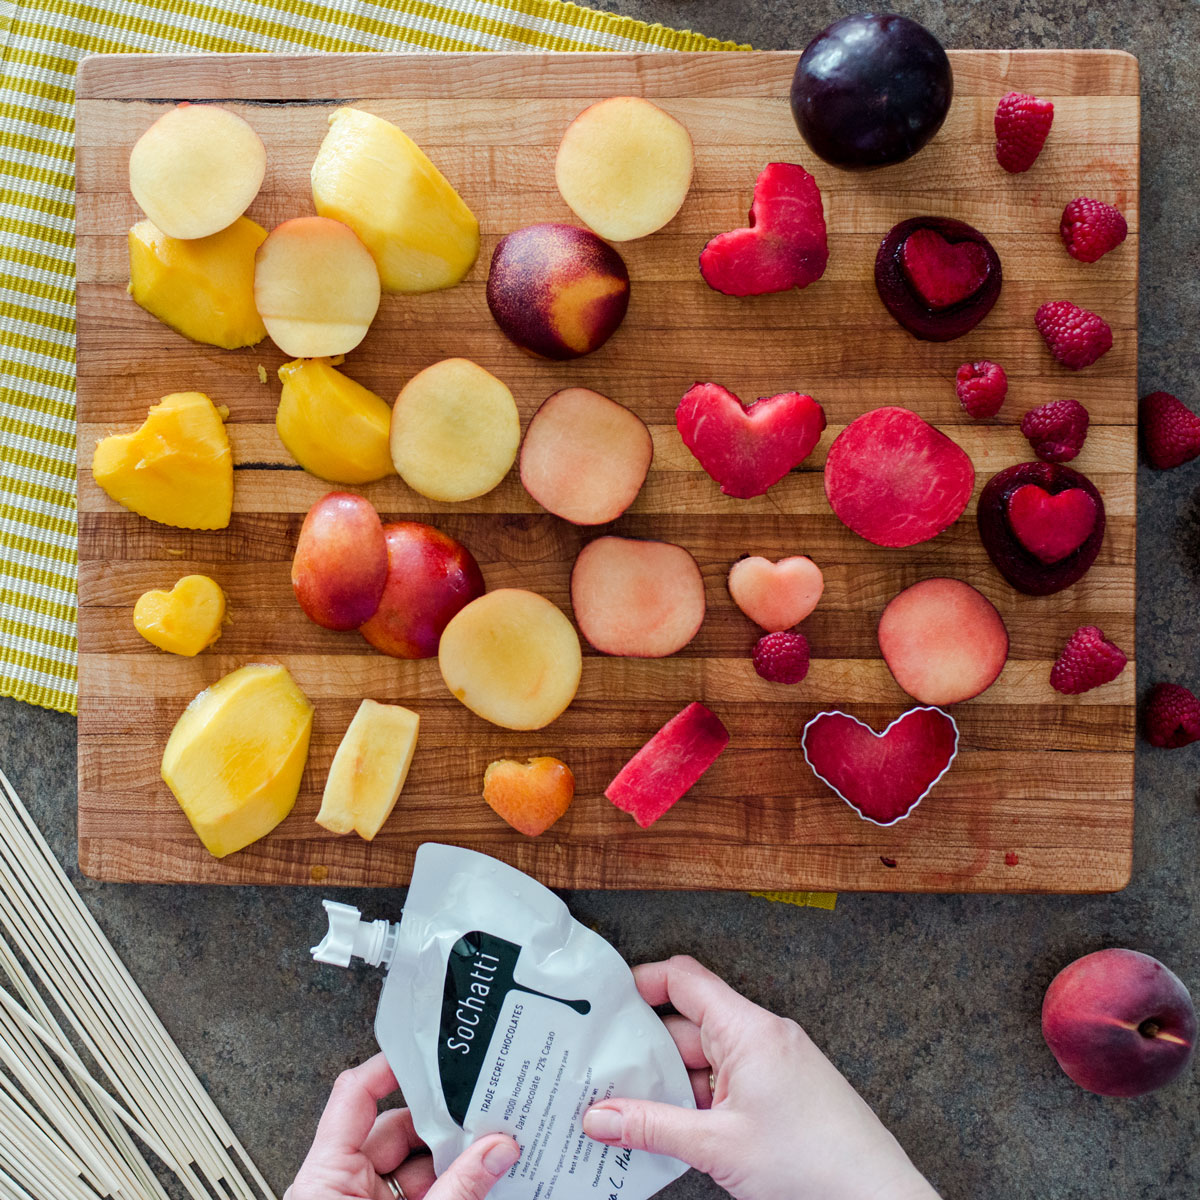
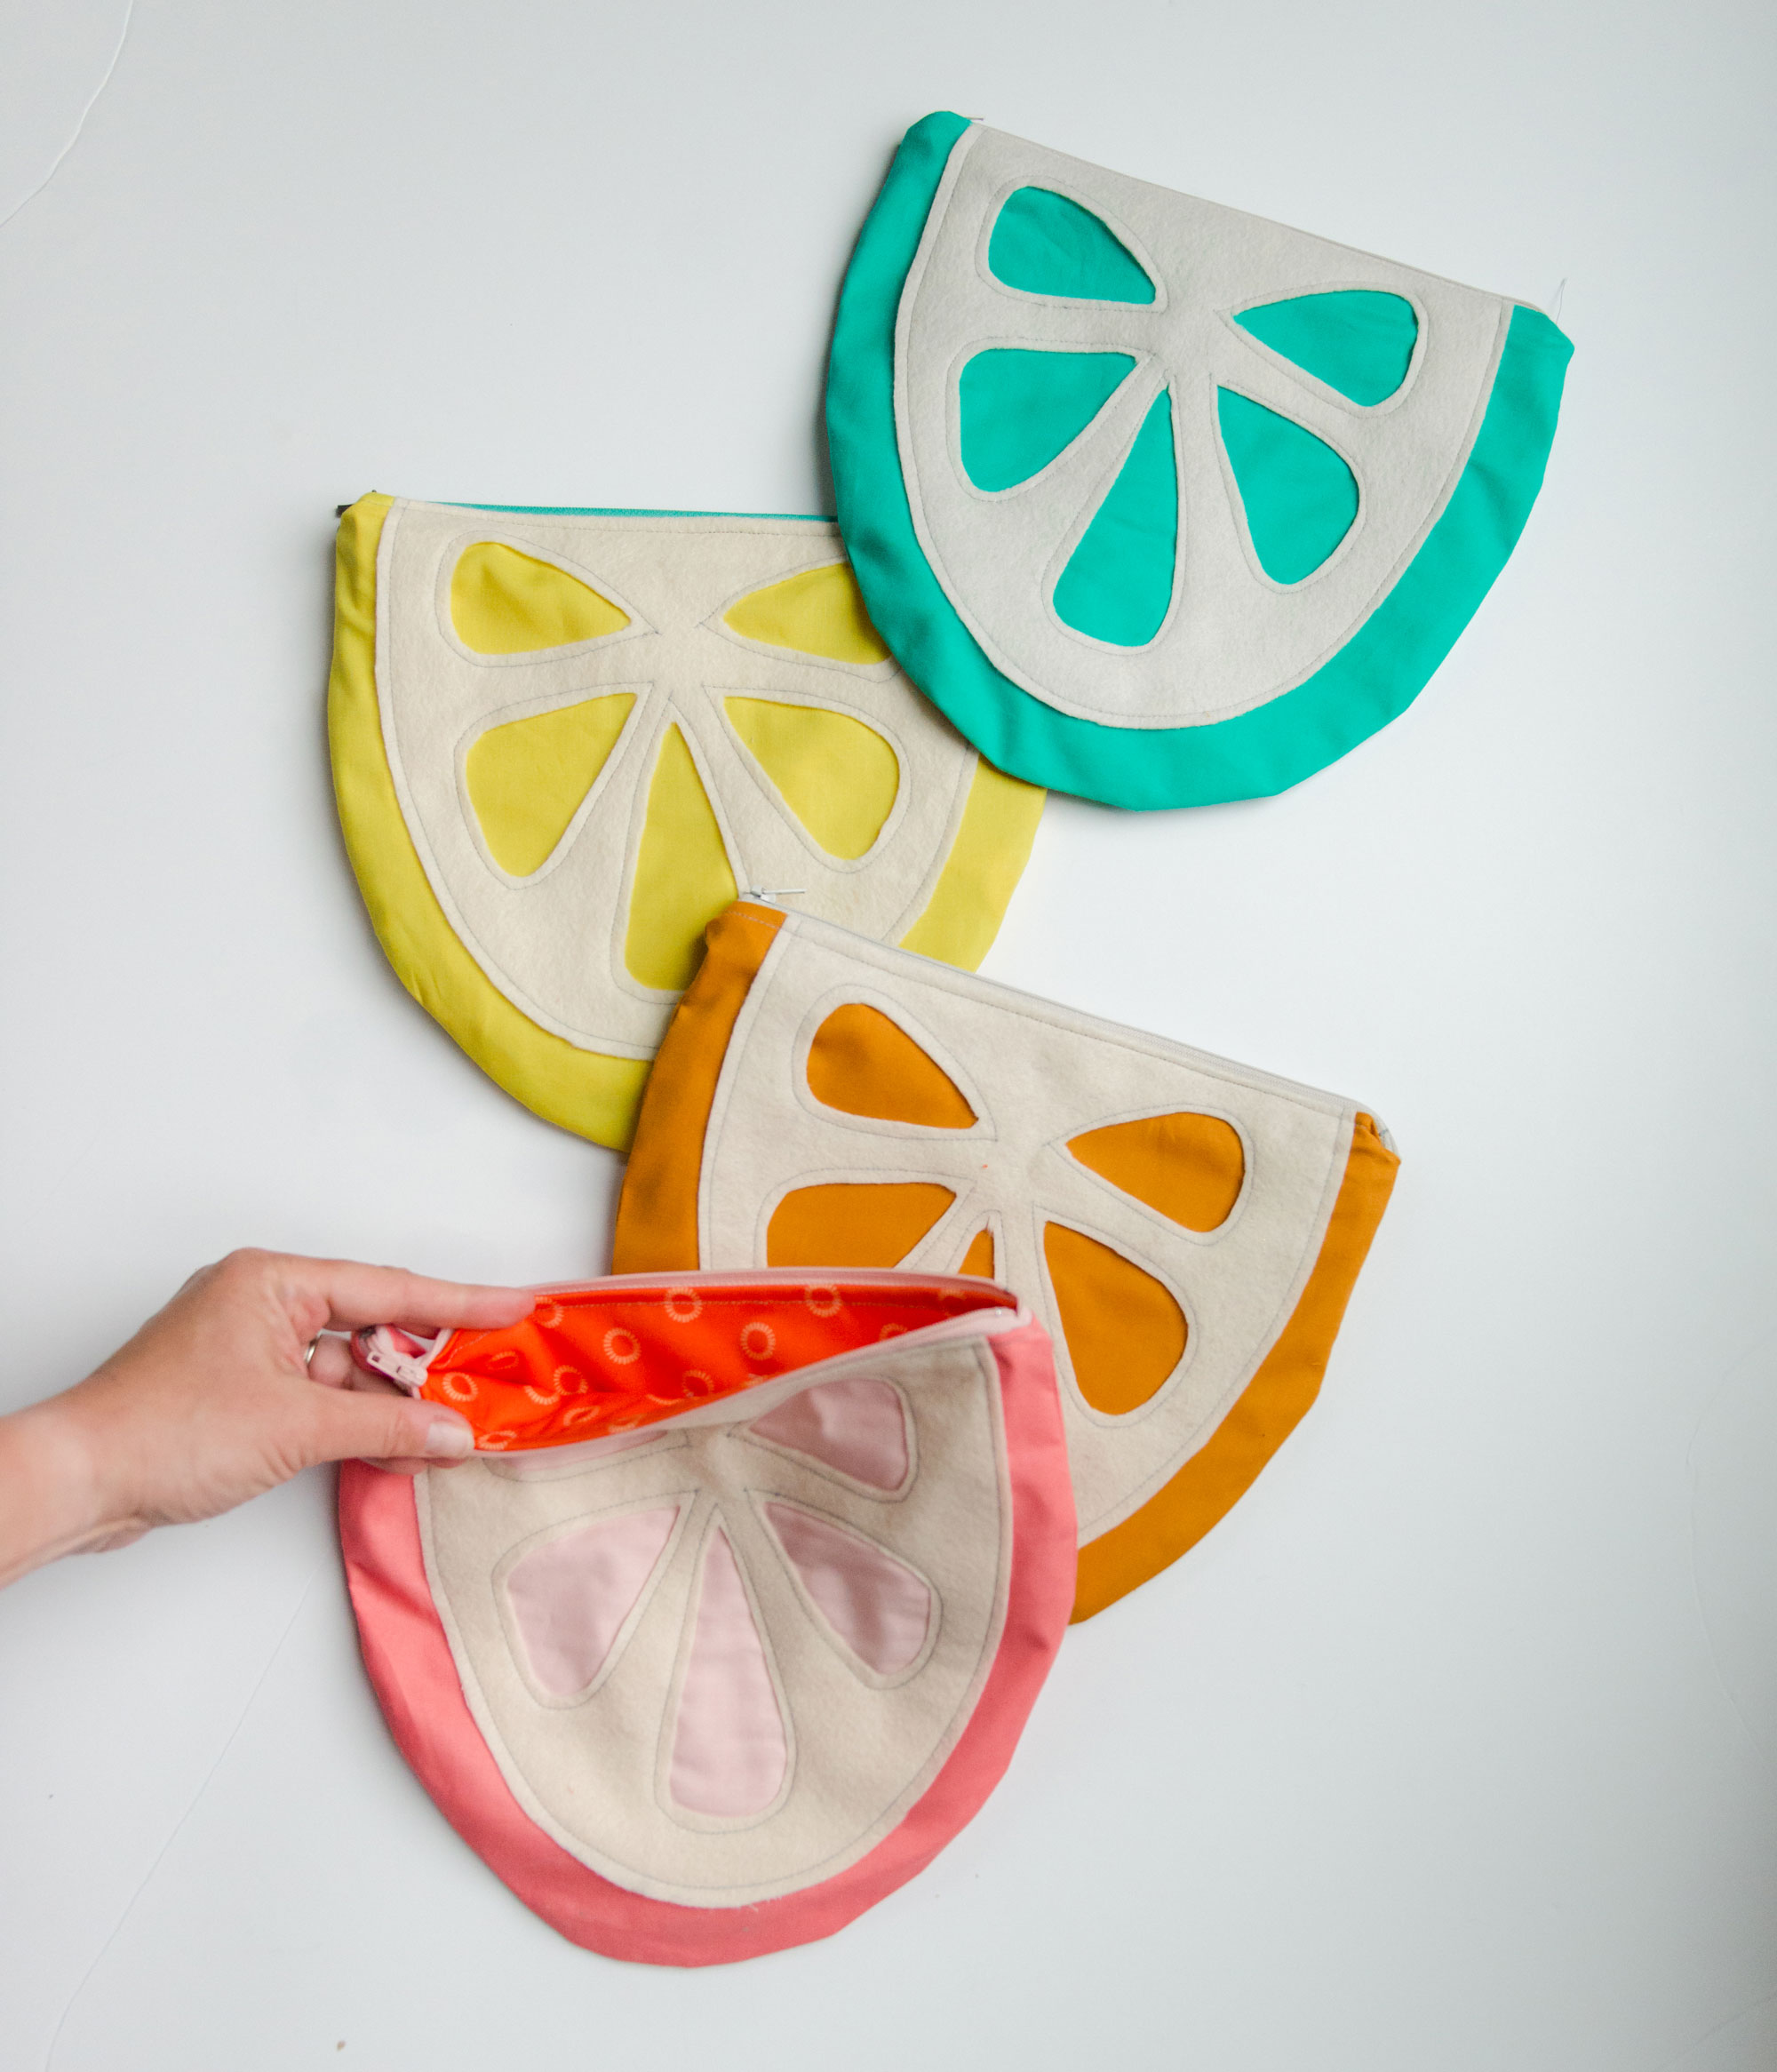

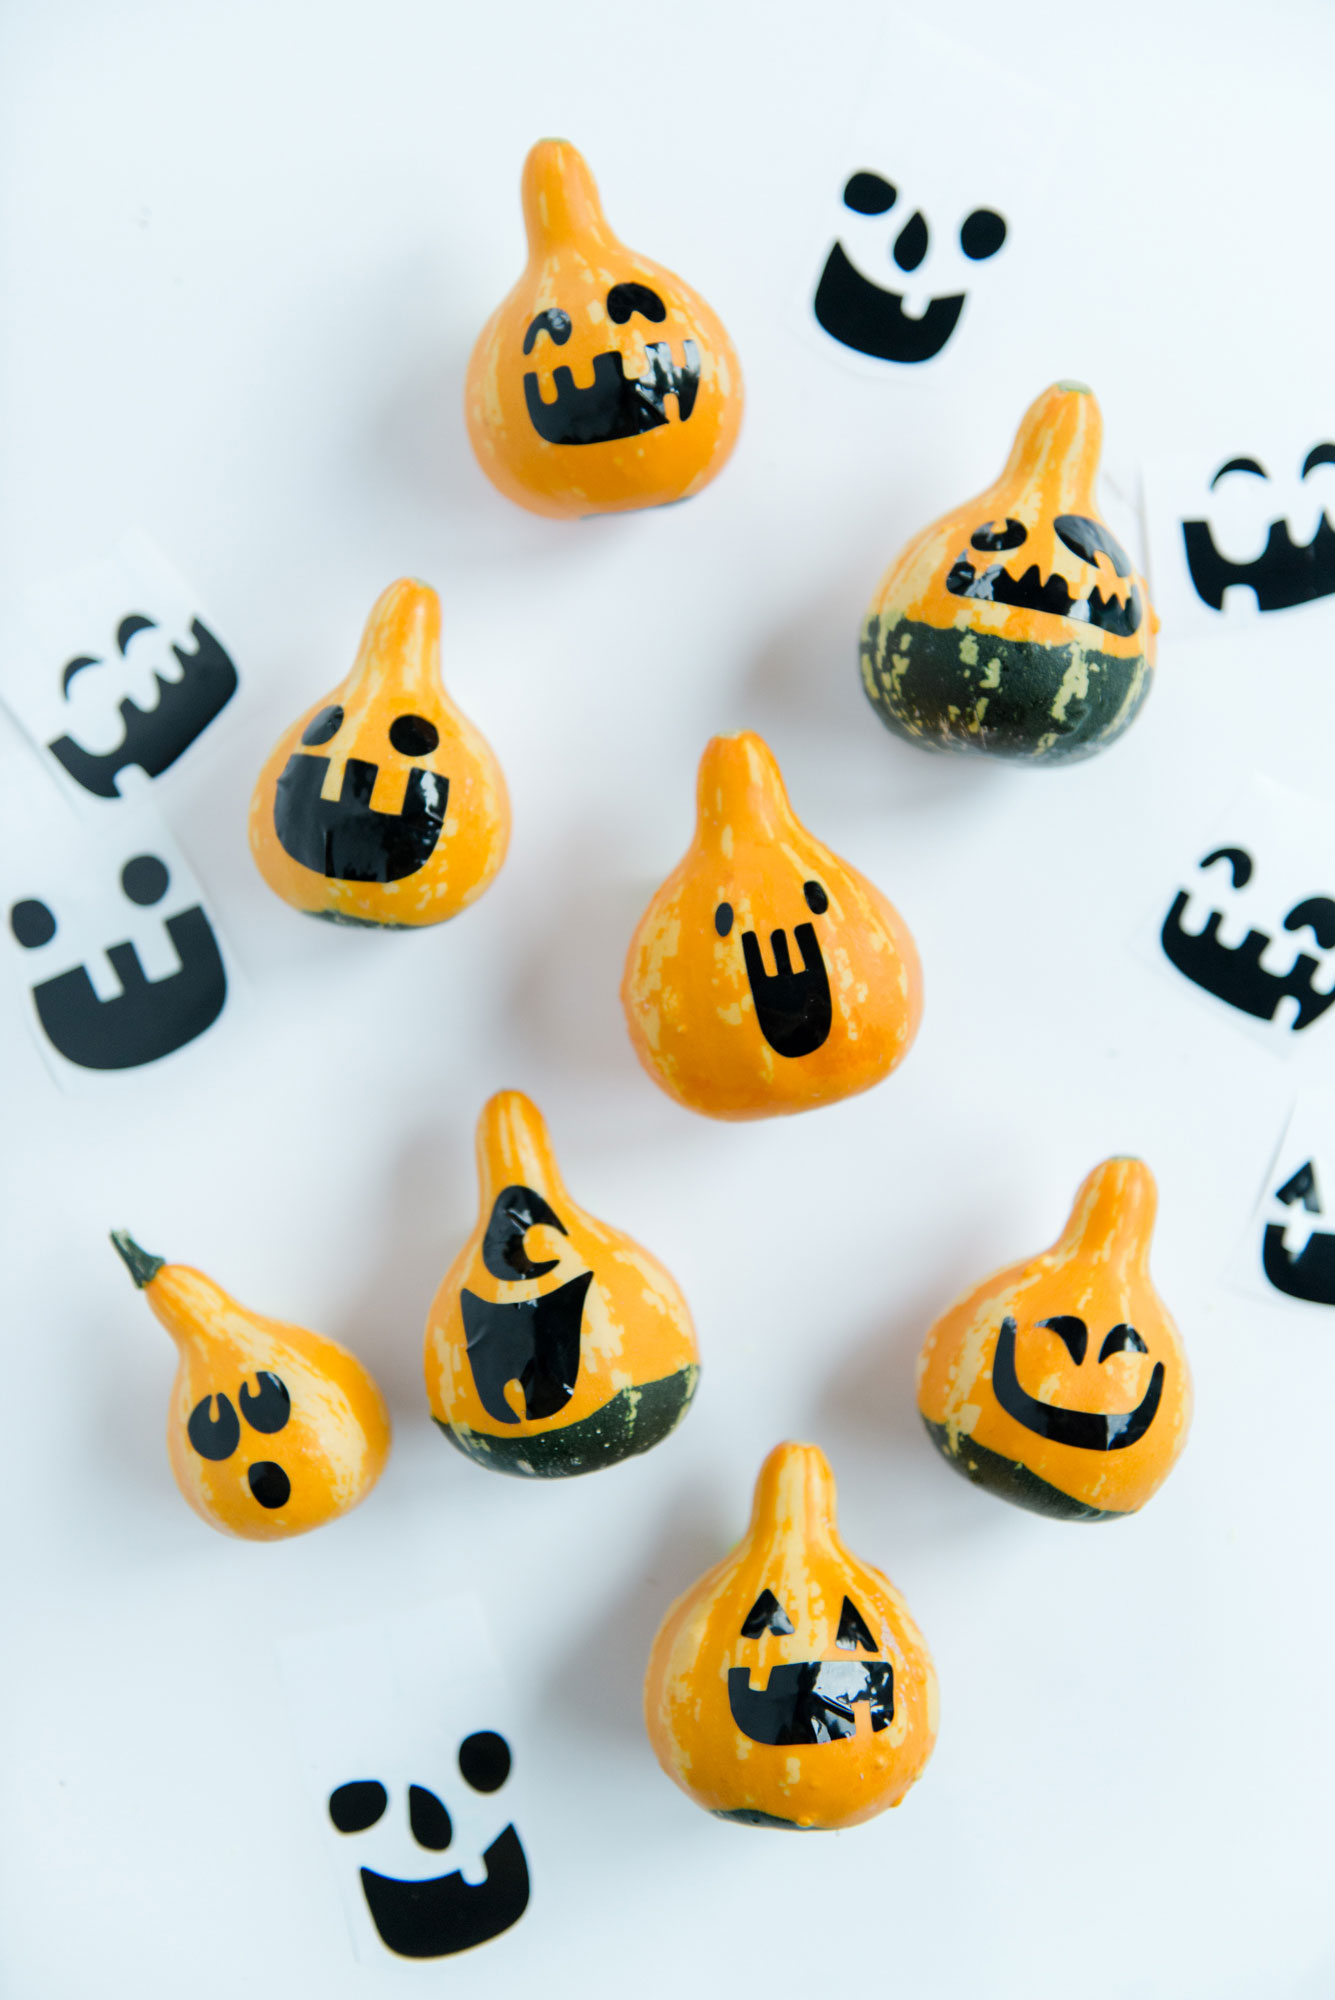

Hi, I love the leaf trivets! The download pattern doesn’t seem to be linked. I tried on my phone and laptop and nothing is clickable on those patterns on my end. Am I doing something wrong?
Thanks Julie
JULIE! I’m so sorry, I didn’t have the links linked – but it should be now! Thank you so much for saying something! LMK if you still have troubles! 🙂
I love these! I’m going to make then as gifts for family that is coming for Thanksgiving. It doesn’t look like the link is working for leaf download for me either. I too could be doing something wrong!
Ohmystars Cecelia! Thank you for saying something. I just updated the post with the links – they weren’t links! ACK! 🙂 They should be fixed now! 🙂
These are going onto my Thanksgiving table, thank you so much for sharing this pattern! Could you please tell me how many sheets of each of the five colors are needed for the 5pc set shown?