Custom BBQ stickers using the Xyron Sticker Maker!
**this blog post is sponsored by the amazing team at Xyron® with their incredible Create-A-Sticker® Sticker Maker
When doodles meet summer BBQ meet stickers, you can COUNT! ME! INNNNNNNN!
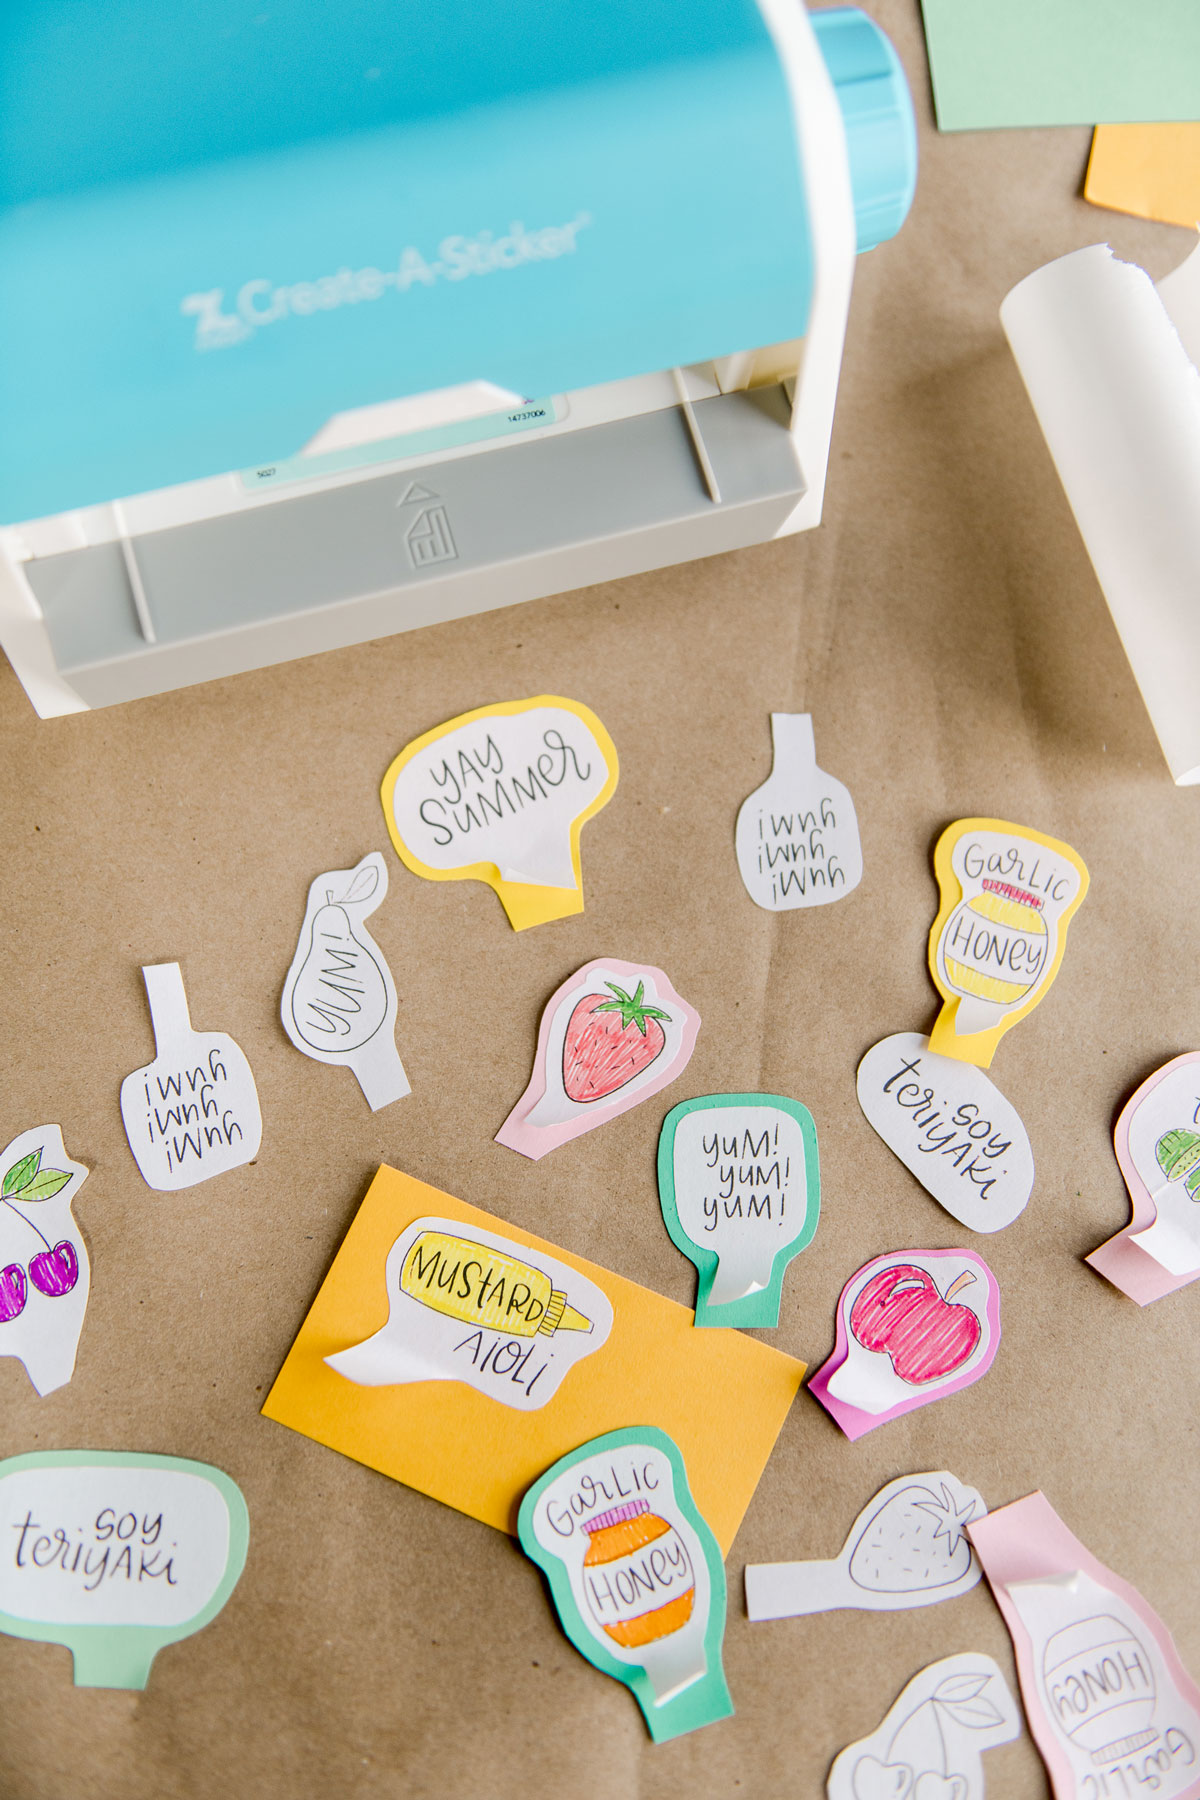
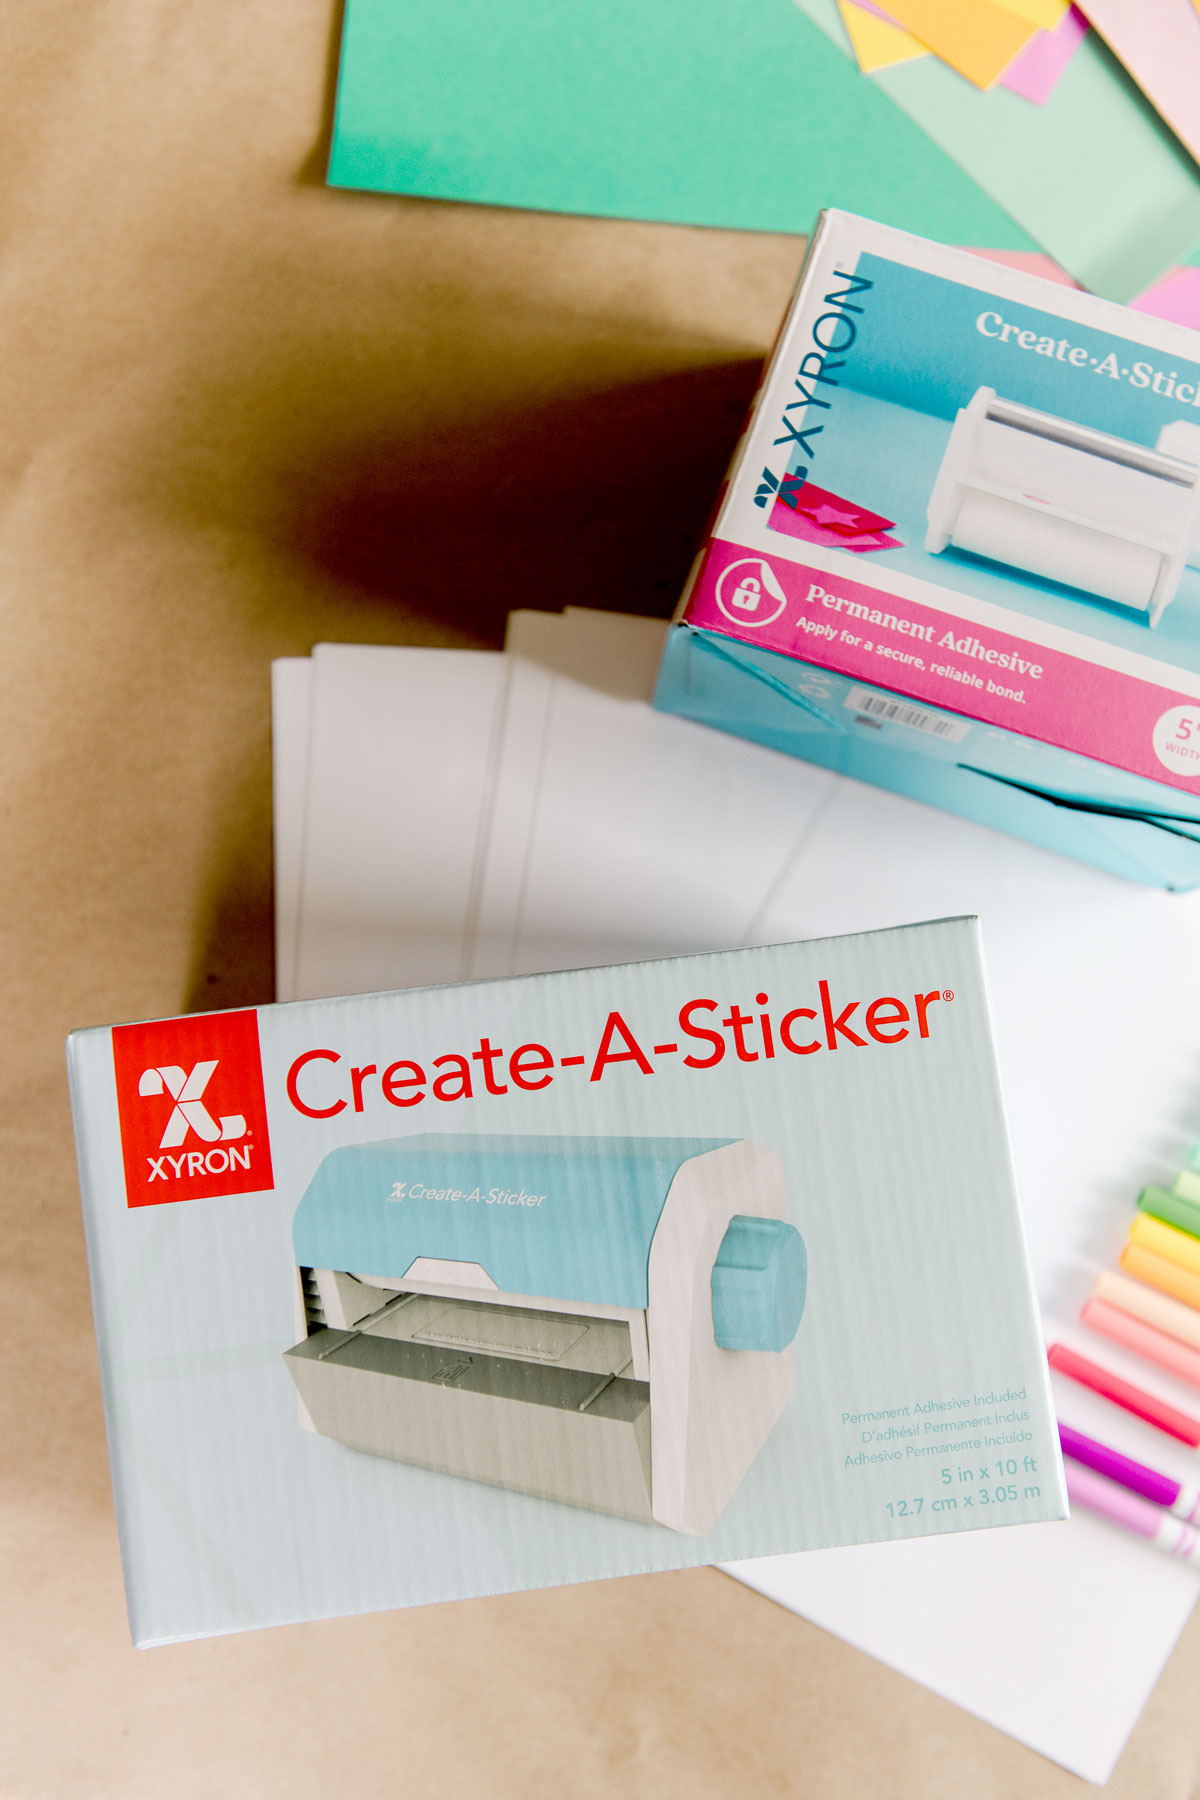
If you haven’t come across the Xyron® Create-A-Sticker® Sticker Maker then you are missing out, because this thing can literally turn ANYTHING (and by anything, I mean almost anything) into a sticker with just the turn of a nob and the magic that Xyron® has put inside this little machine!
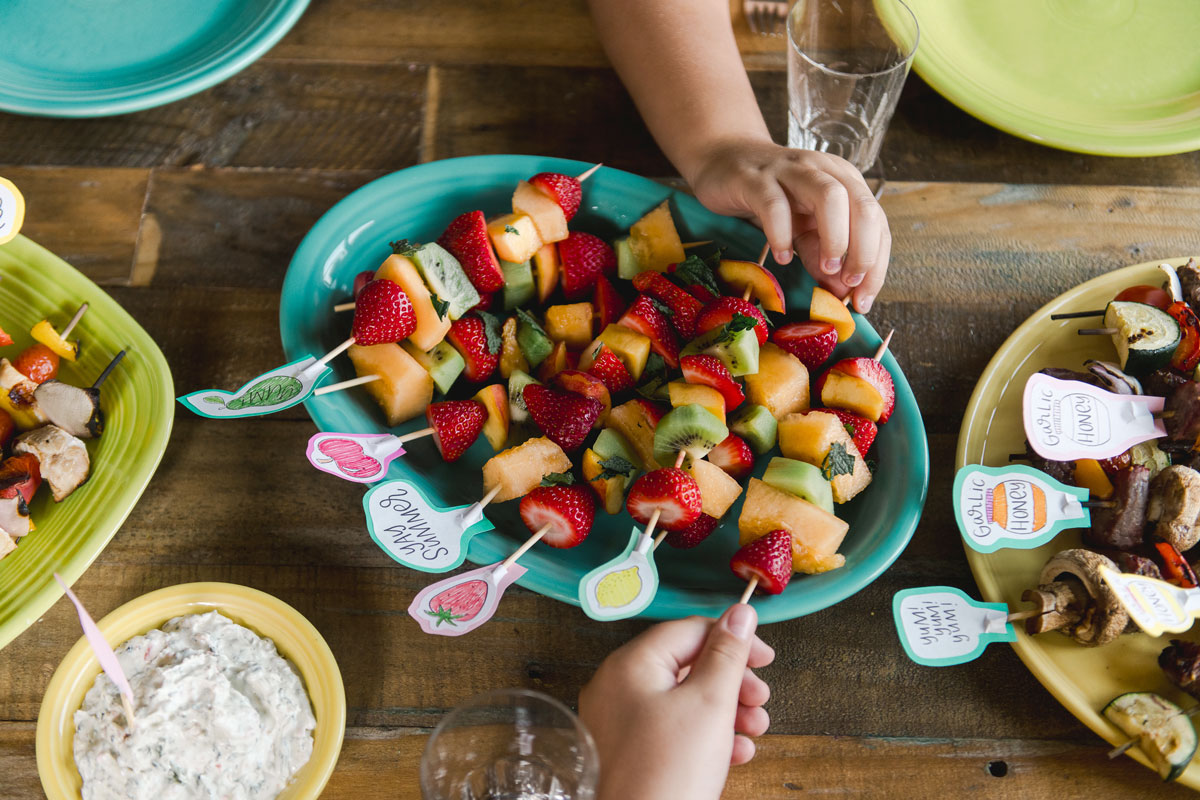
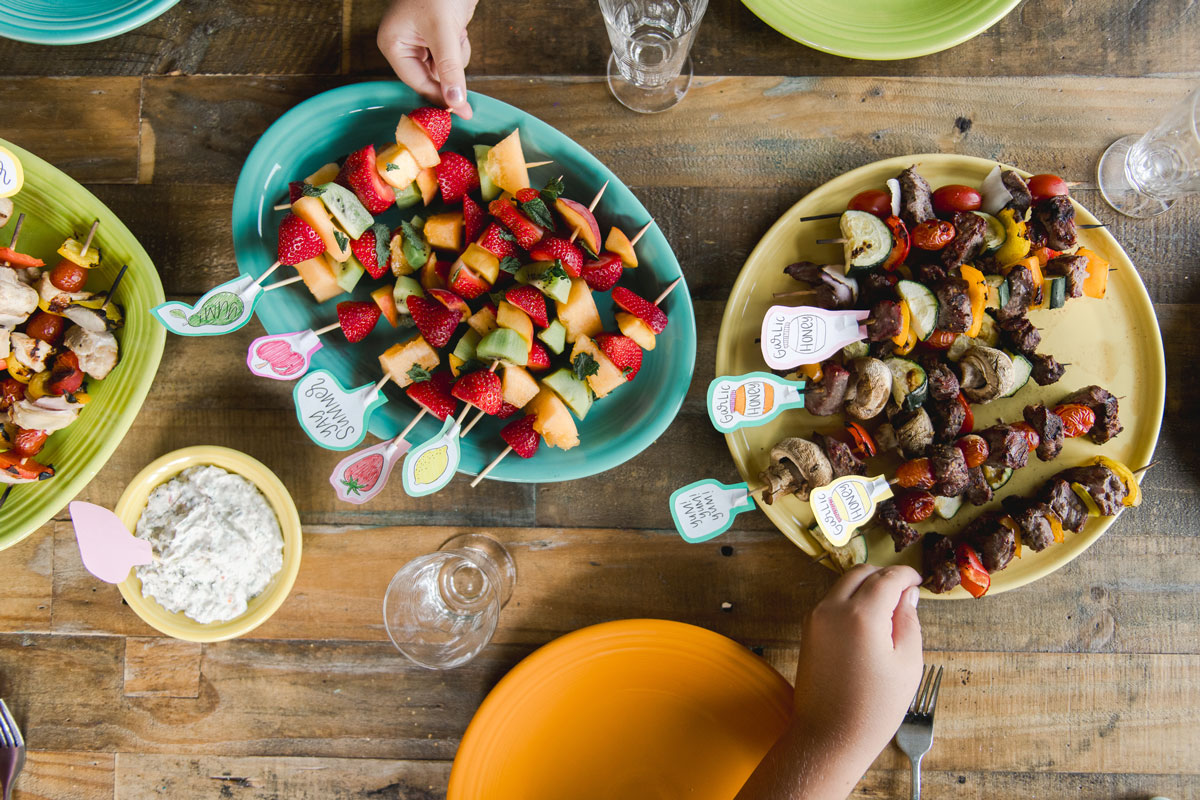
ANNNNND I’ve set out to make our summer BBQ extra cute and adorable by adding some doodled stickers to the skewers and landscape of food!! 🙂
I can 100% tell you my ideas were flowing when I was making these custom stickers…..just think about adding personalized touches to birthday parties, anniversaries, custom lunch box surprises and MOOOOORE! The versatility of being able to just doodle or write something out and turn it into a sticker is PURE MAGIC in my book! 🙂
MATERIALS:
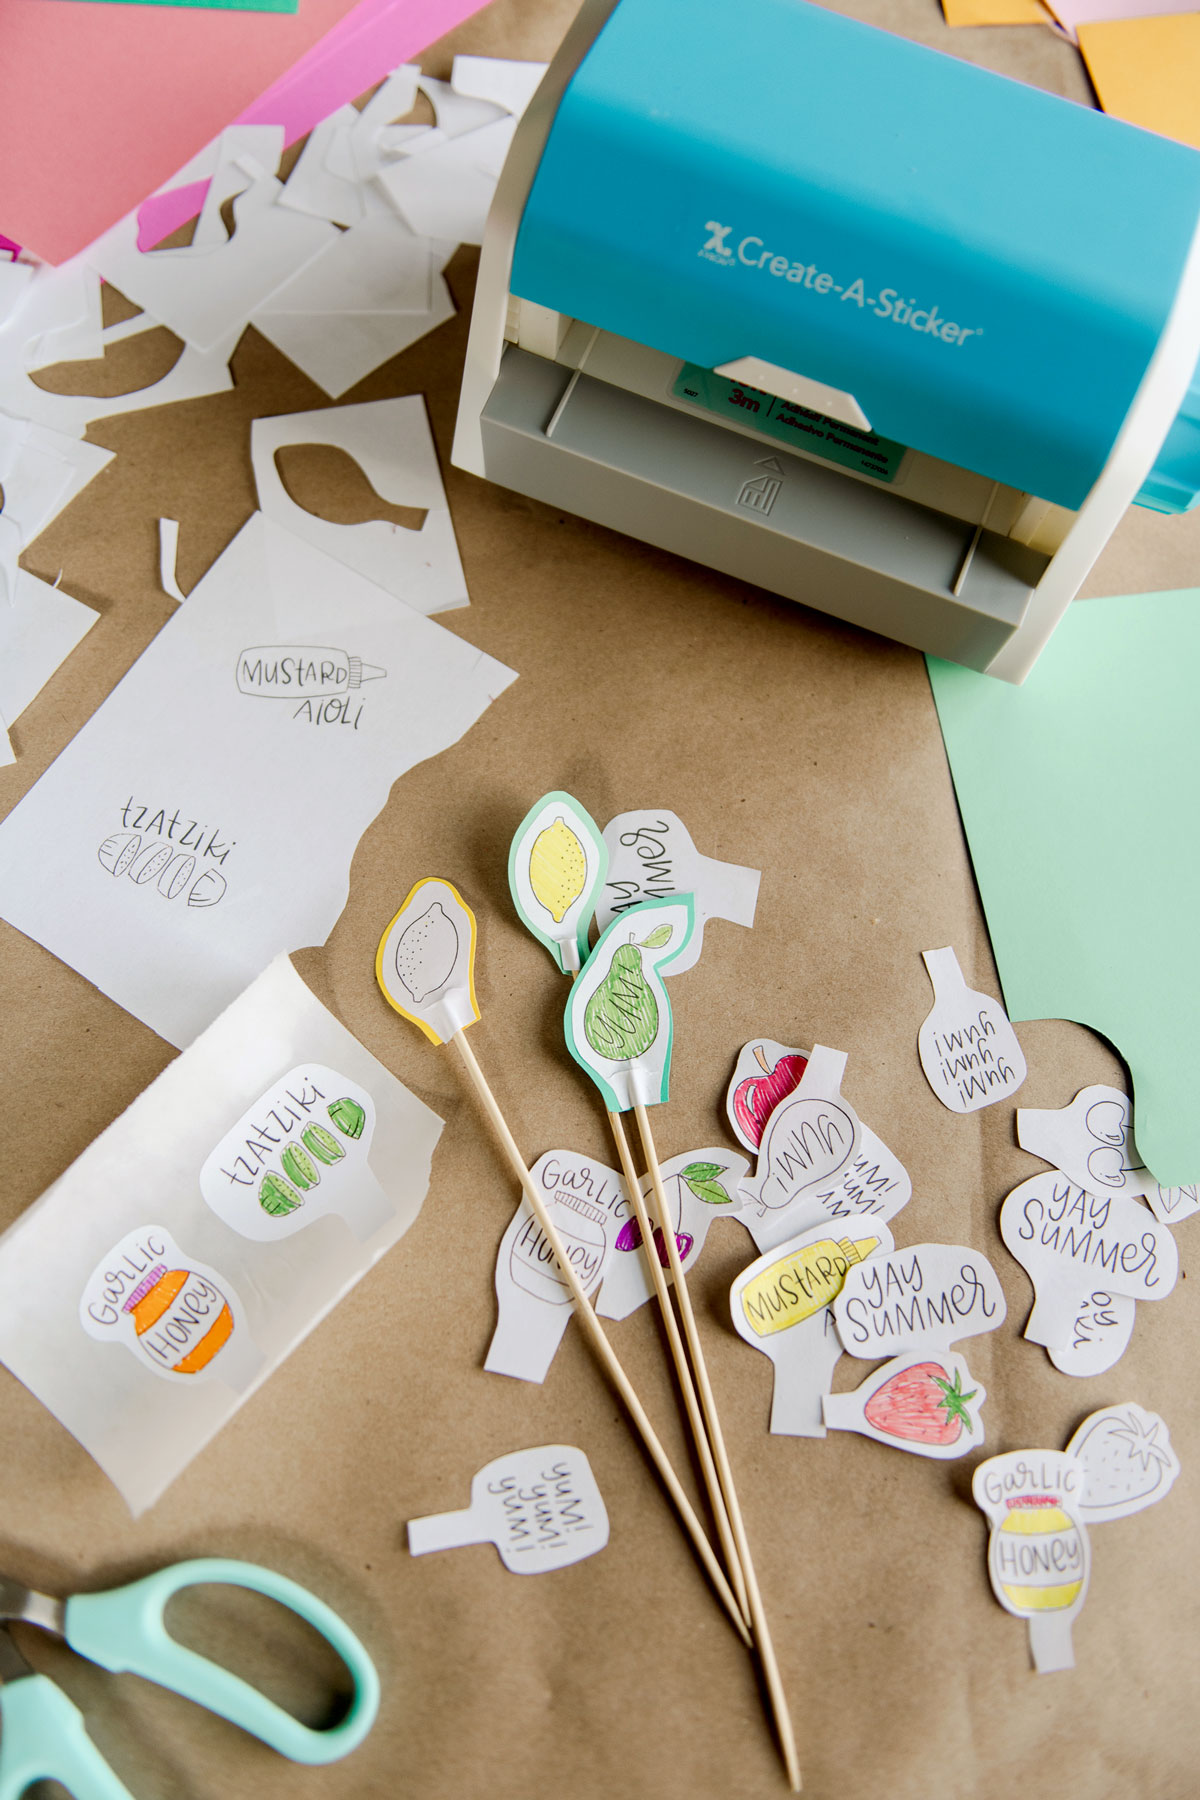
- Xyron® Create-A-Sticker® Sticker Maker
- Some paper – any color honestly in a variety of thickness
- Optional markers or colored pencils for adding color 🙂
- Your fave BBQ or kabob foods with skewers or sticks for labeling
INSTRUCTIONS:
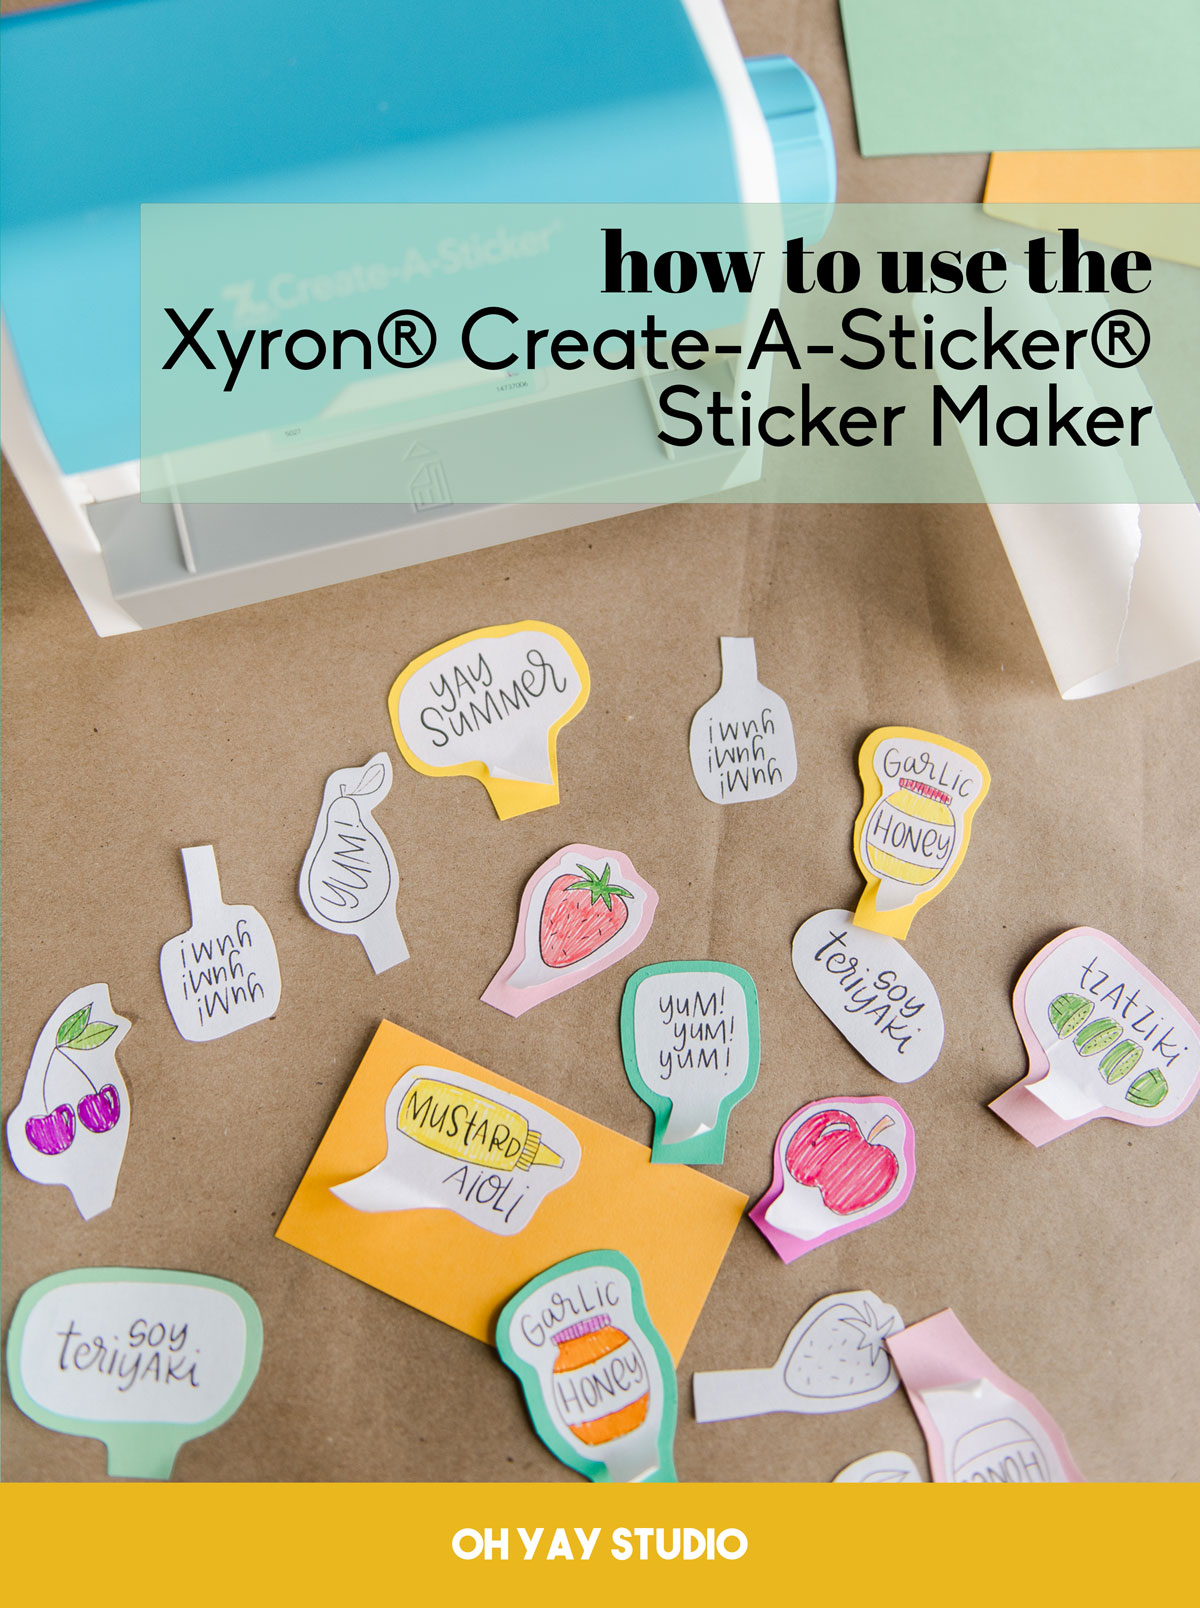
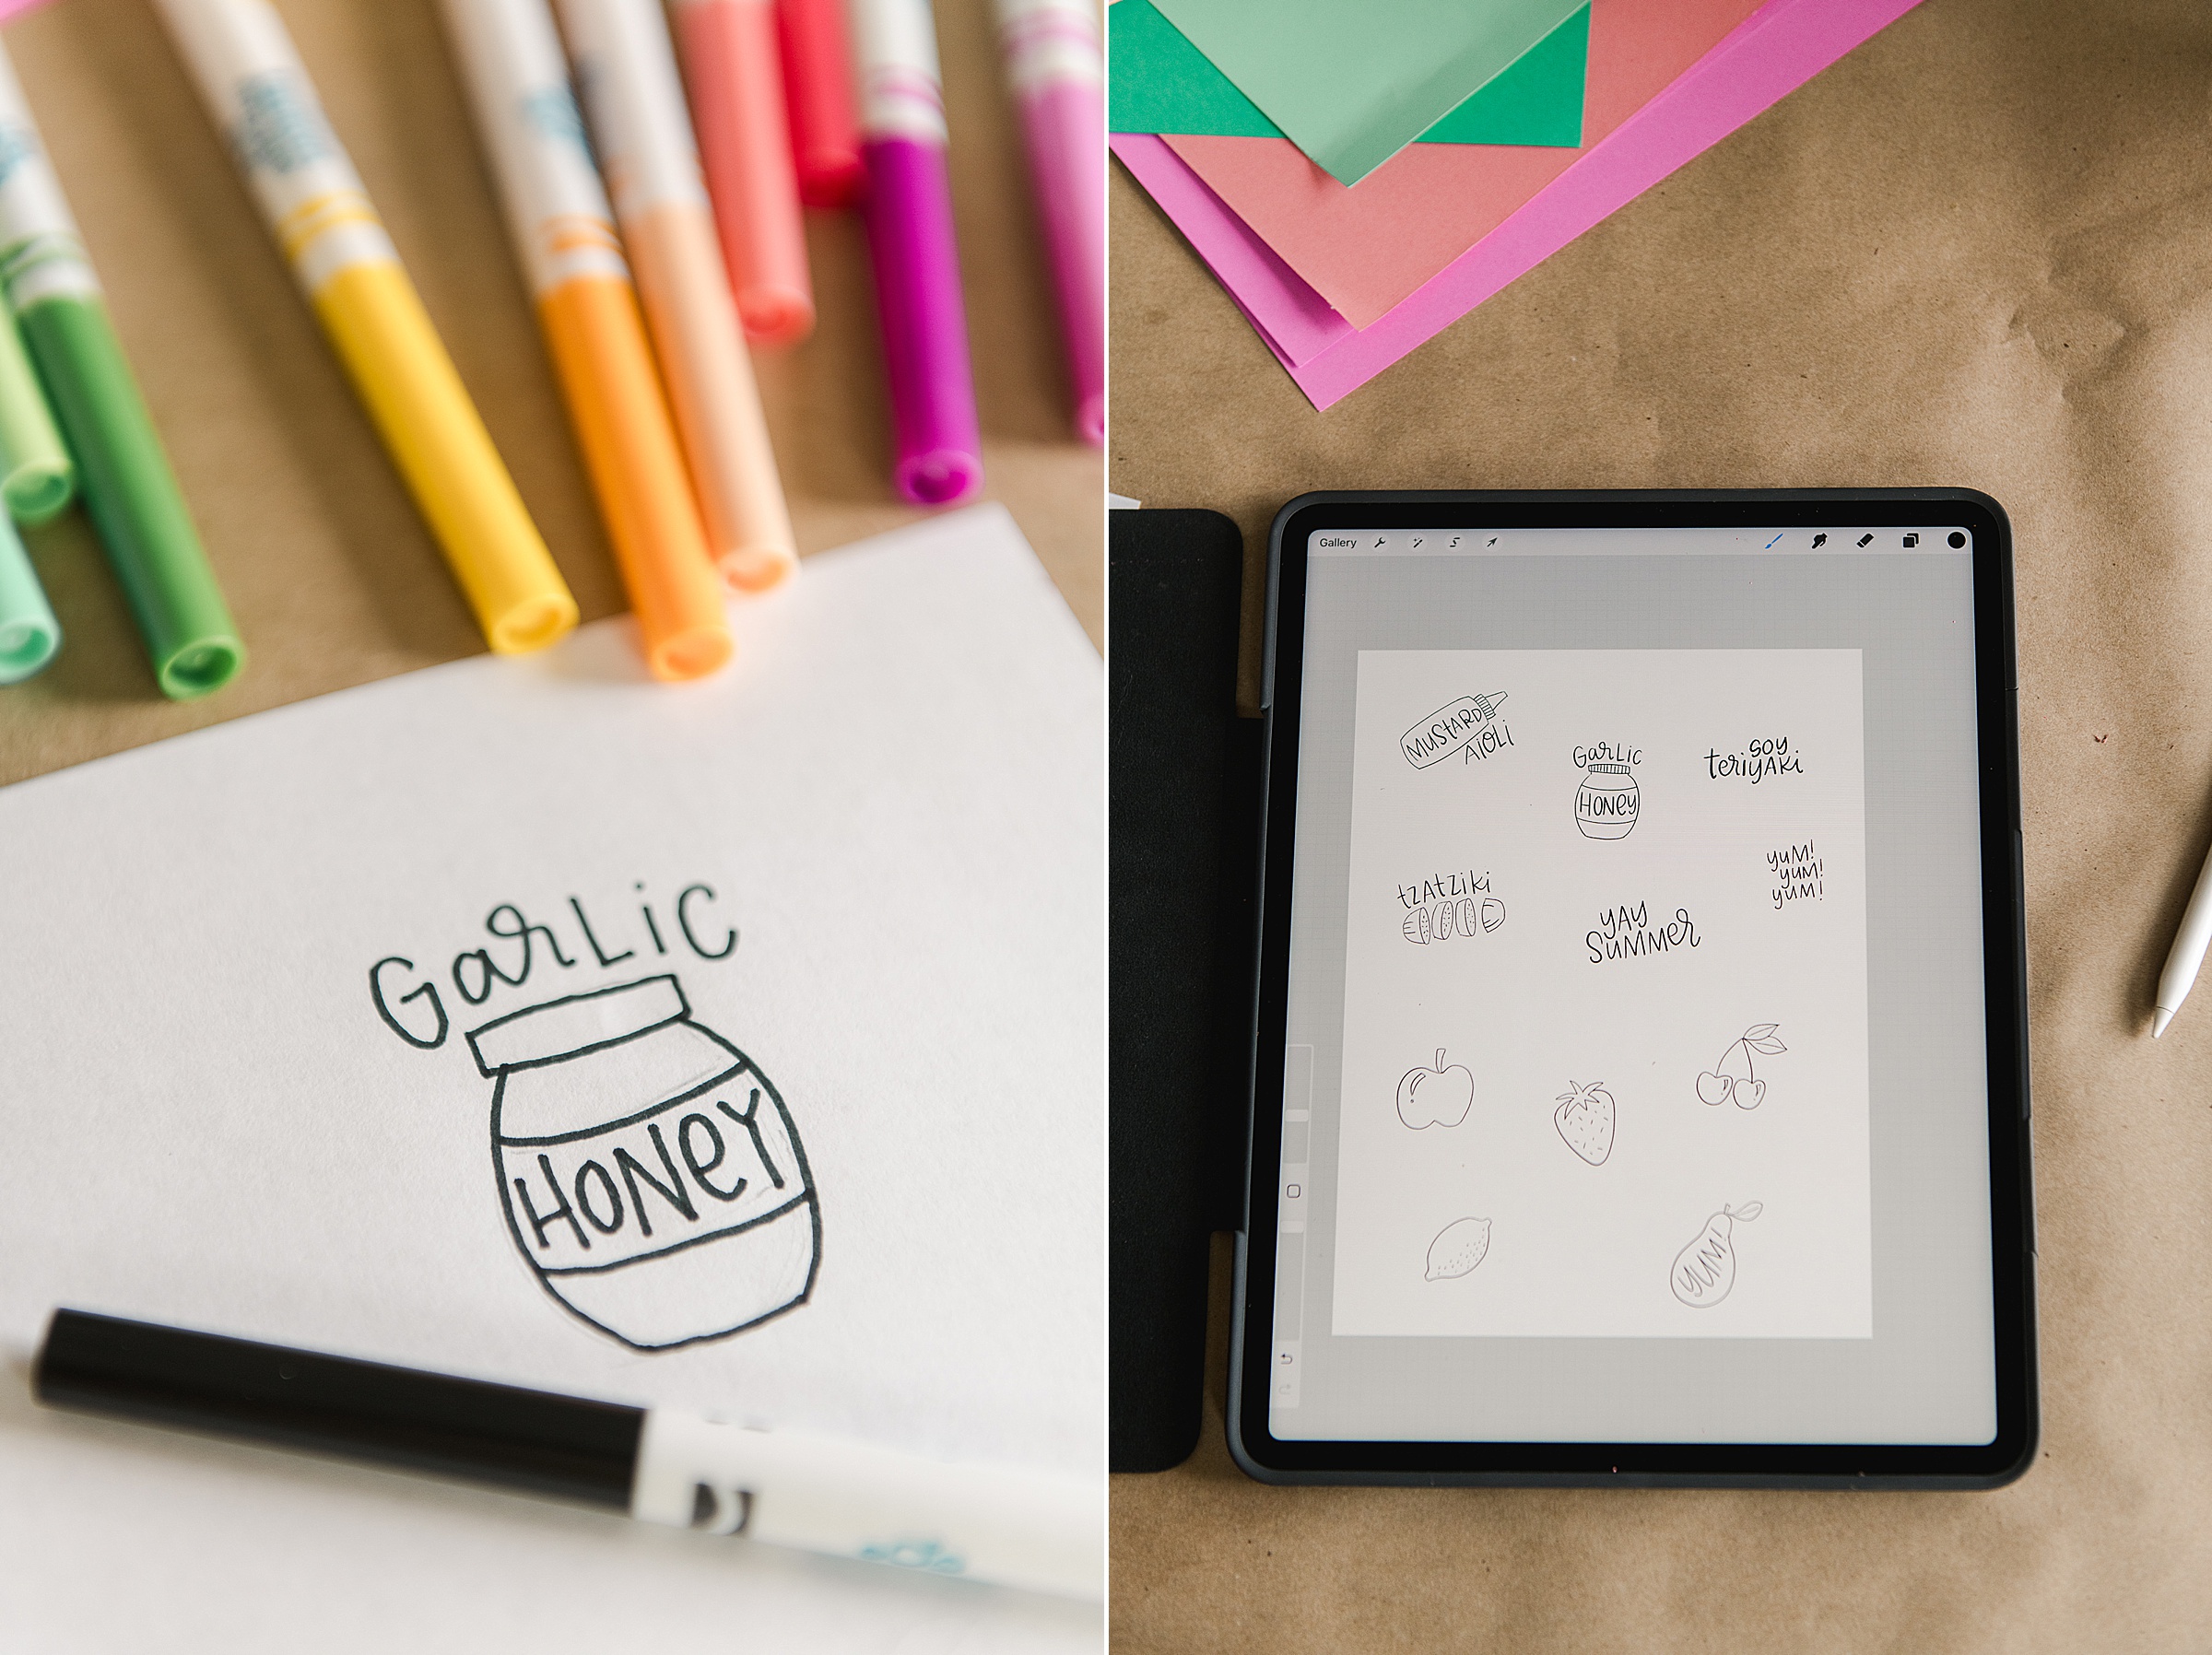
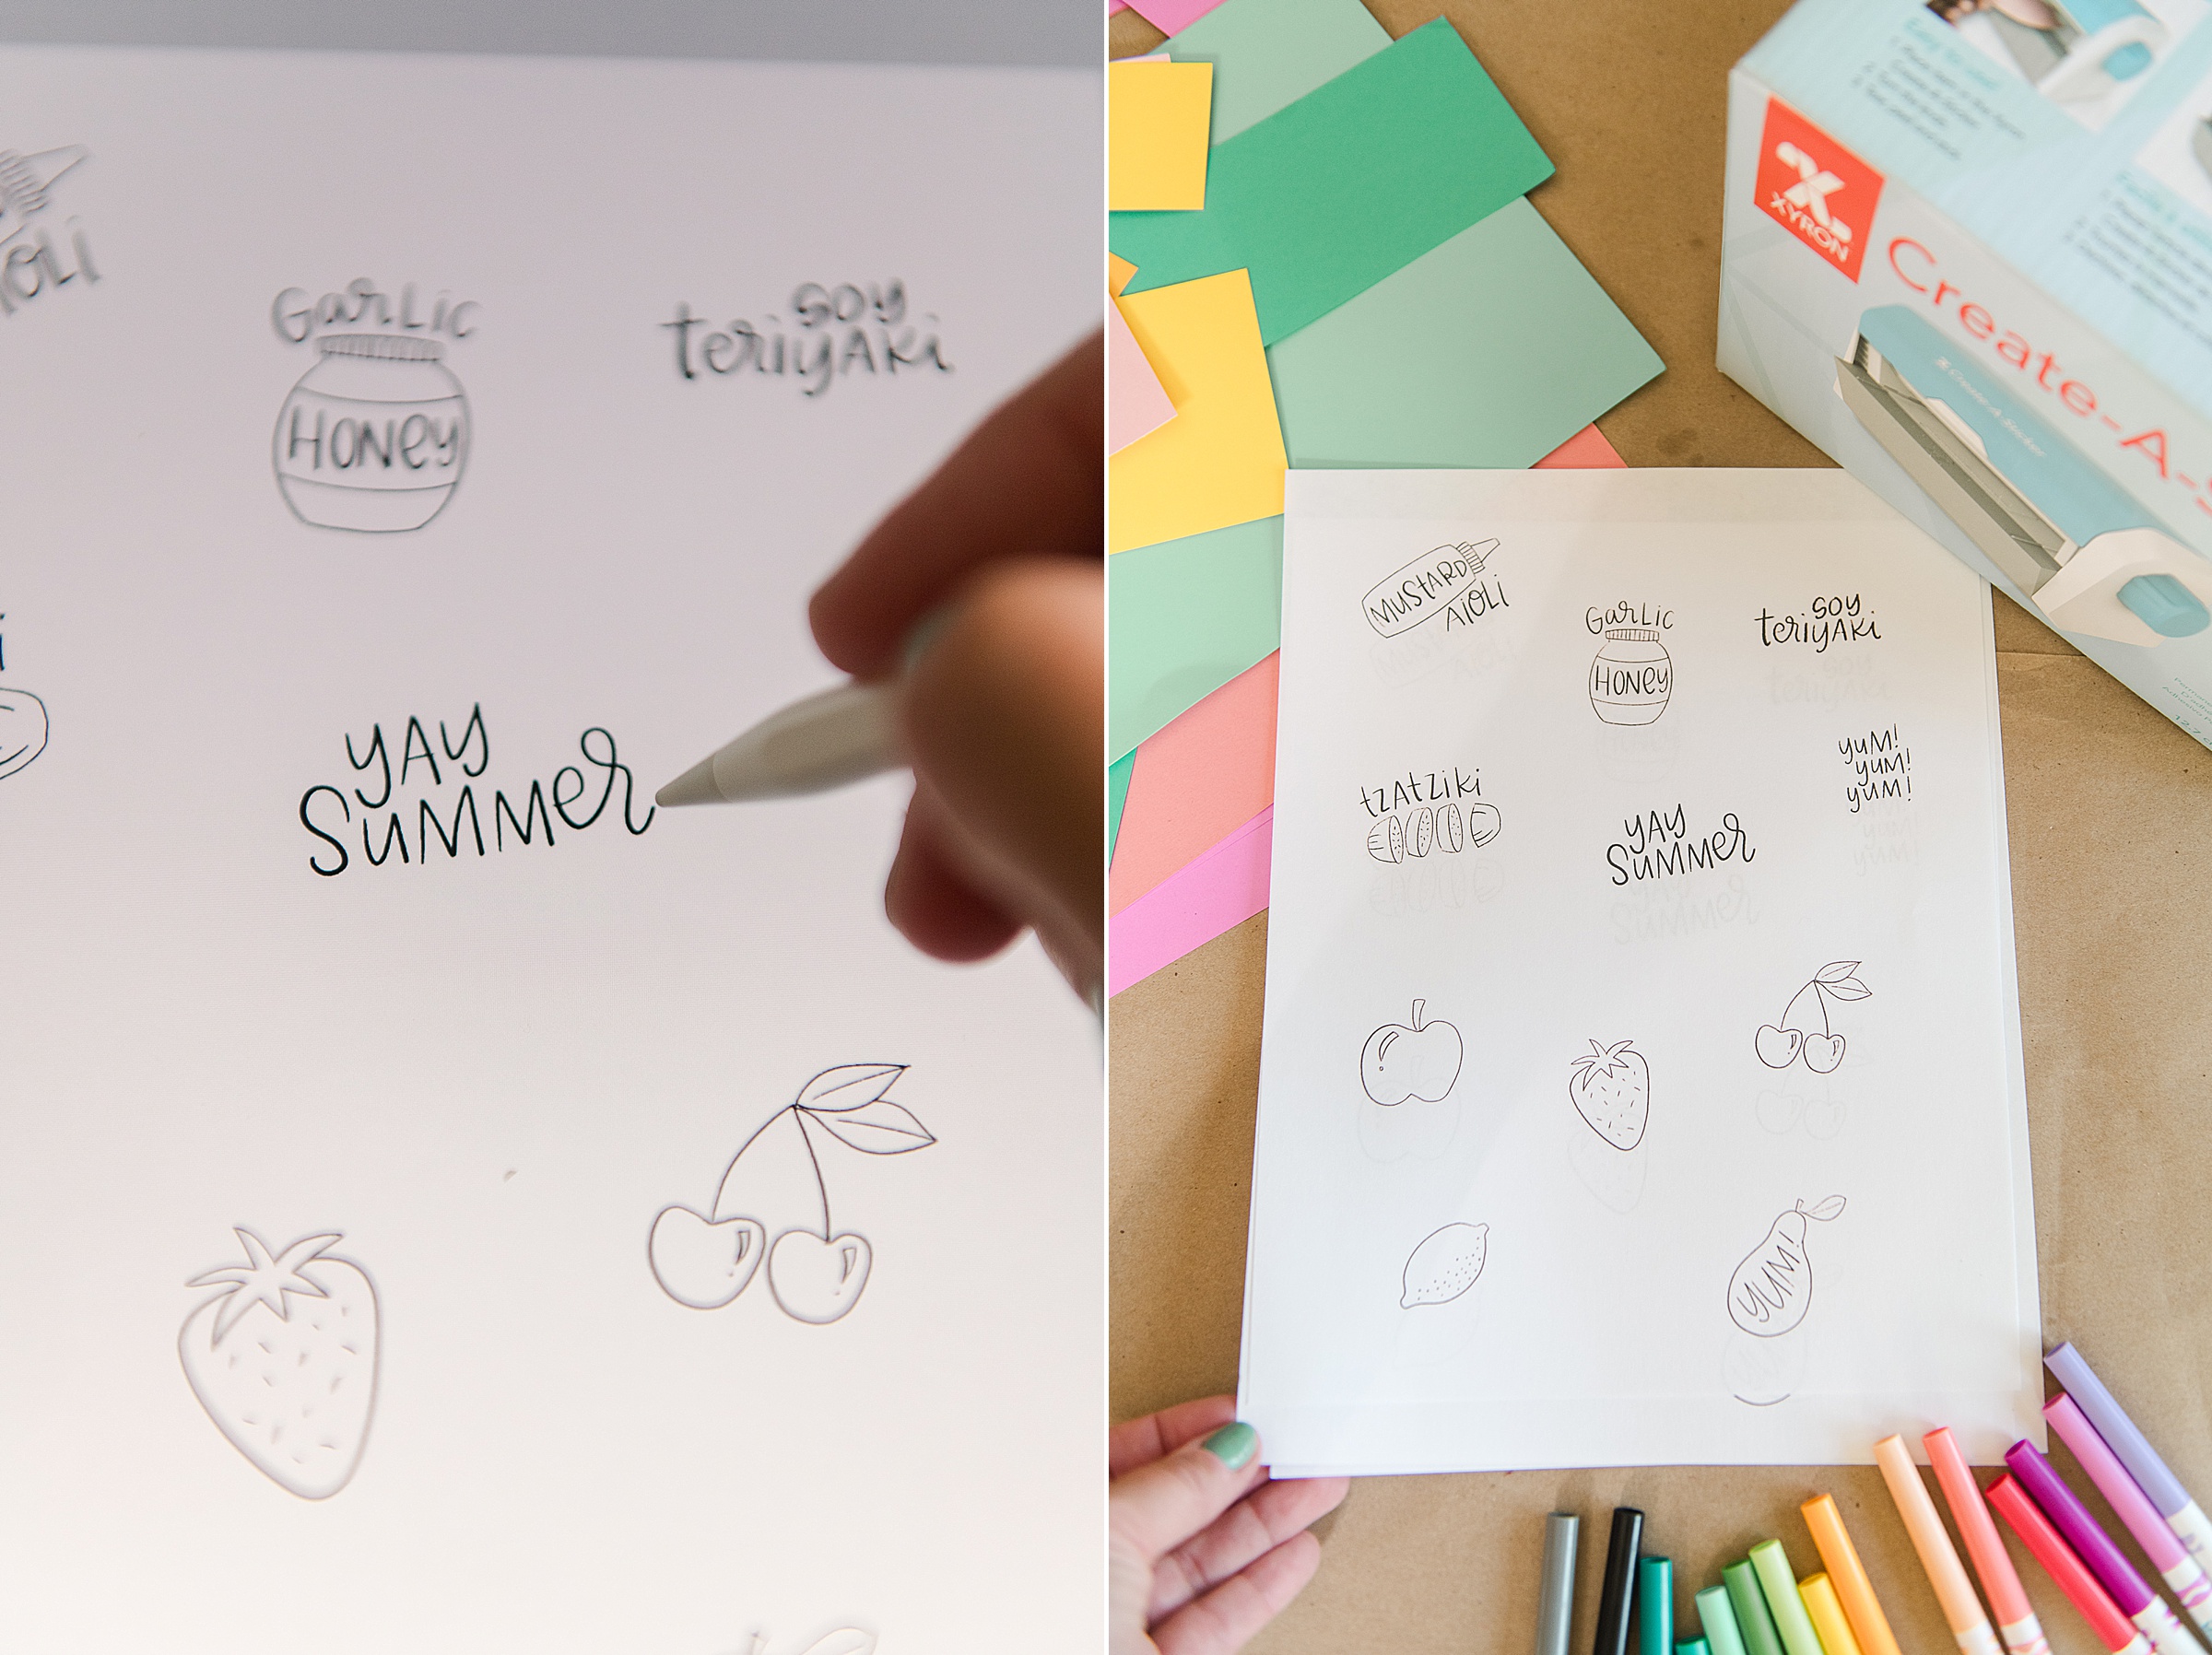
1. Write out and doodle your BBQ foods onto paper! You can either do this step by hand or digitally (I honestly did both and loved both options)! I found that truthfully any stock of paper works well – from thin “printer paper” to thicker cardstock so use up those scraps or whatever you already have in your house 🙂
**TIP: Get the kids involved! Either have them doodle the little icons, write out the words or even just simply color your doodles to add the special, little person touch!
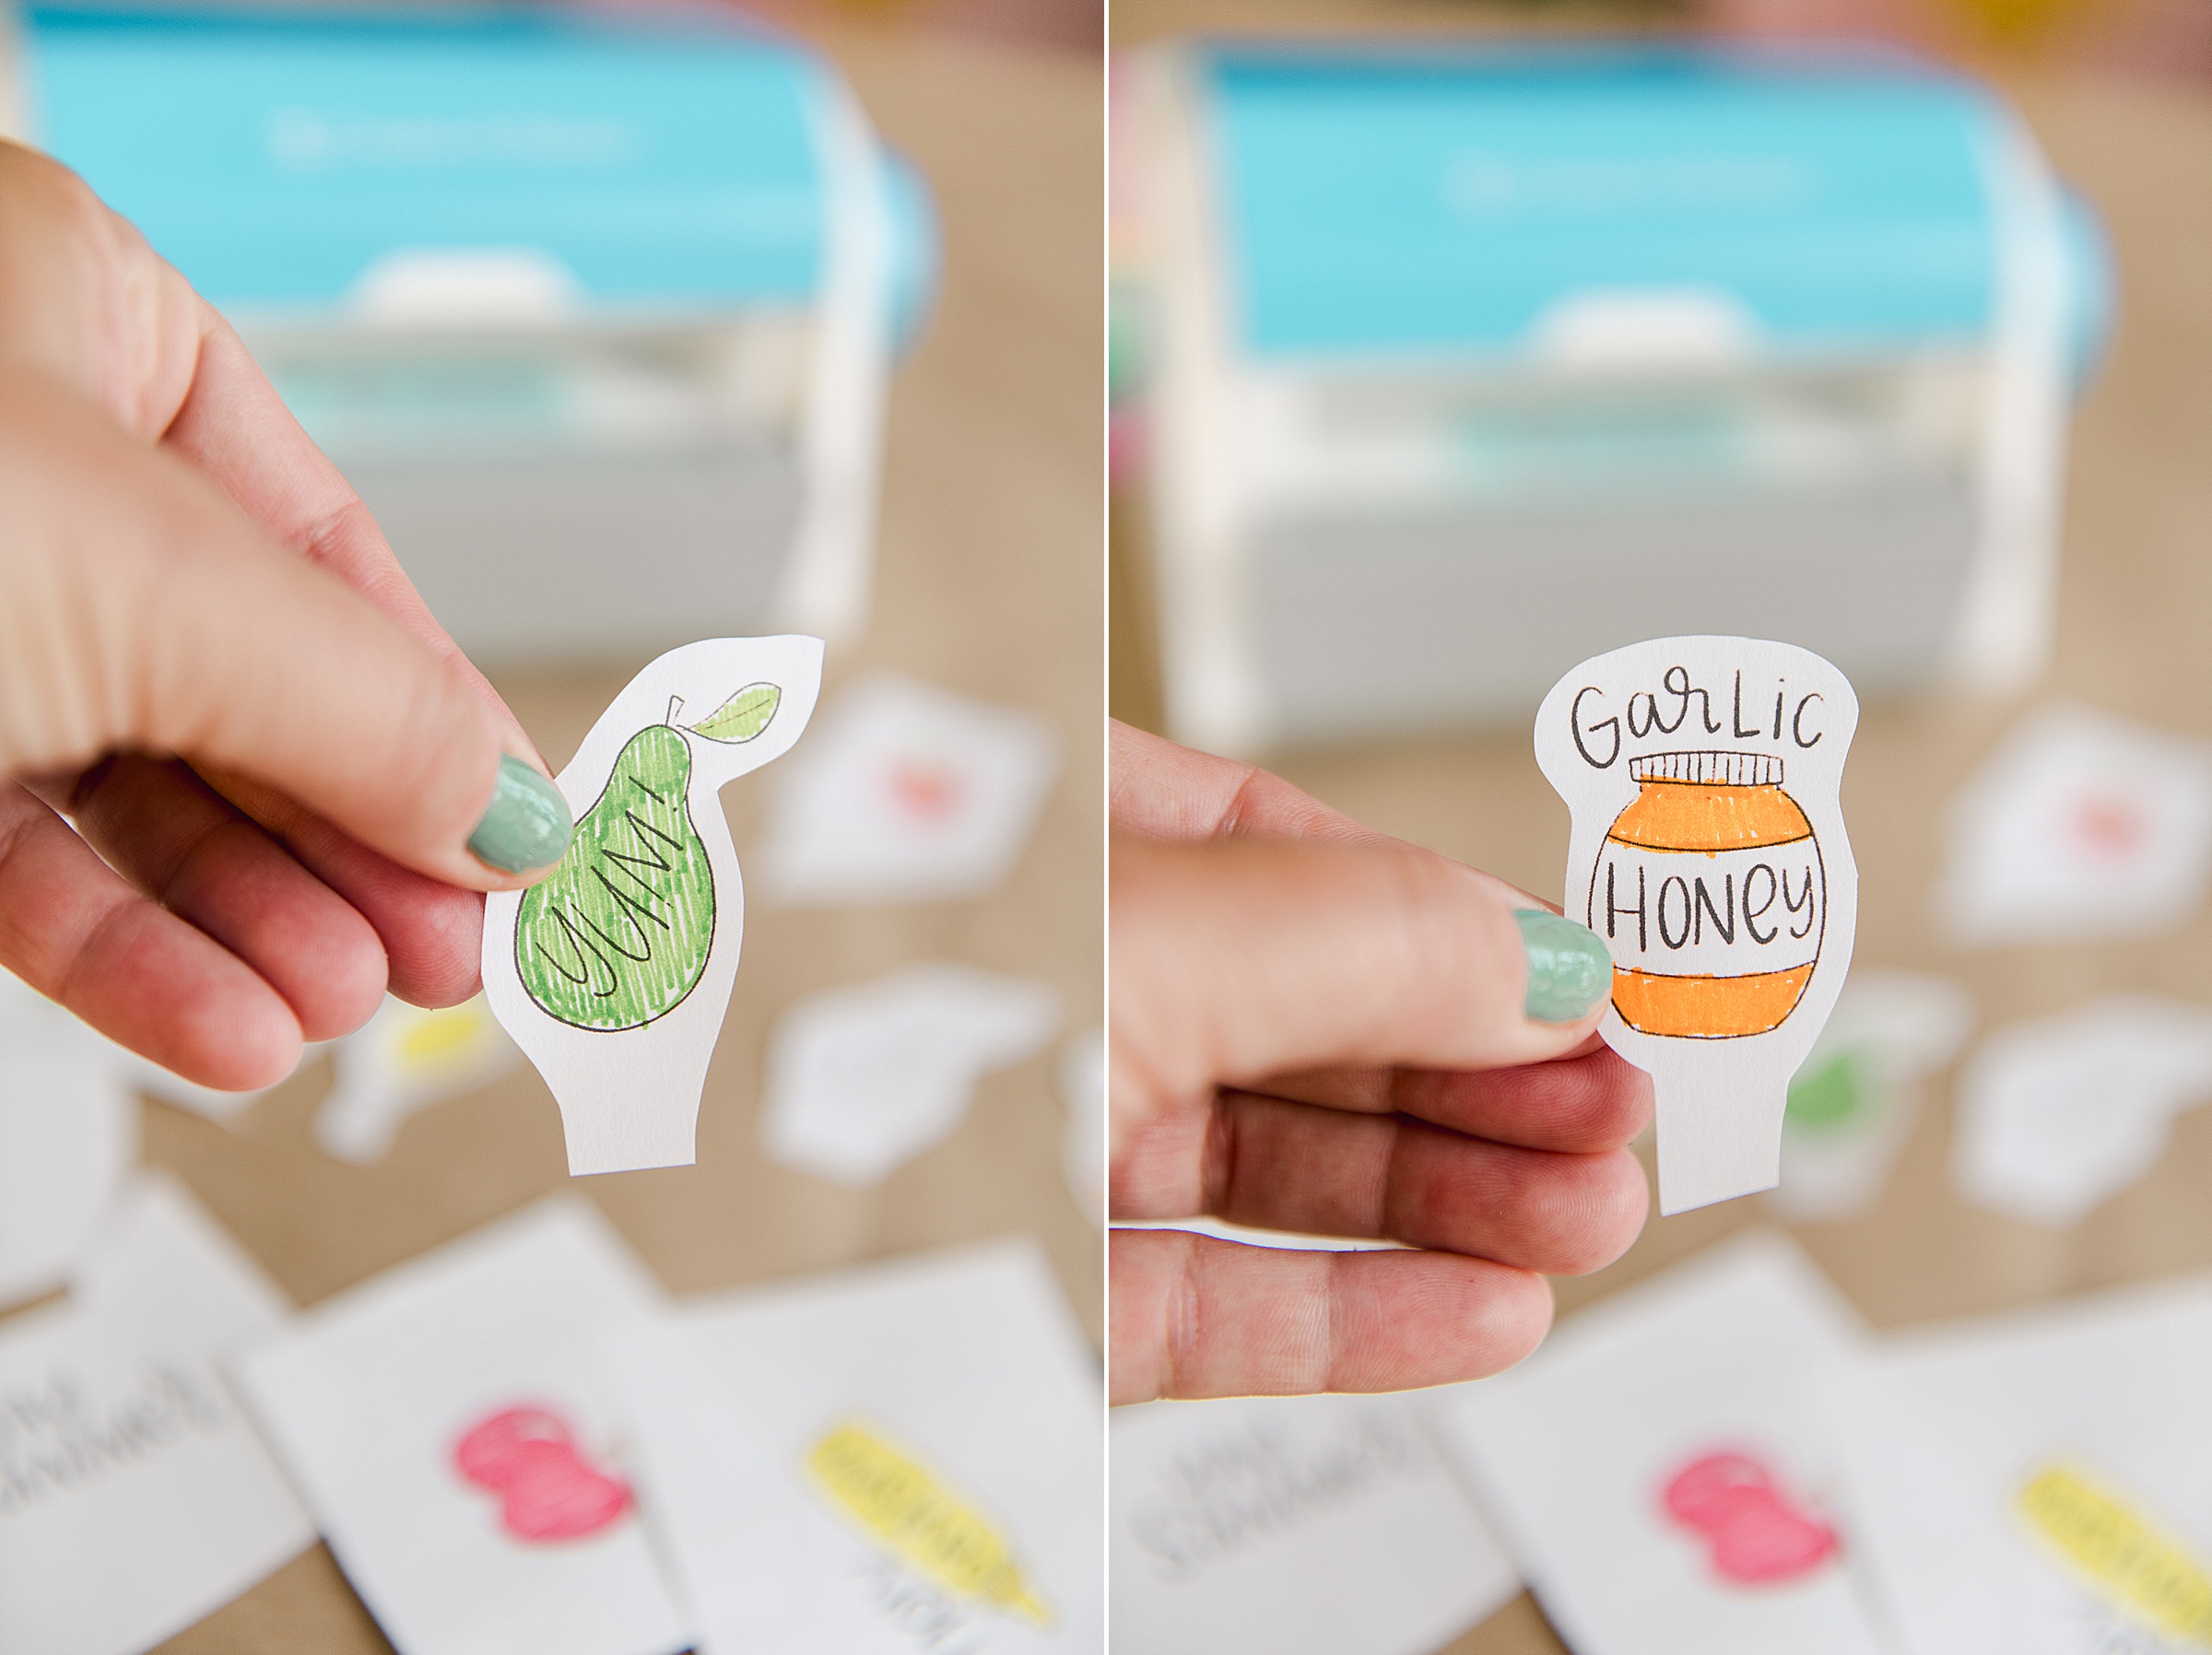
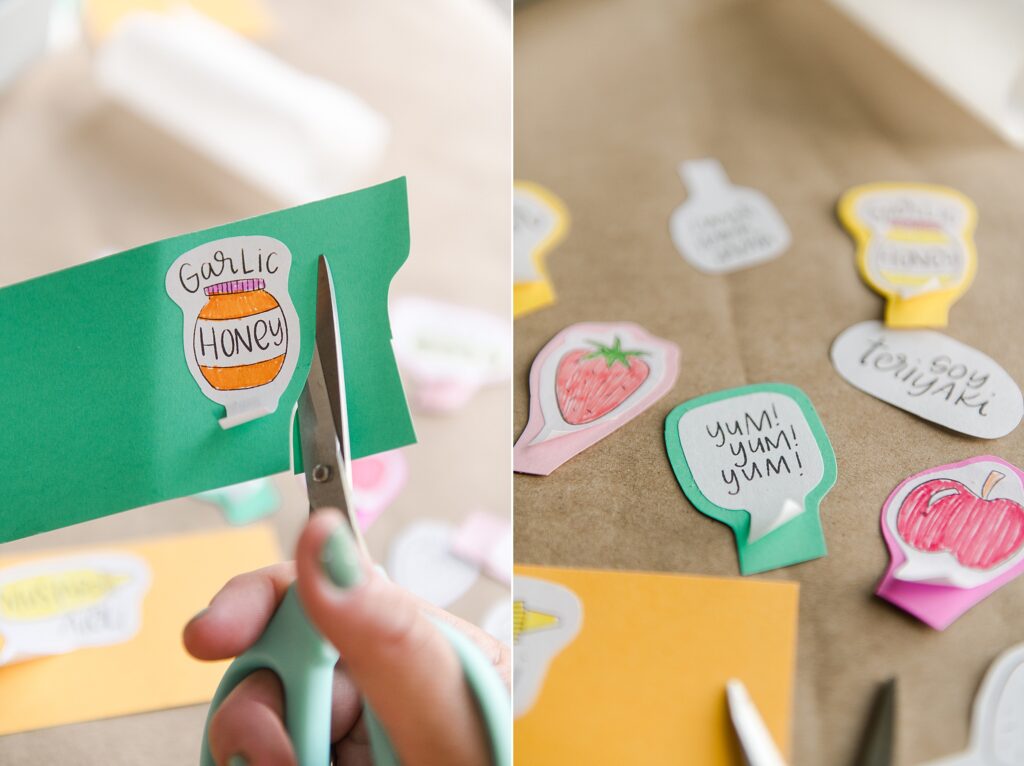
2. Cut out your doodles! I cut mine out in a way that gave some border around the doodle and simplified the shape a bit more for when I “mounted them” in step 4!
When you cut out your doodles, be sure to leave a “tail” or a tab at the bottom of the doodle so that it can go around the skewer easily (at least ½” is what I’d recommend)! 🙂

3. Now it’s time to use this amazing Xyron® Create-A-Sticker® Sticker Maker!!!! This is the fun part and the directions are SOOOOOO simple (like so so simple)!
Put your word or doodle face up on the tray of the Create-A-Sticker. Gently push the paper in so that it’s “taught” to the rollers on the inside of the machine (since the doodles aren’t huge, I was able to put 2 next to one another and do them at the same time by pushing both forward at the same time until they both reached the rollers).
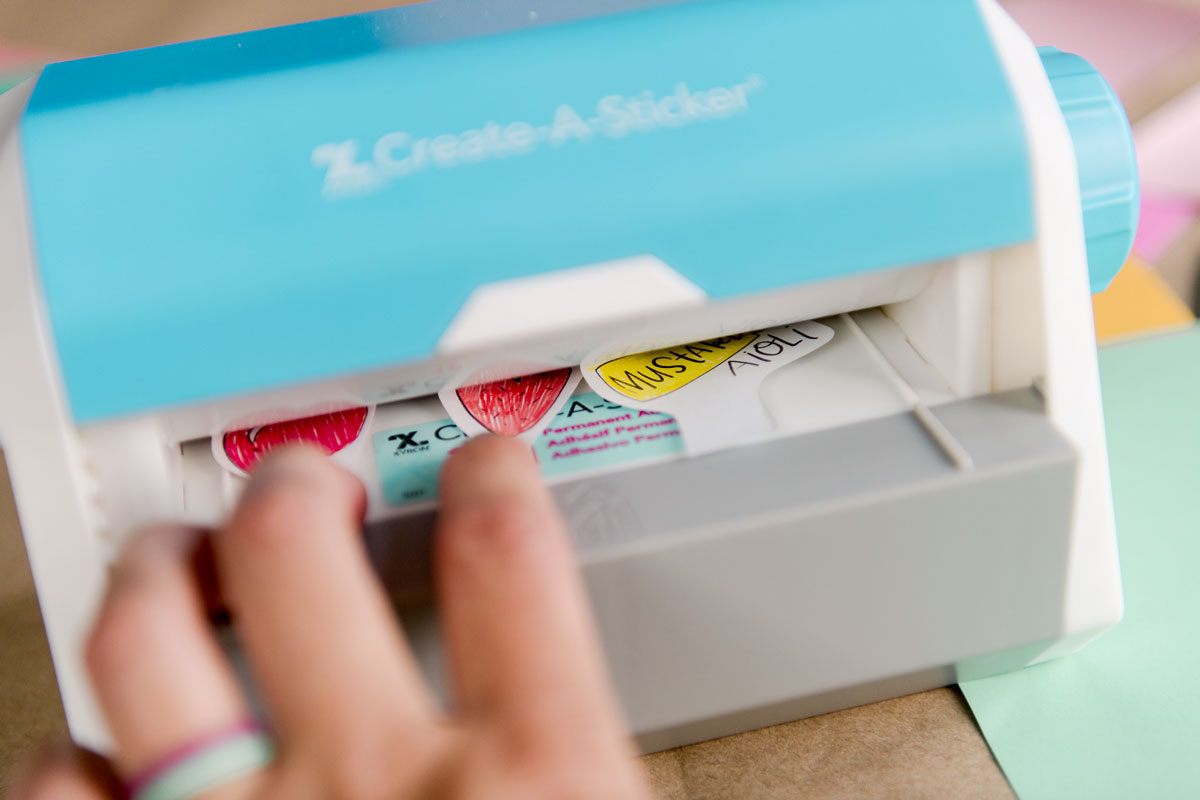
Then simply turn the side knob clockwise (you can kinda feel the stickers “grab” onto the sticker adhesive) until you see them clear the other side of the Create-A-Sticker. I tried to stop right when I saw them finish coming out so that I could conserve as much sticker paper as possible (gotta make as many stickers as possible with this amazing machine)! 🙂
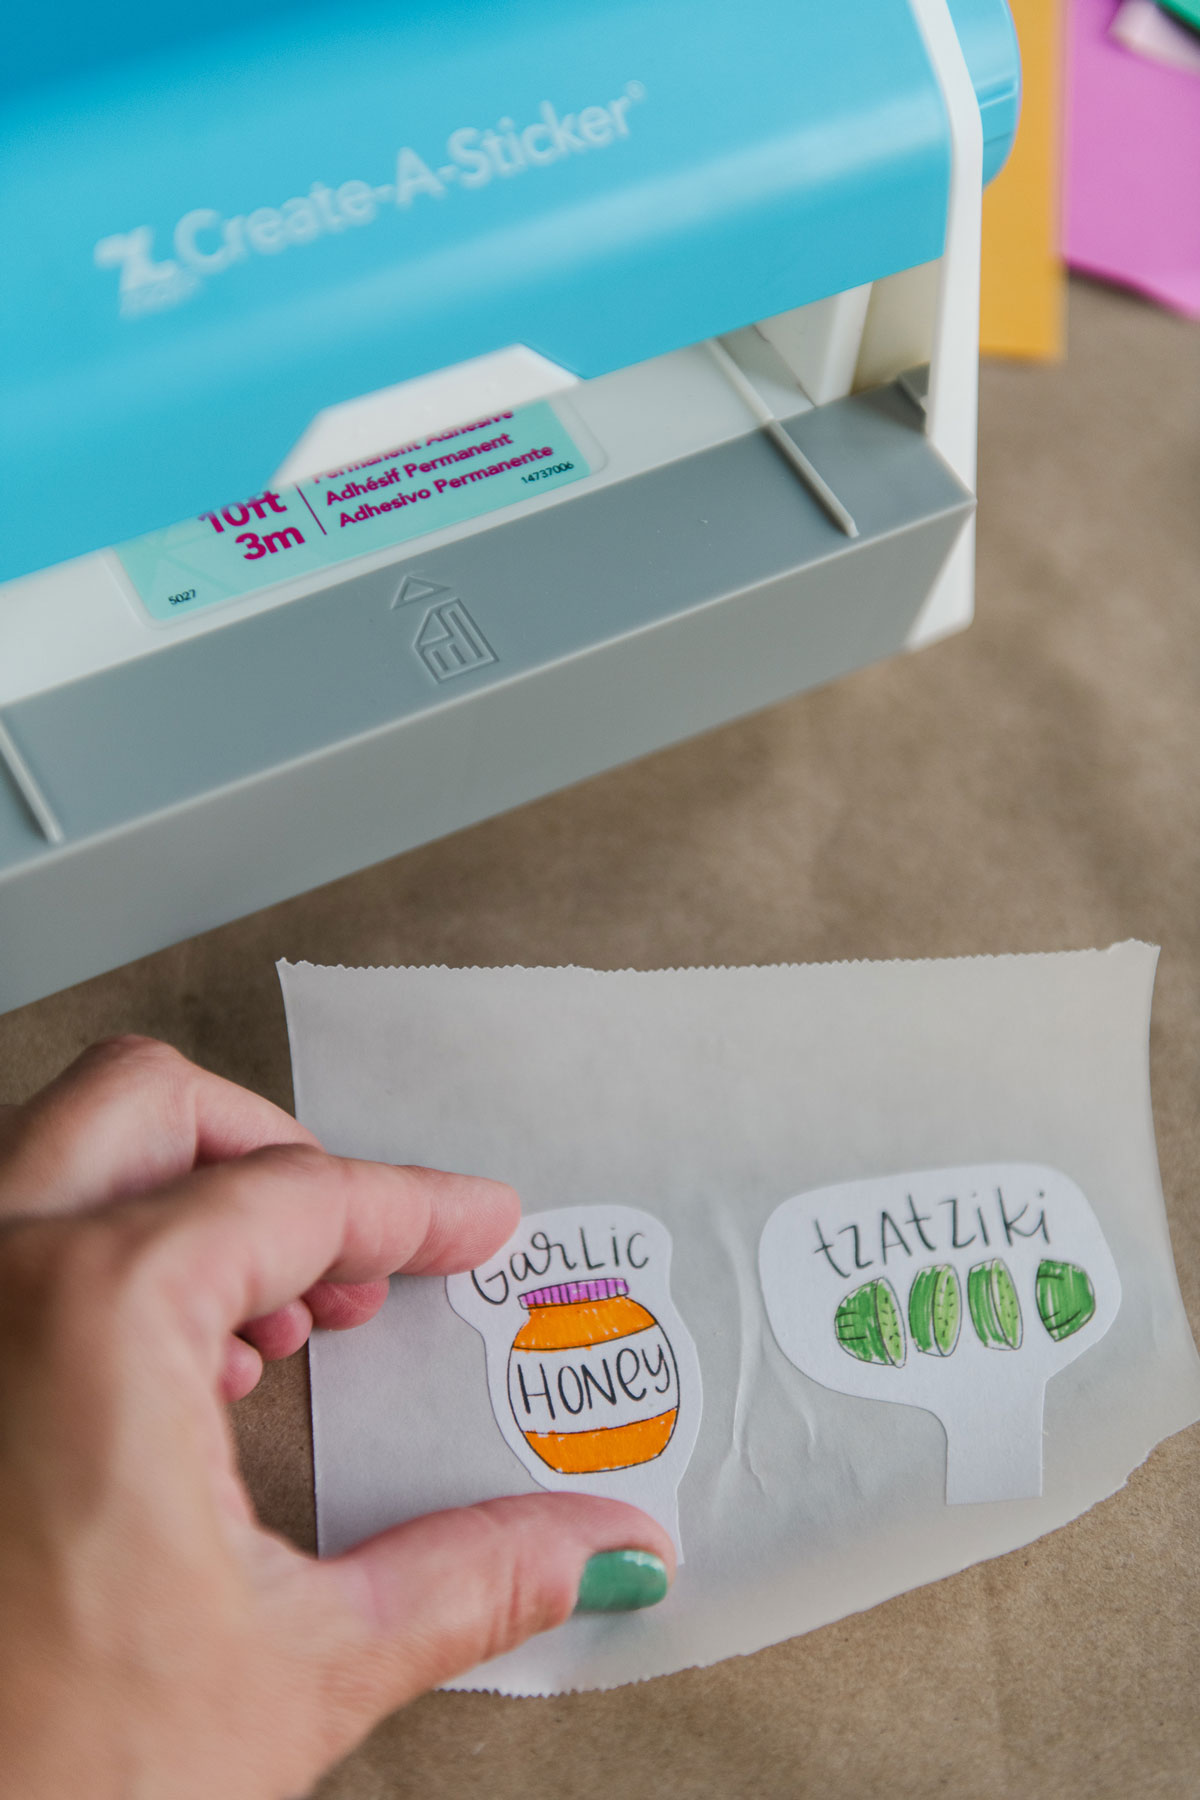
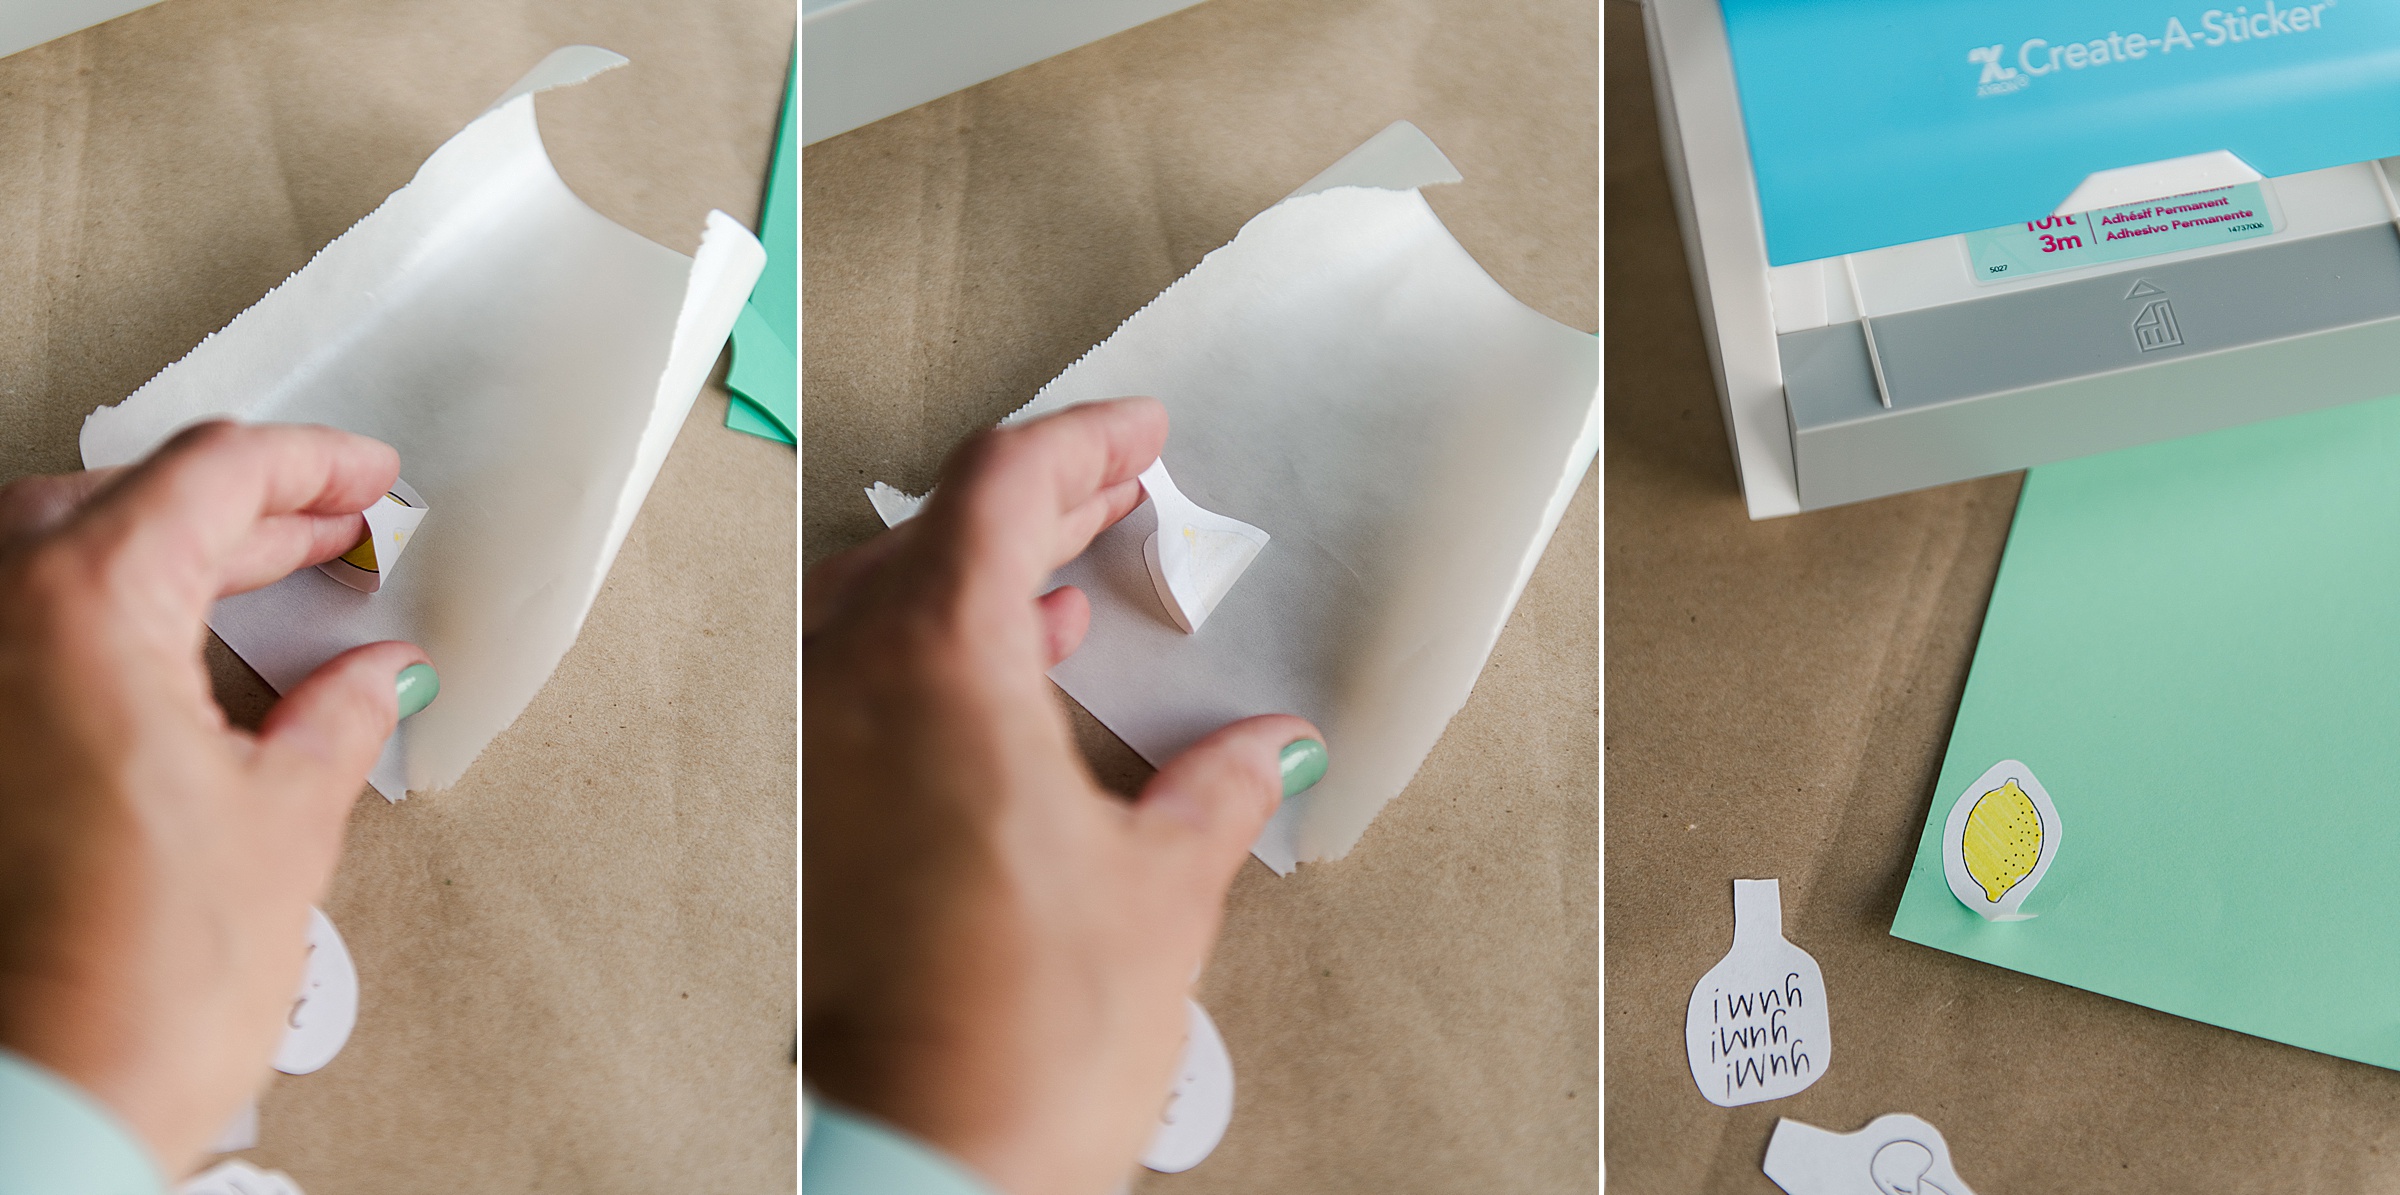
Then tear off your stickers with the perforated edge on the Create-A-Sticker and voila!!! The last step is to burnish (or rub) the stickers onto the adhesive backing super well. I used my finger to do this, but you could use a credit card or flat edge to give it a good rub.
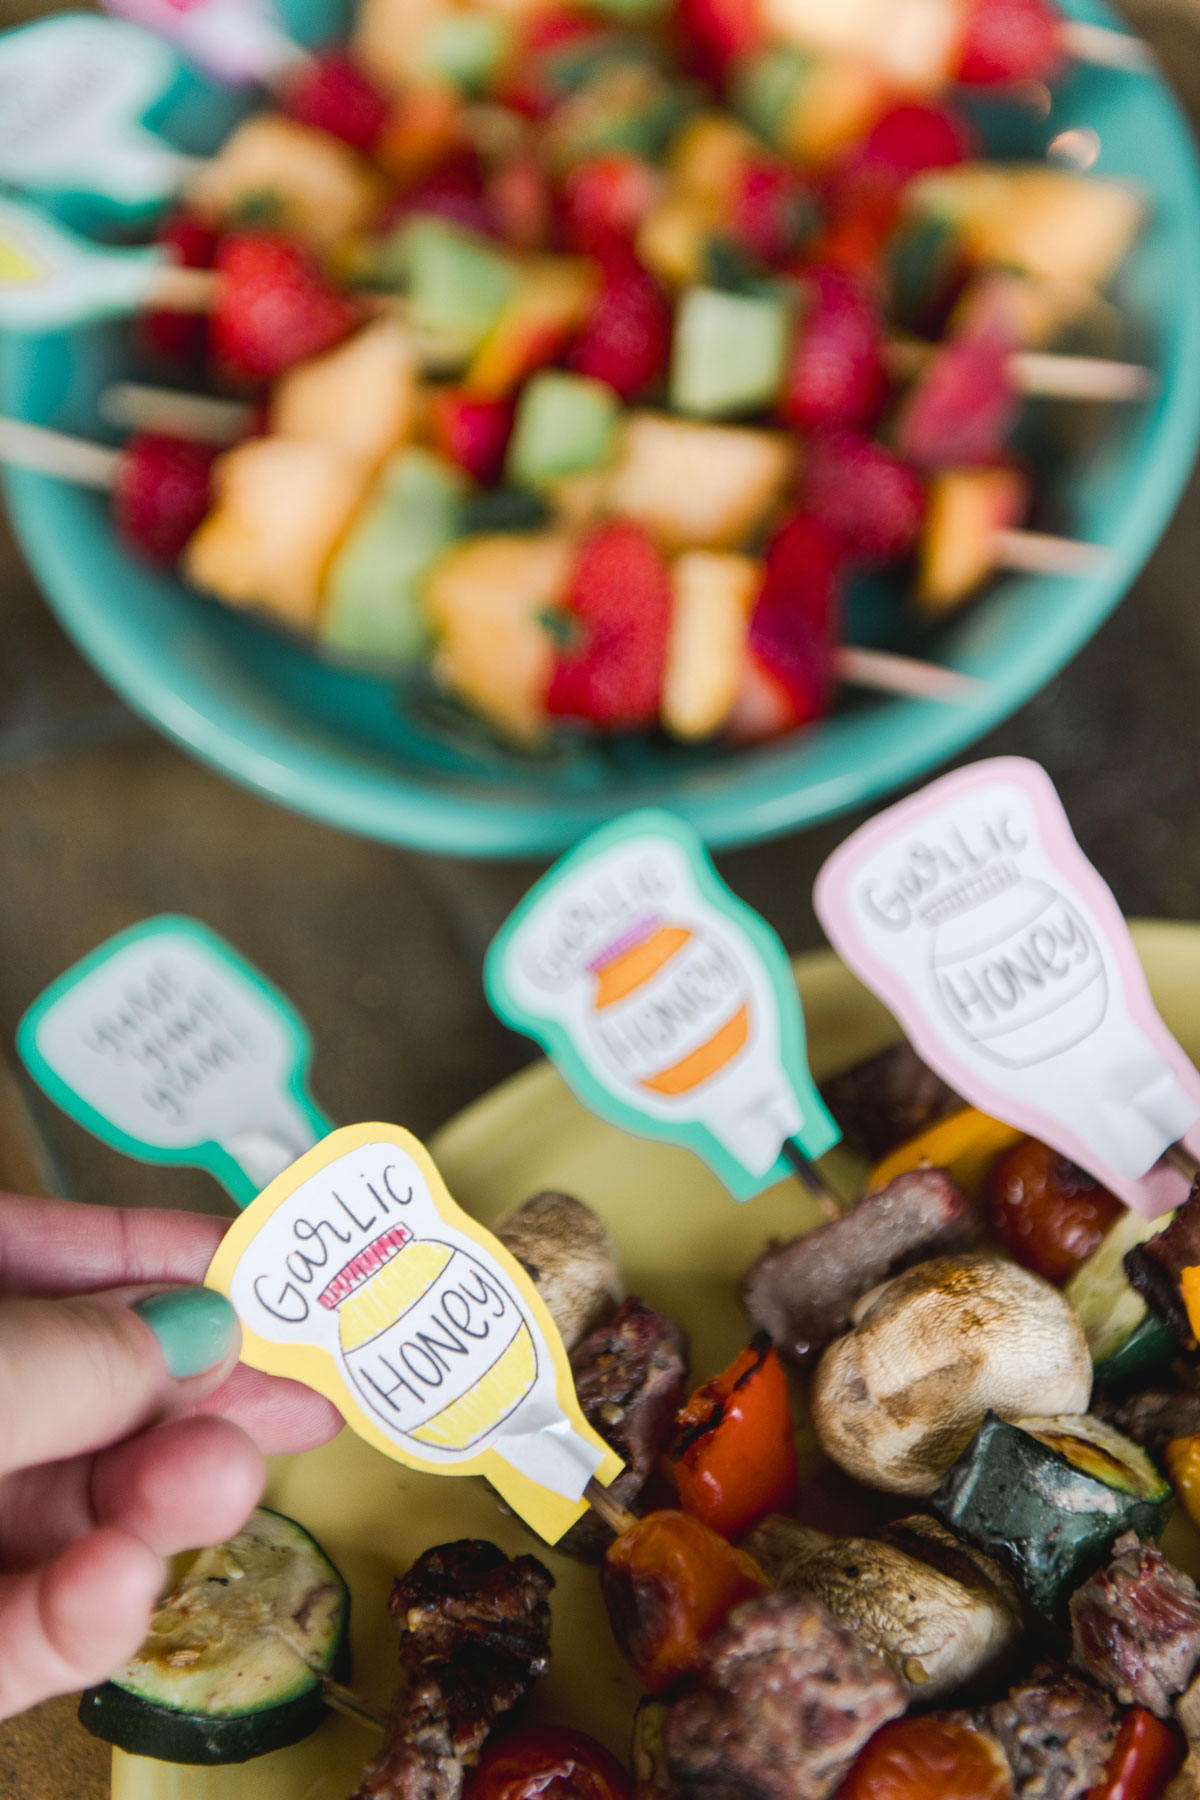
4. NOOOOW is the part where we decorate for the BBQ with our custom labels!
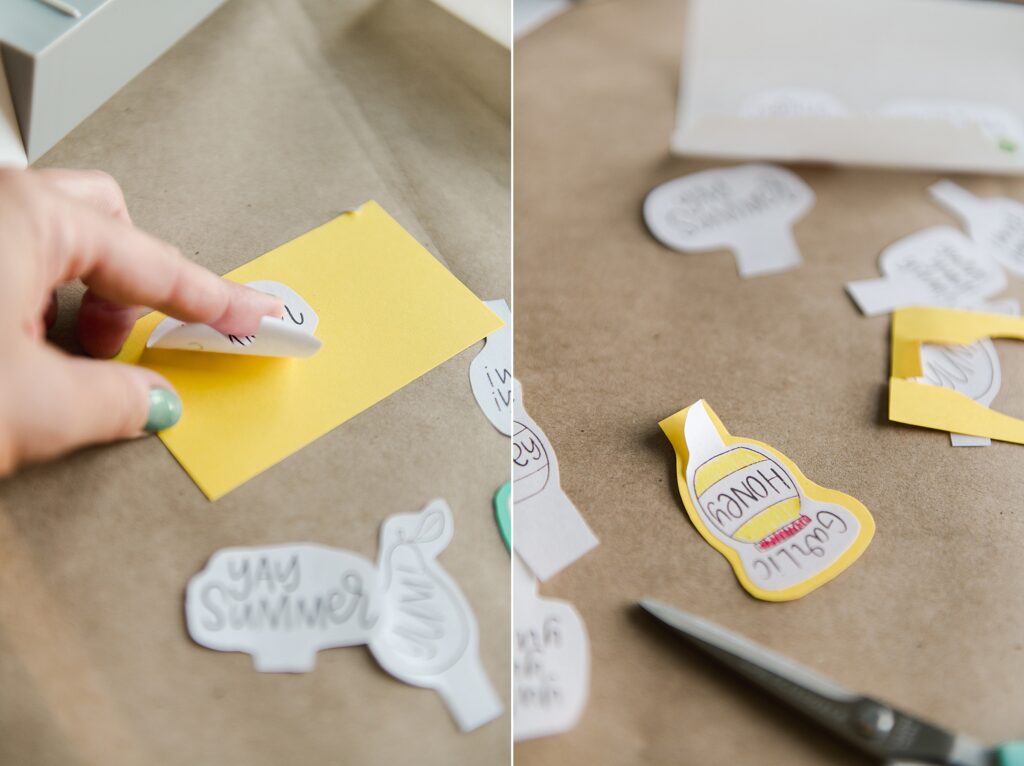
I chose to make the “other side” of the label some colorful cardstock…..essentially I am going to make a “sandwich” out of the sticker and cardstock for the end of each skewer to distinguish the seasoning or marinade!
Peel off your custom sticker and place it on a piece of cardstock that has enough room around the outside edge to peek through when cut! *BUT* be sure not to stick down the whole sticker…..you will want to leave the bottom edge “unstuck” from the cardstock so that you can easily put this onto the skewer when they come off the grill.
**TIP: I pre-did all of these steps before we even started making the food or before people arrived so that they were all ready to label when the food was hot off the grill! They are quick and easy to prep and set aside on a countertop well ahead of time!
5. When all of the food is done cooking and hot and everything is ready to label, it’s time to just pinch the labels onto the end of the skewers. I broke some skewers in half and used them to label the kabob dipping sauces!
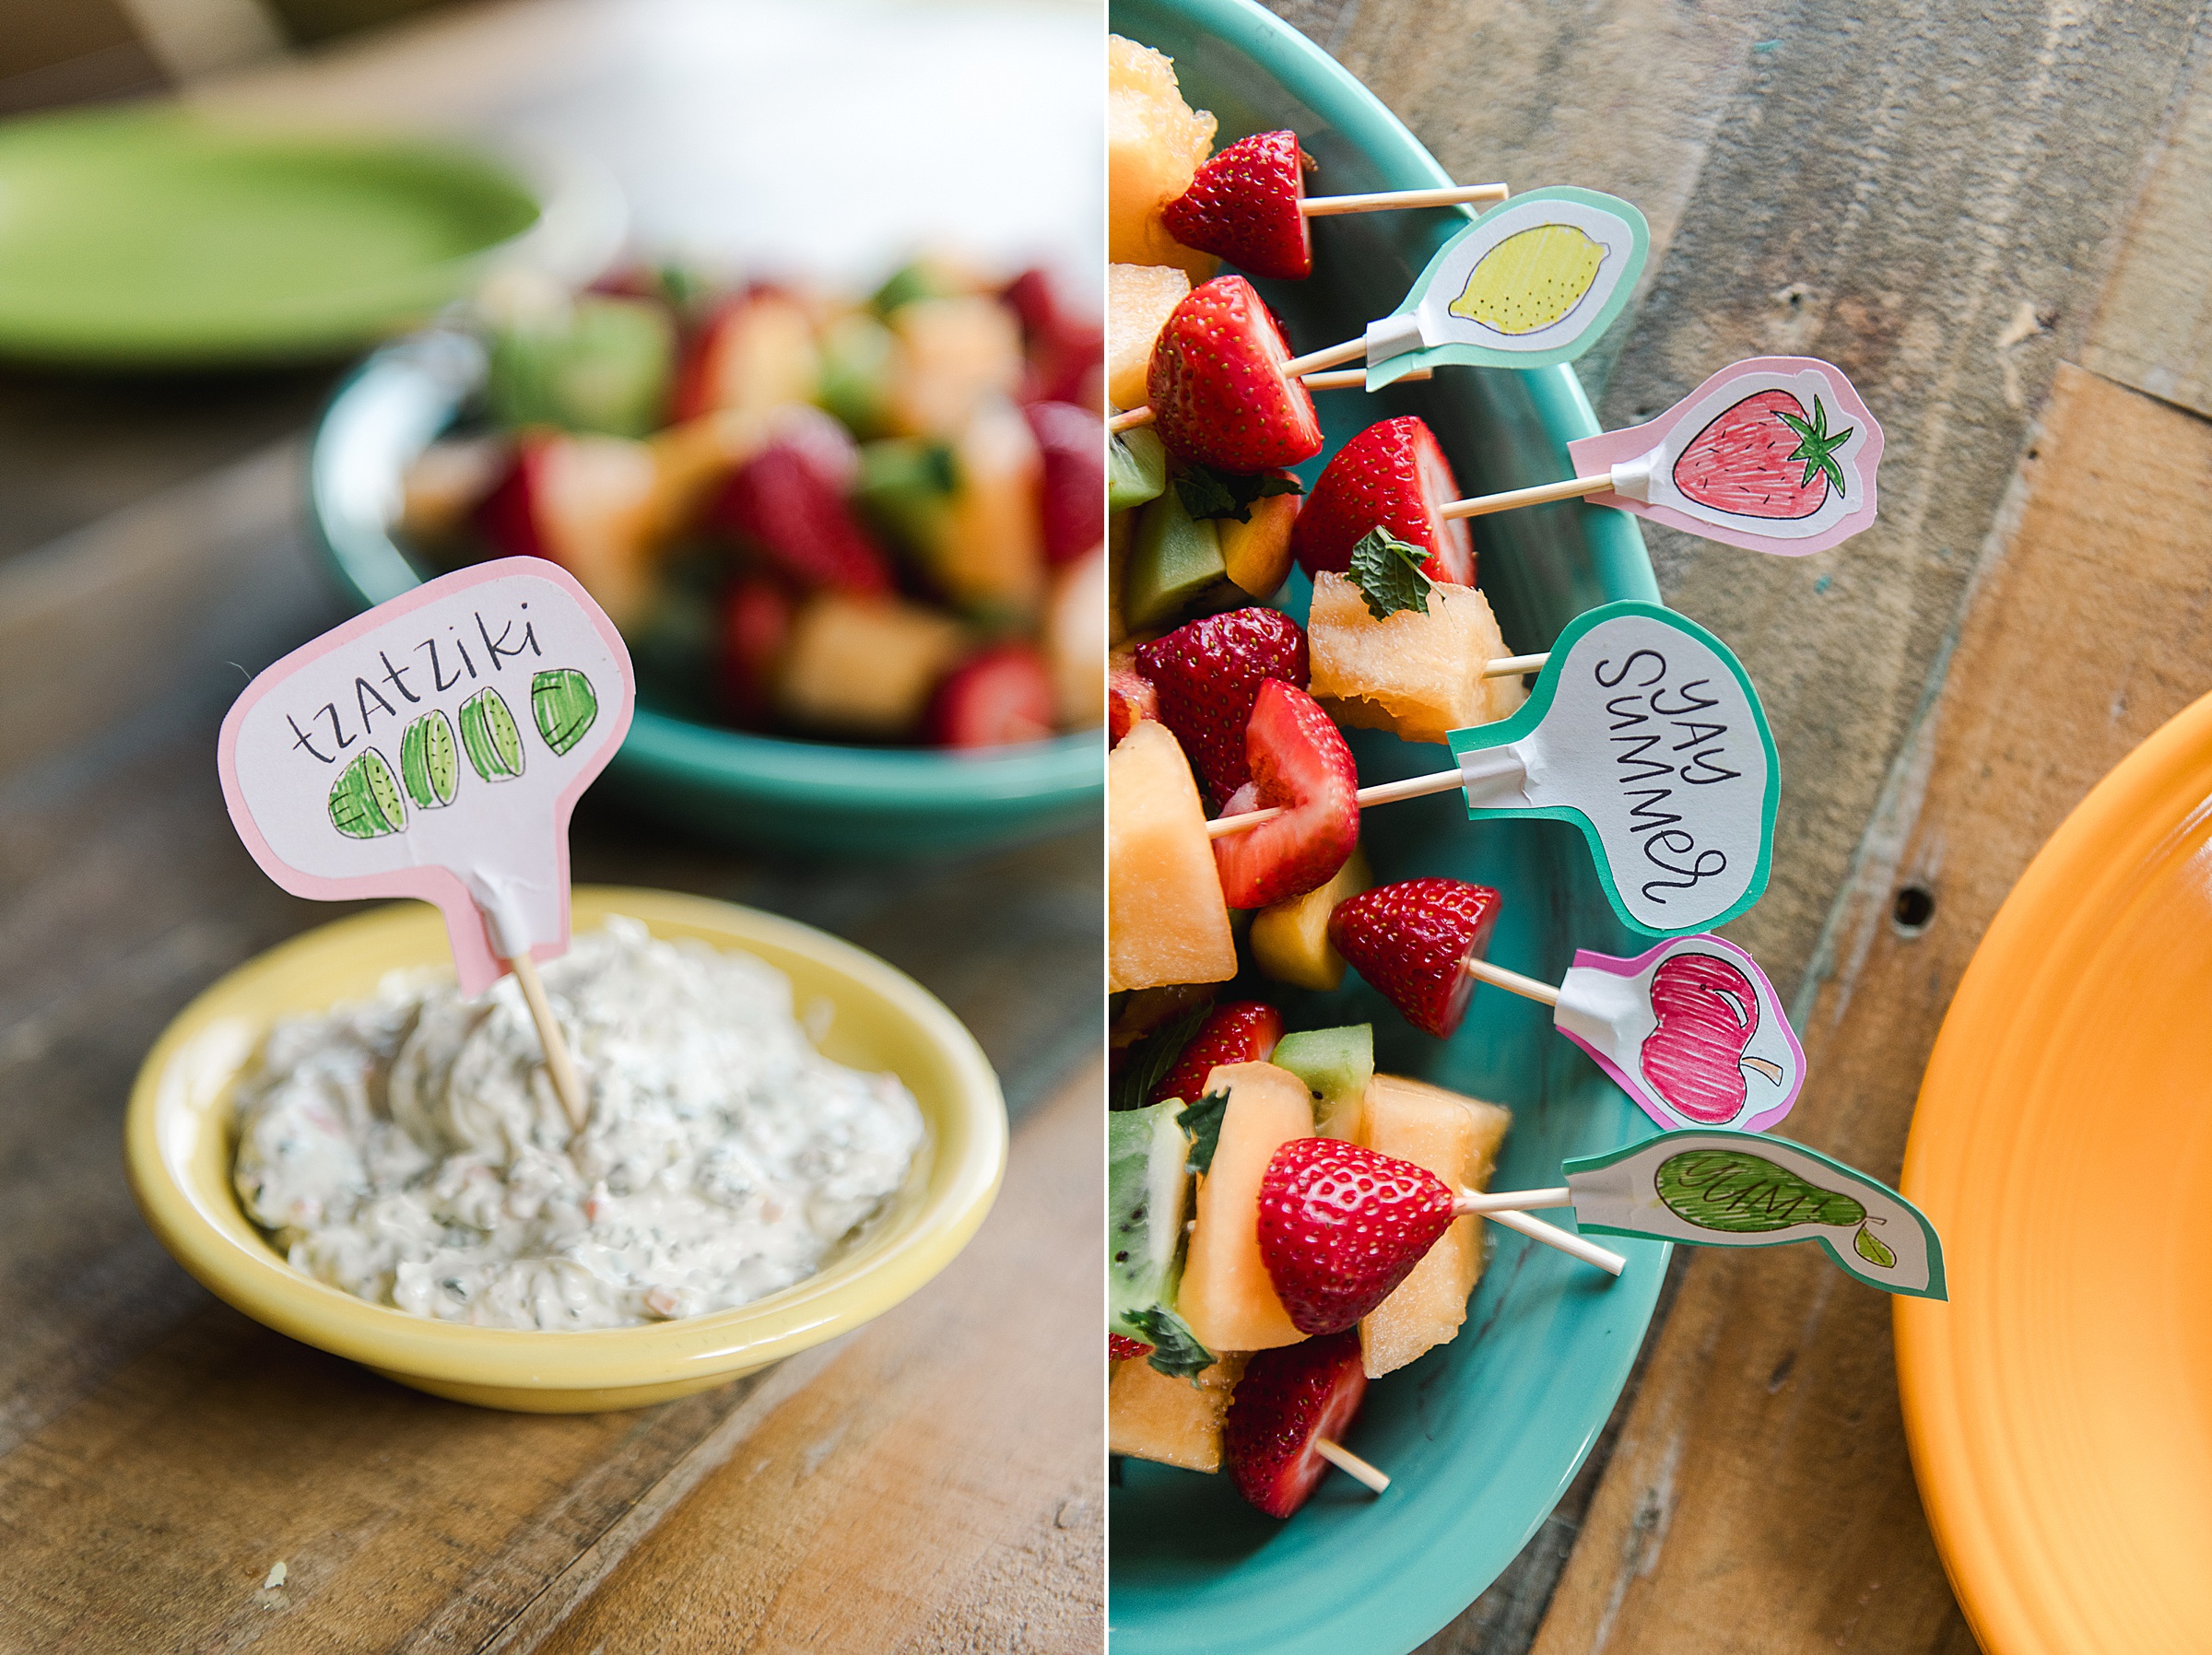

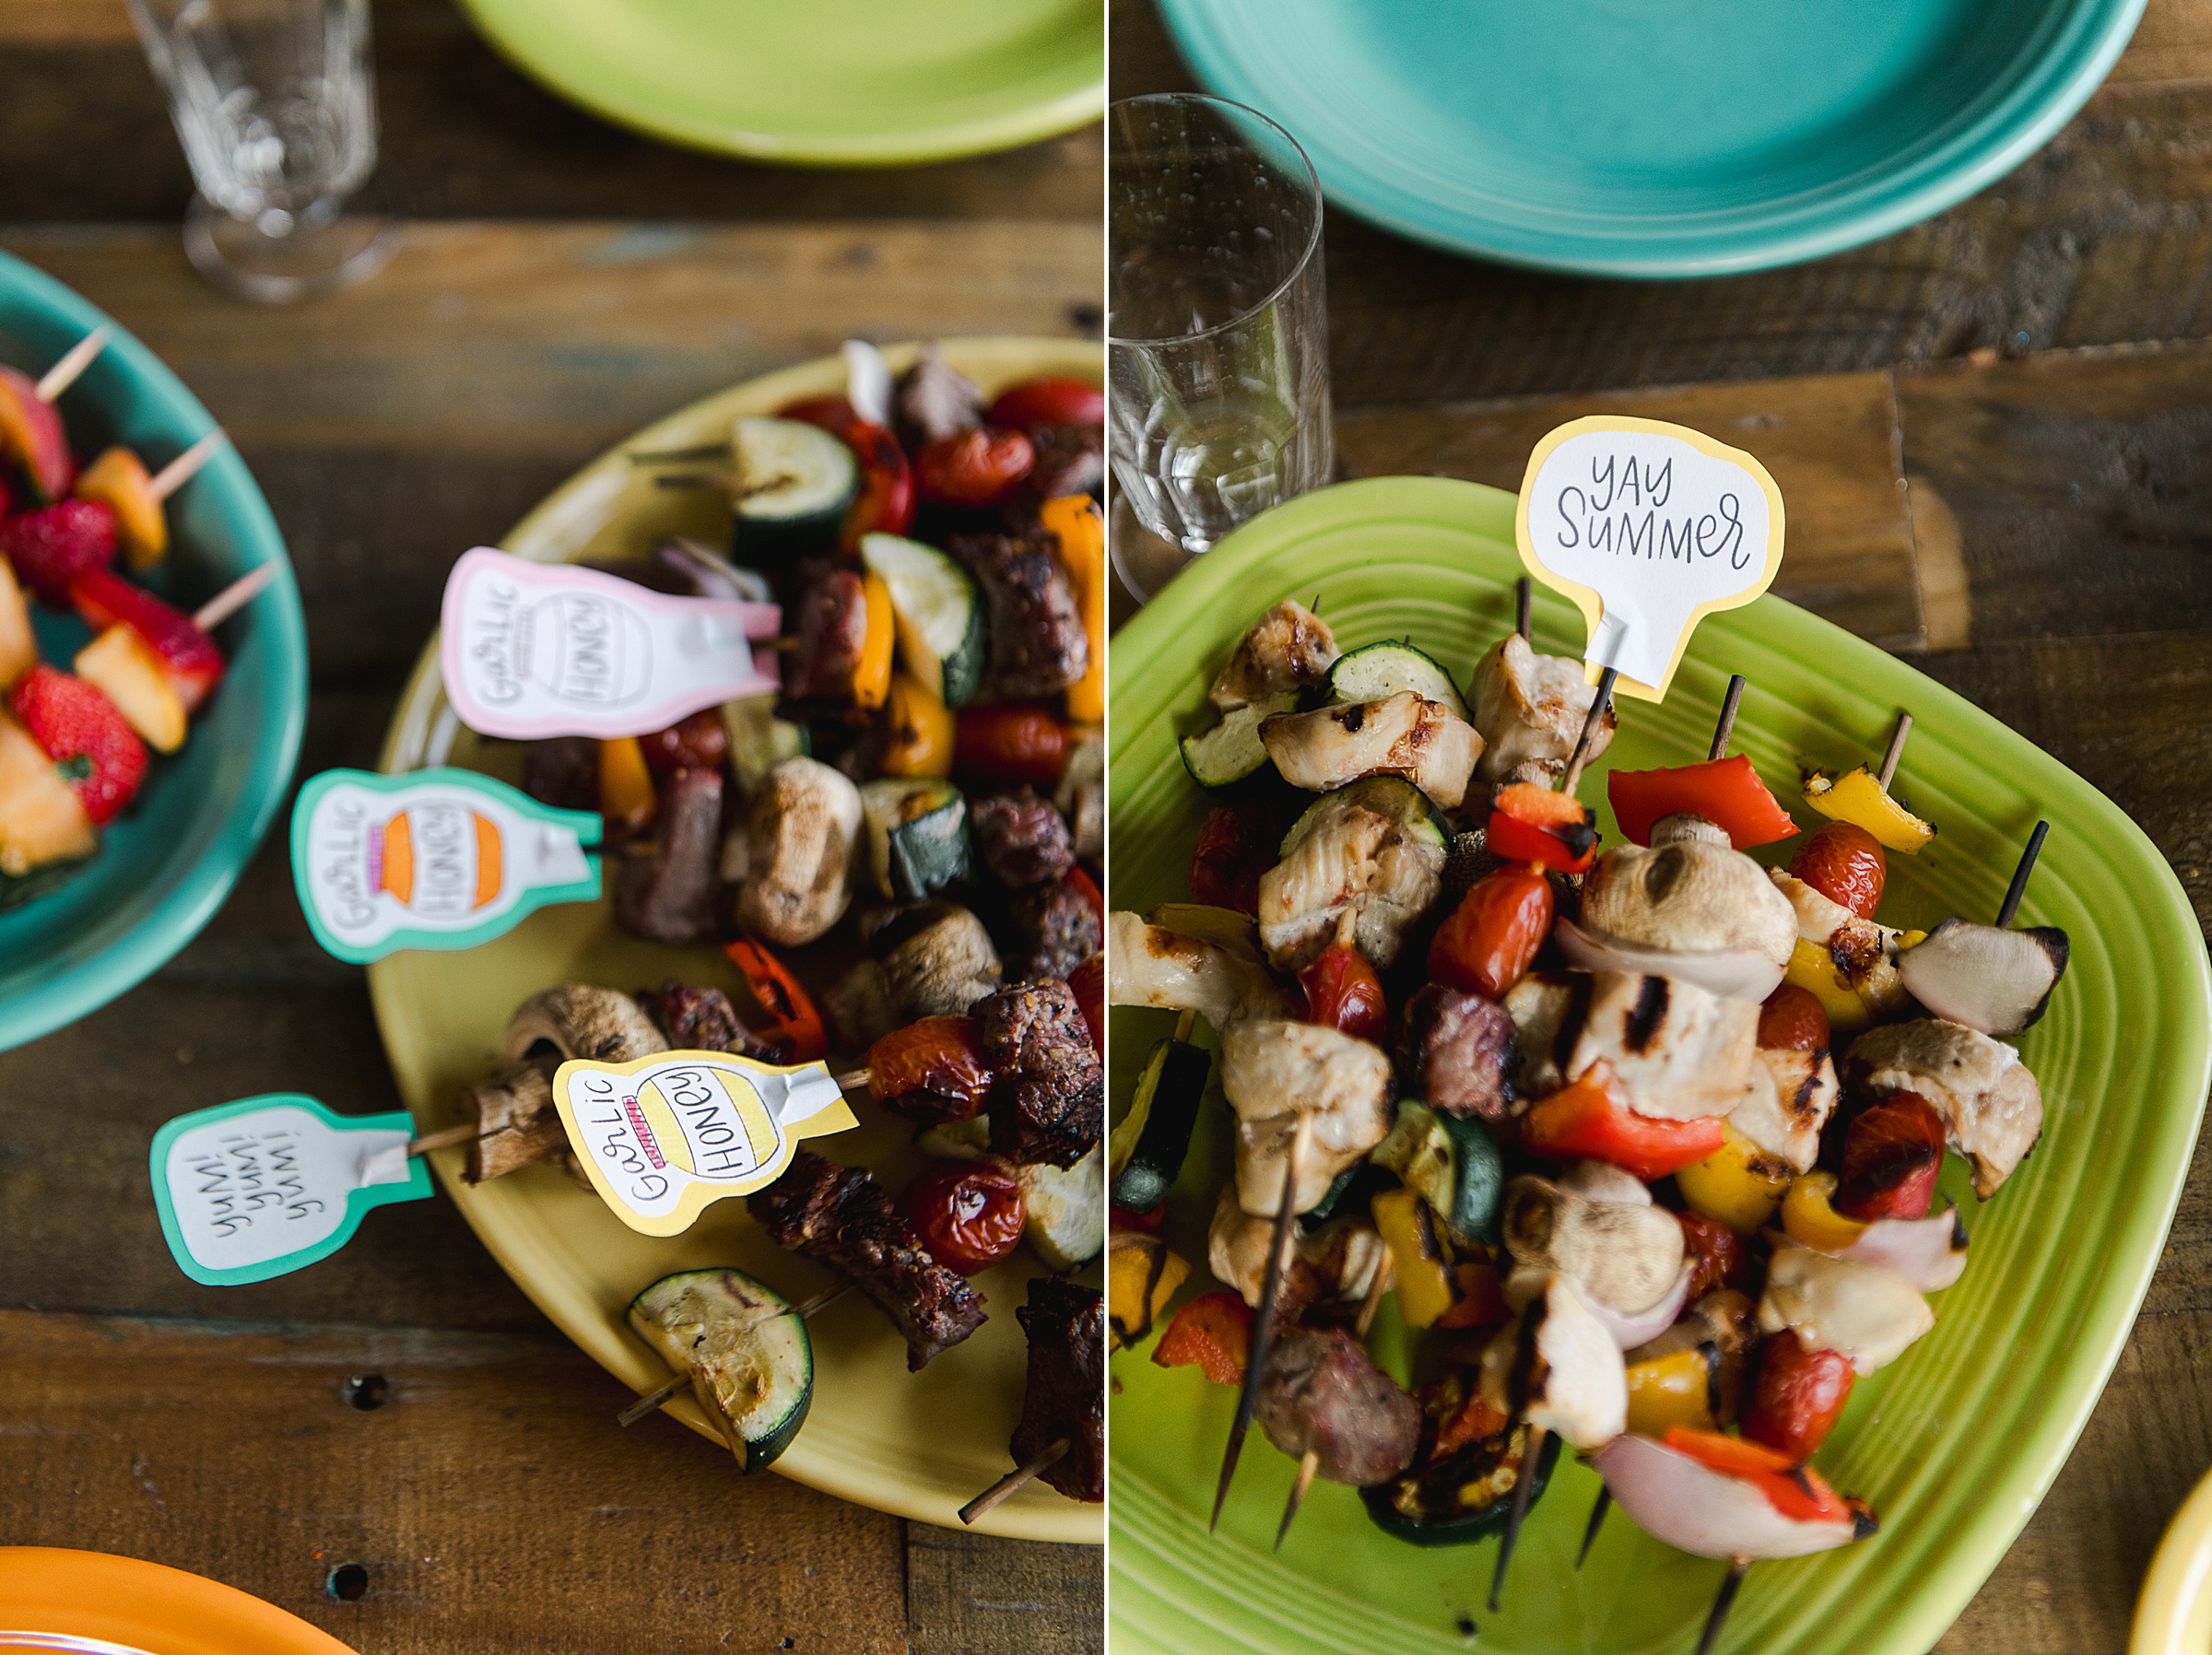
This was *LEGIT* such an easy way to delineate the marinades, seasonings and sauces for a gathering of people….and not to mention personal and quite fun to make ahead of time!
NOOOWW…..off to make more custom stickers with this amazing sticker maker (because my mind is a-bubbling with loads more ideas on when to add custom stickers to)!