Tangerine LaCroix costume DIY
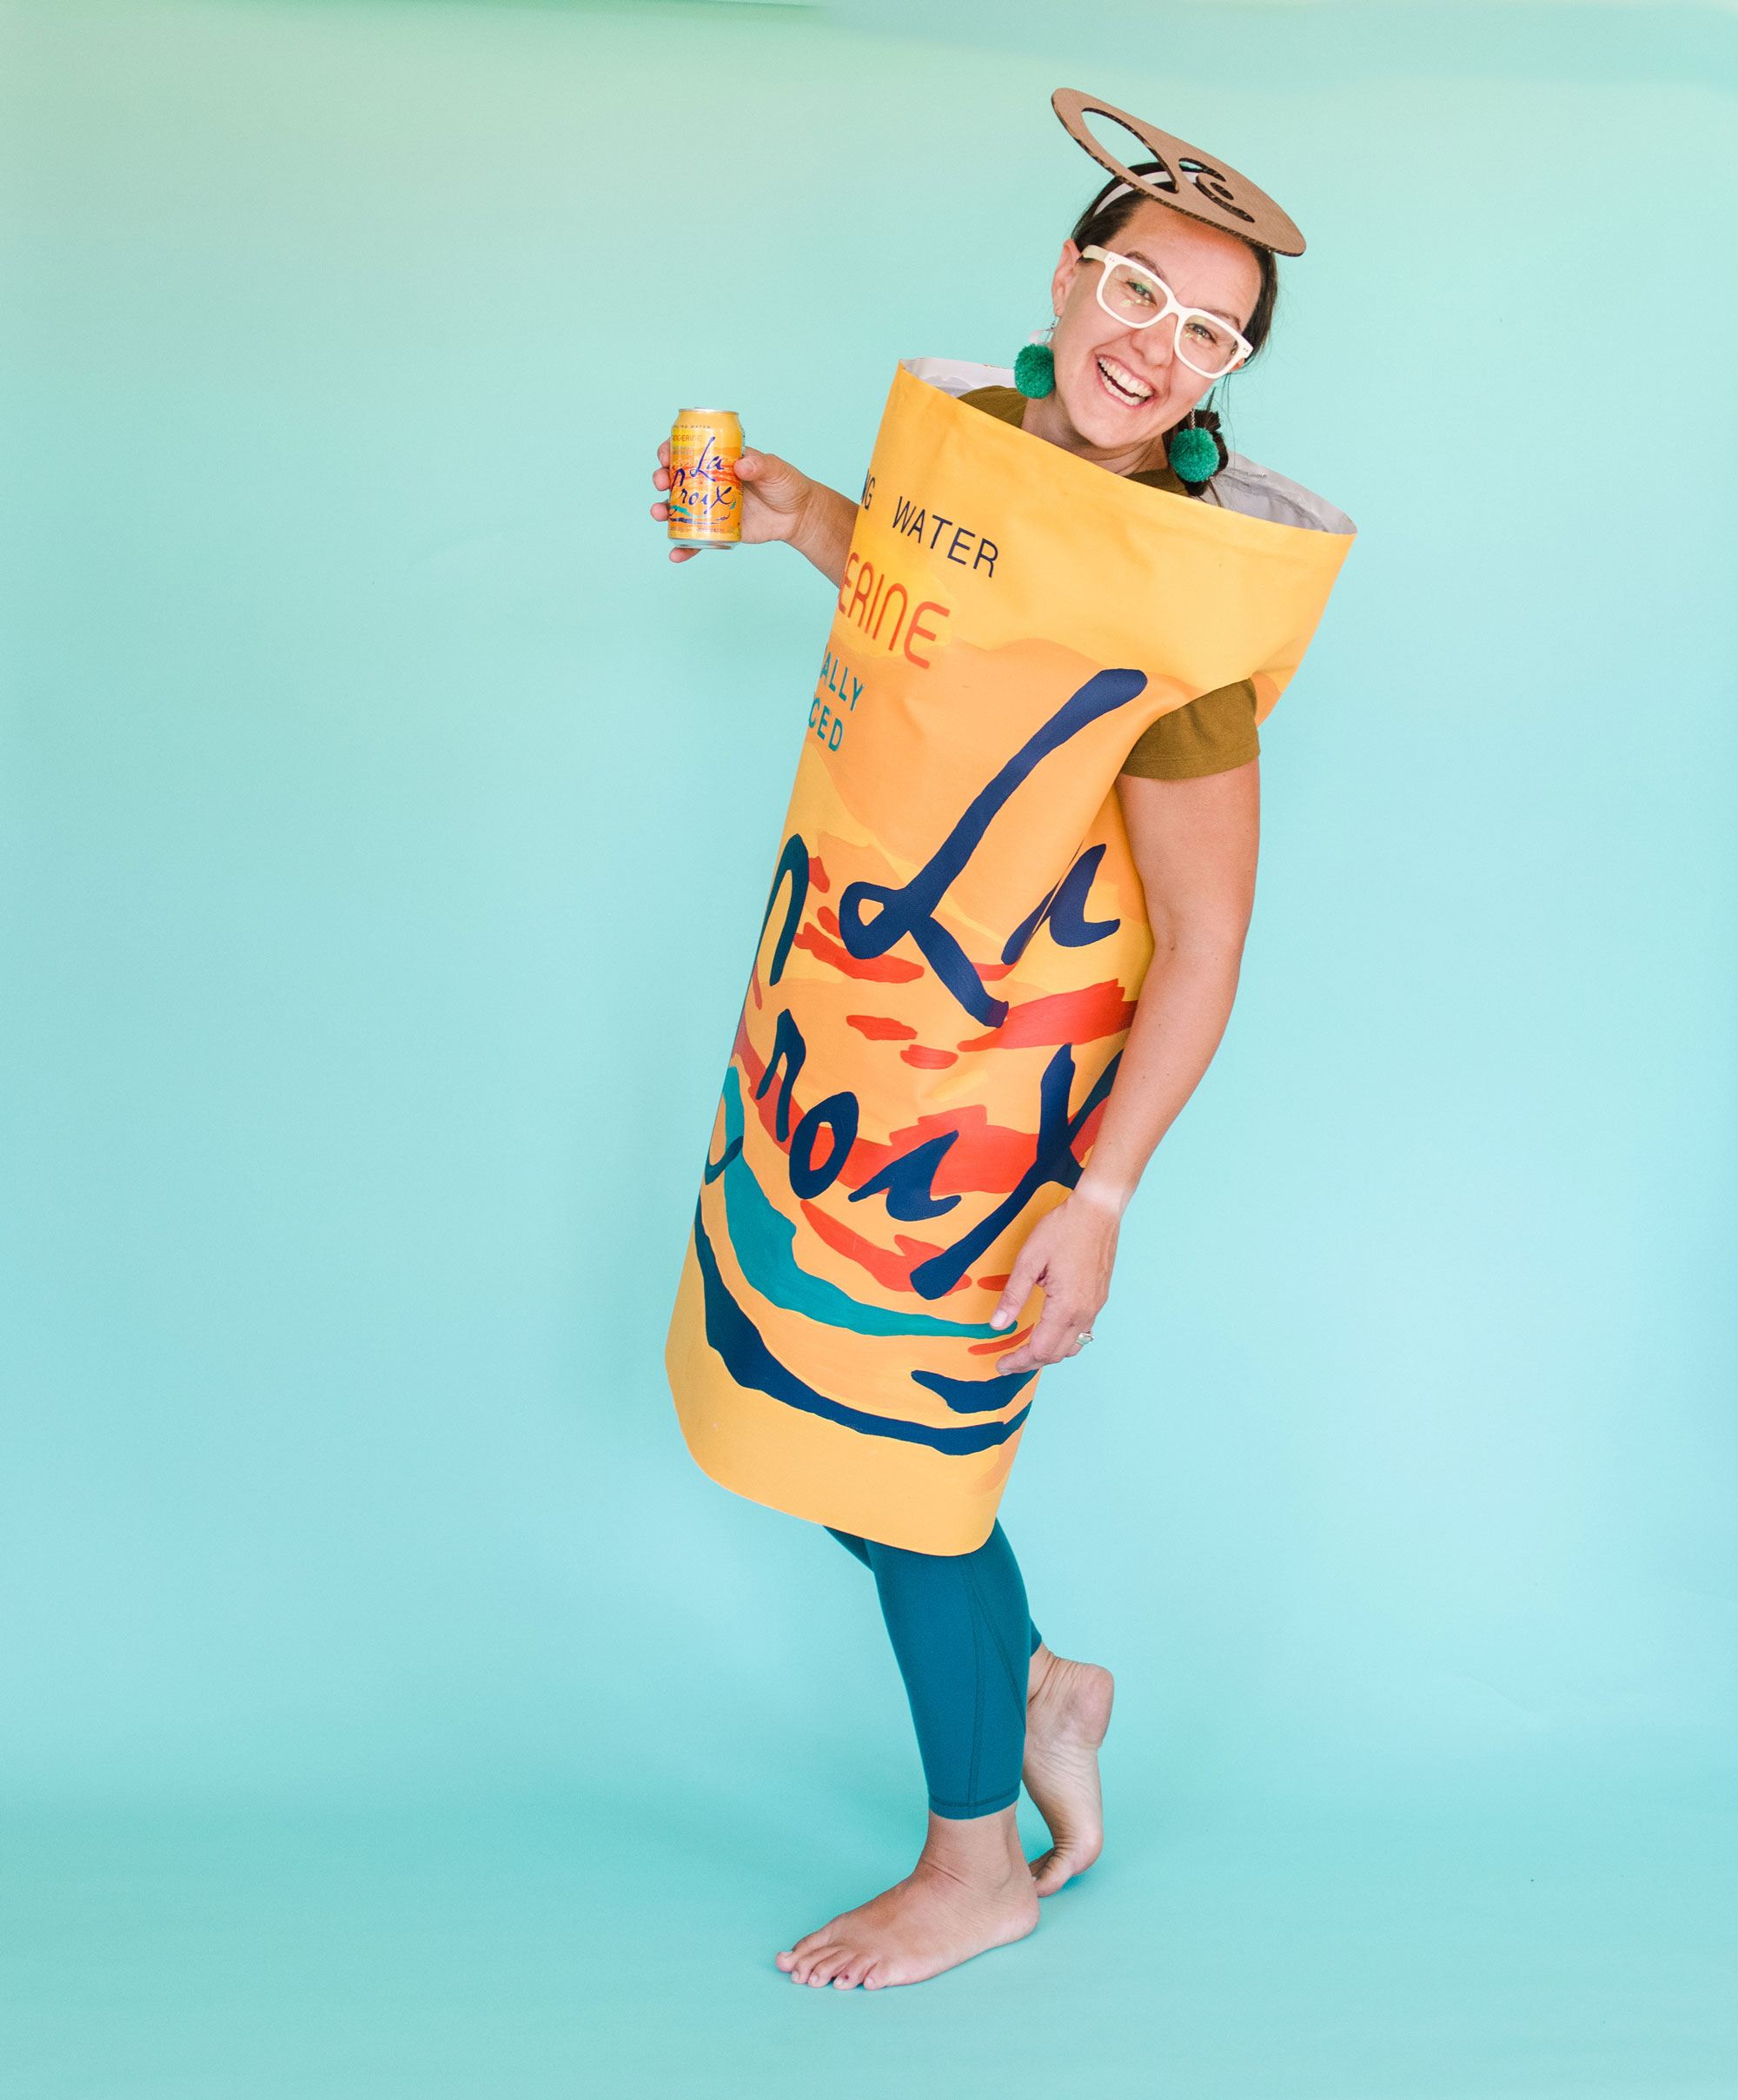
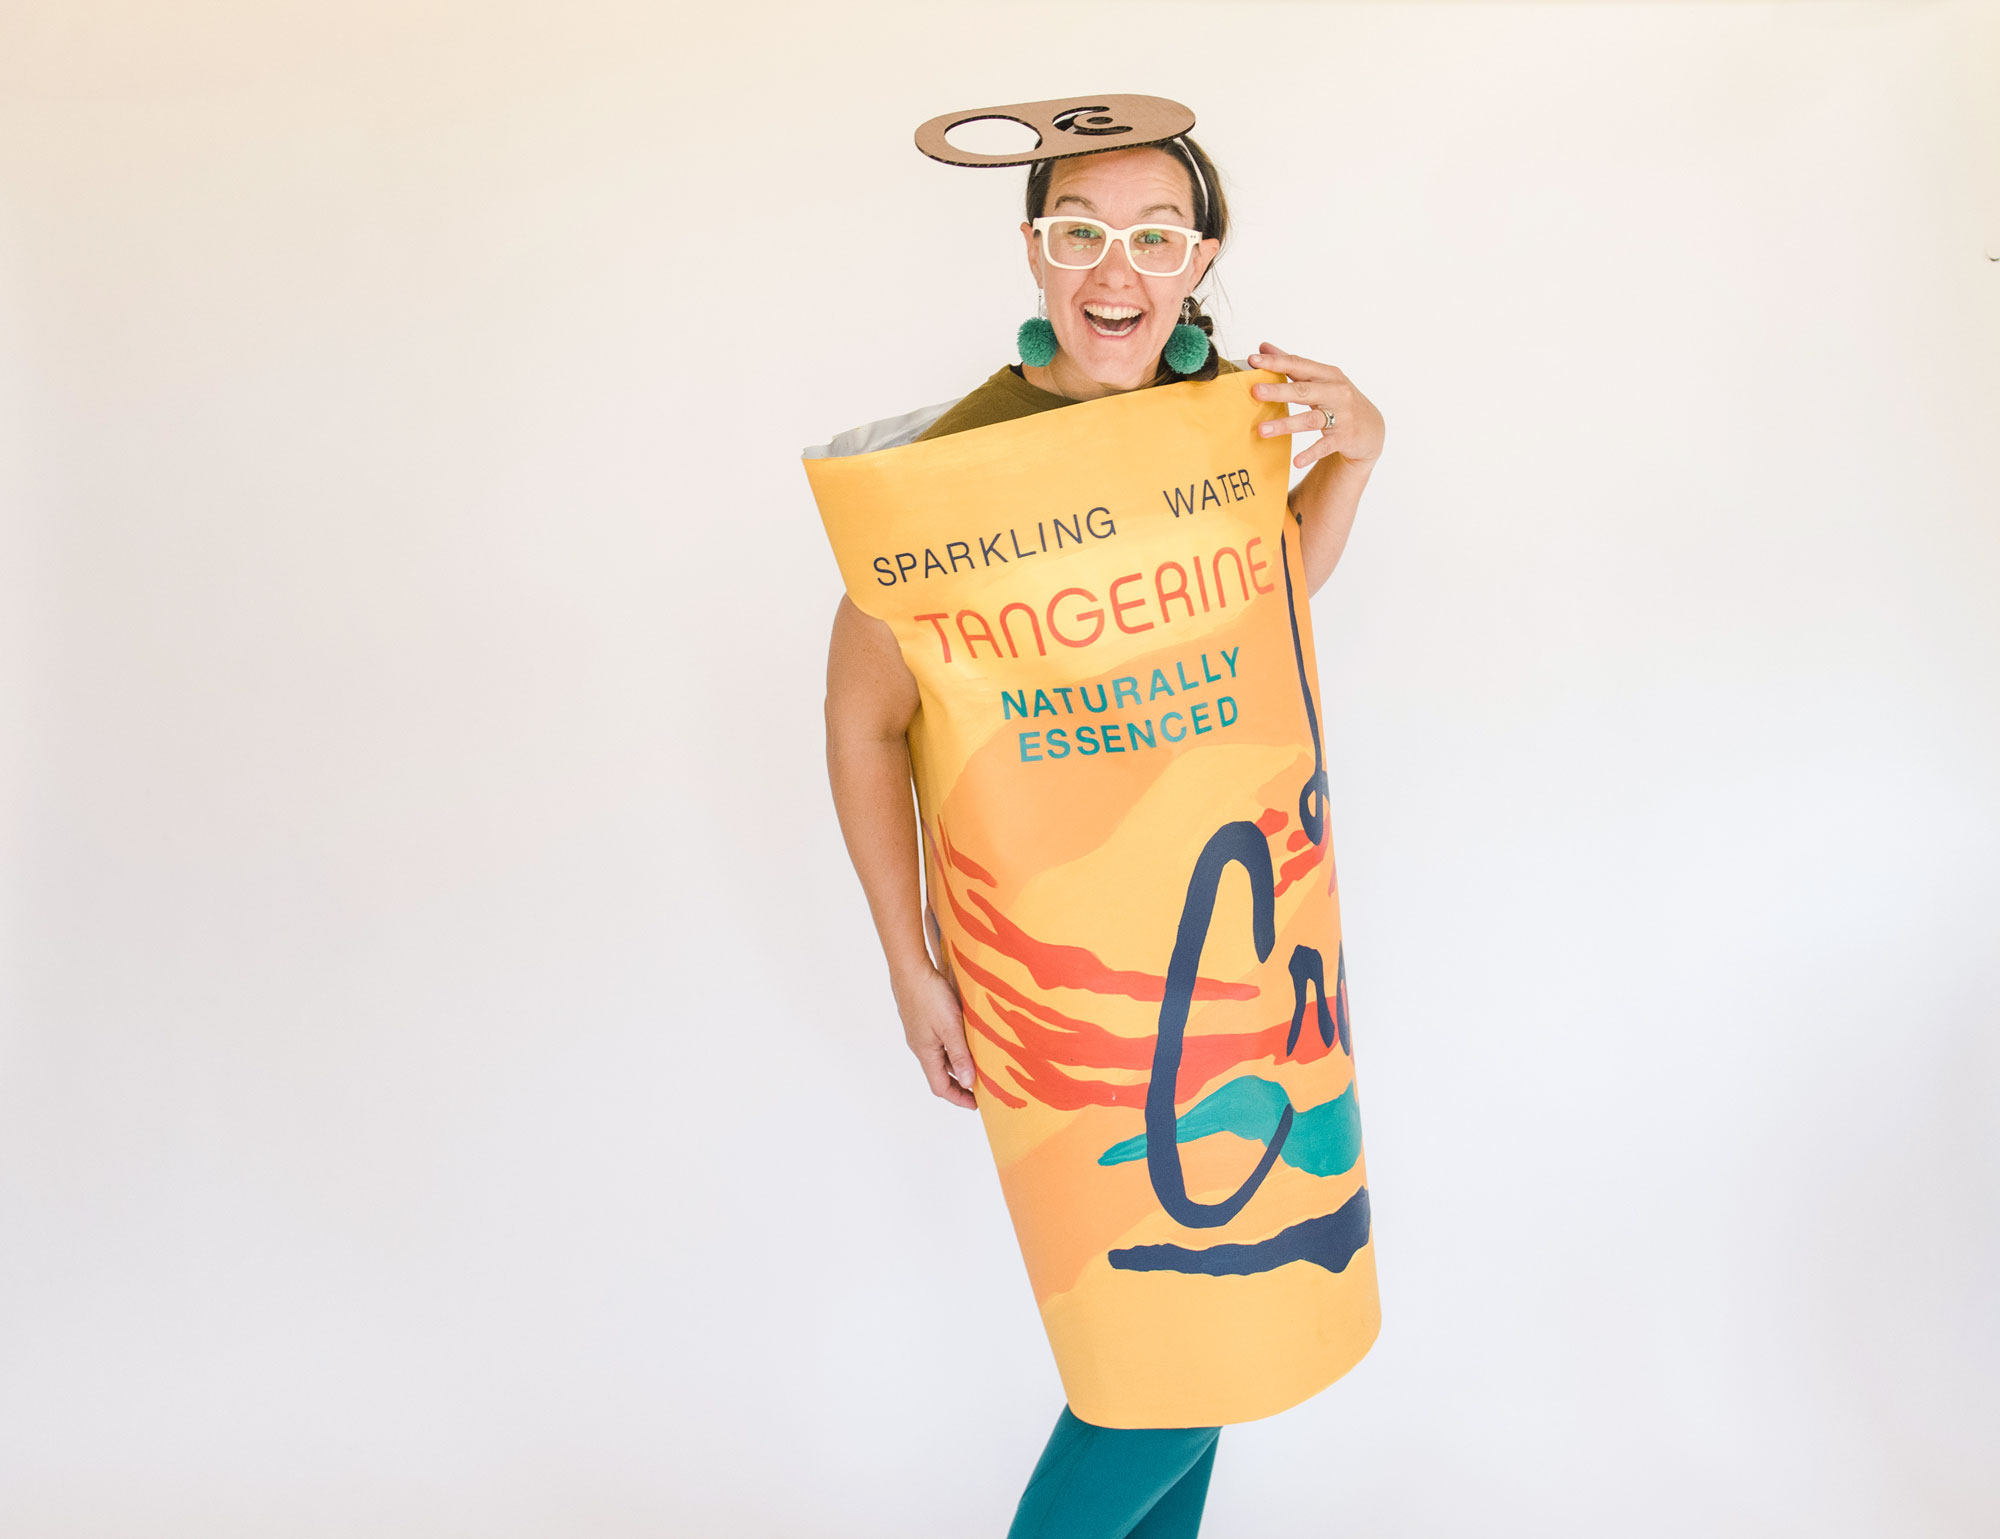
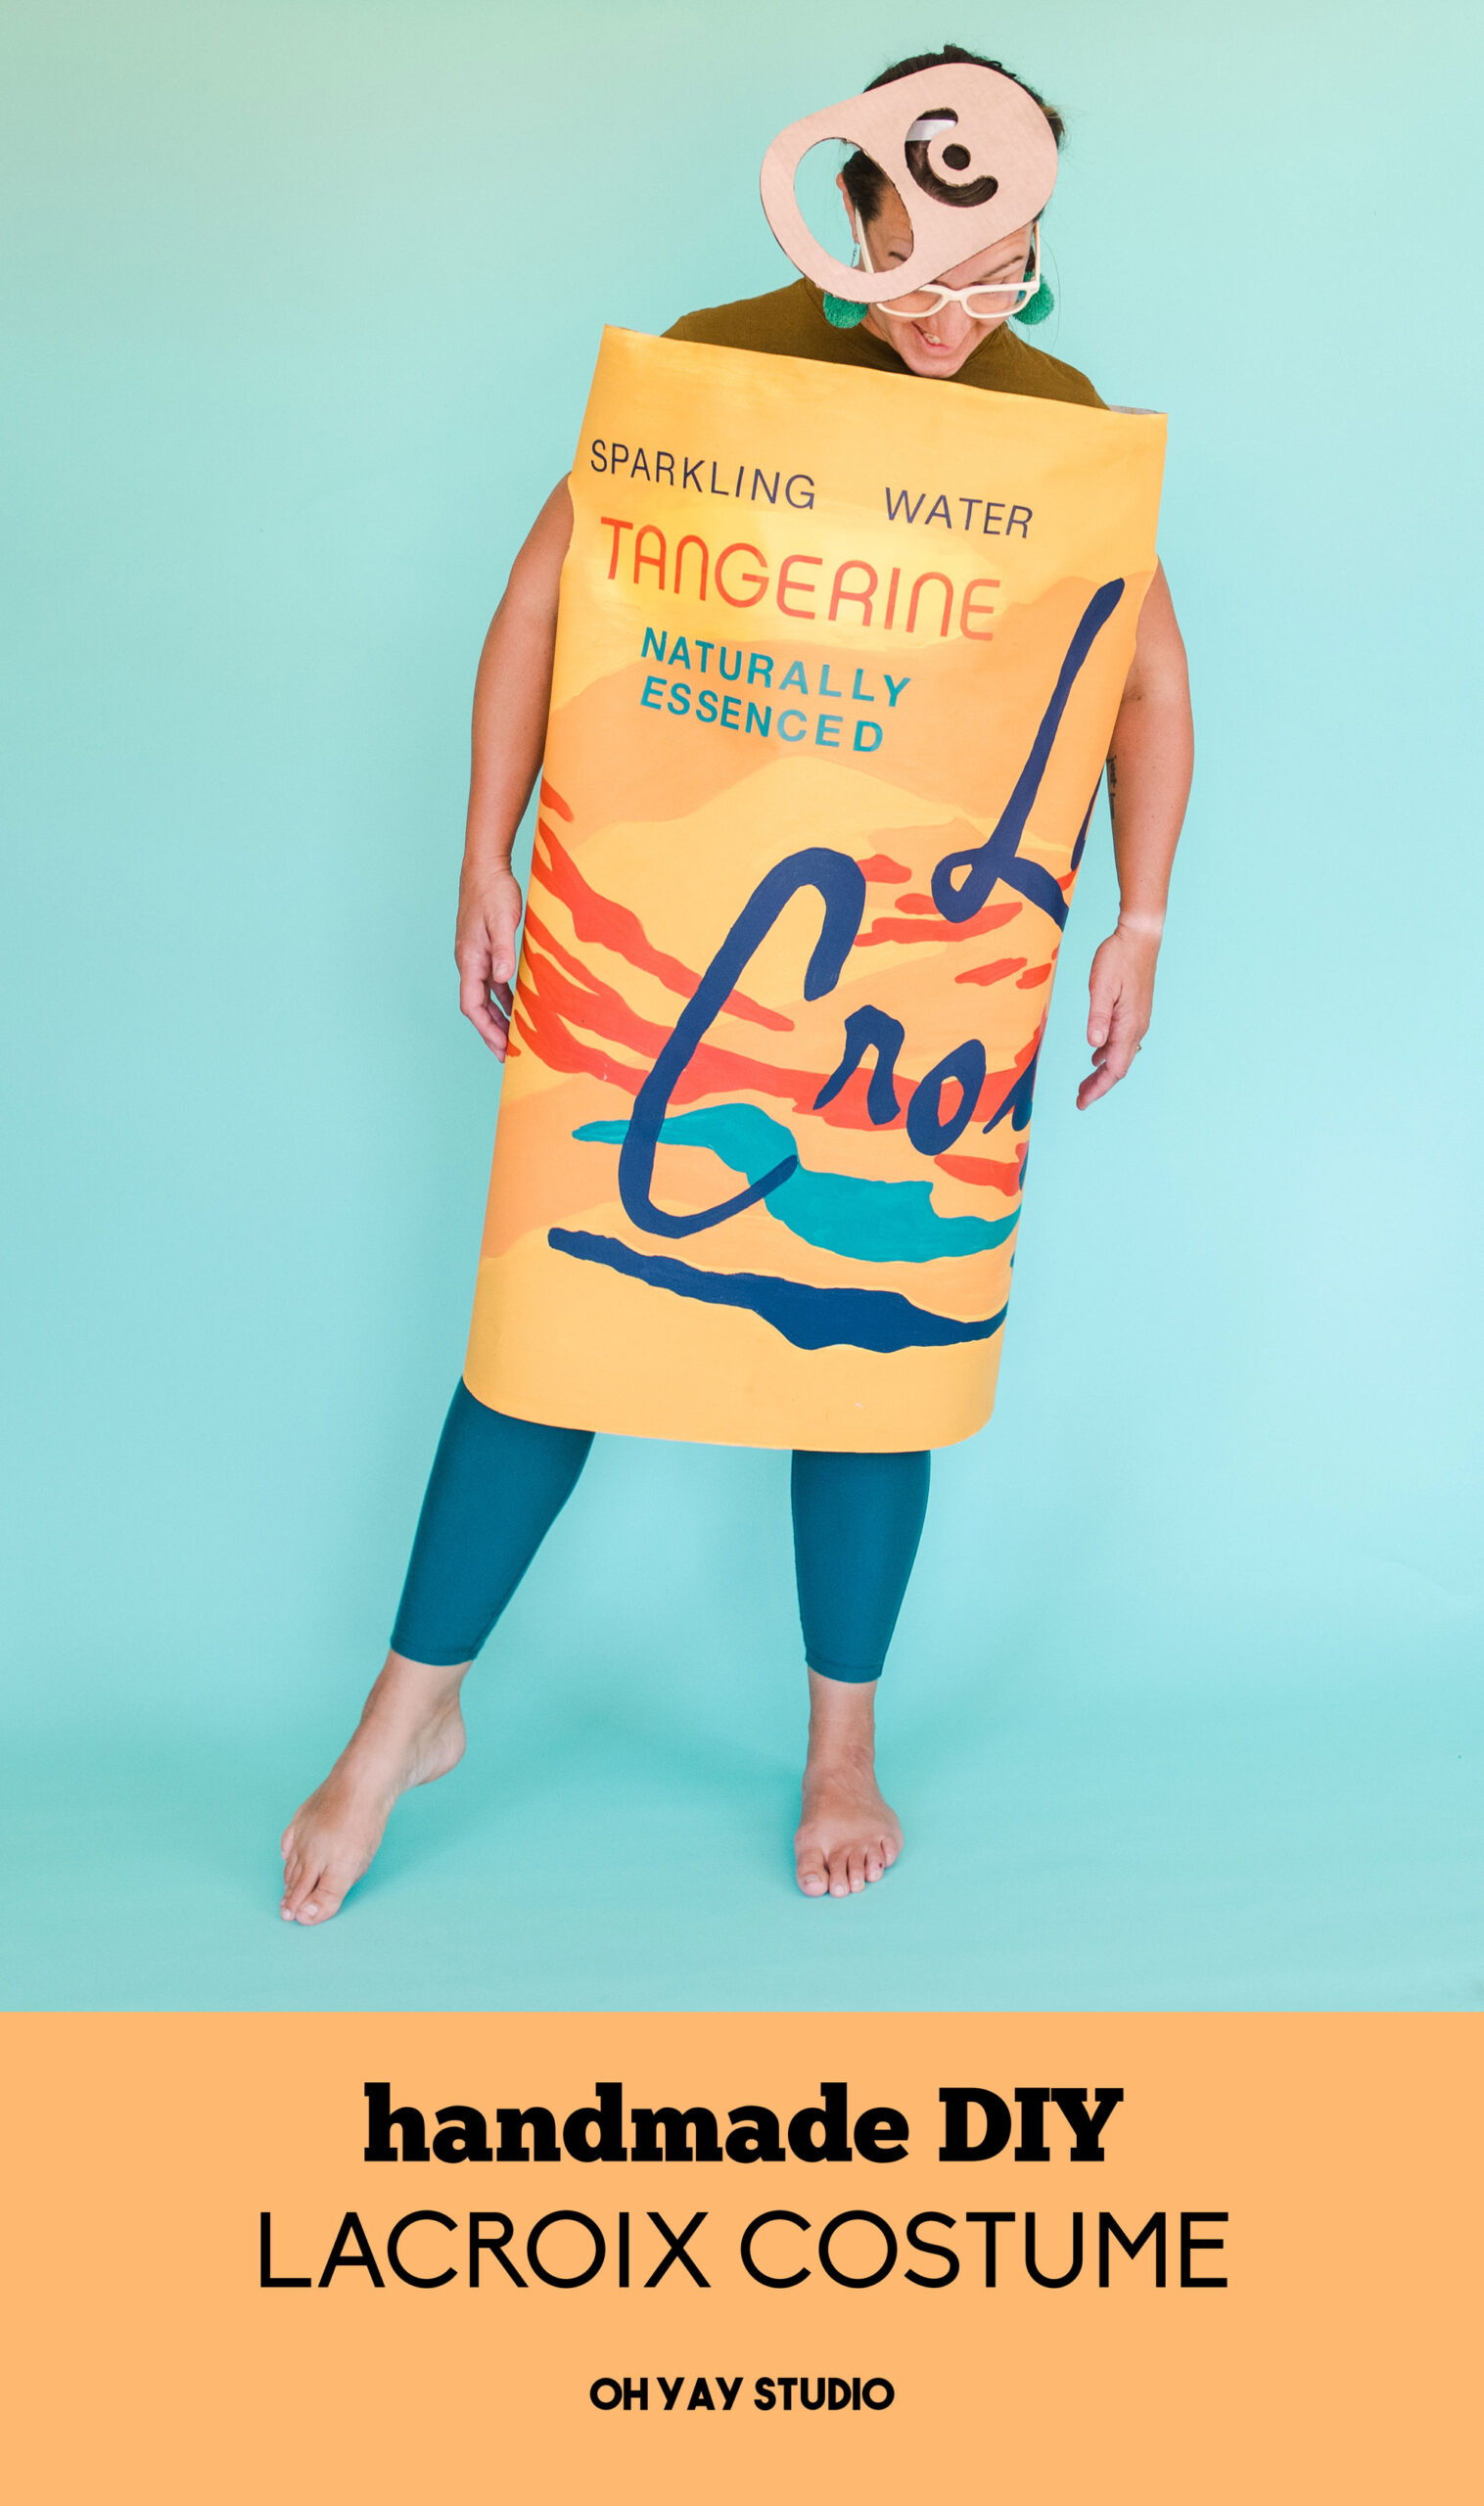
You may remember my matching Mommy-and-me LaCroix costumes from last year (find them HERE!) WELLLLL, turns out that LaCroix also loved them too, so they (AHEM…LACROIX) reached out and asked if I would create their yummy Tangerine flavor as a DIY for this Halloween!
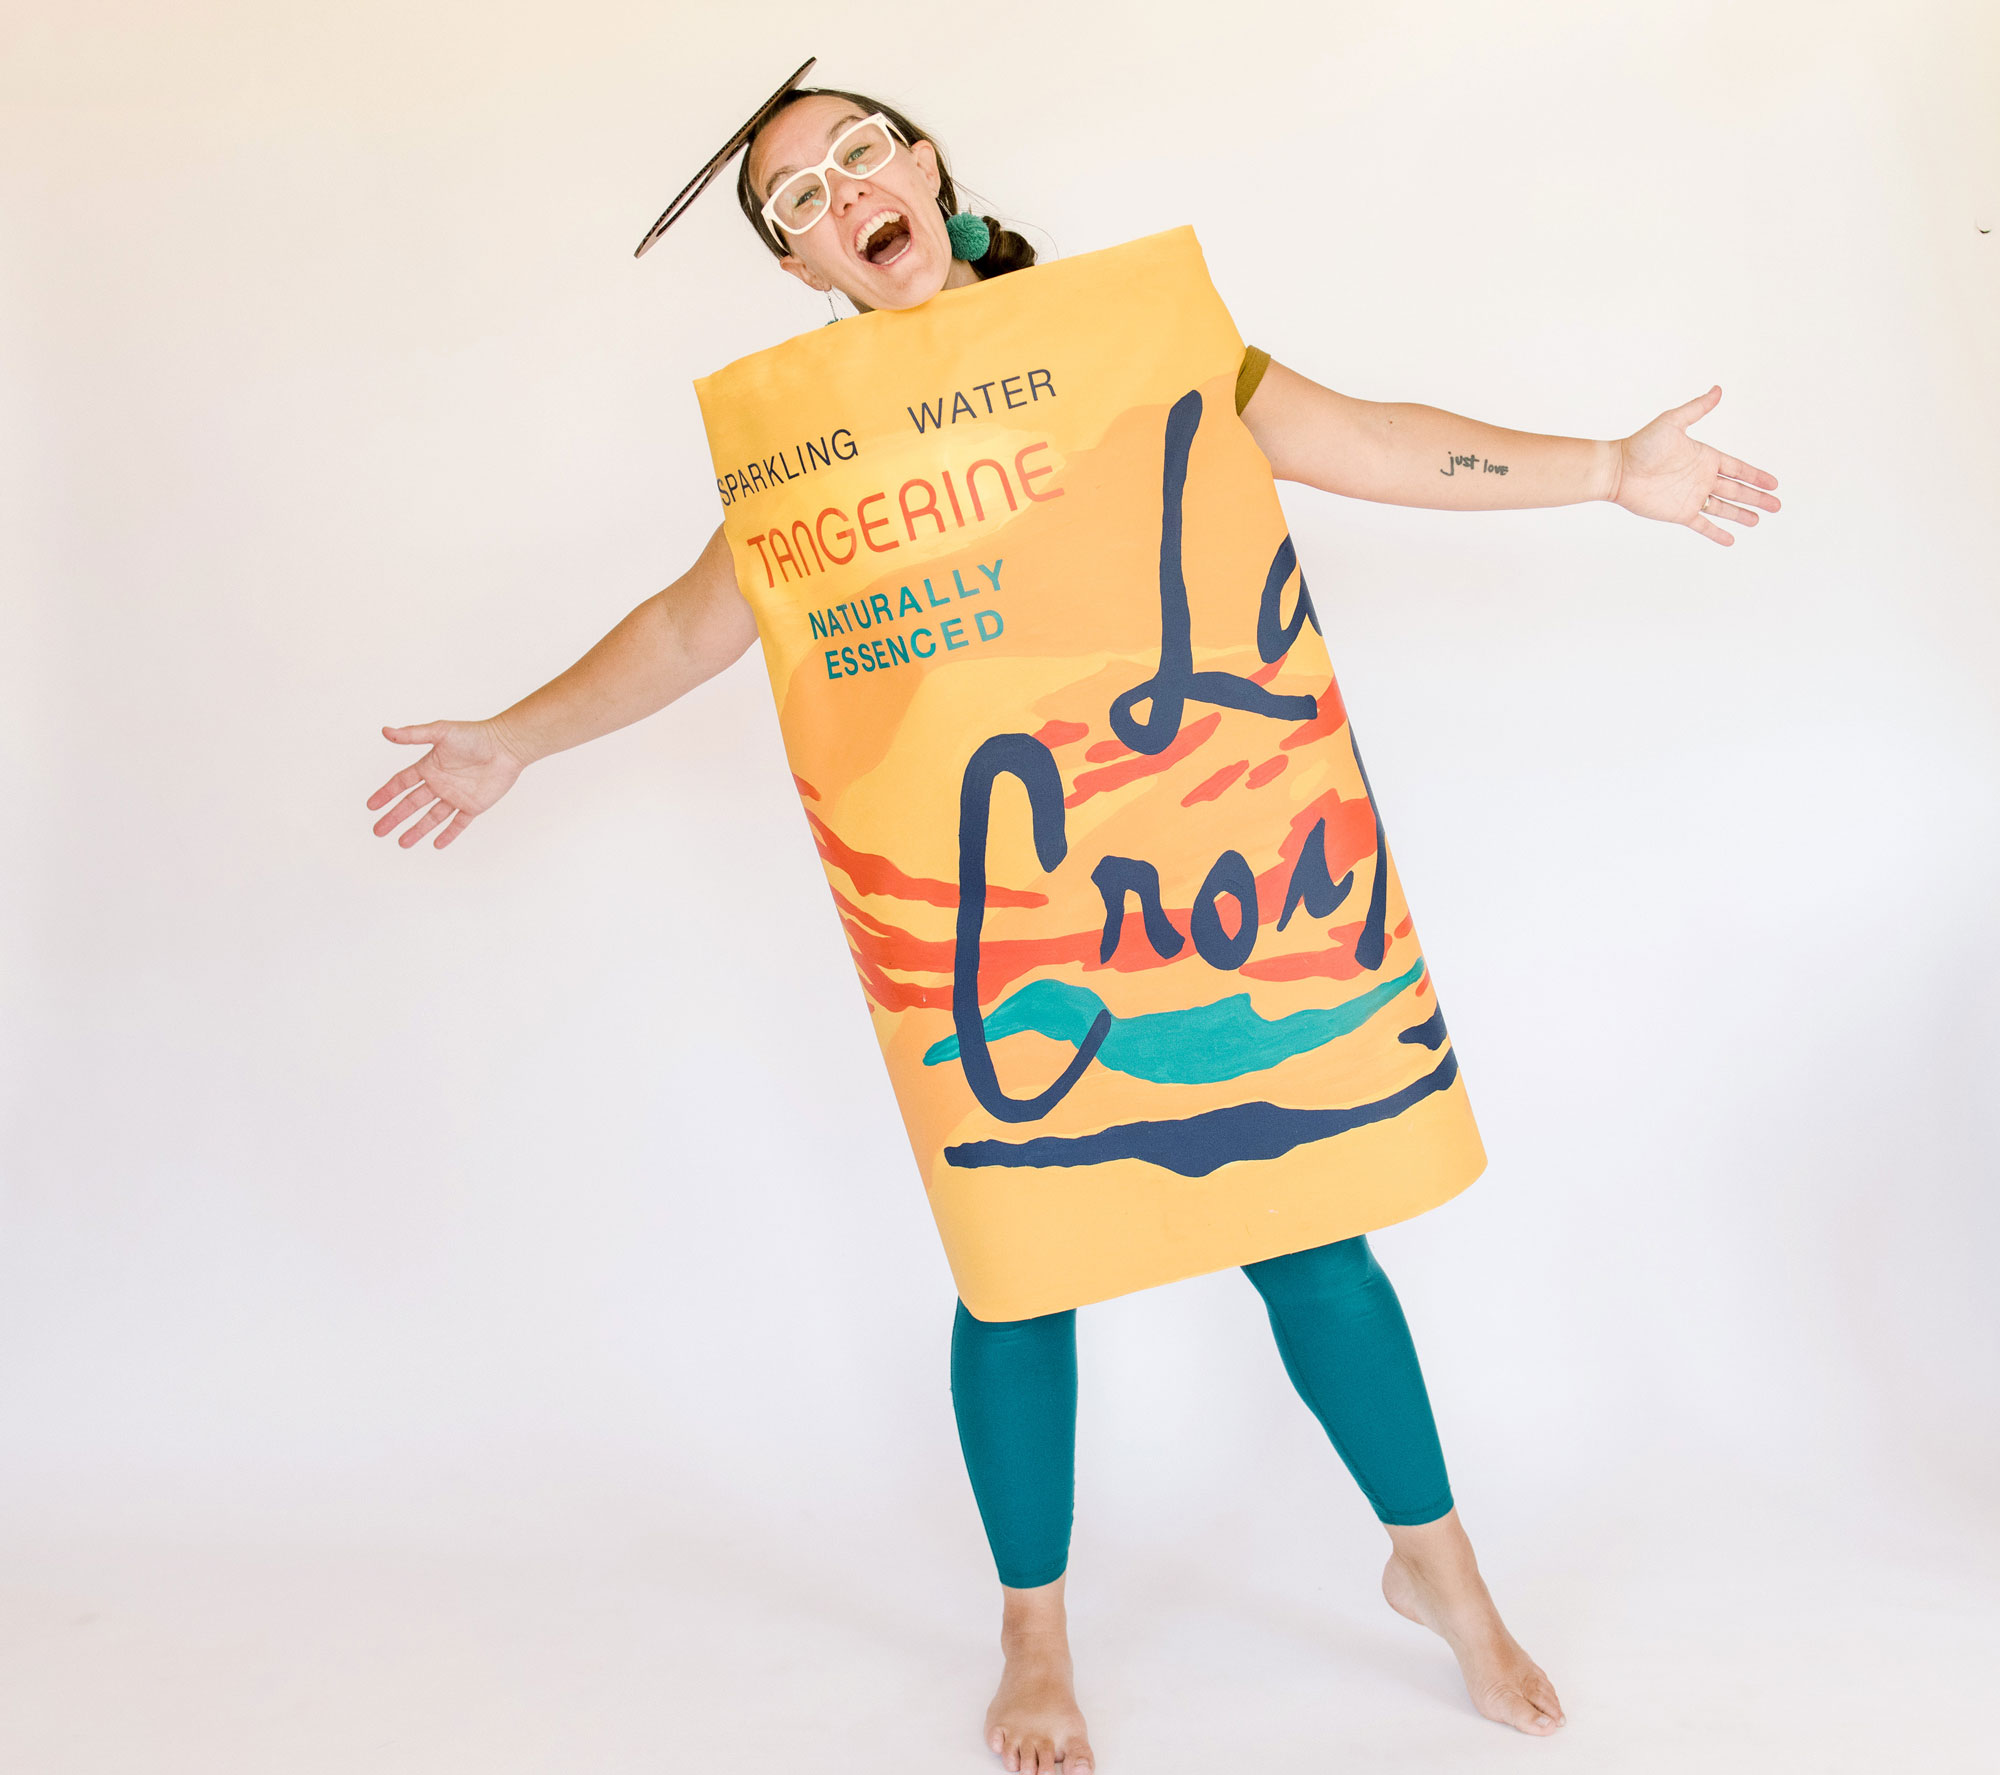
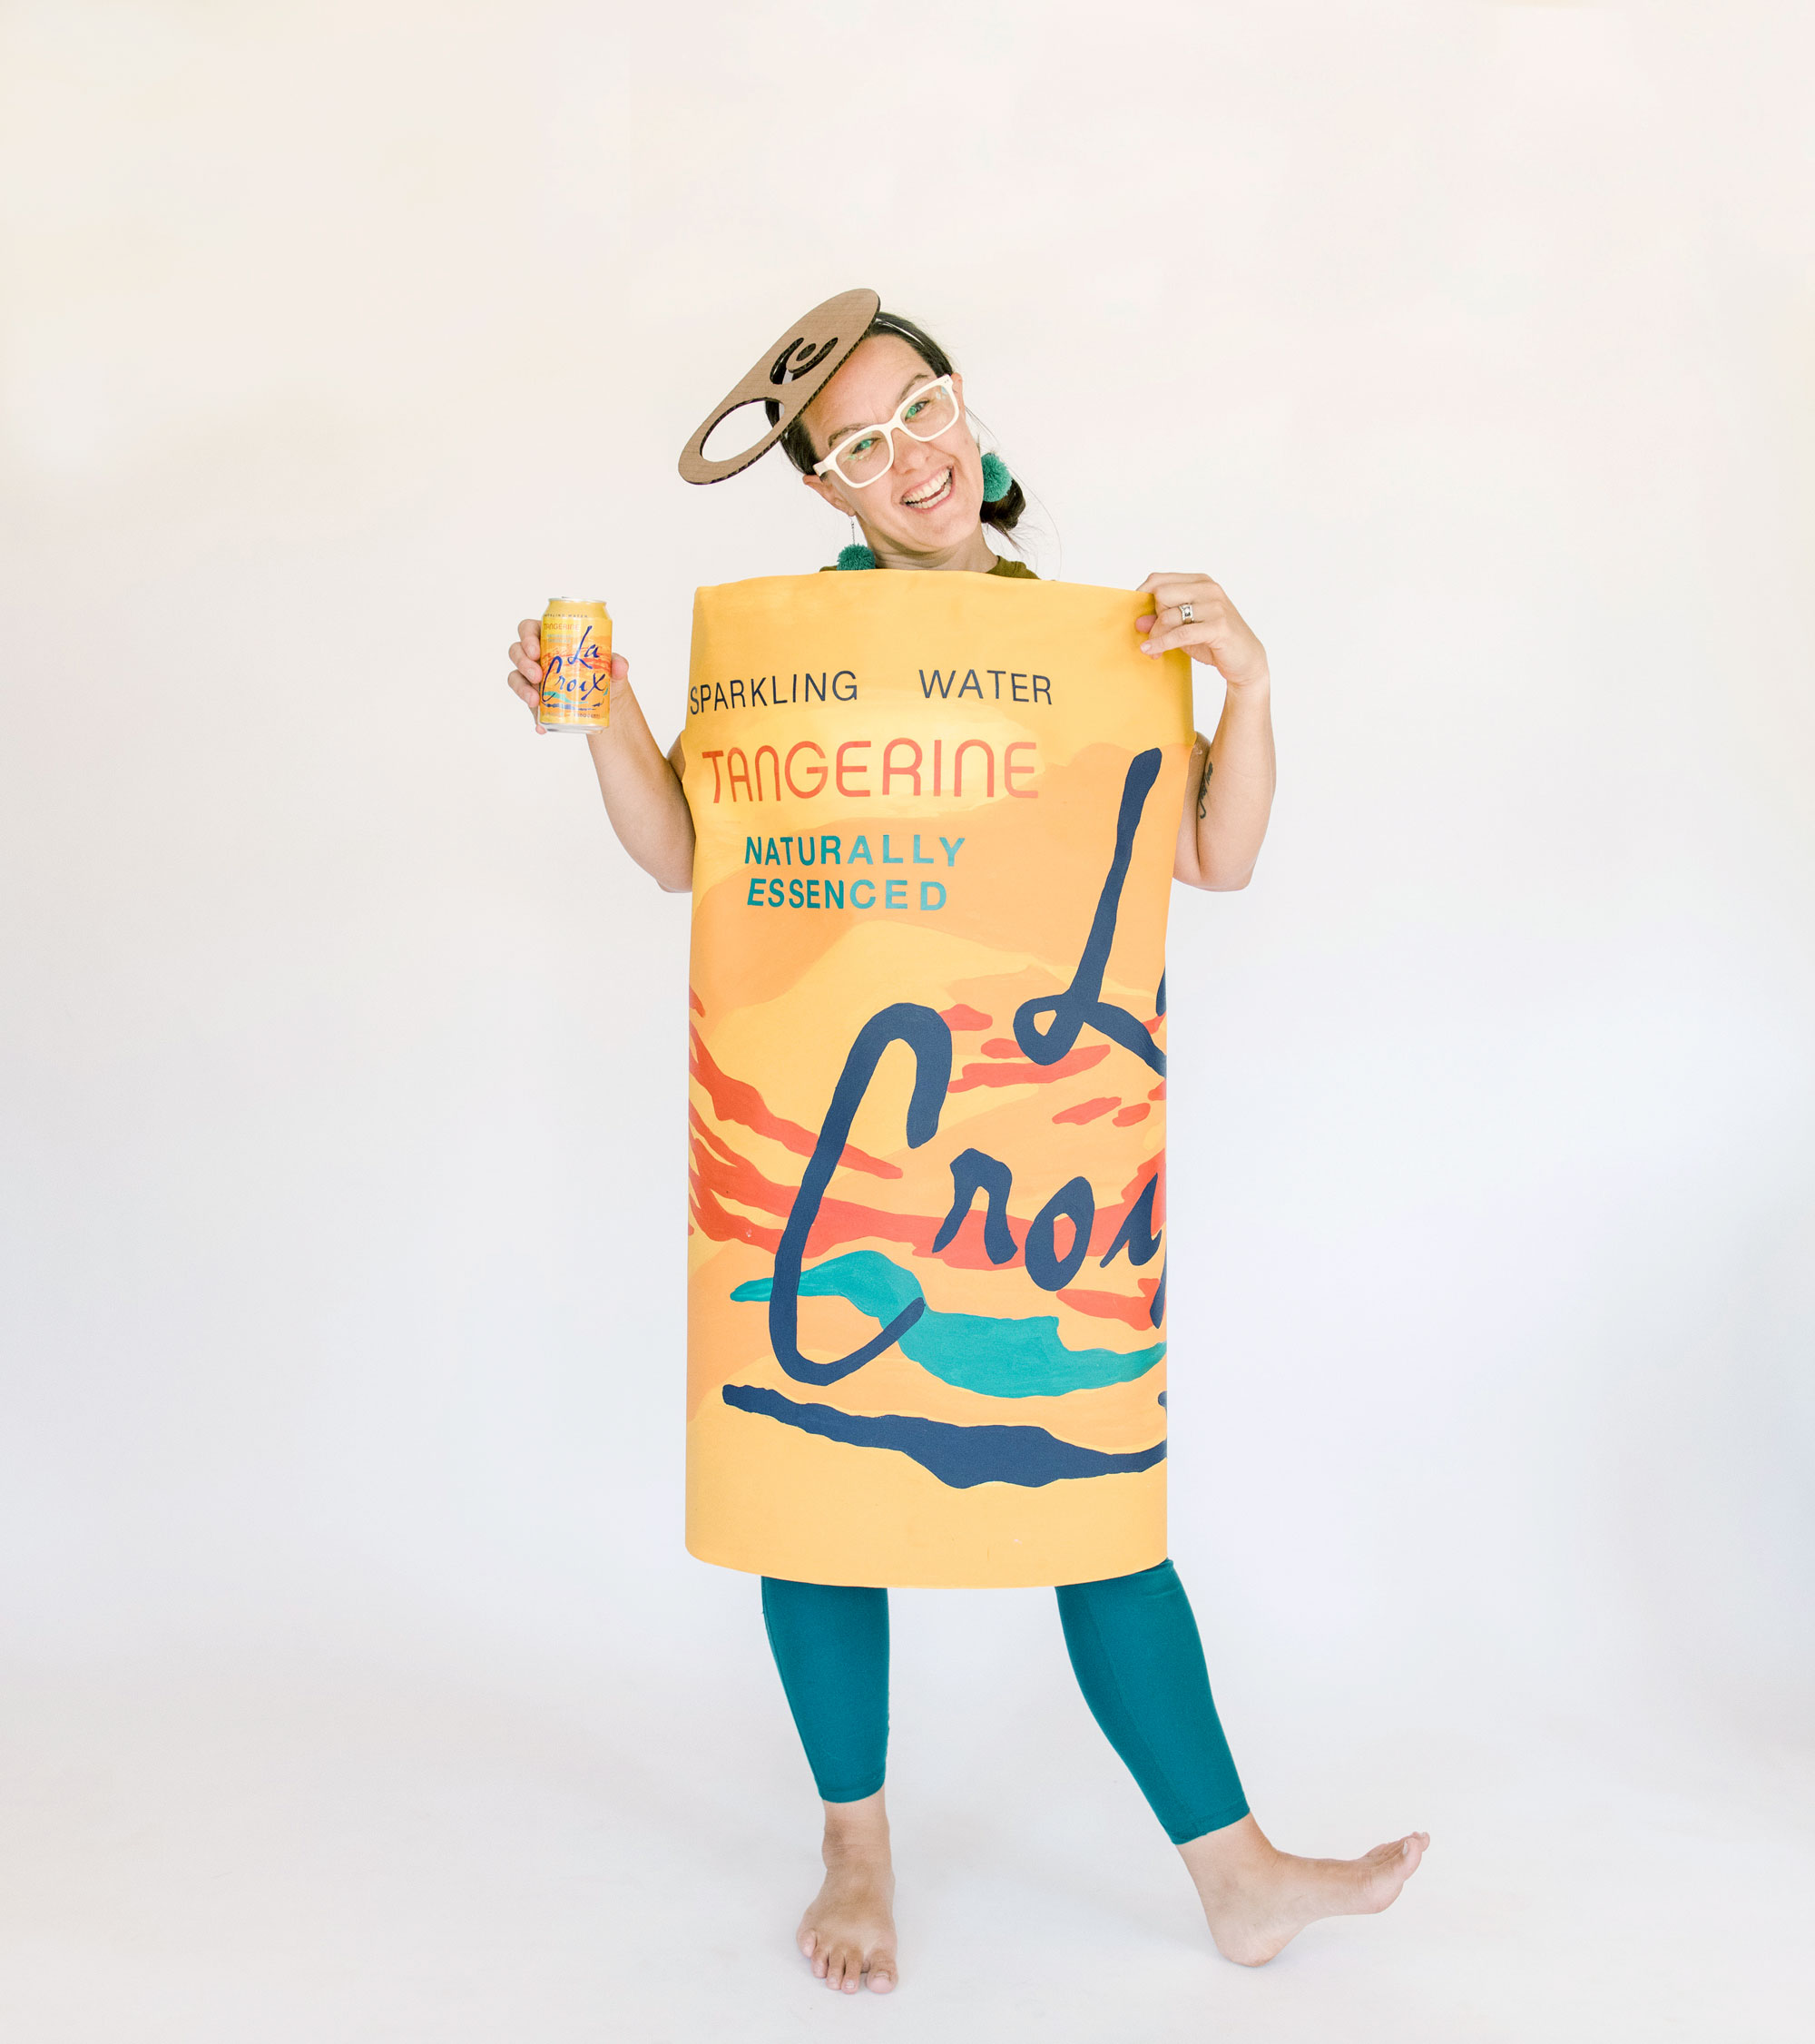
Duh, that answer is a resounding YES! So, here we have it…..a, happy, orangey, Tangerine LaCroix Halloween costume DIY! 🙂
MATERIALS:
- Fabric or an old curtain 1 1/2-2 1/2 yards (depending on size)
- Paint + paint brushes
- Pencil
- 1-2 wire coat hangers or thicker wire of some kind
- Hot glue gun + glue
- Elastic or ribbon for shoulder straps (or an old t-shirt torn or cut into strips)
- a cardboard box
- ribbon or a headband
PDF DOWNLOADS:
SVG DOWNLOADS (for cutting machine):
INSTRUCTIONS:
1. Measure body + cut fabric
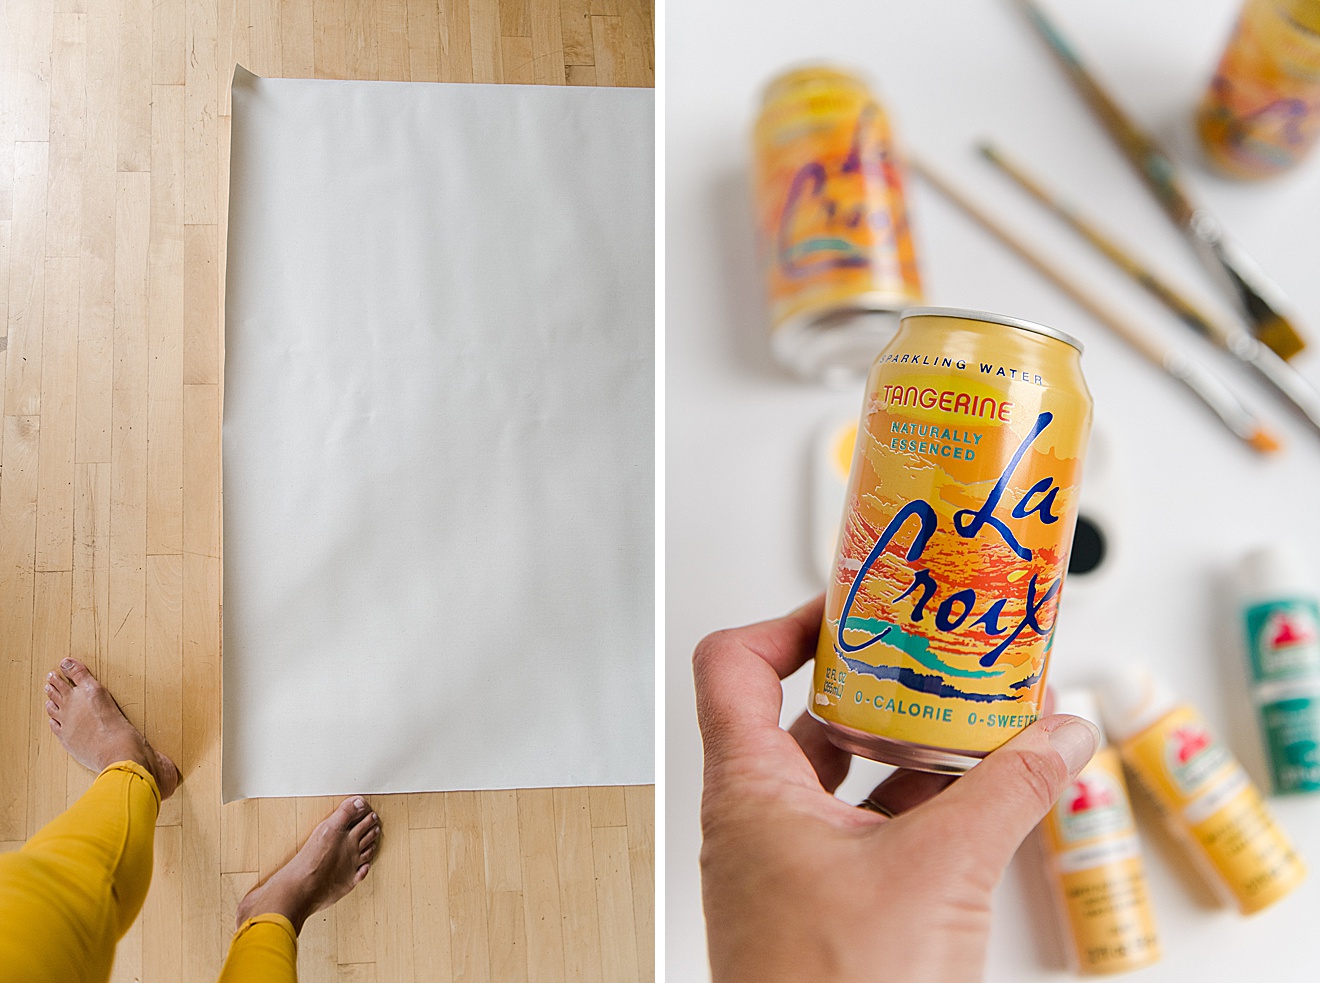
Using your body as a reference, measure the circumference of how much fabric you will need to comfortable wrap around your body. I just put the canvas up to my body and roughly measured (make sure to practice walking in the fabric to be sure that it’s not too tight to your knees)! The last thing you want is to trip while running for your Halloween treats! 🙂
2. Paint background
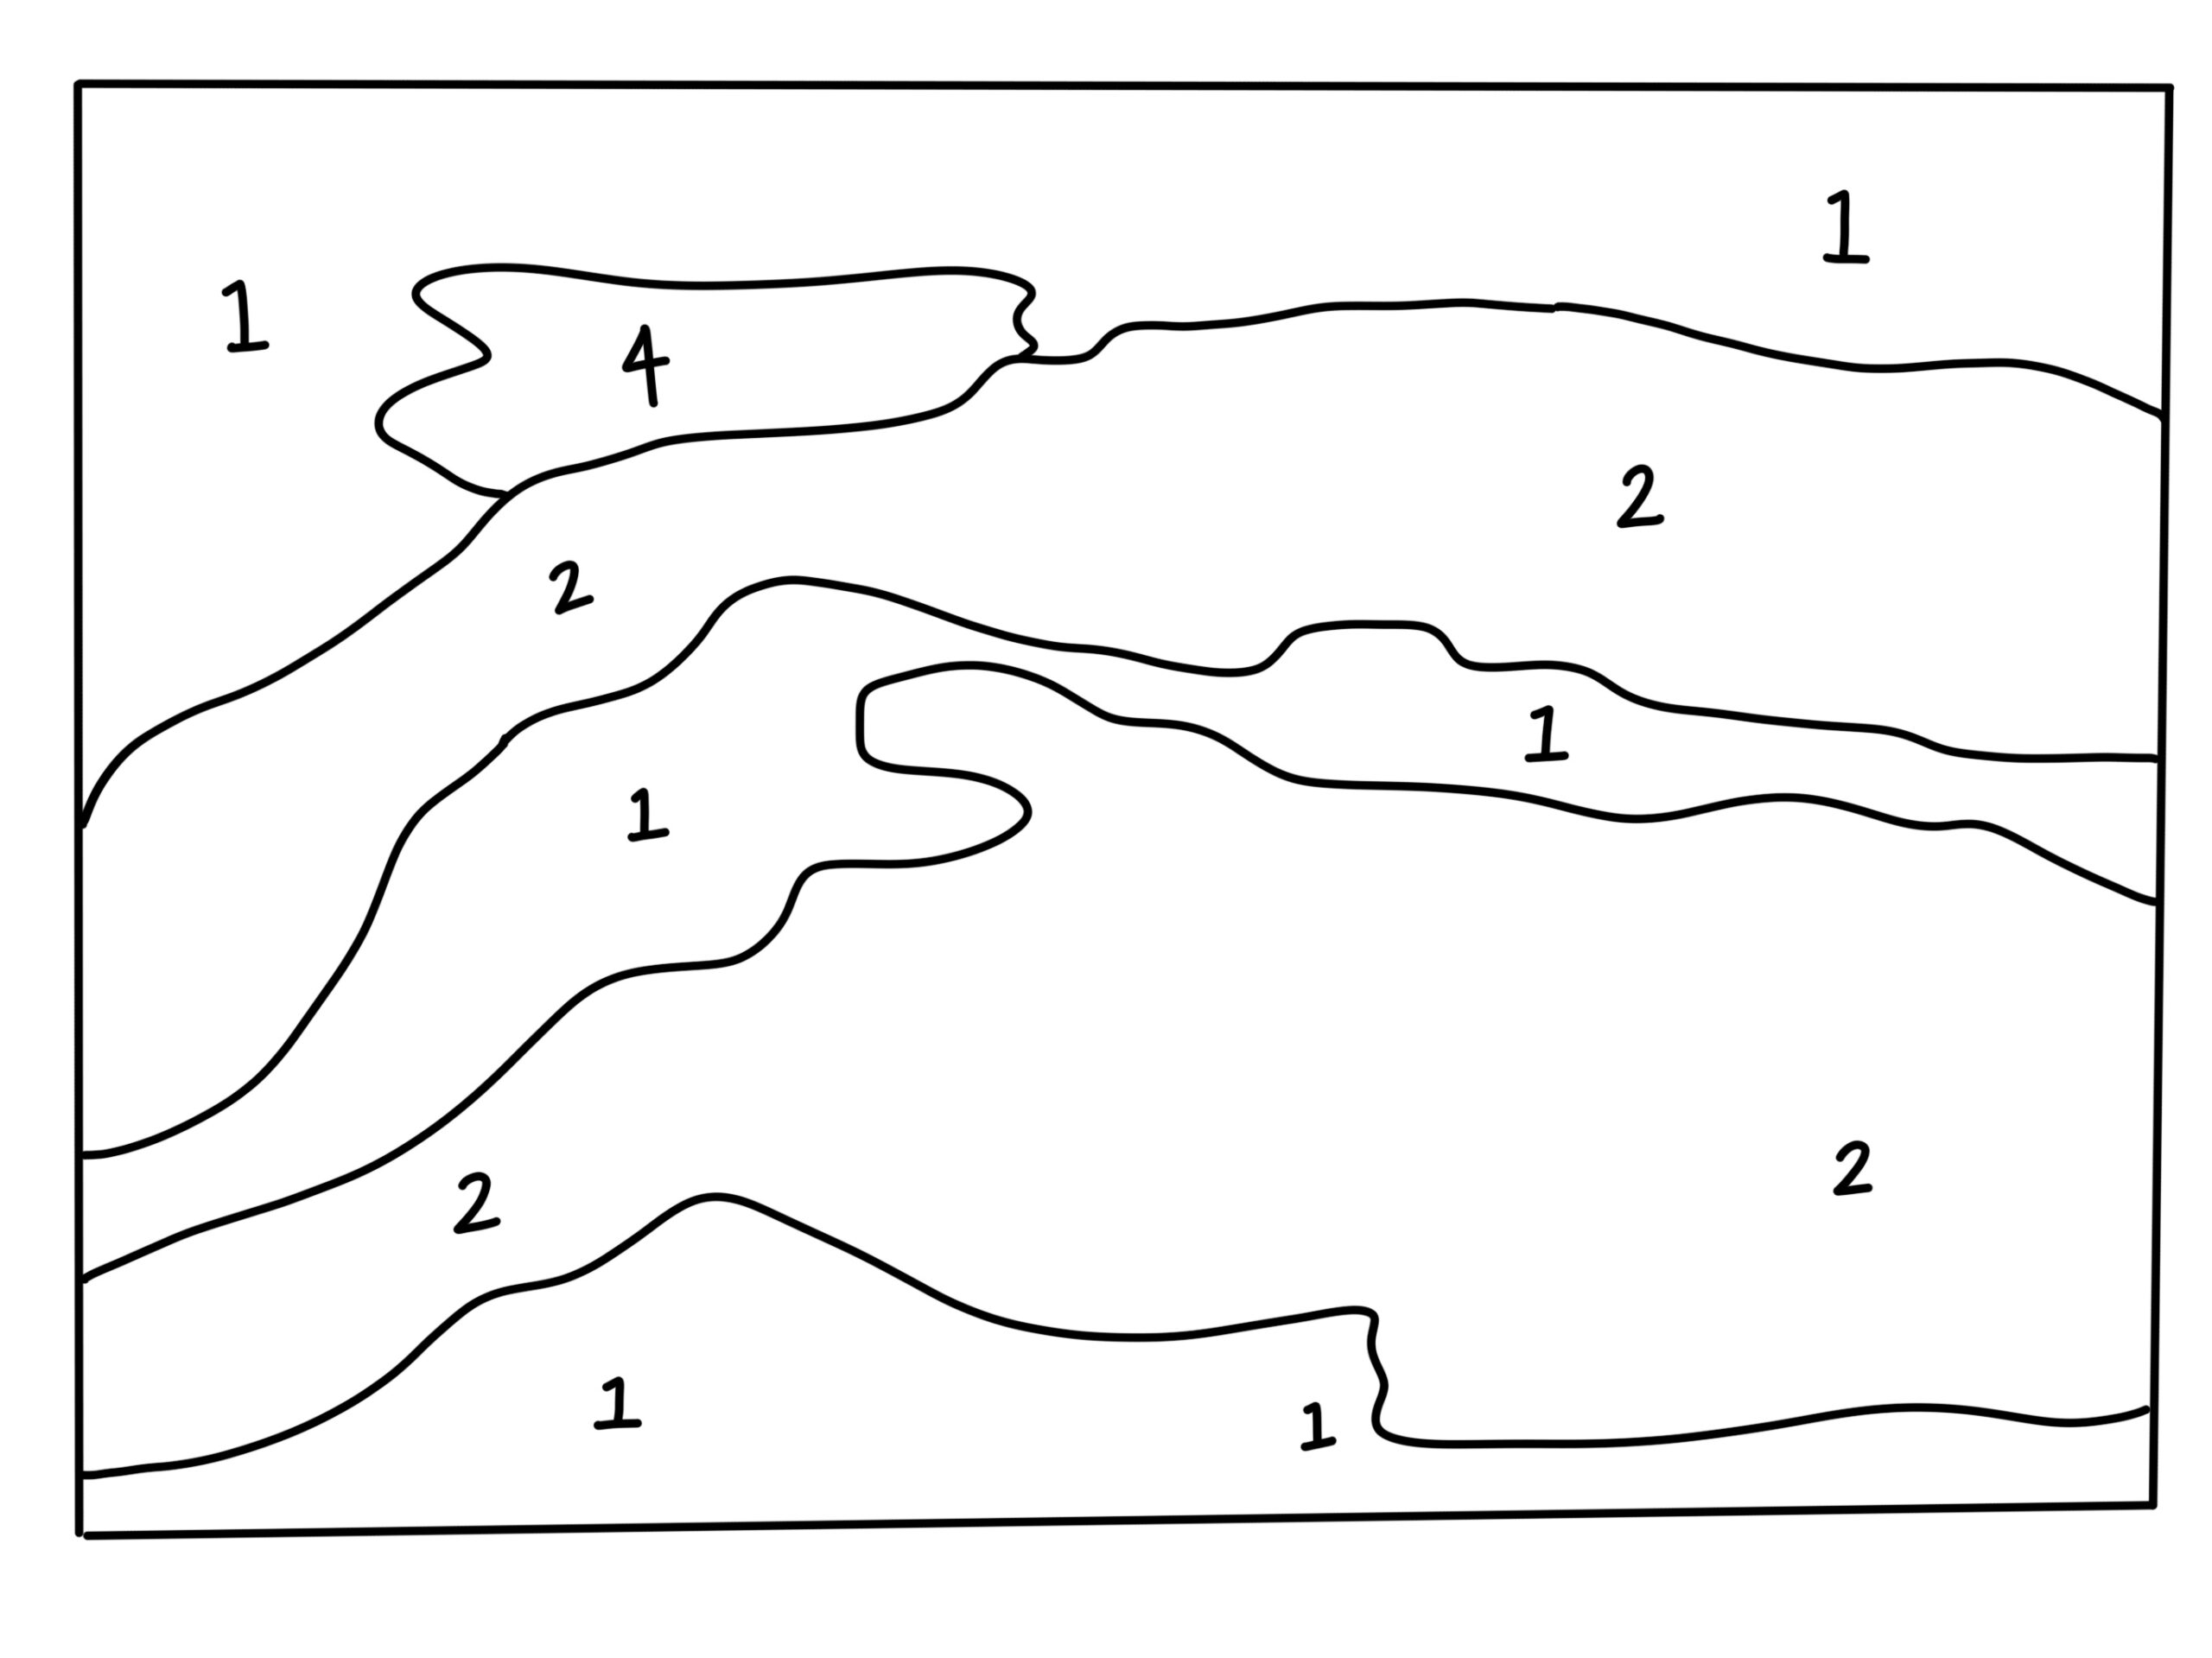
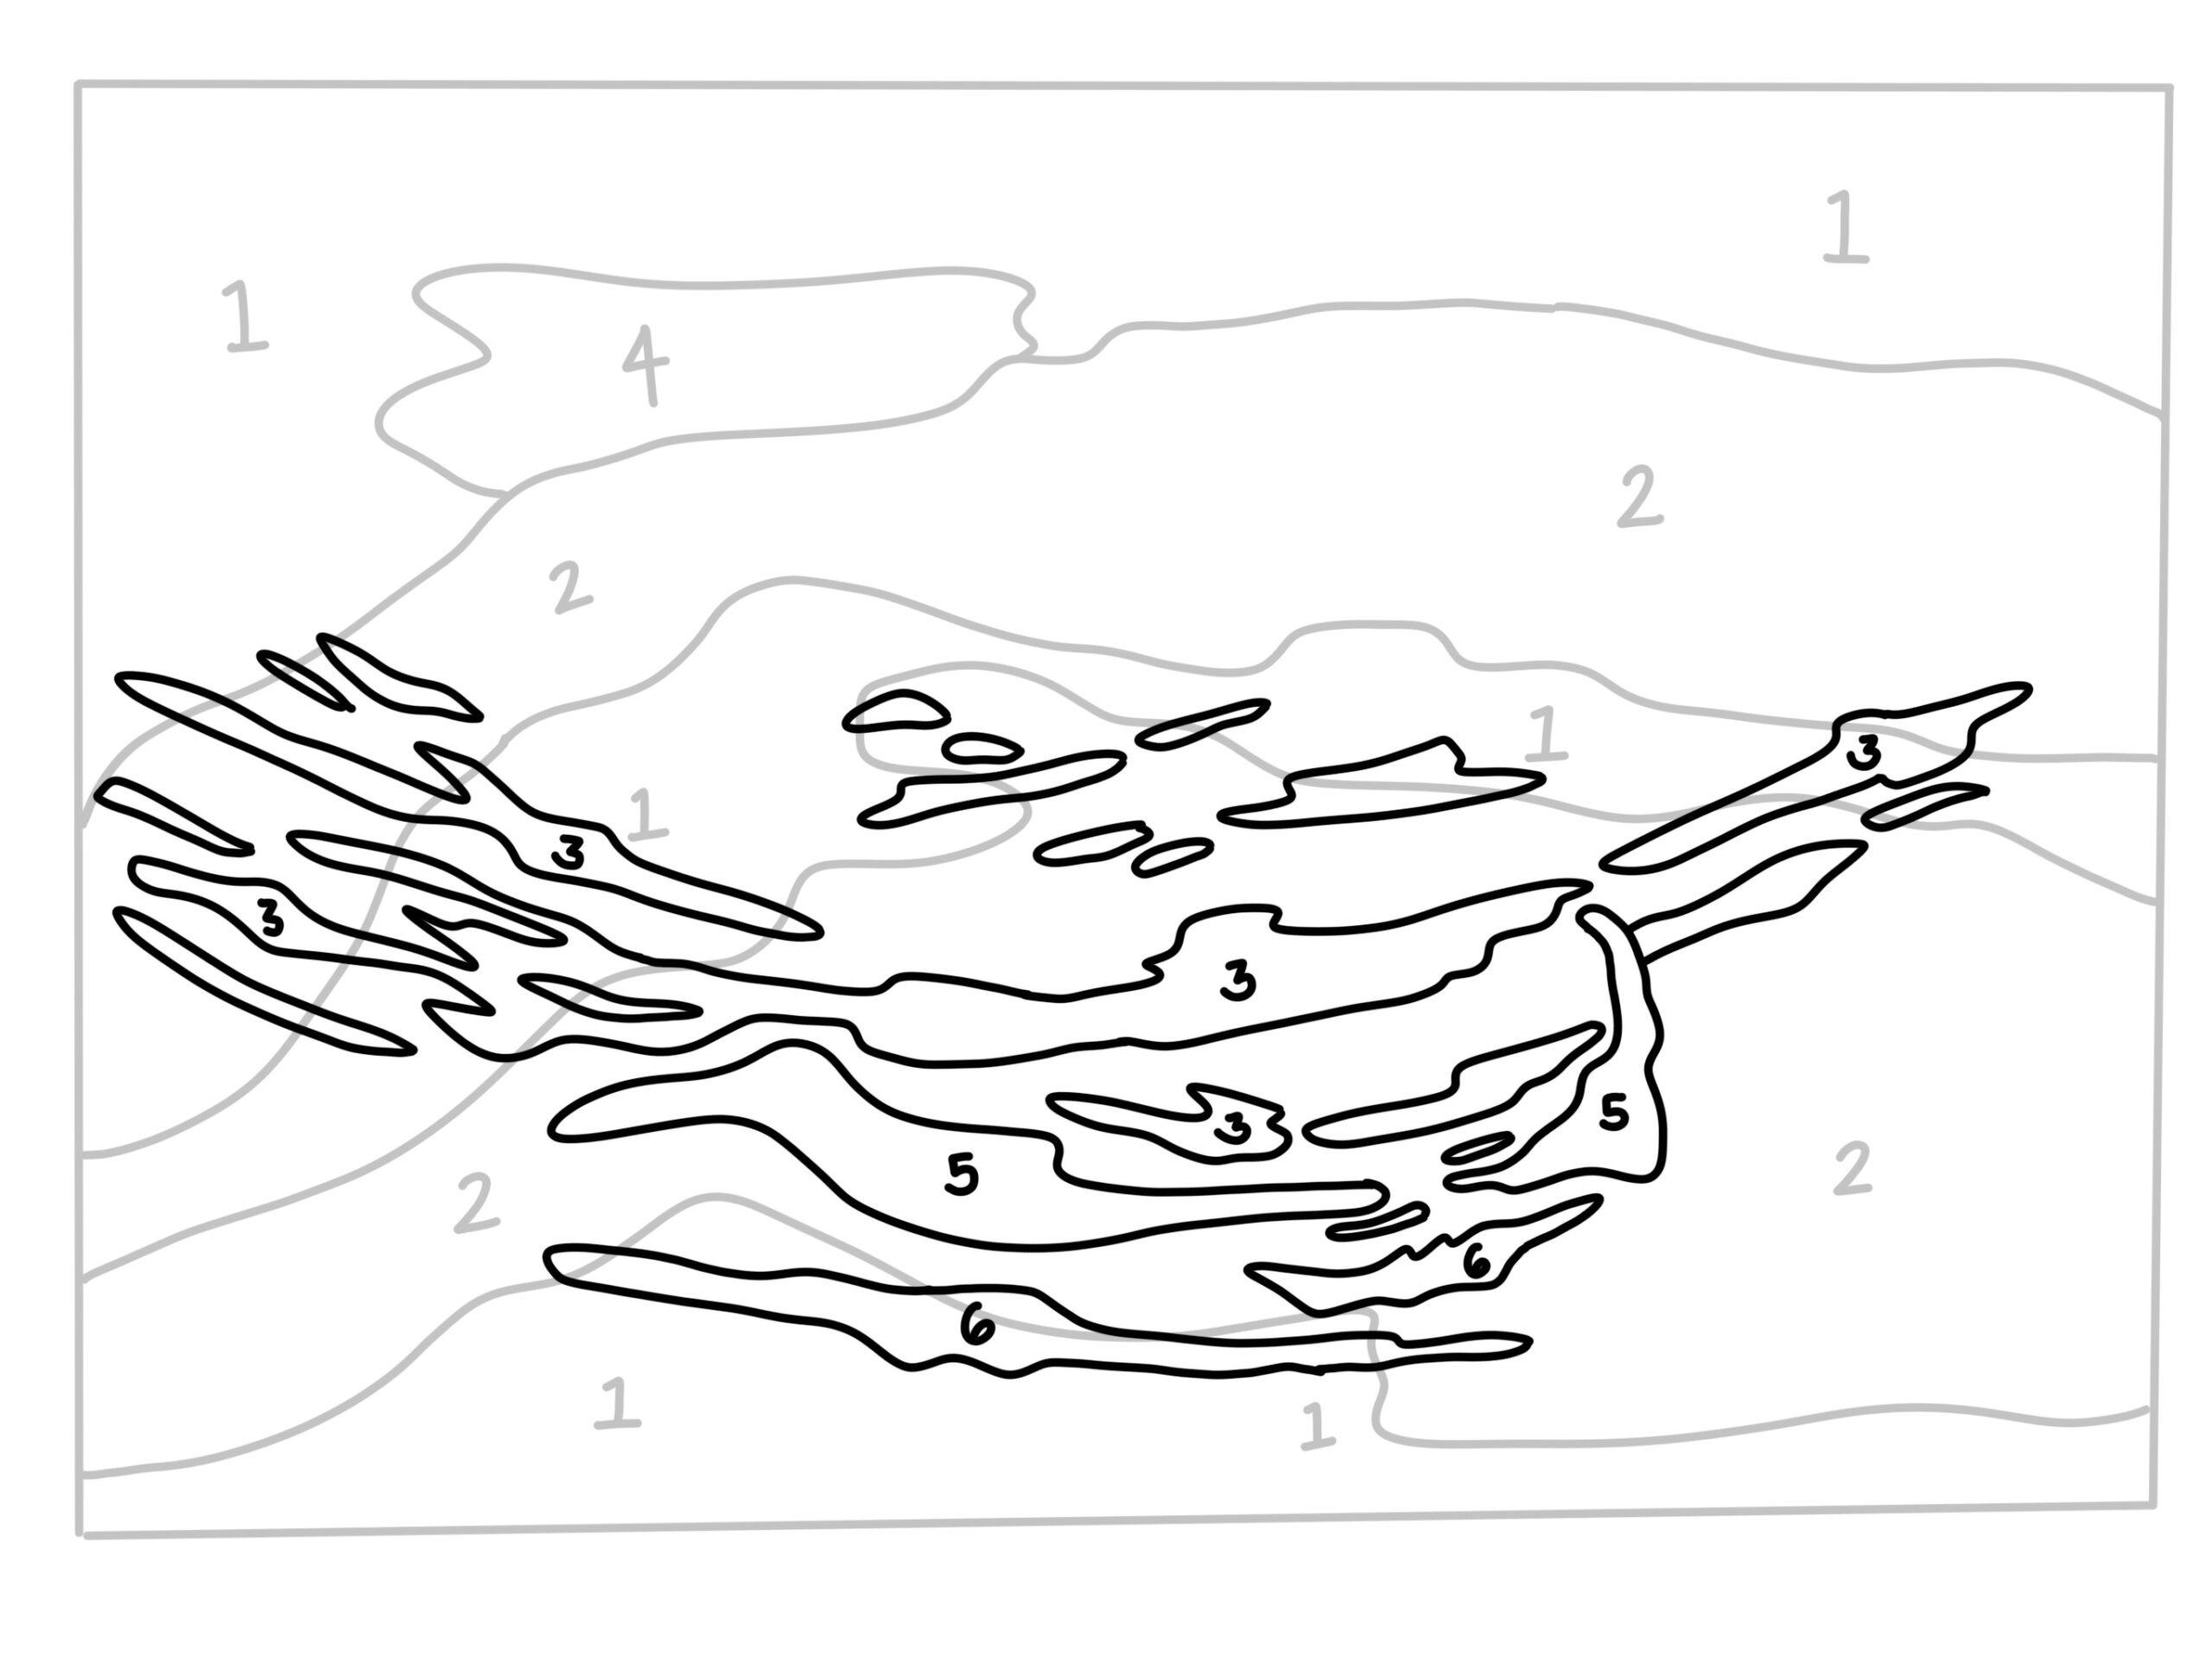
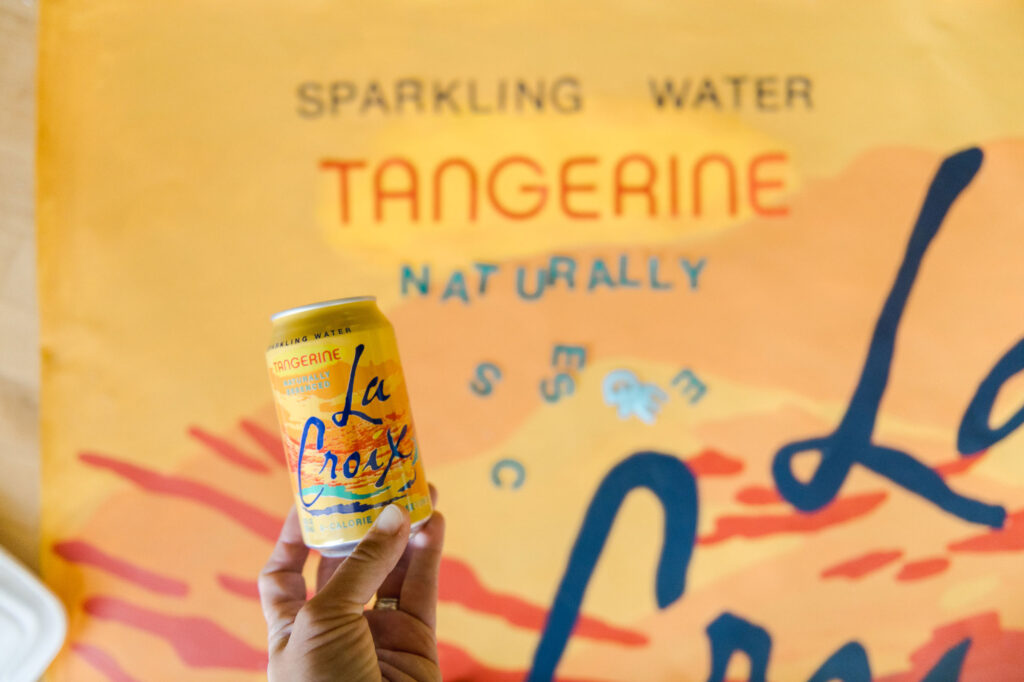
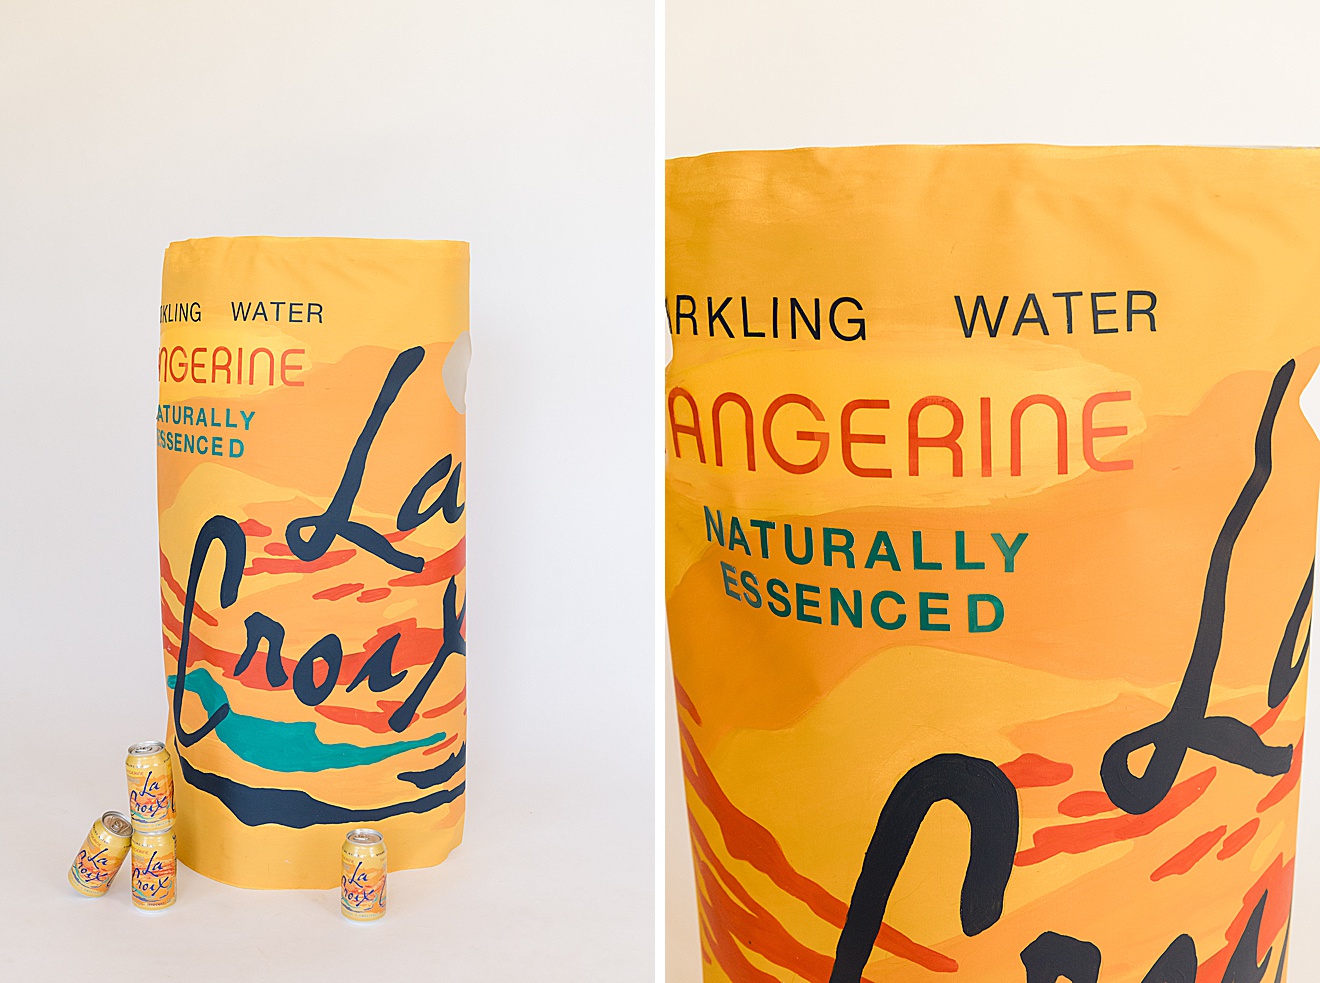
This is the fun part. Using your Tangerine LaCroix can as a reference, begin to roughly draw where the colors of the body of the can will go. Use the graphic for reference and then fill in the penciled areas like a paint by number- the great thing is that this is an abstract background, so it does not need to be perfect! Let me repeat that: IT DOES NOT NEED TO BE PERFECT! 🙂
Once you’ve painted the background, set aside and allow to dry.
The one thing to note is that we will be folding the bottom and top 2” inward on the costume, so be sure you don’t put too much detail/words near those parts of the fabric as you are painting.
*Tip, if this seems tricky, make the can simpler. Begin by painting the entire background your main color and then just add in as much detail as desired or that you feel comfortable with! 🙂
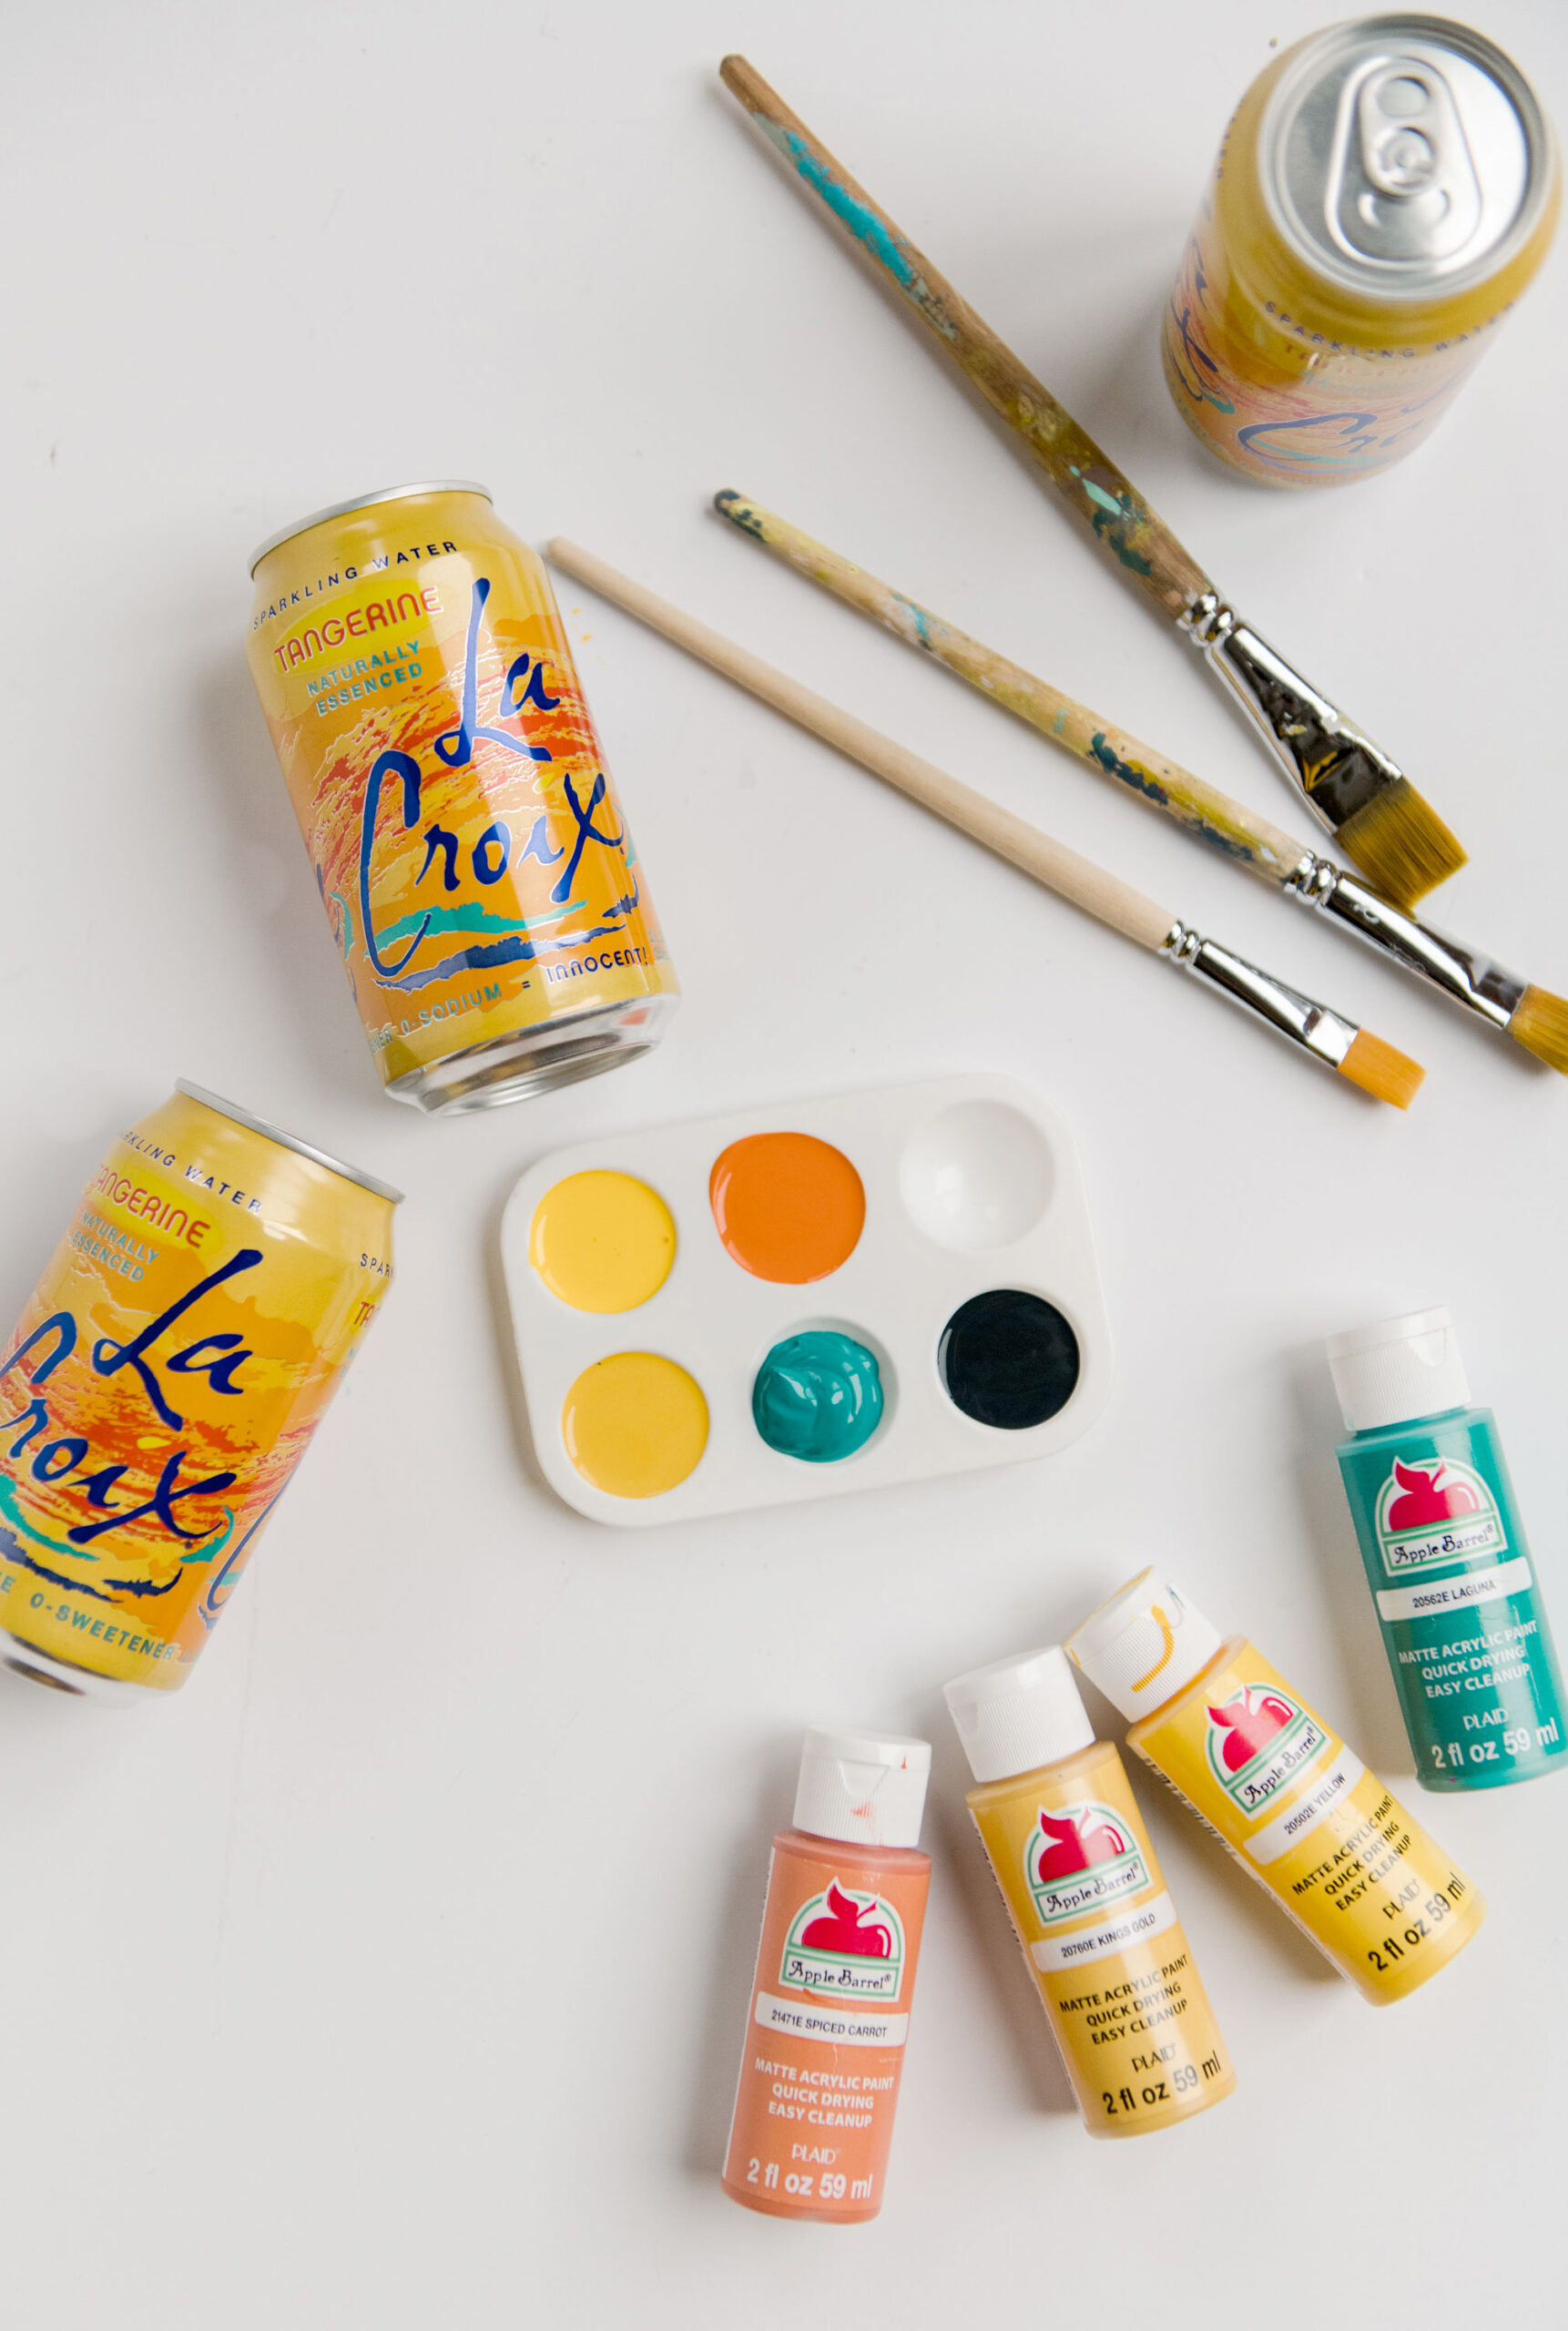
Here are the colors I used that match the Tangerine can pretty perfectly:
- Main color (1) : Kings Gold
- Accent (2) : 4 parts kings gold mixed with 1 part spiced carrot
- Accent (3) : Spiced Carrot
- Under wording (4) : Yellow mixed with a touch of white
- First swoosh (5) : Laguna
- Lower swoosh (6) : Navy
3. Paint wording
Print out the wording templates, tape them together according to the and then cut out the letters. Trace the letters onto your painted can background and carefully paint them in. Again, use the reference below for the paint colors + placement.
*Note: you may need to adjust the sizing of the letters as you see fit. The size provided seems to work well with MOST adult sizes, but if you are making this for a kiddo, just size down on your printing screen according to your desired size.
For the adult sizing, you will want “Croix” to measure approx. 24” across and the “L” in La to be about 14” from top to the bottom circle for the adult size. You will also want the “Tangerine” to be about 11 inches long.
There is also an option to print out these letters on a cutting machine, so download the SVG files (above in this blog post) if you want to cut the lettering out of paper or fabric and simply glue it on 🙂
4. Wire + Glue
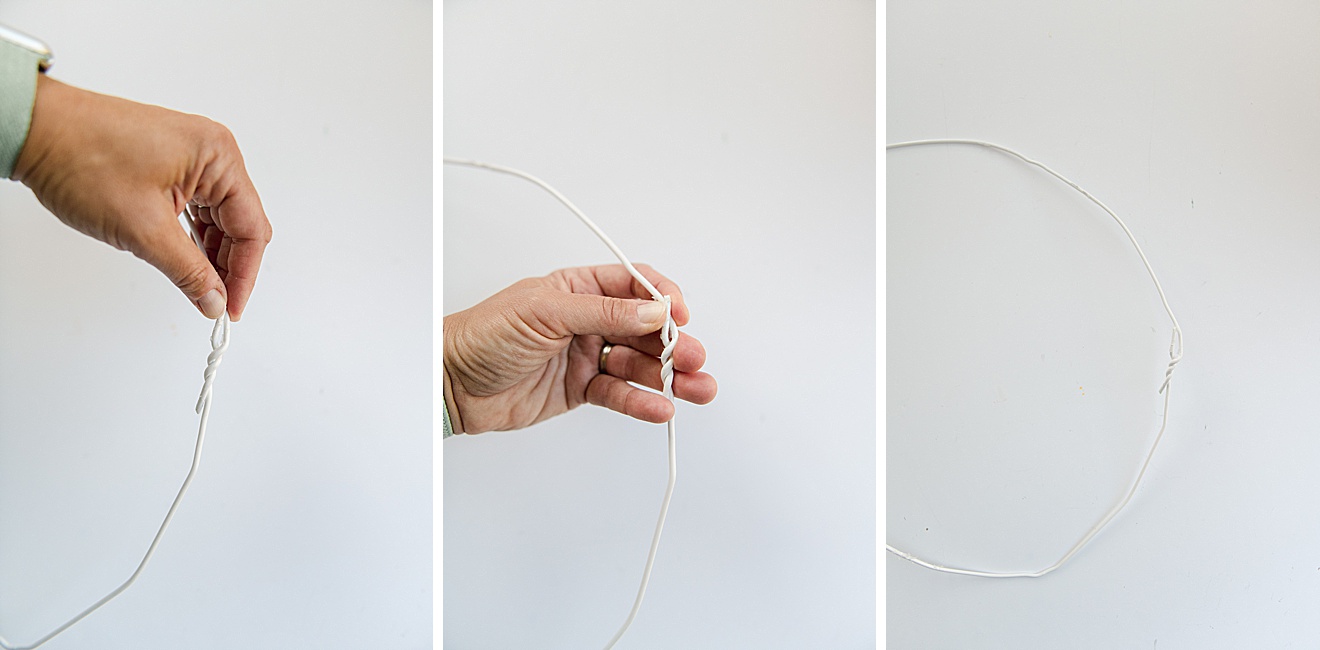
Using a pliers, unwrap your coat hanger from its shape and begin to form it into a circle. Use muscle and get it as circular as you can. If needed, you can use 2 coat hangers and twist them together; the circumference if the circle needed is the length of the top of the fabric for the can.
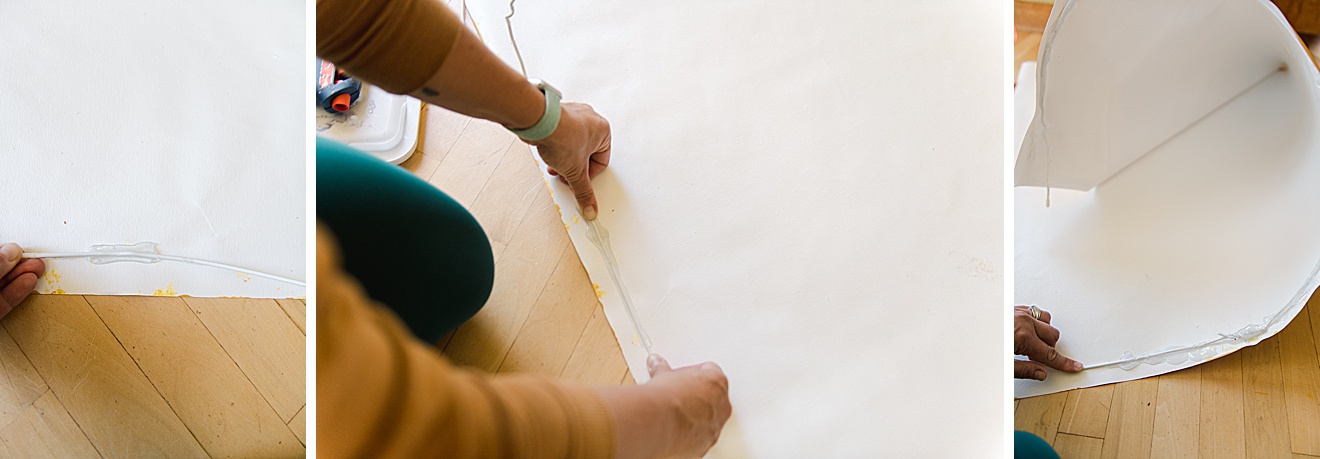
With hot glue begin gluing the circular coat hanger to the top inside edge of the can (glue about 1-2 inches down). This gives the can shape so that it stays circular on your body while you move, dance or shimmy around in your LaCroix costume. My technique was to lay the can fabric on the ground, painted side down, and then simply begin, small chunks at a time, to glue the wire into place, holding it for 45-60 seconds while it hardens before moving onto the next part (this step requires patience)! 🙂
The last step of gluing will be to attach the back vertical seam; simply overlap by 1-2 inches (however much it needs to lay flat or even with the wire you just added to the top). Then run a bead of hot glue in place and secure the back of the can.
5. Arm holes + straps
Hold the costume up to your body or put your body in the can tube and give yourself a quick measurement of where the costume falls on your body and where your armholes need to be. Make a mark on the side with a pencil and slip out of the costume. With a bowl or something circular, trace a circle where you’ve made your arm hole marks and carefully cut them out. If needed, try on the costume again to be sure your arm holes are large enough and placed where you want them to be.
To make straps, cut 2 pieces of ribbon or string at least 30” long. Then measure where you want the straps to land on your shoulders and estimate where that will be on the inside of the costume (again, put the costume on and do the “try on” method) 🙂 You will want to be sure to put the front straps landing right in front of your shoulders and you can make the back straps closer together to land near your should blades
Note: Straps for the costume are optional. I have found that with the top wiring and the arm holes, it isn’t 100% necessary, but also really nice to add straps so that the costume isn’t resting on your shoulder/arm area for long periods of time (simply a comfort factor). So you can decide what you’d like to do! 🙂
6. Pop top headband
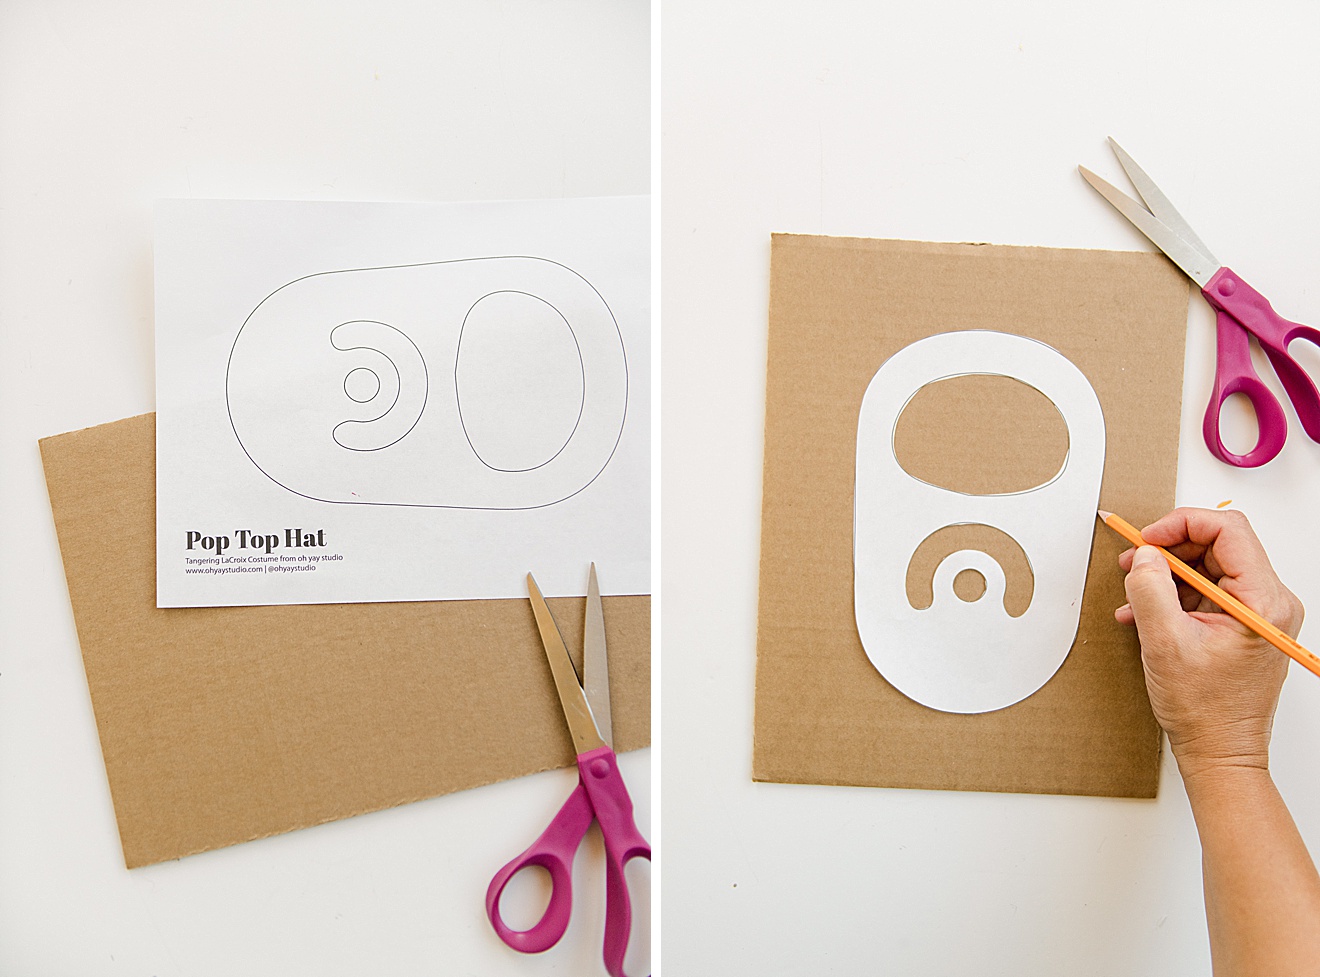
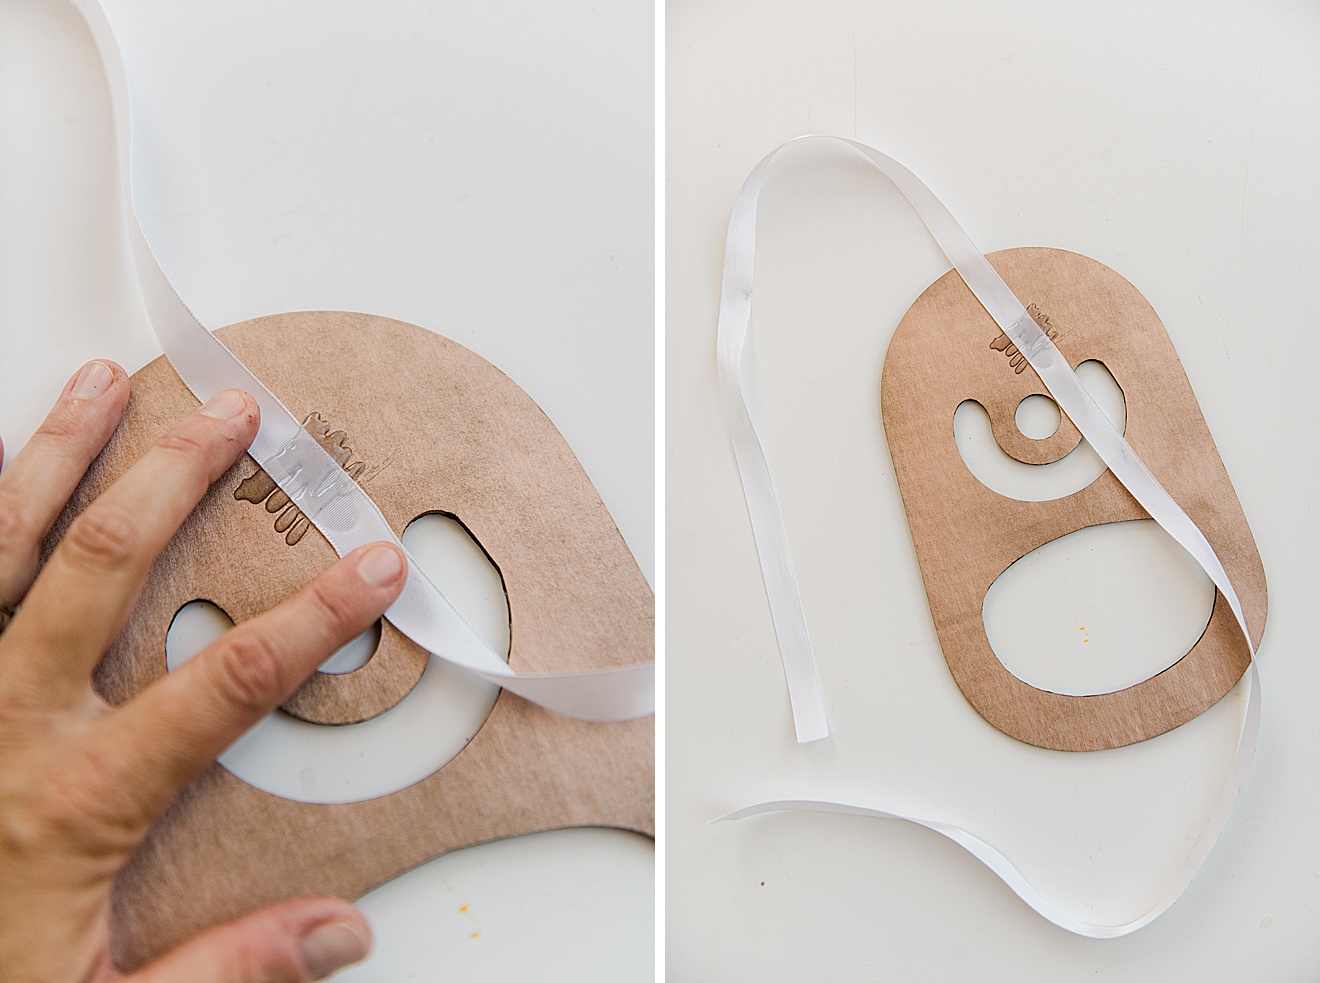
Print out the pop top PDF, cut out the shape and trace it with a pencil onto a piece of cardboard. Then cut out the cardboard carefully and glue the top onto a piece of ribbon (to make a headband) or a plain headband that you already have lying around. This pop top headband is the perfect “cherry on top” to the costume 🙂


I love this costume but love your smile most of all