Smoochy lip throw pillow pattern

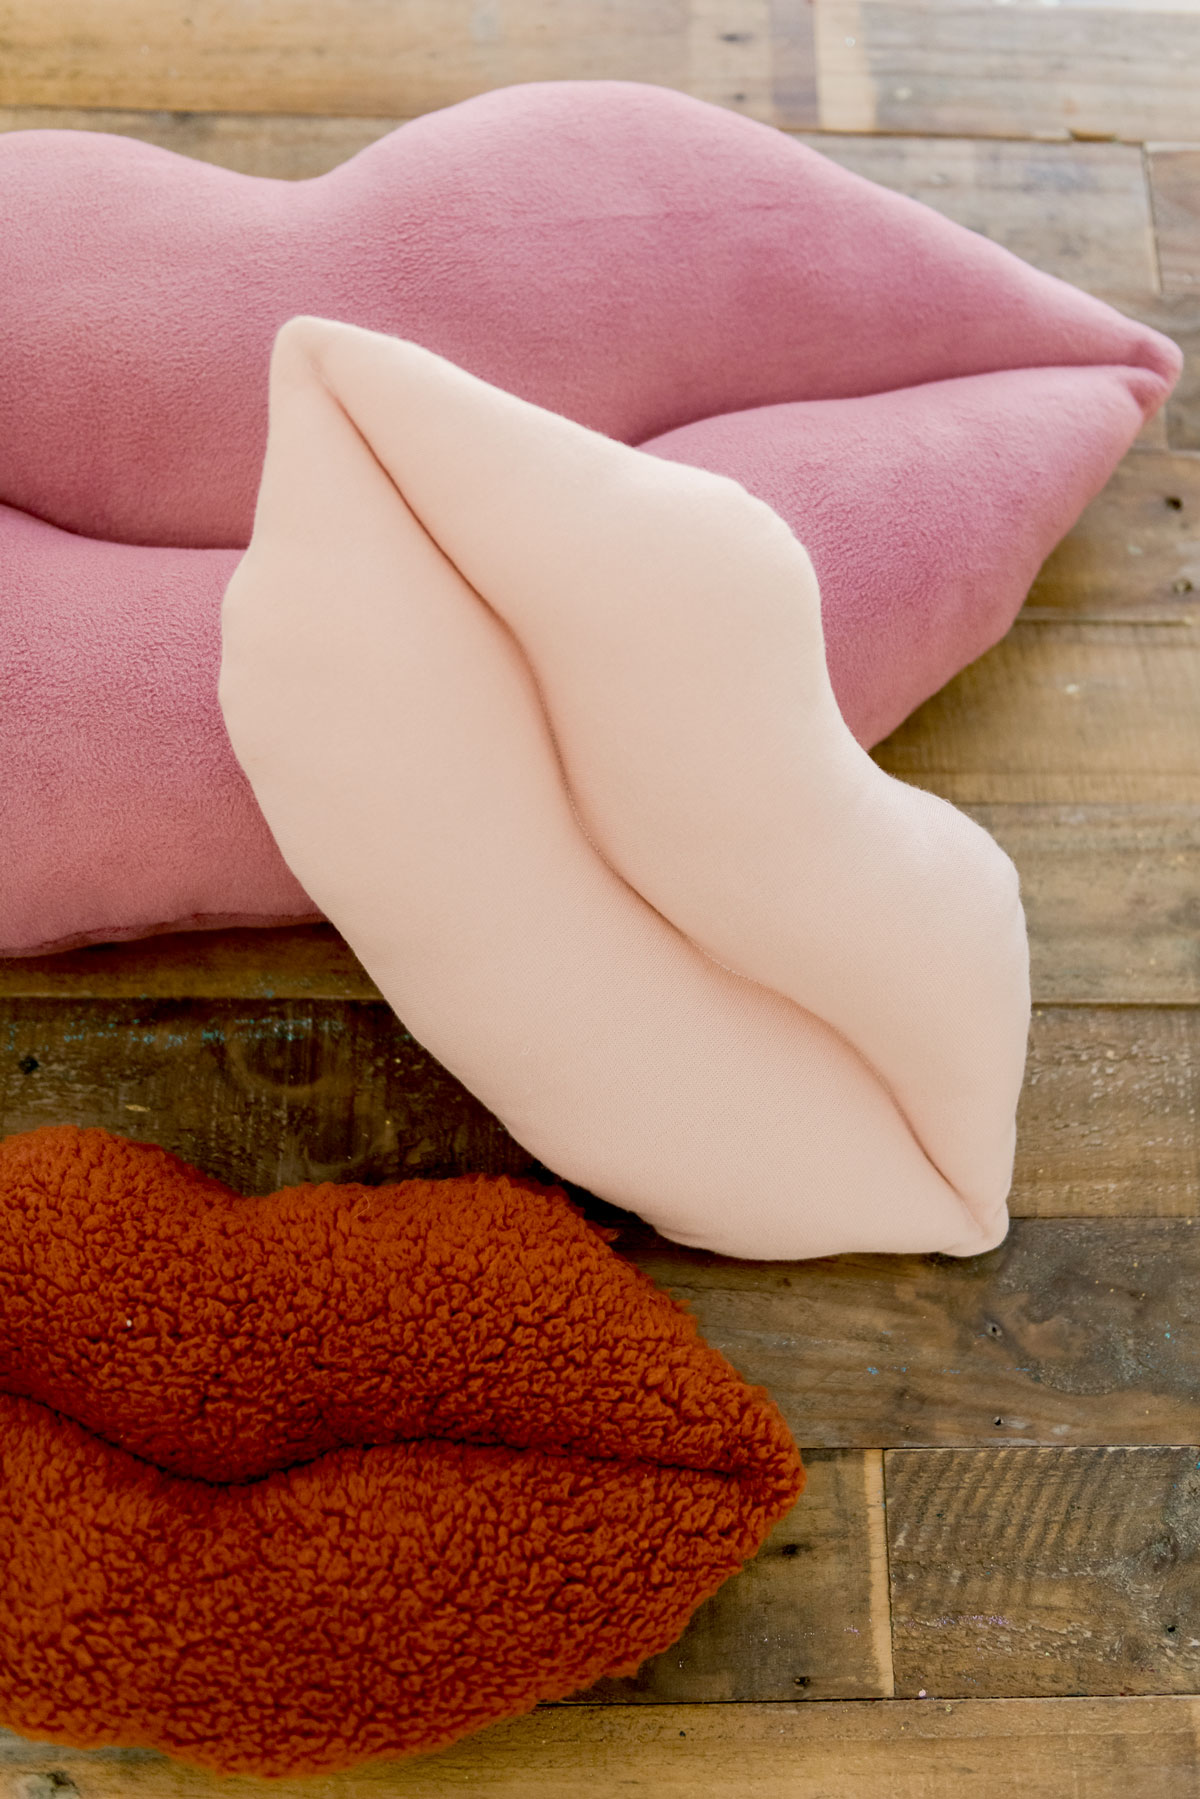
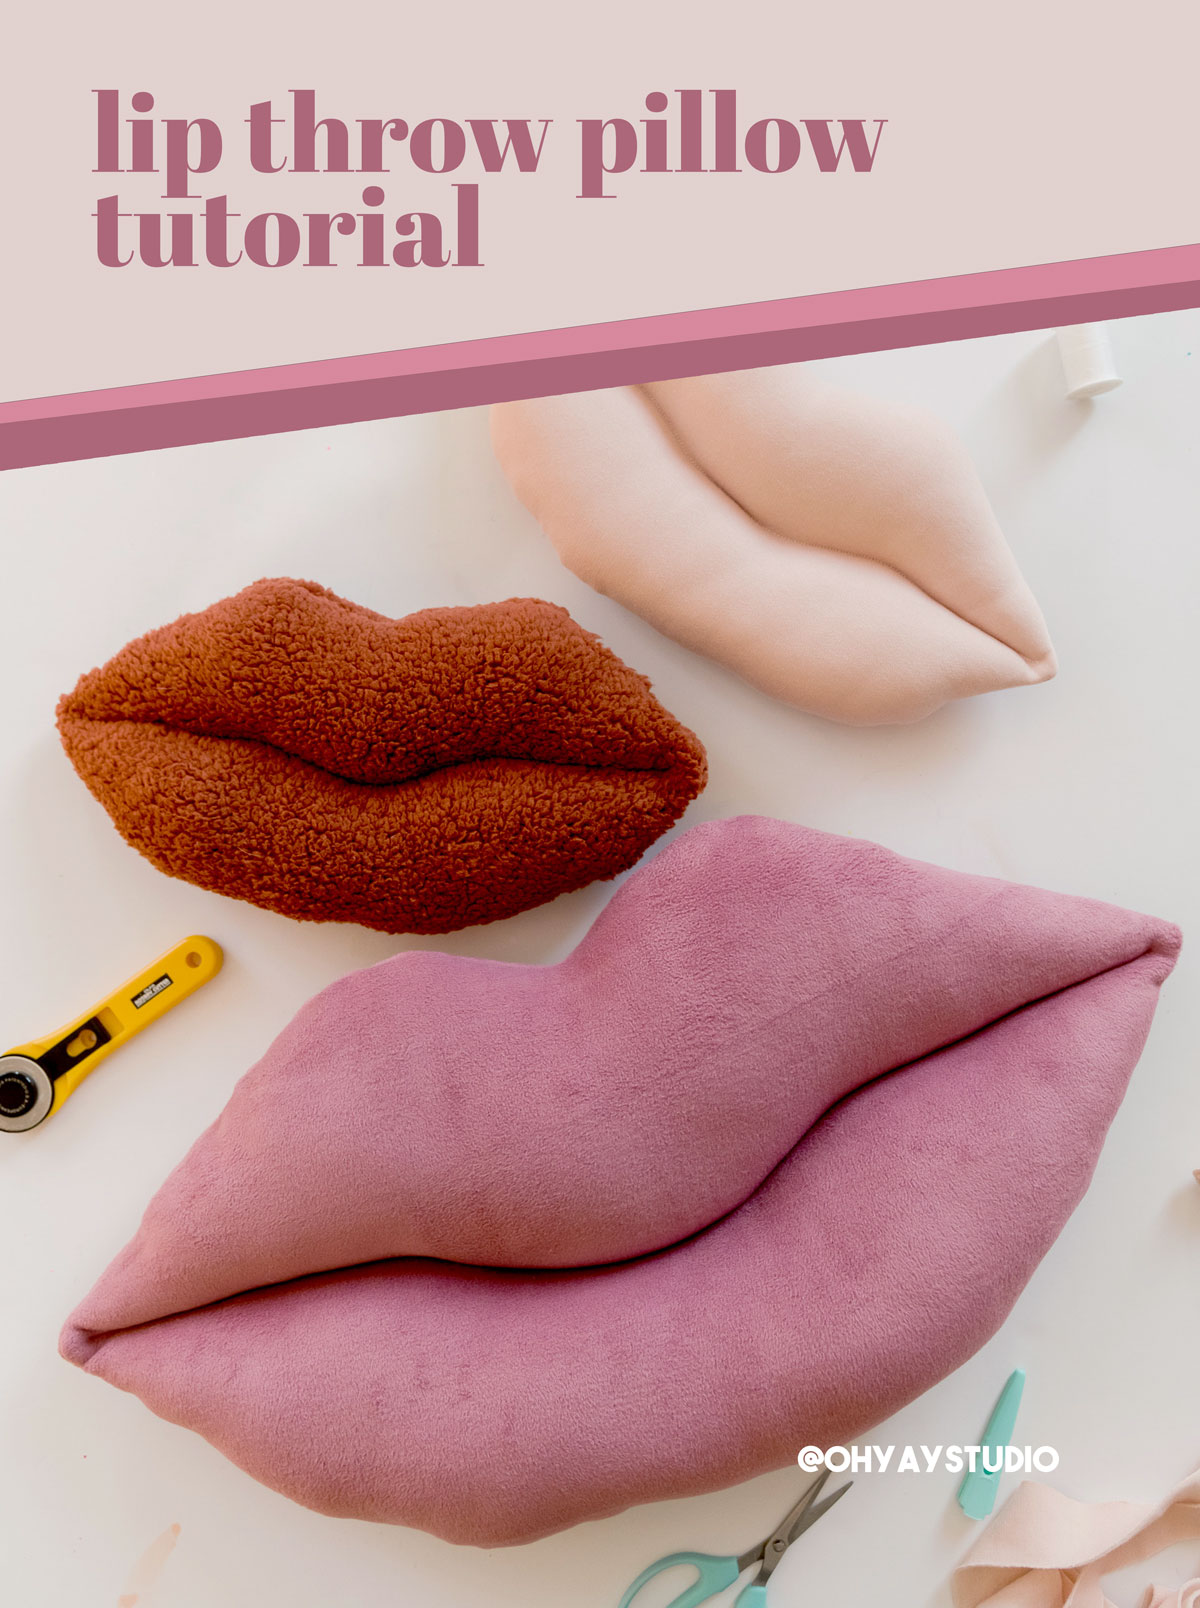
This smoochy lip throw pillow pattern is quite adorable if I might say so myself 🙂 It is a VERY easy sew (so if you’re new to sewing, this is a SUPER easy sewing pattern to follow) and it will yield arguably one of the cutest little Valentine decor items that you have this season! 🙂 So, download the pattern below and get to sewing!
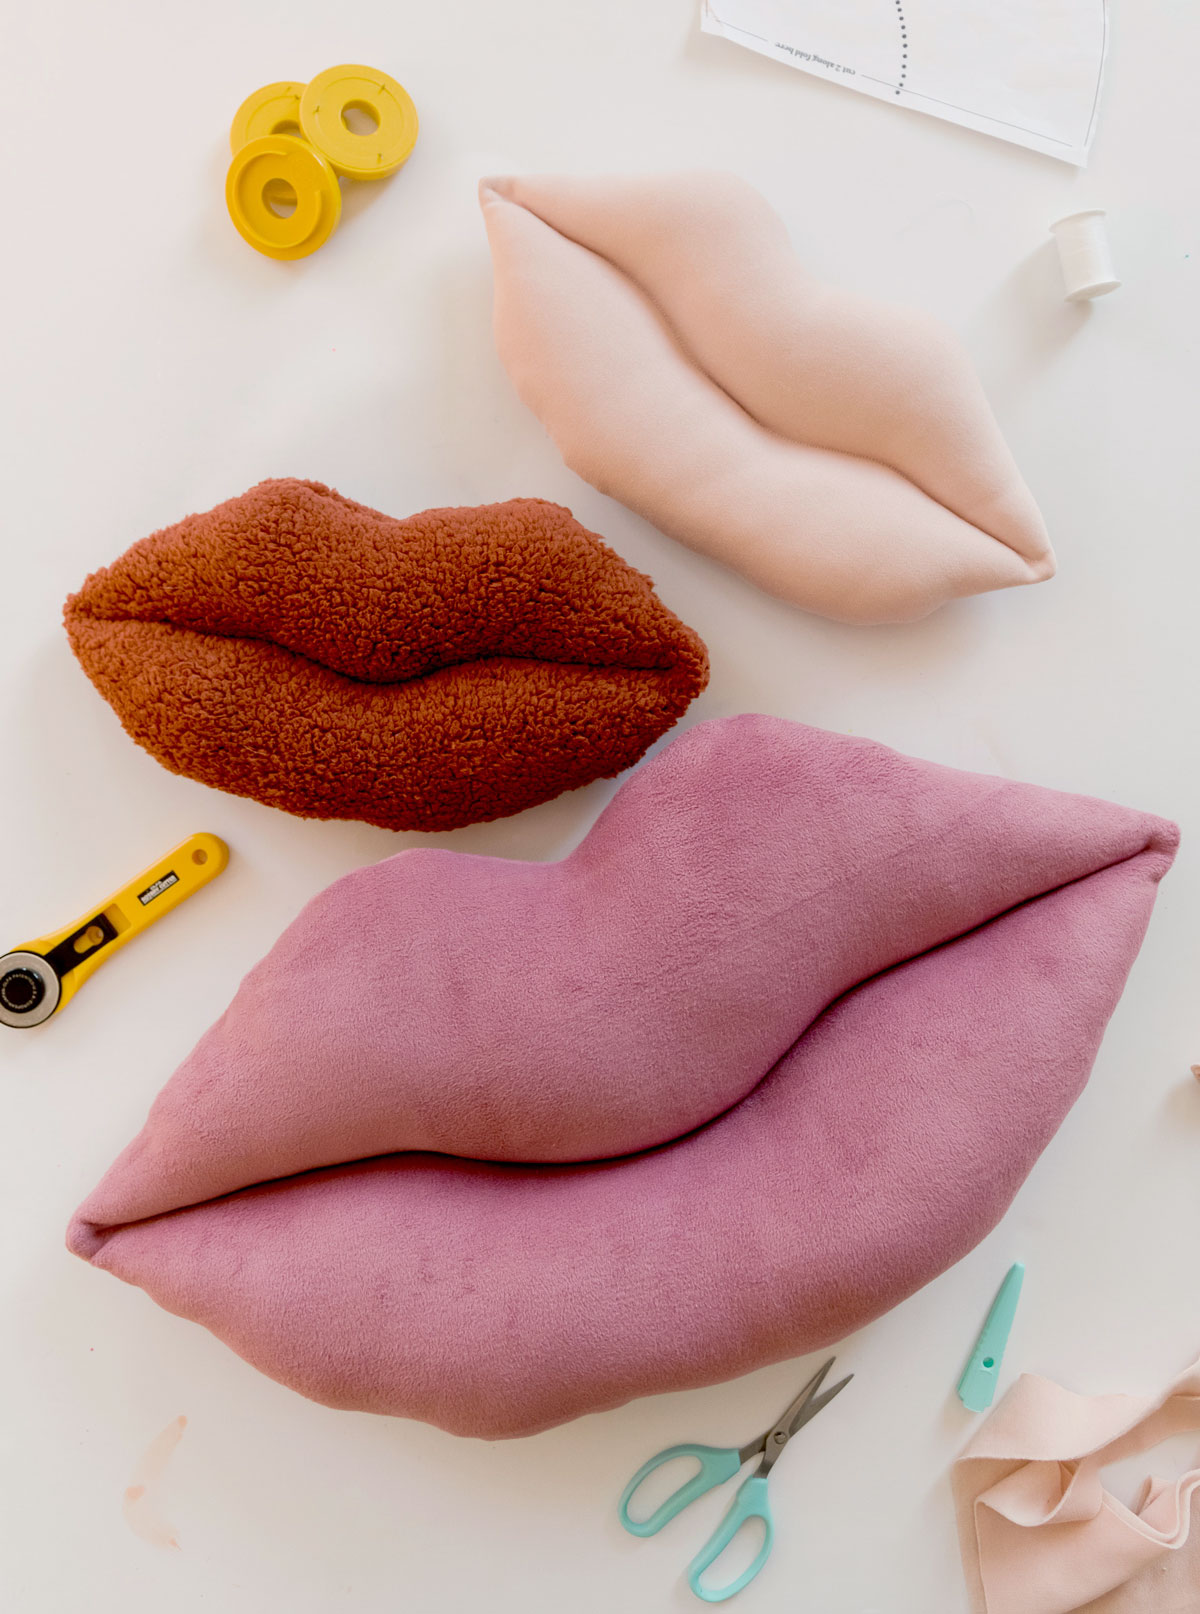
If you’re looking for a video tutorial of how to make these, head over to the Craftsy site and see the live event that we have going on to make these (join LIVE or watch the recorded event)! ANNNNND I honestly plan to make up a handful of these to drop off for my fave Galentines with a little chocolate and love note! 🙂 (Because what gal-pal doesn’t love some chocolate and a little surprise in the dead of winter?!)
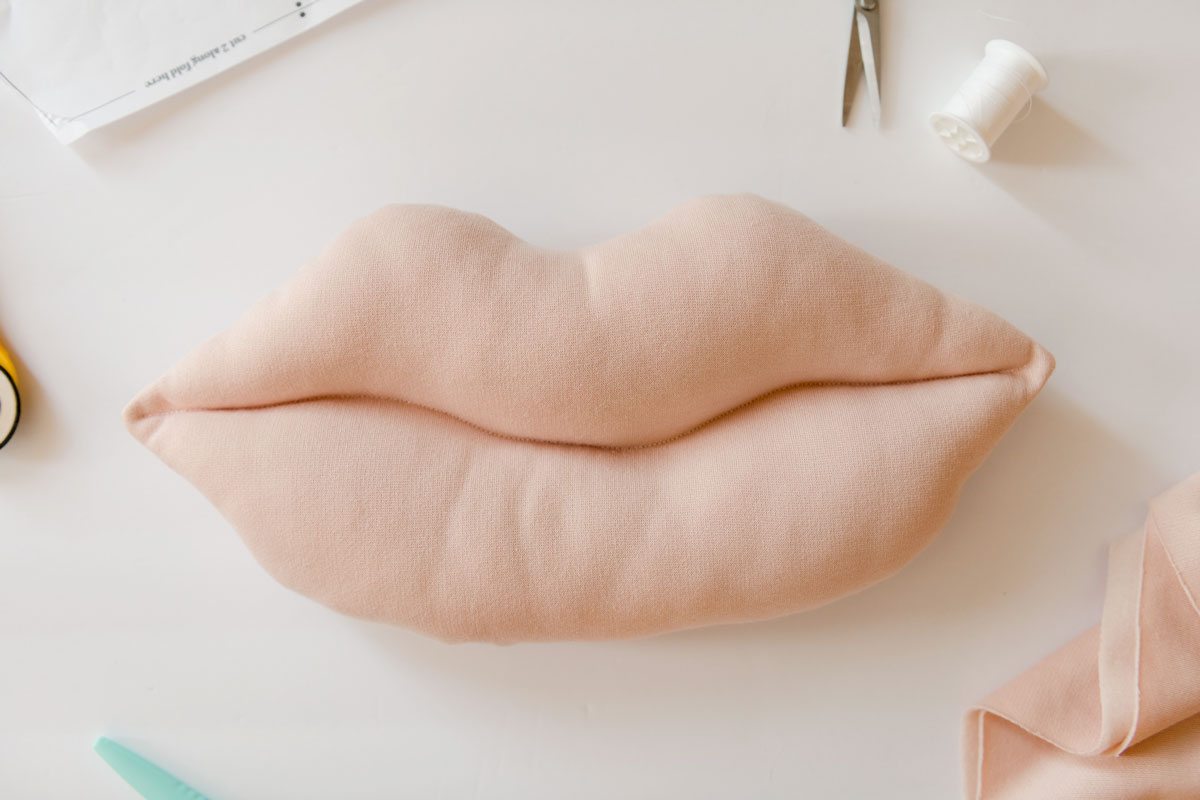
MATERIALS:
- your fave fabric to make the lips – a fat half yard for the large size and about a quarter yard for the small size
- Your favorite sewing machine and coordinating thread
- A fabric transfer marker, chalk or pencil
- Poly-fil or your fave stuffing
- A spool of hand sewing thread and needle
- oh—and the lip pattern (download below)
- tape for piecing your pattern together for the large lips 🙂
DIRECTIONS:
1. Print off the pattern HERE!
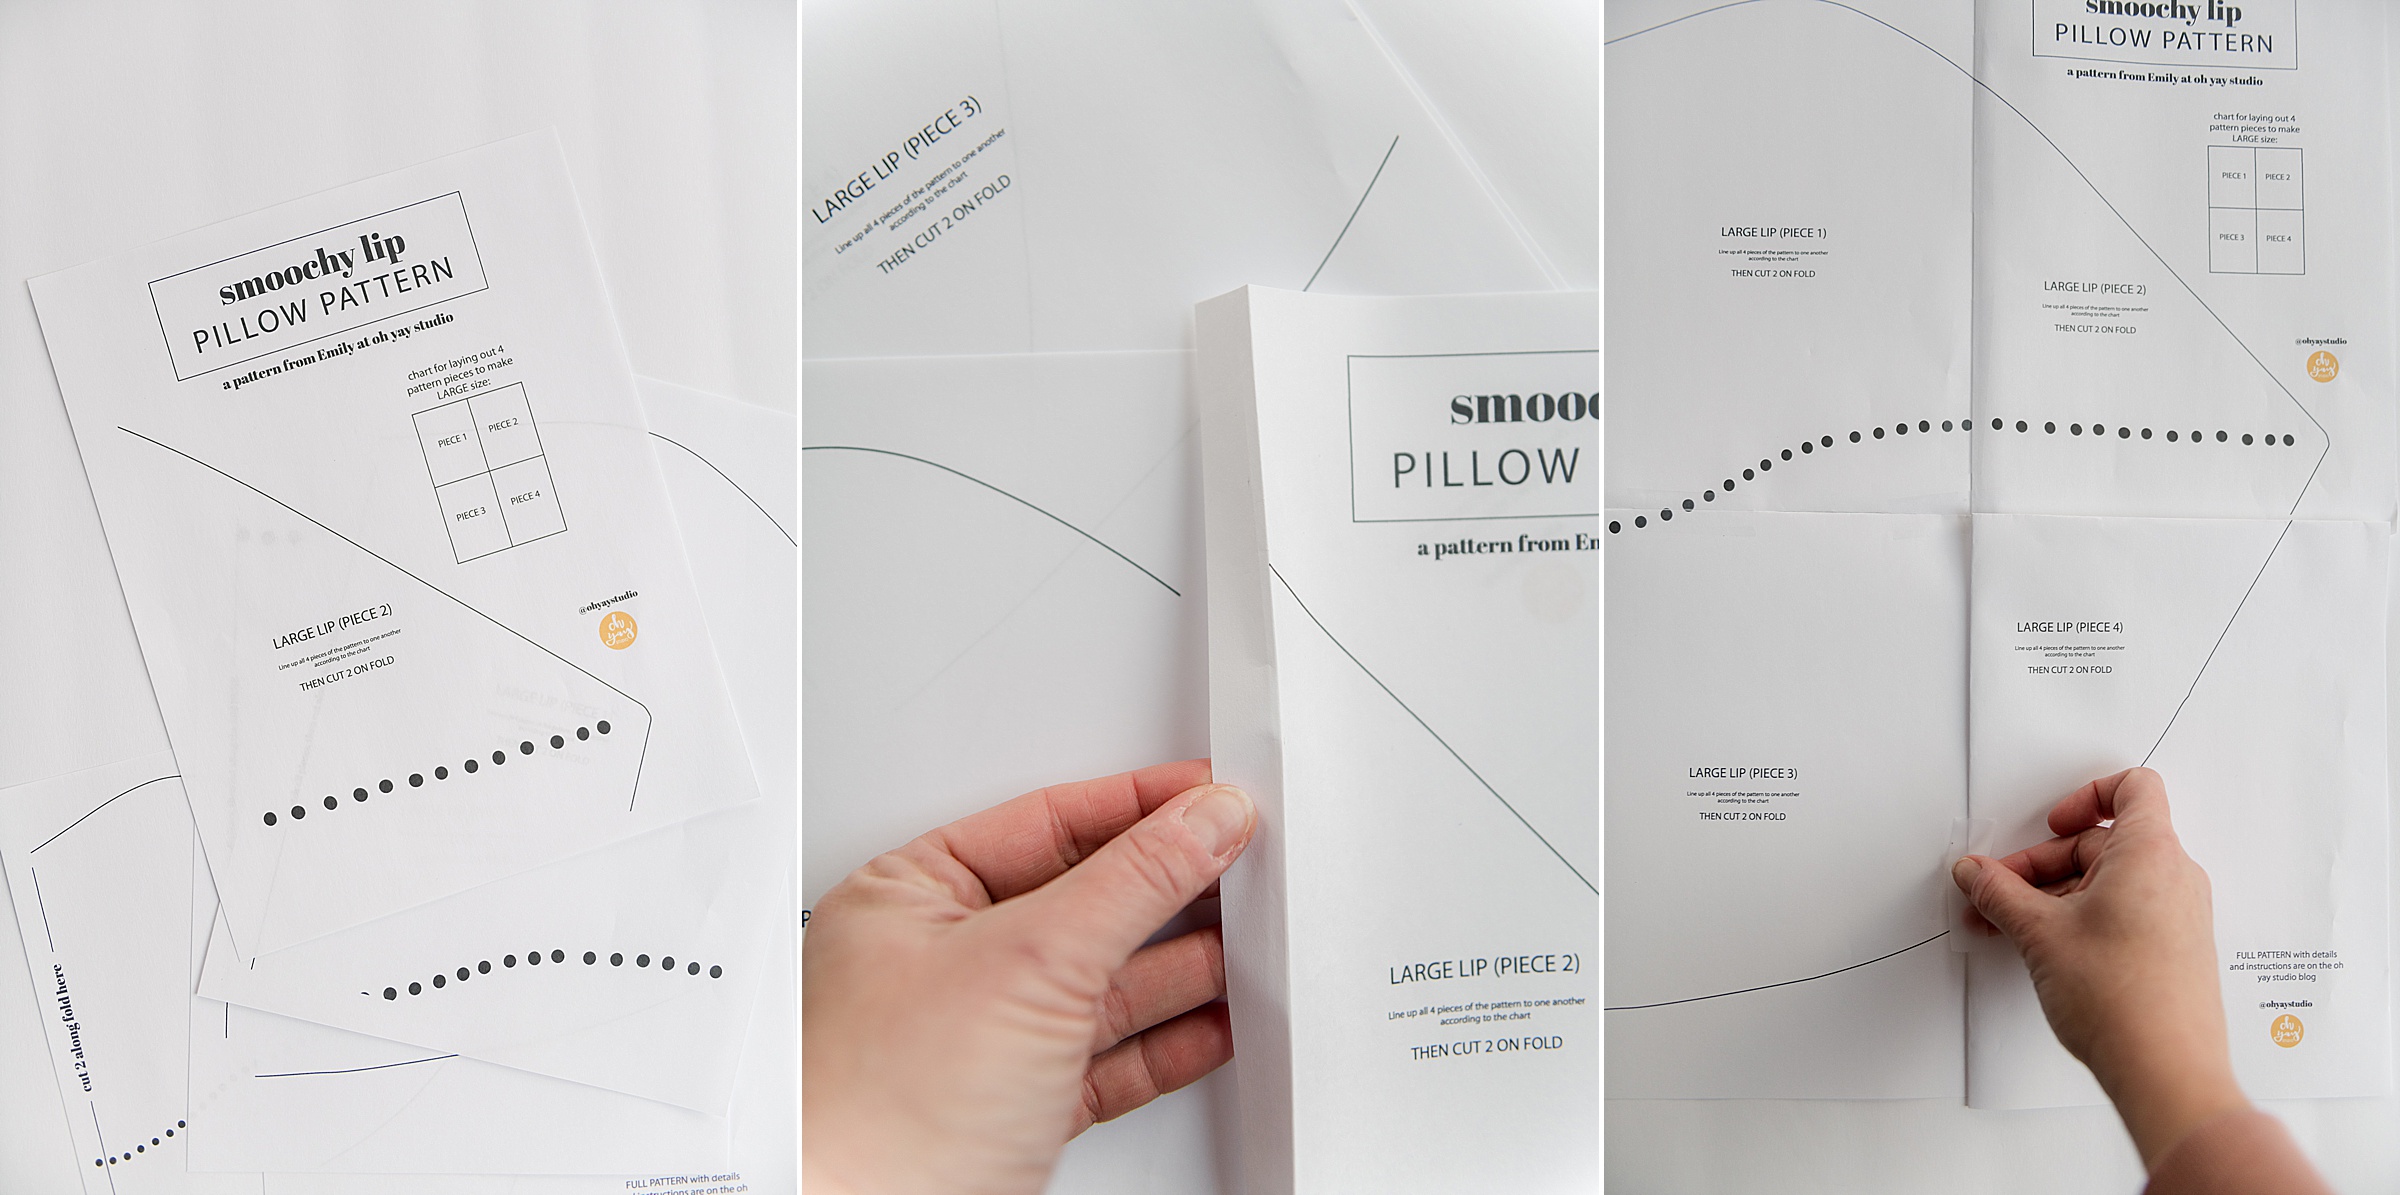
Download the pattern and print it out – both the large and the small size pieces are available on the PDF, so choose what you’d like to make. If you are making the large lips, you will need to follow the little chart for laying out all 4 pieces to put together for the large size. Be sure to fold along the edges of the actual piece of paper so that the lines of the lip pattern line up (see pic for example…..most printers don’t print all the way to the edge of the paper so this is an easy way to make sure that the pieces line up 🙂
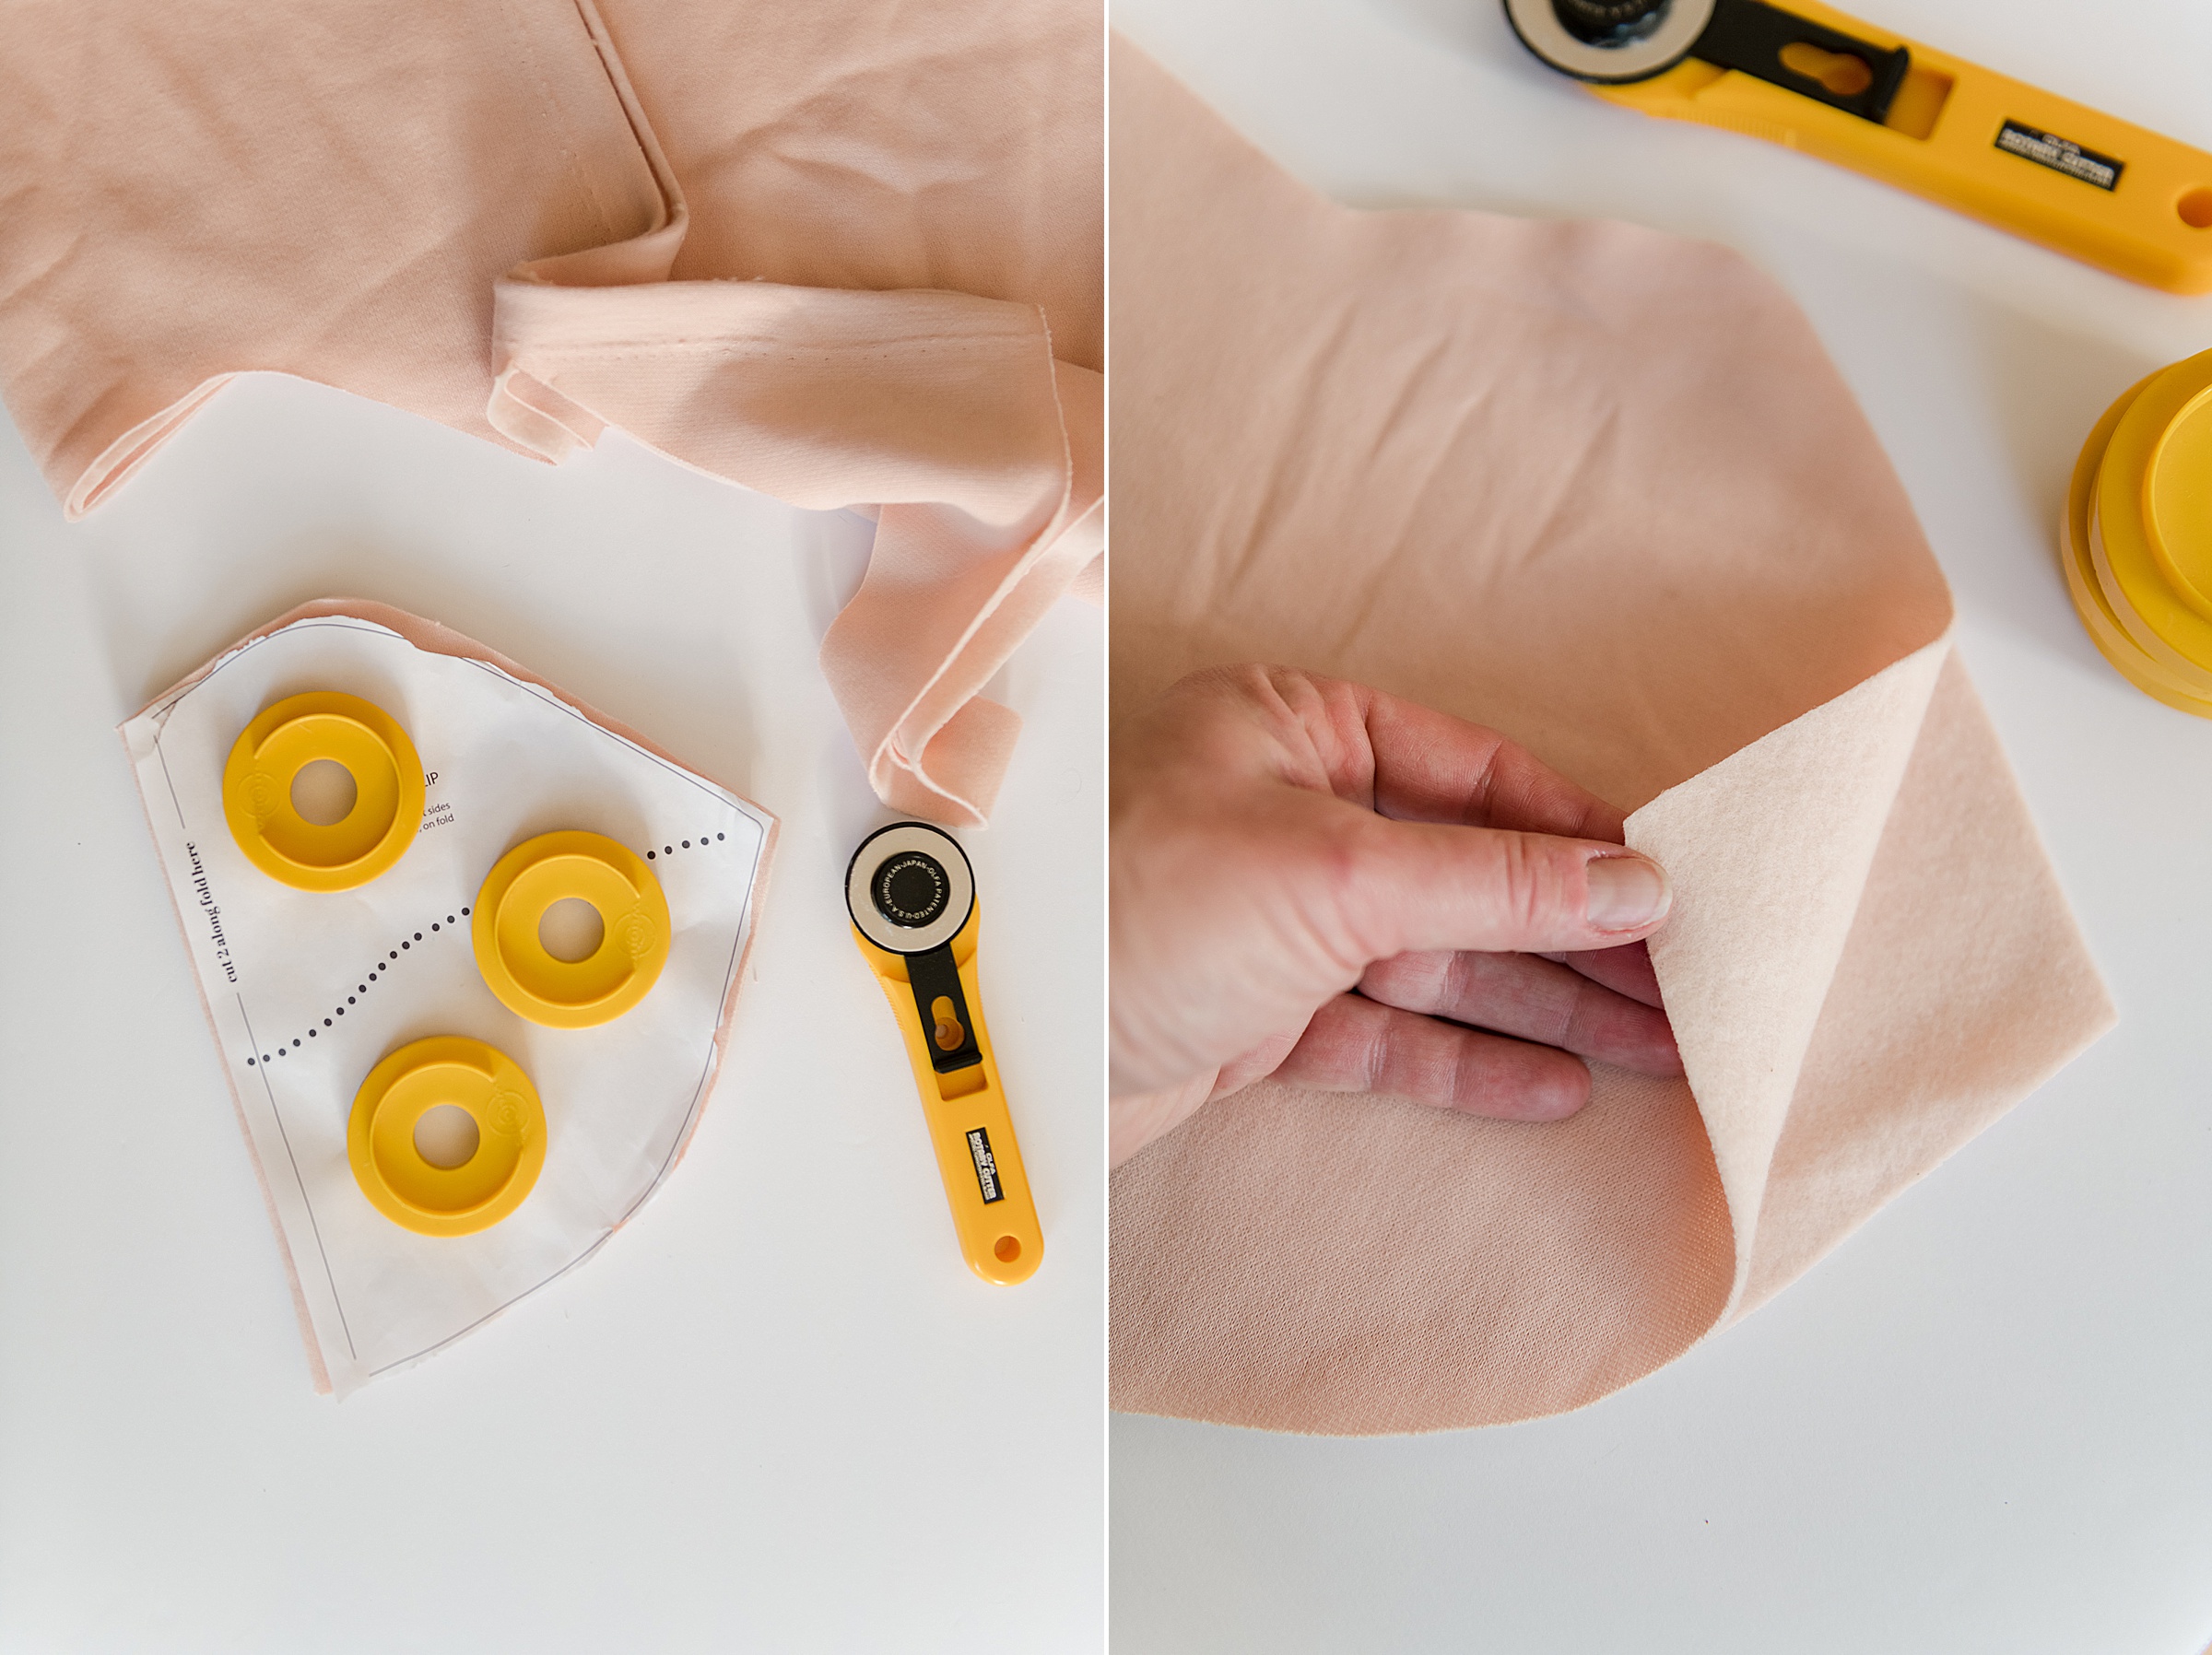
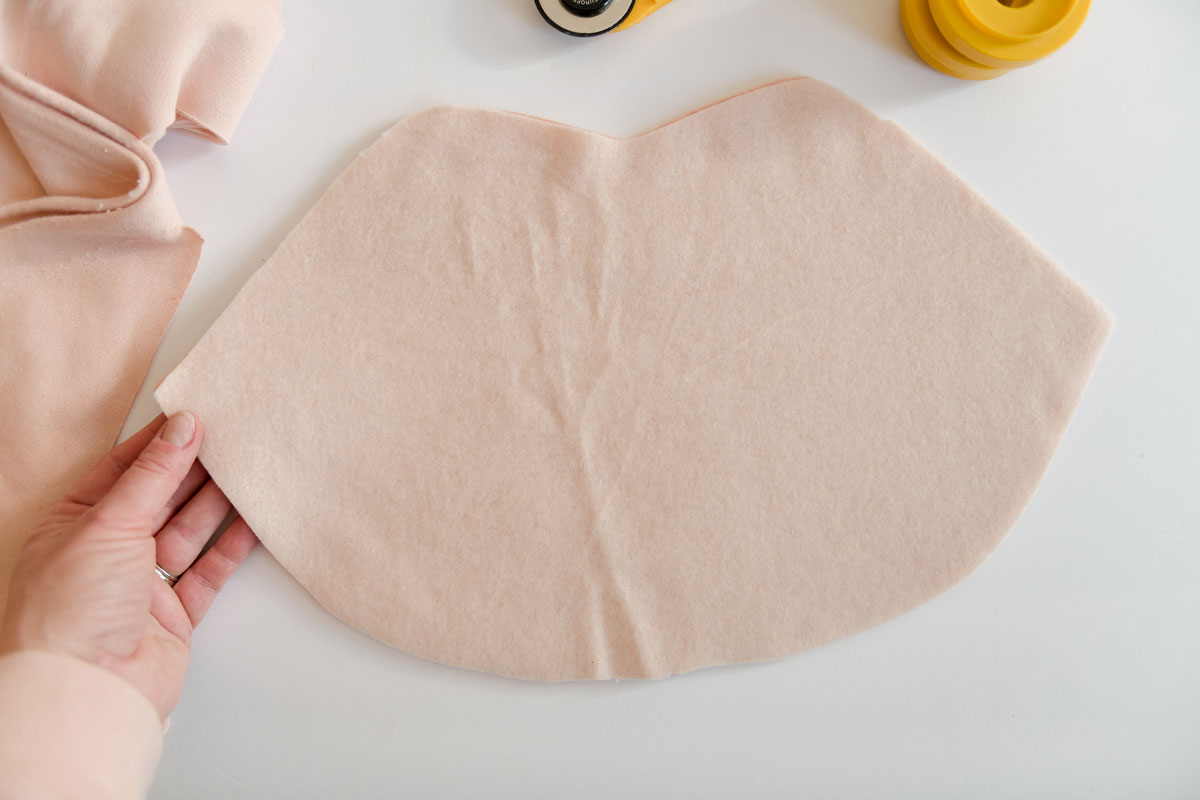
2. Iron your fabric, if needed, and then cut out the pieces of your lips according to the pattern. You will cut out 2 lips, right sides together, on the fold (the fold will essentially be in the center of the lips). I folded my fabric right sides together and the folded in 1/2 to cut on the fold 🙂 You will be left with 2 full lips when you open the fabric after cut 🙂
3. With chalk, a pencil or a fabric marker, you will want to transfer the dotted line to one outside piece of your lip. I did this by sandwiching the piece of paper under the fabric and then holding both up to the window to use as a lightbox. Be sure to transfer the whole “lip center” dotted line across the whole lip (which means you will transfer one side and then flip the pattern to do the other side. You will be left with a mark that marks the center where the lips purse together 🙂
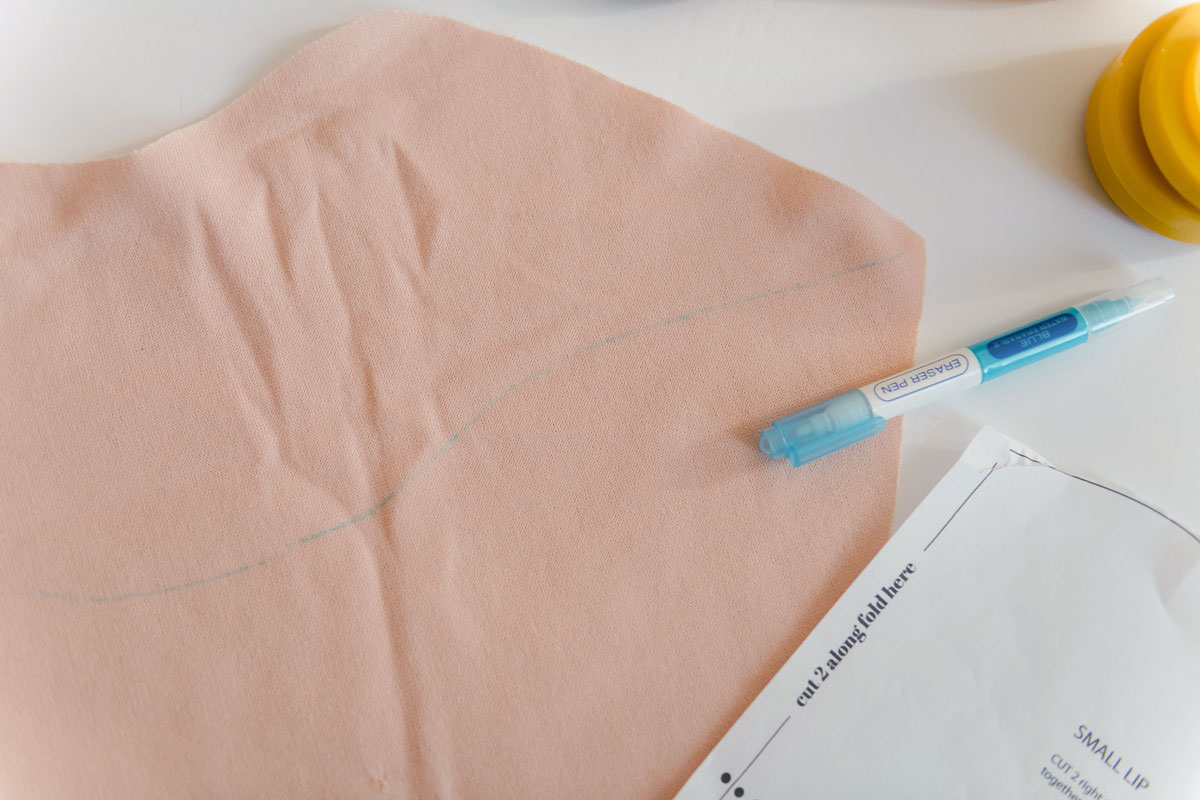
4. With right sides together, begin sewing a 1/4” seam along the outer edge of your lips, being sure to leave TWO OPENINGS for stuffing – you will want one opening along the top (upper lip) and a second opening along the bottom (lower lip).
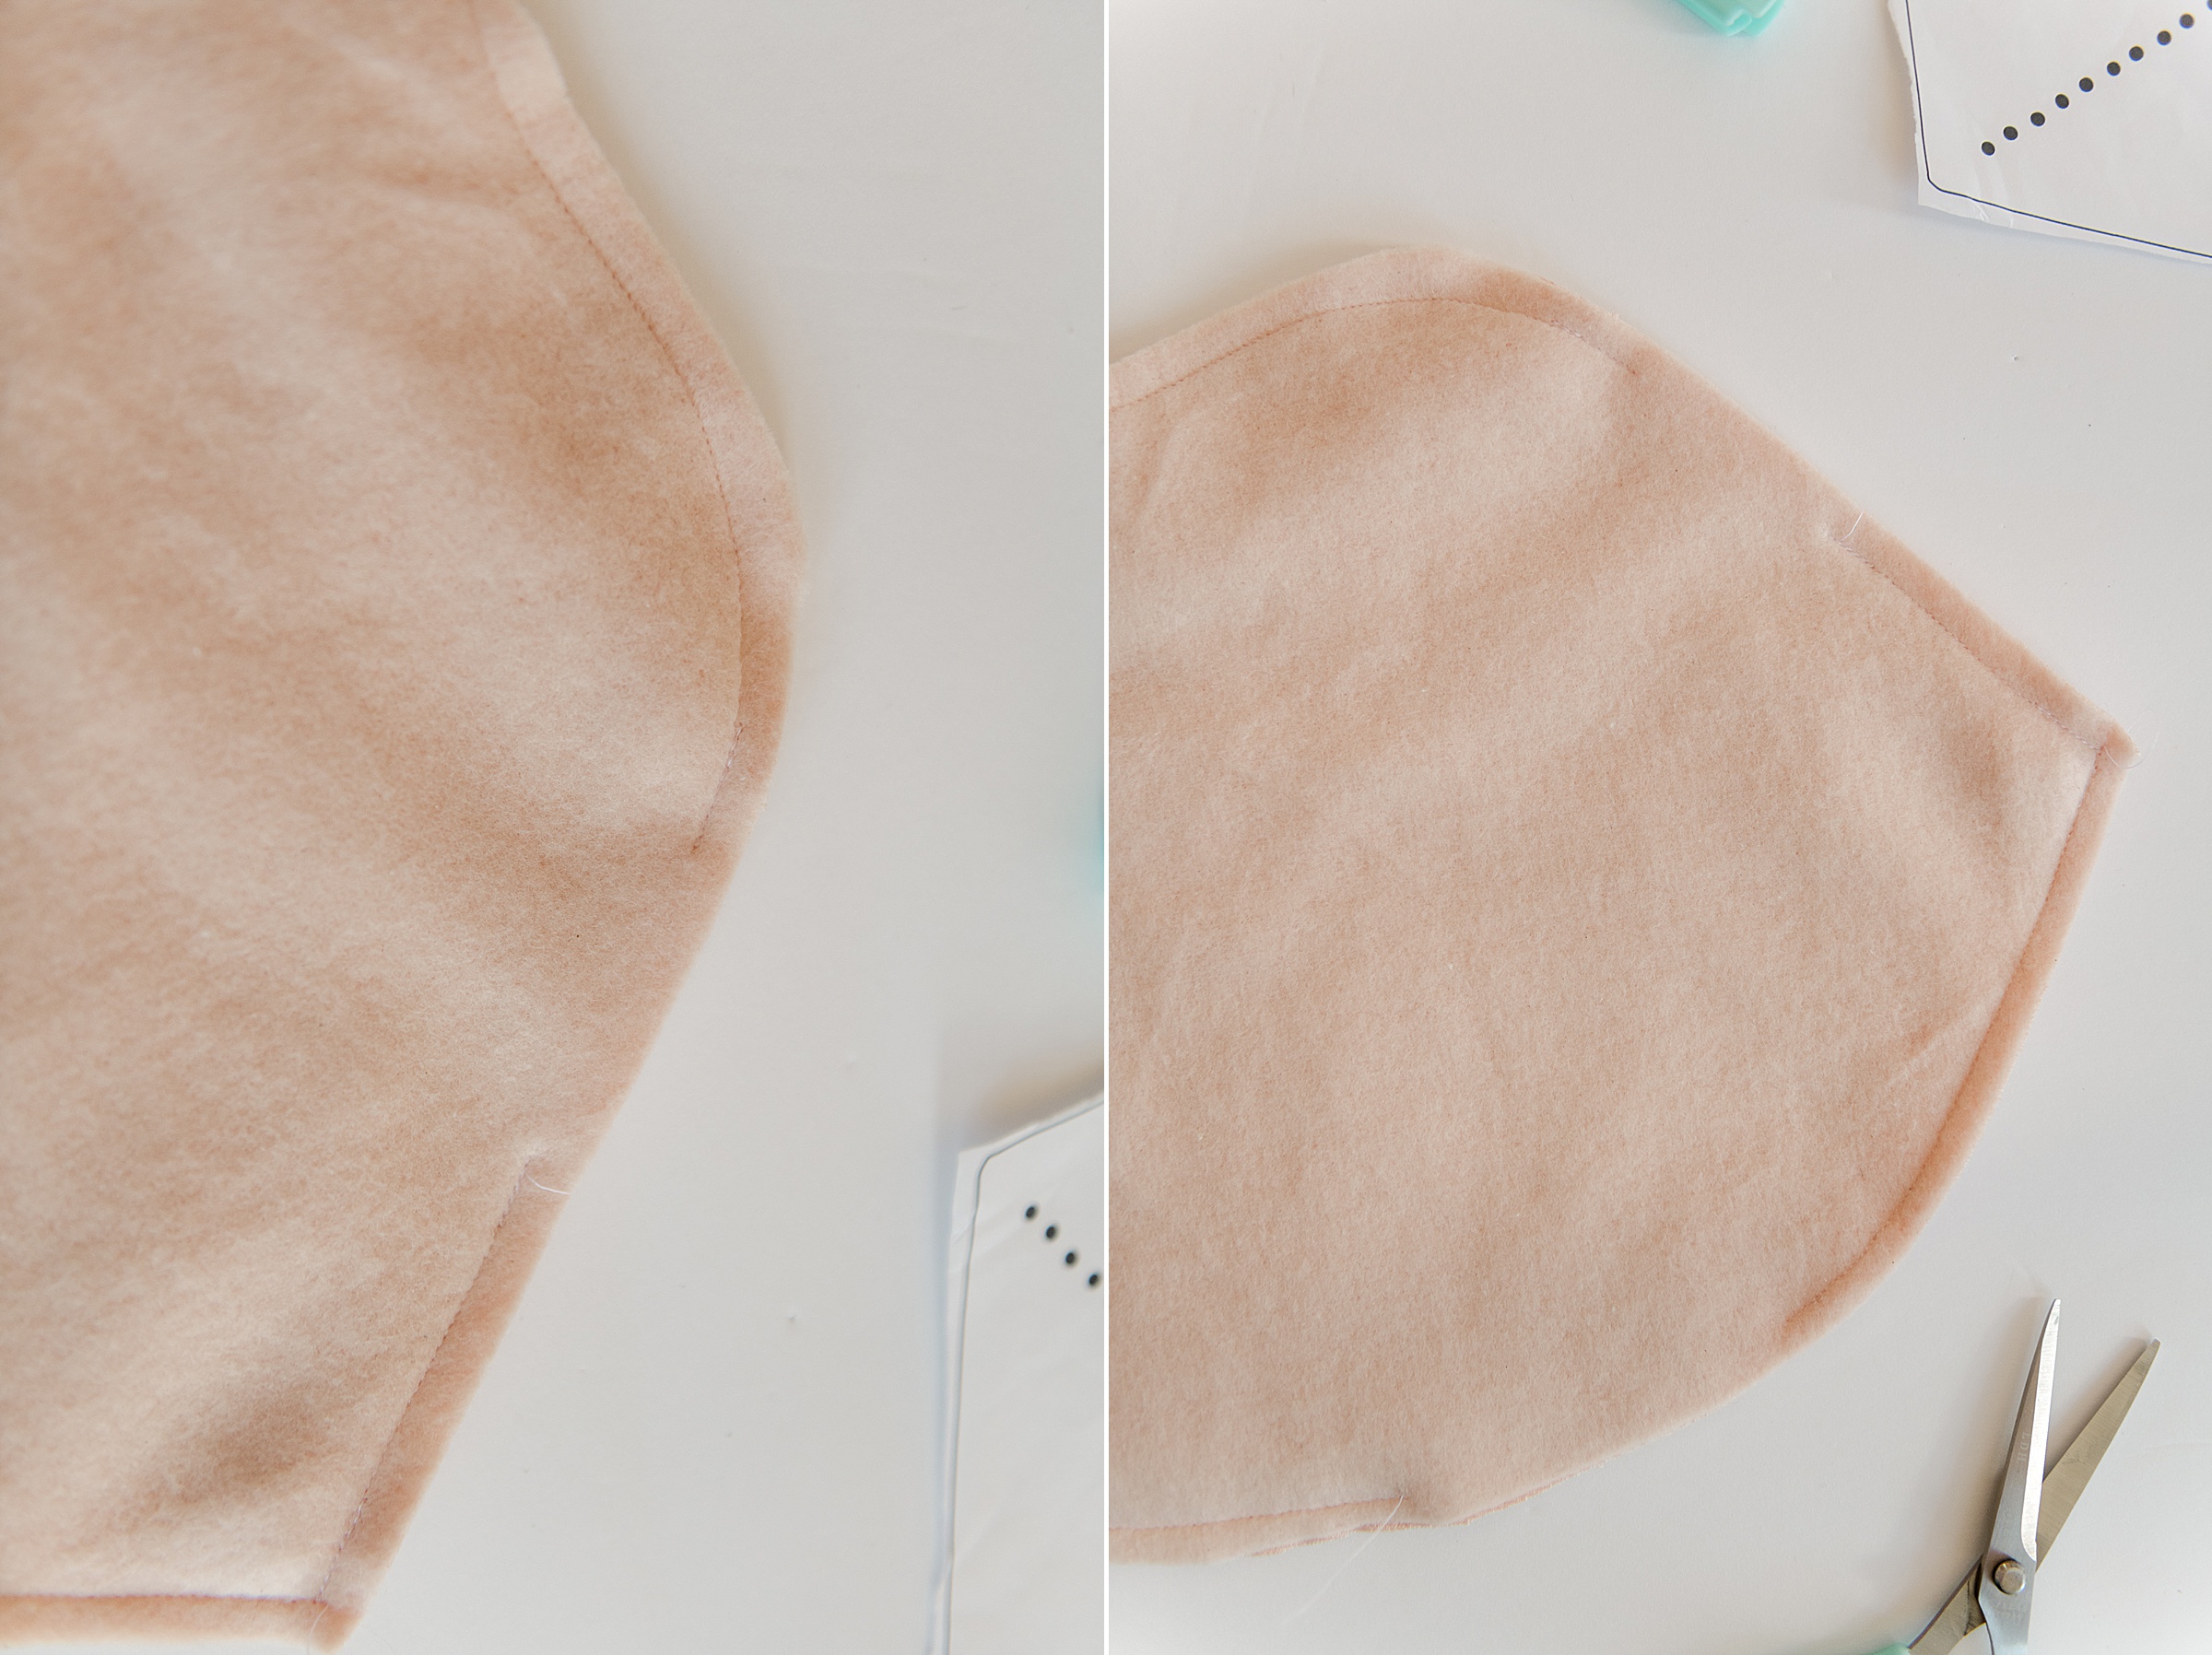
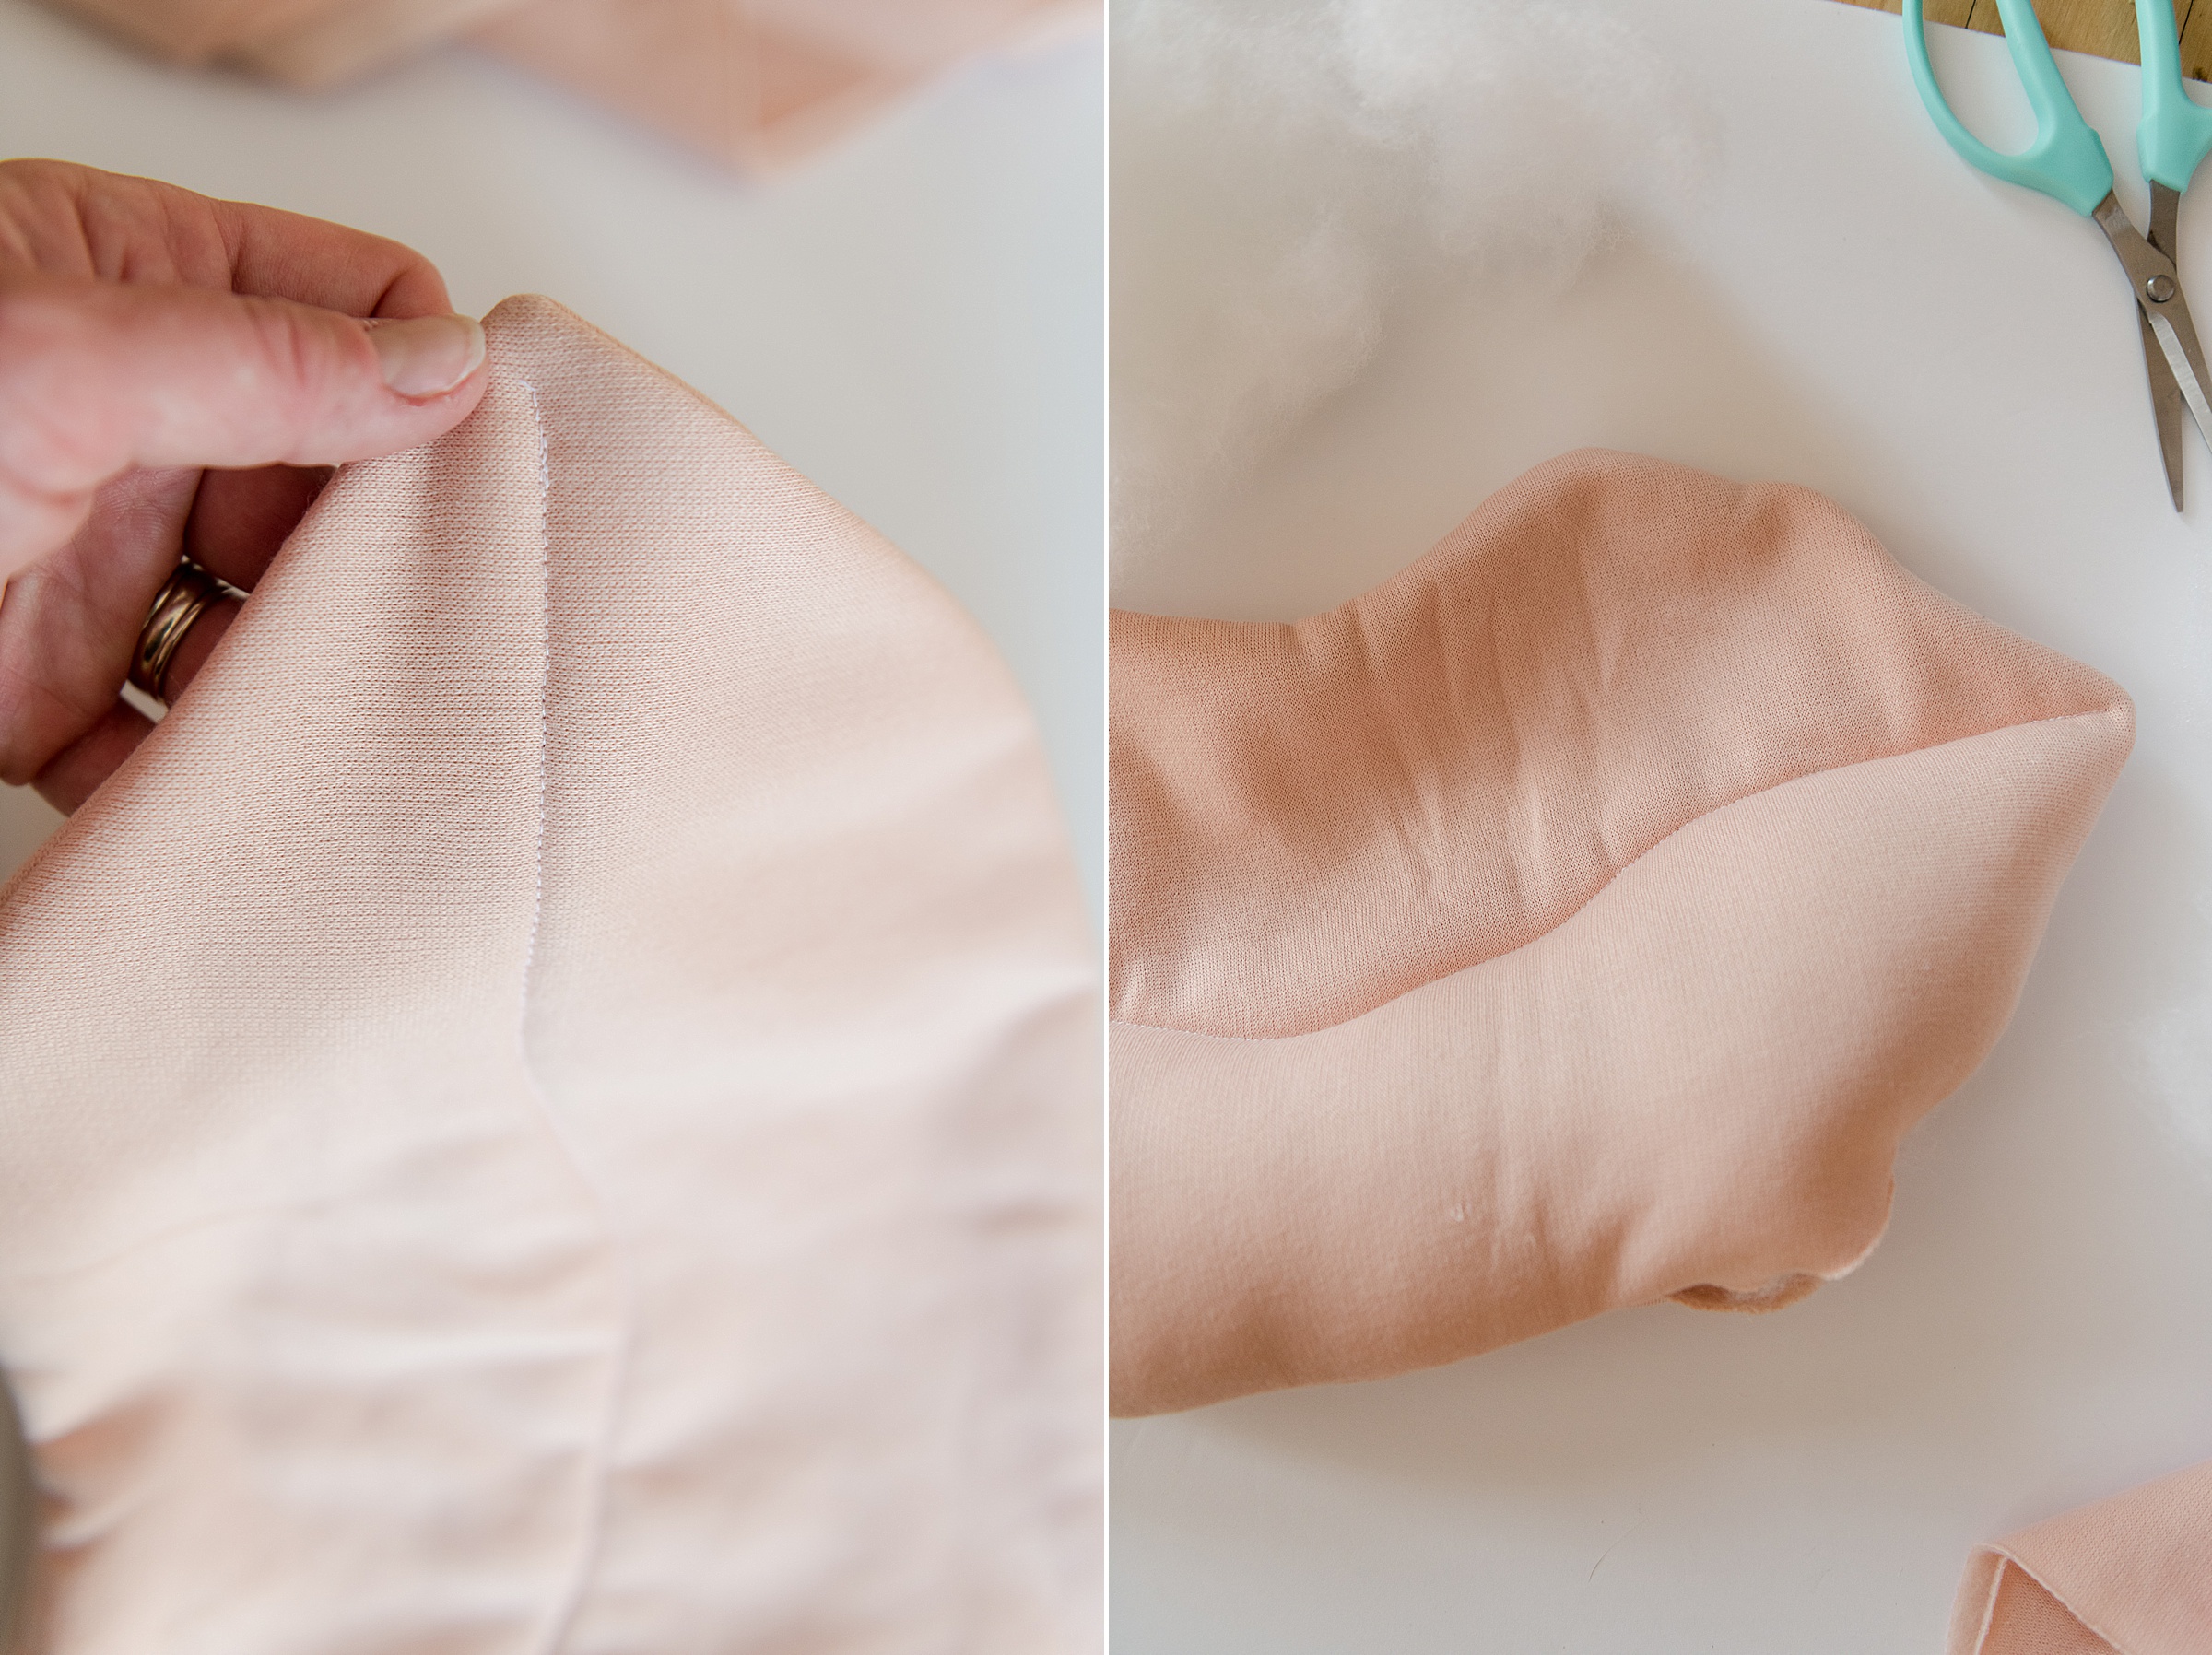
Then with some sharp scissors, CAREFULLY edge clip around the whole seam allowance that was just sewn – trim the outside pointed ends of the lips too, this makes it easier to turn and create a nice pointed end.
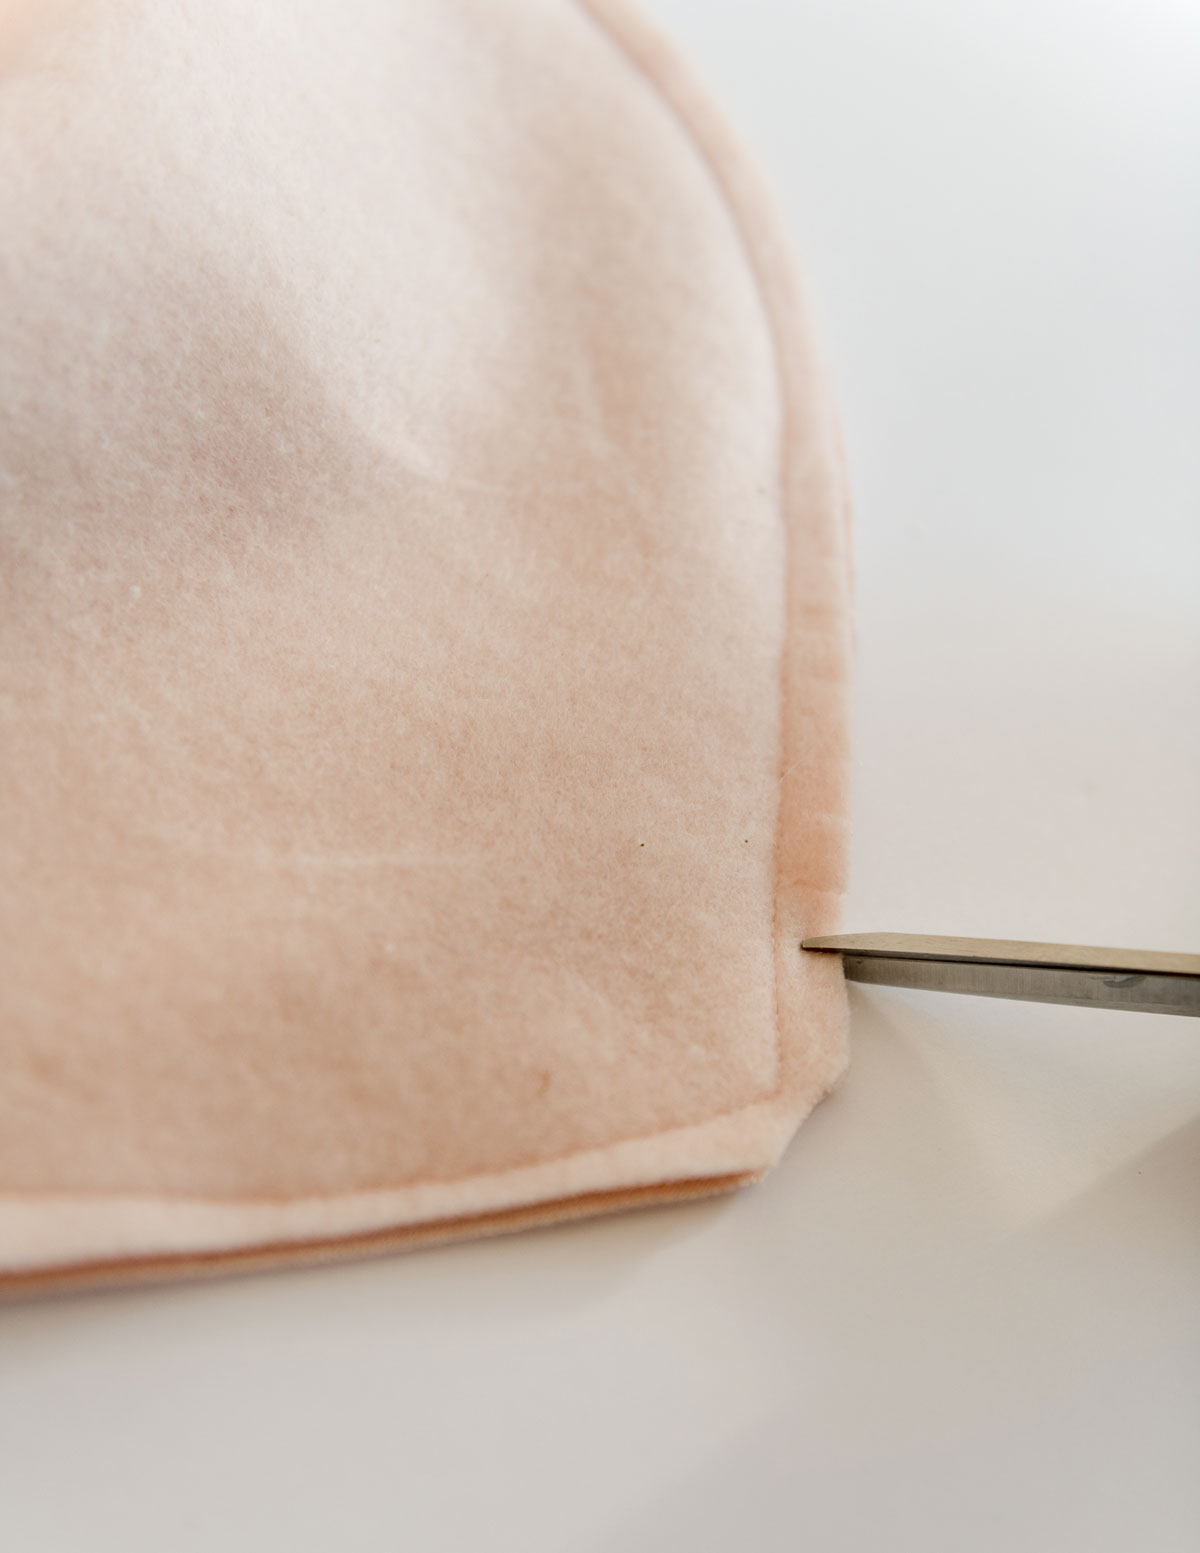
5. Then flip your lips right side out and iron if necessary 🙂 Be sure to push out ALLLLL the edges and ends and curves so that the lips are completely turned!
6. You will then sew the middle of your lips (that line that you transferred in step 3). I chose to put a few pins in the lips to be sure that the fabric didn’t move or slip as I was sewing the line (especially with the sherpa and the thick fabric). Simply, and carefully, sew along the curvy line to create the middle of the smoochy lips.
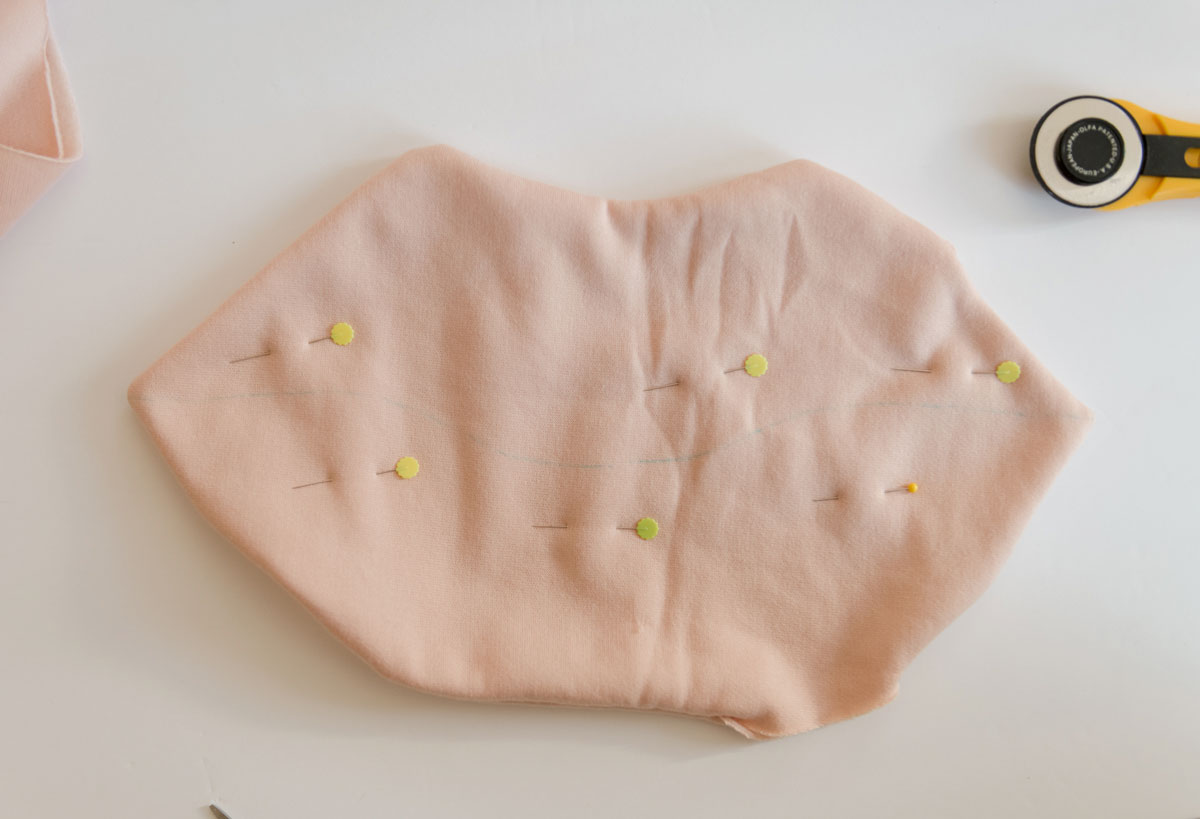
OPTIONS: You can choose to use coordinating, colorful thread for this and you can also choose to sew over the line a few times to make it more “substantial” of a gap between the top and bottom lip, your choice on how you want to customize this part! 🙂
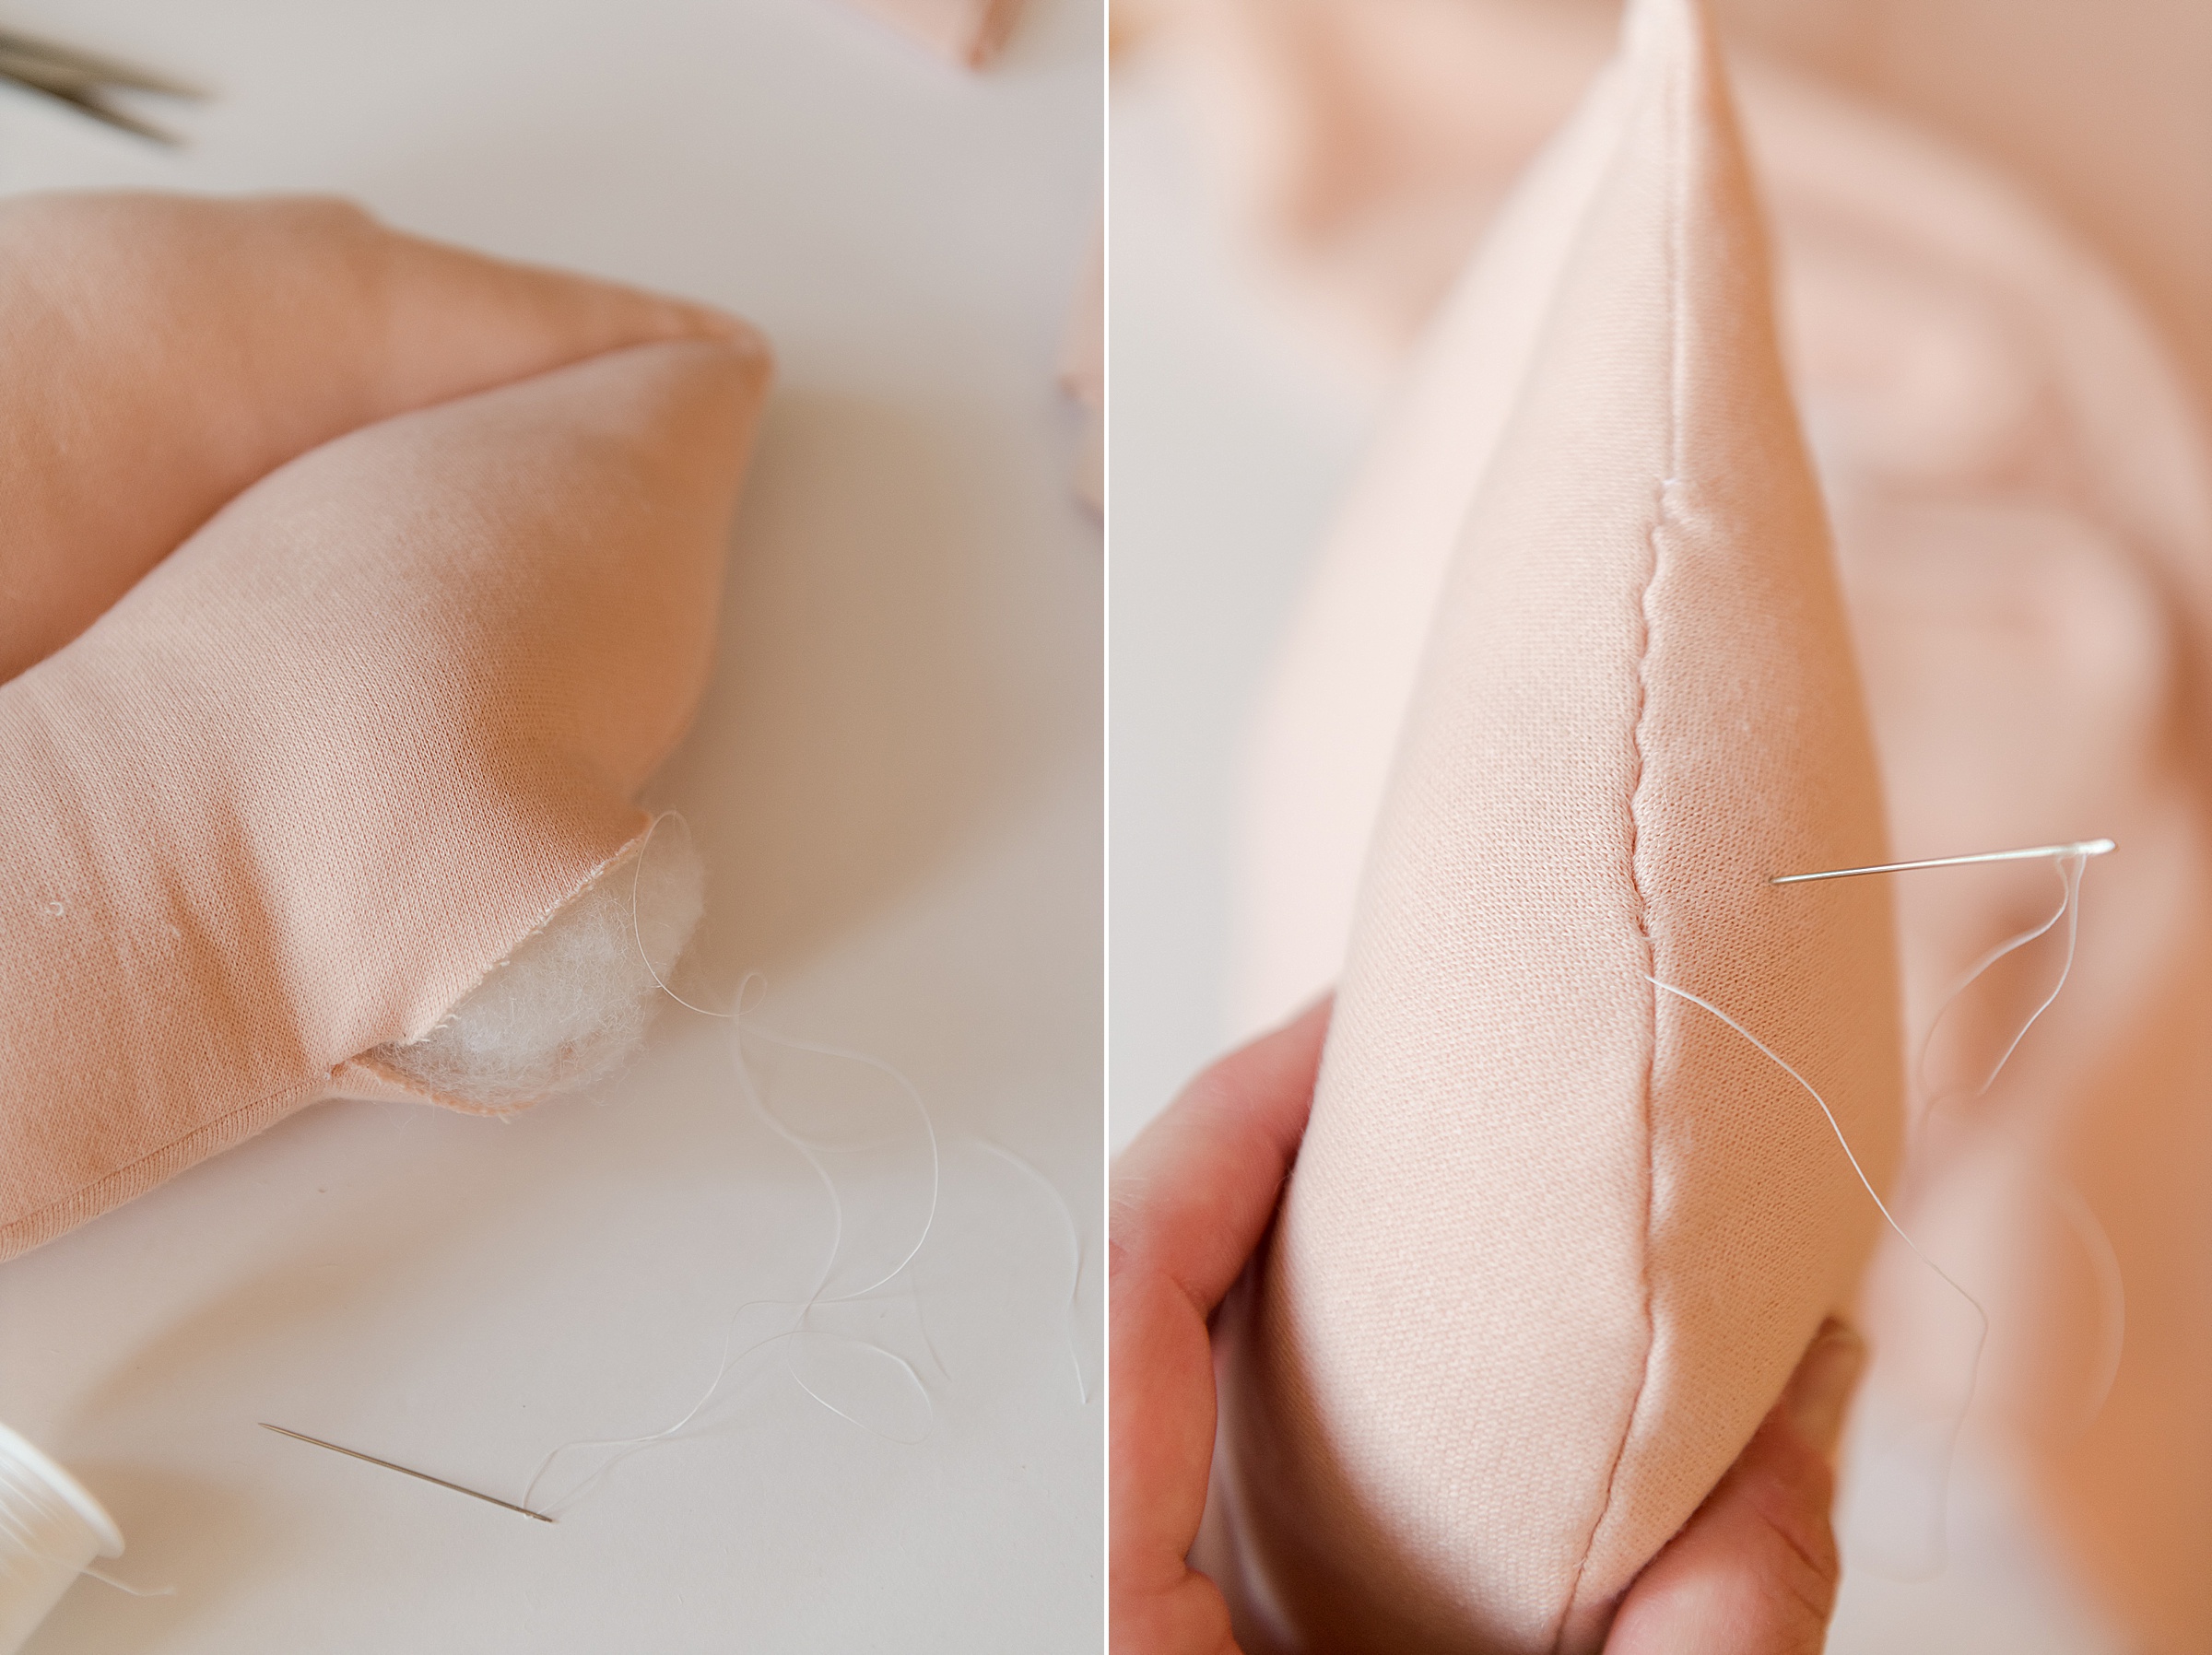
7. Now stuff, STUFF, STUFFFFF! The key to full, smoochy lips are to make sure they are plump and full! 🙂 I started on the bottom lip and pushed a small amount of poly-fil to the far corners and then just began to fill the lip so that it was very full and plump! I then hand stitched the bottom lip closed before I repeated these steps for the top lip! 🙂
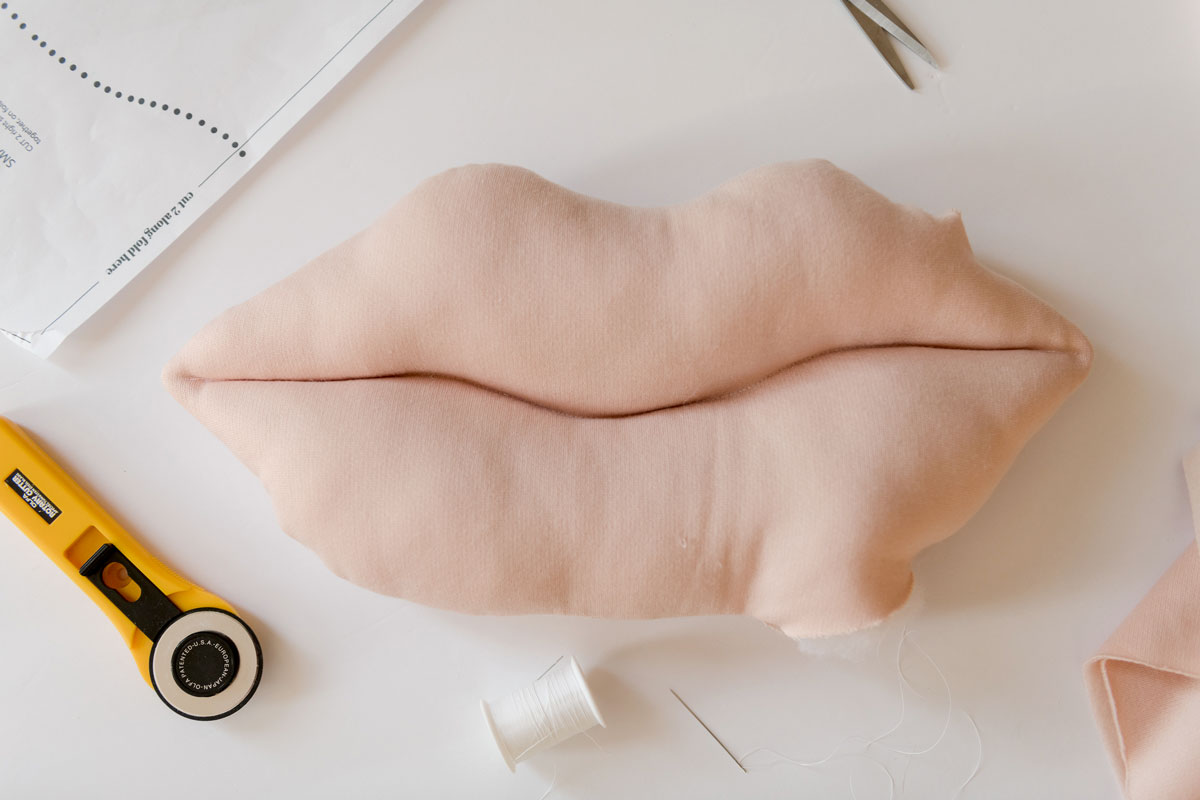
Fluff up and then throw these pillows on your couch, bed or box them up with a little note for your Galentines or Valentines day! 🙂
