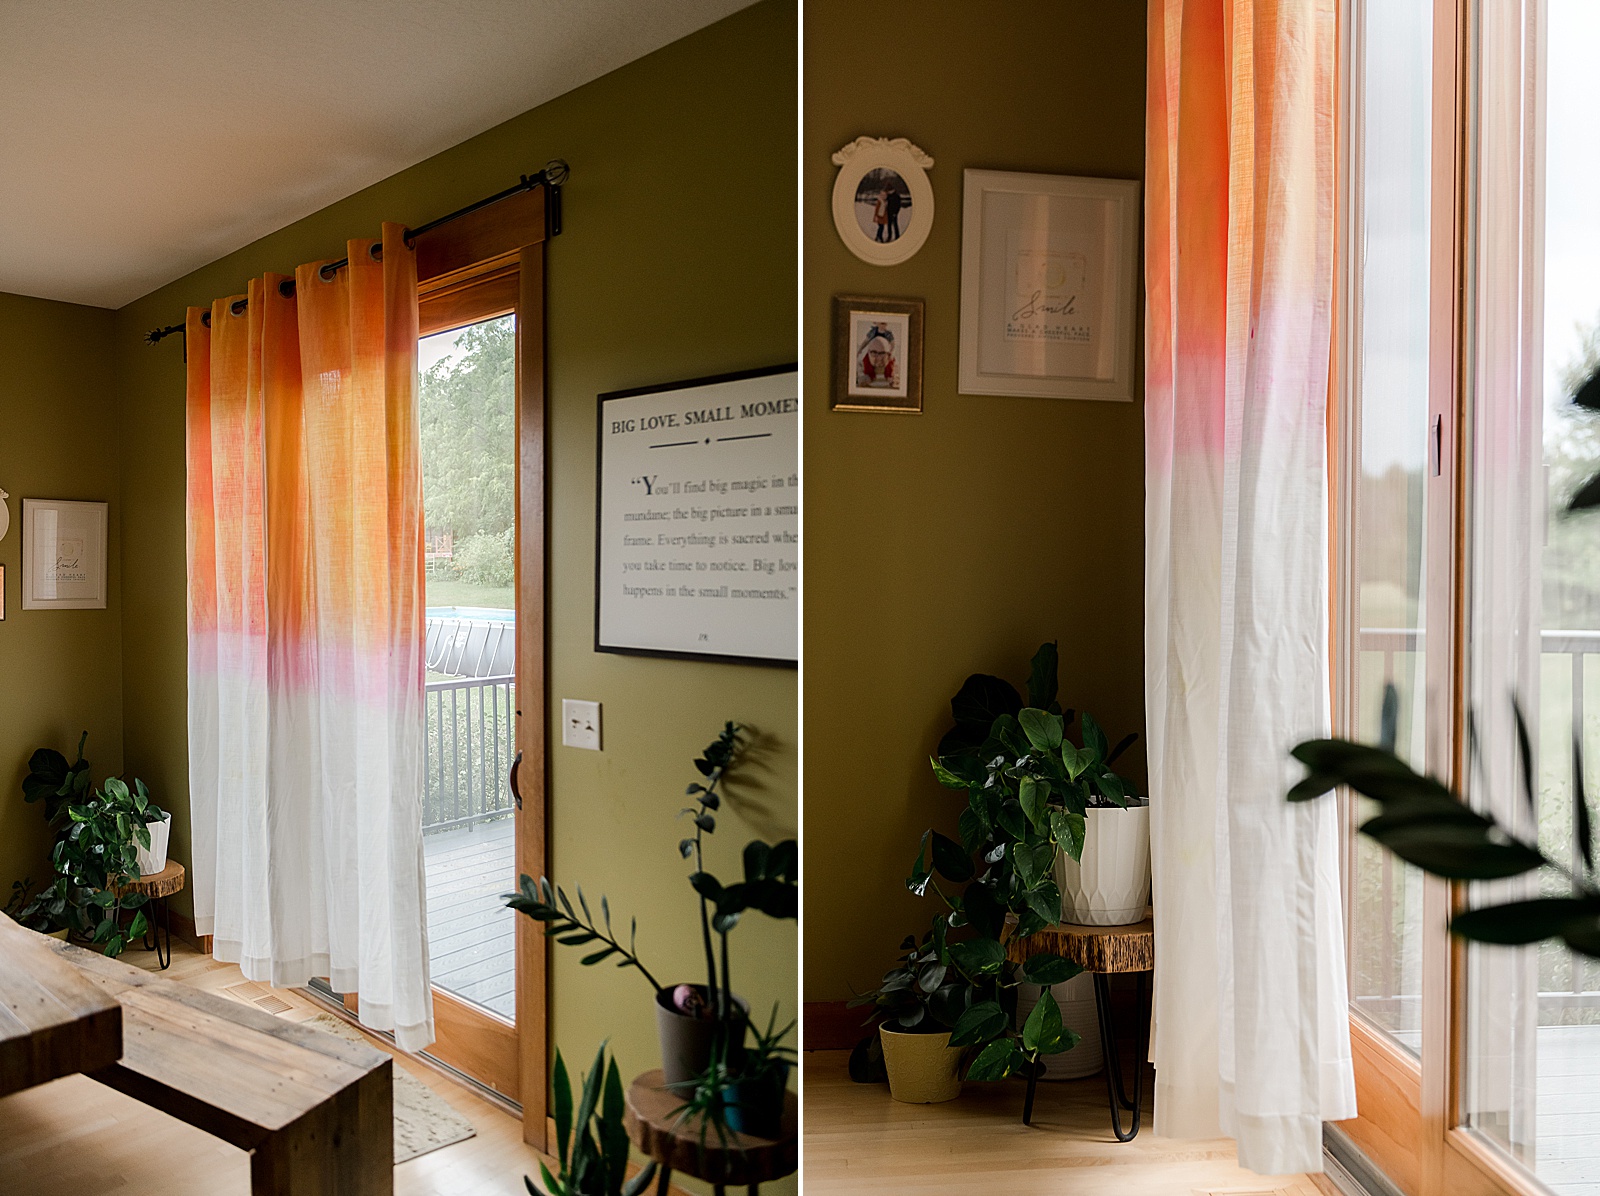
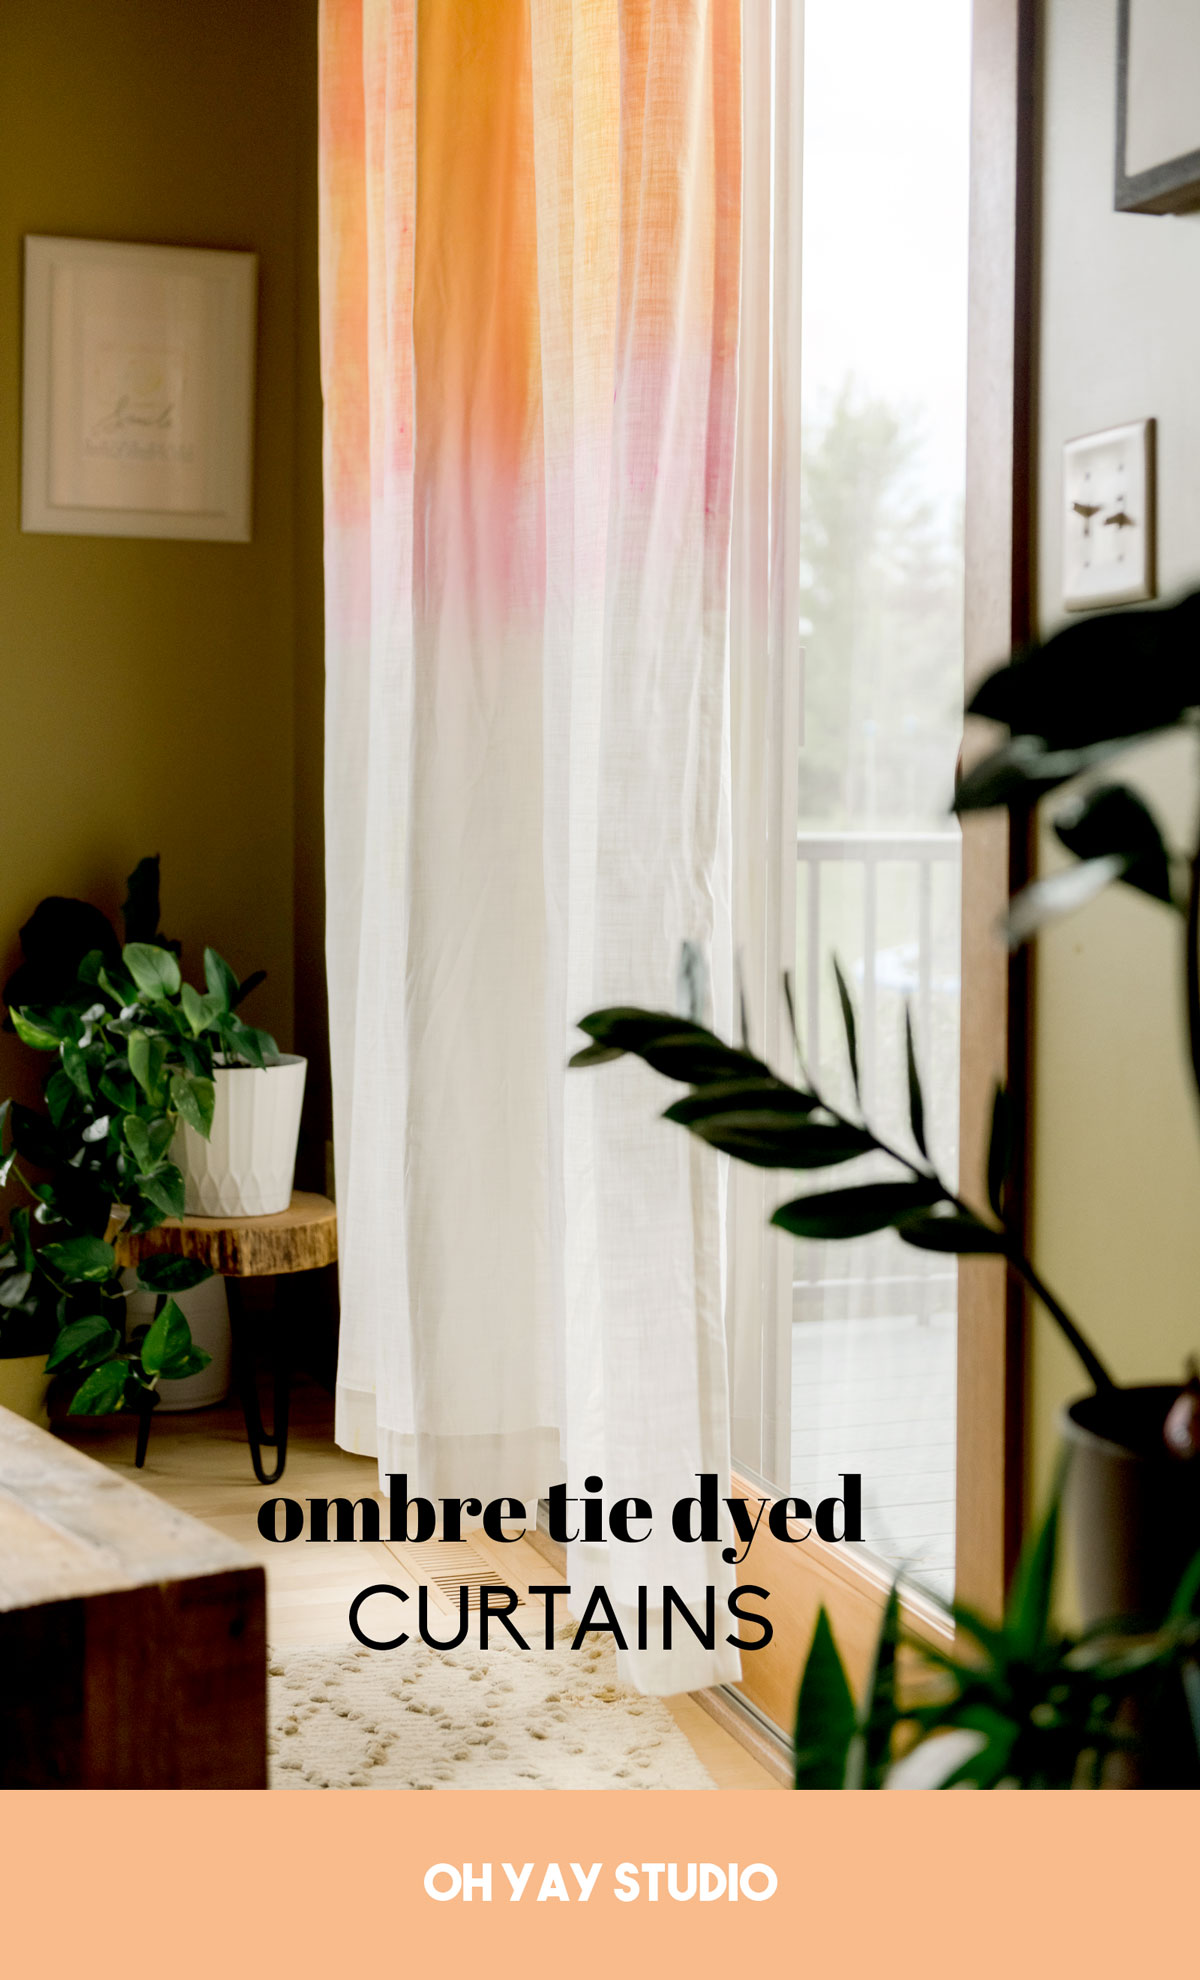
Ombre Tie Dyed curtains!
*this project is in partnership with Tulip and the best tie dye products in the land 🙂
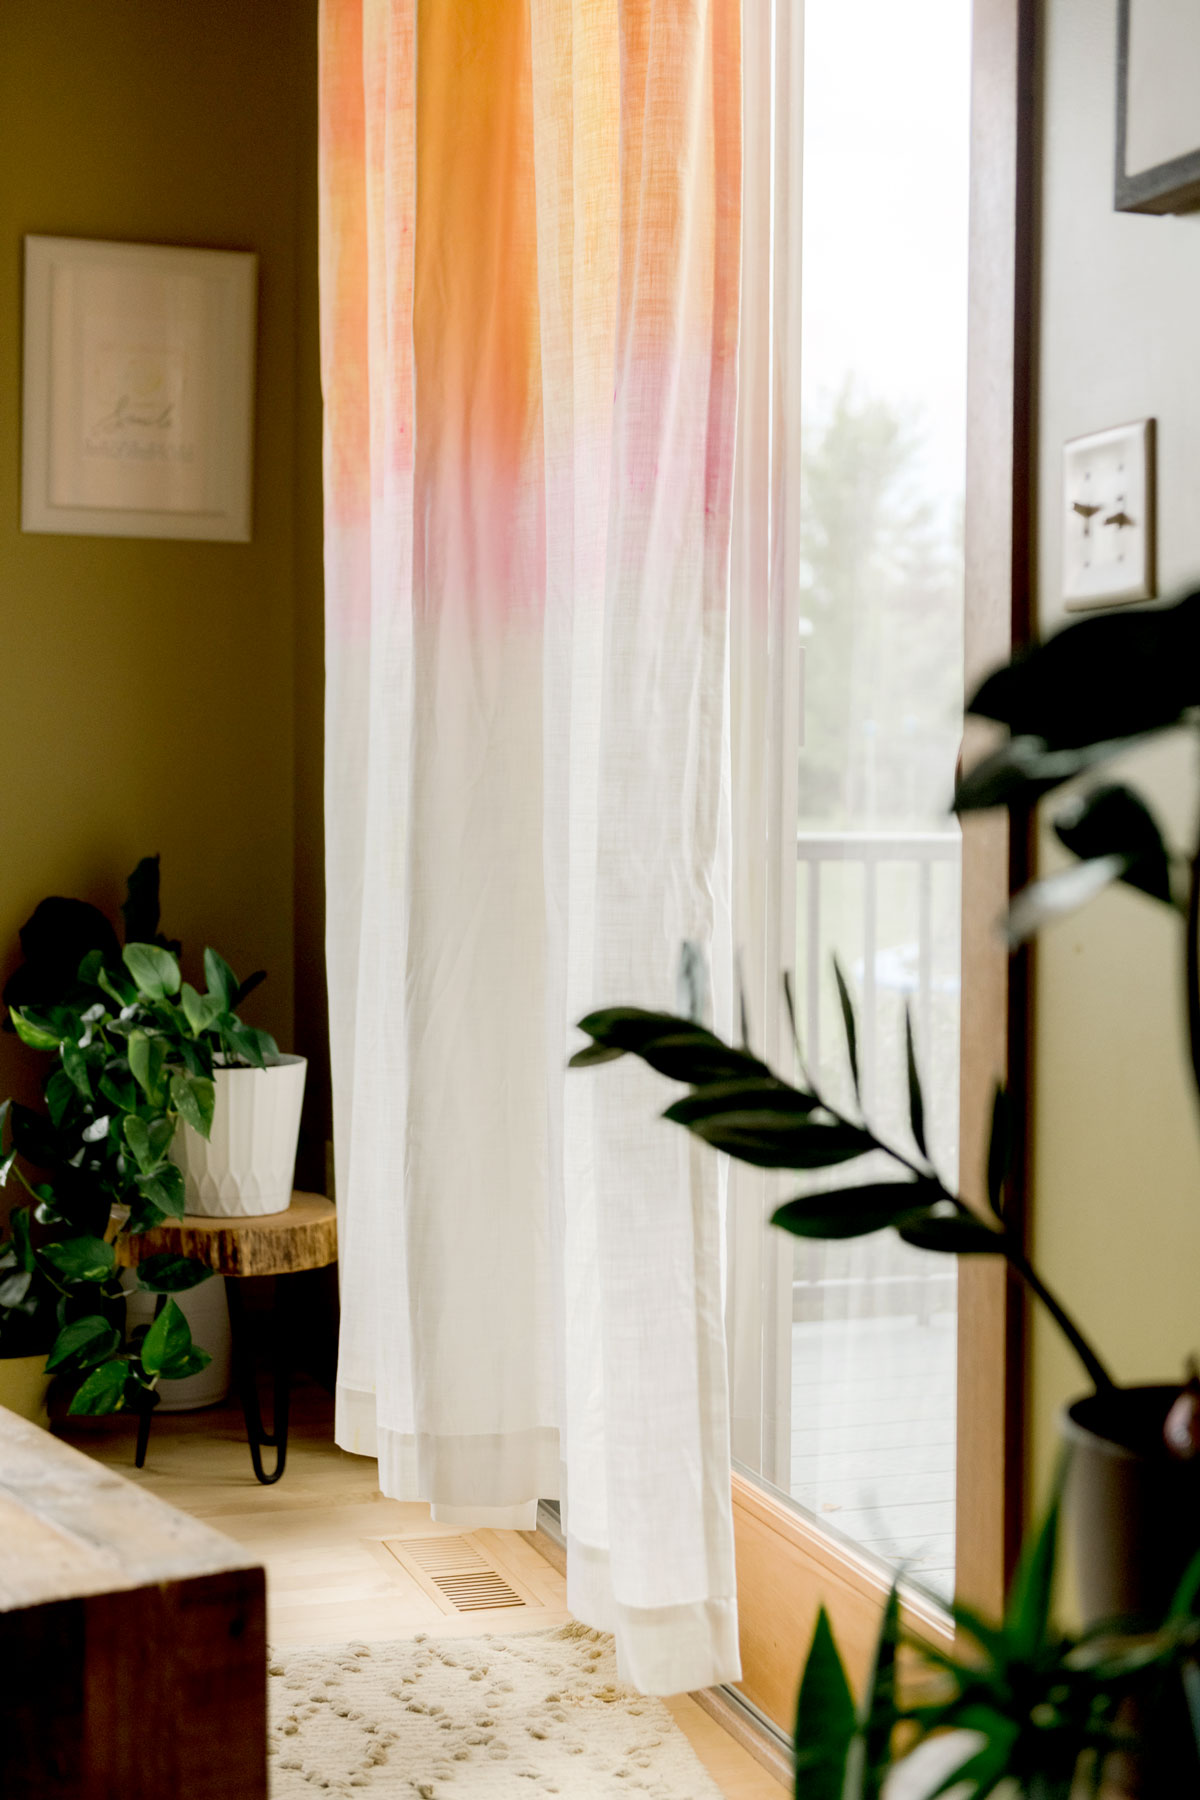
Why not add some color to something we all have in our house…..CURTAINNNNSS! 🙂 Honestly, adding this awesome ombre tie dye effect is SO satisfying and adds just the right amount of interest and color to your living room, dining room, bedrooms or MOOOORE!
So grab your bottles of Tulip tie dye and let’s ombre tie dye some curtains together! 🙂
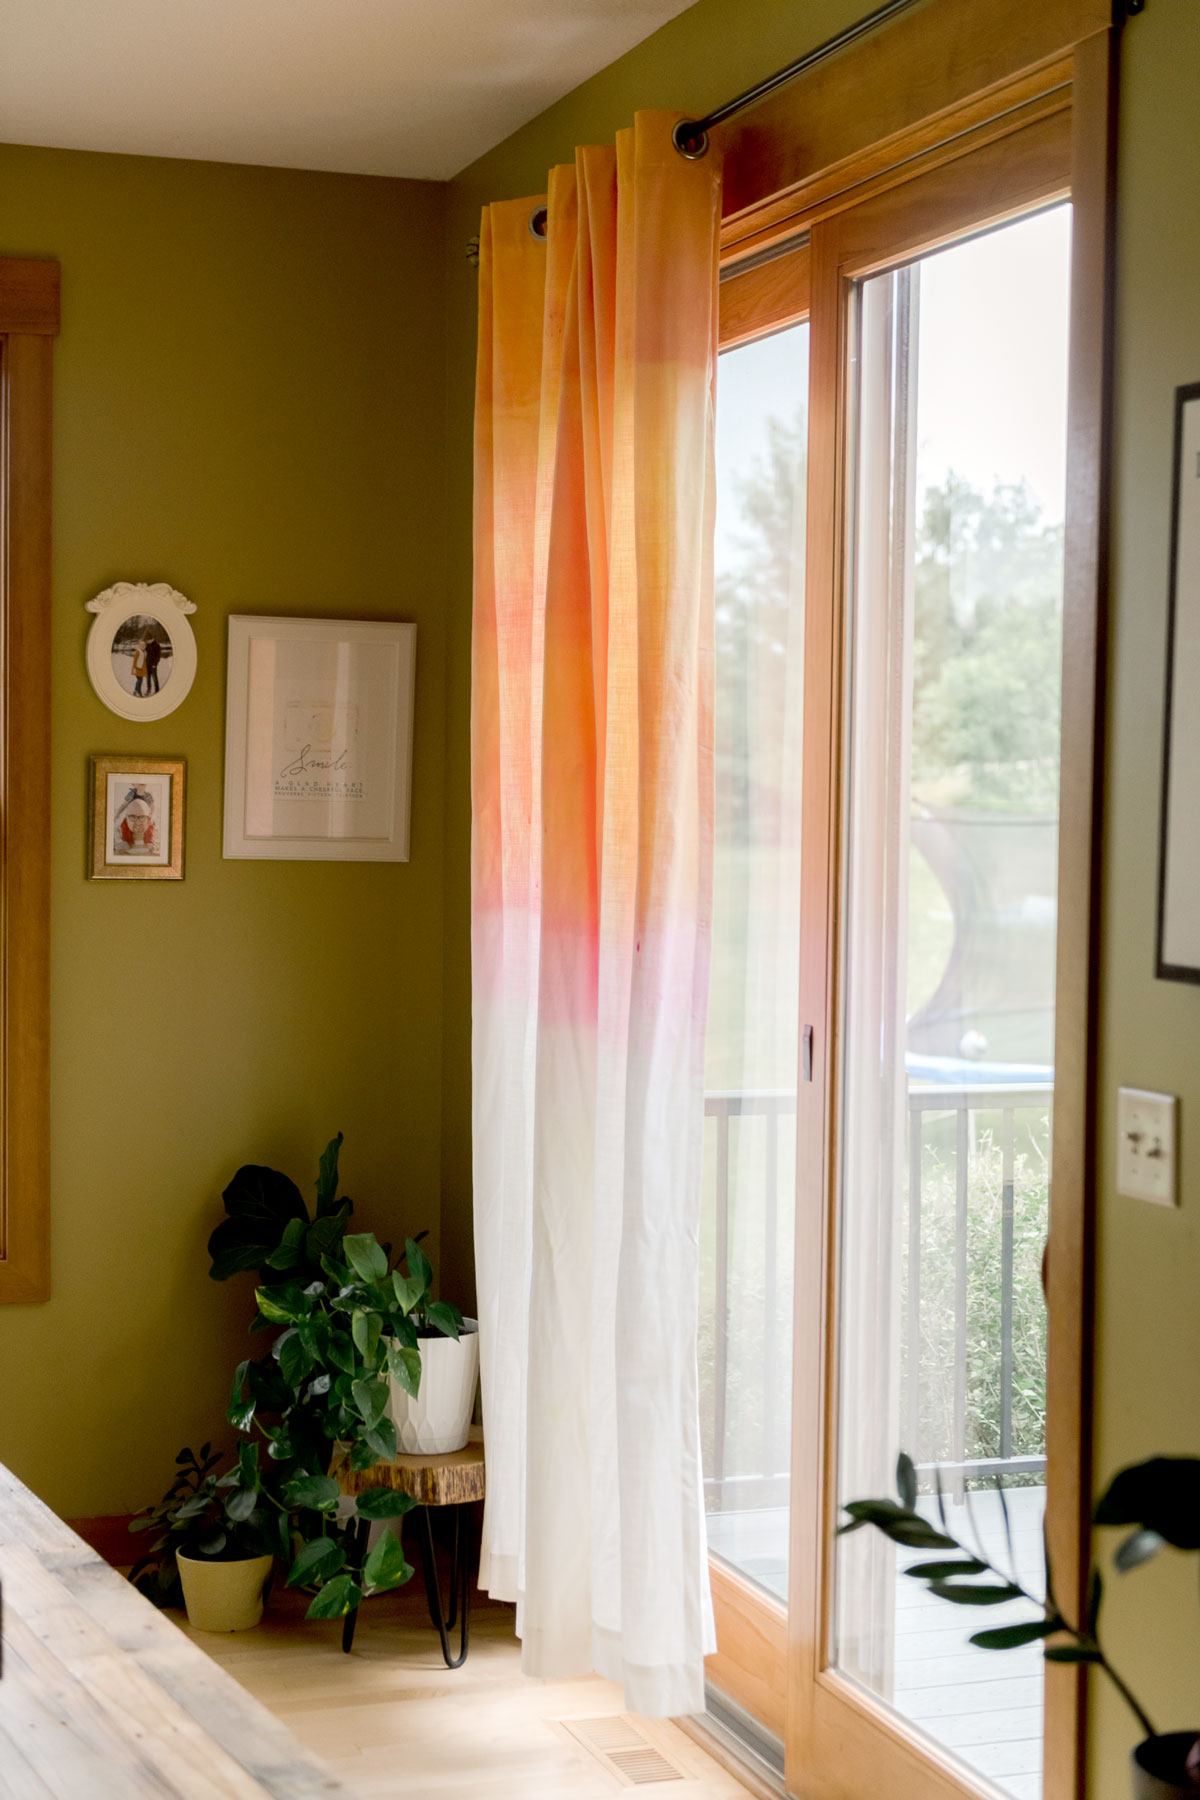
I love this technique (and these dye colors) because you can 100% customize them to make any gradient of colors you want! 🙂 As long as you overlap your colors a bit in each ‘section” (you will get the gist below in the instructions) then you legit could ombre tie dye any combo of colors together! 🙂
MATERIALS:
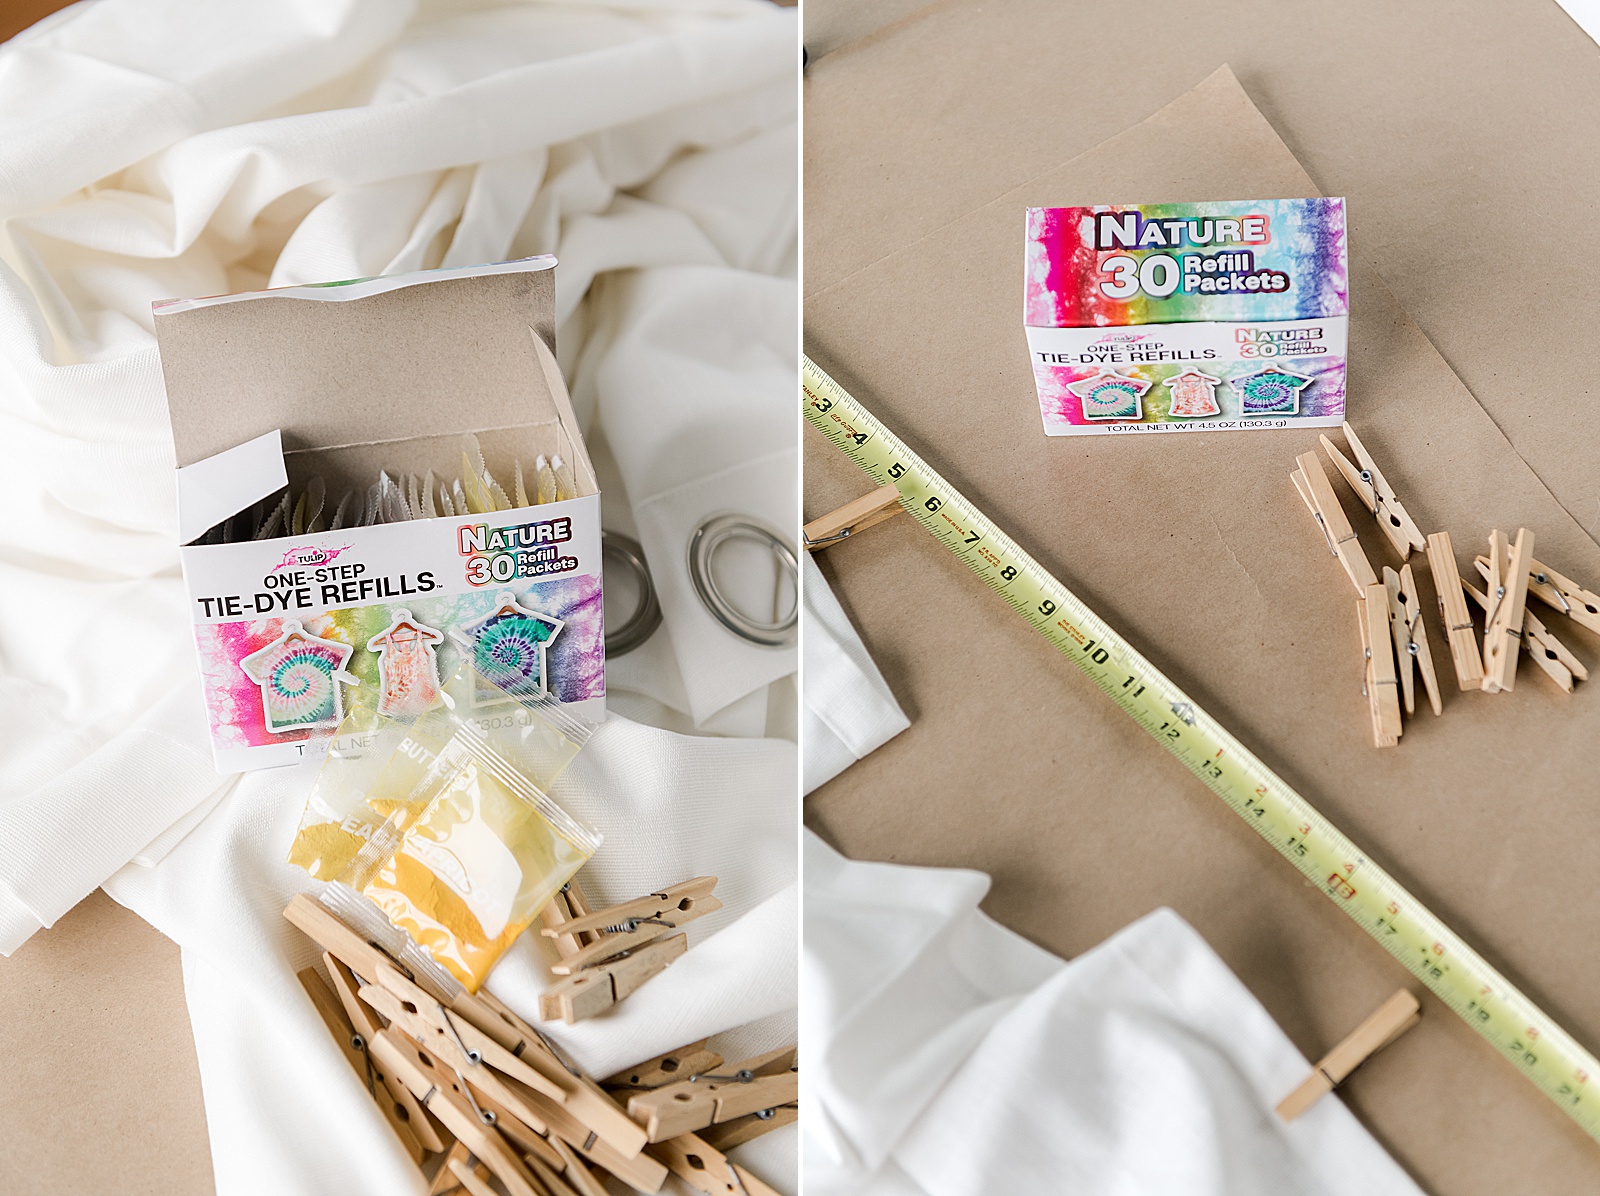
- A pack of the Tulip one step tie dye refill – the Nature colors (these colors are totes my jam)! 🙂
- A pair of white curtains (can be thrifted or older too…just make sure they are 100% cotton or linen or another “natural” fabric….no polyester, they don’t hold the dye)
- A big tub (I found an old one in our basement that I dumped toys from for the project…don’t tell my kids)!
- A wire rack to keep the curtain off the bottom of the tub as much as possible
- Some clothespins
- A tape measure
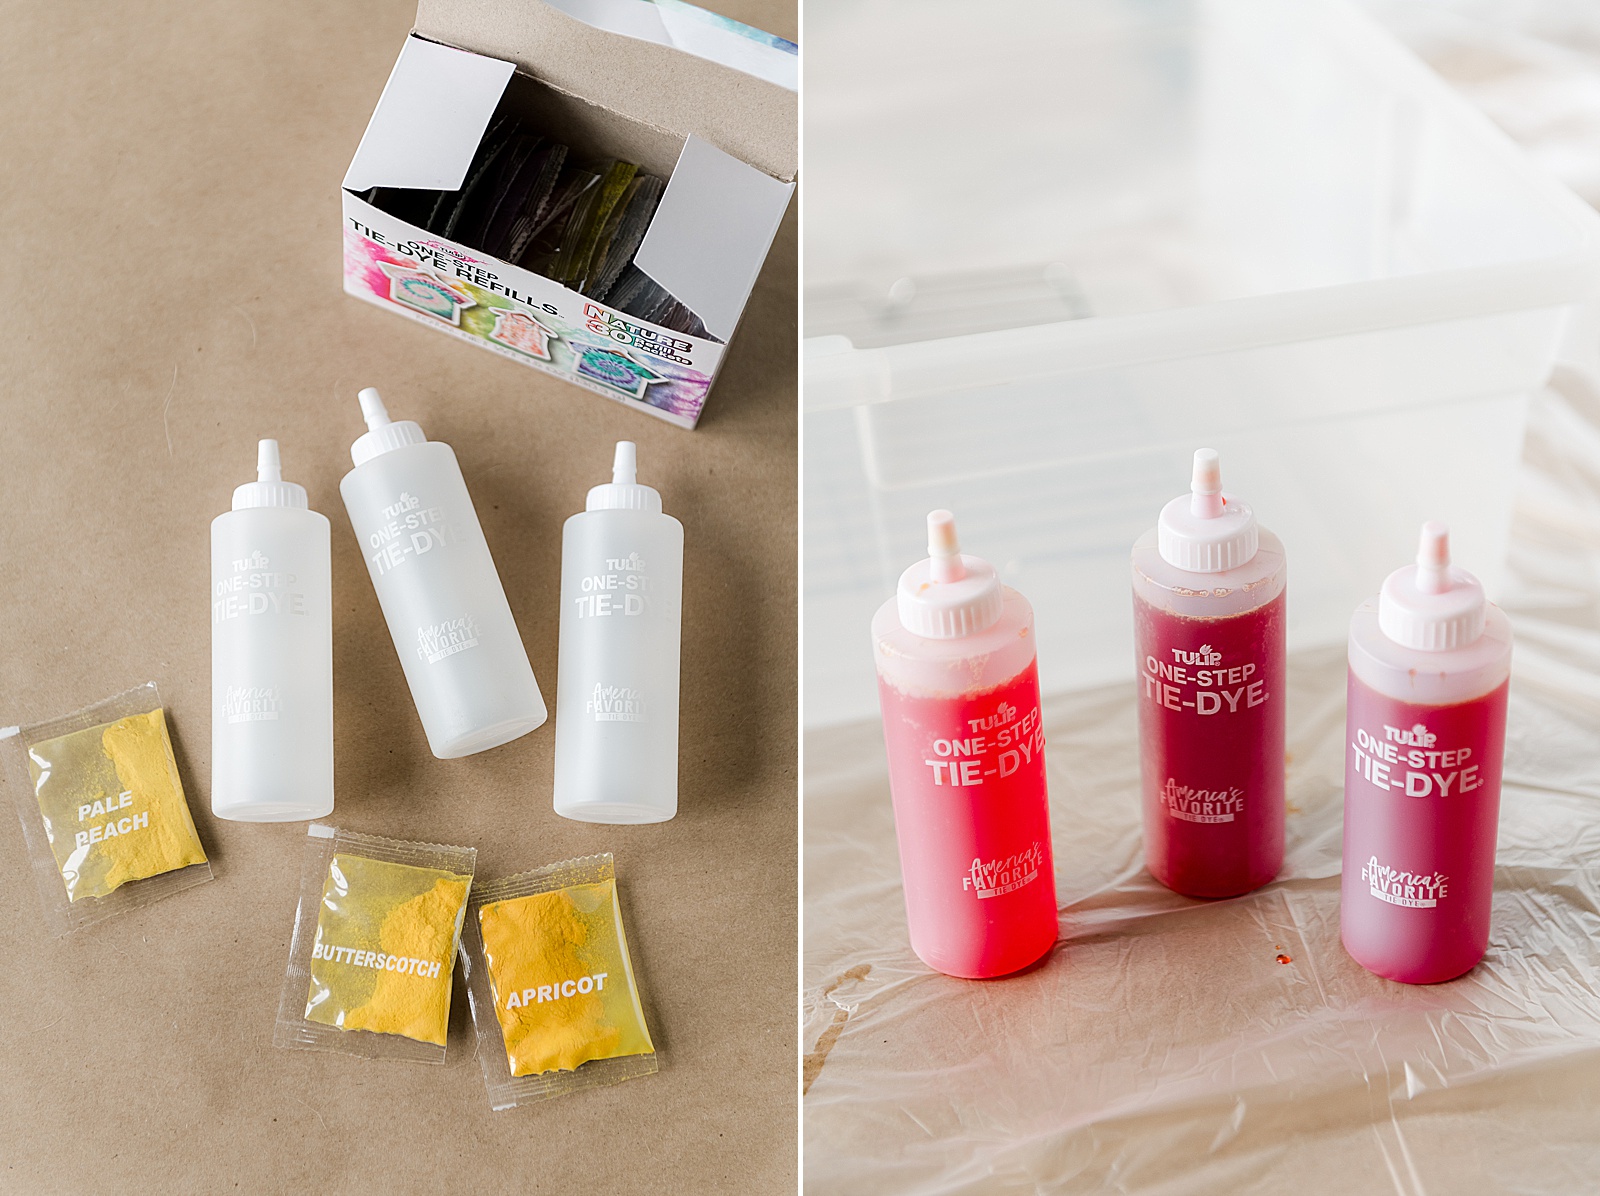
The colors I chose from the Nature tie dye refill pack were:
- Apricot
- Butterscotch
- Pale peach
INSTRUCTIONS:
1. Prewash your curtains (if they were new or if they are used to give them a good scrub and make sure everything is “out” of them so they hold dye nice and awesome)
2. Then lay out your curtains and begin marking the sections of the dye. I did this by laying out the curtain completely flat onto the ground and eyeballing how “low” I wanted the dye to soak. I then divided this amount into 3 sections (for the three colors that I chose from the Nature colors refill pack) – the math came out to each section measuring about 16”.
I measured 16” down from the top edge of the curtain along the side and marked it with a clothespin…then repeat this 2 more times for my 3 sections.
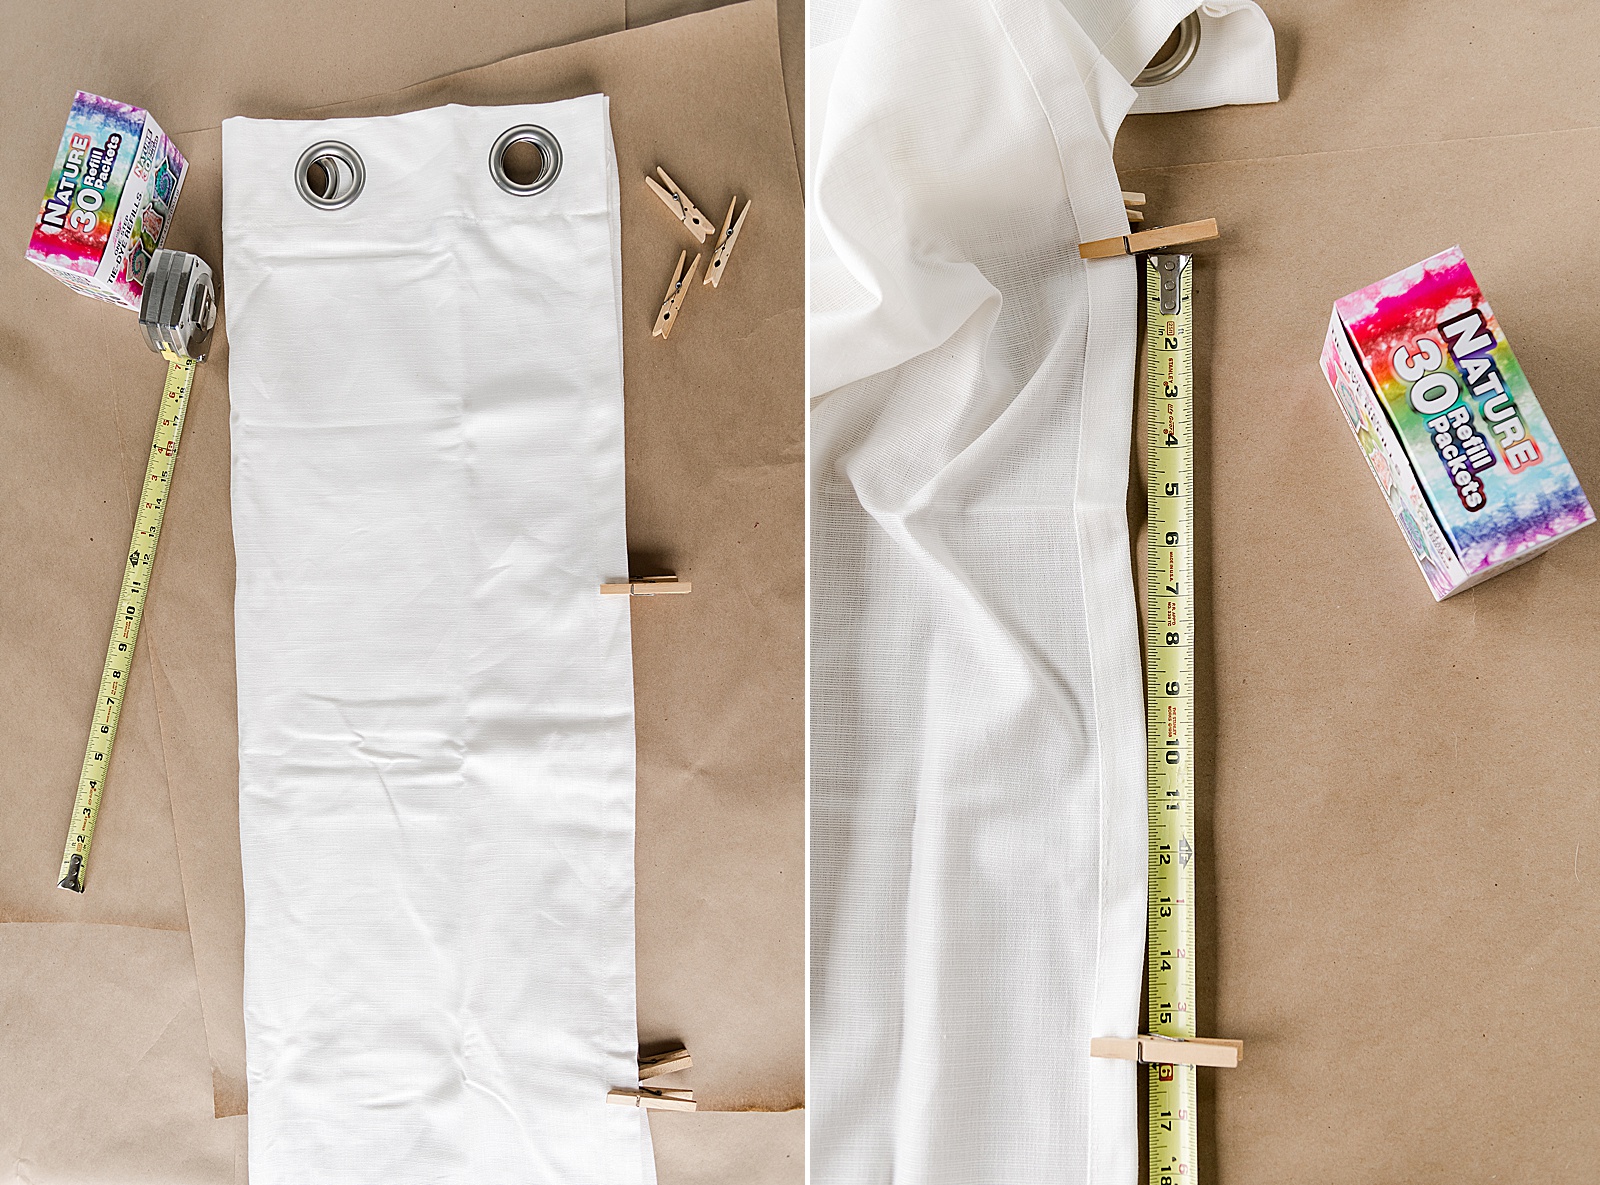

Repeat this for each long side edge of the curtain on BOTH panels.
3. Fold your curtain the long way (hot dog as we said in school) to match up the long sides of the curtain and match up your clothespins. I folded my curtain in 1/2 2 times to get it a good “width” to fit into the tub that I had selected.
3. Then gently run your curtains under some water to get them wet. I kept my curtains folded and just made sure to get the “insides” of the folds got wet while rinsing. Ring out any excess as needed….the curtains do not need to be dripping….they just need to be wet to help spread the dye well! 🙂
4. Now mix up your dye! Cut your powder dye packet, pour it into a Tulip tie dye bottle and fill to the fill line on the bottle with warm water. Shake well to mix up all of the powder well!
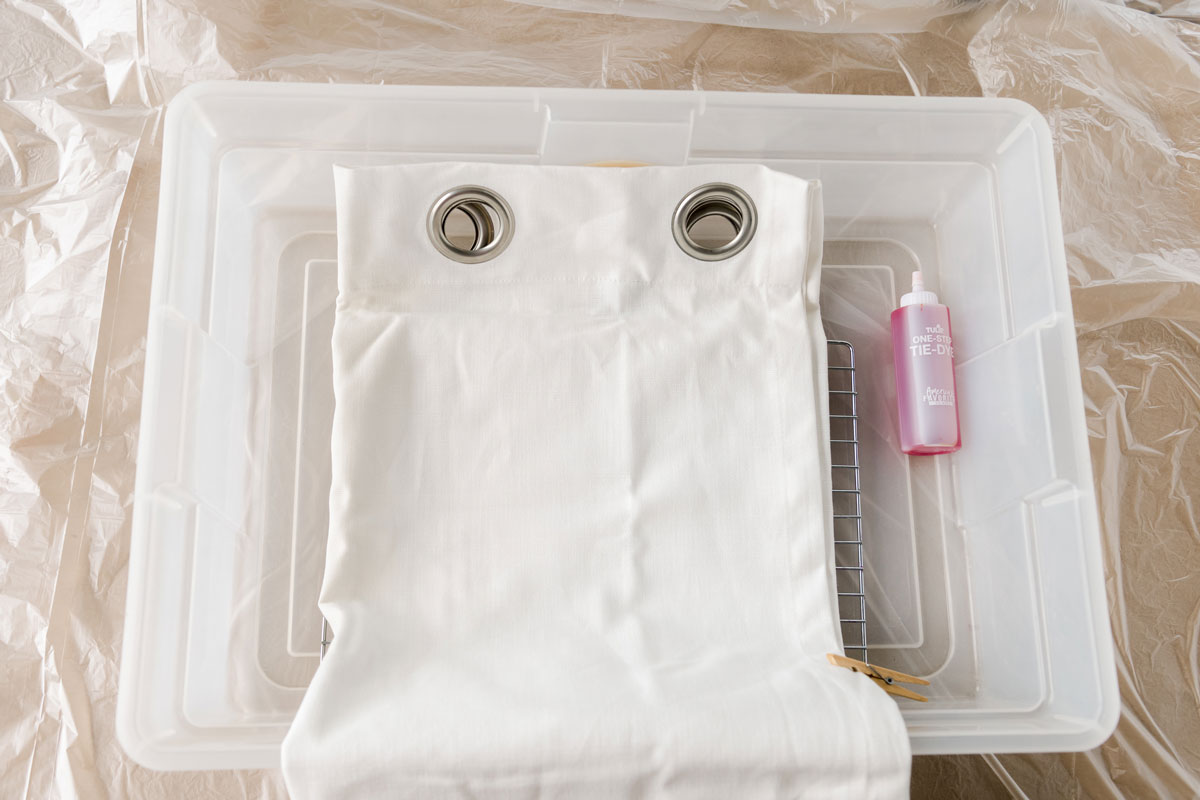
5. Place the wire rack in the bottom of your big tub and then place the top (folded) part of the curtain in the tub to begin dying the first section. Try and get your first section all into the tub so that you can dye that rectangle or square all together. Be sure to go slow and let the dye soak into and spread through the curtain! (It really is kinda fun to watch it dye soak in)! 🙂 Be sure to dye BOTH SIDES of the curtain….ie, turn the curtain over to be sure the dye soaked to the back and is in between the folded layers 🙂
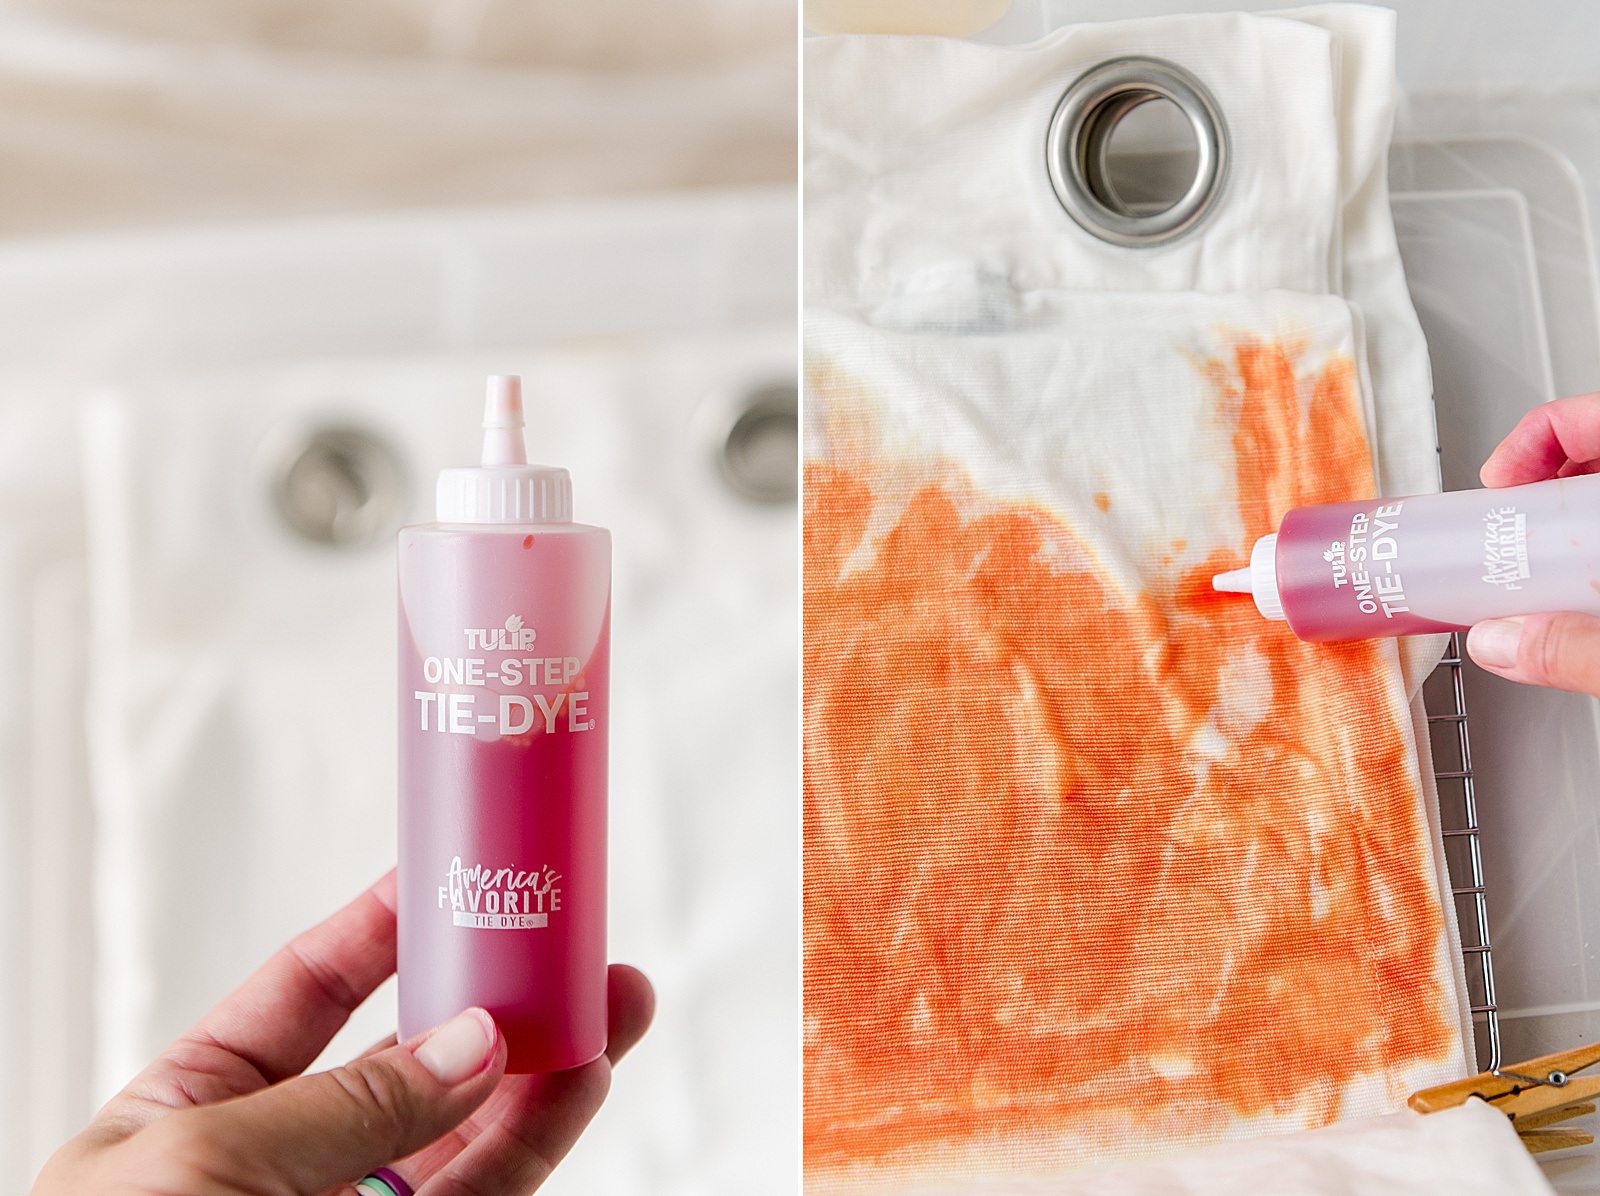
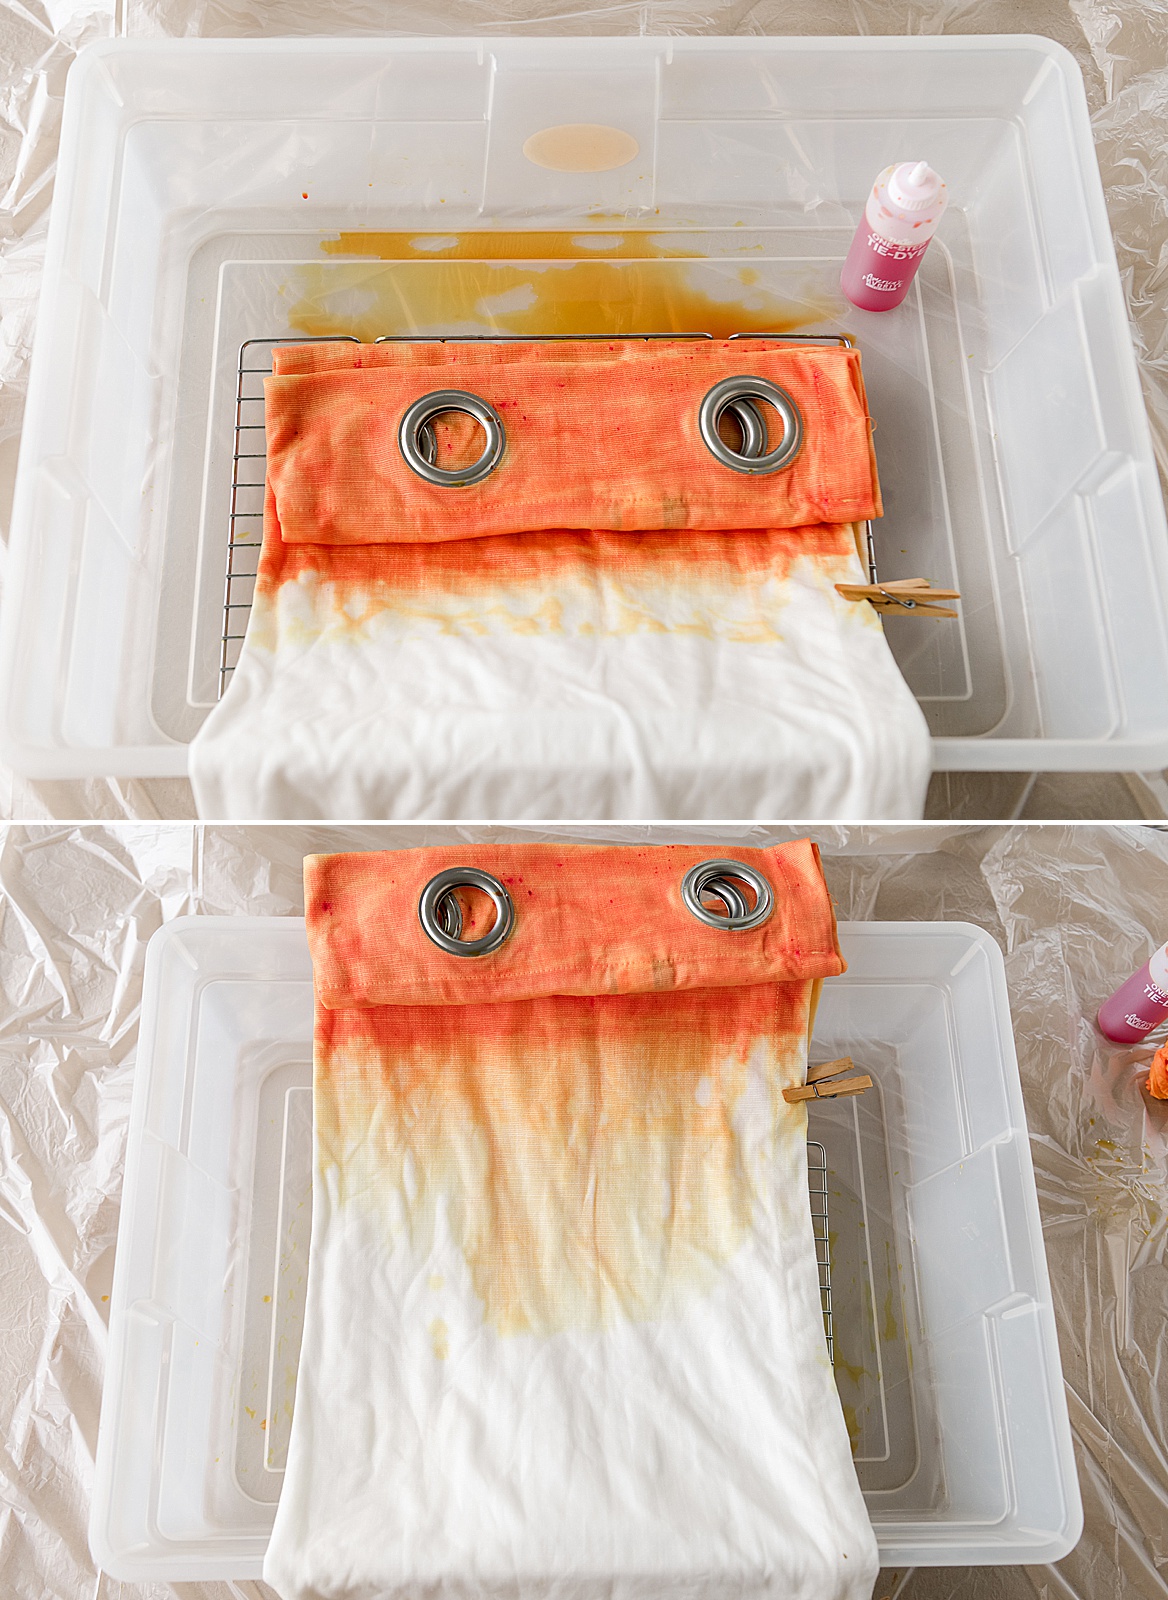
When you are done with the first section, fold the curtain so that the dyed section is touching itself and fold it “up” out of the tub.
Be sure to wipe the rack or the tub of any excess dye before starting the 2nd color (or putting the curtain down in the tub – this helps prevent the dye from soaking into unwanted sections! 🙂
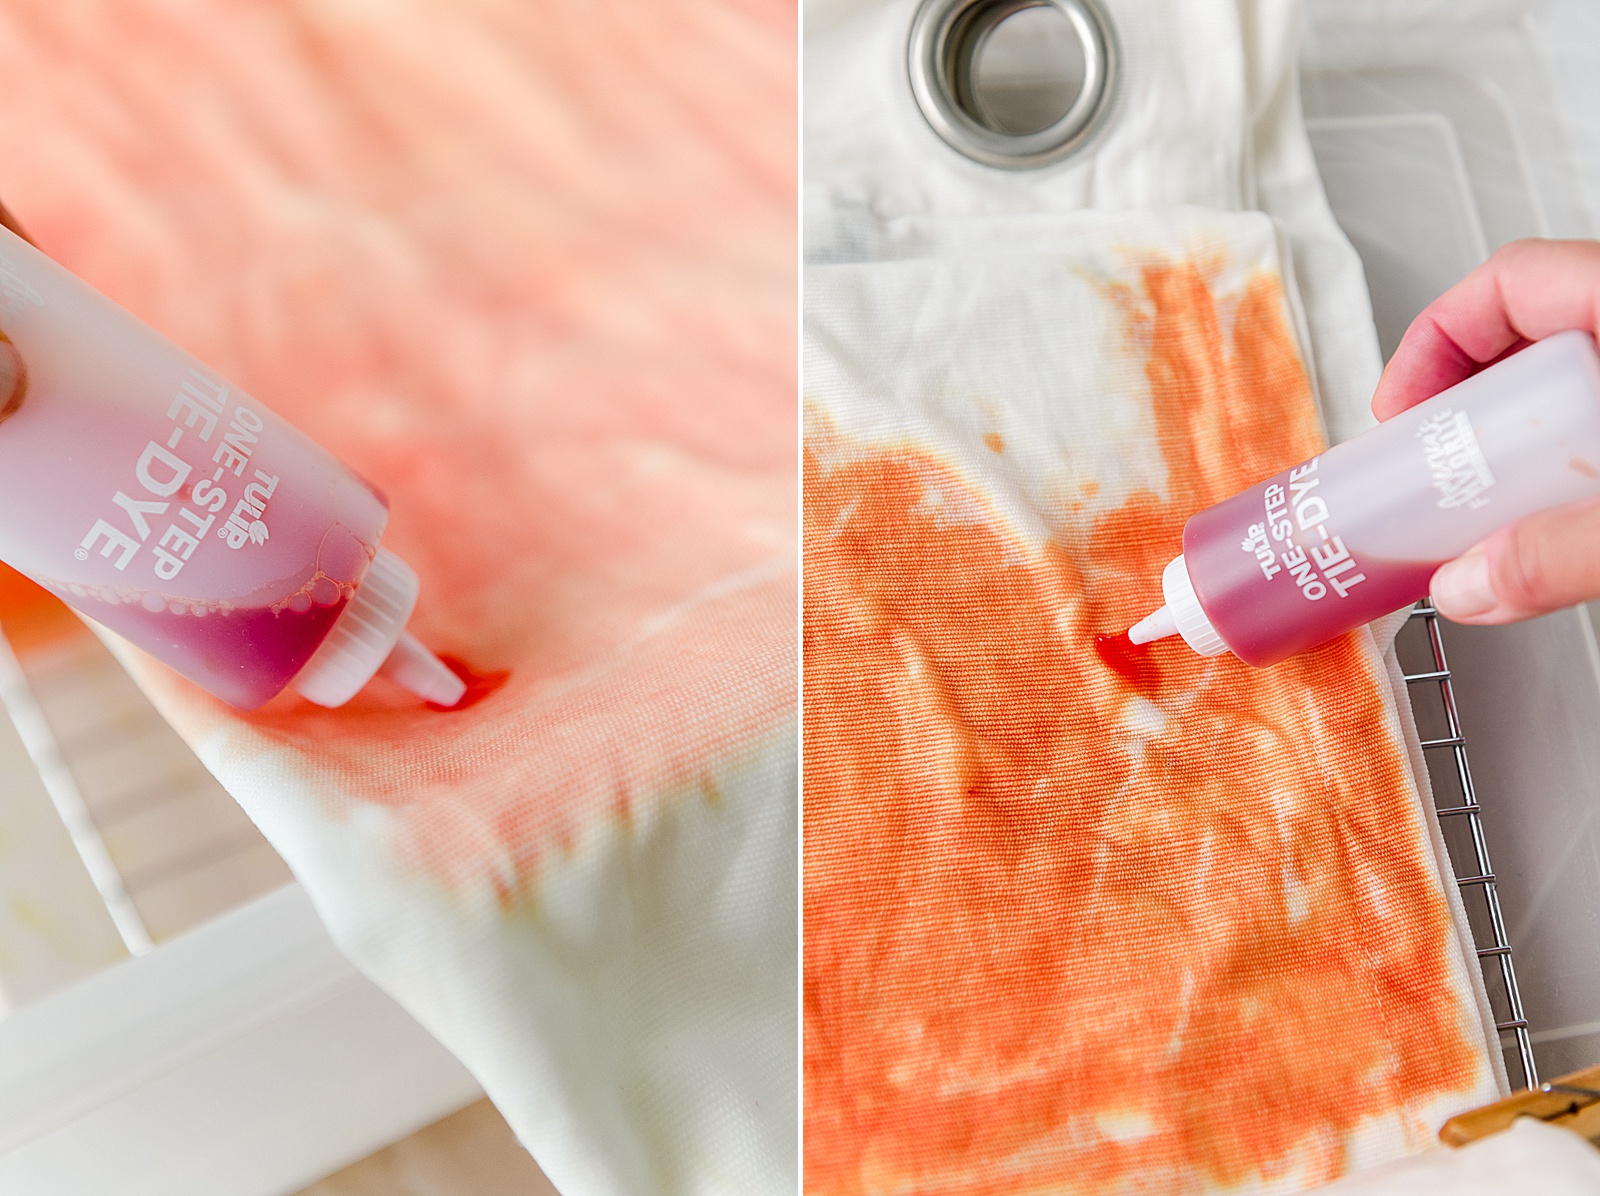
Then repeat for the 2nd and 3rd sections, making sure to overlap the colors as you go to get a full ombre effect and also clean off the tub inside between each color! 🙂
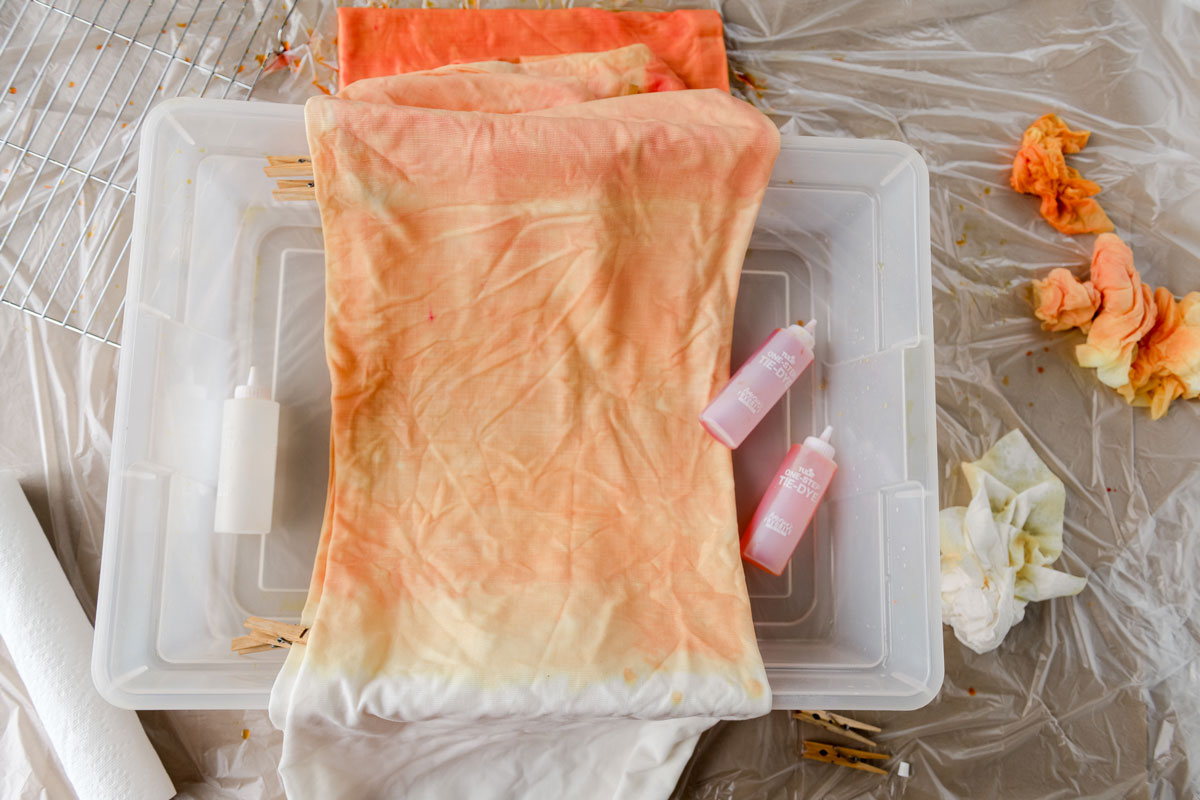
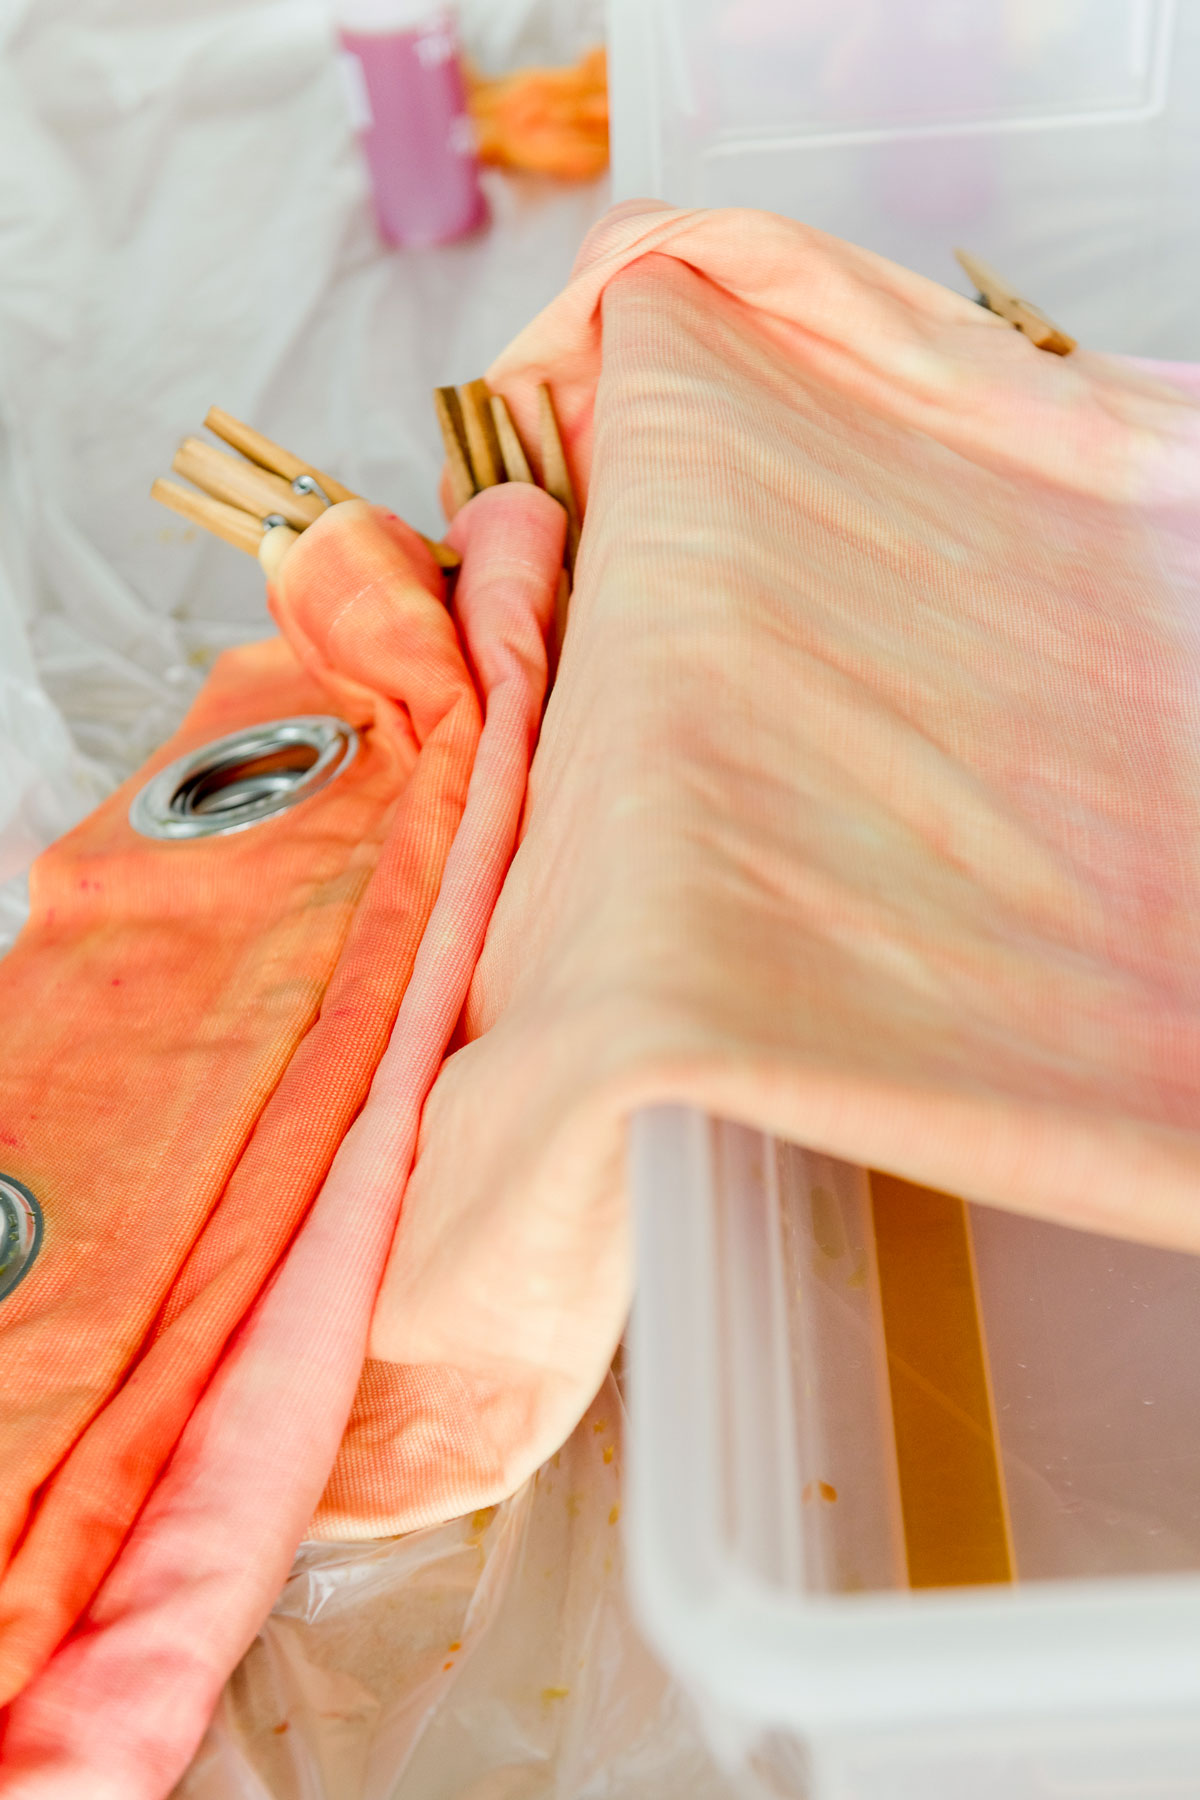
6. You will want to find a place to let the curtains soak in the dye for about 6 (or more) hours. I decided to hang the curtains “upside down” (so that the dye soaked or dripped downward towards the darkest color). You could also hang the curtains over a sink or even just let them sit hanging over the tub making sure to not let the curtains sit in any excess dye as to not let the colors cross contaminate! 🙂
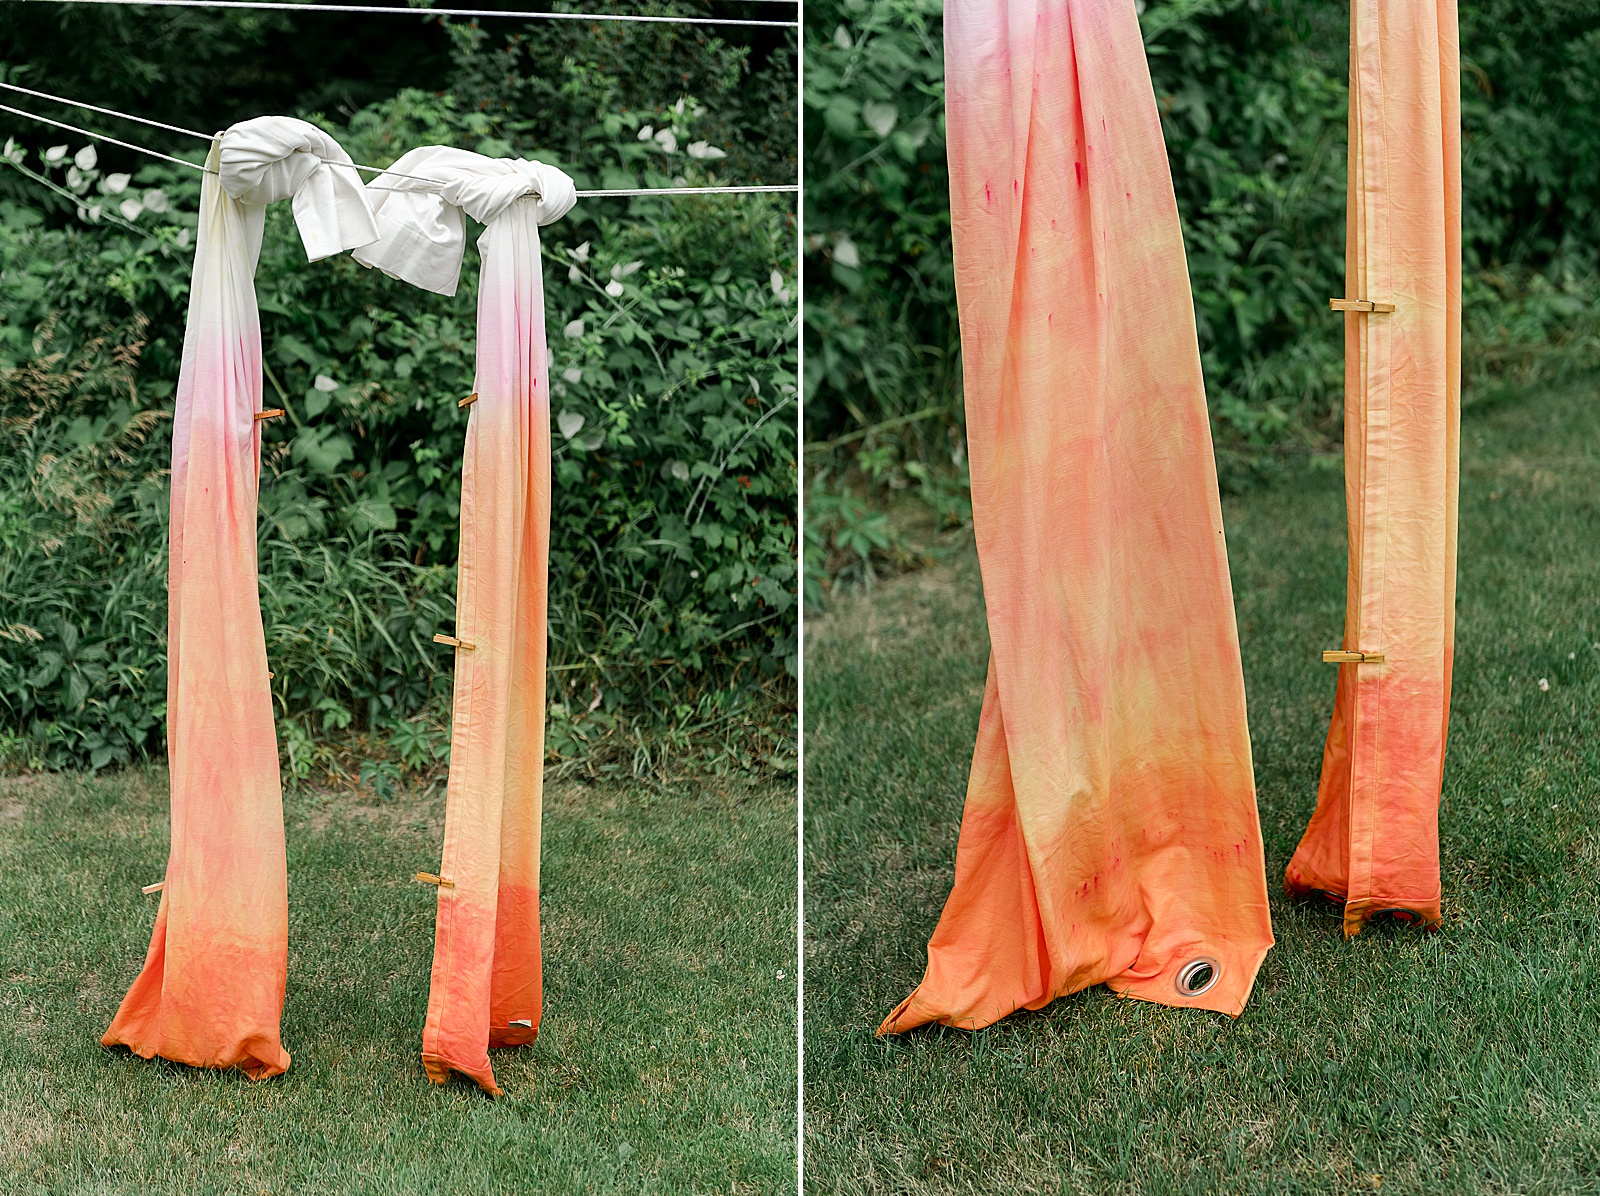
The longer you can leave the curtains with the dye, the better! 🙂
7. When you think the curtains are ready, throw them into a washing machine with cold water, tumble dry (as long as the fabric allows….you may want to just be sure on the manufactures tag and then iron, hang and stand back to look at your amazing colorful new curtains! 🙂
