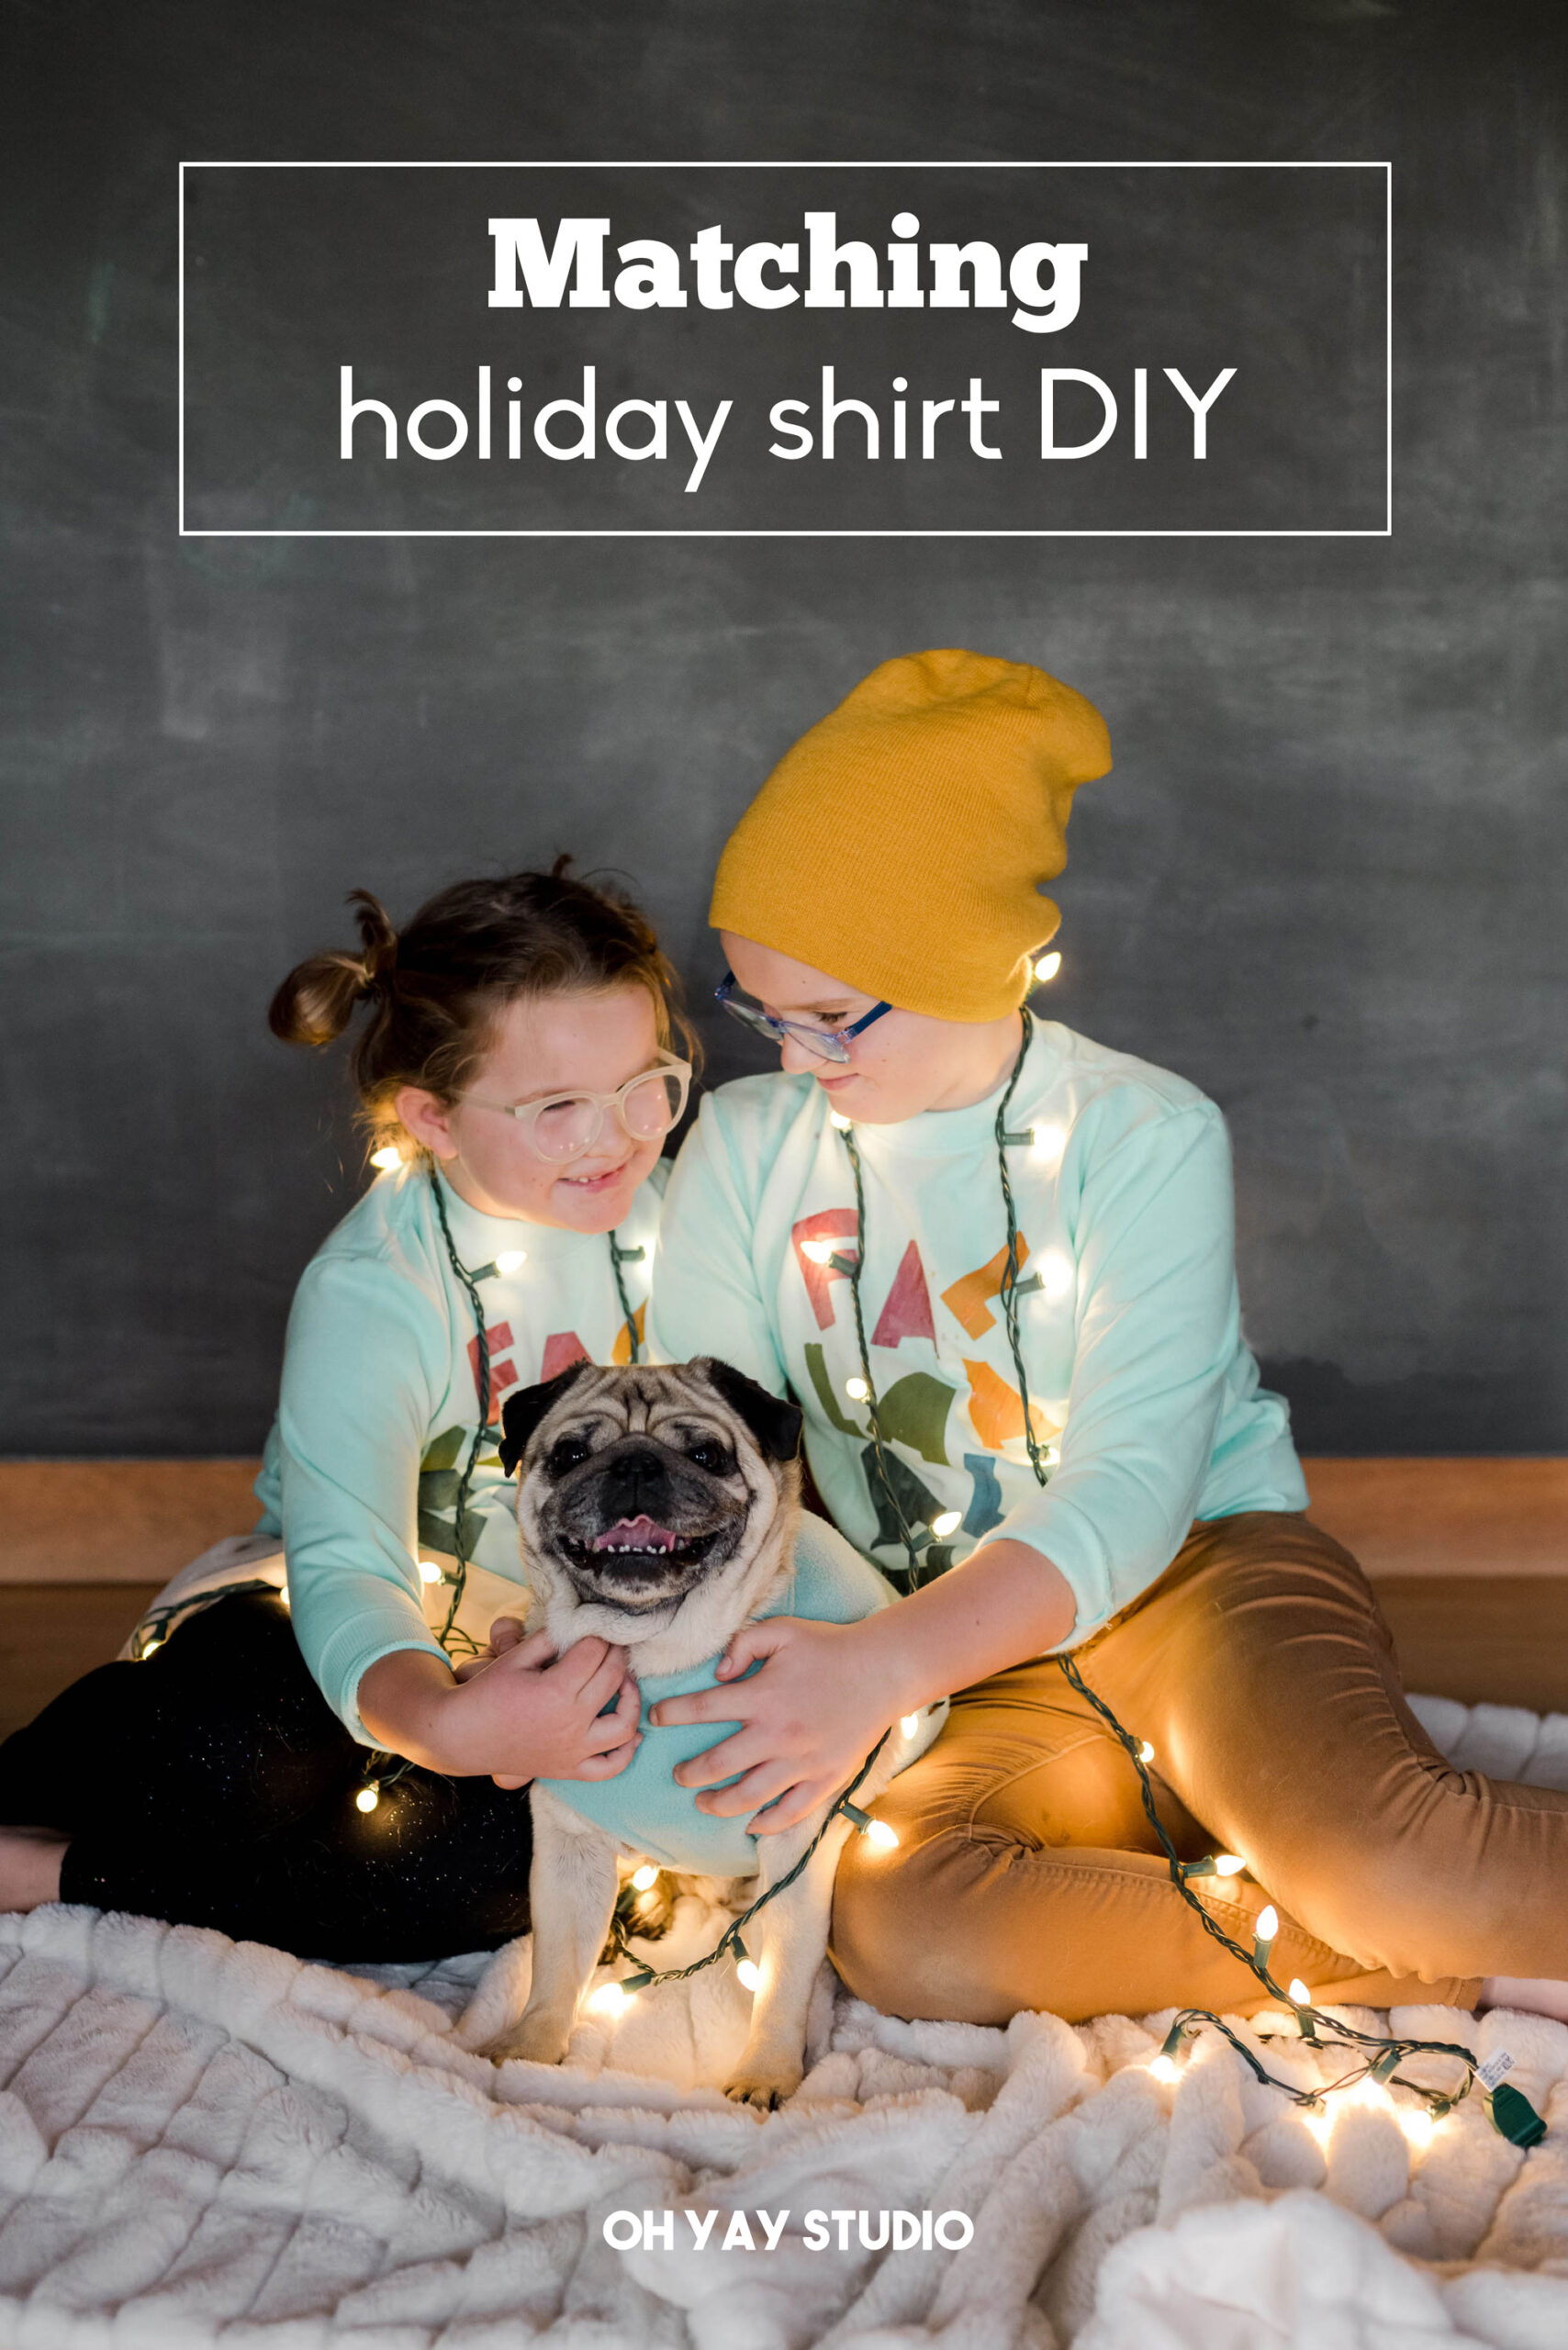
Matching holiday sweaters for YOU + your pup!
*In partnership with Tulip
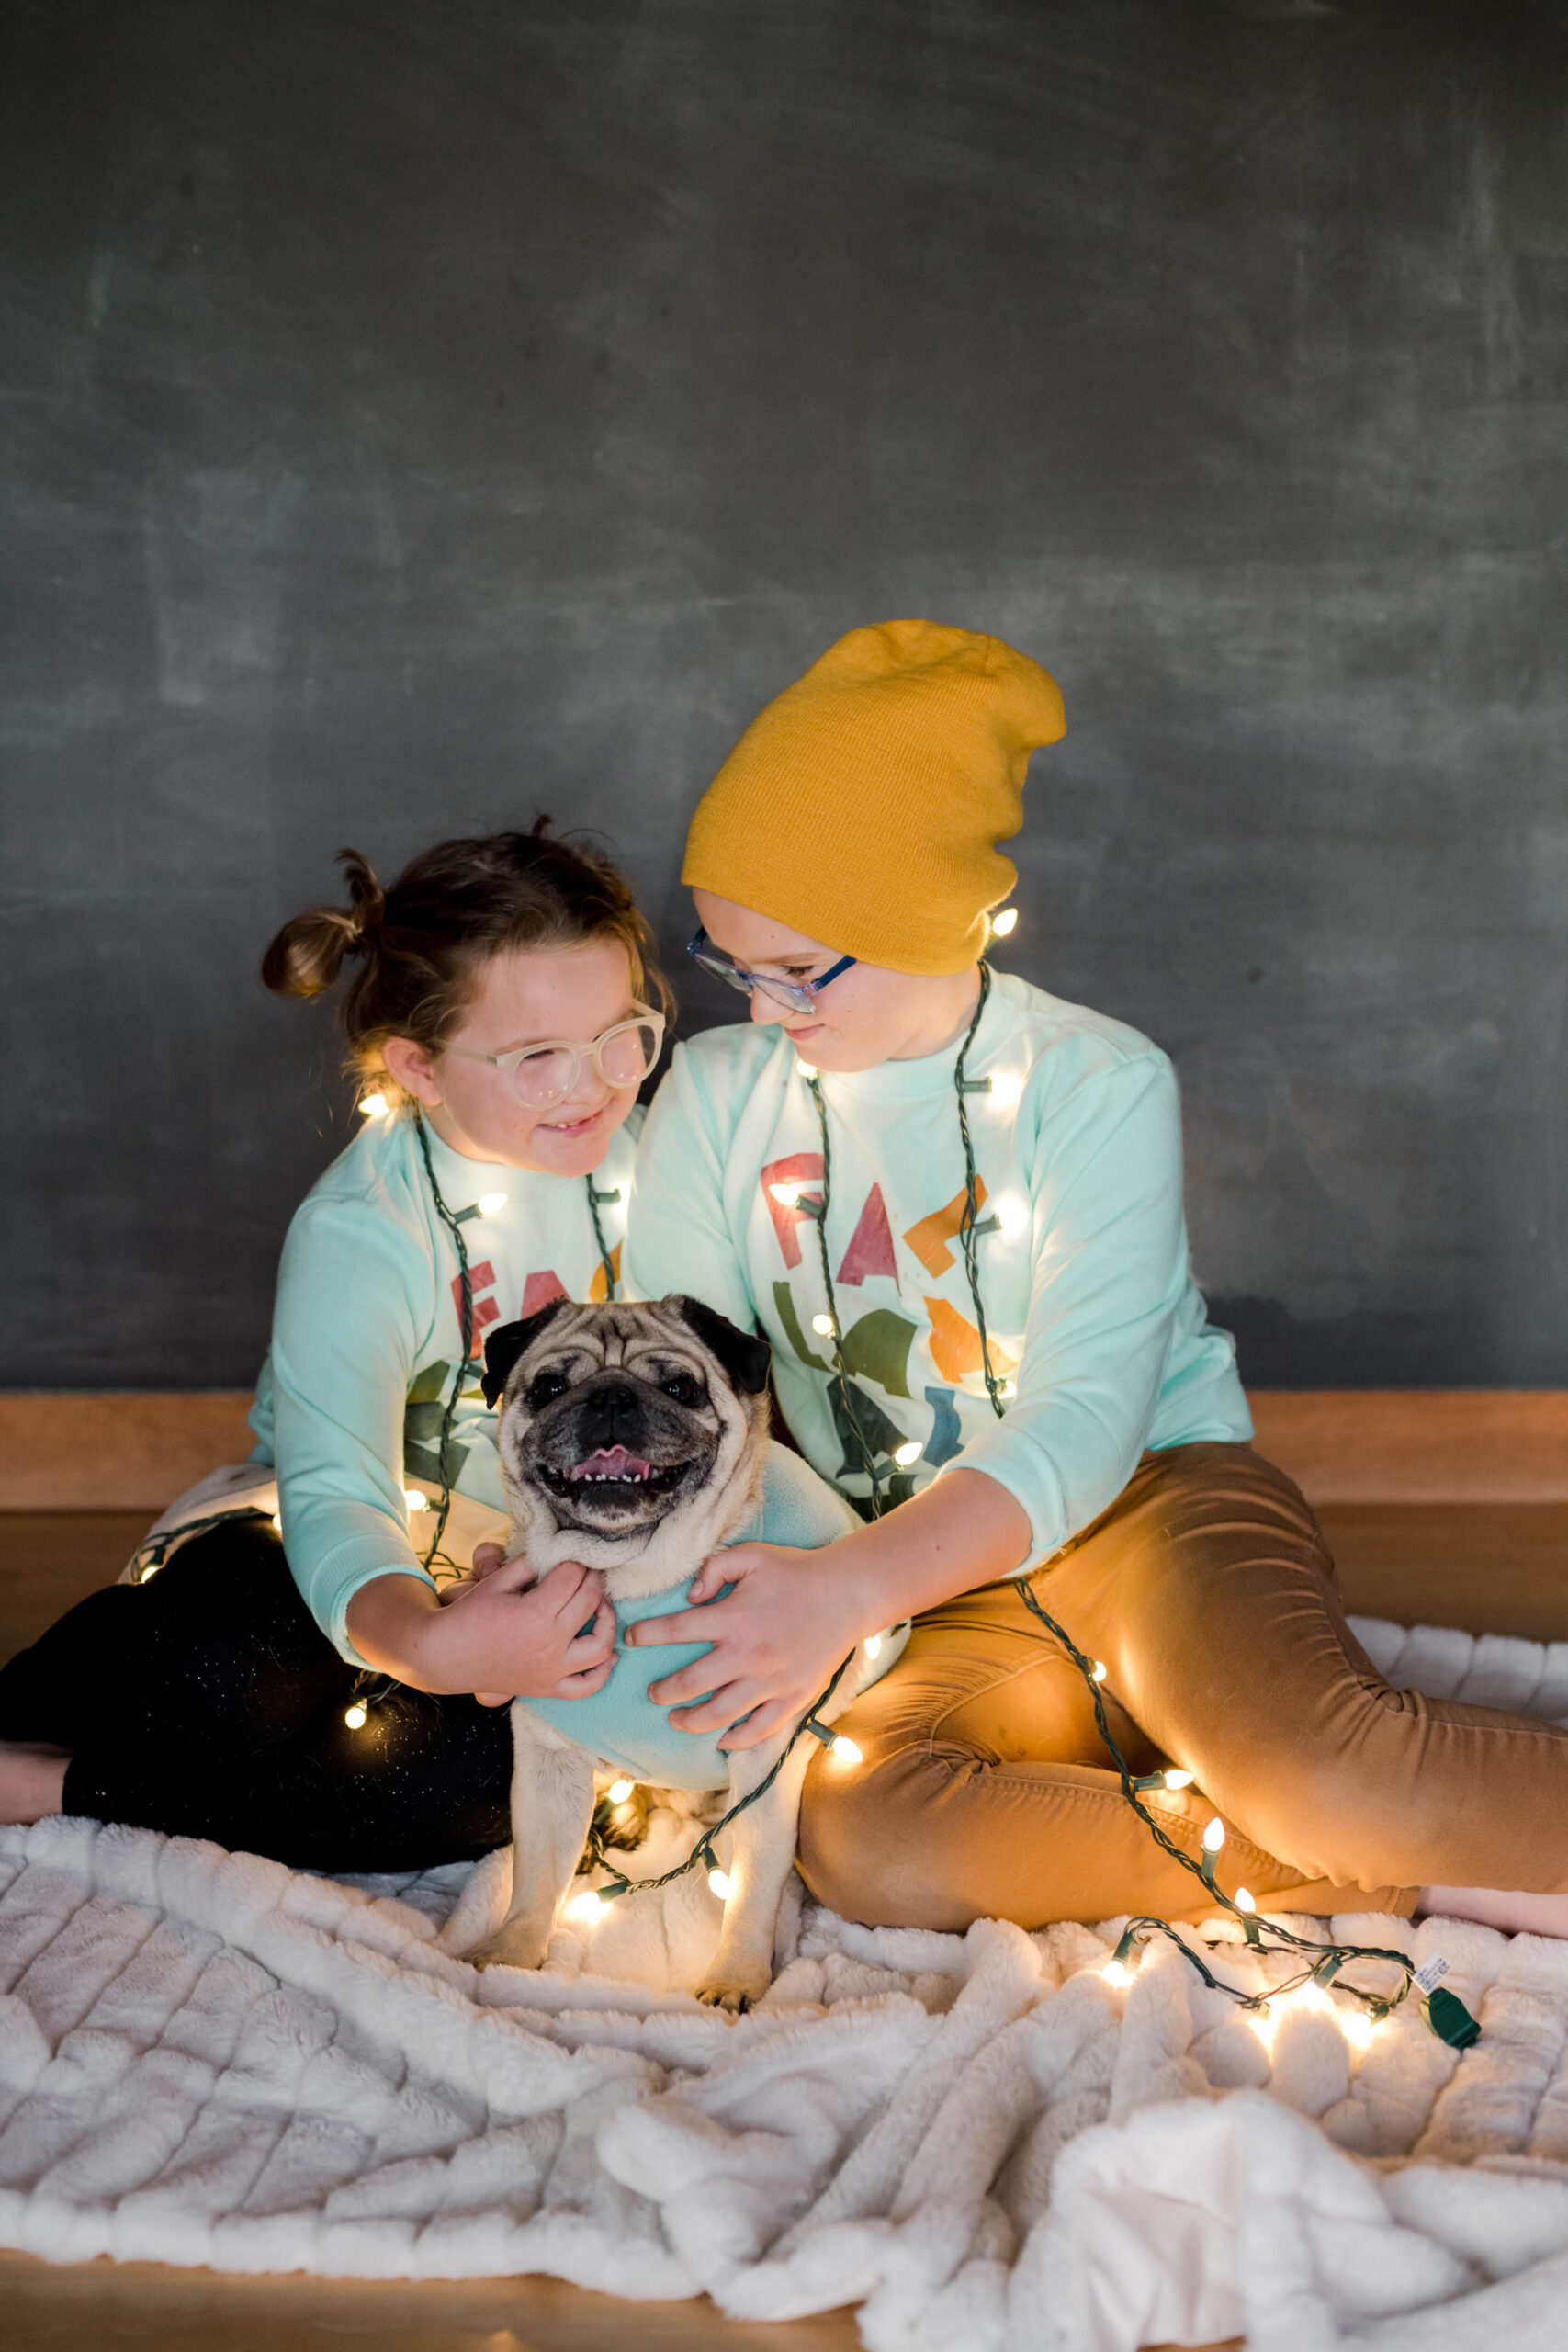
YESSSS! The matching holiday sweatershirt/sweater/jammie tradition! I AM HERE FOR IT! 🙂
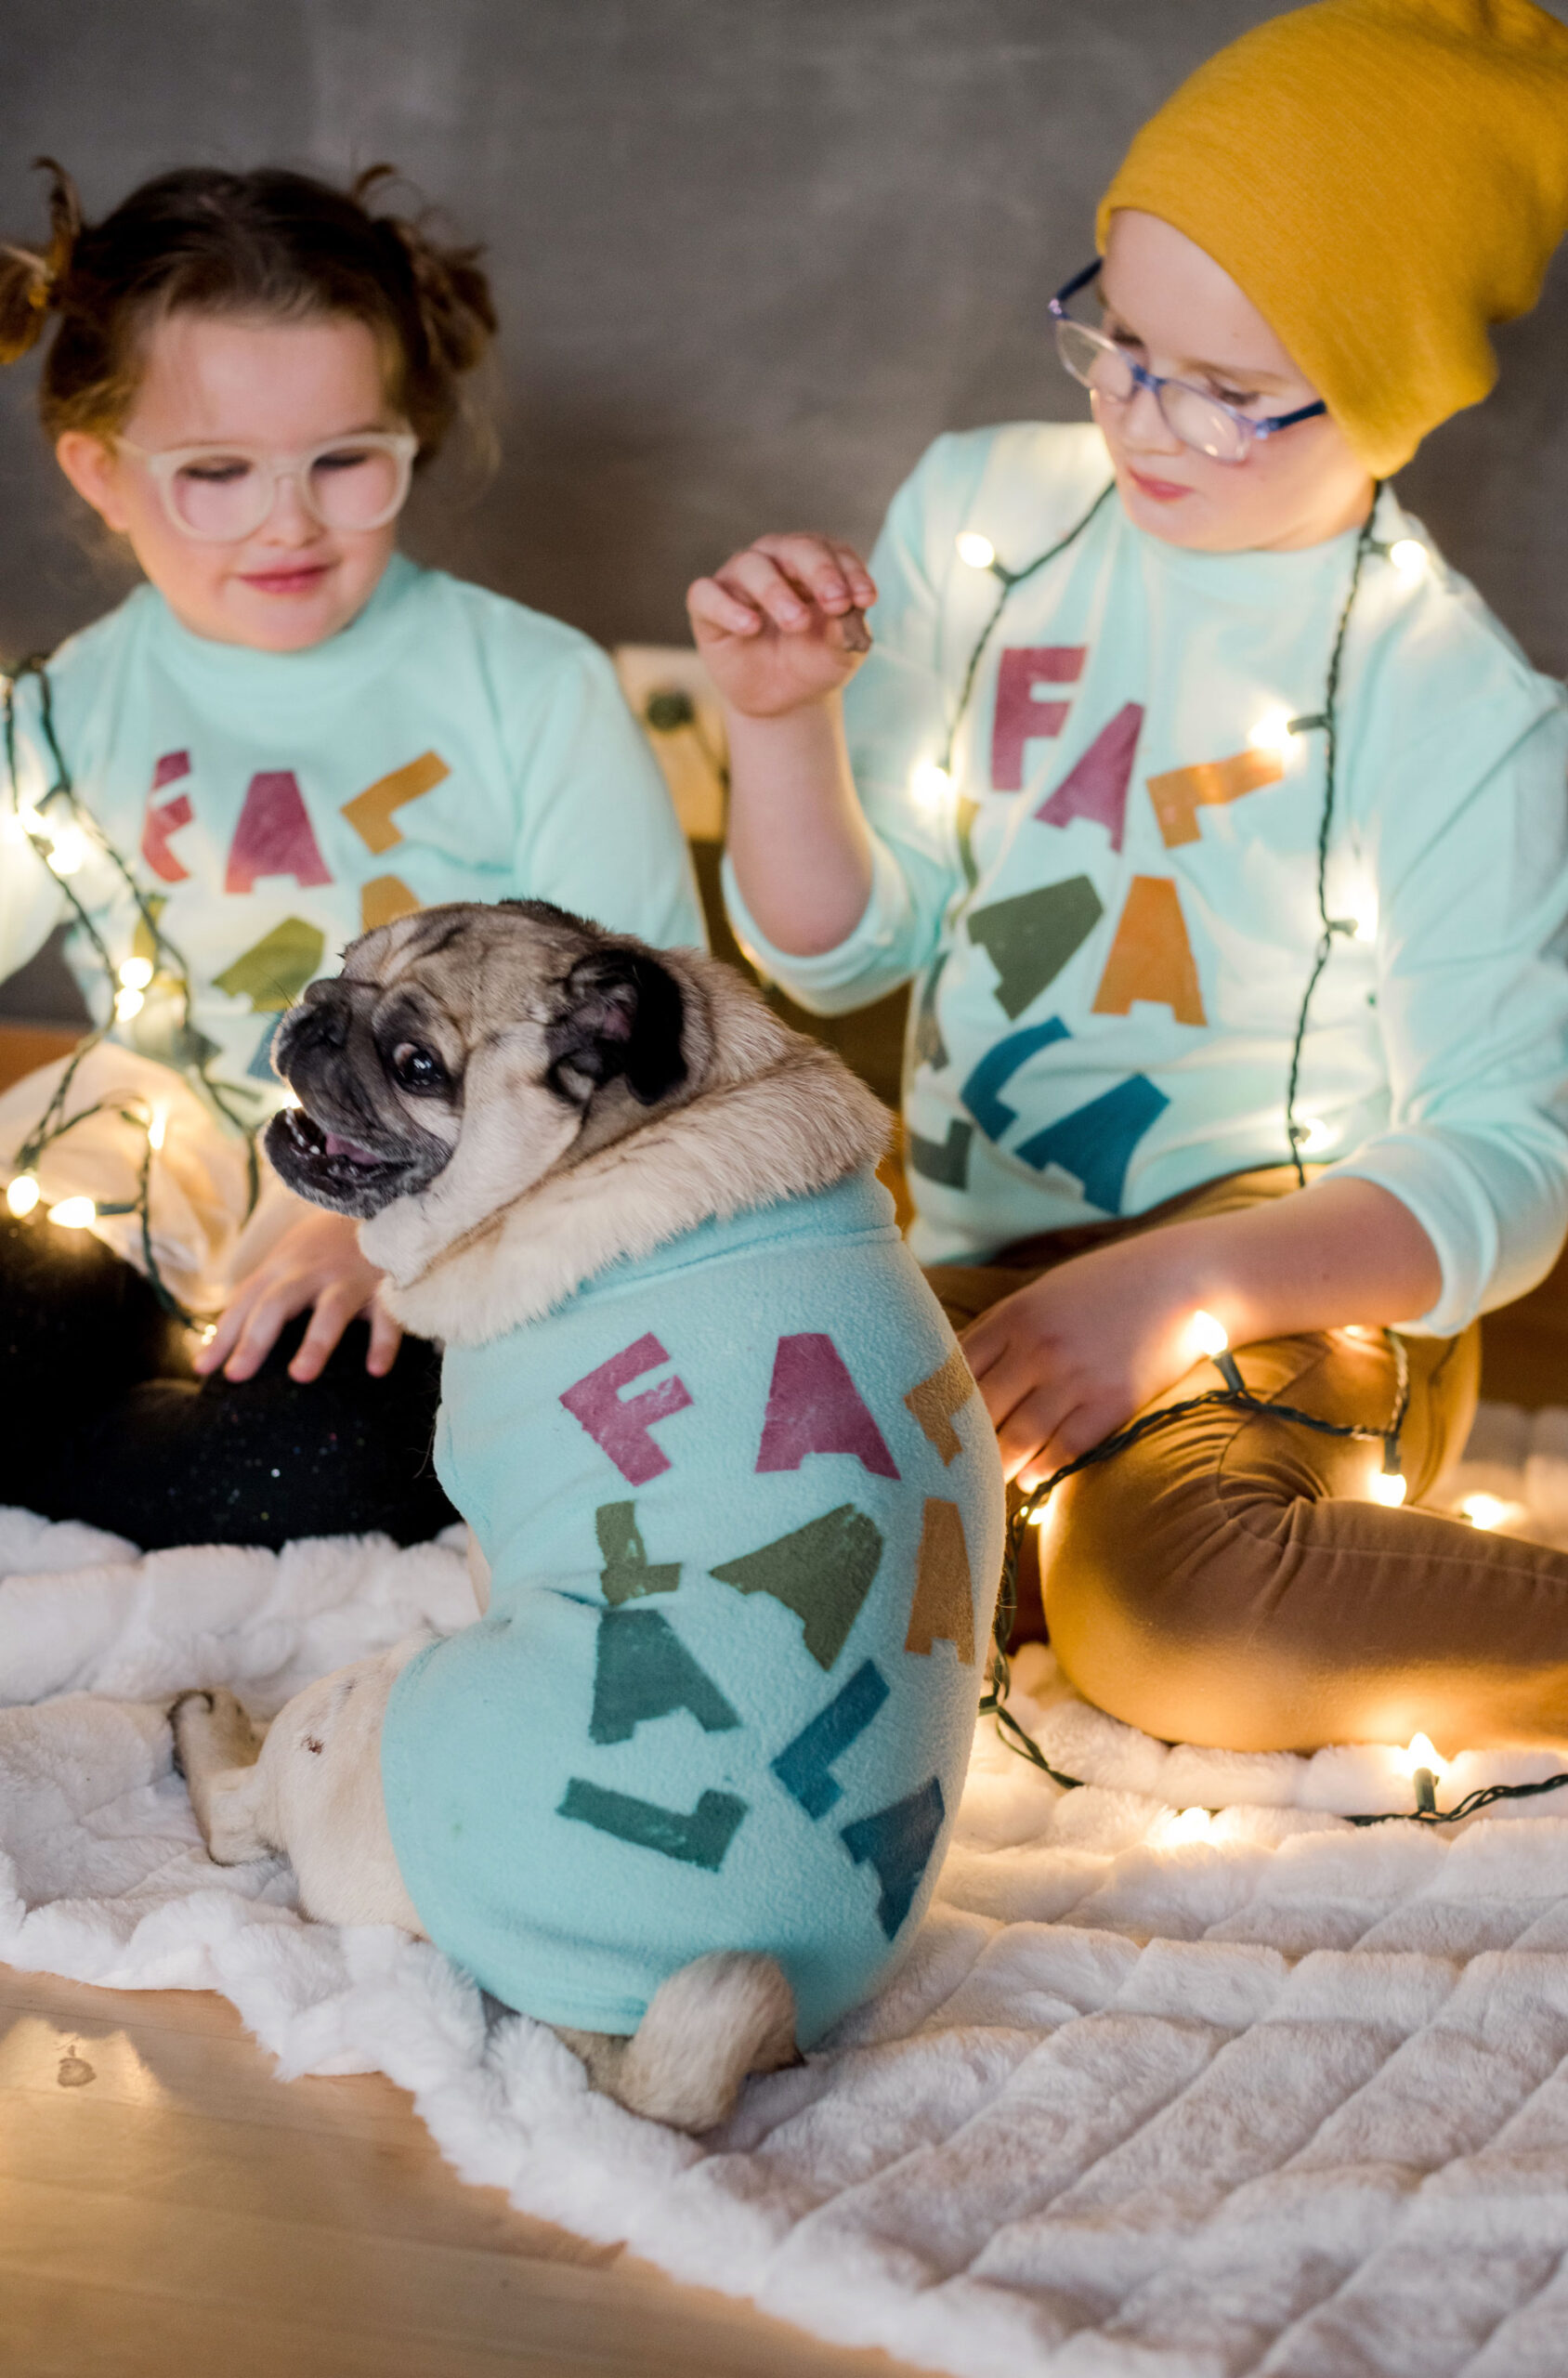
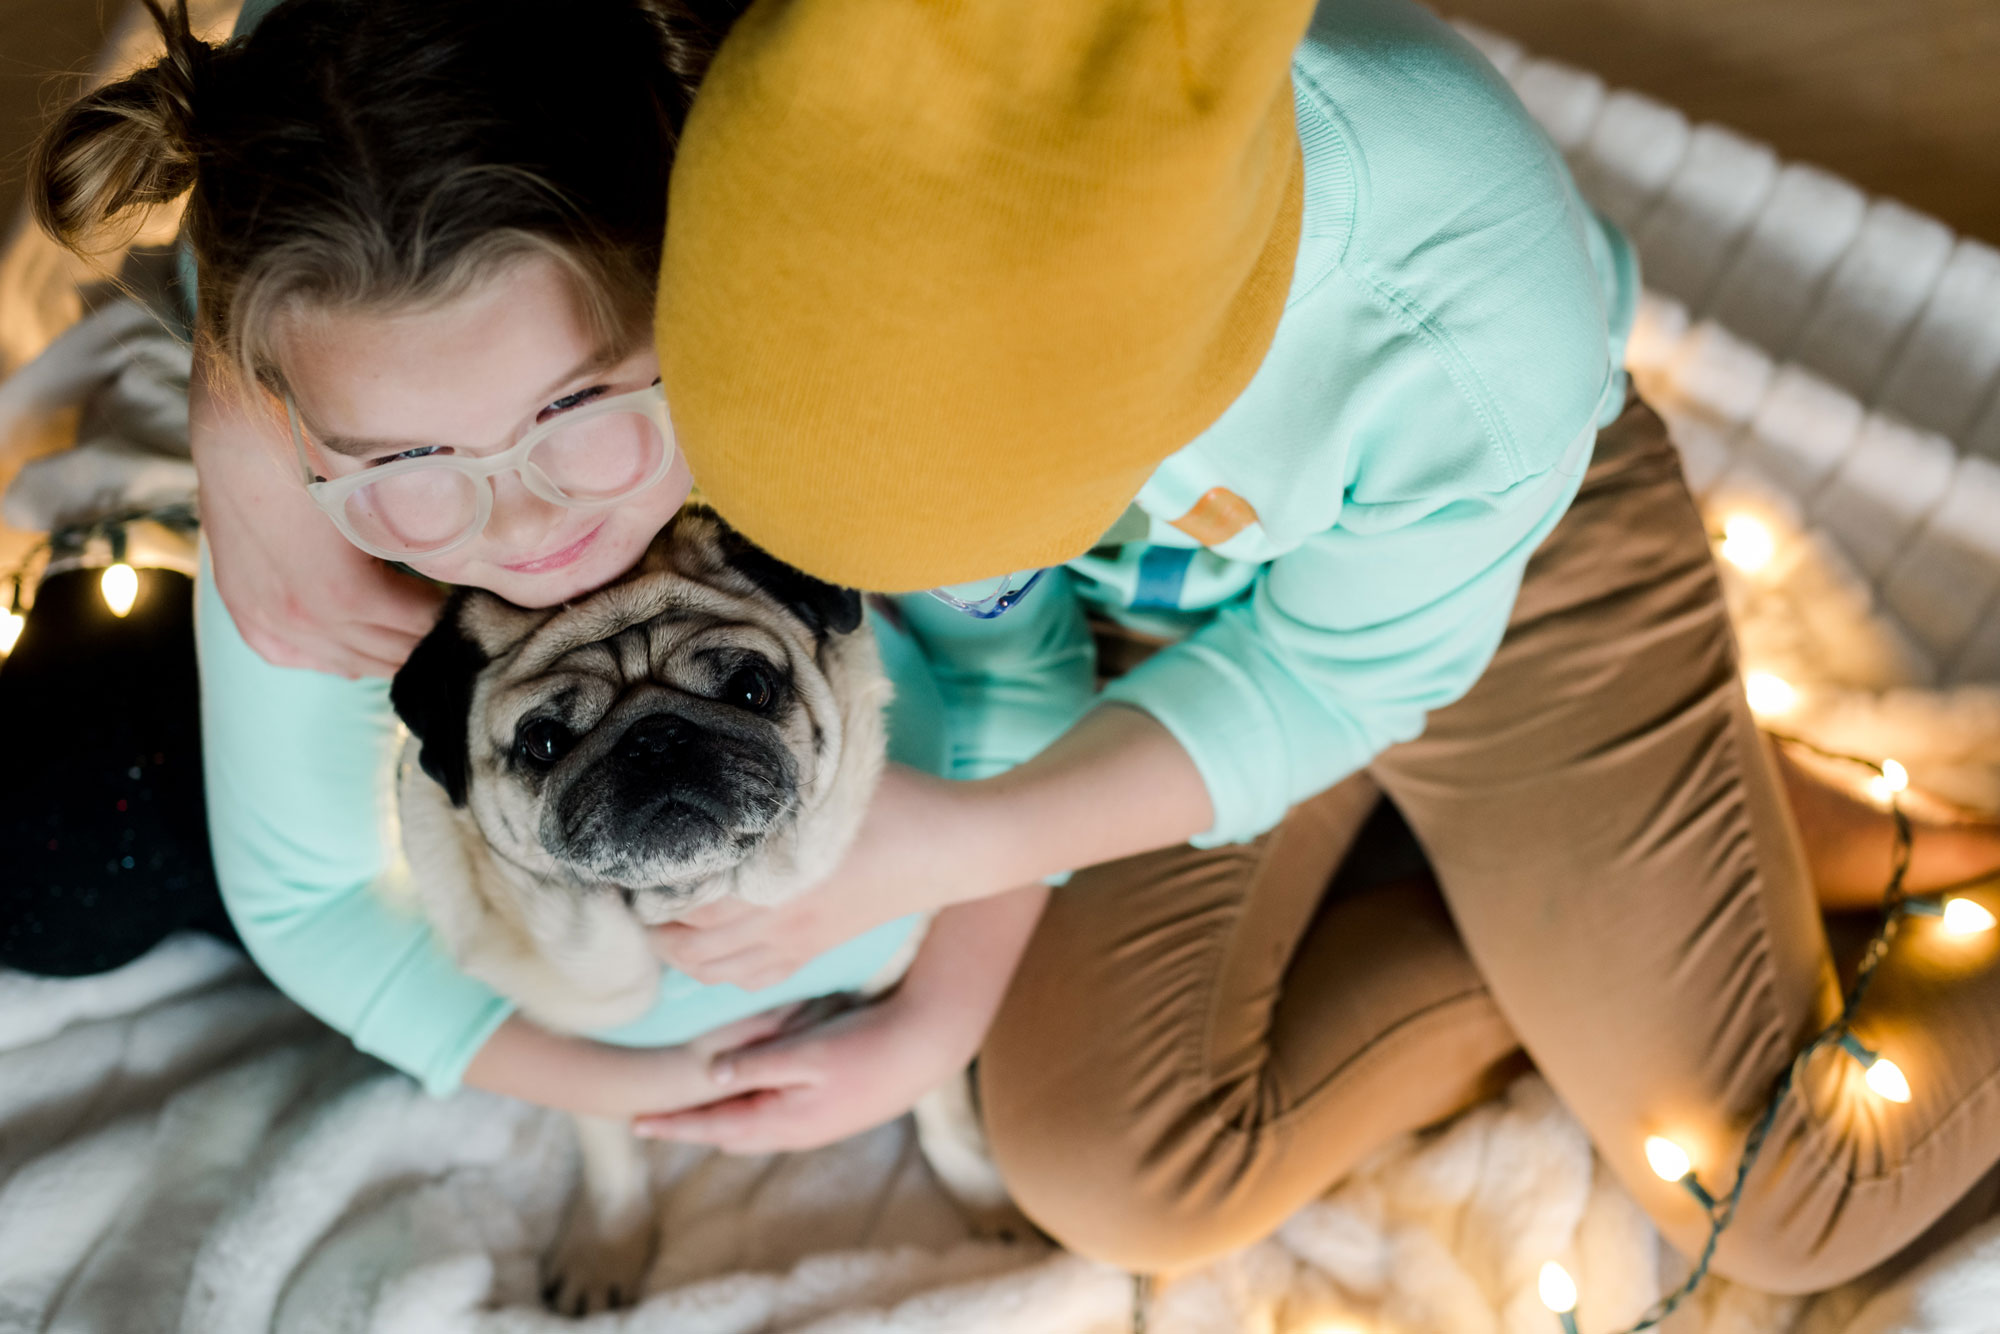
And today I am sharing how you can make a set of matching holiday sweatshirts for not only every human in your whole family but YOUR DOG as well (I mean……come on)!
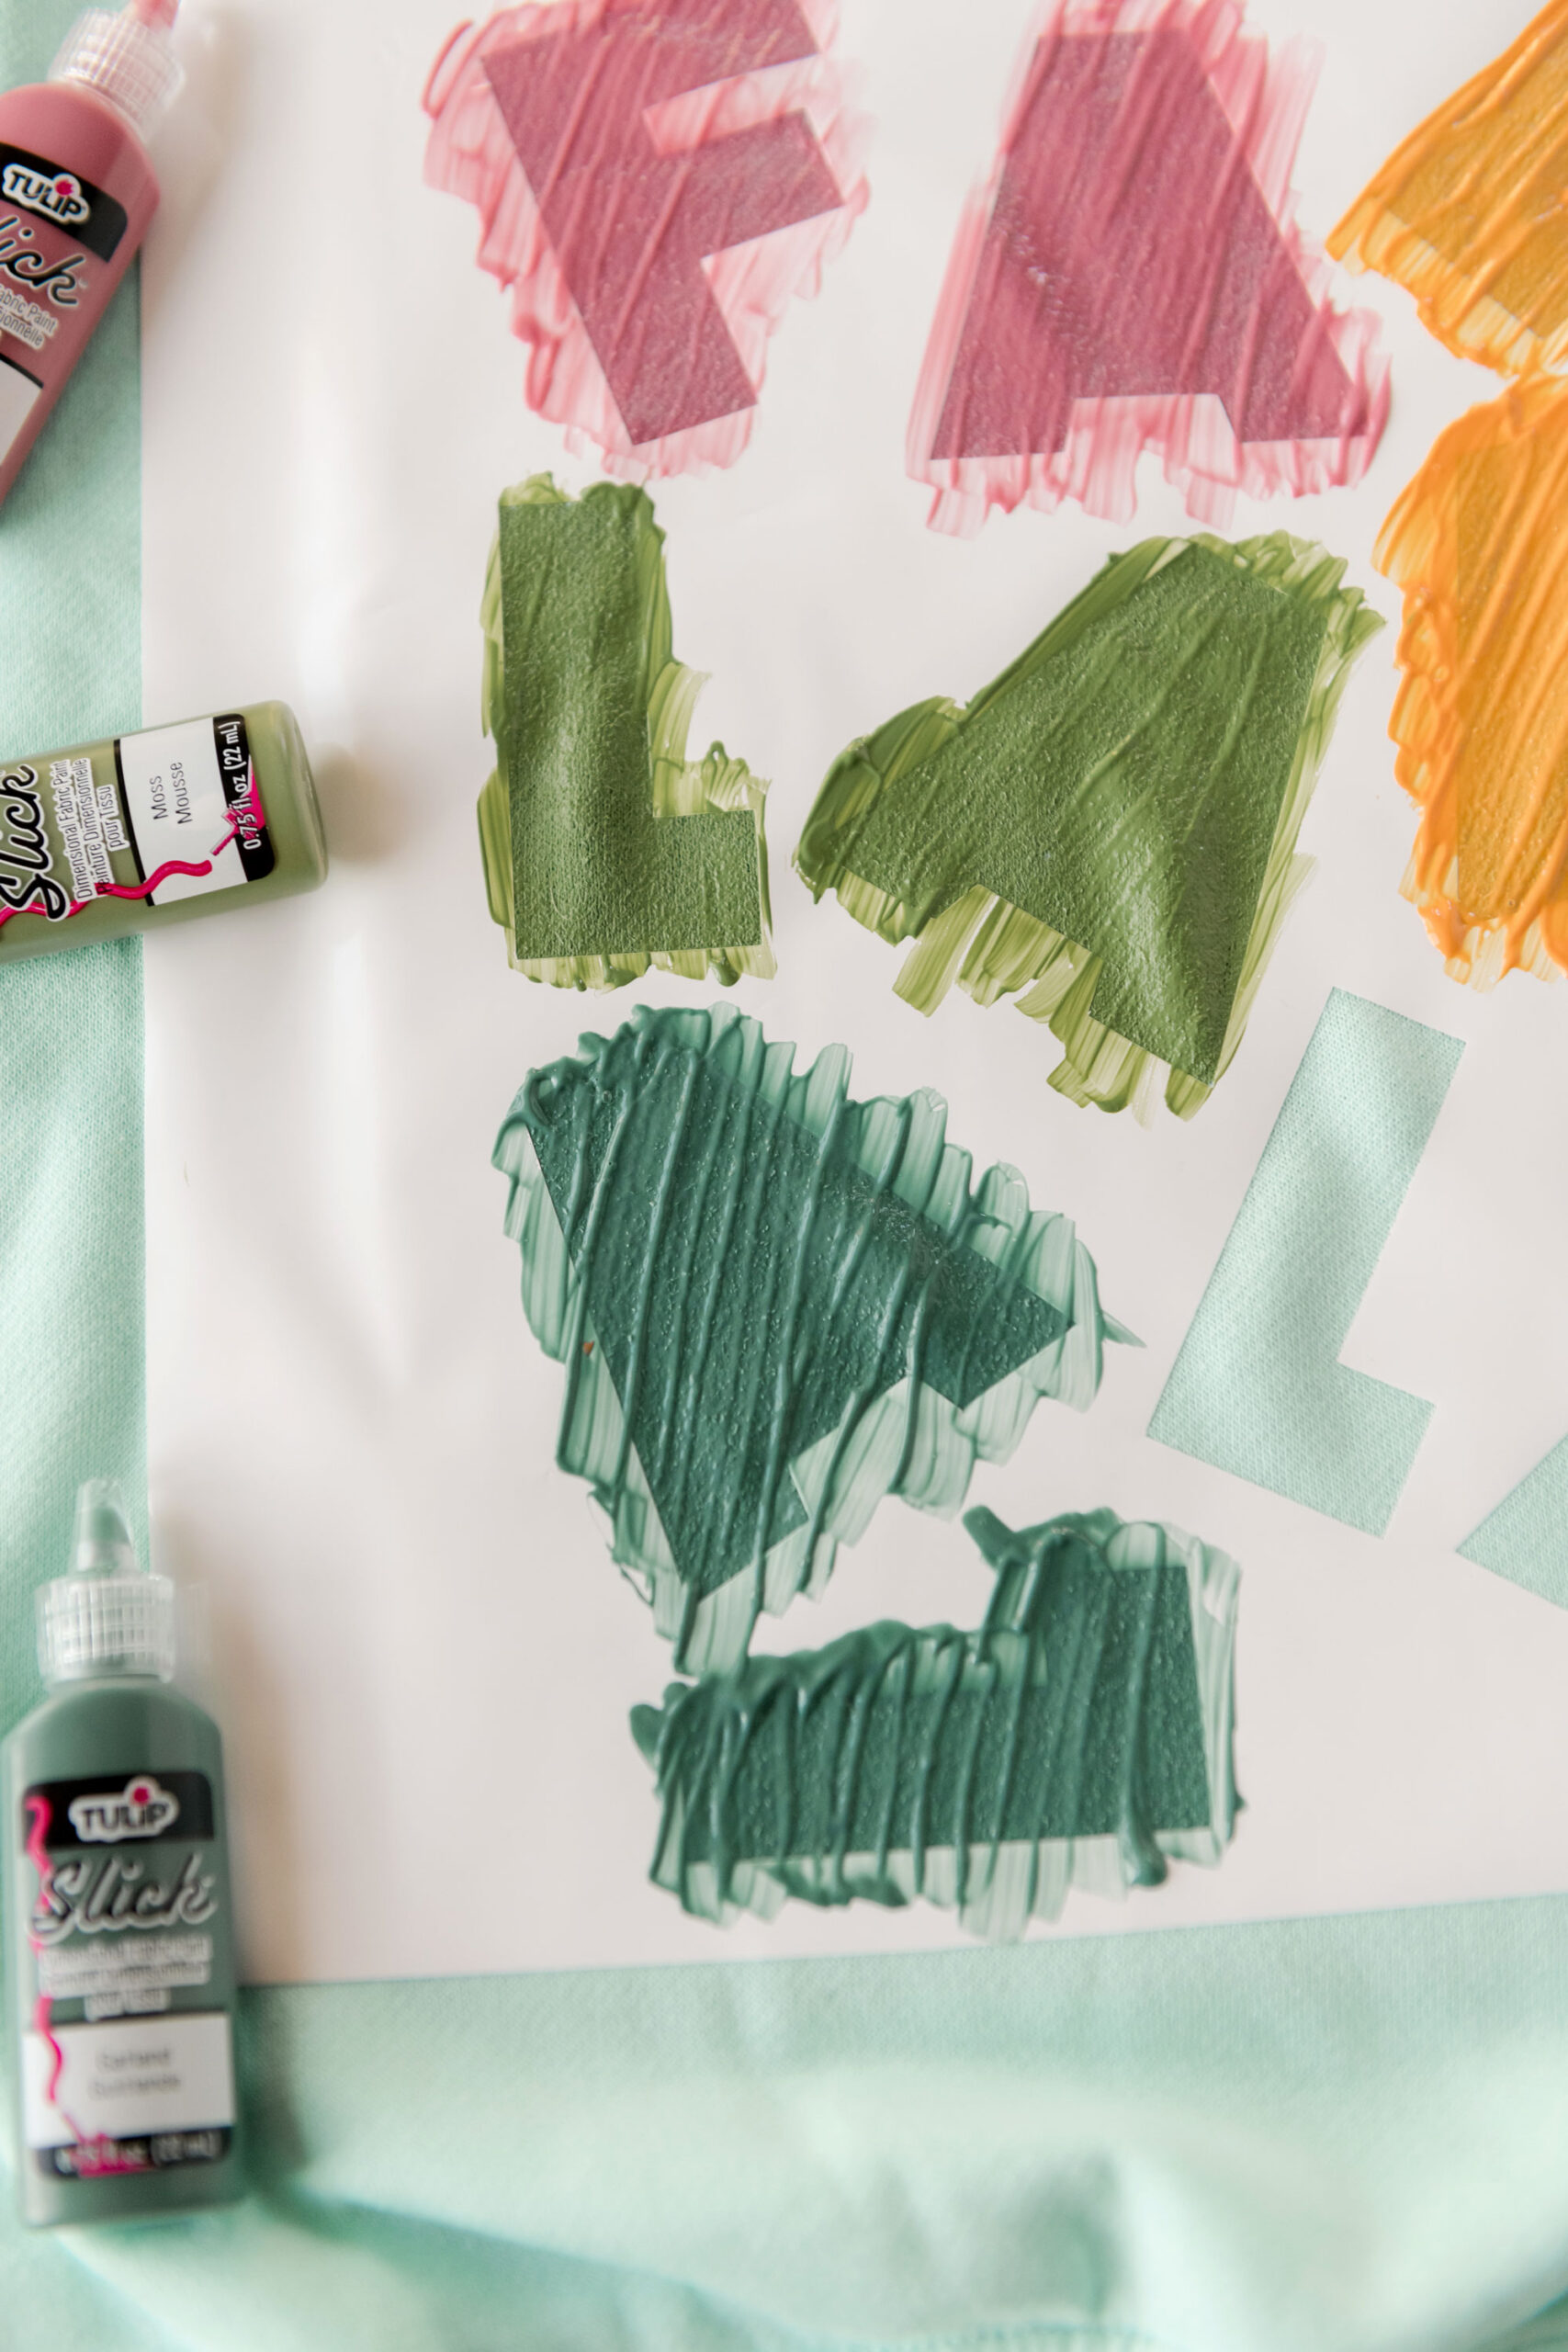
These paints bring me back to my childhood…..I used to call them “puffy paints” because they puffed up onto of the sweatshirts or aprons or shirts that we would make for Grandma or my fave teacher at school 🙂 I loooooove how much color and saturation the paints have and the possibilities with these are LEGIT endless (so don’t be surprised if you see another project of 4 with these materials)! 🙂
BUUUUT today, I am doing a graphic and simple holiday matching sweatshirt project……simple grab the materials below and HAVE FUN! Heck, even involve the kiddos to help choose colors and paint right along with you! 🙂
MATERIALS:
- Matching plain sweatshirts for any and all humans and your fave pup
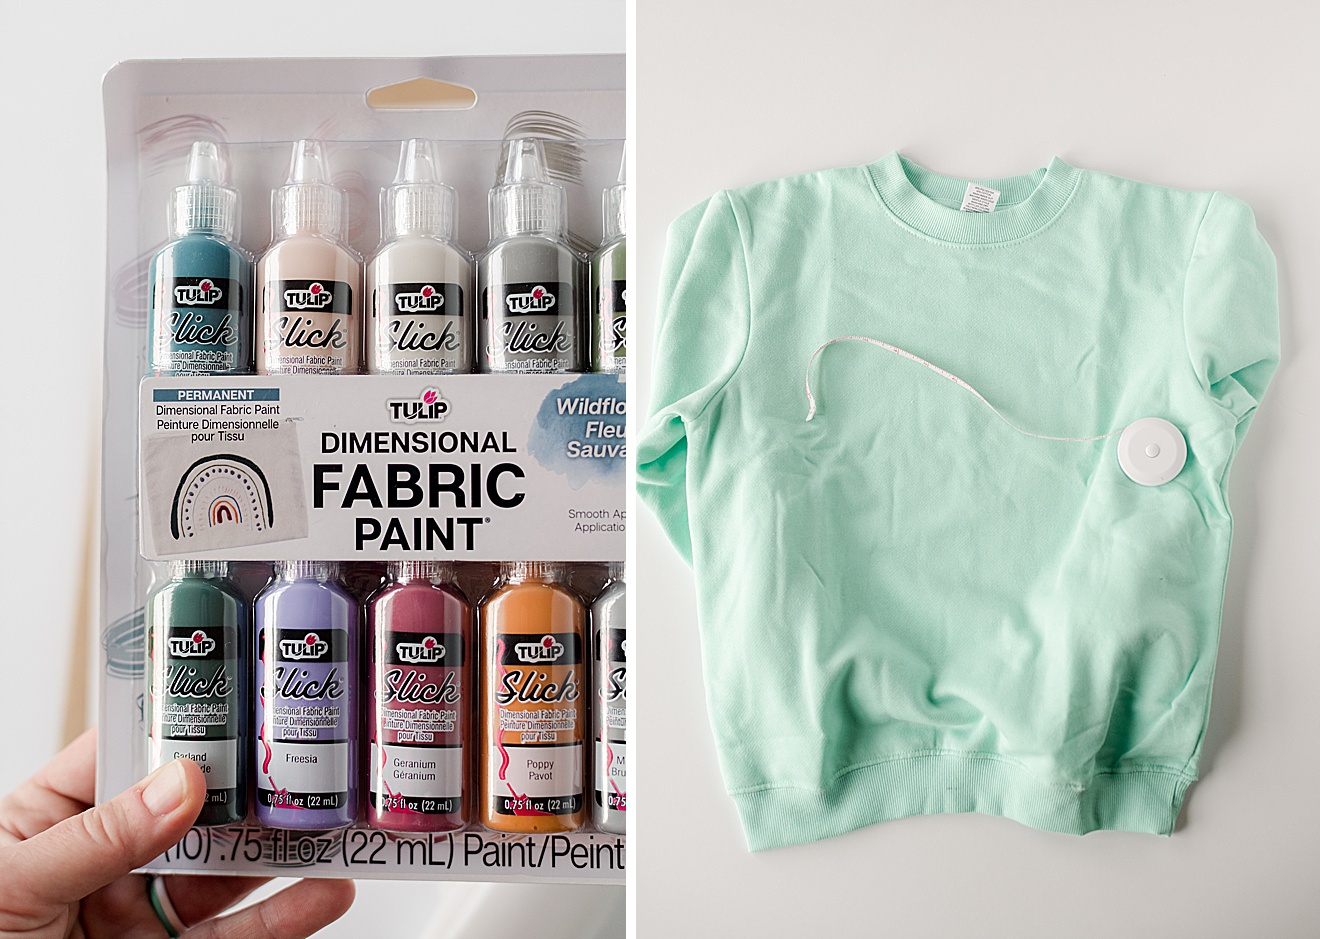
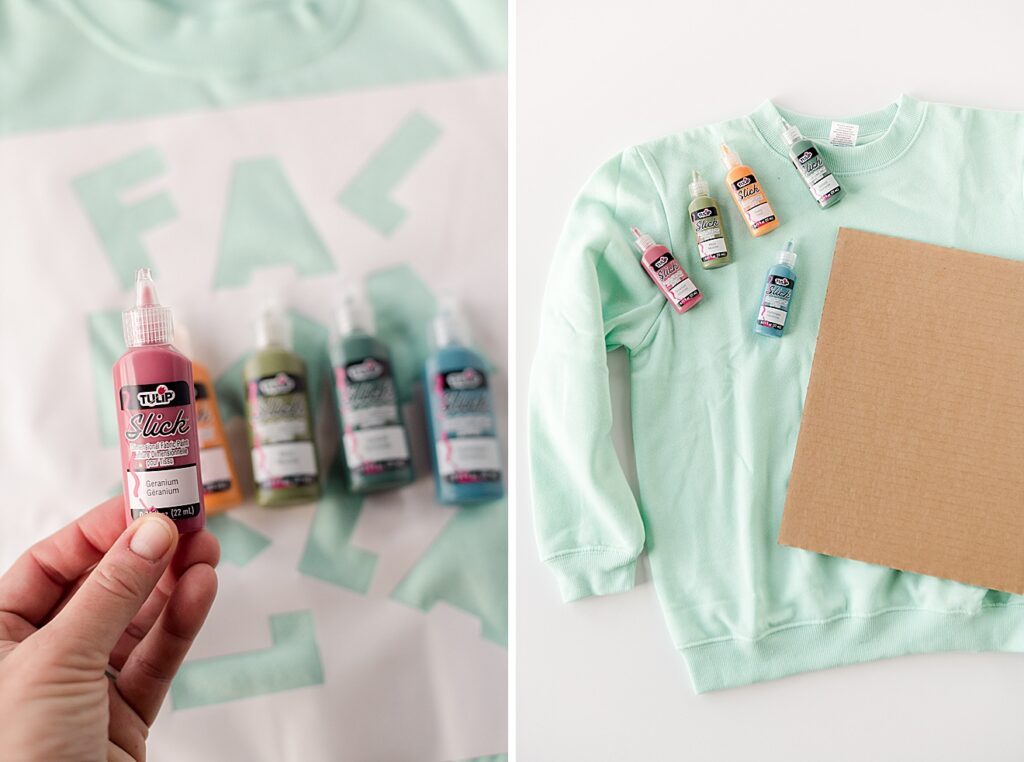
- A pack of dimensional fabric paint from Tulip
- A Cricut cutting machine OR an x-acto knife to cut out the letters
- A piece of permanent vinyl (any color, this will become our stencil if you are using a Cricut)
- An optional brush for blending letters 🙂
- The PDF or SVG “fa la la la la” file
INSTRUCTIONS:
1. Masure + Prep
Measure your shirts to see how wide + tall you want to cut the template or how big to size it (approx.).
Download the SVG “fa la la la la” file HERE (to use with a Cricut or other cutting machine
Download the PDF “fa la la la la” file HERE
2. Make your stencil 🙂
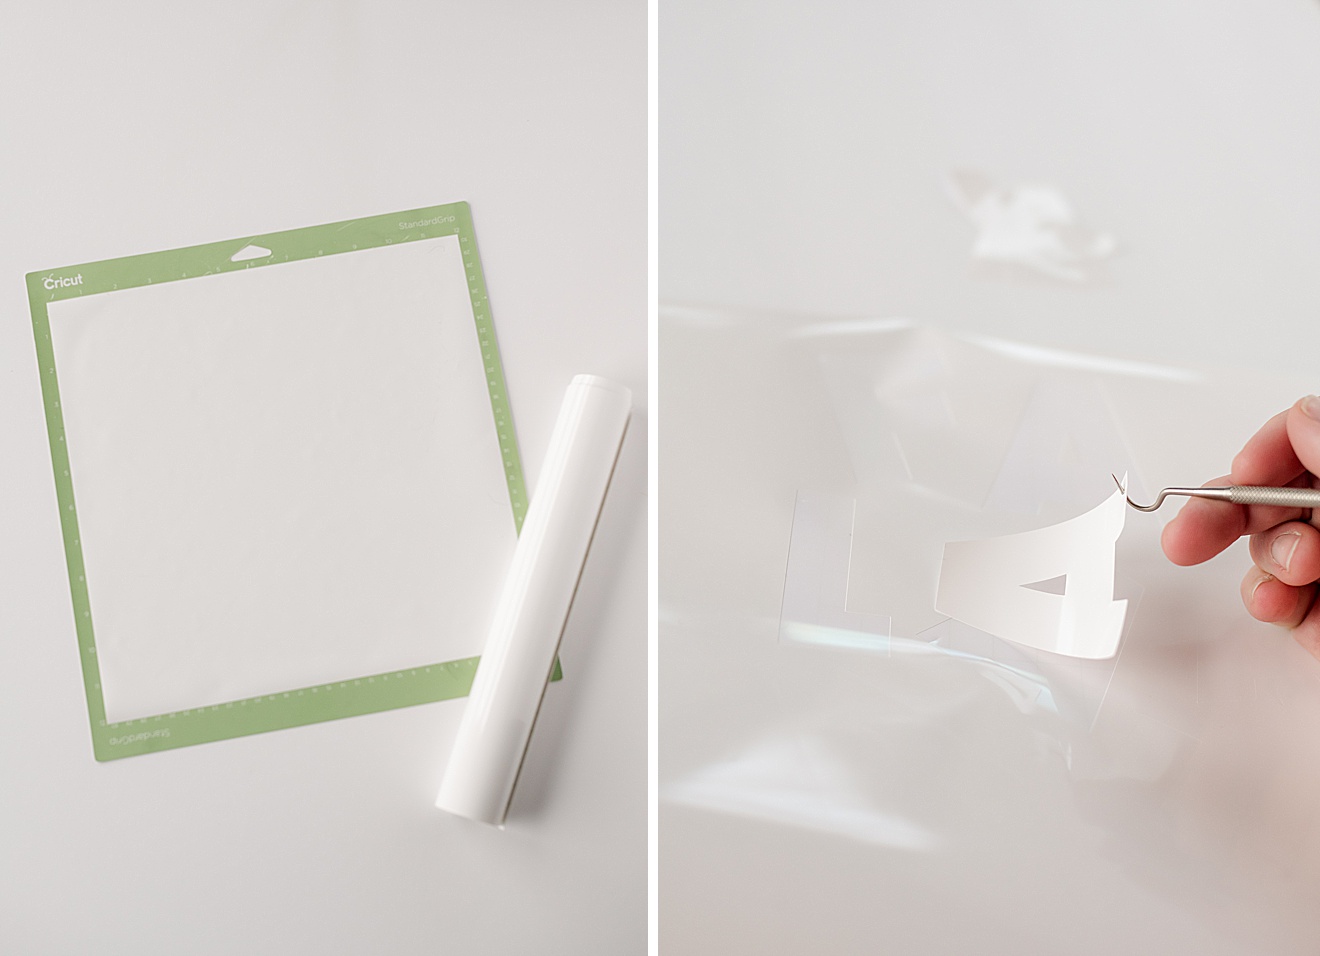
Cut out the letters using your Cricut cutter and weed the POSITIVE SPACE (the actual letters themselves) but leave the negative space (the “extra” around your letters).
OR if you are using the PDF, carefully cut out the letters of the design with a straight edge to make a paper stencil. Do your best not to rip or cut any of the negative space (so that the paint stays only inside the letters desired).
*tip if you are using a Cricut: Make sure to “attach” all of the images in the design space before cutting (highlight all layers on the right side and then in the bottom right you will see “attach”) ANNNNDDDD on the “prepare” screen (the one where you hit the “continue” button, you can move your letters to evenly space them to the size vinyl that you cut so that you have room around your letters for painting 🙂 (not necessary, but a great tip for making sure your lines are crisp! 🙂
3. Stick or transfer the design
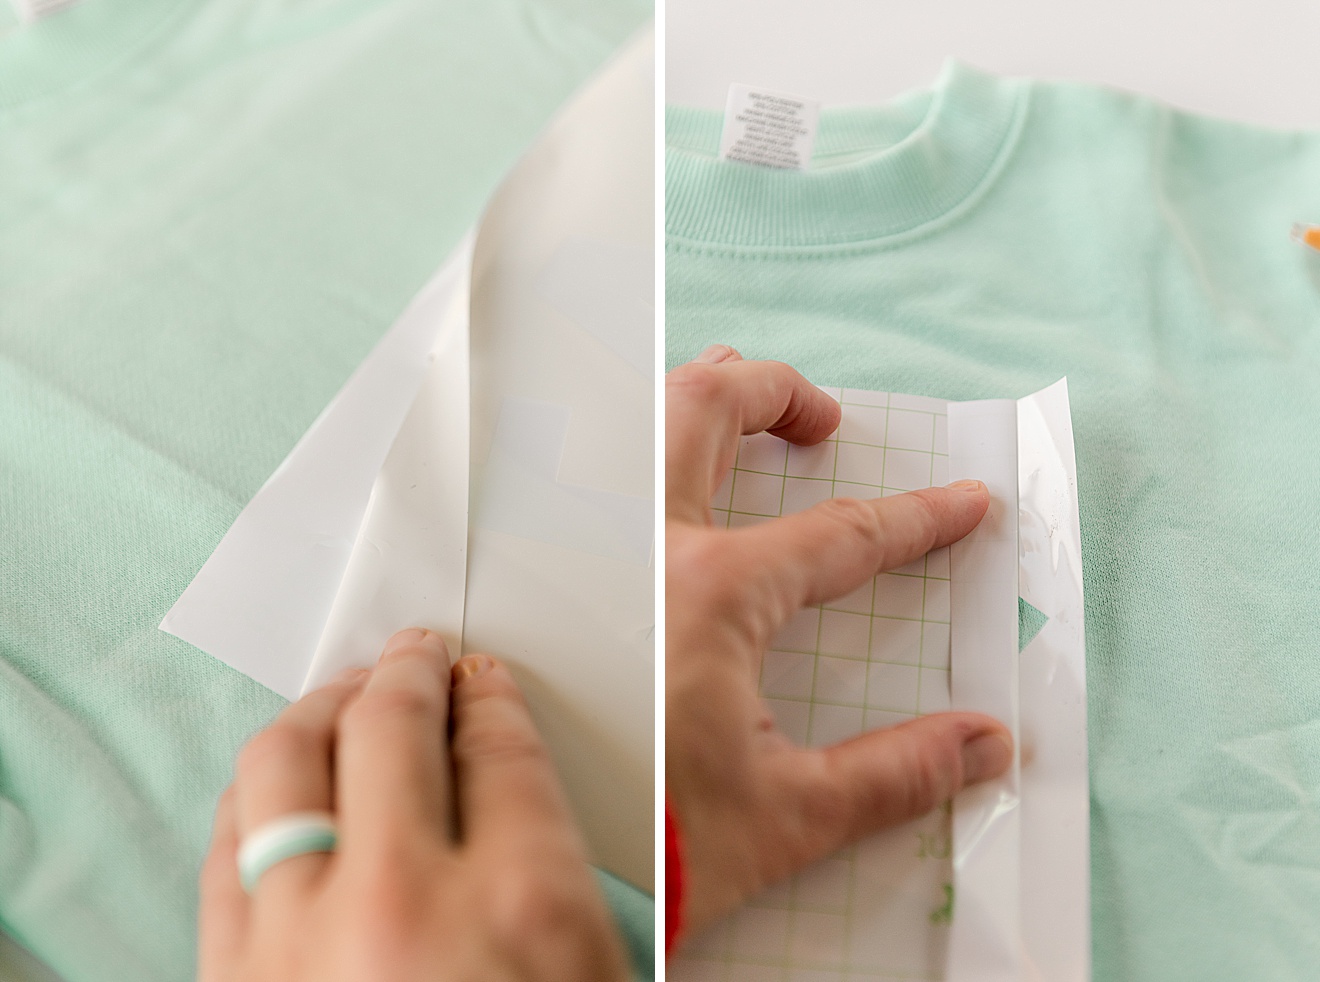
Once your lettering is weeded or cut out, transfer the design to your garment. You can do this by laying your paper pattern (and taping in place) OR using transfer tape to transfer your weeded design from your Cricut cutter.
Press down and stick in place SUPPPPPER well 🙂

4. PAINT PAINT PAINT!
First, place a piece of recycled cardboard between the 2 laters of your sweatshirt or sweater.
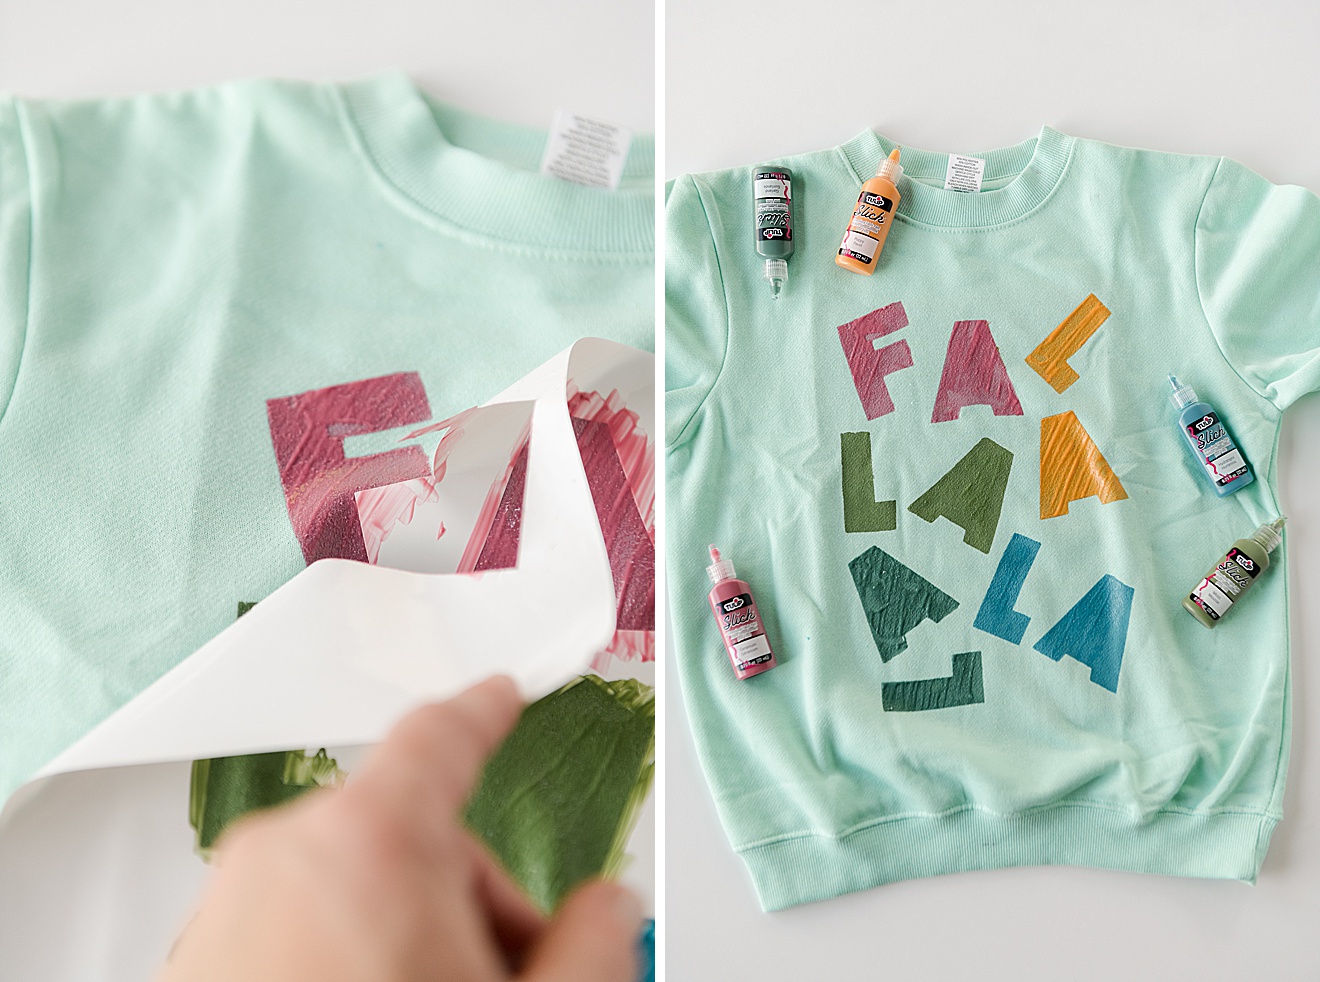
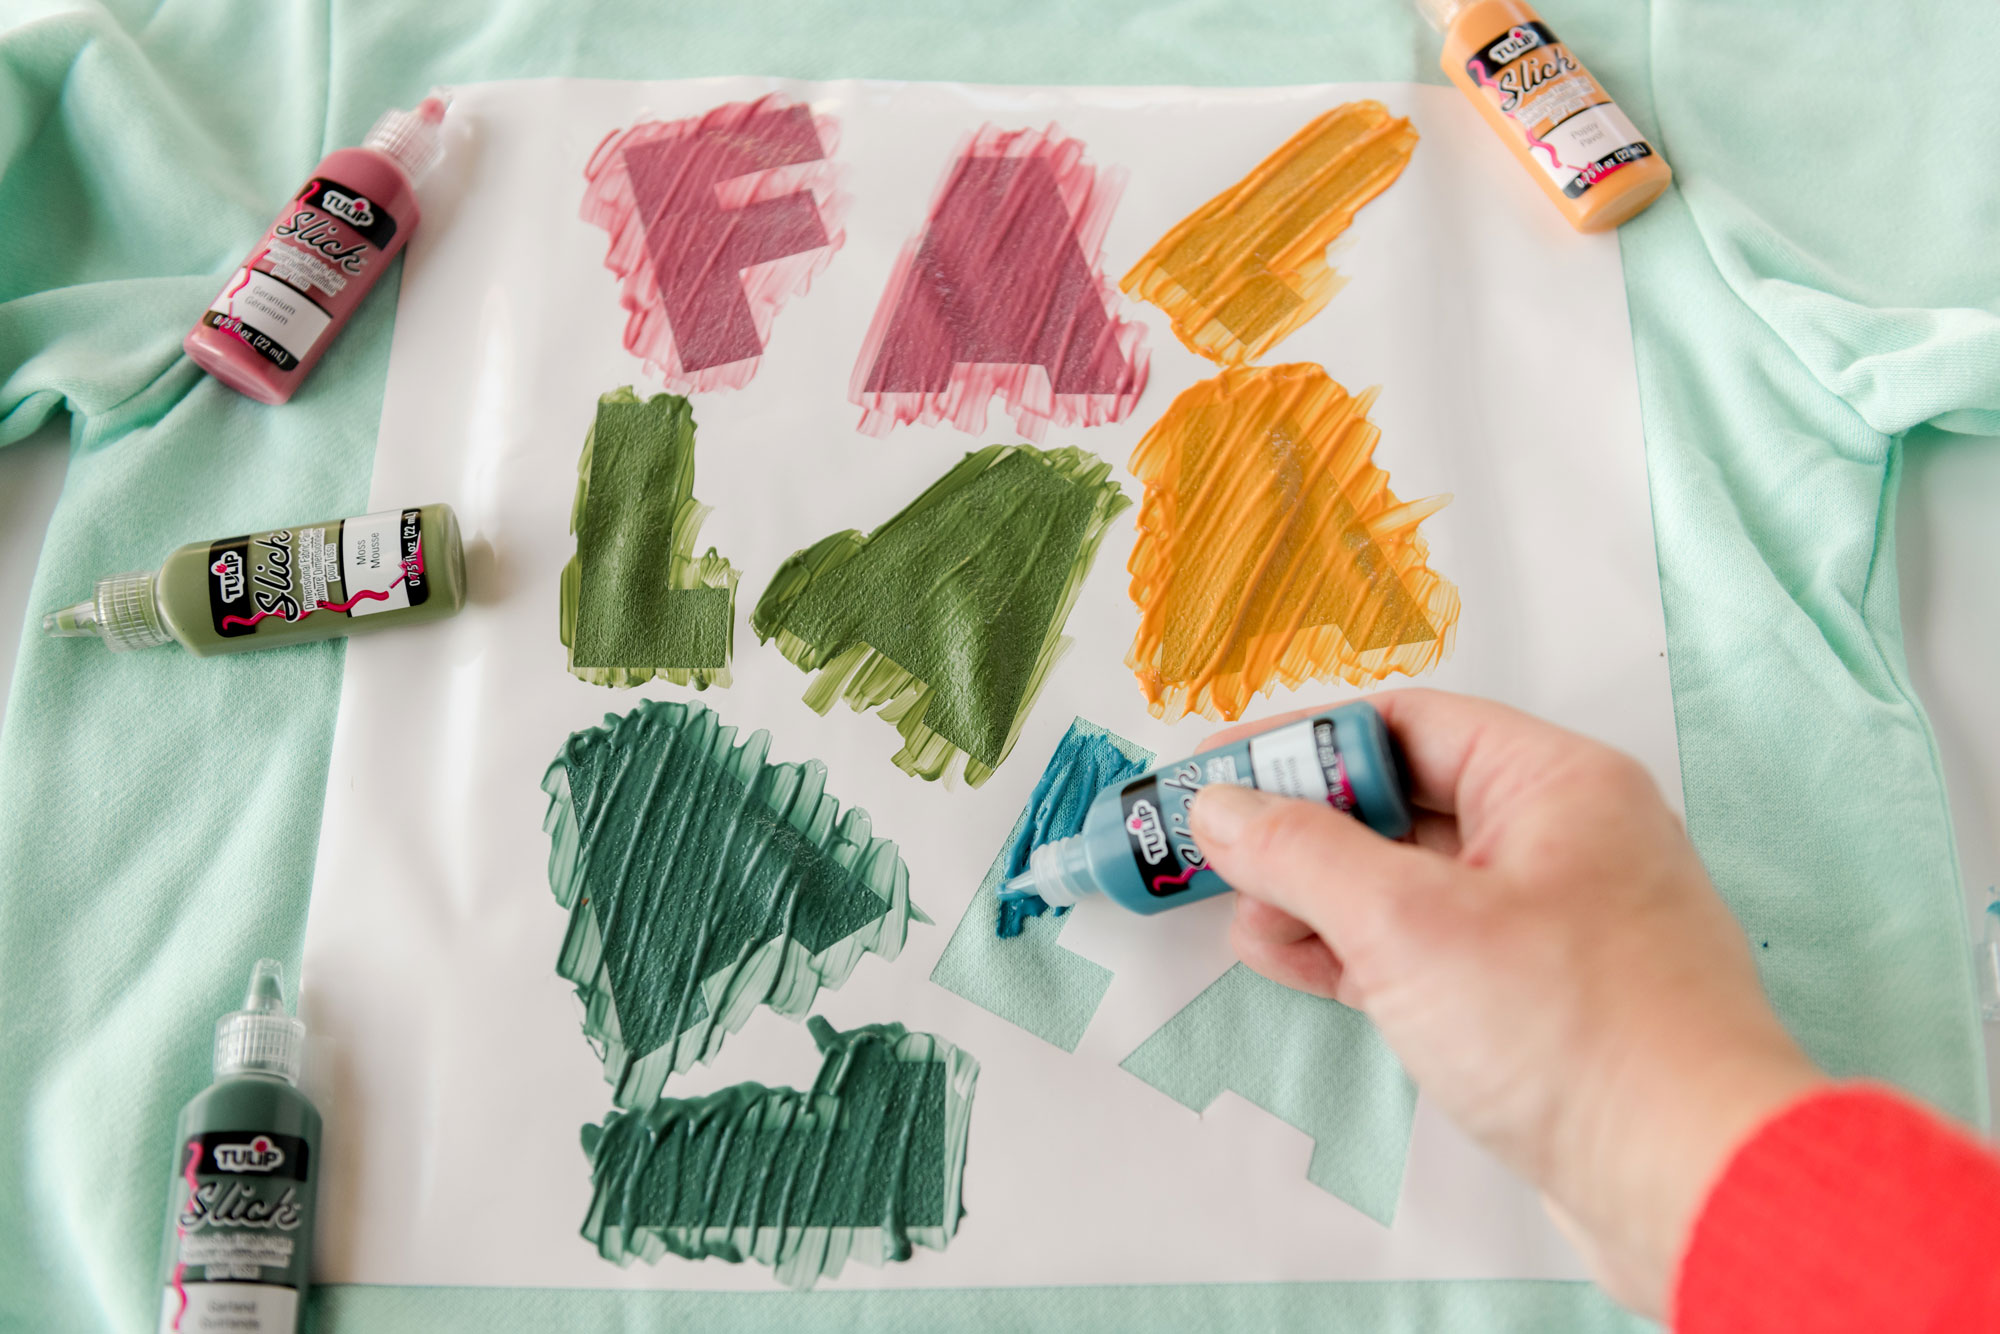
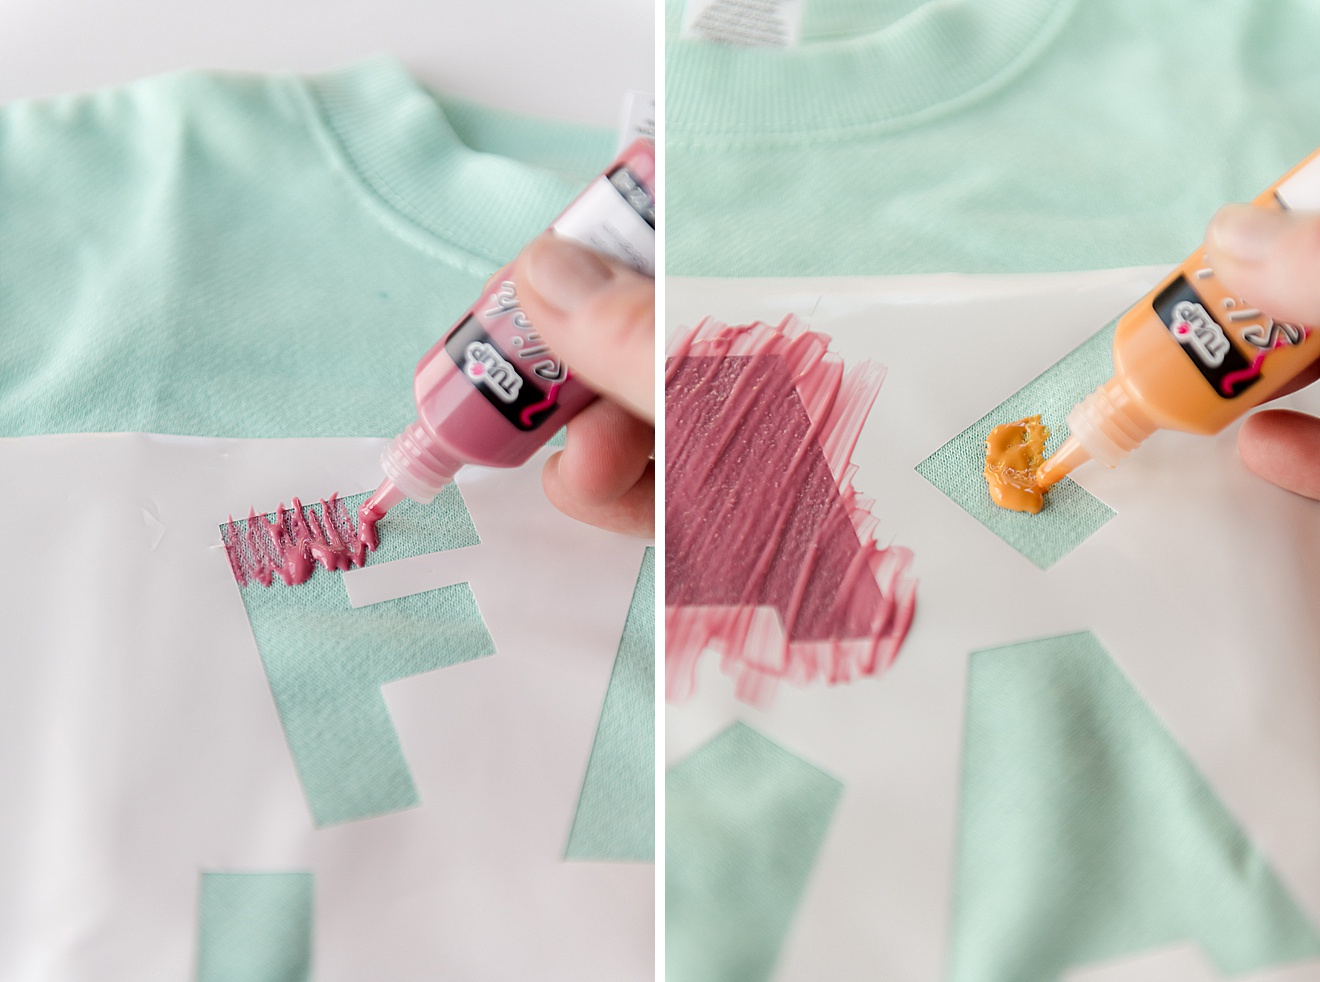
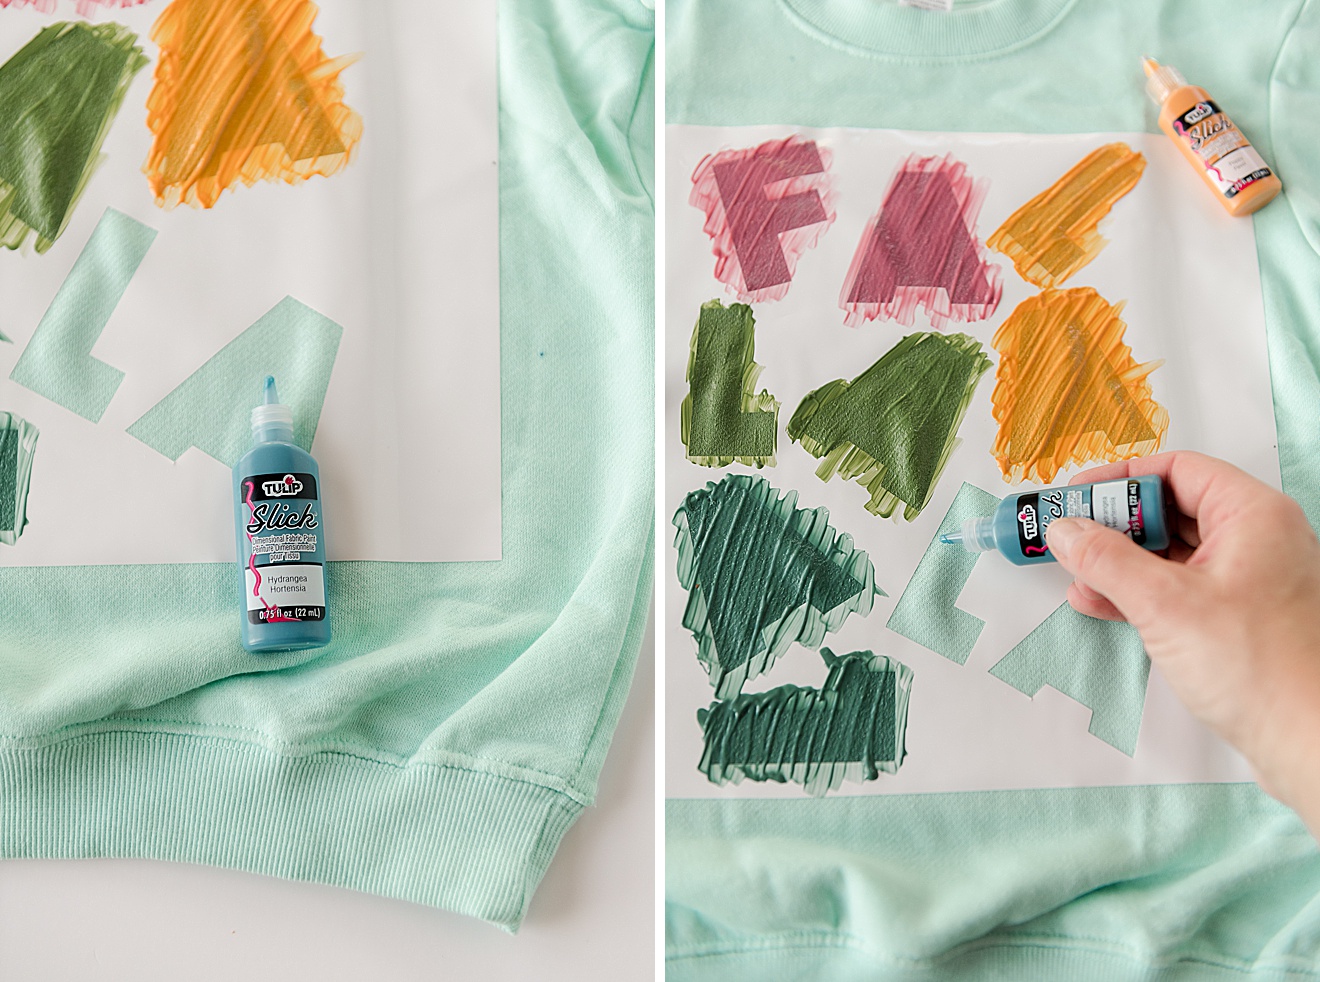
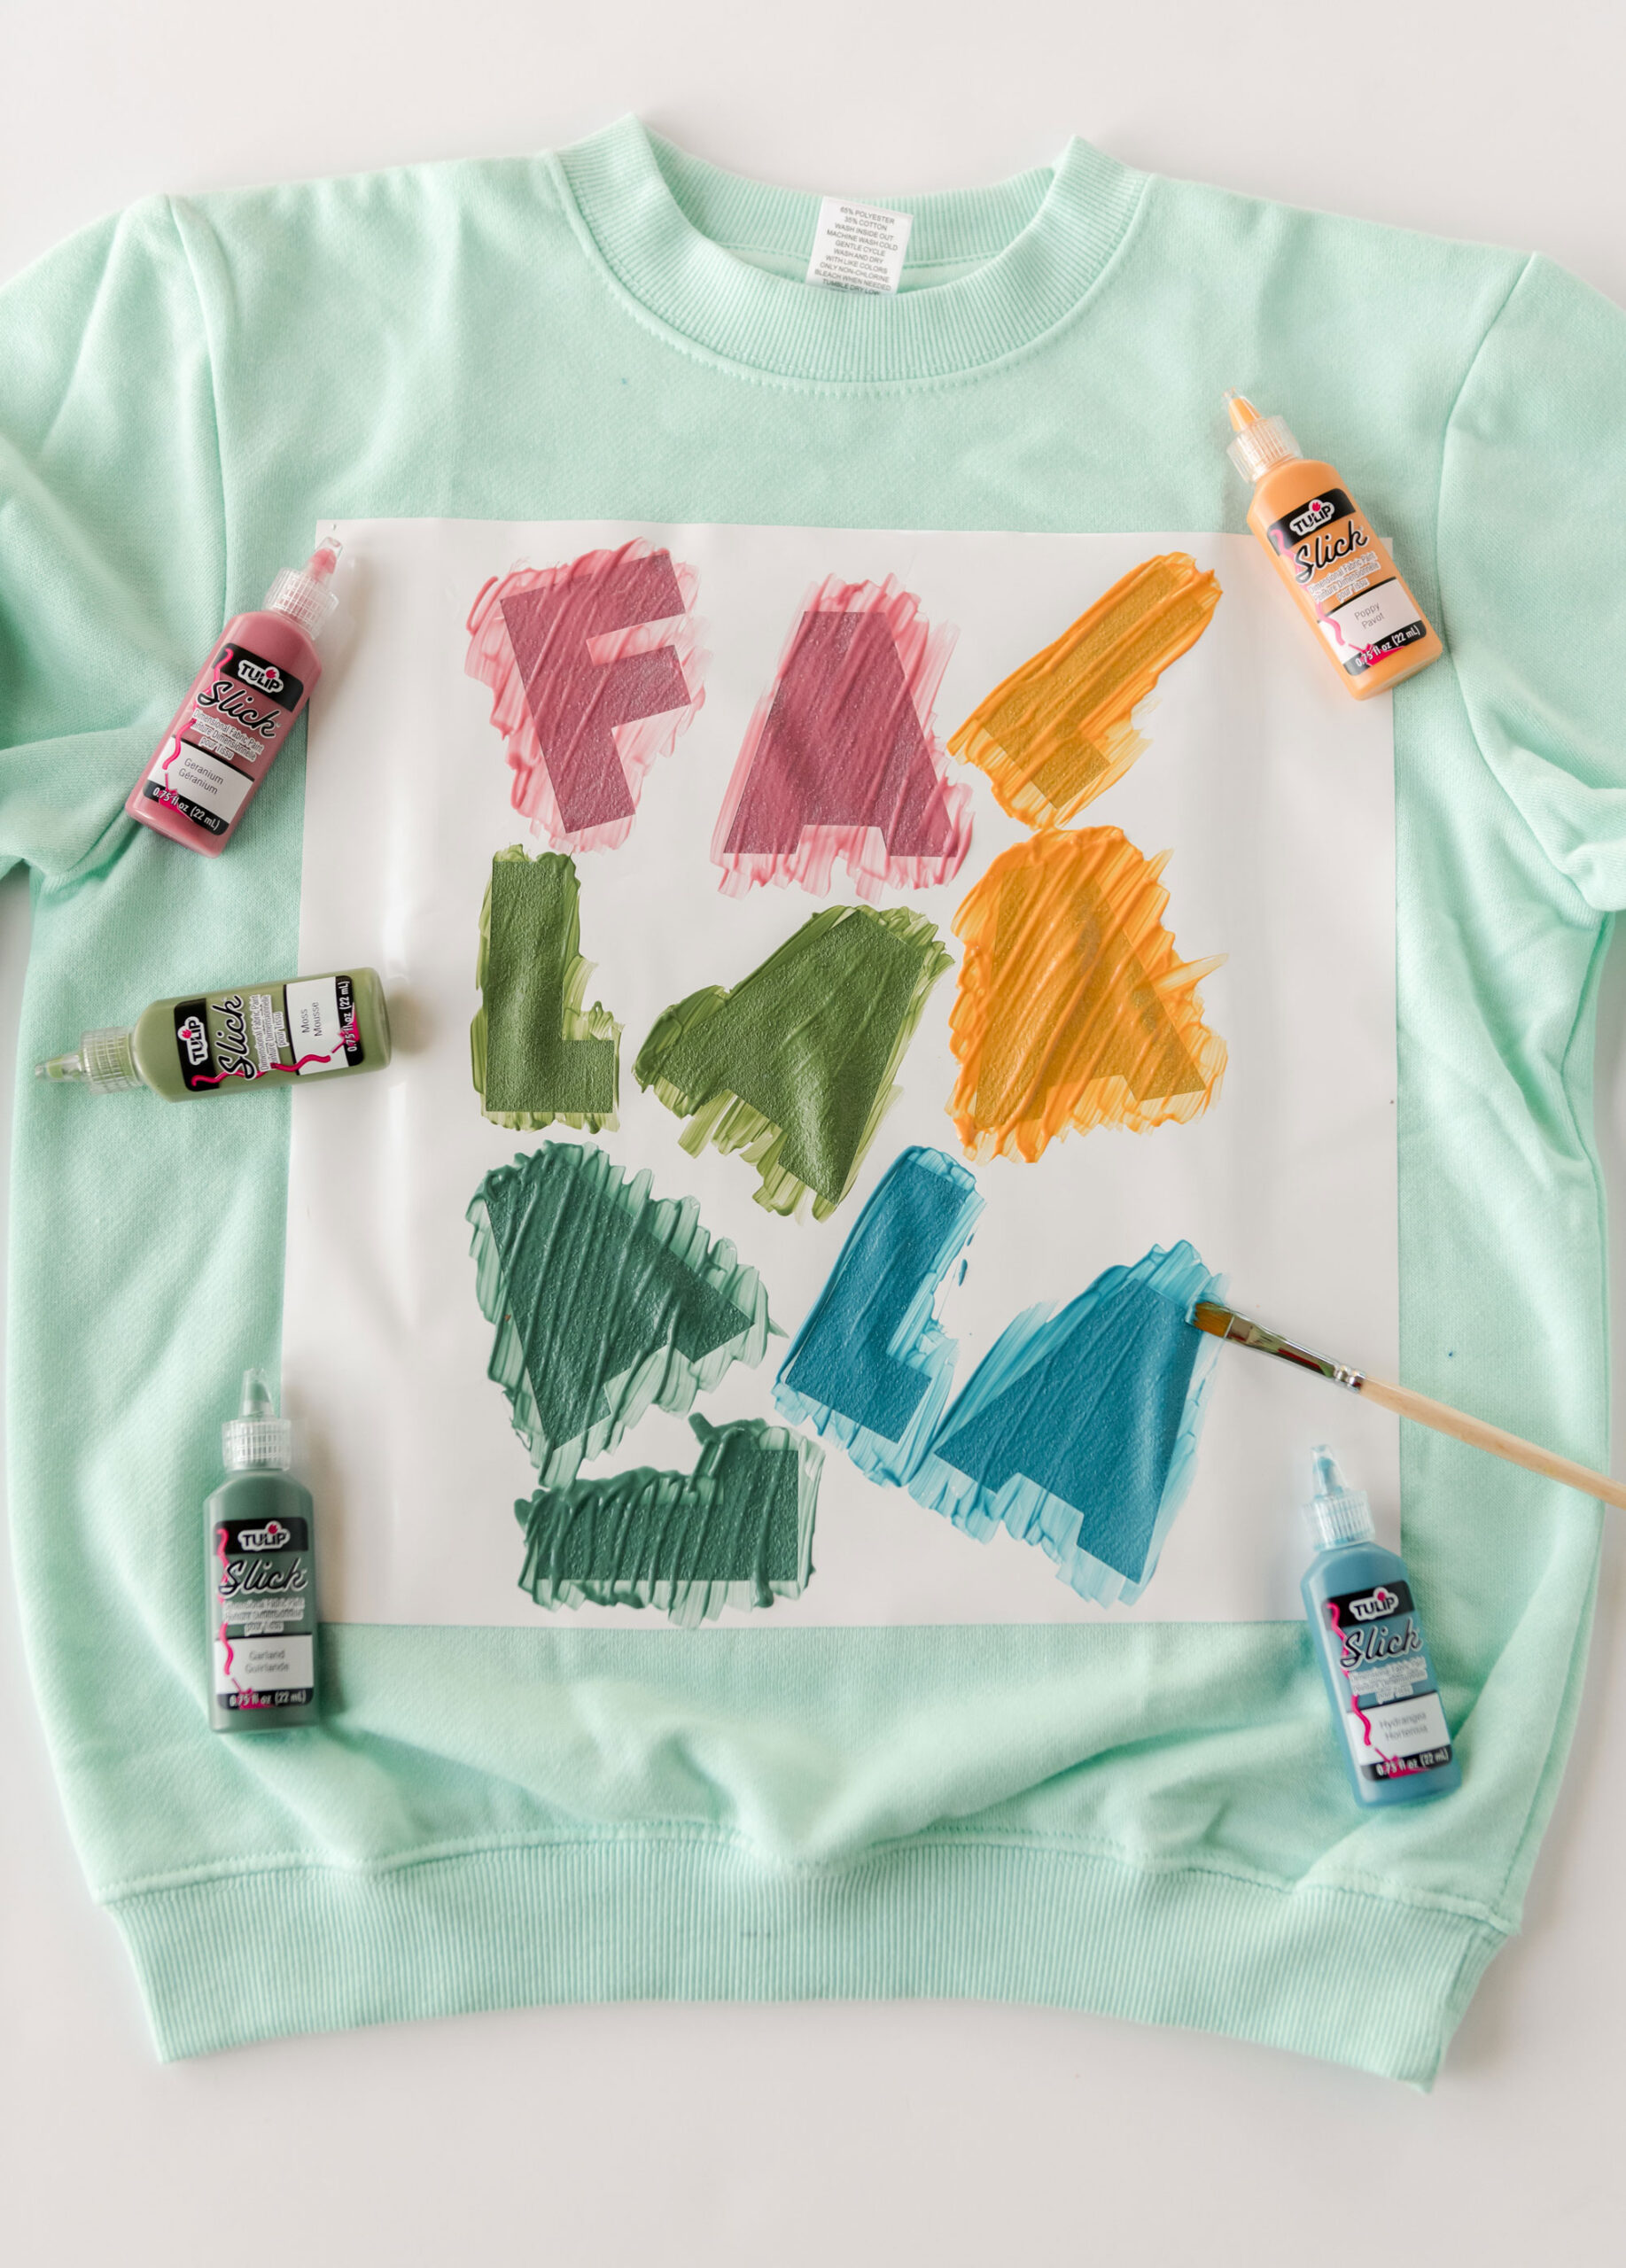
Now it is the fun part…painting!!!!. Choose your colors and begin to paint the lettering positive space!
Here are some tips on working with the dimensional fabric paint:
- This stuff is AWESOME and smooths out super well, so I chose to lay the paint on thicker and then use a paint brush to smooth out the ridges. Keep in mind that the thicker you lay the paint, the longer it could take to dry 🙂
- Use the tip of the bottle to help move the paint around (again, it’s SUPER smooth, so that’s not hard to do).
- The thicker you lay on the paint (or you CAN do multiple layers) the more dimensional the paint will be….which is SOOOO cool!
5. Peel while wet + allow to fully dry
While the paint is still semi-wet (before it sets too much) peel away the vinyl or lift up your paper stencil being careful not to smudge your newly painted lettering 🙂 I found it most helpful to do it in one slow, swipe to lift up all at one time, lifting at about a 45* angle 🙂
Then allow your garments to dry for at least 4 hours according to the instructions on the packaging.
Note: mine took about 6 hours to dry because my paint was thicker 🙂
