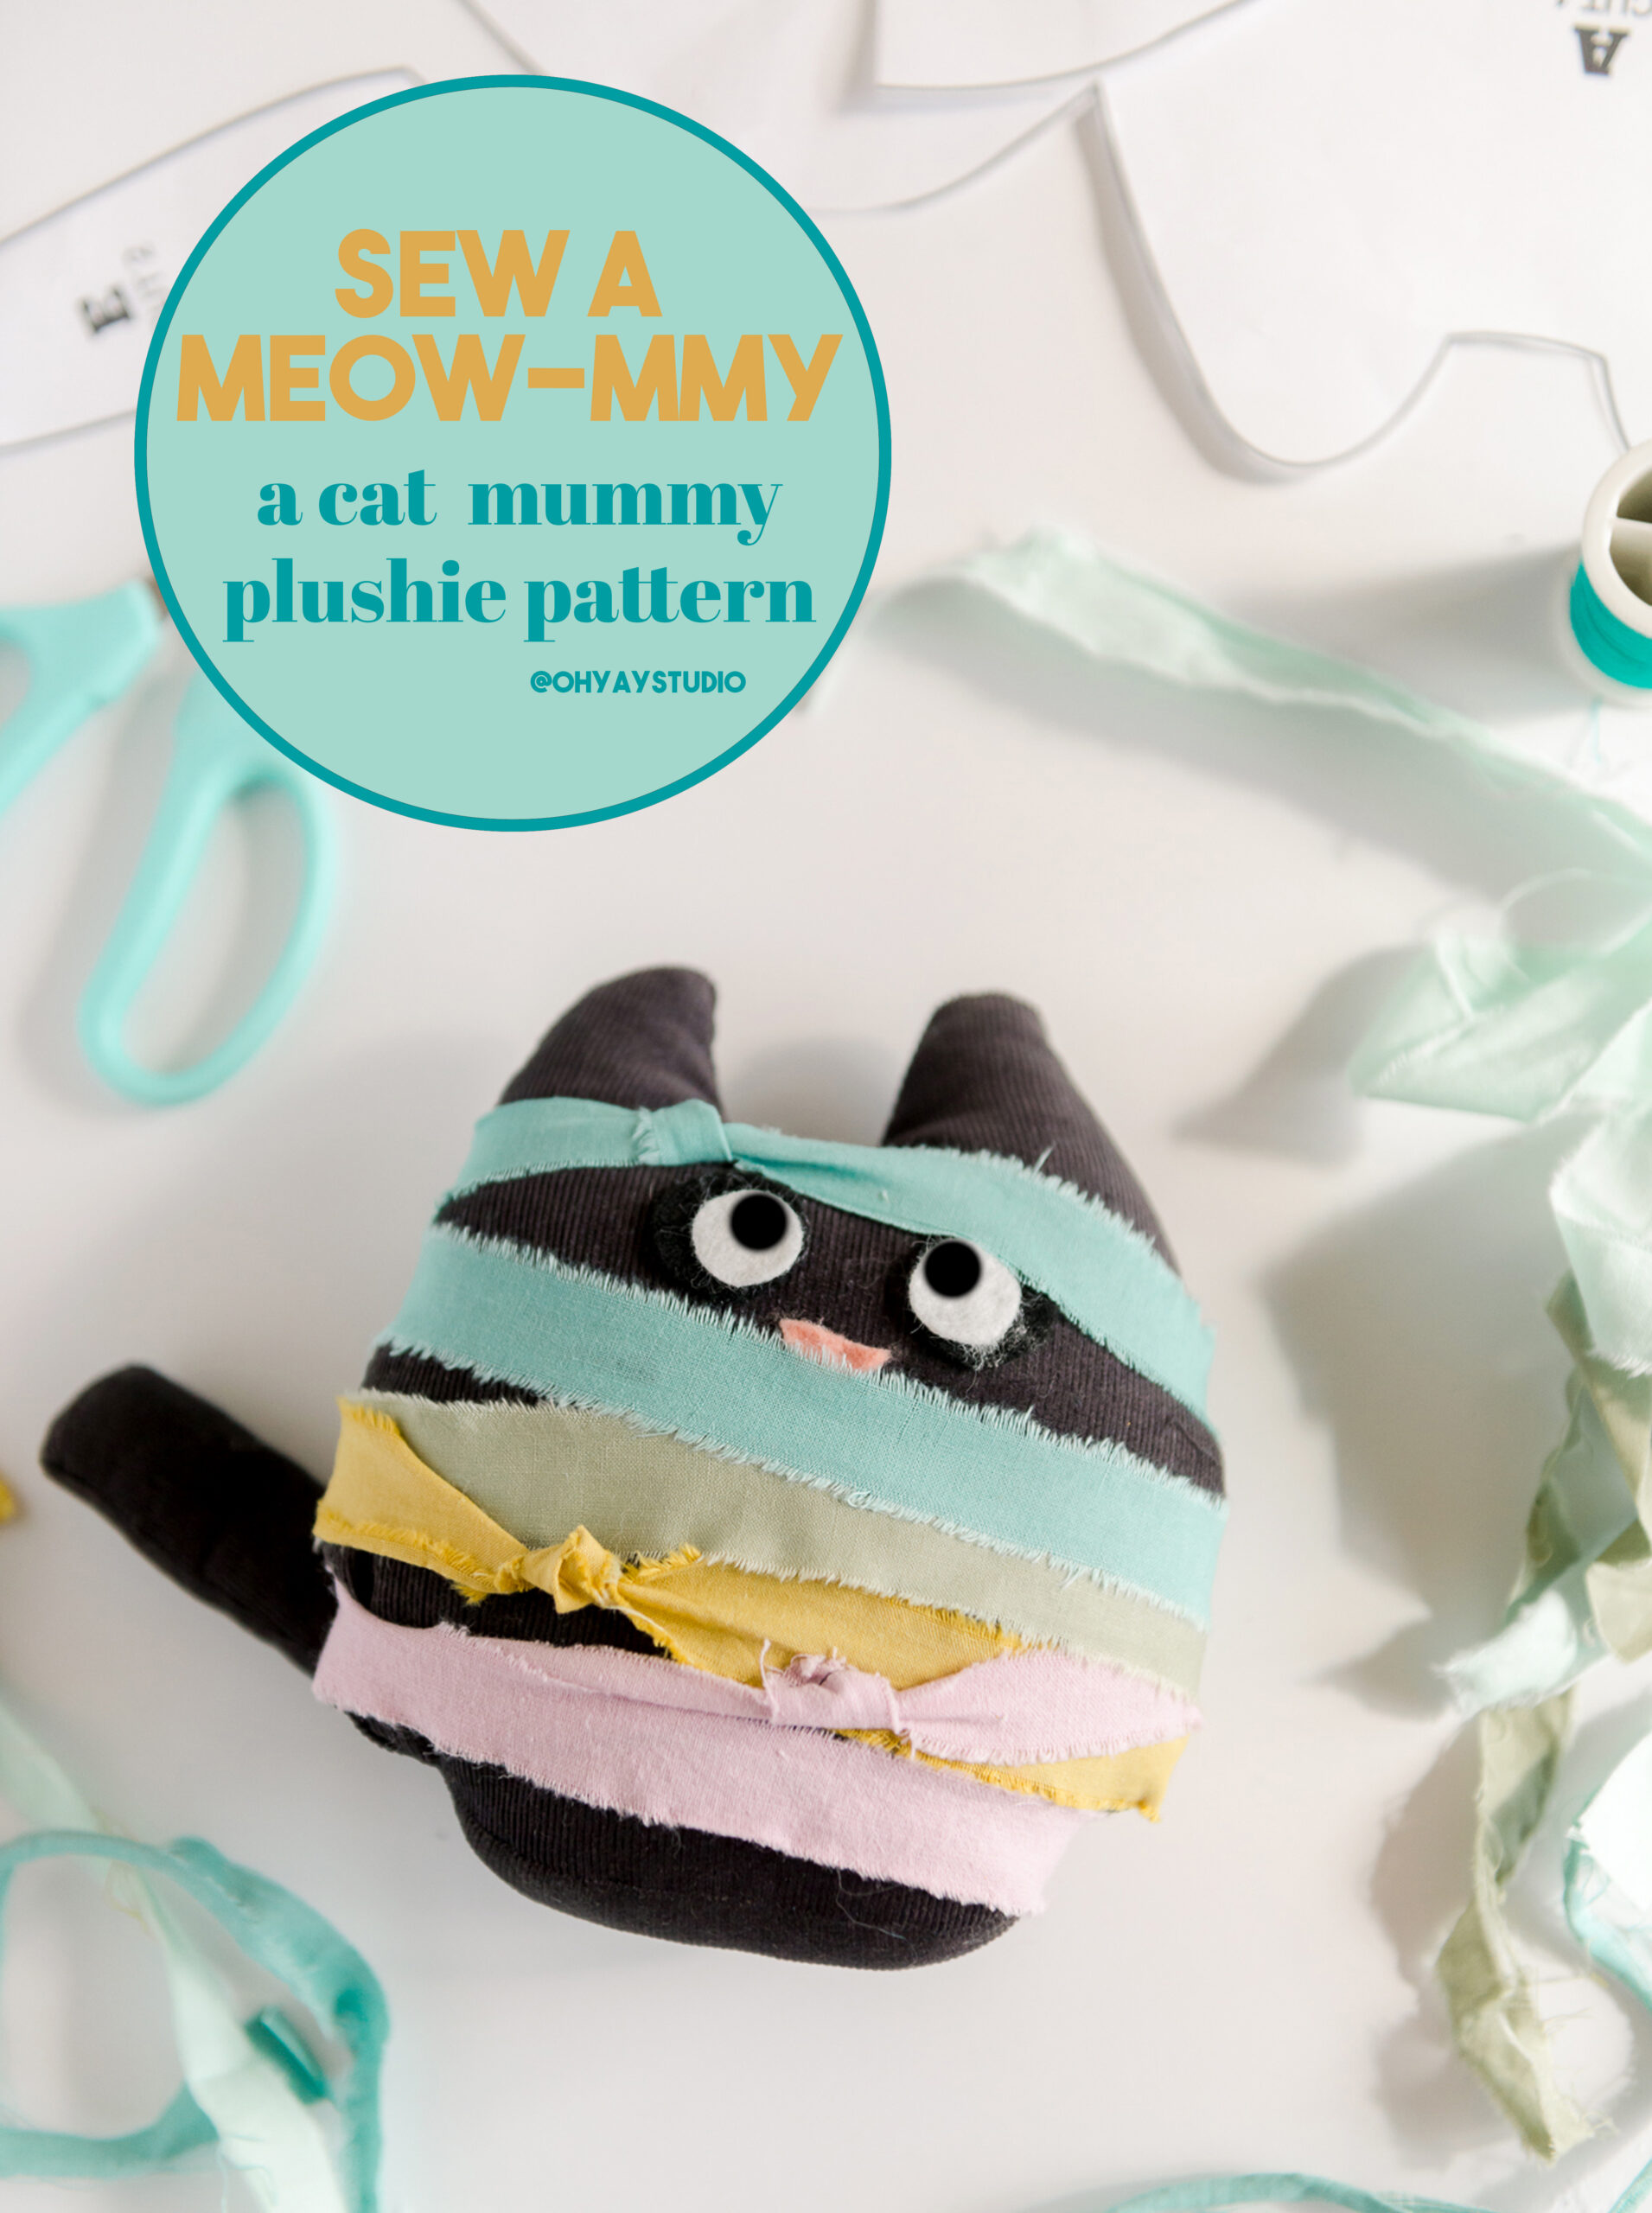
How to make a mummy cat (a MEOW-mmy) Halloween plushie!
Do you love the name?!??!
A cat mummy is obvi a MEOW-mmy (especially in our household)!! Well, I decided that I wanted to surprise my daughter with a super cute and kinda-spooky Halloween plushie for her collection (because every little girl needs a seasonal plushie to bring out during each holiday to play with, amiright?!) 🙂
And even if you are new to sewing, don’t be intimidated by this pattern, just follow the instructions and you’ll end up with a cute Halloween cat mummy plushie that you will LOVE!
Ok, and here’s (I think) the fun part about this pattern. You can make it bigger or smaller depending on your desired sized ANNNND I 100% feel like there are a handful of modifications that you can make to this if you wanted to customize it!
- For instance:
You could omit the tail and add a squeaker to the inside when stuffing to make it a Halloween doggie toy. - You can add a bag of sand of beans to the bottom of the kitty when stuffing it to make it a season door stop ORRRRRRR
- You can even try your hand at making them super small and making them into plush keychains or backpack pulls for this spooky season!
And of course you could add in a custom collar with your name or your kiddos name on it, etc
Honestly, I just LOOVE LOVE LOVE LOVE LOVE patterns like this because they totally make it extra fun by making them personal to you or the kids or friend you are gifting them to!
MATERIALS:
- The main cat fabric – I used super light weight dark grey corduroy and it was perfect (stay away from anything too bulky just for construction sake)
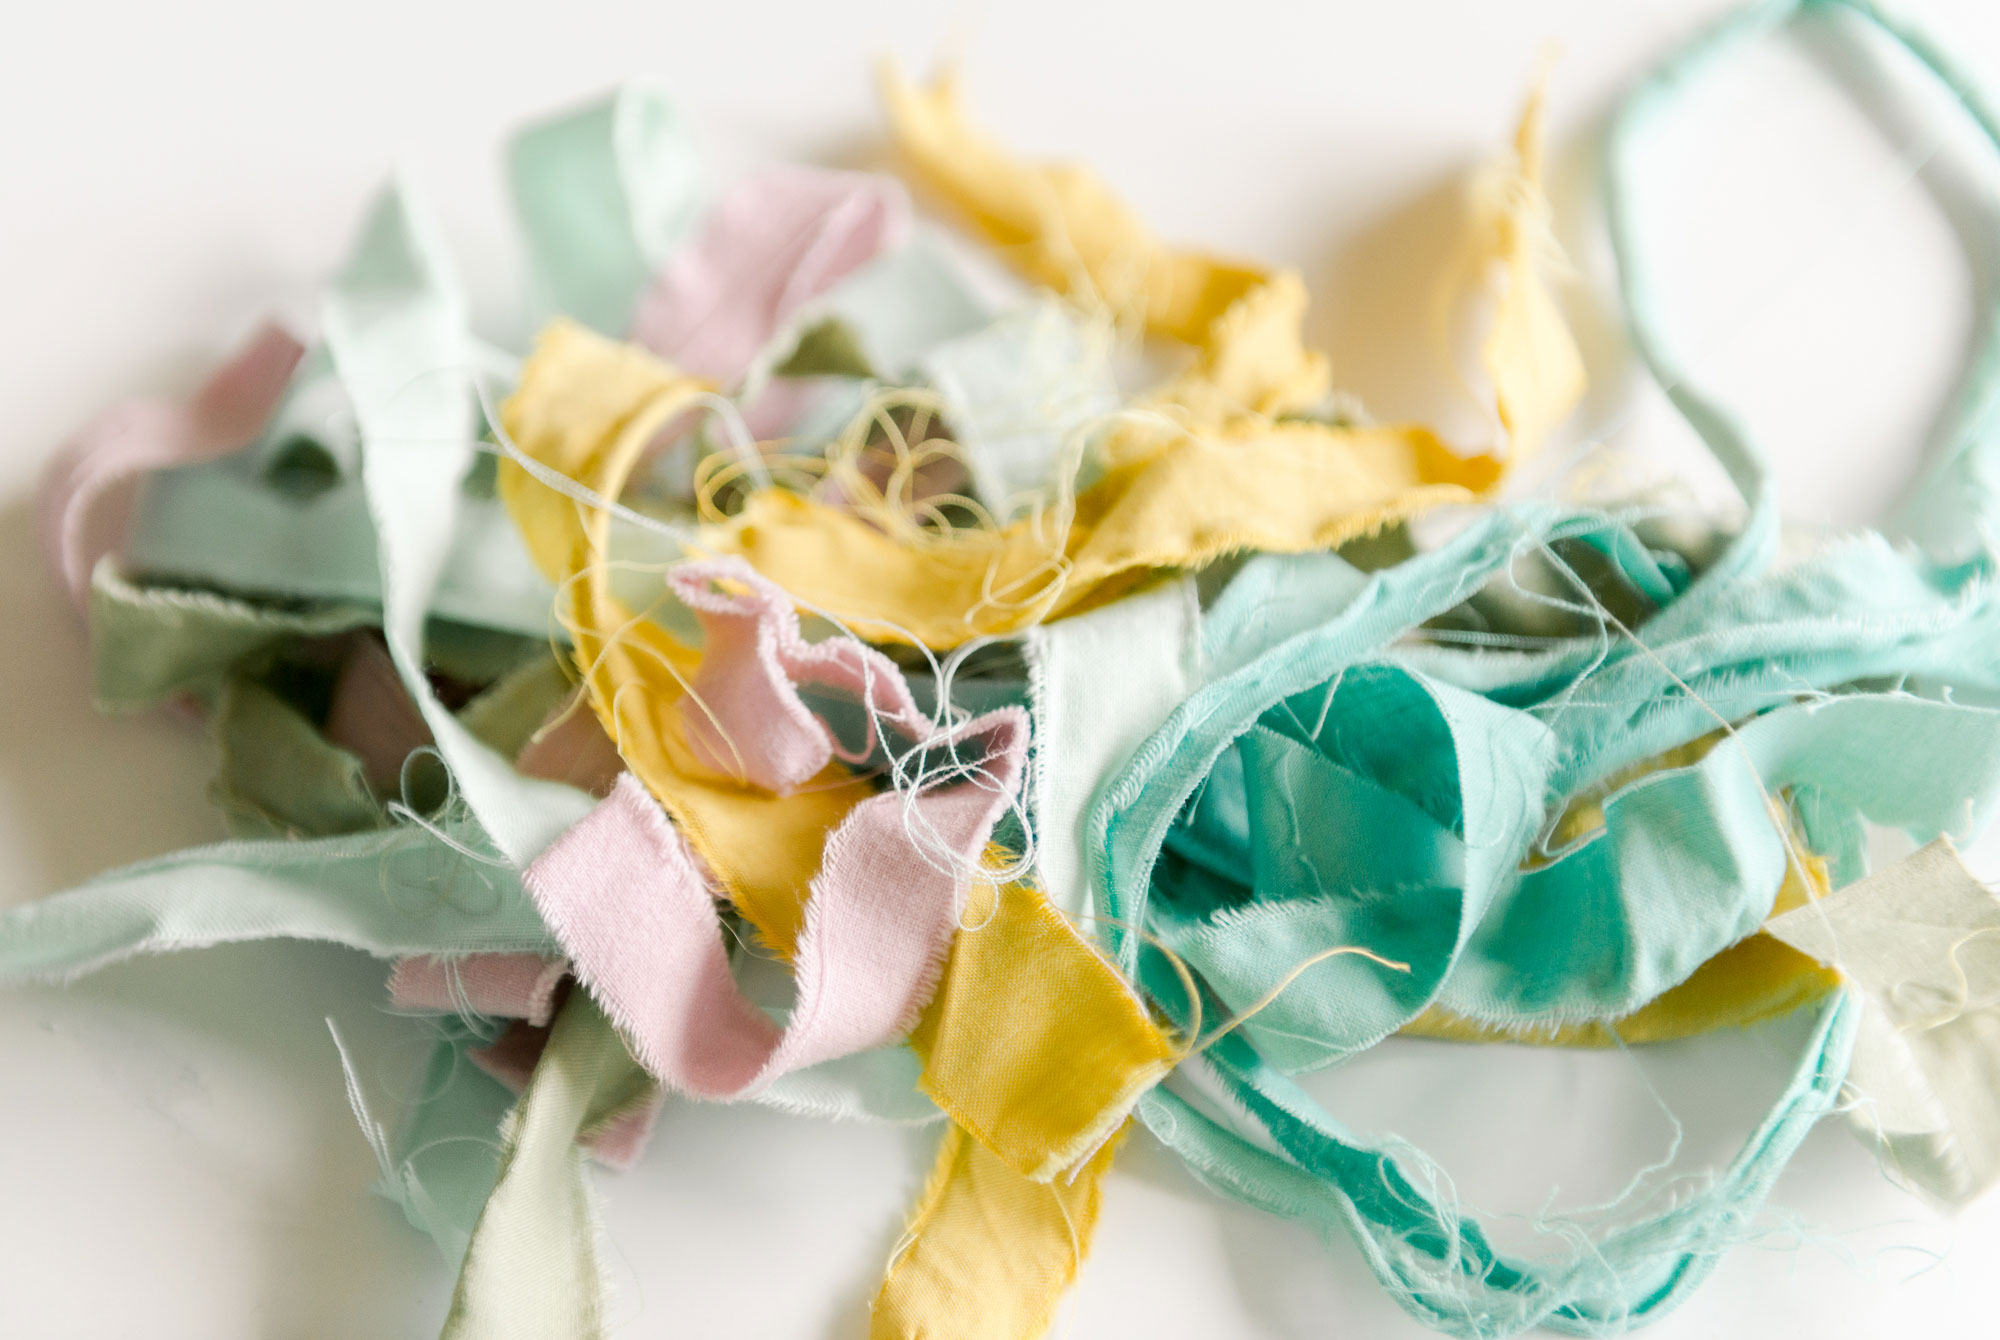
- A rainbow of scraps for the mummy wrap – Honestly, raid that scrap bin and find the ones that you want to use up 🙂
- Your fave sewing machine with coordinating thread
- Bobbins in your fave colors of thread to coordinate with your mummy wrap colors
- Pins for sewing
- Some black, white and pink felt for the eyes and nose
- Poly fil or your fave stuffing of choice
- Scissors
- Needle and thread for hand stitching closed
- Fabric Glue
- And of course the pattern (available to download below)
**note, all seams are sewn with a 1/8” seam allowance unless otherwise noted 🙂
INSTRUCTIONS:
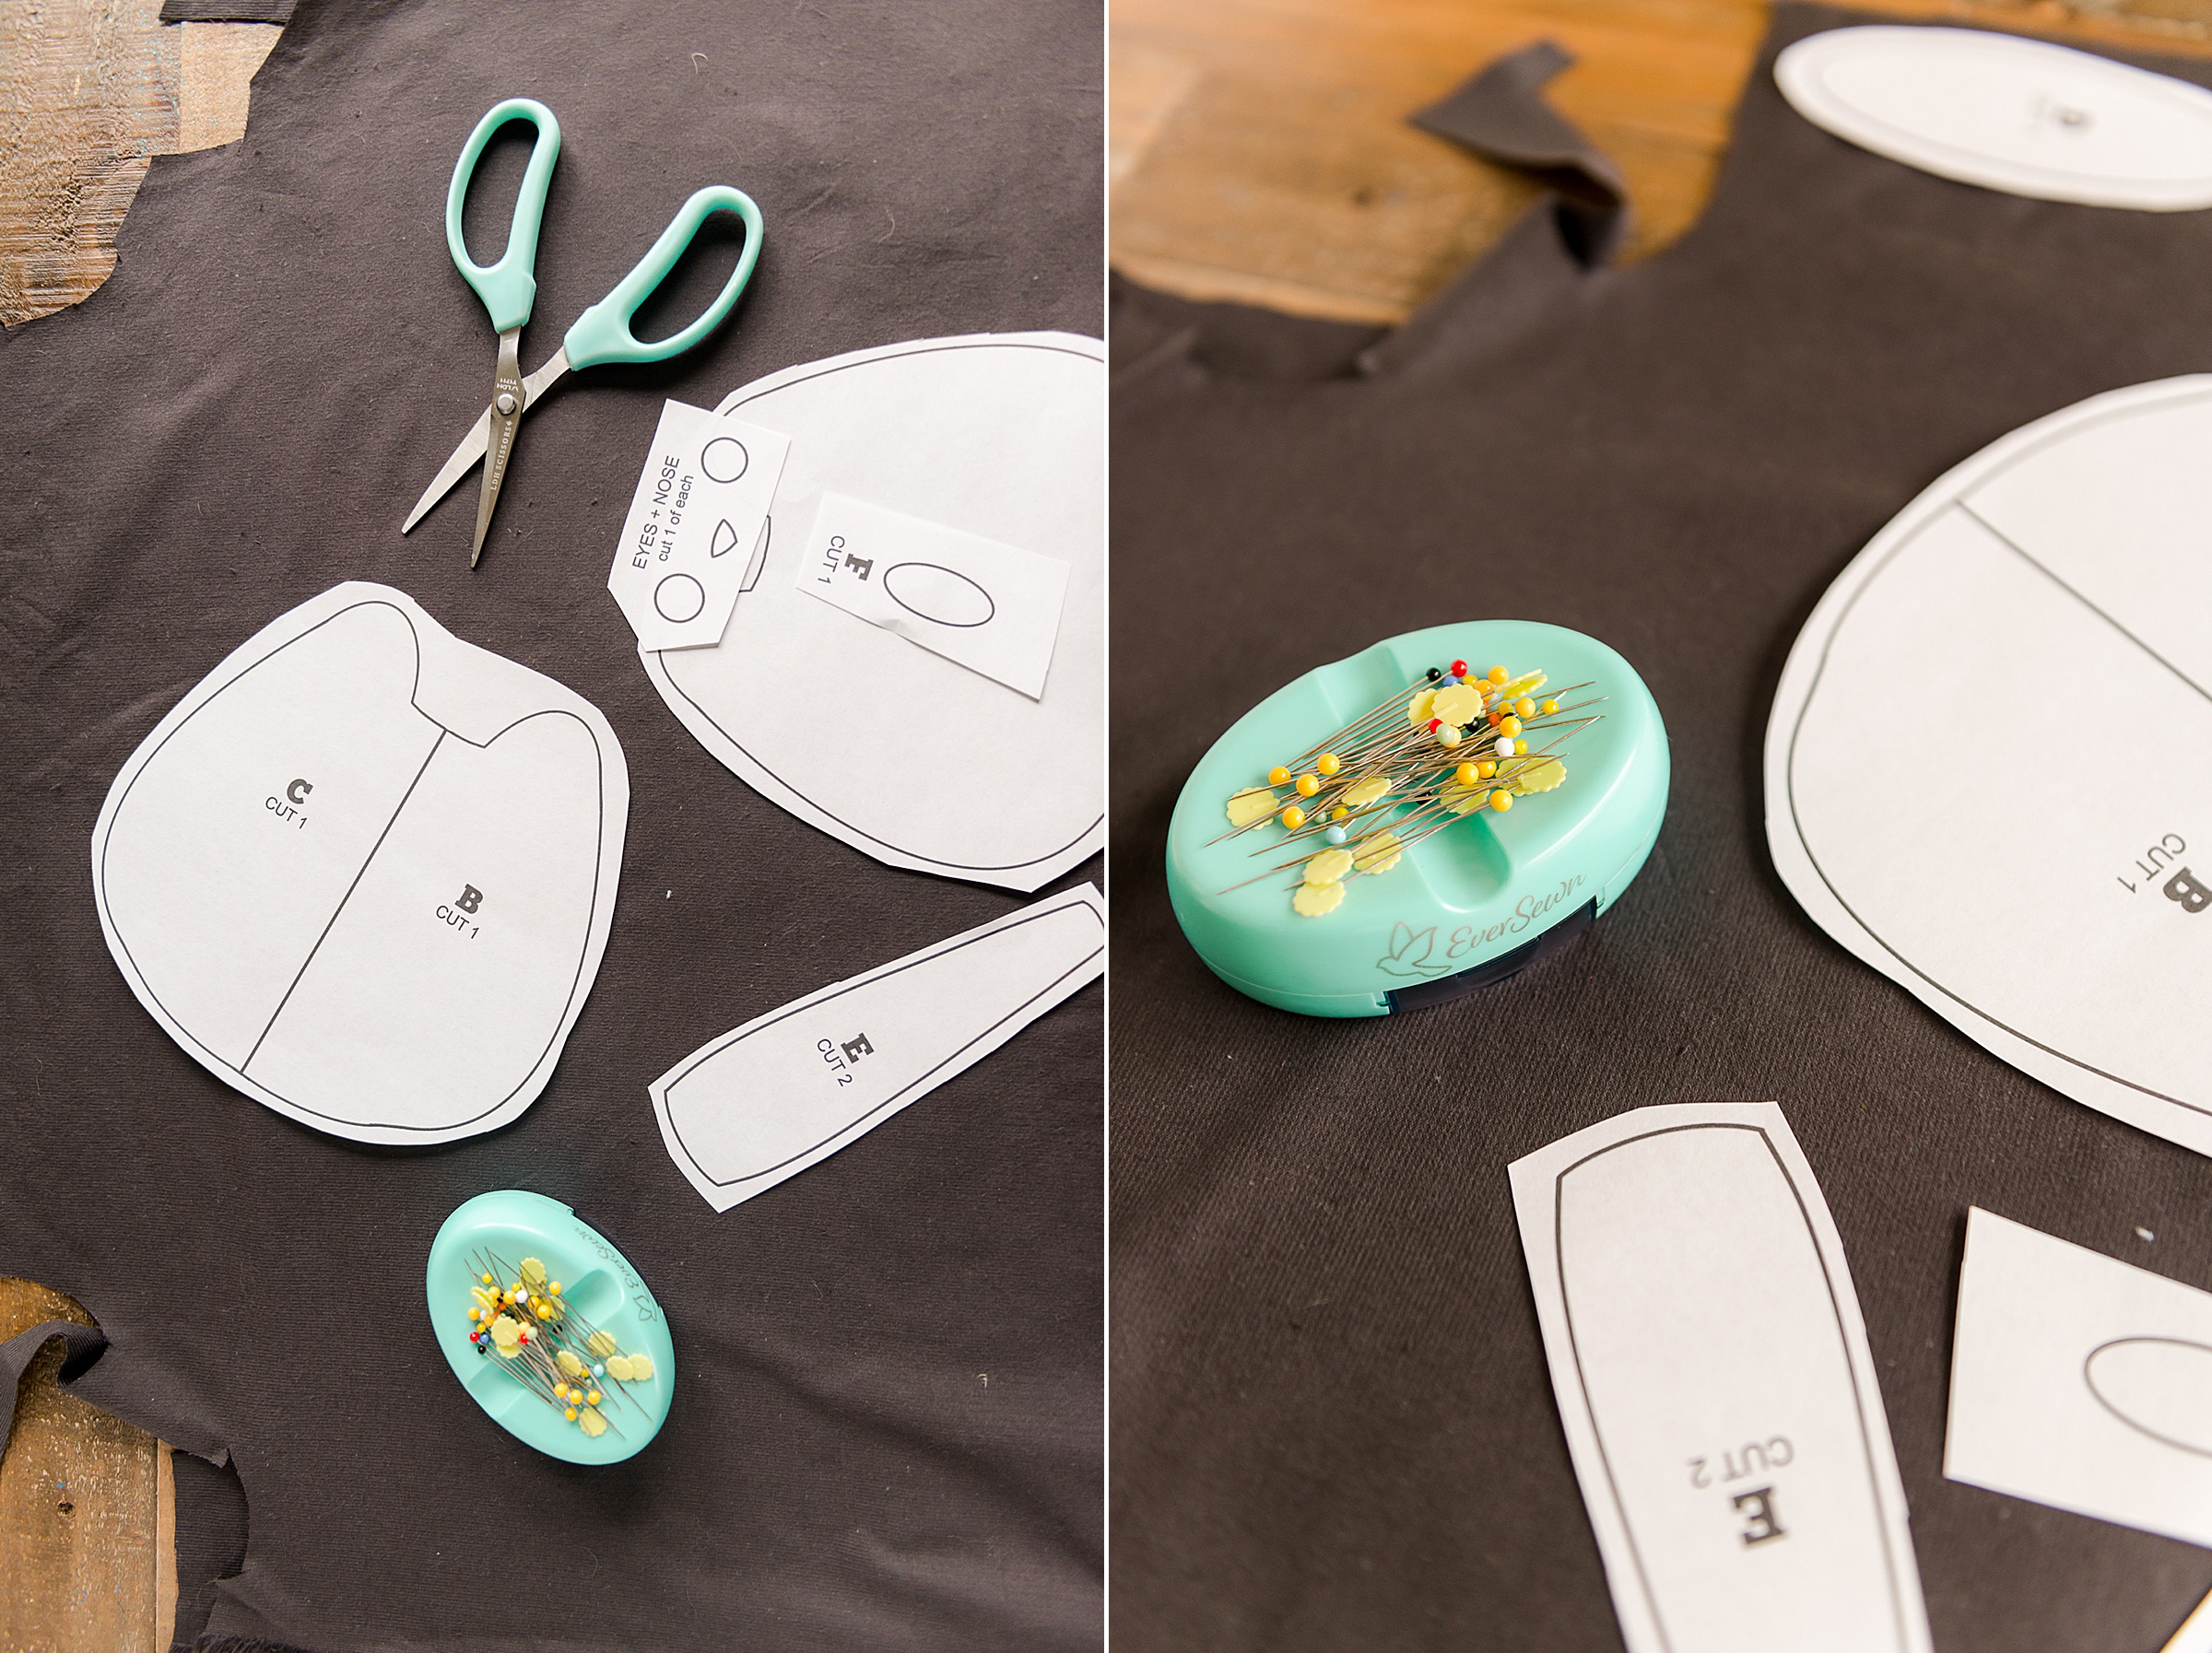
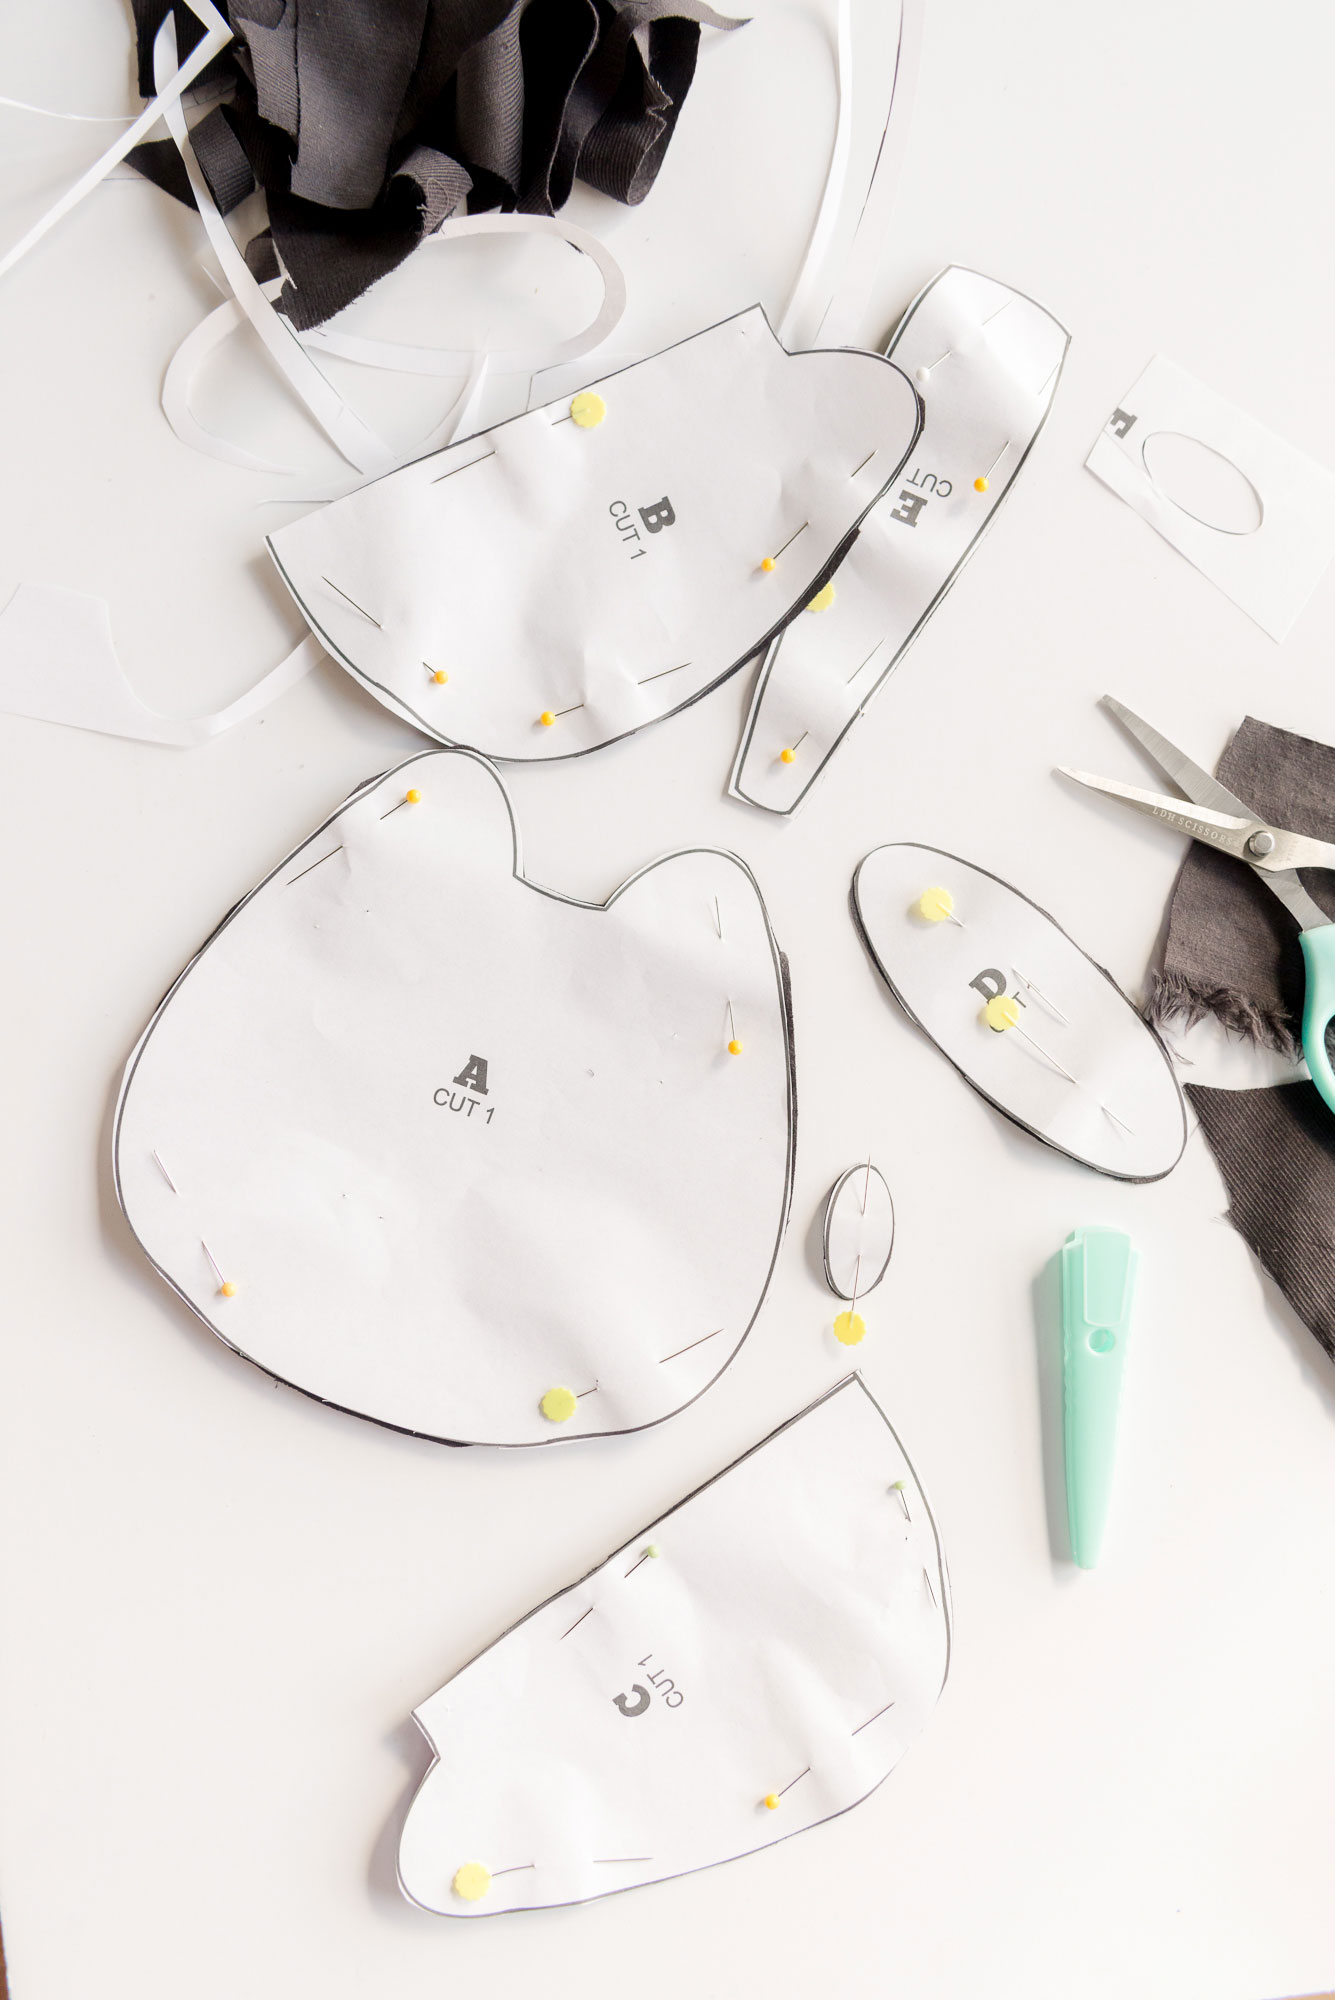
1. Download your pattern HERE and cut out all of your pieces:
- Cut 1, piece A, from your main kitty body fabric (body front)
- Cut 1, piece B and C, from your main body fabric (body back)
- Cut 1, piece D, from your main body fabric (gusset)
- Cut 2, piece E, right sides together from your main body fabric (tail)
- Cut 1, piece F, from your main body fabric (tail gusset)
- Cut 1 nose from your pink felt
- Cut 2 eyes from your black or white felt (and you can do one of each and layer if you want)
- Tear about 8-10 strips of fabric (about 1-1 1/2” wide) from your mummy wrap scrap fabric
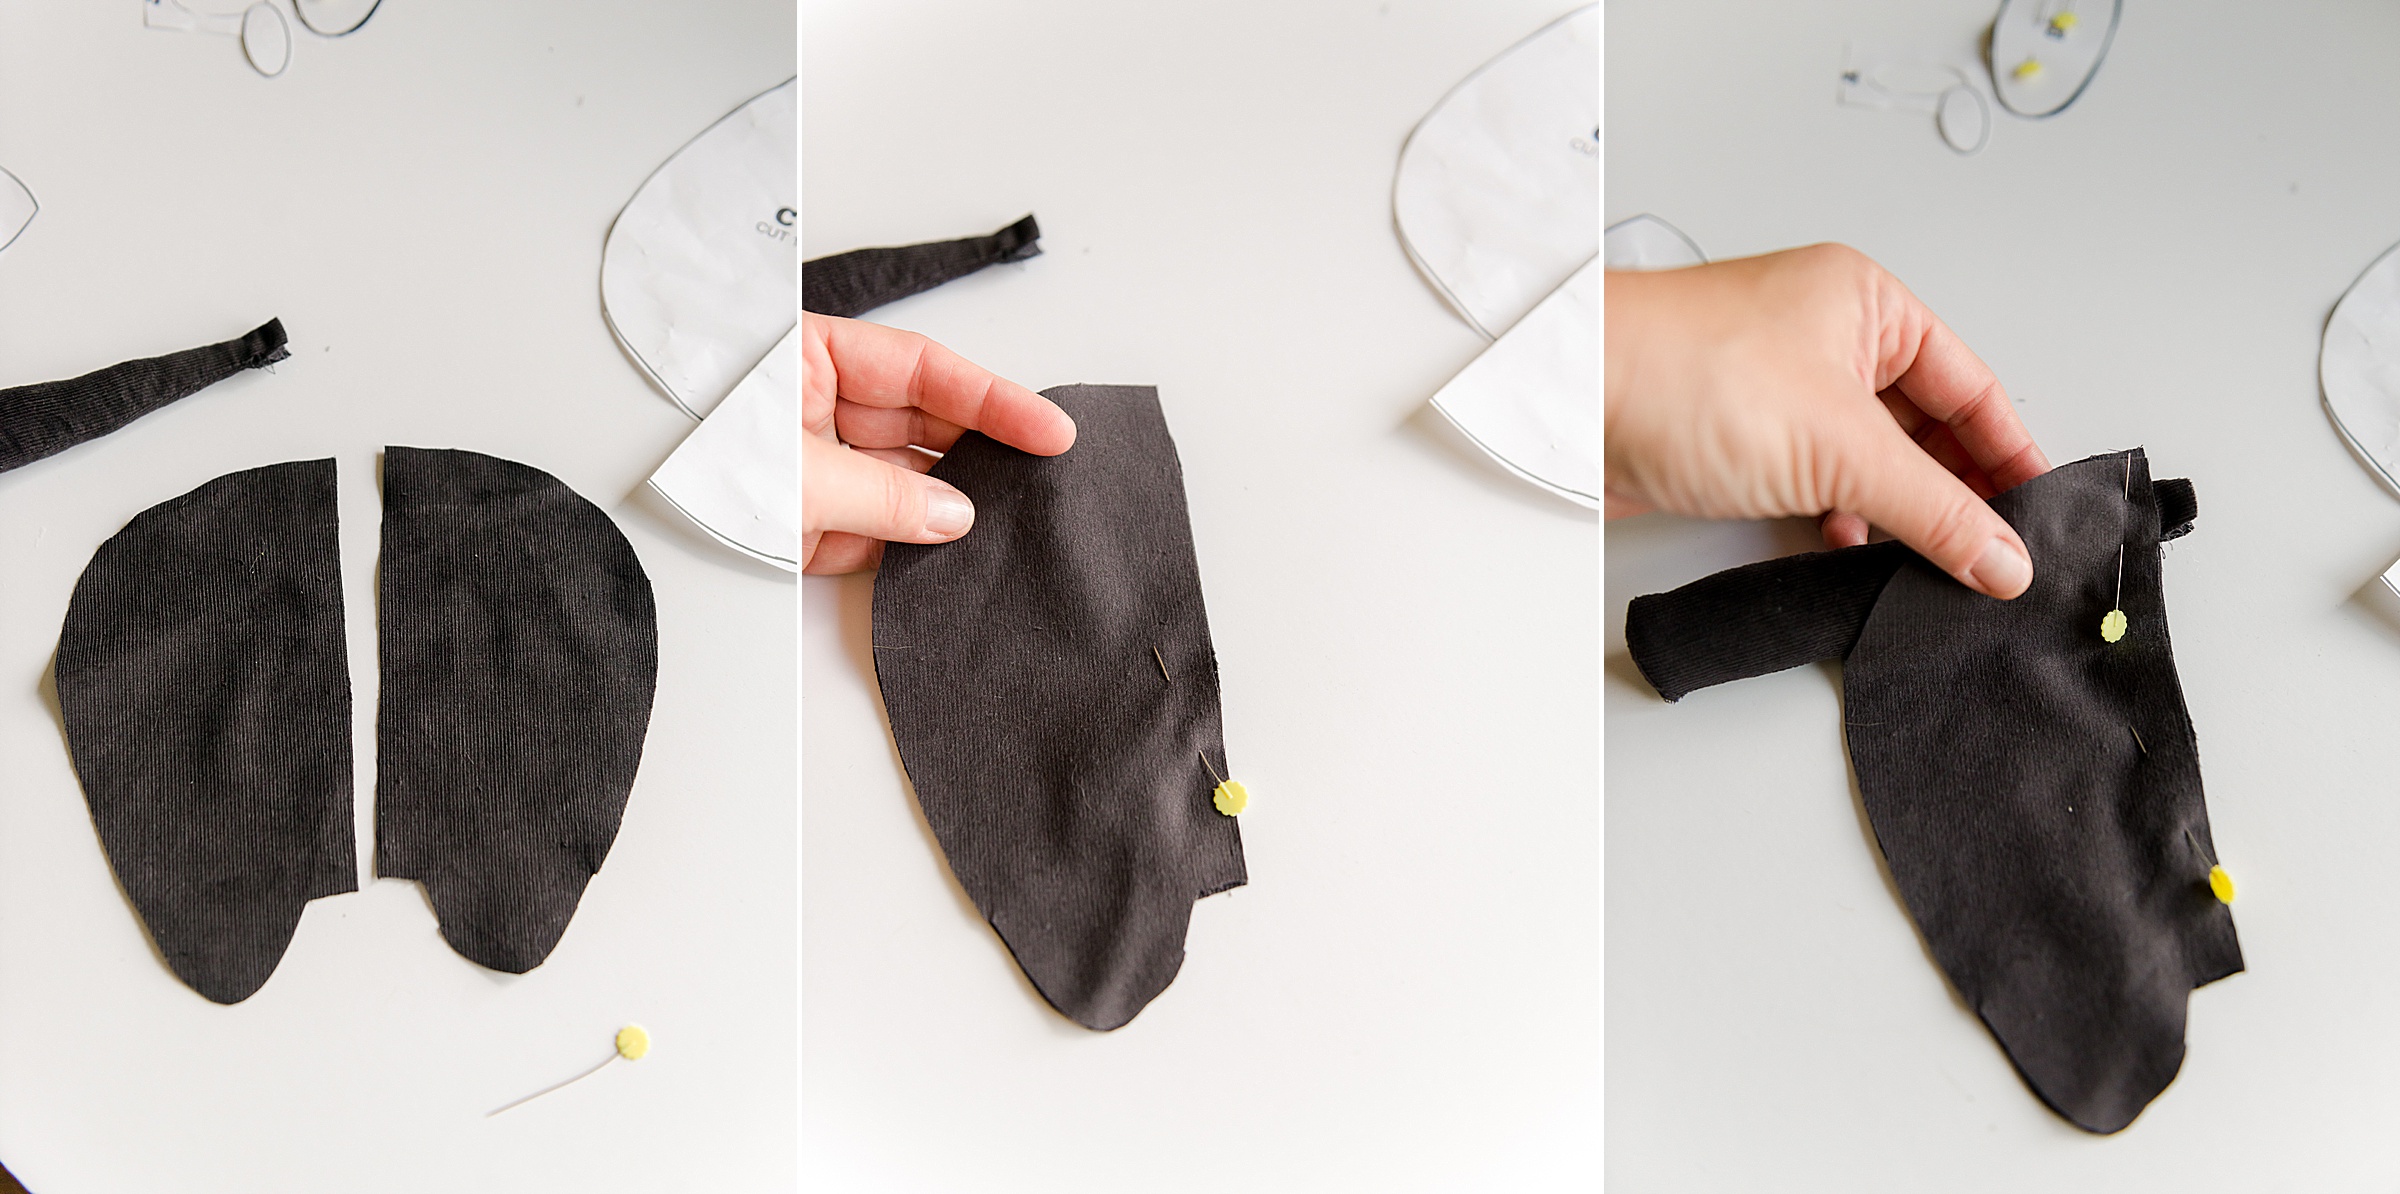
2. Construct your tail
Begin by sewing the long side of the tail gusset (piece F) to the bottom fatter of the tail (piece E), right sides together. Be sure to match up those edge/corners of the tail gusset super well to the edge of the bottom fat side of the tail.
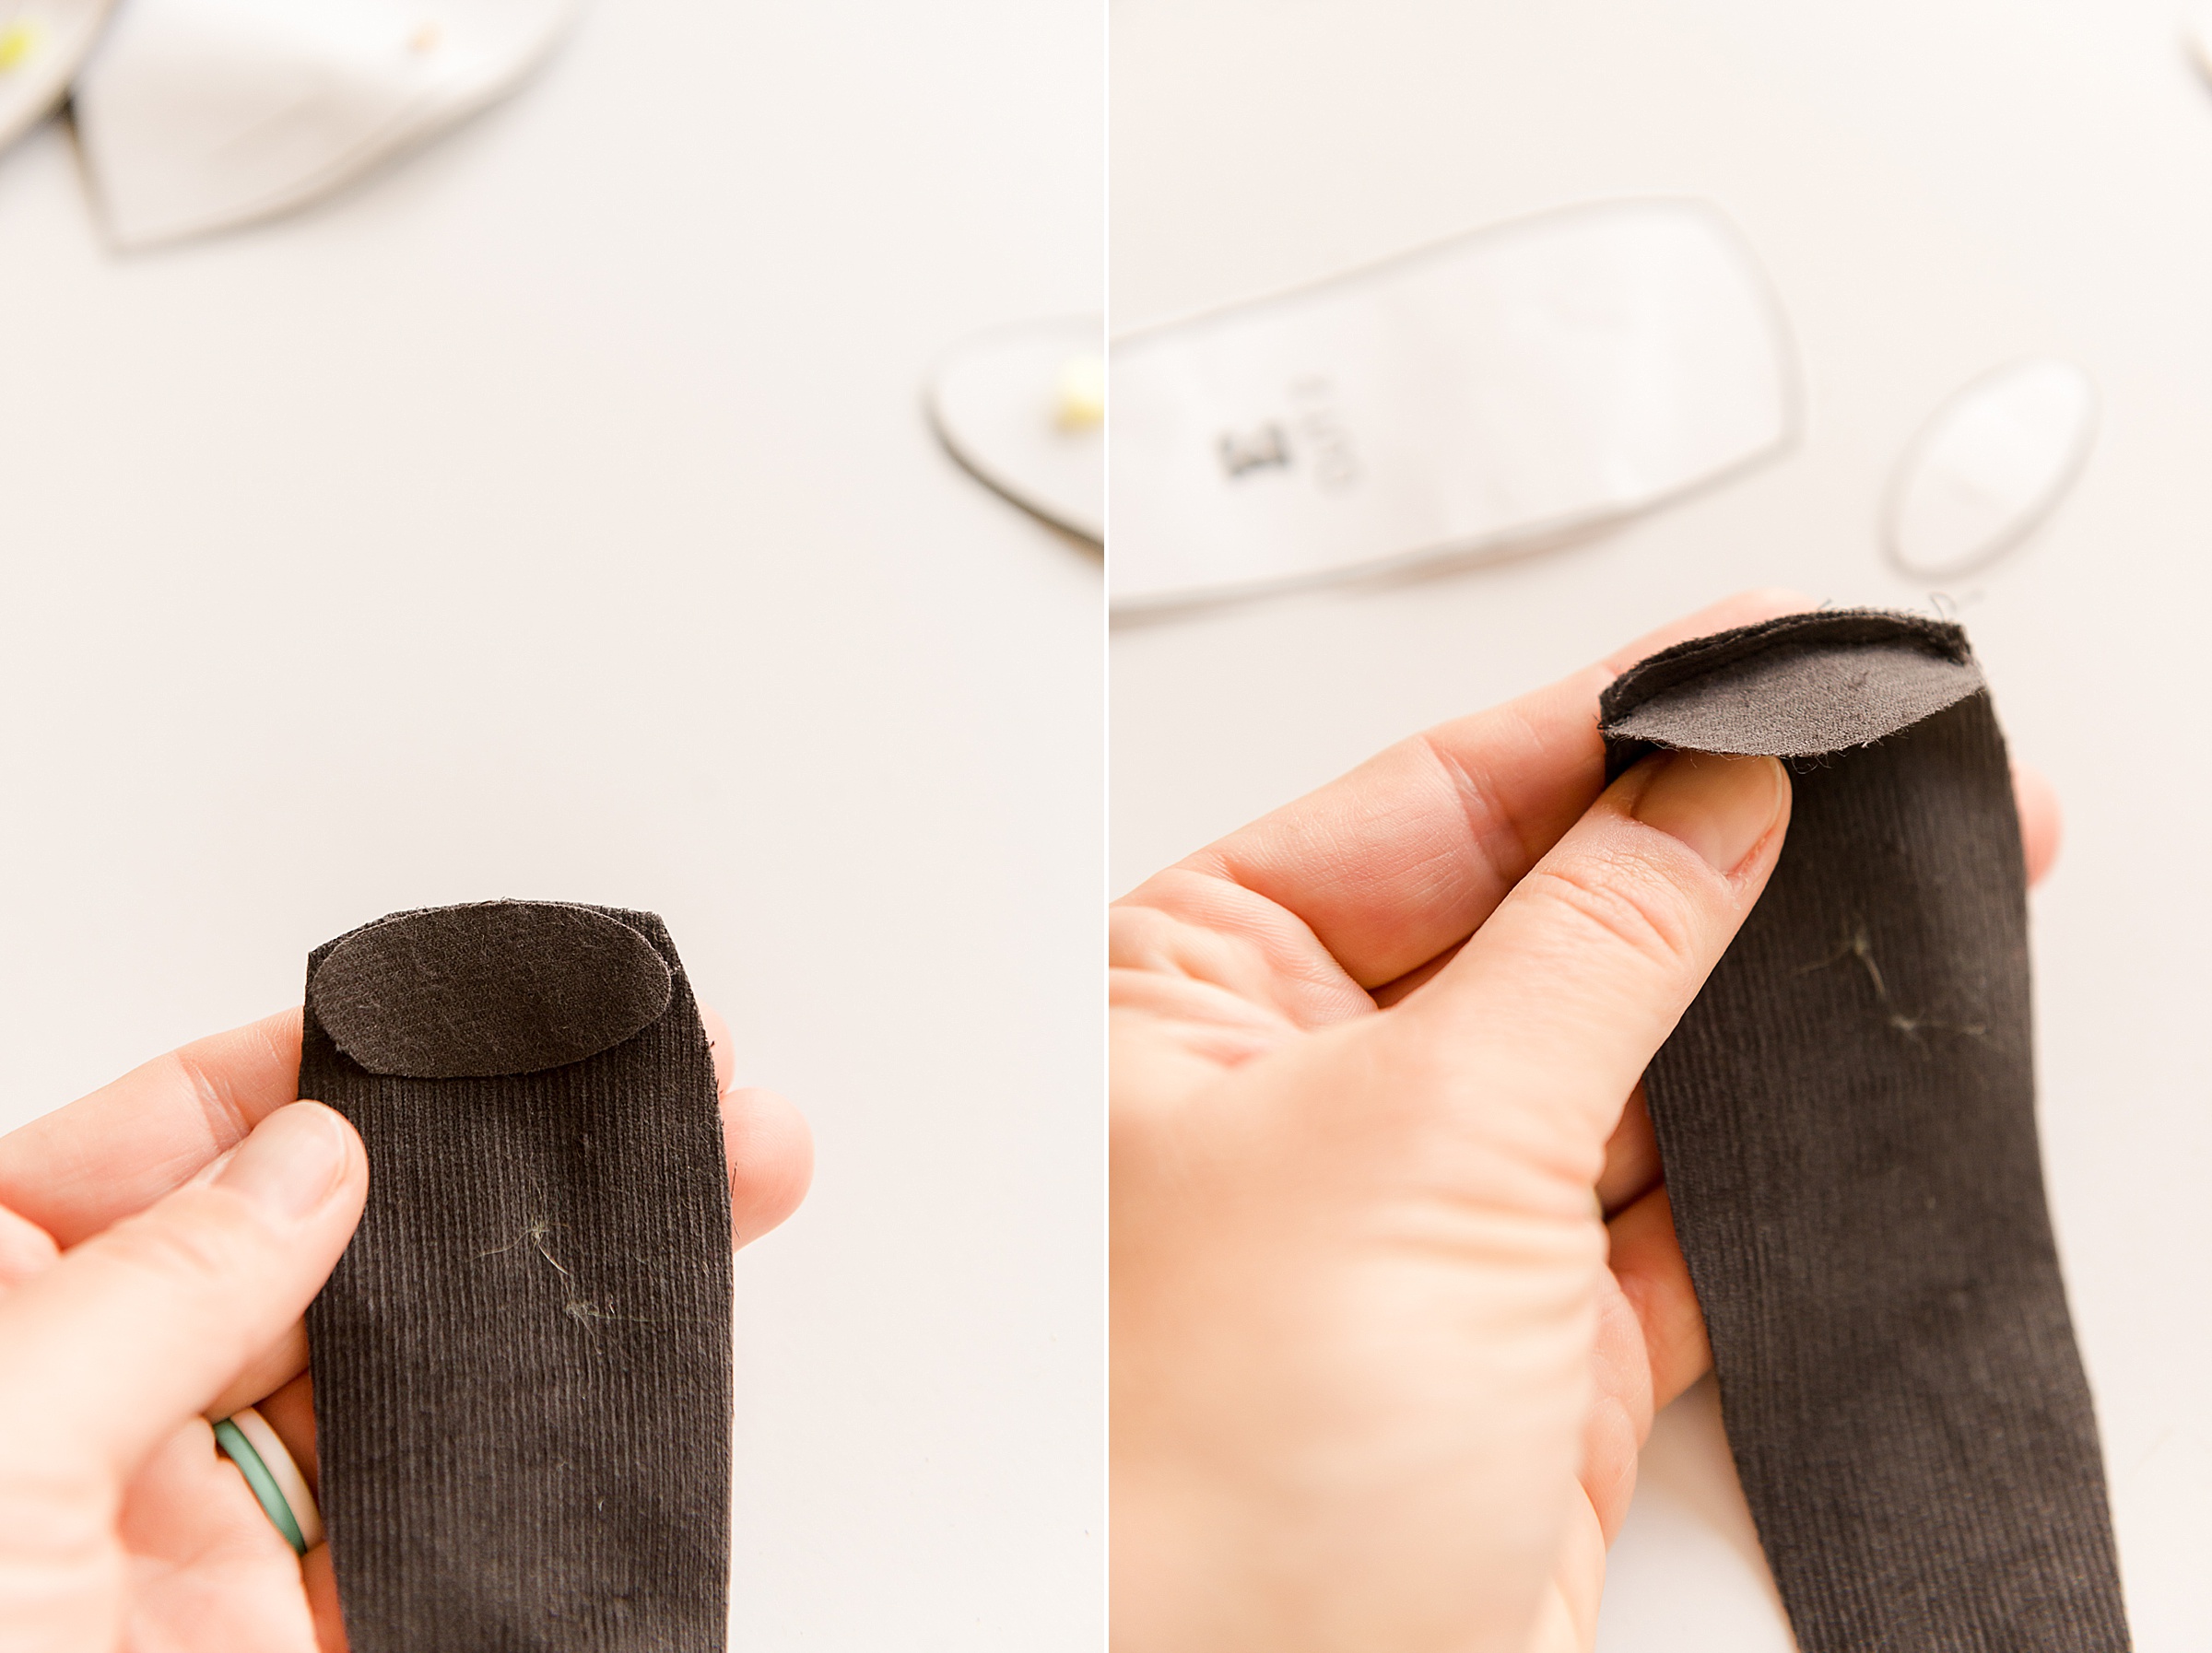
Next, Lay the last tail piece, right sides together, matching up the long sides and gently pinning into place along the last long gusset side to make sure that all edges are flush. Carefully sew together.
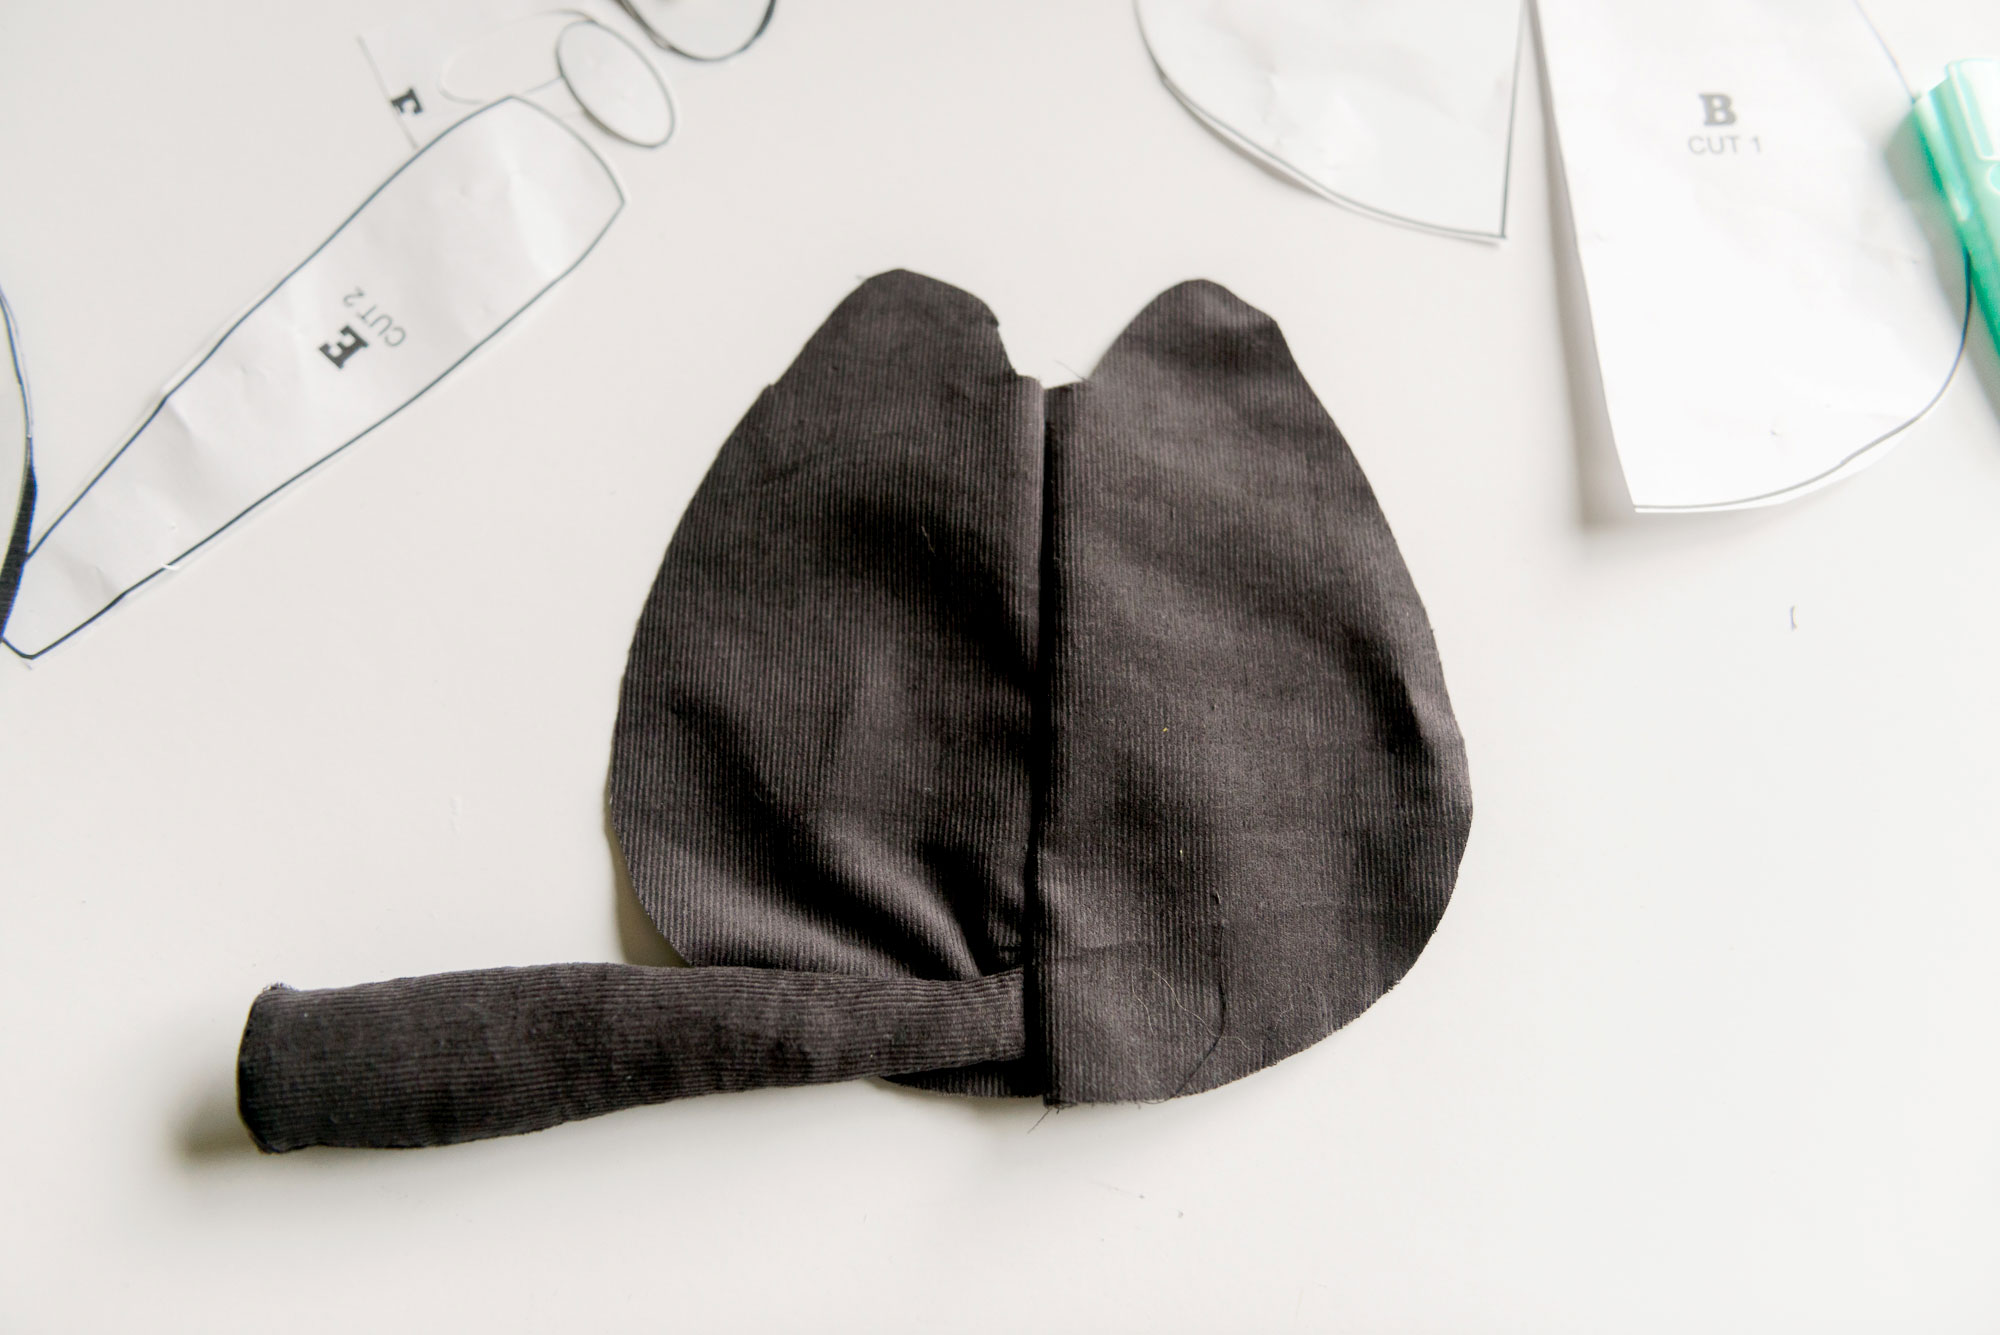
You should be left with a “tube” of sorts with one end wider (the gusset end).
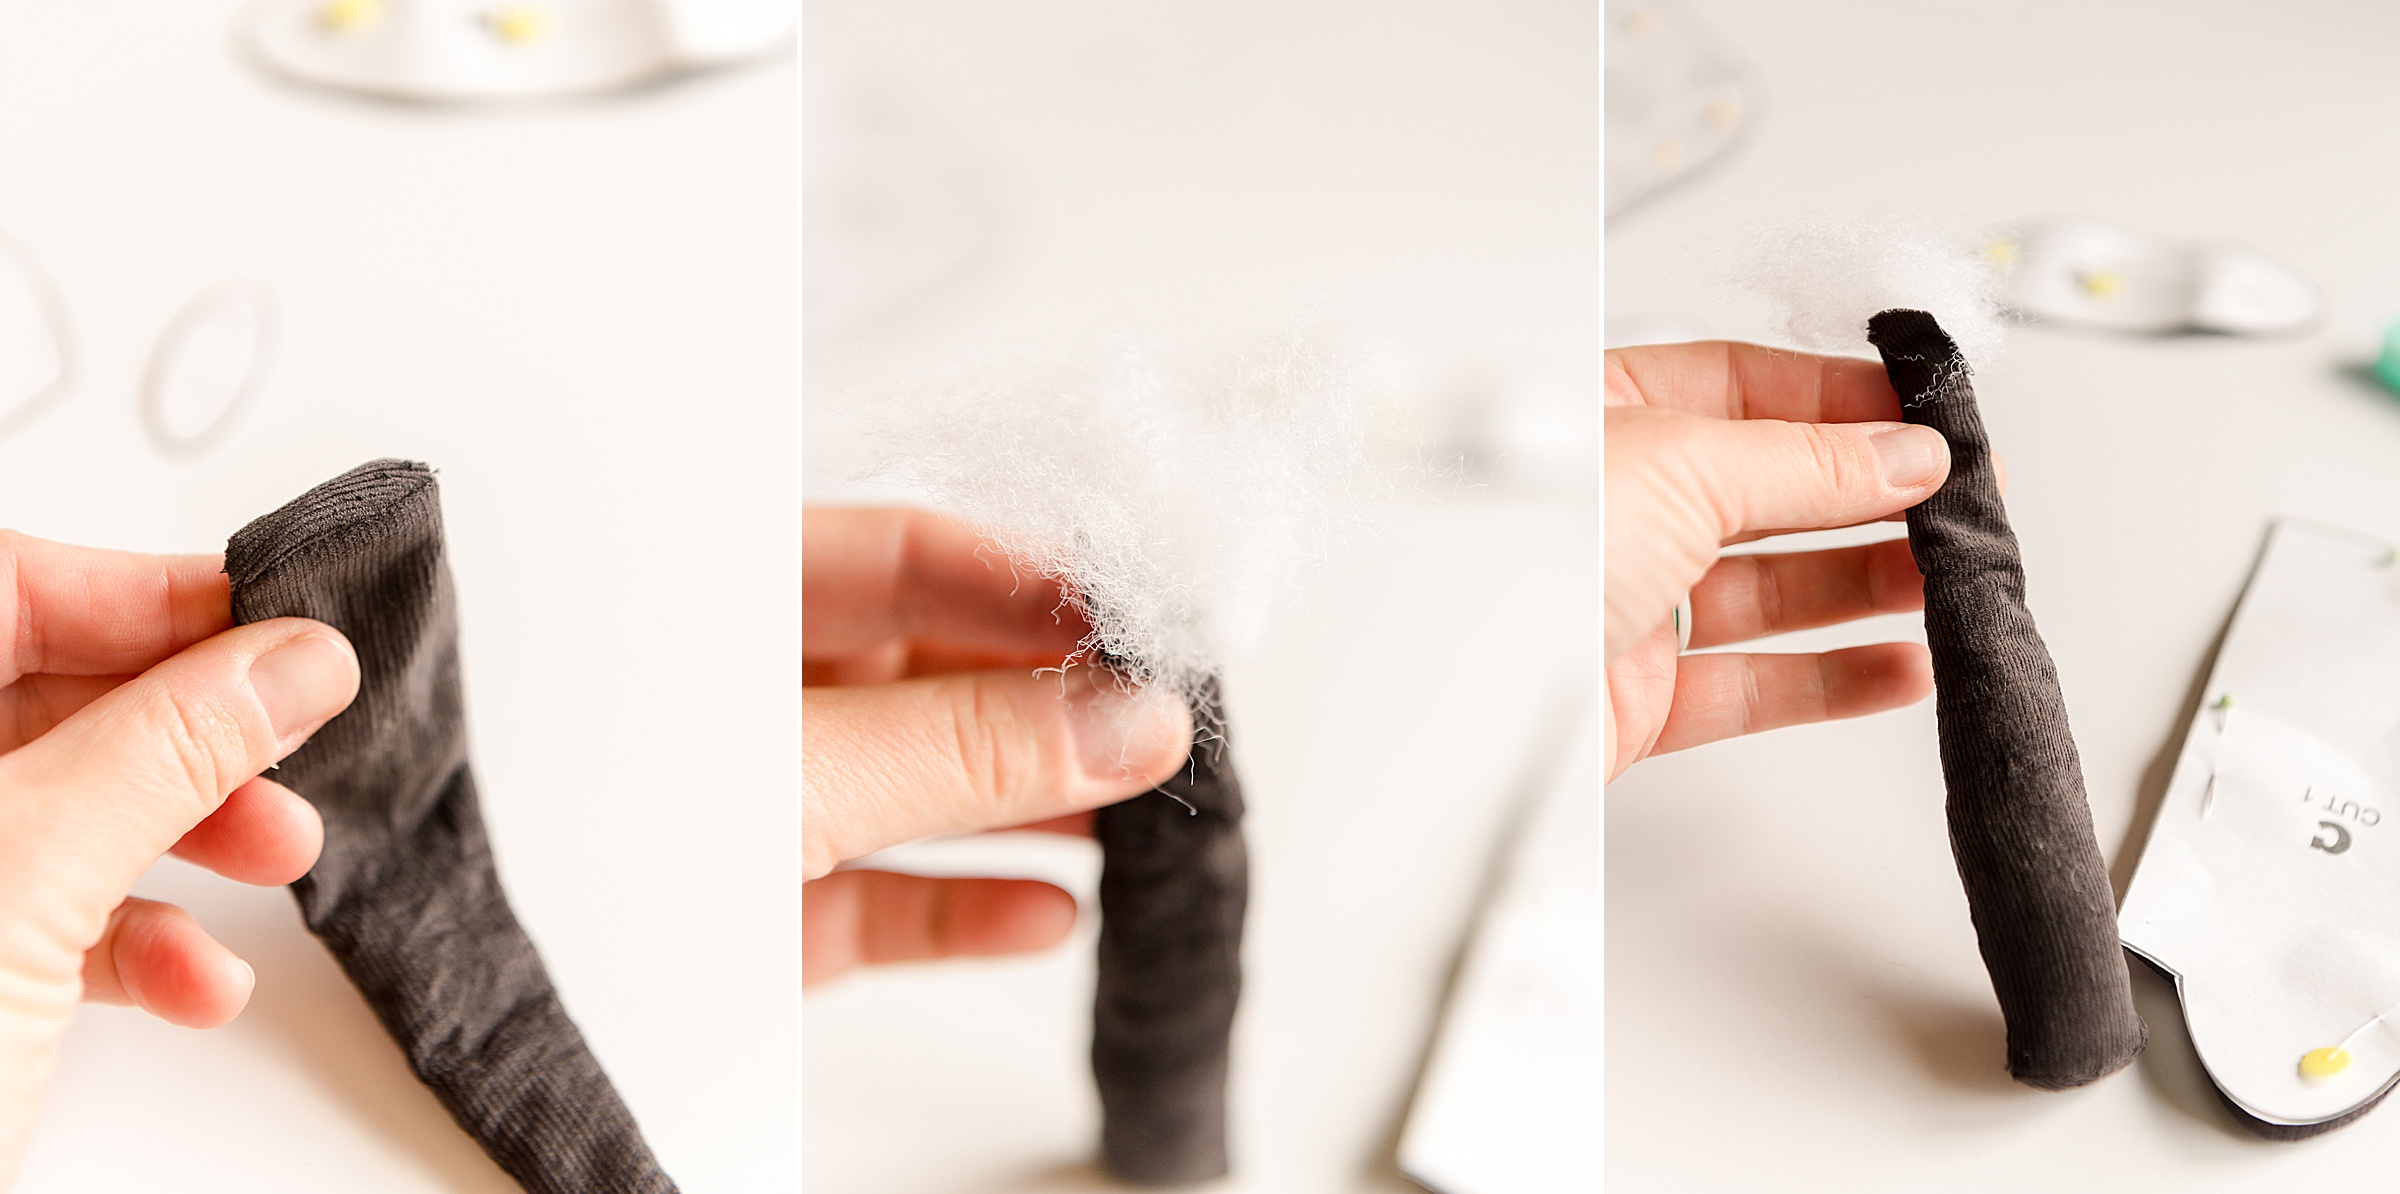
Turn the tail right-sides out and then stuff with some poly-fil, being careful not to overfill so that the tail has some movement and bend-ability!
Set the tail aside for now 🙂
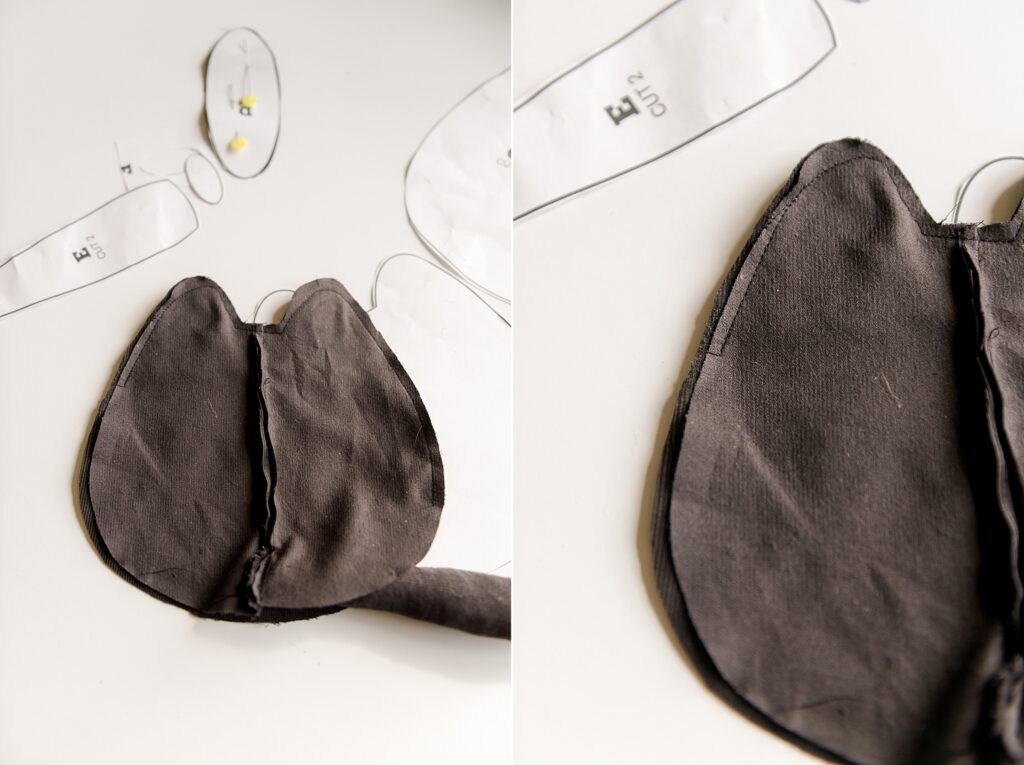
3. Construct the cat body
Begin with the back of the kitty – Sew pieces B and C, right sides together, along the straight edge (down the middle of the back) AND add in the tail, about 1/2” – 3/4” from the bottom of the back!
You will be left with a cat back with a tail in the middle when done.
Now, grab the front body (piece A) and line up all edges, right sides together, to the back that you just had sewn. This part is just a little tricky to sew because you have to make sure that you don’t accidentally sew the tail into the body seam 🙂 (Trust me i’ve done it before, HA)! just move the tail out of the way to each side as you sew the opposite side 🙂
**YOU WILL BE SEWING along one side, up the top, across both ears and then down part of the other side. Stop about 1/3 of the way down the long side and then leave and opening to turn the cat right side out later. Then finish sewing alone the long side to the bottom. DO NOT SEW THE BOTTOM YET 🙂
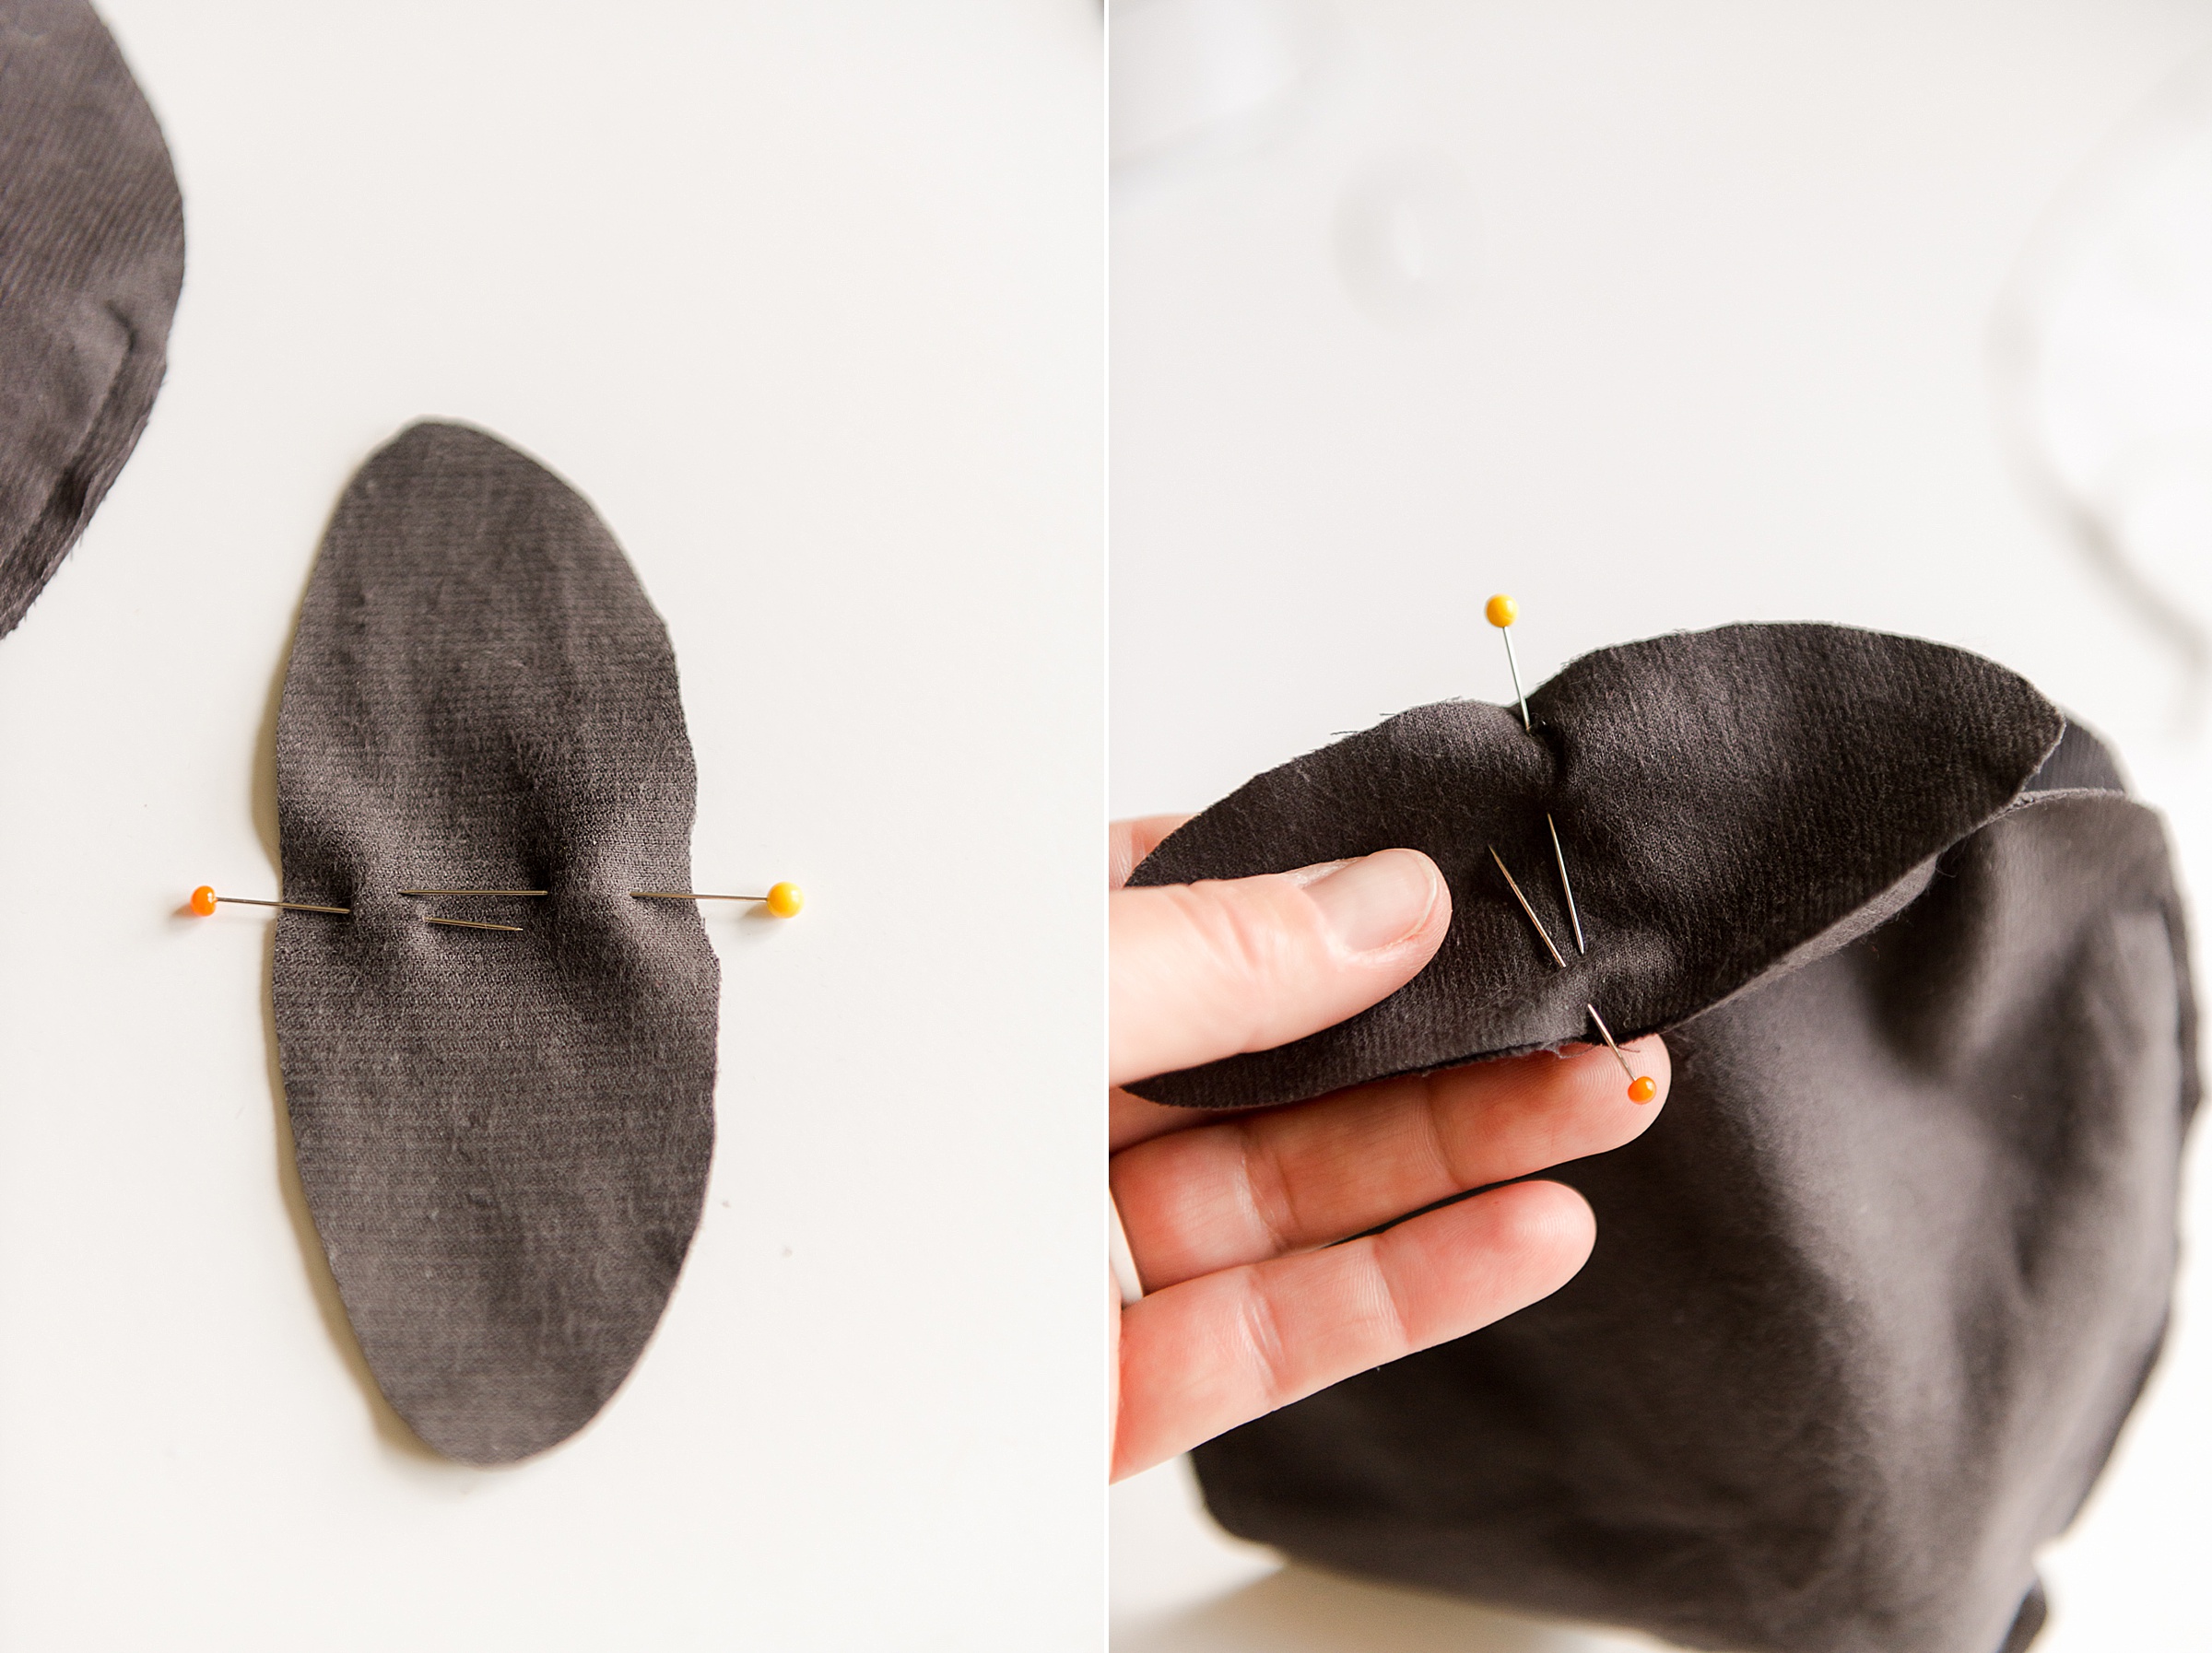
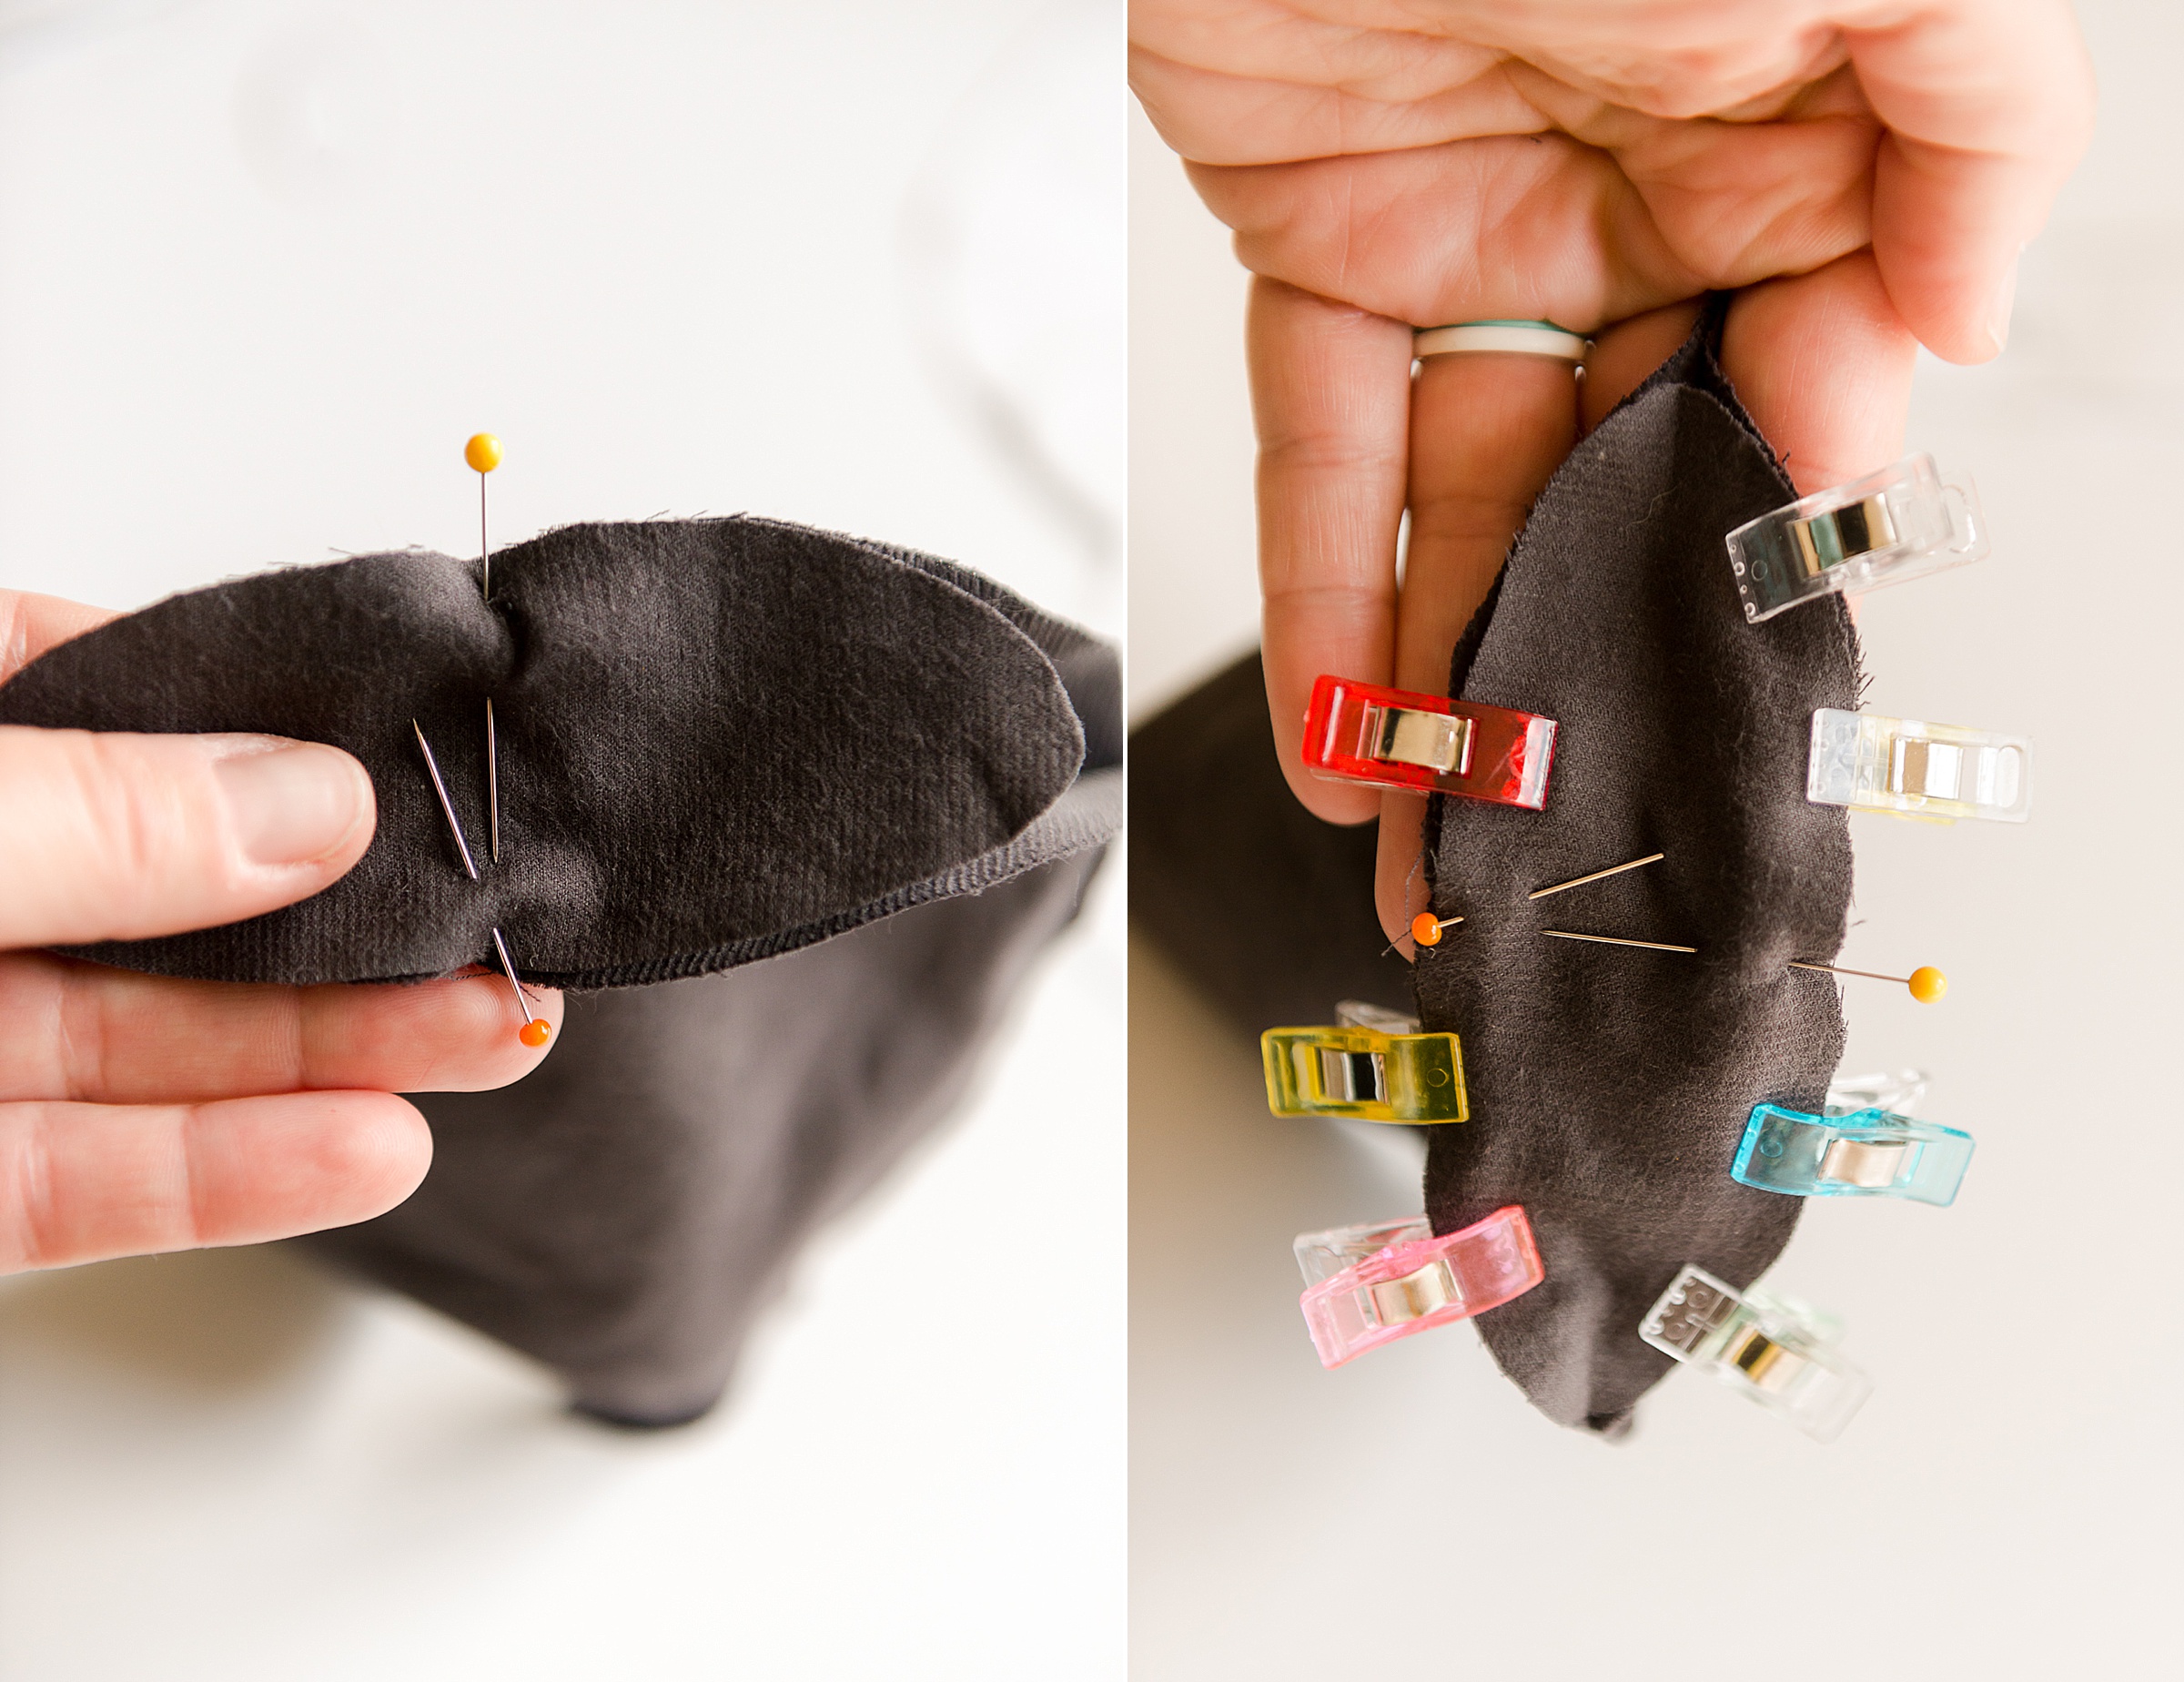
4. Add gusset to the body
Fold your gusset piece in 1/2 the long way matching the short side points together (piece D) and finger crease to mark the middle of the piece. Mark the middle with a pin and then line up the pins with the middle of the cat body (making sure you are doing this right sides together). Carefully match up the edges of the bottom to the gusset working all the way around. Pin in place. Then carefully sew together!
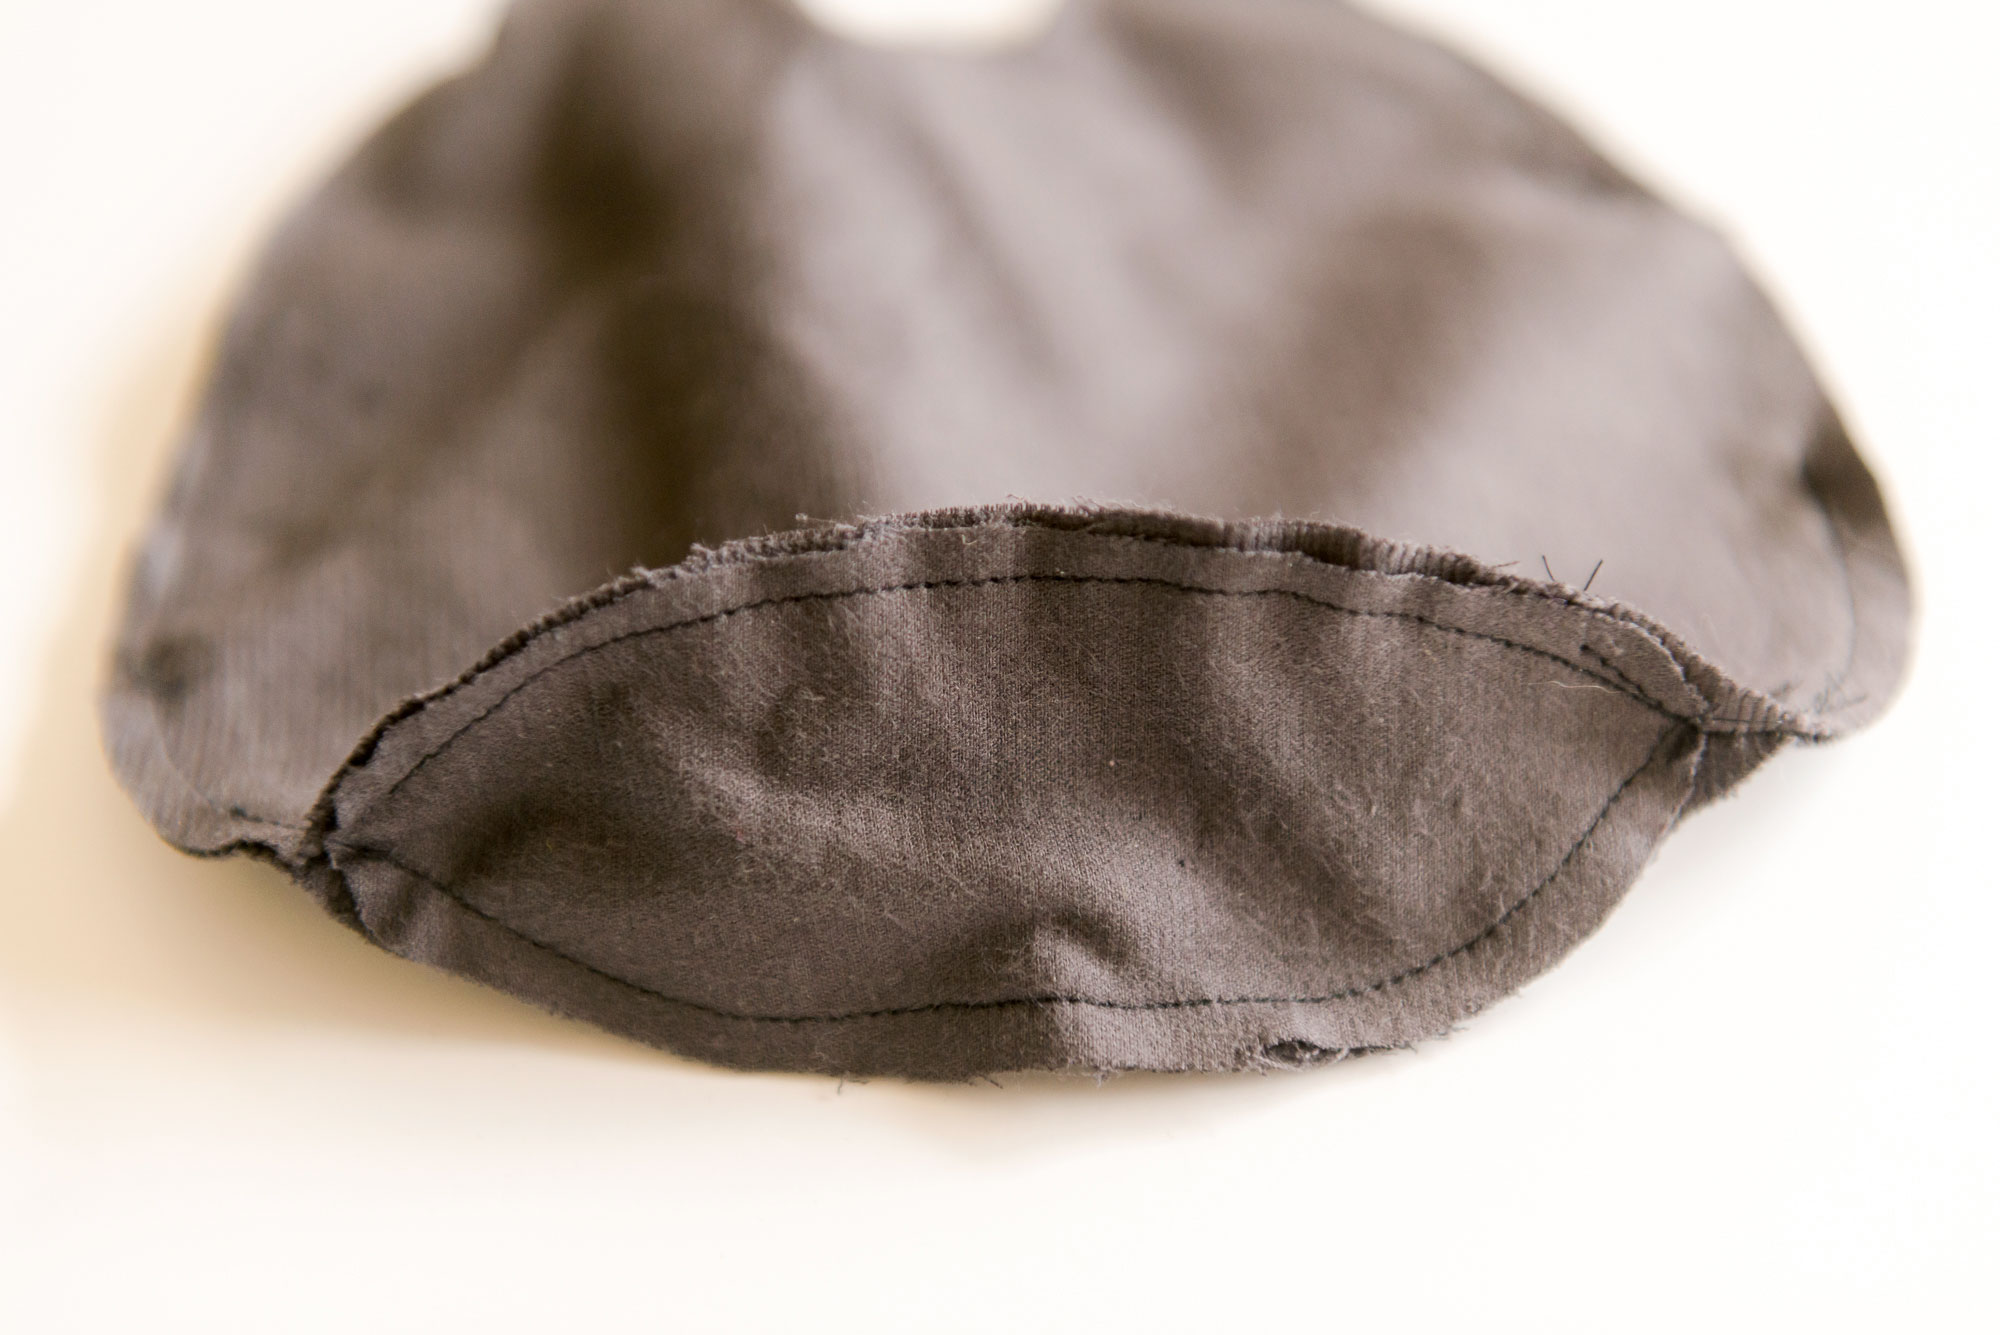
Now clip the edges of the inside seam so that the cat can be turned right side out with smooth edges – tip the corners of the ears and along the curved side and any other areas that you see that need some clipping.
5. Turn the cat right side out and being to stuff 🙂 Stuff with poly fill and hand stitch the opening closed once filled to your desire!
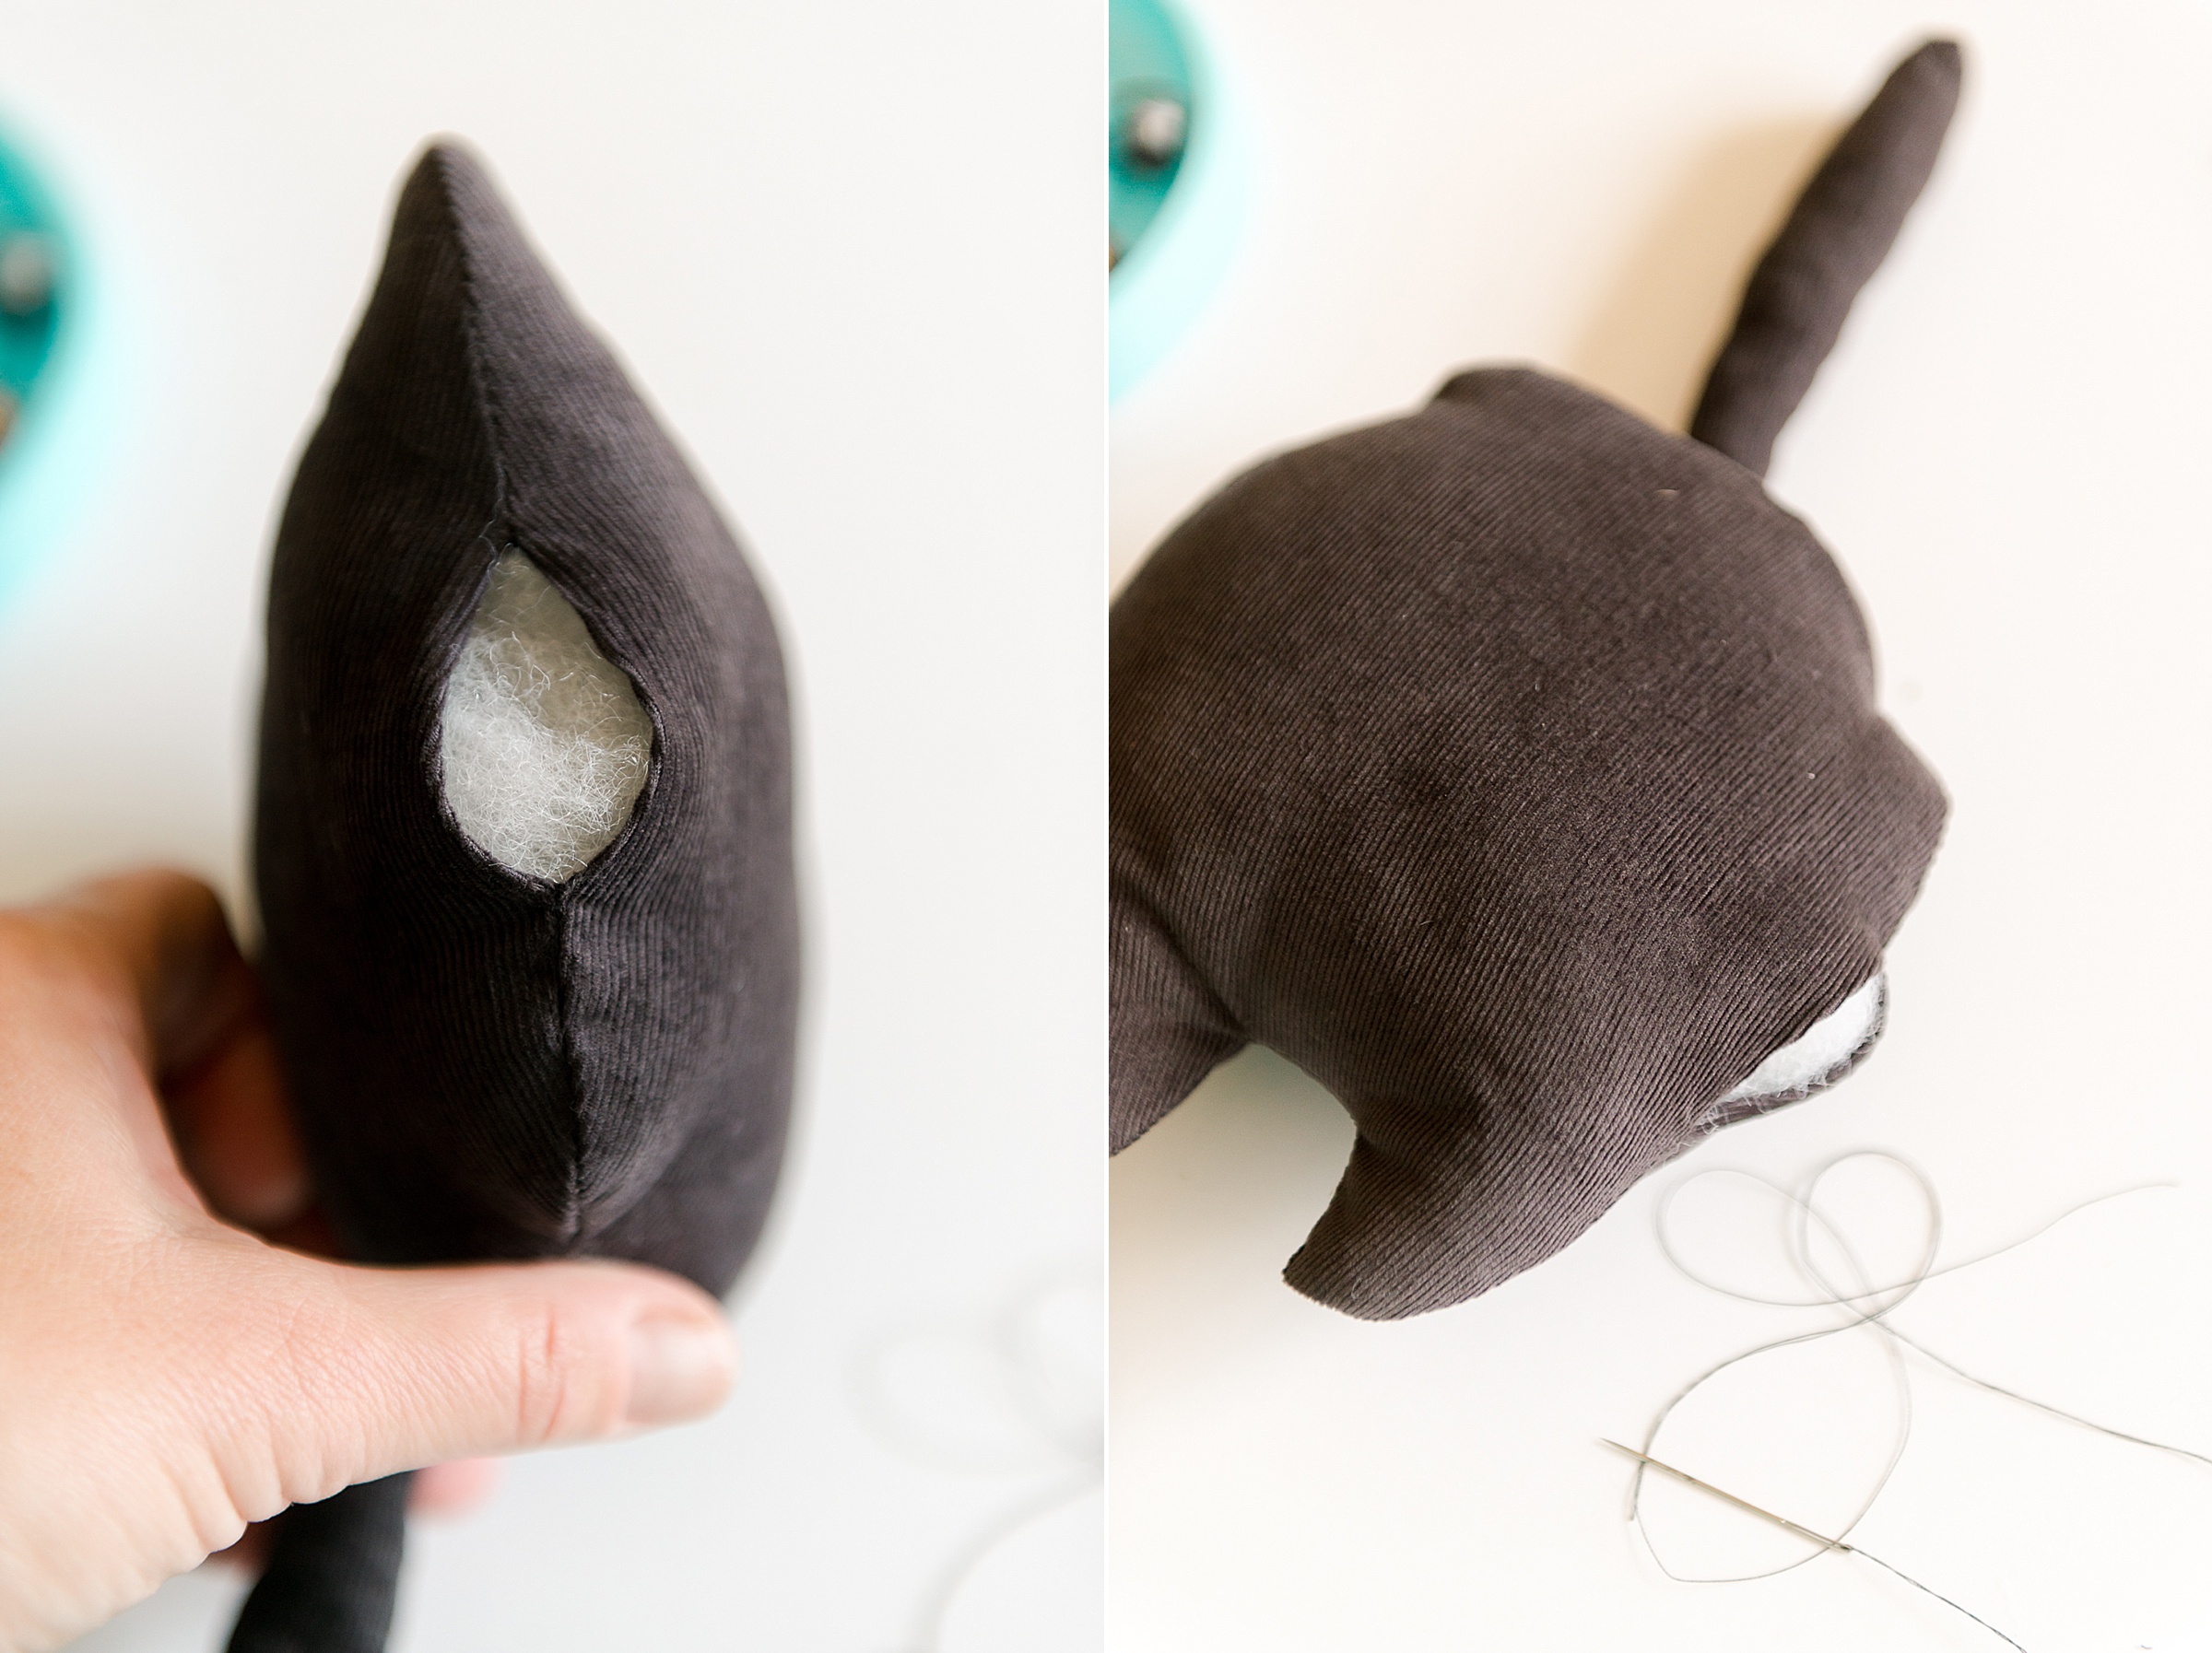
**and remember that if you want to make this into a dog toy or a door stop, now is the time to add those additional things while you are stuffing your cat 🙂
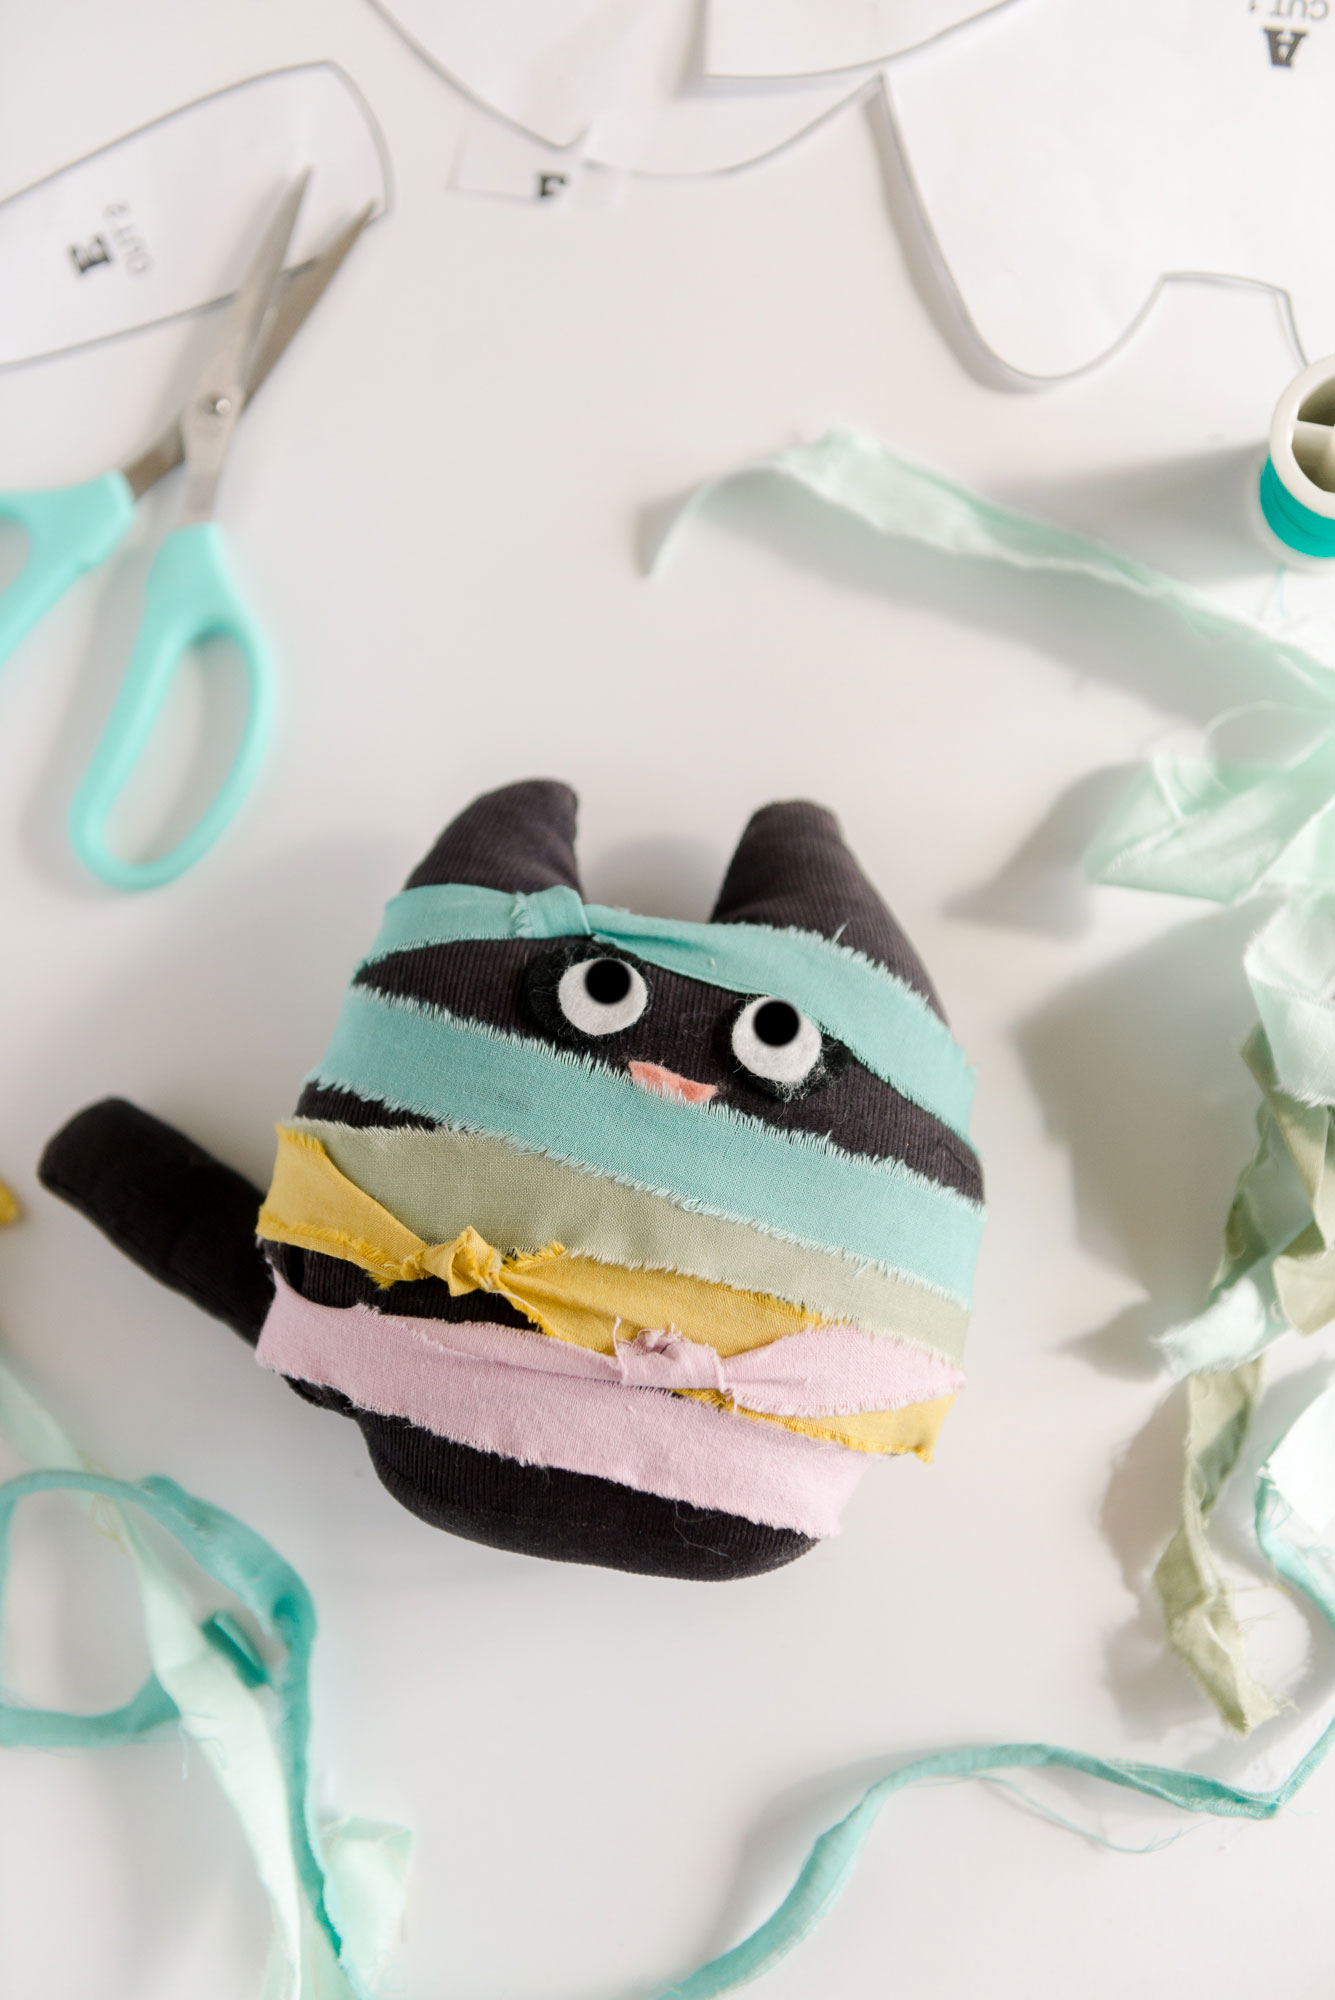
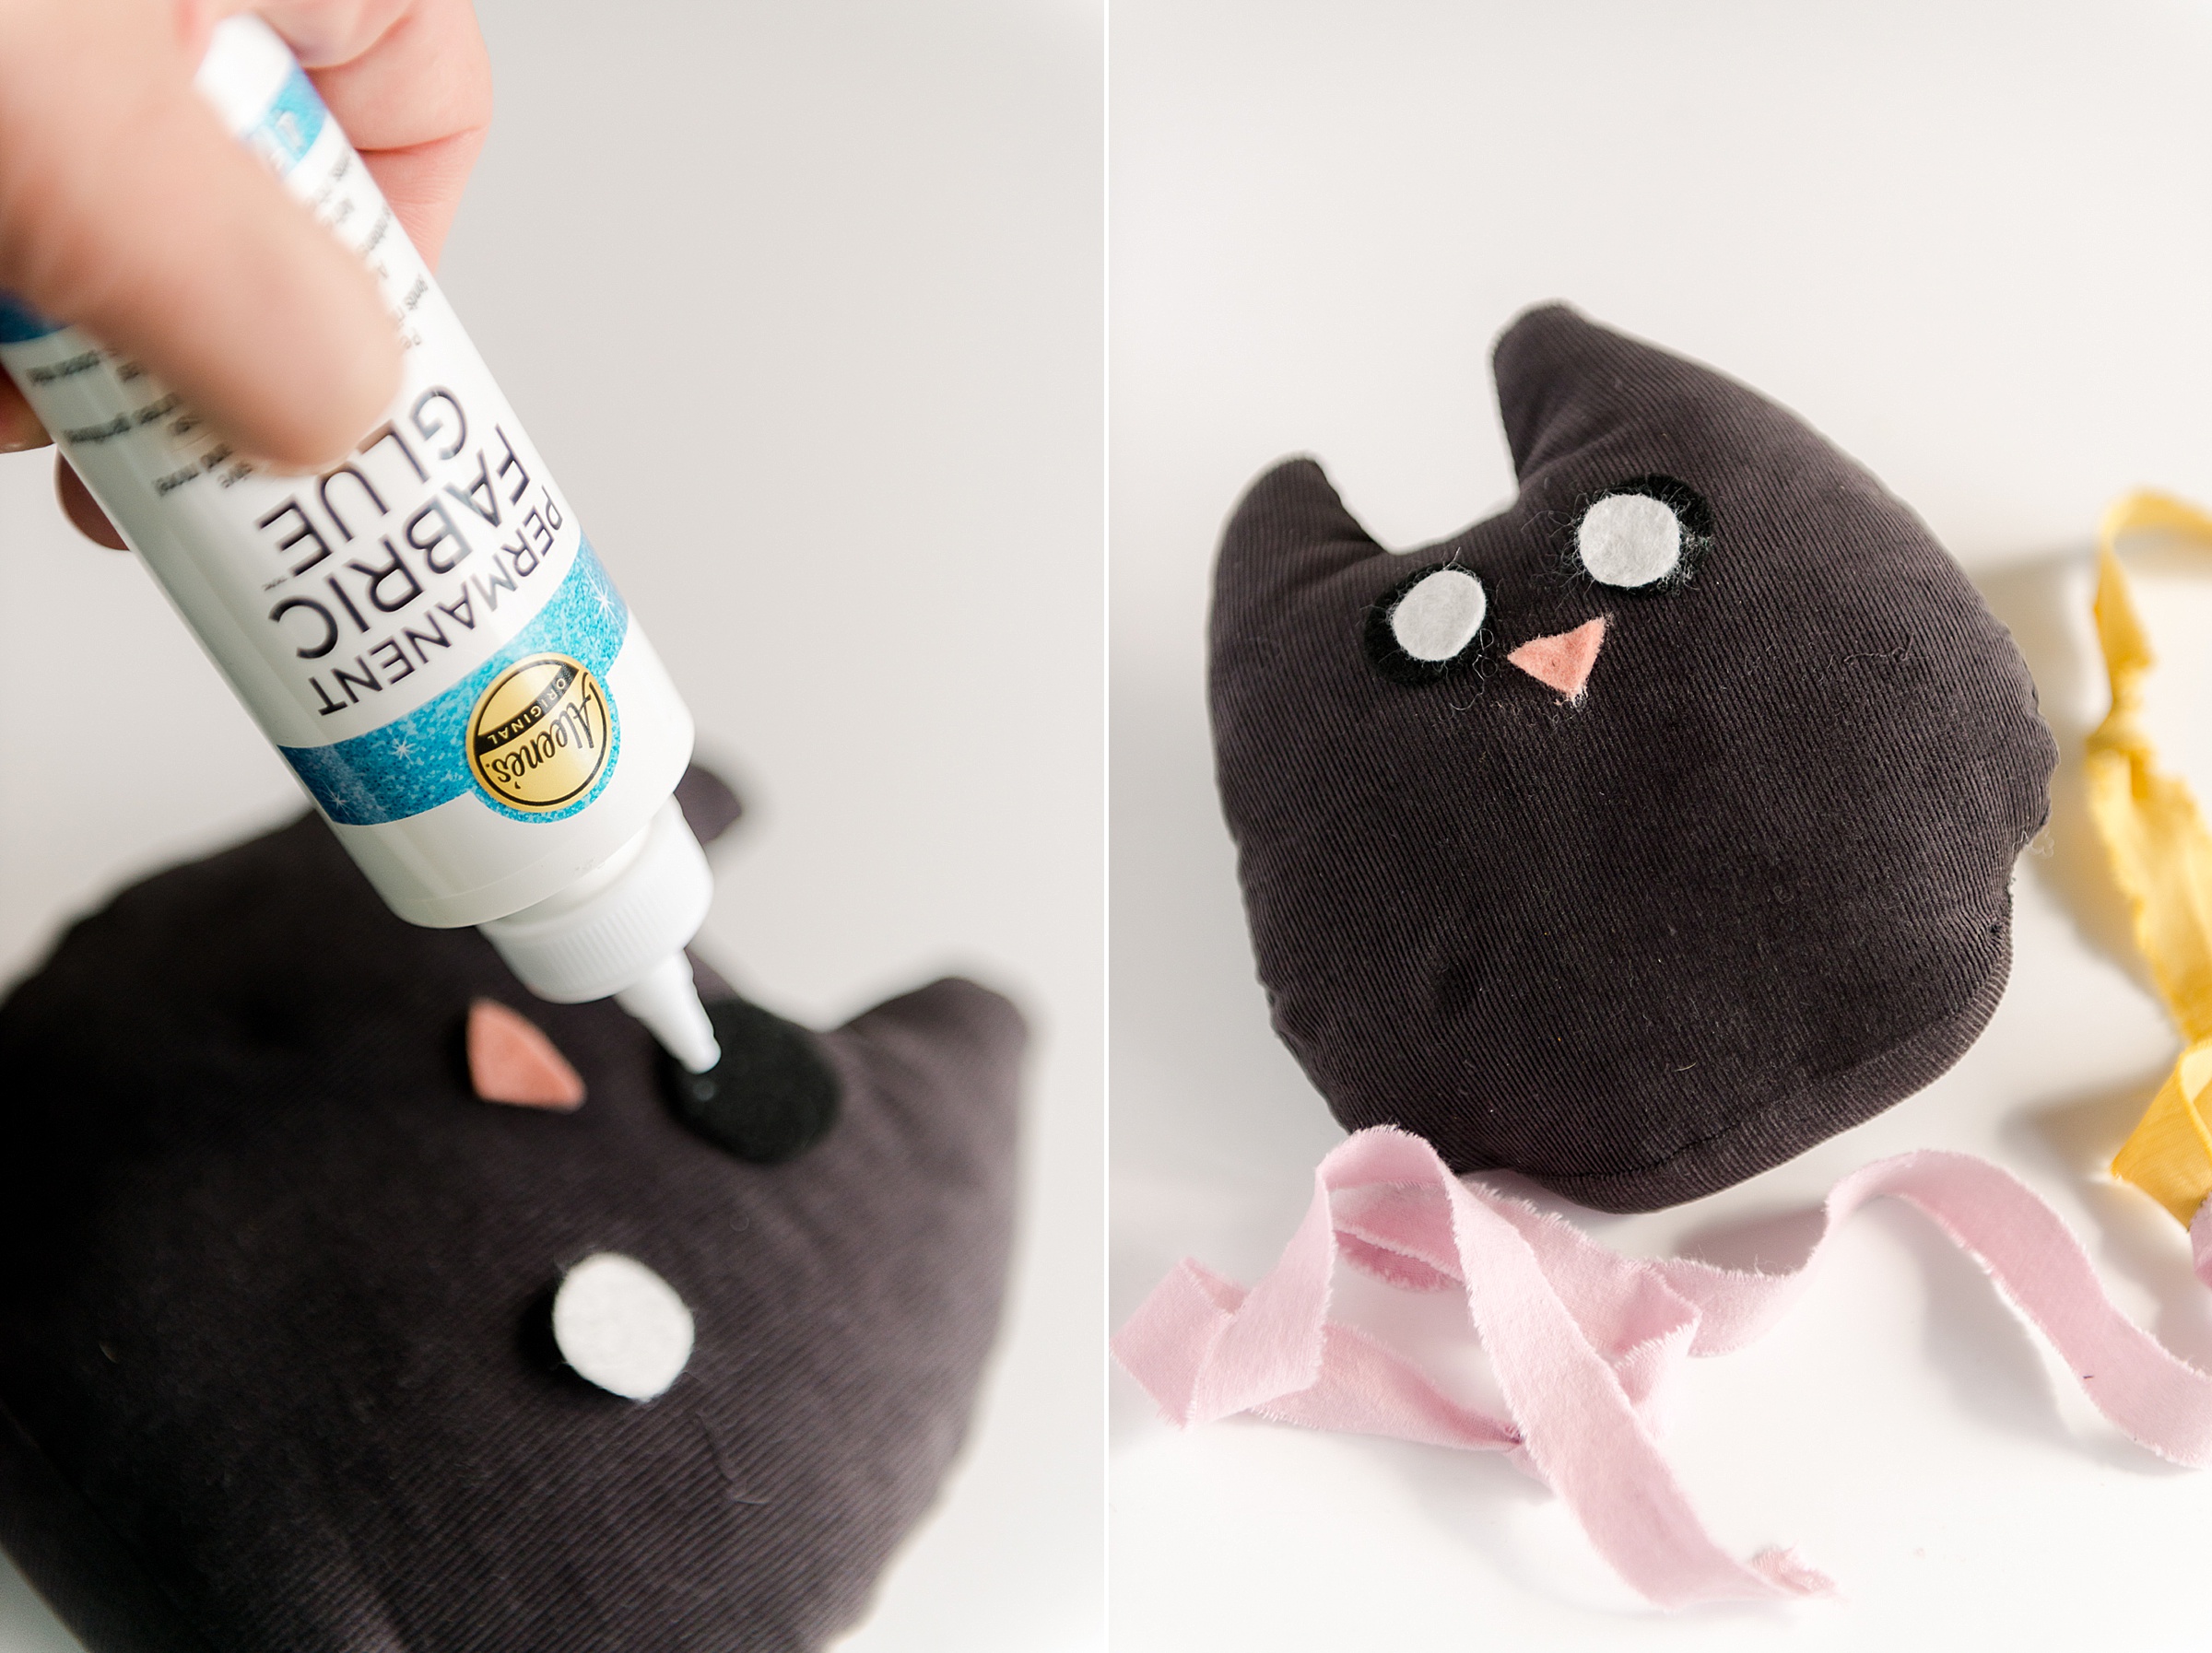
6. Add face + make the cat into a mummy!
With your fabric glue, add on your cat face and then set the body aside!
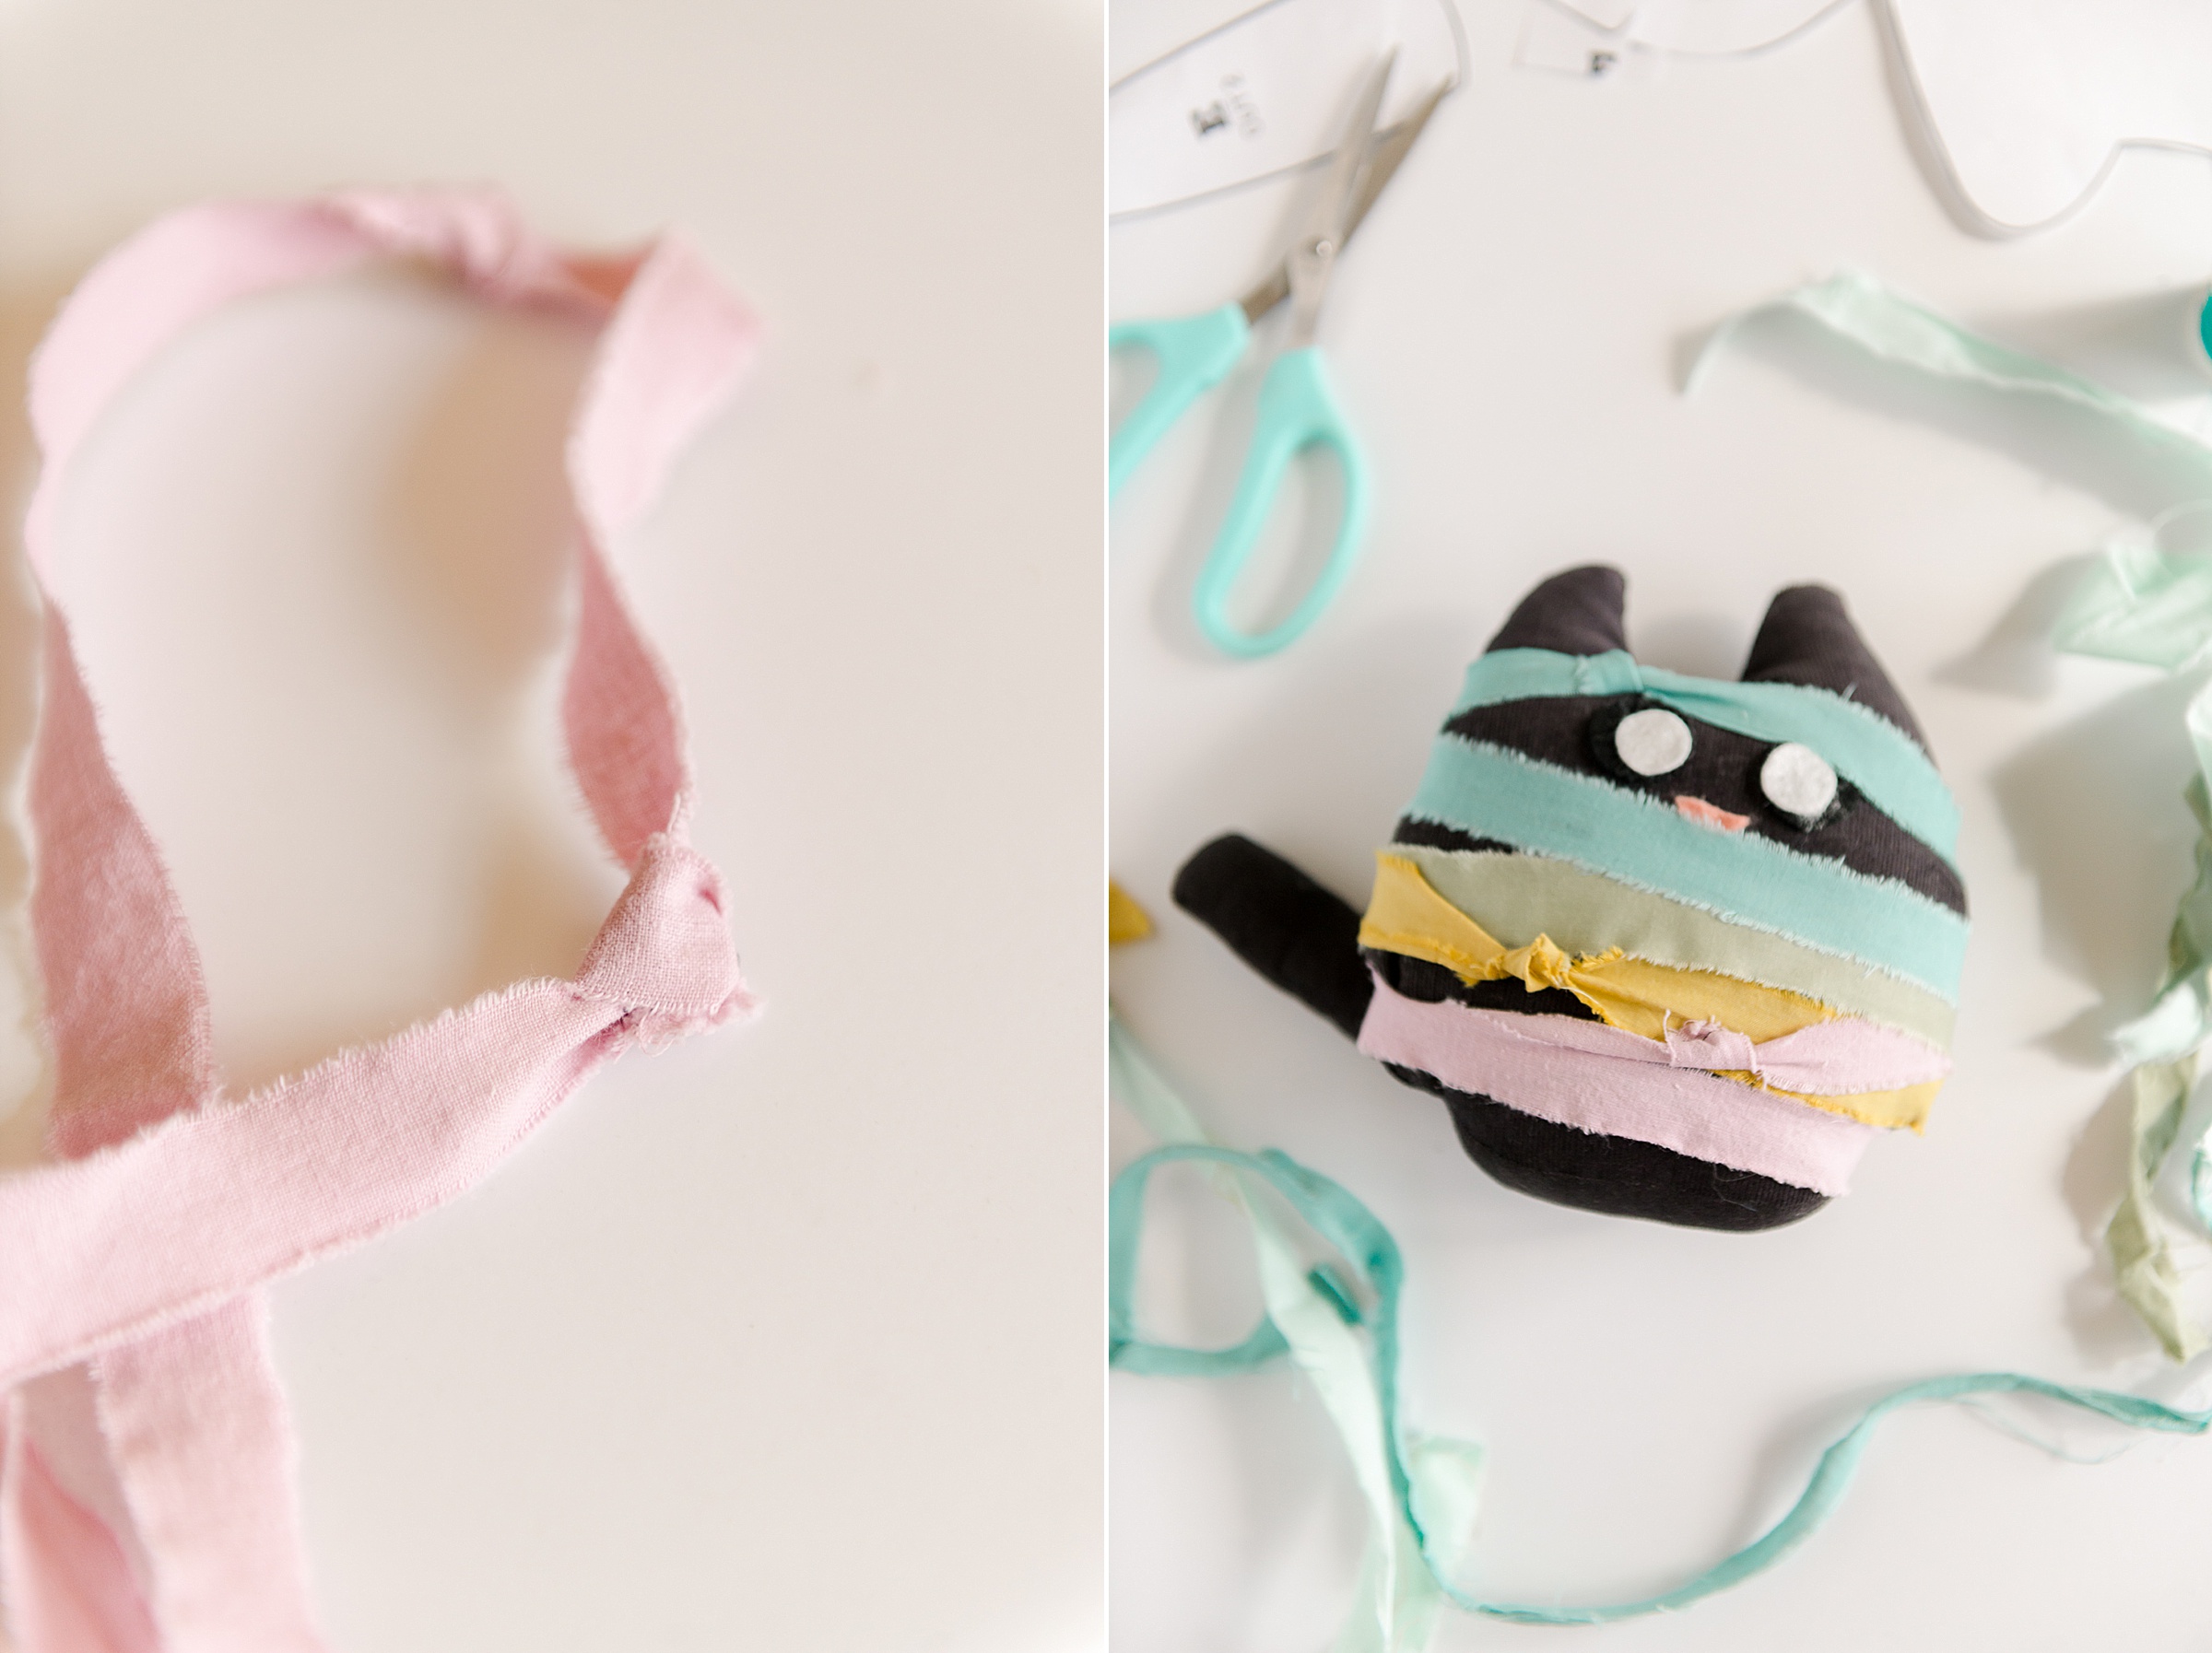
Sew your torn strips of fabric together along the small edges so that you have one big long, strip to wrap your MEOW-MMY with! 🙂 Then iron out your strips……crease those seam allowances and then iron out any torn edges so that they will lay flat onto the cat 🙂
You also have the option at this time to add any decorative stitches along the mummy strips that you want – this can be a cute addition to add texture in an alternate or matching colored thread! 🙂
Then wrap your cat with your fabric (I also added some knots and tied edges so that it added texture and interest) and tack down with any the fabric glue in any spots that you thing it needs!
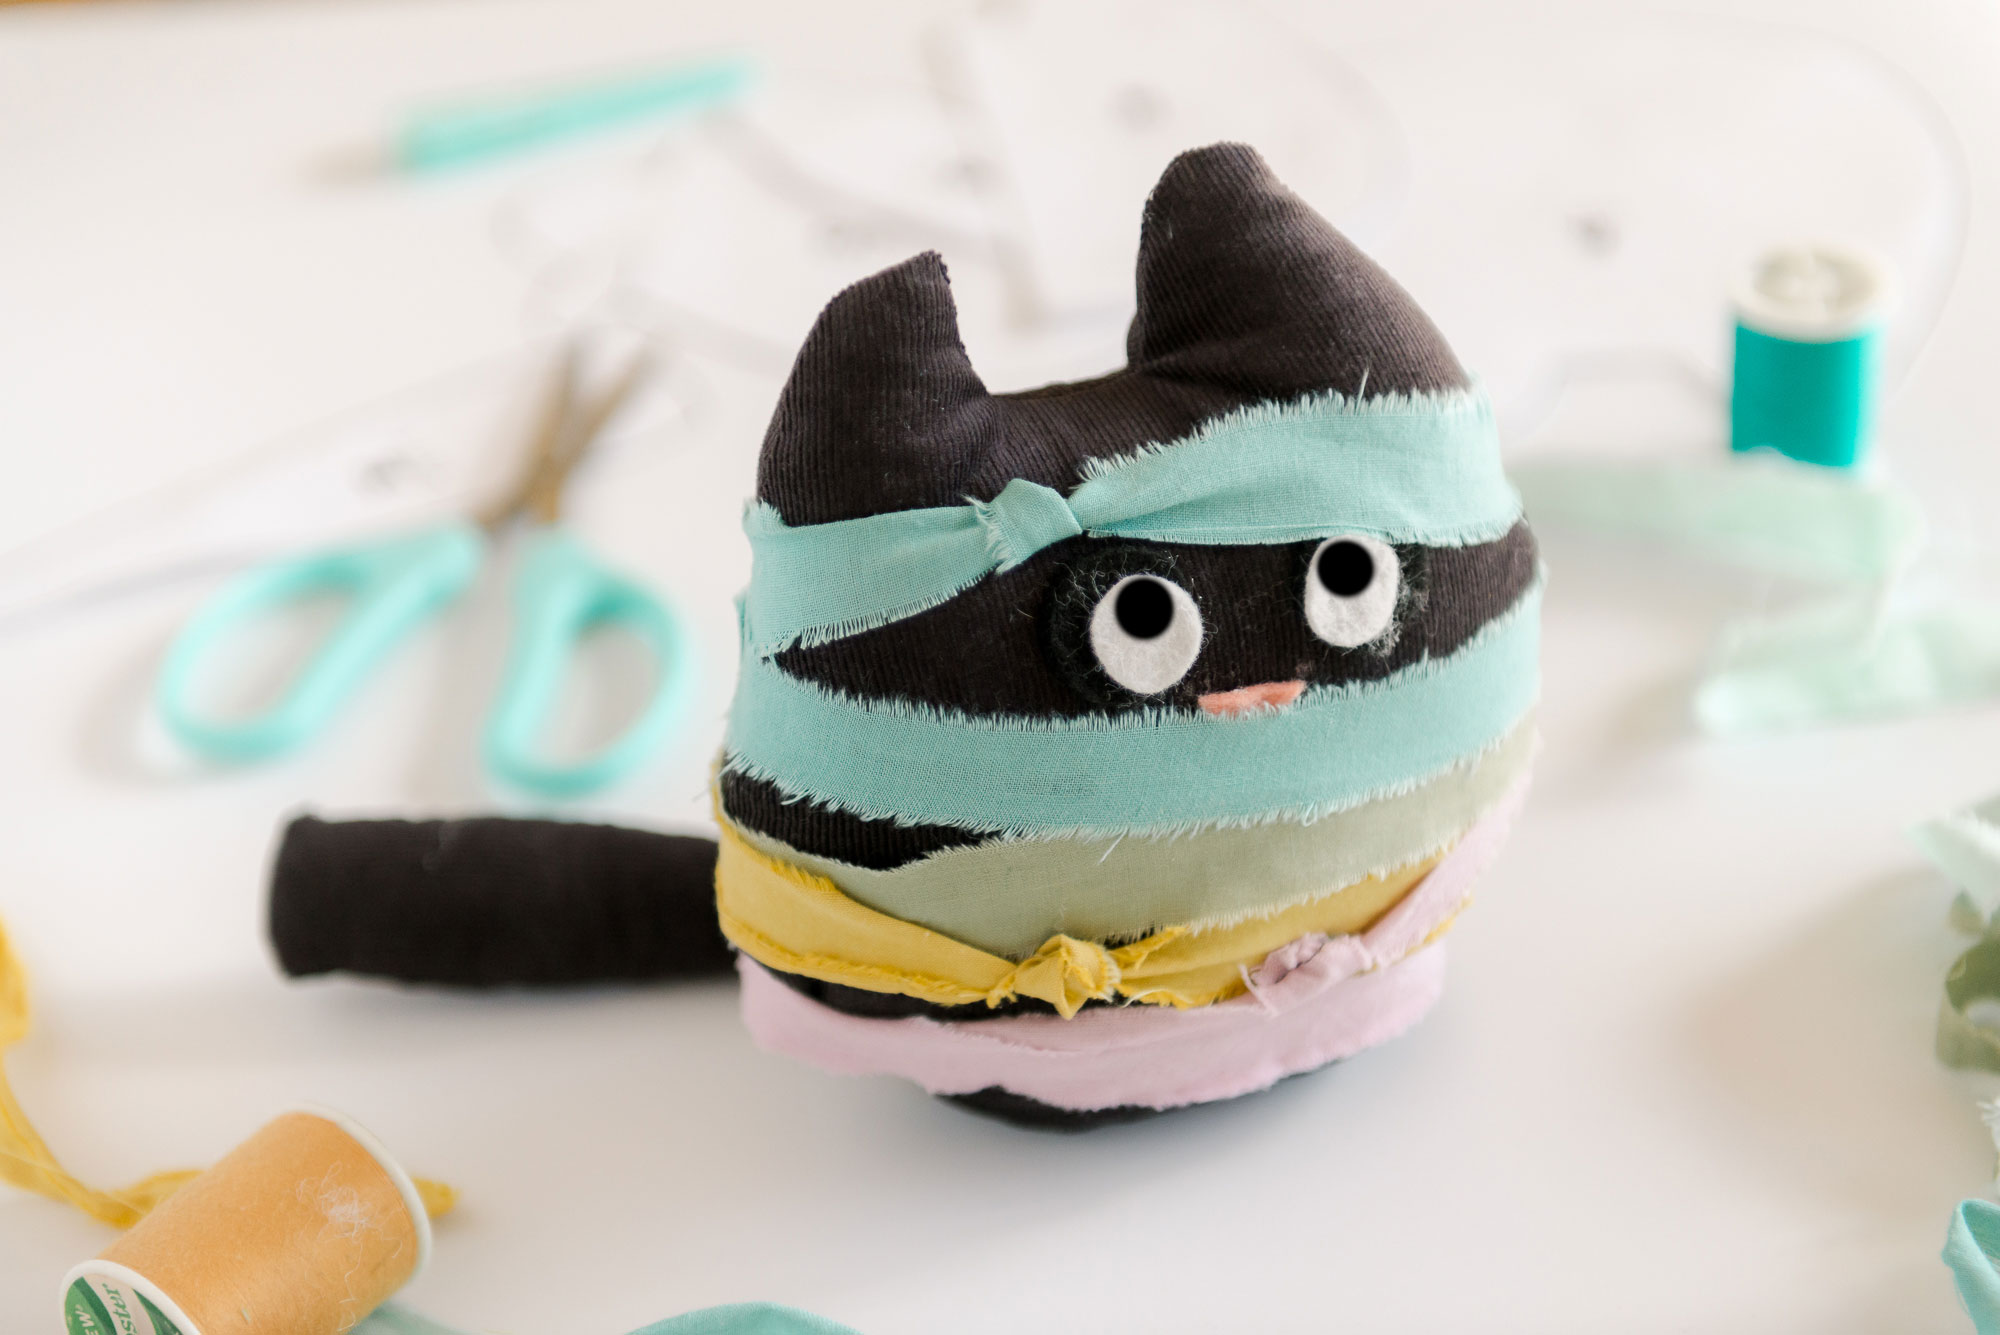
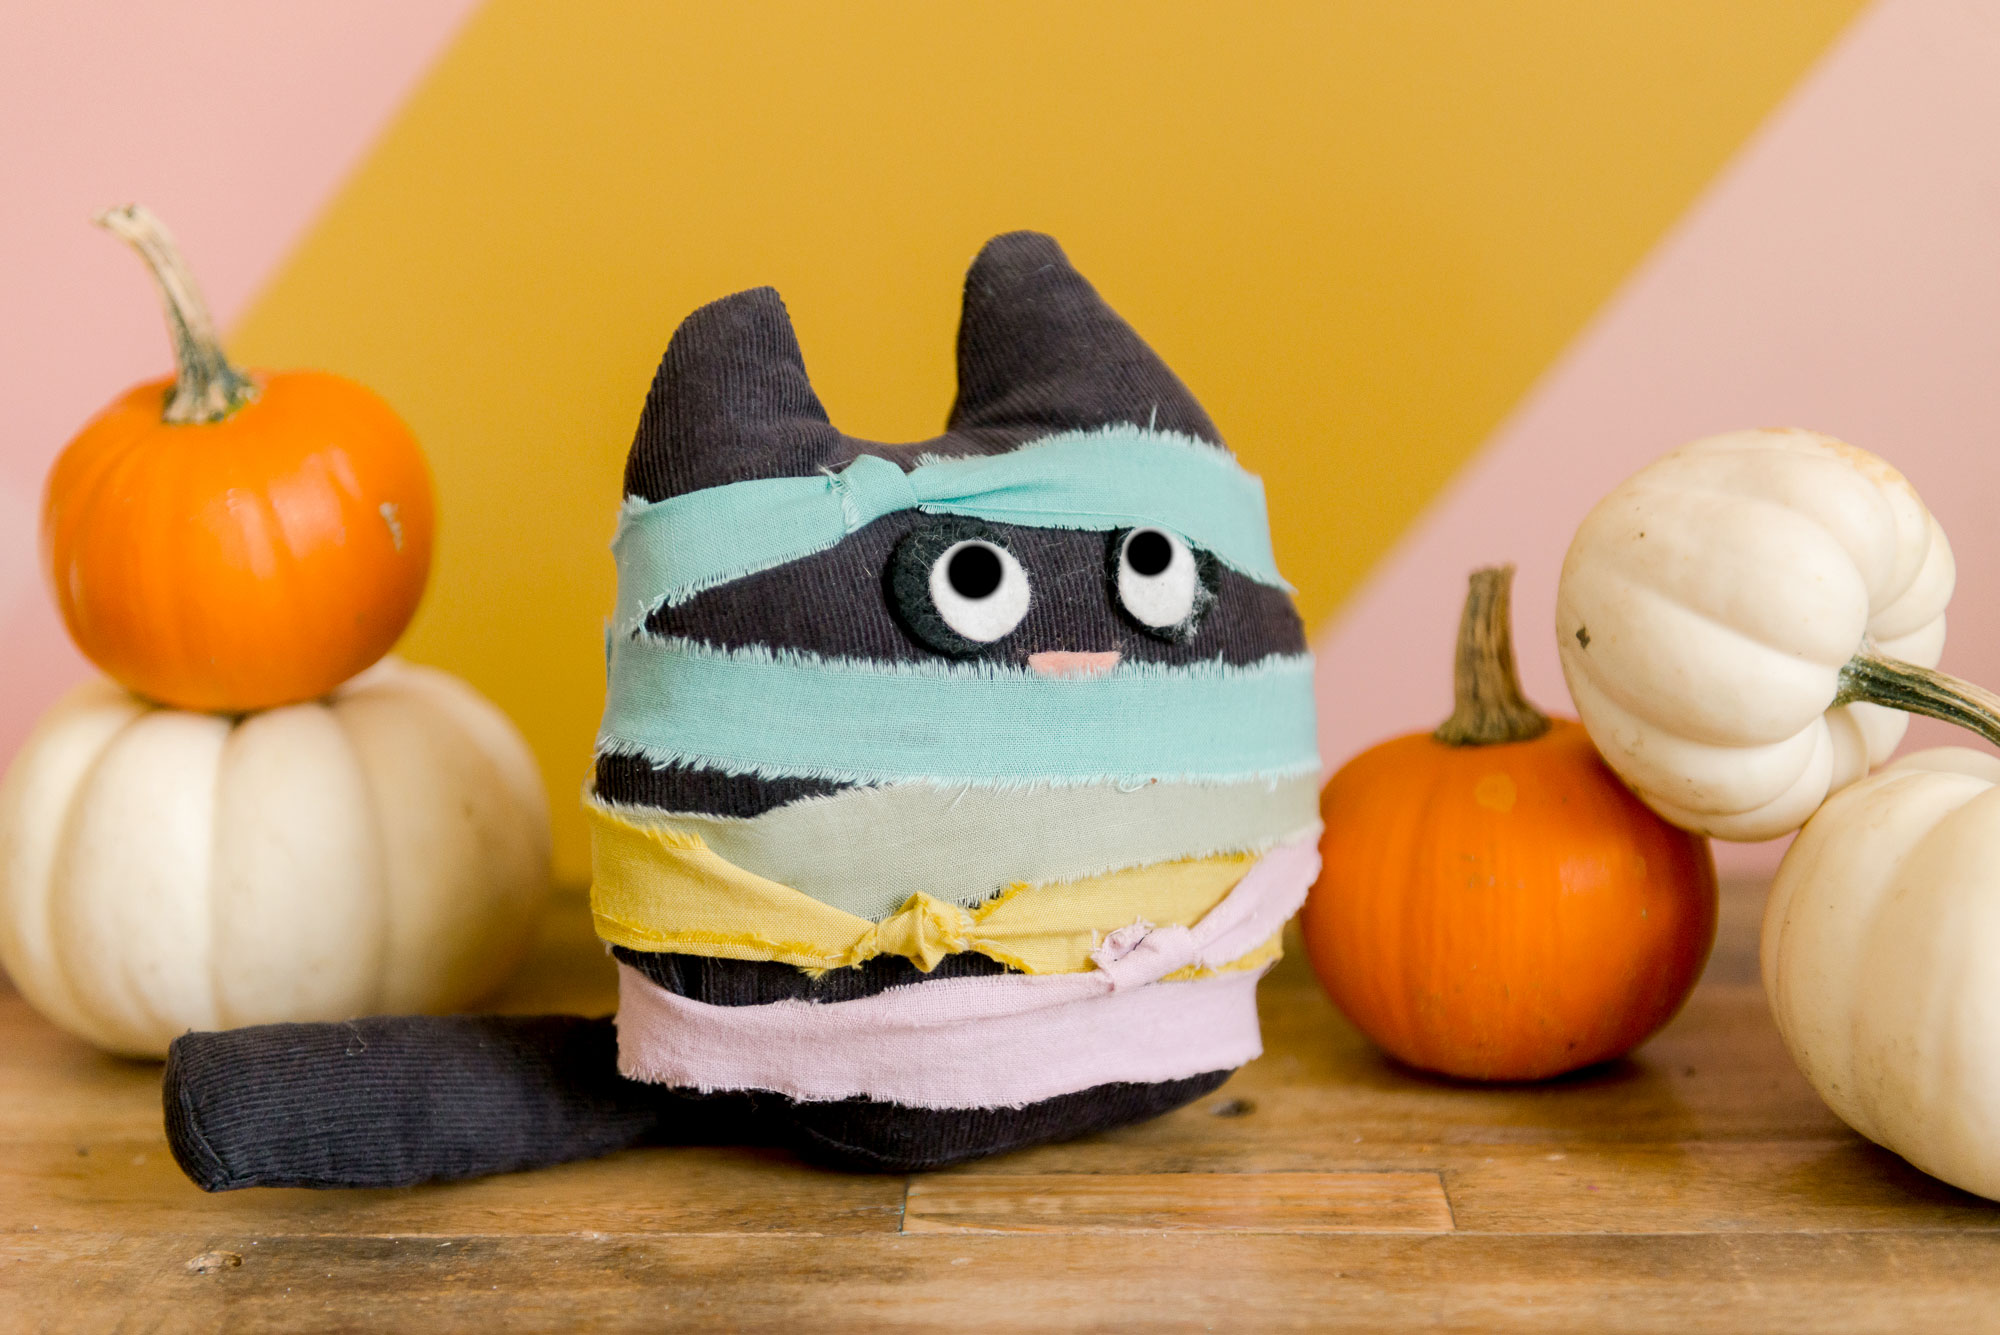
Now add your MEOW-MMY to your Halloween decor collection or gift it to your friend or kiddo so that they can play with it or snuggle up for you fave Halloween move! 🙂
HAPPY HALLOWEENING!