Easy rainbow floor pillow tutorial + pattern
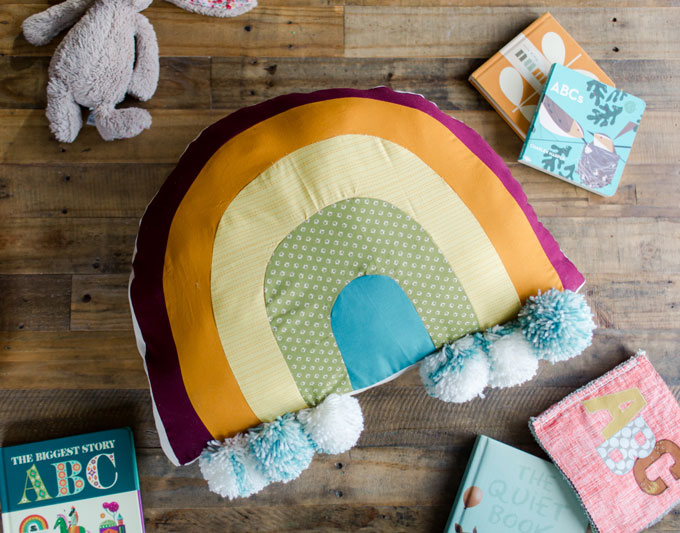
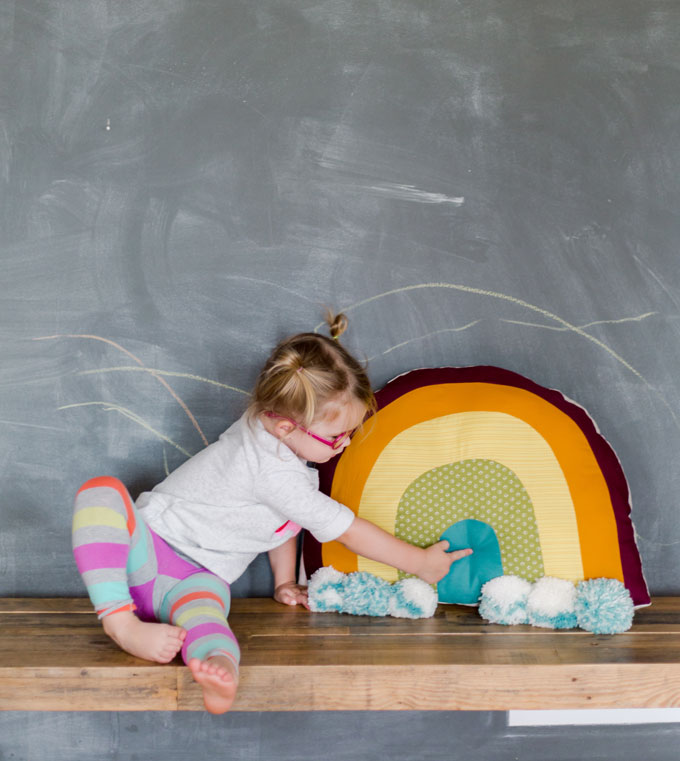
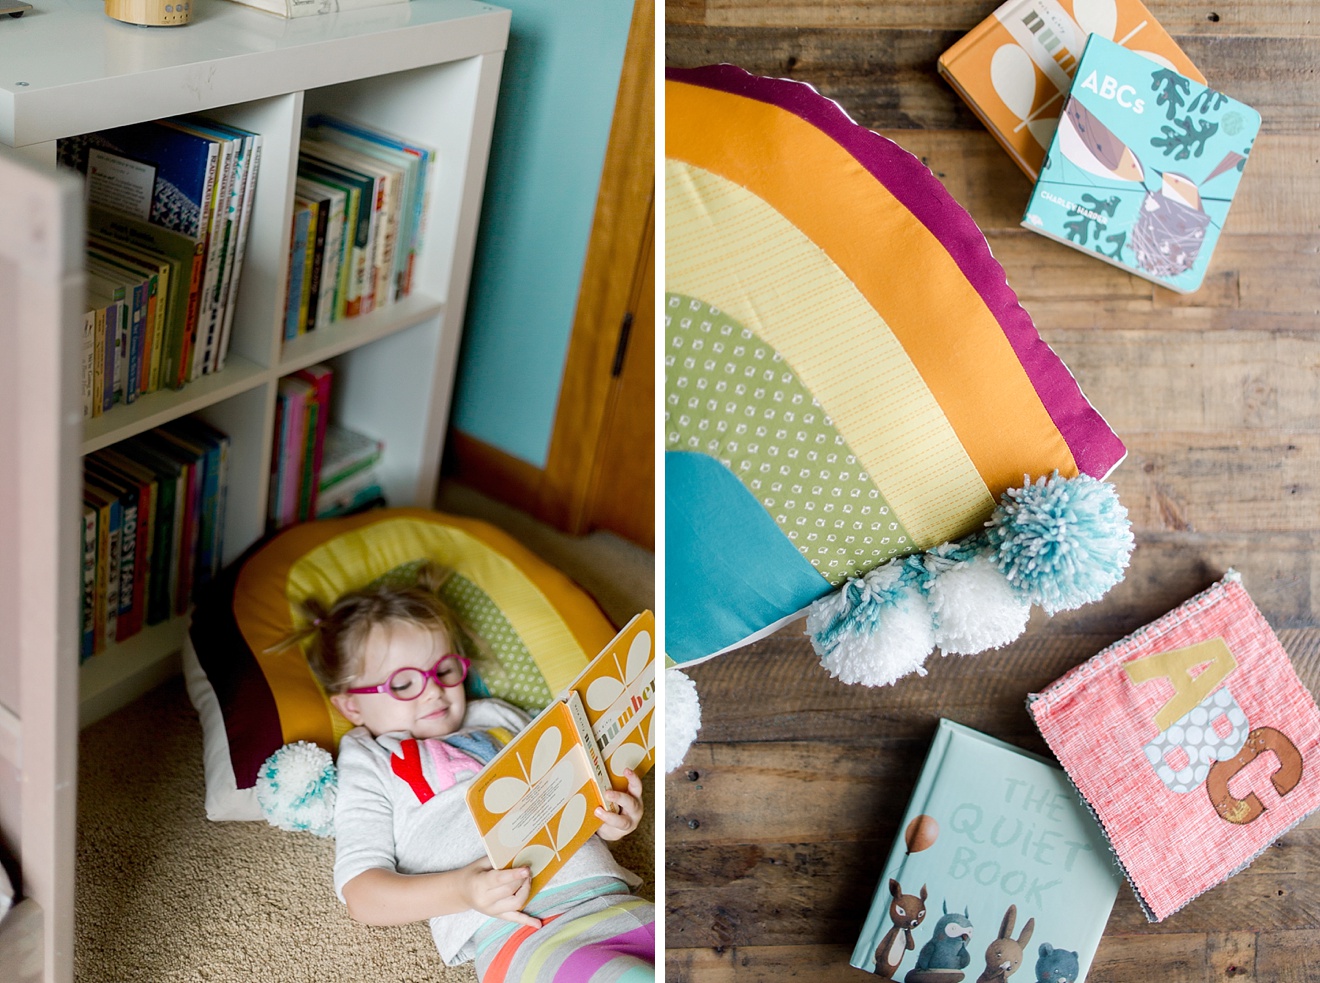
My little Esther LOOOOOOVES to read, so when I decided that I wanted to make her a floor pillow for her loungey-reading afternoons, I *knew* that it had to be something colorful and happy (just like her personality)! 🙂 So, of course, duh……sew a RAINBOW pillow! 🙂 It’s the perfect solution full of color and whimsy and joy, right? ANNNND Rainbows are quite the trend right now, so perhaps some of you want to sew your own rainbow floor pillows for your kiddo OR your couch! Follow the tutorial and pattern below! 🙂
This is a *SUPER SIMPLE* sew and shouldn’t take more than a few hours from start to finish. My biggest hurdle is always just gathering all of the supplies, and once I’m going, it’s simple….and this pattern seems to be just that. Simple and fun and full of color!
ANNNNNND, this would be an awesome CRAFTERNOON activity for all of your besties. So, pour yourself a glass of wine and get sewing! 🙂
Supplies needed:
- 1 large piece of paper (I used wrapping paper)
- 5 pieces of rainbow colored cotton fabric, ranging from 1/4 yard – 1/2 yard (depending on the color for corresponding arc; the largest pieces of fabric needed is for the outer arc, in my case, the plum color)
- 1/2 yard of cotton or thicker clothes for backing and sides
- 1 large bag of polyfil or cotton filling
- 1 (or 2) skeins of yarn for puff-pom clouds
- 1 spool of thread
- 1 finishing needle
- 1 darning needle (larger eye for threading the pom clouds to the rainbow)
Rainbow floor pillow tutorial + pattern:
1.Make Template:
Fold a large piece of paper in 1/2 then draw a 1/2 of a rainbow outline with marker along the fold. Mine was about 11” width from the fold and 18” high from top to bottom along the fold. The make 4 hash marks along the bottom straight edge and the top 2/3 of the folded edge. Connect each pair of hash mark together to make the arcs of the rainbow.

2. Cut out the template and fabric:
Cut out the arcs of the rainbow so that you have 5 rainbow pieces. Iron each color of fabric and then pin on the corresponding rainbow arc to the fabric. Leave an extra 1/4” of fabric beyond the template ON ALL SIDES of the arc. This is going to allow for seam allowance so that your finished piece still sews together flat.

3. Sew Rainbow arcs together:
With wrong sides together, start sewing the colorful arcs together in the rainbow pattern with a 1/4” seam allowance. (I began with the smallest, inner arc and worked my way outward. It was the trickiest first). Between each arc, be sure to clip the seam allowance and iron flat. If you don’t clip the seam allowance, your arcs will buckle and not lay flat. Repeat for each arc color until the rainbow front is complete.
4. Cut out backing and sides:
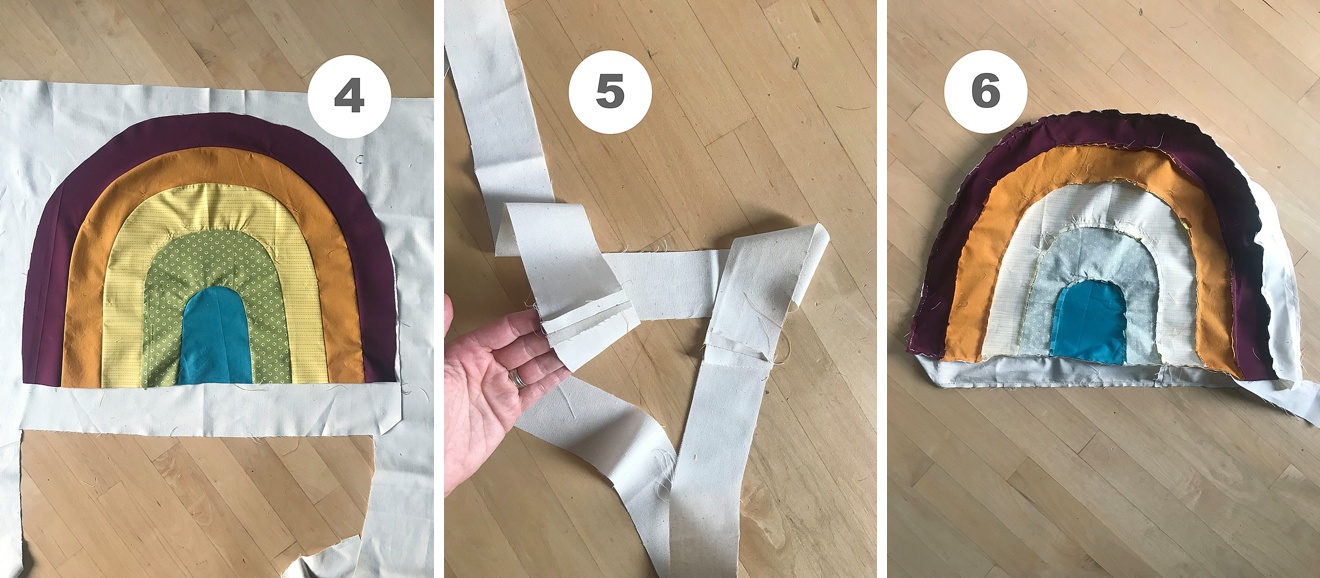
With a completely ironed and flattened rainbow front, lay it down, right side up, on top of the backing fabric. Following the outer edge of the rainbow, cut along the backing fabric, leaving 1/4” extra, again to allow for seam allowance.
Cut out 2 inch strips from the same backing fabric. To determine the length of strips needed, start cutting the 2 inch strips and lay them along the outer edge of the rainbow to make sure you have enough length.
5. Sew strips together:
With right sides together, start sewing the 2 inch strips together on the short side with a 1/4” seam allowance. They will make a long, skinny piece that becomes the sides of the rainbow pillow. Iron the seams open.
6. Sew sides and back onto rainbow front:
Begin sewing the sides onto the front by putting the rainbow front and the skinny strips right sides together. I began mine at the bottom straight edge off to one side (but not at a corner…this will help when it comes to hand stitching it together). Sew together, using a 1/4” seam allowance on all sides of the rainbow, leaving a 2-4 inch opening near where you started.
With right sides together, sew the other edge of the side to the backing material. Again, follow along the outside of the rainbow, using a 1/4″ seam allowance. This time, you can fully connect the side strip without needing to leave an opening.
7. Turn, stuff and hand stitch closed:
Clip the seam allowance on all sides of the arc part of the rainbow. Turn the rainbow right sides out and push any corners or buckles out with your fingers. Stuff with polyfil or cotton filling (I stuffed ours pretty sturdy and used an entire large bag in the rainbow). Once it is at it’s desired fullness, finger press the seam closed and begin blind stitching the small opening closed. I use a Ladder stitch.
8. Make and attach puff-pom clouds:
Make 6 VERY plump, large poms with your pom maker. I used a combination of white and light turquoise yarn to add more color. I used a darning needle to grab the longer tail of the pom, weave it onto the bottom of the rainbow and tie a very tight knot for all 6 poms.


Oh my gosh this is so cute!!!!!