DIY swirly letter crayons | national children’s craft day PT 1
I remember growing up and just watching my Mom create…on her sewing machine, or drawings of paper crafts, or embossing or (my fave) her costumes (and if you knew my mom, you KNEW this was her forte). I SO SO SO believe (like 410%) that her willingness to get messy and be creative is what gave me a passion for making myself. I already hope that I am encouraging the same kind of creativity and exploration in my kids. I know they may not have the exact same passions or experiences or interests as I do, but I sure DO want to encourage trying new things and getting messy and using color in every possible way! 🙂
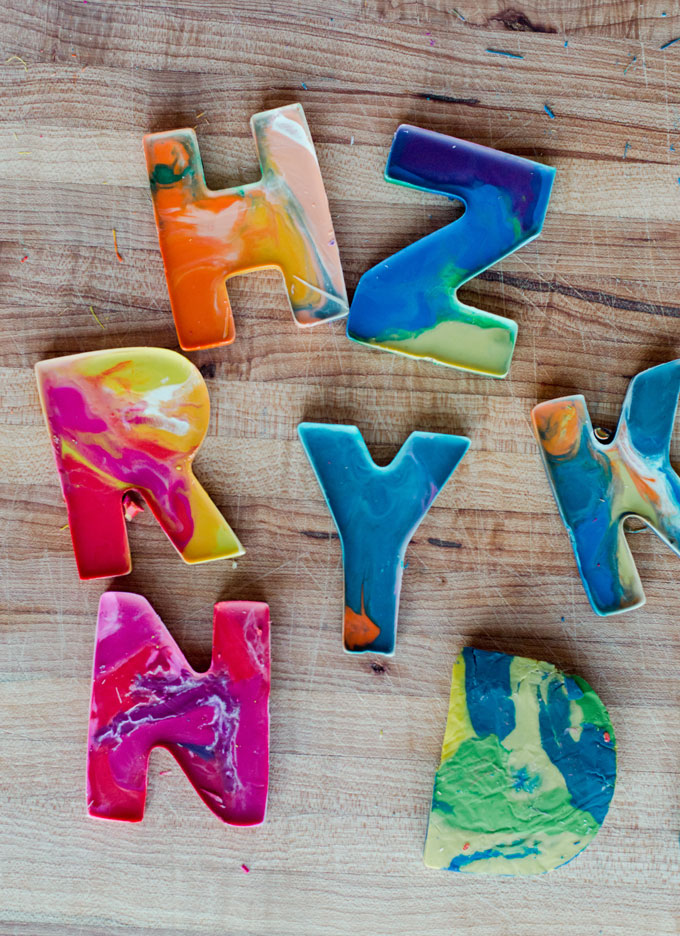
And TODAY! Today is NATIONAL CHILDREN’S CRAFT DAY! YAYYY! 🙂 And man did we have fun making these DIY swirly letter crayons. It’s so easy and simple and just plain fun for the kids. And (the best part) is that the project likely uses things you already have lying around your house, so no need to spend extra money or run to target. Just throw on some tunes, gather the supplies, sit down at the table and get messy, create some memories and CELEBRATE national children’s craft day! 🙂
*oh, AND, we also have another DIY using most of the same supplies to celebrate today: Jolly Rancher letter crunchers! 🙂
INSTRUCTIONS for Swirly Letter Crayons:
1. Preheat oven to 175
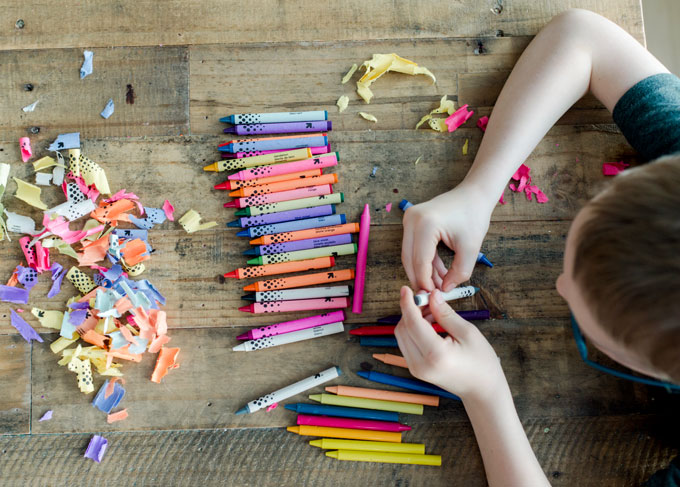
2. Unwrap all all crayons. It is even a great idea to send kids on a hunt around the house to find all of the crayons (broken, whole, hiding in the couch cushions, etc. This doesn’t have to be a box of new crayons (yay for clearing clutter, eh?)
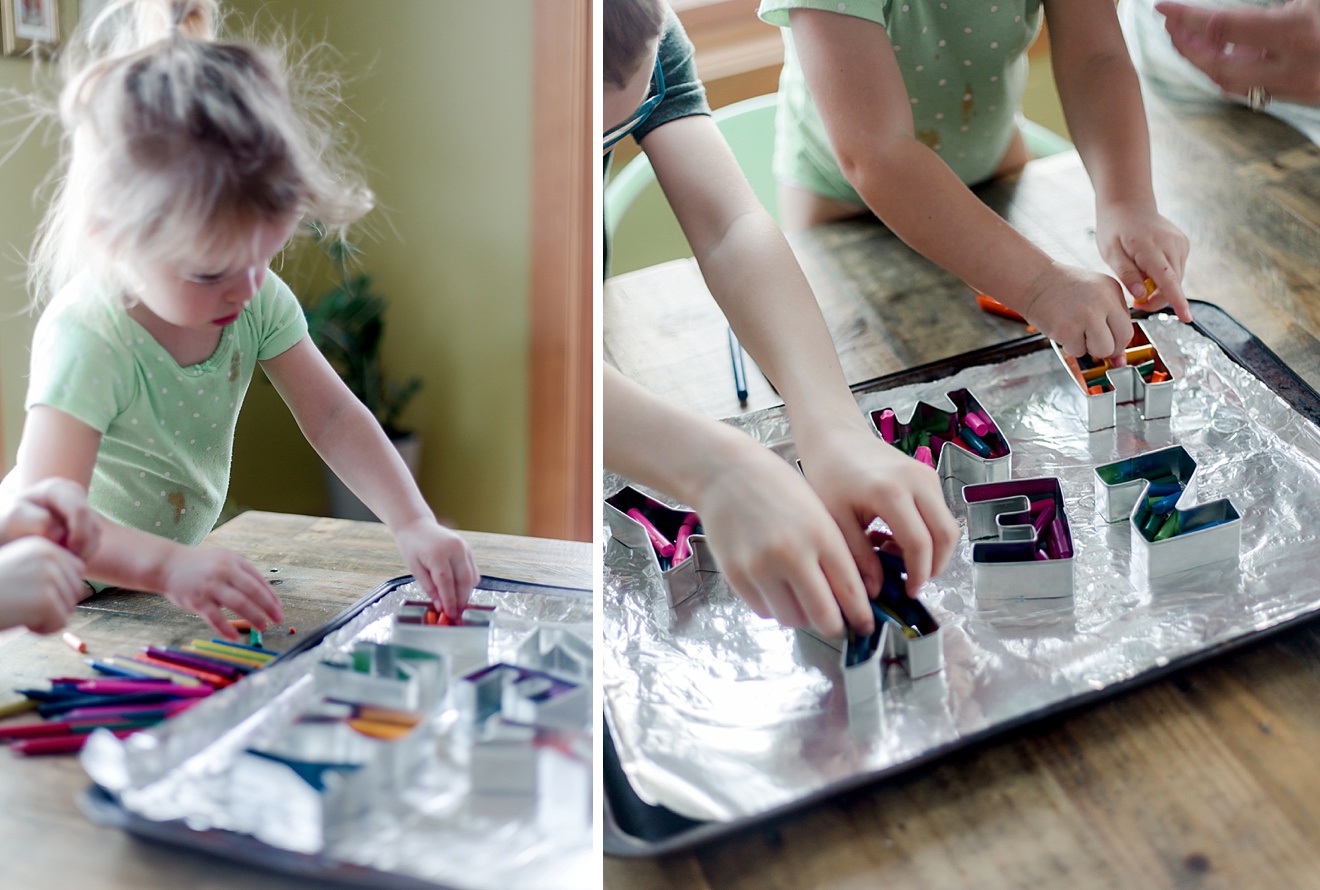
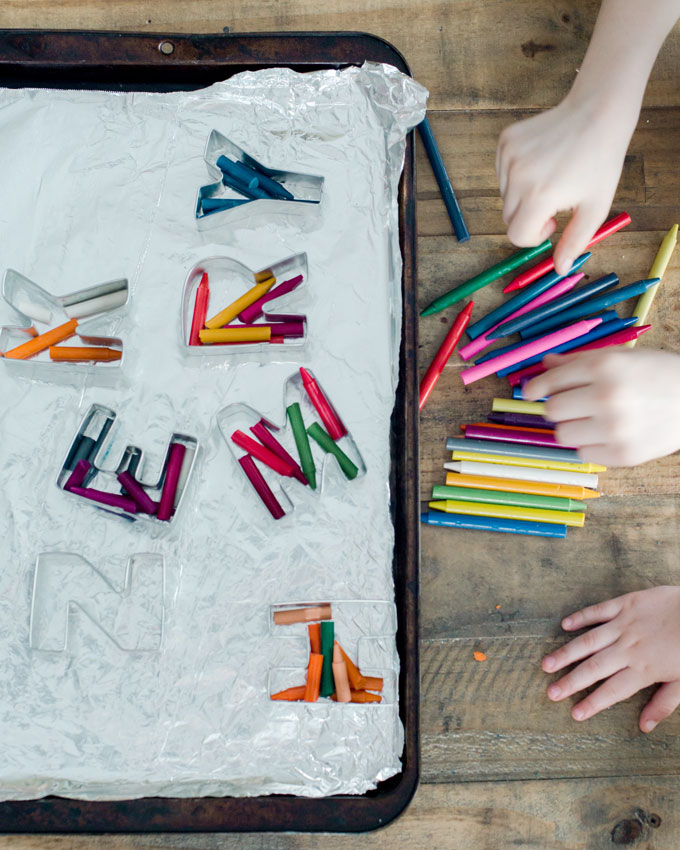
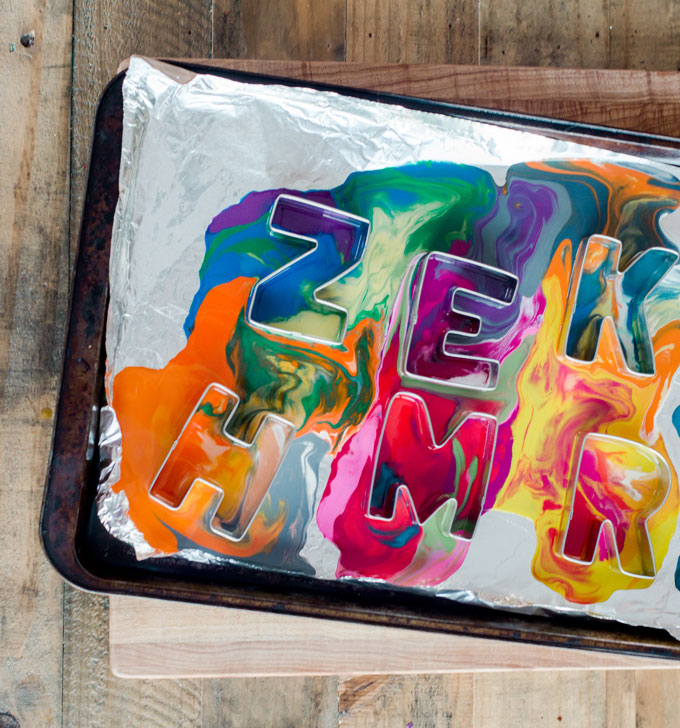
3. Lay out a piece of aluminum foil onto a cookie sheet and place cookie cutters on top of aluminum foil.
4. Have kids break up the crayons and fill the cookie cutters. Don’t overfill, but make sure they are full of happy, fun colors
5. Place in oven for 10-13 minutes (the time depends on how thick of a layer of crayons you have)
*note, ours oozed from under the letters because our pan warped in the oven when baking. But we did a few more rounds of shapes and letters from the “excess” that had oozed out. 🙂
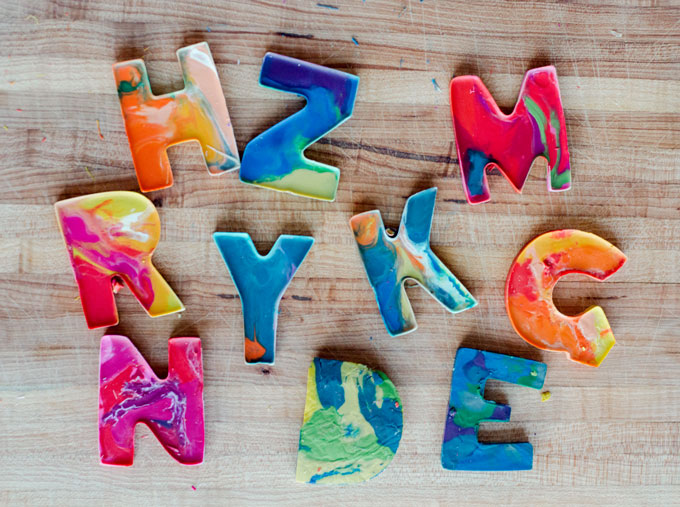
6. Let cool, and start “punching” them out.
TIP: It helps to hold the cutter in your hand and push, with your thumbs, upwards around the edge of the letter (or shape). Once it’s loosened from the cutter and all of the excess is off, you can then gently push down. I found that if you begin popping them out by pushing downward, some of the crayon can still be stuck and the letter will break! 🙂
7. Color, play wit them and do a dance party in the kitchen!
And here’s a sweet little video that we made! 🙂


Hi I was just wondering where you bought your cookie cutters from?
@Alannah! I got them off of Amazon, I will email you the link! 🙂 They are a wonderful size! 🙂