A yarn ball costume DIY!
If you aren’t new here, then you know that one of my most favorite trips every year happens in October….a get-away up to Northern Wisconsin with my knitting friends (the KNITCH). We travel to the tall pines and lock ourselves into a big barn for a long weekend to knit, drink wine, eat, knit, drink more wine and eat some more. It’s where memories have been made, wounds have been healed, life has been relaxed and restored ANDDDD where our yarn and knitting creativity flow endlessly!!!!!!
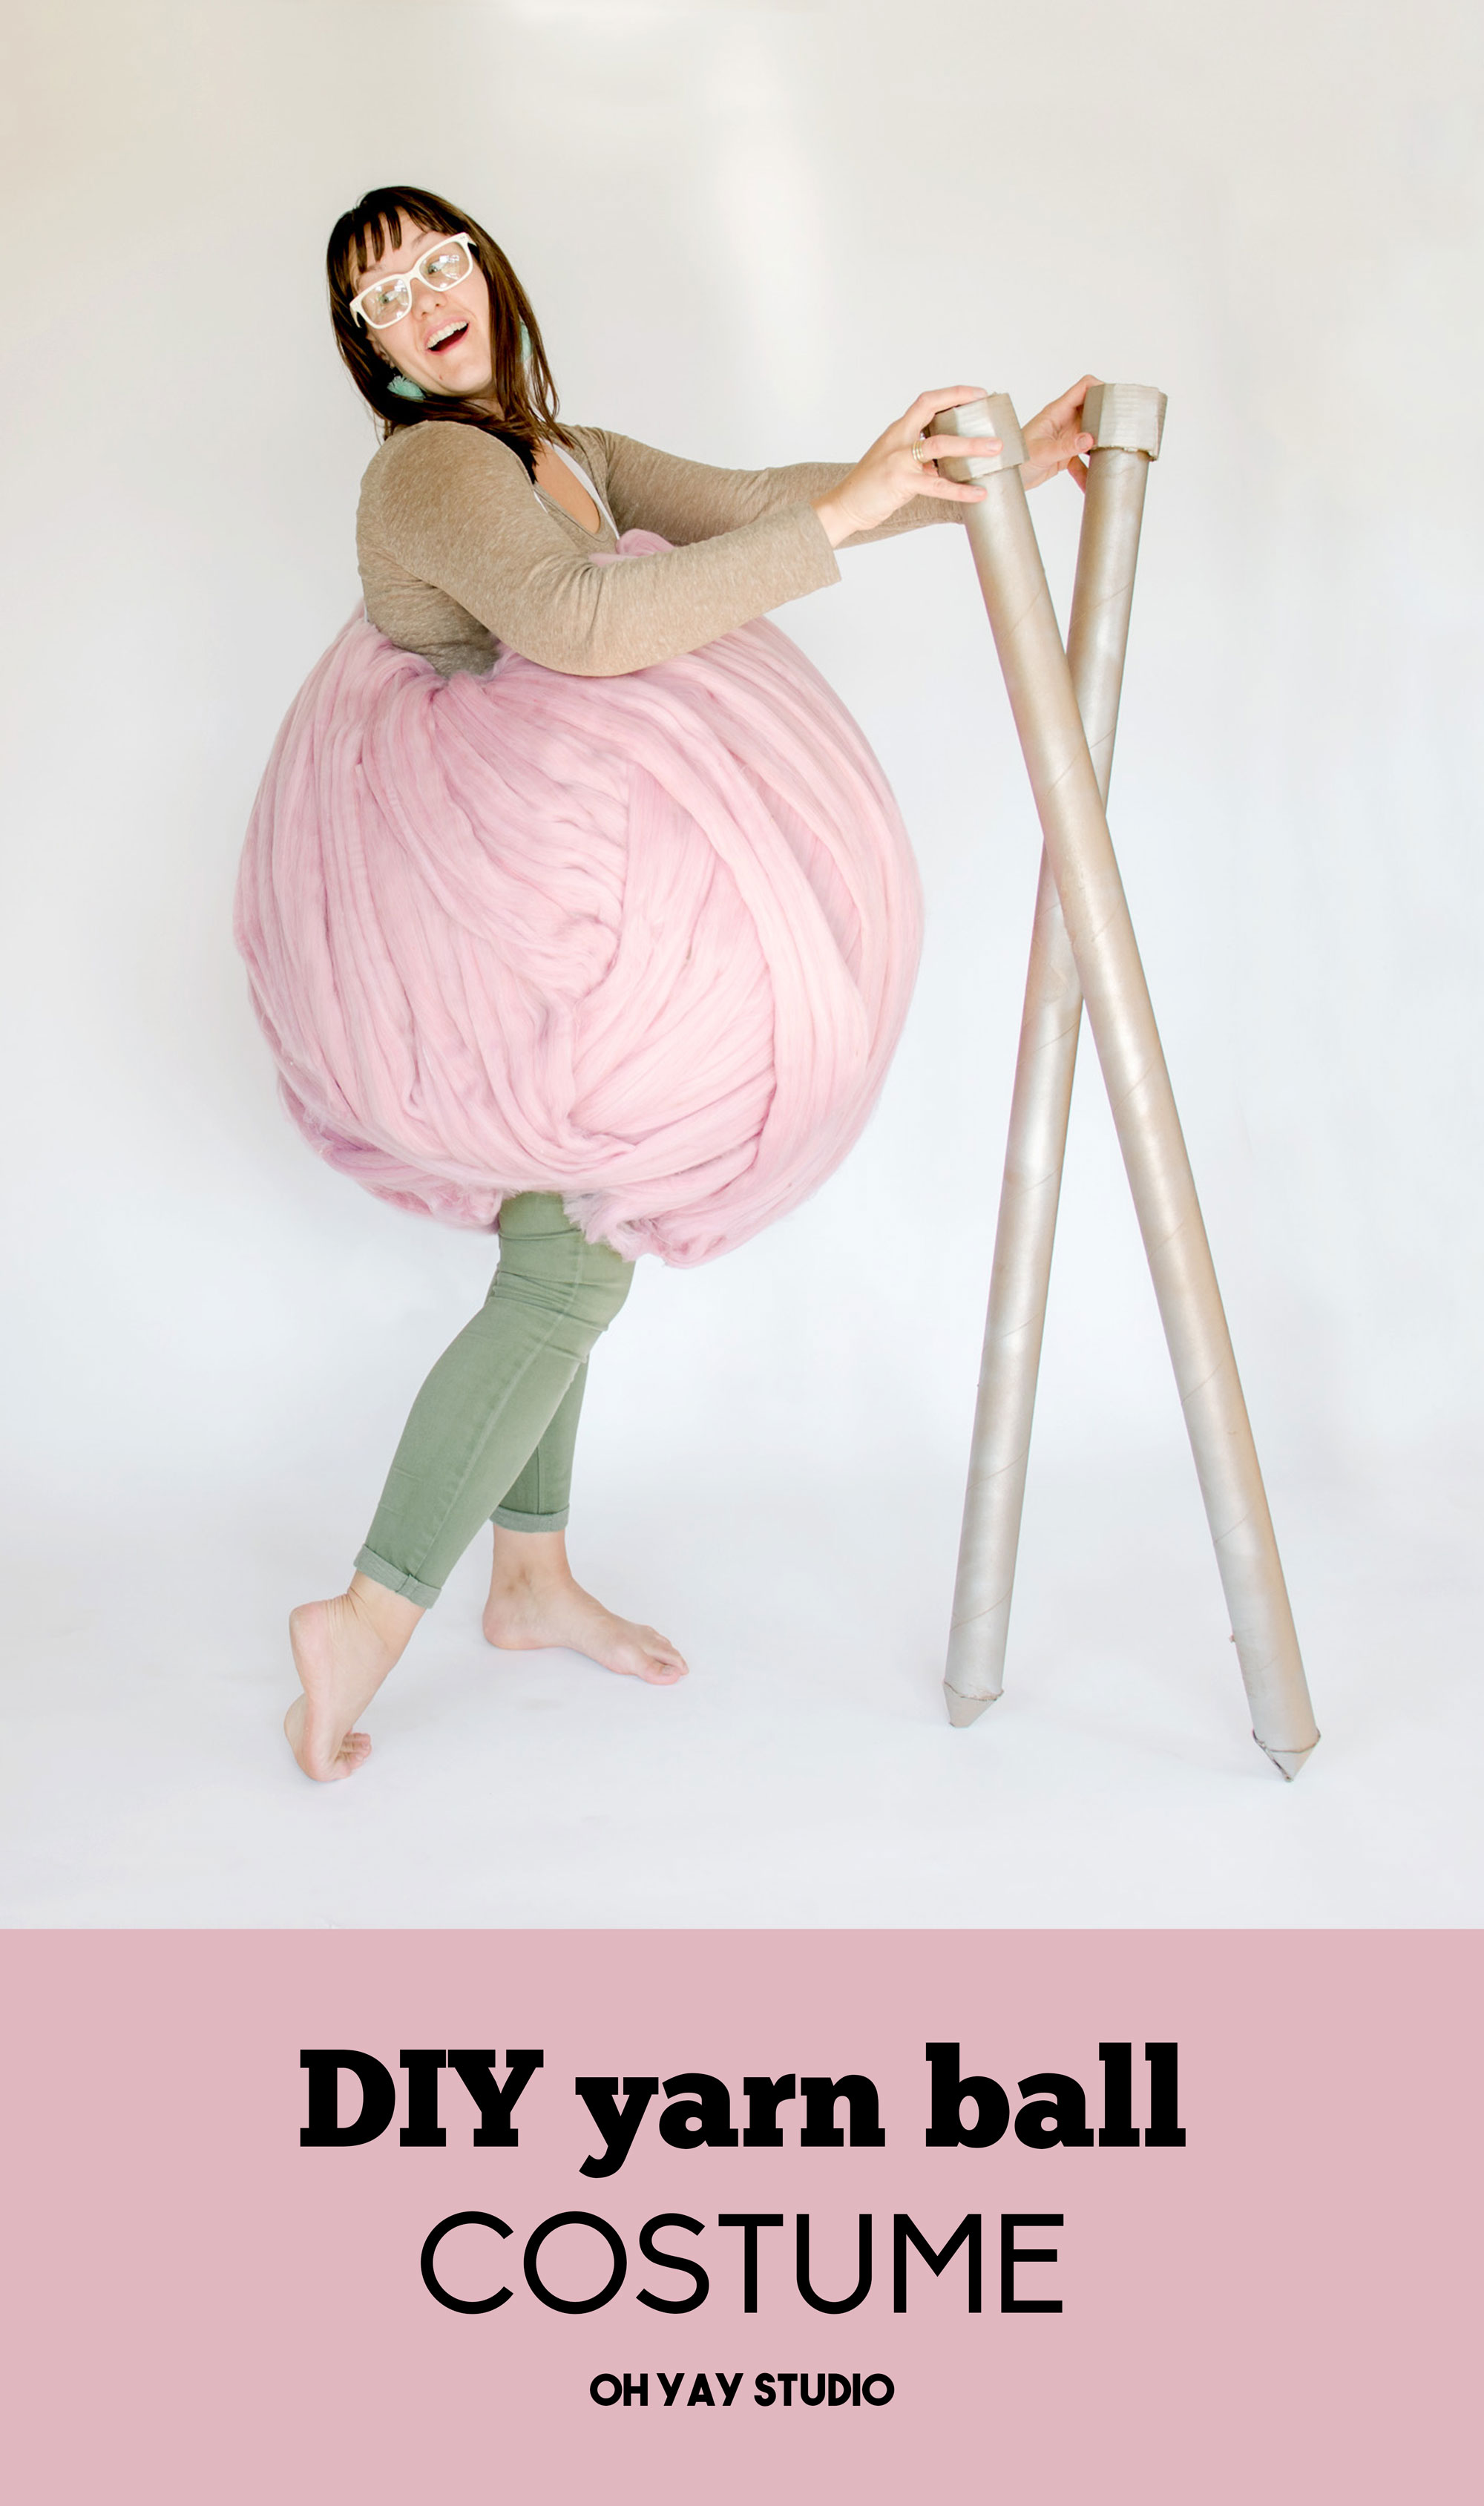
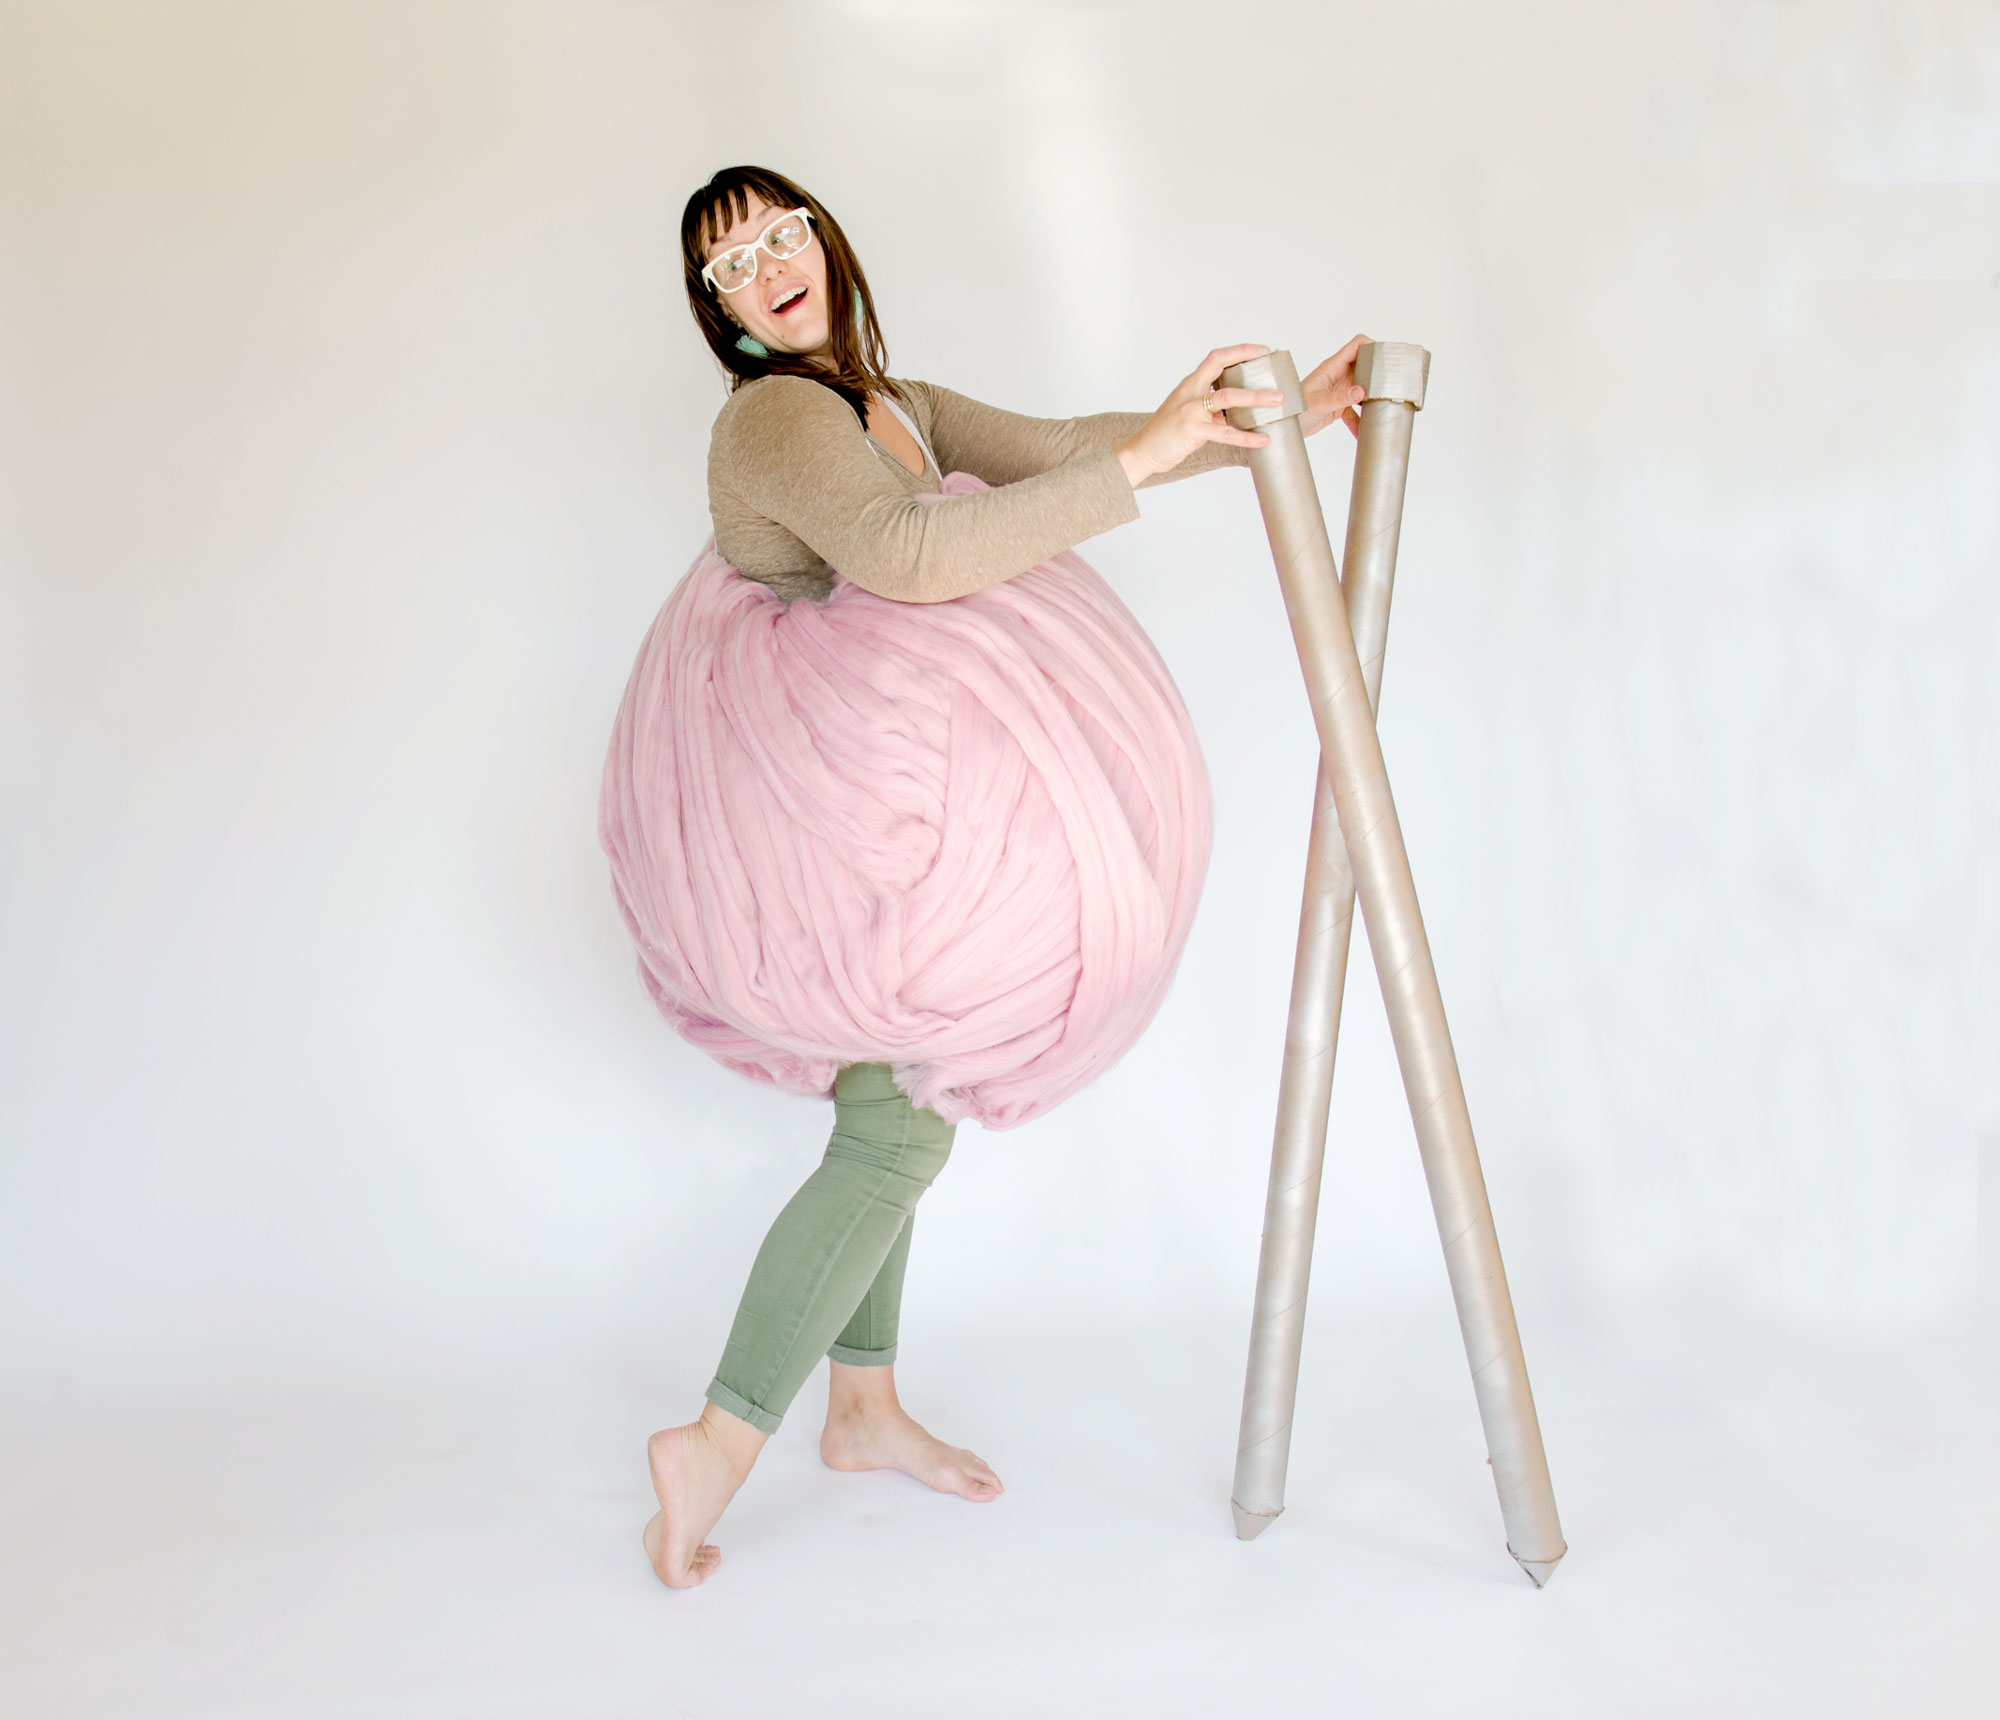
So, *NATURALLY* this month I just HAD to make a costume in honor of the KNITCH and our annual trip…..this month’s installment of the costume challenge is a YARN BALL with some knitting needles! 🙂
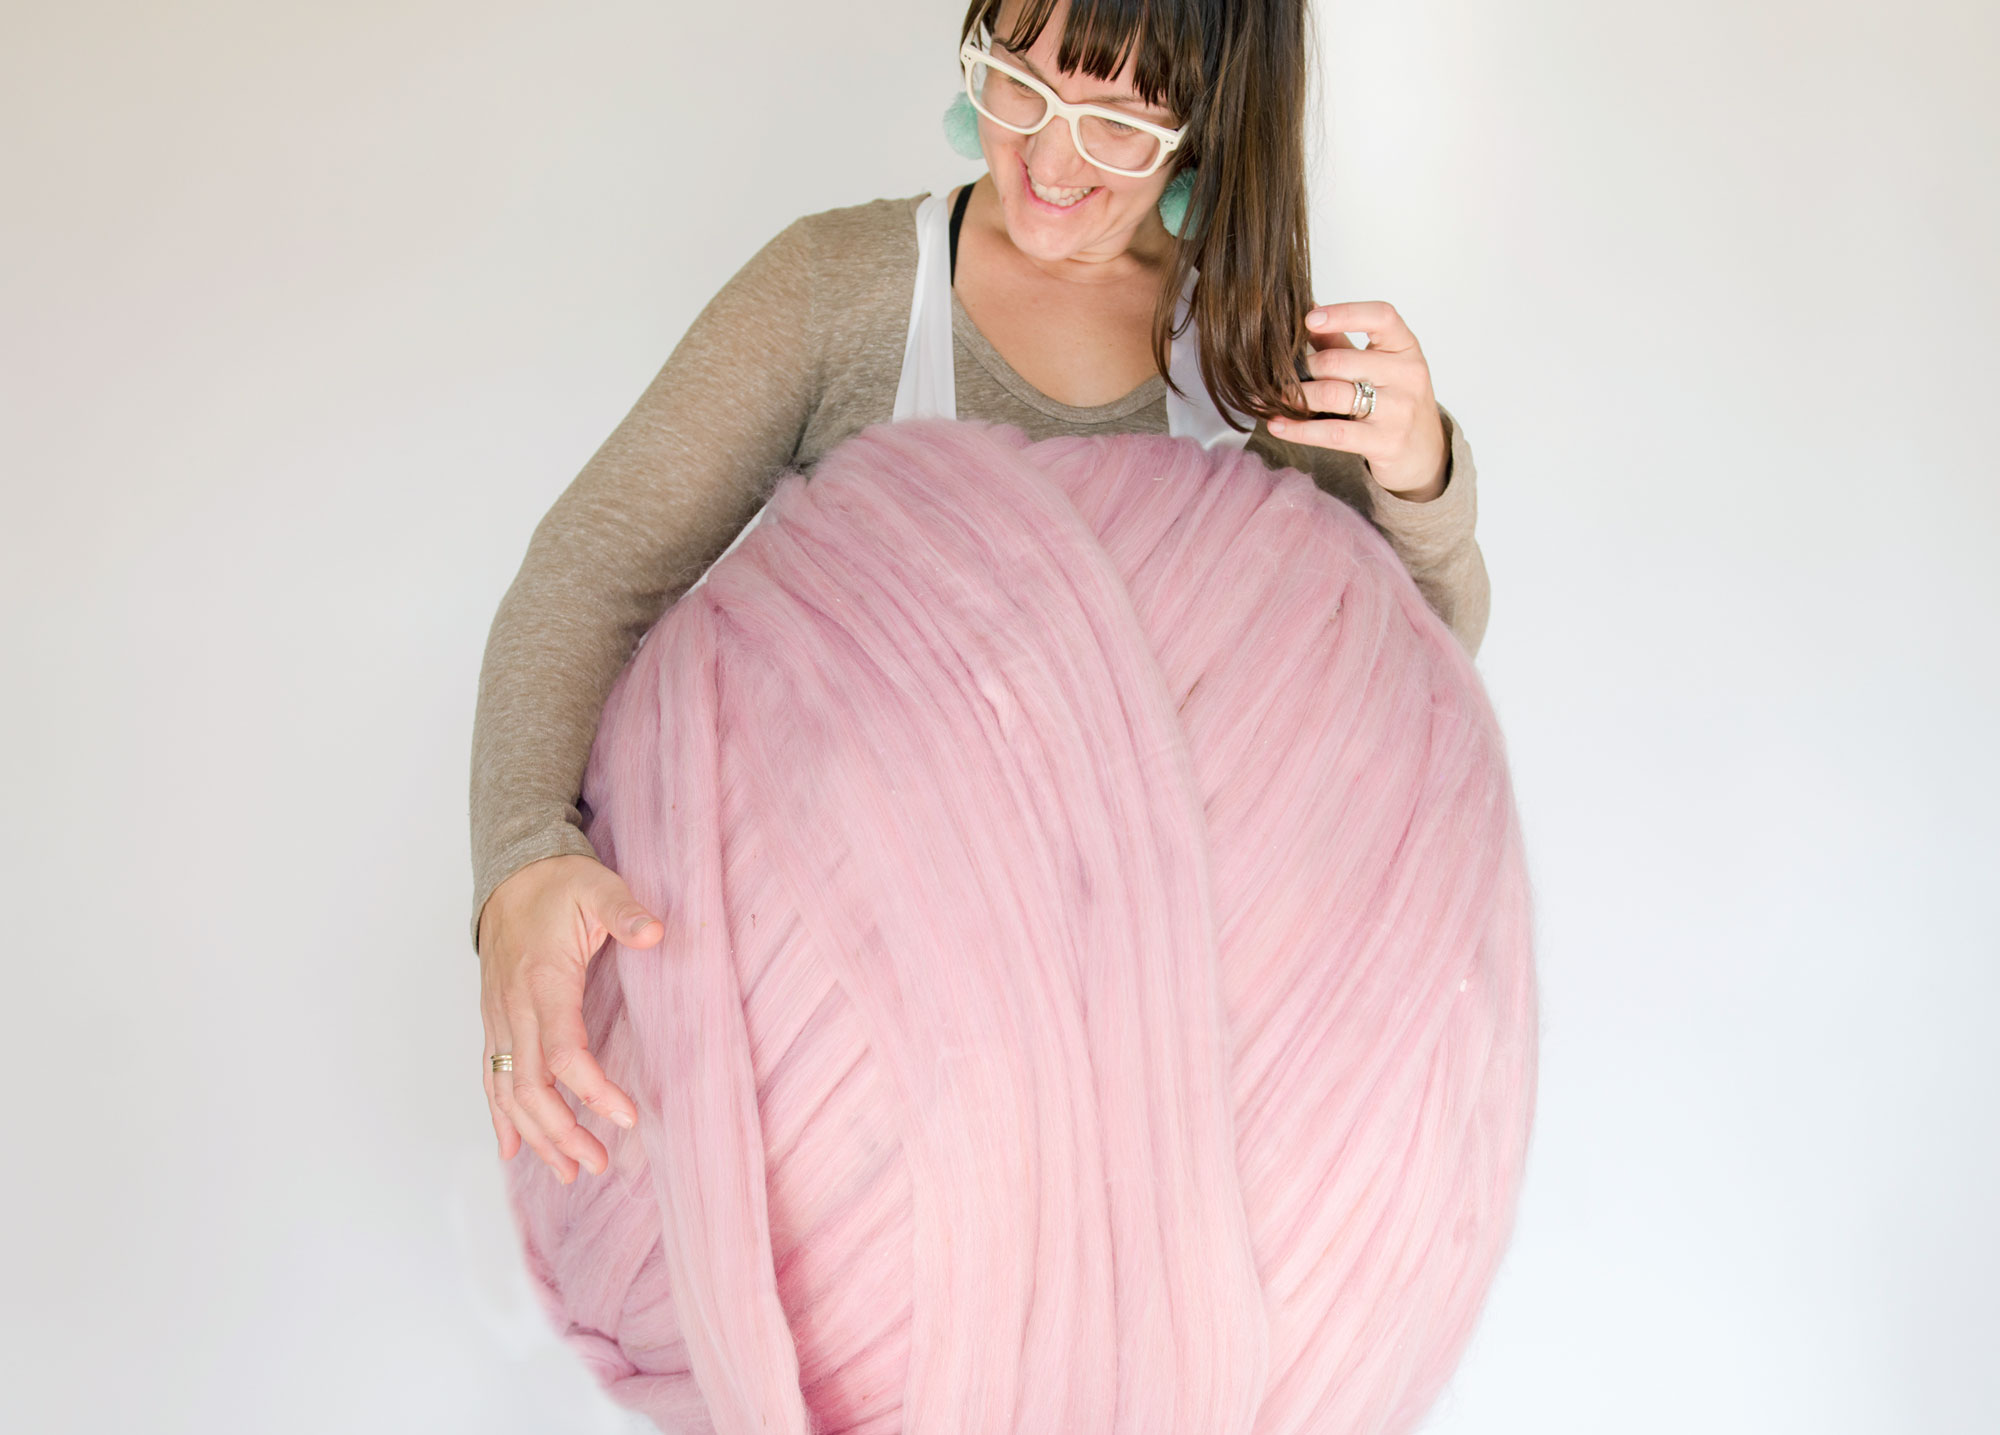
This costume is actually VERY easy. (I learned a few things while making it that would make it even easier next time I need to make a giant ball of yarn costume, which I’m SURE will come up in my lifetime)! 🙂
SUPPLIES:
- roving yarn (I used 1kg of roving, it came in a 2 lb/1kg ball HERE)
- a giant ball or BIG balloon
- LOTS of newspaper
- flour, salt and water + a big bowl to mix in
- hot glue + hot glue gun
- about 36″ of 2-4″ wide ribbon
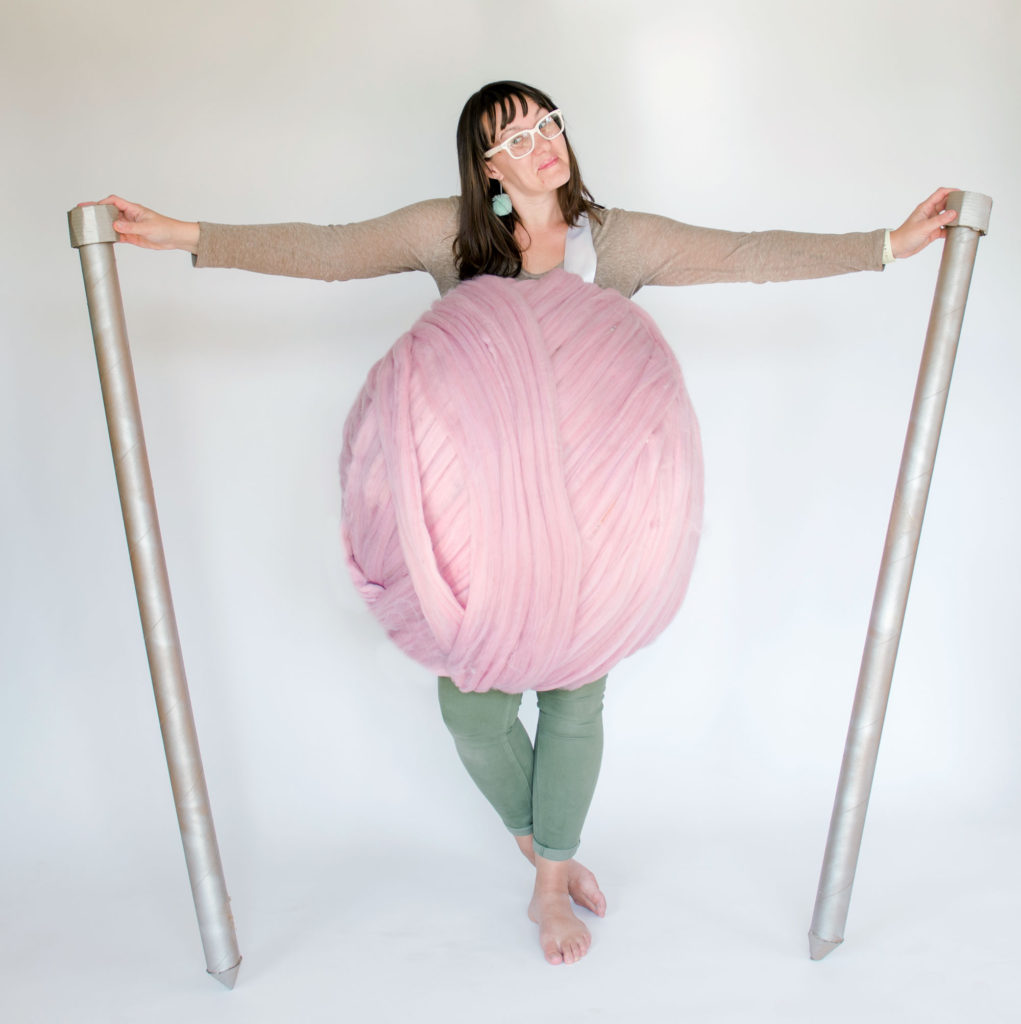
INSTRUCTIONS:
- Begin by mixing your paper mâché in a large mixing bowl. There isn’t an “exact measurement” to it, but it’s roughly 1 part water, 1 part flour + 2 tbs salt (the salt makes sure that your project doesn’t stink and mold over the course of it’s lifetime)! 🙂 You will want it to be about “pancake batter consistency” in order for this to be thin enough to spread but thick enough for the structure. Cut or tear your newspaper pieces into 2-3 inch strips.
- If you are using a ball, cover it in cling wrap or plastic wrap so that the paper mâché doesn’t stick to the ball. If you are using a balloon, just begin applying your paper mâché. You will want to layer your paper mâché at least 3-4 layers thick for structure (I did 2 at a time and let dry, then repeat).
**for more tips on paper mâché, head to the blog post that I did about the Caboodle costume, there are a few tips near the bottom in the “paper mâché recipe” section HERE
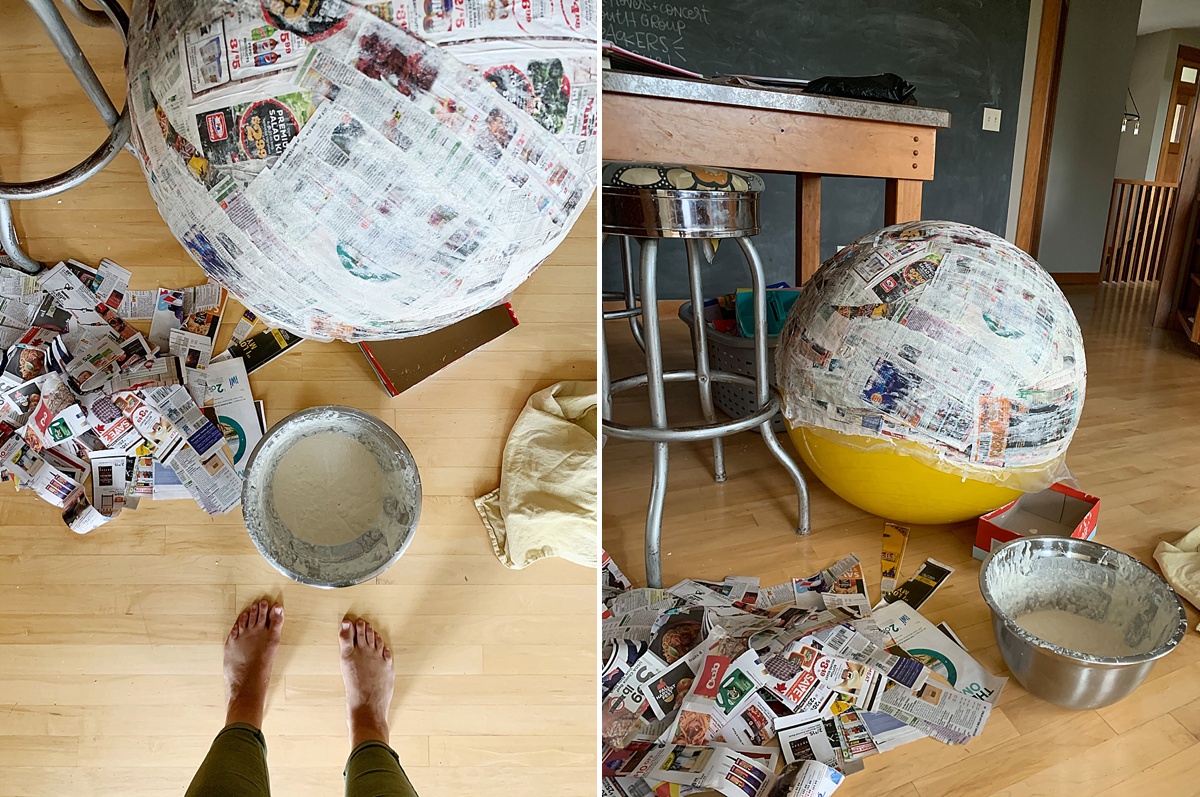
3. After the paper mâché has dried, cut a hole in the bottom and top of the ball for your head/shoulders and your feet/waist. (Also, if you did 2 halves like I did, this was an easy way to assemble the 2 pieces together while cutting/arranging for the holes because each 1/2 didn’t have to be “perfect”) 🙂
4. With hot glue, begin attaching your roving yarn to the outside. I used the roving ball for reference when assembling to make sure that the strands actually LOOKED wrapped around the entire ball. Place hot glue on the inside portion of the ball (where you cut the holes) and bring the roving around to another opening. I tacked the roving down along the paper mâché so that it didn’t droop.
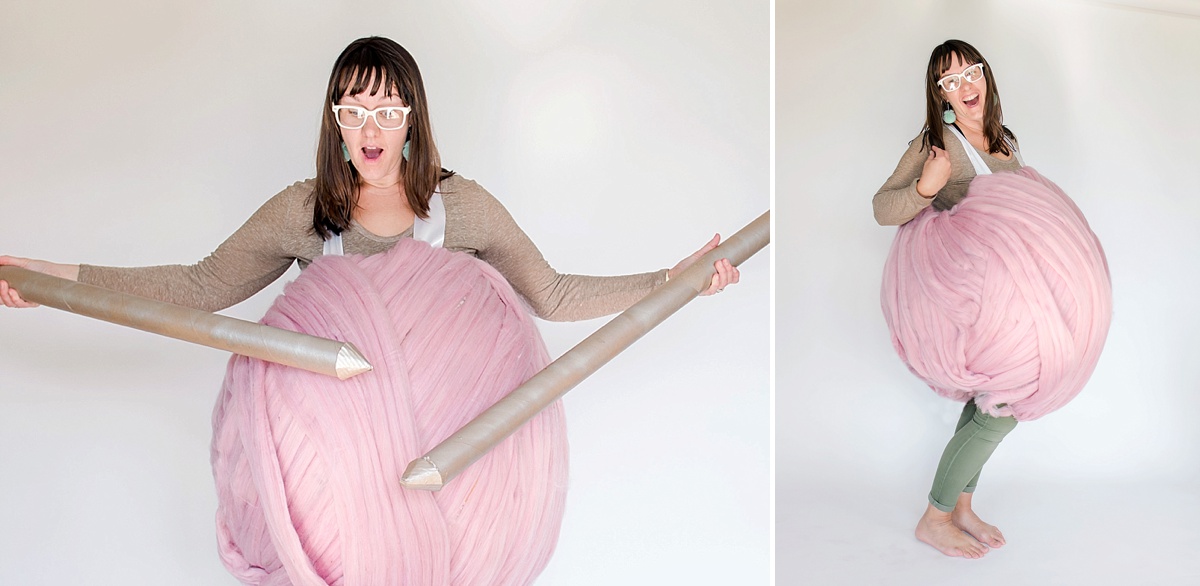
5. Add shoulder straps with your wide ribbon. And assemble knitting needles out of a cardboard tube + cardboard pieces if desired! 🙂
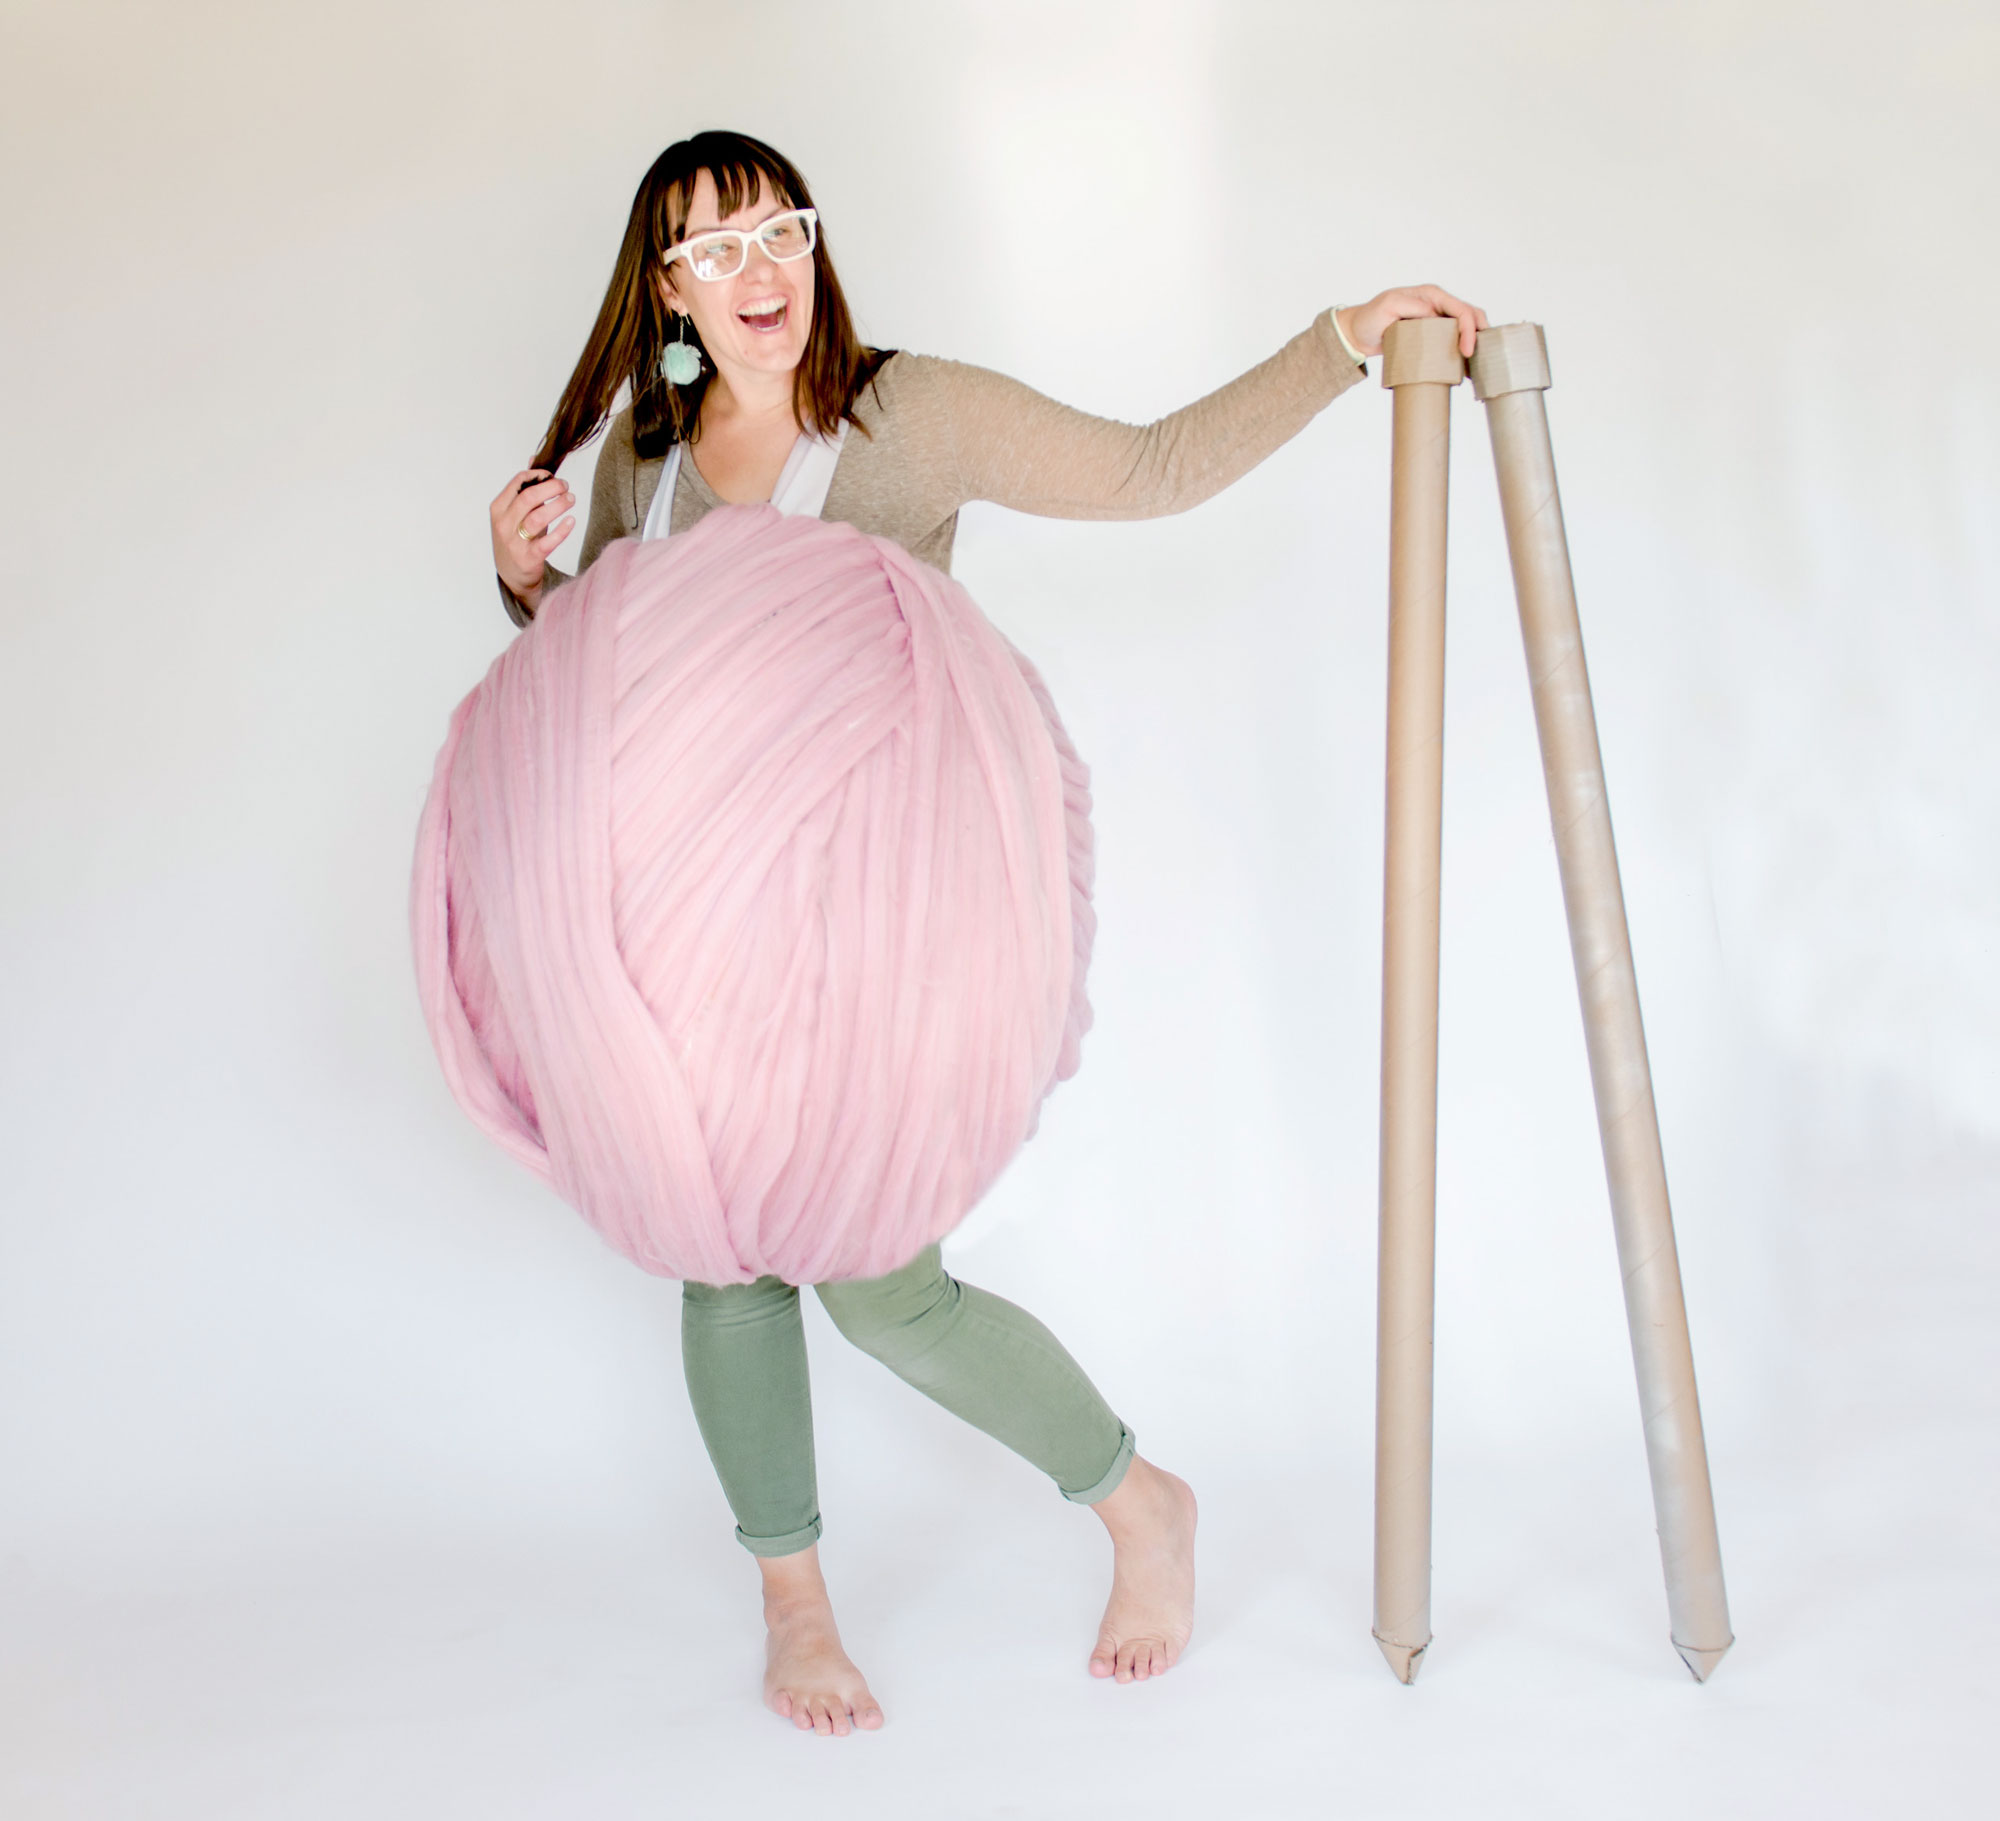
I’m considering dropping Zeke off at school with this costume on Halloween (ya know, since our “real” Halloween costumes are for our whole family)….this would just be an “added bonus” WINK!
