A DIY planner costume + my creative endeavor for 2019!
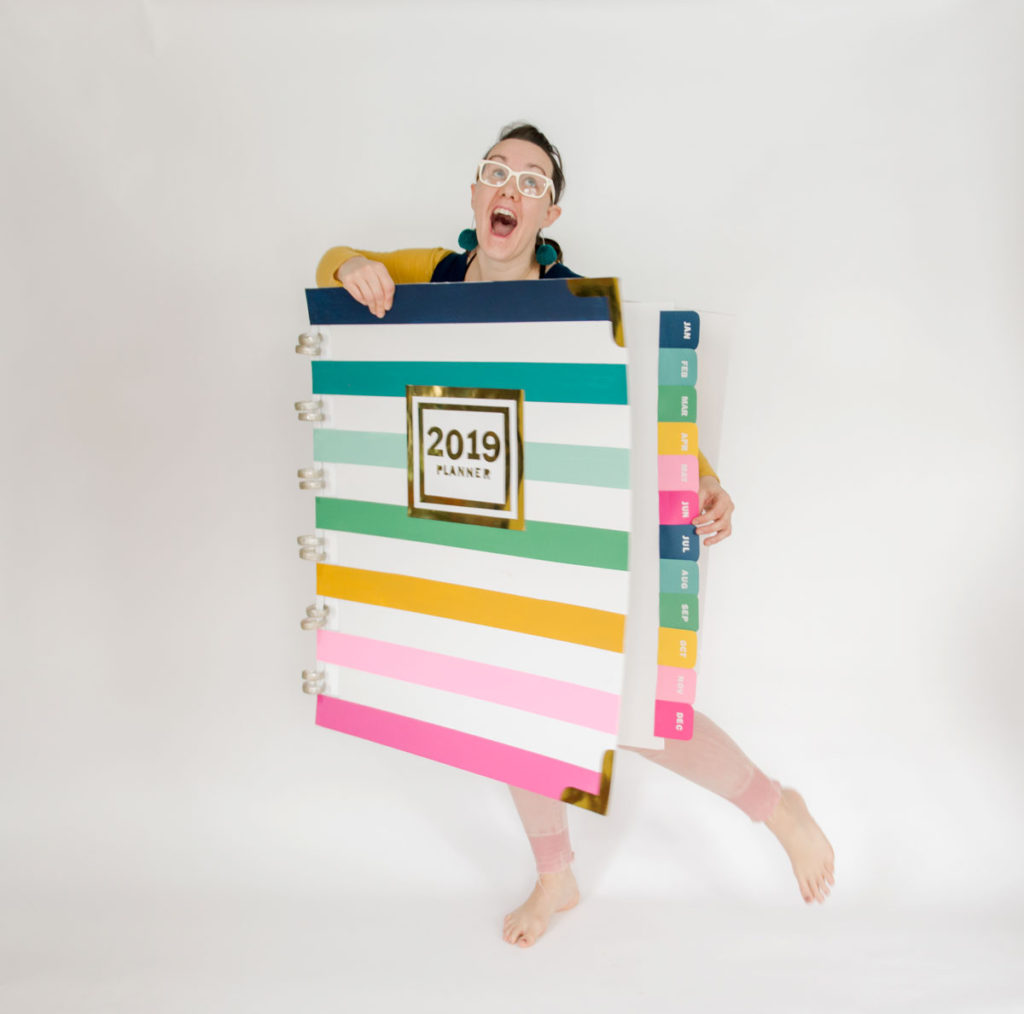
It’s January first of a new year! Everyone is filling in their 2019 planners with goals and dreams and ideas, and I’m just over here dressed up like one! WEEEE!
This DIY (and super easy) planner costume is part of a new idea and project that I am kicking off today! I am embarking on a little creative journey to make one costume per month: something playful and funny and something that stretches my creativity each time I sit down to sketch. Maybe I try new materials or processes. Maybe I make sets of costumes or for different ages or styles. I don’t REALLLLY have a plan (shocker!) but what I *DO KNOW* is that I am wildly excited about some of the materials I plan to work with AND I am SO excited to stretch my creative muscles on this little venture.
SO buckle up, because today I am sharing my DIY 2019 planner costume to kick off this new year and new idea!
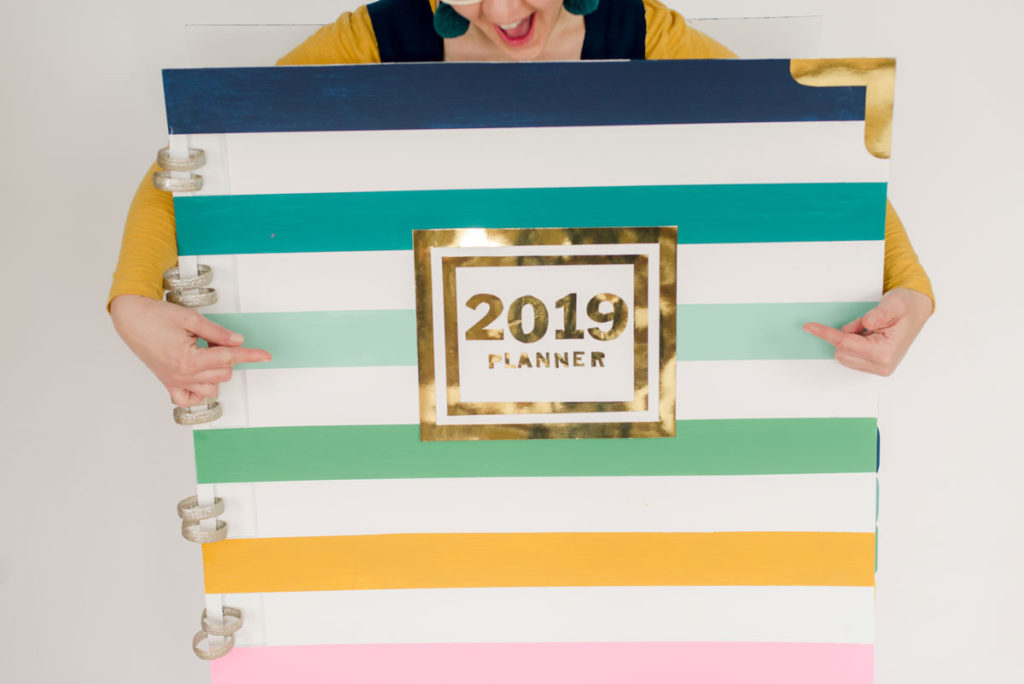
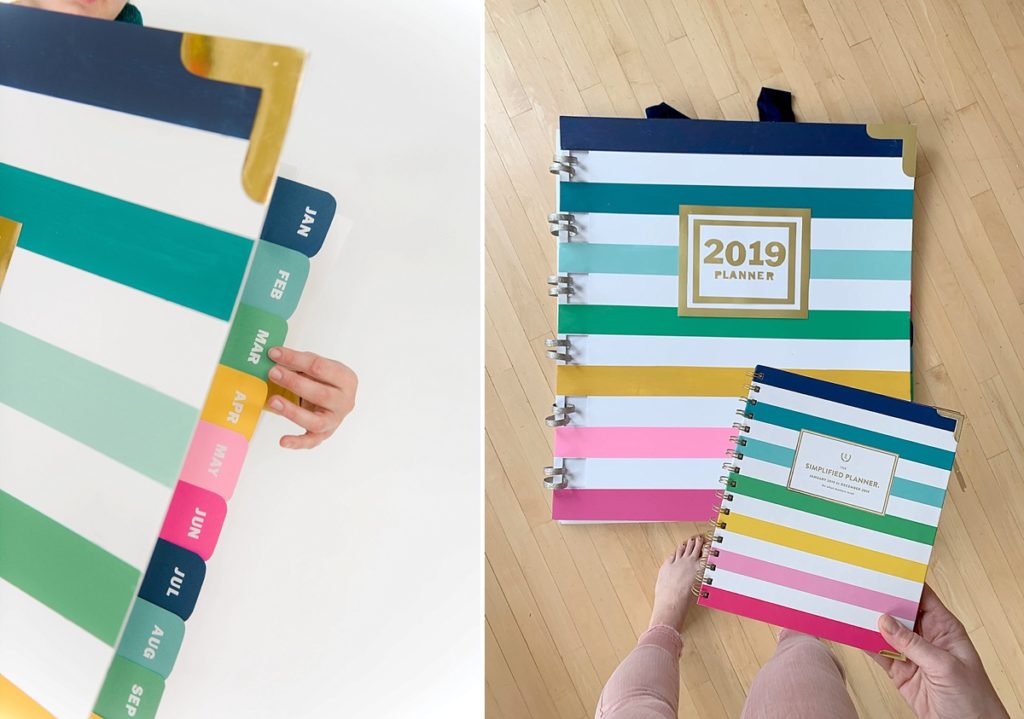
The whole tutorial is below (with photos and steps) in case you want to make your own (and if you do, please PLEASSSSSE tag me in the pics, I would DIE to see them)! 🙂 ANDDDDD you may recognize this planner a bit, it’s because it’s inspired by the (incredibly beautiful) Simplified Planner designed by Emily Ley. It’s colorful and happy and has includes my love for stripes! 🙂
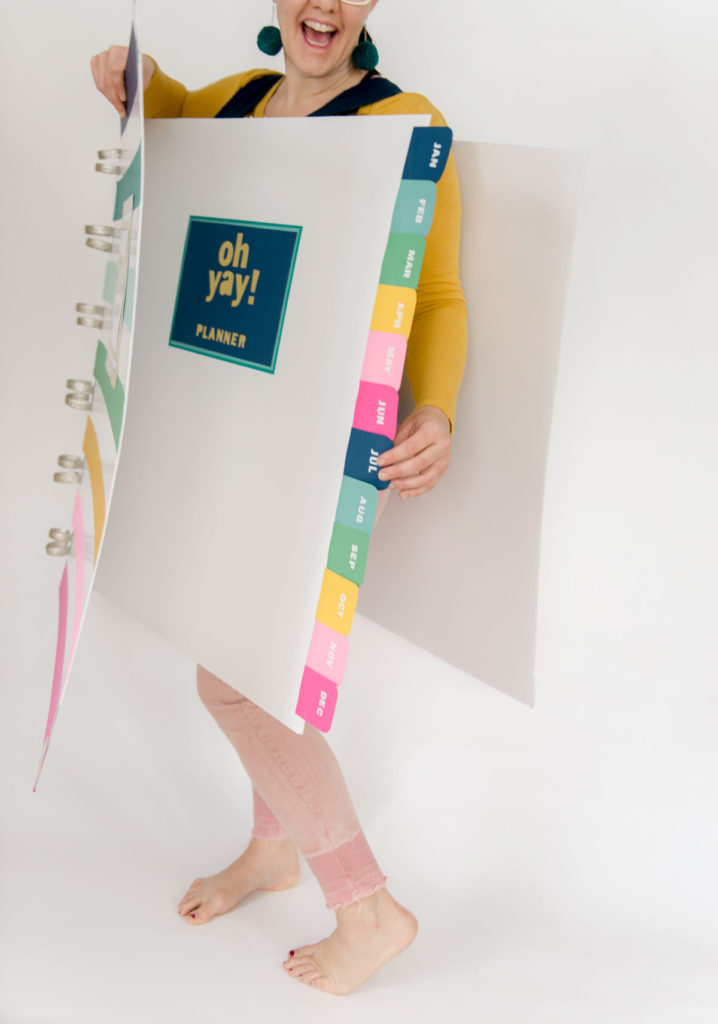
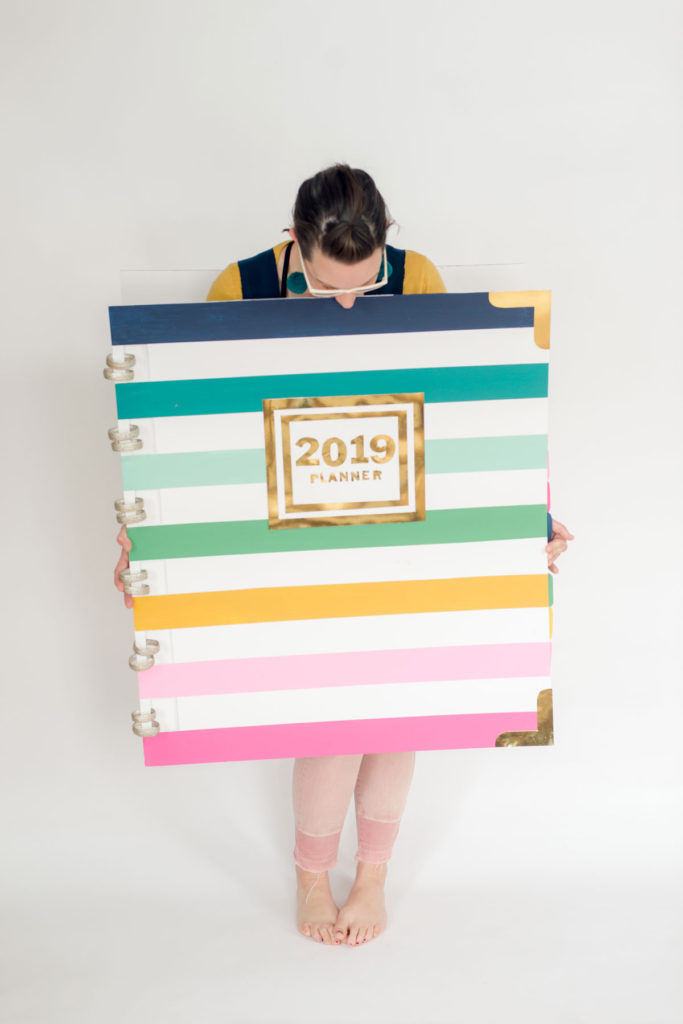
This costume is basically 3 pieces of giant foam core (which I’ve surprisingly never made a costume out of before). It has no sewn elements (another first for me) AND it’s quite a fast project. You basically “decorate” all 3 pieces of foam core, attach them together and VOILA, a DIY planner costume for your New Years party, office party or your trip to the grocery store! 🙂
Supplies:
- 3 large pieces of foam core (size 32×40, purchased from Hobby Lobby)
- 2 pieces of 12×12 gold metallic paper
- 2 pieces of 12×12 paper
- Paint for front (navy, teal, turquoise, green, yellow, pink and magenta)
- 6 colors of paper for inside tabs – navy, turquoise, green, yellow, pink and magenta)
- 1 pack of white letter stickers
- 1 roll of 3-M painting tape
- clear packing tape
- gold spray paint (optional)
- wire/squiggly things from the clearance Christmas floral section of Hobby Lobby (for the coil)
- hot glue
- scissors
- 2 pieces of thick ribbon or fabric for the shoulder straps.
Cost : $48 (with my coupon from Hobby Lobby and a few supplies that I already had! 🙂
Time : about 3 hours (give or take how long paint takes to dry, etc)
Instructions:
- Cut cover + back, then paint + decorate
Cut 2 pieces of your big foam core down from 40” long to 32” long (the width stays the same).
Then mark off 13 stripes at 2 3/4” in width across the width of the foam core, and tape off the stripes with painters tape (you could also use washi tape, but use tape that won’t remove any of the foam core when removed) .
Then paint the stripes in your coordinating colors (navy, teal, turquoise, green, yellow, pink, magenta).
Set aside to let dry.
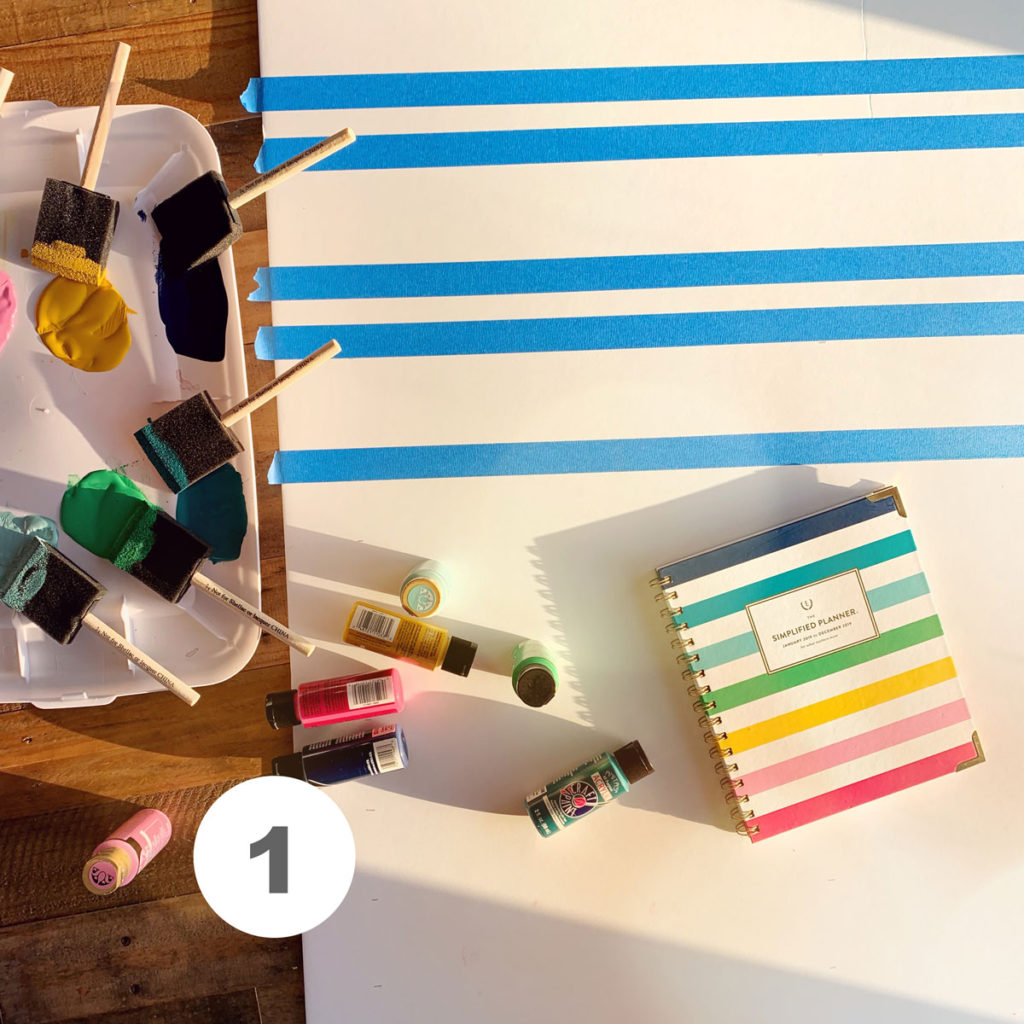
2. Cut inside piece
Cut the inside foam core to 33” long by 31” wide.
3. Cut tabs for inside + decorate inside
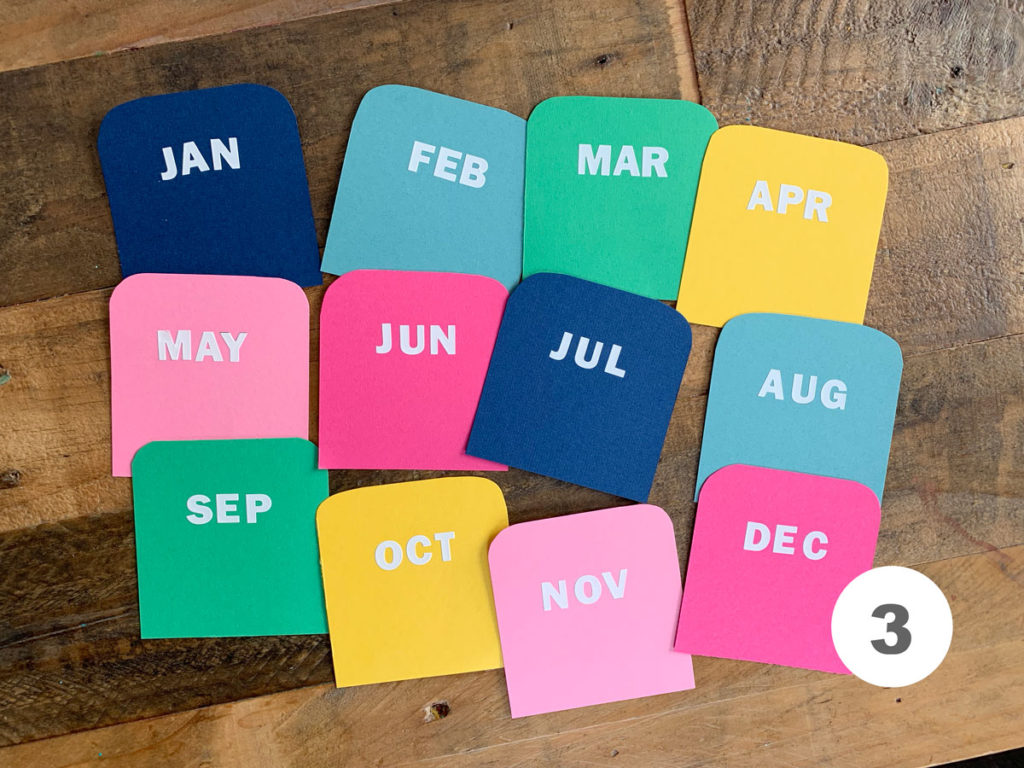
Cut strips of colored paper 2 3/4” in width, and then cut those strips in 3” sections. You will have tabs that are 2 3/4” x 3”. Cut 2 of each color (navy, turquoise, green, yellow, pink and magenta) for a total of 12 tabs each.
Round 2 corners (the outer edge corners, so that the squared off corners are what attach to the inside page). Then add the letter stickers for the month abbreviations. Glue these long the right side eye of the inside piece, overlapping each tap just a bit.
Add lettering “belongs to:__________” or the date or any other decor to the front inside page.
4. Add spiral binding to front cover
Cut 12 of your wire squiggly things in 4 1/2” to 5” strips. Curl them into a fun circle, spray paint them any color you wish or leave them as is.
Cut 6 rectangle holes in the front cover, evenly spaced out (I chose to simply cut the white space in between each color since it was already spaced out and measured).
Hot glue your spiral binding (2 per hole) around the cover through the hole to the outside, hot gluing the beginning and end on the back of the cover. Do this with all of the binding coils in all 6 holes.
5. Finish decorating front cover
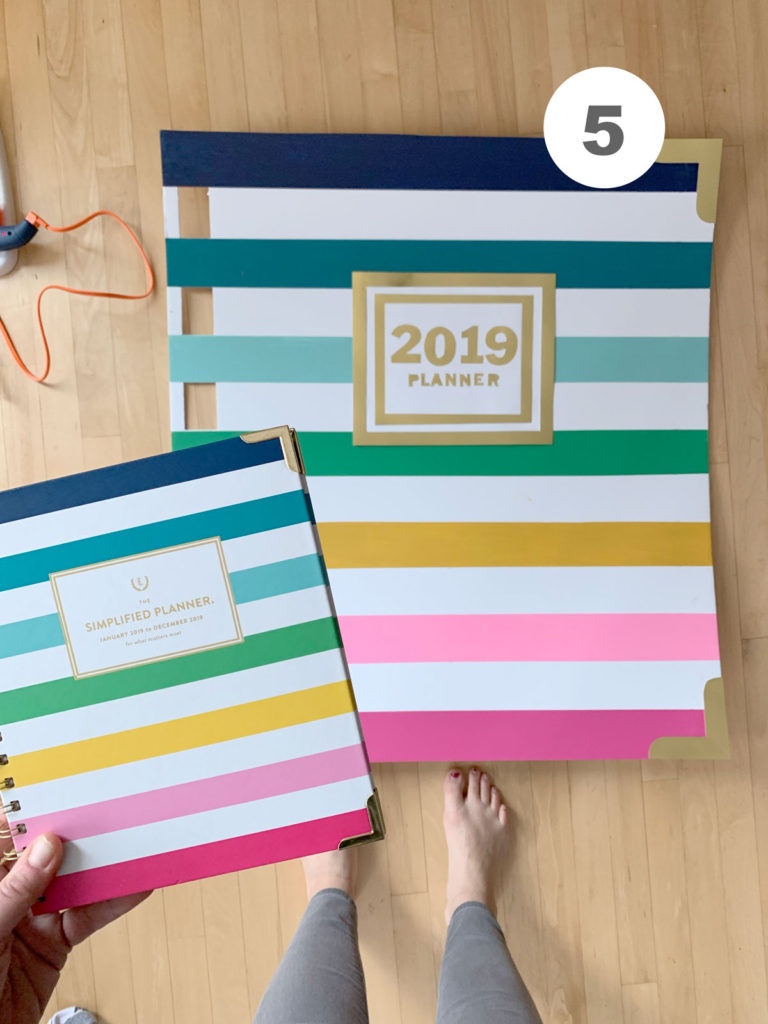
Cut out the gold borders (2) : one about 12” x 10” and the other about 9 1/2” x 7 1/2”
Add white paper behind the borders and gold lettering on top of the white in the center. Glue in the middle top portion of the cover.
Also cut out 2 gold squares for the corners, about 4 1/2” x 4 1/2”. Then cut out the inside portion and round out 2 corners for the 2 outer edges of the cover. Glue these to the outer edges of the cover.
6. Add shoulder straps + attach cover + add finishing touches
With clear packing tap, cut strips about 4 inches long and then cut those in 1/2 (hotdog style). Use these to attach the cover and the inside page together. I put the pieces discretely along the “bound” edge close to the holes. Add enough tape so that the front and inside stay together and act like a “binding” when you open them up.
Cut out shoulder straps about 2” in with by 8” (or so) long. Place the costume up to your body to give an idea as to where to attach them. With hot glue, attach the shoulder straps to the backside of the back cover and the backside of the inside page.
Add any other finishing touches or embellishments that are colorful or meaningful to you! 🙂

Outrageously Amazing.
Hahah, what a fun and well-written post! You’re quite talented!
This looks like it was a fun project. What will you do with these costumes after you make them? Will you wear them anywhere?
What a cute idea! I’m excited to see what you come up with next month. This may help make my halloween costume recommendations for my kids a little easier. =)
Wow this is awesome!! Thank you for sharing it! I will share it too!
OMG! This is awesome!!! I love it!
What a fun and silly idea! If you wear this to the grocery store, I want photographic proof!!!! Not trying to hijack your idea in any way at all, but thinking if you were to decorate it a bit differently, it could become a big, wearable vision board. Just a thought.
Hahahaa I love this! So cute. This is my kind of costume. My husband makes fun of how much I like to look at the planners at Target.
Wow, great custome.
OMG this is hilarious!!! I love it. Thank you for sharing!
That’s adorable! Need to tuck that away for halloween!
Love this idea…lol super cute, and original. I could see myself wearing this for Halloween…
Cool idea. I feel like making one to use like a Giant wall planner. Definitely wouldn’t forget my goals that way.
I freaking love this. It’s so cute! Can’t wait to see what else you come up with!
OMG! This is awesome! Can’t wait to see what you’ll do each month!
What a fun and original costume! I would have had fun filling up all your dates with different items!
Completely Fun! Well Done!
Fun! I love to dress up too! Making unique costumes is a ton of fun too! I’m excited to see what you come up with next! 🙂
I love this. Super cute pictures!
So creative! I do love how colorful it is. Great instructions to follow. Absolutely love it!
This is awesome! Thanks for a laugh!
Talk about creative!!! Wow – this is fabulous. I love how adorable and unique this is.
Okay that’s awesome! Looks really cool.
Love this post. I feel your energy! Yes, signef up for notifications to get my Mondays going.
How fun!!! I can’t wait to see the rest of thrm. You are very talented.