How to make HUGE crepe paper flowers
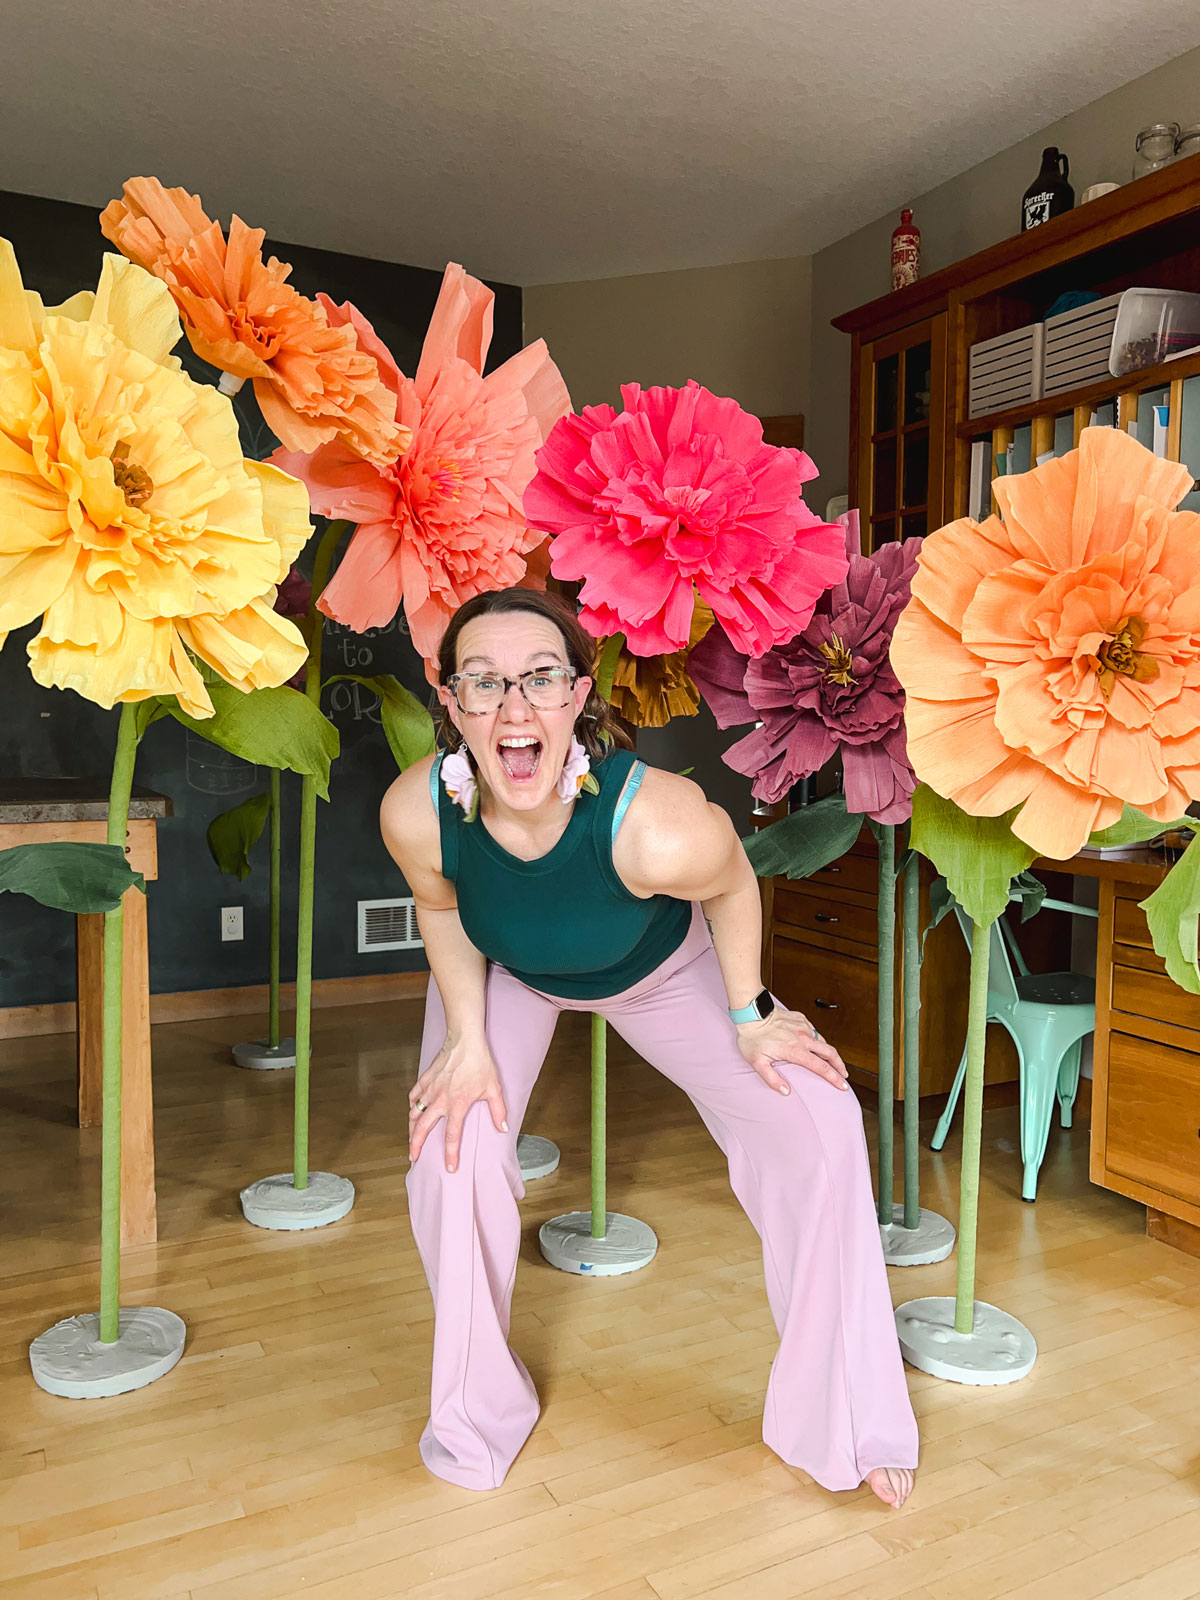
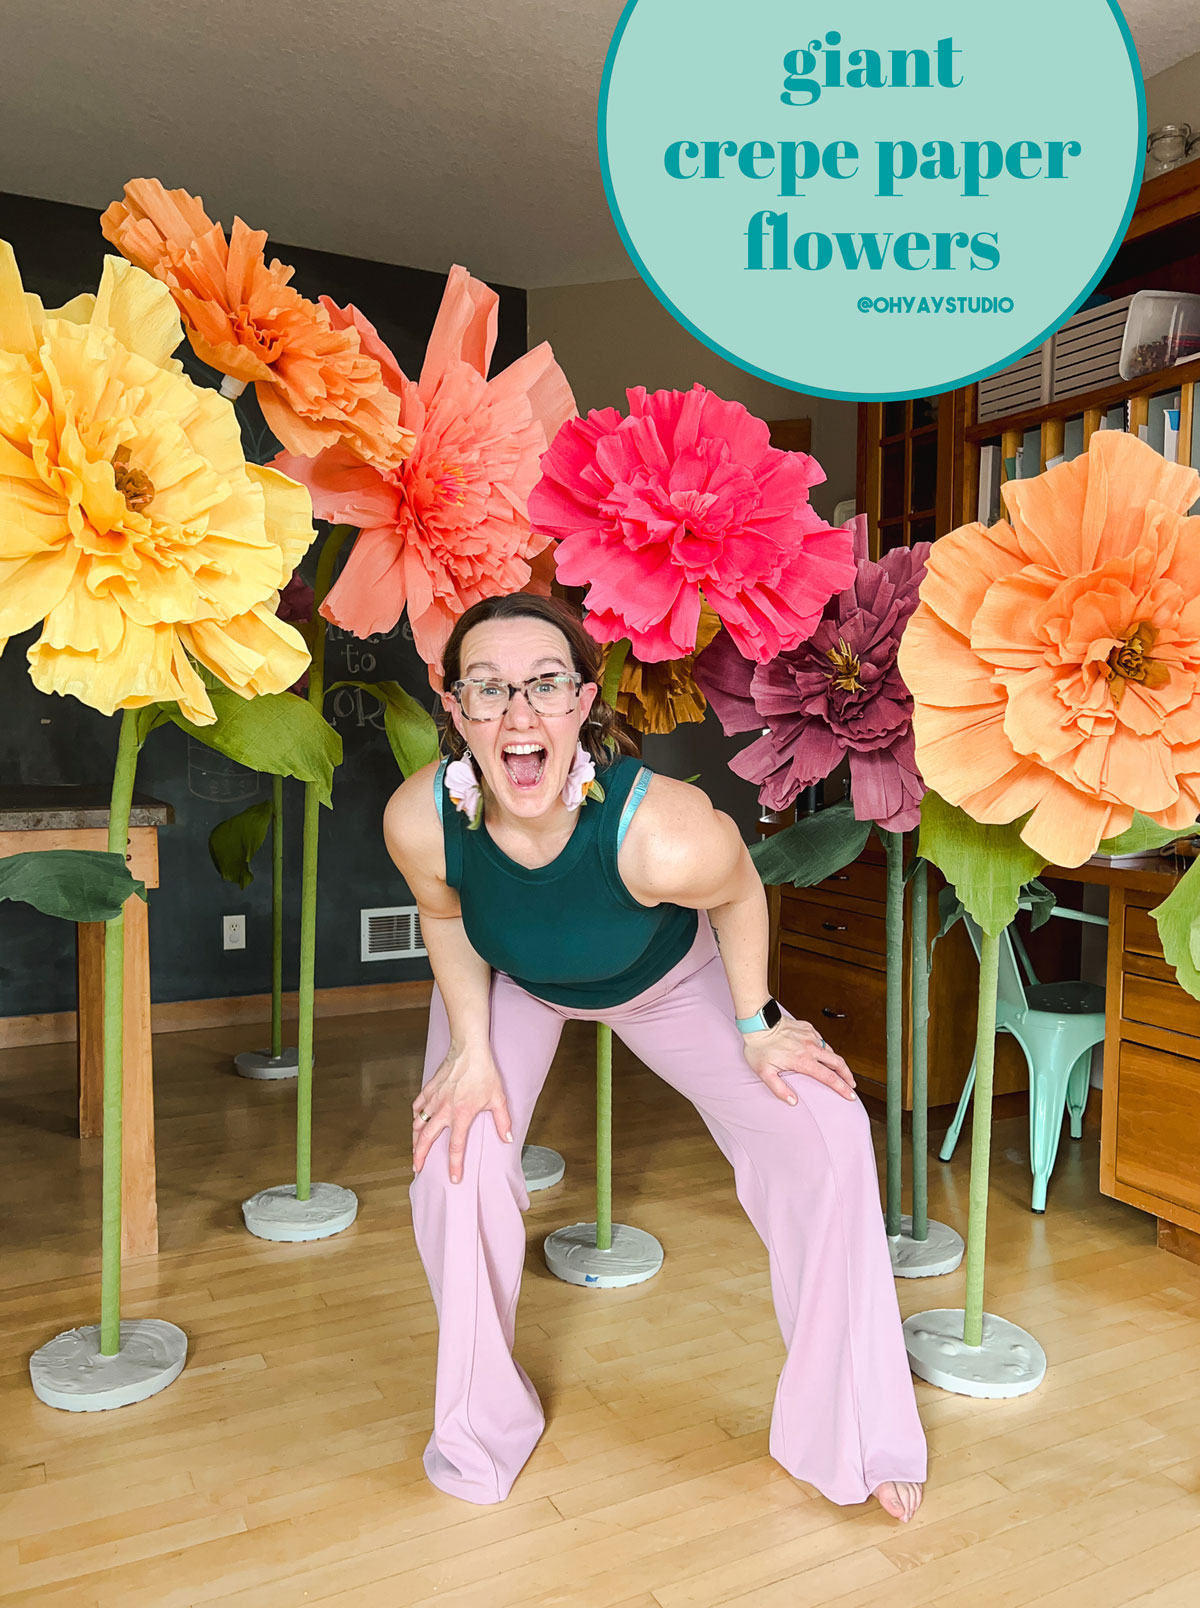
I have wanted to learn how to make OVERSIZED, HUGE crepe paper flowers for a LONNNNG time (and TBH I’ve made tissue paper flowers about a zillion times in the past so I figured they were sorta similar…..and surprise, they are!) These flowers make a HUUUUGE impact on a space that needs a huge impact (larger rooms, amazing parties, surprise showers, etc)! And I am here, honestly, to give you some tips and tricks and to encourage you to get the supplies to make some (or many) of your own! 🙂
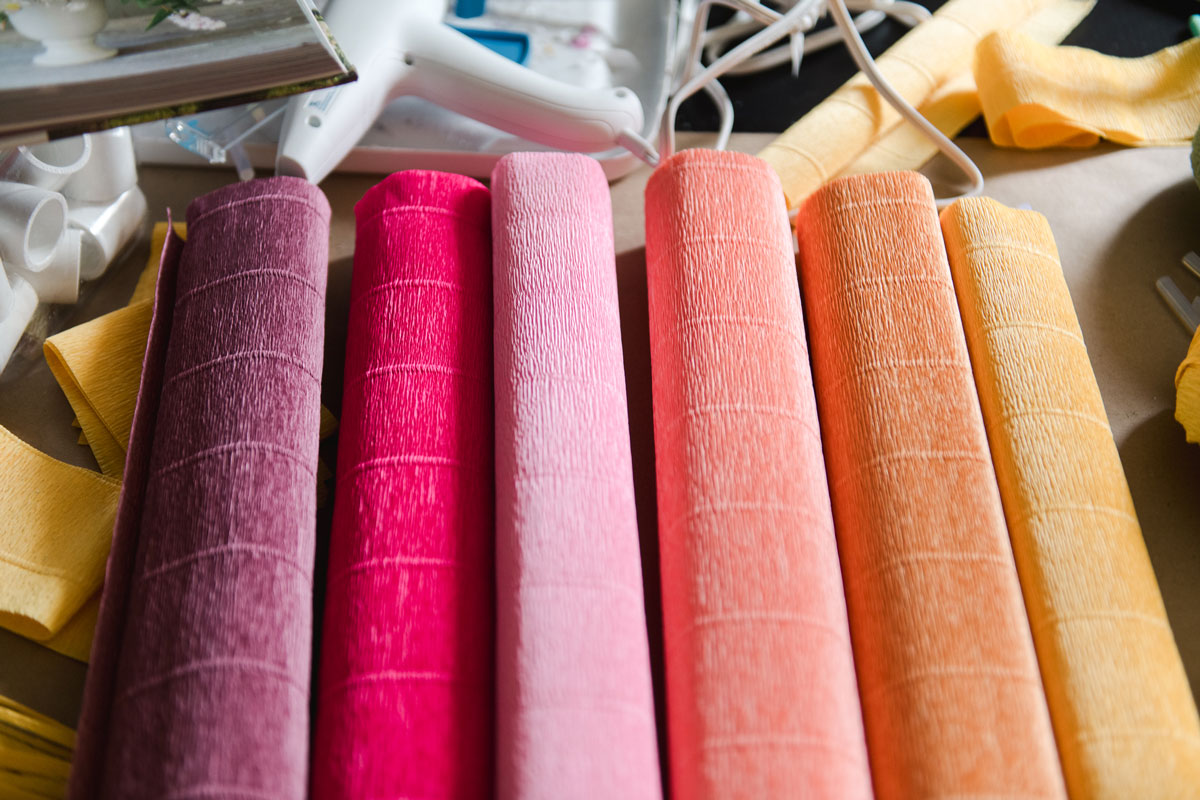
I grabbed my supplies (links below) and honestly just got to work figuring out how to make these. I feel like I do need to say that I watched a few YouTube videos and tutorials on how to make some and adapted some methods I’d seen to fit my needs.
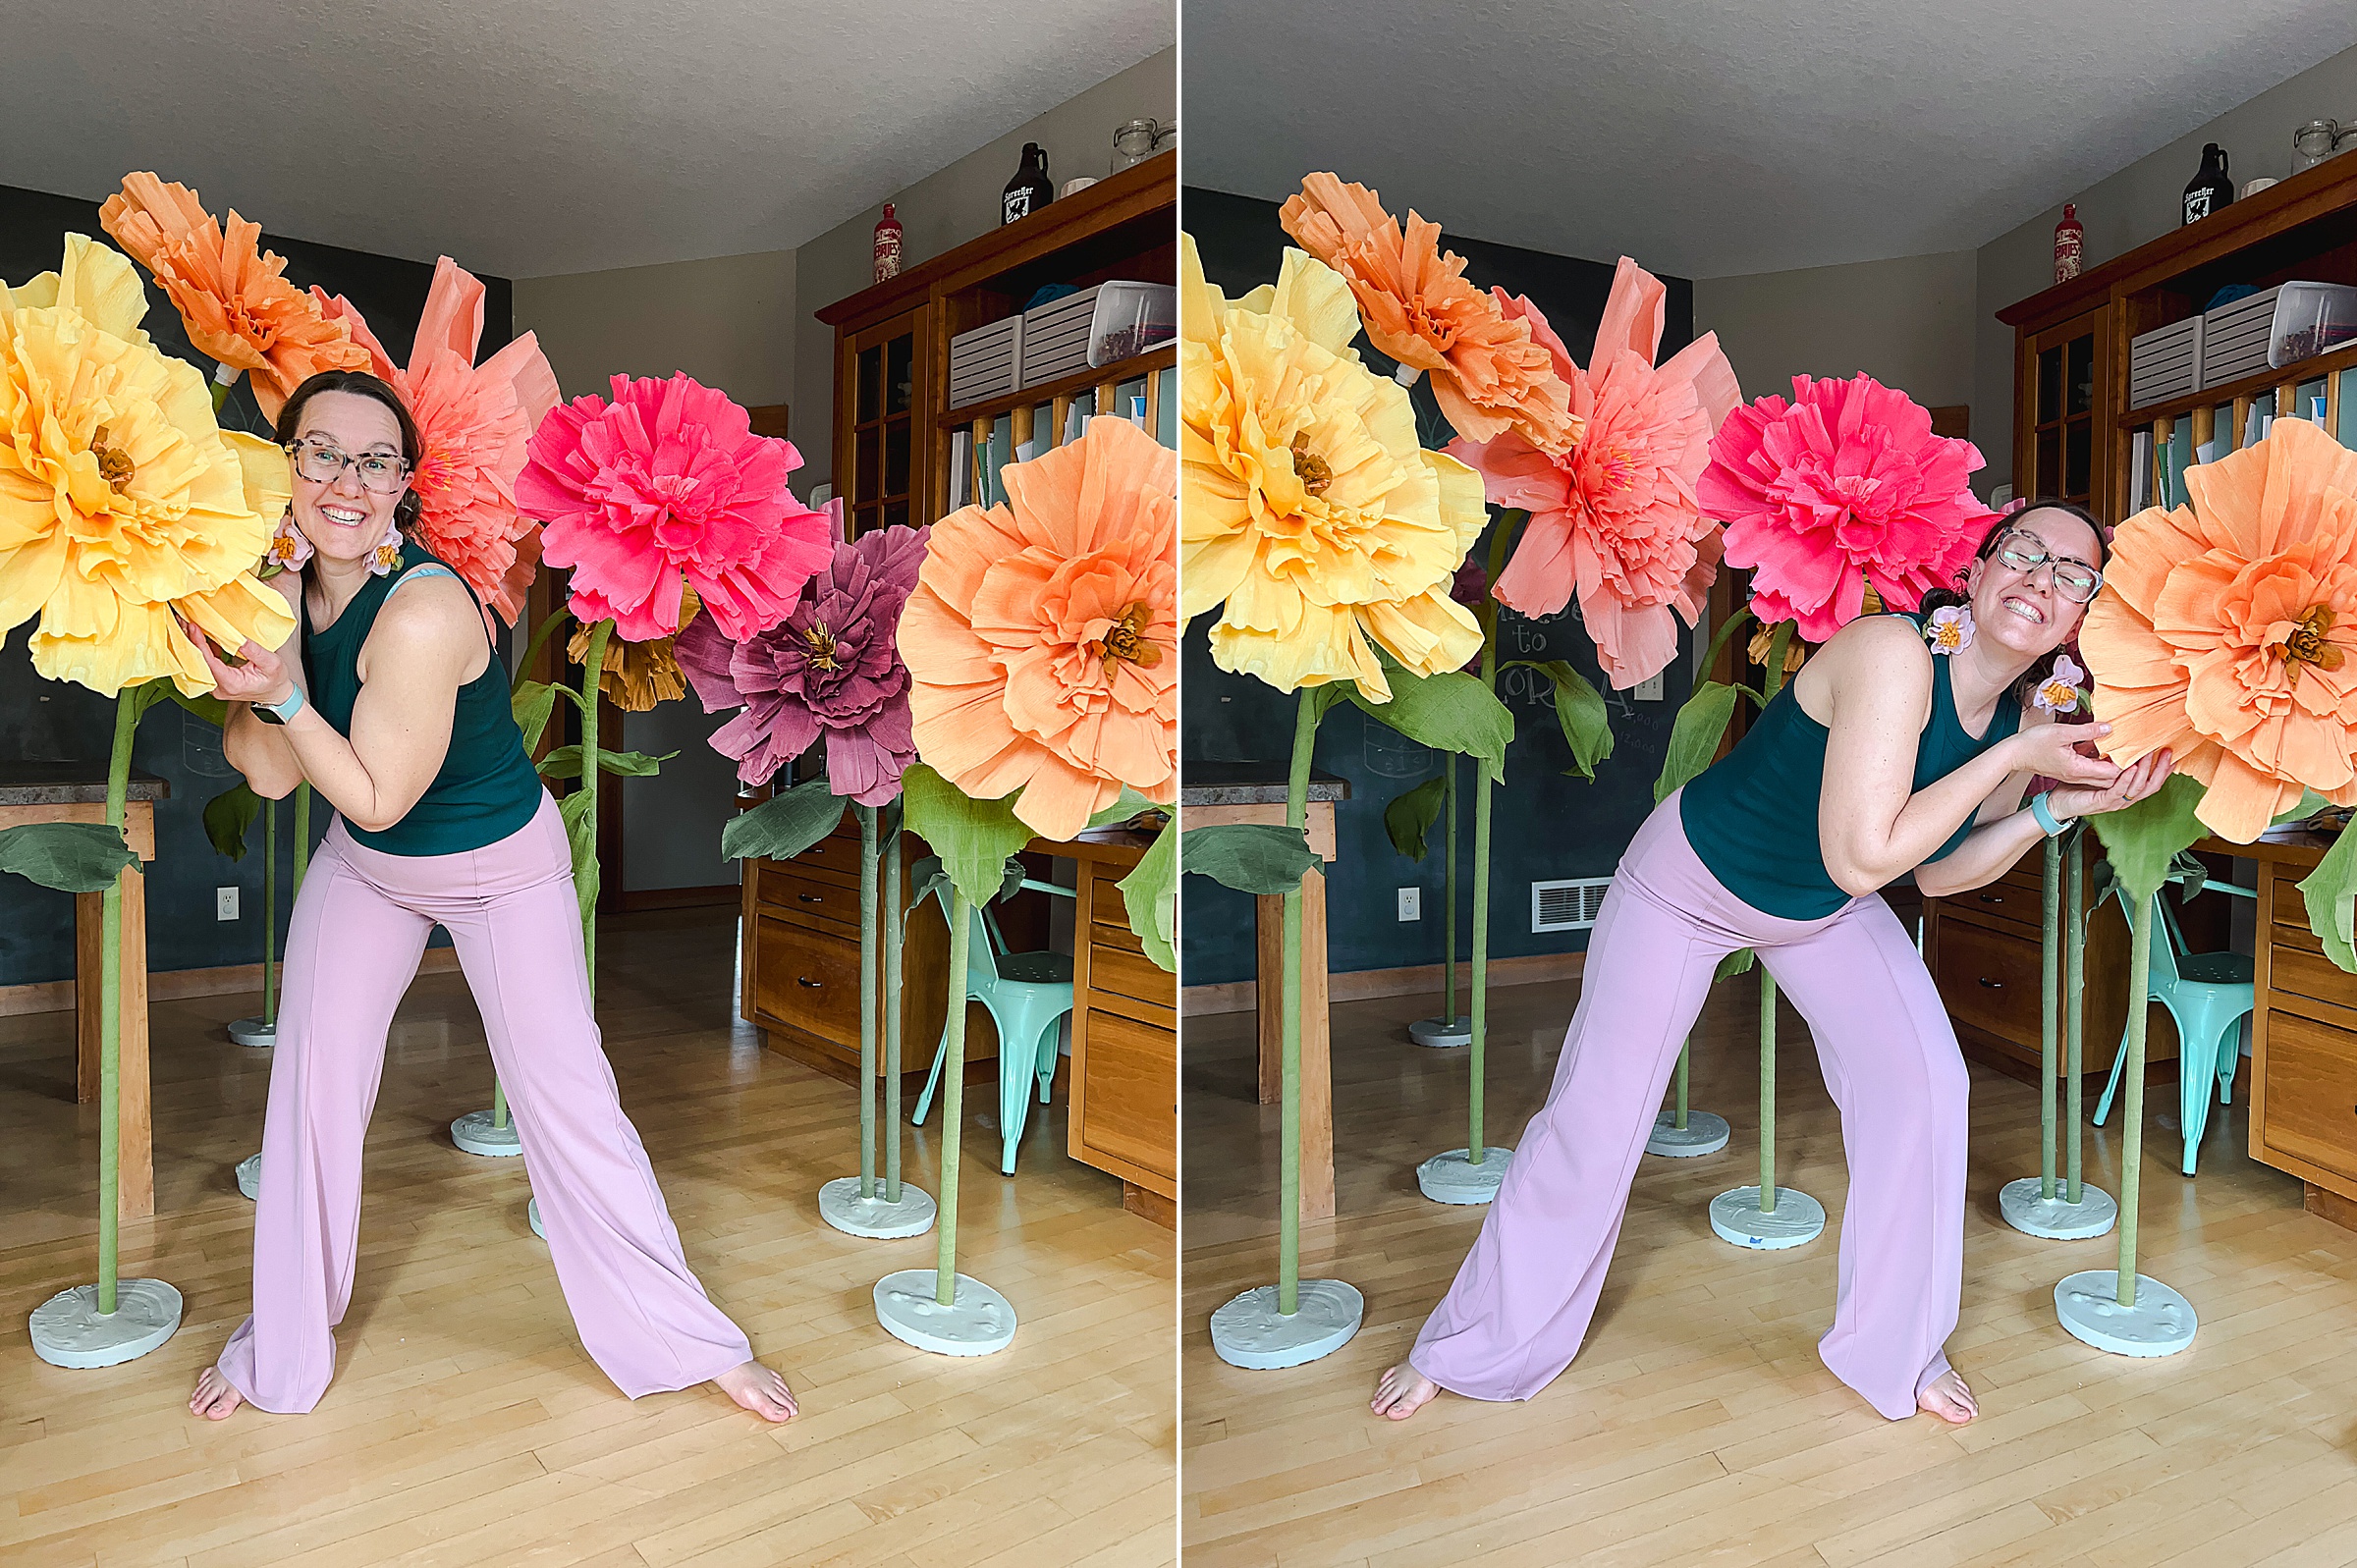
I needed to be able to transport these giant flowers easily (the main goal was to make these into a big visual for our church’s Easter celebration) so I needed to be able to get them into my car (broken down as best as possible), transport them, put them up and then bring them home for storage for future use! 🙂 ANNNND I wanted the to be various heights with a bendy stem and leaves! SOOOOO off I went to make them happen (with some trial and error and lots of FUN of course)!
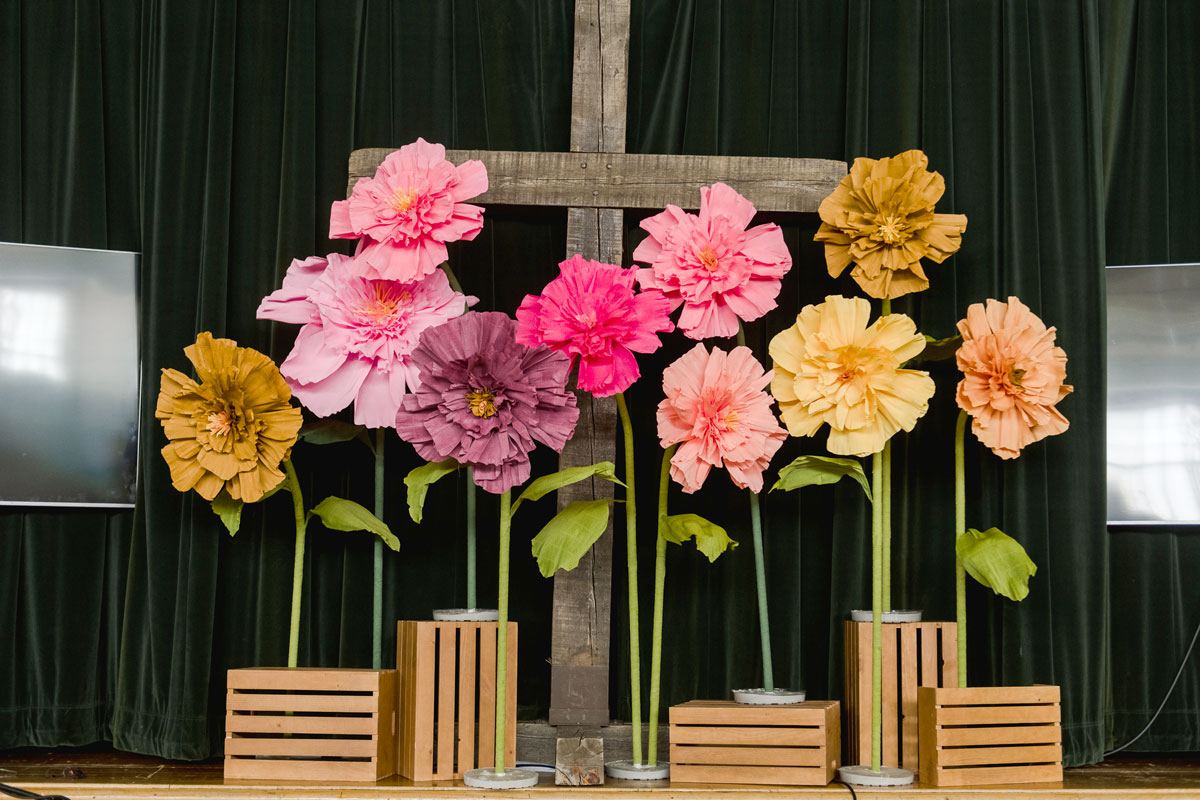
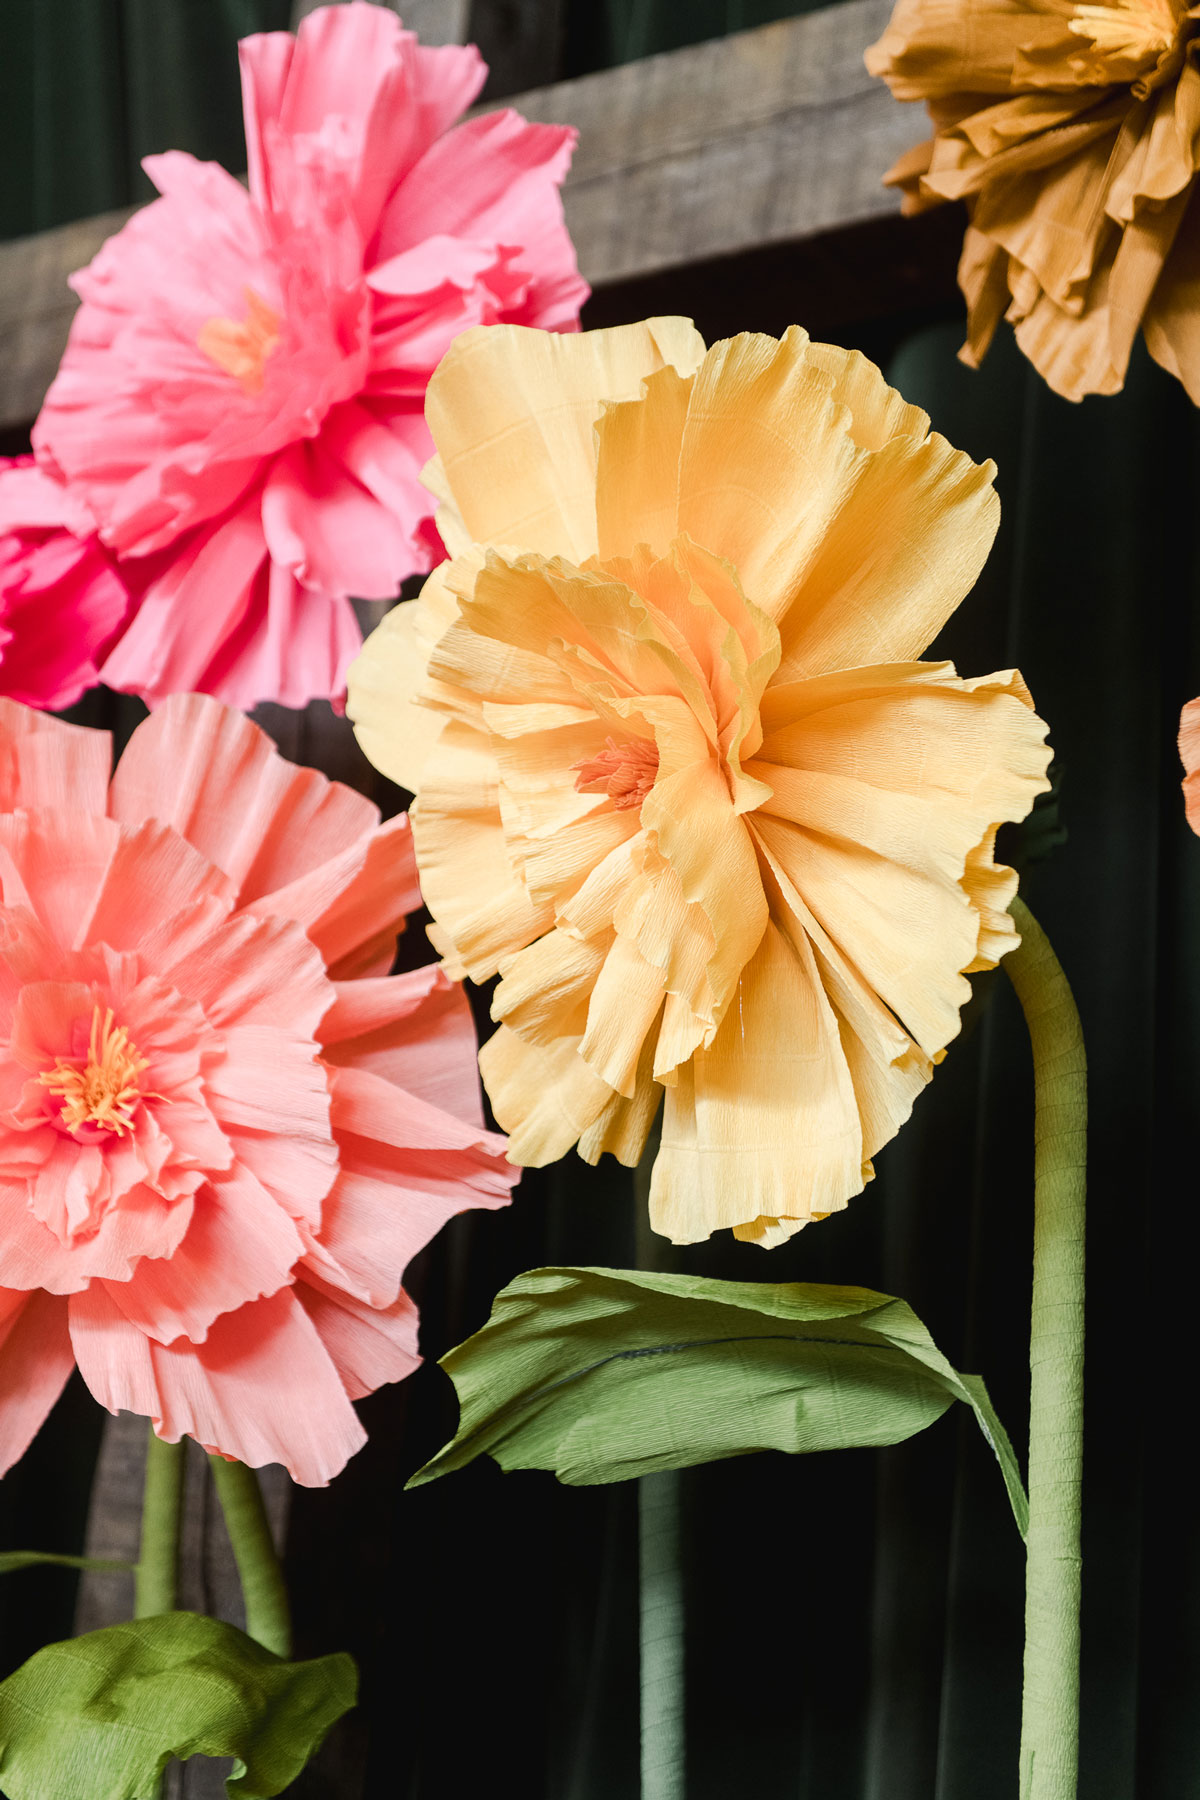
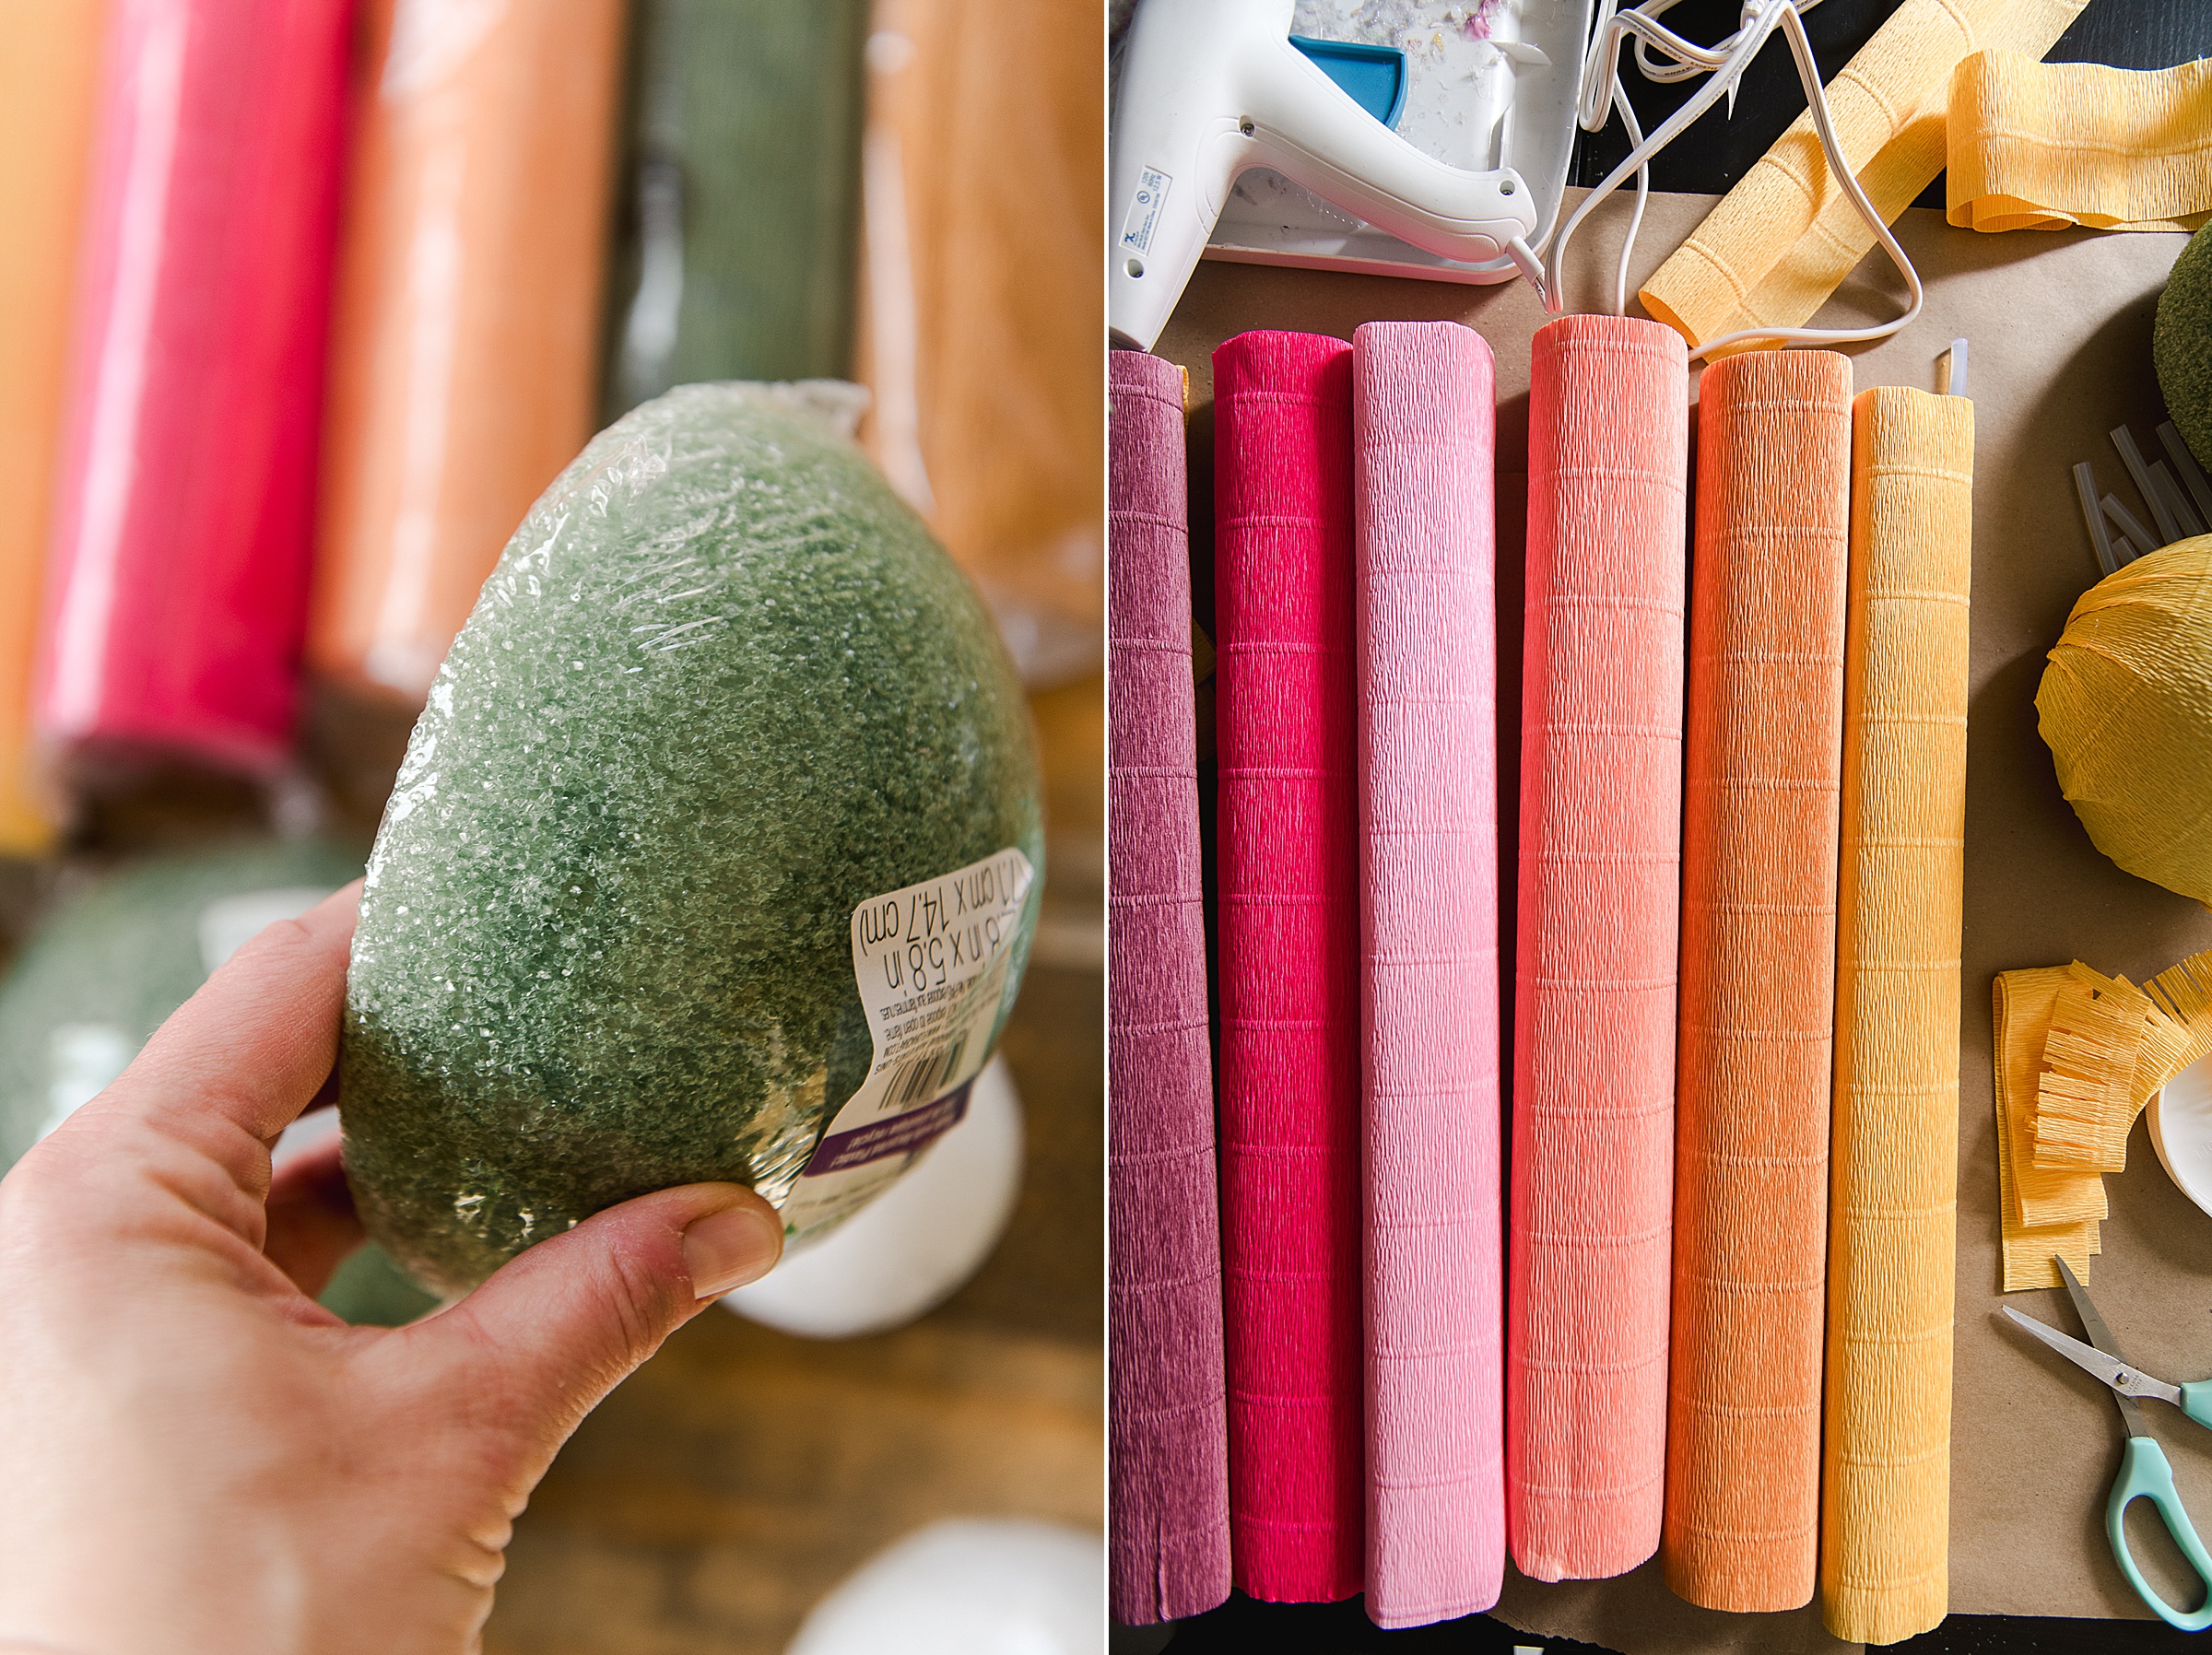
**My materials list is below. I am using Amazon links to them so that you have links if needed, but PLLLEASE keep in mind that many of these products can be purchased as your local craft stores WITH coupons (I purchased almost ALL of the supplies at Michaels and used coupons to make each flower cost about $8 total)
MATERIALS:
- Foam half balls – LINK HERE (I used 6″ and 8″ – just make sure NOT to get floral foam….those fall apart)
- Some Italian Crepe paper – LINK HERE – I used 1 roll of 20″ x 4 feet per flower and some odds and ends of alternating colors for each flower too (yellow center, small amount of a darker color in the center, etc)
- 18 gauge floral stem wire (basically wire strips not wire in the round spool) – LINK HERE
- Your fave glue gun and glue sticks (lots) 🙂
- 3/4″ PVC pipe – I used 1 10′ long pipe per 2 flowers – I cut in 2 pieces
- 3/4″ PVC pipe couplers – LINK HERE
- Plant trays – LINK HERE
- Quick Dry cement (I used Cement-All brand from my local hardware store)
INSTRUCTIONS:
- Begin cutting out your pedals – I did this by rolling out my Italian Crepe paper and cutting out a strip that is the WIDTH of what I wanted the pedals to be. I’m guessing mine were about 9″ or so wide (perhaps a bit less) TIP: Make sure the “lines” on your crepe paper go from bottom to top vertically, NOT horizontally….you want the “grain” to be up and down so that the pedals are stretchable.
Fold this strip in half.
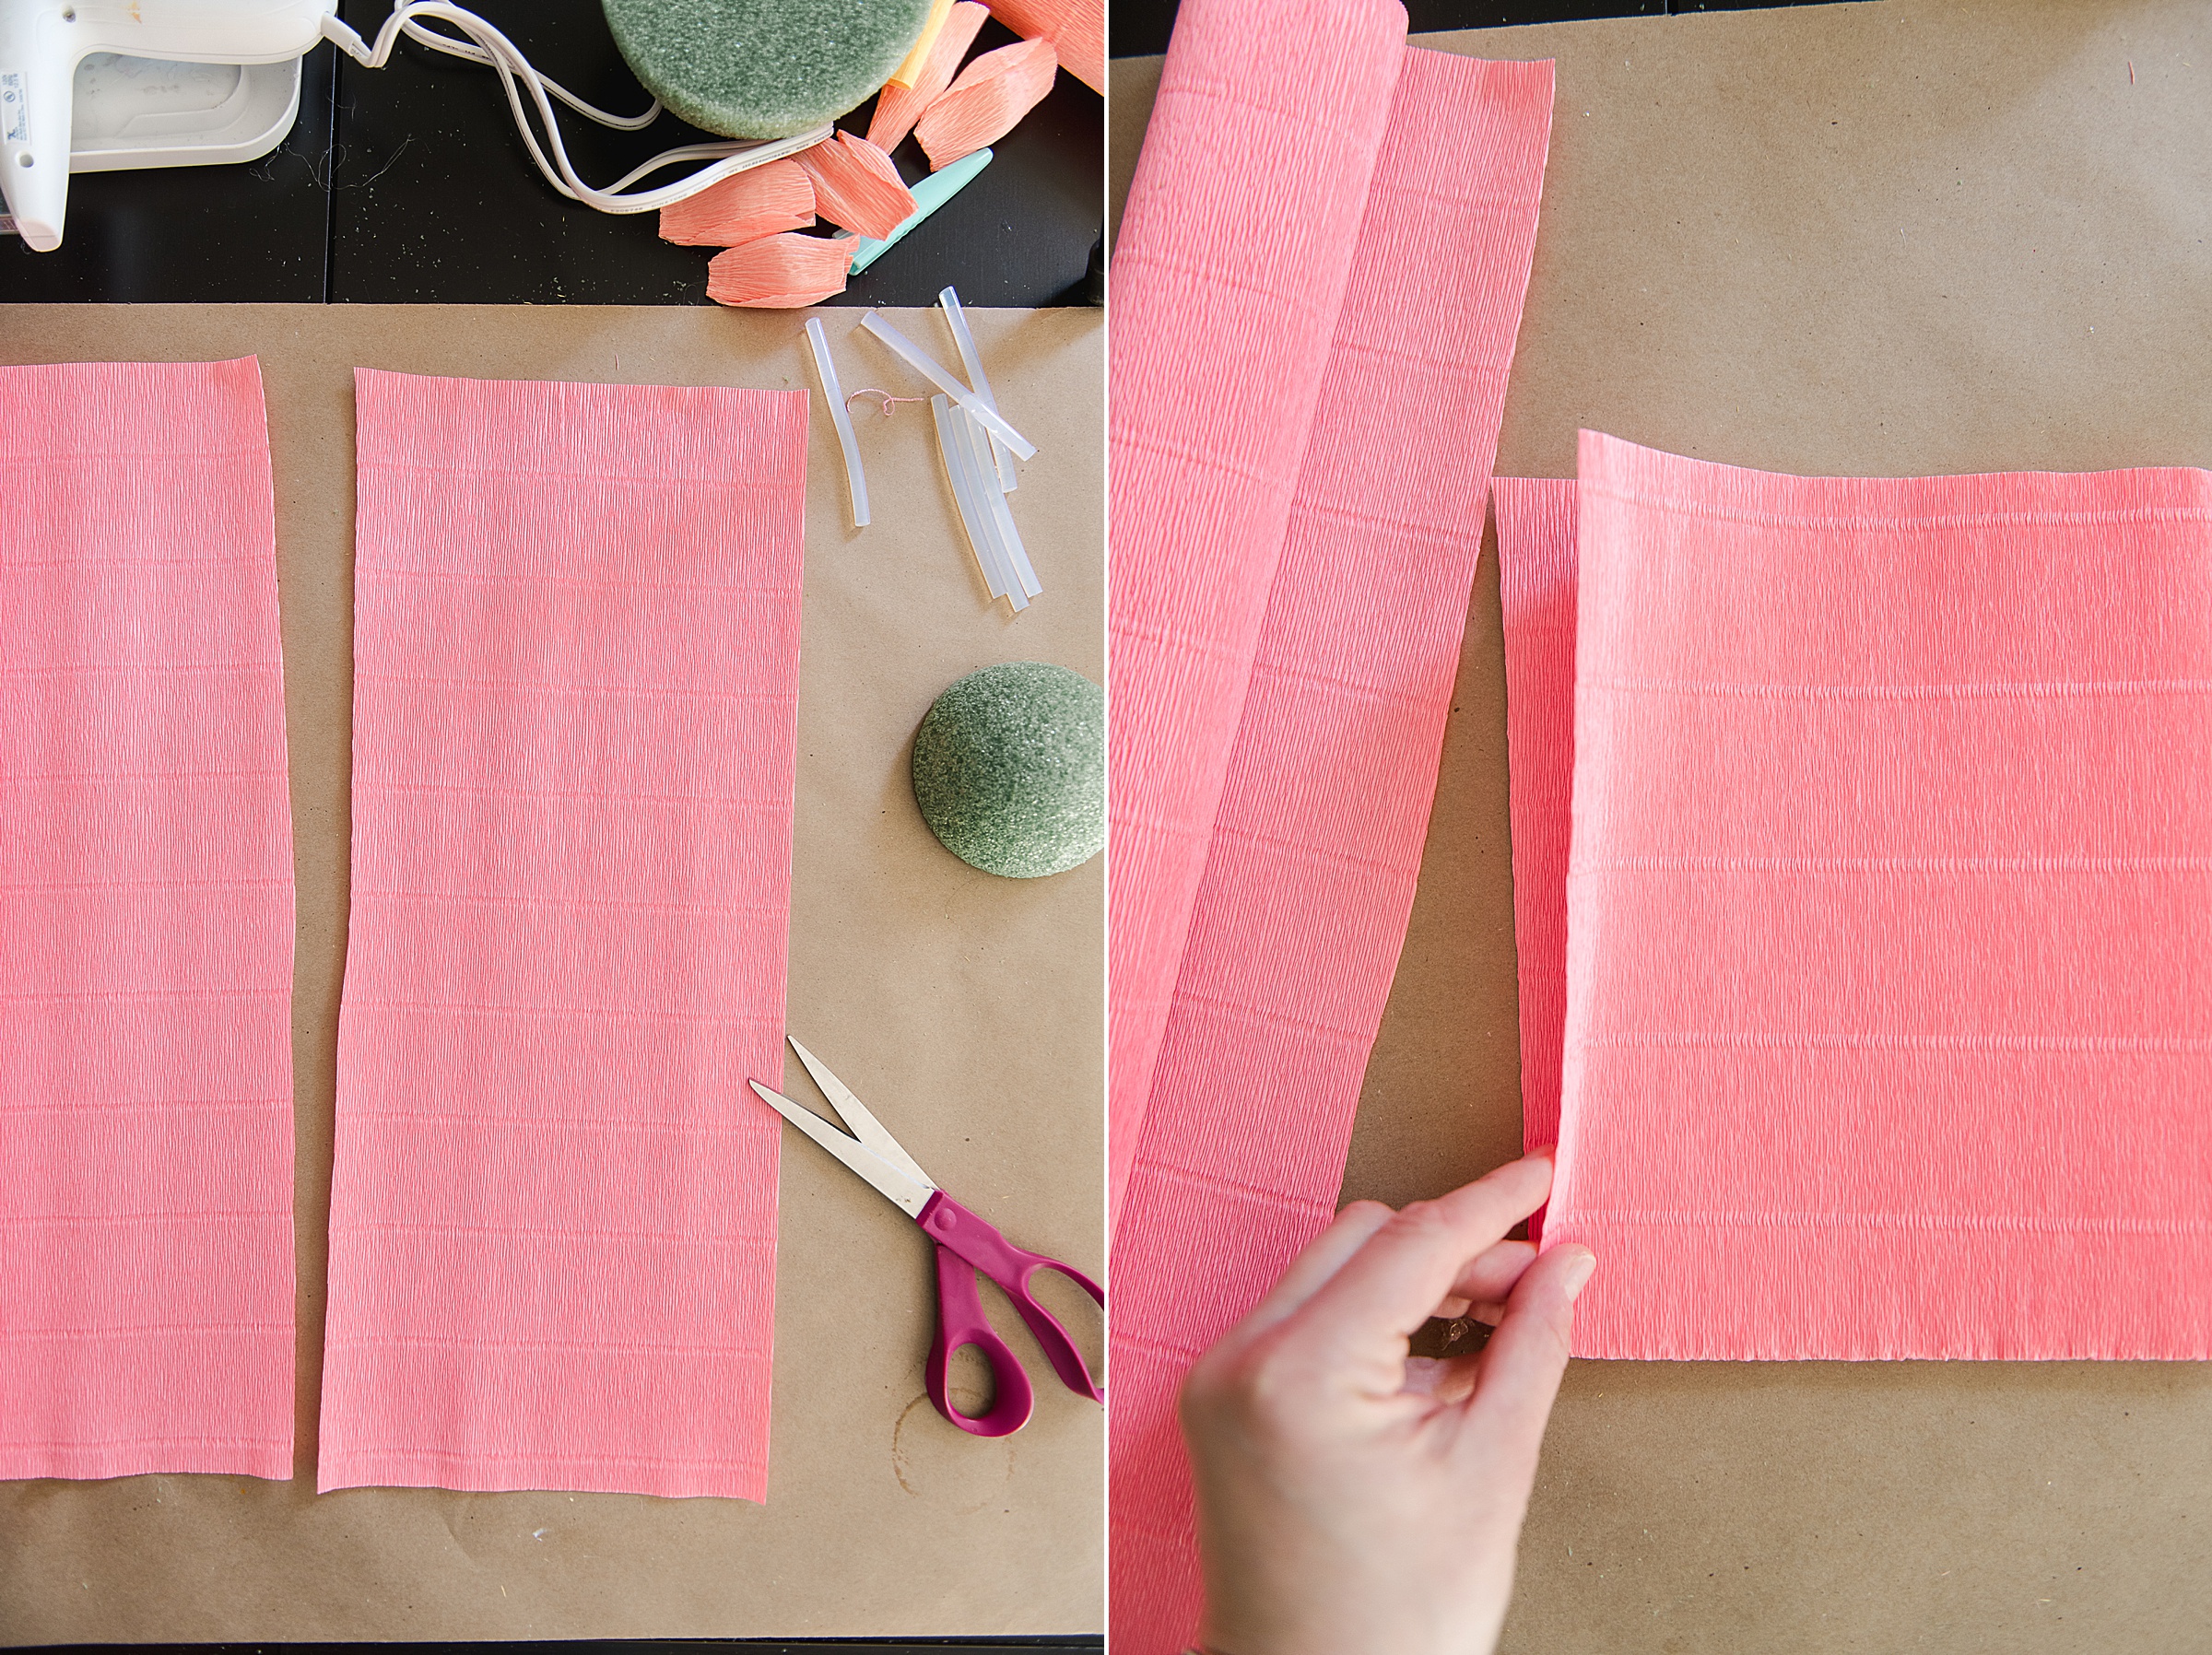
Then cut out a “pedal shape” with the fold at the bottom of your pedal shape.
I then “refolded” the pedals to be “off center” so that they looked like they overlapped each other a bit more.
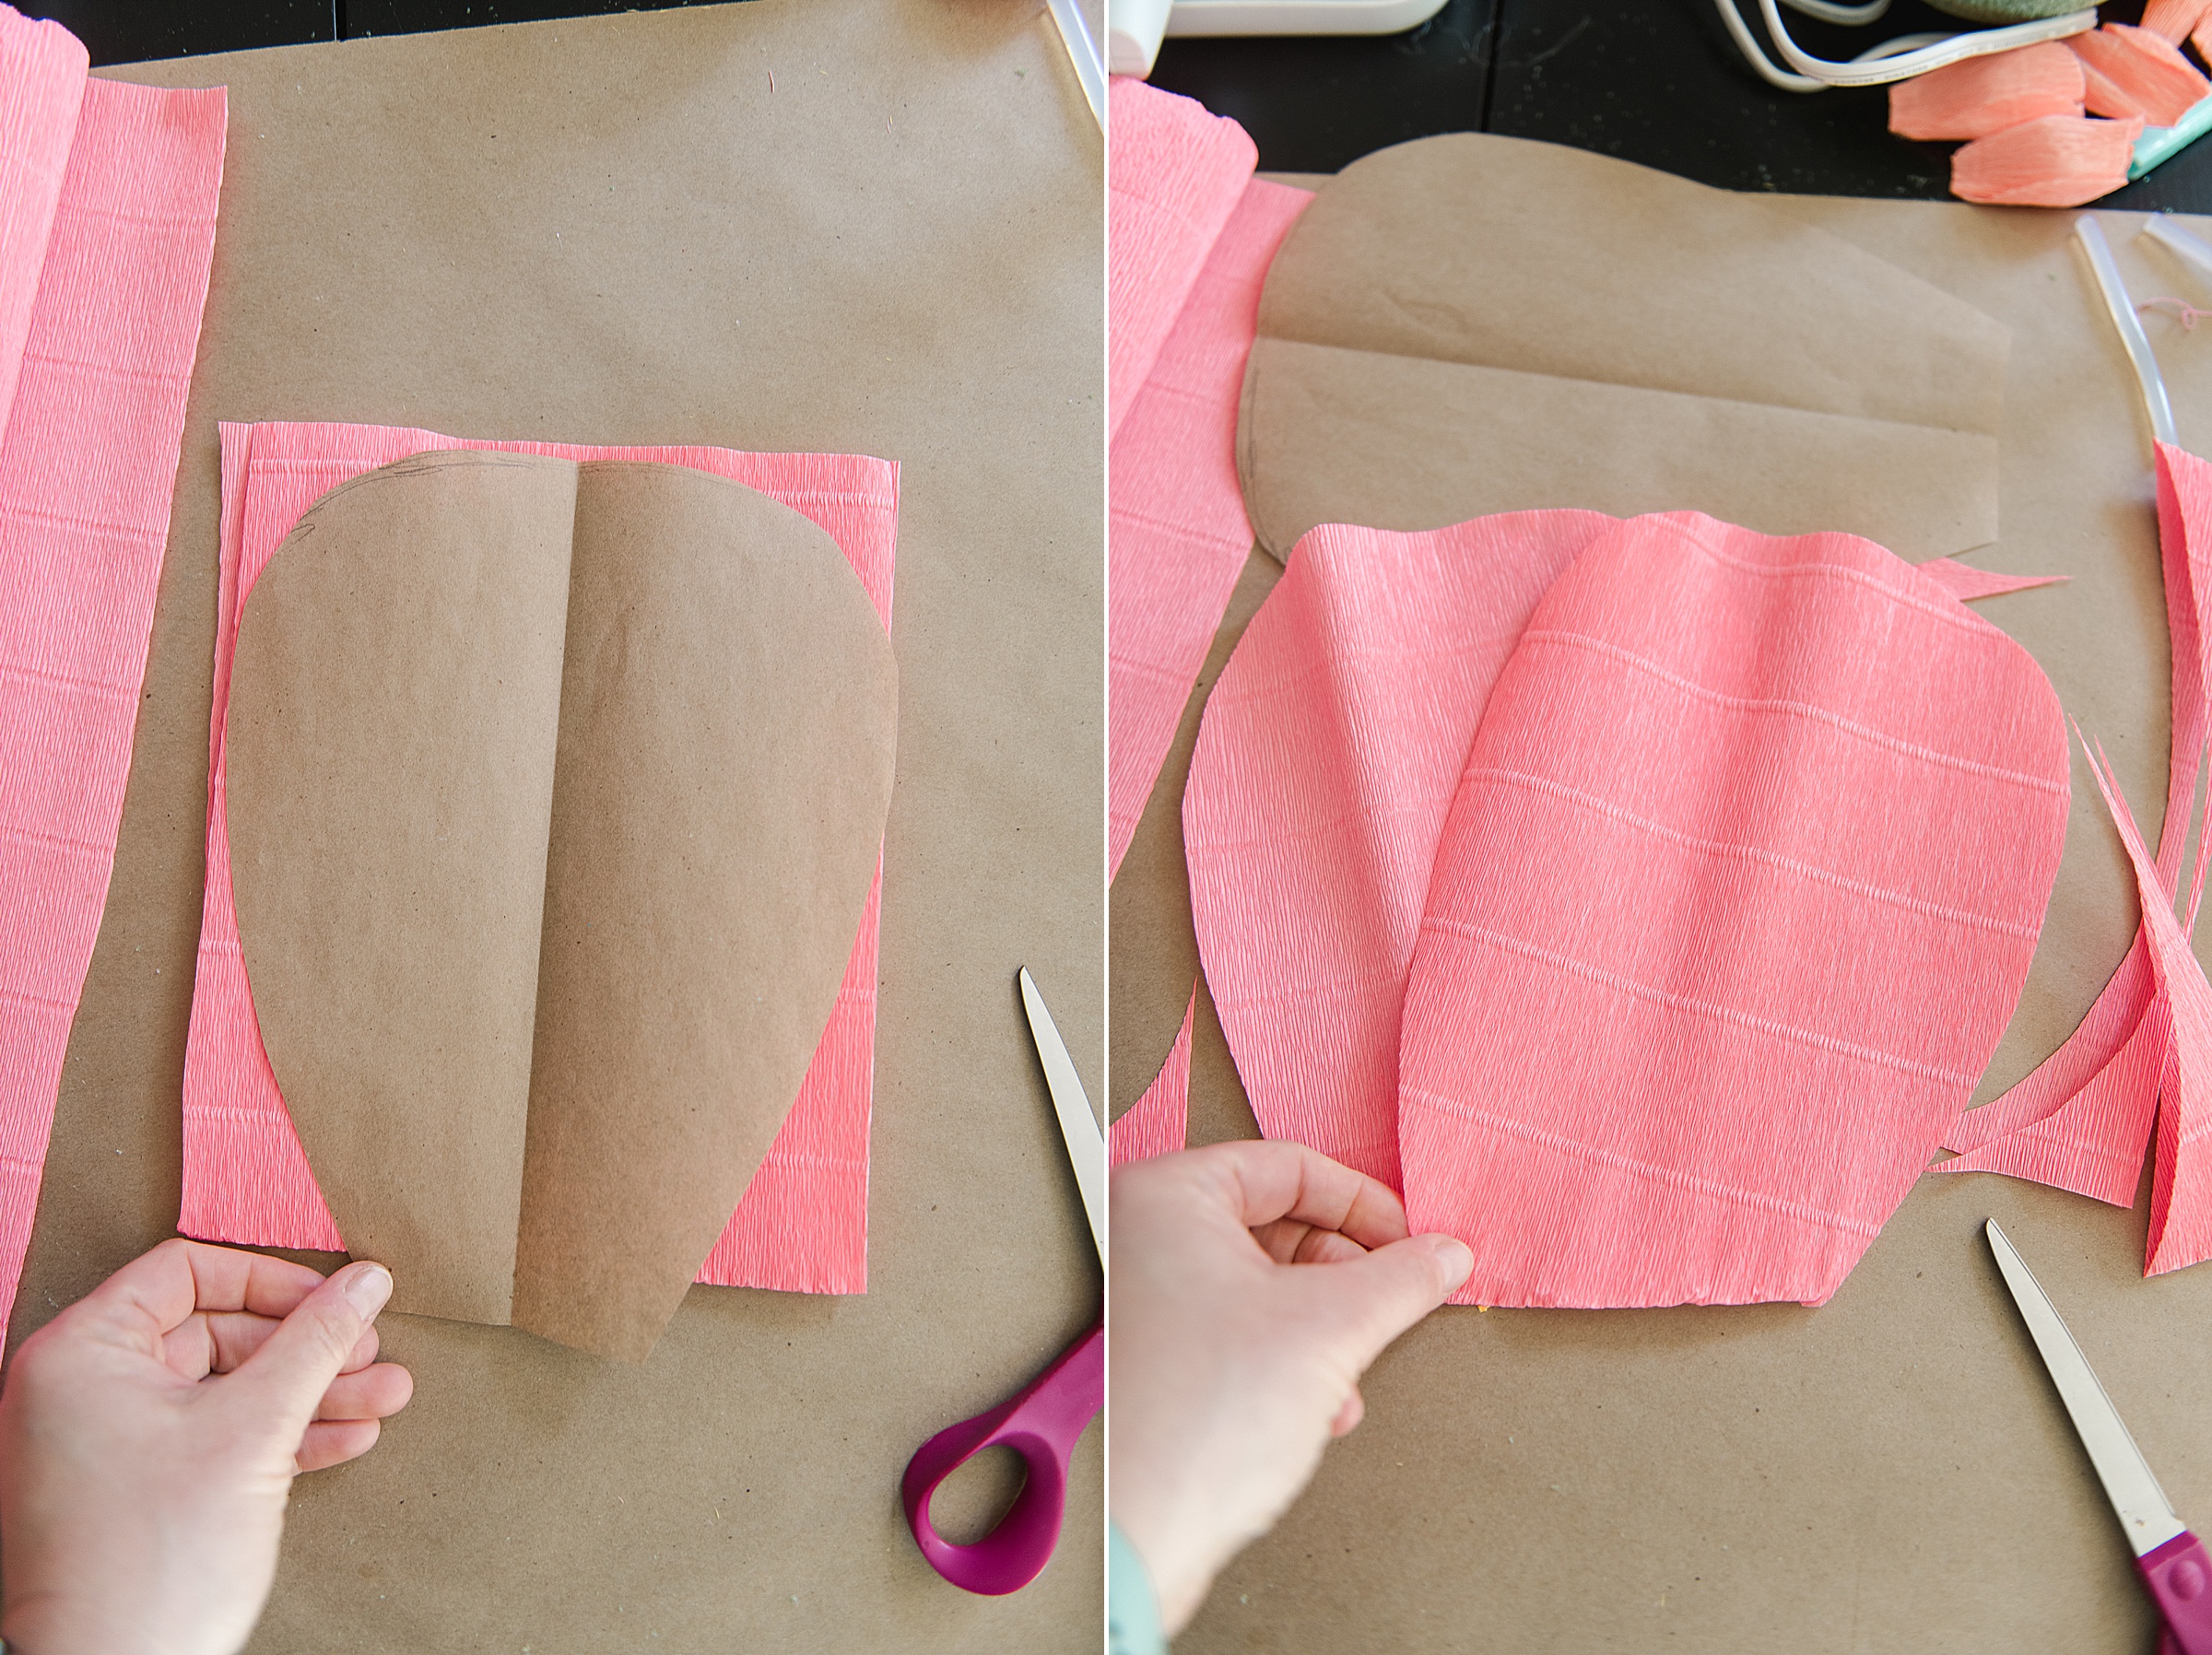
Run a bead of glue along the bottom fold and begin to “scrunch” up the bottom of each pedal.
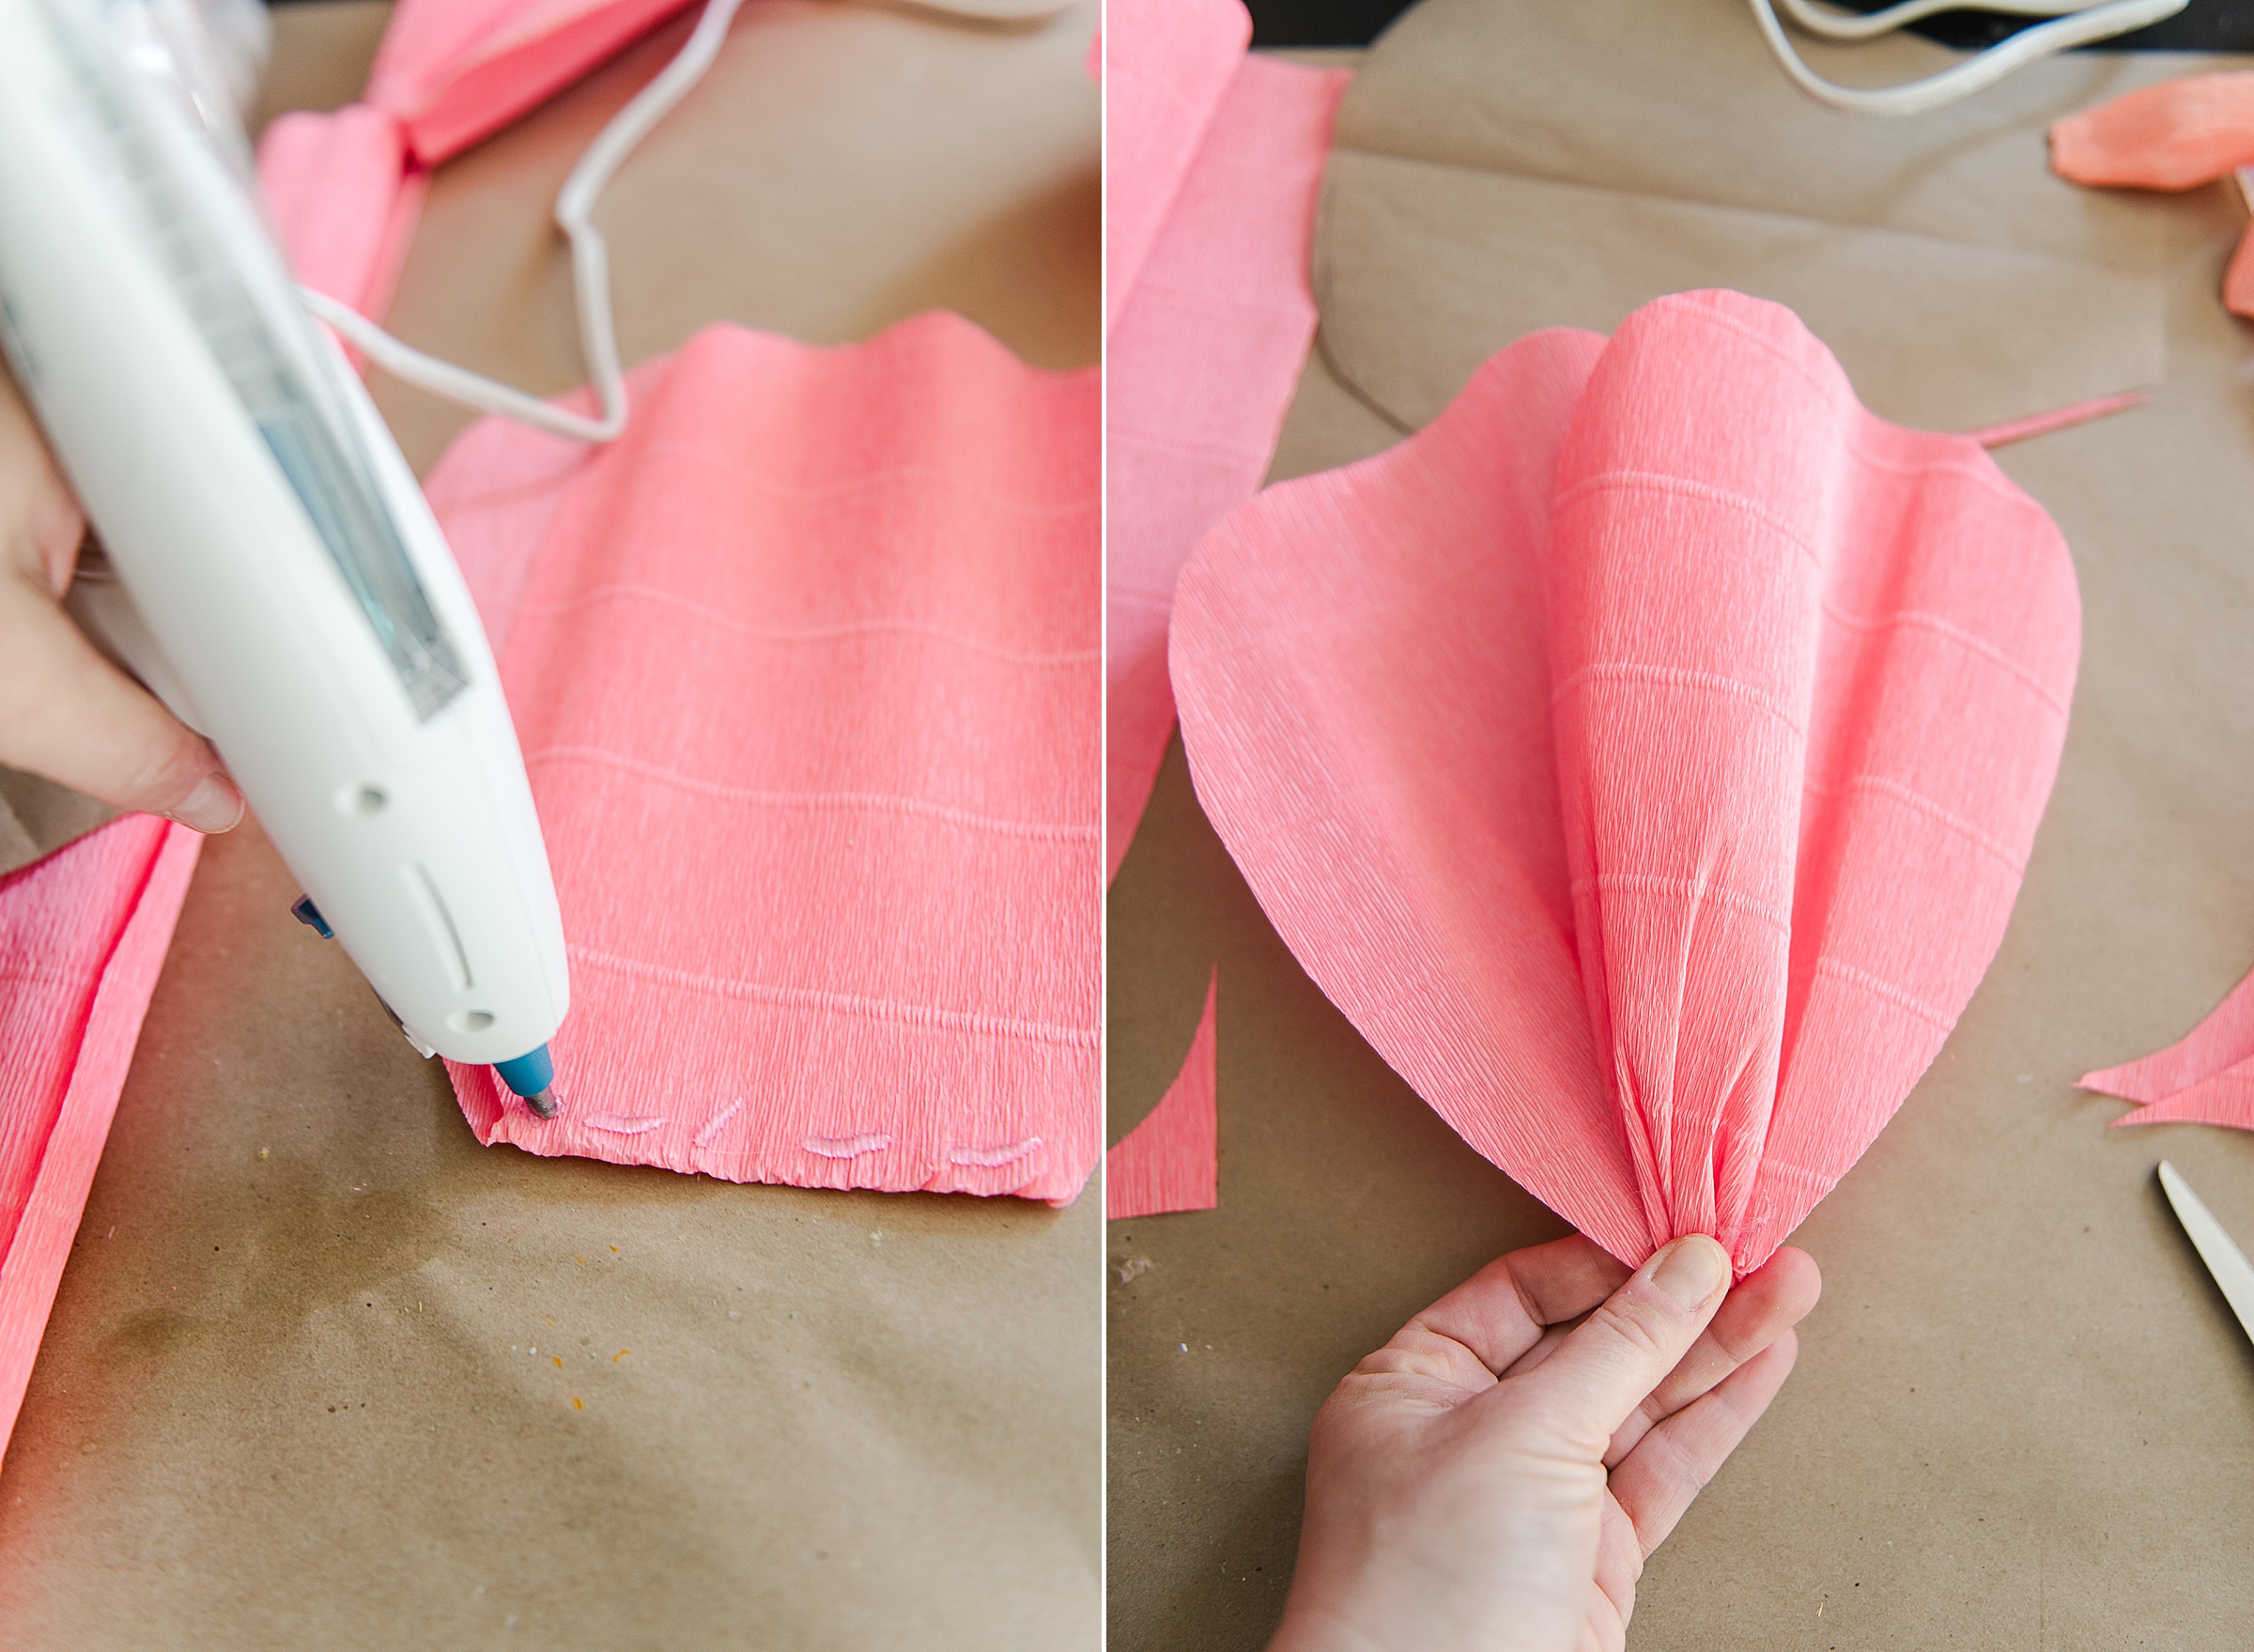
Repeat this cutting/folding/scrunching process for ALL sizes of your pedals. I did 3 sizes of pedals – about 6 large ones per flower, about 6 medium sized ones and then a handful of smaller ones.
You can lay your pedals on your foam as you go to figure out just how many you want/need for each flower depending on the size of your foam ball.
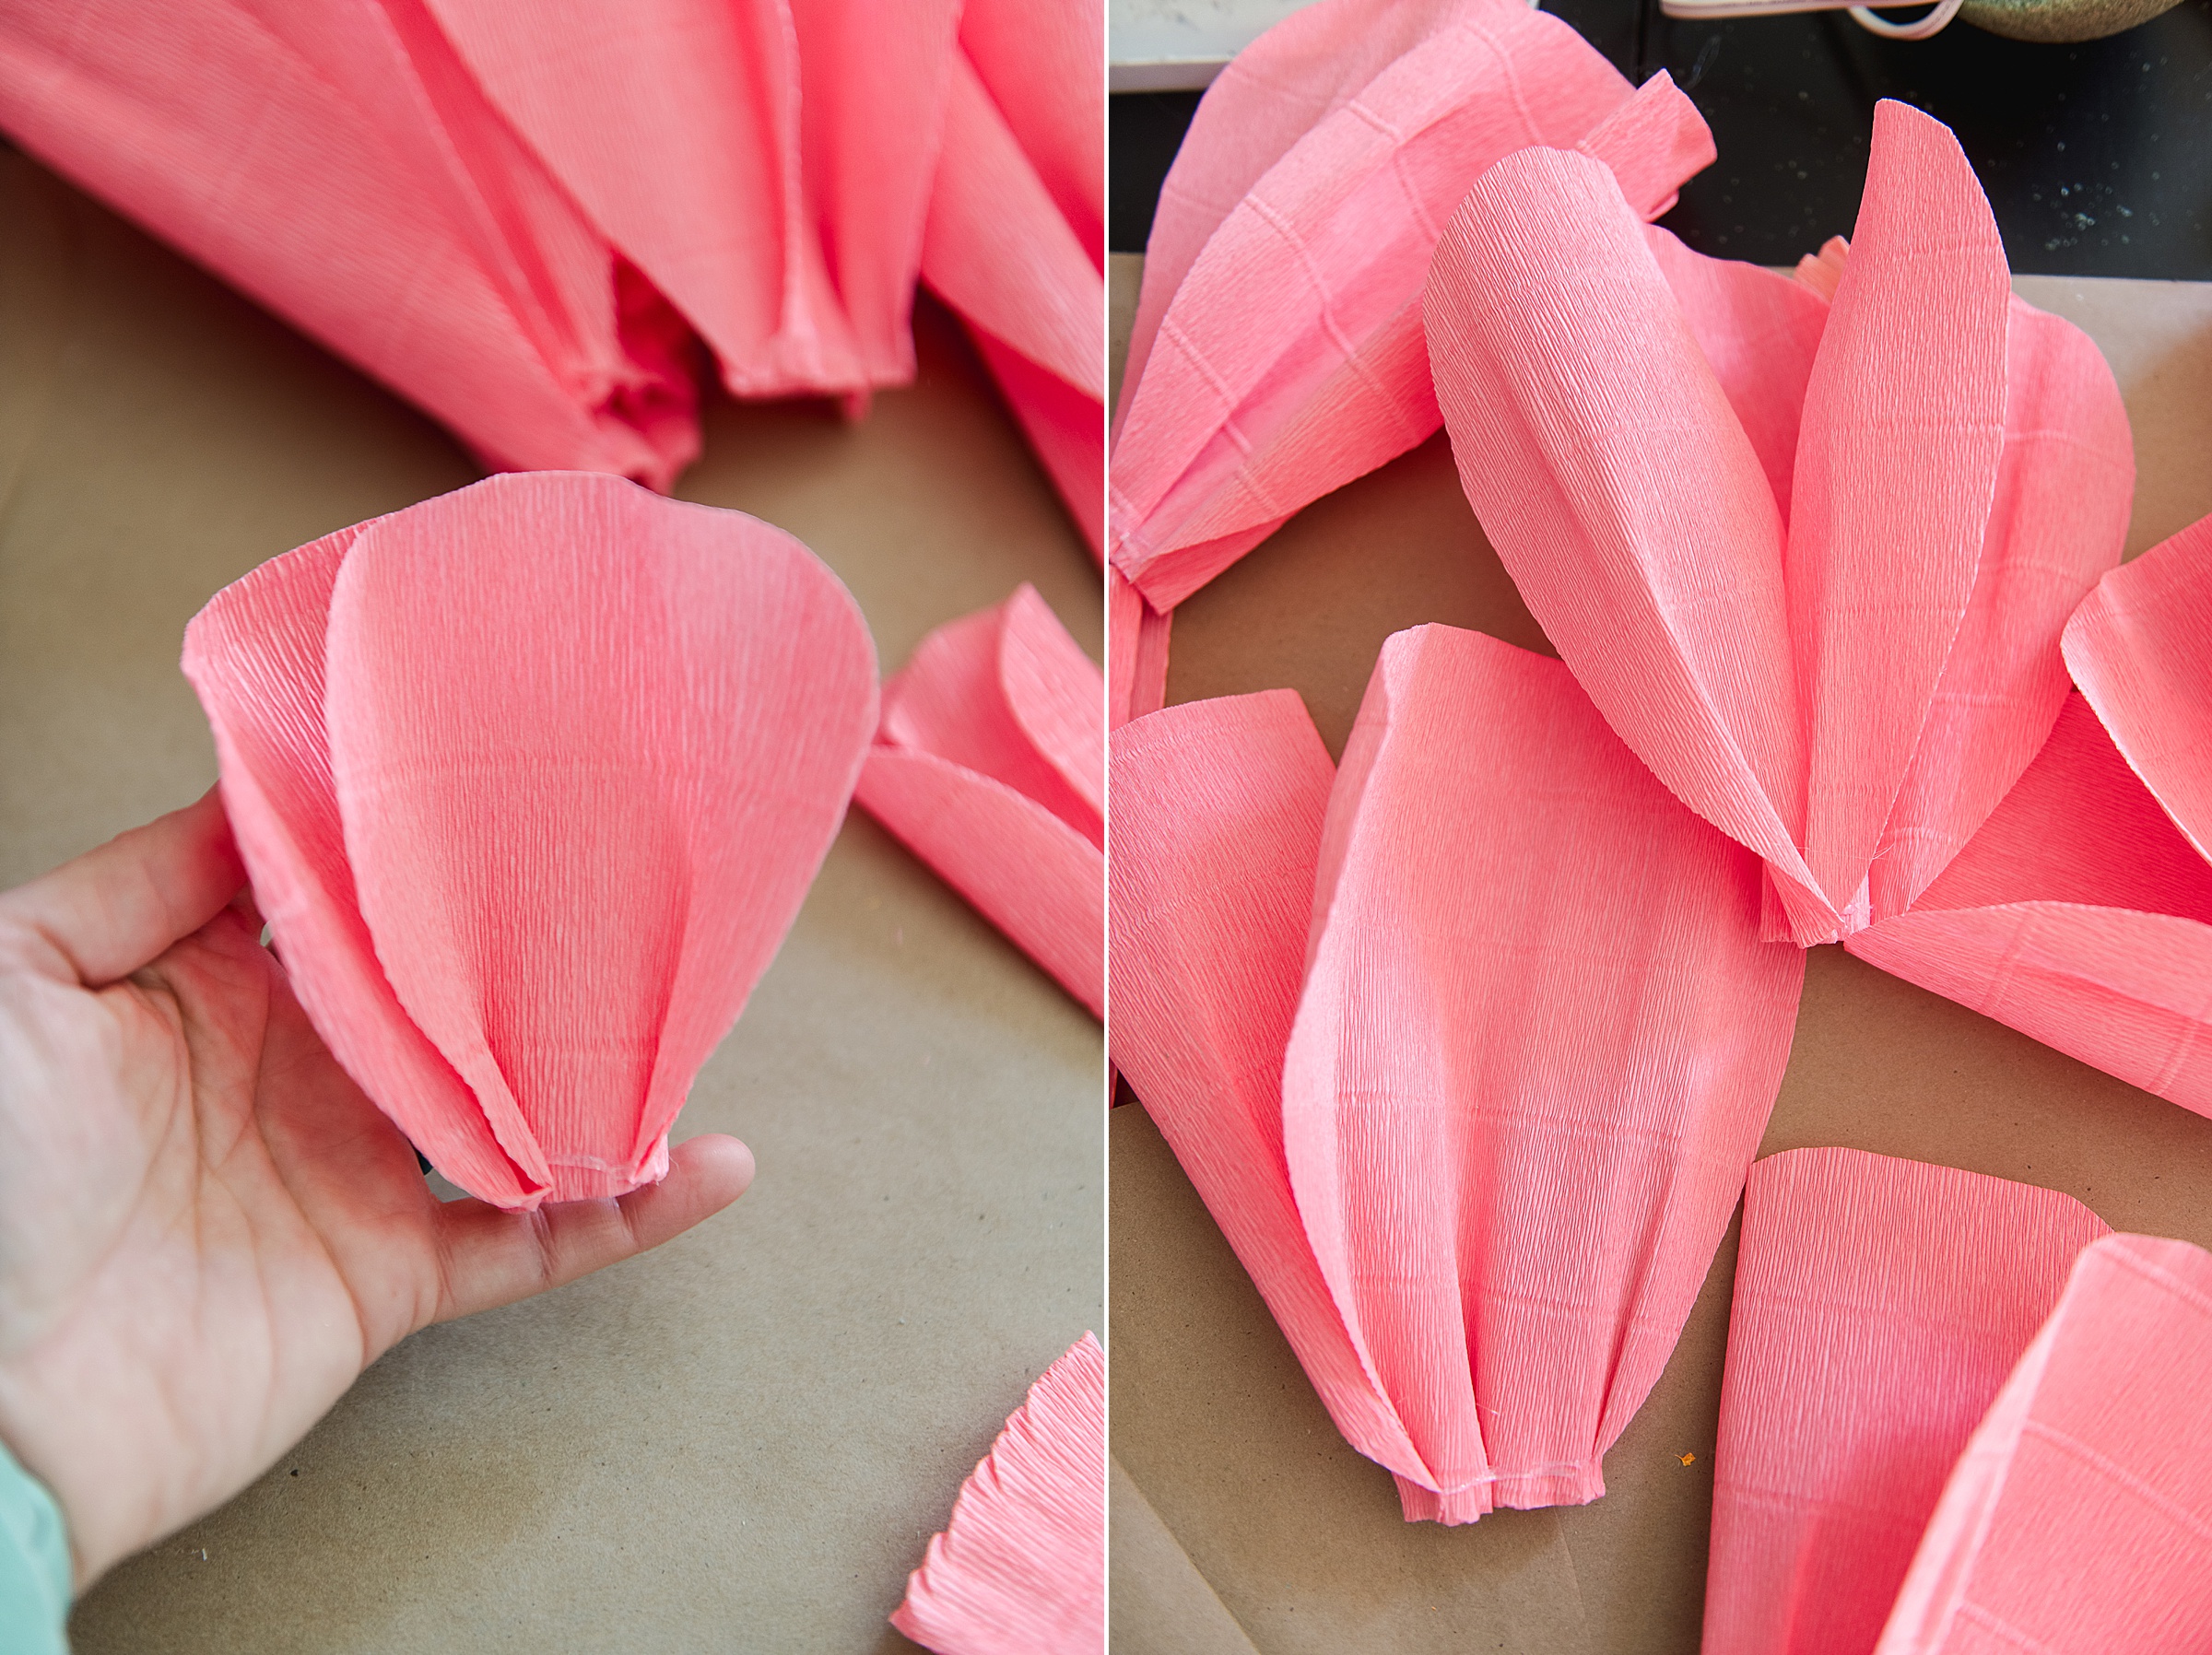
2. Glue your pedals to your foam starting with your larger pedals on the outer most edge and keep working inward, overlapping the previous “row” of pedals as you work inward. My 3 rows of pedals still left some space in the inner-most center so I made some of the stamens and “growing flower pedals from the center.
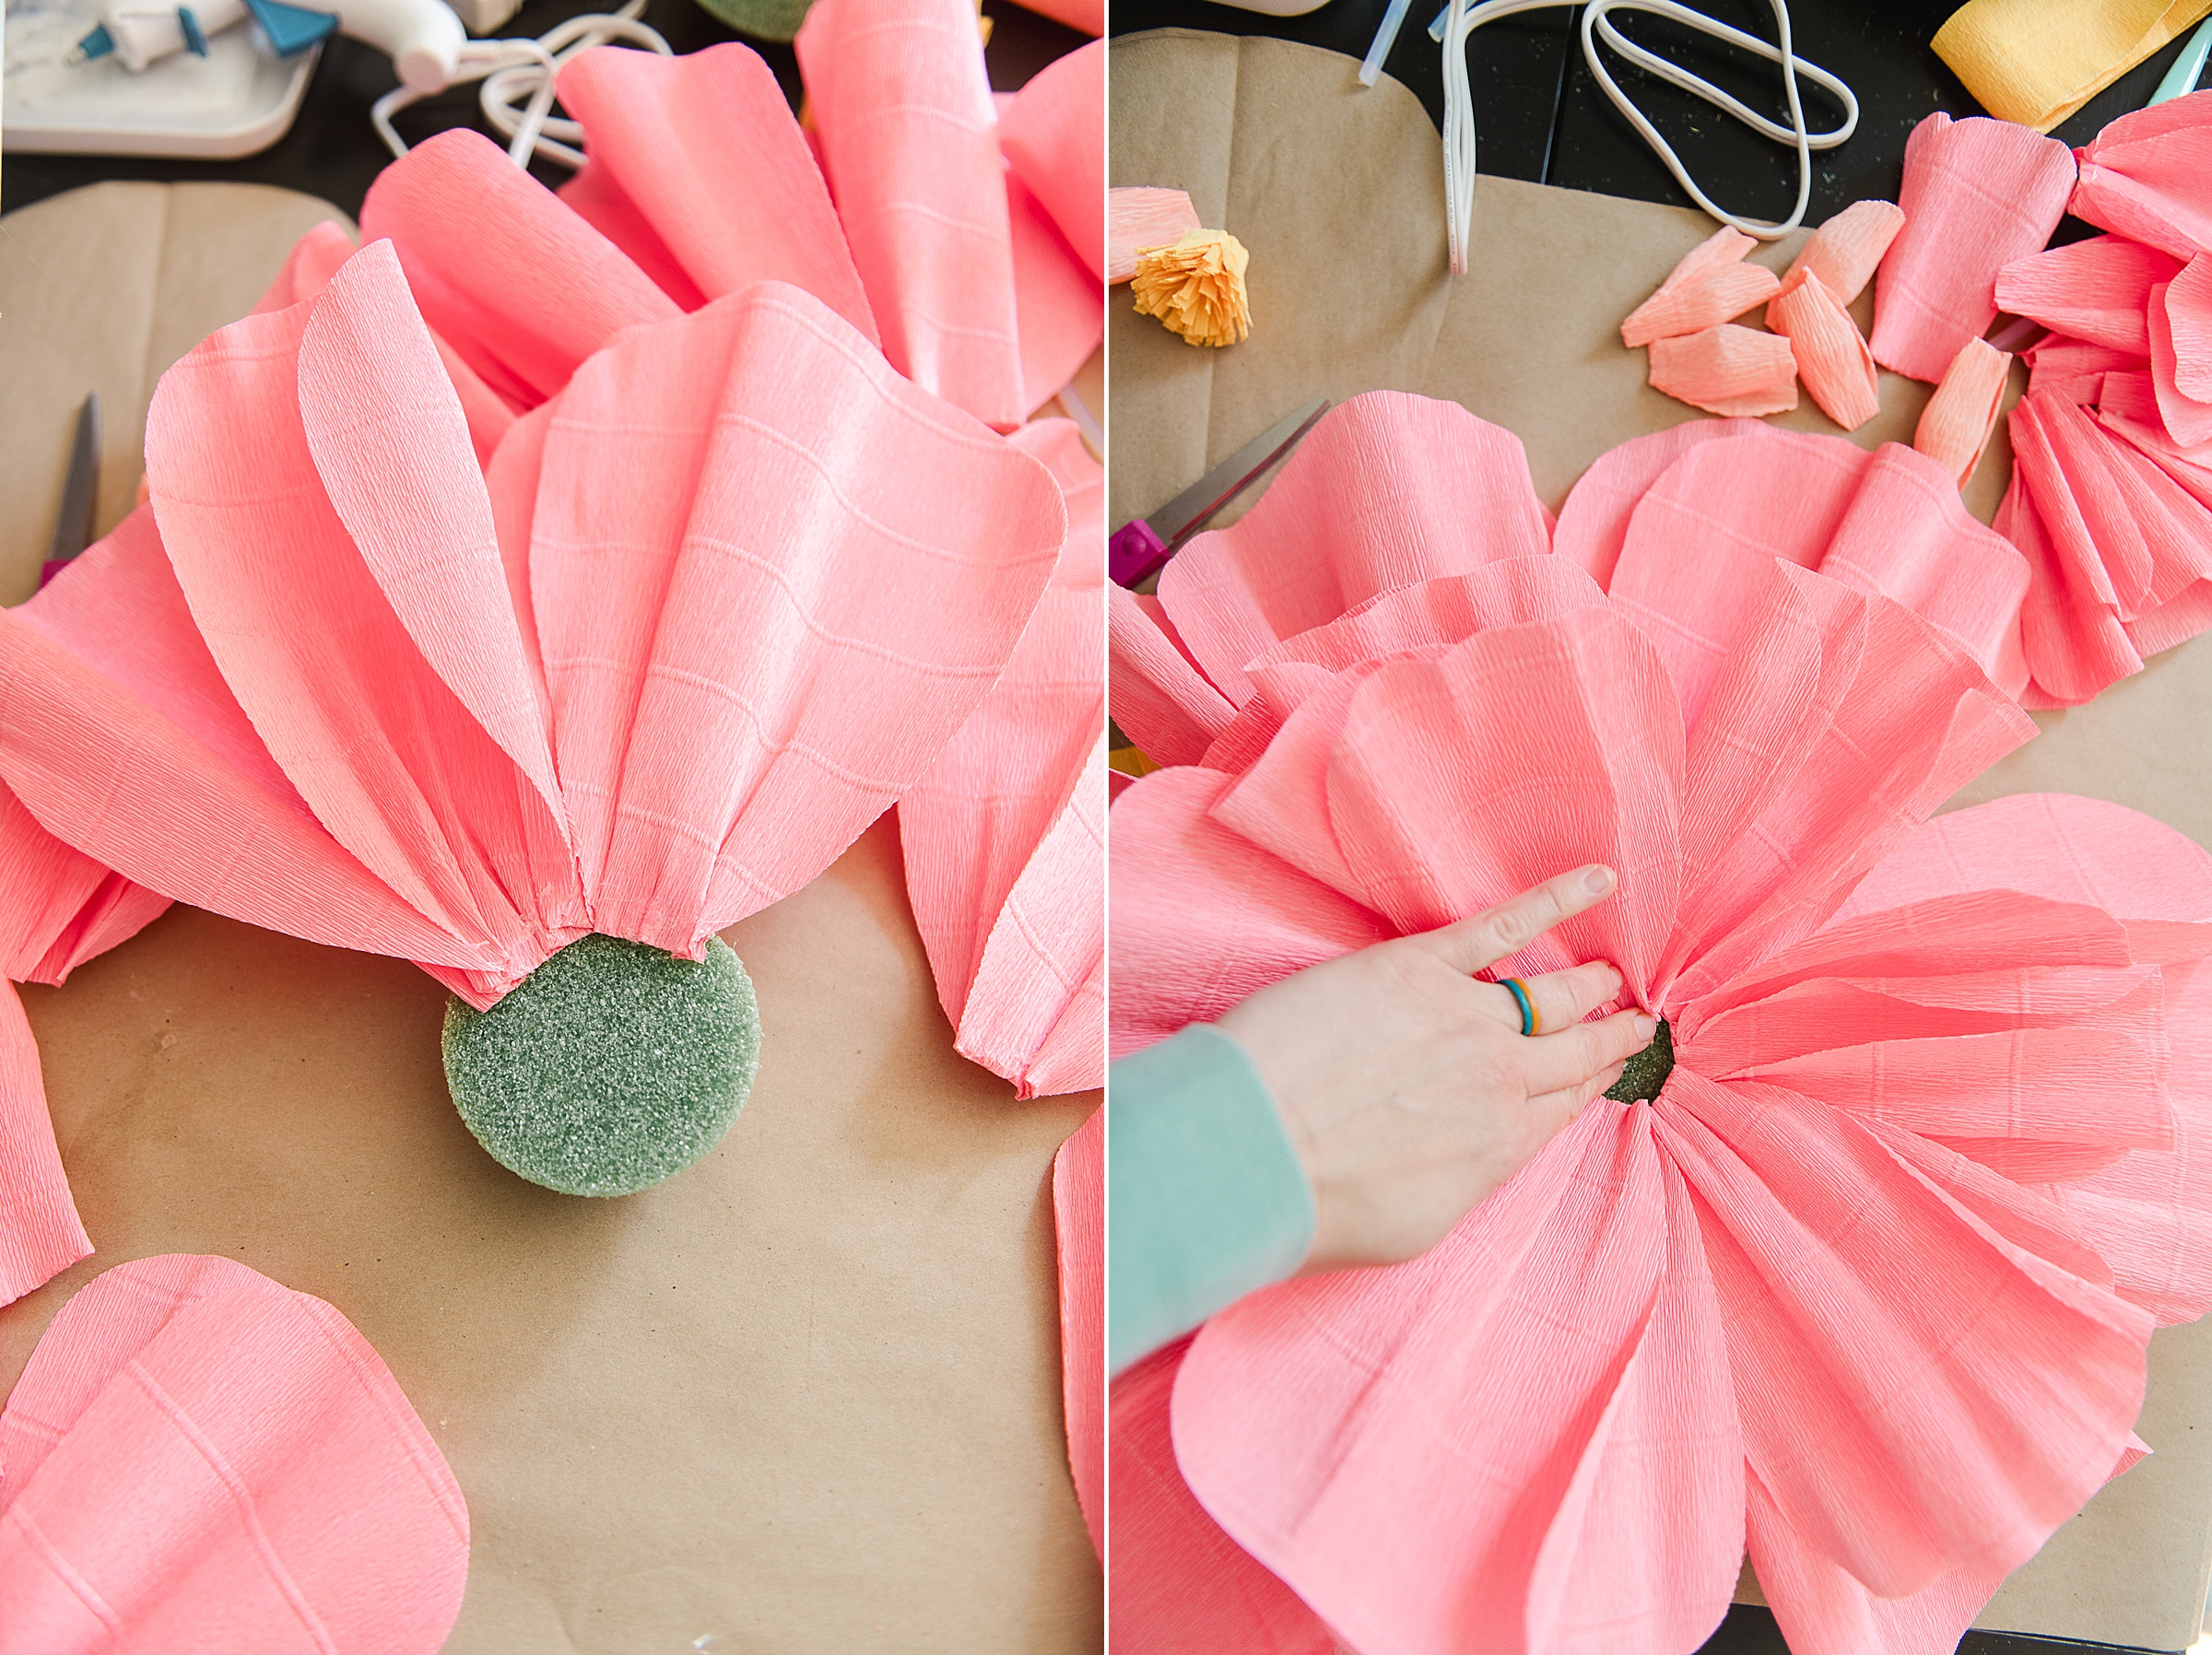
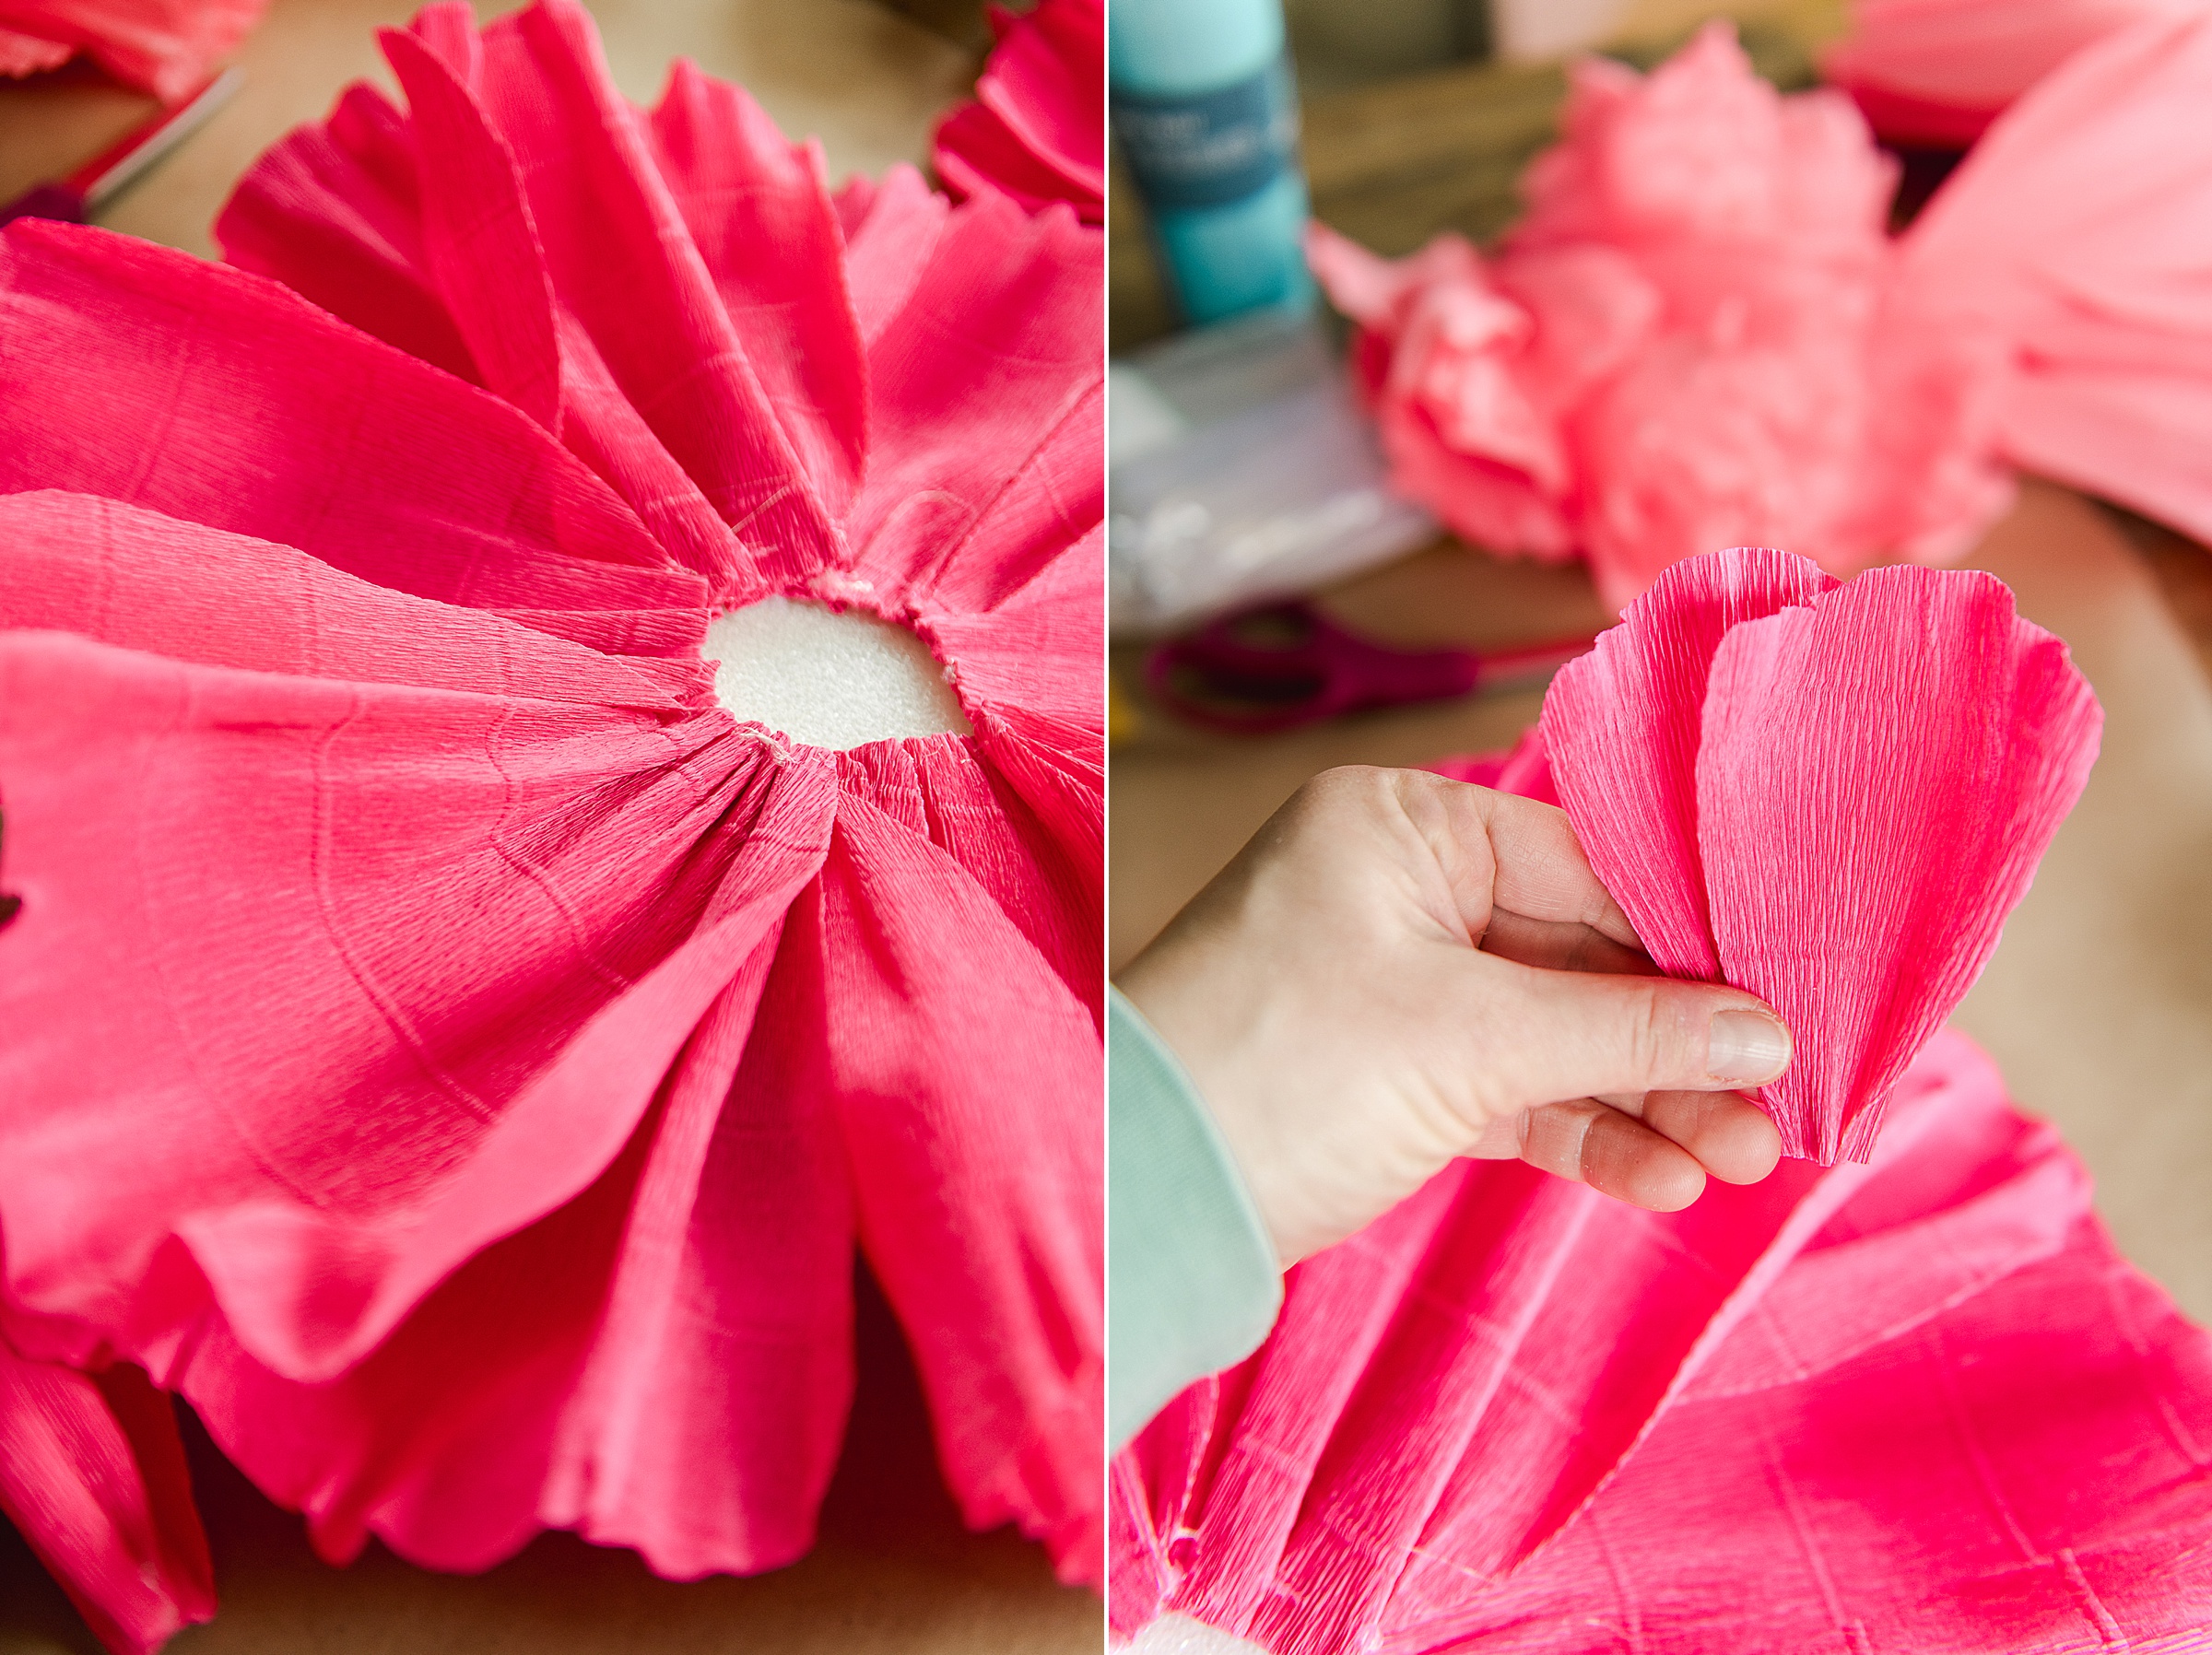
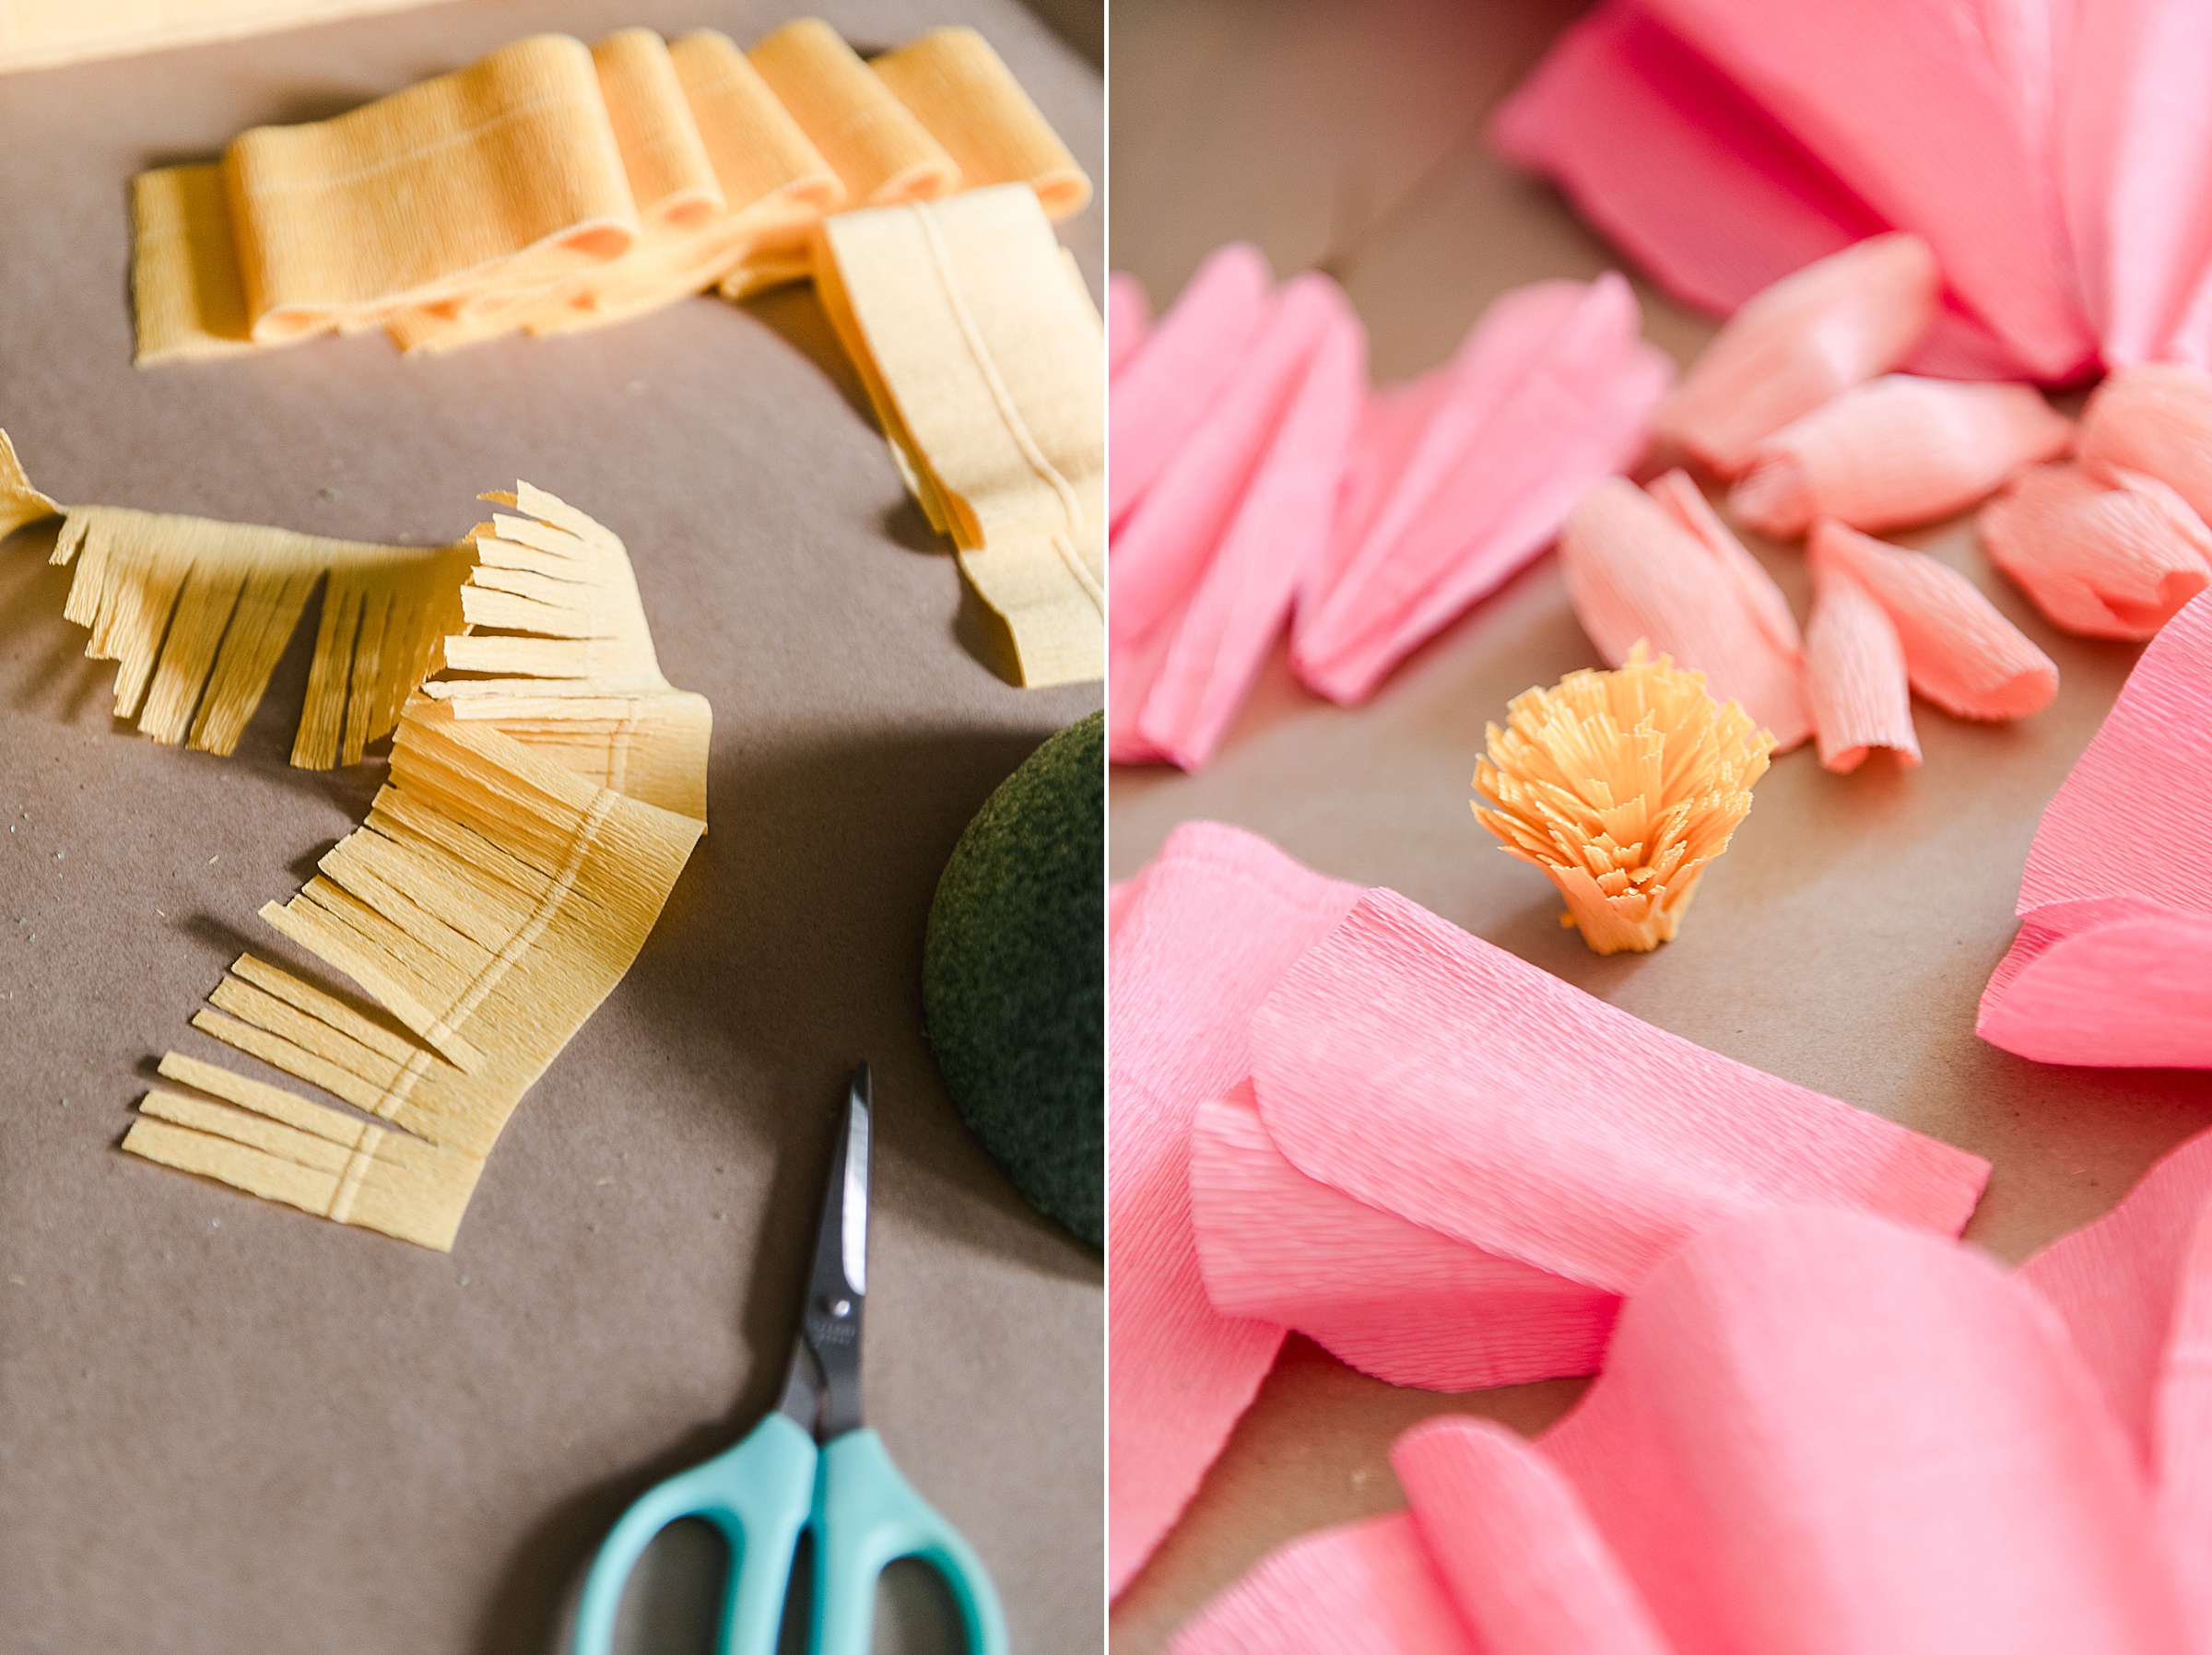
So, start making the inner most circle in the middle of the flower – I cut slits in a longer row of yellow crepe paper and then began to roll it up. Then made even smaller pedals (like the large pedals) out of some scraps of crepe paper. The inner most part of the flower was layered with the yellow rolled “stamens” and the smaller growing flower pedals.
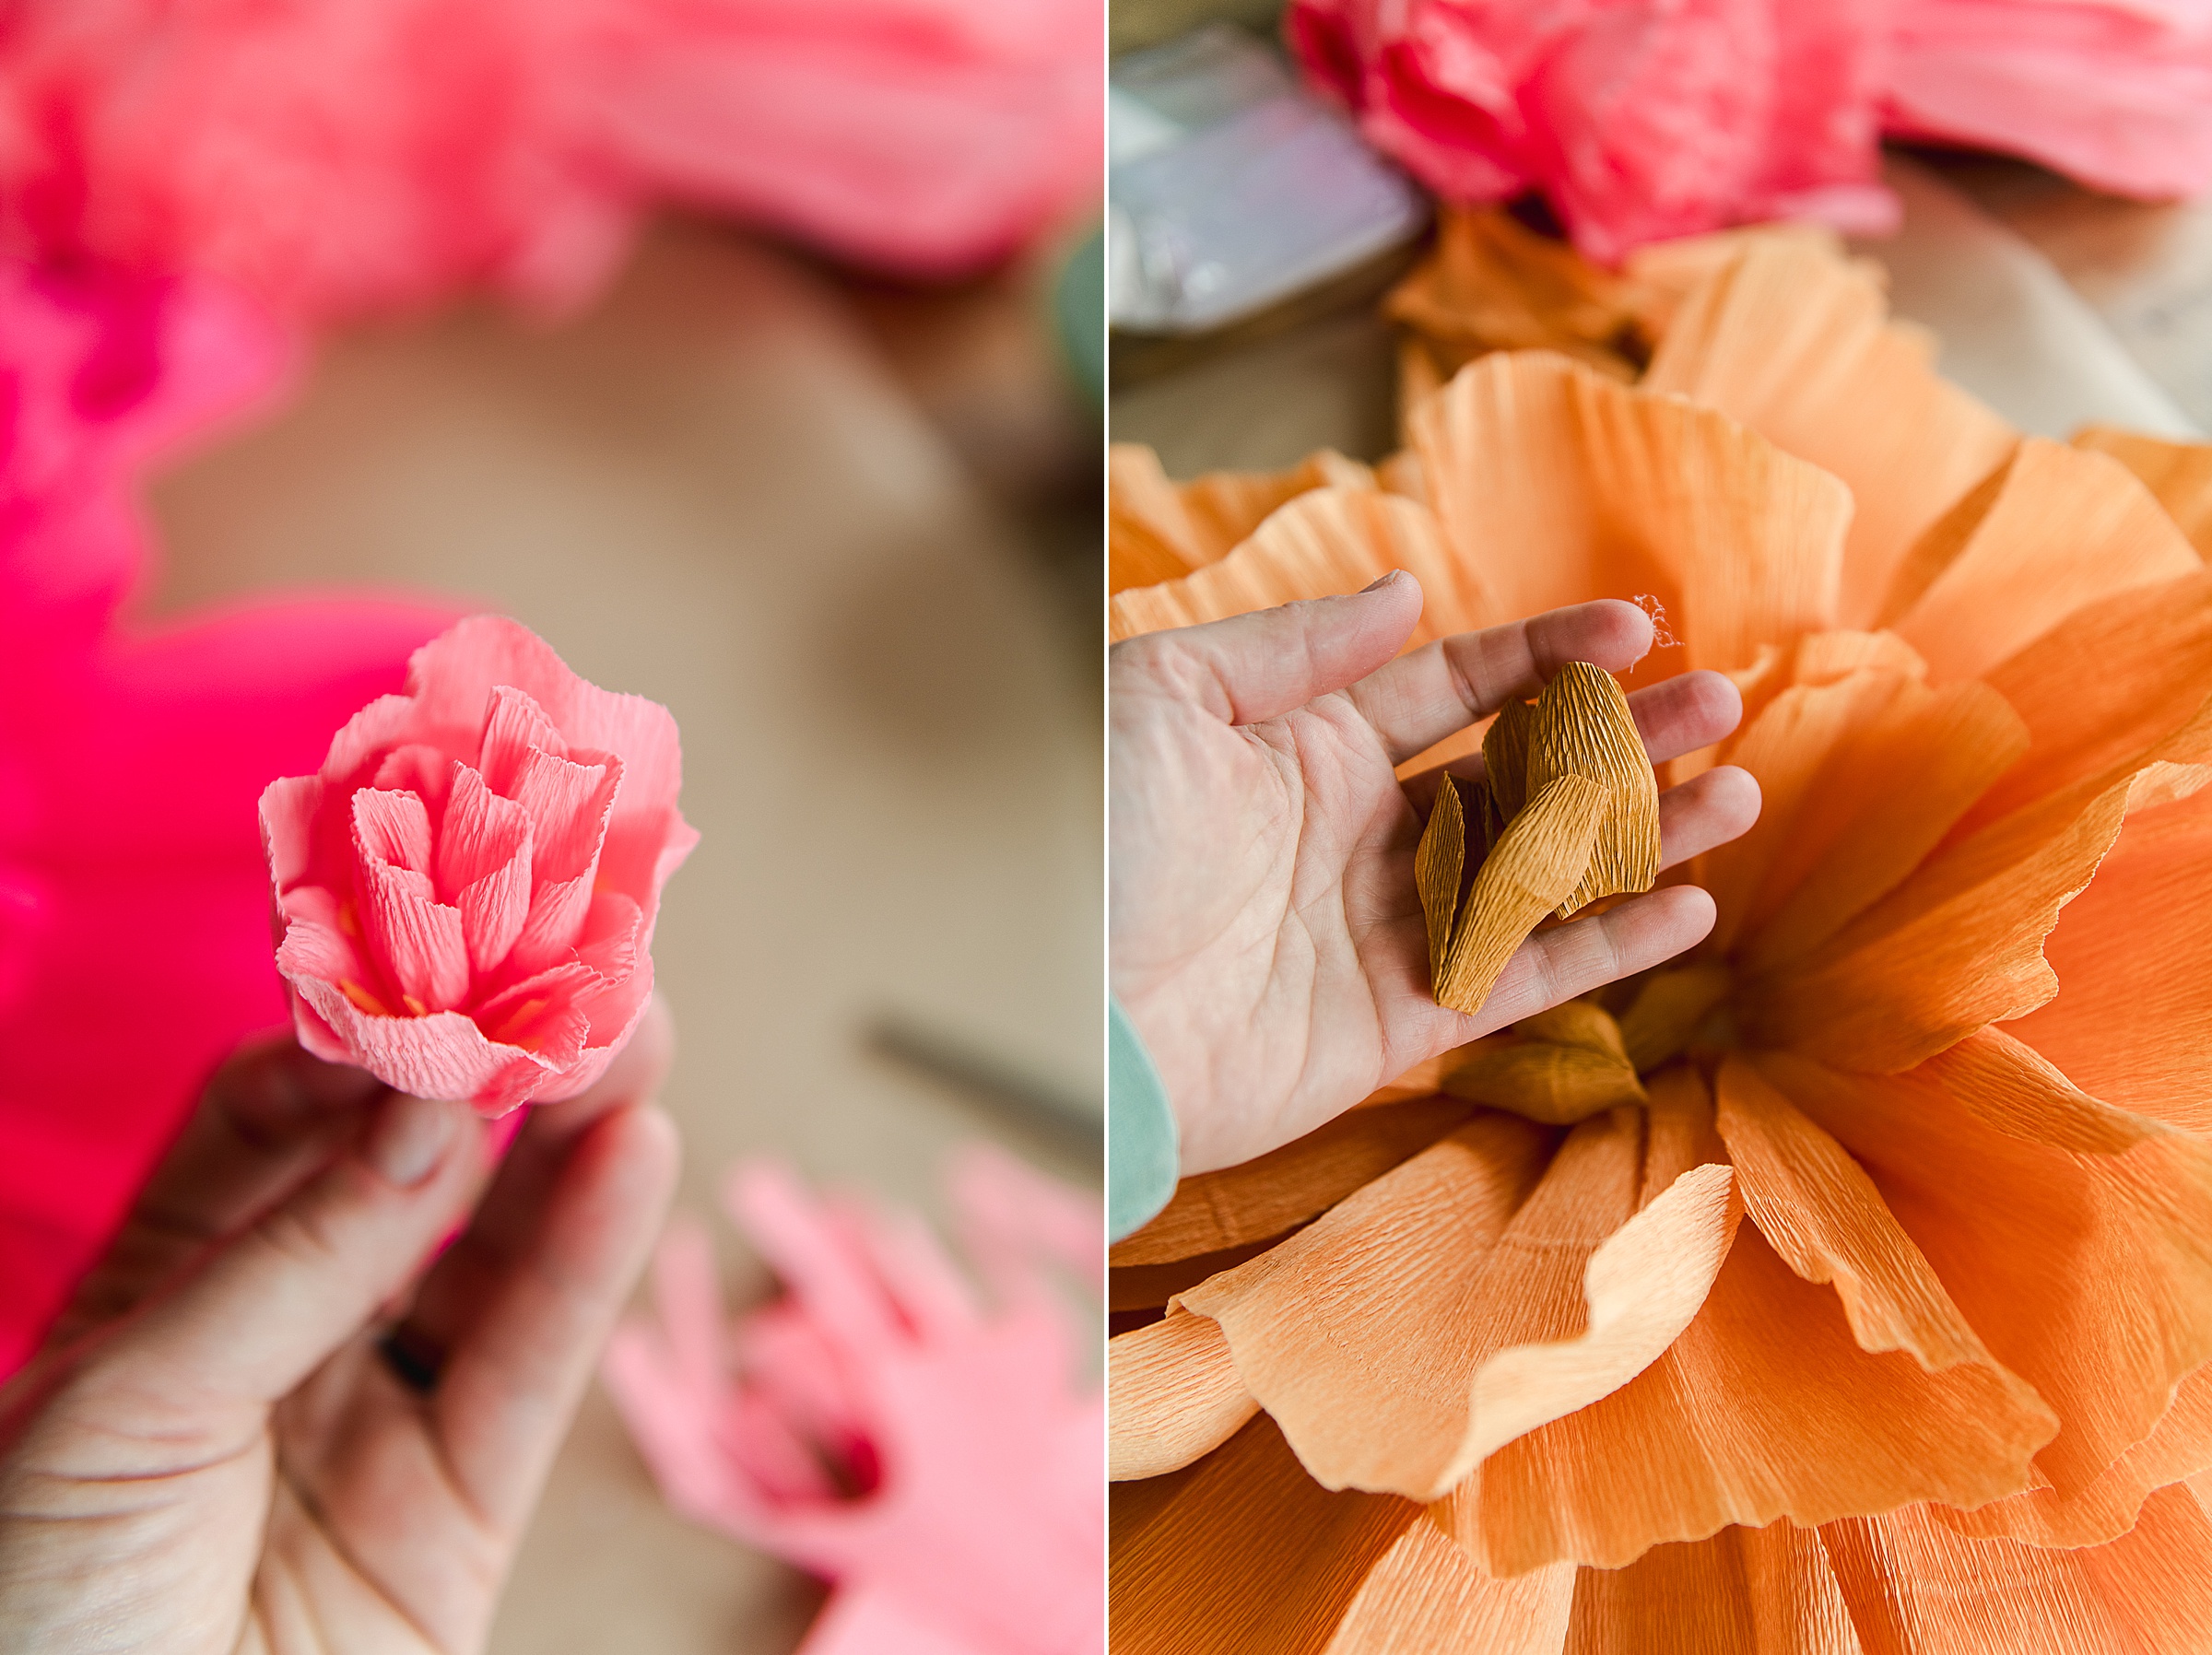
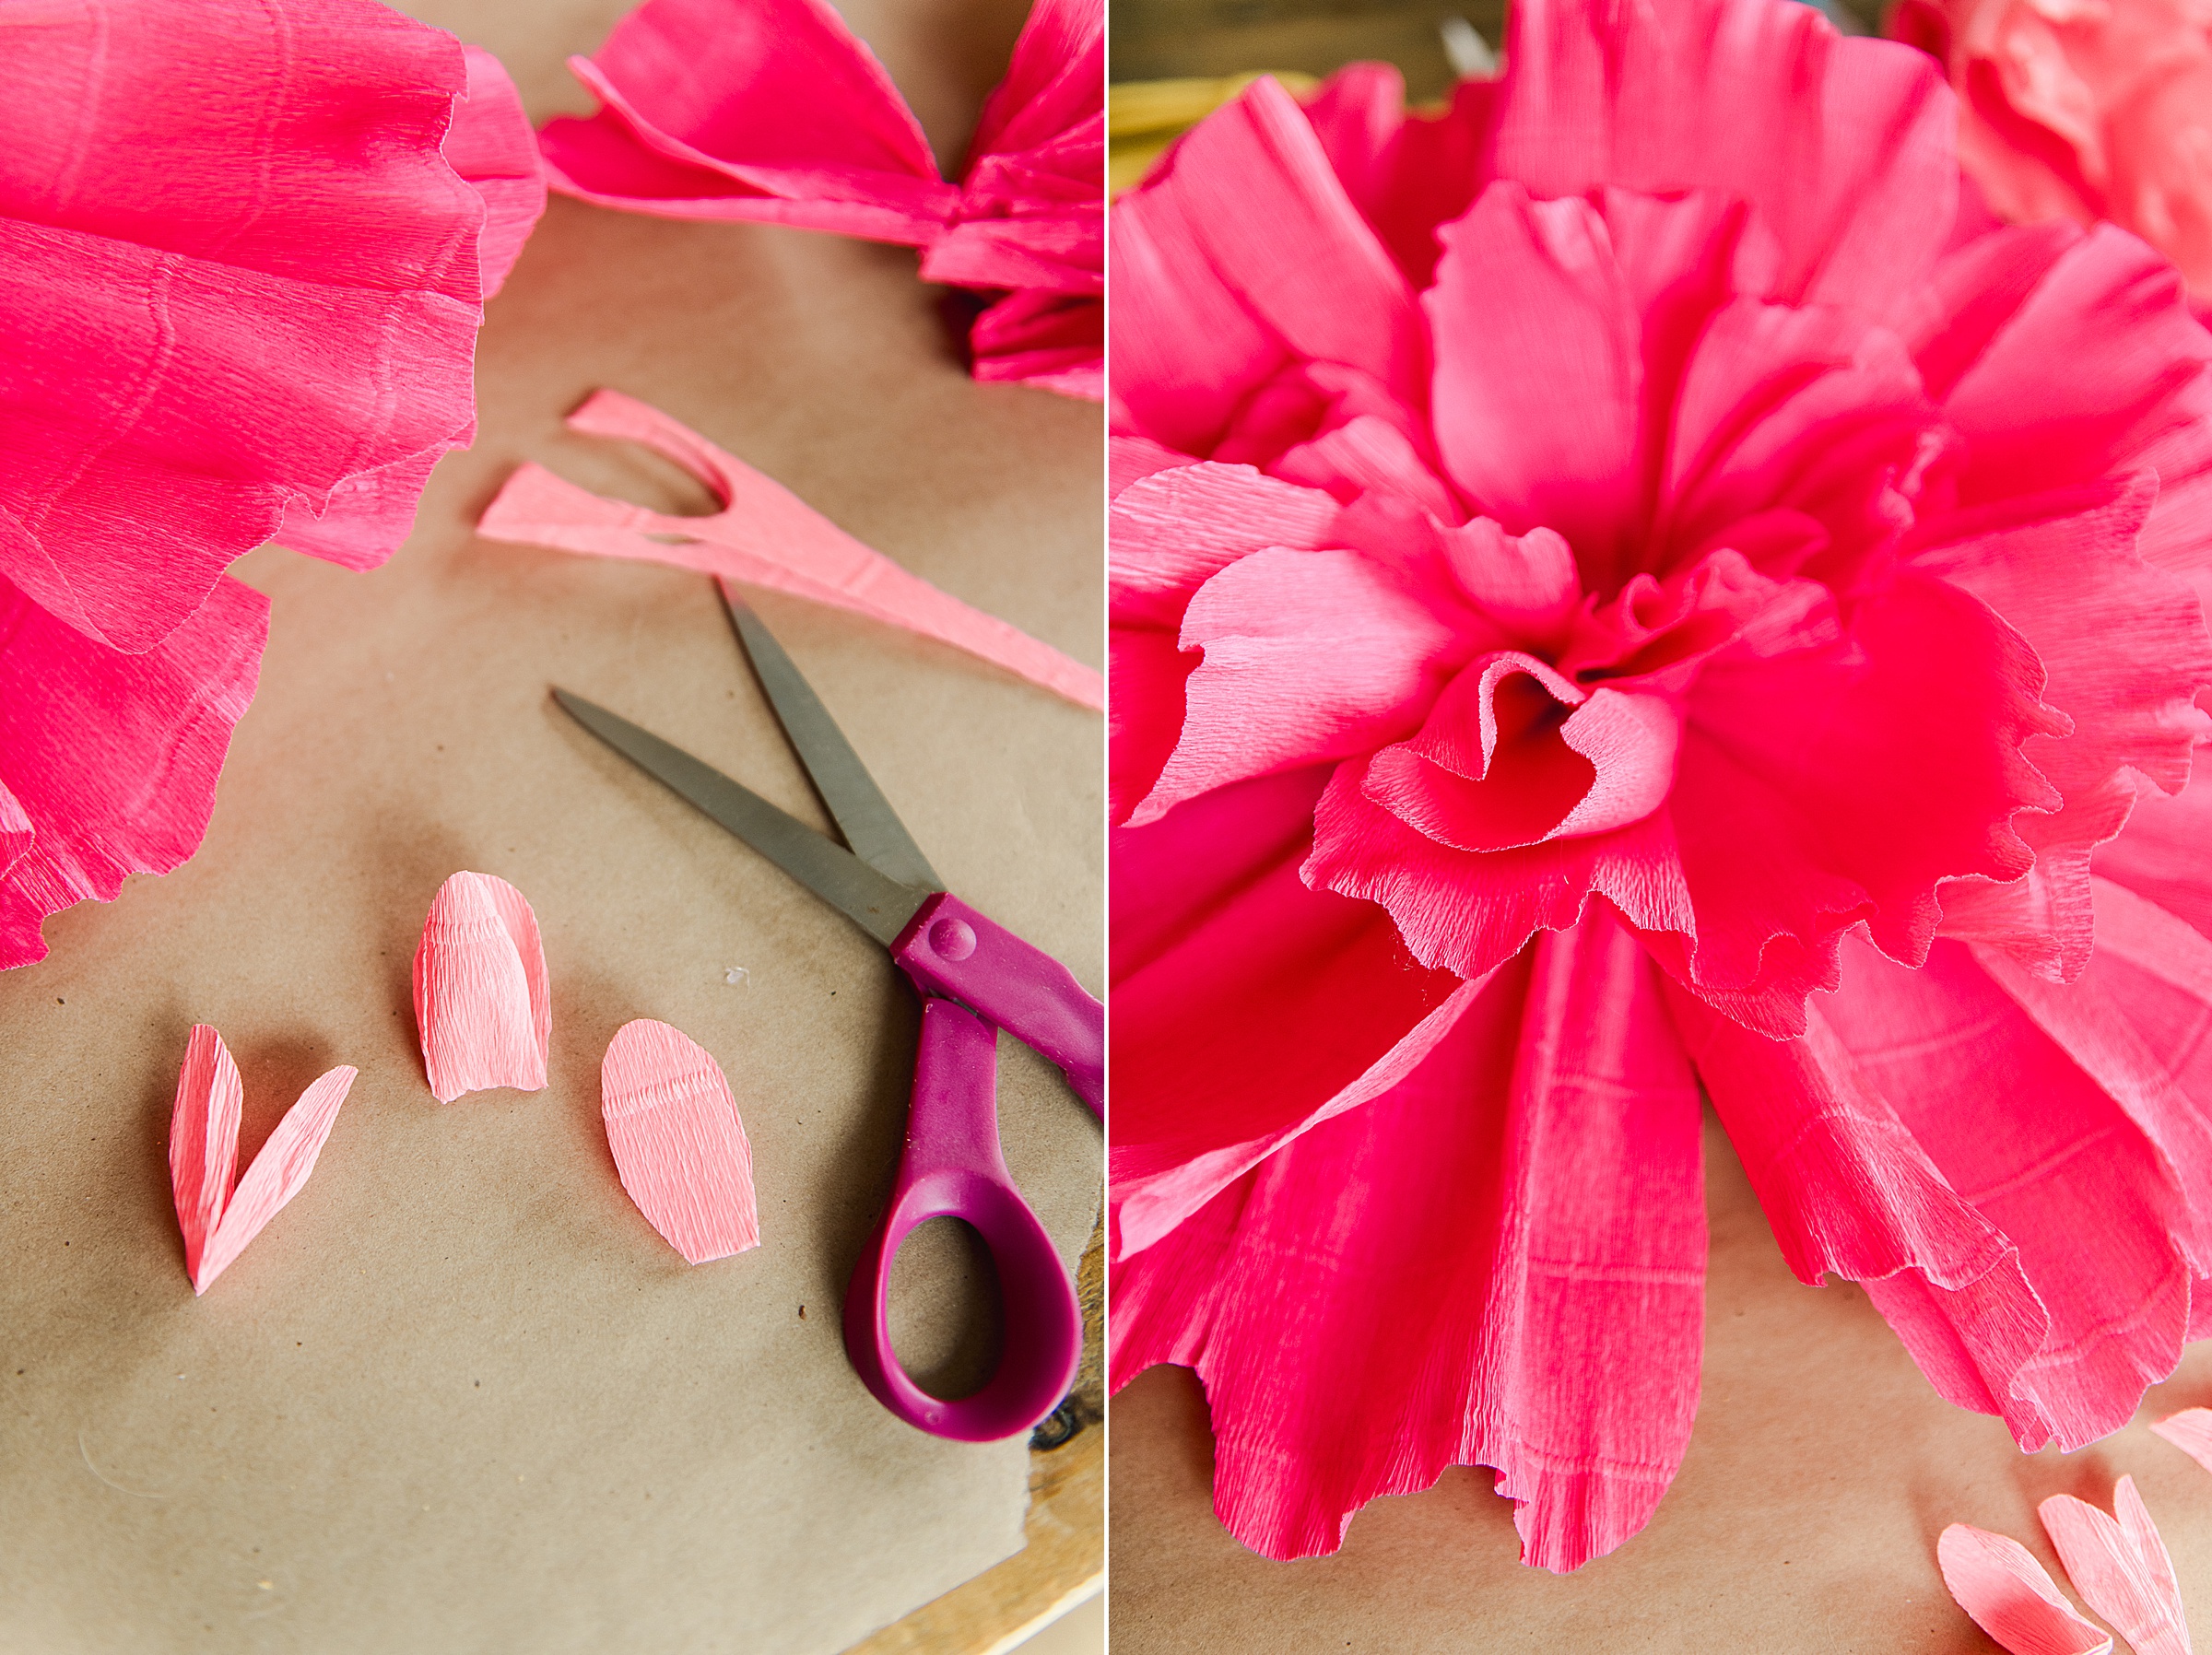
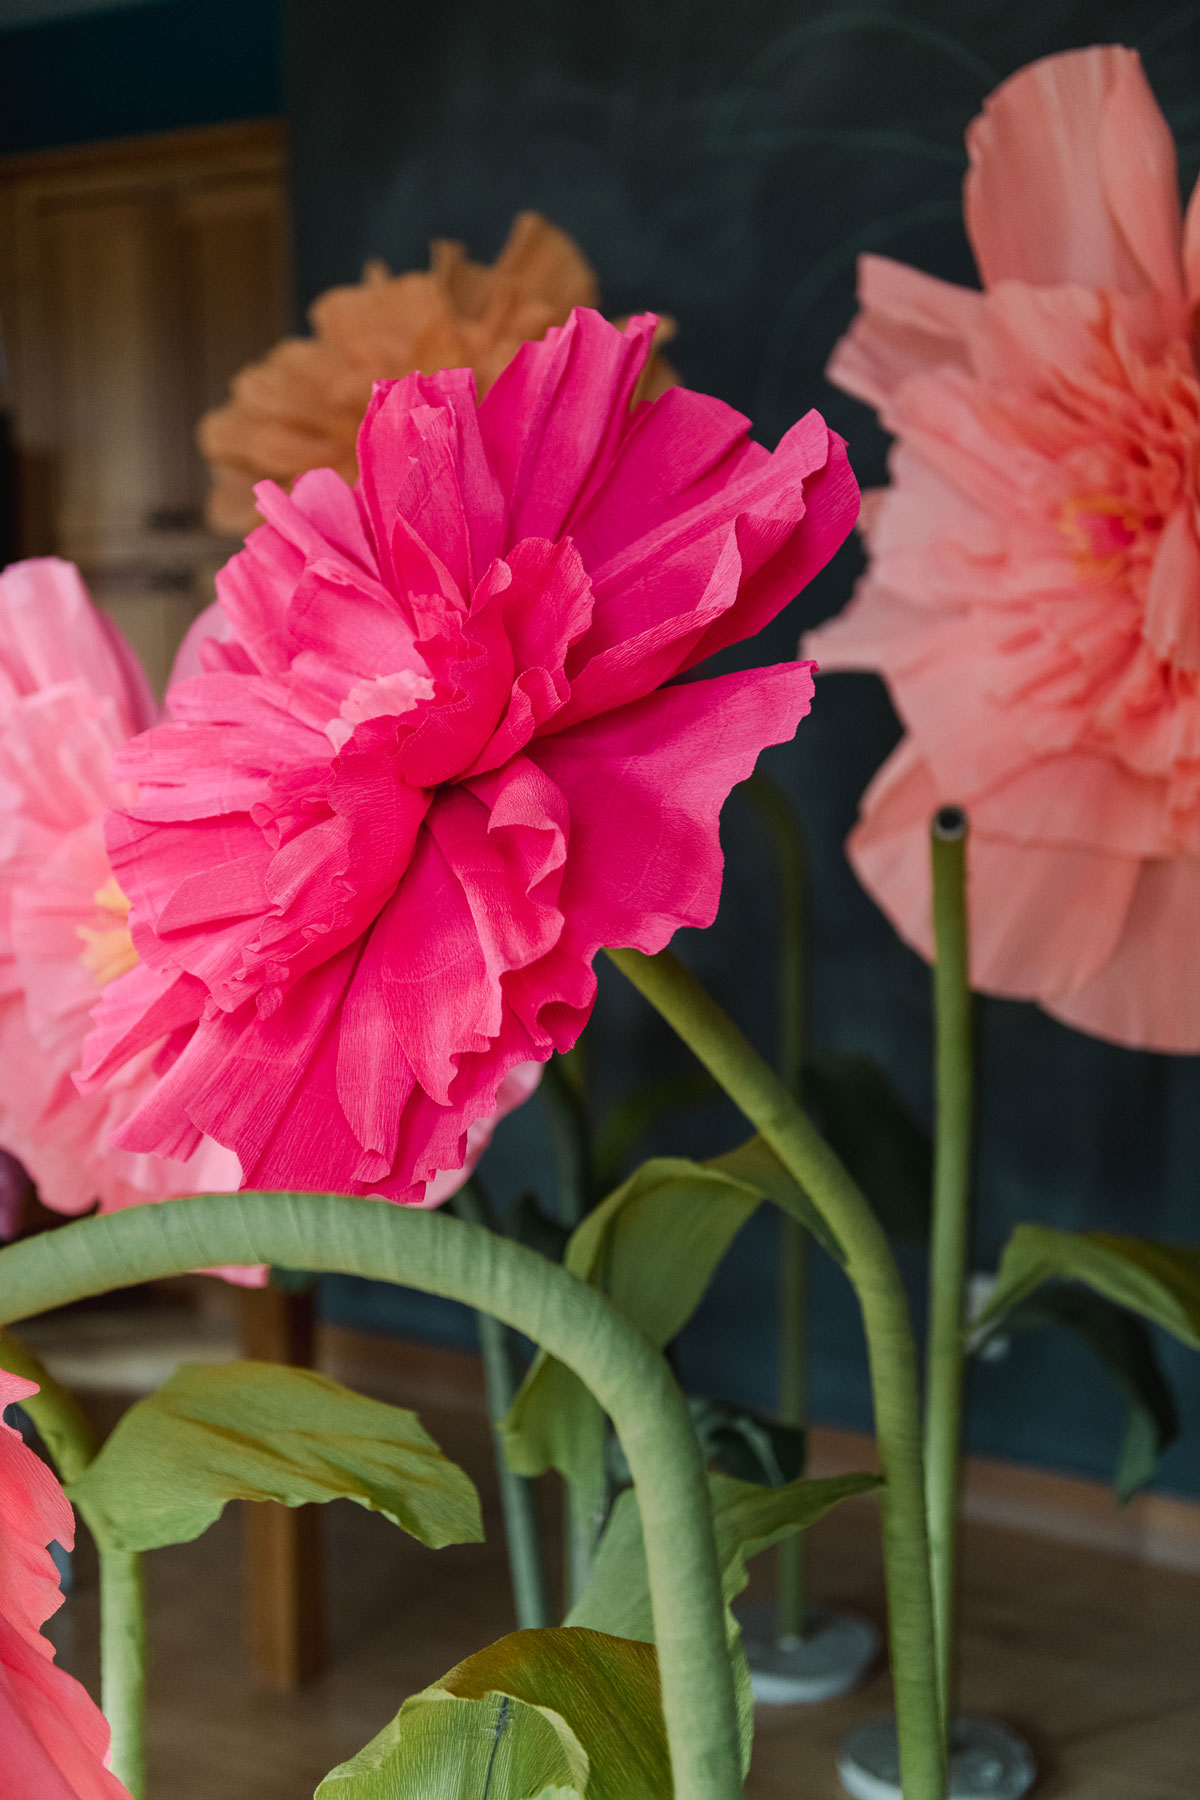
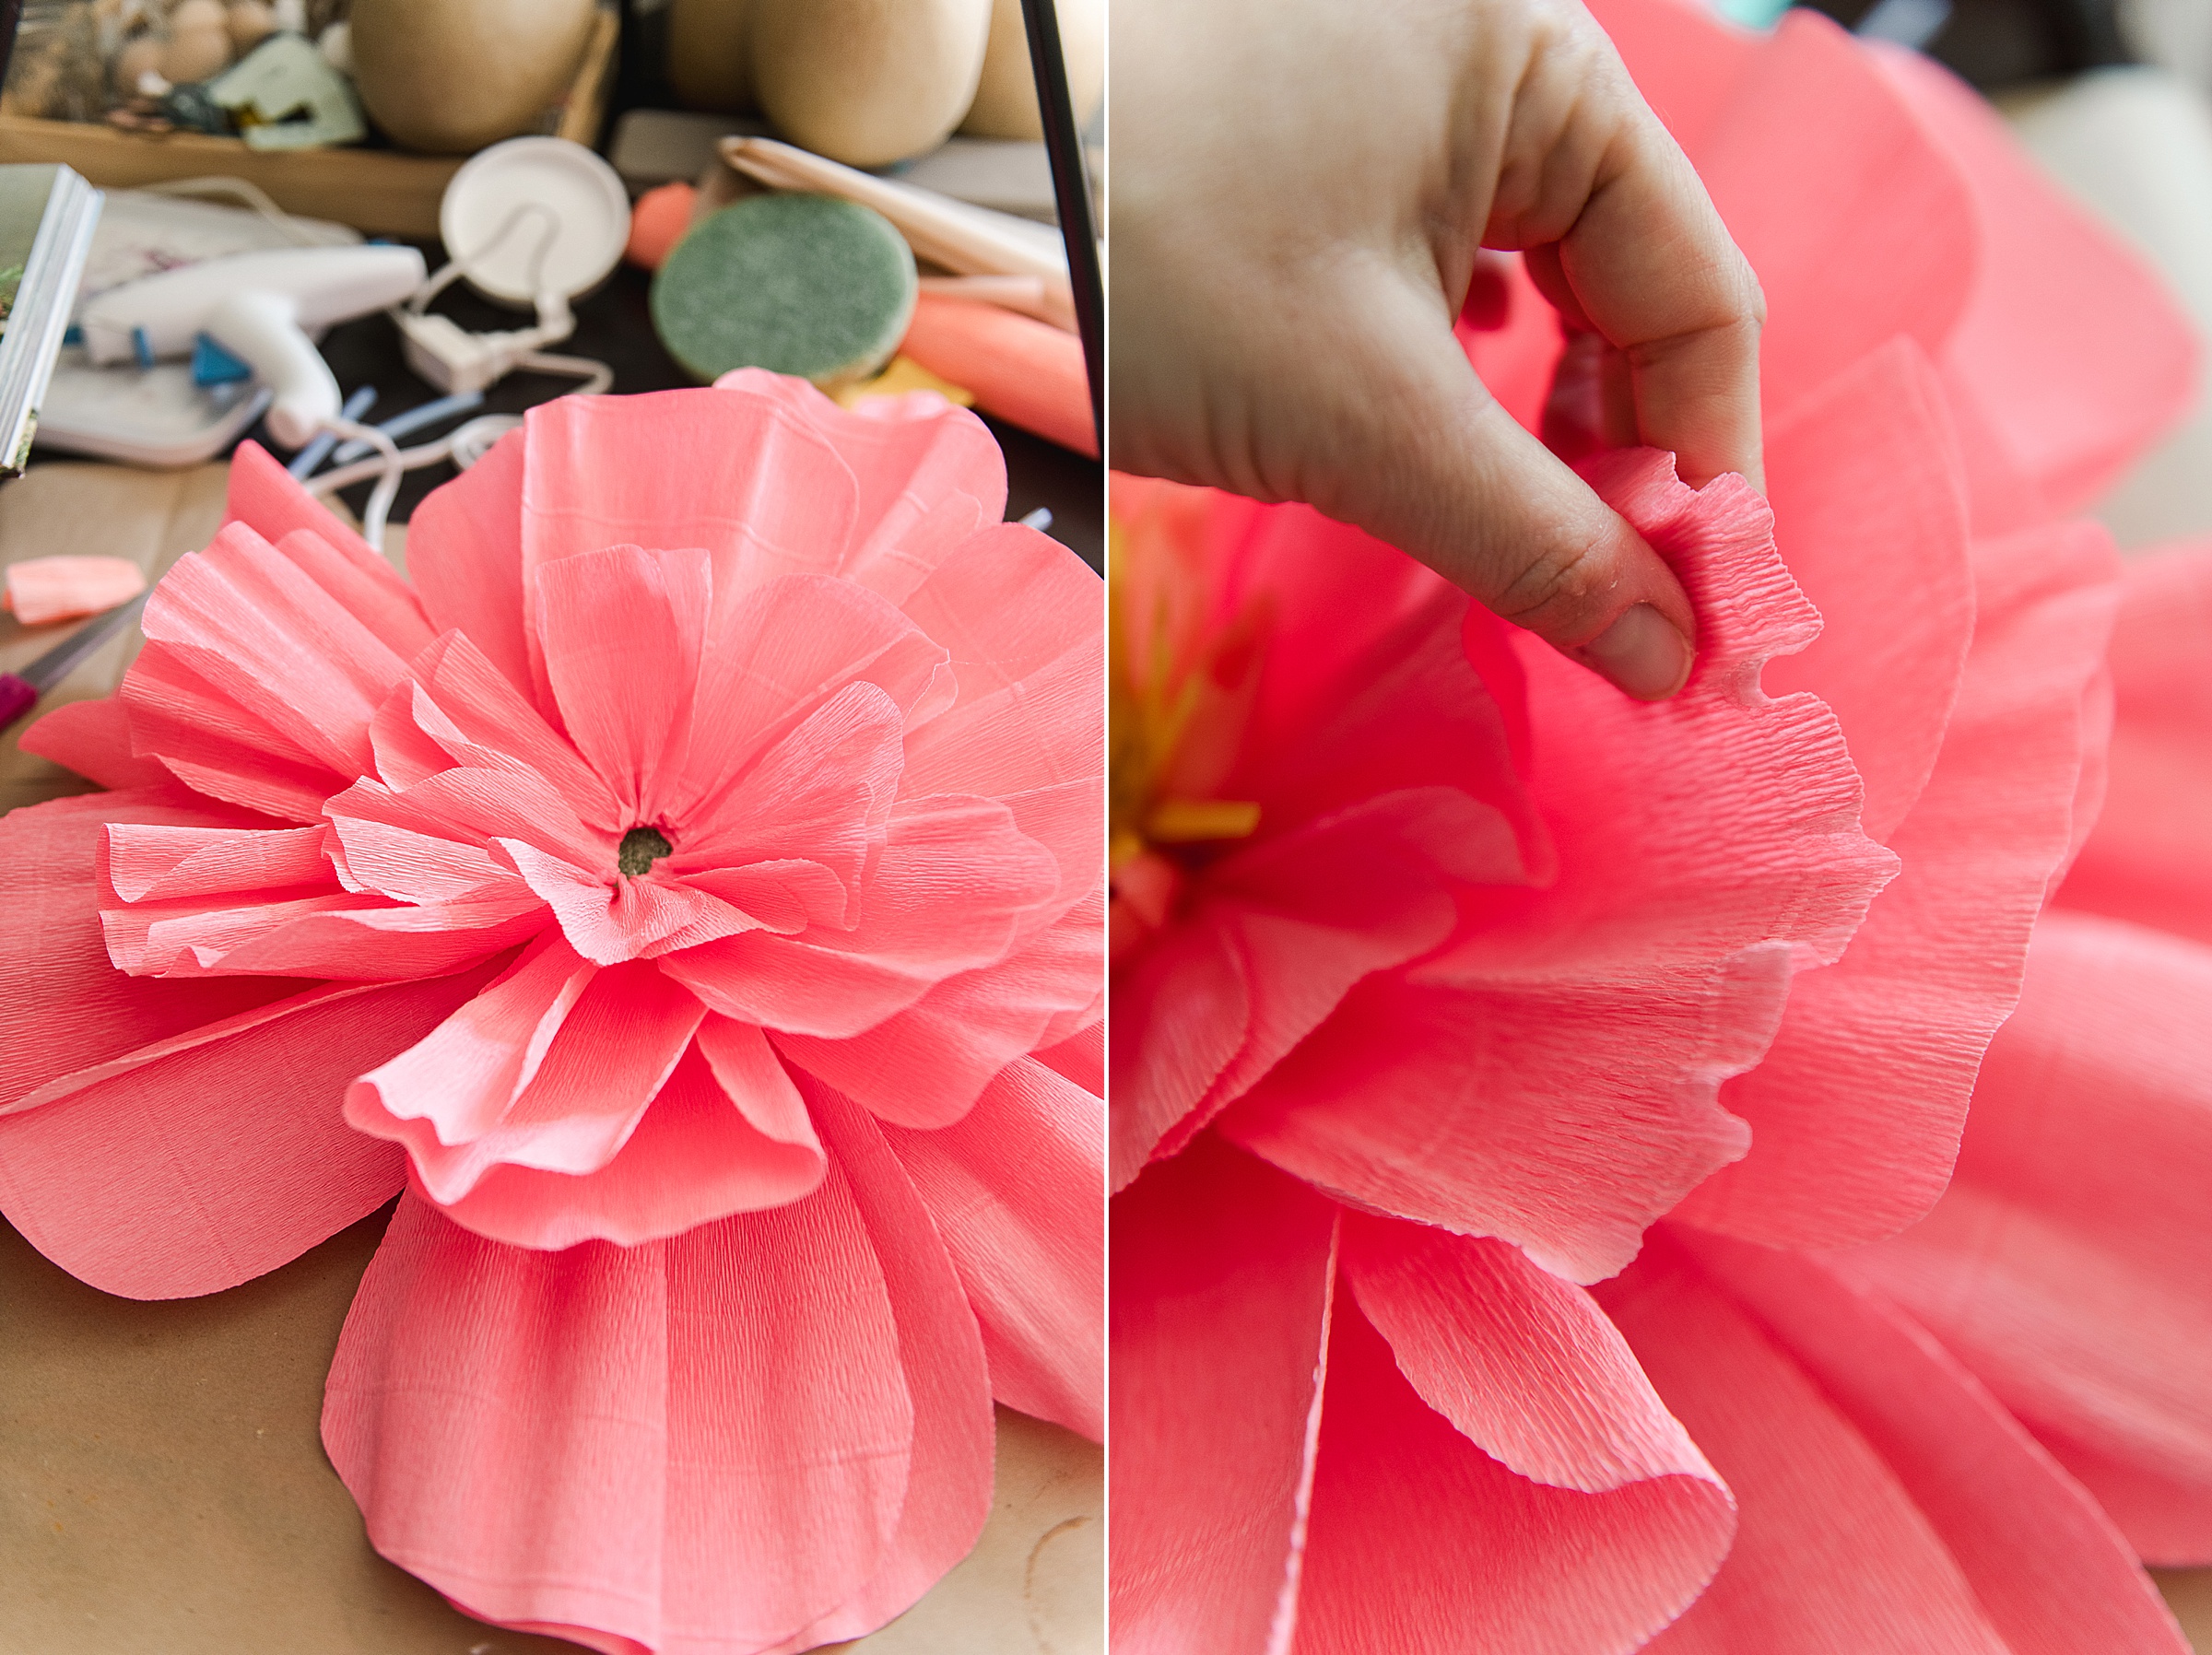
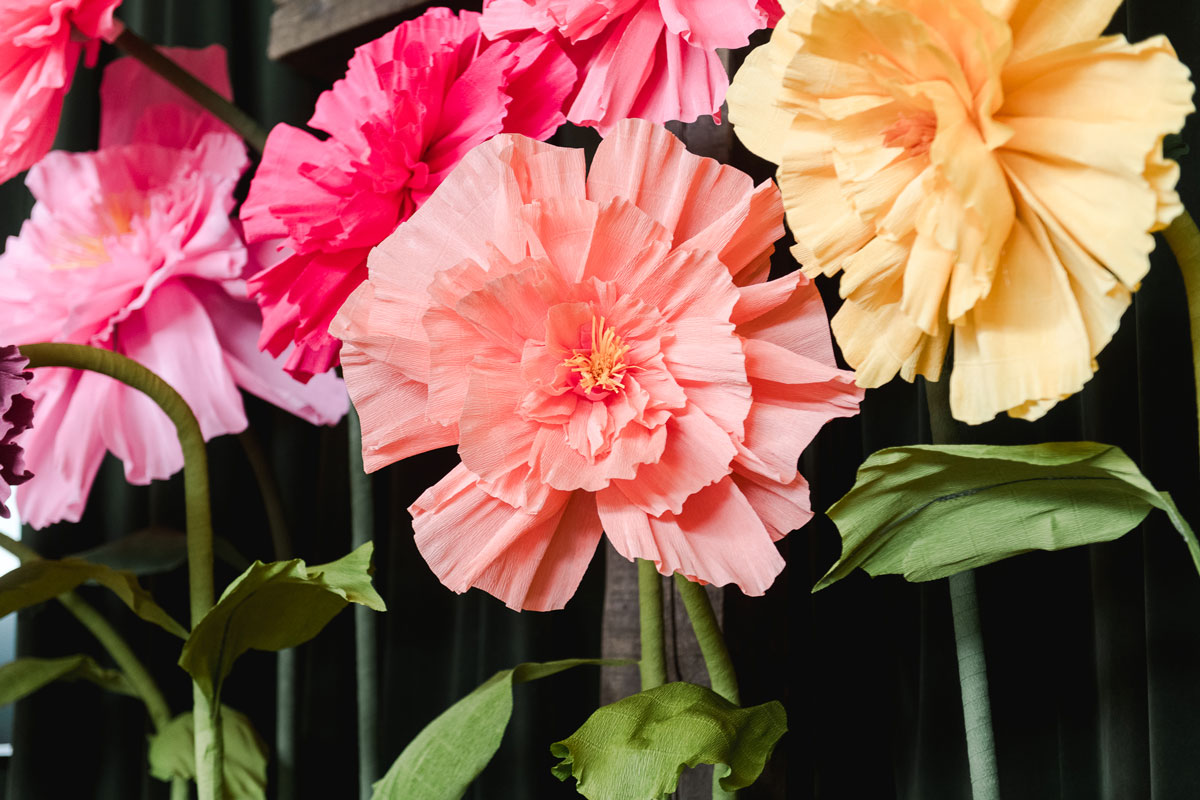
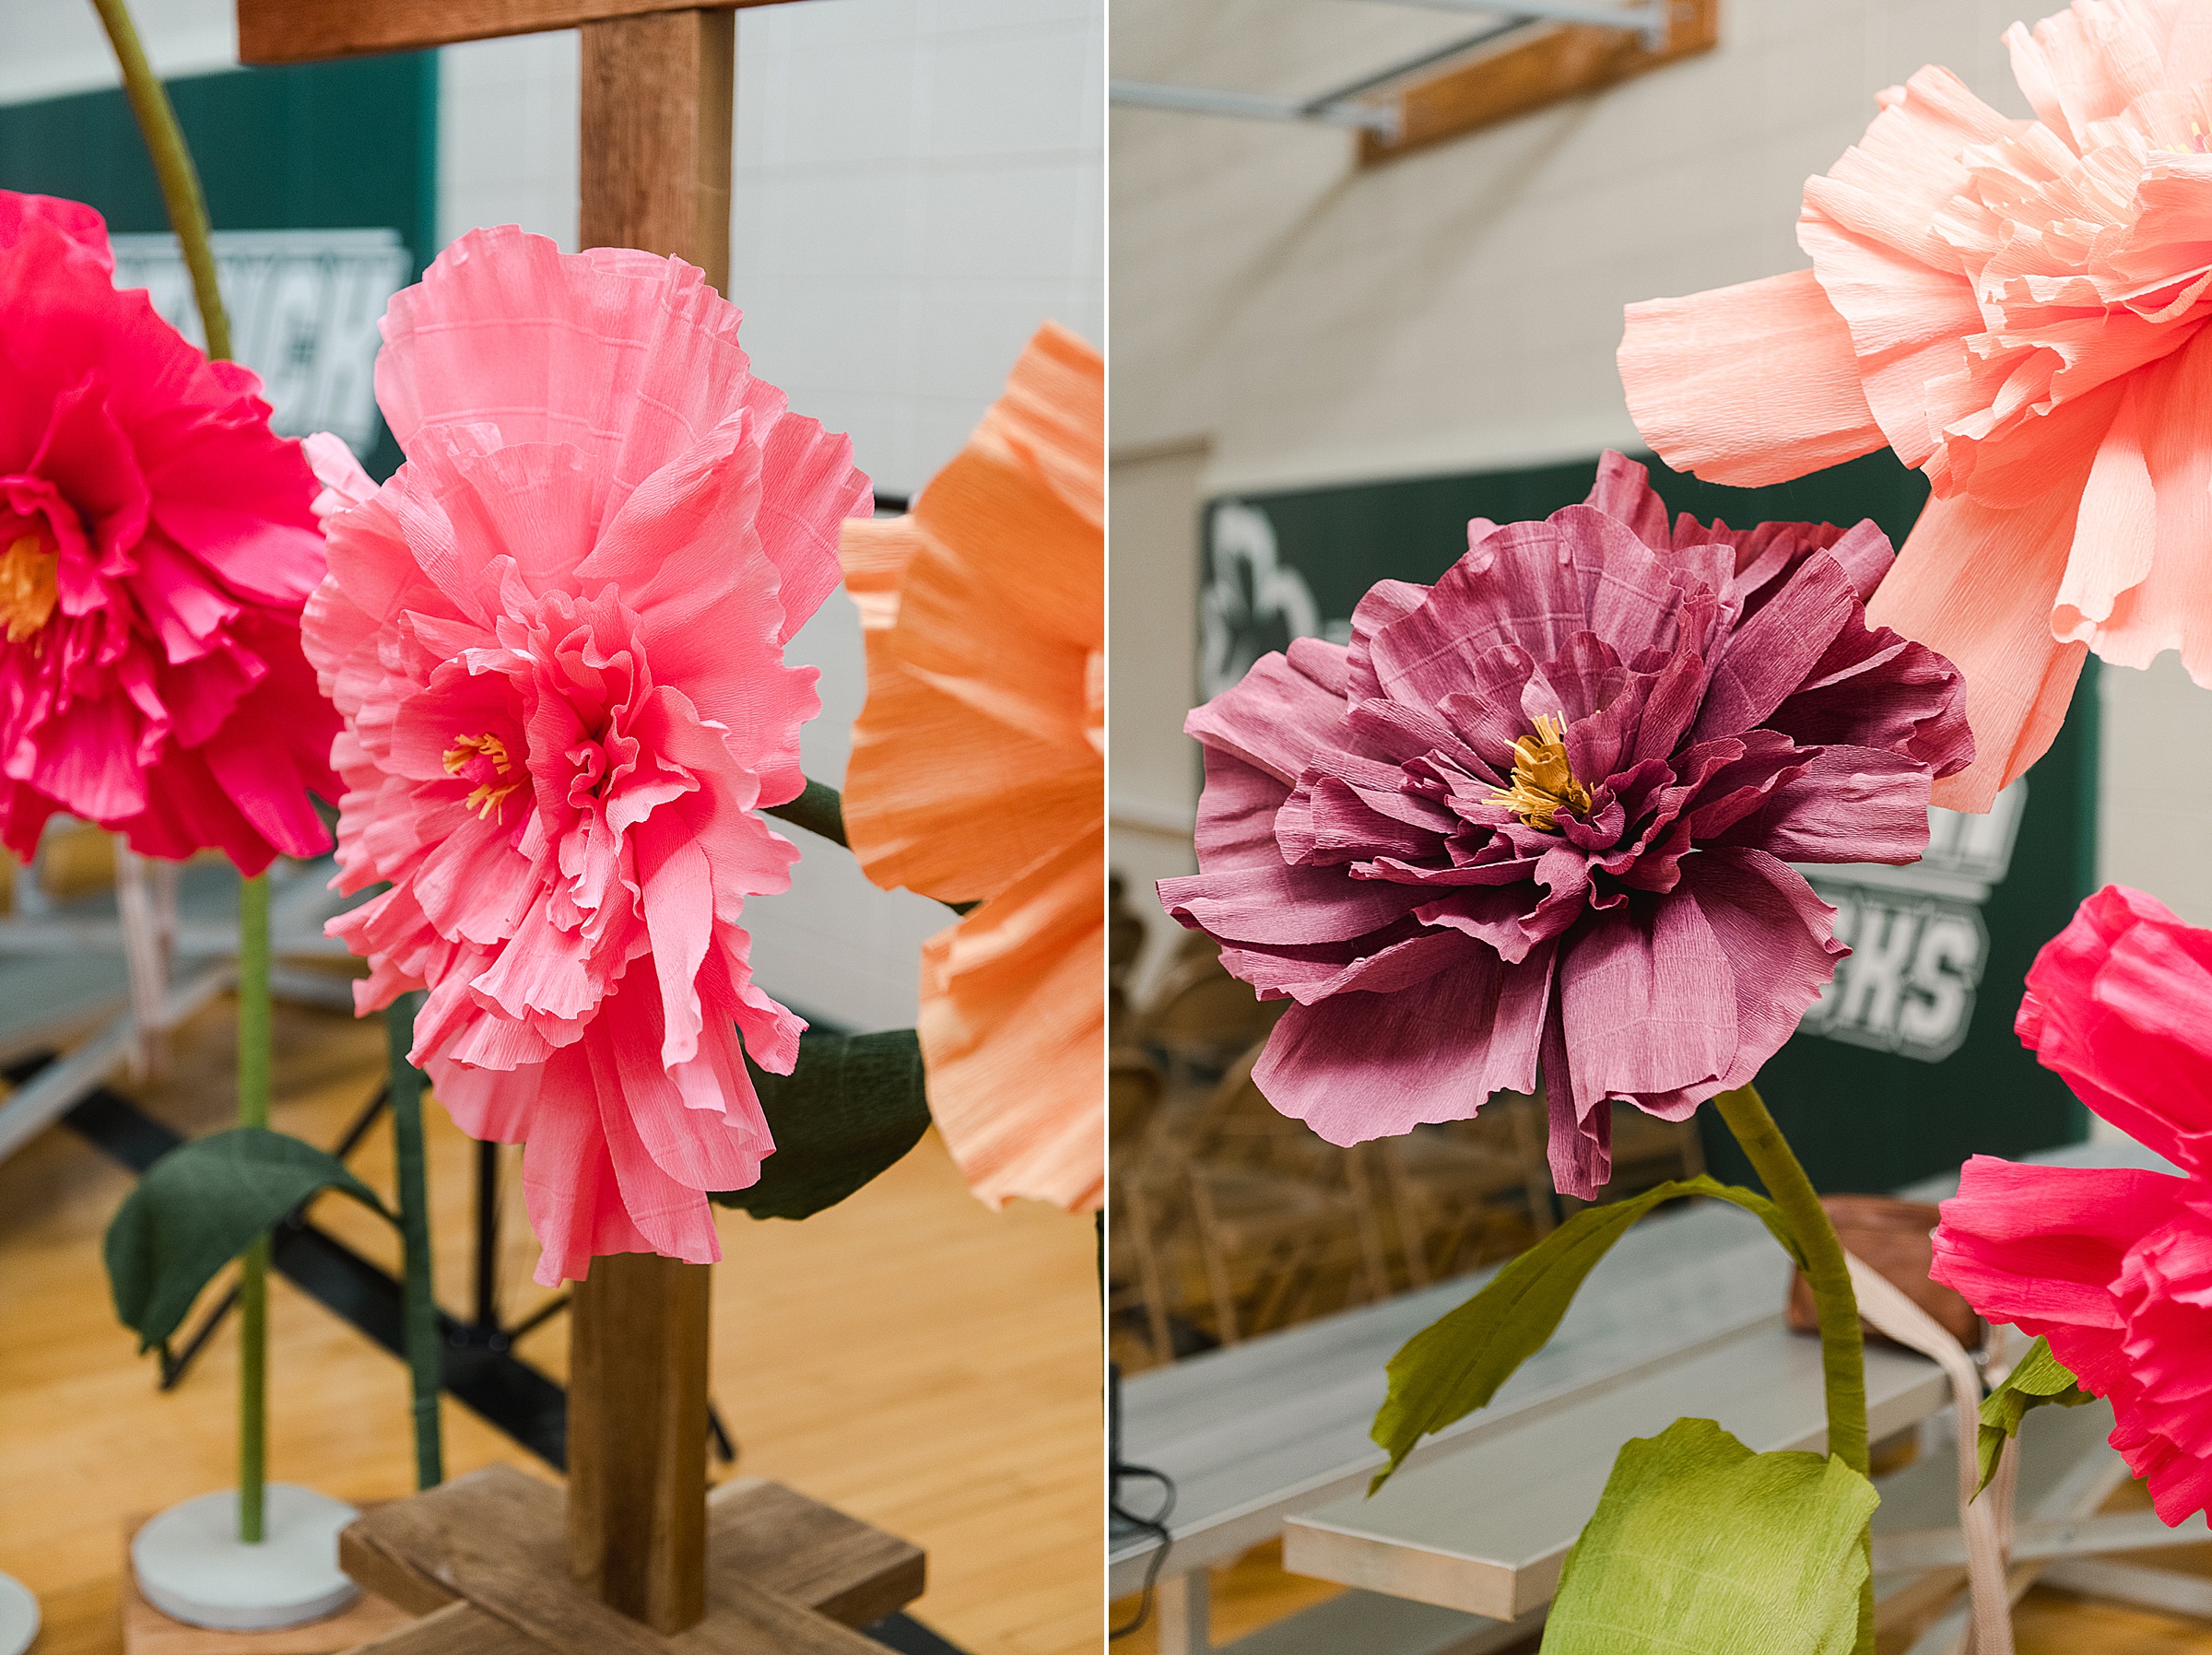
3. Now it’s time to start pulling and stretching some of the flower pedals – this is the greatest part of the Italian crepe paper because you can work the edges of each pedal to give the flower movement and make it look much more realistic with the shapes of the pedals.
*you can also do this step before you begin to glue the pedals to the foam (I did on some of the flowers I made)
4. Make some leaves – I did this by cutting out a “leaf shape” from the green crepe paper (I cut 2 leaves per flower) and then hot glued a “line” of glue from the top of the leaf to the bottom to glue 1-2 strips of the pre-cut wire. Make sure that you leave a bit of wire left at the bottom to be able to attach to the stem of the flower.
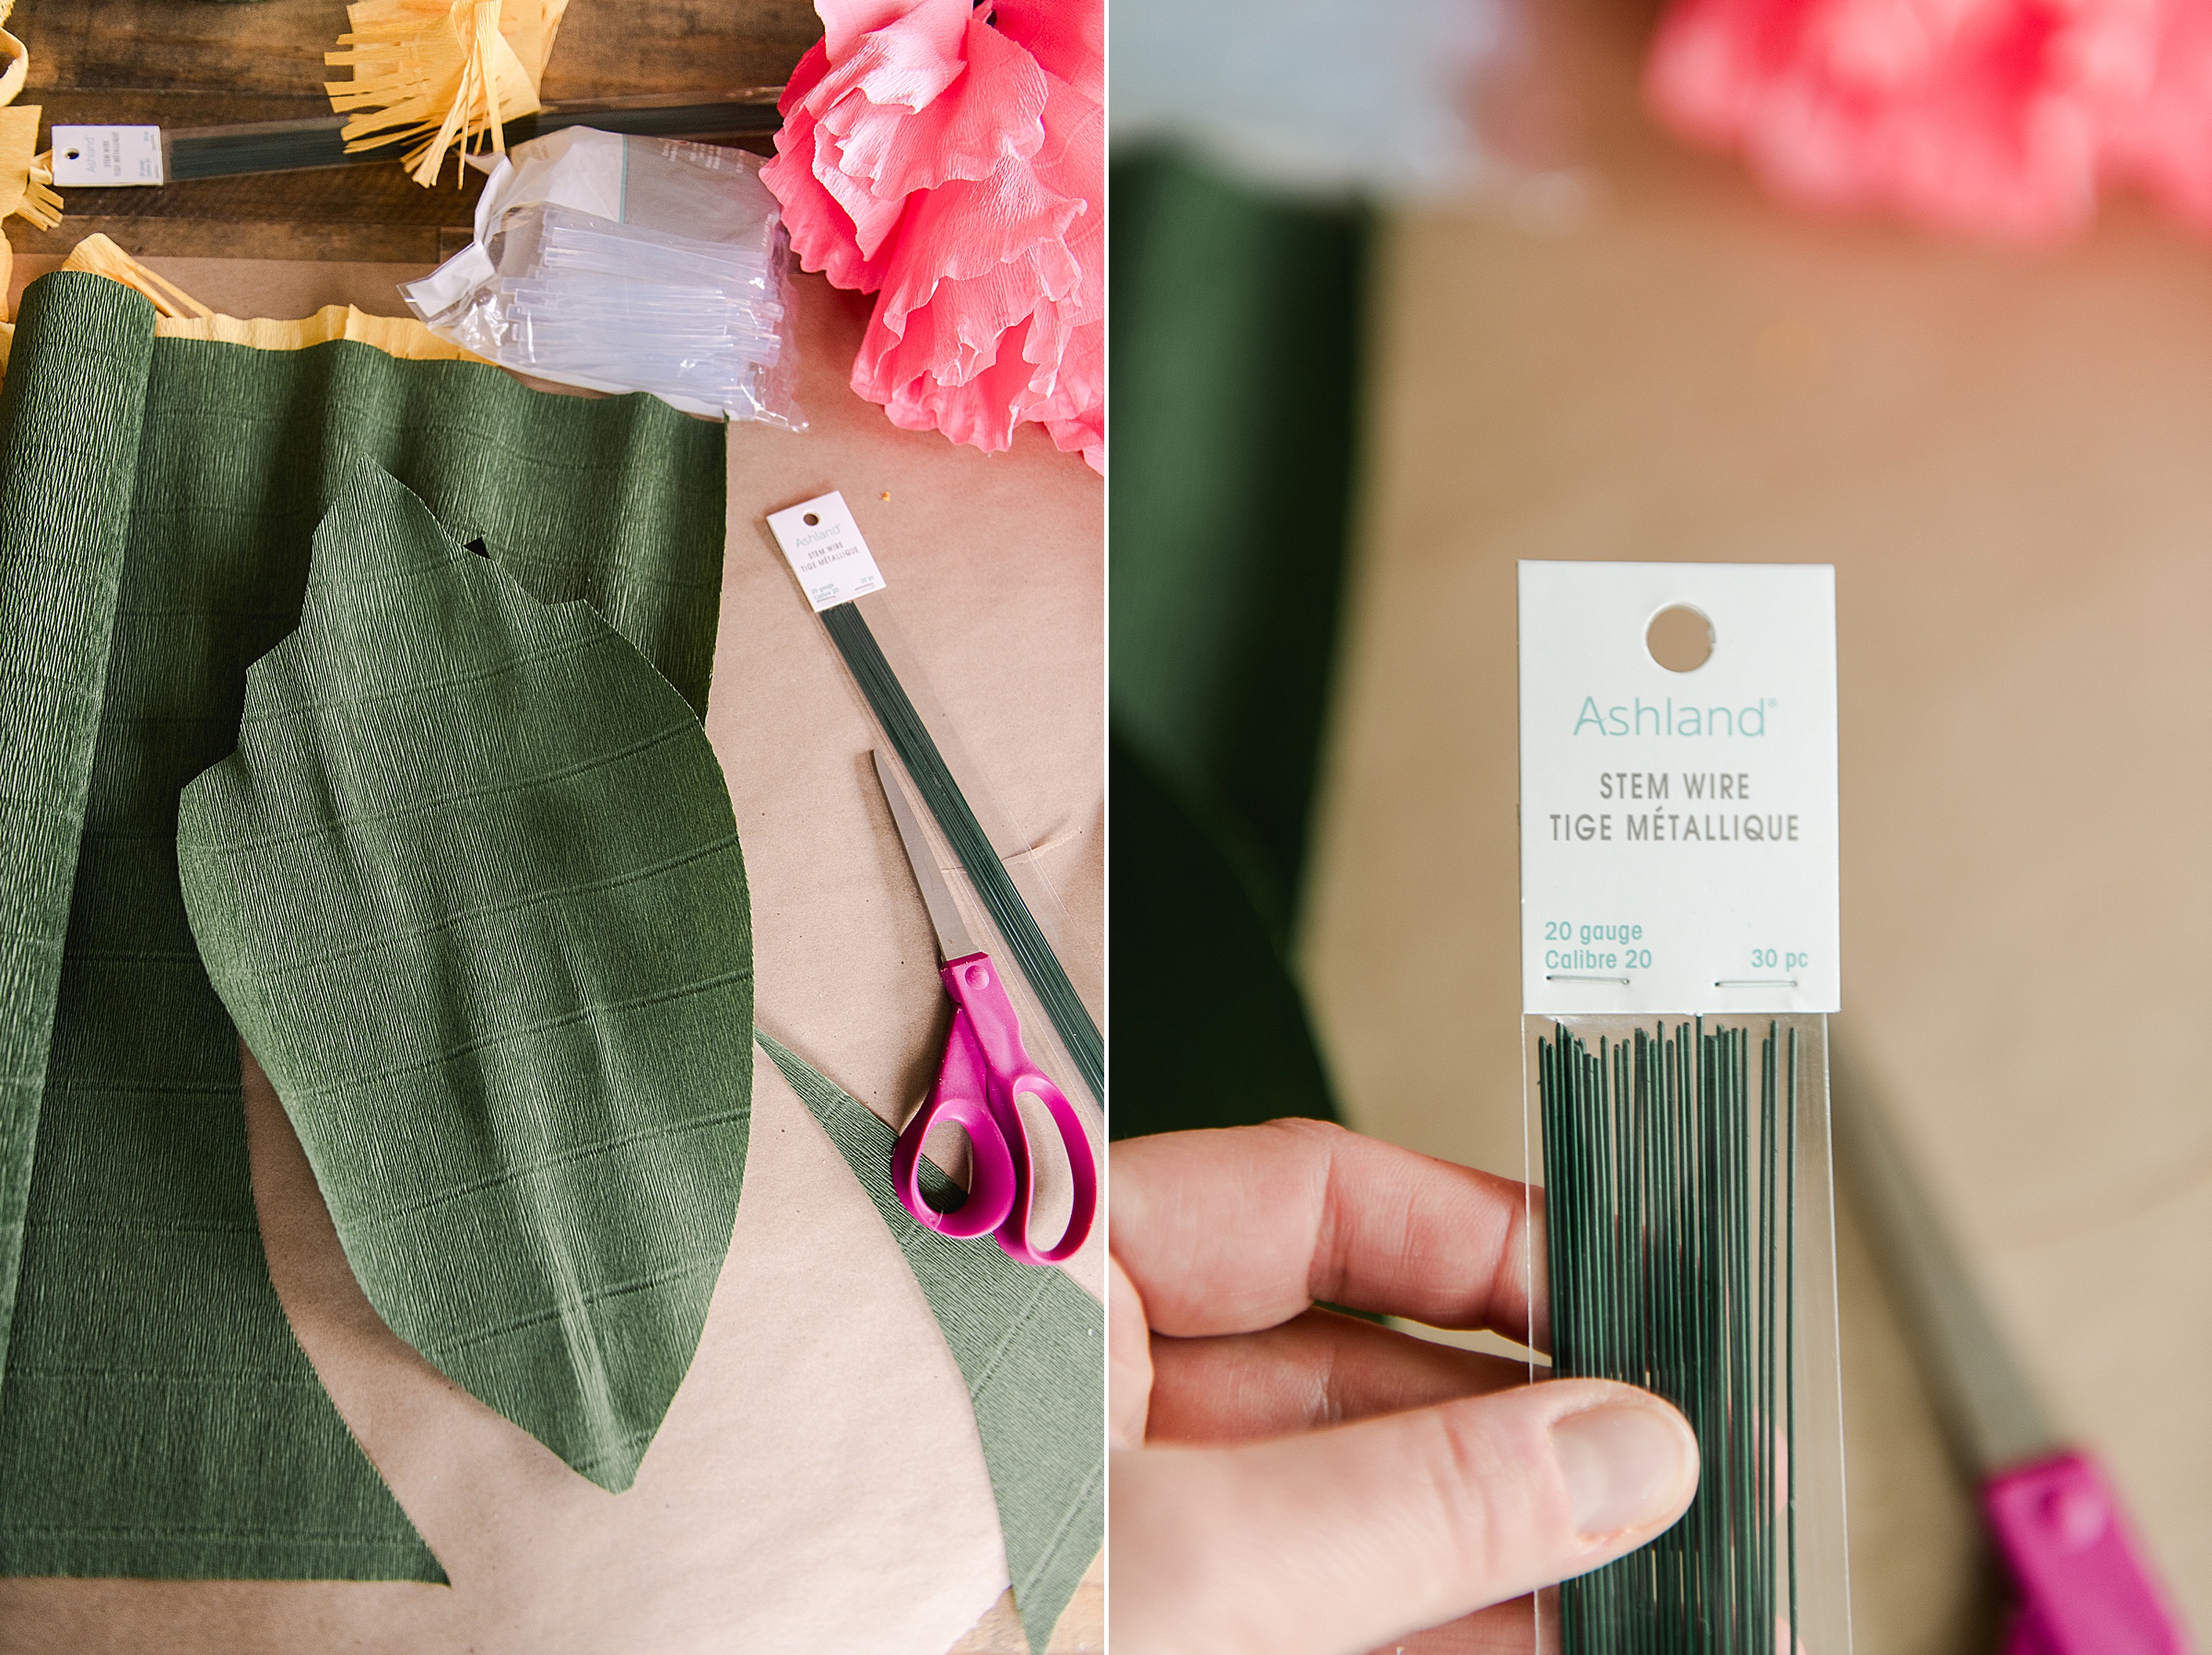
You can then manipulate the edges of the crepe paper leaves to make them look like they have more movement, just like the flower pedals.
5. Add a coupler to the backside of each of your flowers – I also did a bead of hot glue around the ring of the coupler to make sure that it was nice a sturdy in the flower backside (I needed them to be sturdy, reusable and transportable without breaking)! 🙂
6. Cut your long PVC pipes in 2 – I didn’t cut each 10′ pipe in the exact middle because I wanted the various sizes and heights so I just cut them randomly in 2. I just used a hack saw (you could use any kind of saw or cutting method – and I *think* that if you ask your local hardware store to cut before you even bring them home, they can for a small fee).
I wanted the stems to be bent and not just straight up (more realistic in my opinion) so I heated the PVC pipes and began to bend them near the top. Be careful to do this in a SUPER well ventilated area (turn on your stove fan and open windows) and be cautious when doing this – please test the melting and BE SURE you don’t char your plastic too much 🙂
Set aside to cool (and harden) once you have the stems how you want them.
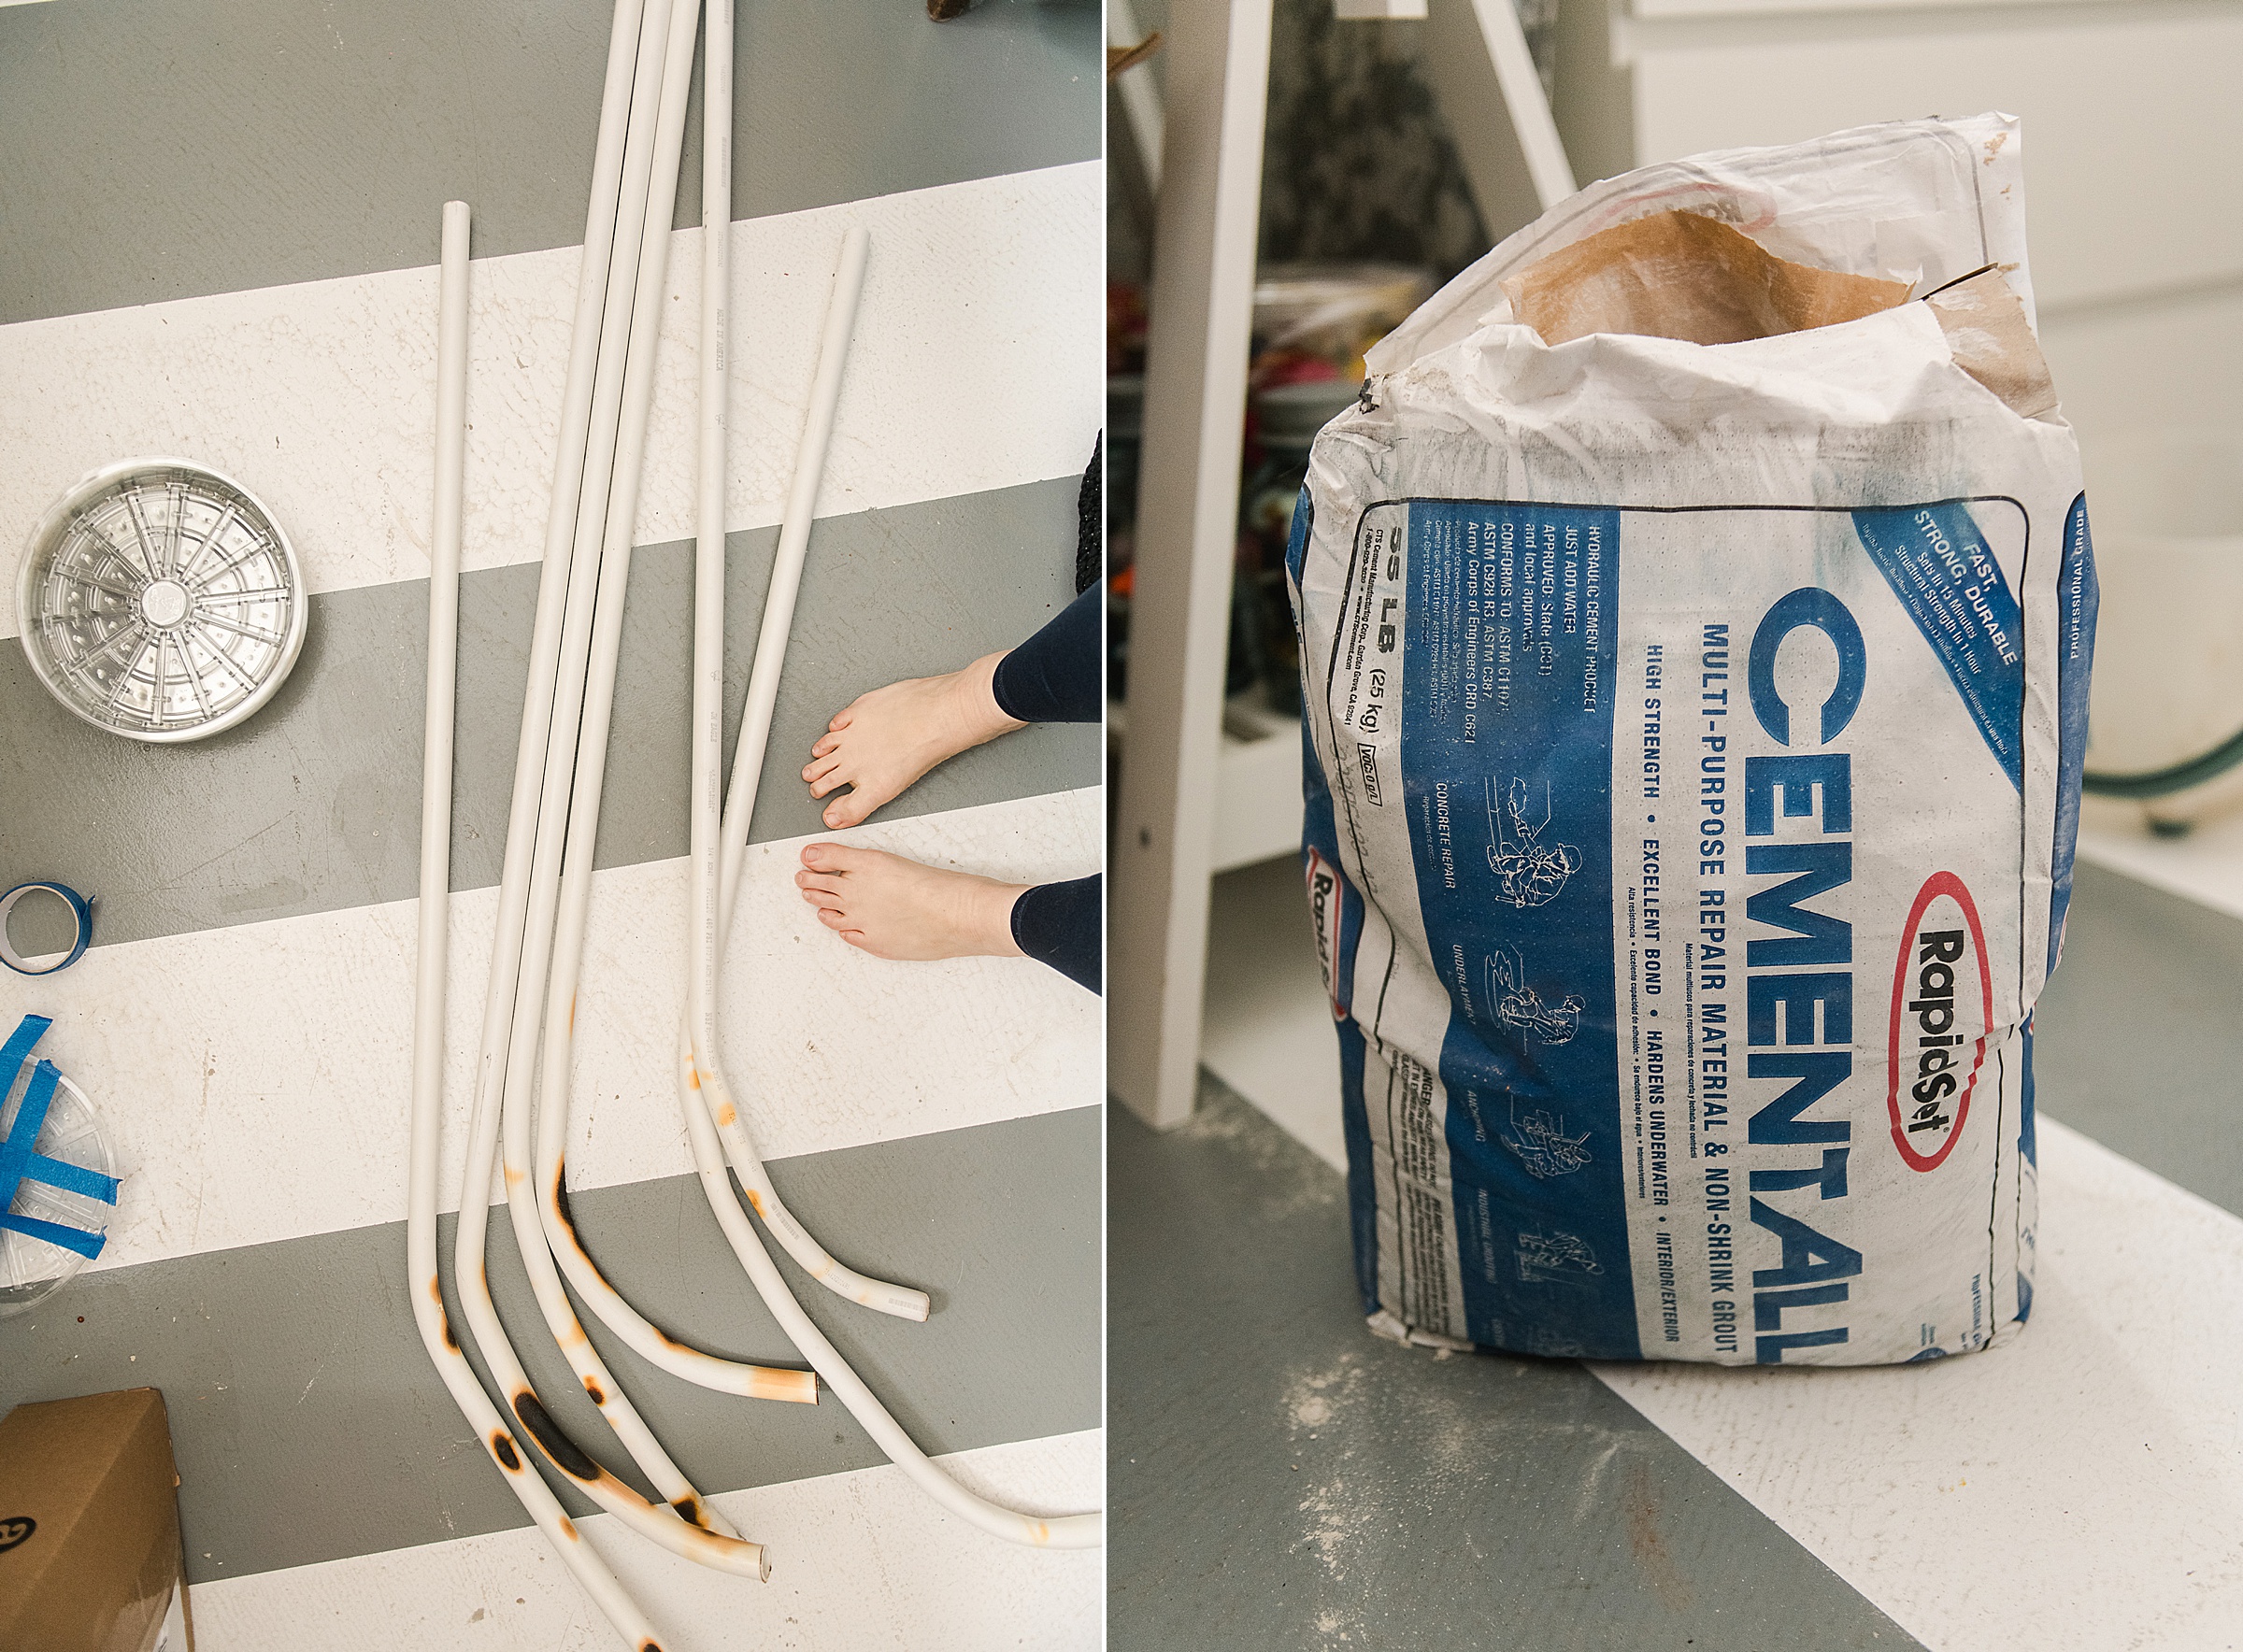
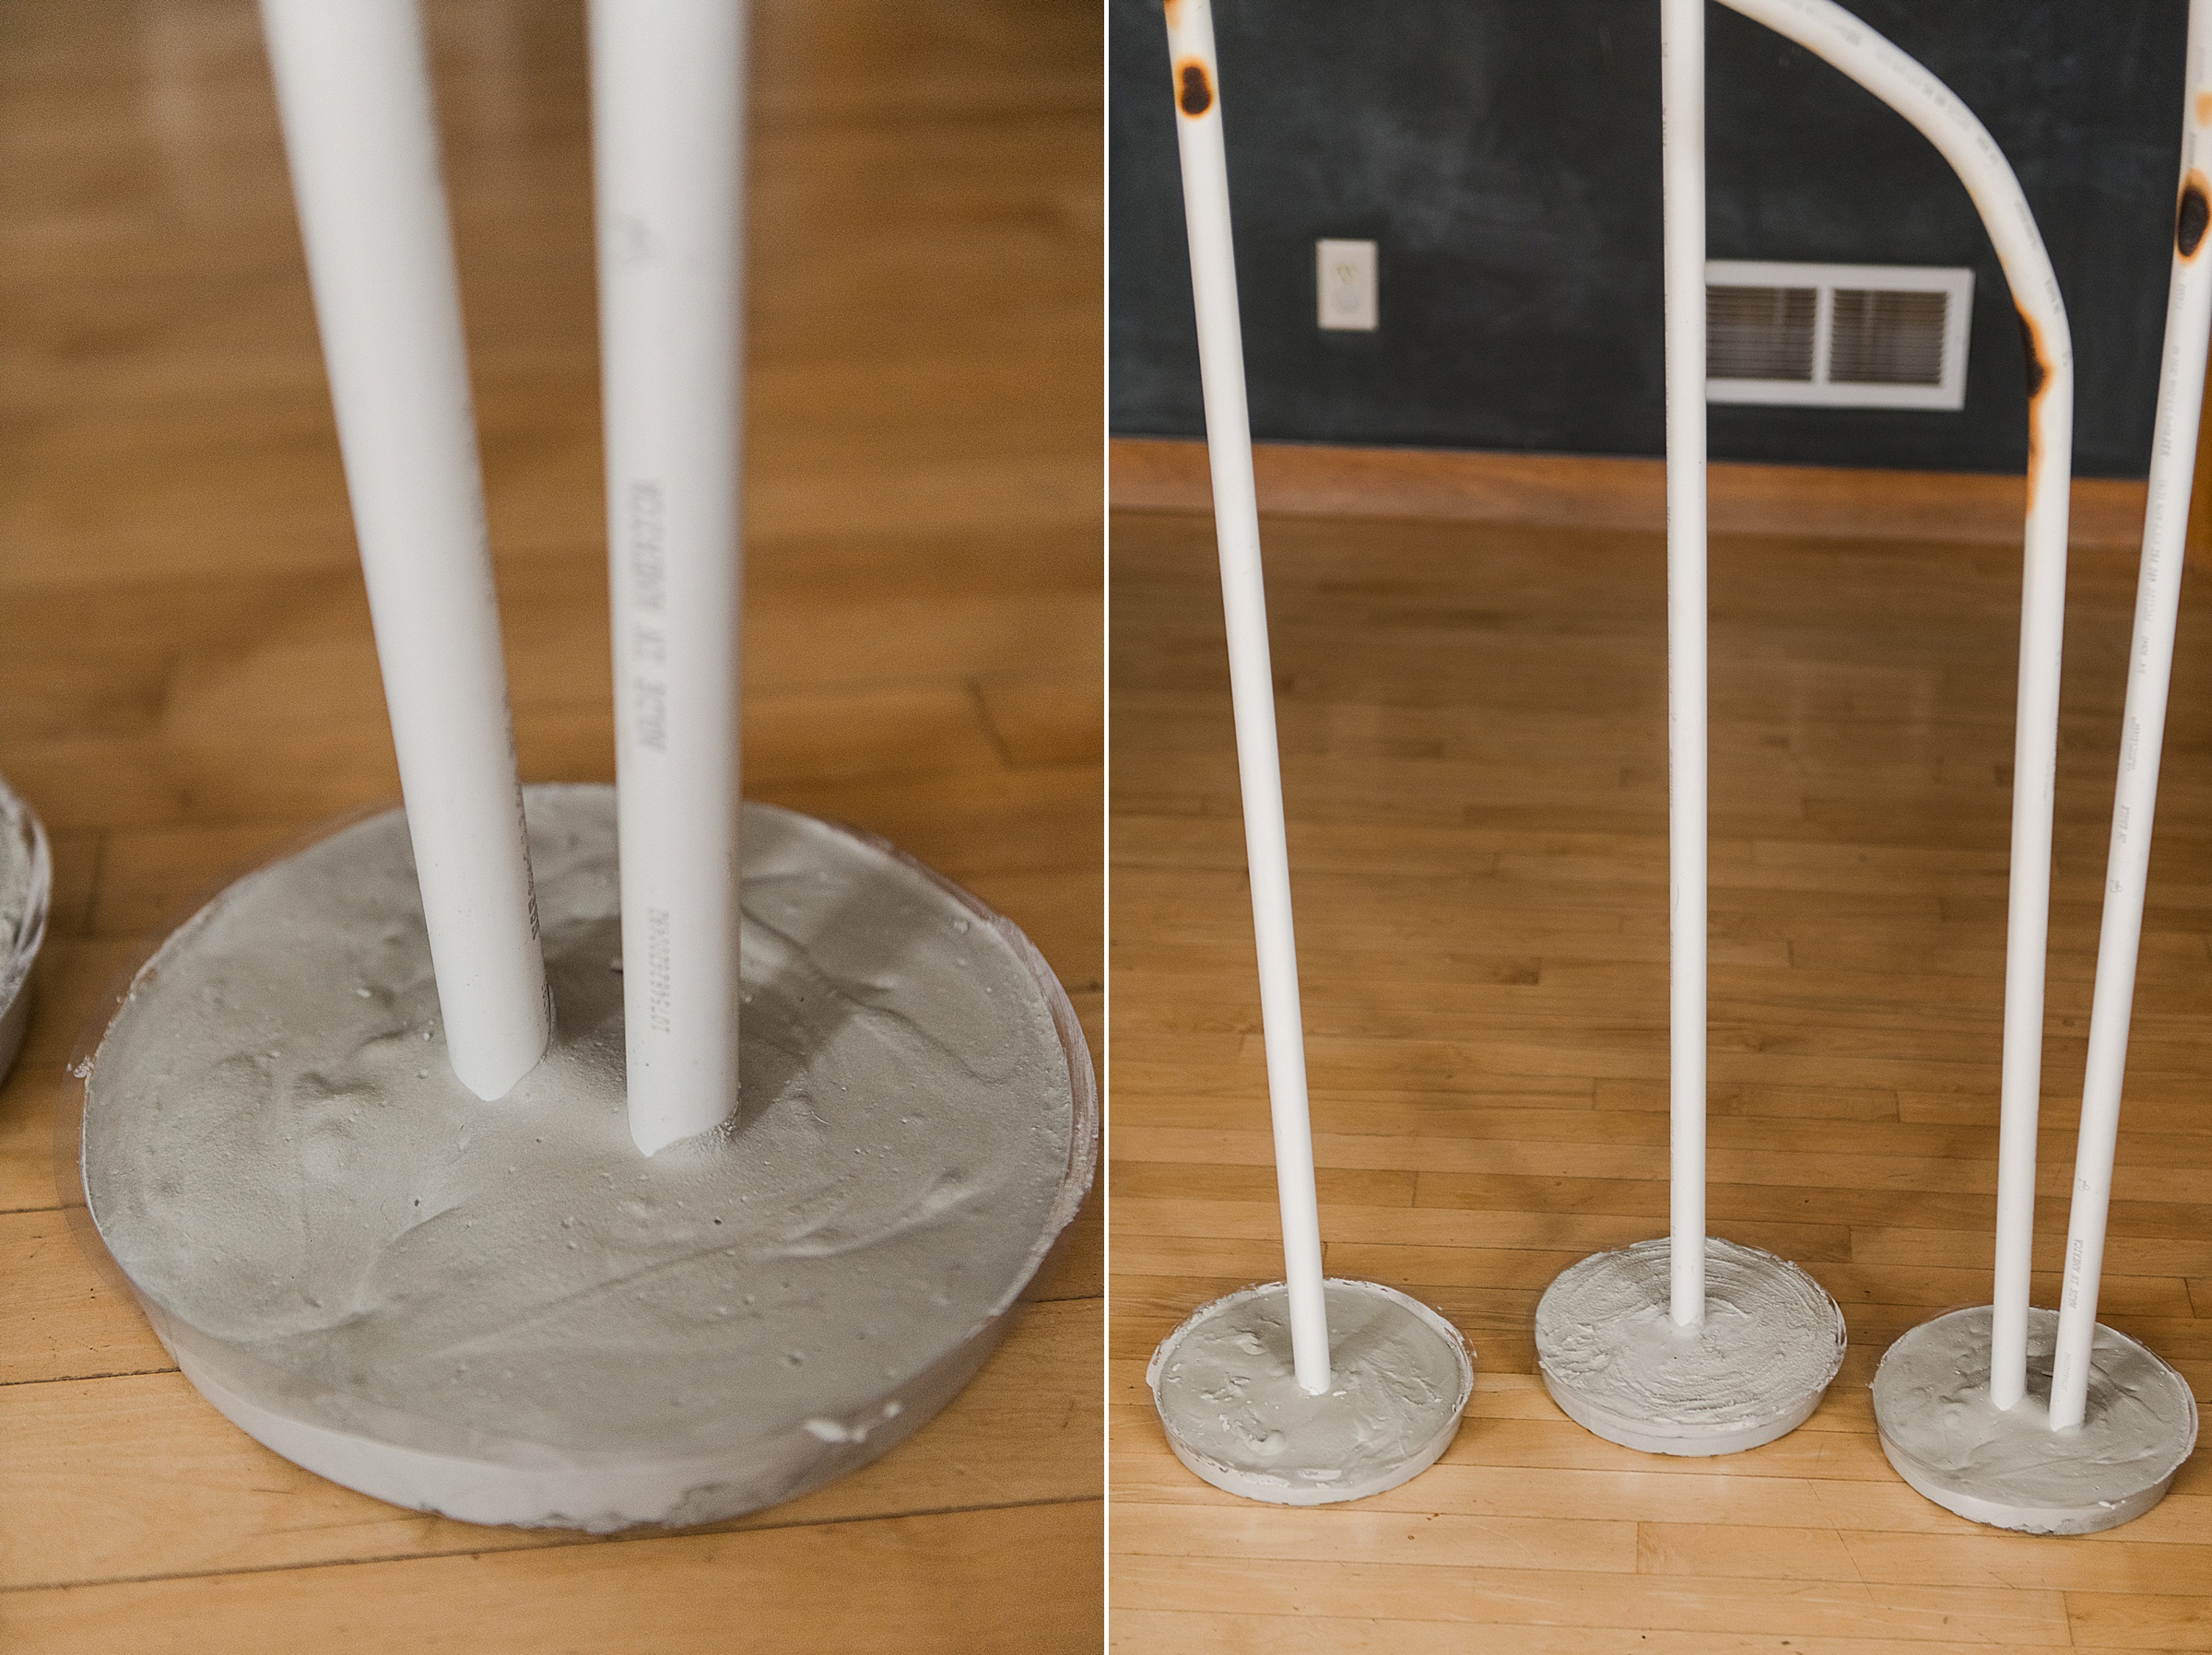
7. You will mix up your Quick dry cement according to the directions on the package and begin to fill your planter trays with the cement with the flower stem in the middle of each planter tray. I used some books piled on a table to lean the the tall stems against as the cement hardened (the brand I used only took about 15 minutes to harden so it was quite easy)! 🙂
Once completely dry, you can pop those trays off the bottom of the flowers and set them aside to use another time if needed! 🙂
8. Now we will wrap the PVC pipe stems with some strips of green crepe paper (I cut about 2″ strips). Just use some hot glue and “pull” the crepe paper up the PVC pipe as if you are wrapping some stems of flowers together (real flowers)! Overlap them as you go until you get all the way up the top.
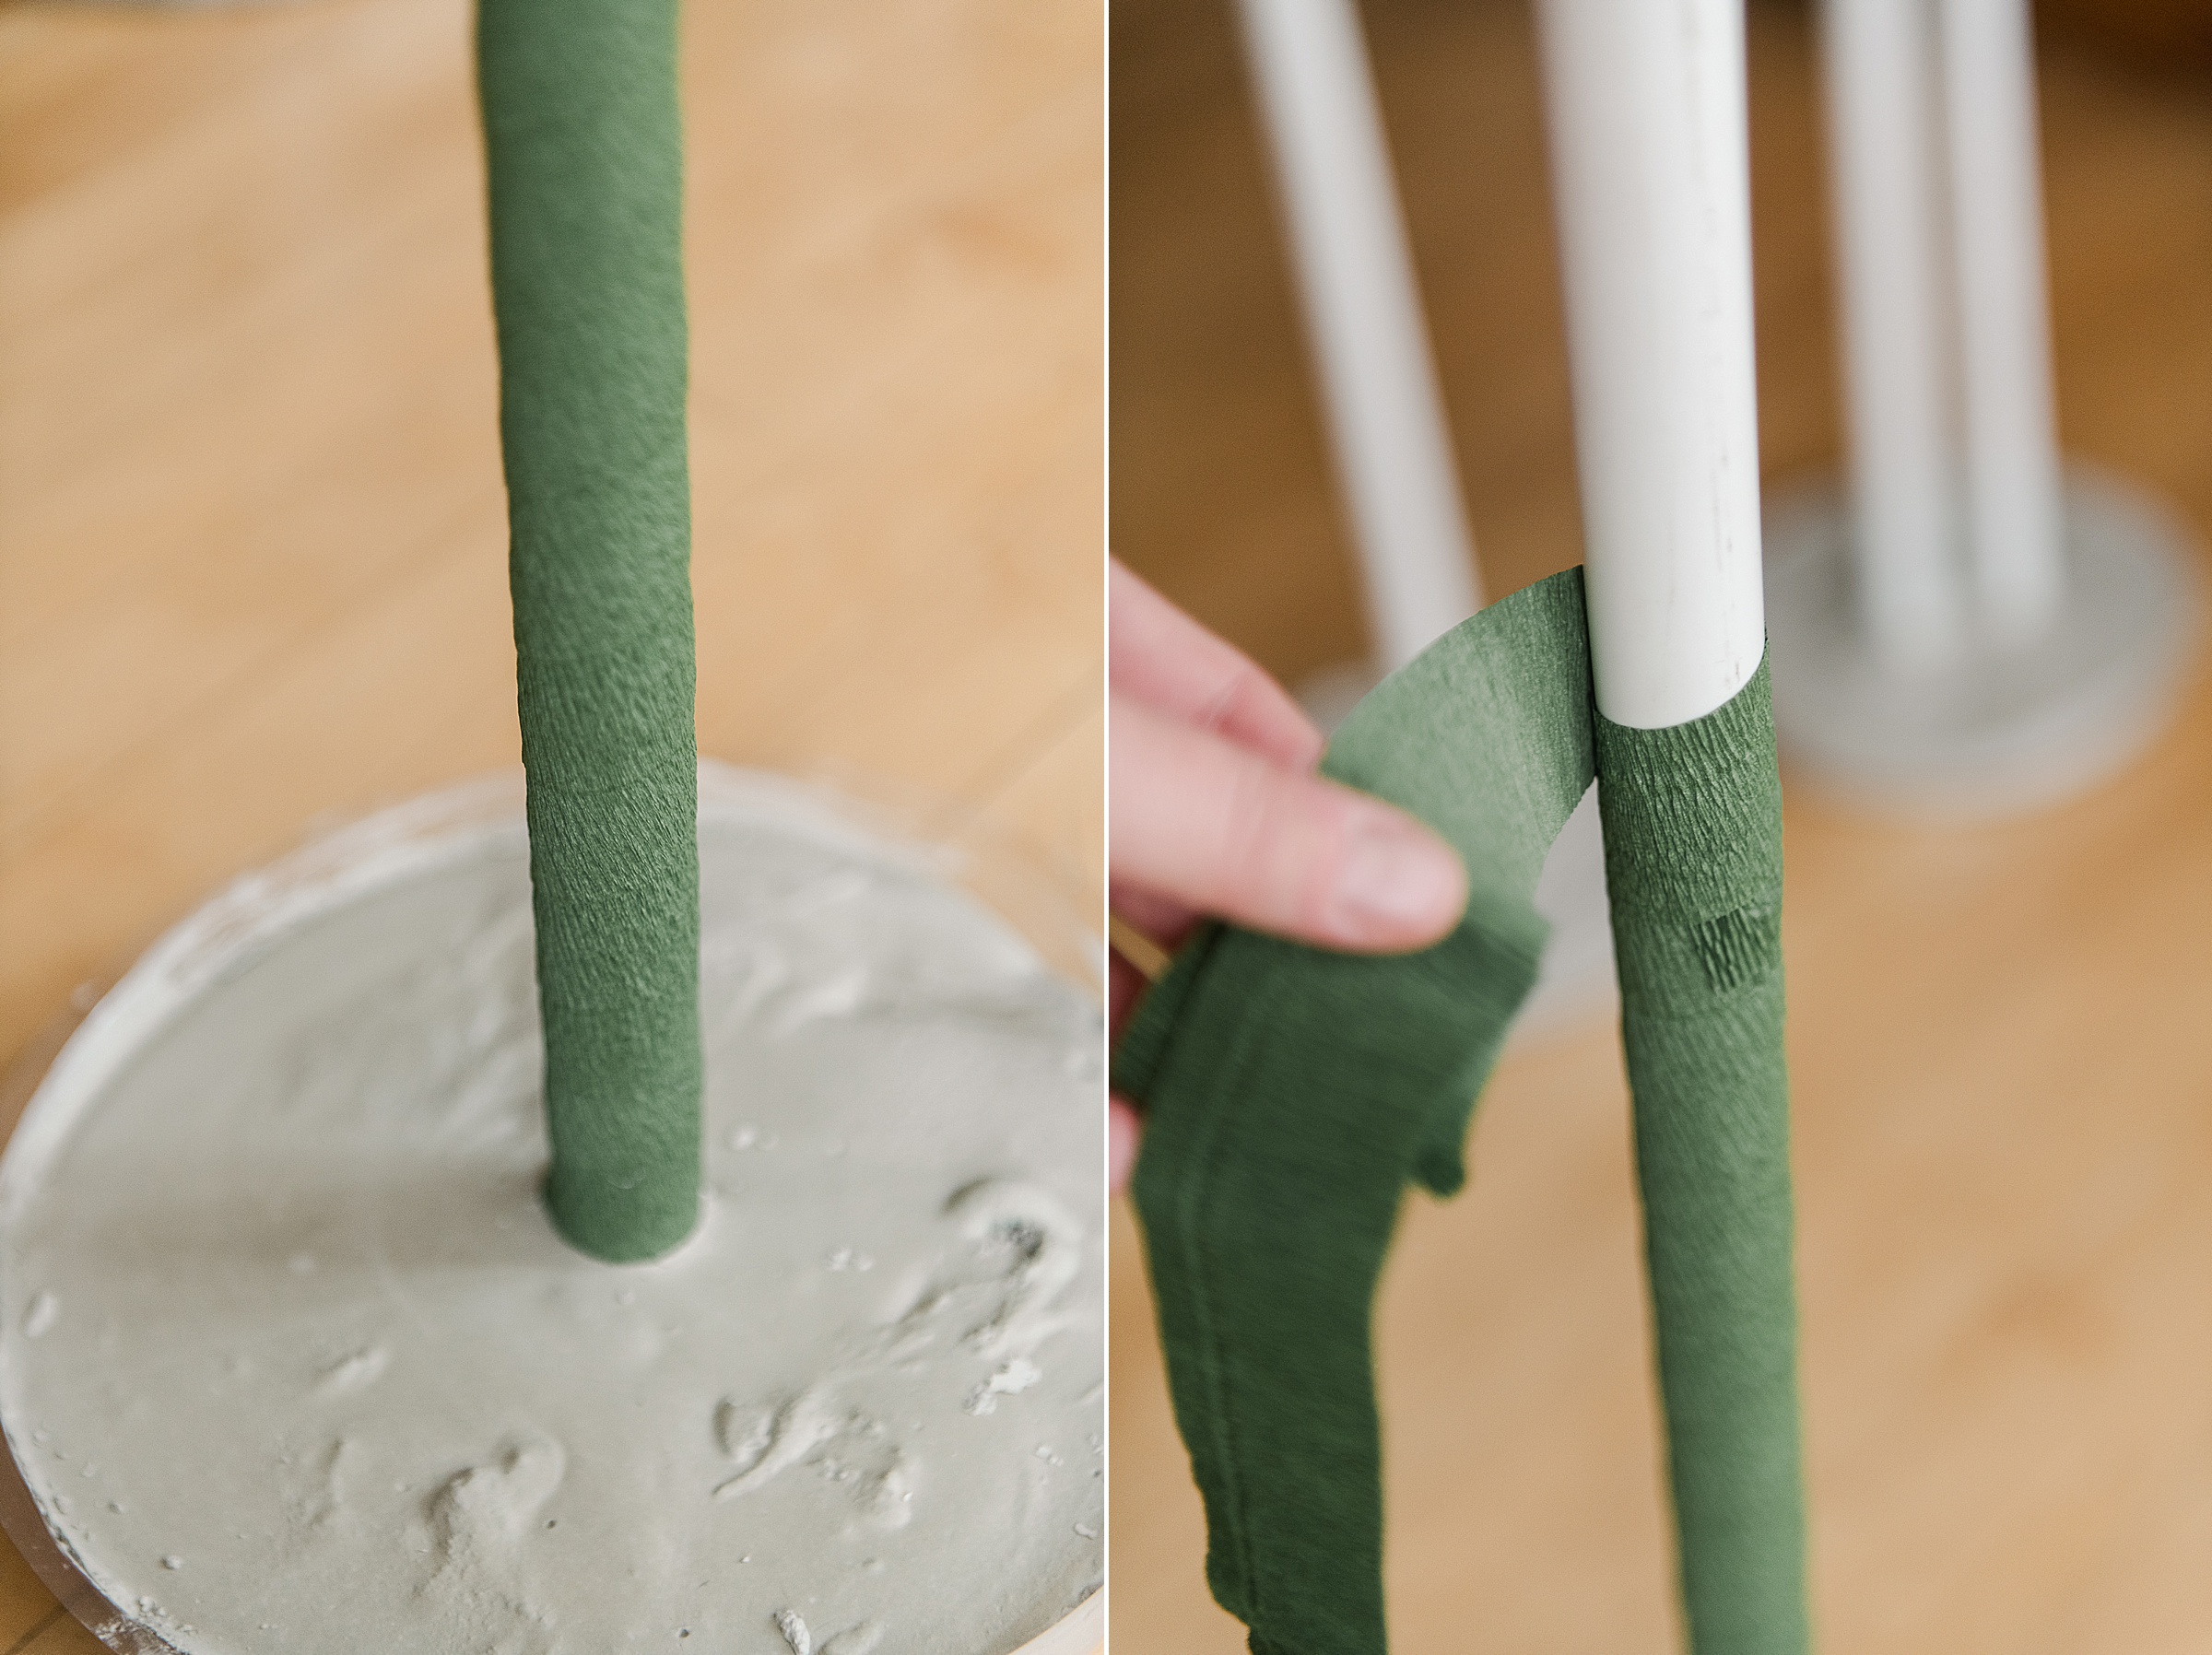
Then you will grab your leaves and add them to your stems by wrapping more of your 2″ crepe paper around the part of the wire that is left to the stem of the leaf.
**you could choose to add your leaves in as you wrap your PVC pipe for the first time, but I wanted these to be transportable, so I chose to add them on after I wrapped the stem first so that I didn’t squish the leaves in my car during transport.
9. Add the flower heads to your PVC stems and fluff up your leaves and your pedals to get them ready to display! 🙂
TAAA DAAA! I just love love LOVE LOVE how these turned out and I hope you do too! 🙂



I love these so much. You are incredible! How did you heat the pvc pipe?
Thank you! I will send pics and try to make them!!!
Thanks Ali! I just heated it over our vented stove…..it didn’t take much to get it just a bit warm so that I could bend it – and then I just held it there until it cooled 🙂 Just be sure that you do this over a SUPER well ventilated area or outside if you are doing it – I wouldn’t want the fumes to get to you! 🙂