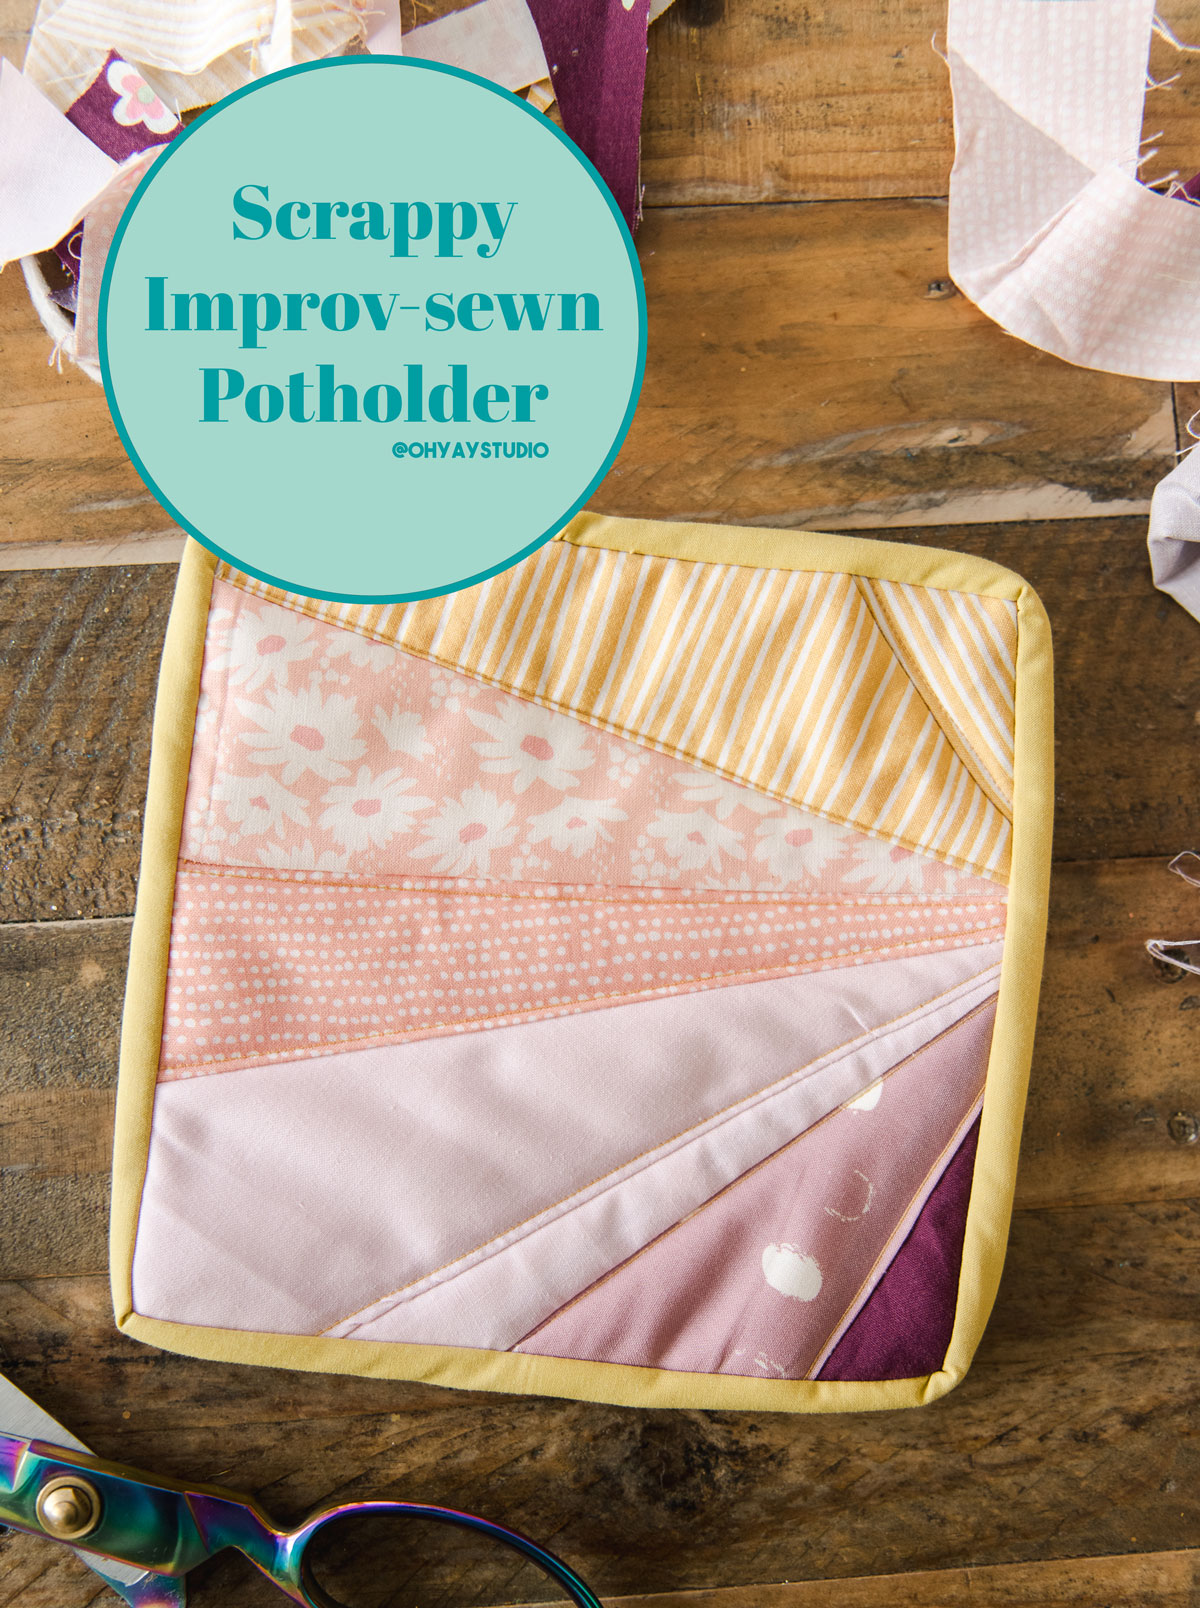
Scrappy improve-style sewn potholders
This scrappy improv-style sewing is the PERFECT stress free sewing project that will end with a brand new, colorful potholder (and easy project that is even a great start for beginning sewists or even kiddos)! 🙂 All of my tips and tricks are in this blog post and I think you will fall in love with this improv-sewing for it’s easy measuring, non-precise cutting and forgiving stitching lines 🙂
MATERIALS:
- Your fave sewing machine + coordinating thread
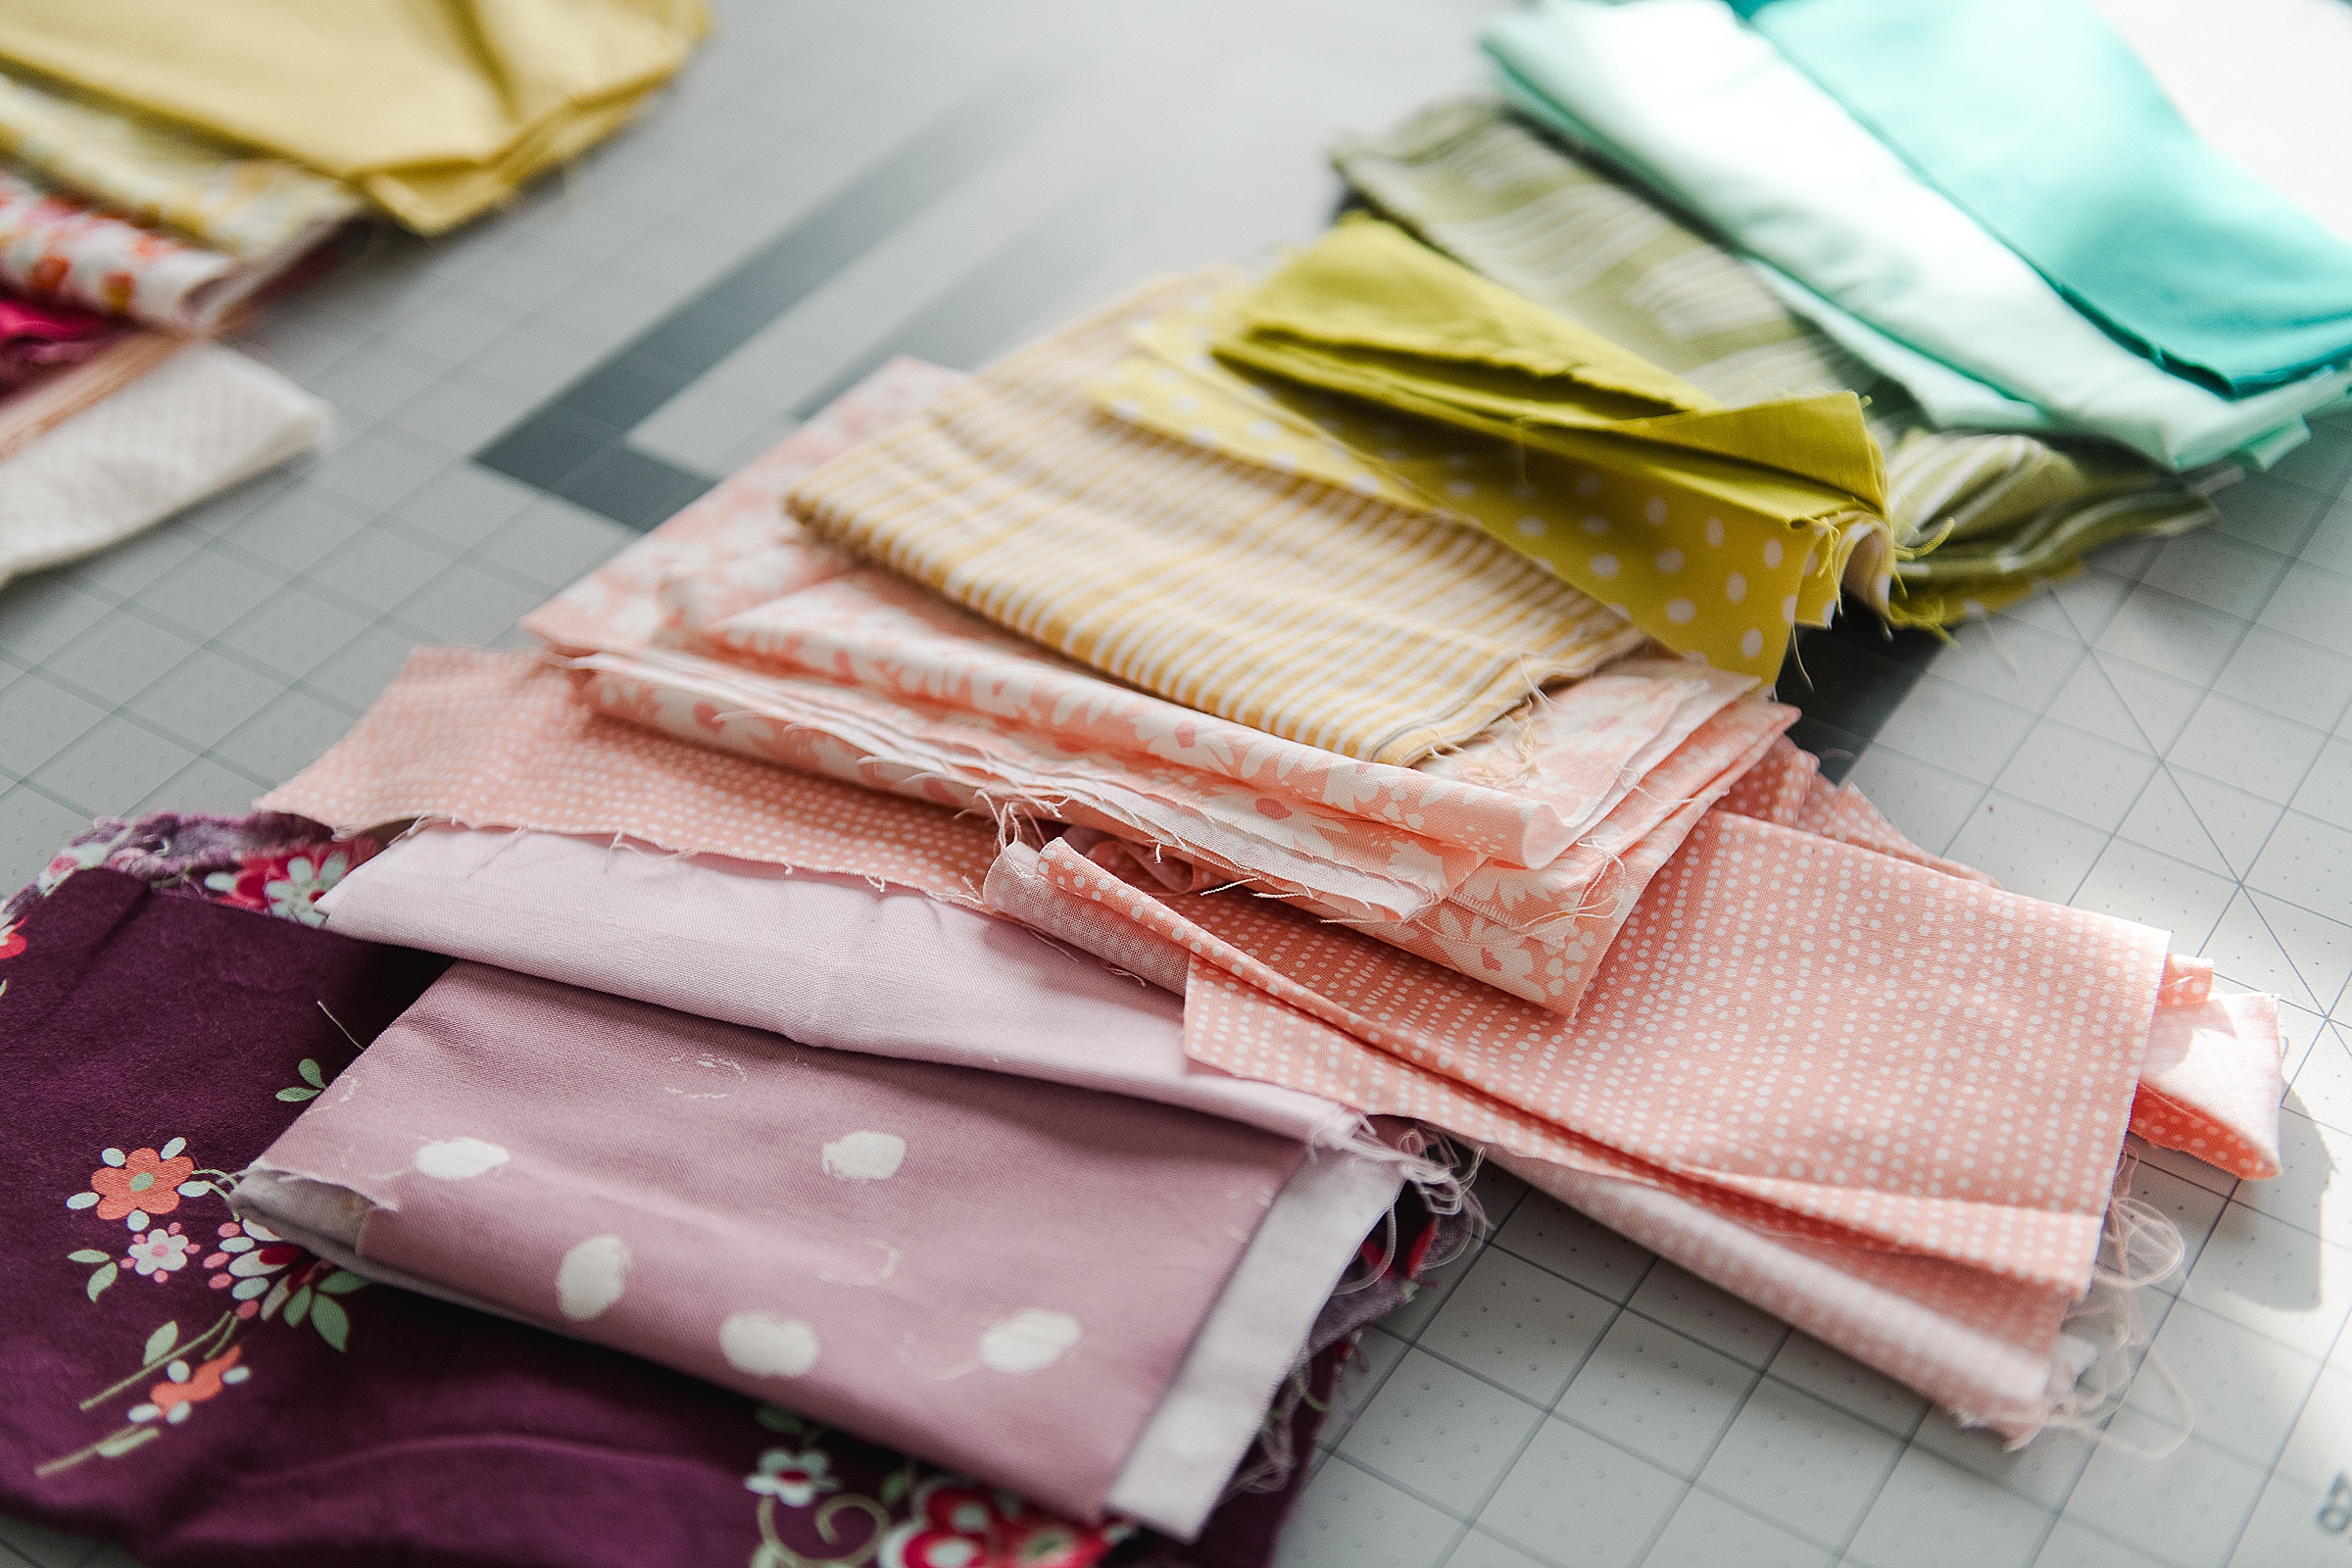
- A mired of scraps from your pile (or small pieces of fabric that you don’t already have earmarked for something else 🙂
- One larger scrap of fabric for the back side of the project (dimensions noted below)
- Cotton batting – if making the coasters (and optional for the potholders)
- Insulated heat-resistant batting – if making the potholders
- Your favorite iron
- A rotary cutter and mat (or scissors will do too) 🙂
- Sewing claw clips or pins
- A pencil or fabric marker
A note on interfacing/batting – DO NOT use polyester batting for the potholder project (or any project that needs heat resisting). Polyester batting can melt under heat AND it won’t actually block heat effectively and could damage your solid surfaces (I learned this the hard way, ack)!
INSTRUCTIONS:
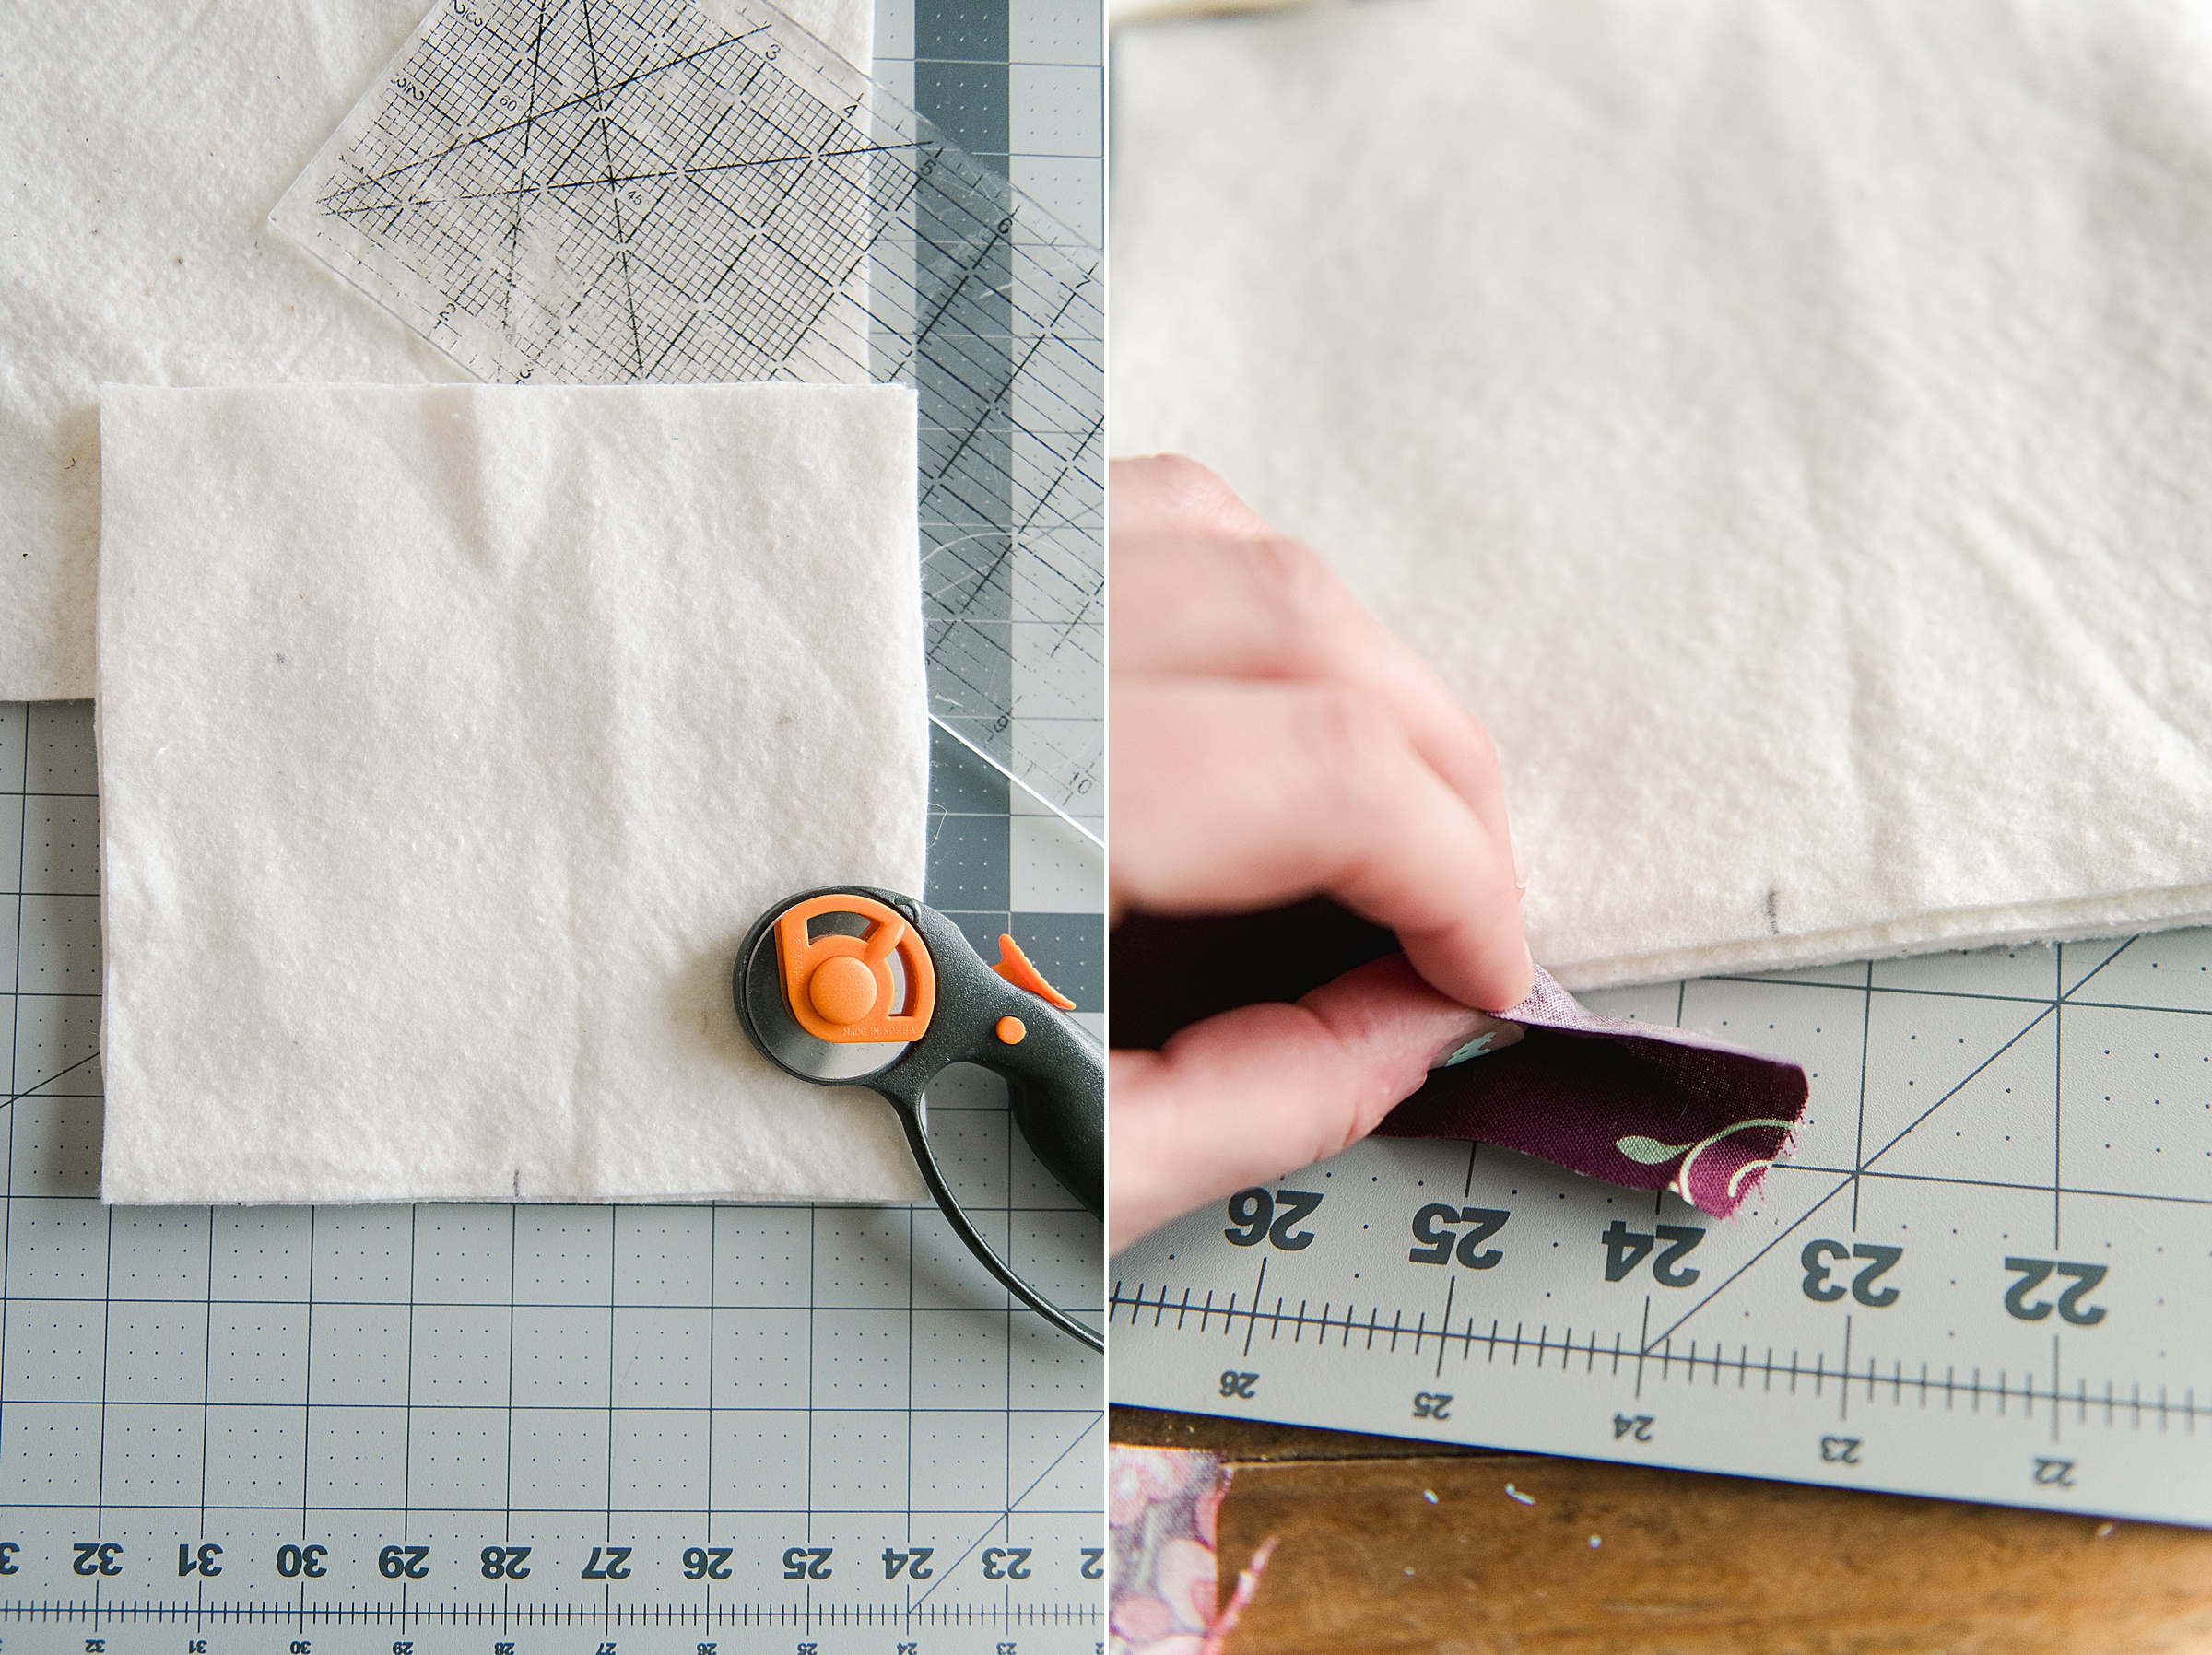
1. Cut your batting and backing
For the potholder – Cut your batting The “standard size” for a potholder, which is a 7” square. I chose to cut one piece of insulated batting and then one cotton layer to give it more “plush” 🙂
Also, cut one piece of backing the same size as the batting
For the coasters – A standard coaster size is about a 4” square – but truthfully any size will do for coasters. Cut 1-2 layers of batting for the coasters depending on how plush or thick you want them to be.
Also, cut one piece of backing the same size as the batting
2. Iron all of your fabrics so they are beautifully flat without wrinkles (hot tip: put on a good movie for this portion so that you can relax and just iron 🙂
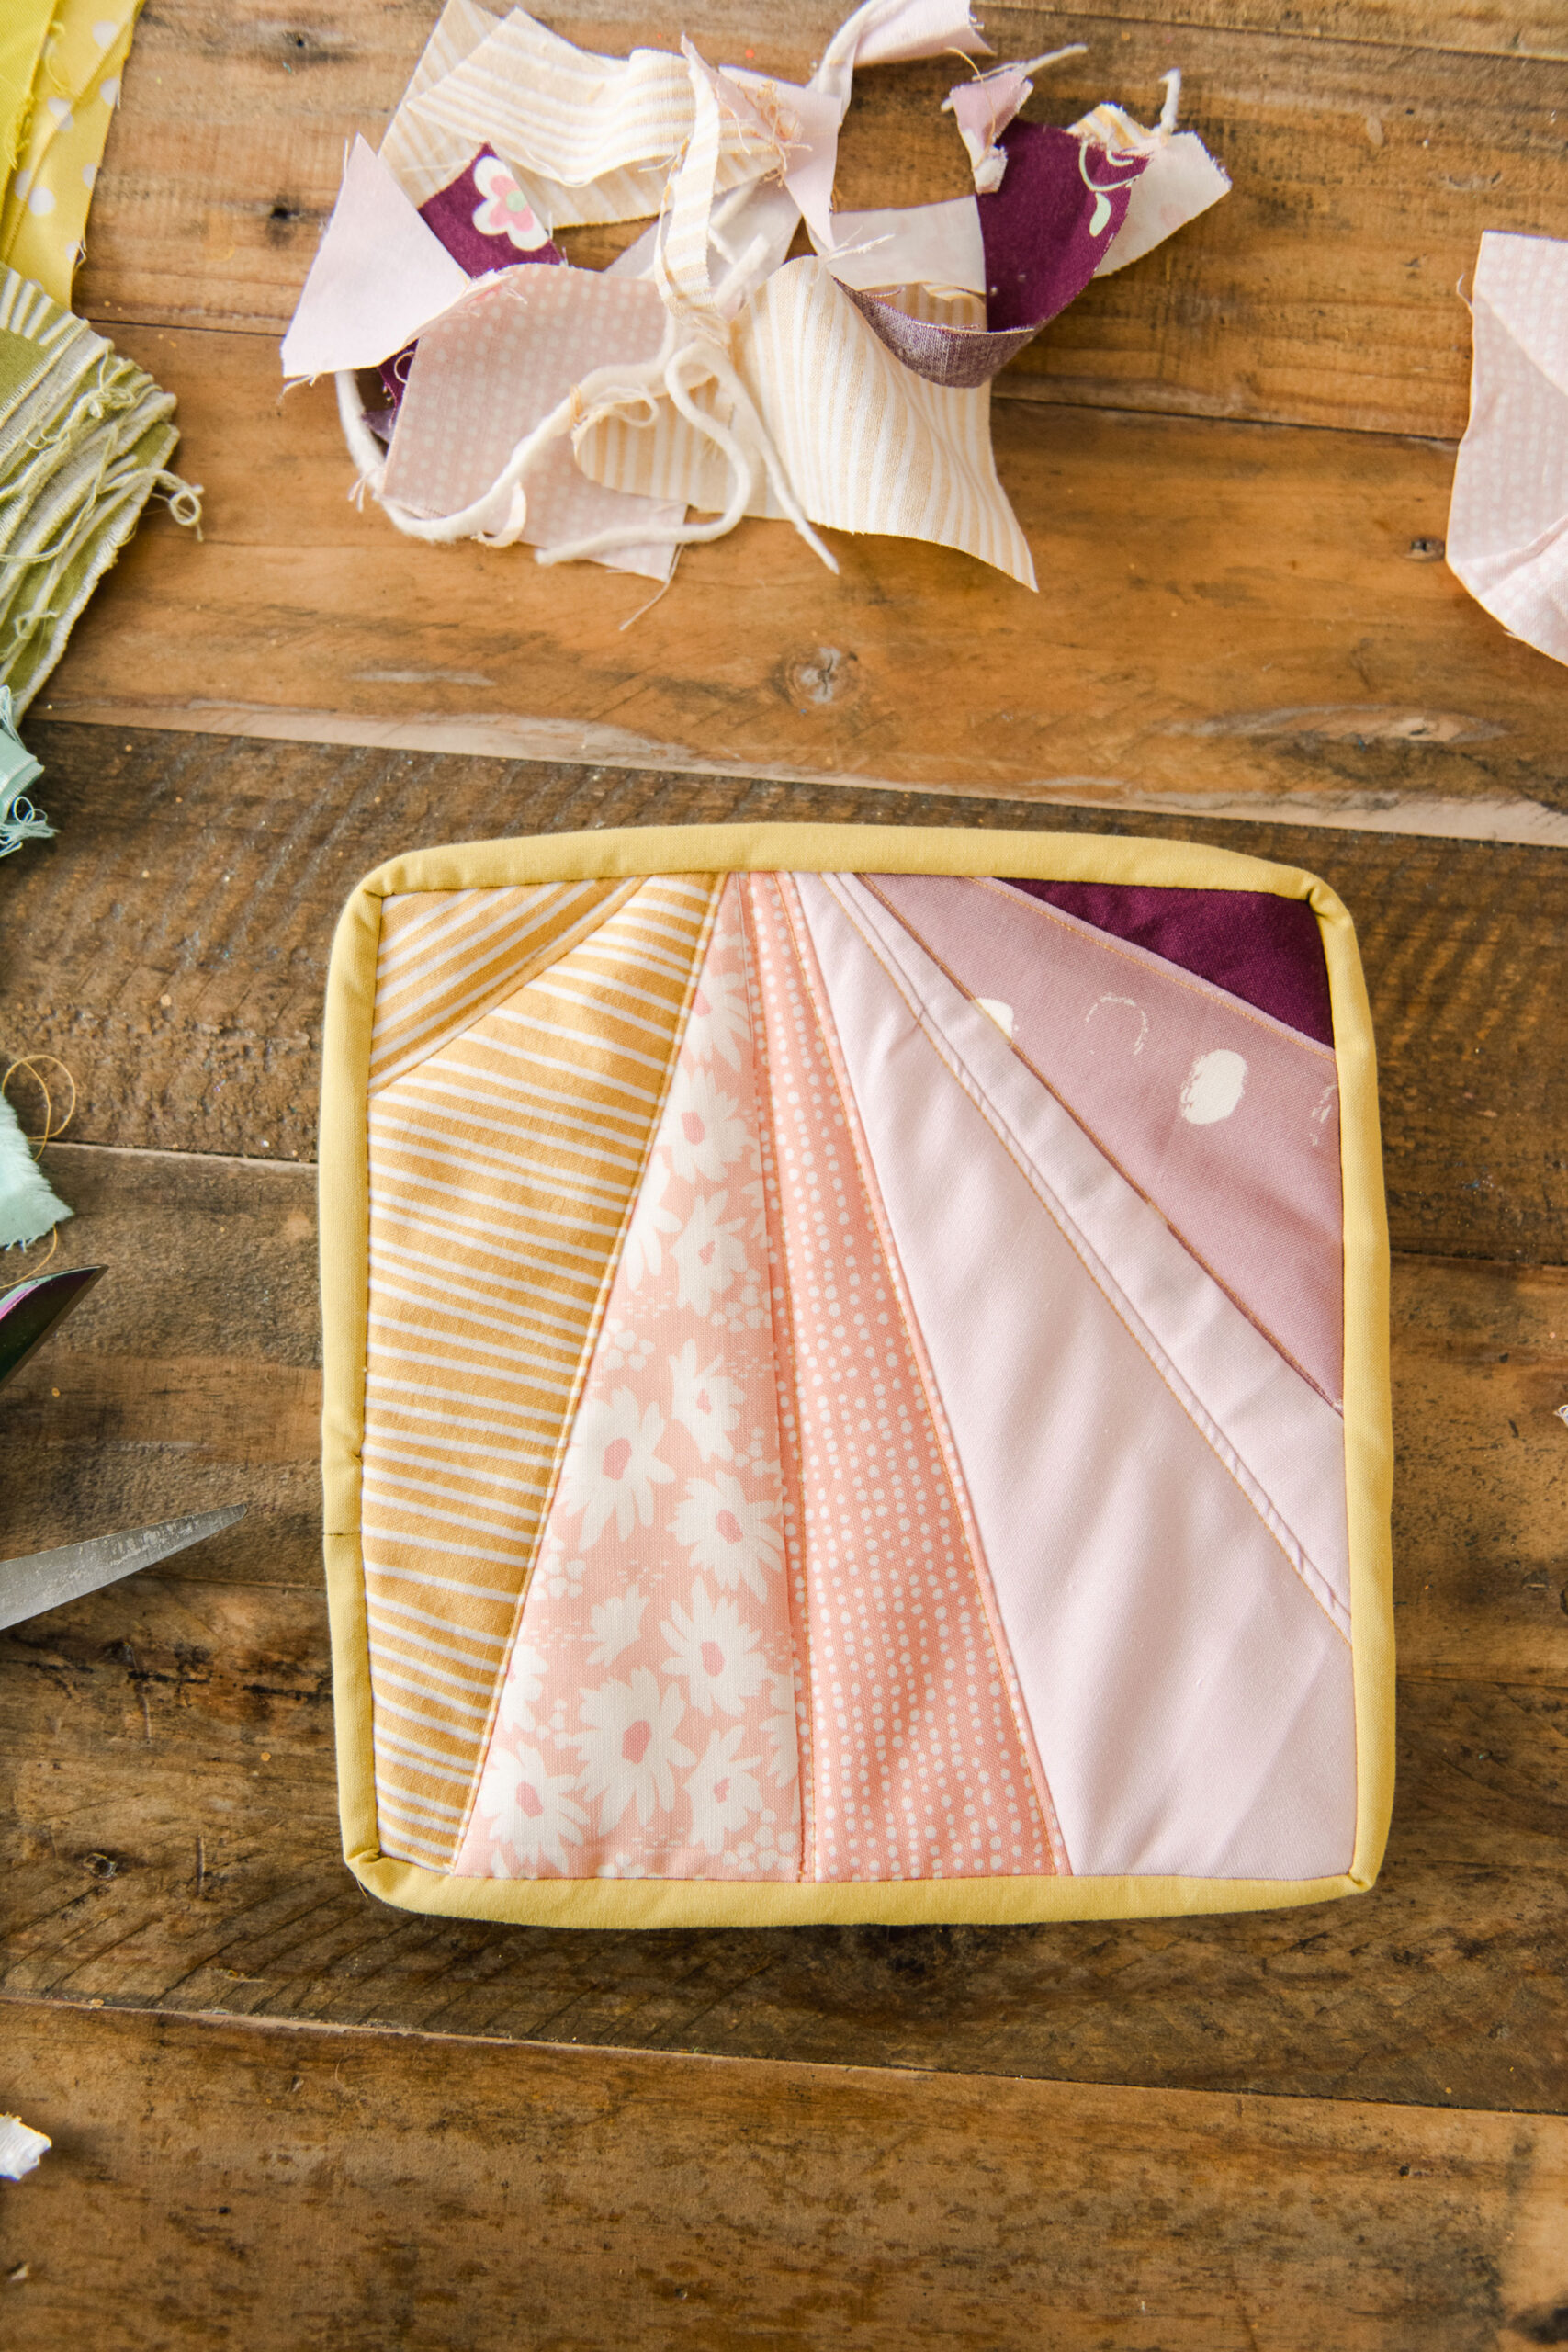
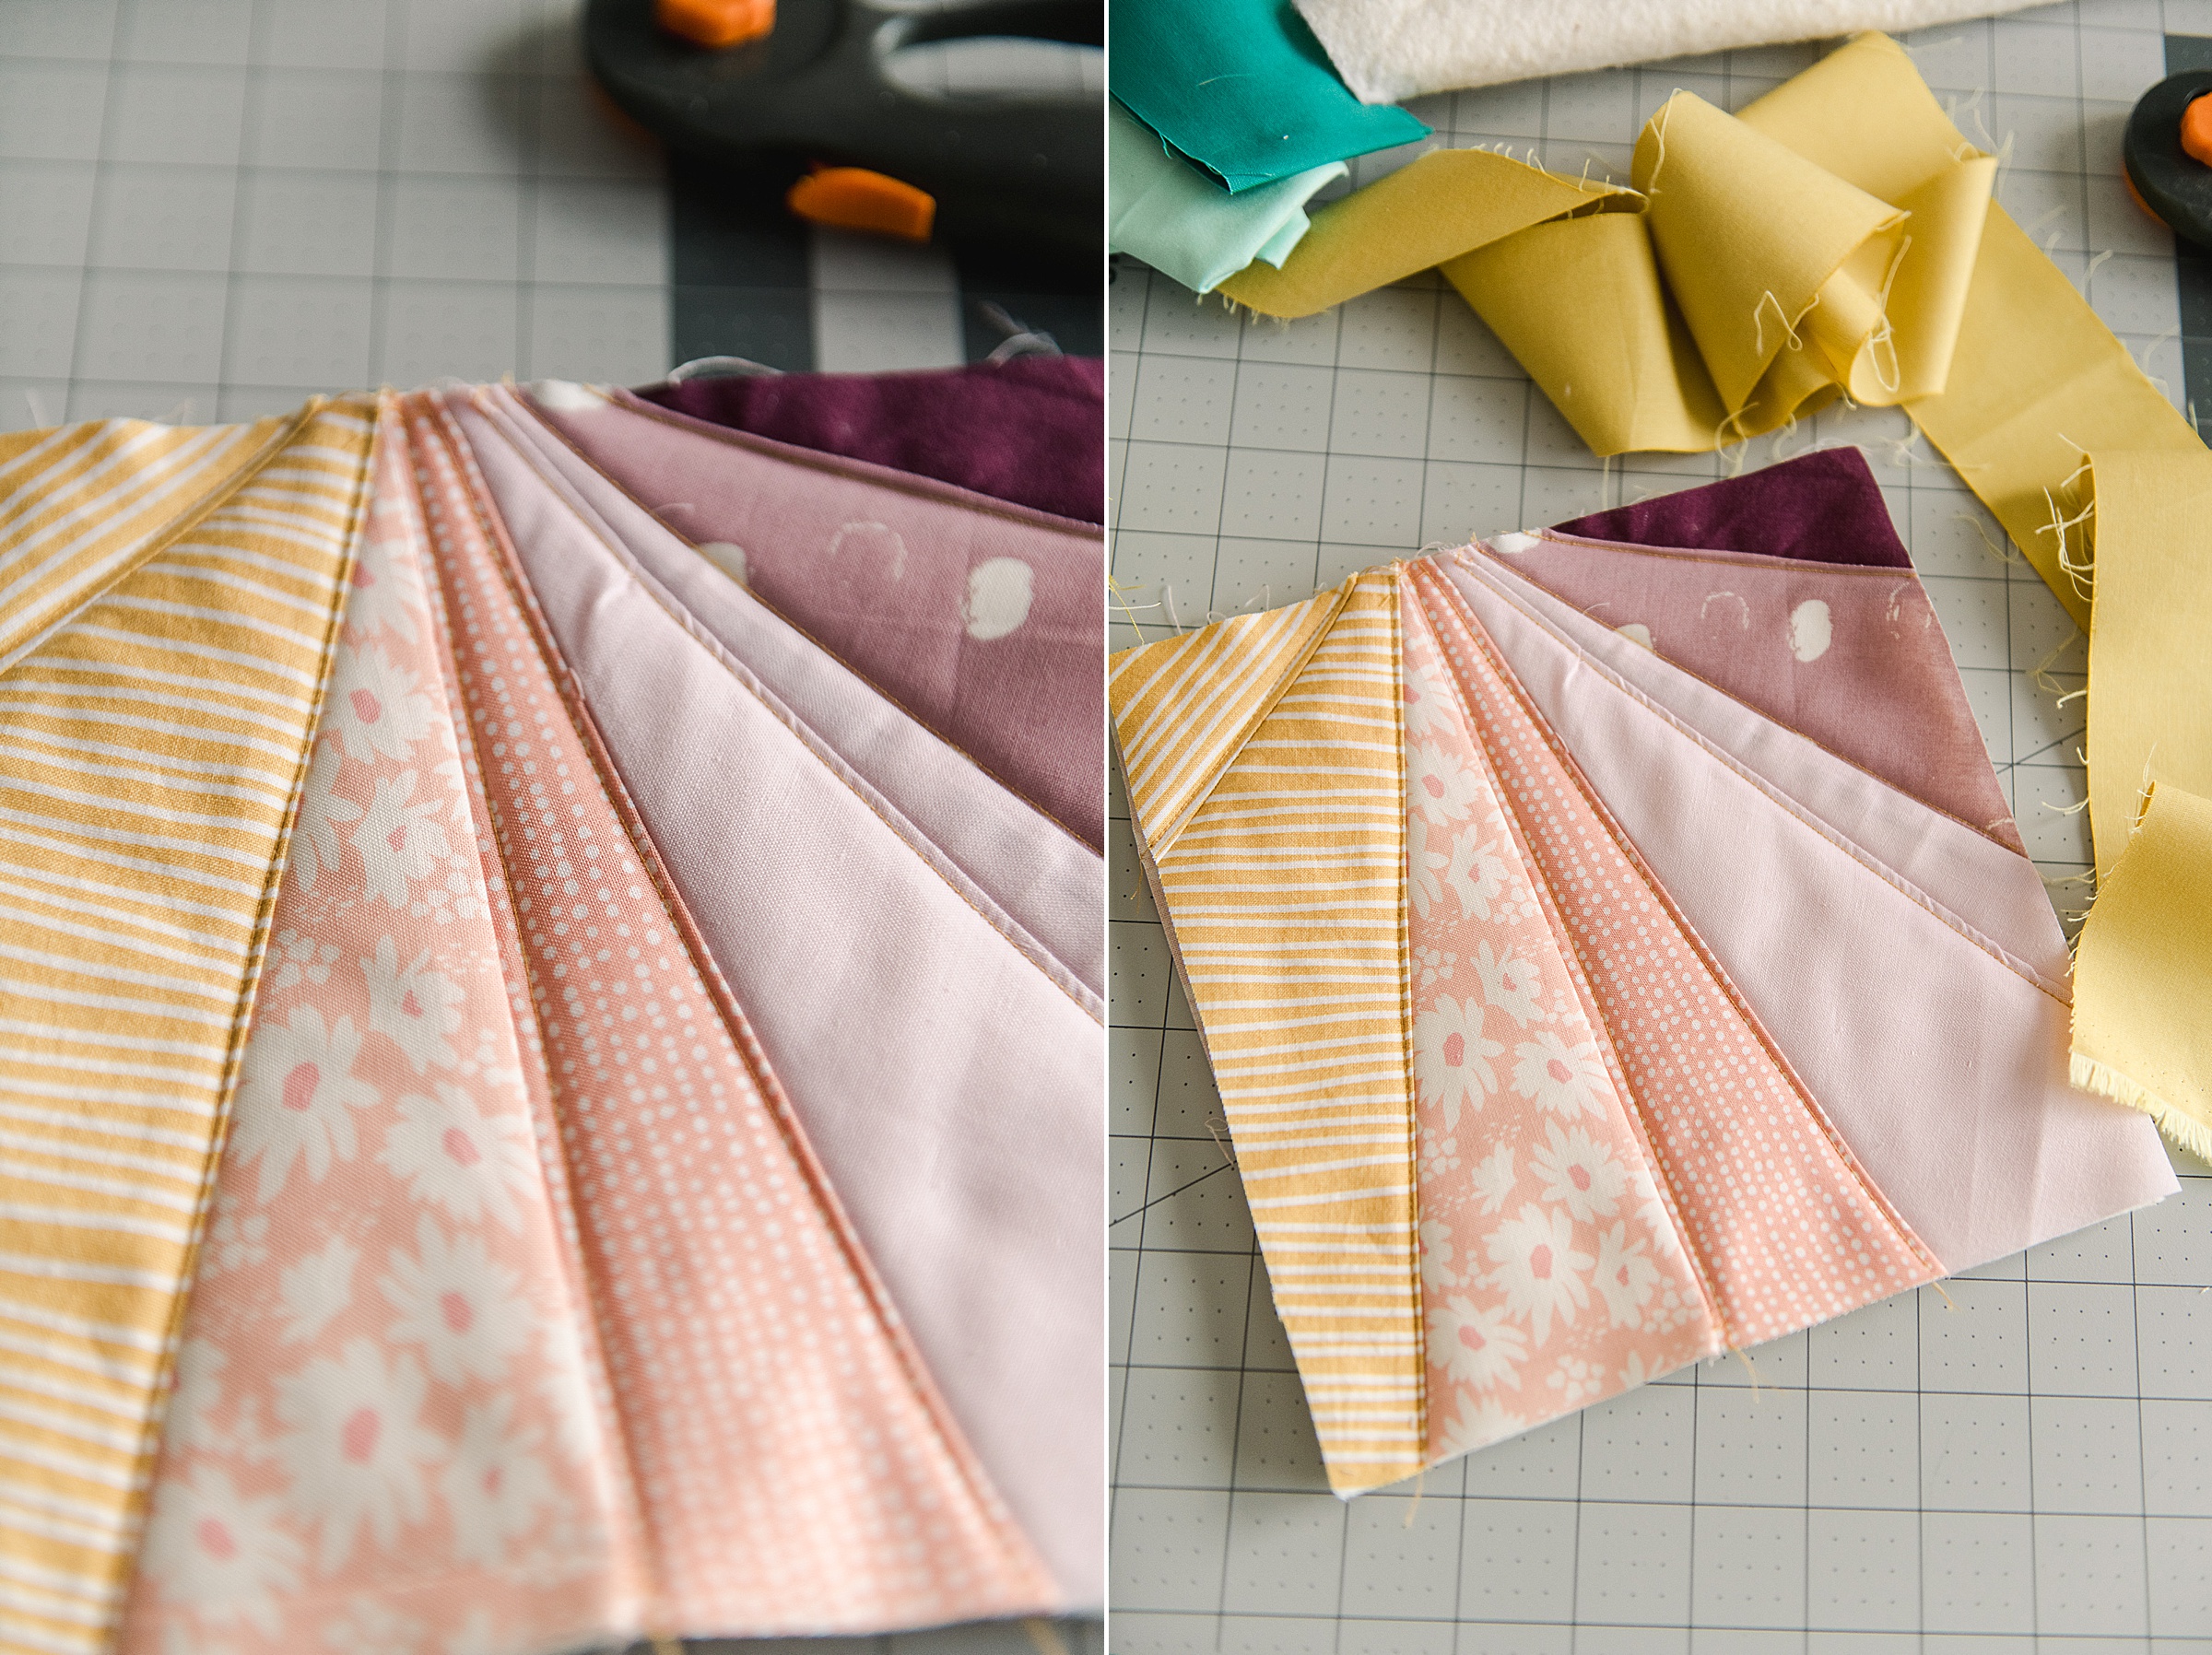
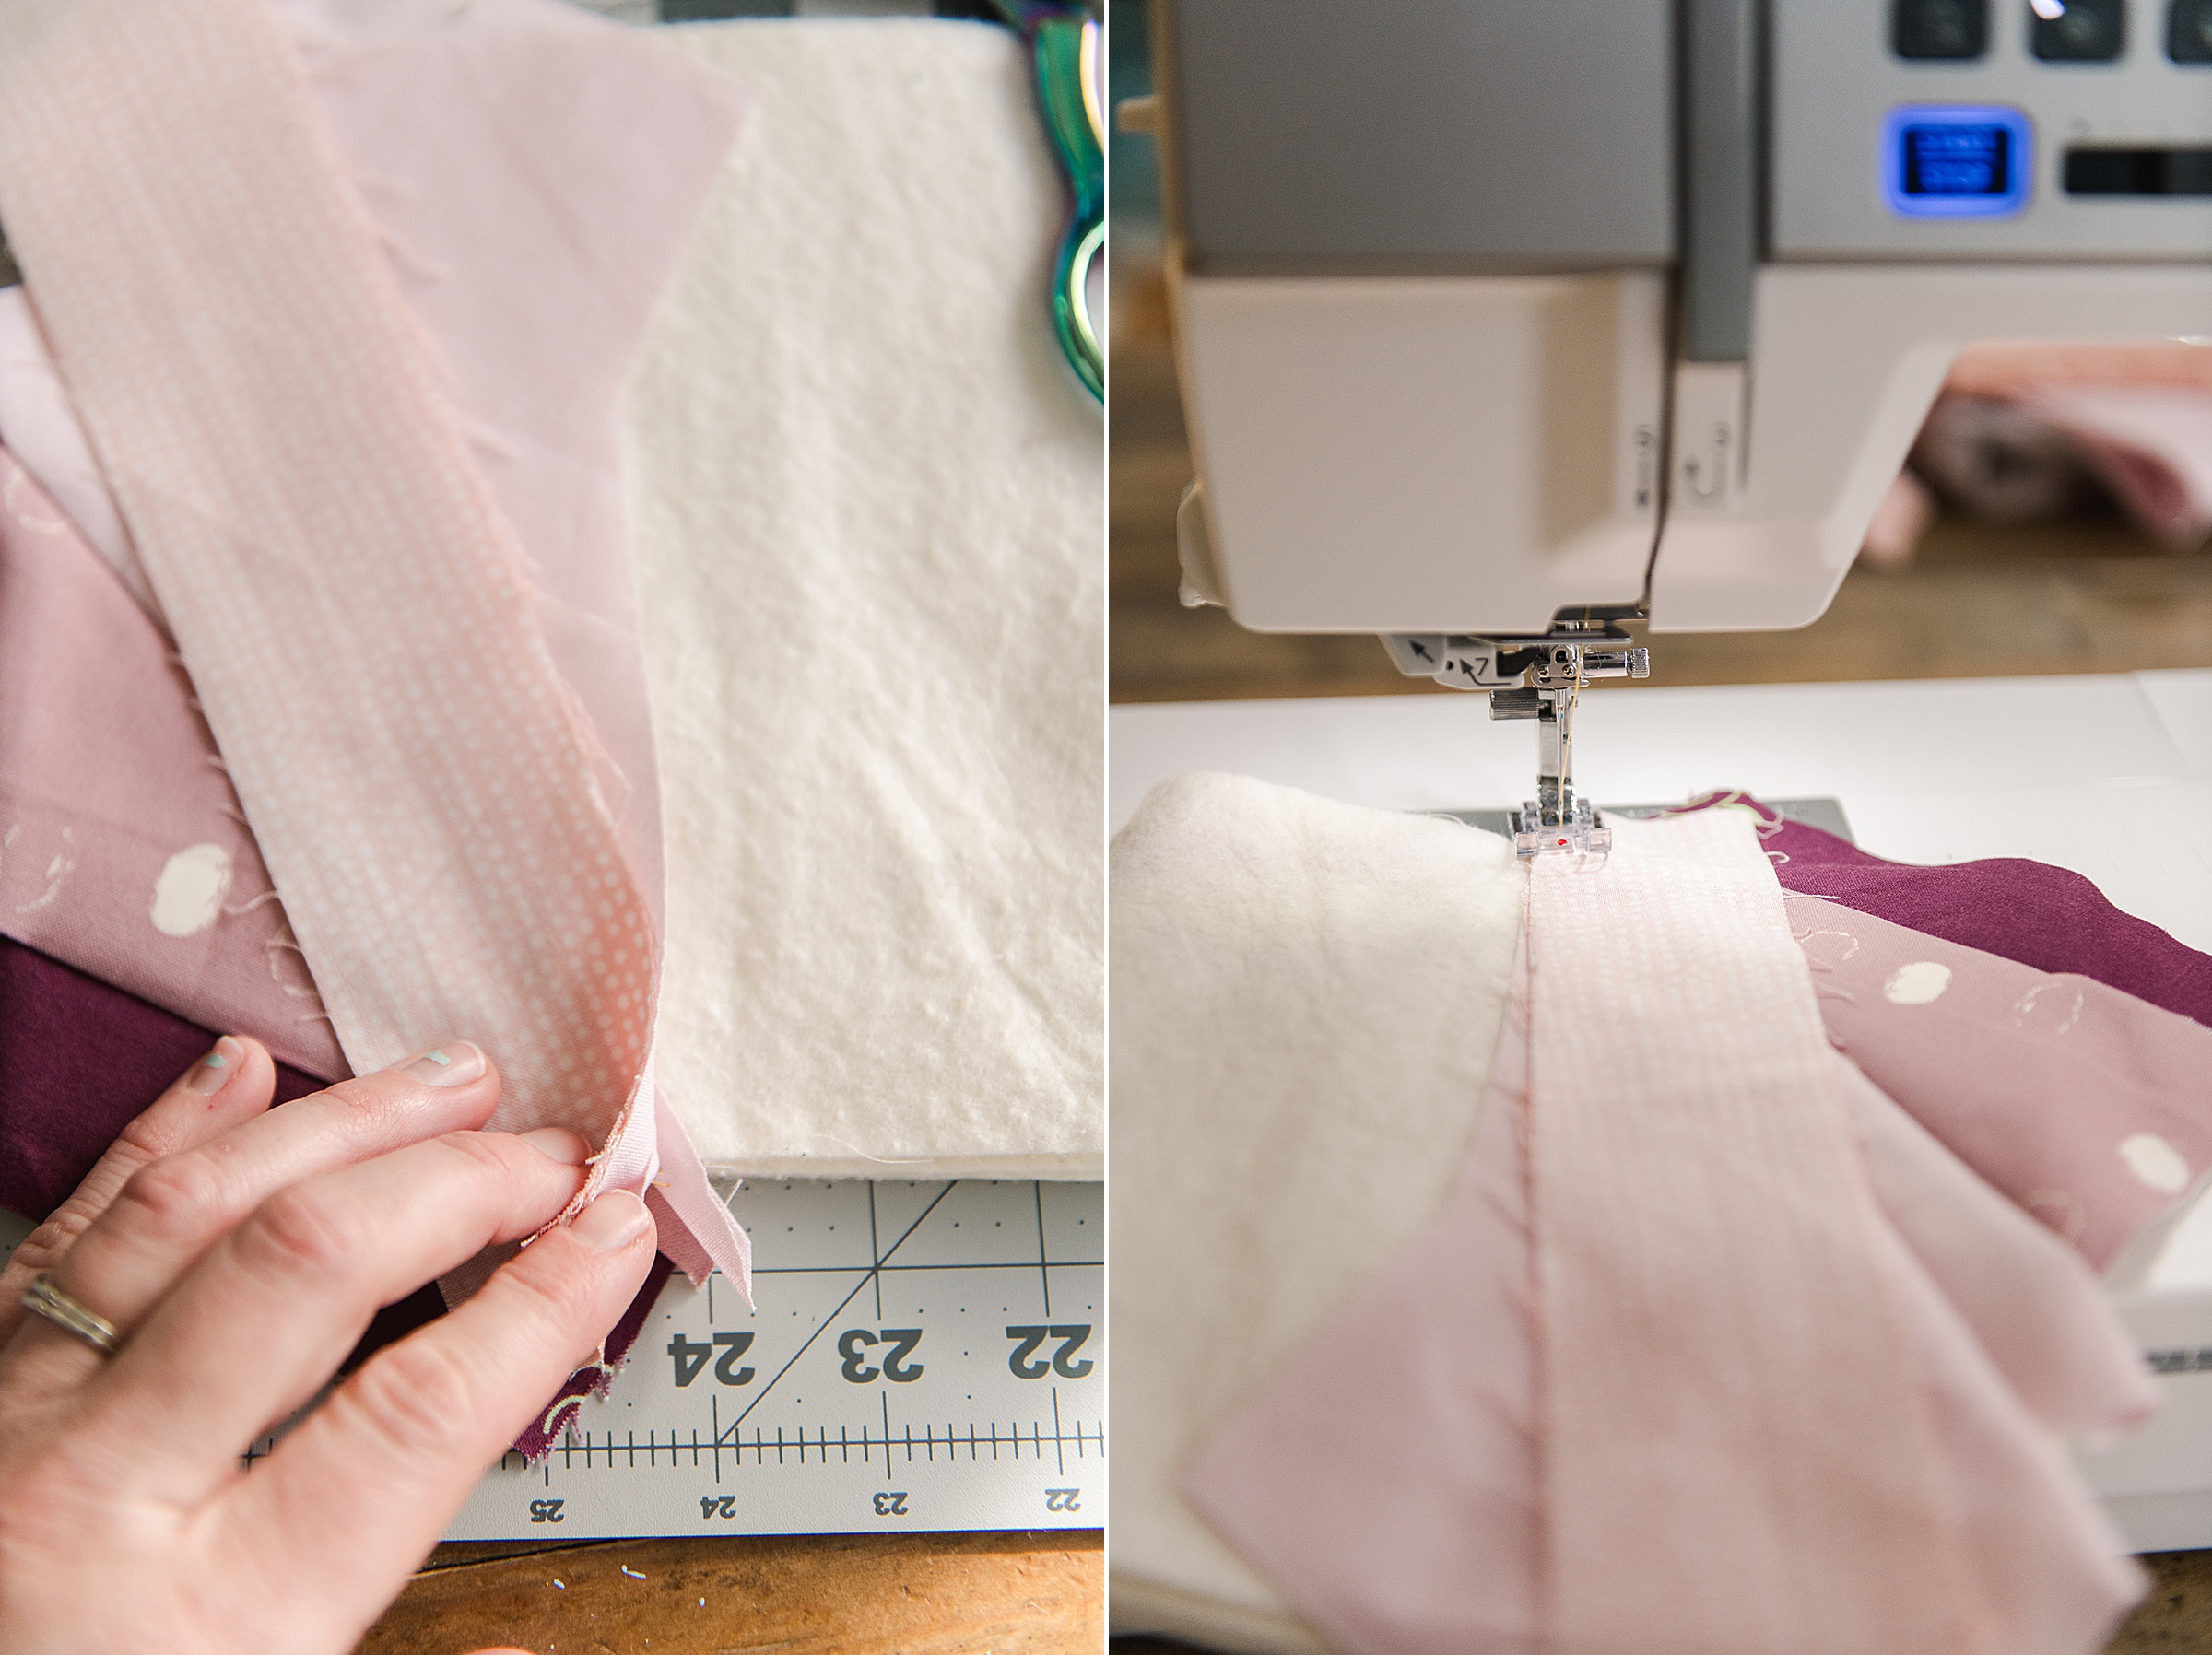
3. Mark your “burst start” and begin to sew your top
With a pencil or fabric makers, mark where you want the “point” or start of your burst to begin. Then you will start the process of laying fabric, sewing, pressing, laying fabric, sewing, pressing, etc.
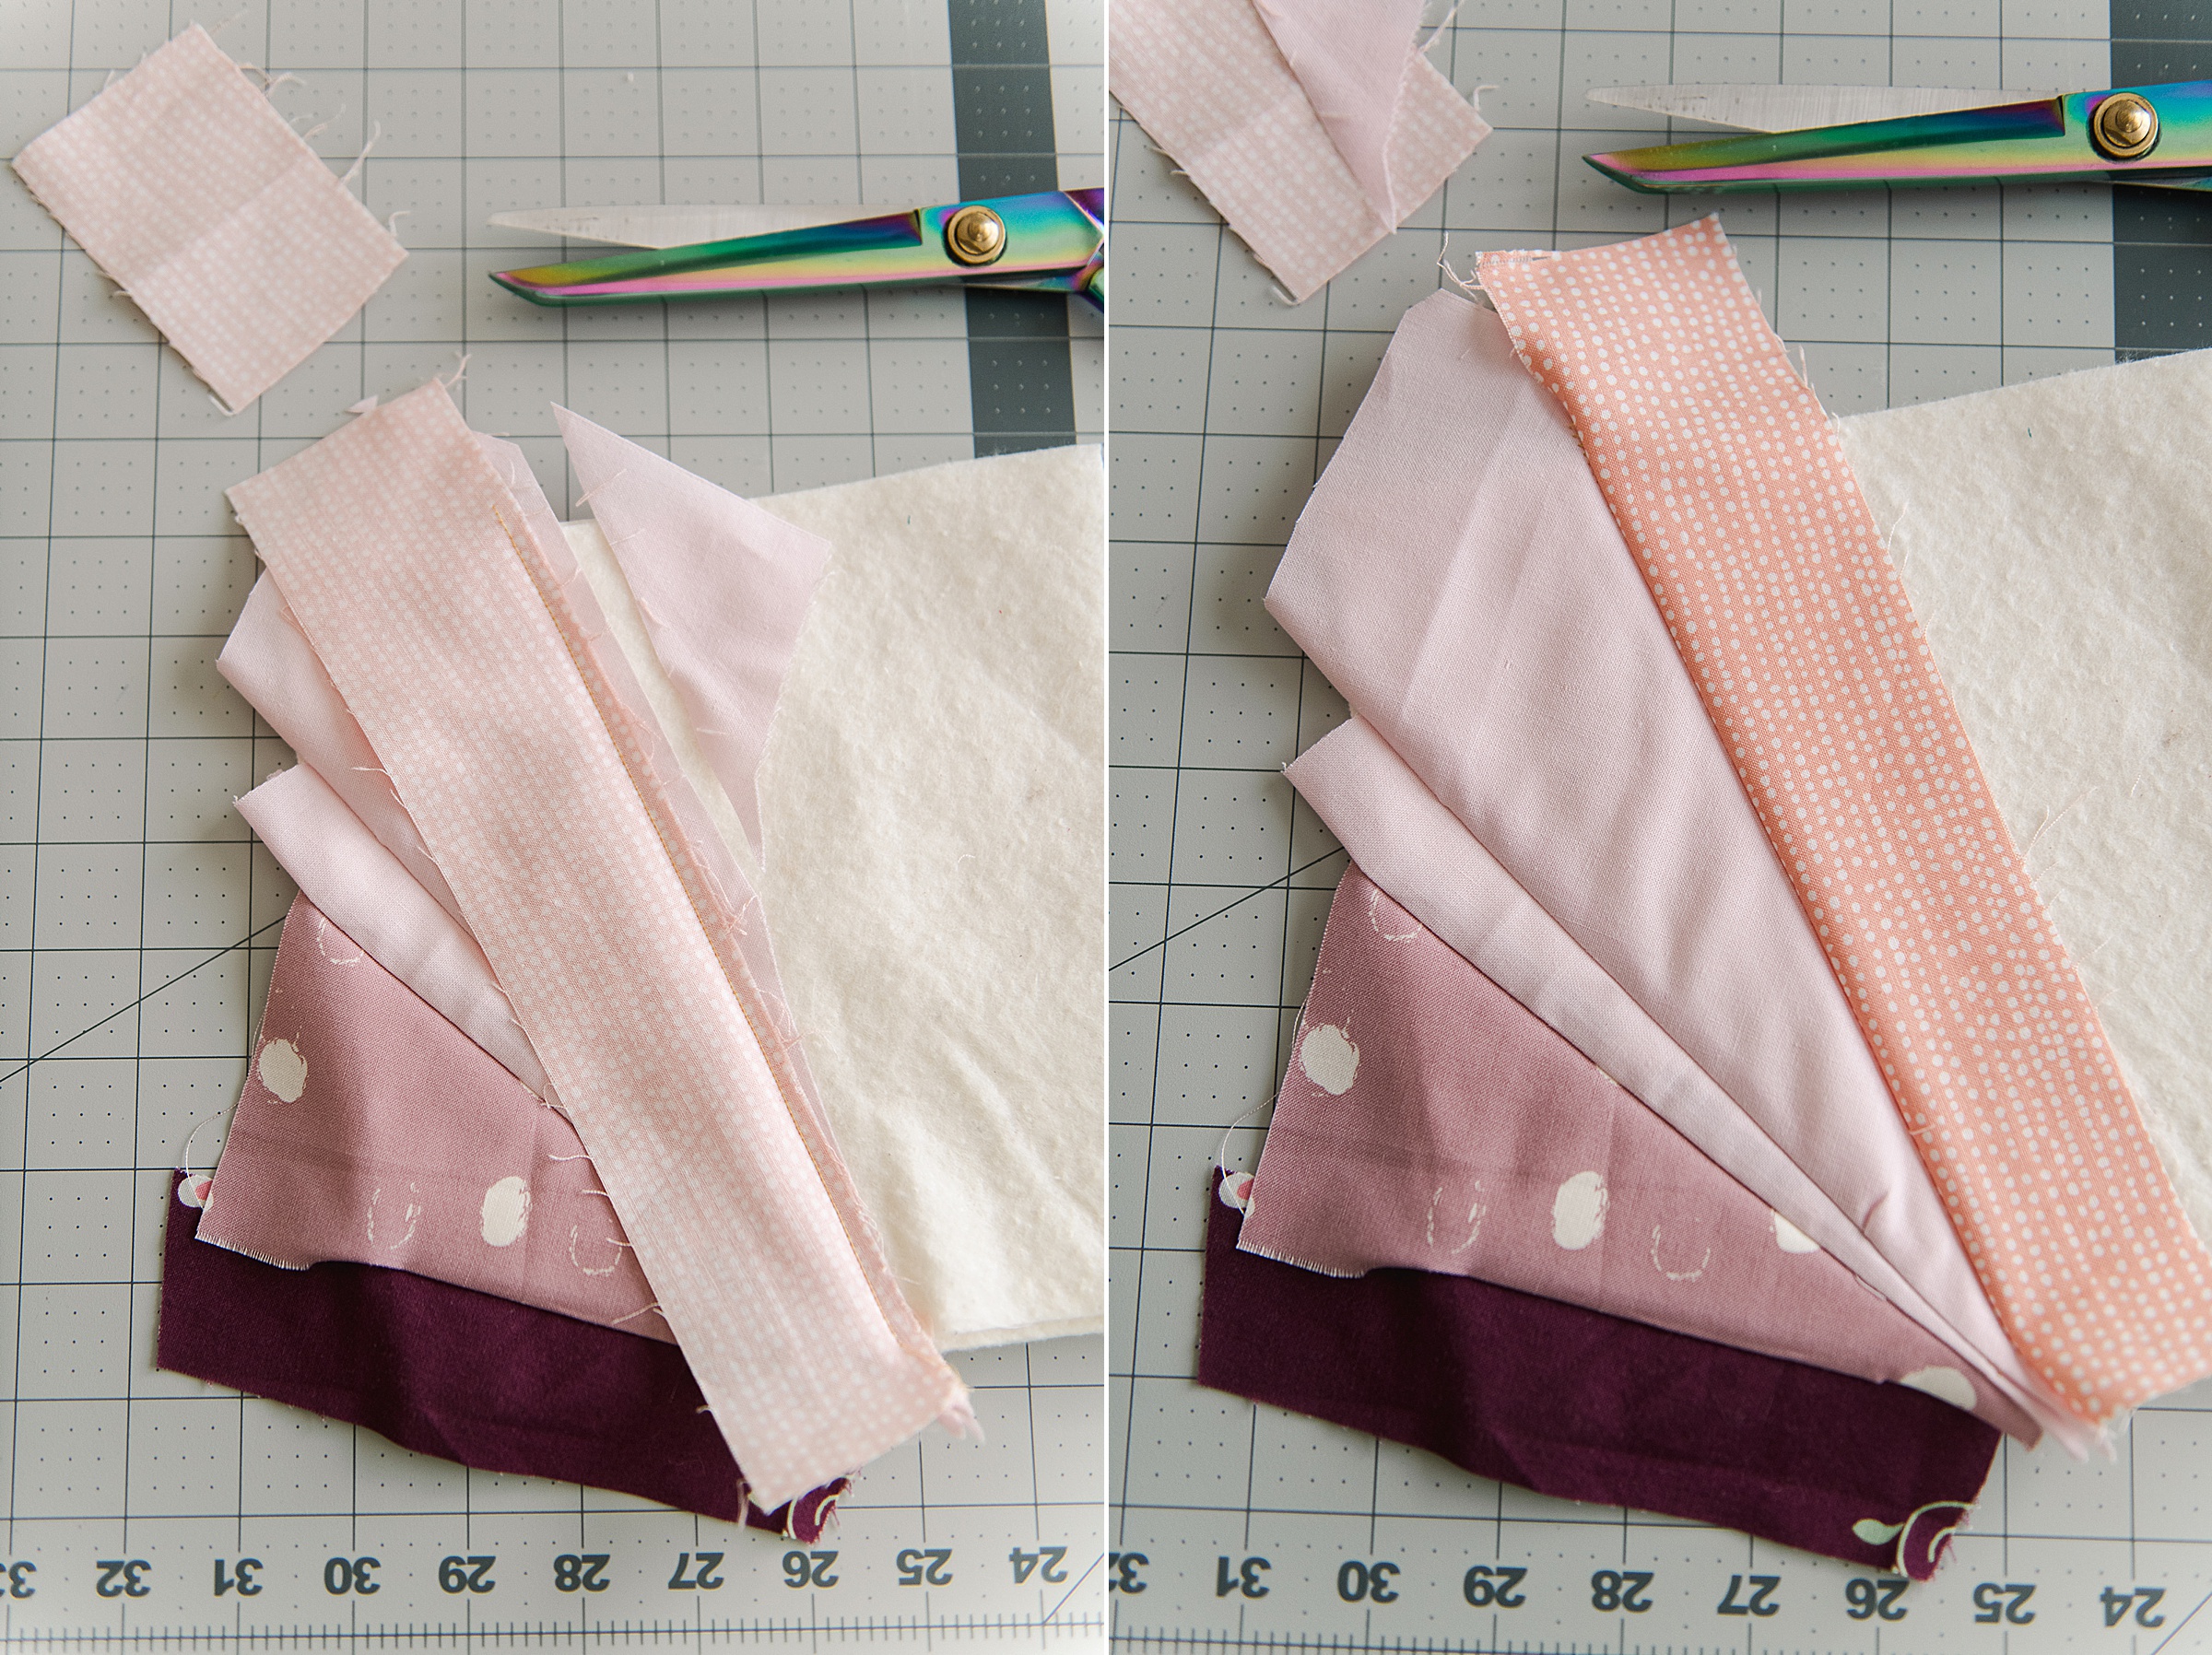
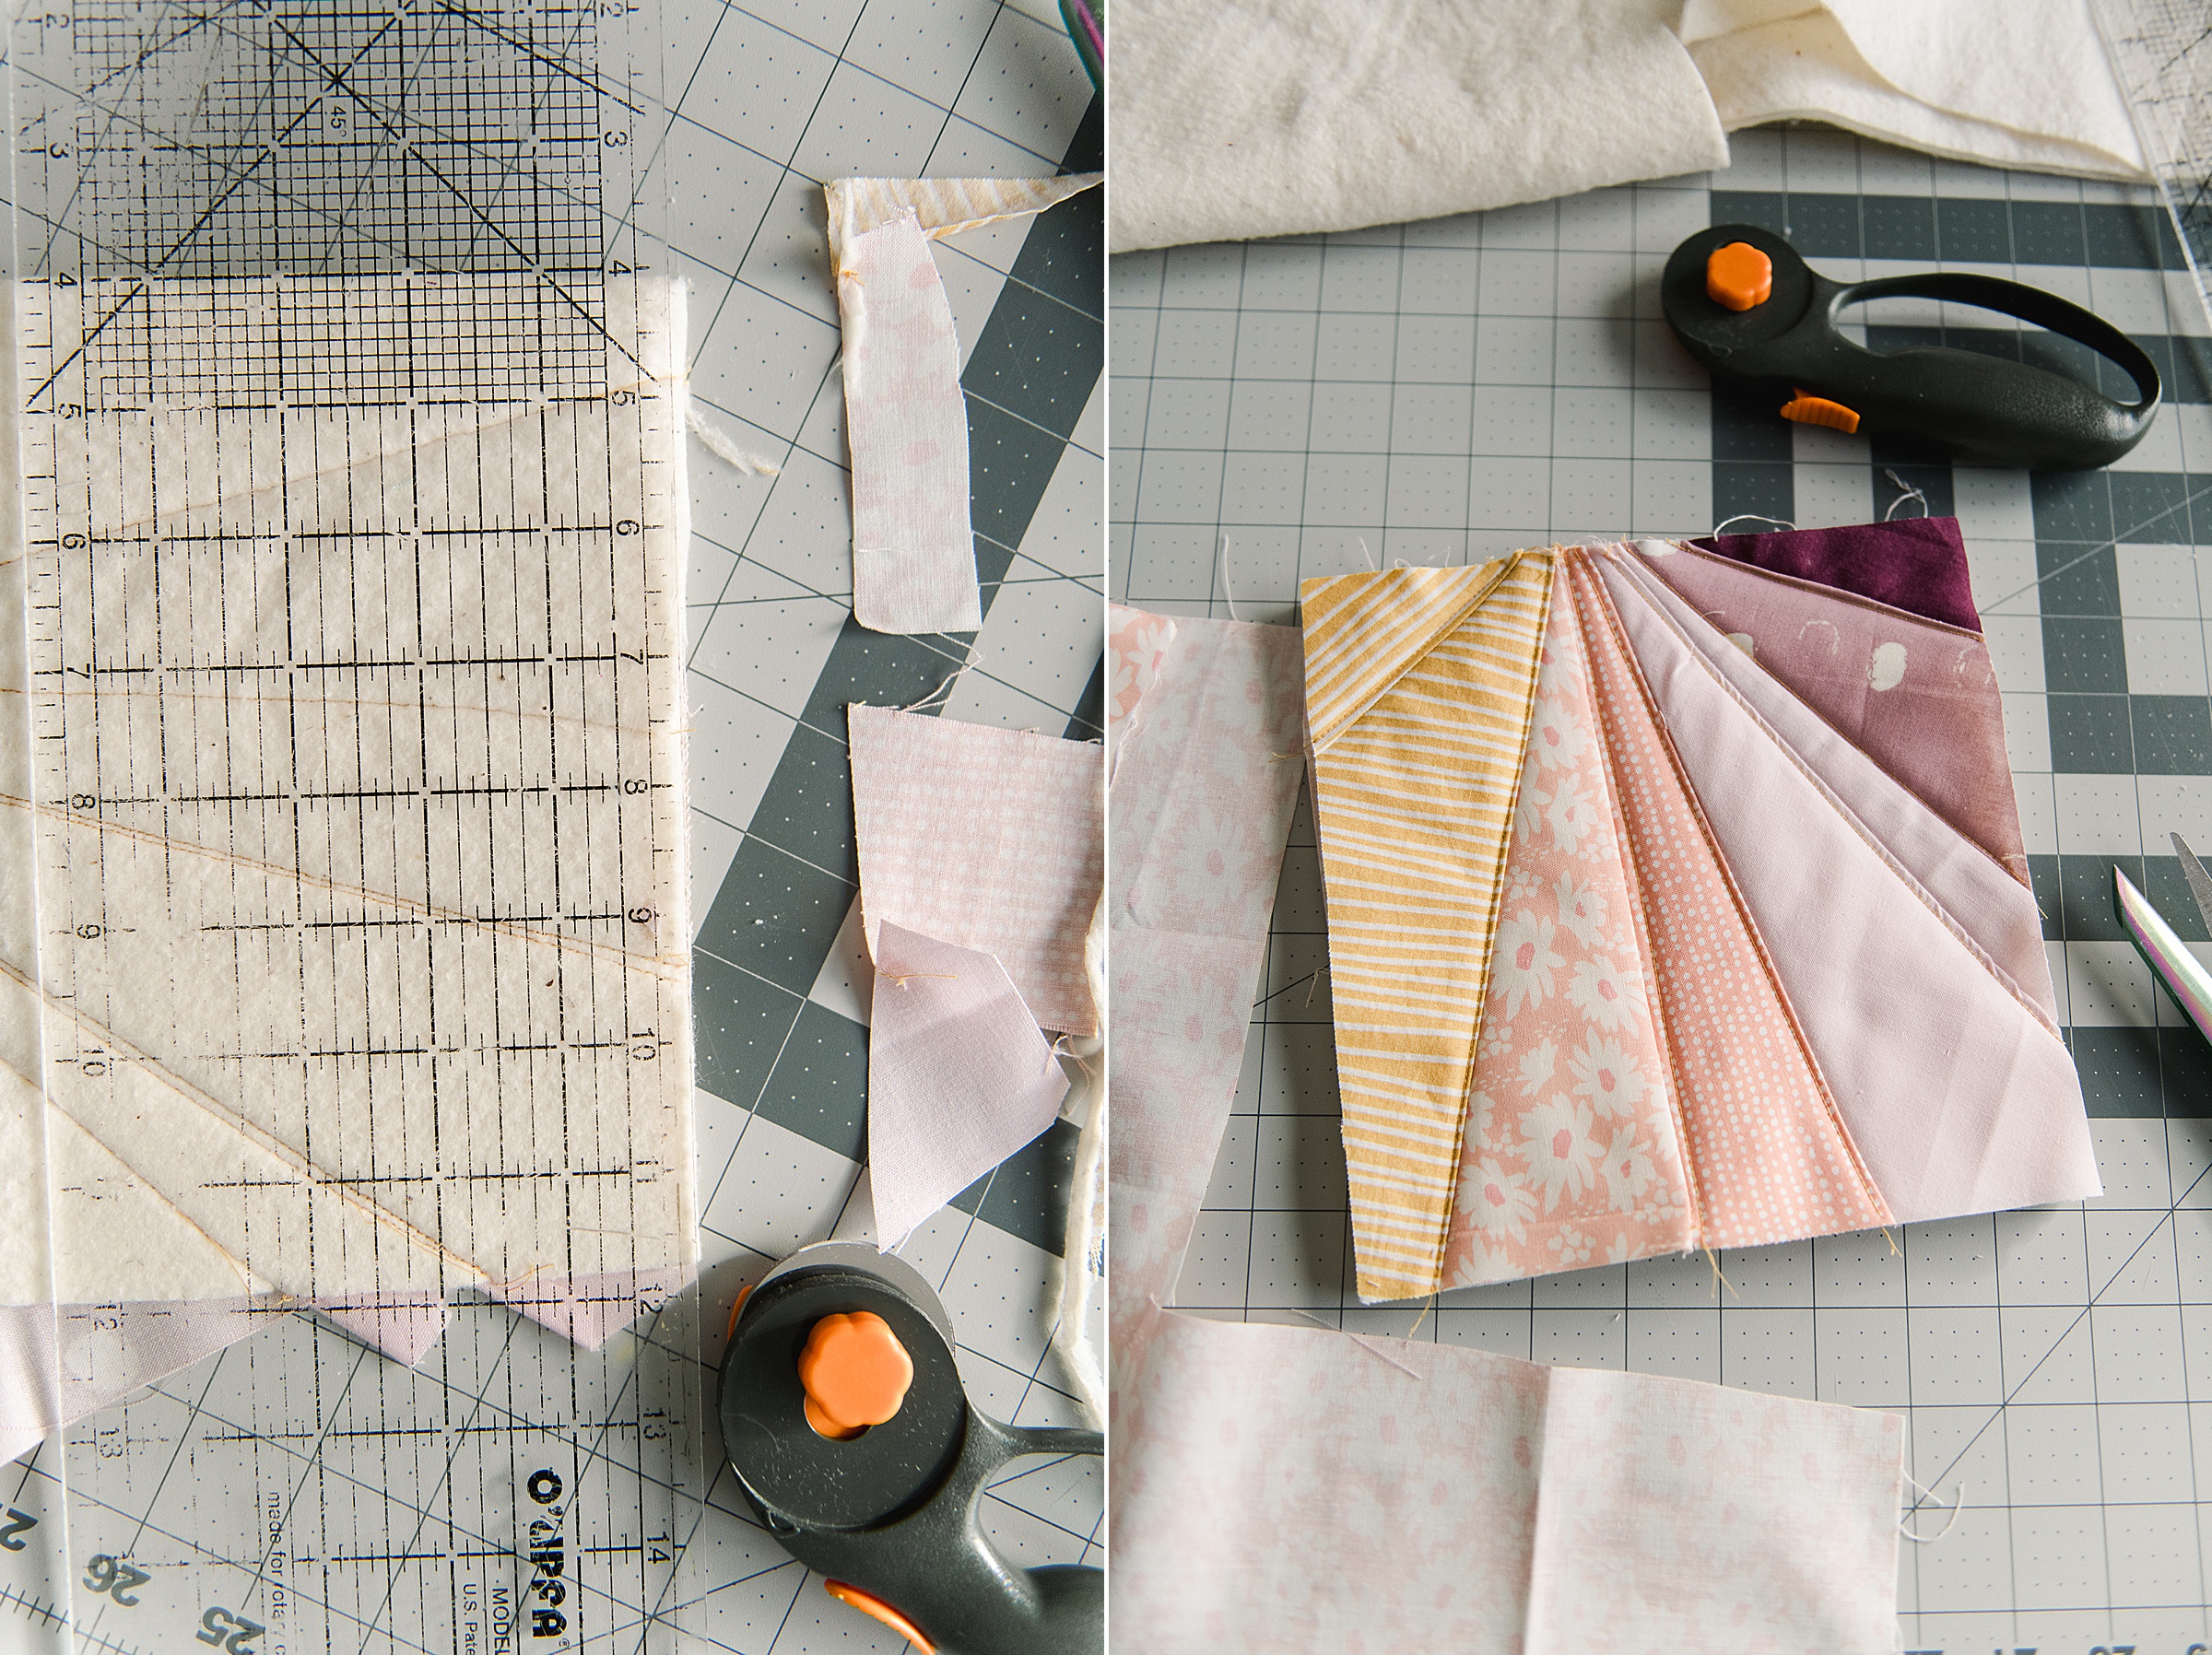
First lay your fabric with one end (or point) matching your pre-marked burst. Lay another piece of fabric overtop of that fabric and line up the edge that you want to stitch with the raw edge of the previous fabric. Stitch in place. Then fold over and either finger press or press with an iron.
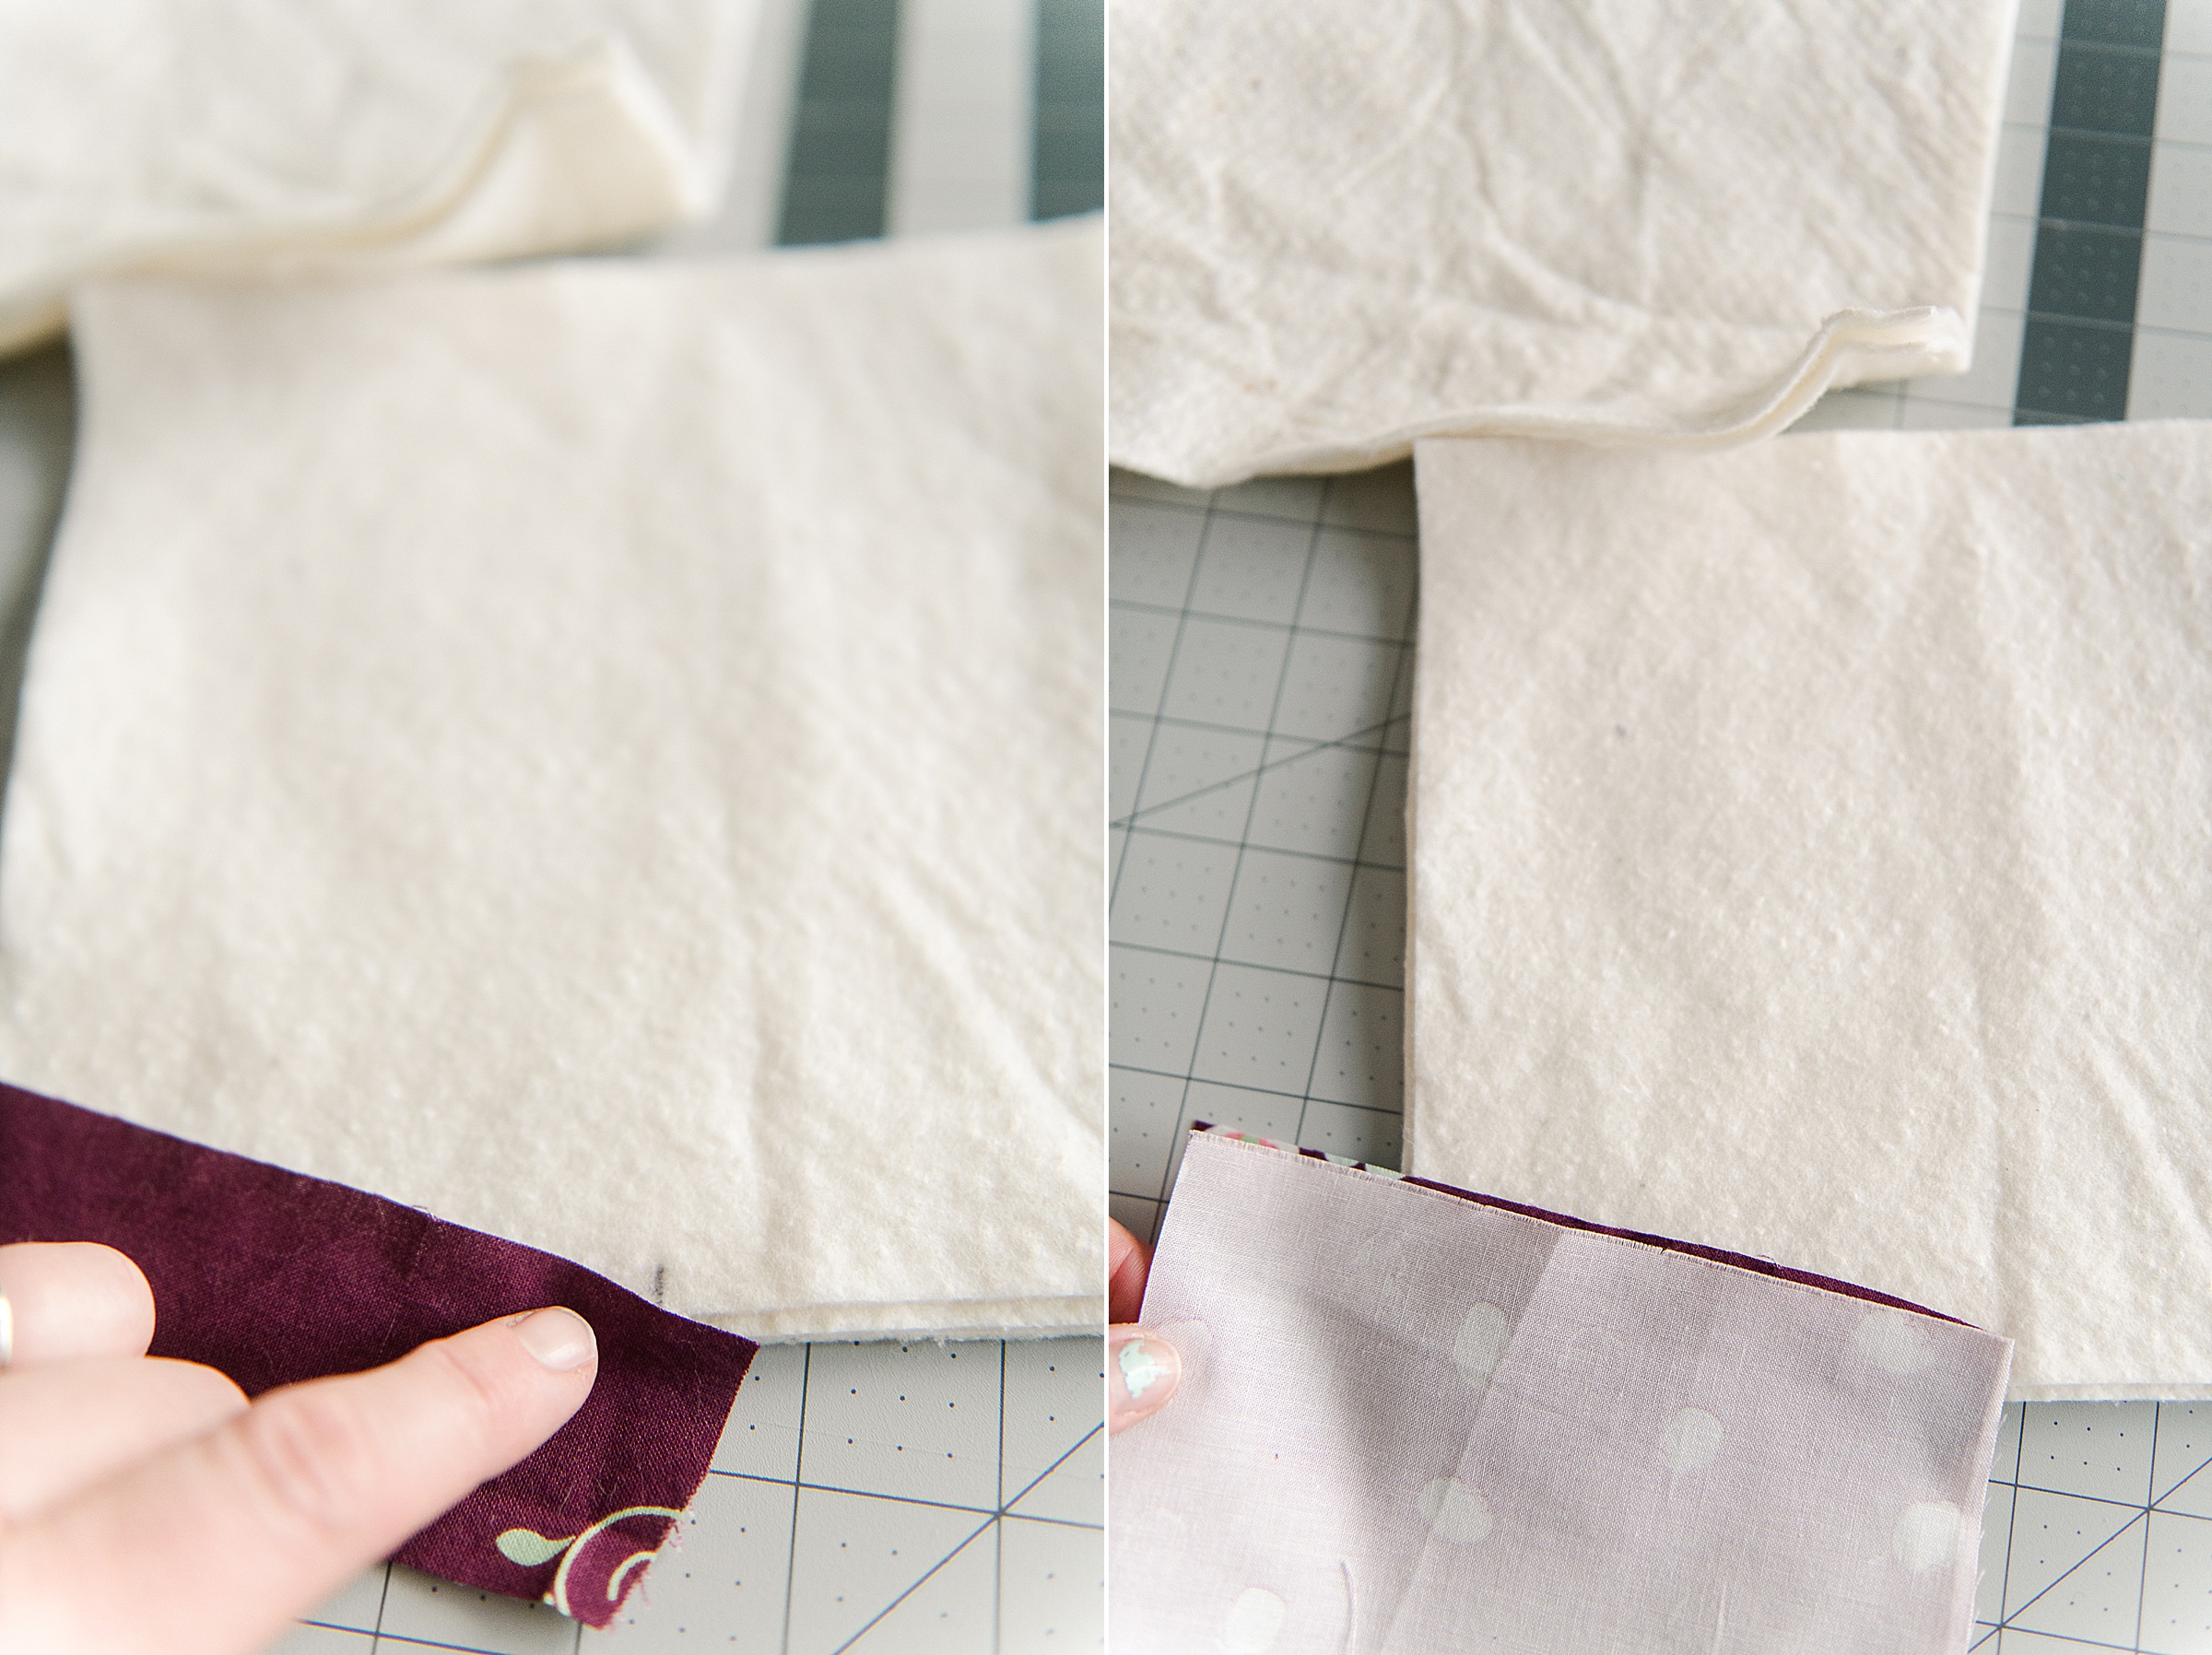
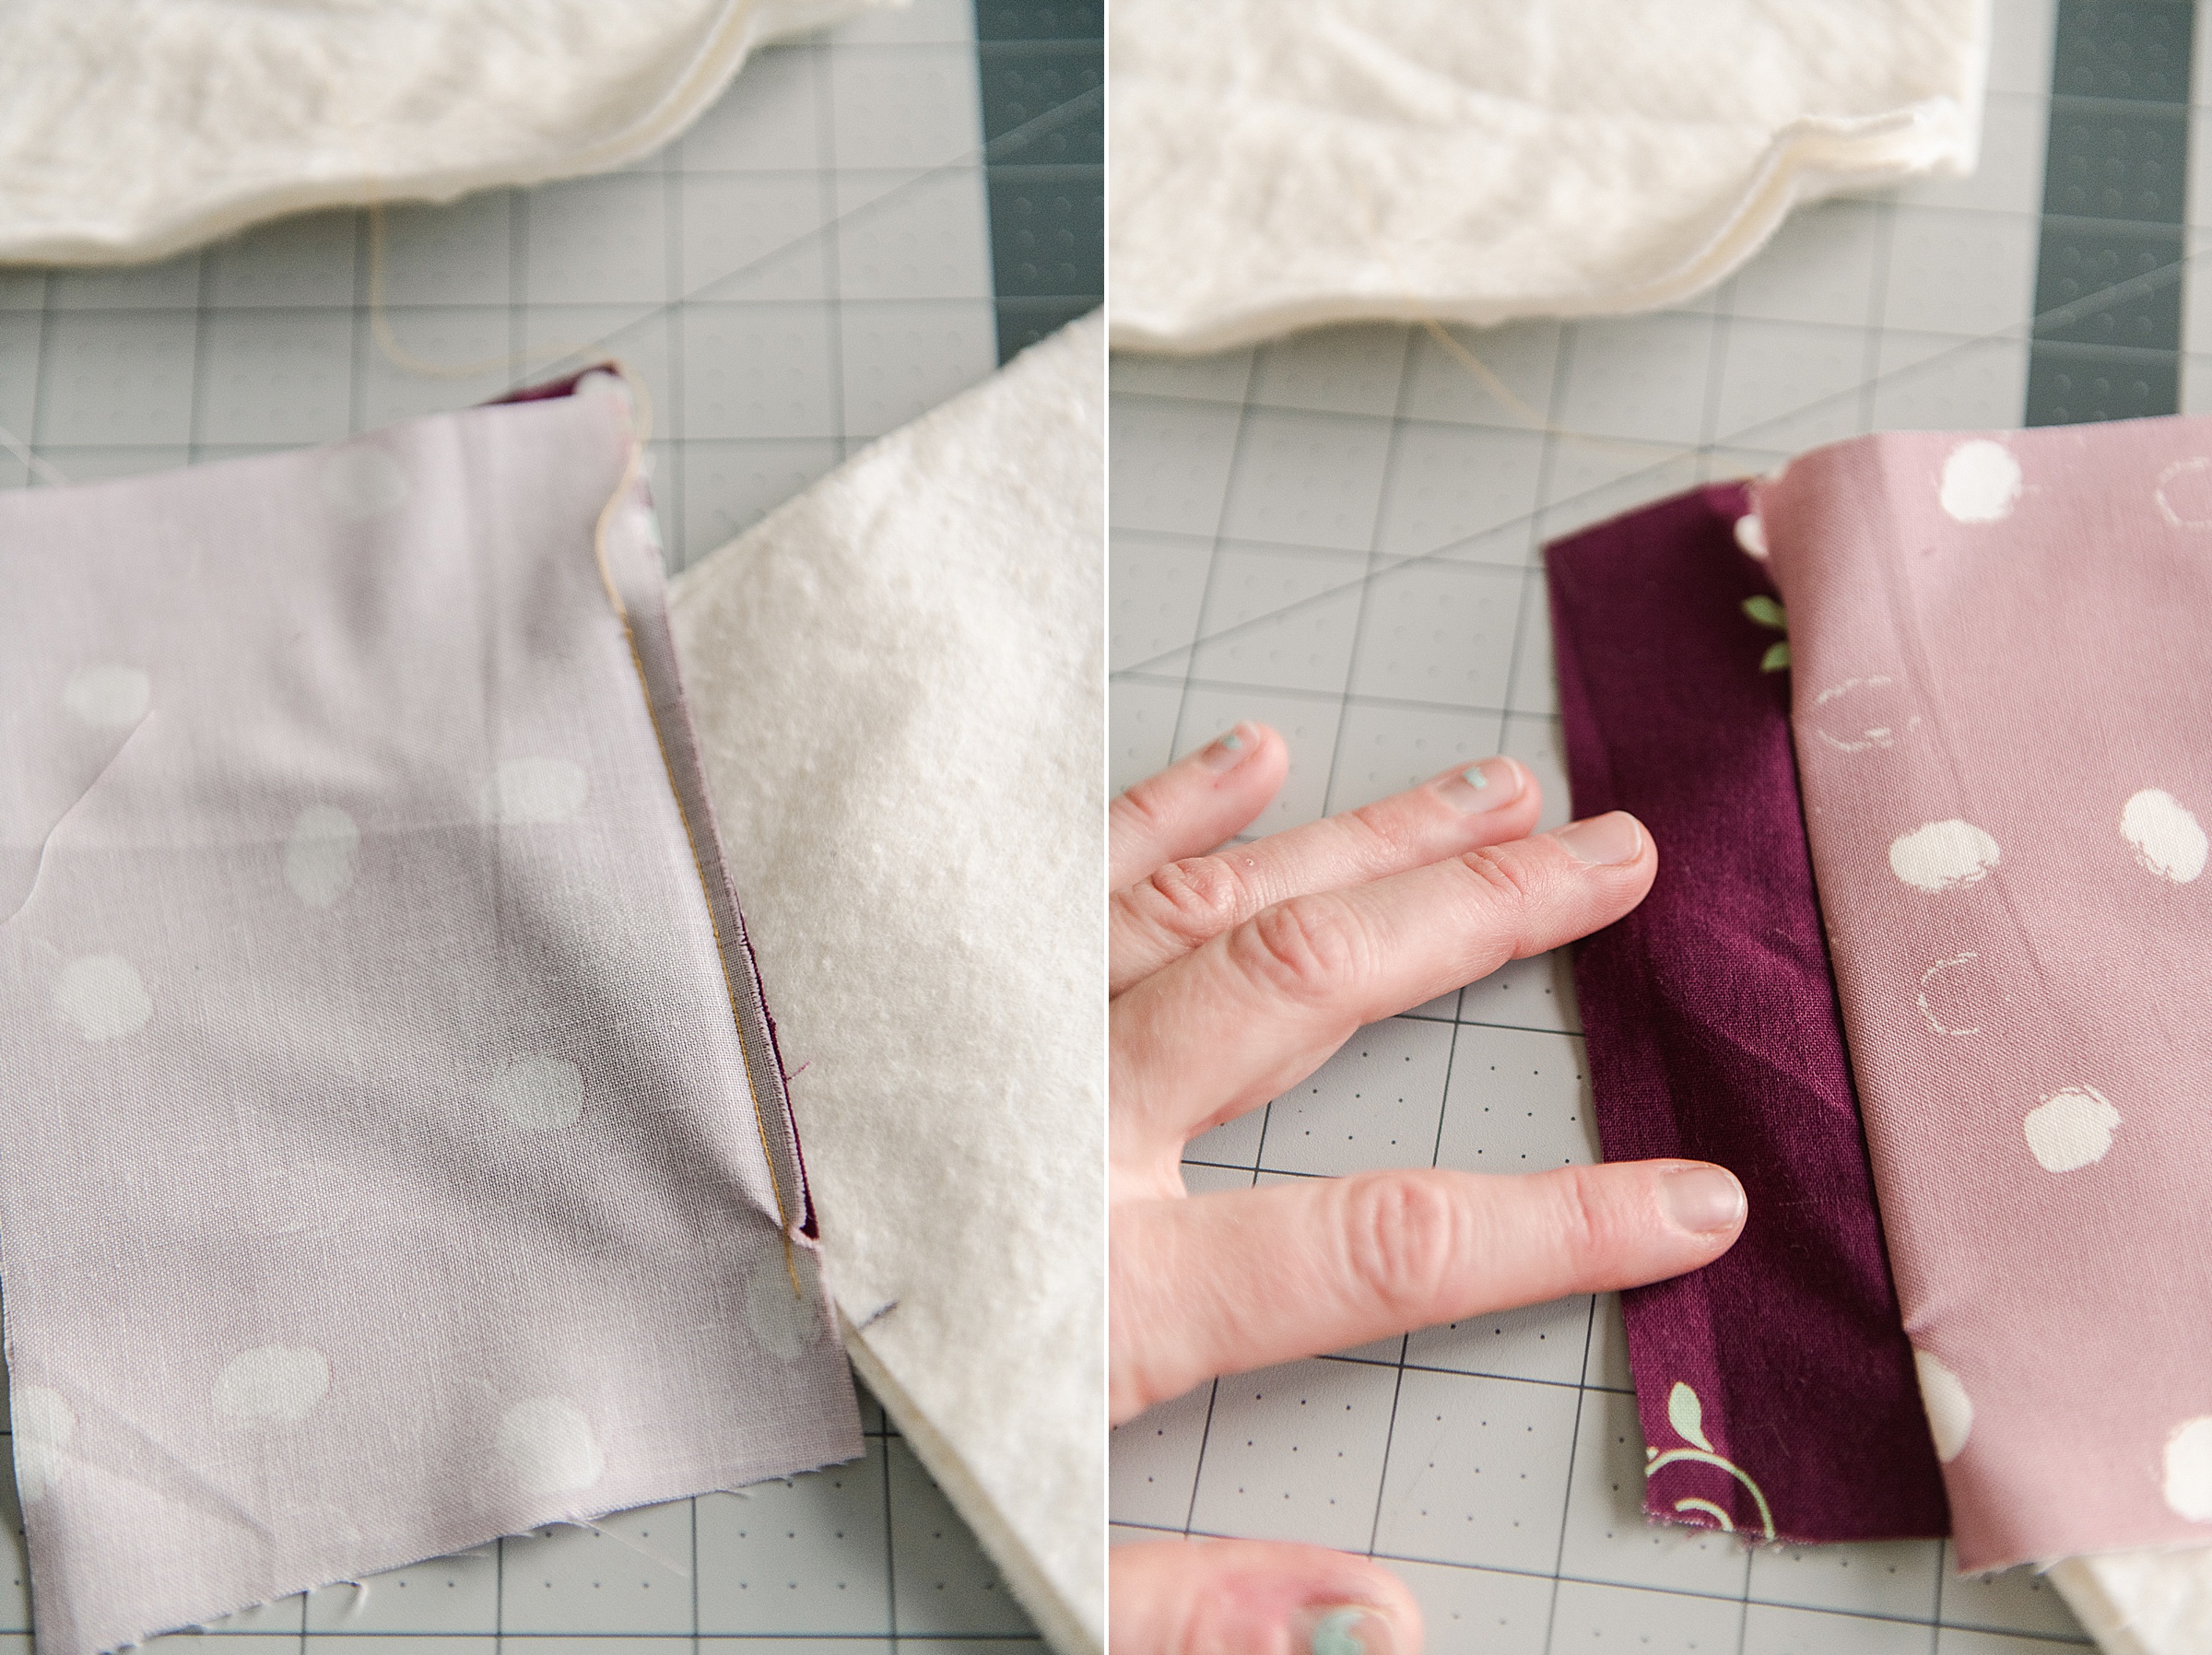
You will continue laying your next strip (or bust) down lining up the point to the pre-marked burst and fanning out toward the bottom. This is a very “go with the flow”, scrappy process and is quite fun to see come together. After each fabric, you will finger press or iron press. Keep working until the entirety of the interfacing or batting is covered up! 🙂
*note: be sure to trim away any excess fabric of the burst AFTER stitching the next burst in place. This will alleviate any bunching in the seam allowance 🙂
4. Quilt the layers
Add the backing to the backside of the potholder (or coaster) and just begin to quilt a few of the straight edges in whatever fashion you want (straight stitch, decorative stitch, etc).
Optional: Use a walking foot on your sewing machine for this step so that your layers don’t bunch or move around (although mine didn’t and I didn’t use my walking foot because I forgot to change it) 🙂
5. Square it up
Trim off the excess fabric and (perhaps) batting so that you are back to a 7” square (or as close as possible).
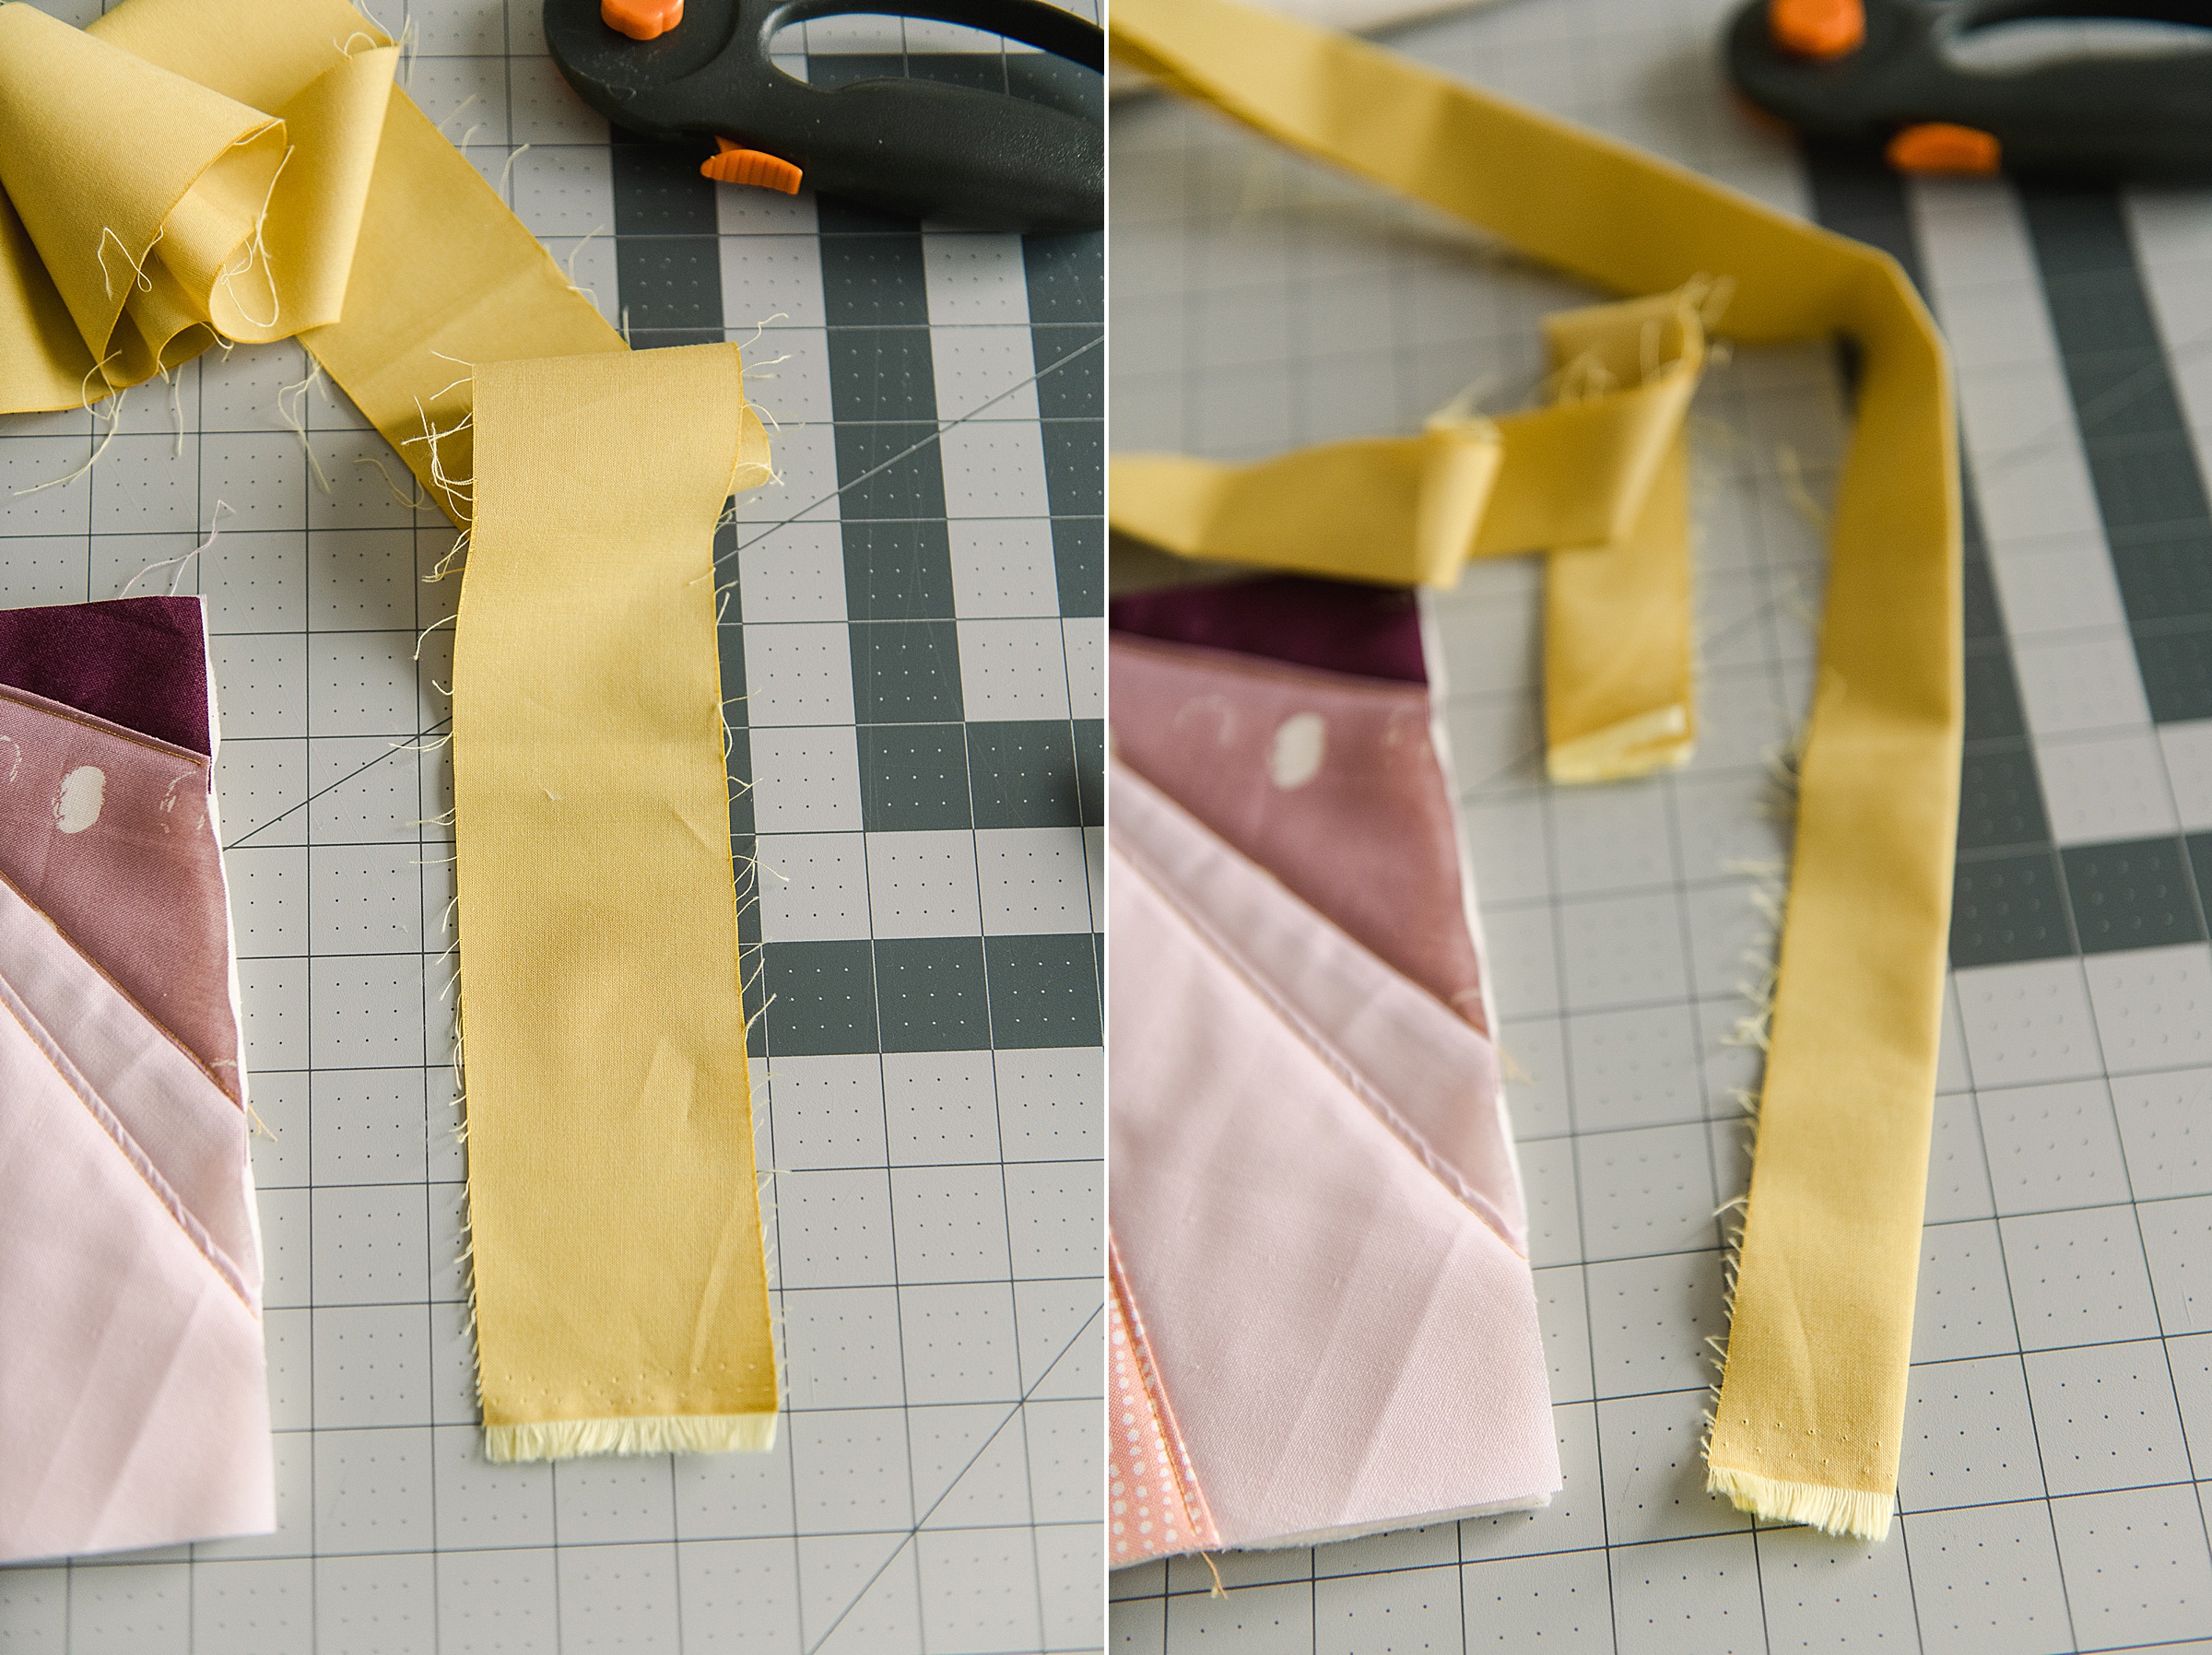
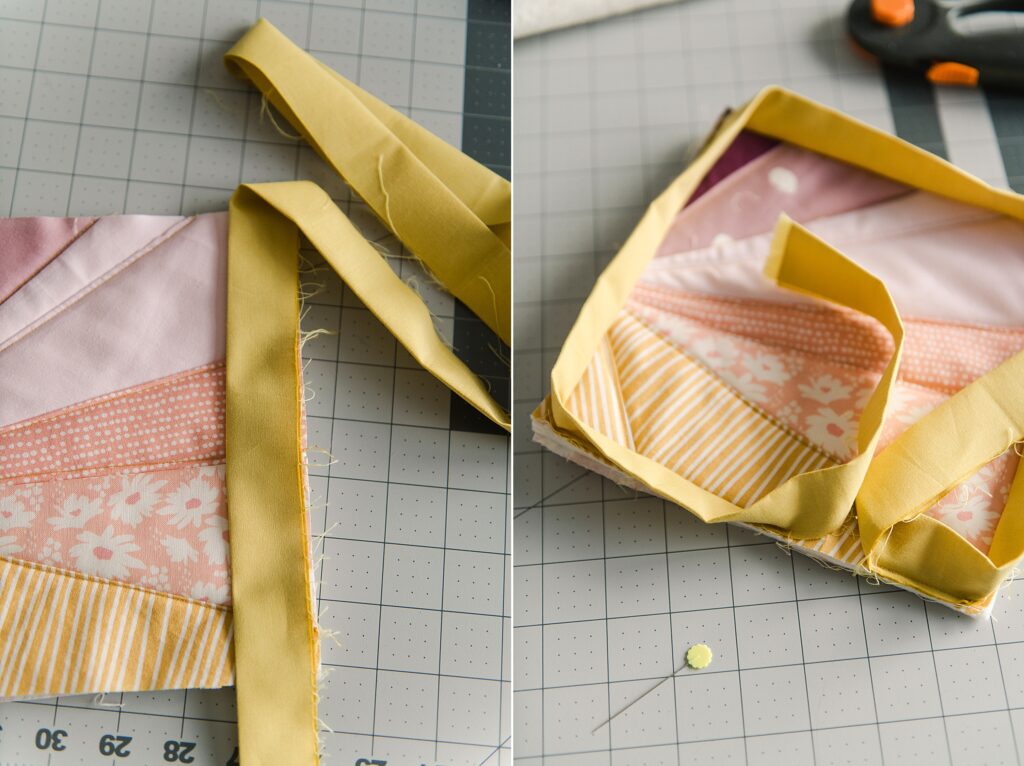
6. Cut and iron your binding
Cut a 2.5” width of fabric in enough length to go all the way around the outside of your potholder or coaster. (I always measure just a BIIIIIT more so that I for sure have enough.)
You will iron your binding in 1/2 lengthwise so that you have a big folded piece of fabric with one raw edge and one folded edge.
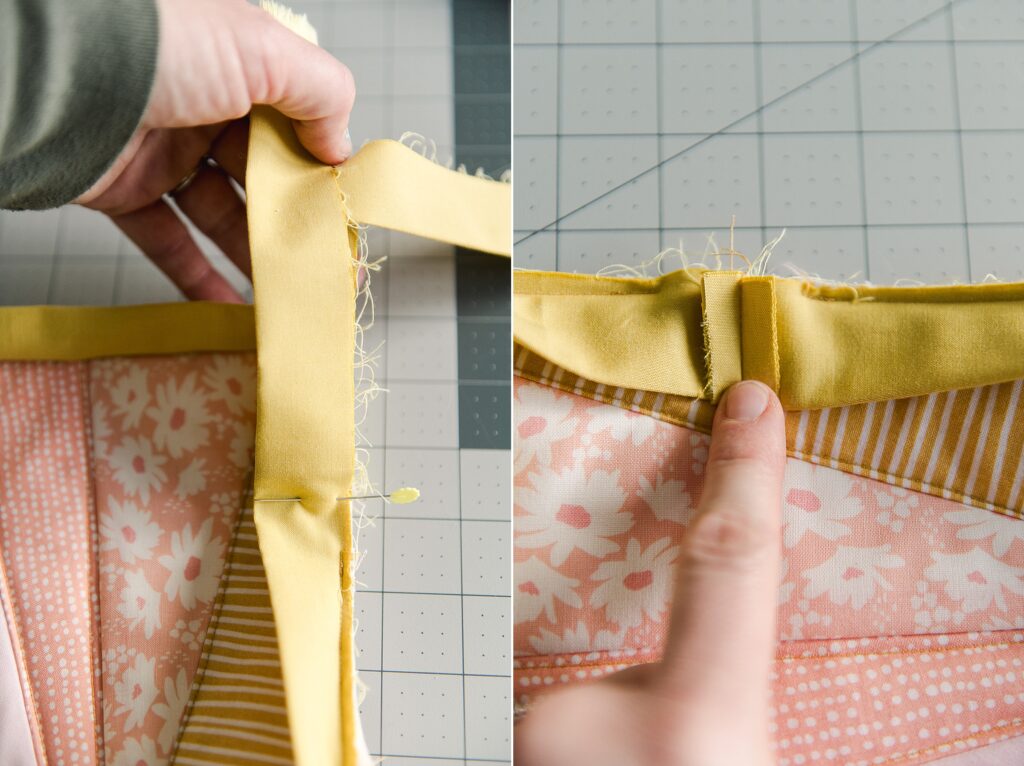
7. Sew your binding and finish
If you plan to hand-stitch your binding, start from the front of your potholder (or coaster) and line up the raw edge of your ironed binding with the raw edge of the front of the potholder and stitch in place all the way around. You will then hand stitch the folded part of the binding onto the backside of the potholder for a finished look.
If you are going to machine-stitch your binding, you’ll start on the backside of your potholder lining up the raw edge of your ironed binding wth the raw edge of the backside of the potholder and stitch in place all the way around. You will then machine stitch the folded part of the binding to the frontside of the potholder for a finished look.
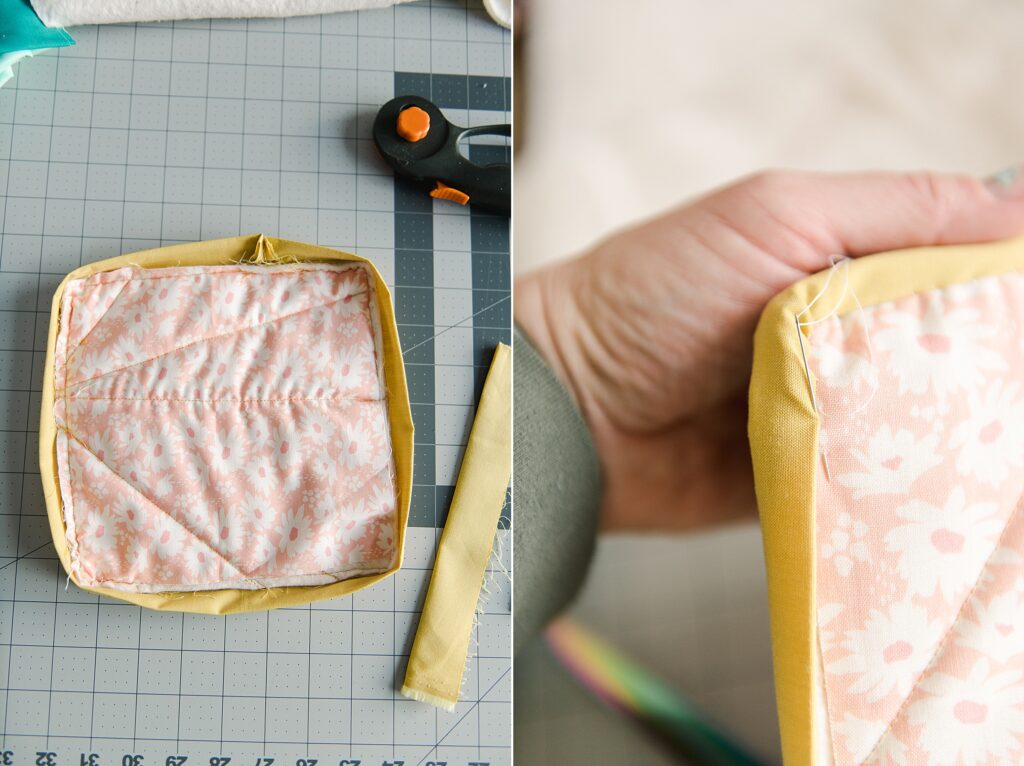
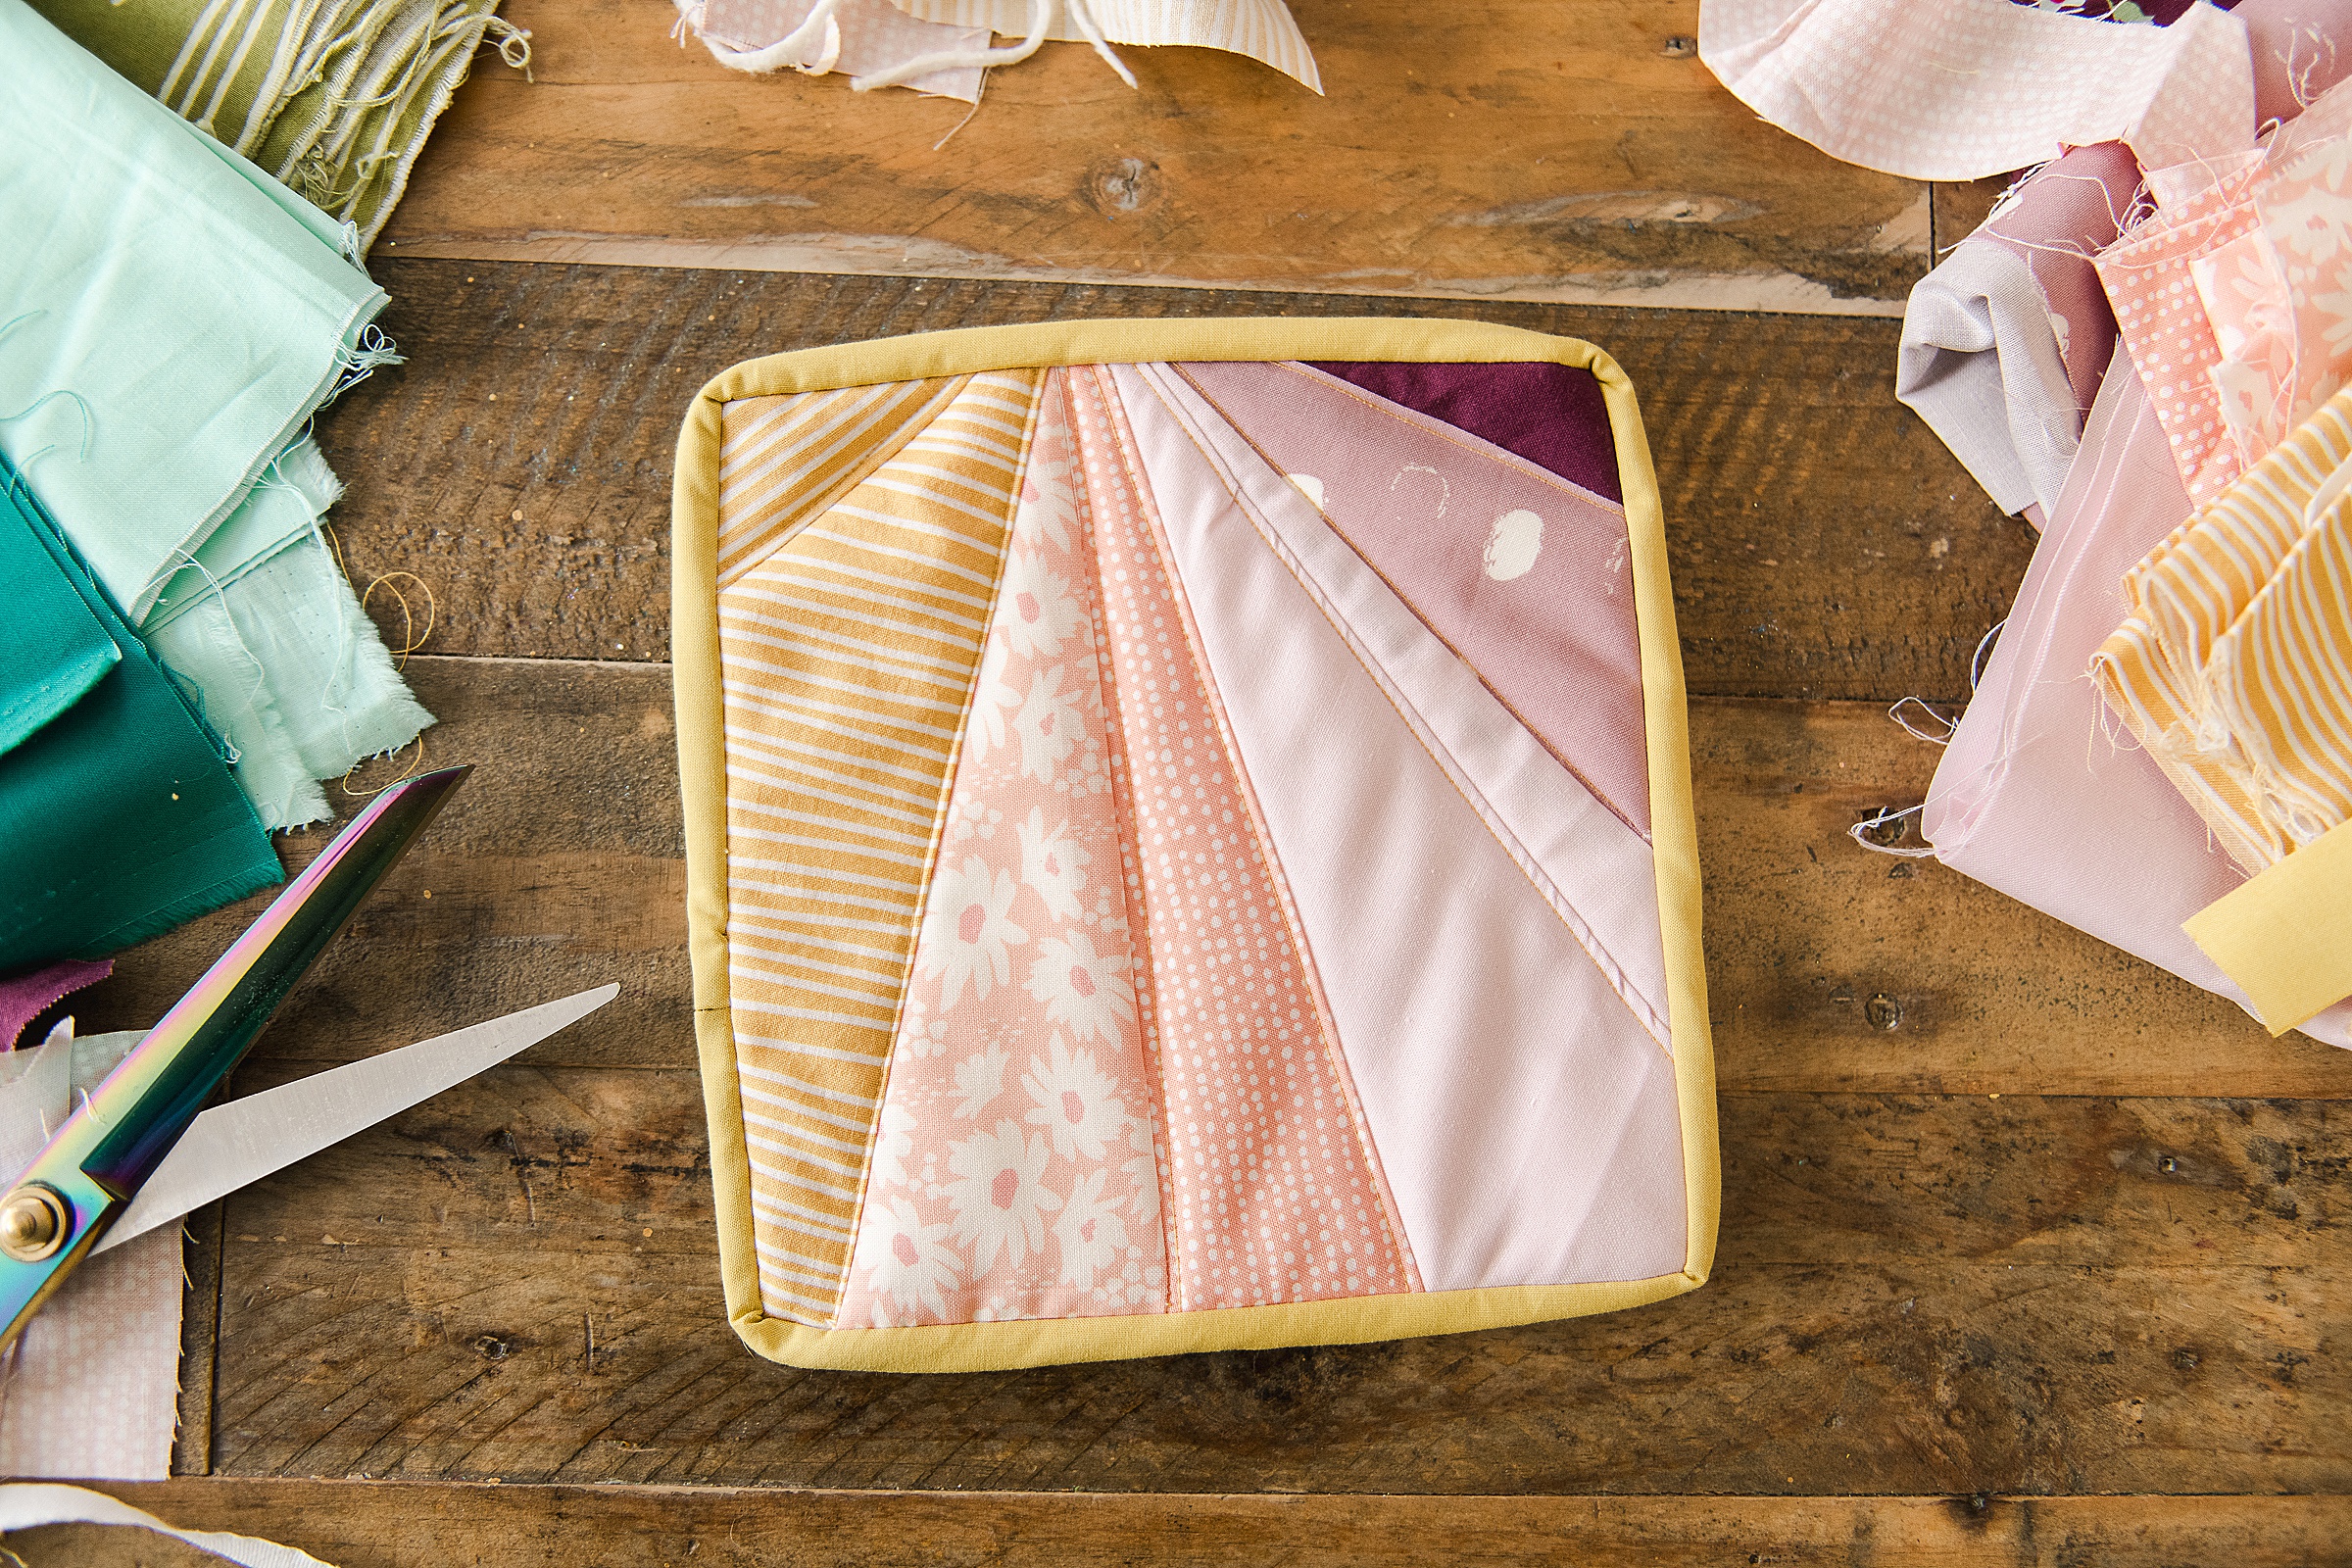
Now voilaaaaa! You have an awesome, colorful and amazing potholder to gift or use in your kitchen for some happy cooking or baking 🙂