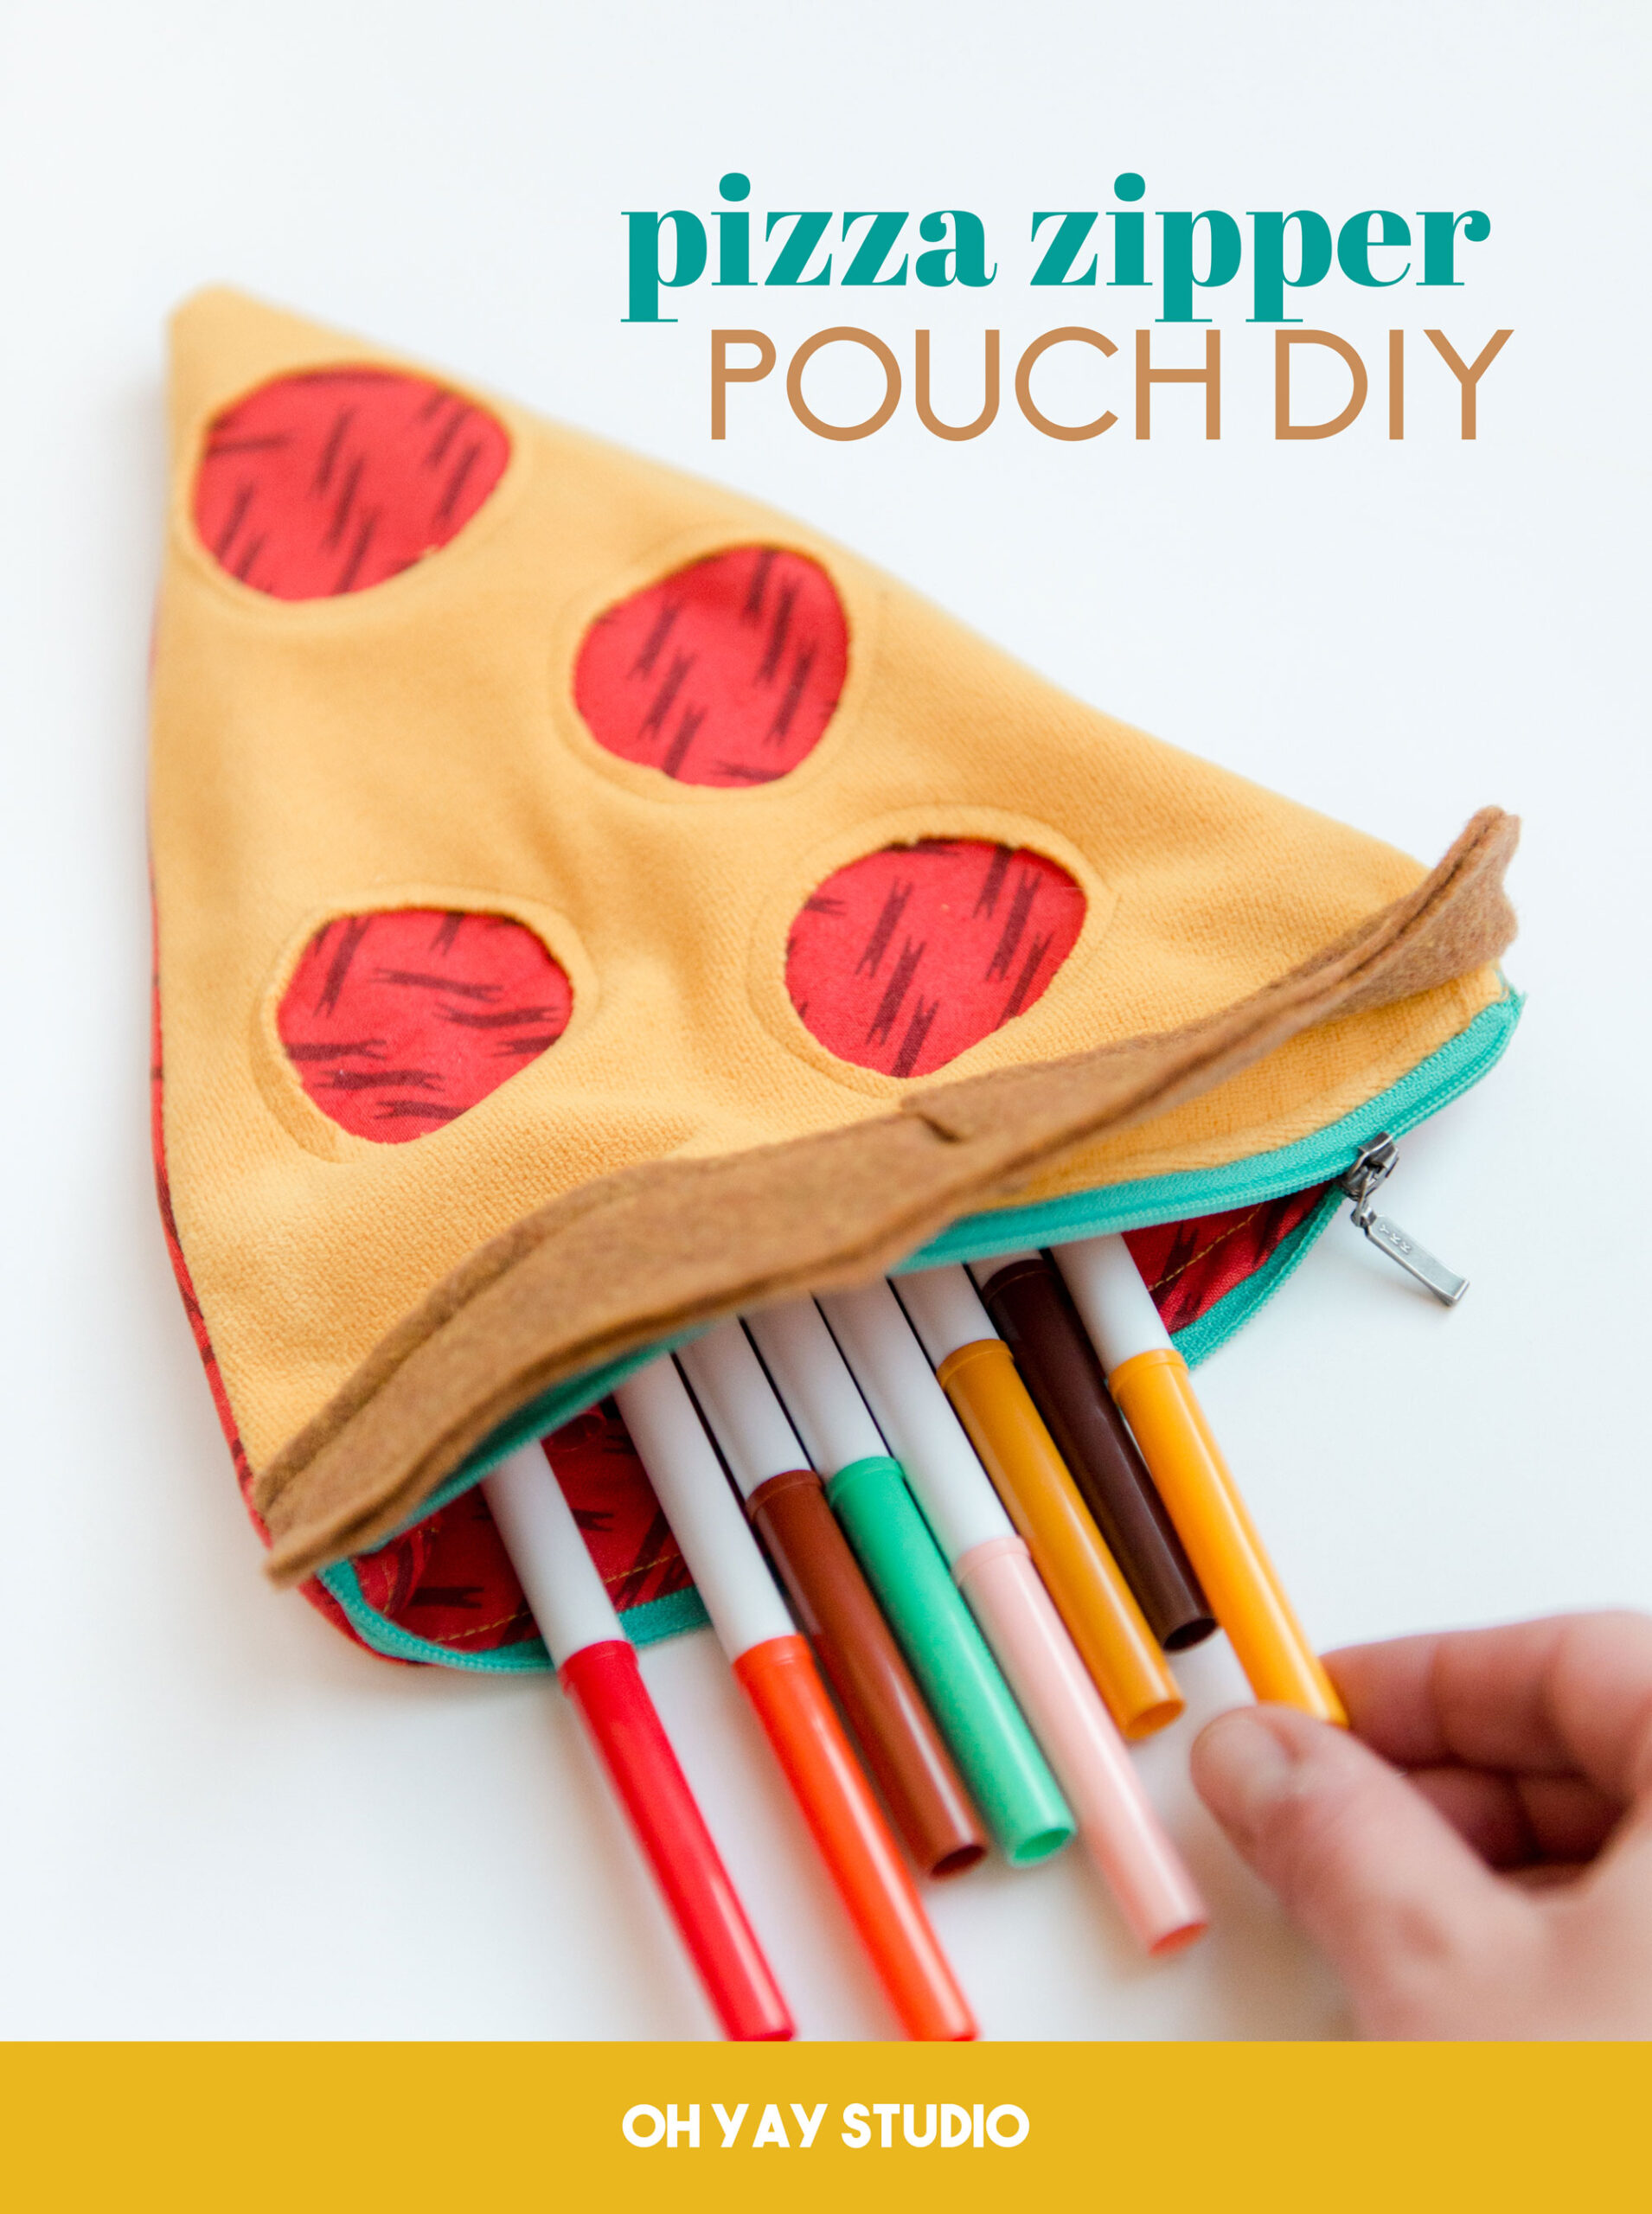
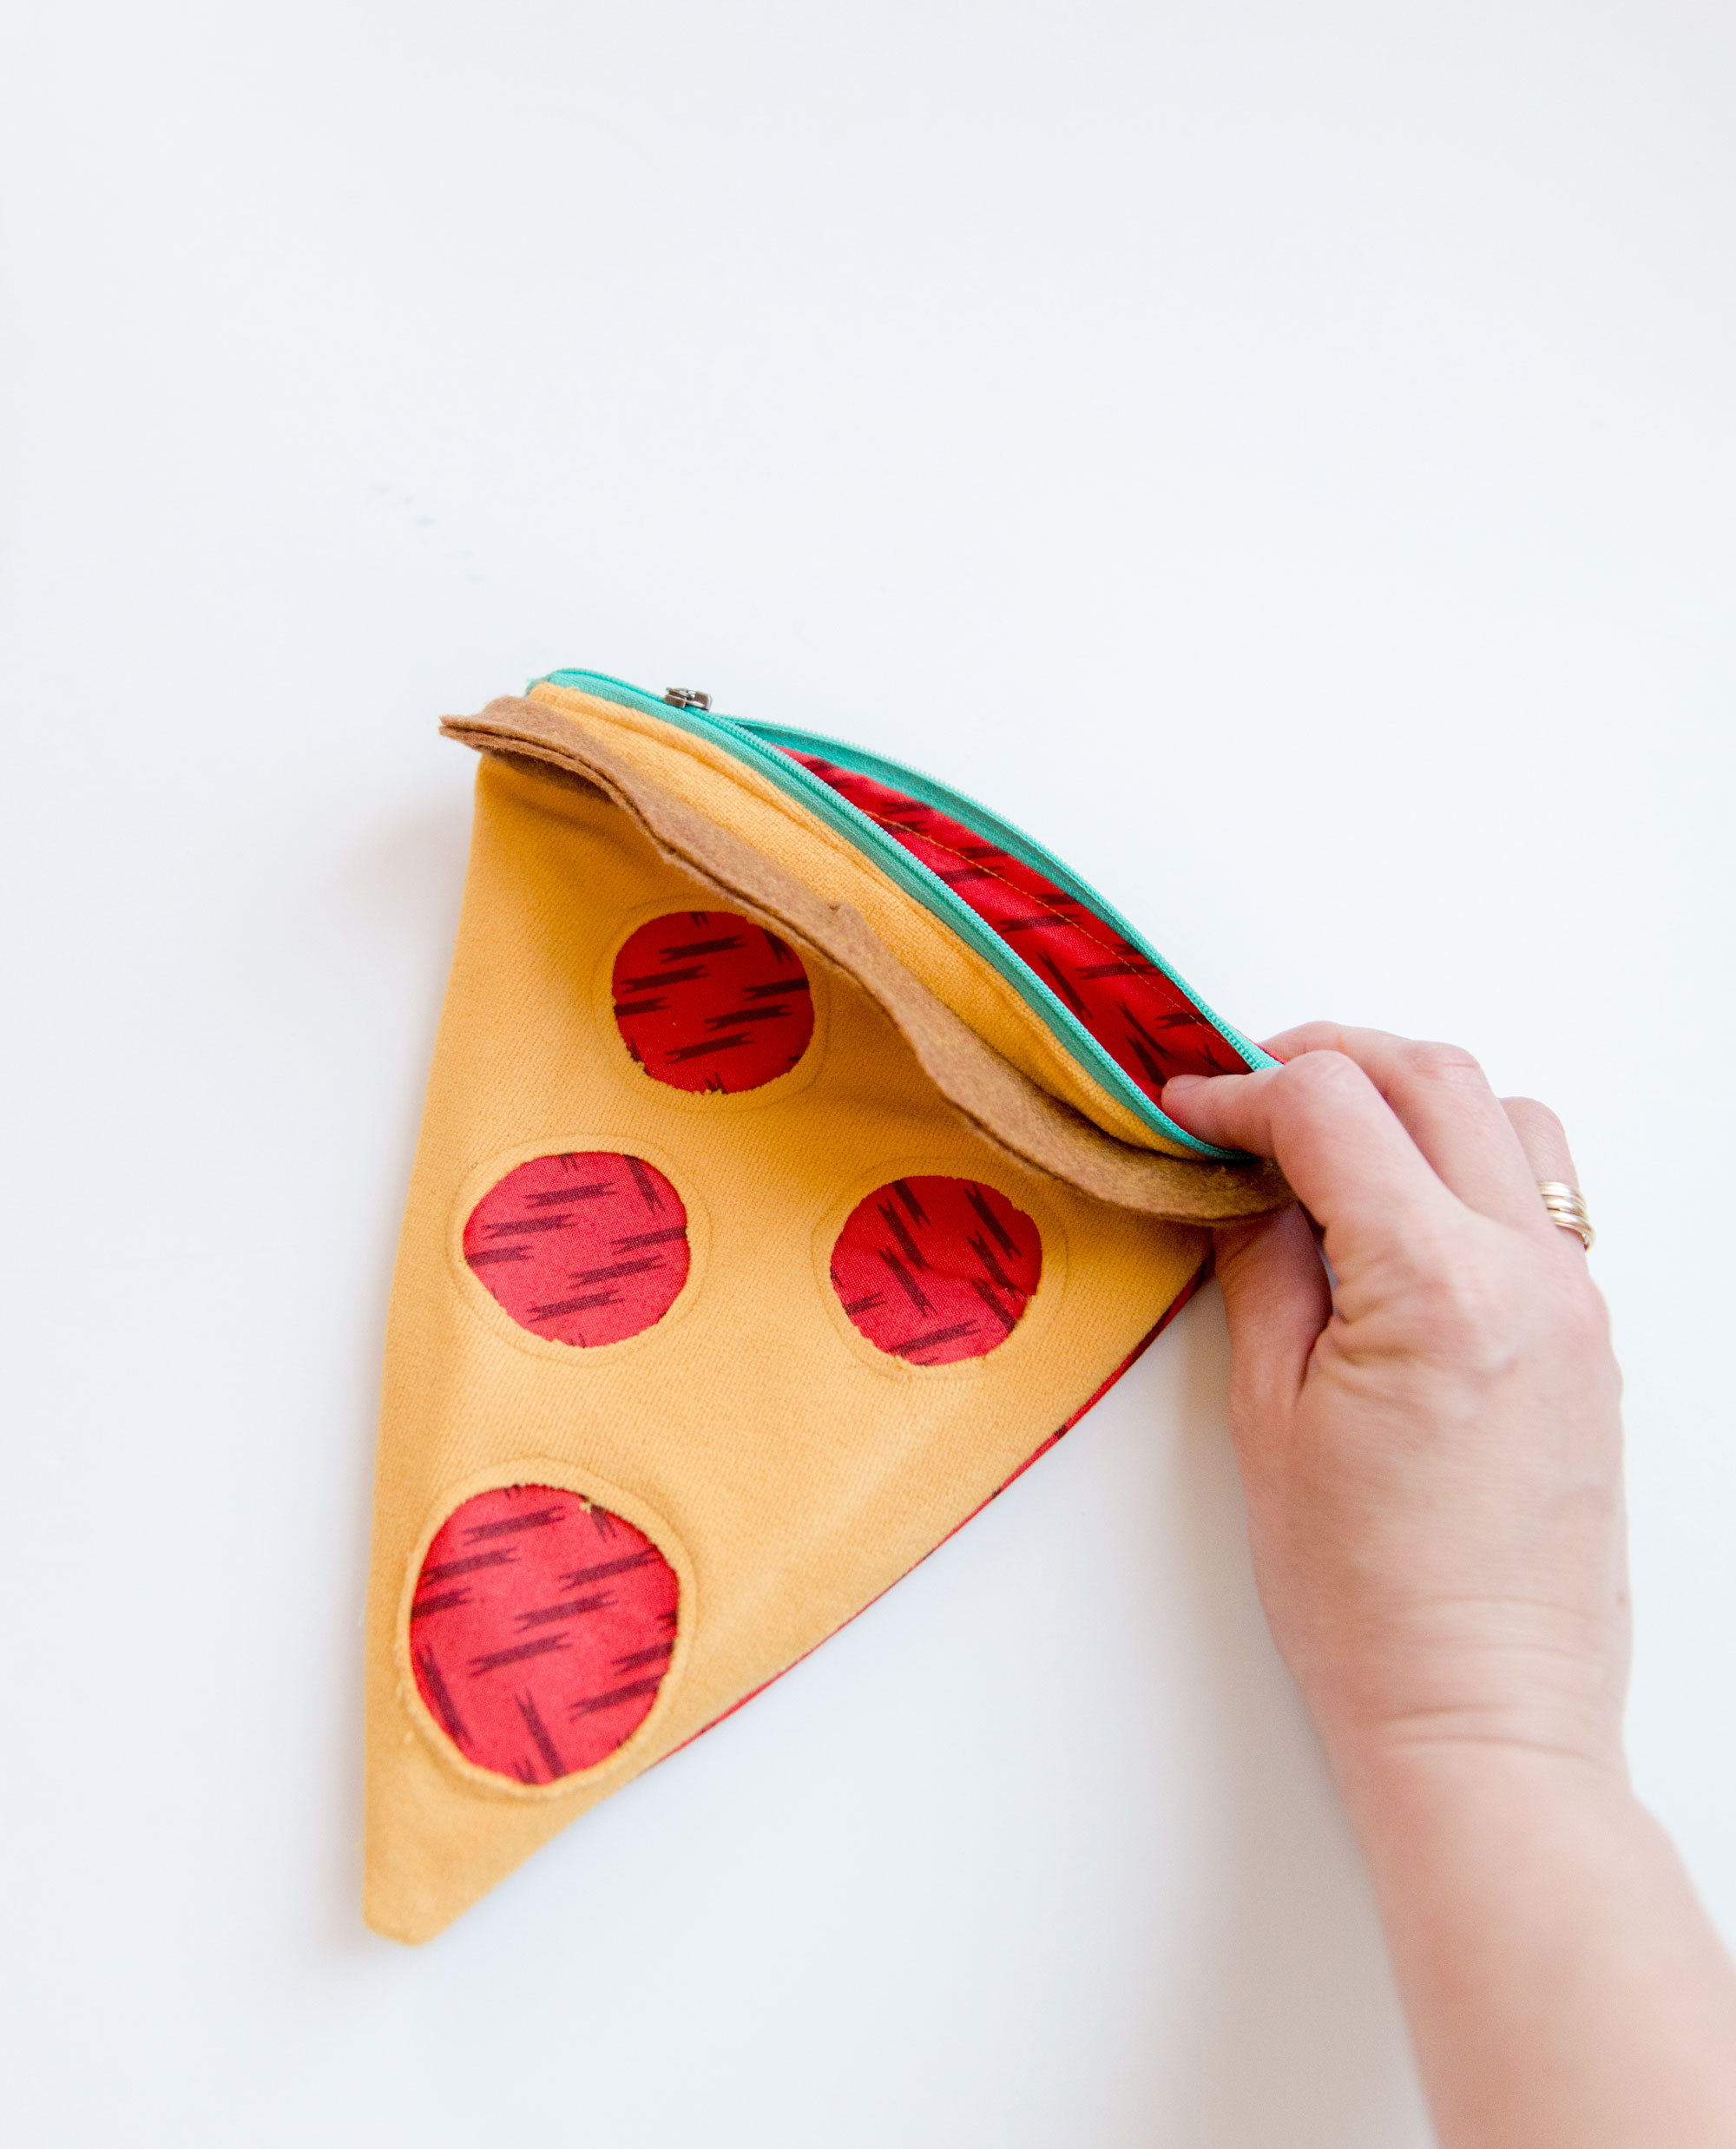
Pizza Zipper pouch pattern!

Who doesn’t need a big slice of pizza to store your pencils, markers or just generally awesome things that you find throughout the day?!?! (the answer is clearly NOBODY, because Everyone *needs* a pizza pouch)! This quick and easy sew will you get you excited to sew zippers (because as intimidating as they are, they are quite easy) AND it will leave you with a finished project that will make your mouth water! 🙂
Materials:
- Red cotton fabric for the pizza base
- Yellow felt or fleece (or something similar that won’t fray) for the cheese
- Brown or tan fabric for the crust
- Sewing Machine + coordinating thread
- coordinating zipper 9” length (or cut to length)
- PDF pattern (download HERE)
Instructions:
1. Cut pieces
From the PDF pattern, cut
- 2 pizza base from the red cotton (this is the top and bottom of the pizza, the outside)
- 2 lining pieces (same as the pizza base shape; I used the same fabric as well)
- 1 yellow cheese (tip when cutting the cheese, cut the wrong side of the fabric so that you can trace the circles of the pepperoni after cutting out the triangle. It makes it easier to maneuver the fabric without the paper pattern on top when cutting the circles).
- 1 crust piece

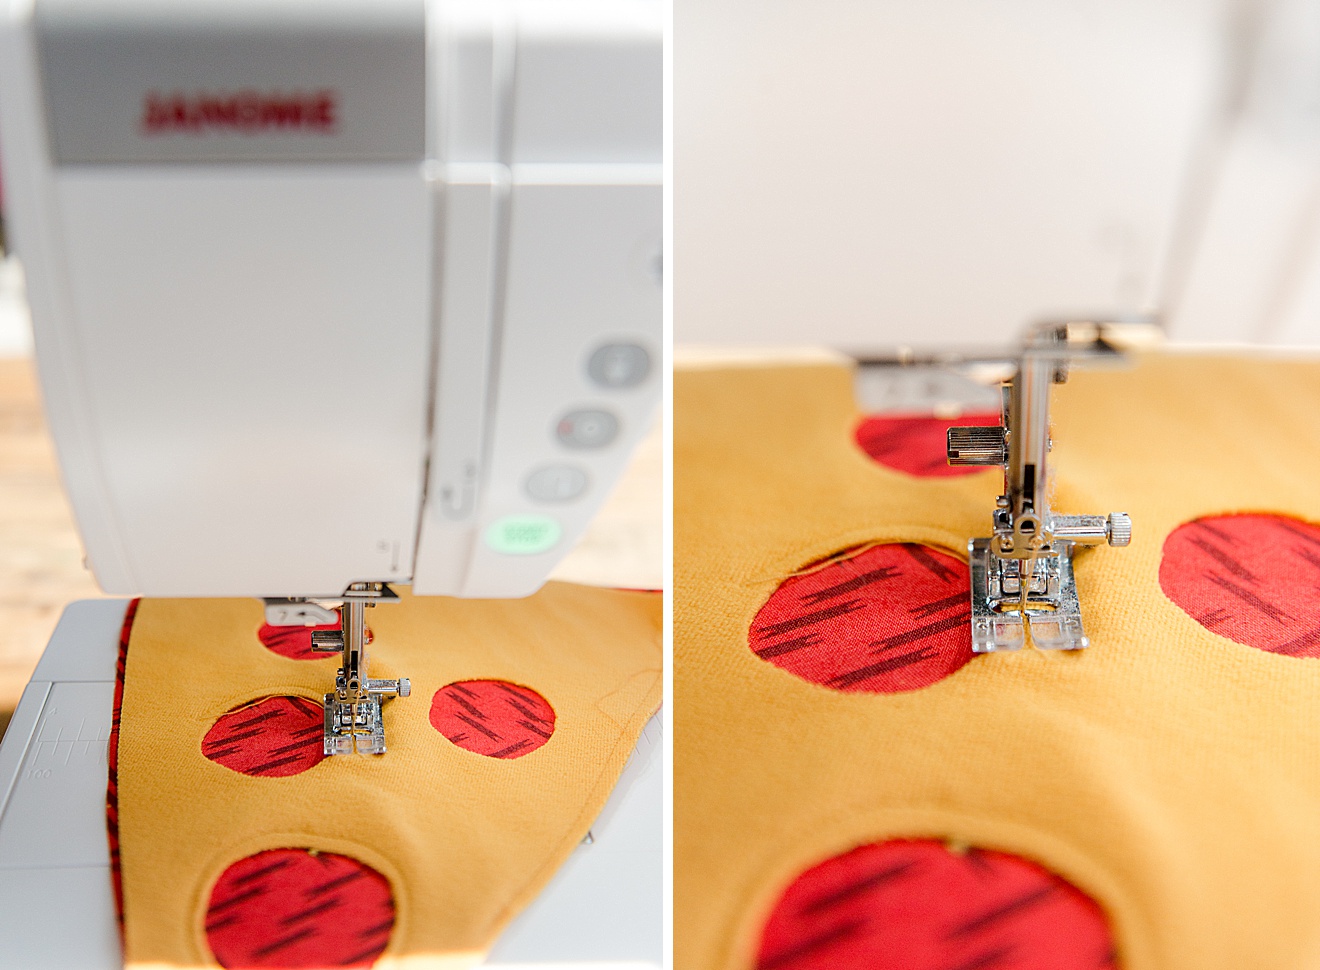
2. Sew top of pizza
Layer the cheese triangle on top of one of the outside pizza triangles (red) and stitch in place, going around the outside triangle as well as all of the pepperoni circles to hold the cheese in place.
Then fold your pizza crust in 1/2 (longwise) and then stitch along the top “wavy” edge of the crust.
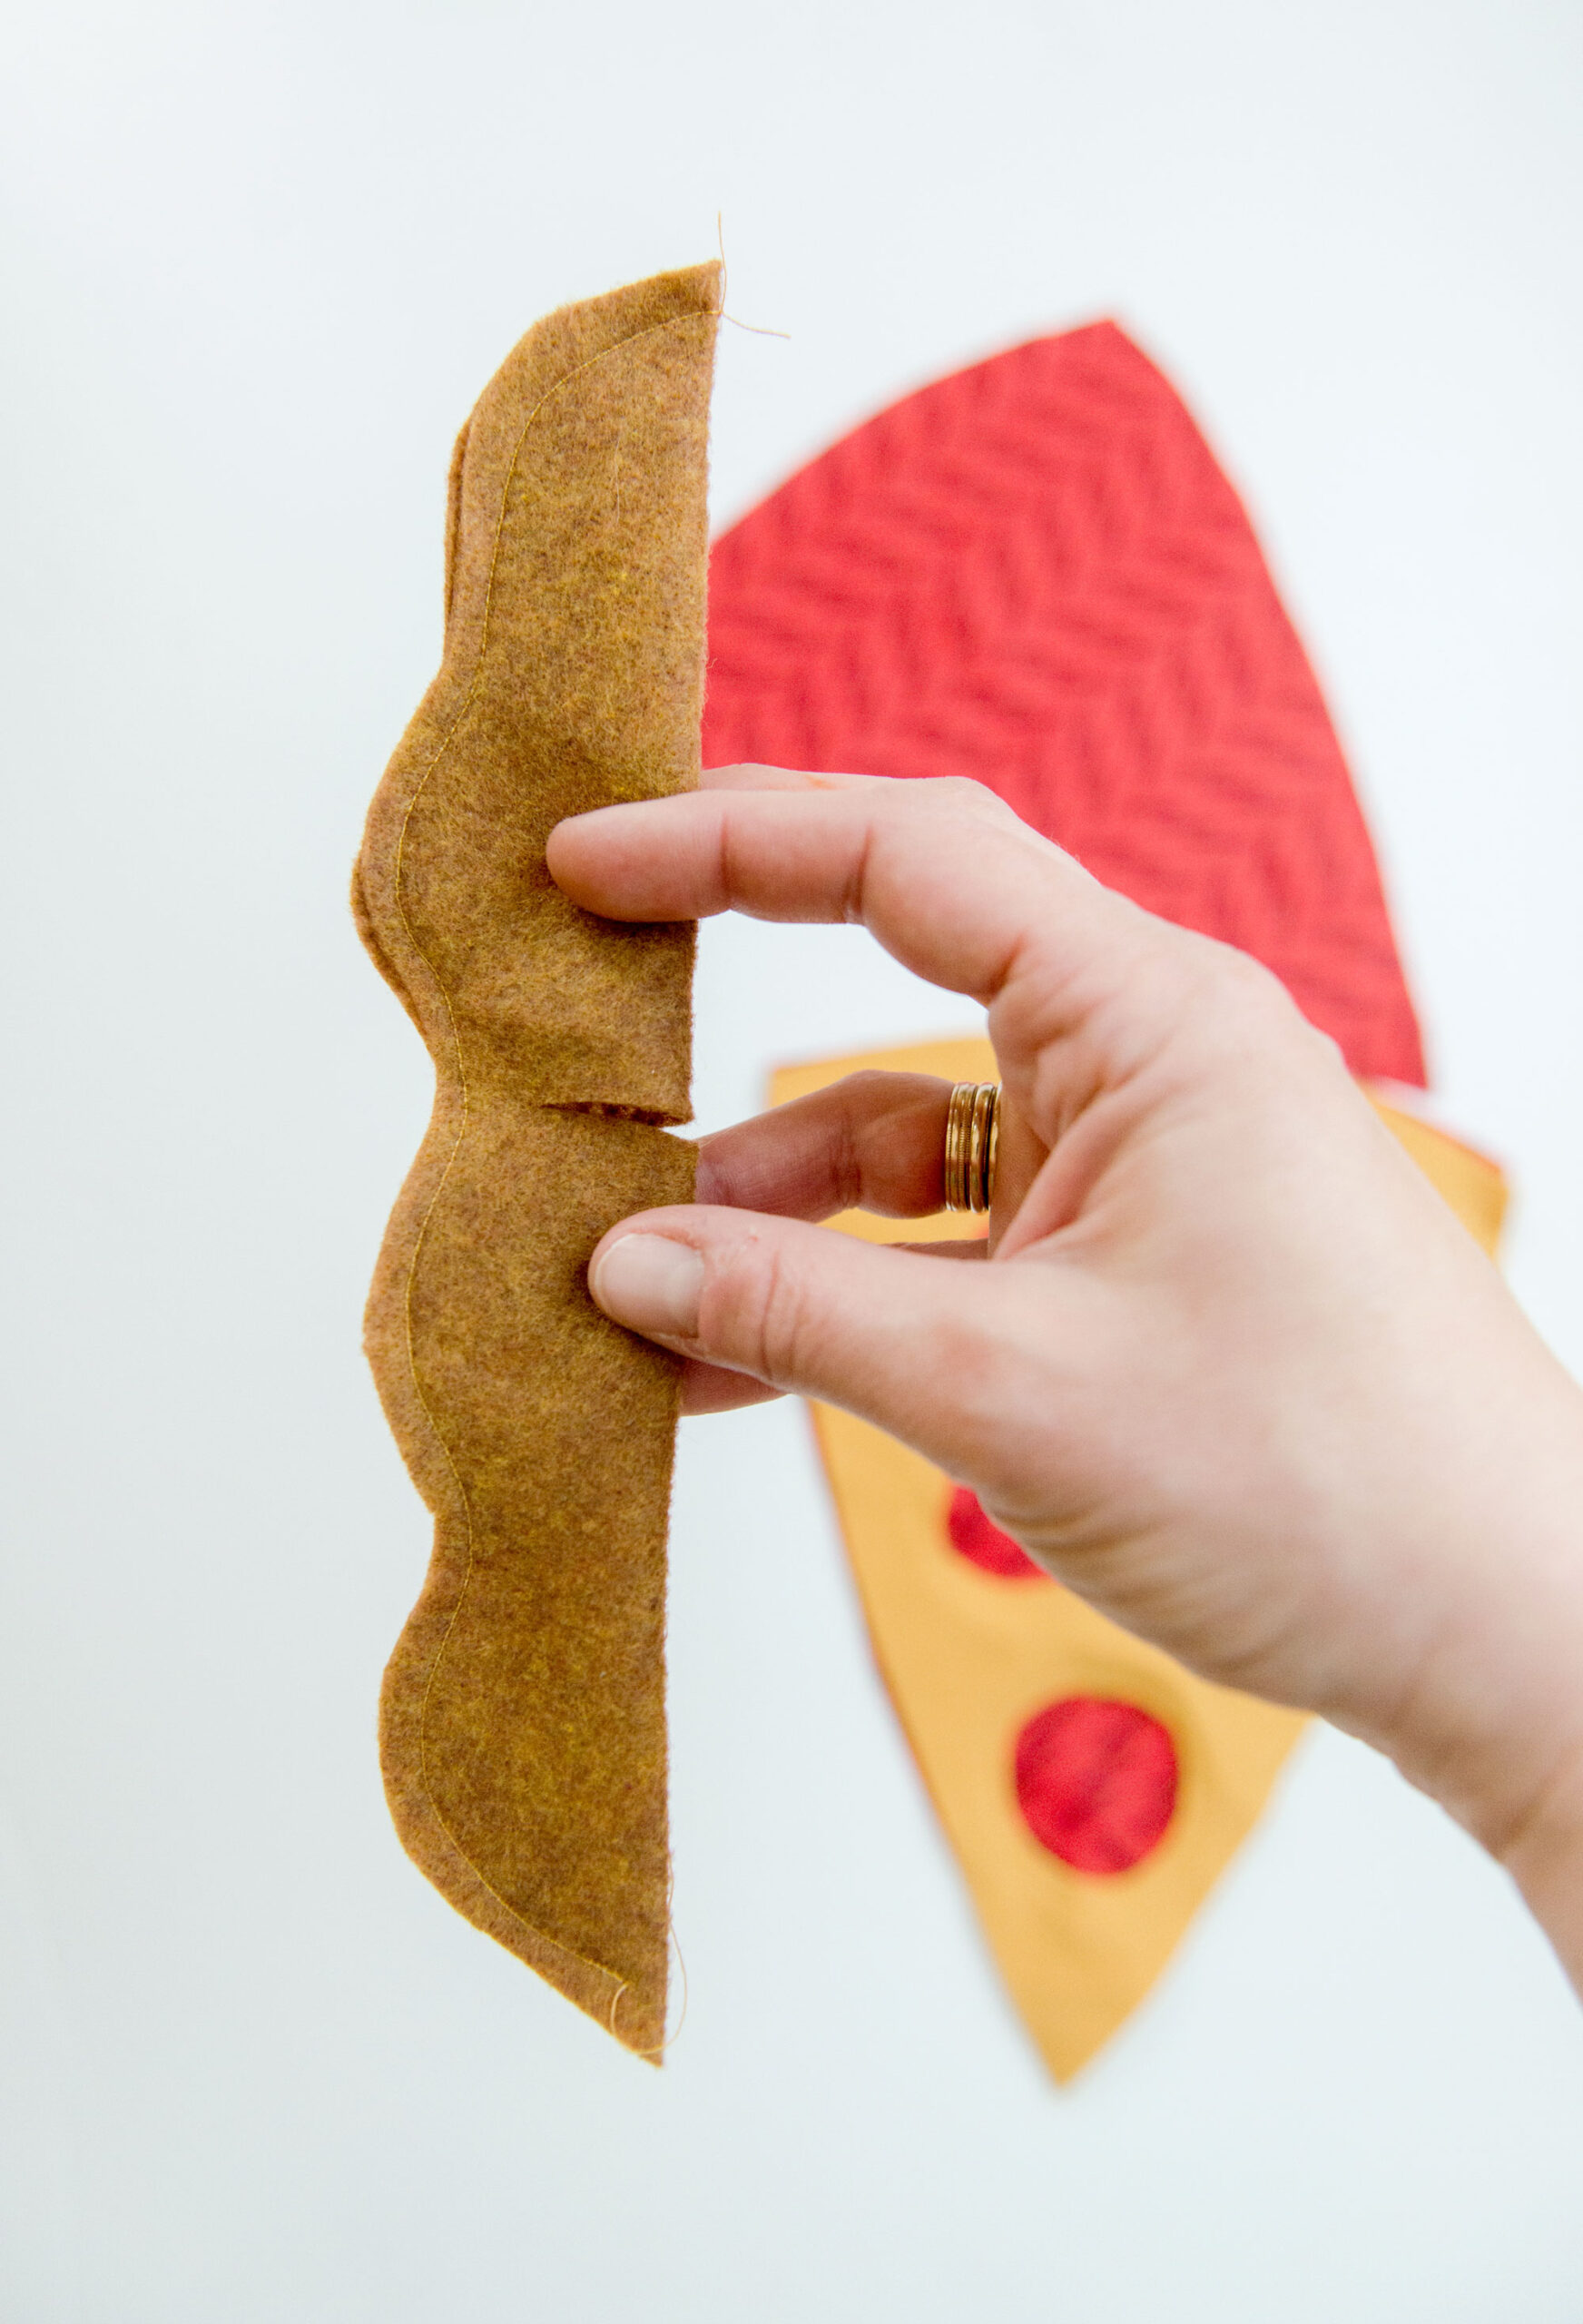
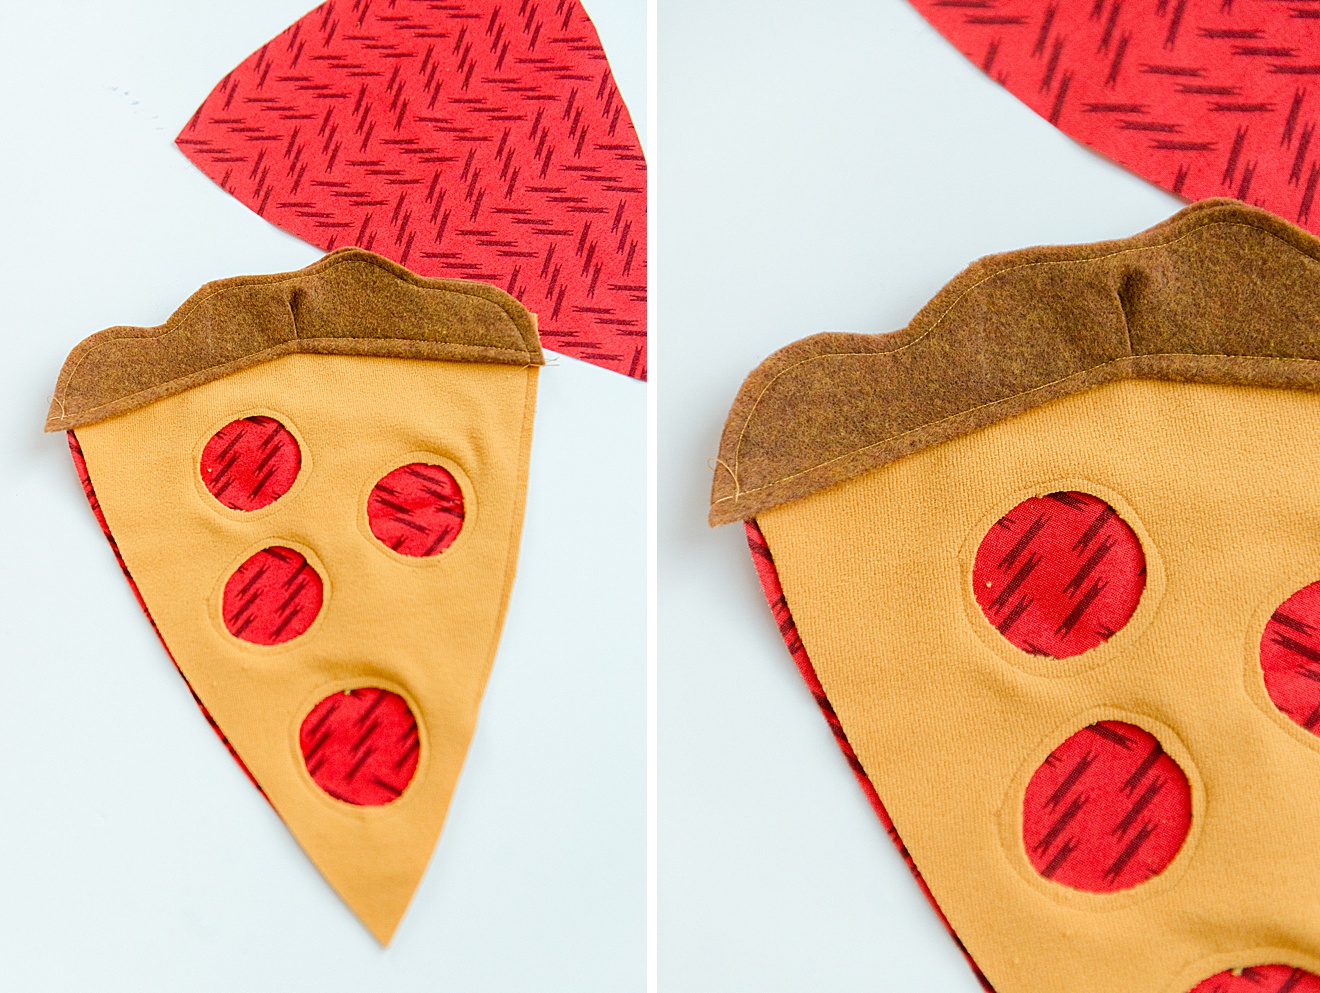
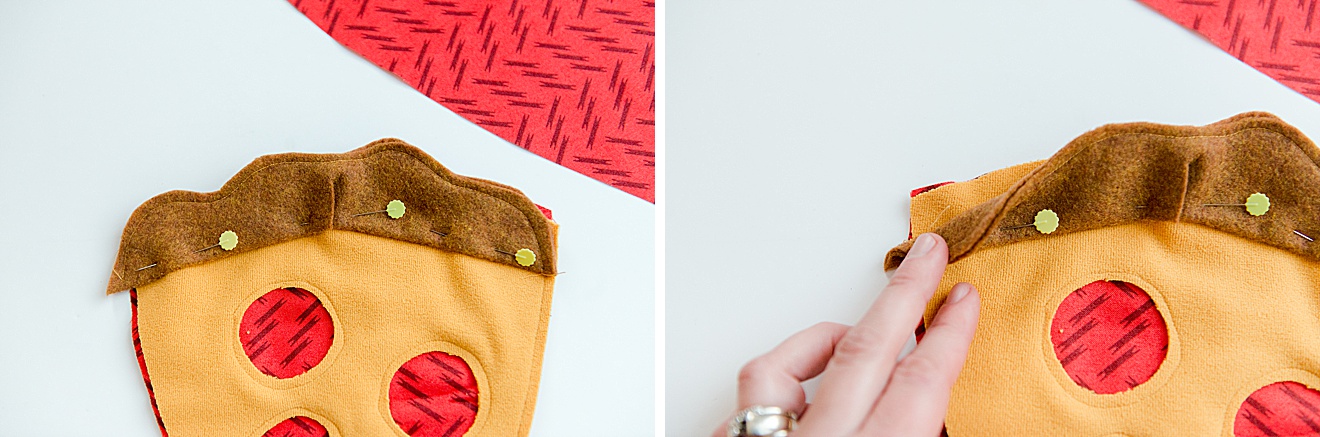
Then with your cheese/pizza part that you just stitched, measure about 1” – 1 1/2” down from the top of the pizza, then pin your crust in place along that line, folding over the middle pucker to be able to follow the top curve. Then stitch in place along the top of the pizza (you will add the zipper “under” the crust, so be sure that you leave enough clearance for the zipper with that 1” – 1 1/2” section).
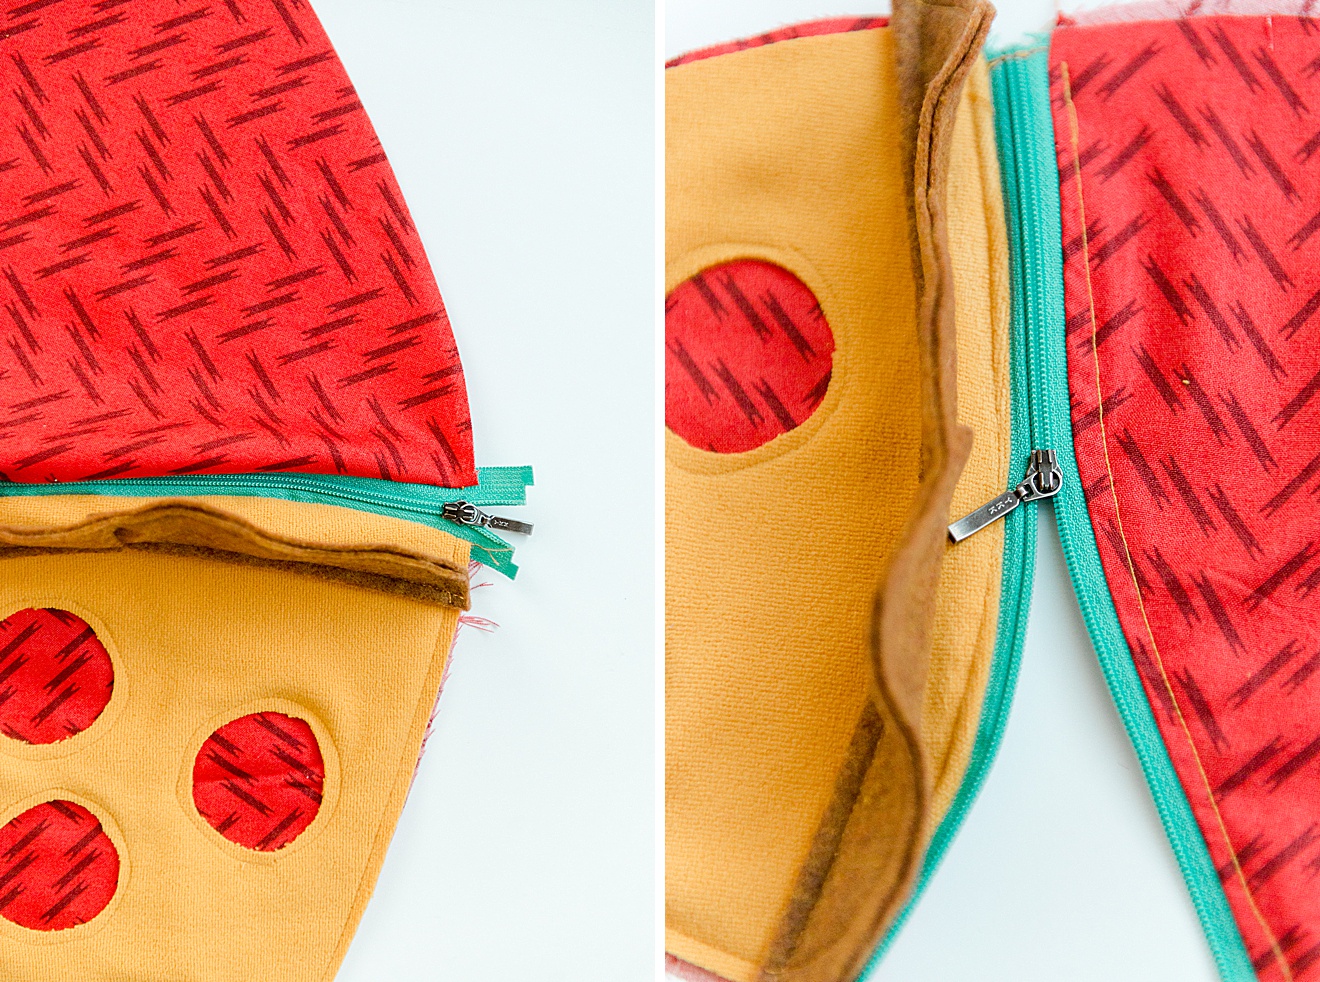
3. Sew Zipper
Layer your fabric with 1 piece of the lining fabric facing up, zipper and the pizza top facing down. Line up the edges of your zipper and make sure all 3 layers are flush (without the crust “in the way”) and stitch your zipper in place.
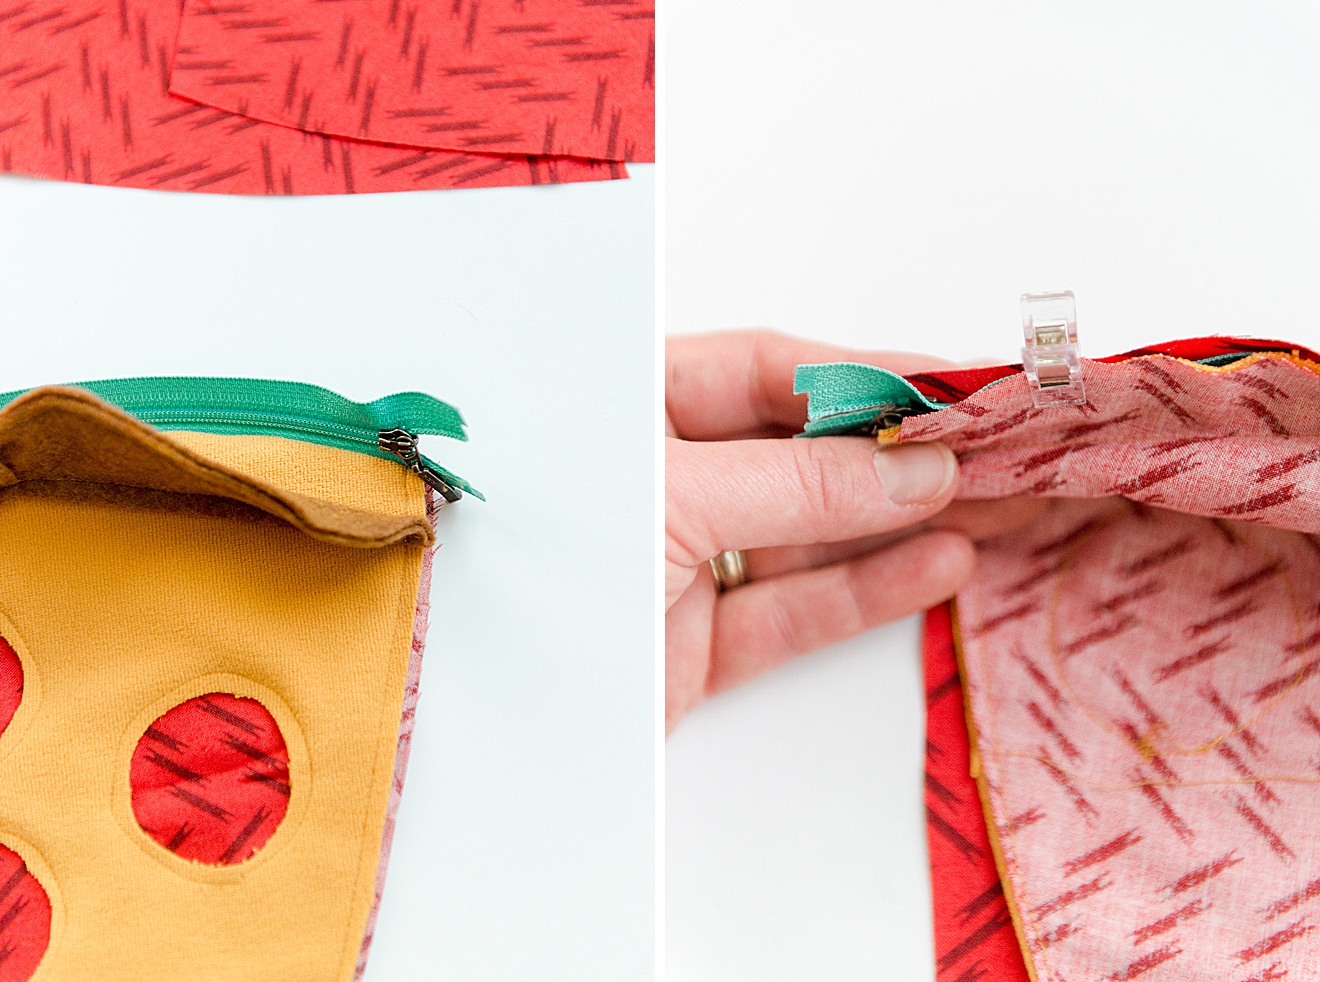
*Note: trim your zipper to 9 inches before you begin sewing the zipper if necessary! 🙂
Do the same with the pizza back and other lining piece.
**tip when sewing zippers: be sure to stop your stitching when you come to the “pull” on the zipper, put your needle down, raise your presser foot and then zip the pull out of the way. If you don’t do this you will get a bulge or notch in your zipper stitch which will be obvious when you want the zipper to lay flat.
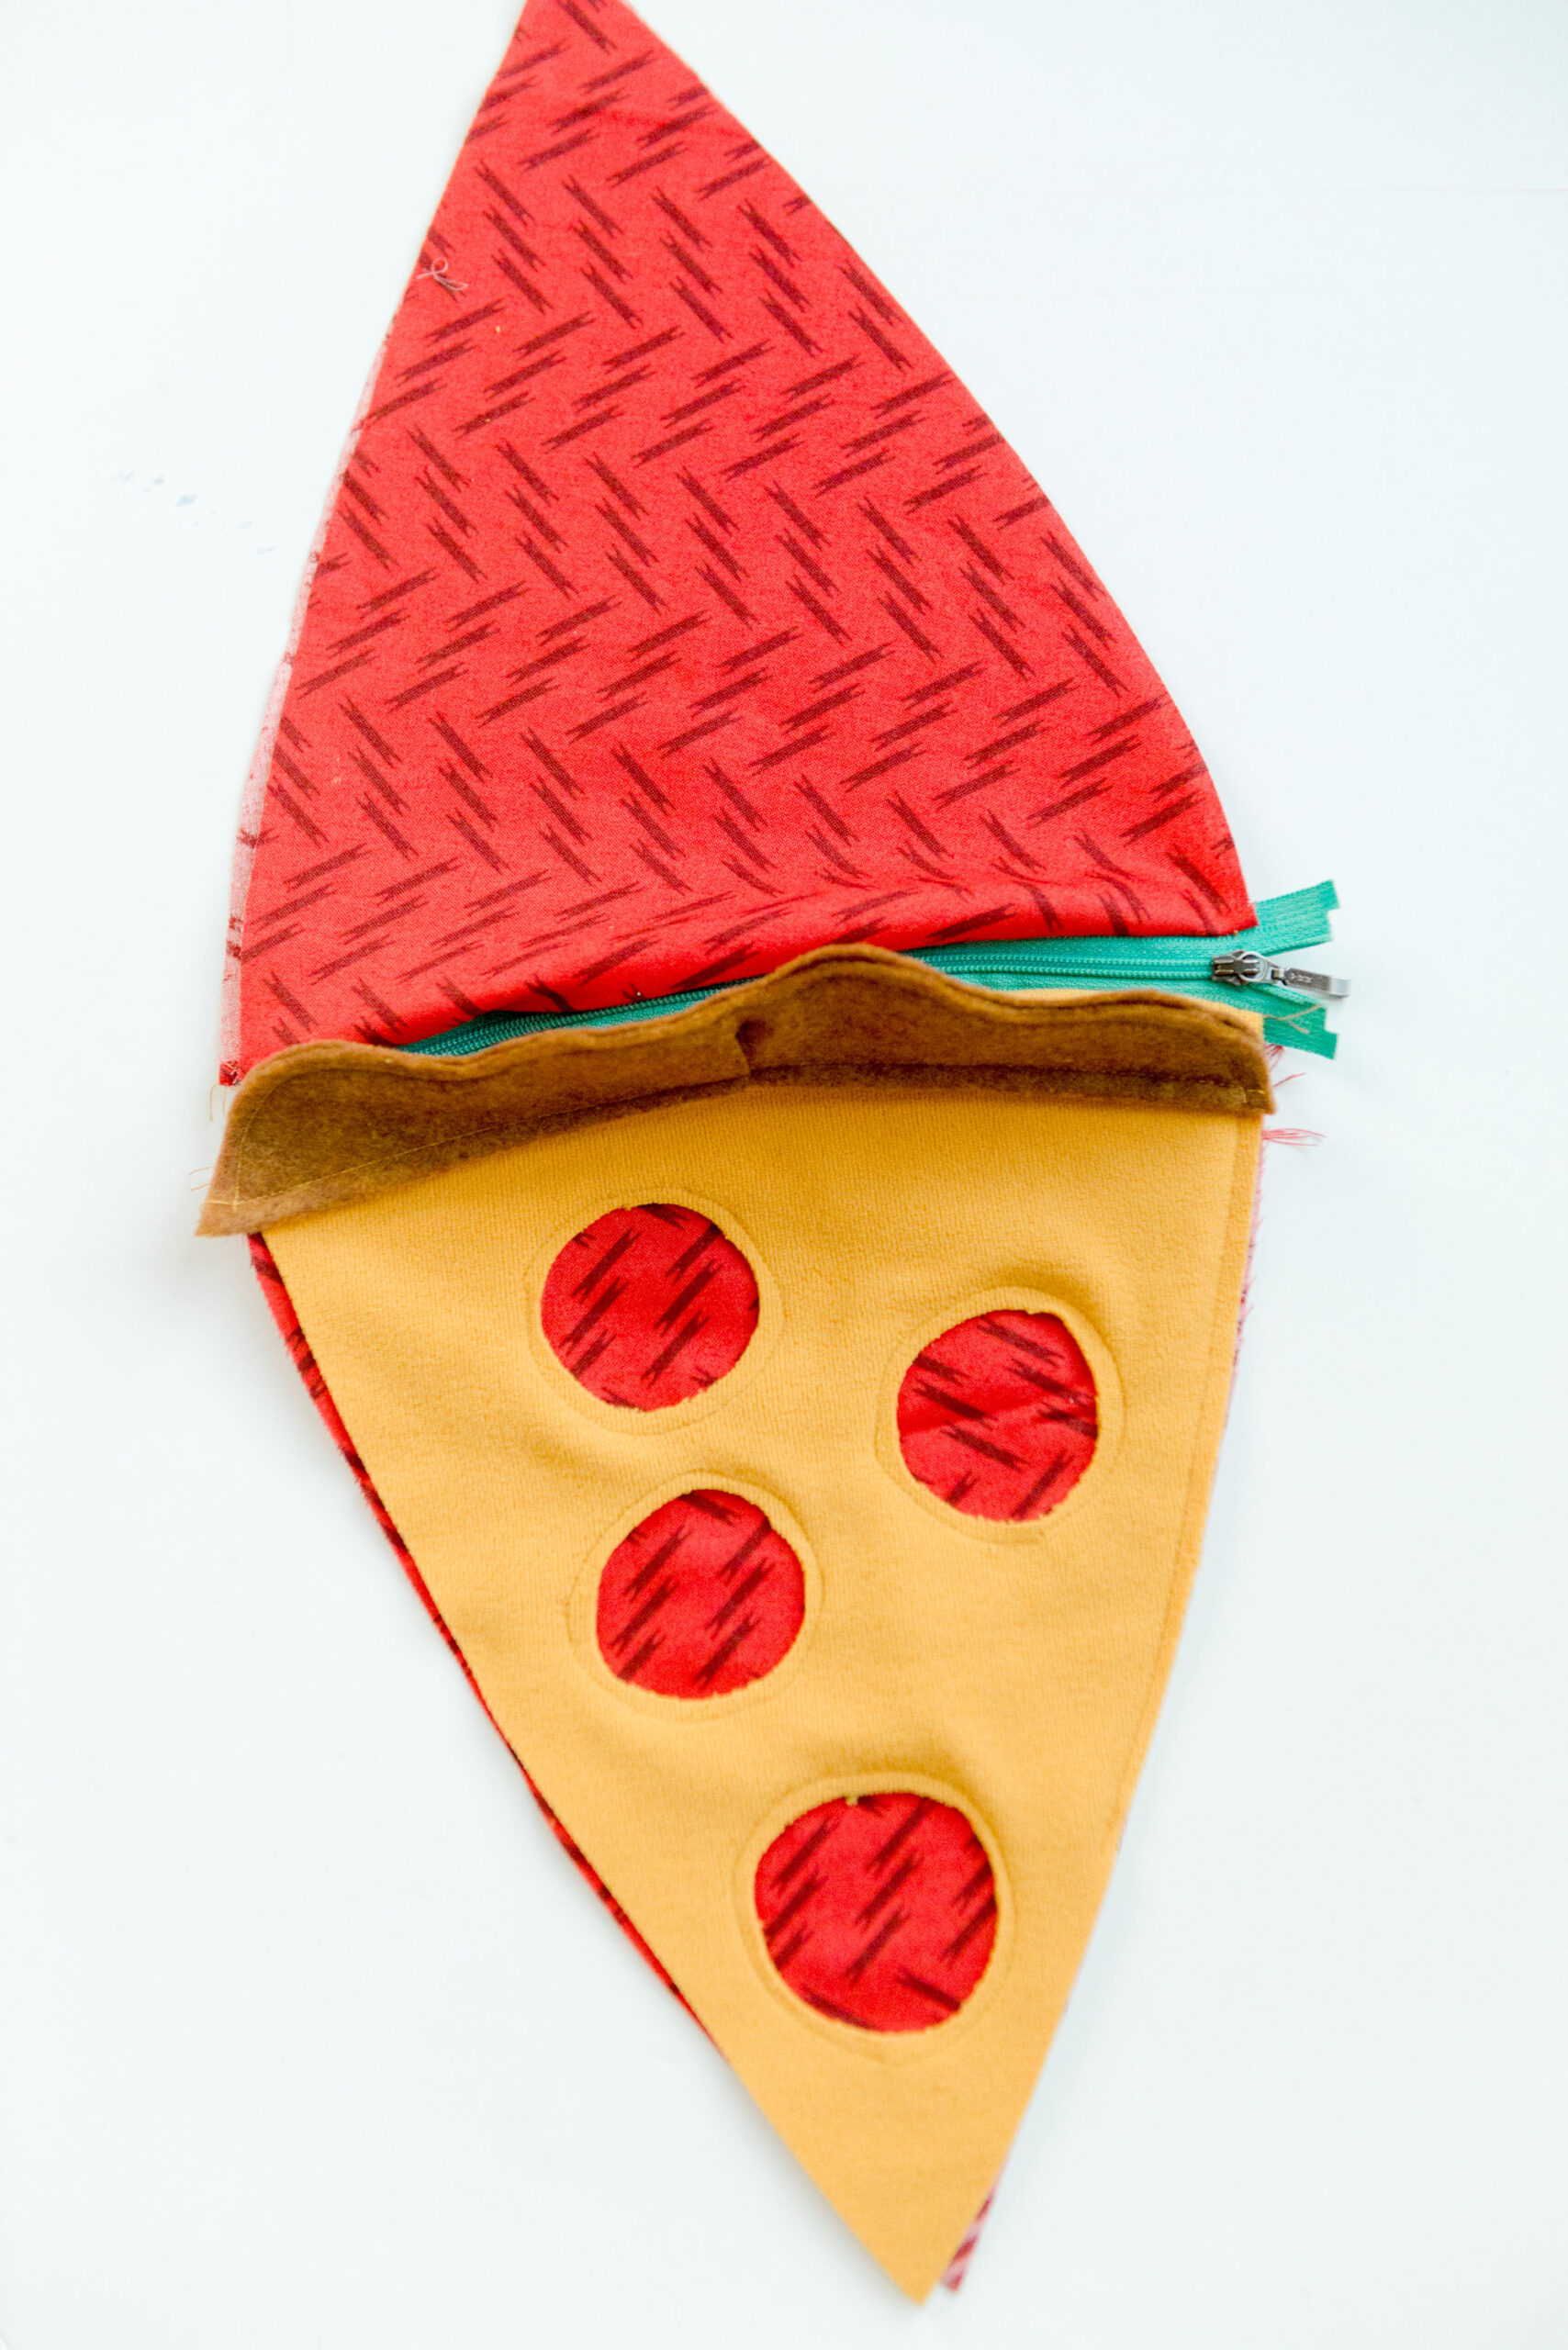
4. Iron the zipper + top stitch
With your iron, press the zipper flat (as best as possible) and pull your fabric + crust away from the teeth of the zipper. Then top stitch along each side of the zipper to keep the fabric laying flat.
5. OPEN THE ZIPPER!
This is *SUPPPPPER* important otherwise you won’t be able to open your pizza pouch! 🙂
OPEN THE ZIPPER!
6. Stitch together
Open up your bag and then line up the 2 lining pieces with one another as well as the front background shapes with one another. Pin in place, being careful to line up the 2 areas where the zipper joins (this is important to make sure the zipper is straight across when finished).
Stitch all the way around the bag, leaving a large enough opening on the lining portion to turn the bag when done.
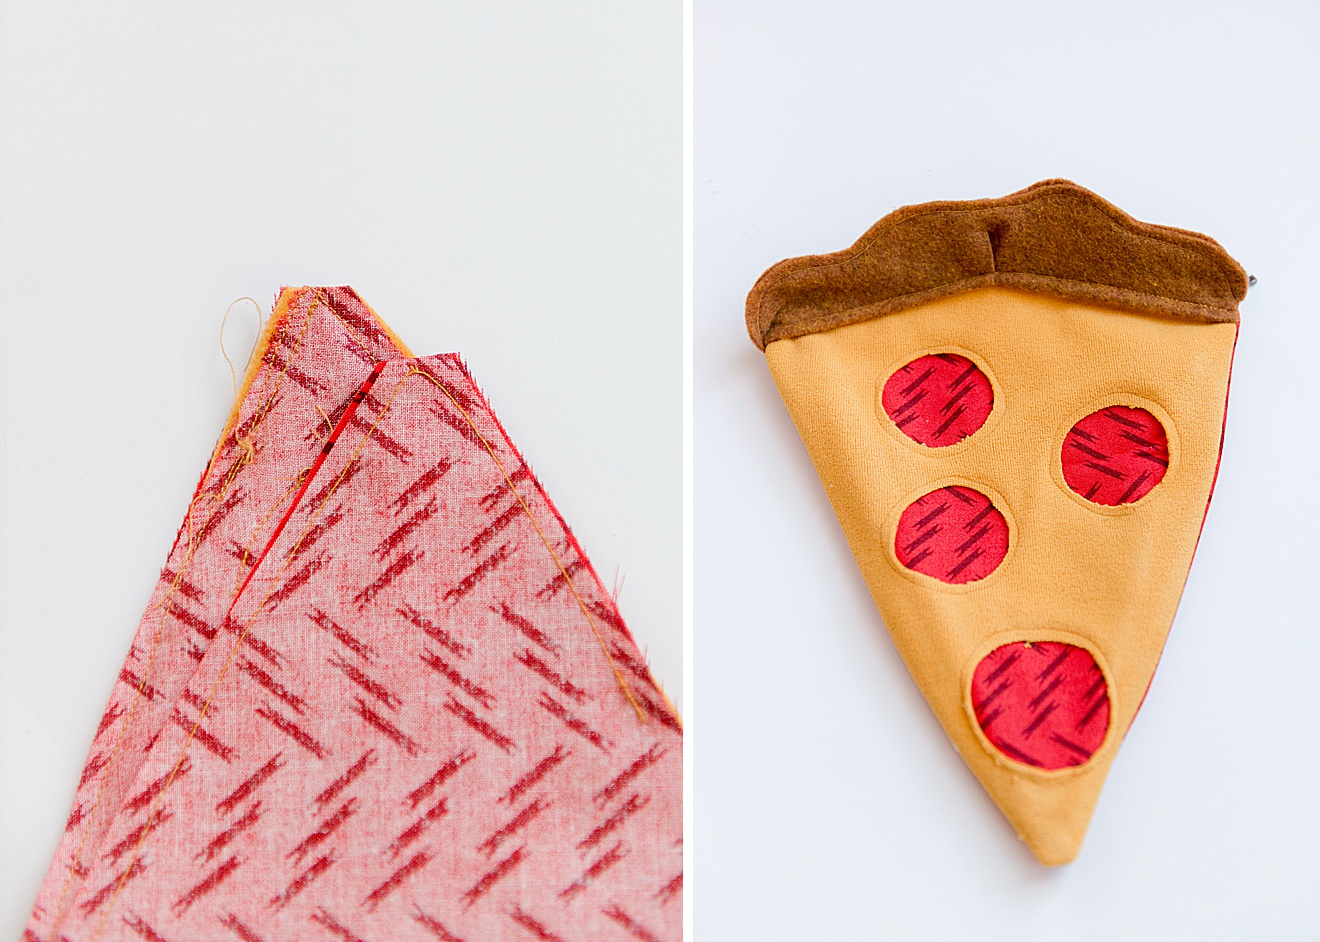
7. Sew closed + finish
Trim the very bottom point to the pizza off before turning (you want this to lay as flat of a triangle as possible and getting rid of this “bulk” will help)
Then turn the bag right side out and polk all of the corners and edges smooth. The turn the edges of the lining opening (where you pulled the bag through) inward to mimic a seam allowing and top stitch closed.
Press the bag with an iron and fill with goodies for yourself or your kiddo! 🙂