Pants hanger hack for hanging prints
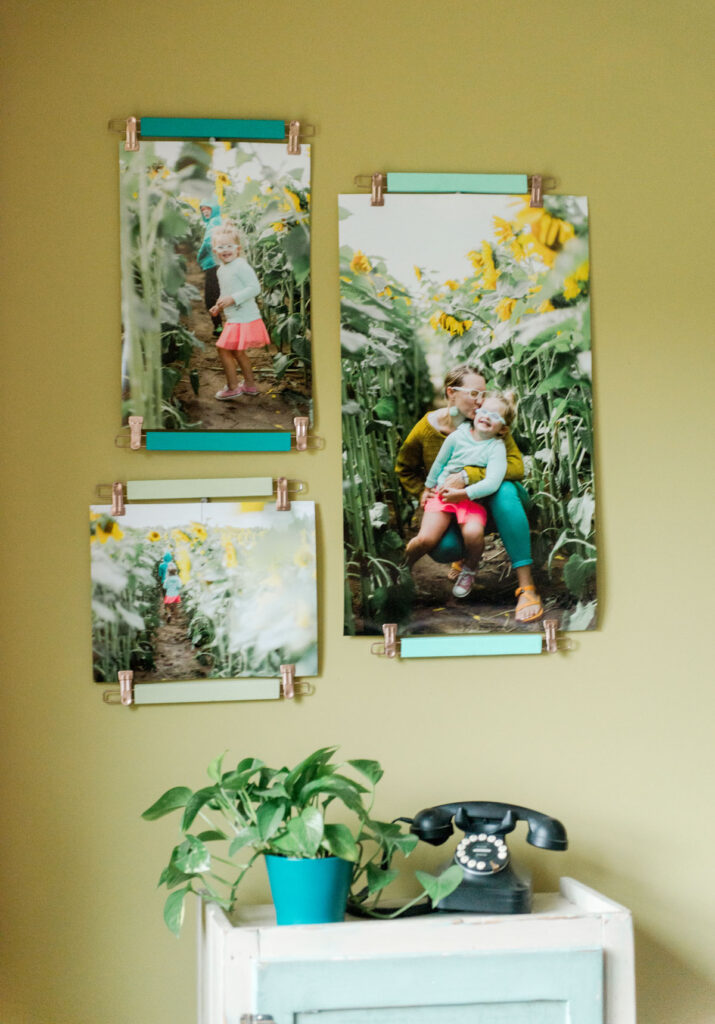
**this post is in partnership with Walmart Photo 🙂
I HAVE THE FUNNEST THING FOR YOU!
I know it sounds like I’m yelling, but it’s because I am! Do you ever get those ideas in the shower that just make you SO EXCITED!?!?! Welllllllll, this is one of them.
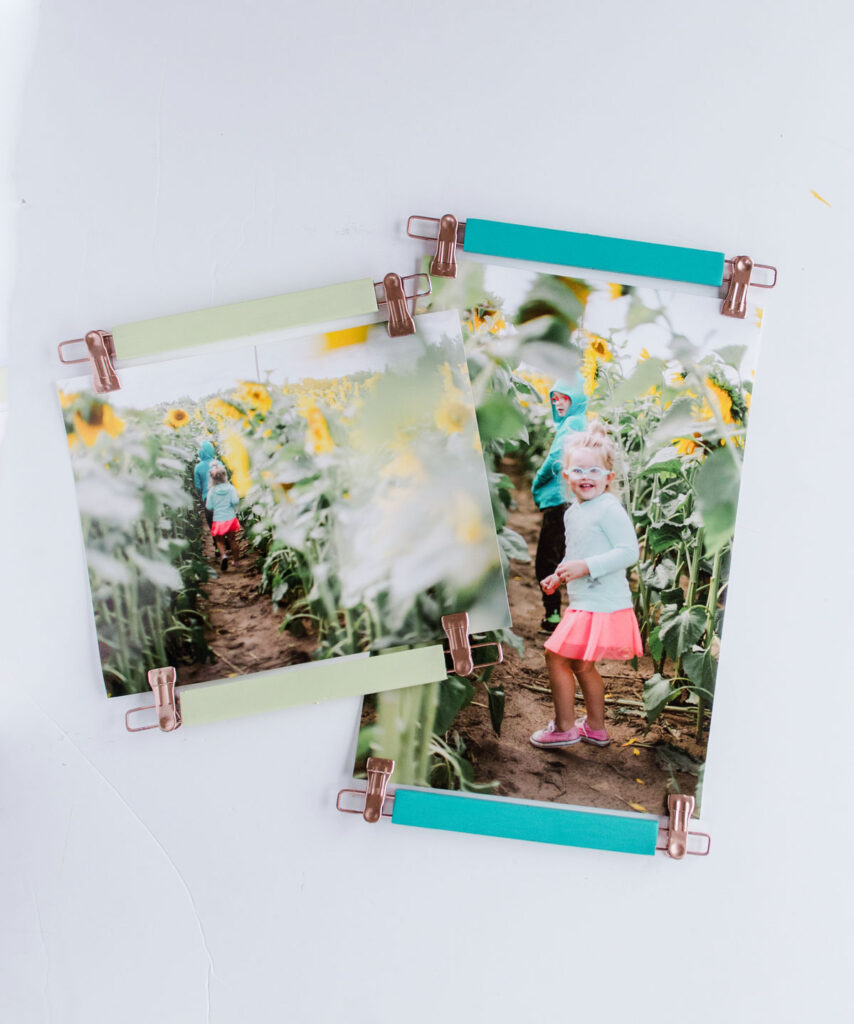
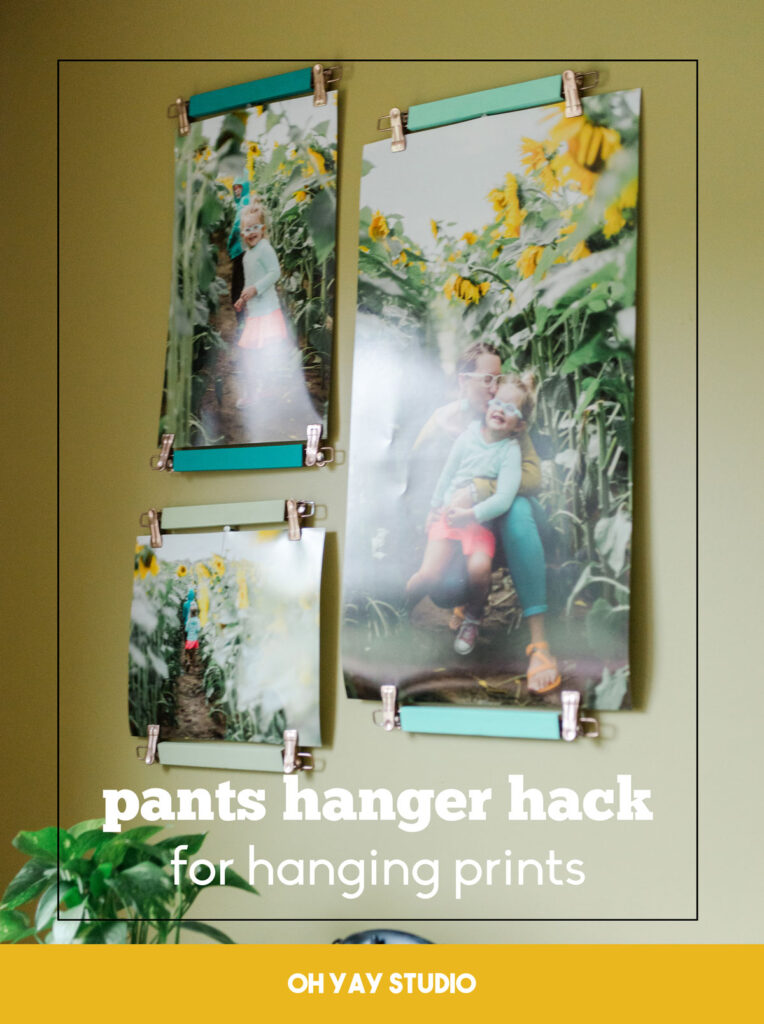
I have recently discovered how amazing the same-day poster prints are from Walmart Photo. Like, I’m talking under $6 for an 11×14 print that is GORGEOUS quality! I love playing around with gallery wall ideas and I LOOOOOOVE incorporating color into any and every space of our house (and this DIY hits both of those marks)! 🙂 I am sharing how I have transformed some old pants hangers we had in our closet into this simple, colorful, and quite easy DIY for hanging these poster prints from Walmart Photo! 🙂
The supply list is minimal, and to be honest, you could TOTES have all of these supplies already lying around your house already! And if you do, you could have this DIY made and ready by the time you need to leave your house to go pick up the poster prints from Walmart Photo! 🙂 #winning
Materials:
- Solid wood pant and skirt hangers (similar to THESE from Walmart)
- Wire Cutters
- Sand paper
- Spray paint (gold or pewter or black for the metal clips)
- Acrylic Paint (I used Apple Barrel brand from Walmart) – I can link this too!!!
- Single image posters in various sizes (I ordered a 8×10, 8×12 and a 20×30 that I trimmed thinner…it’s best to not use anything wider than 16” so that it lays “flat to the wall” as best as possible)
Instructions:
1. PREP HANGERS
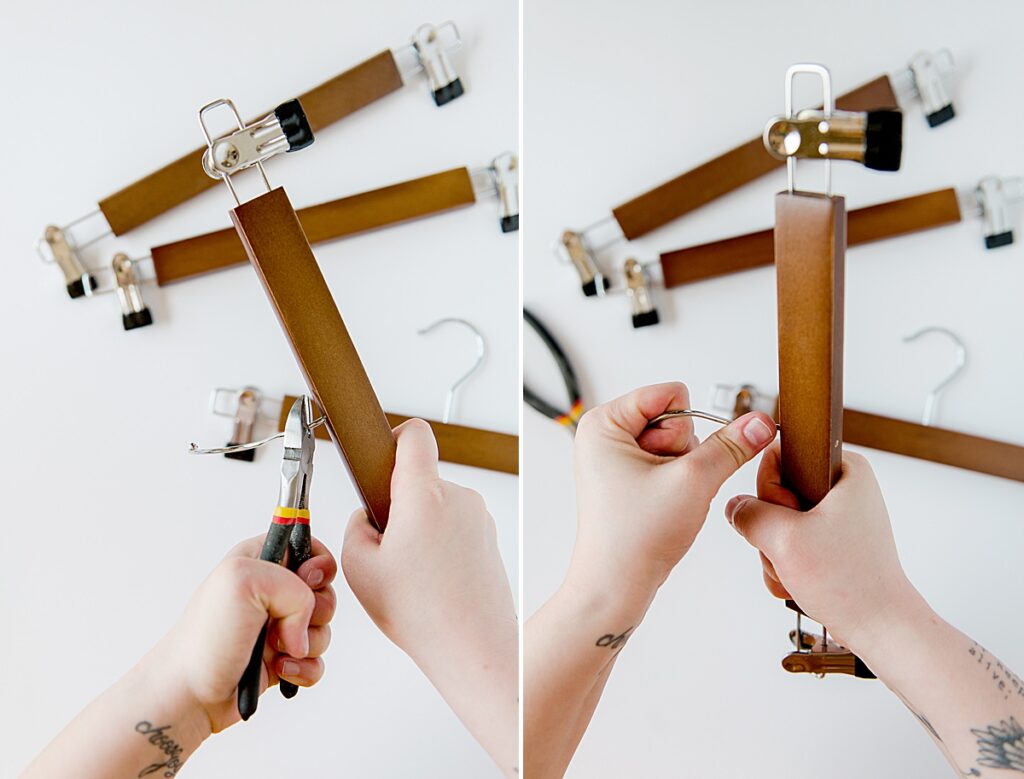
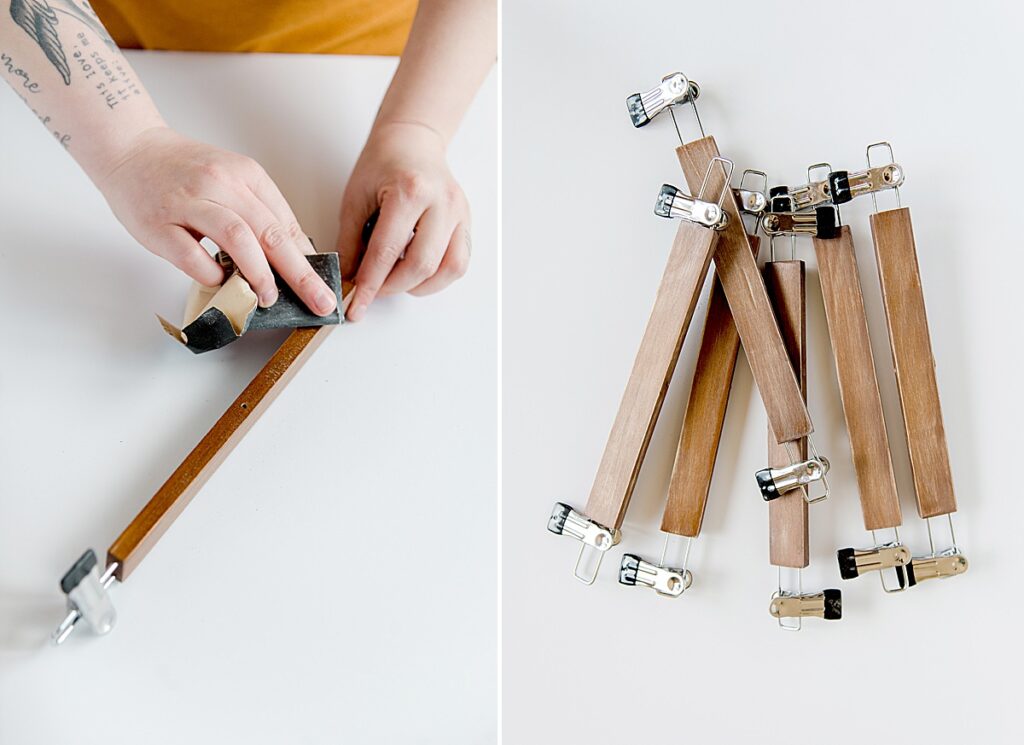
Screw off the bottom hook of the hangers. Then to get the top hanger off, you will use a wire cutter to “score” as close to the wooden hanger as possible, then begin to bend the hanger back and forth to snip it off of the hanger. It may leave a very small sharp edge and if it does, just sand it down so that it won’t cut you in the DIY process. Do this process gently, so that you don’t split the wood part of the hanger.
Then sand the wooden part of the hangers just lightly enough to add a “tooth” so that paint will stick!
2. PAINT HANGERS
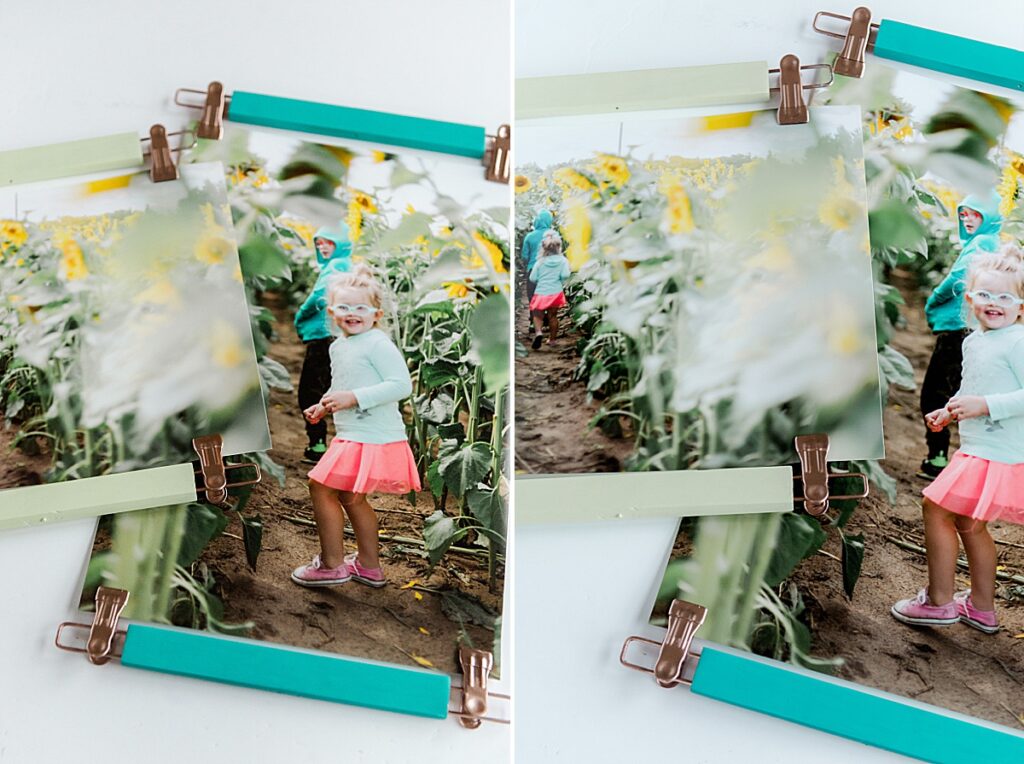
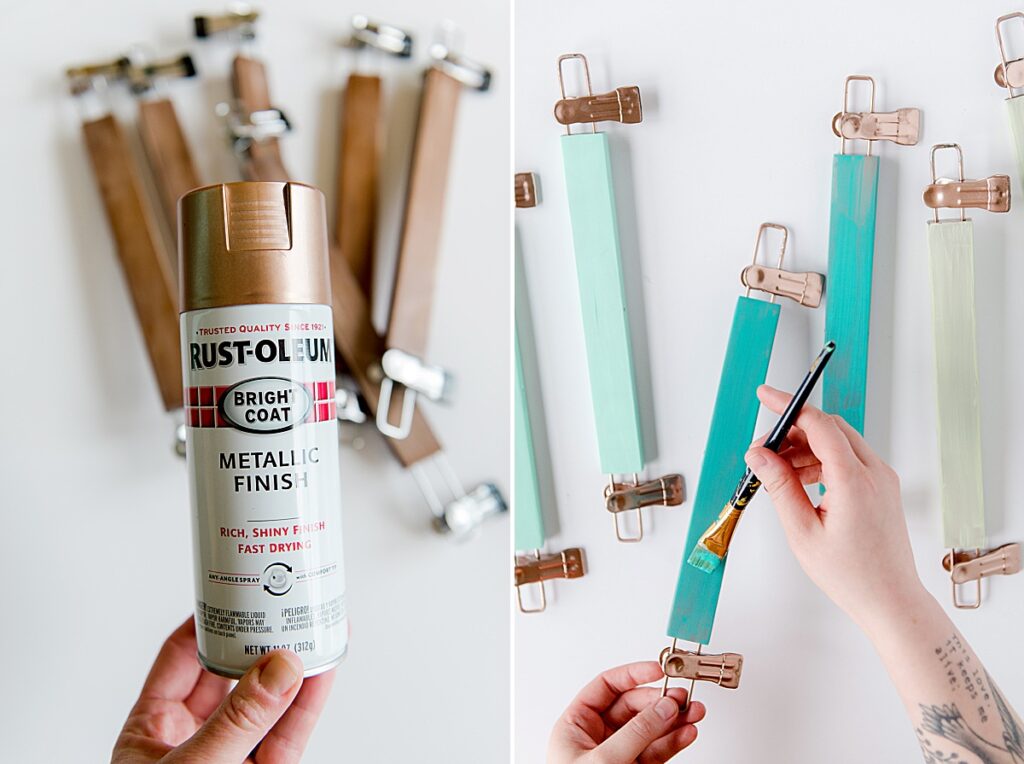
Follow the instructions on your spray paint for proper ventilation as you spray the metal part of the hanger with gold, silver or rose gold. Spray as many coats as necessary to cover. Once dry, use acrylic paint to paint the wooden part of the hanger in any design that will complement your photo. Allow to dry fully between coats.
*the colors of paint I used are “Apple Barrel” brand from Walmart: Key West, Laguna, Light Leaf green mixed with some white
3. HANG UP
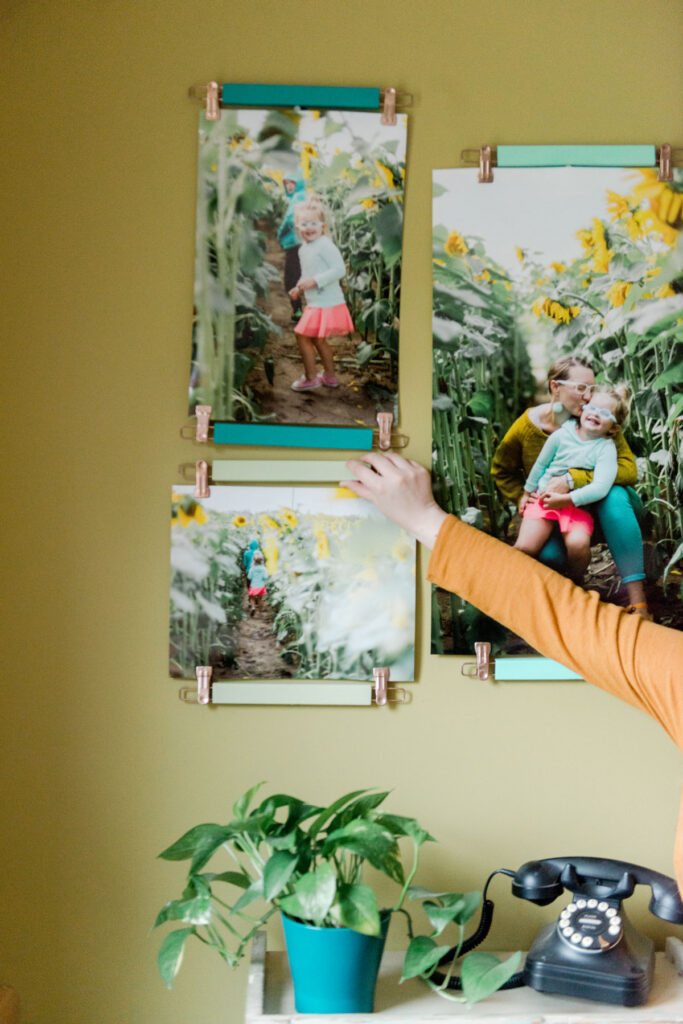
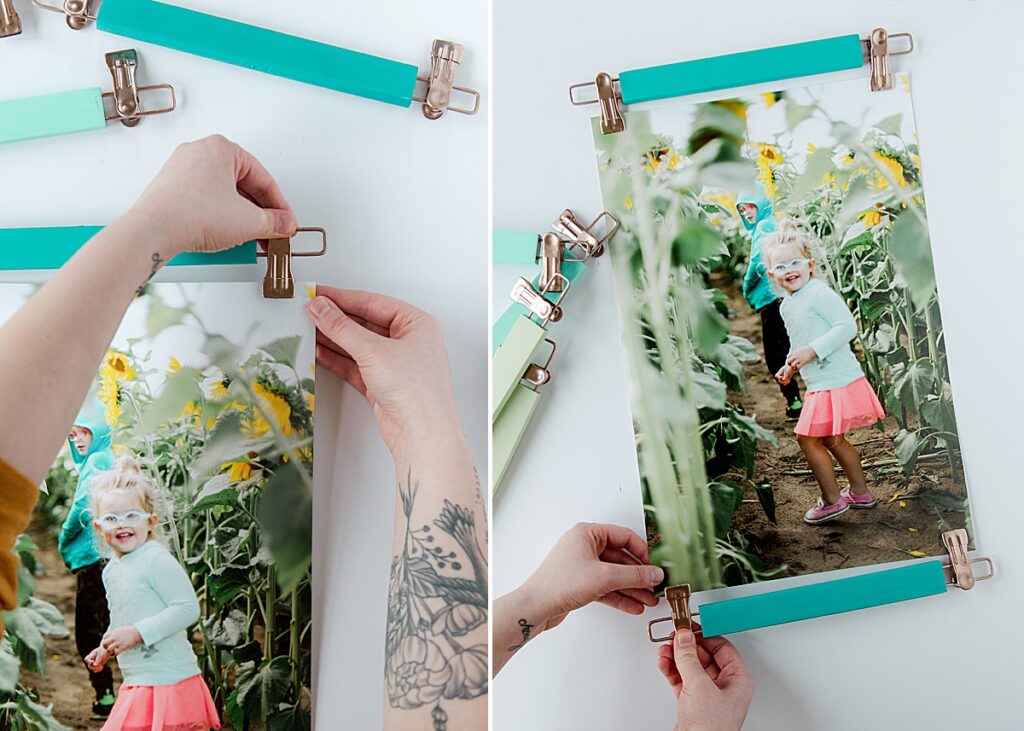
Use either a nail or 3M hook to position and hang your prints to the wall. I only needed one nail per hanging print. You may have to reposition or adjust the prints on the hangers so that they lay flat and centered (level) to the wall. Hang them up in a cluster or individually around your home



These are amazing!!! So creative, Emily!