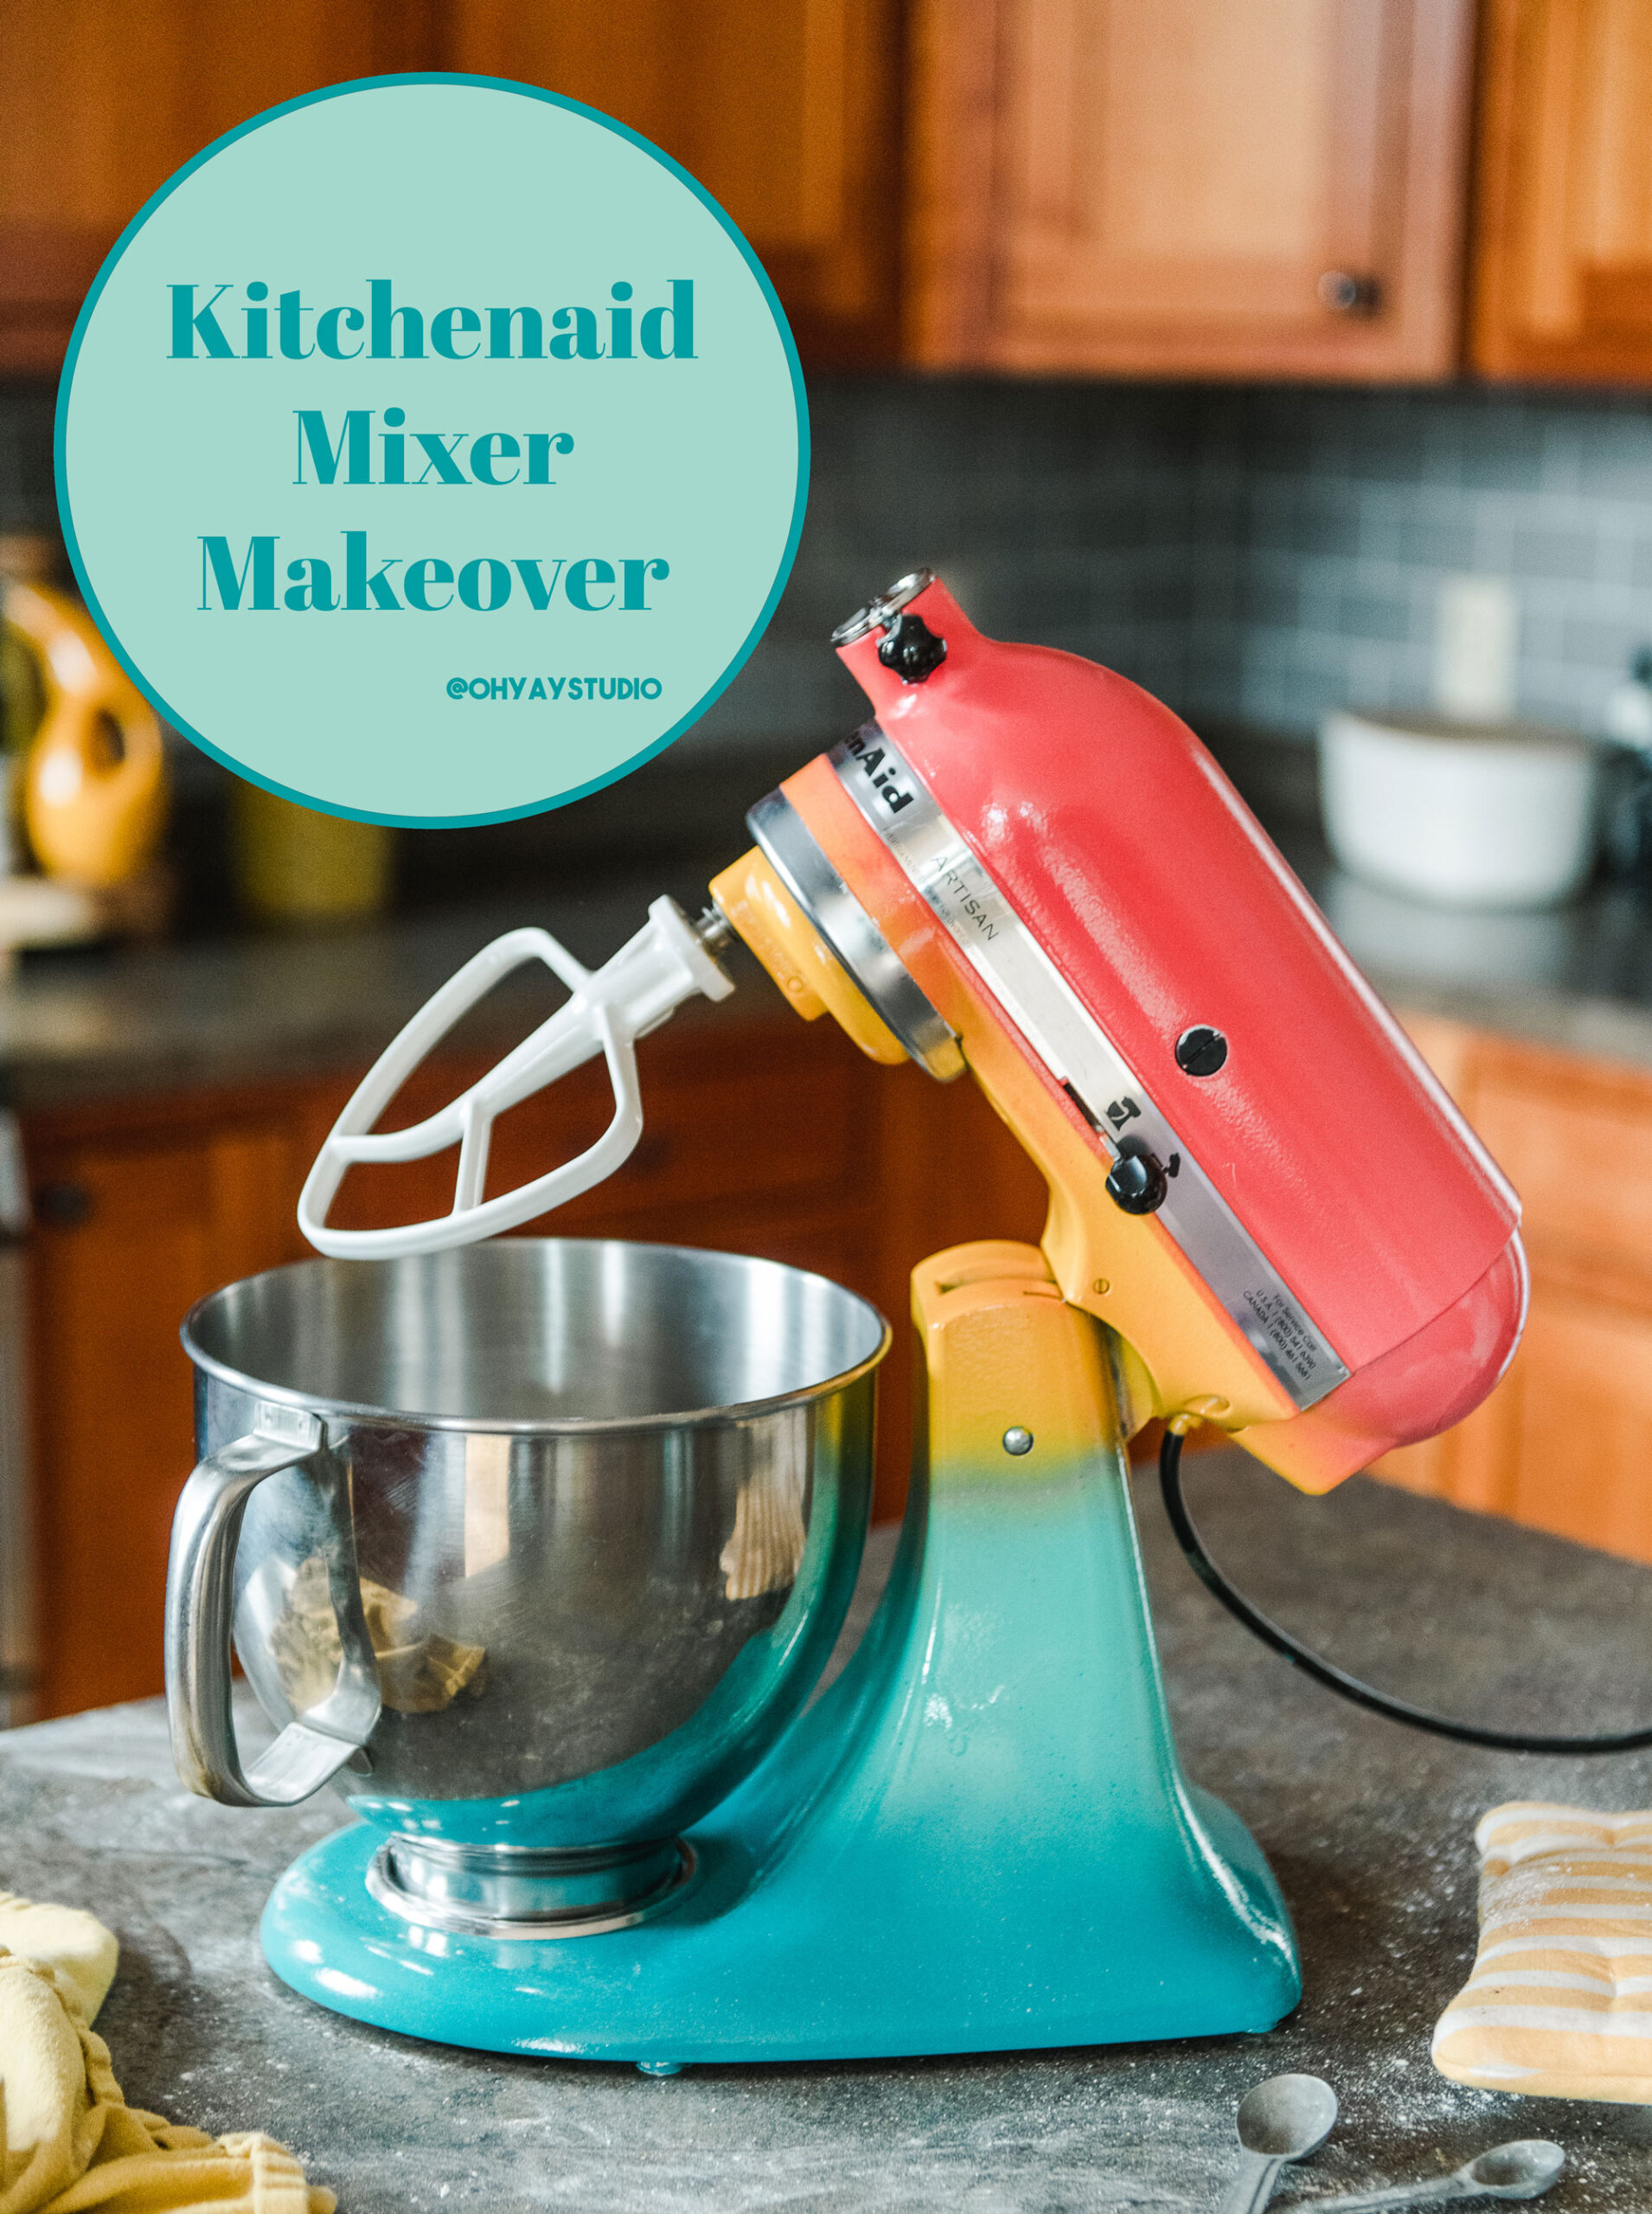
How to paint your Kitchenaid mixer!
*this project is in partnership with Colorshot and their amazing spray paints!
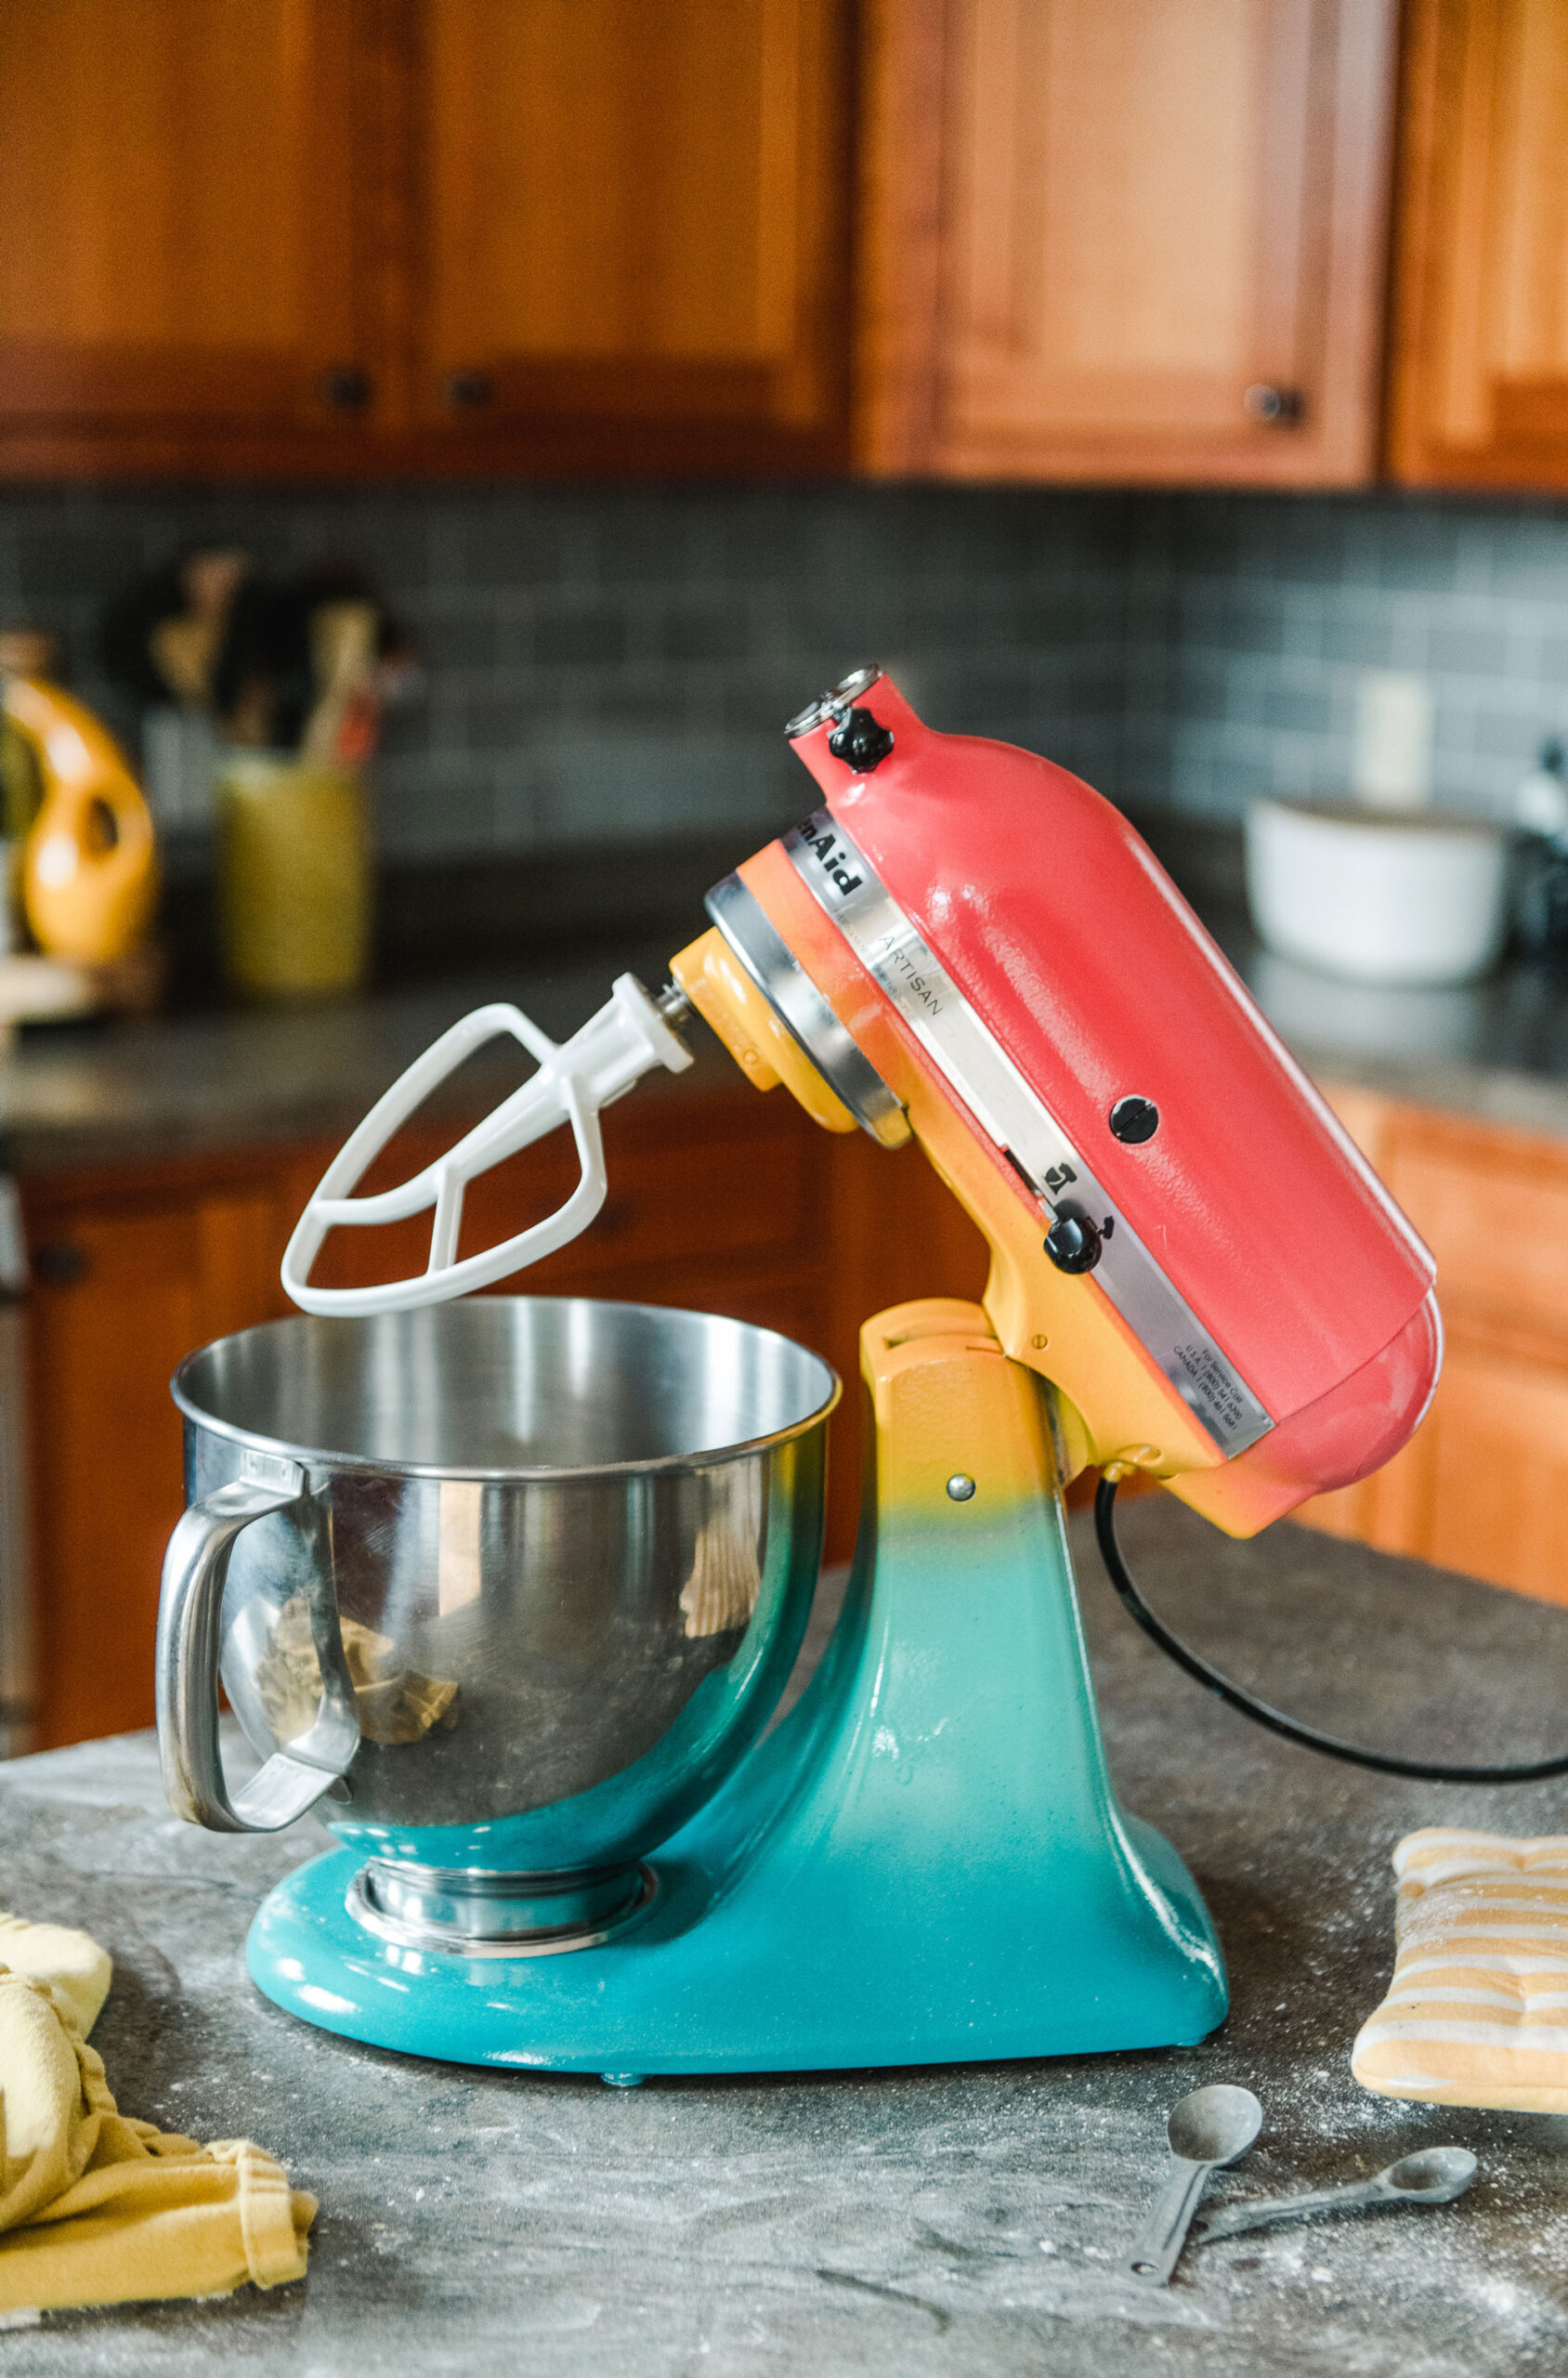
Have you ever wondered if you can give your Kitchenmaid mixer a little refresh with a new color or coat of paint?! WELLLLLL, the answer is a resounding YES YES YESSSS you bet your bippy that you can! 🙂 For real, with some sandpaper, elbow grease and a few cans of Colorshot spray paint, you can 100% transform your Kitchenaid mixer to a more colorful and happy appliance on your kitchen counter! 🙂
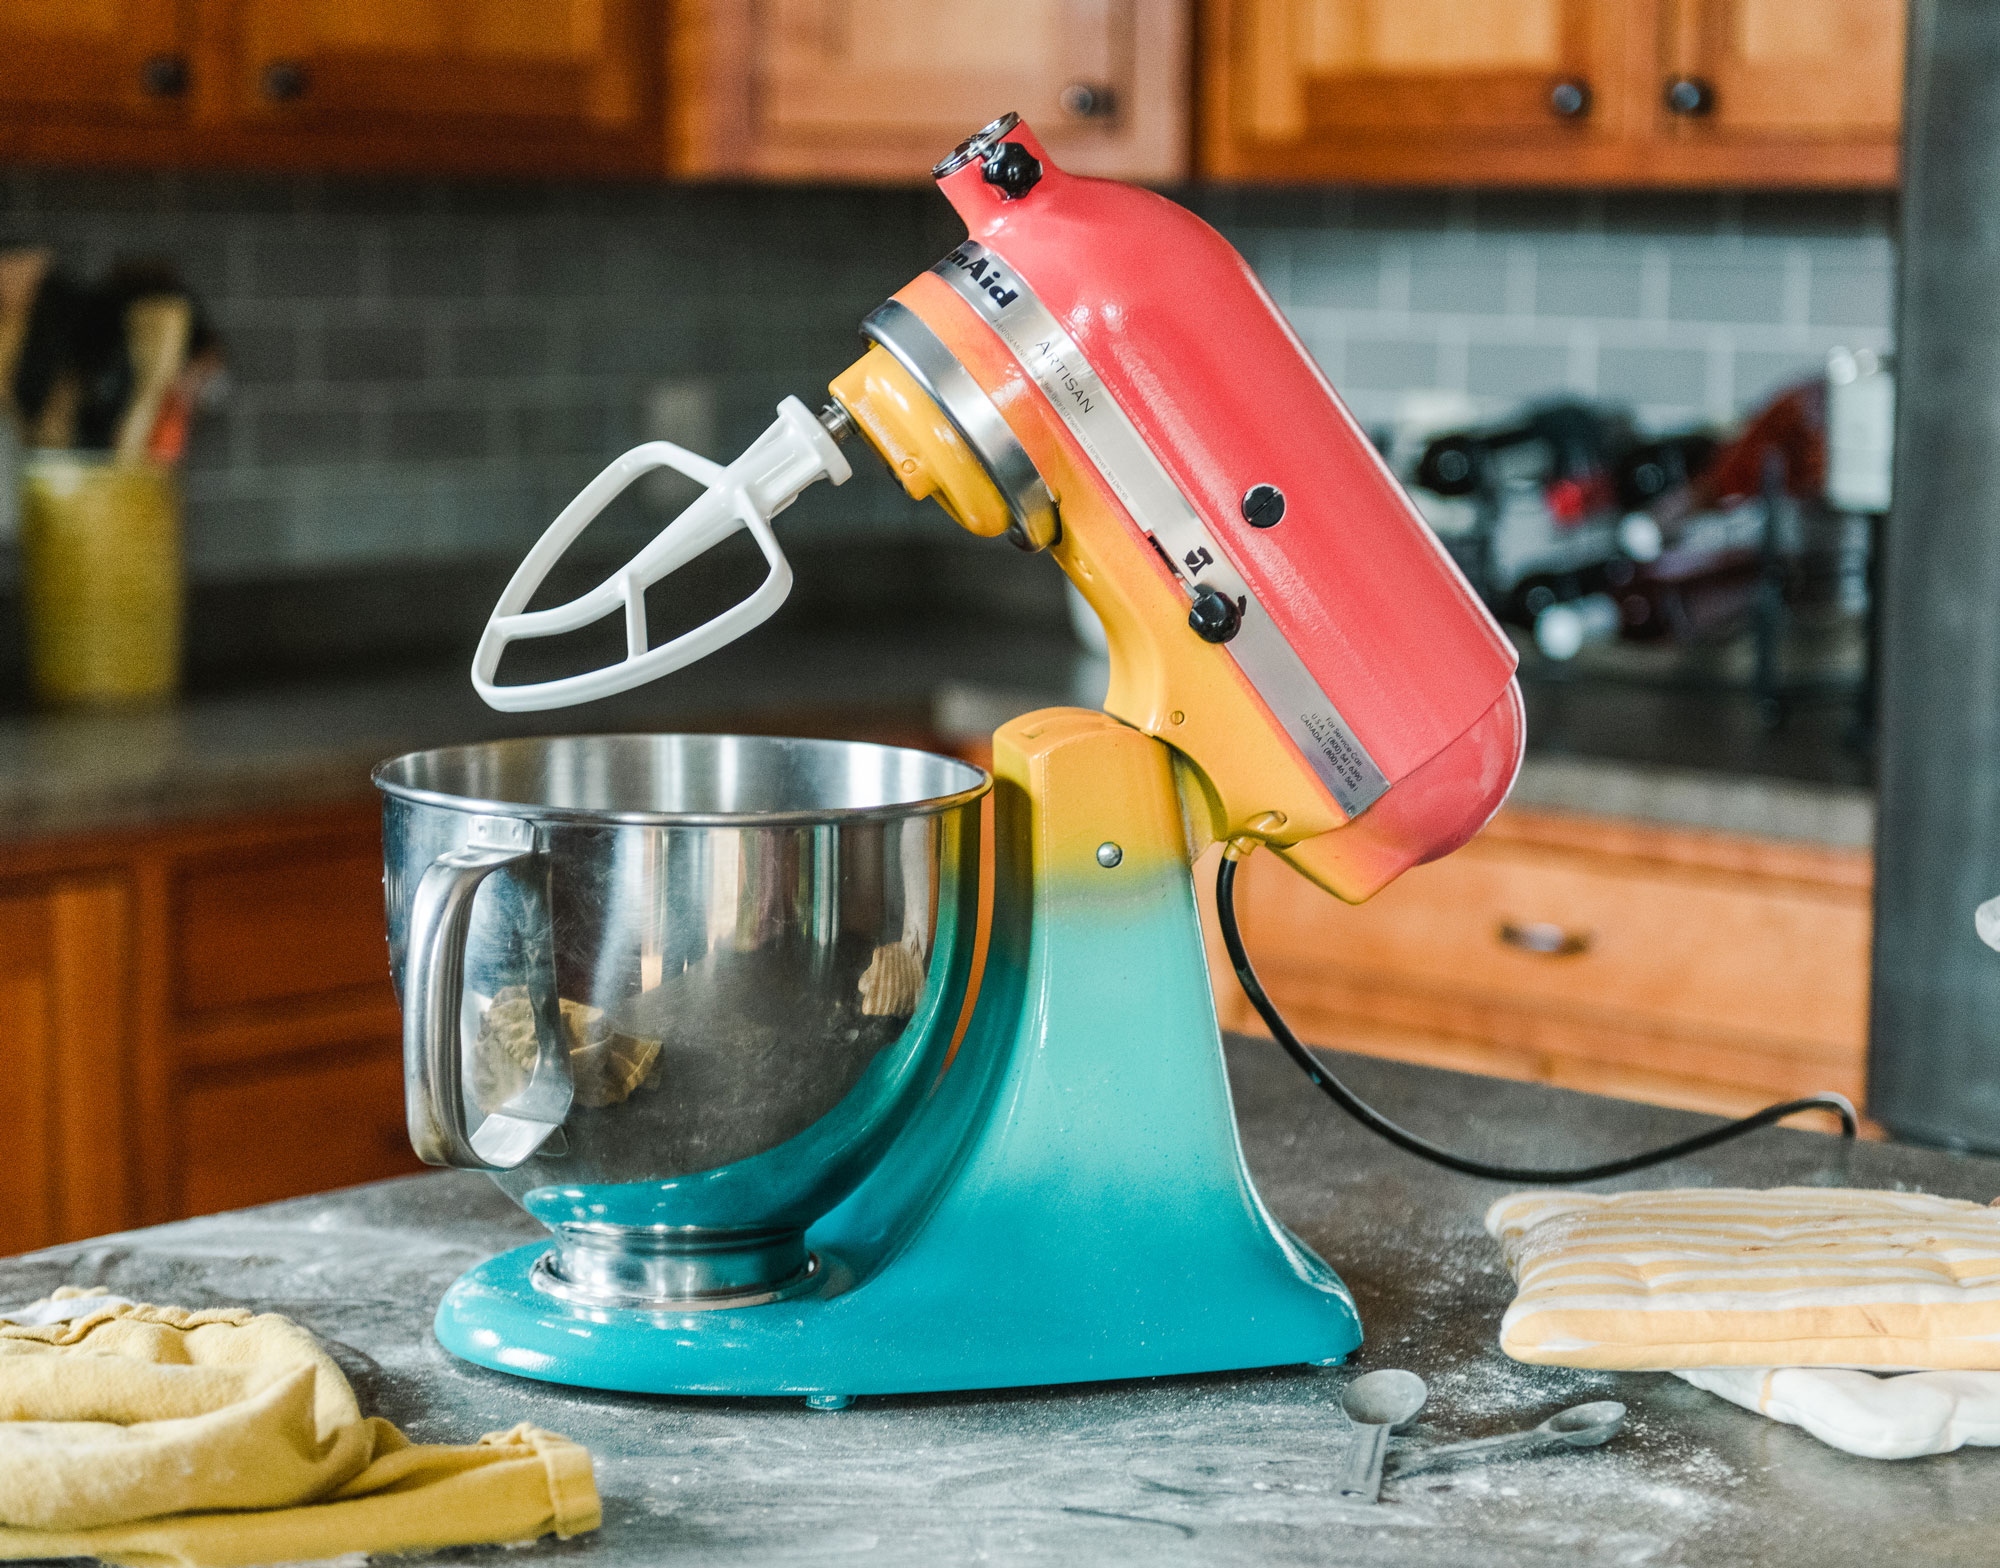
We have a 15 year old Kitchenaid mixer that works like a charm buuuuuut needed a bit of a facelift! SOOOO rather than running out to the store to get a new one, I thought HECK, why not paint this one (the worst thing that happens is that it turns out not as expected and I just sand it back down to the original, already chipped, color). SOOOOO with the magic of a few cans of Colorshot spray paint, we now have a Kitchenaid mixer with much more personality and color! 🙂
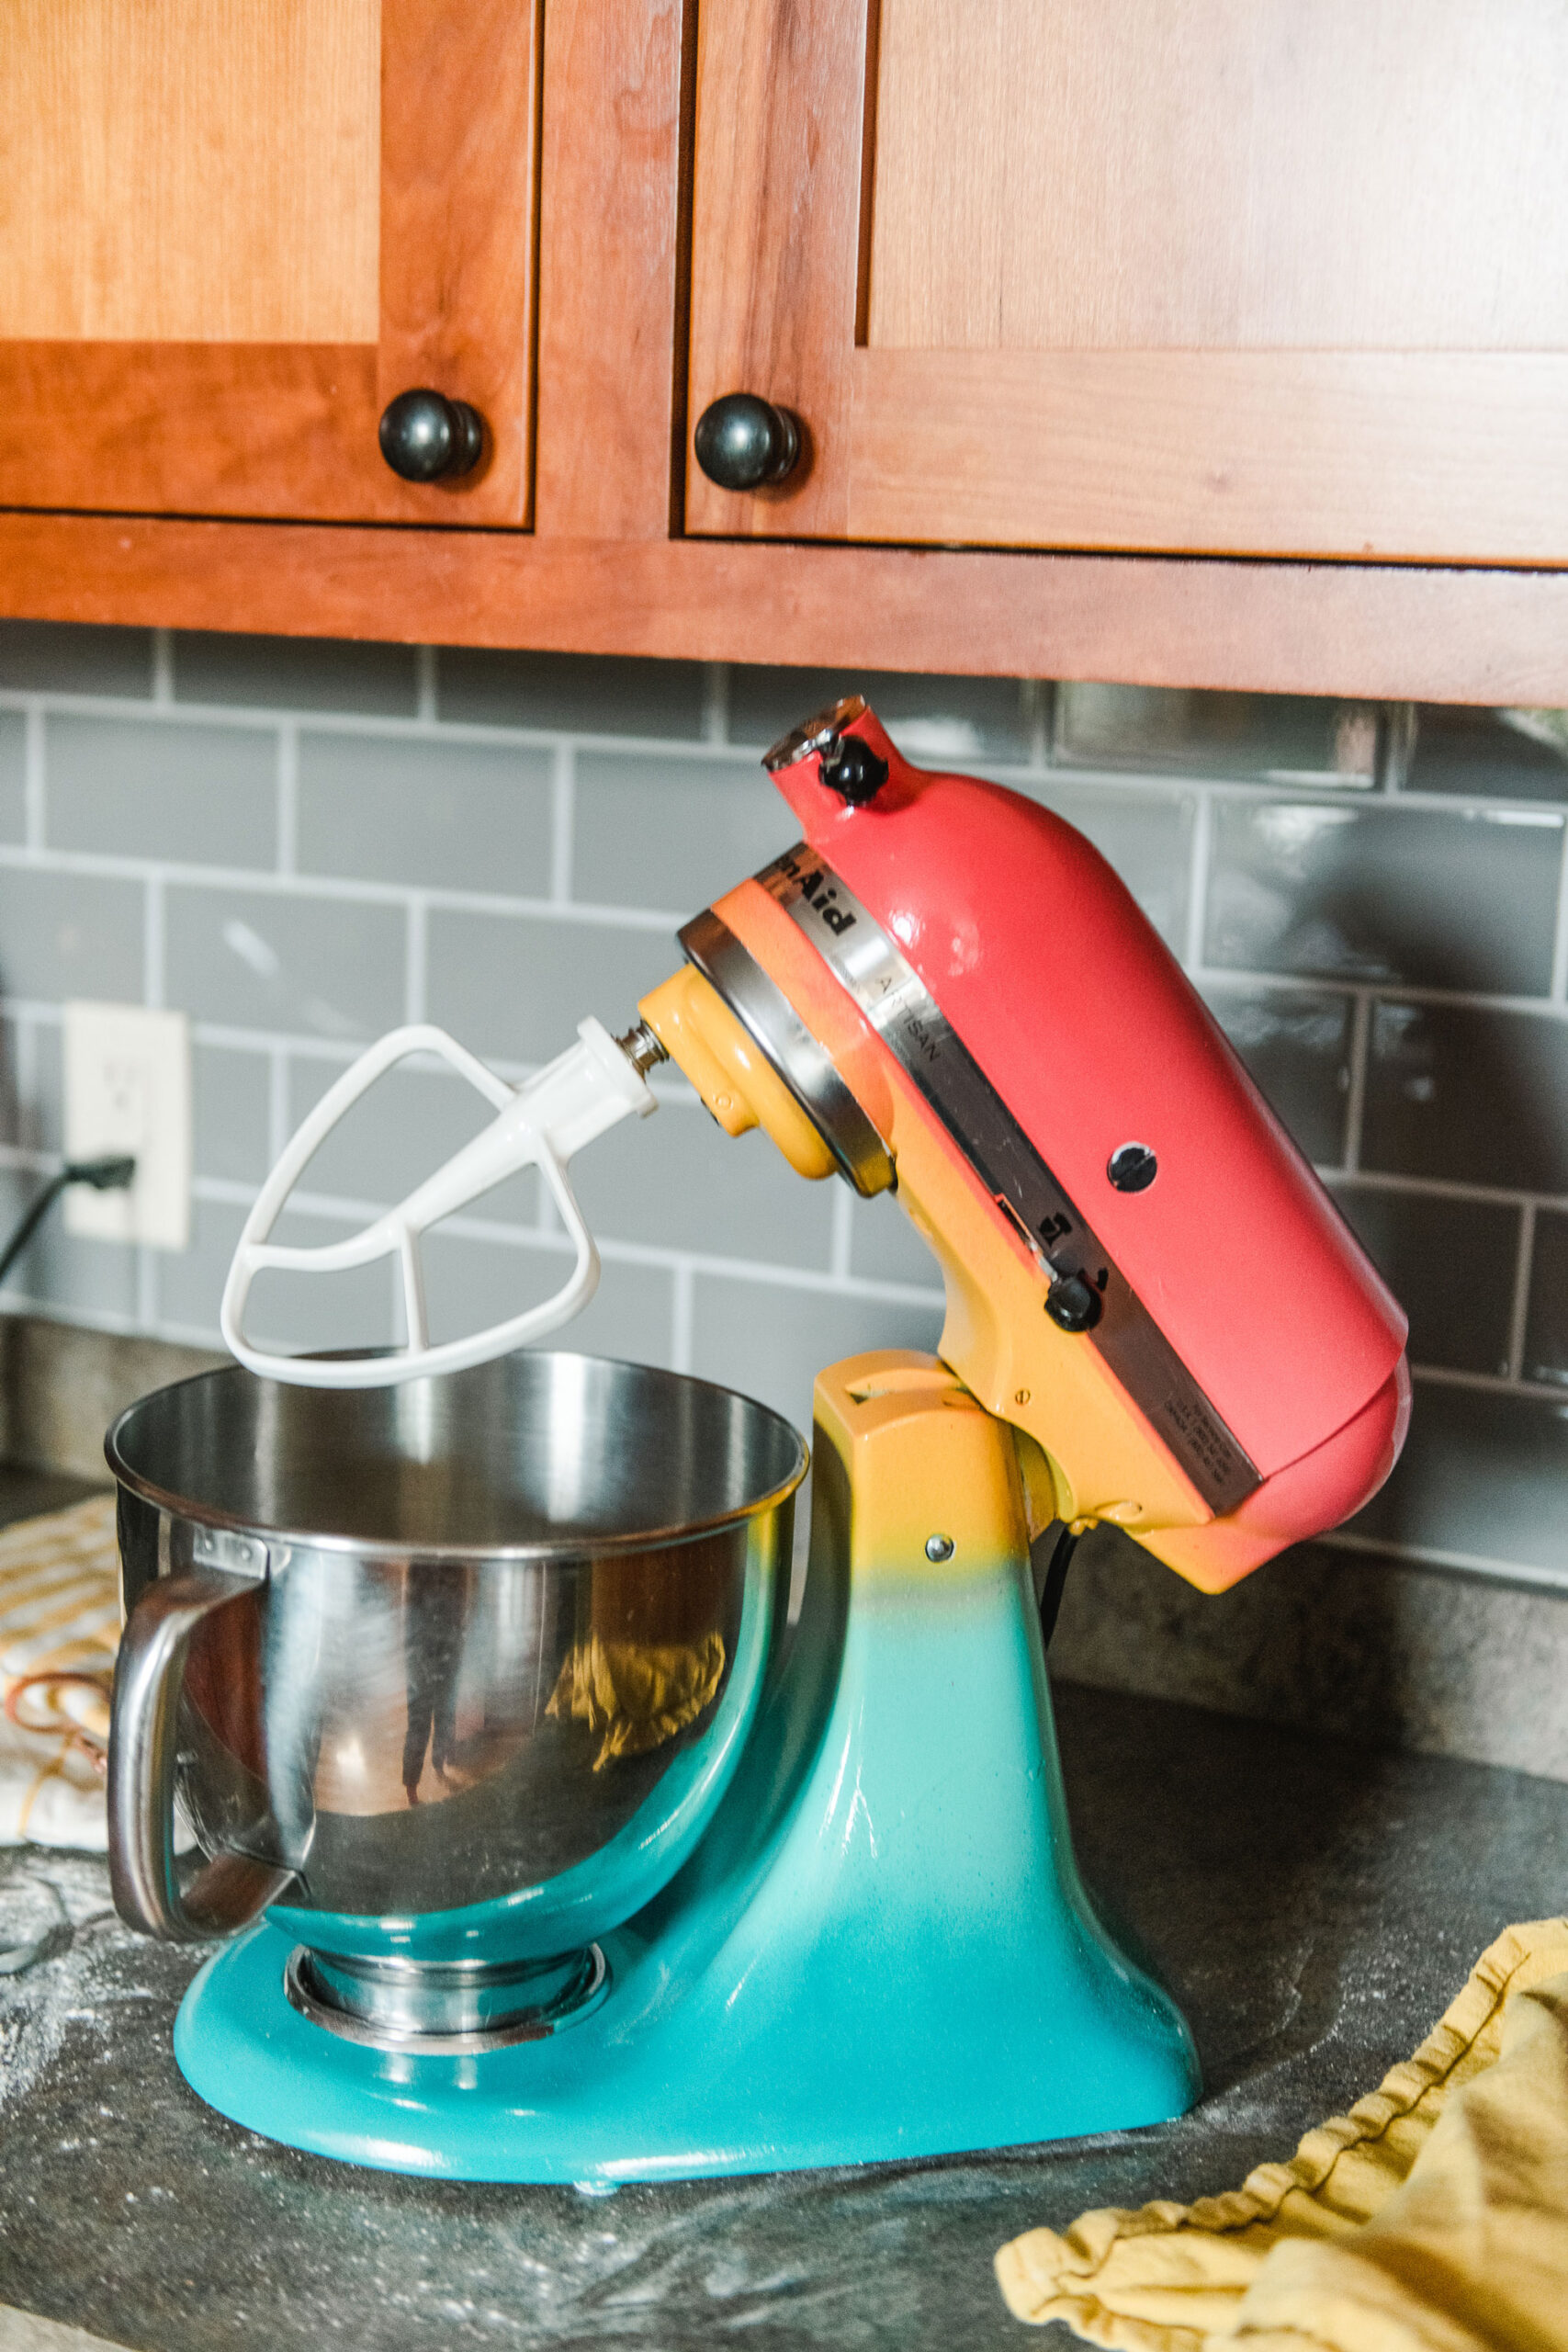
I also feel like I just have to mention that I am only painting the part of the Kitchenaid that does not come in contact with mixing food or ingredients – I am keeping the bowl, the attachments and every other food-contact element OG!
MATERIALS:
- An old Kitchenaid mixer that needs some love 🙂
- Fine grit sandpaper (1 piece should do)
- Painters tape – Frog tape is the BESSSTTT in my opinion (the stickiest I’ve ever used)
- An x-acto knife or straight blade to get painters tape precise around those tricky areas
- Dish soap + rag to wipe down SUPER well
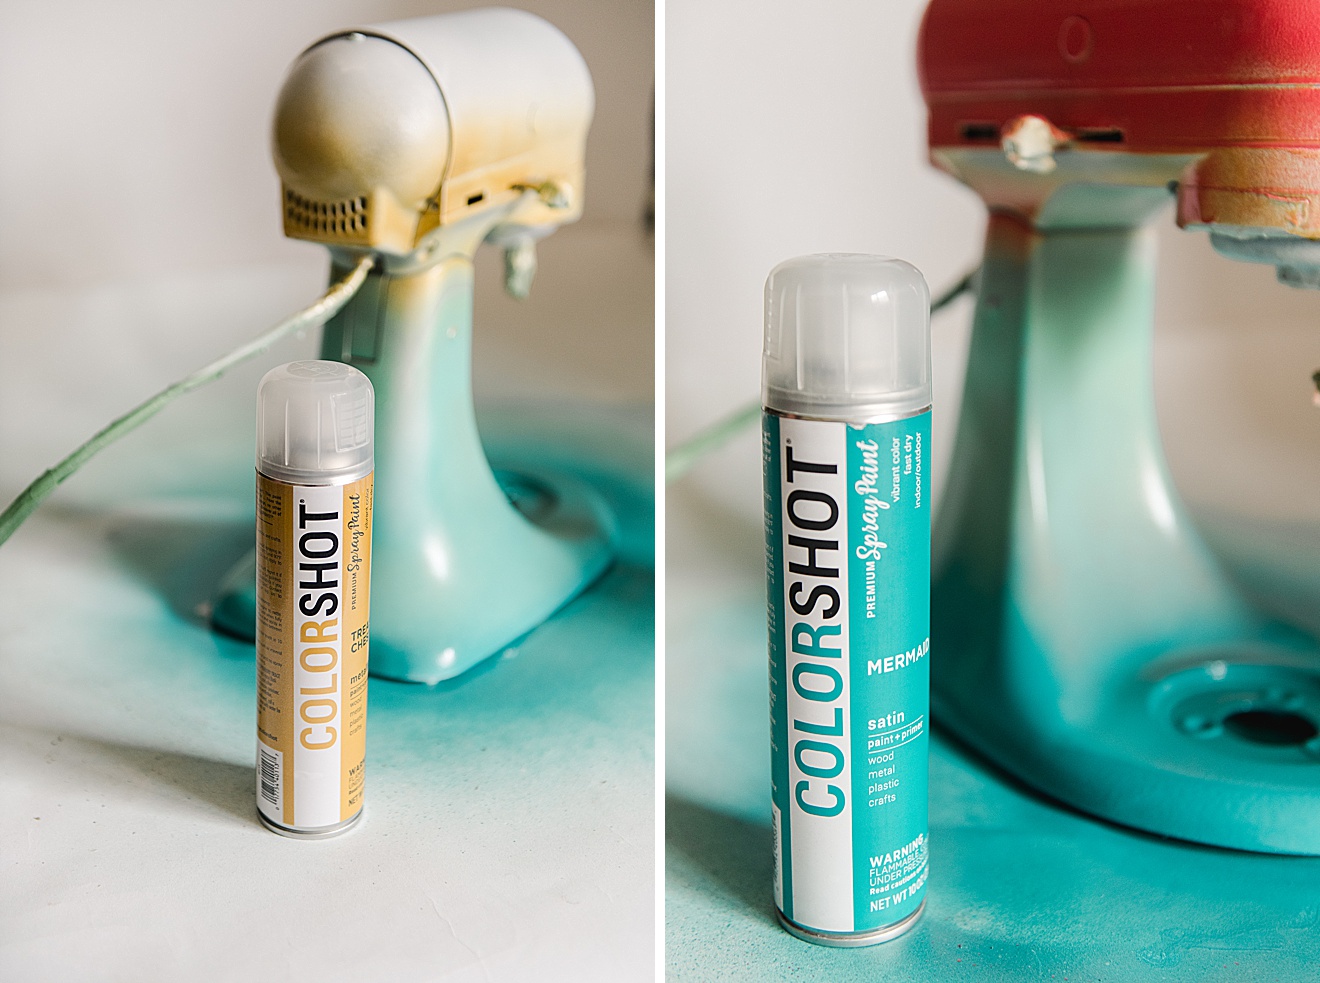
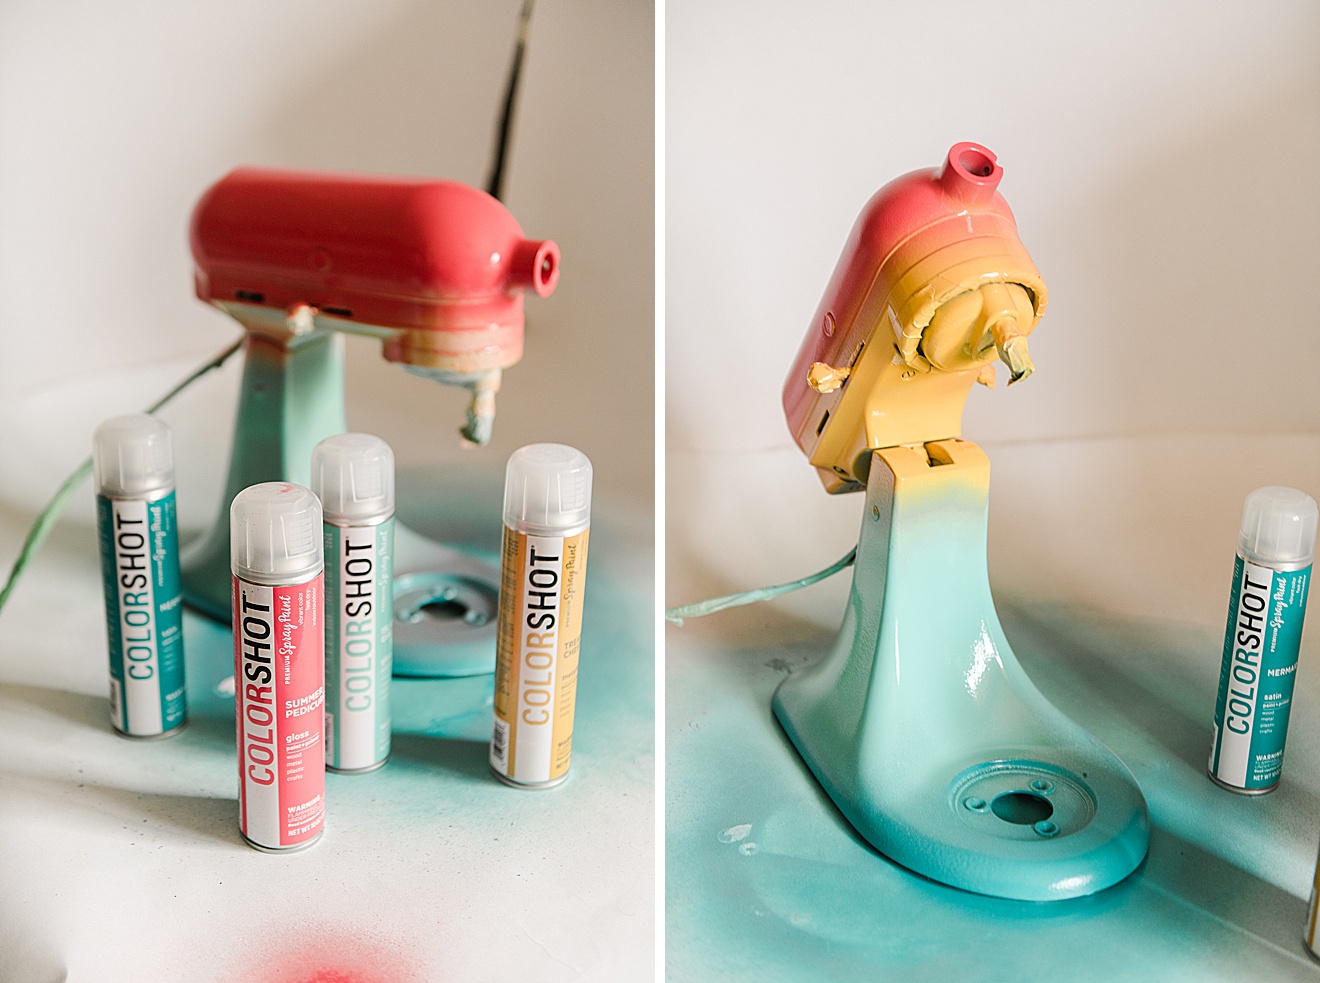
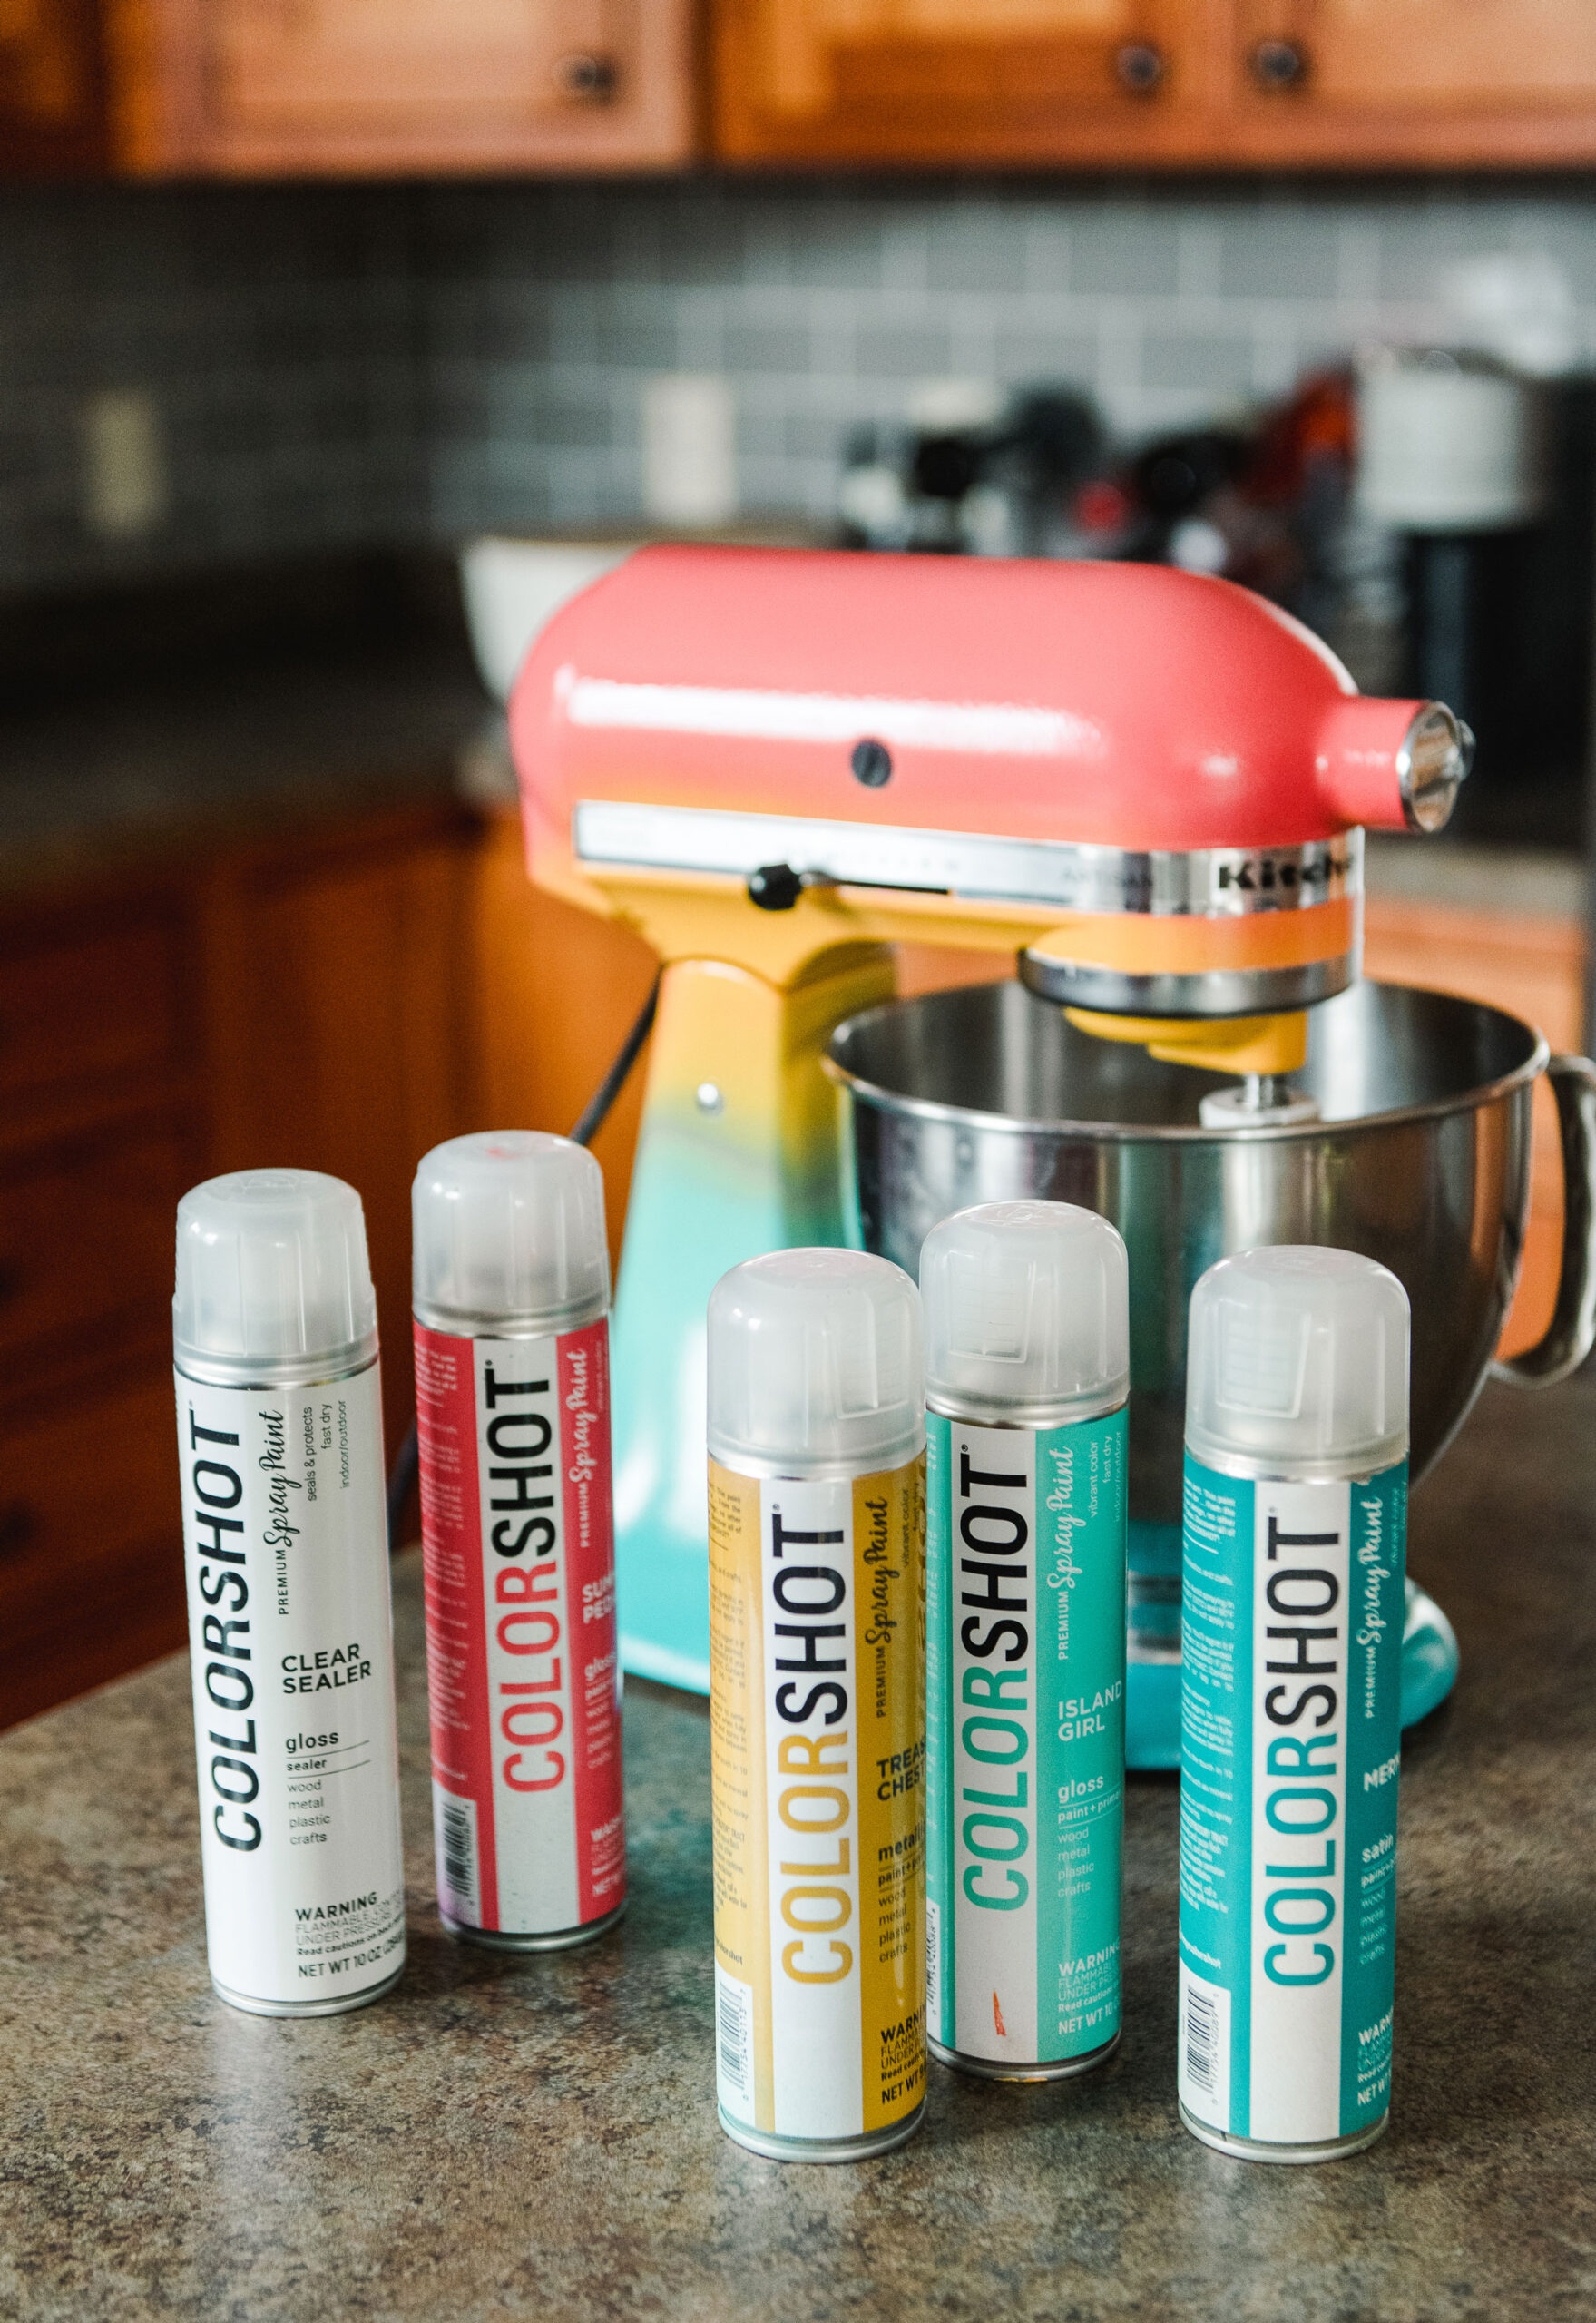
- As few colors of Colorshot Spray paint (I used Mermaid, Island Girl, Treasure Chest and Summer Pedicure)
- A can of the Colorshot clear sealer
- optional can of Colorshot Primer (LOOOOVE LOVE this stuff)! 🙂
INSTRUCTIONS:
* I feel like I just need to mention (before you start) that this TRUELY truly is one of this NO HARD DIY projects – BUUUUT you *HAVE* to take your time. This DIY only took me a few hours of actually “working” on it, BUUUUT there is lots of dry time in between (so it took 2 hours over the course of 2-3 days until it was complete)! 🙂 But honestly, this is such an easy project to tackle and I am THRILLED with the results (and I’ve been using it for 3 weeks now and so far nothing has chipped, scratched or gotten scuffed up….it holds up well if done slowly with light layers of paint)! 🙂
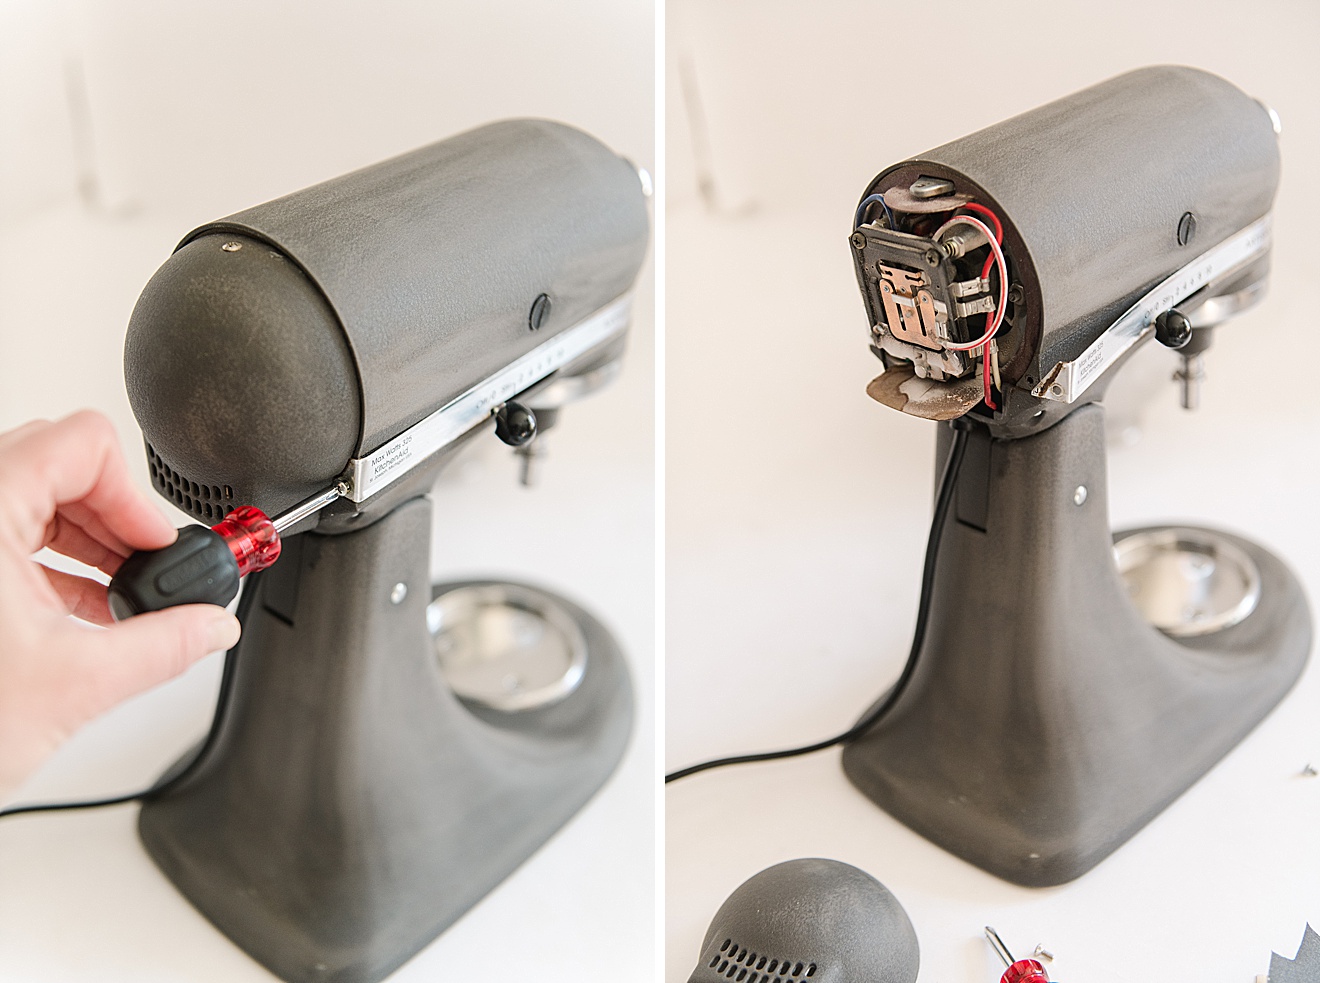
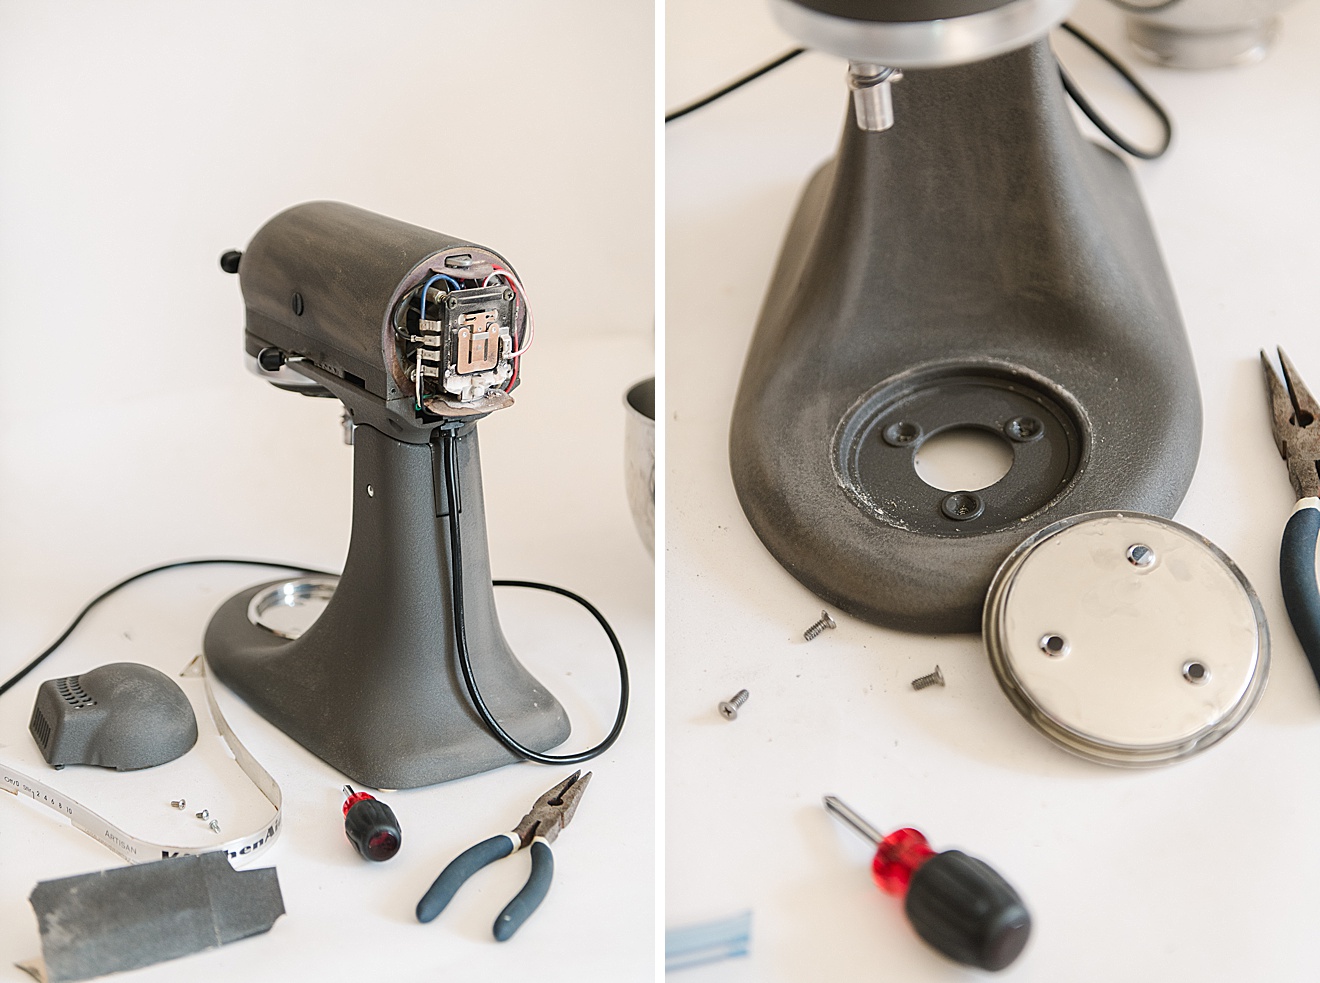
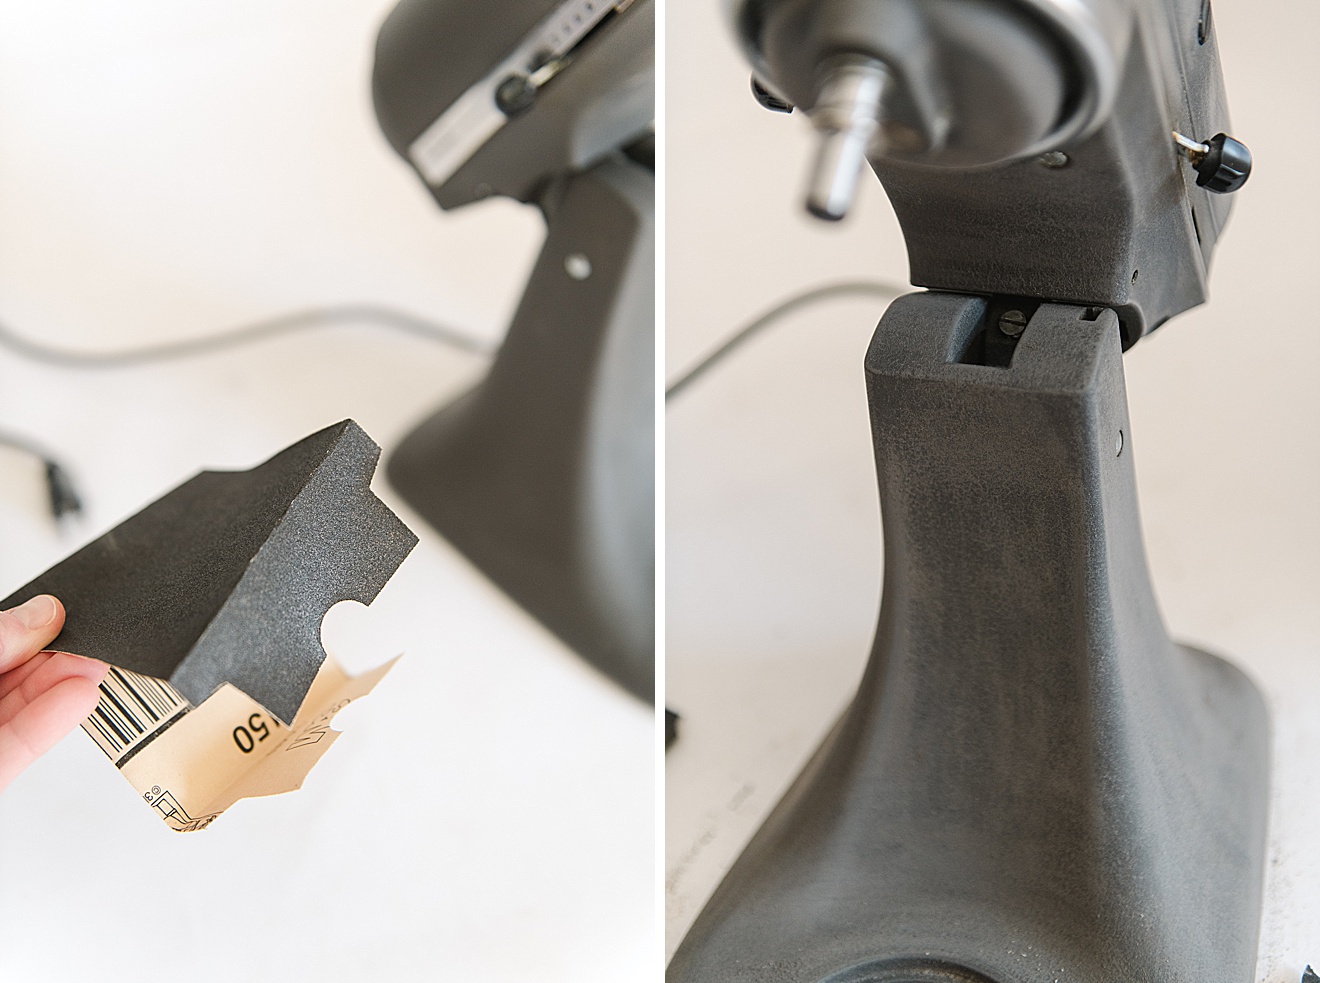
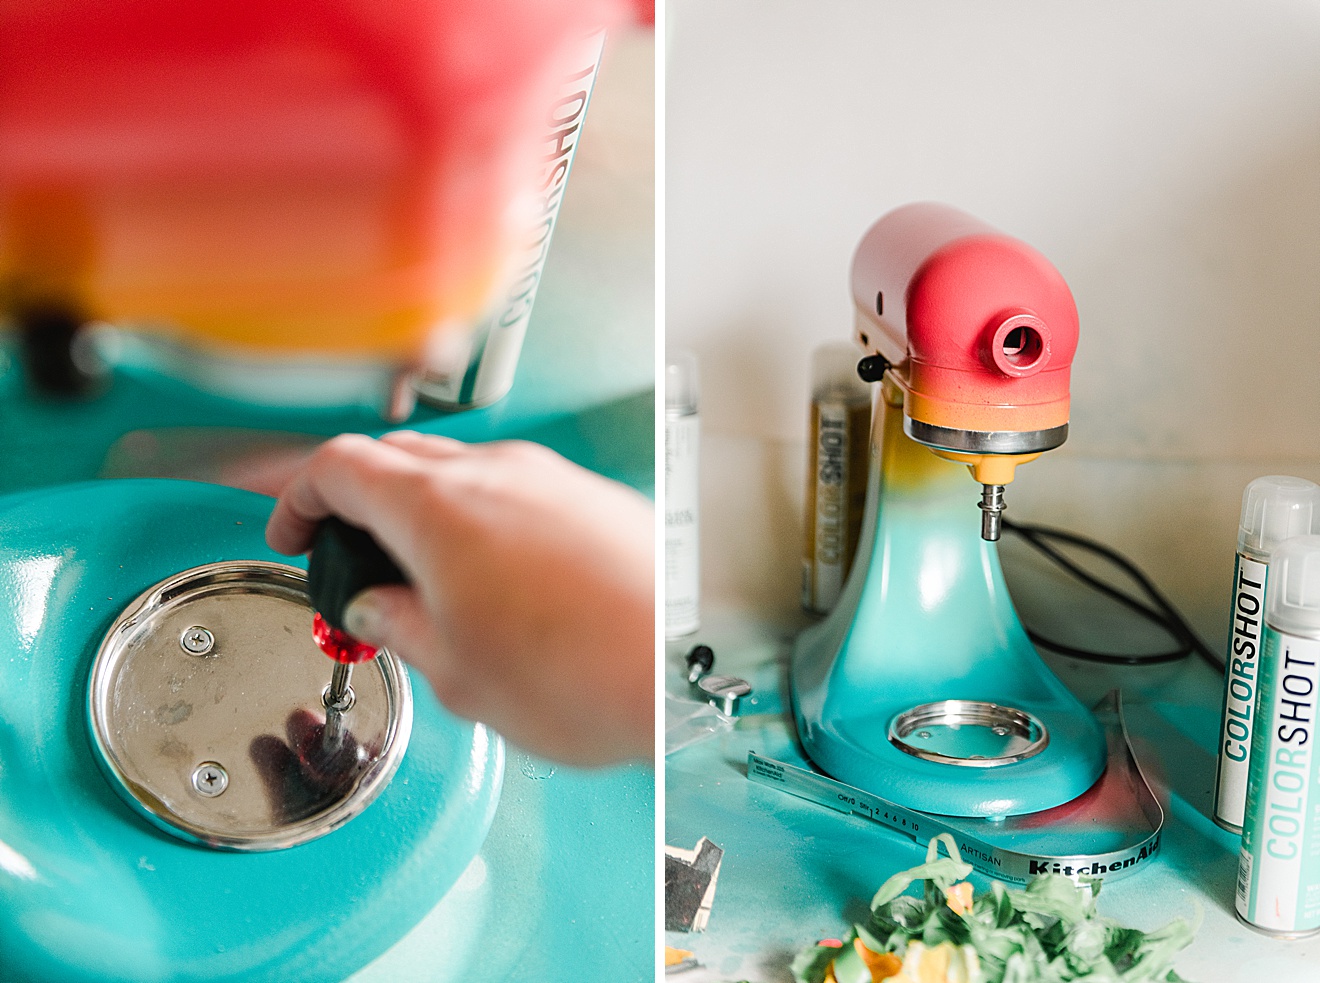
1. Begin to disassemble the removable pieces from your Kitchenaid, You will want to take the removable parts off before taping: the bowl and attachments, the back panel (one screw on the back top), the “Artisan” metal strip across the top (removed with 2 screws under the back panel on each side), the bottom part that holds the bowl (remove 3 screws), and the from “Kitchenmaid” label that holds attachments.
Put all of these parts in a bag so that you don’t loose ANY of them 🙂
2.Wipe down your Kitchenaid suppppper well (ummmmm, ours needed some major scrubbing, ICK)! If you just spray paint over grease, then the paint isn’t actually sticking to the body of the Kitchenaid. So scrub away with some dish soap and a rag (I would imagine that rubbing alcohol could work too)! I also took a little kitchen scraping tool to scrape off the some of the smaller, more hidden parts (like between the side locking arm, under the lifted “chin” area, and along the crease of where that “artisan” strip goes). I’m telling you, ours was GROSS! 🙁
3. Sand your mixer!! Be sure to use your sandpaper to get all of the cracks, crevices and hidden parts to your kitchenmaid. Be sure not to scuff up any of your “silver” parts that will remain shown and not painted (screws, etc). It is actually quite easy to remove the factory finish (or maybe ours was just SOOO ready to be refinished)! 🙂
4. Clean again! You will want to remove ALL of the sand grit and any other grime or dirt that is still there. You need your Kitchenaid SUPPPPER clean in order to get an even, clean new finish. So don’t rush the cleaning.
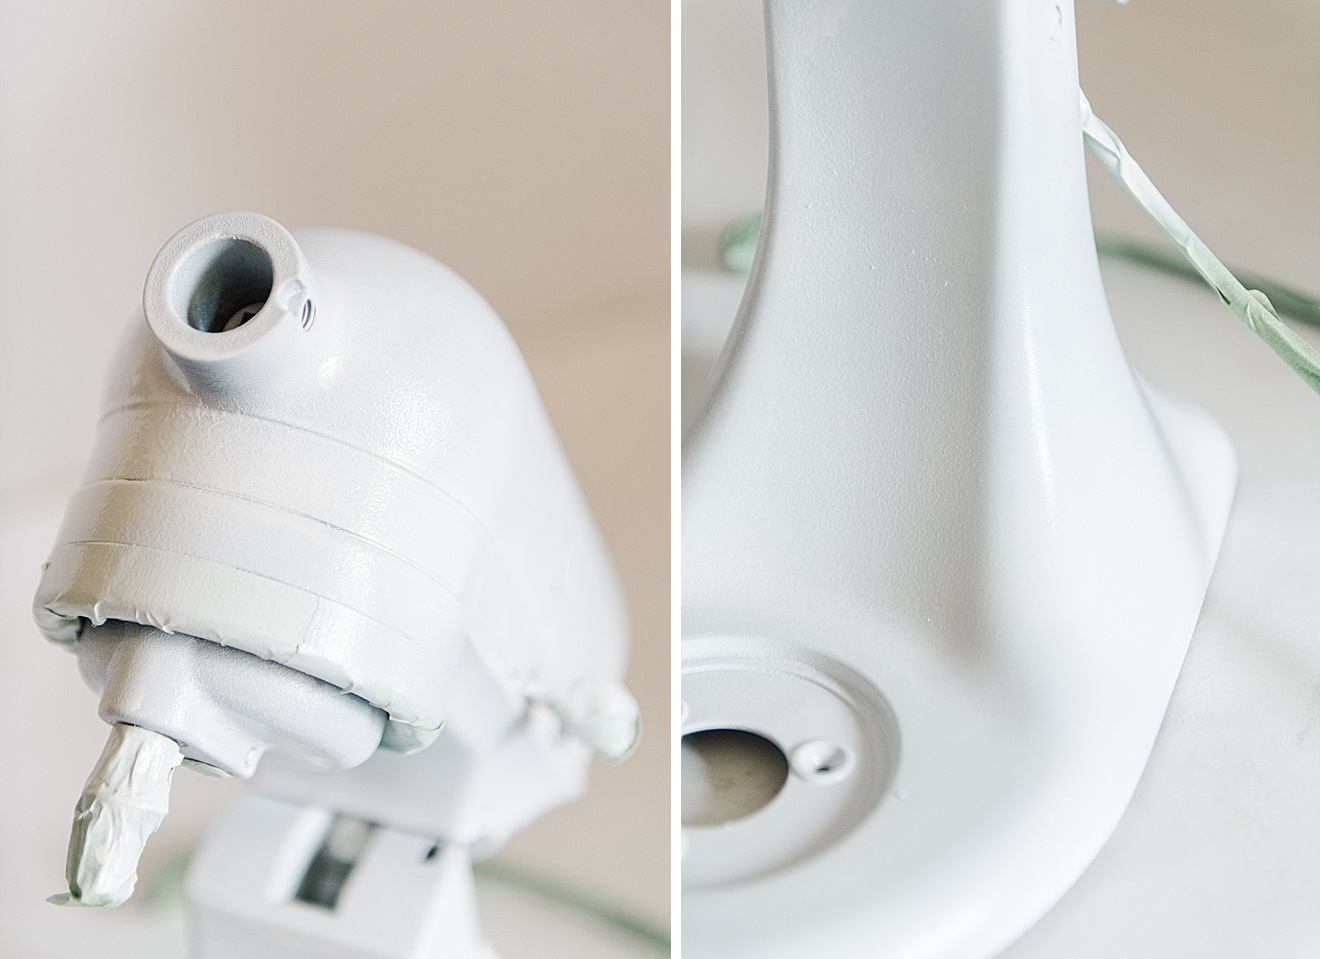
5. With painters tape, carefully and precisely begin to tape off all of your silver metal parts (the screws, the front horizontal panel, and the side locking arm and speed lever). You want these to remain original metal (or at least I did). And don’t forget to tape off the whole cord (honestly, tape the whole thing because if you spray paint like me, you will spray ALLLLL over).
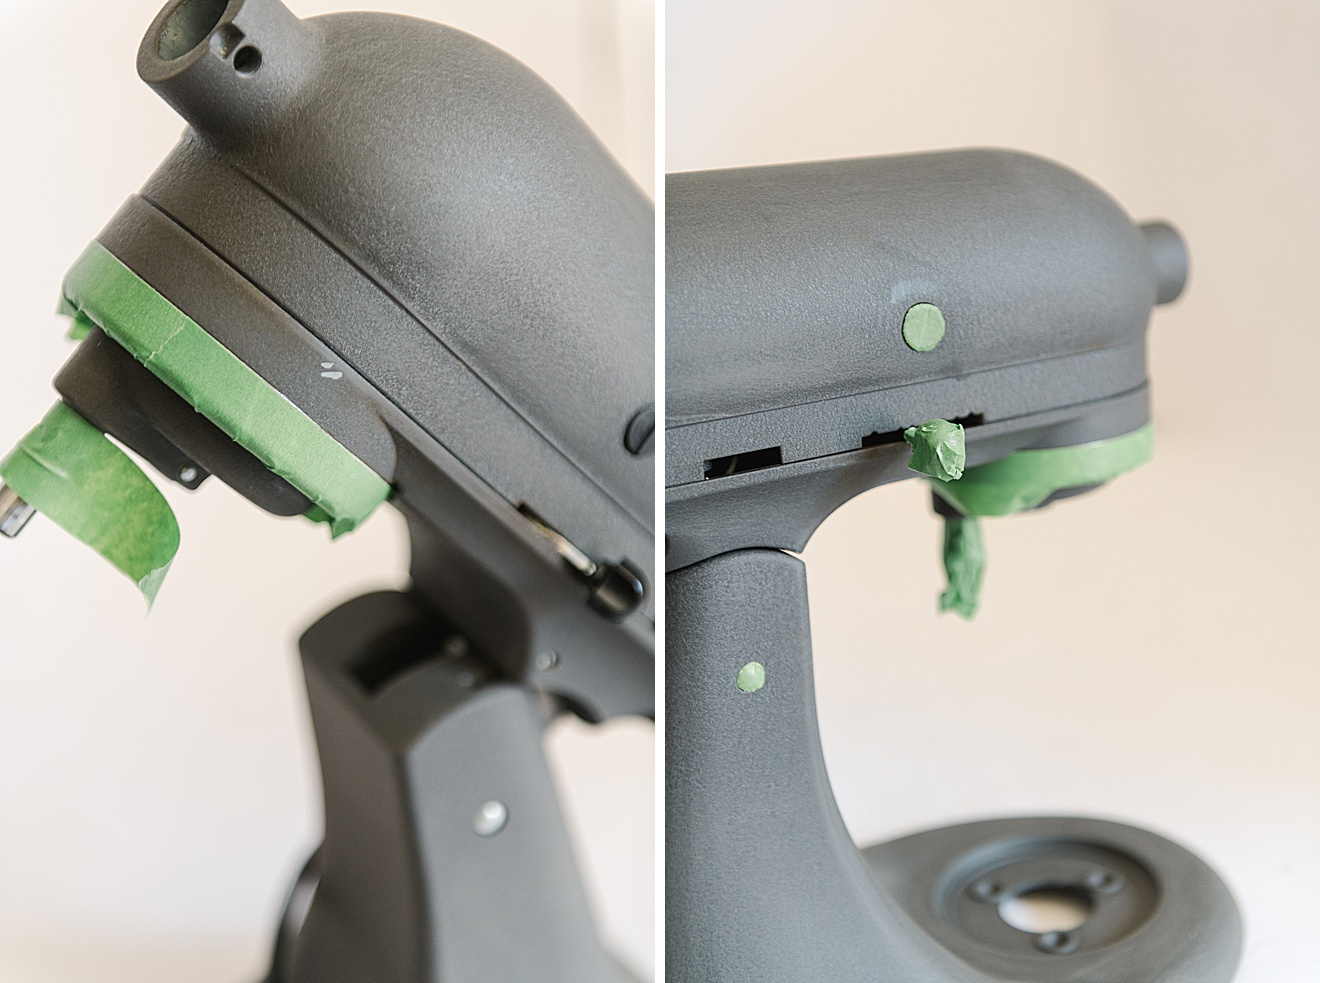
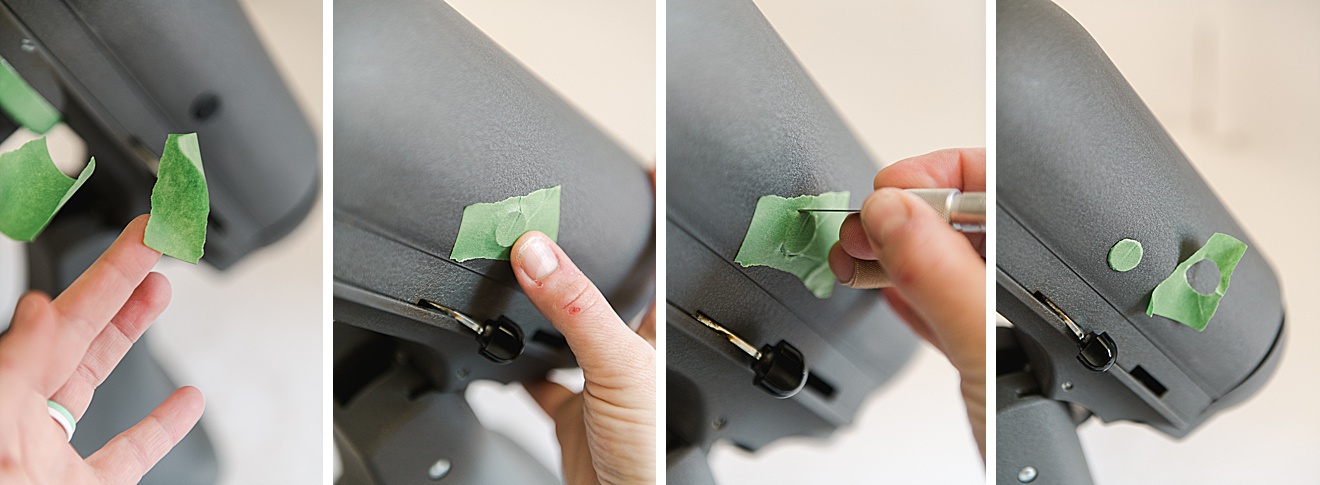
**when I covered the circle screws/bolts, I pressed a piece of tape SUPER well down on the bolt and pressed with my finger and nail around the outside edge. Then with an x-acto knife, I carefully went around the edge to cut the tape away from the bolt 🙂 Voila, a perfect bolt covered in tape 🙂
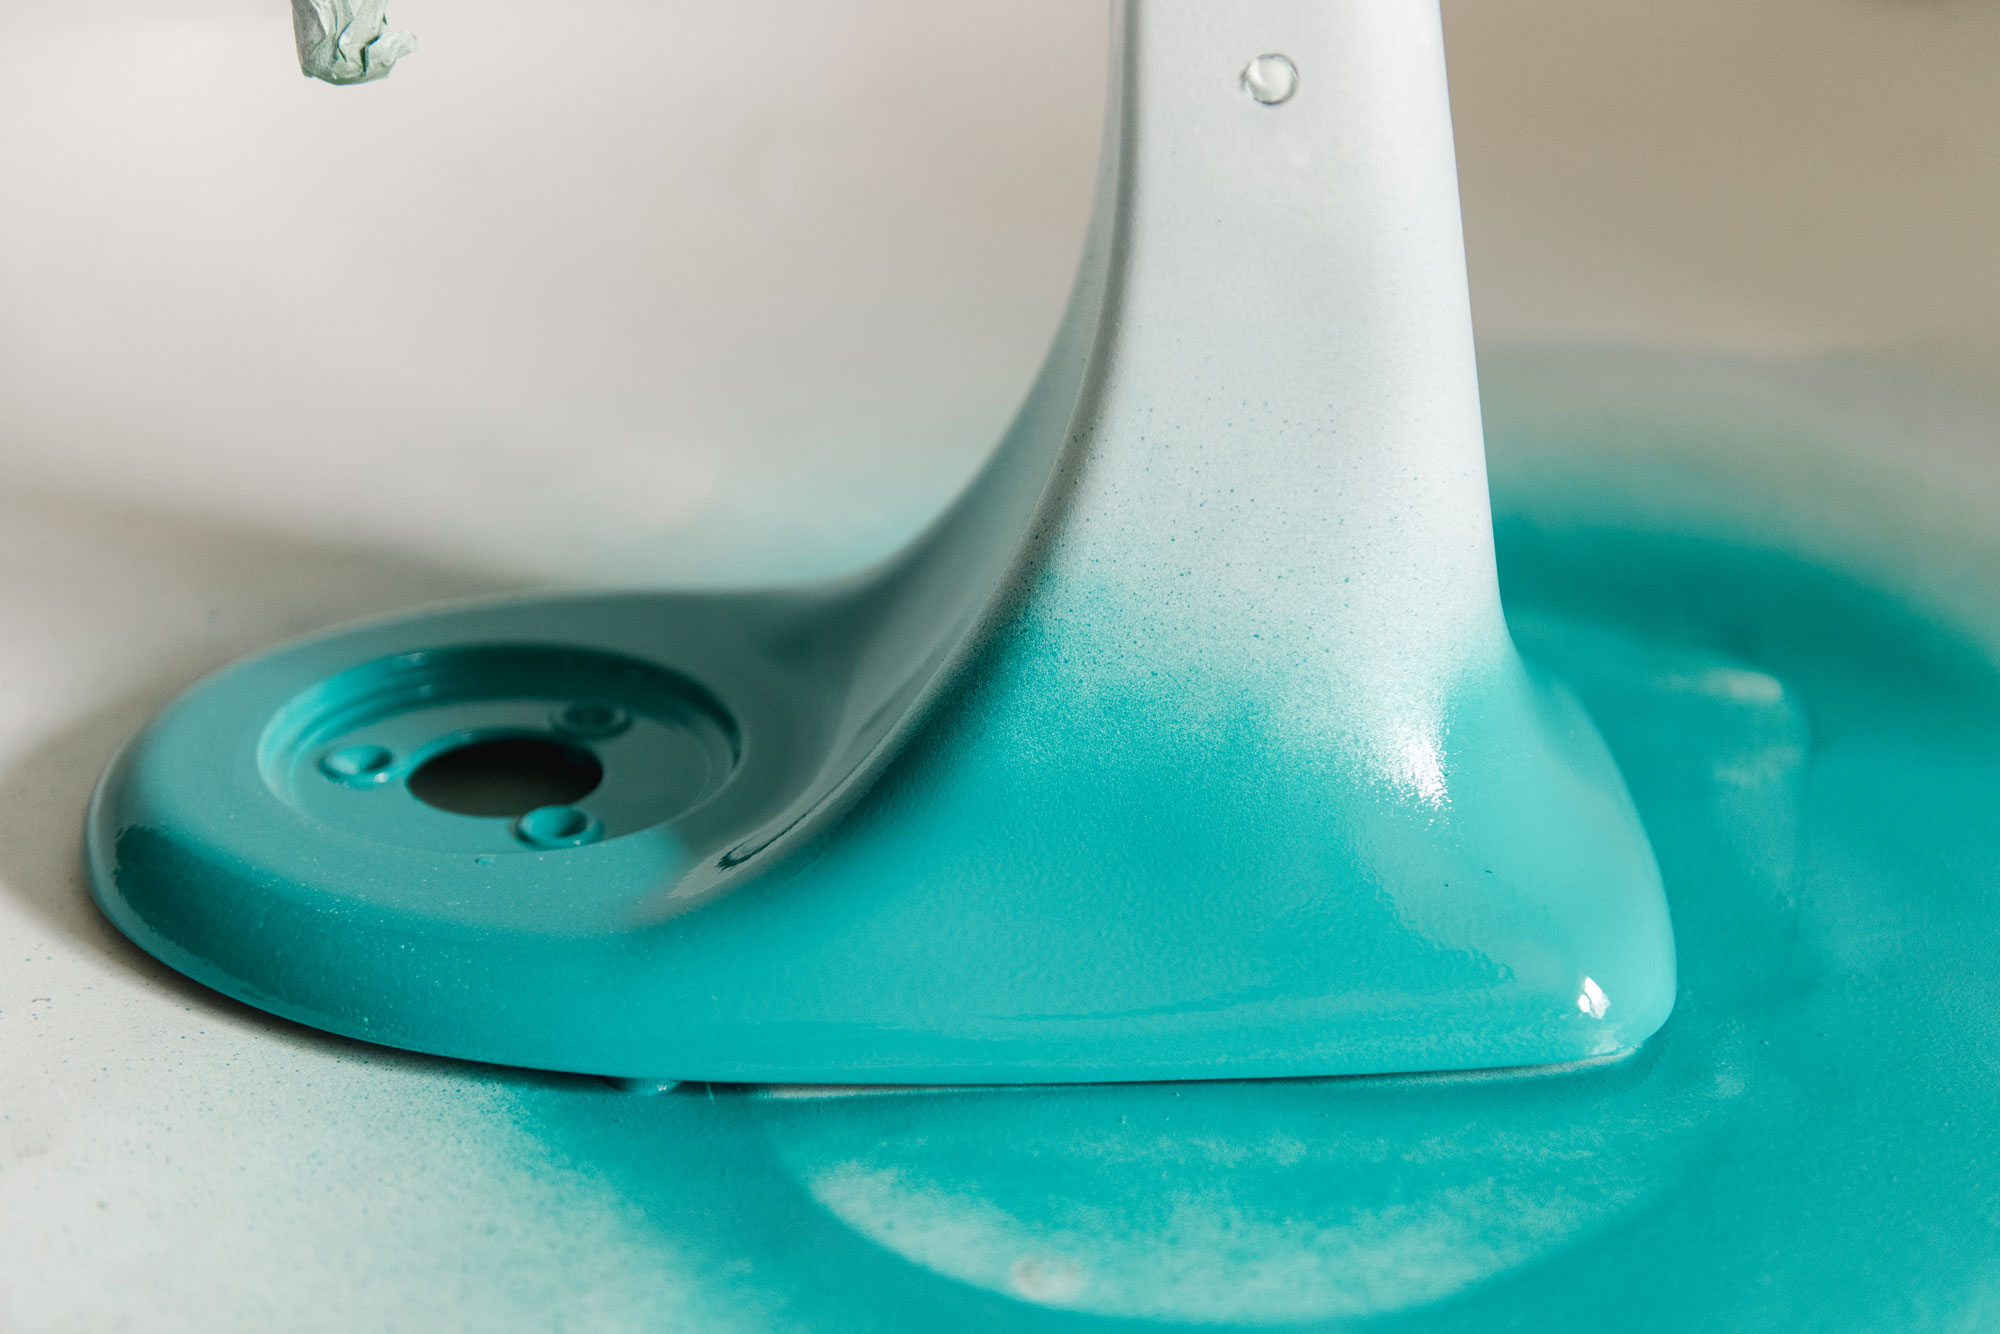
6. SPRAYYYYYYYYYY!
OK! so this is the *FUN* part. You can blend your colors or choose to just do one complete color! 🙂 Here are some tips on spray painting your Kitchenaid with the amazing Colorshot spray paints! 🙂
- Put your Kitchenaid up on some blocks (I didn’t do this right away, and noticed that the very bottom lip of the Kitchenaid wasn’t getting coated well)
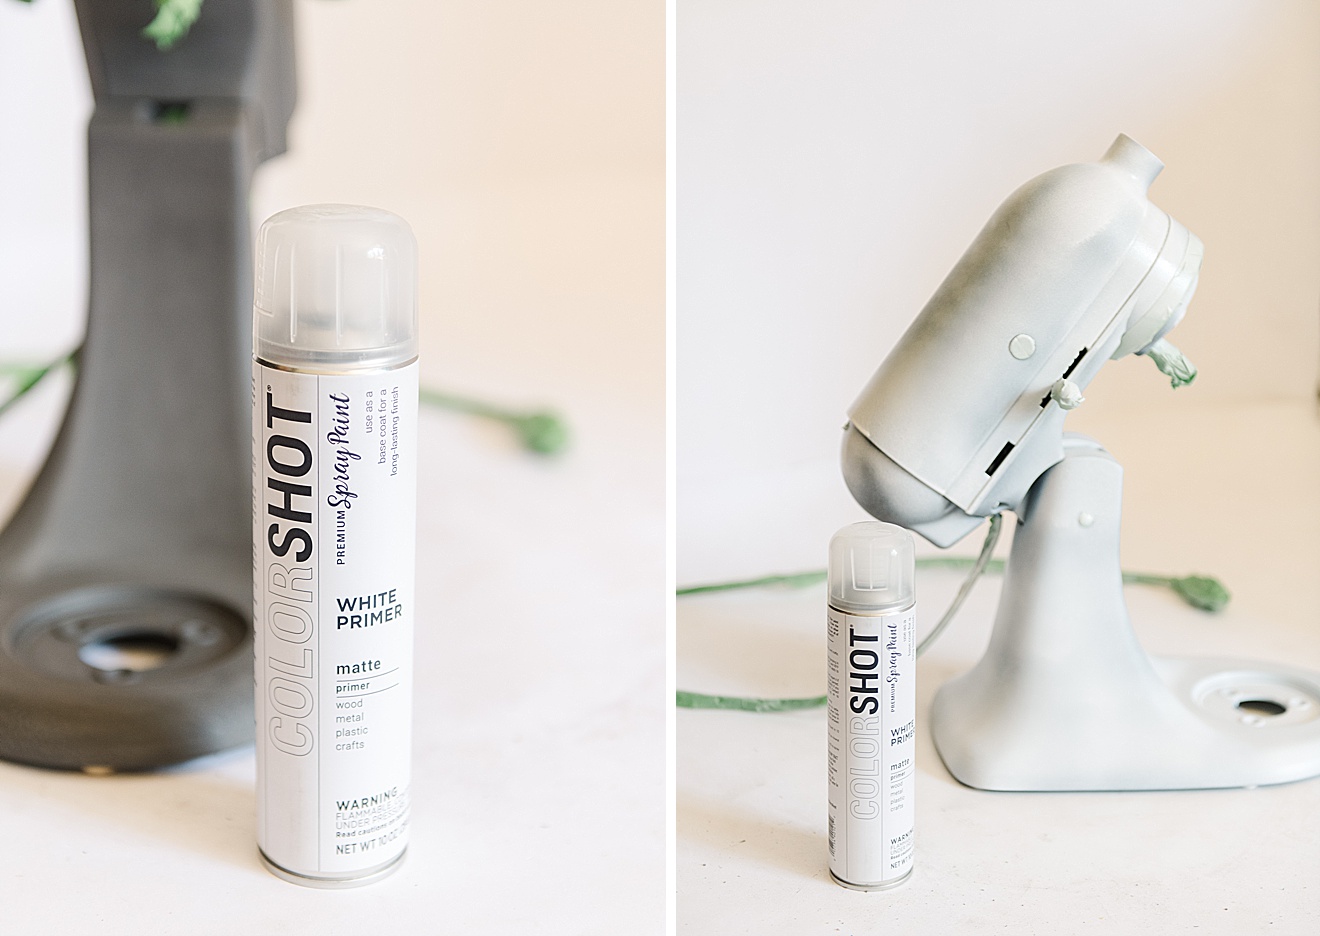
- I began with White primer. I know that Colorshot is always primer and paint in one (and covers legit almost every surface like a champ) but since we started with such a dark, deep, grey color, I wanted the ombre color/mixing to stand out well, so I wanted to begin with a great 2 coats of primer
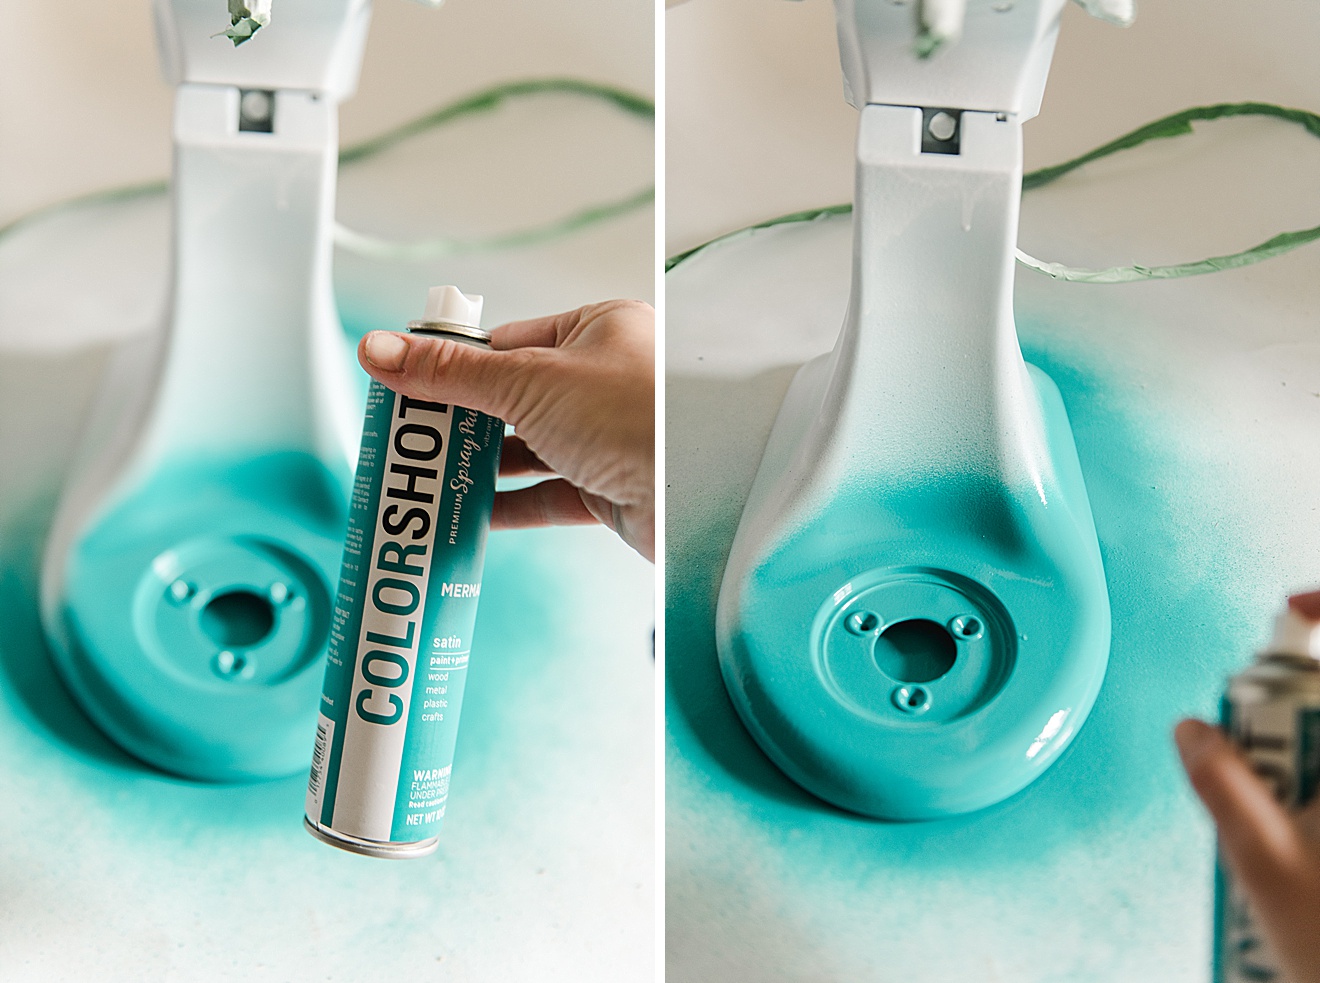
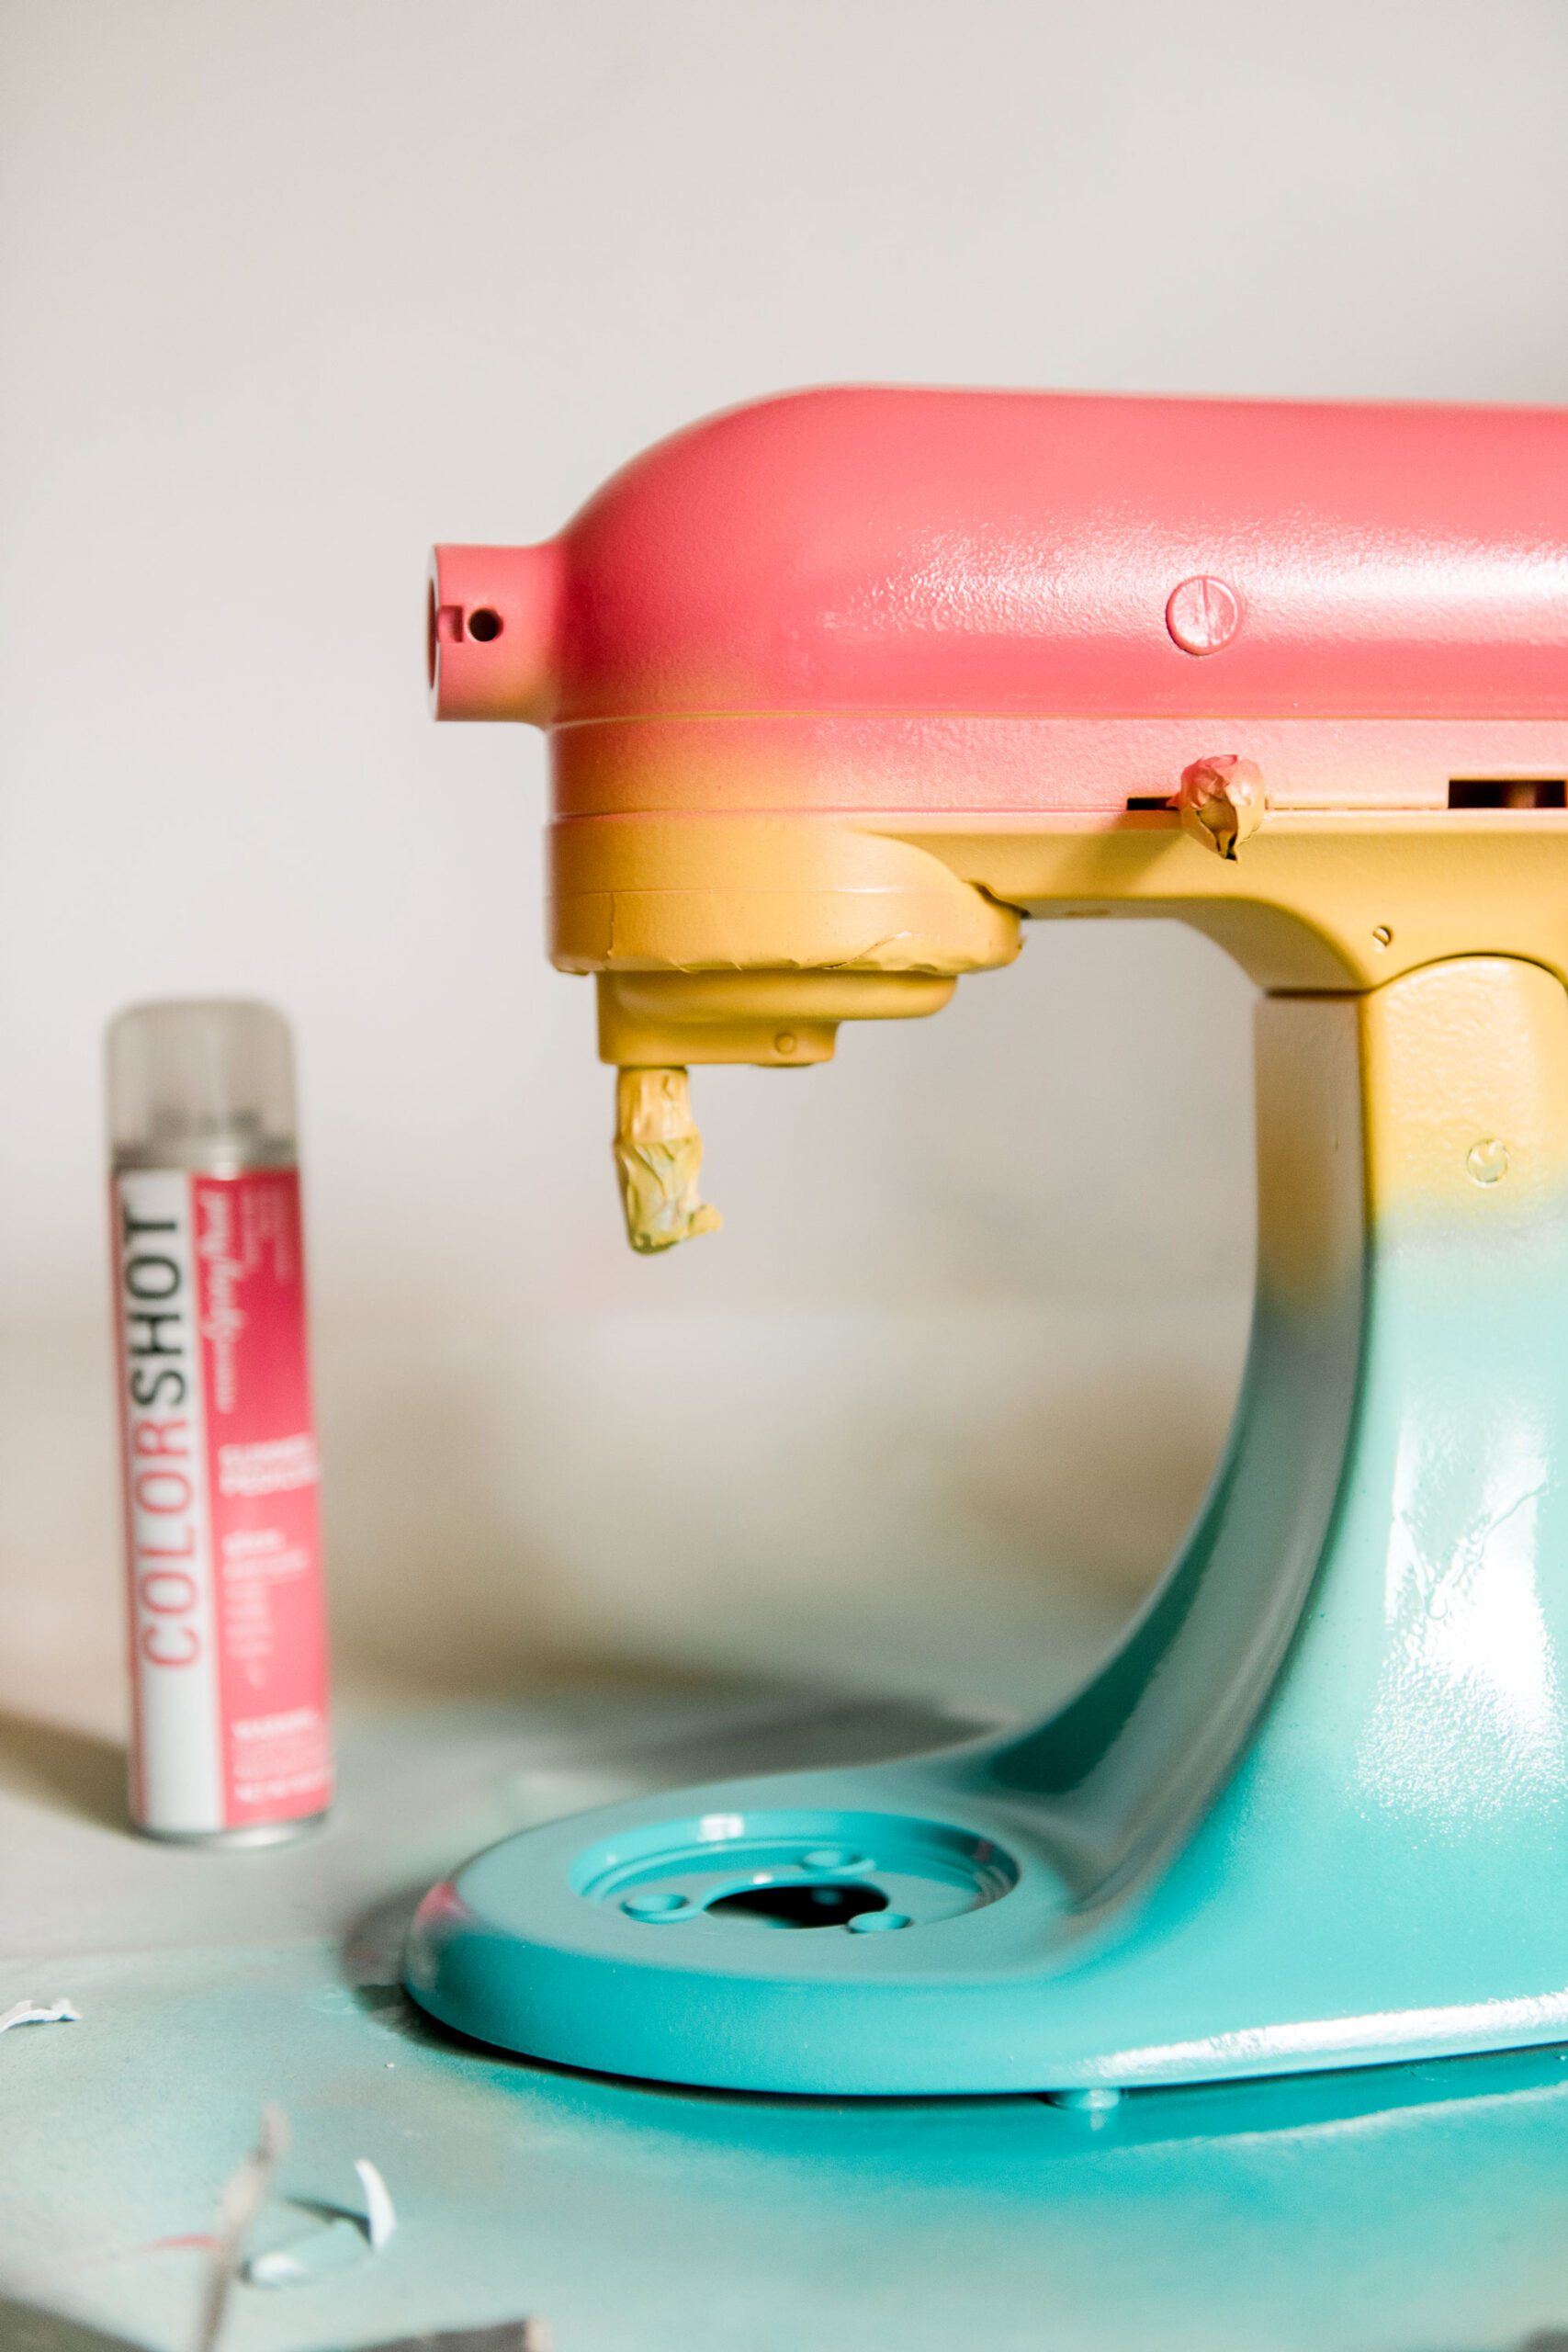
- When spraying, spray in even, light LIGHT LIGHT coats! This will give you the best finish (yes, annoying to have to do so many coats, but I PROMISE that if you try to go to fast and layer on the paint thick that it will only end in drips which will frustrate you in the finished look). The key to a professional finish is lots and lots of light coats of paint.
- Keep moving your hand and can as you spray….try your best never to leave the can in one spot too long (hence the point above about light coats)! 🙂
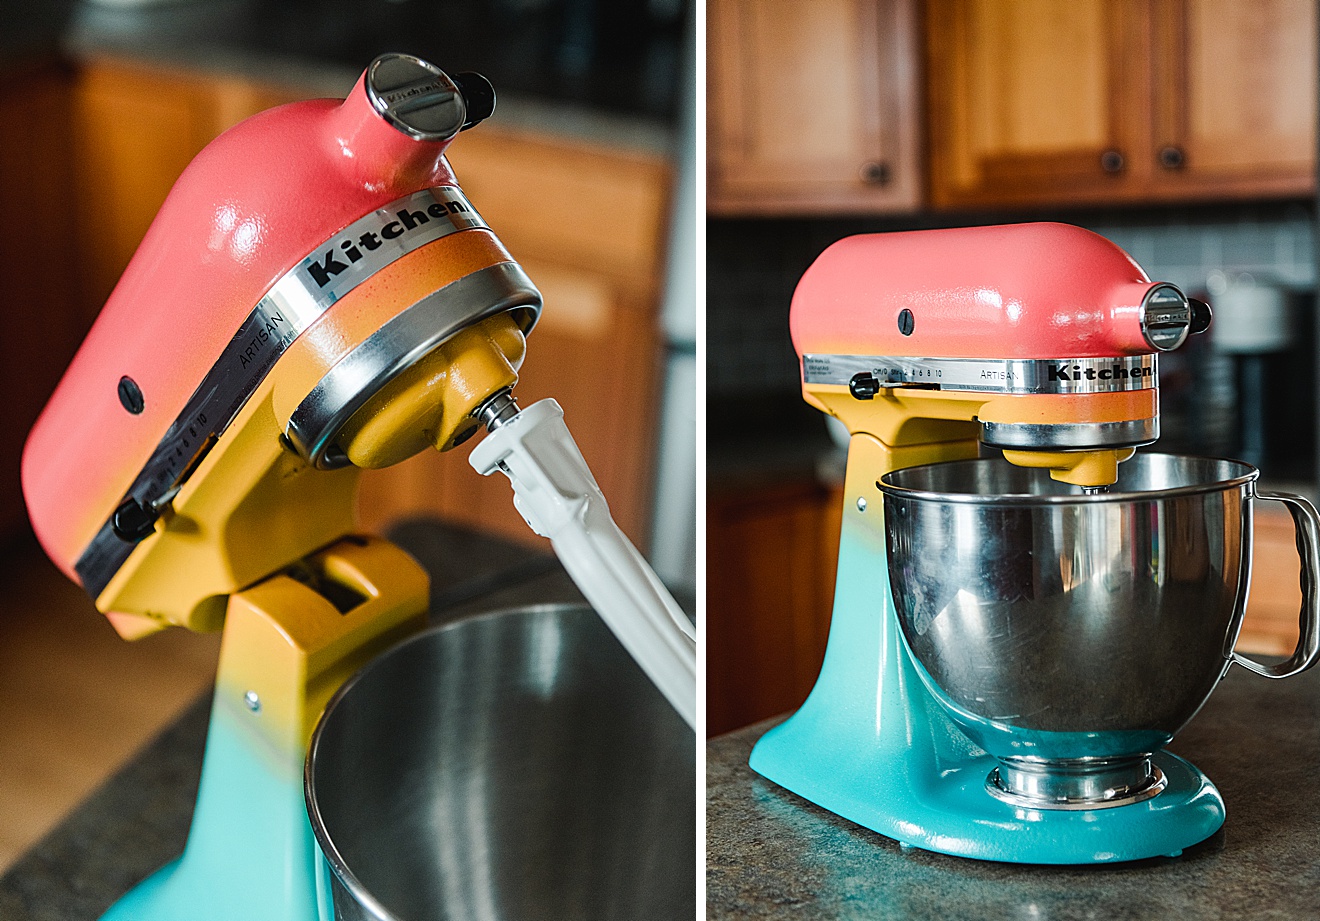
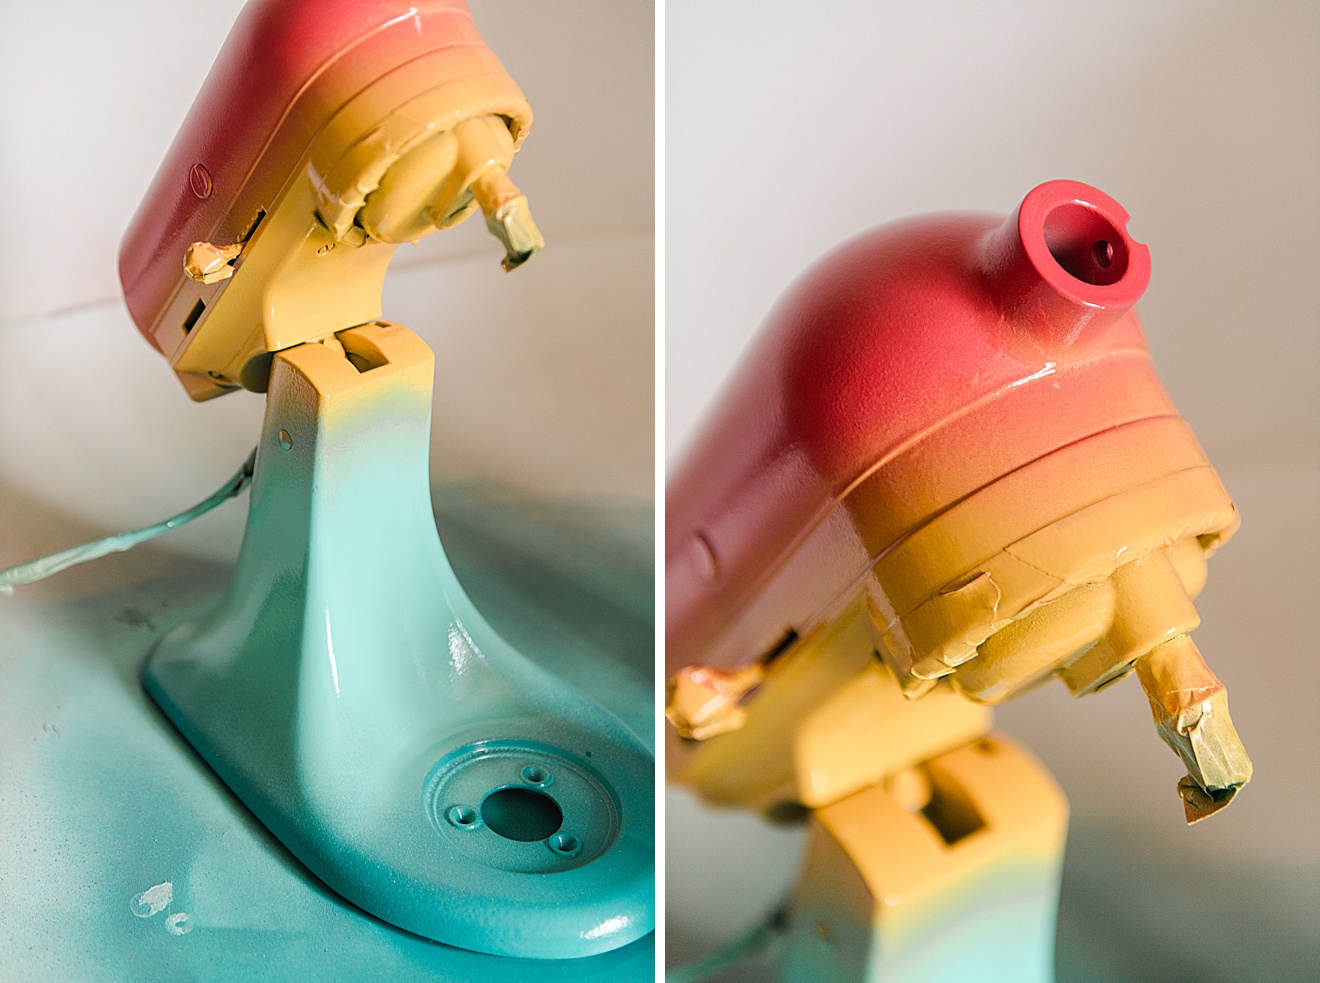
- Do each layer of color 2 times (waiting in between until it is fully dry). The Kitchenaid has the head (where the mixing attachments attach) that extends up and down. Each color I did 1-2 coats with the mixing head UP and 1-2 coats with the mixing head DOWN! You will be amazed at the little crevices that get lost in that moving part that you don’t want to forget to paint 🙂
- Wait about 30 minutes between each coat in a well ventilated area (you can refer to the instructions on the can that will give you approx. temps for when the paint will cure)
- IFFFFF you see that you have some drips after spraying, let the coat complete dry (30 min or so) and before spraying the next coat, just lightly (LIGHTLY) sand those drops away to make sure that the texture doesn’t show up in the finished product 🙂
- When blending the colors together, overlap them. Don’t be afraid to blend the colors together. If you overlap too much, just go back with the original color and spray over after it is dry 🙂
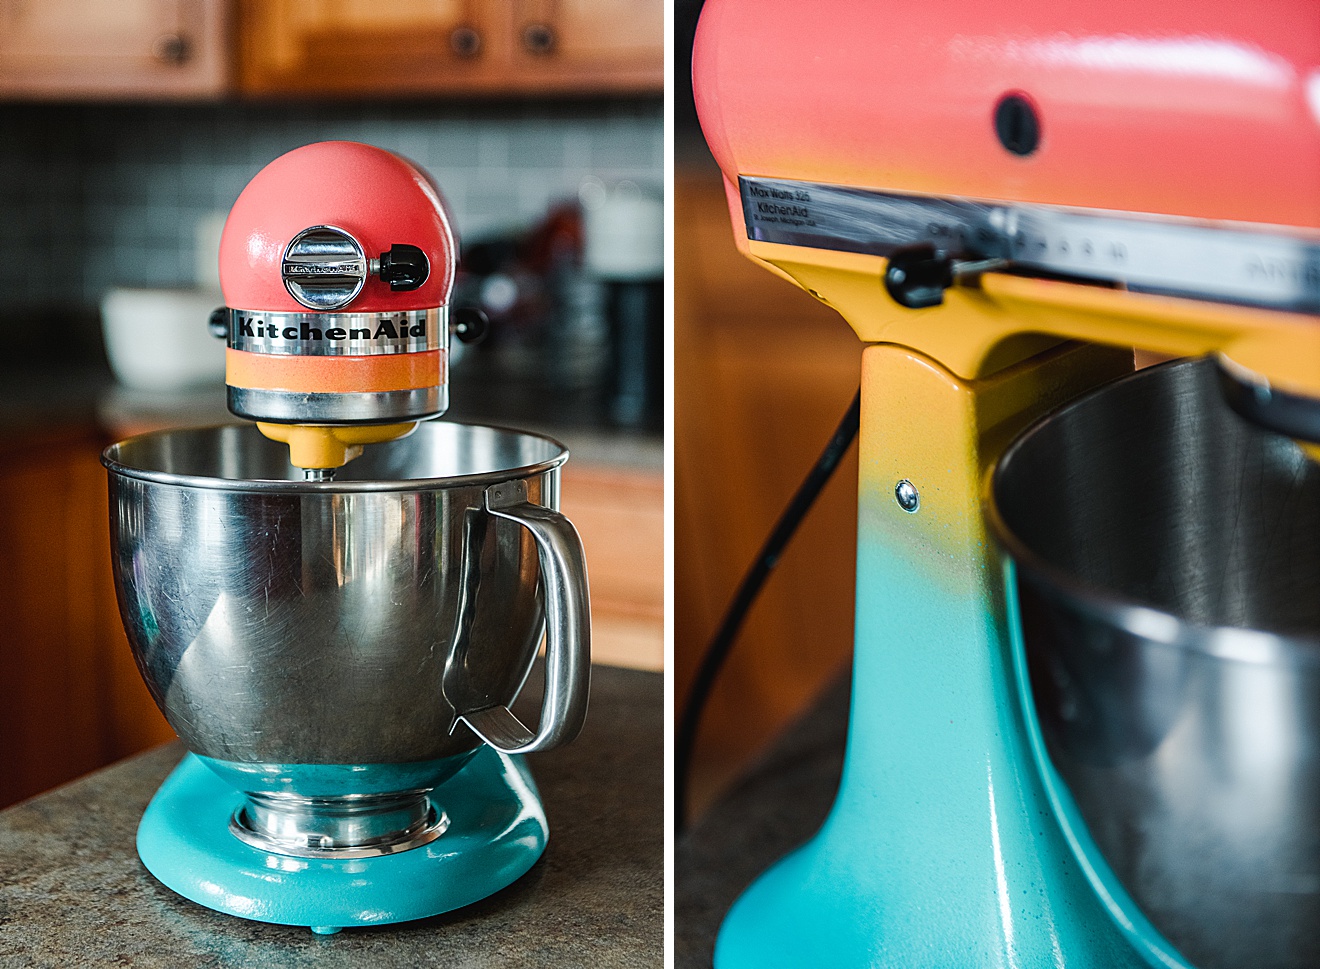
- Go back and do more coats of any color as needed once the whole Kitchenaid is done. For instance, Once I had done a few coats of each color, I went back down to the Mermaid teal and covered again (the color on the bottom tends to get covered by the time you a few finished with all the coats from bottom to top).
7. Let dry for 24 hours! According to the instructions on the Colorshot can, these amazing colors will cure completely in 24 hours. So let it sit so that all of those beautiful coats and layers of spray 100% cure! 🙂
8. Seal with a few coats of the Colorshot Sealer! THIS IS WHAT MAKES IT SHINNNNNNE! 🙂 If you noticed, you saw that I used both matte and glossy spray colors because I just chose the colors for the color, not the finish (knowing I would seal it in the long run)! So this top coat not only will seal your Kitchenaid mixer so SO well, BUT it will also bring it all together with one beautiful, glossy shine. Normally I’m not a glossy shine person, but with this project (the ombre colors specifically) this shine makes it look so profesh!


9. Peel your tape and LET IT DRYYYYYY! Set your Kitchenaid aside and let everything completely cure for at least 24 hours – perhaps longer!


10. Reassemble your parts – scrub down any ick that is still on those Kitchenaid parts that you removed in step 1 and then begin putting everything back together! 🙂 This is the fun part because once you are done you will stand back and look at your brand new, amazing custom painted Kitchenaid mixer!!!!
OK! Off to the kitchen we all go to grab your old mixer to start dreaming about just how colorful and happy we can paint them ALLLLLLLL! 🙂